
What is Adobe Lightroom? – Adobe Lightroom is a software developed by Adobe Systems for Windows, MacBooks, ISO etc. It is used for photo manipulation and organization, as well as it allowing importing, saving, viewing, tagging, editing and sharing numbers of digital images.
In order to get a larger understanding of Adobe Lightroom i have decided to carry out an experiment where i make small edits to images which is going to help me get used to the software.
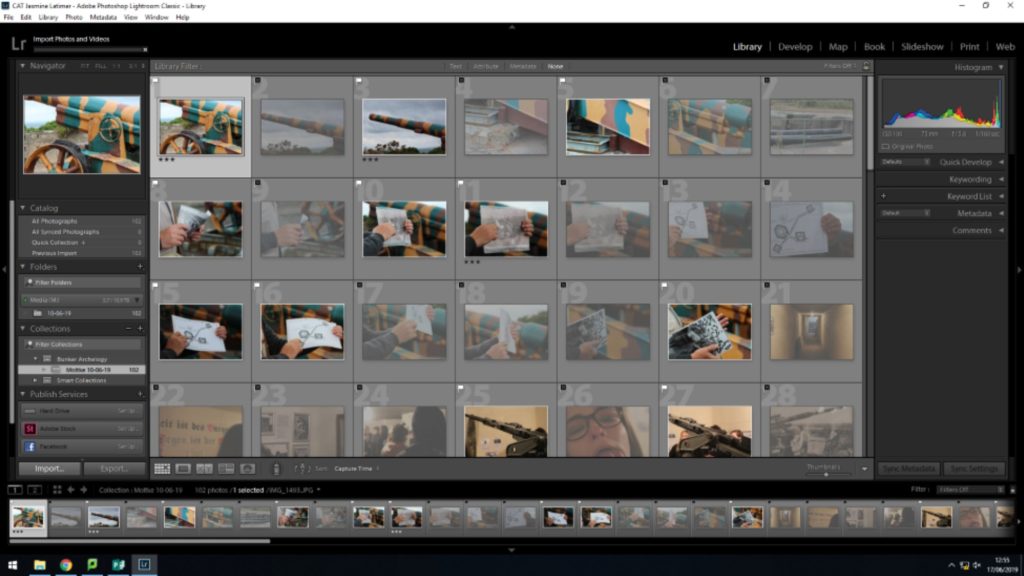
When exploring Adobe Light room i decided to use my previous bunker images which have been taken as part of my world war project. The first step included importing the images from the media drive into light room which was successfully done.
To import my images i created a collection set called ‘ Bunker Archaeology’ i then transferred my images from the media drive into this folder which allowed me to be able to access the images. I then pressed the ‘import’ button which is shown below (bottom left hand side).
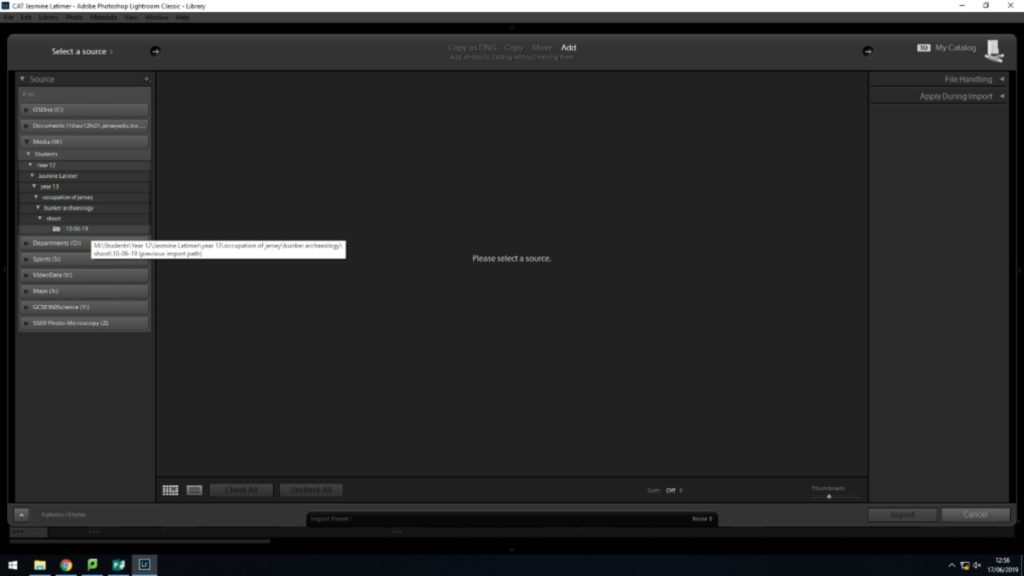
After this step i then pressed the media button, into the year 12 button, jasmine latimer, year 13, occupation of jersey, bunker archaeology, 10/06/19. After this my images were then imported. (shown below)
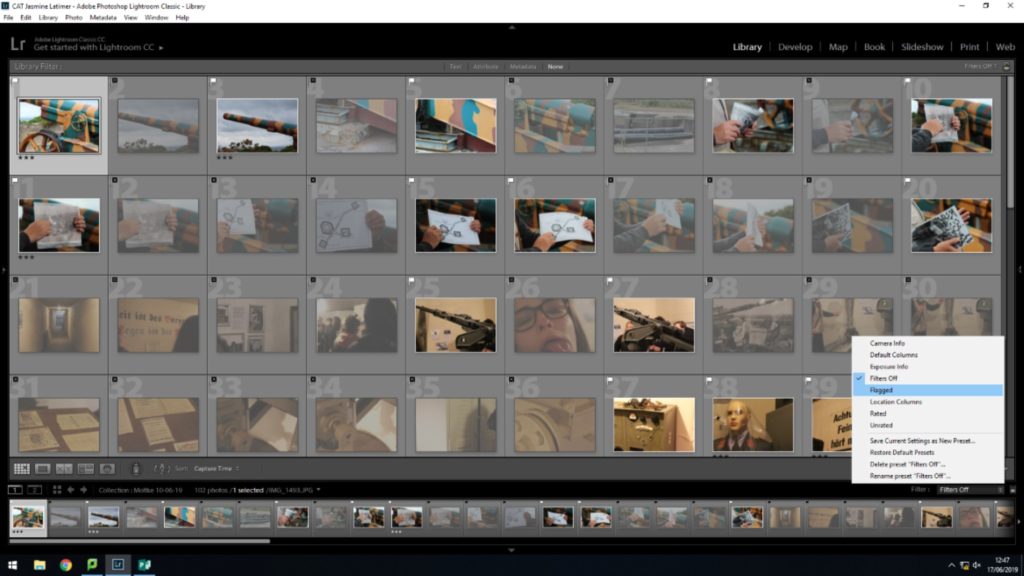
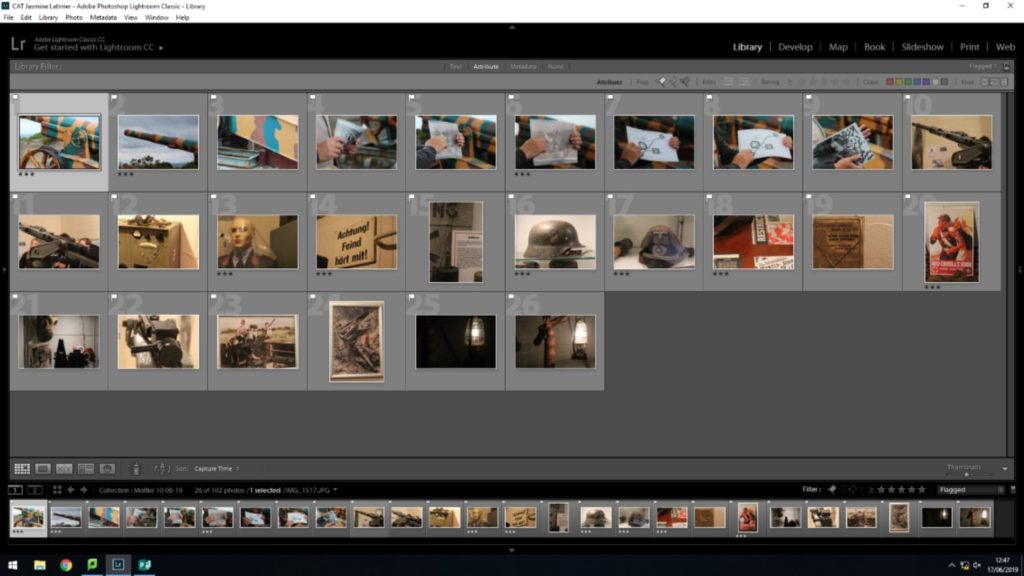
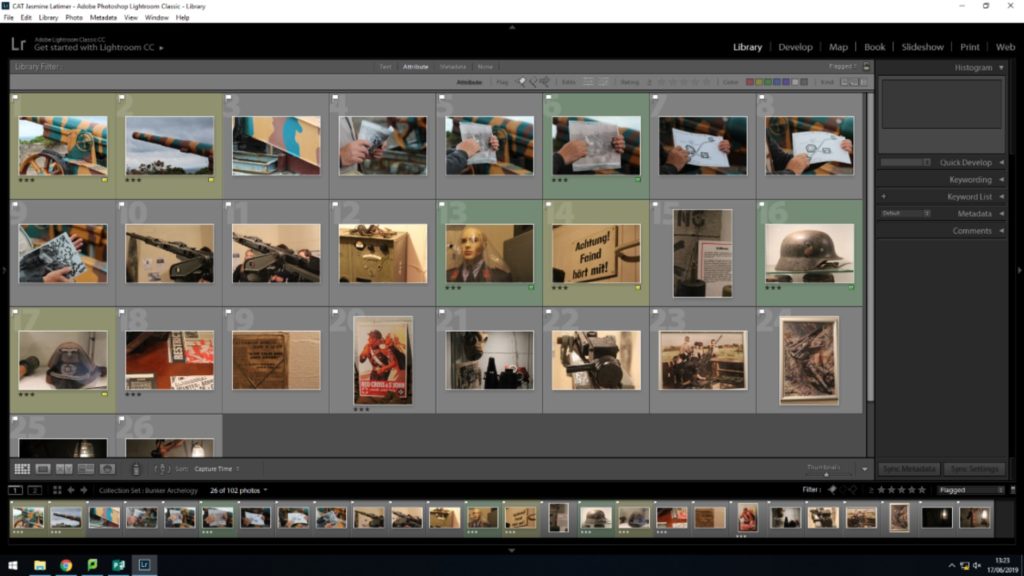
I then flagged my images of the best outcomes in order to explore and edit the best images. However, i decided to thin the images more so by singling them by ratings and colour coding them.
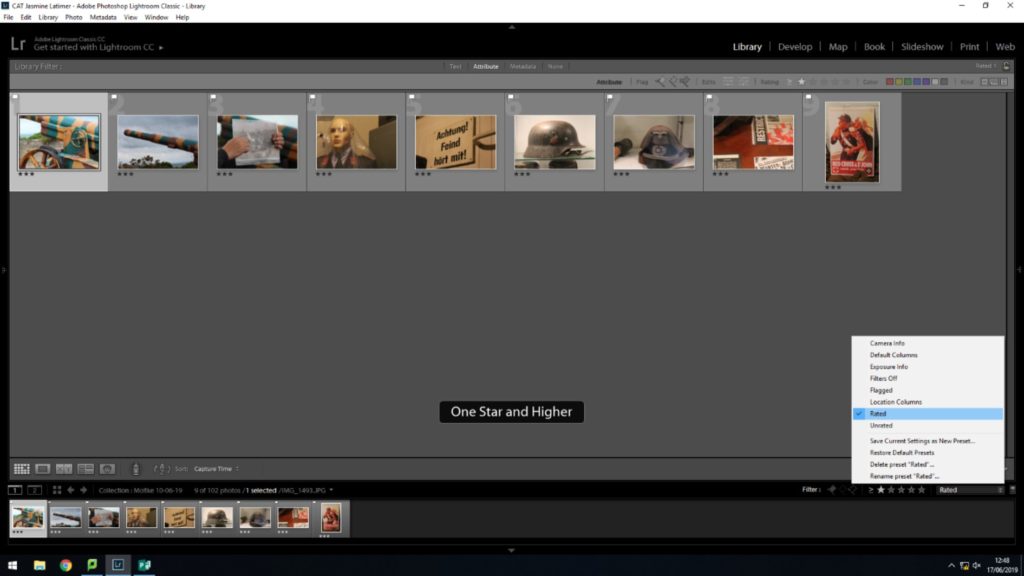
step three (how to colour rate your images)
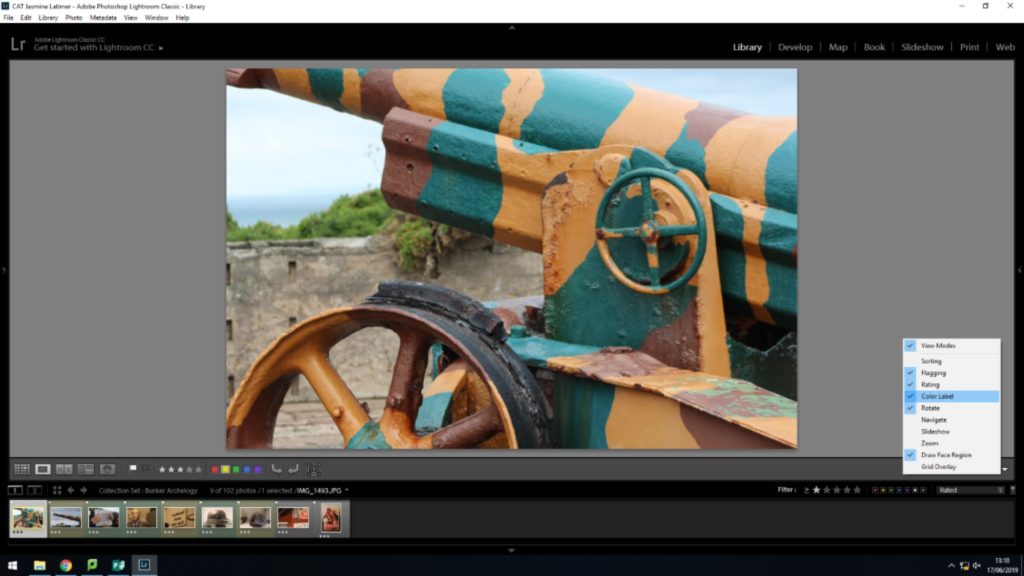
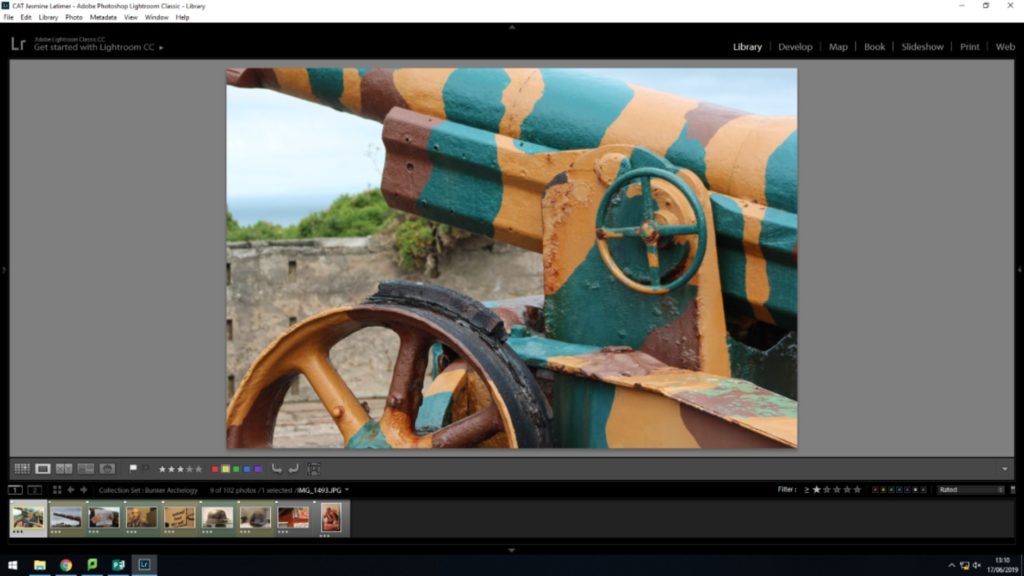
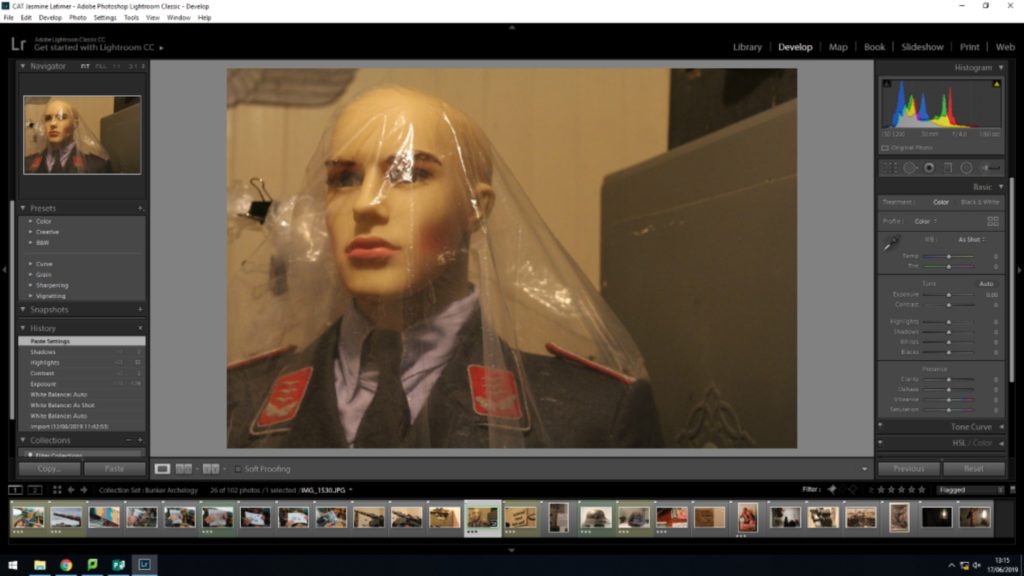
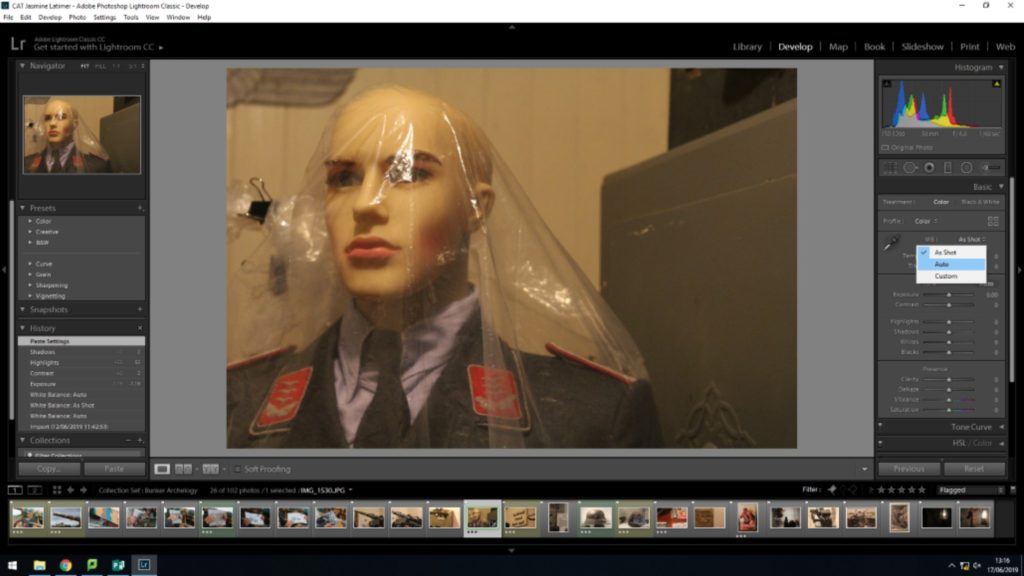
After this step i then started to edit my images using light room. This started with pressing the ‘develop’ button which took me to the editing page. I then set the white balance to ‘auto’ as shown below in order to set a bases to the editing stage. This was then followed with other small edits.
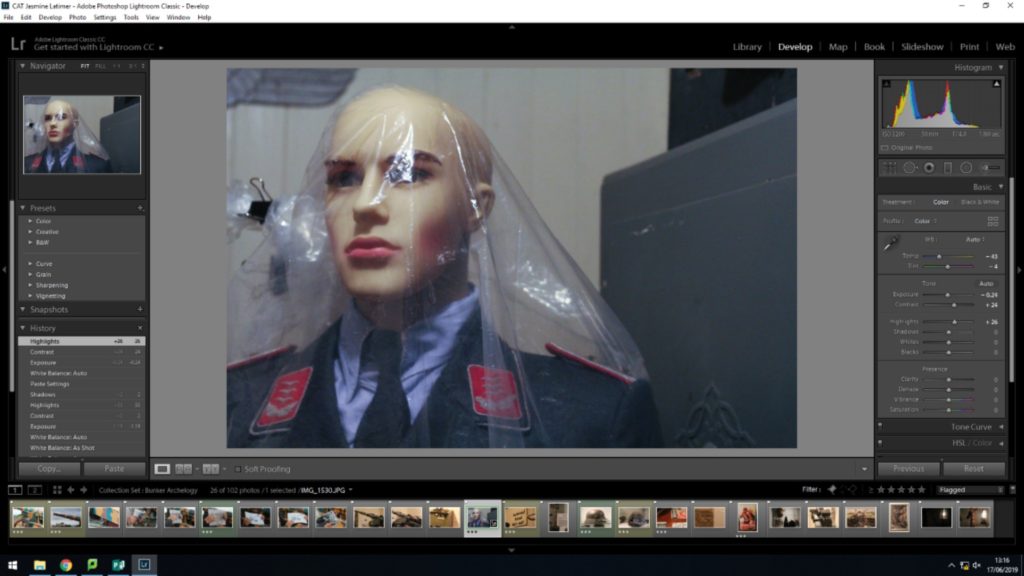
This editing step was then repeated with my other colour coded images. (results shown on next blog post)