Week 2-3: 12 -23 June
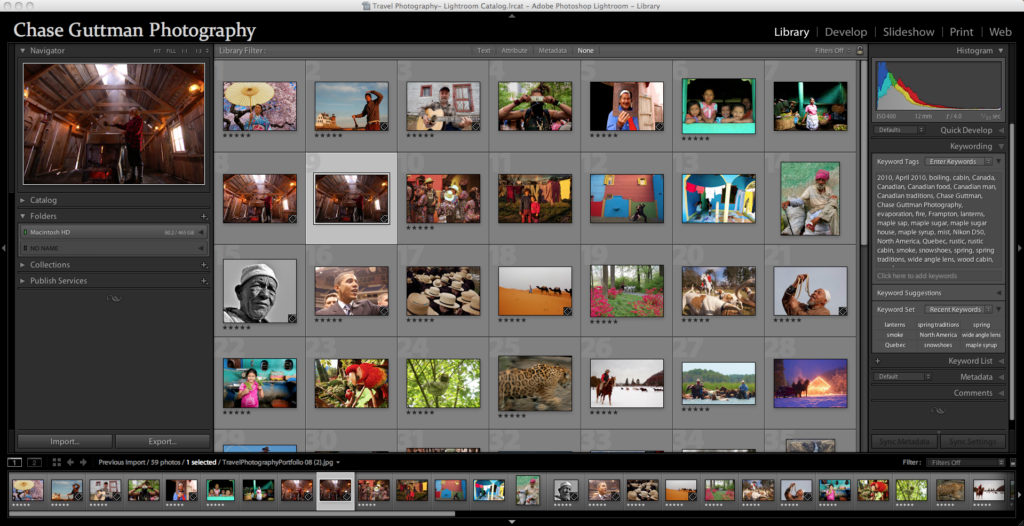
Editing: Introduction to Lightroom
Complete the following blog posts
| EDITING > LIGHTROOM – Import images from folder on M:drive into Lightroom – Create Collection Set: Bunker Archaeology – Create Collection: Bunker Shoot 1 under the above Collection Set – 1st Edit using selection tools such as Pick (P) and Reject (X) – 100-50 image – 2nd Edit using 3-5 stars rating – 50-60 images – 3rd Edit using Colours, Yellow and Green for a final 20-30 images – Use Compare and Survey View for selecting best images – Produce print screens from each stage of editing and produce a blog post with annotation |
| DEVELOPING > LIGHTROOM •Basic adjustment in COLOUR using White Balance / Exposure / Levels / Brightness /Contrasts / Highlights /Whites/ Blacks •Advanced adjustment: Cropping/ Spot Removal/ Graduate Filter / Adjustment Brush/ Lens Correction/ Transform / Vignetting •Export to EDIT folder: Set of colour images in high-res as tiffs (4000 pixels on long edge) for further experimentation in Photoshop •Export to BLOG folder: same set of colour images as above in low-res jpgs (1000 pixels) to upload to blog post with annotation •REPEAT same procedure as above in BLACK & WHITE and export both a set of high-res (4000 pix) and low-res (1000 pix) |
| EXPERIMENT 1: CROPPING > LIGHTROOM •In Photoshop open up high-res tiff files •Using cropping tool only begin to make some radical changes by selecting areas of your images for a different visual impact. •Produce at least 3 different crops for 6 images. •Export to BLOG folder: same set of colour images as above in low-res jpgs (1000 pixels) to upload to blog post with annotation •REPEAT same procedure as above and export both a set of high-res (4000 pix) and low-res (1000 pix) |
| EXPERIMENT 2: COLOUR > B&W ADJUSTMENTS > LIGHTROOM •Use tools such as White Balance / Exposure / Levels / Curves / Brightness /Contrasts / Colour Balance / Hue / Saturation / Colour overlay and make radical changes to the overall aesthetic of the images. •Try and adjust images according to your visceral quality – relating to your deep inward feelings rather than how something looks! •Produce 3 different adjustments with images •Export to BLOG folder: same set of colour images as above in low-res jpgs (1000 pixels) to upload to blog post with annotation •REPEAT same procedure as above and export both a set of high-res (4000 pix) and low-res (1000 pix) |