-June 30th 1940 was when Jersey was invaded by the Germans and on this day they sent an airforce of bombers over the islands and bombed jersey harbours.
-May 7th 1945 was when the German army surrendered and the end of the war in Europe was announced.
May 8th 1945 was when the units that made up Force 135 received their orders to move to their marshalling camps in Portsmouth. The main body was meant to arrive on the 12th of May.
-June 6th 2019 is the 74th Anniversary of the D-Day Landings and the start of the liberation of Europe from Nazi Occupation.
-May 30th 2020 is the 25th anniversary of Liberation of Jersey from Nazi Occupation.
Key facts about ‘The Occupation of Jersey’
The German’s prohibited the use of radios which lead to a lack of communication between the island and the mainland.
The island was also moved to Central European time. In the months following D-Day, as the Allies regained control of France, the source of supplies fueling the islands was now no longer available.
The Nazi’s put many restrictions on islanders (curfews, rations, not allowed to drive private motor vehicles) they also did not allow anyone enter or leave the island which lead to food shortages.
Food shortages on Jersey were finally relieved by the arrival of the Red Cross ship SS Vega, bringing food parcels to Jersey. Before then, substitutes had been used to replace everyday foods, with seawater replacing salt, for instance, and a mixture of parsnip and sugar beet replacing tea.
Hitler ordered the conversion of Jersey into an impregnable fortress. Thousands of slave workers from countries like Russia, Spain, France, Poland, and Algeria built hundreds of bunkers, anti-tank walls, railway systems, as well as many tunnel complexes.
The fortresses are mainly located around the coasts of the island in order to prevent unauthorised access in/out of the island.
The remains of theses fortresses can still be found on the island, which showcases the historical factors of the island.
The religion of Judaism was not accepted by Hitler/Nazis which lead to people within the religion being sent to concentration camps where they were treated poorly and sadly the nazis slowly killed them off.
Week 2-3: 12 -23 June Editing: Introduction to Lightroom
Complete the following blog posts
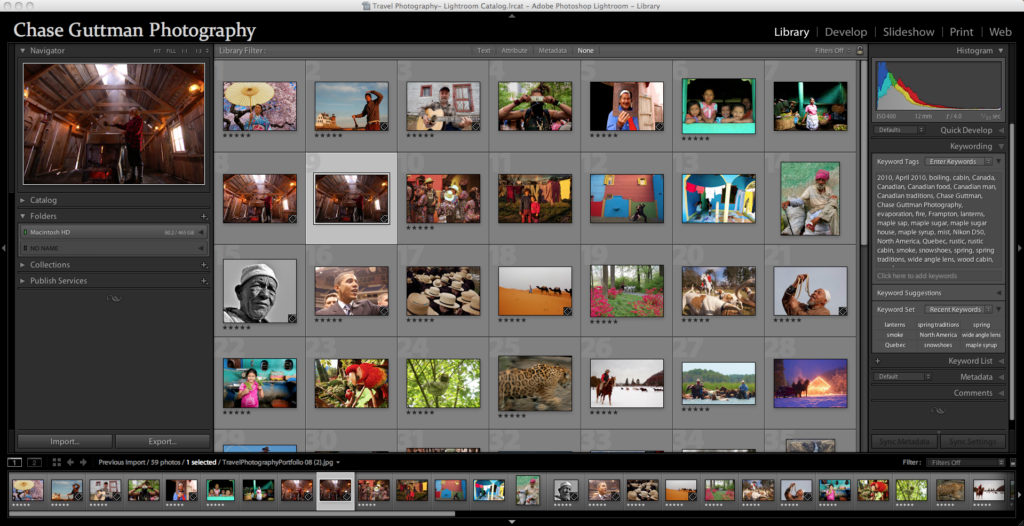
EDITING > LIGHTROOM – Import images from folder on M:drive into Lightroom – Create Collection Set: Bunker Archaeology – Create Collection: Bunker Shoot 1 under the above Collection Set – 1st Edit using selection tools such as Pick (P) and Reject (X) – 100-50 image – 2nd Edit using 3-5 stars rating – 50-60 images – 3rd Edit using Colours, Yellow and Green for a final 20-30 images – Use Compare and Survey View for selecting best images – Produce print screens from each stage of editing and produce a blog post with annotation
DEVELOPING > LIGHTROOM •Basic adjustment in COLOUR using White Balance / Exposure / Levels / Brightness /Contrasts / Highlights /Whites/ Blacks •Advanced adjustment: Cropping/ Spot Removal/ Graduate Filter / Adjustment Brush/ Lens Correction/ Transform / Vignetting •Export to EDIT folder: Set of colour images in high-res as tiffs (4000 pixels on long edge) for further experimentation in Photoshop •Export to BLOG folder: same set of colour images as above in low-res jpgs (1000 pixels) to upload to blog post with annotation •REPEAT same procedure as above in BLACK & WHITE and export both a set of high-res (4000 pix) and low-res (1000 pix)
EXPERIMENT 1: CROPPING > LIGHTROOM •In Photoshop open up high-res tiff files •Using cropping tool only begin to make some radical changes by selecting areas of your images for a different visual impact. •Produce at least 3 different crops for 6 images. •Export to BLOG folder: same set of colour images as above in low-res jpgs (1000 pixels) to upload to blog post with annotation •REPEAT same procedure as above and export both a set of high-res (4000 pix) and low-res (1000 pix)
EXPERIMENT 2: COLOUR > B&W ADJUSTMENTS > LIGHTROOM •Use tools such as White Balance / Exposure / Levels / Curves / Brightness /Contrasts / Colour Balance / Hue / Saturation / Colour overlay and make radical changes to the overall aesthetic of the images. •Try and adjust images according to your visceral quality – relating to your deep inward feelings rather than how something looks! •Produce 3 different adjustments with images •Export to BLOG folder: same set of colour images as above in low-res jpgs (1000 pixels) to upload to blog post with annotation •REPEAT same procedure as above and export both a set of high-res (4000 pix) and low-res (1000 pix)