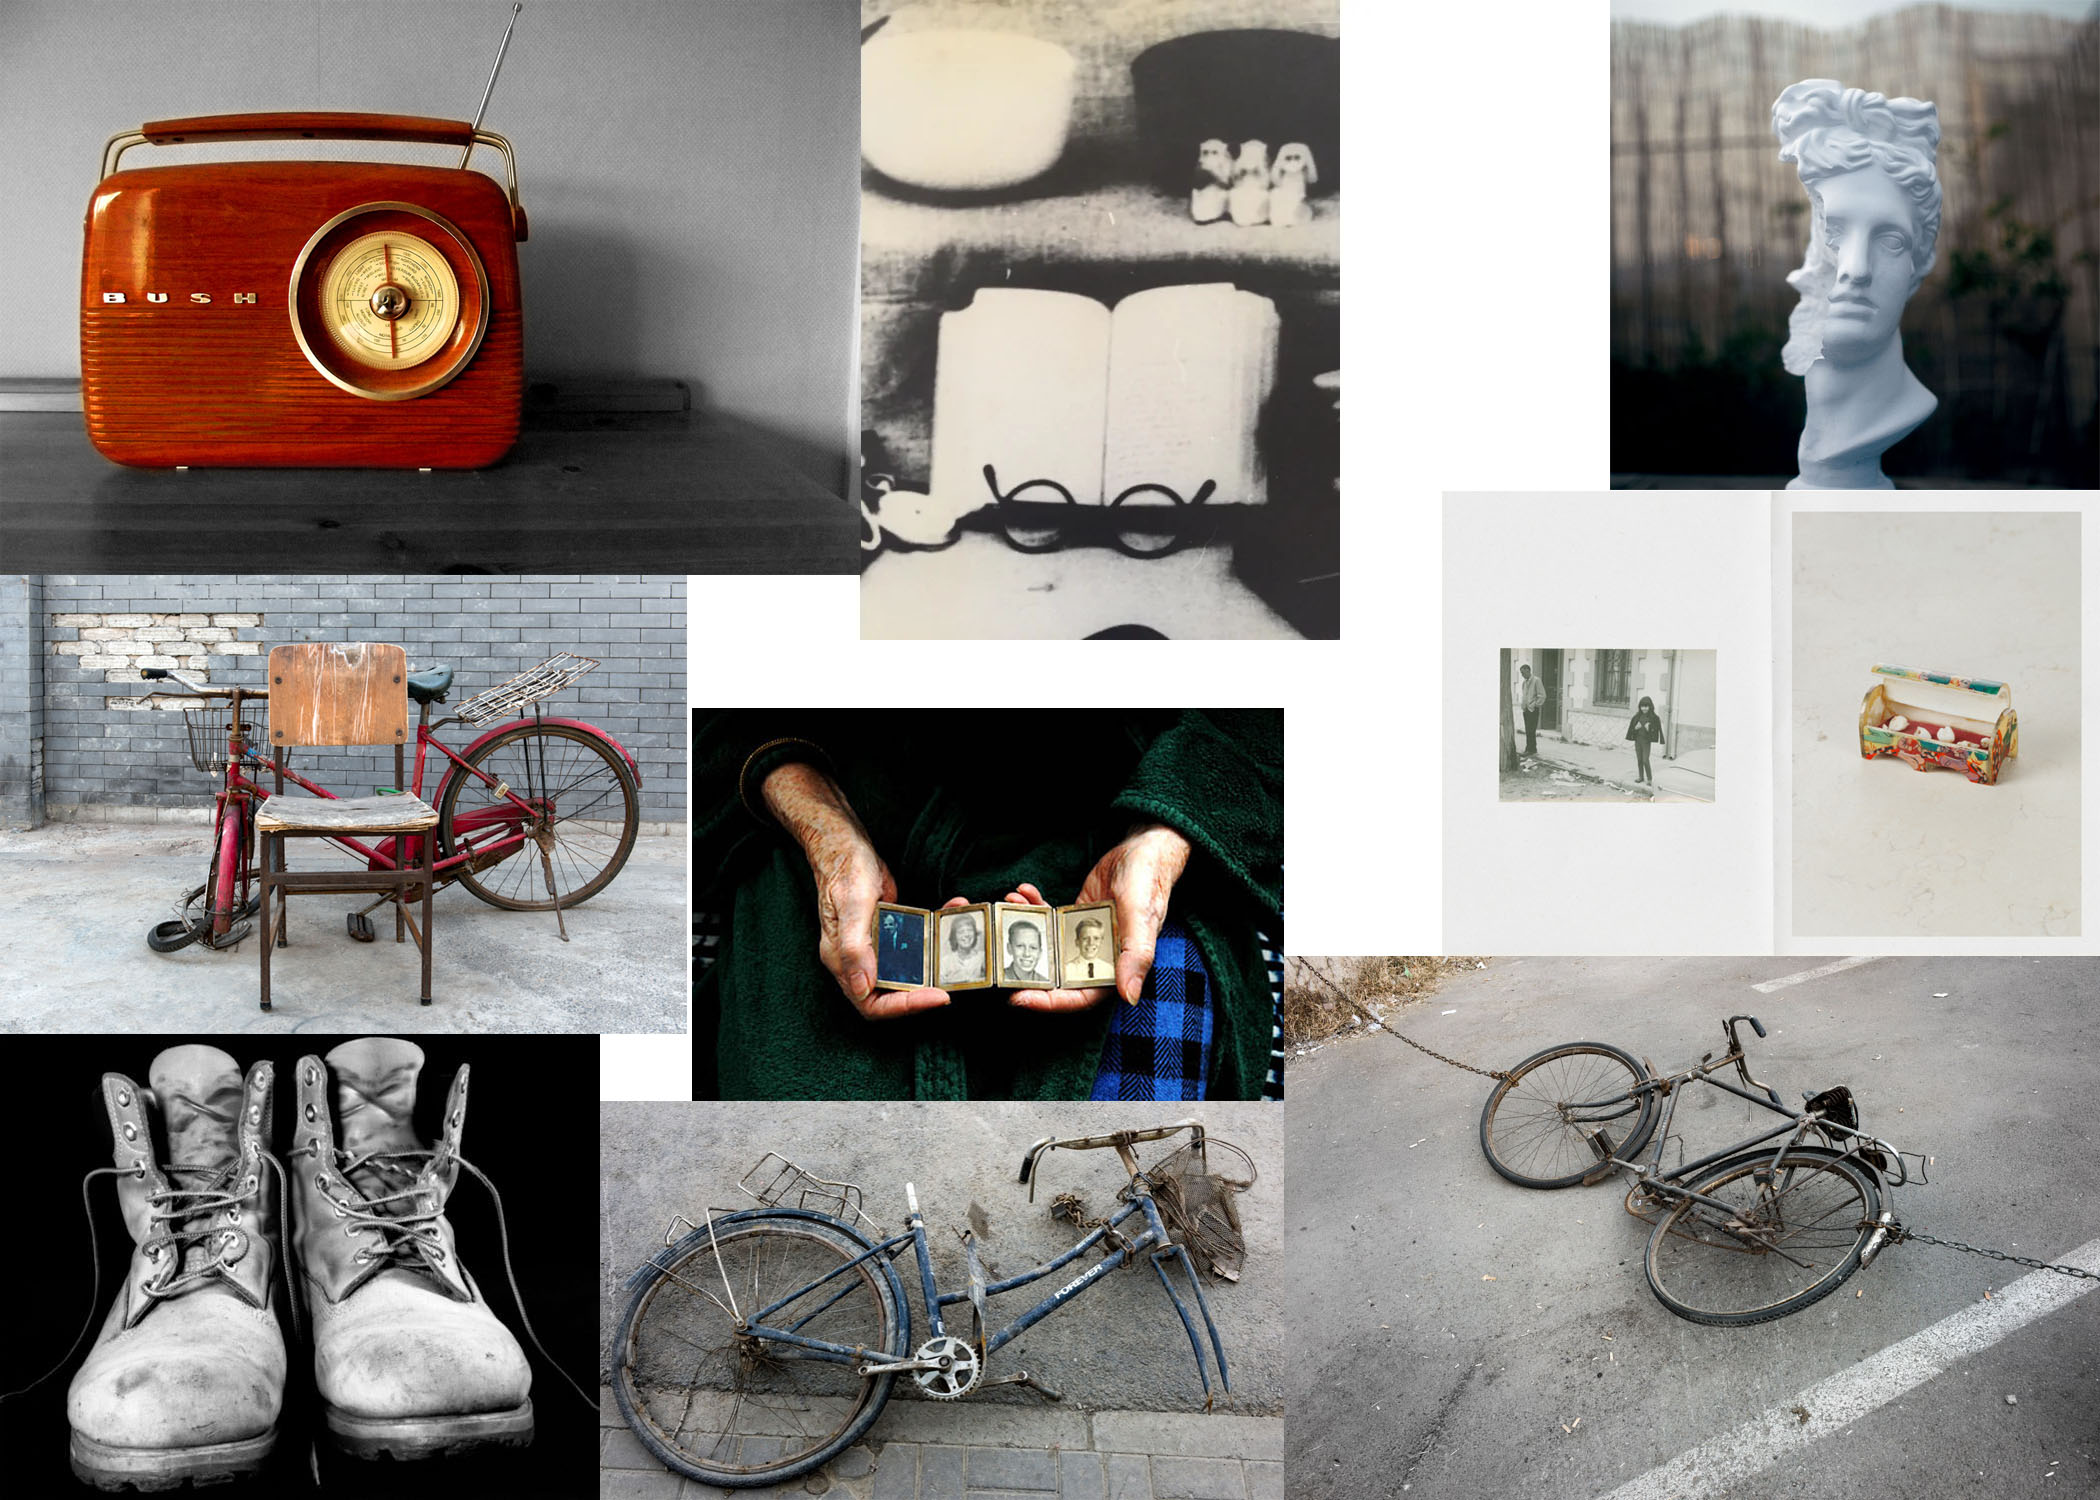
MOOD BOARD:
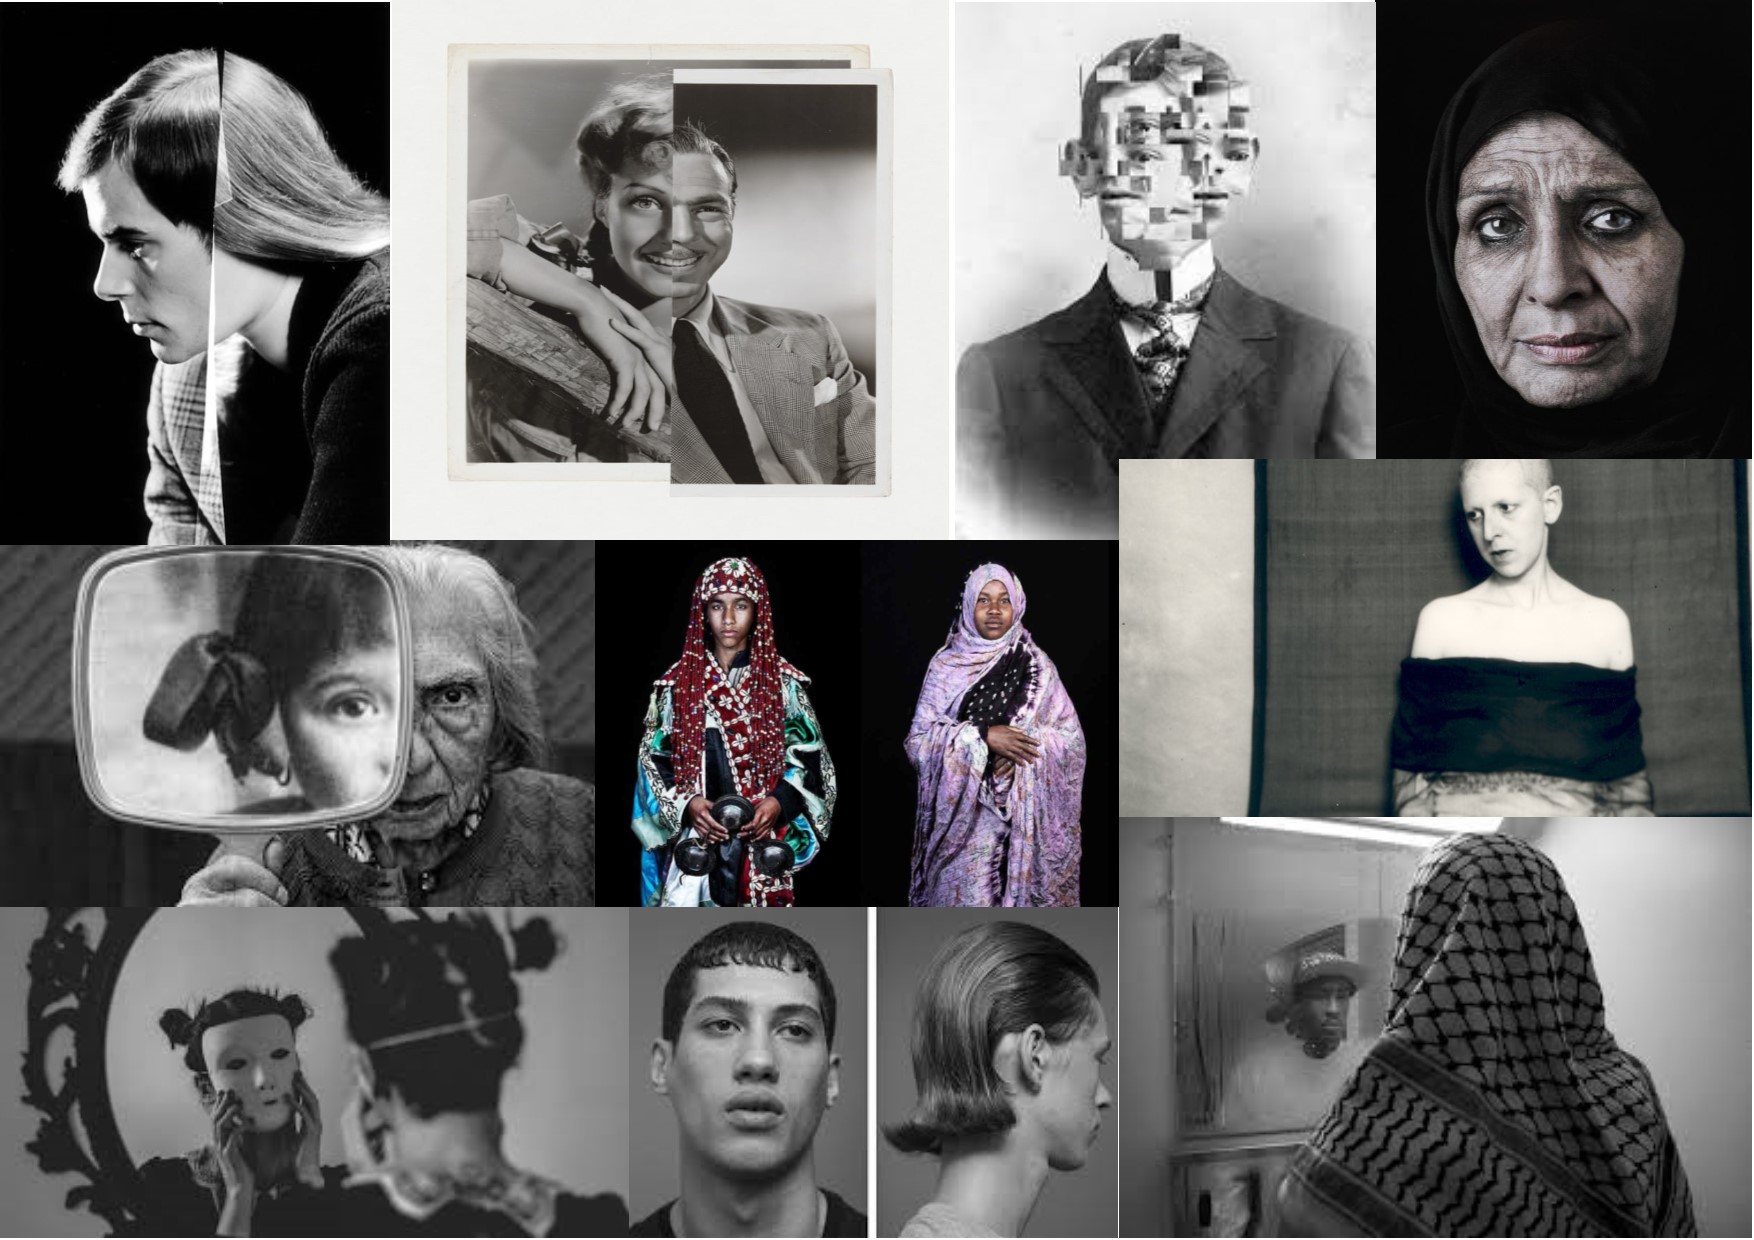
A selection of work which relates back well to tableux vivant or staged reality. They are all attempting to stage various pieces of art, literature of performances which have large cultural or representational meaning.


MOOD BOARD:
A selection of work which relates back well to tableux vivant or staged reality. They are all attempting to stage various pieces of art, literature of performances which have large cultural or representational meaning.
Action Plan:
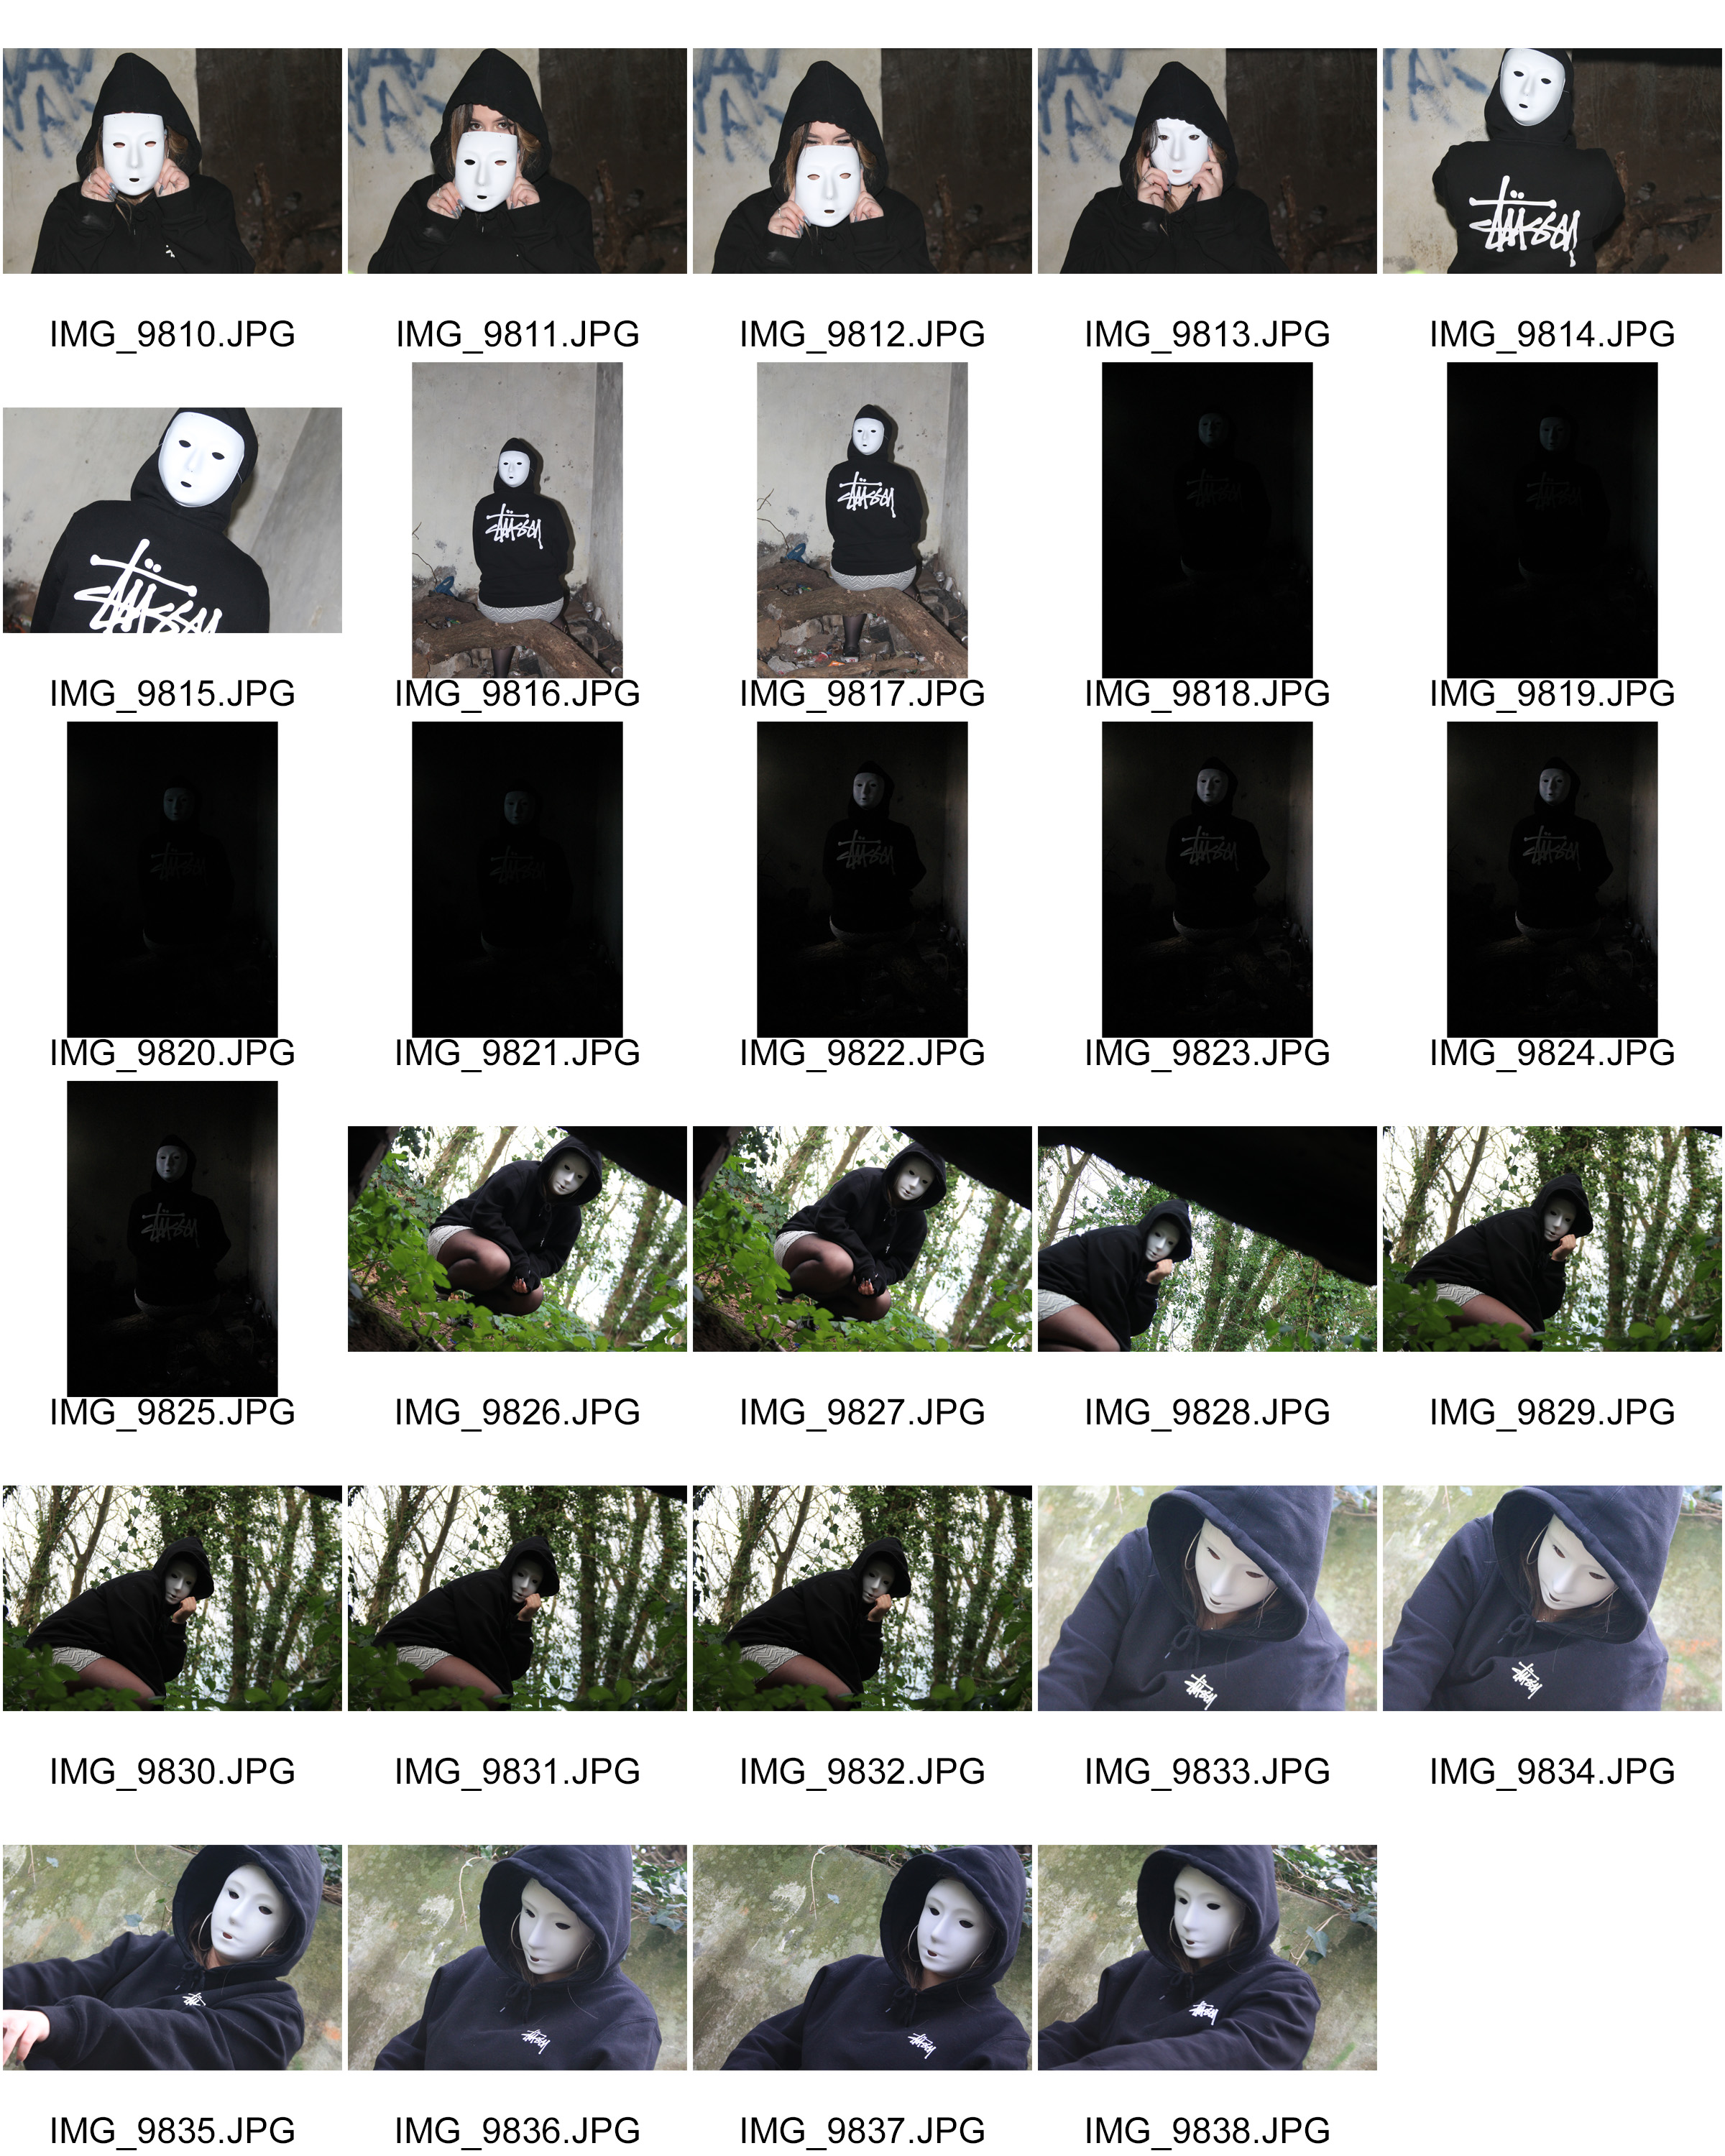
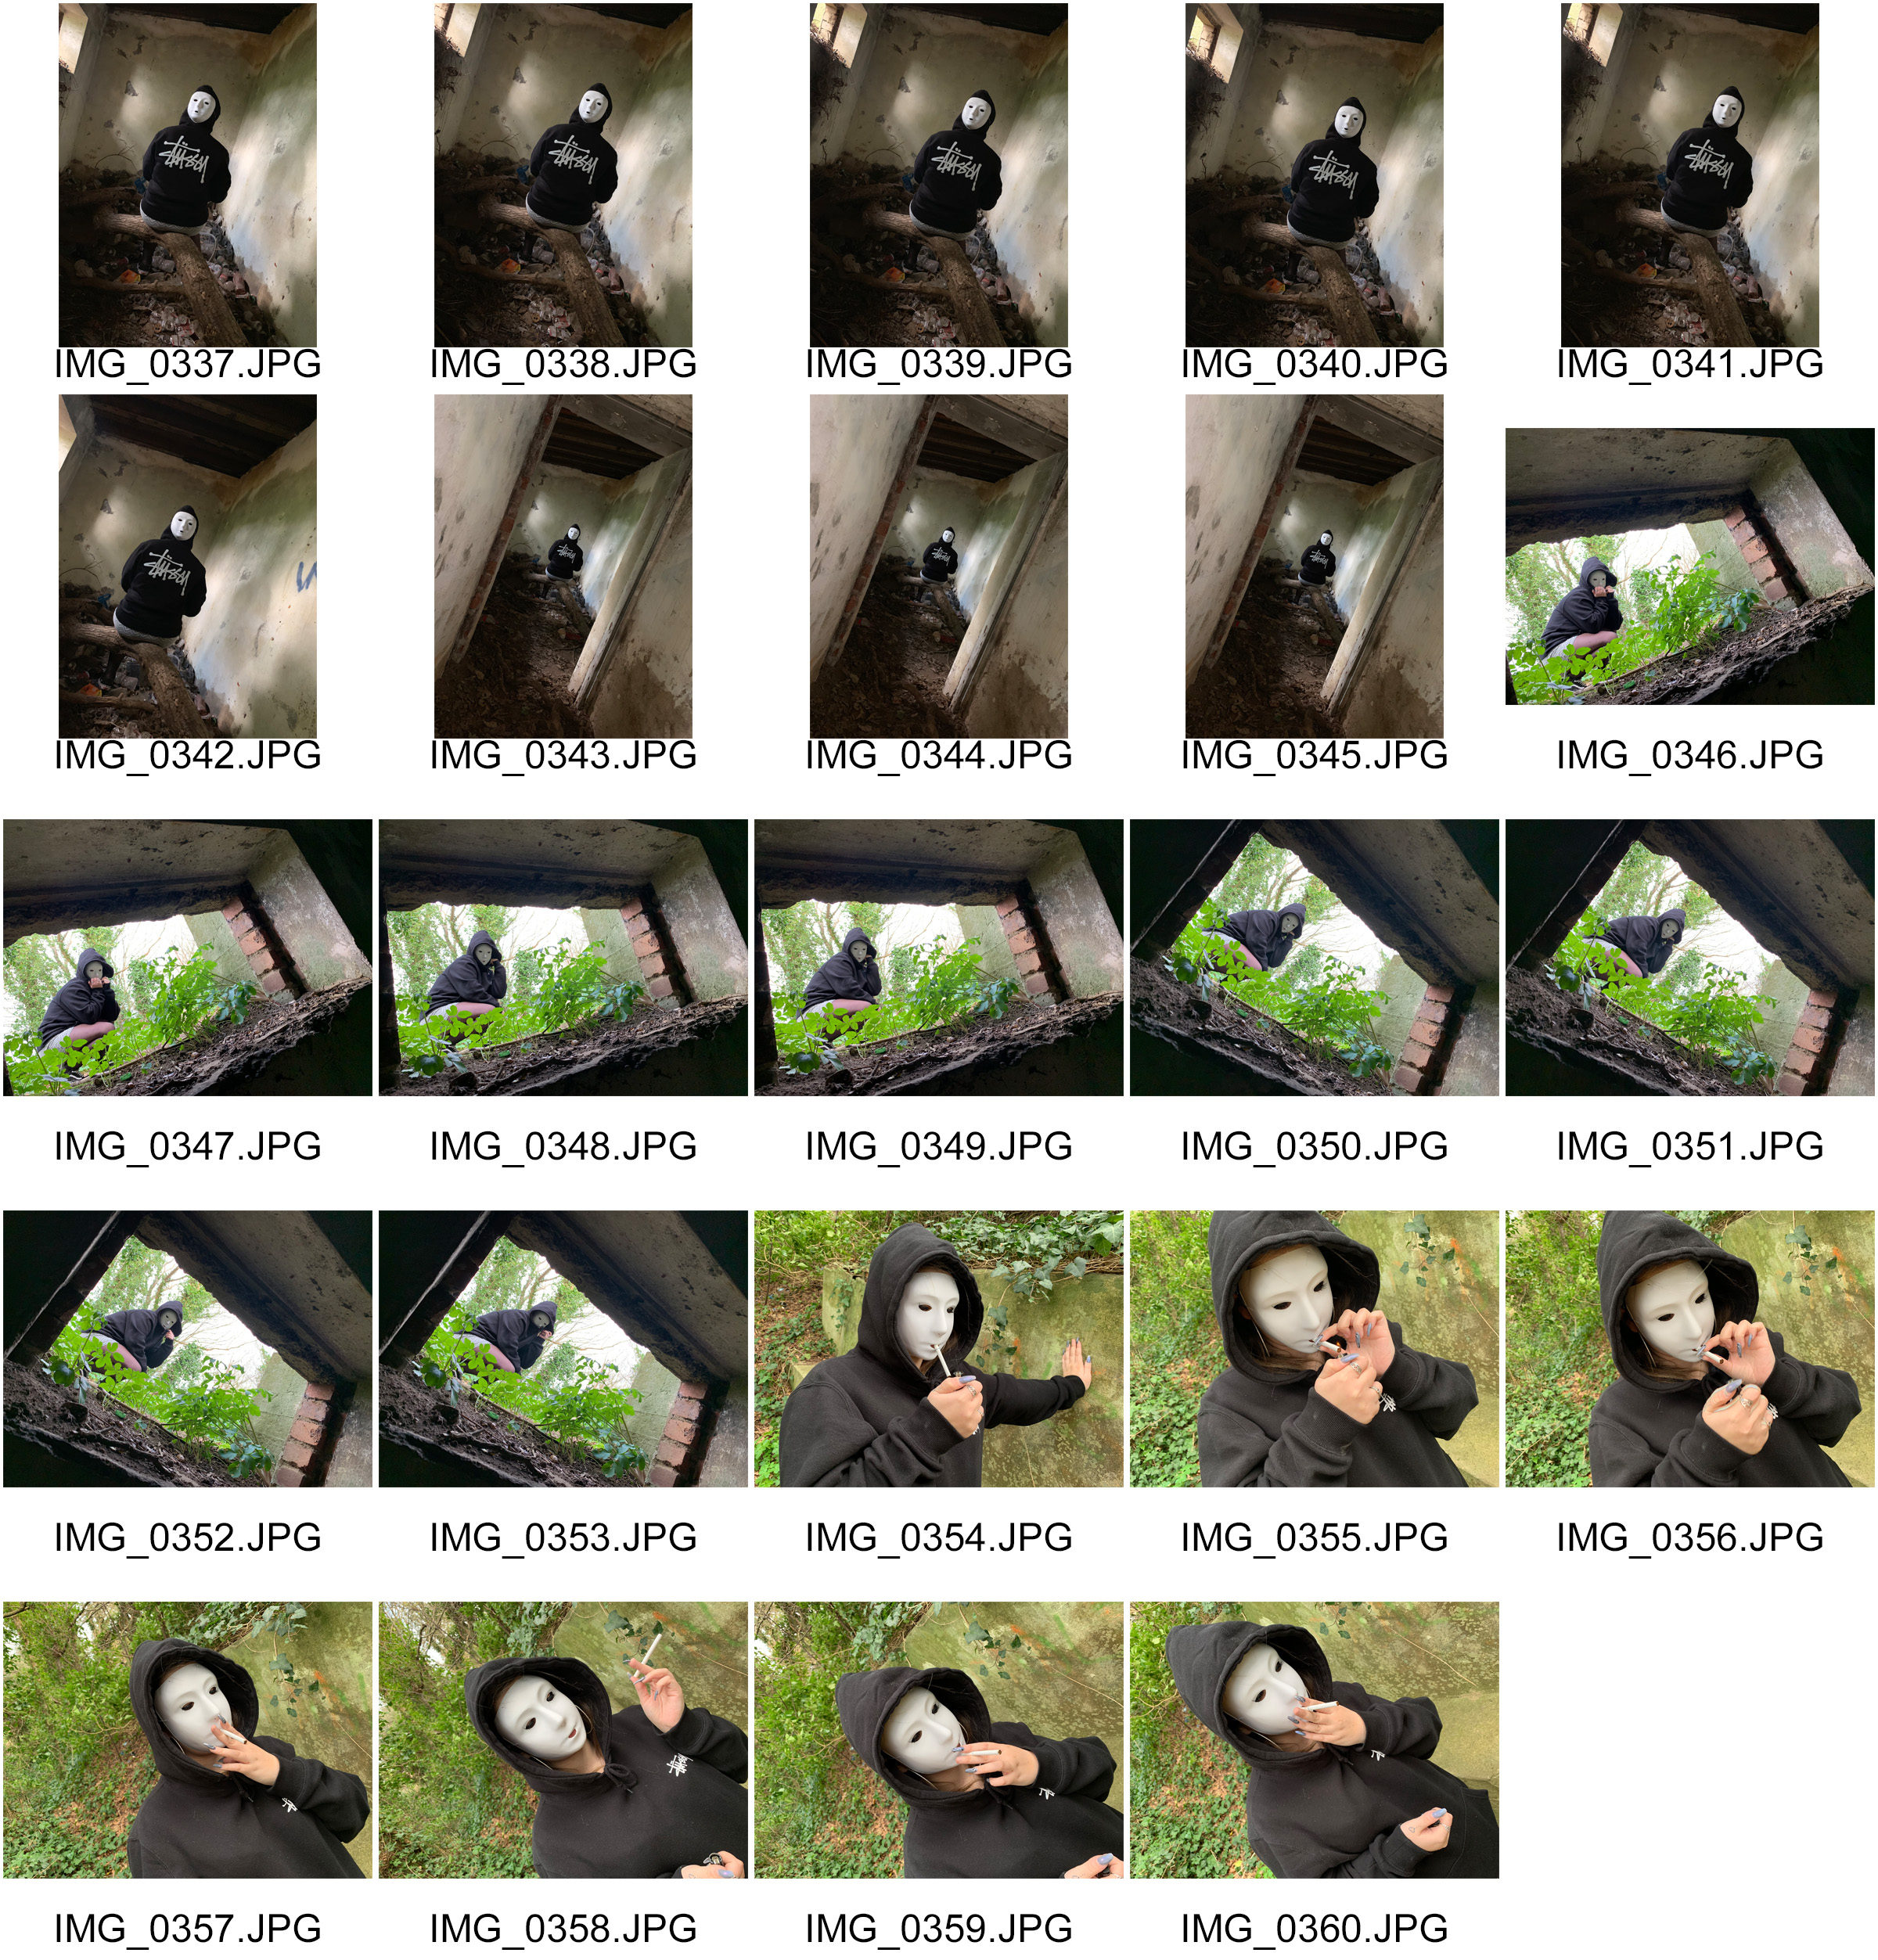
My Response: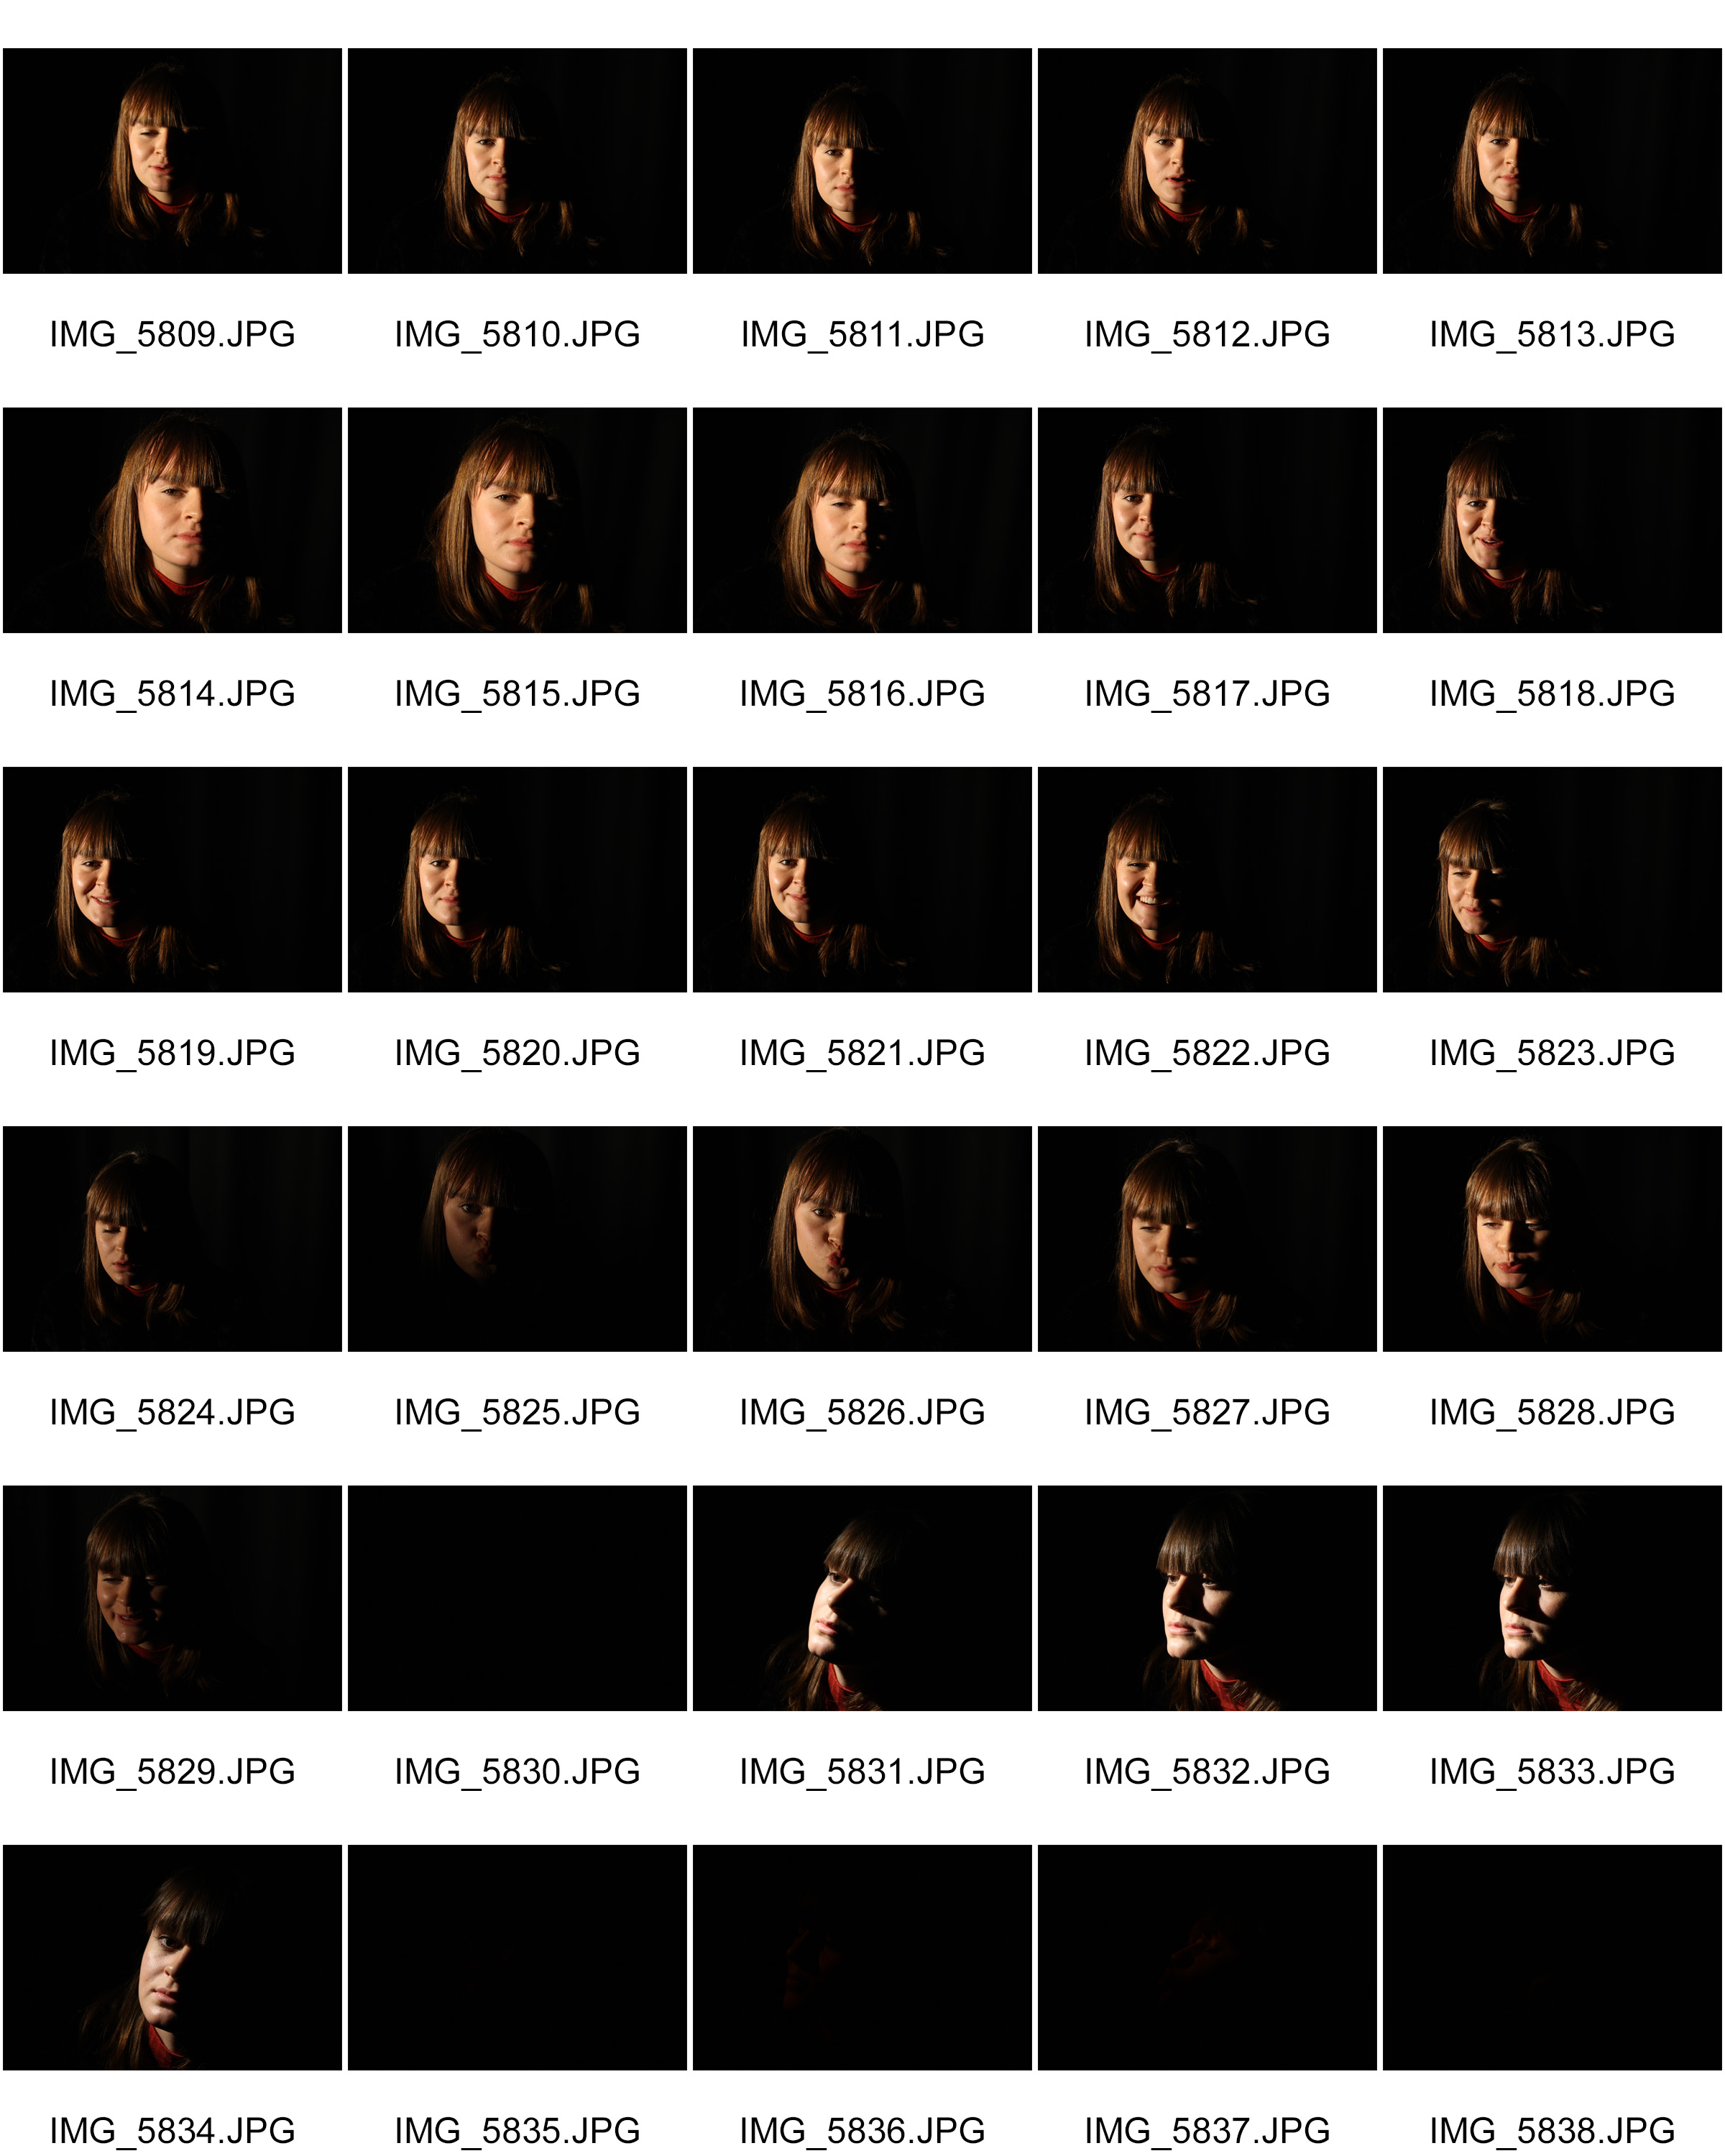
 Best Images:
Black and White images
I chose to edit the photos creating even more of a contrast between light and dark. The black and white images create more of a ghostly effect. The purposeful over and under exposure look more intense and create a more interesting image with a clear focal point in relation to the back ground.

My final outcomes

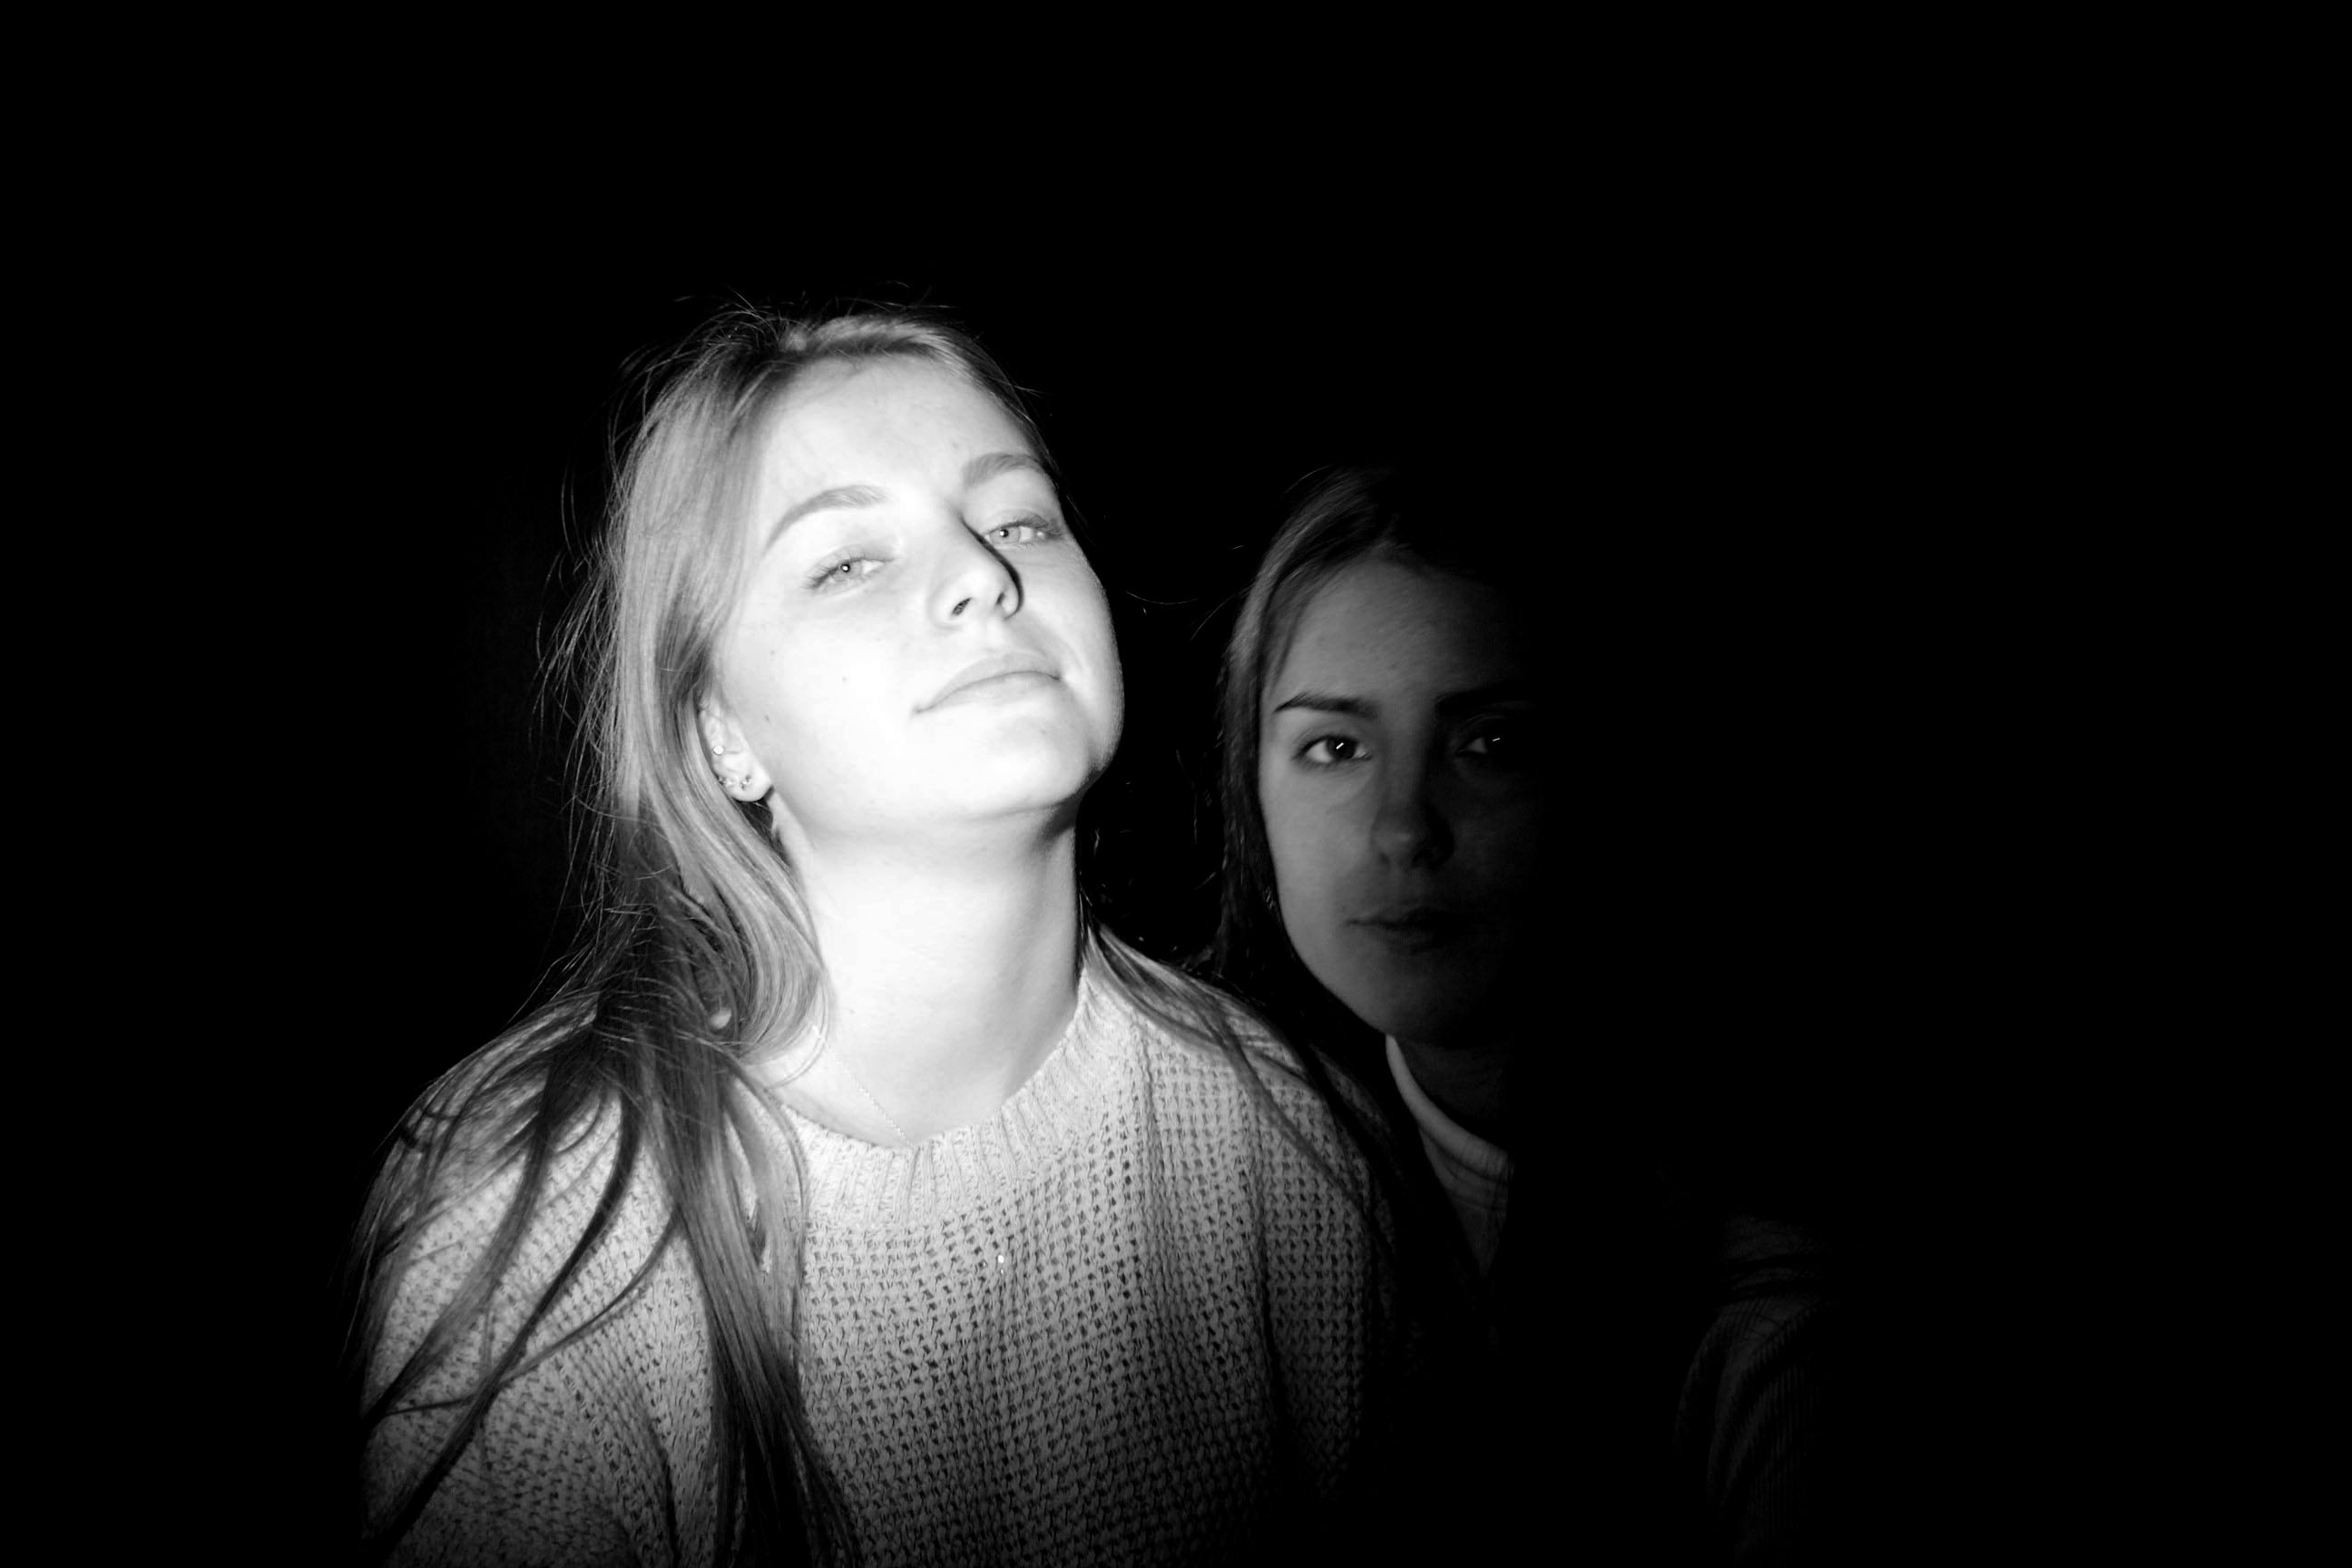
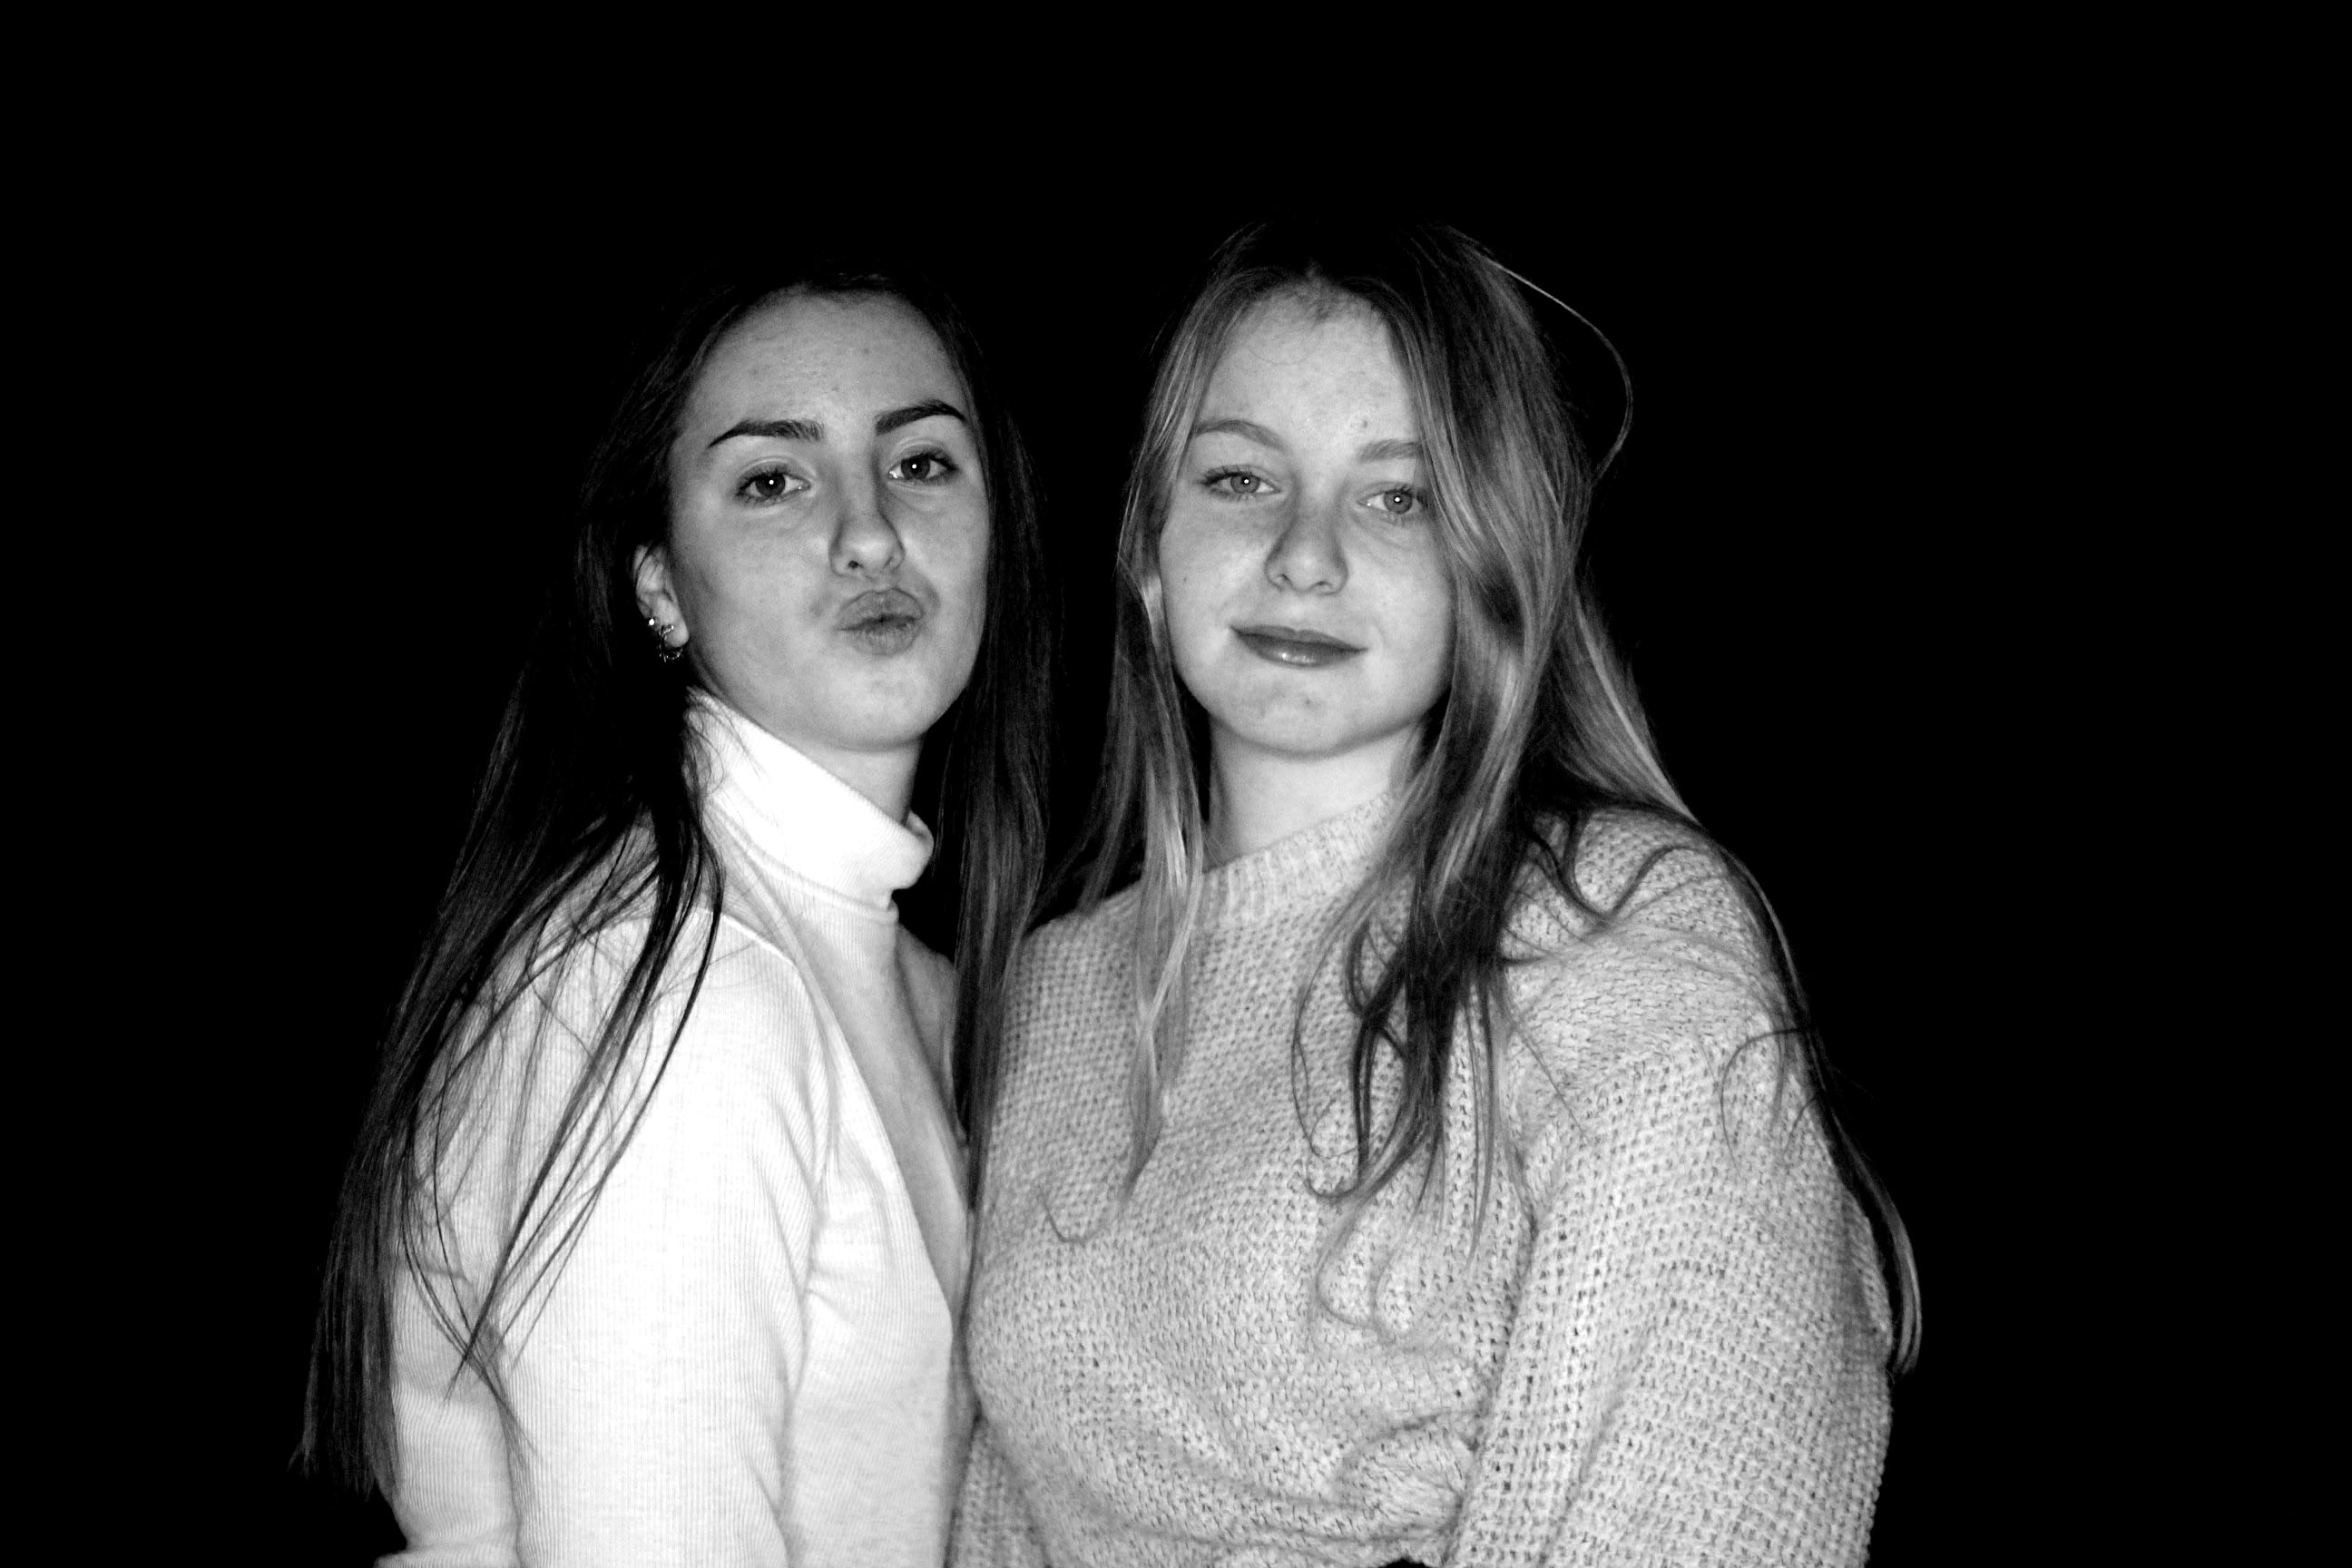
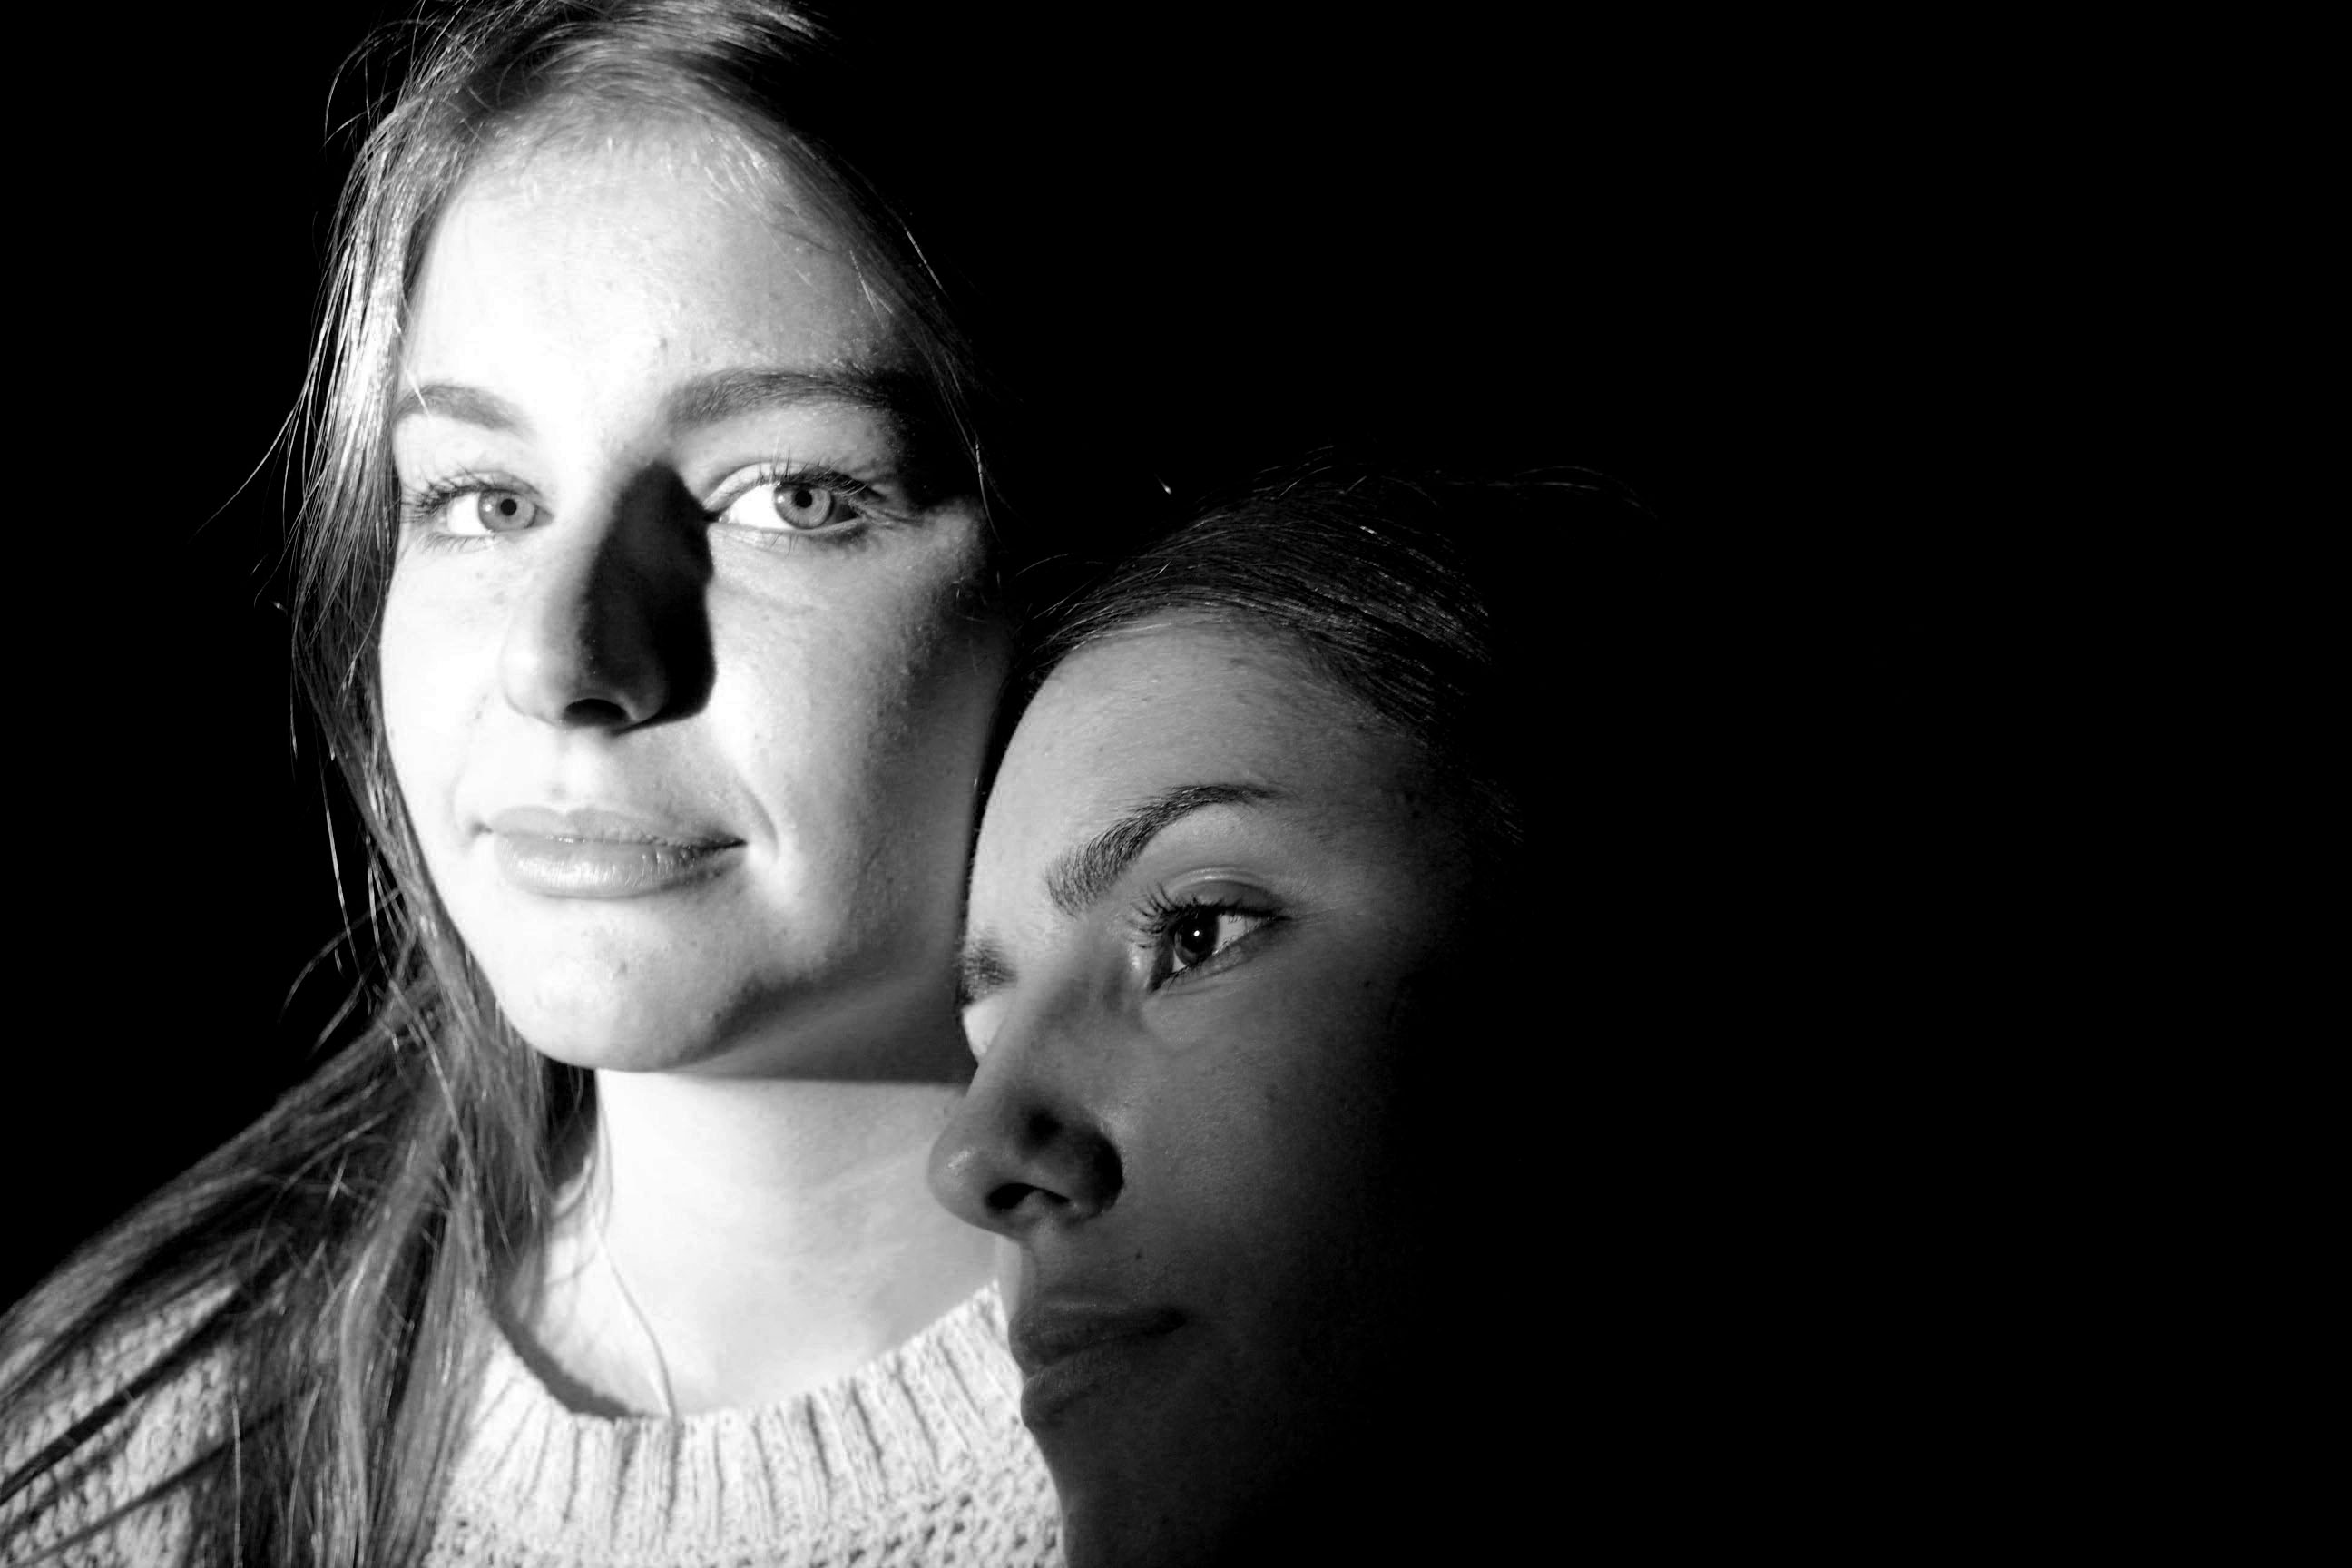
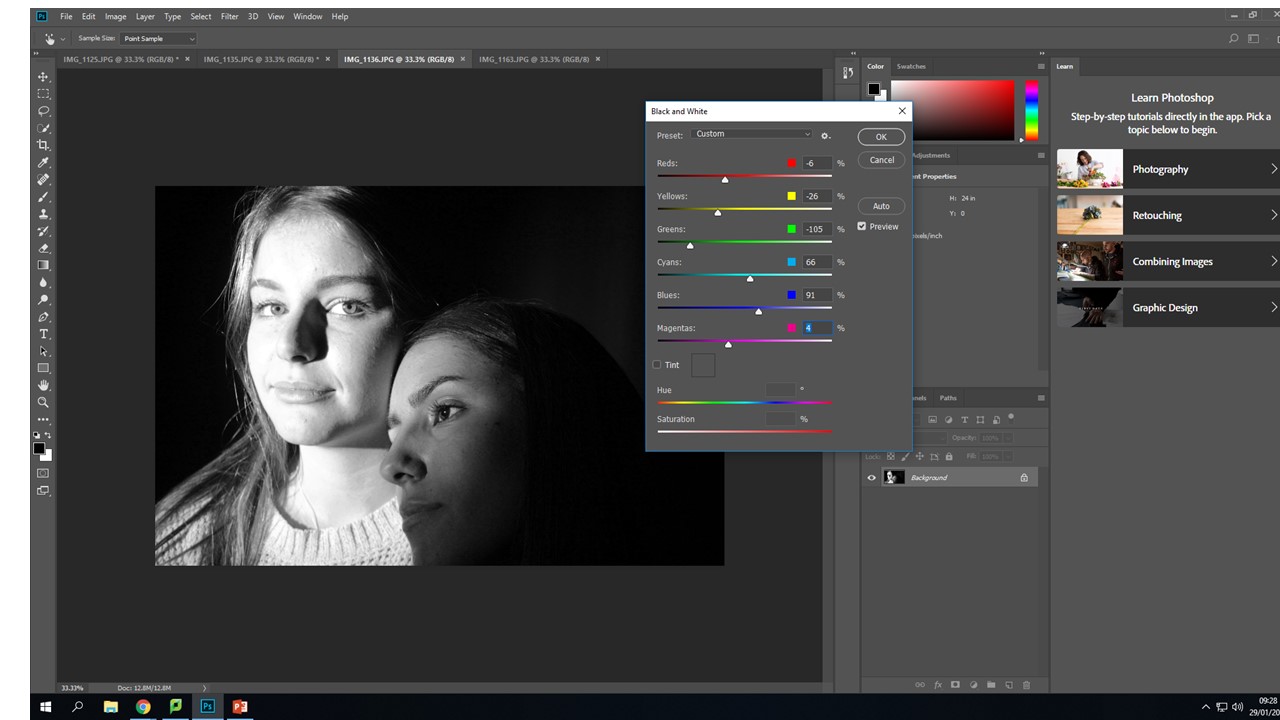
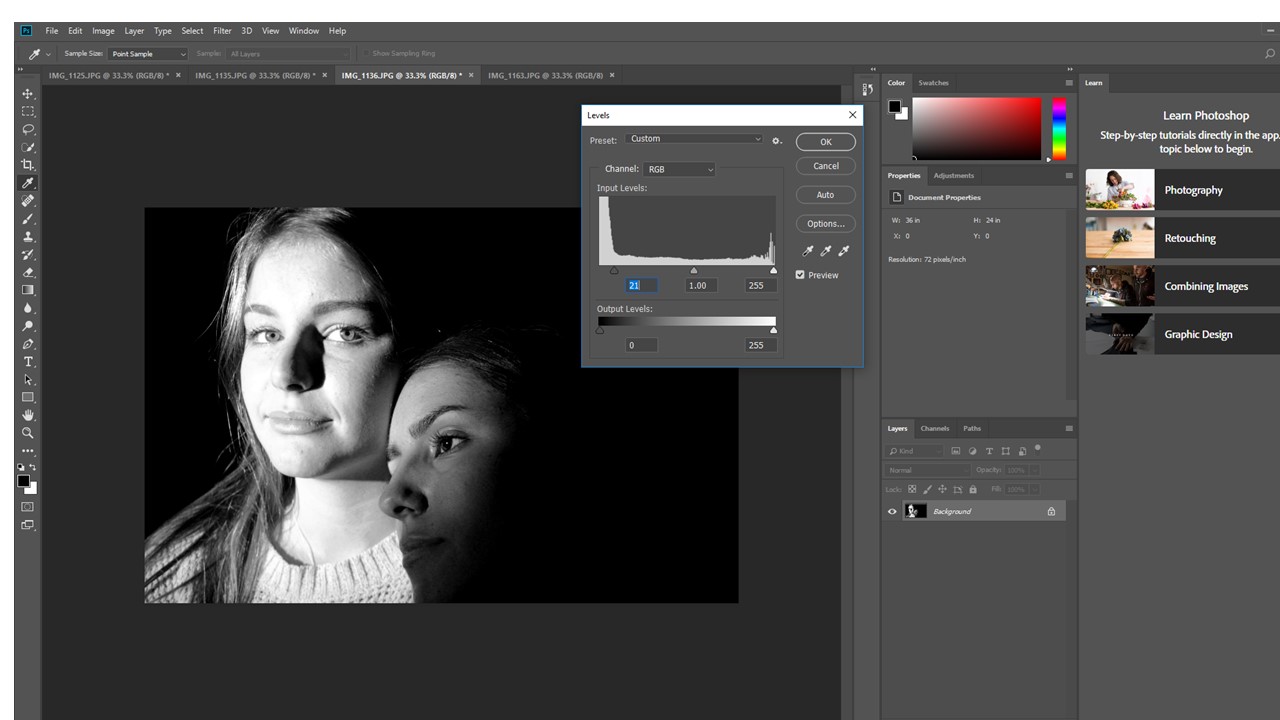
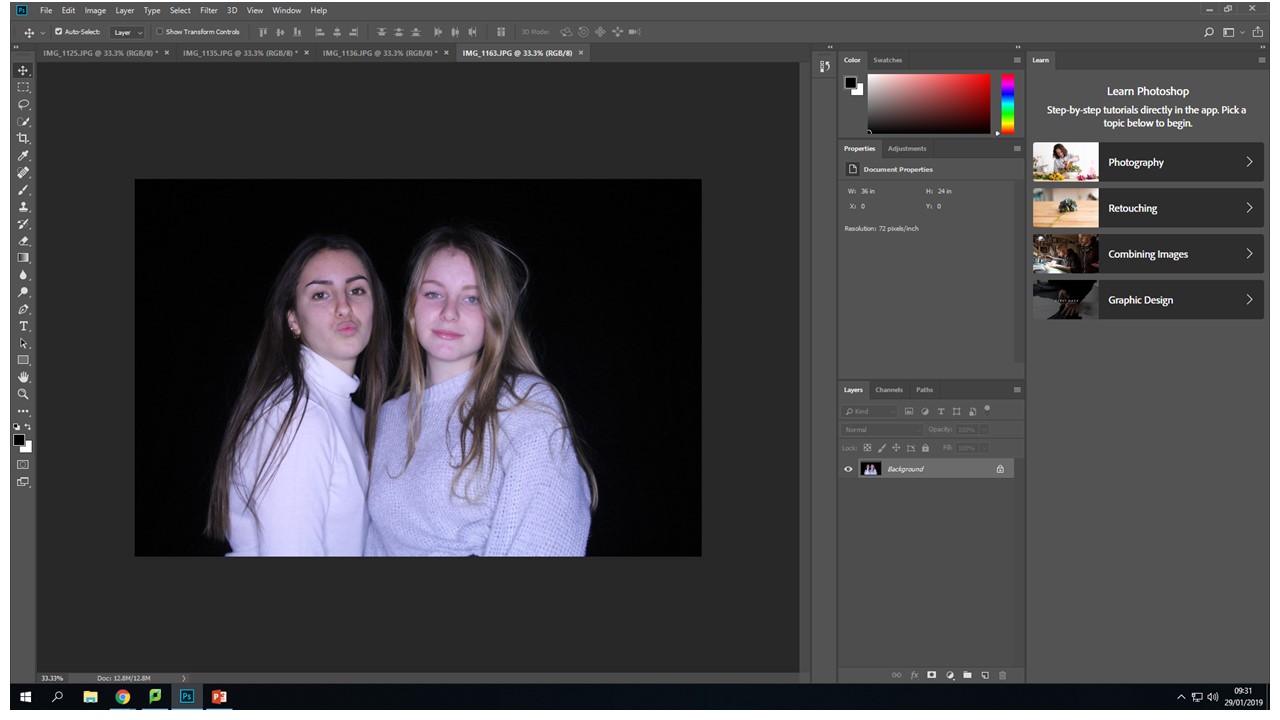
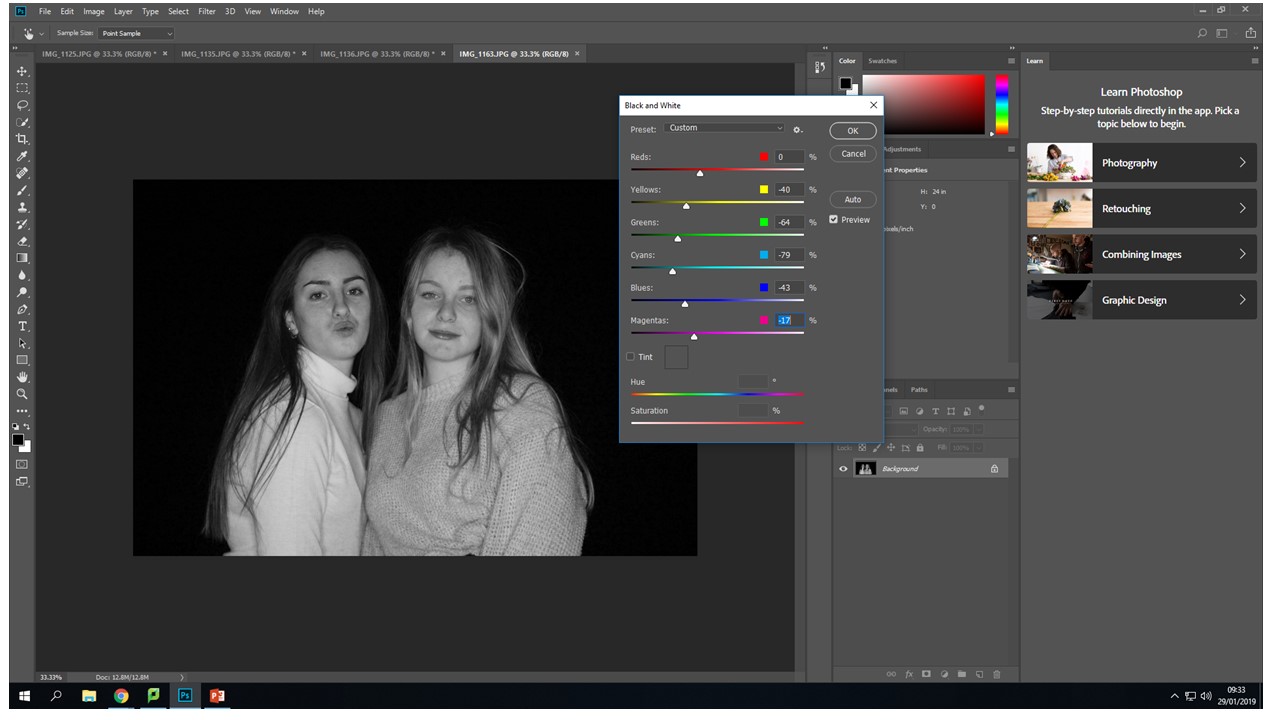
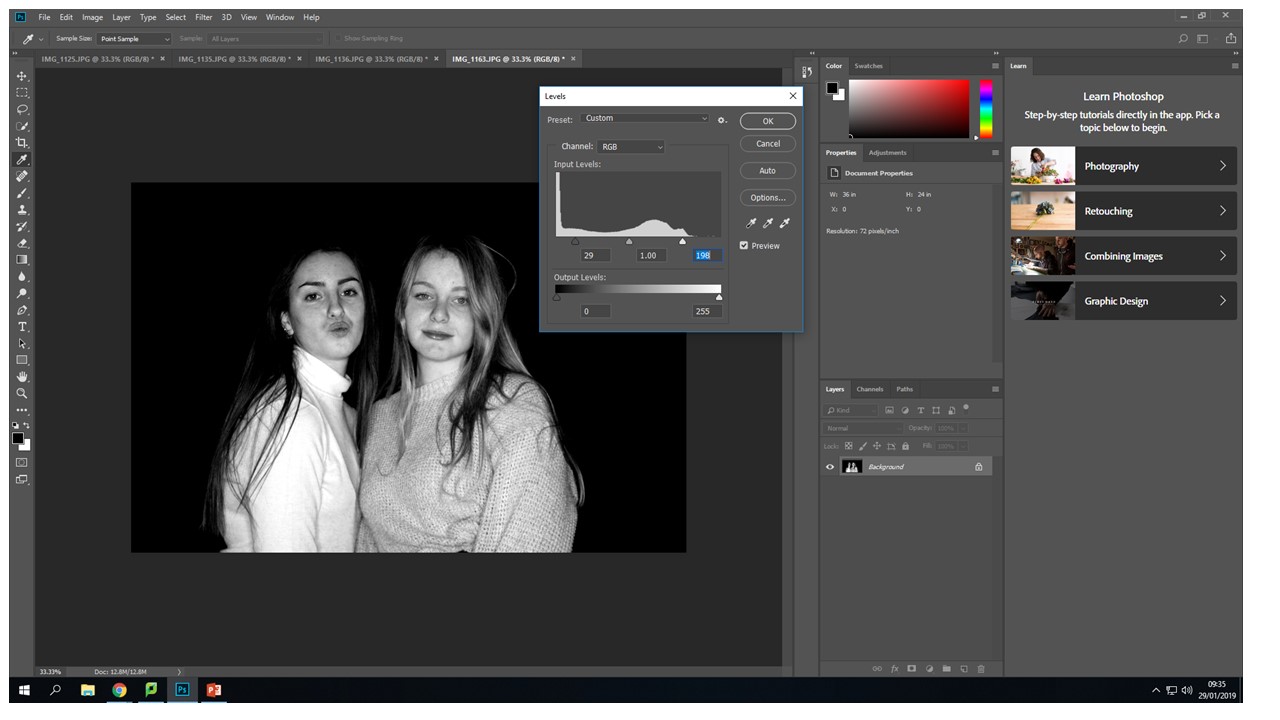
Image creation process
On Photoshop I went into image - adjustments - the i used the black & white controllers to create the initial  flip from color to black and white.  Also to create more contrast and over come the distracting background i used the same process but instead of clicking on black and white, i clicked levels then when from the left to right controller until my back ground got to my desired darkness.

Action Plan:
My Response: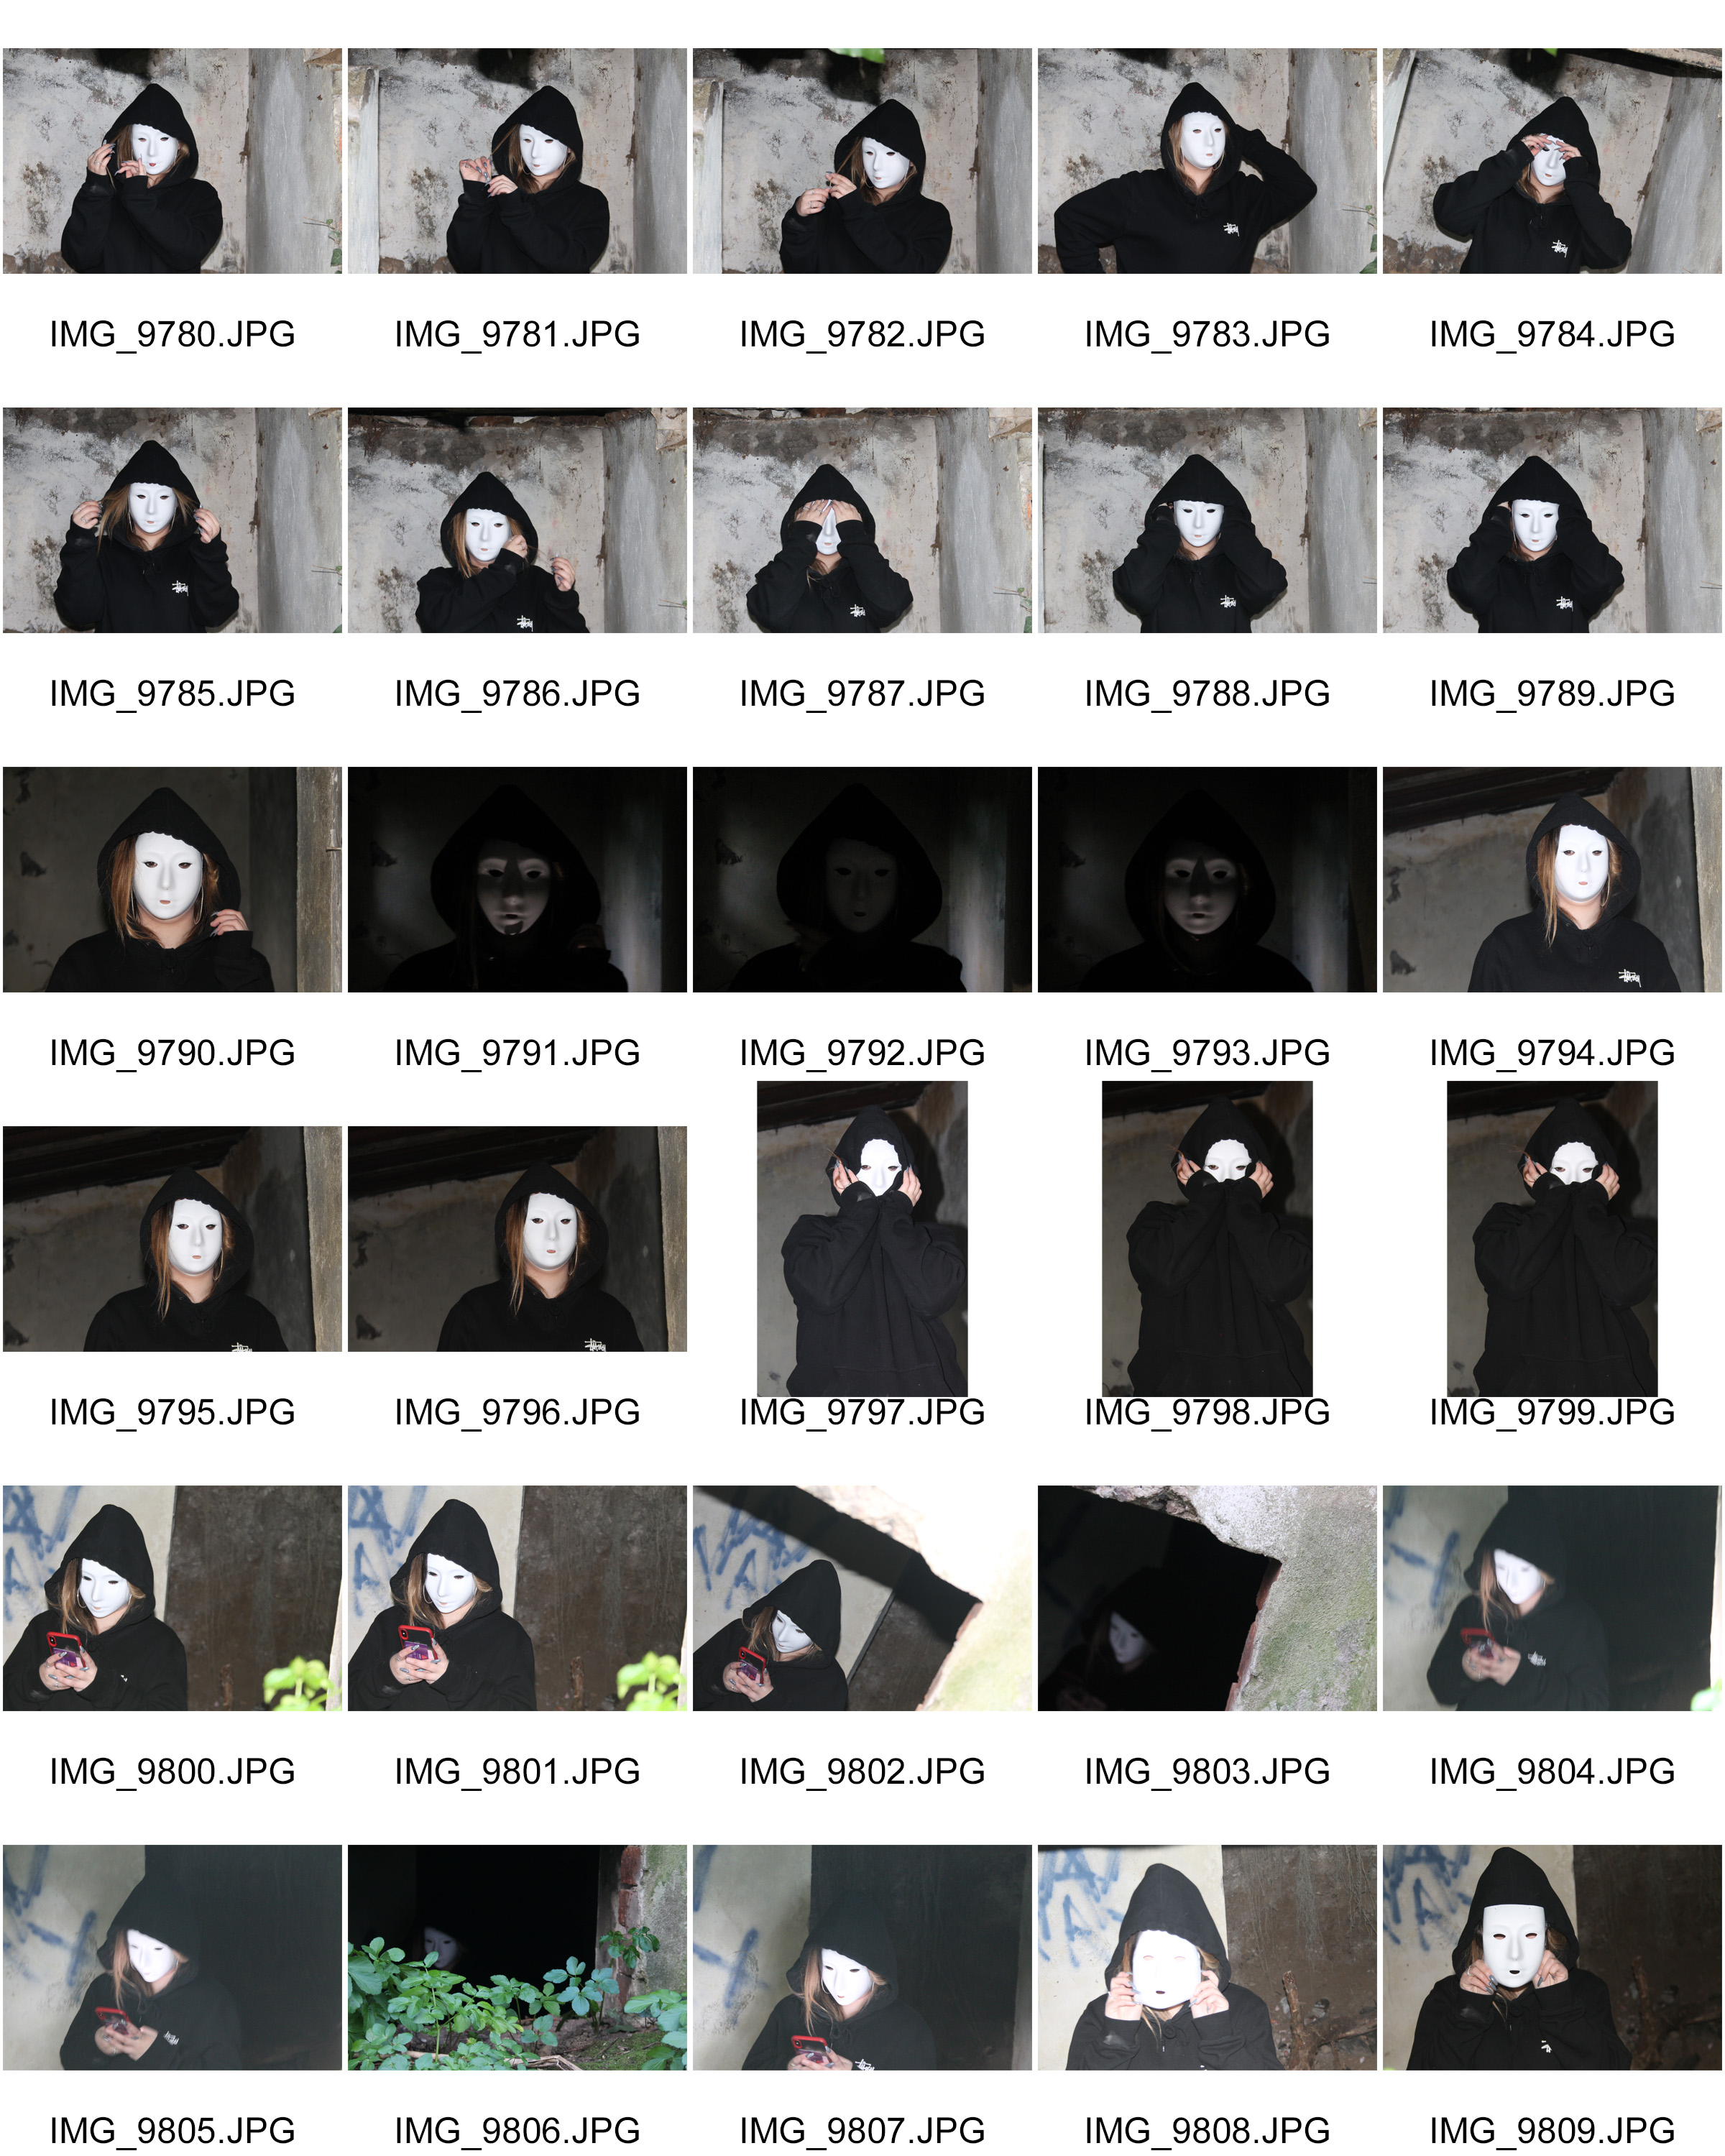
 Best Images:
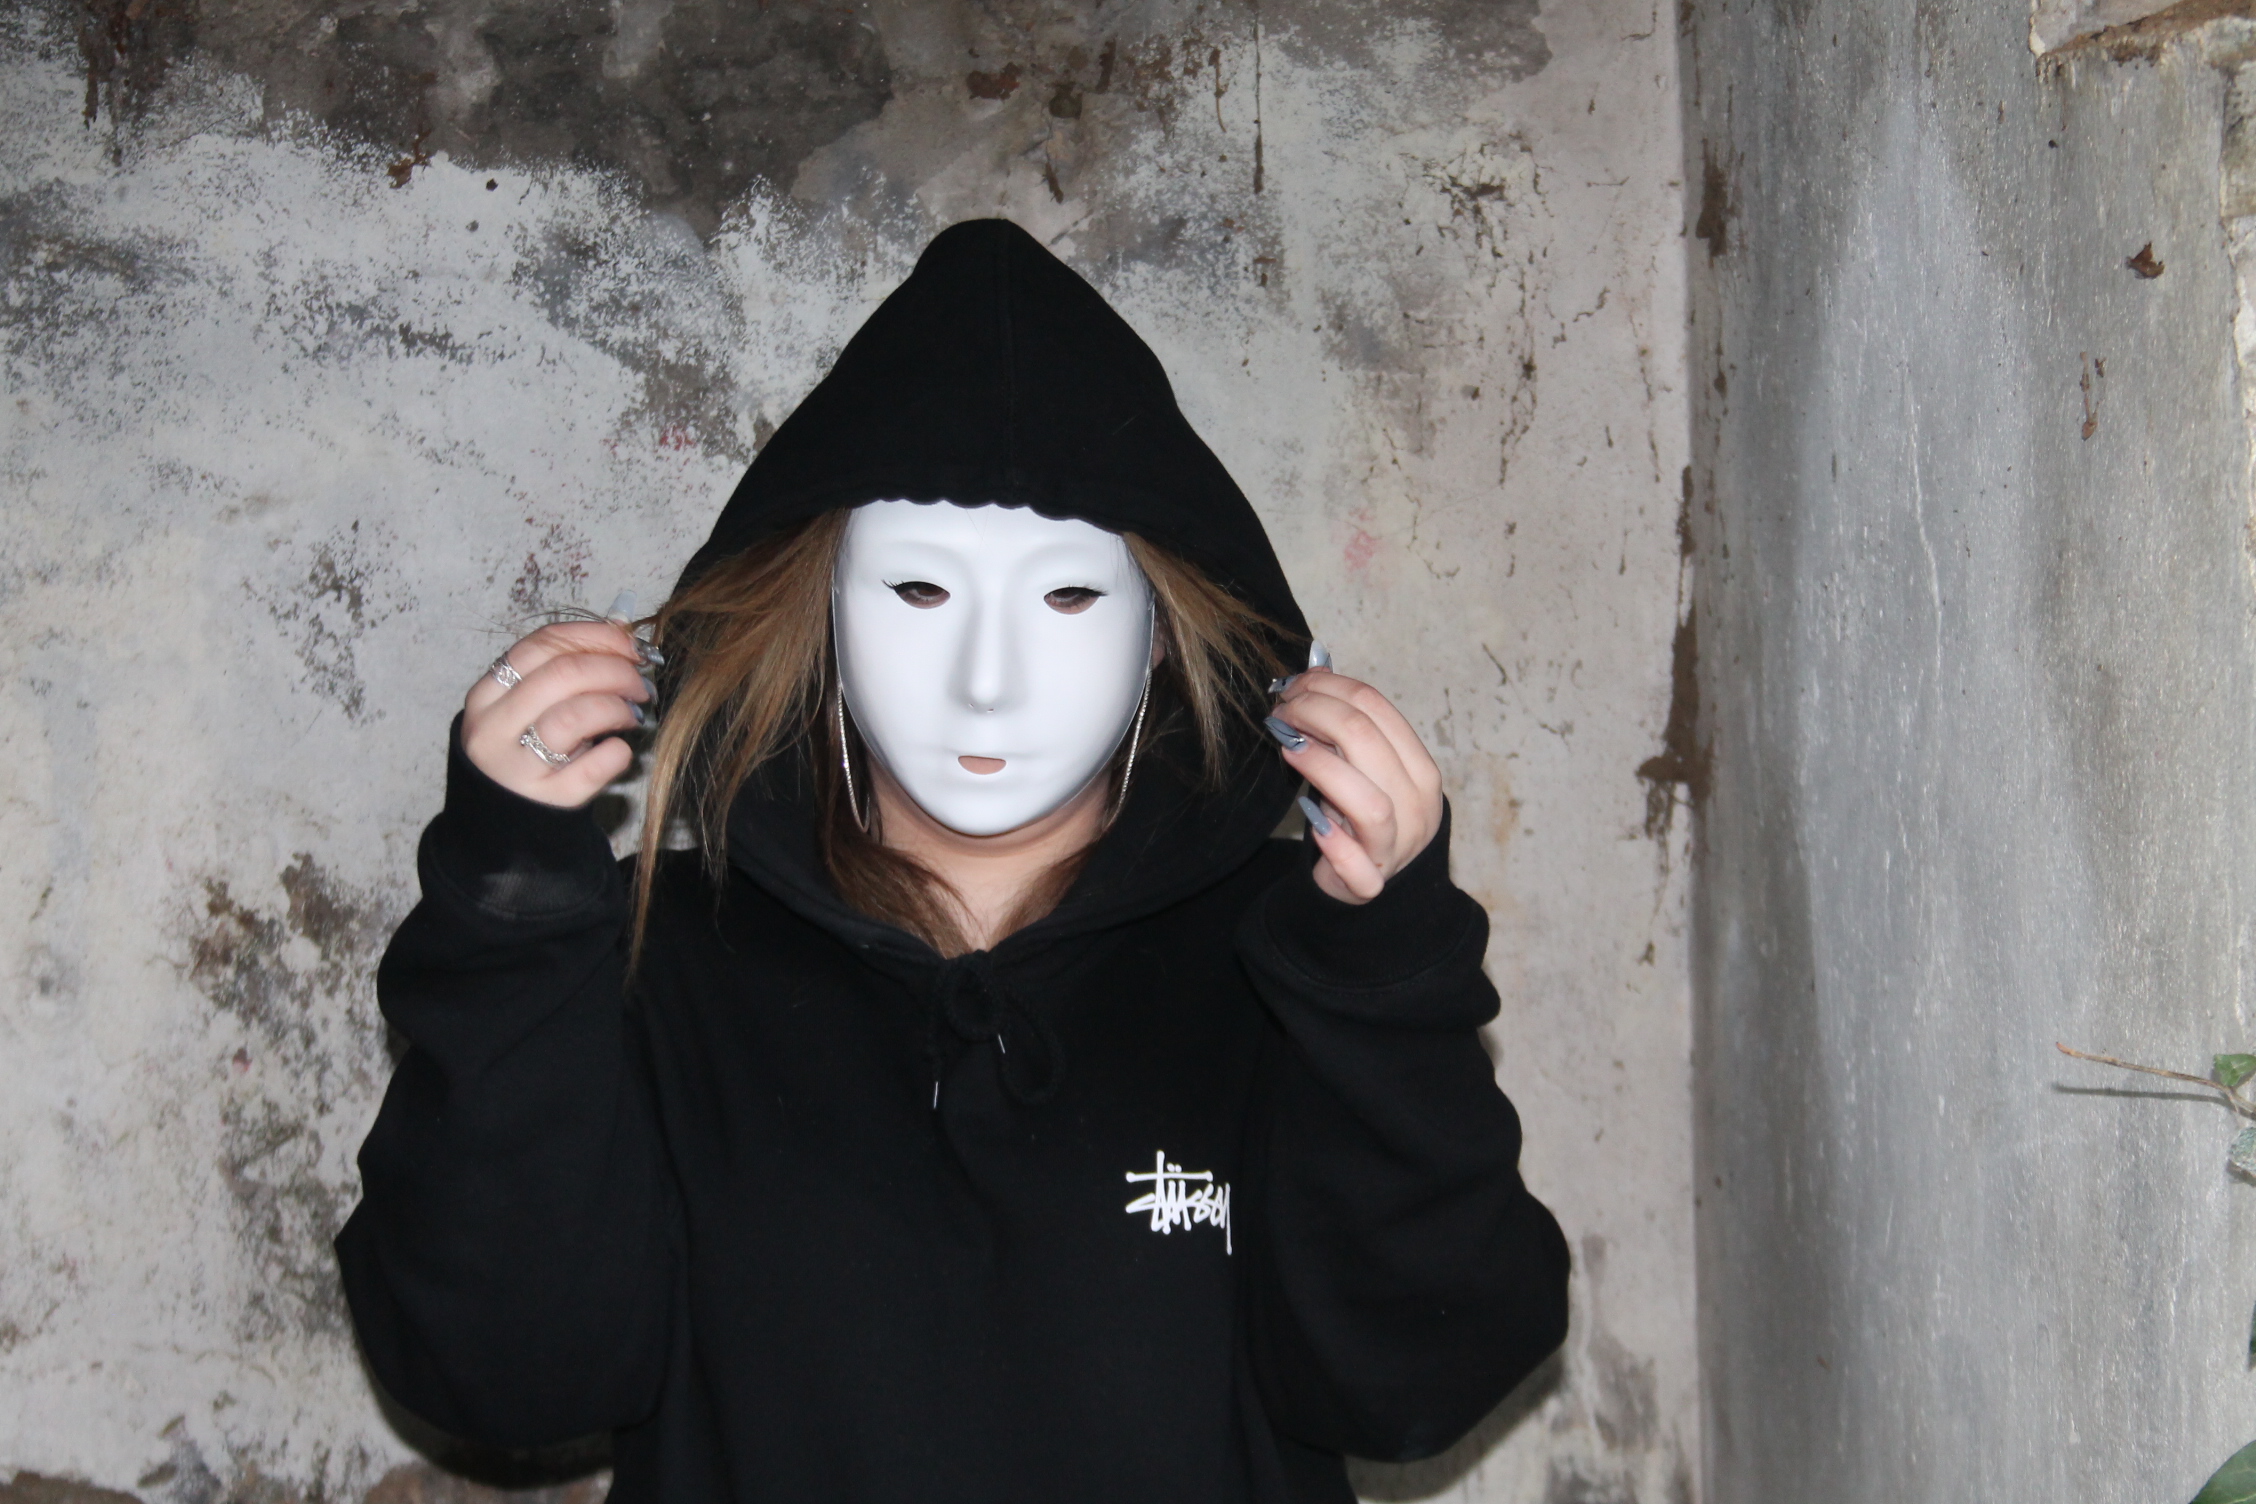
Looking at experimentation with in portraiture
I have decided to focus again on studio work because i find it is easy to control the variables that effect my final image out come.
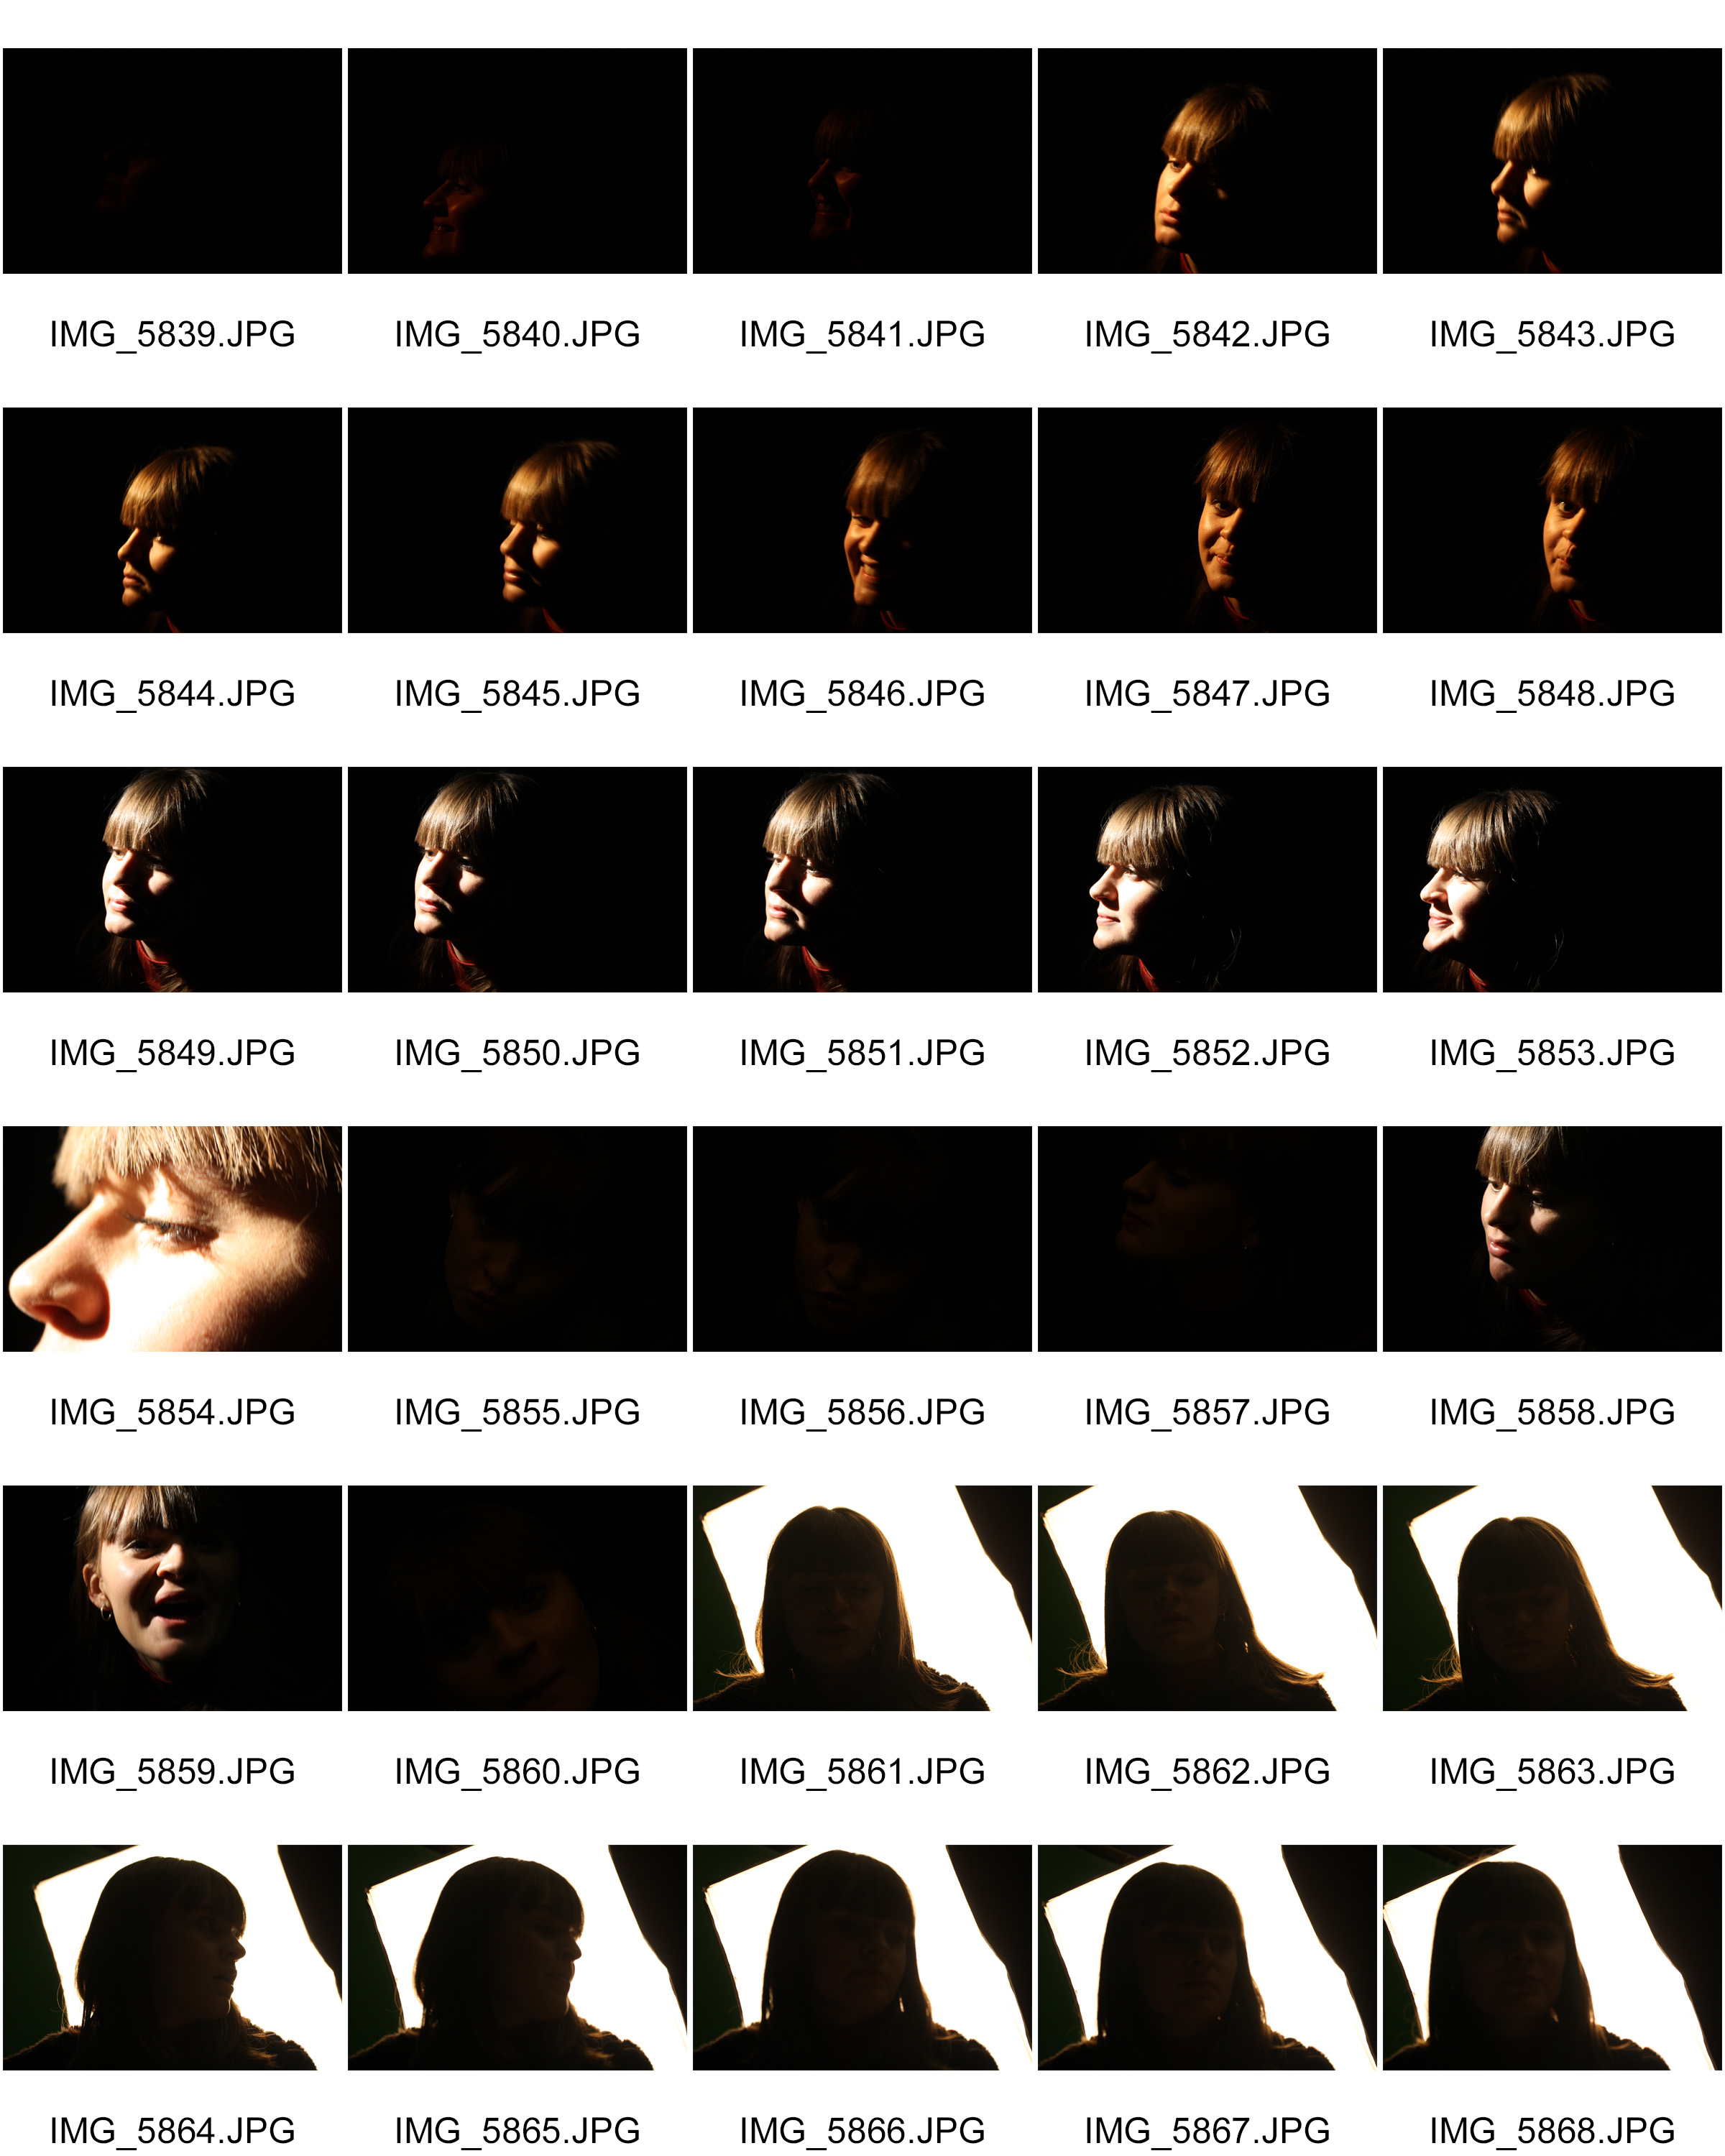
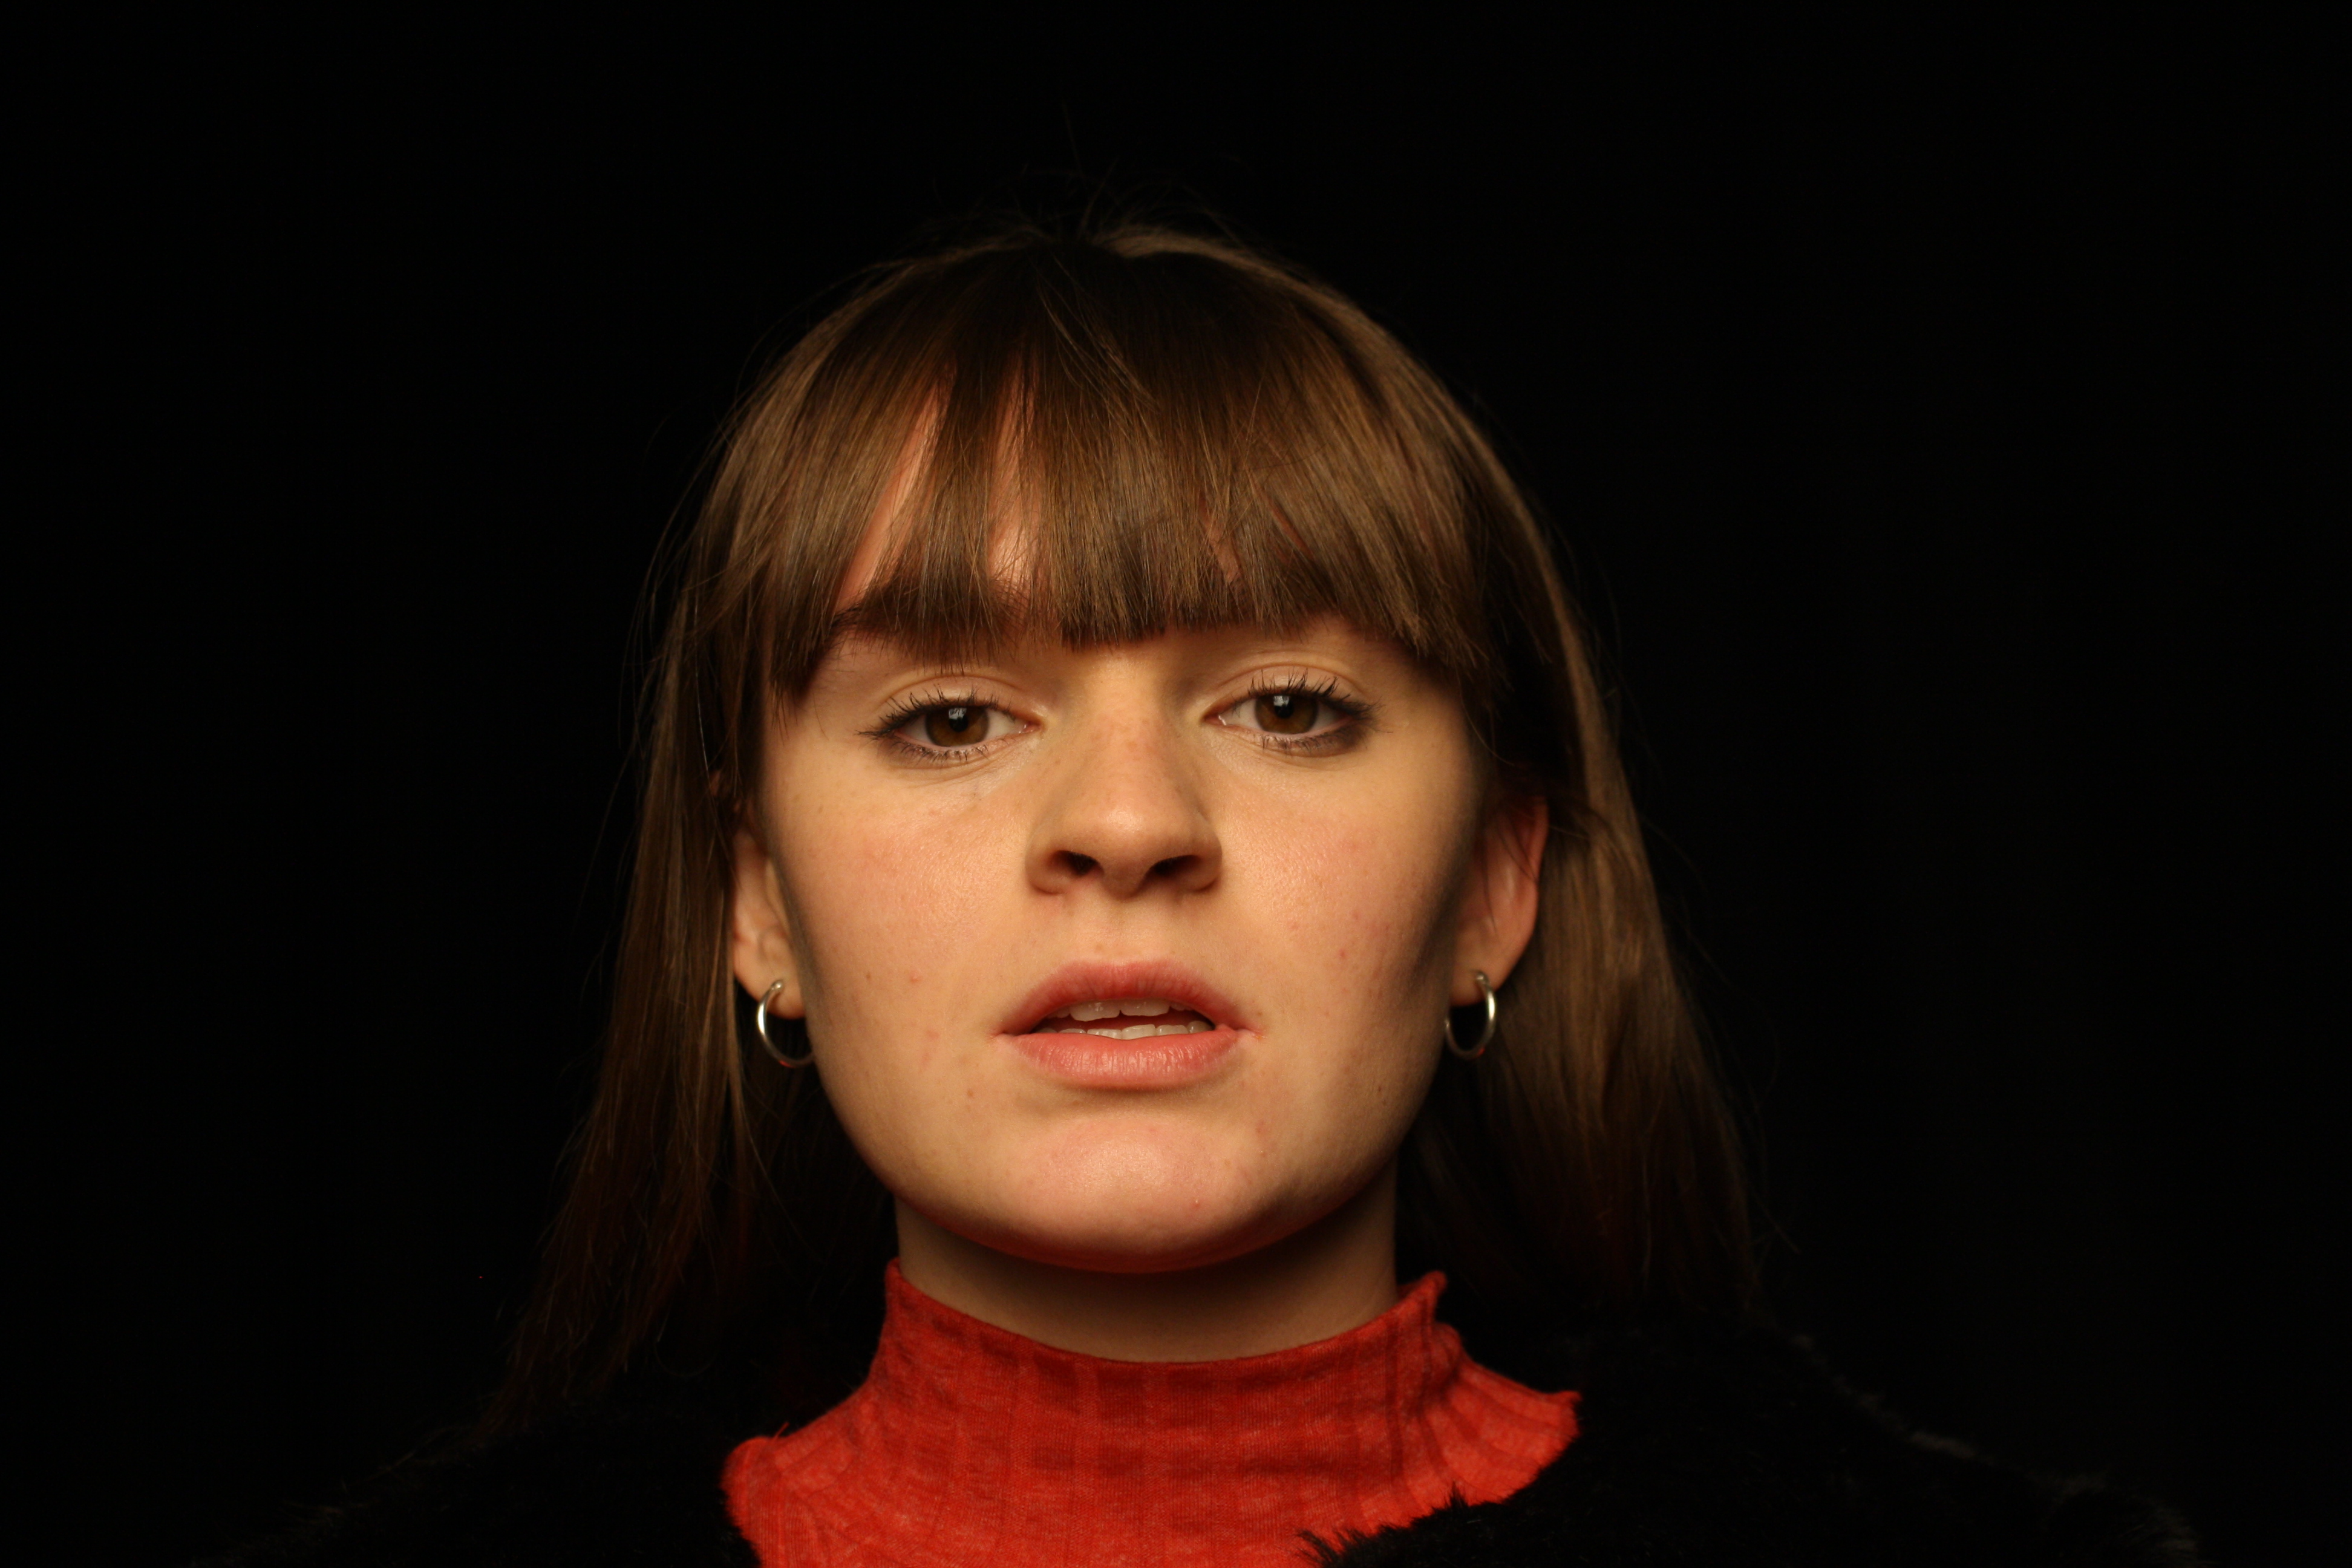
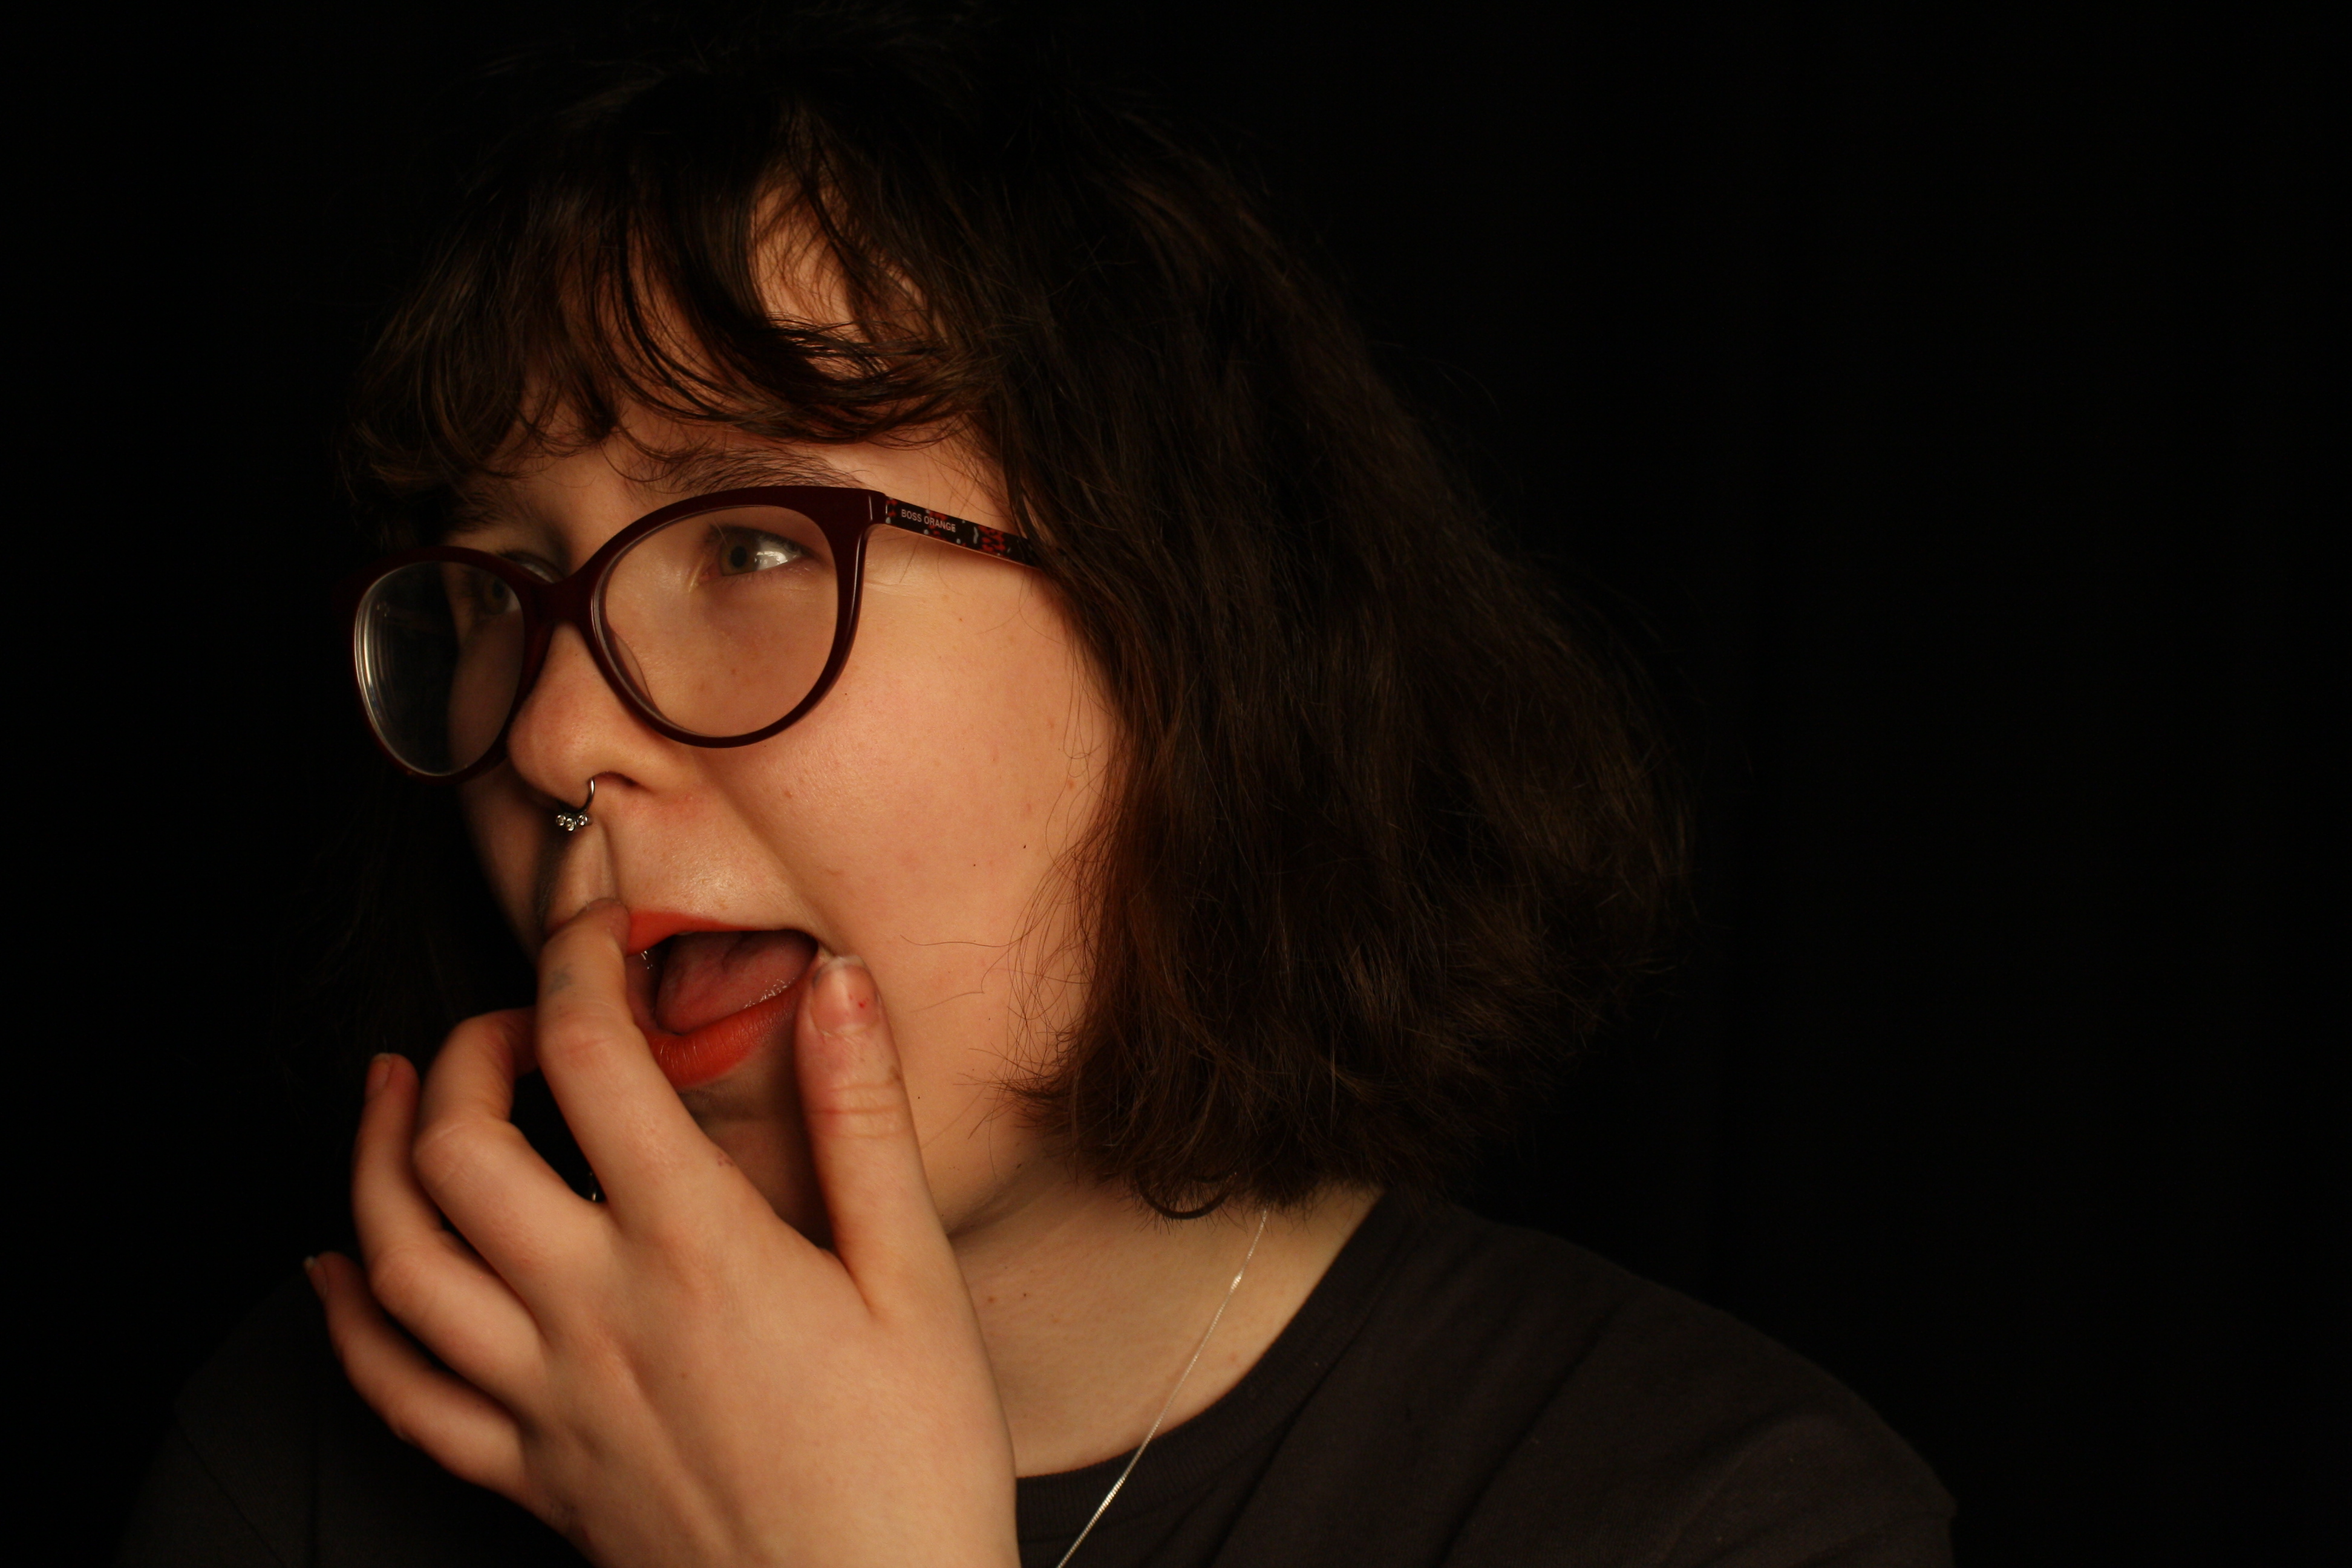
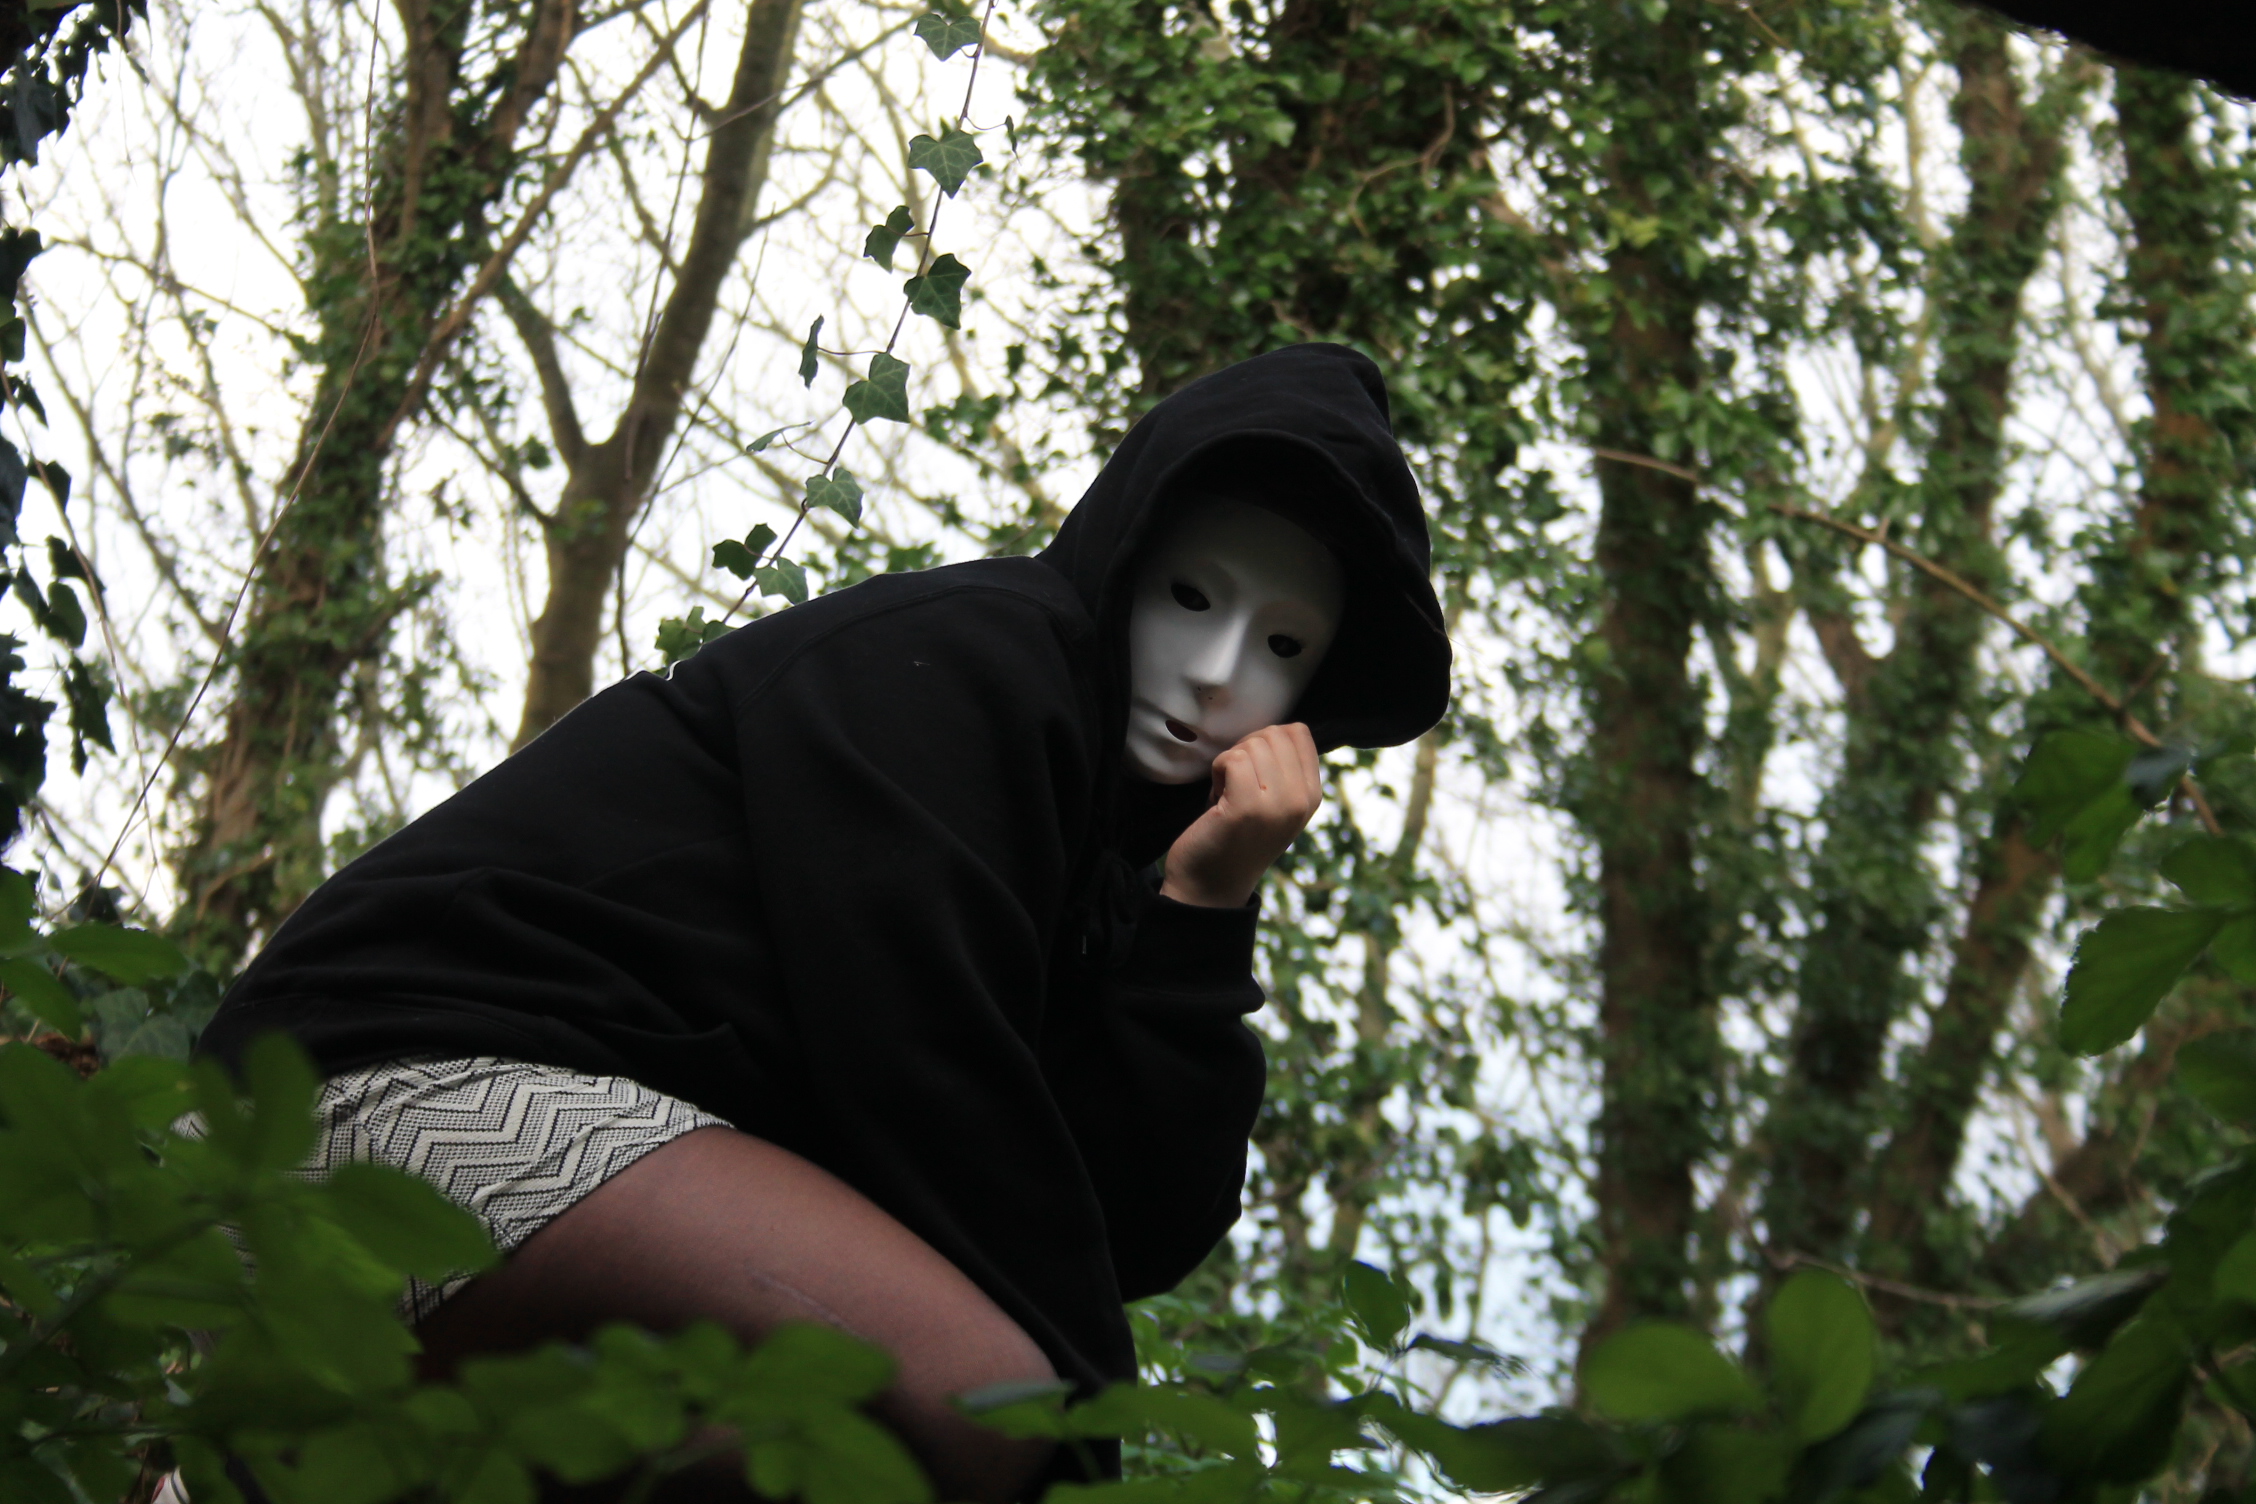
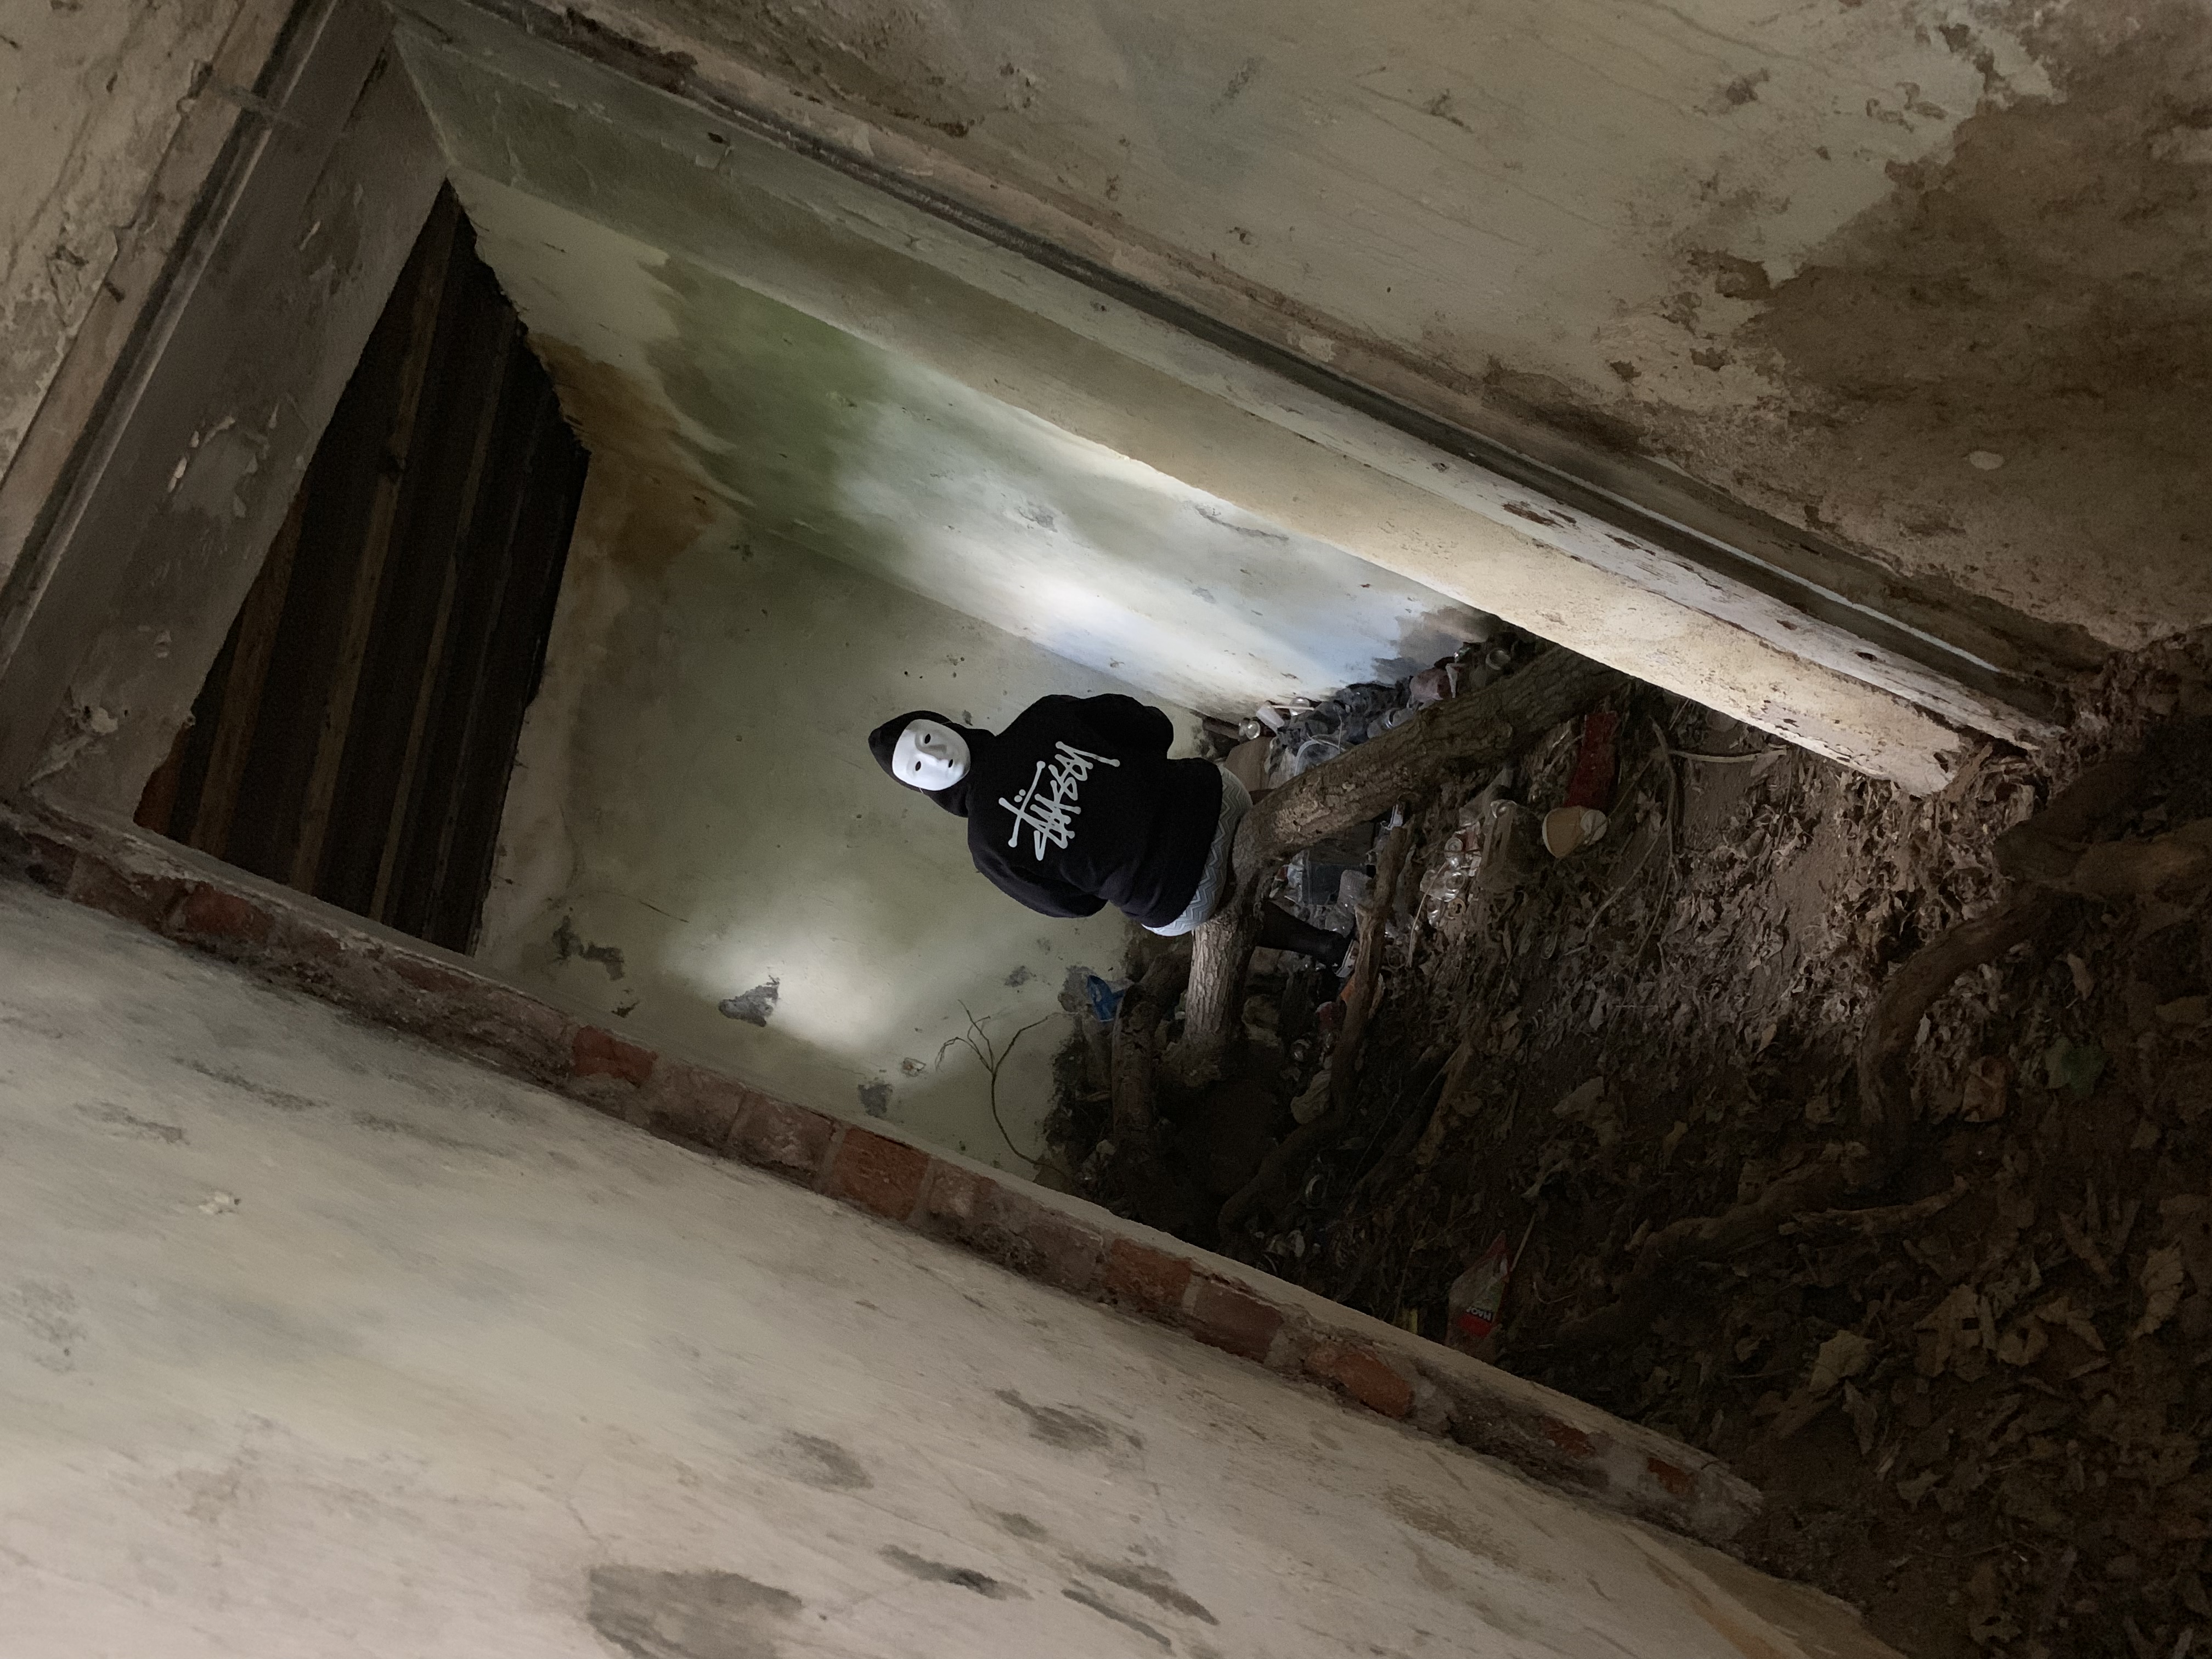
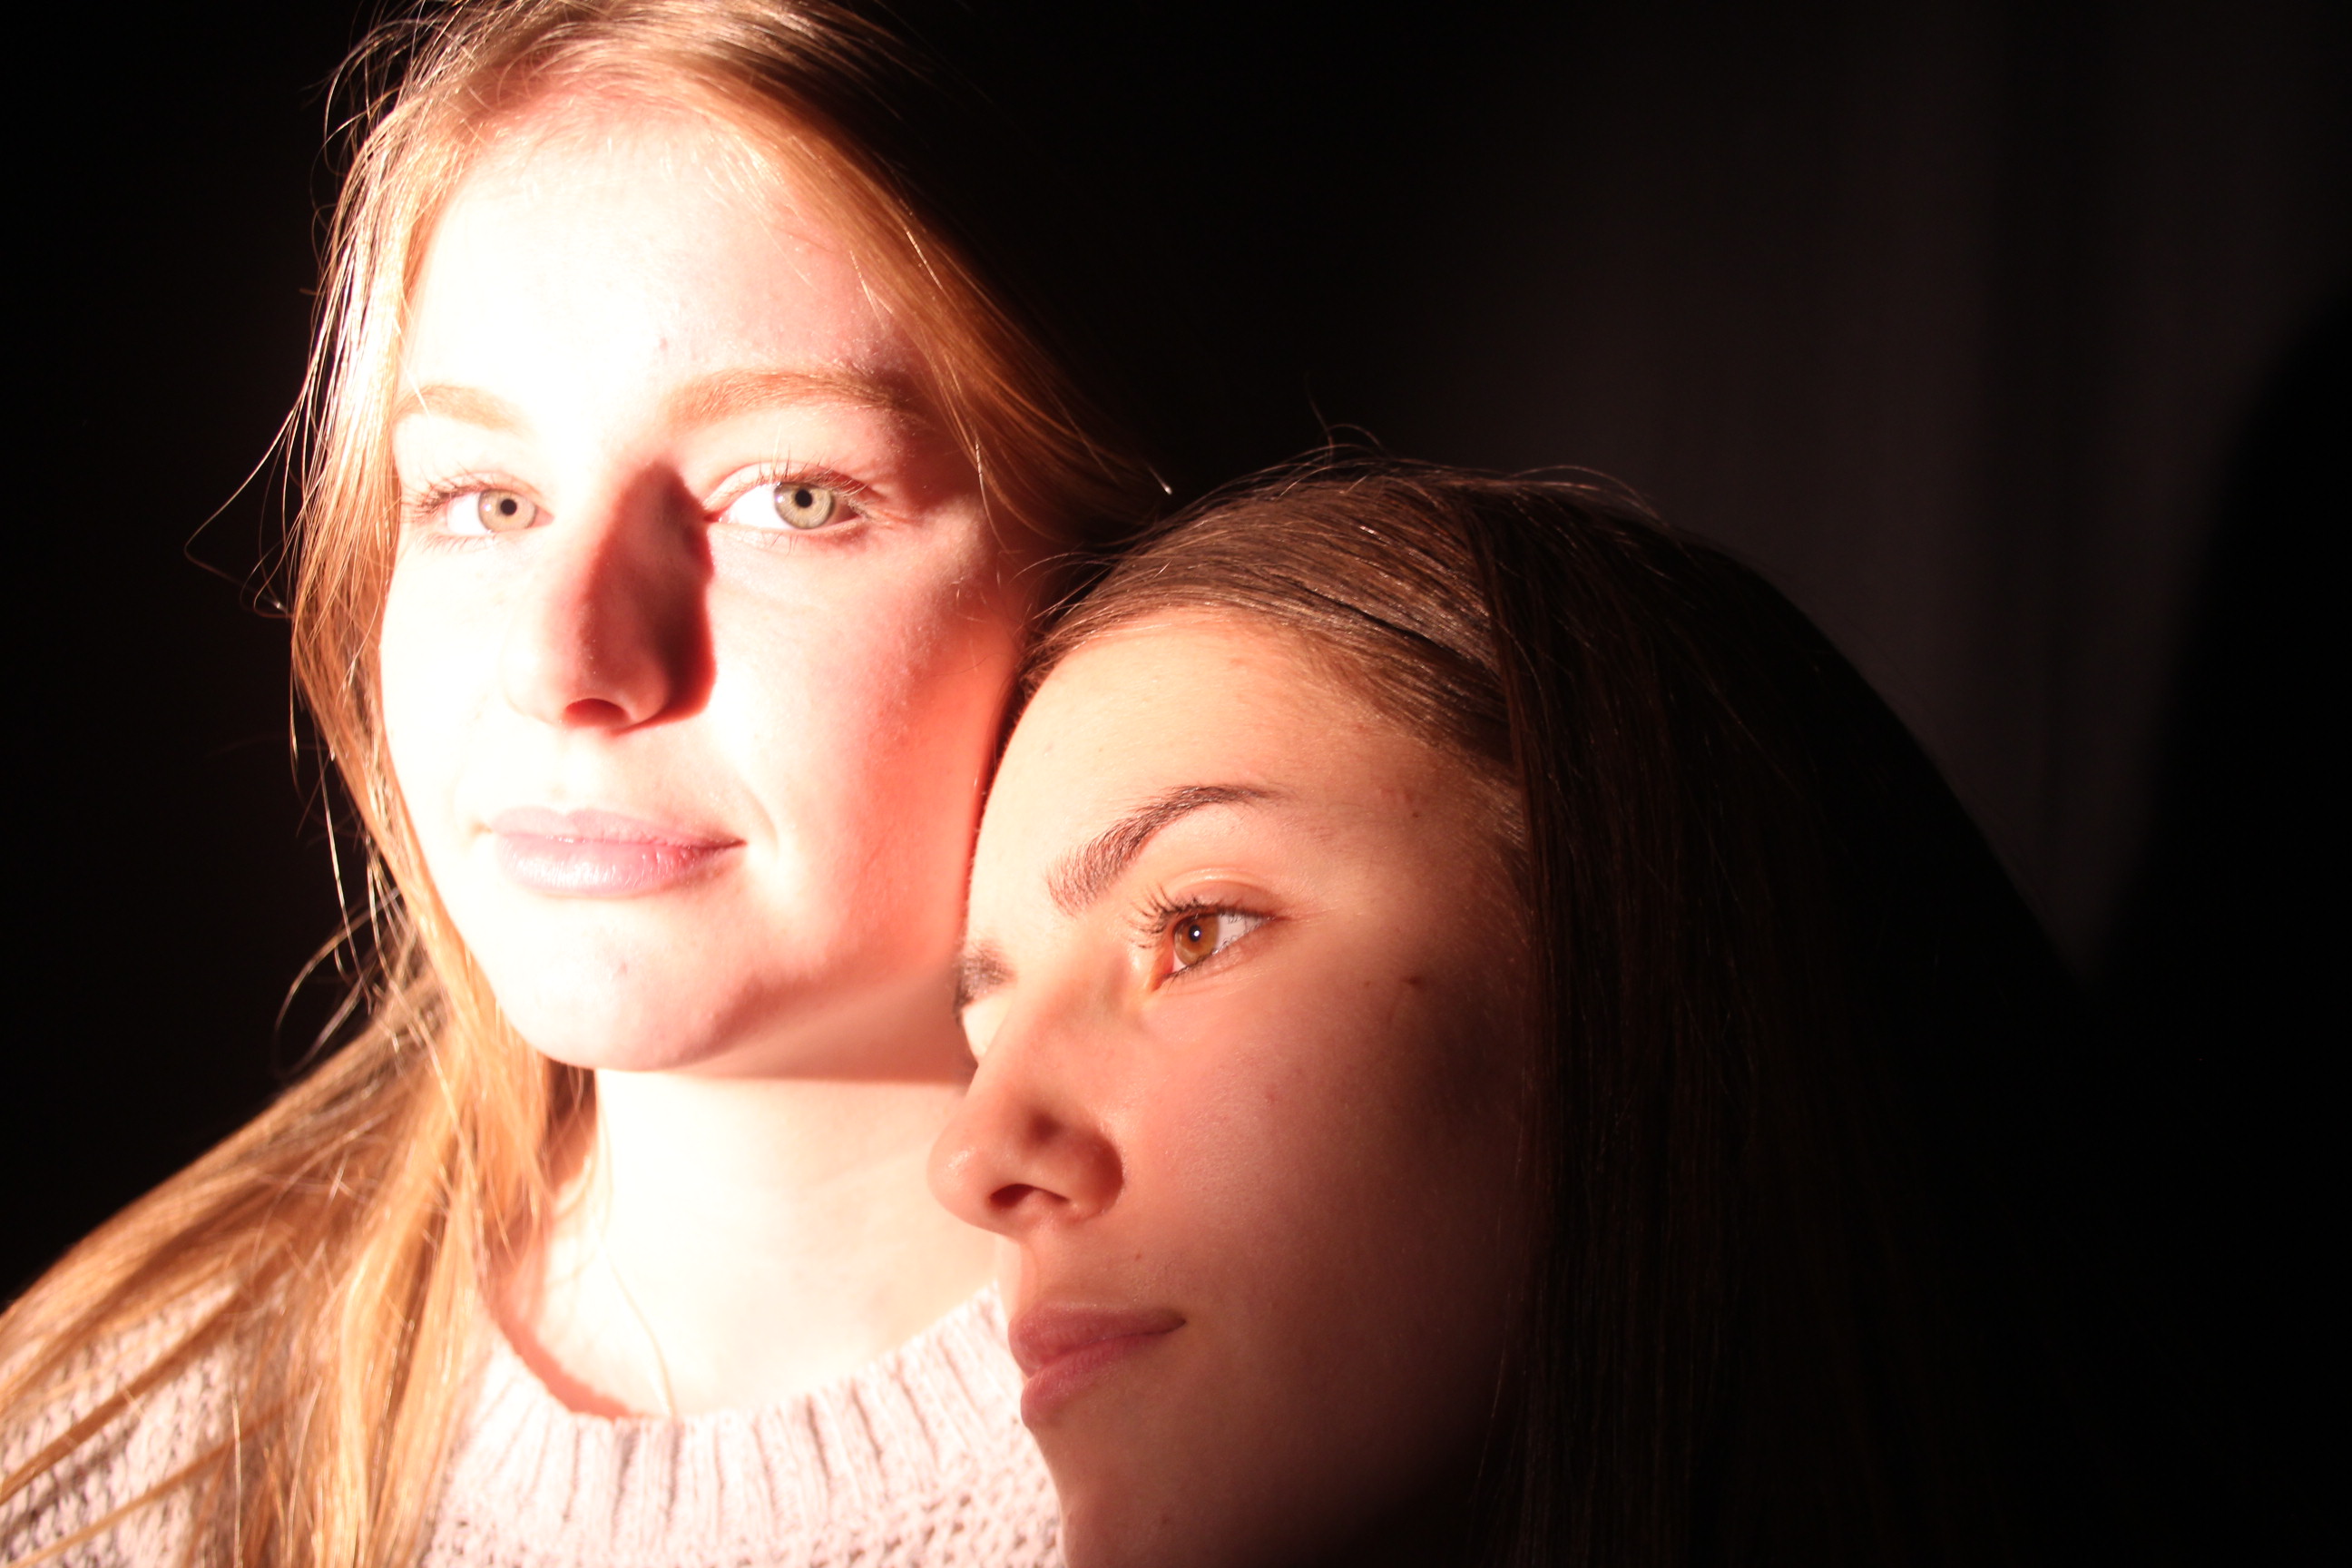
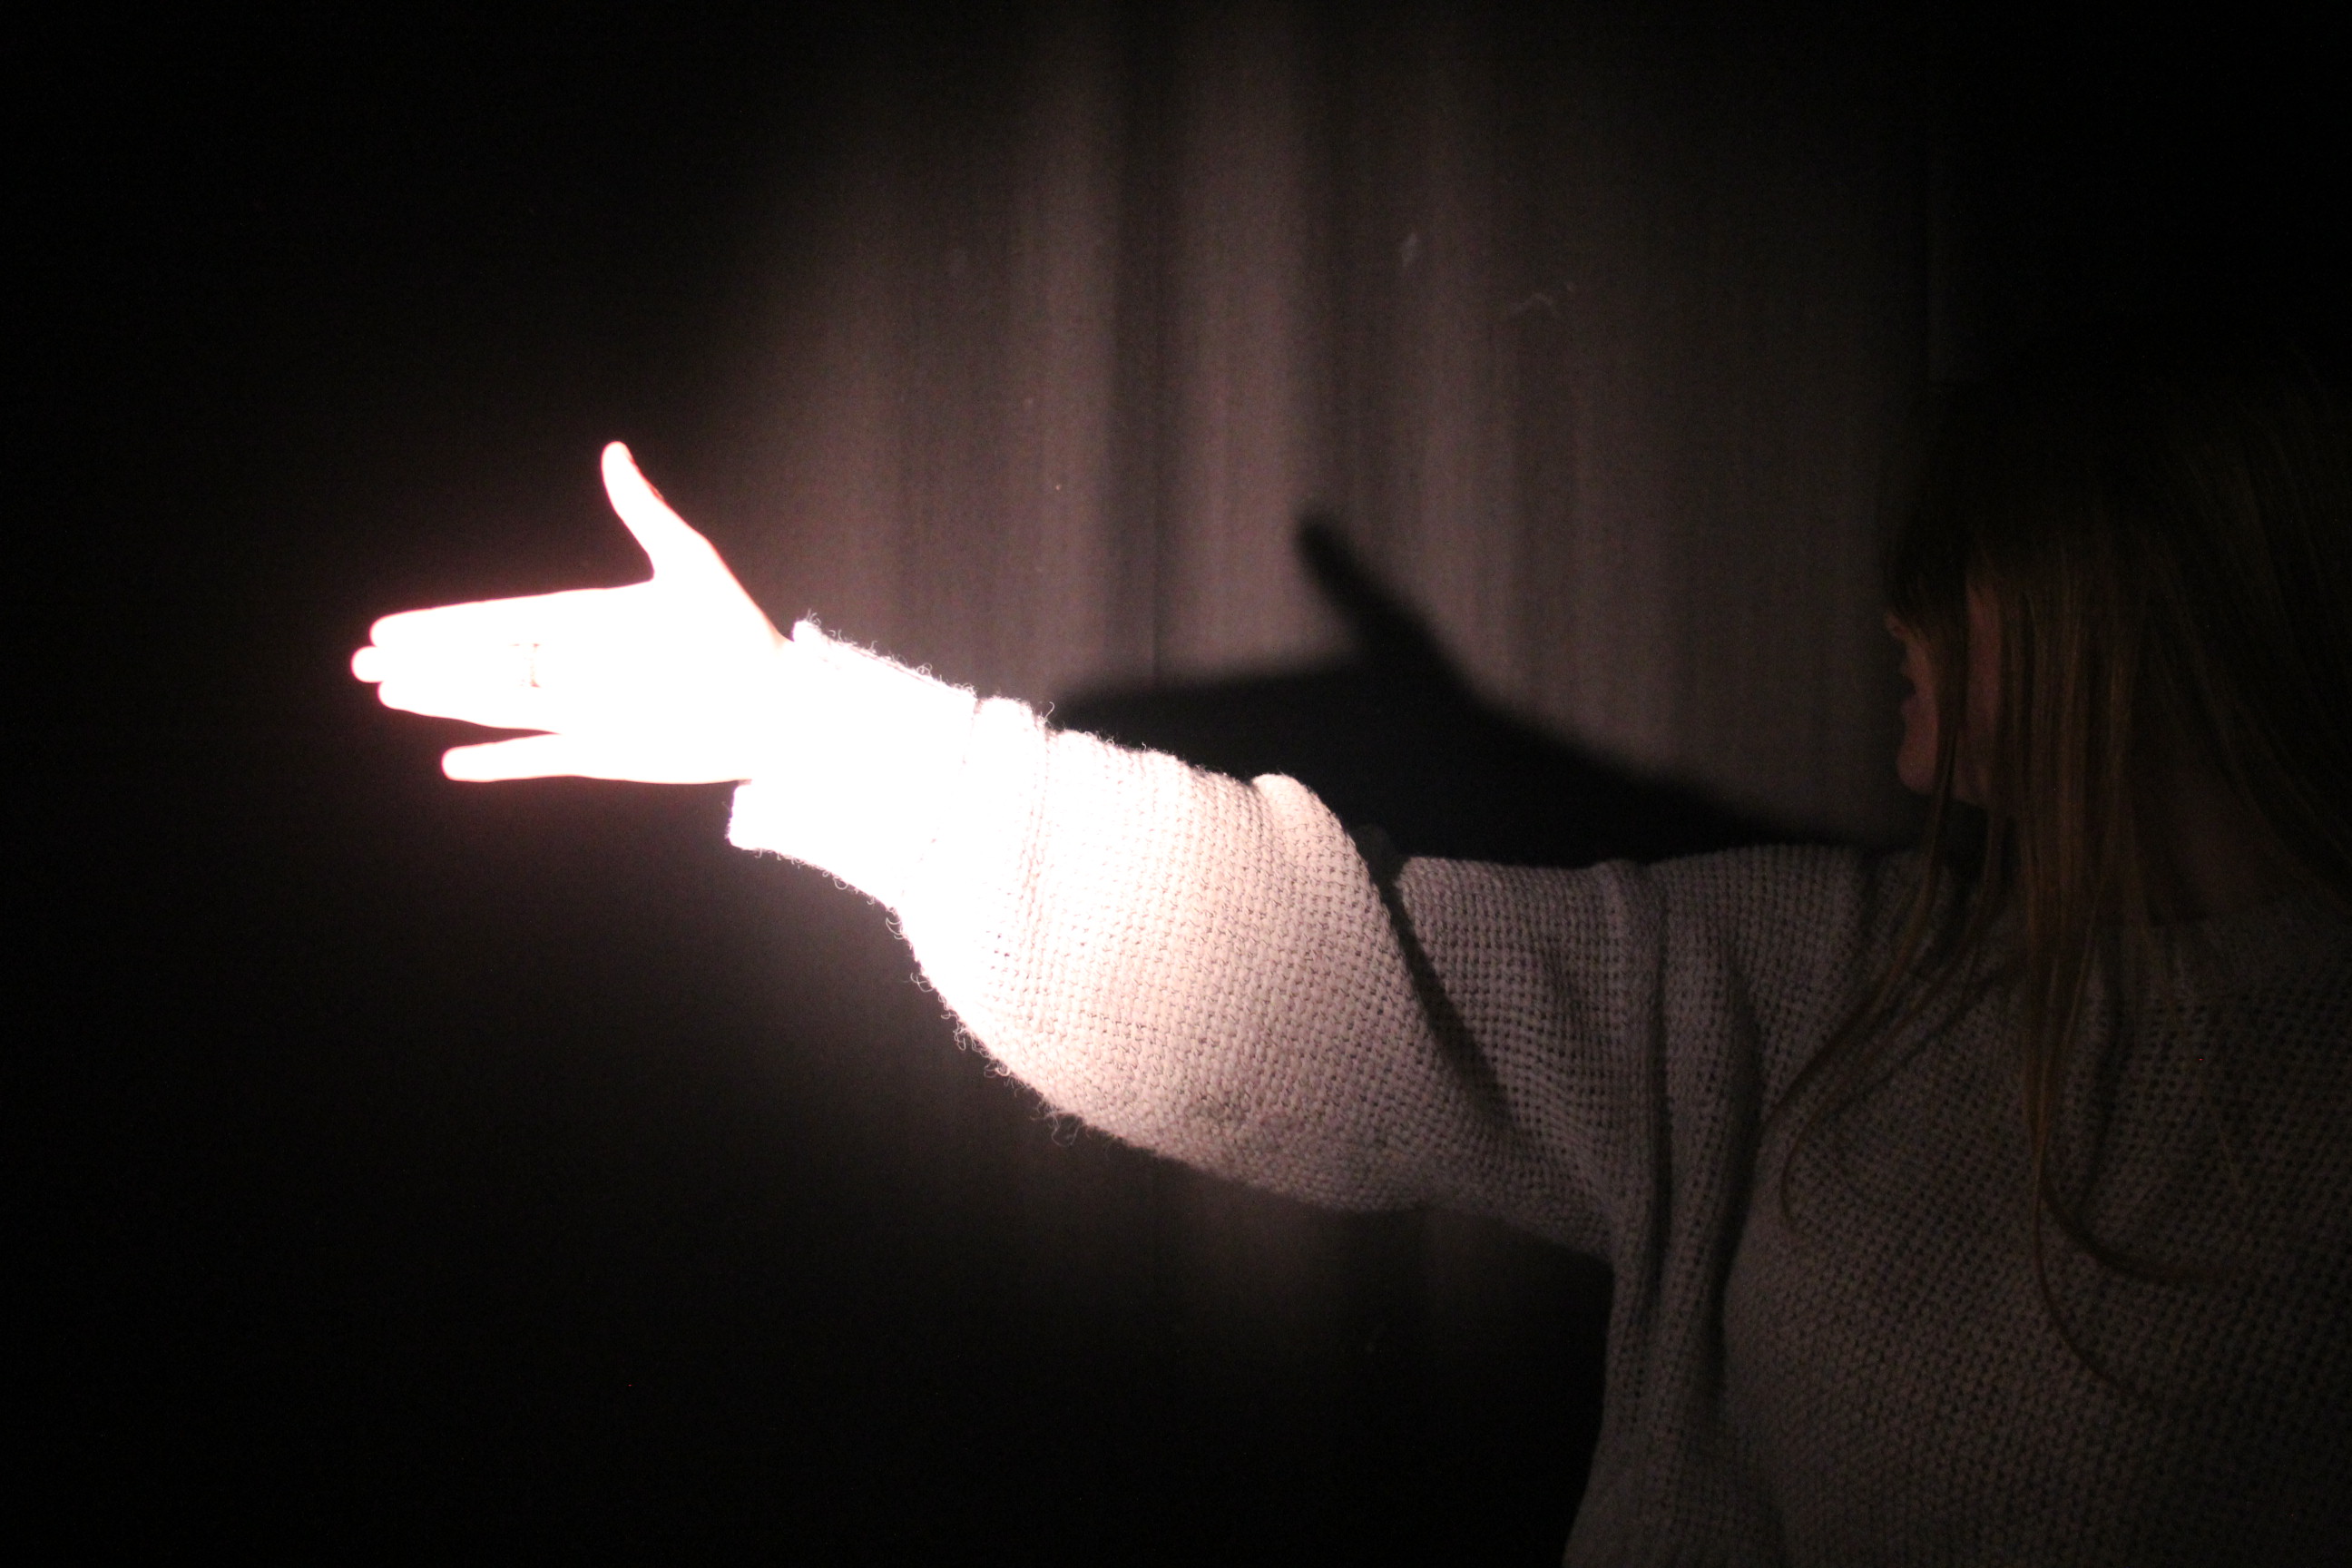
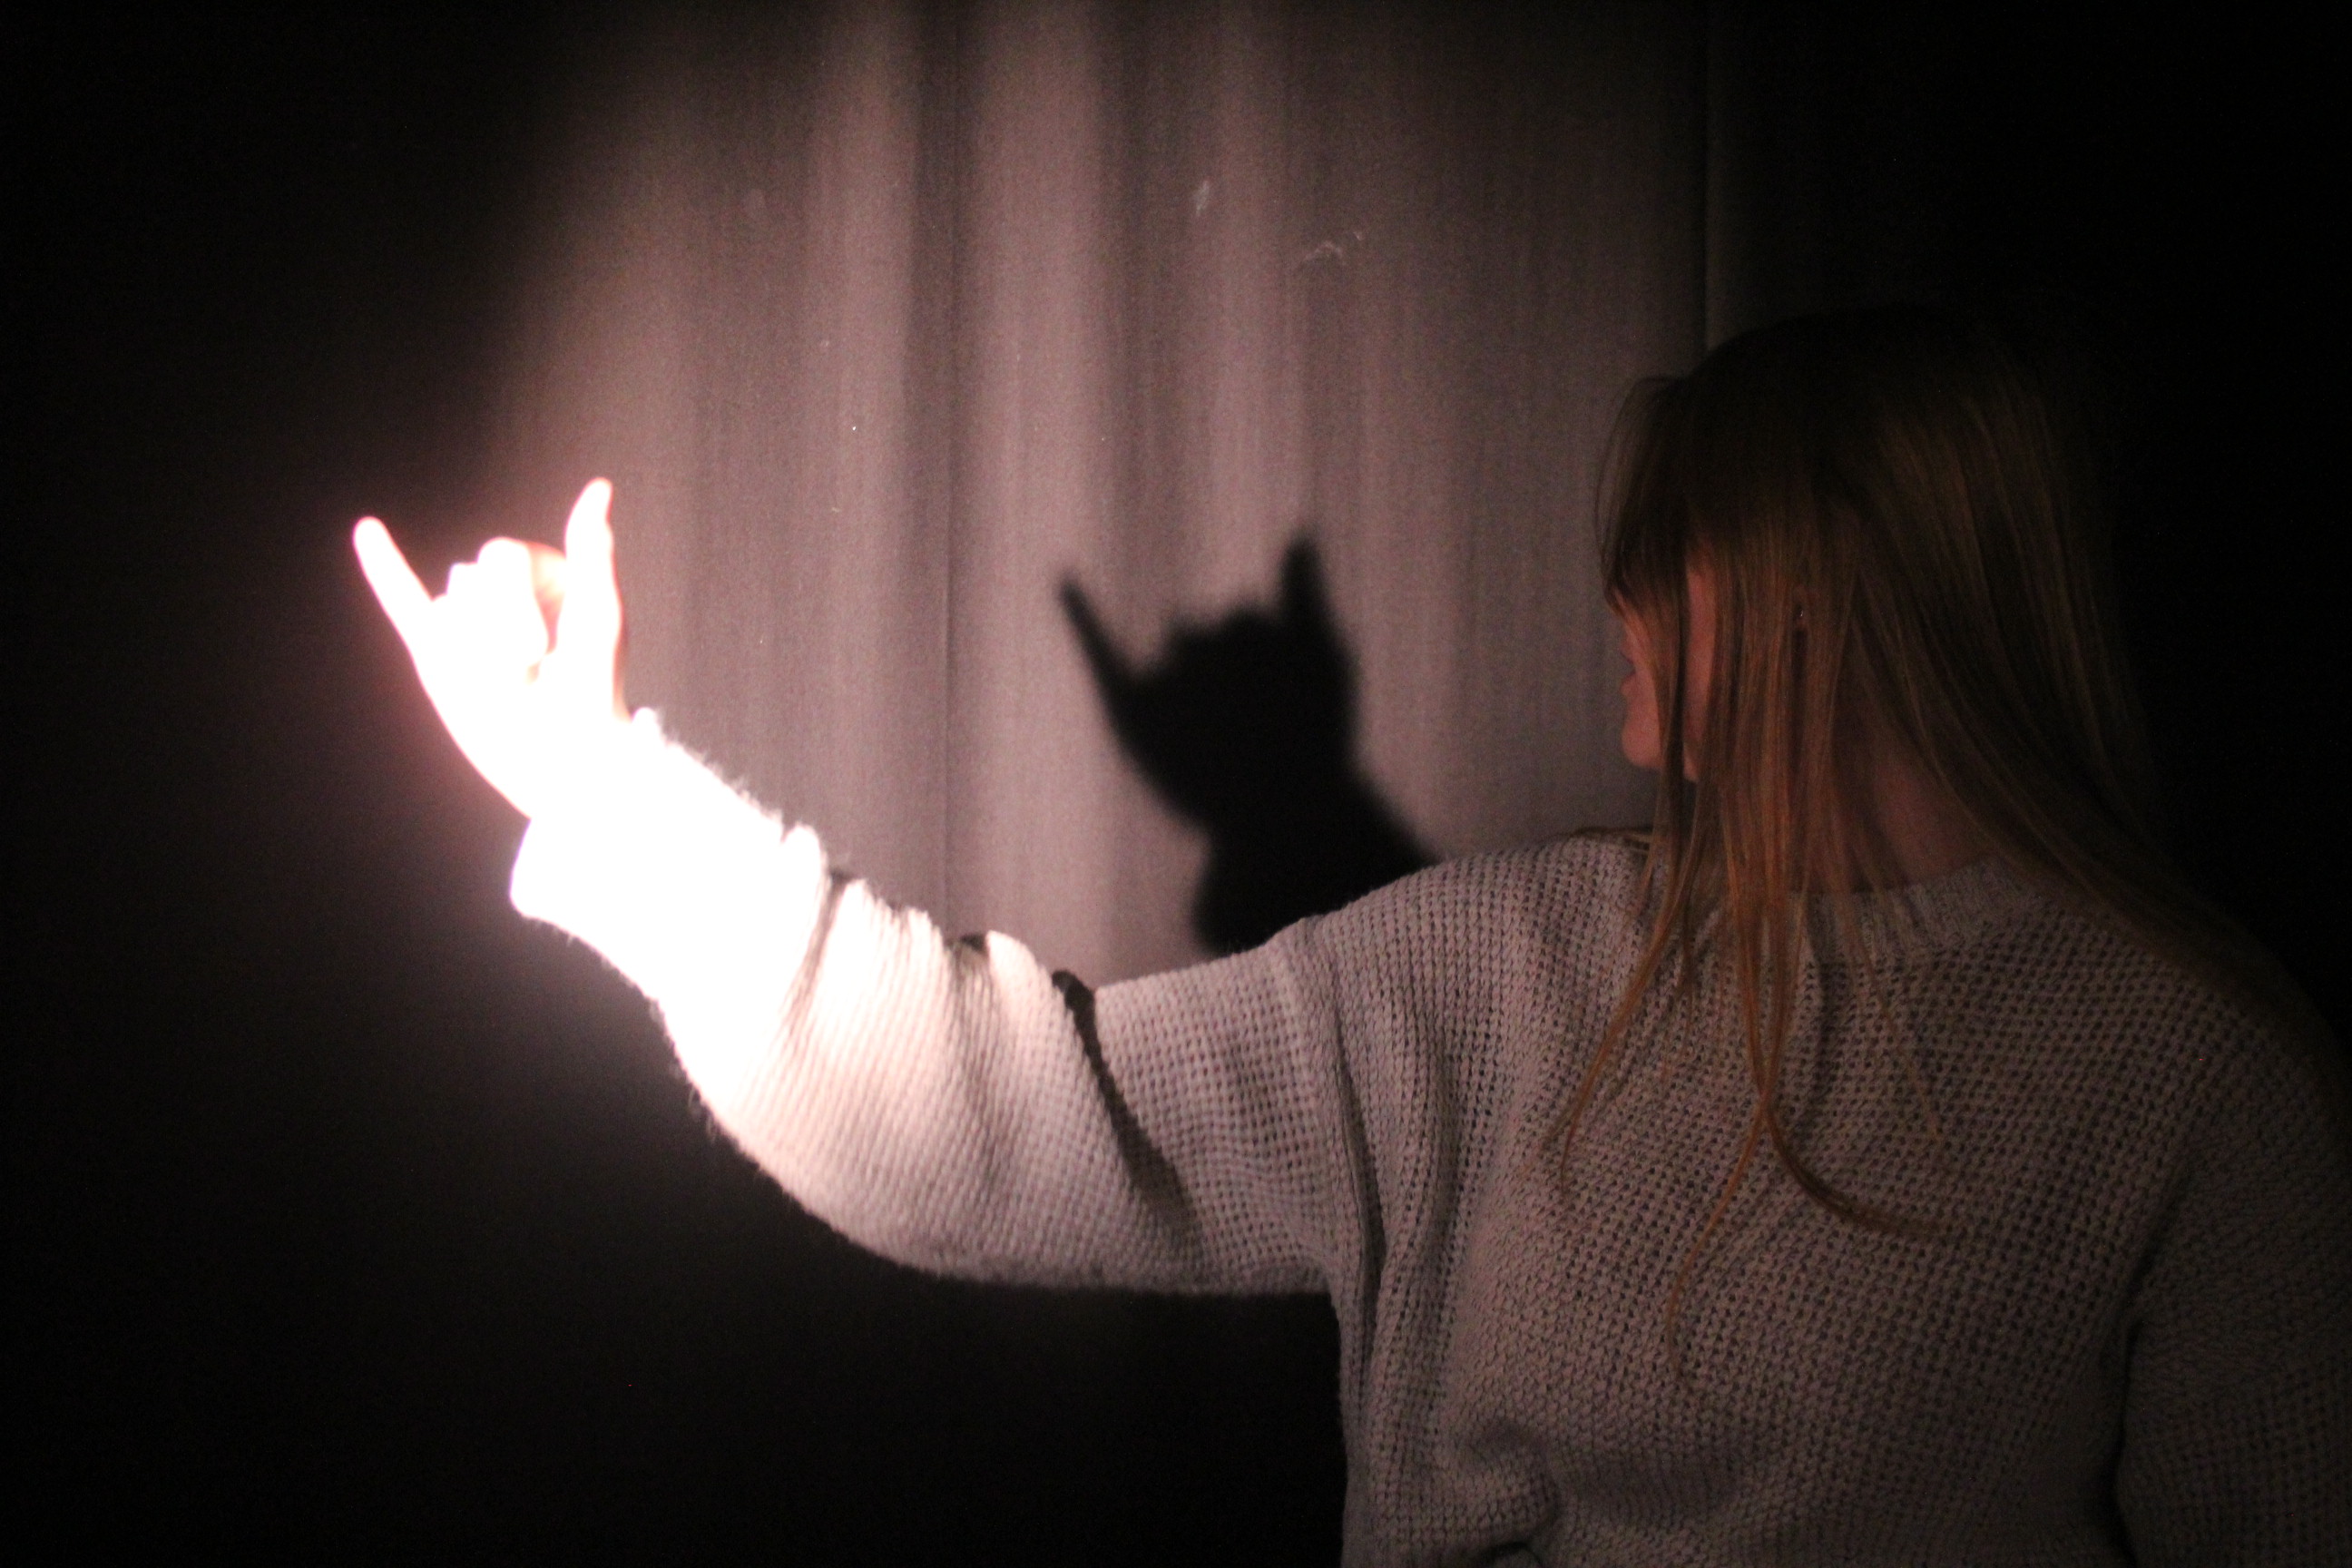
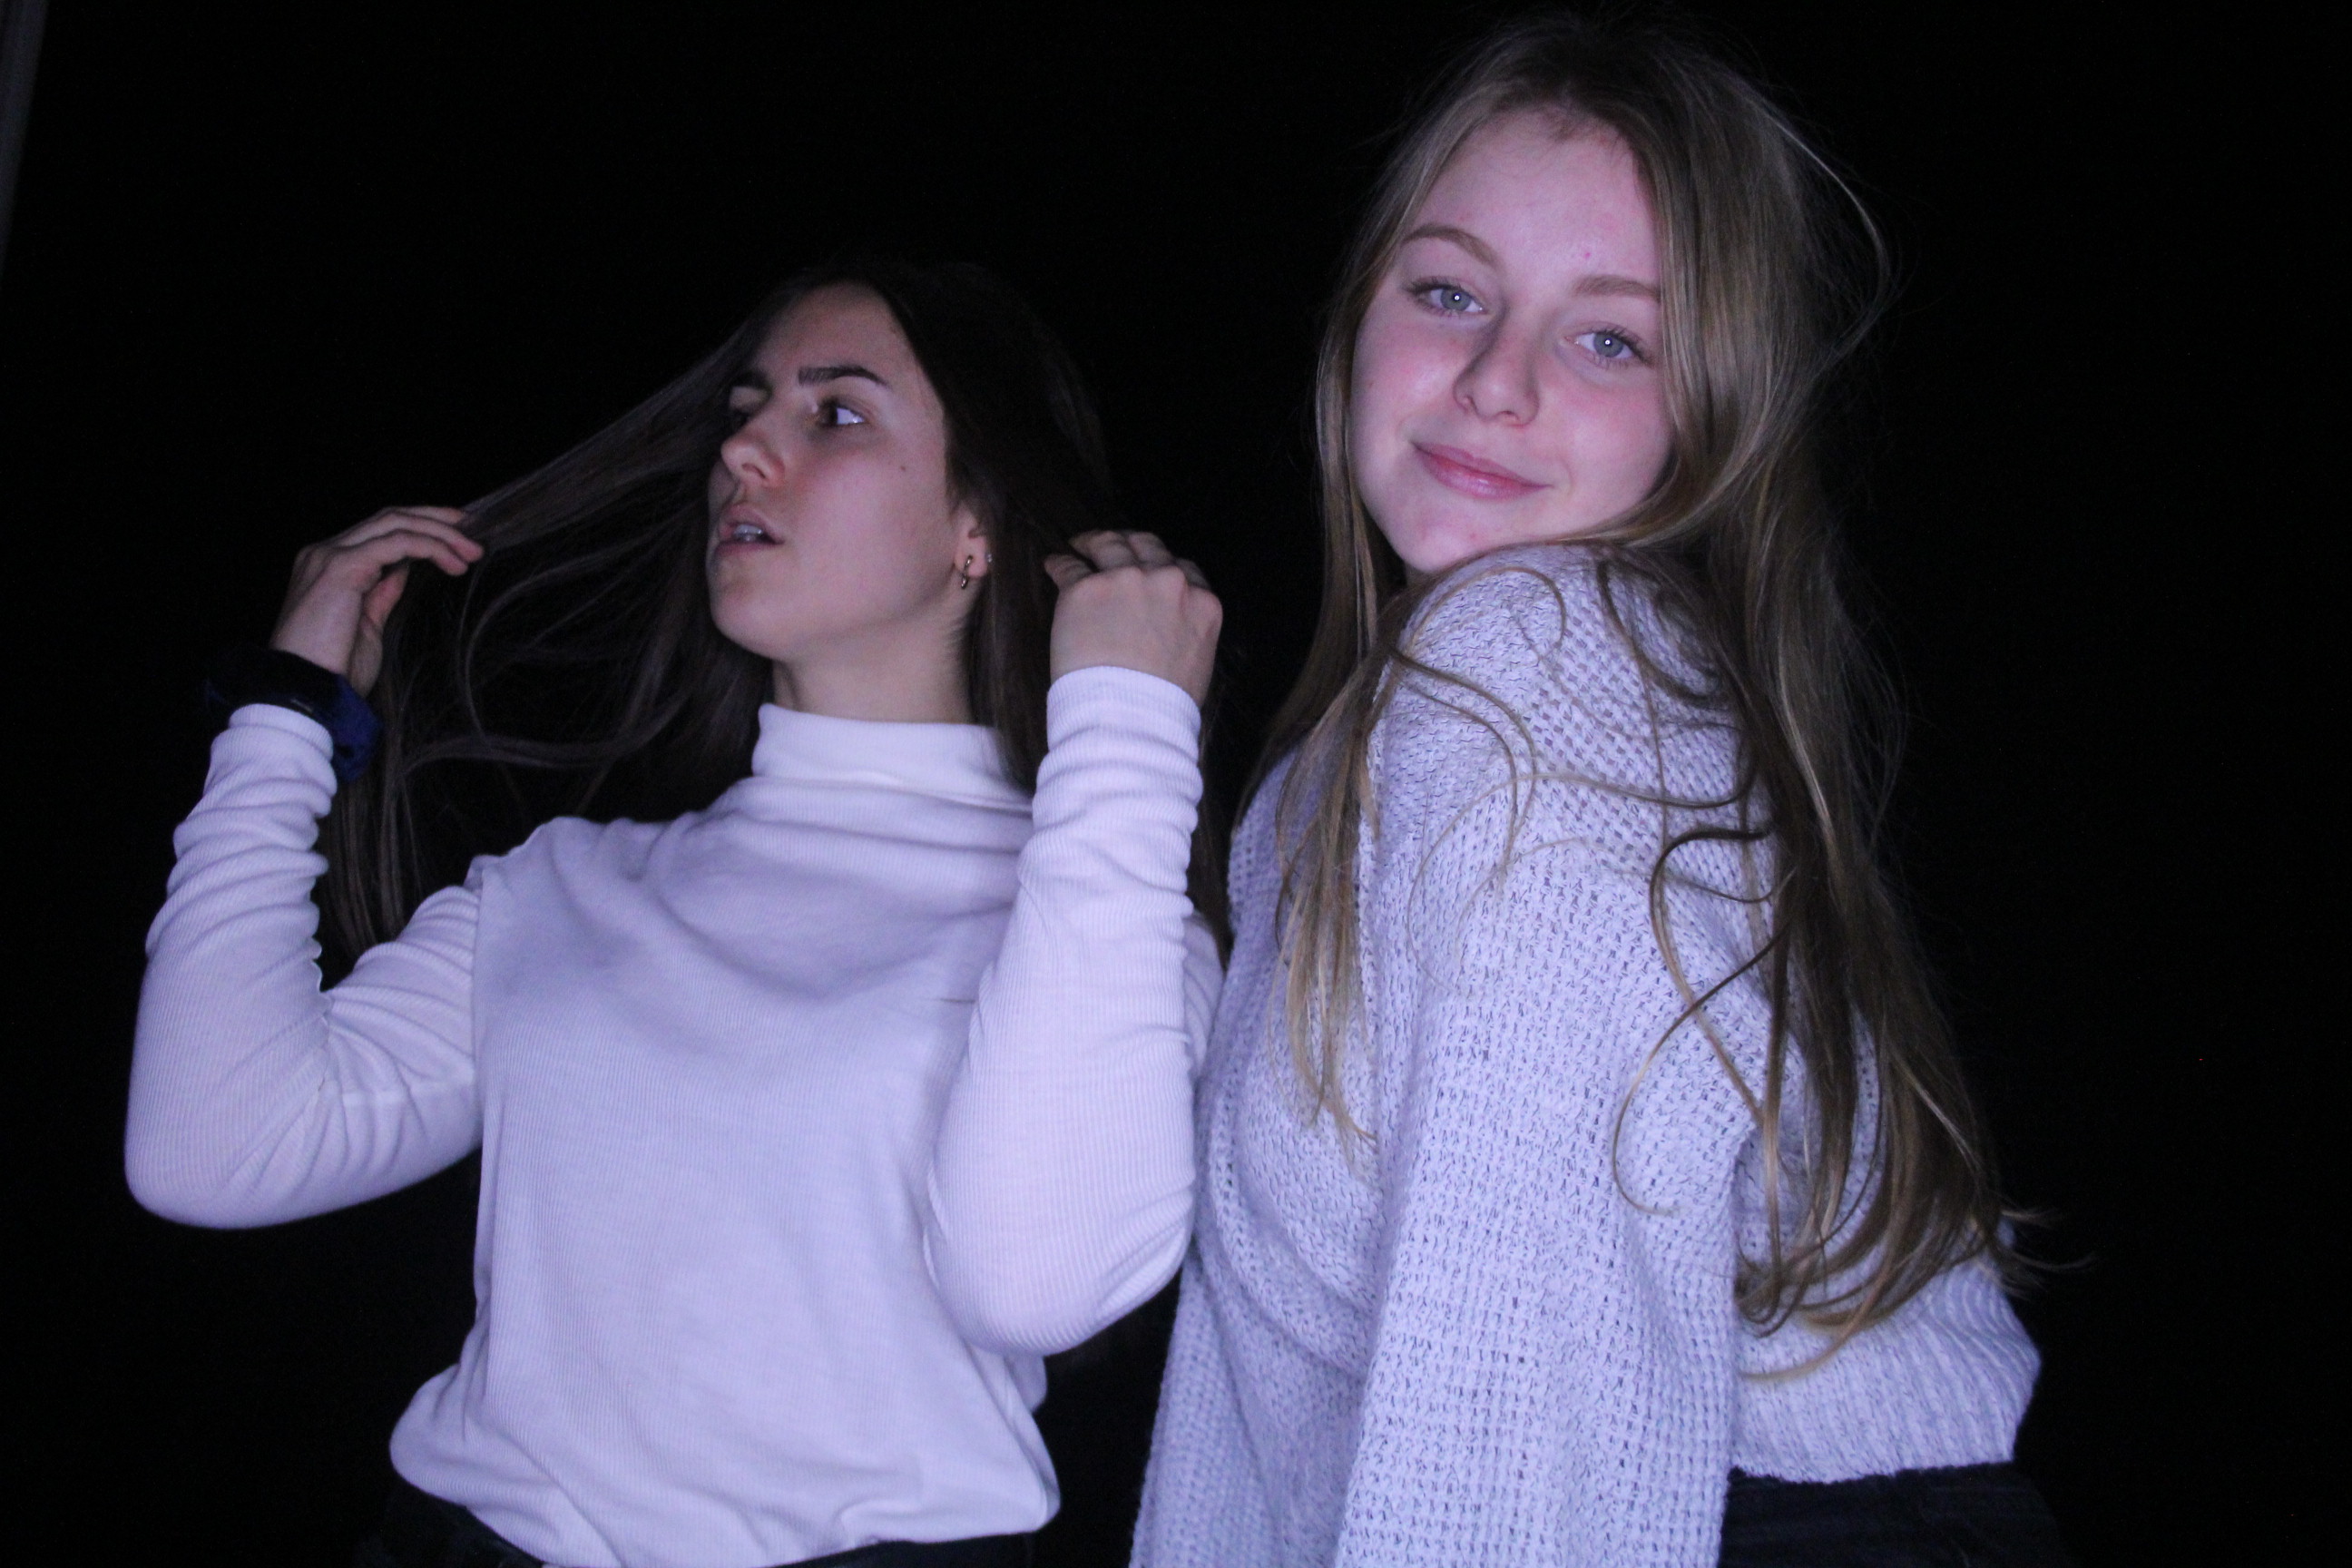
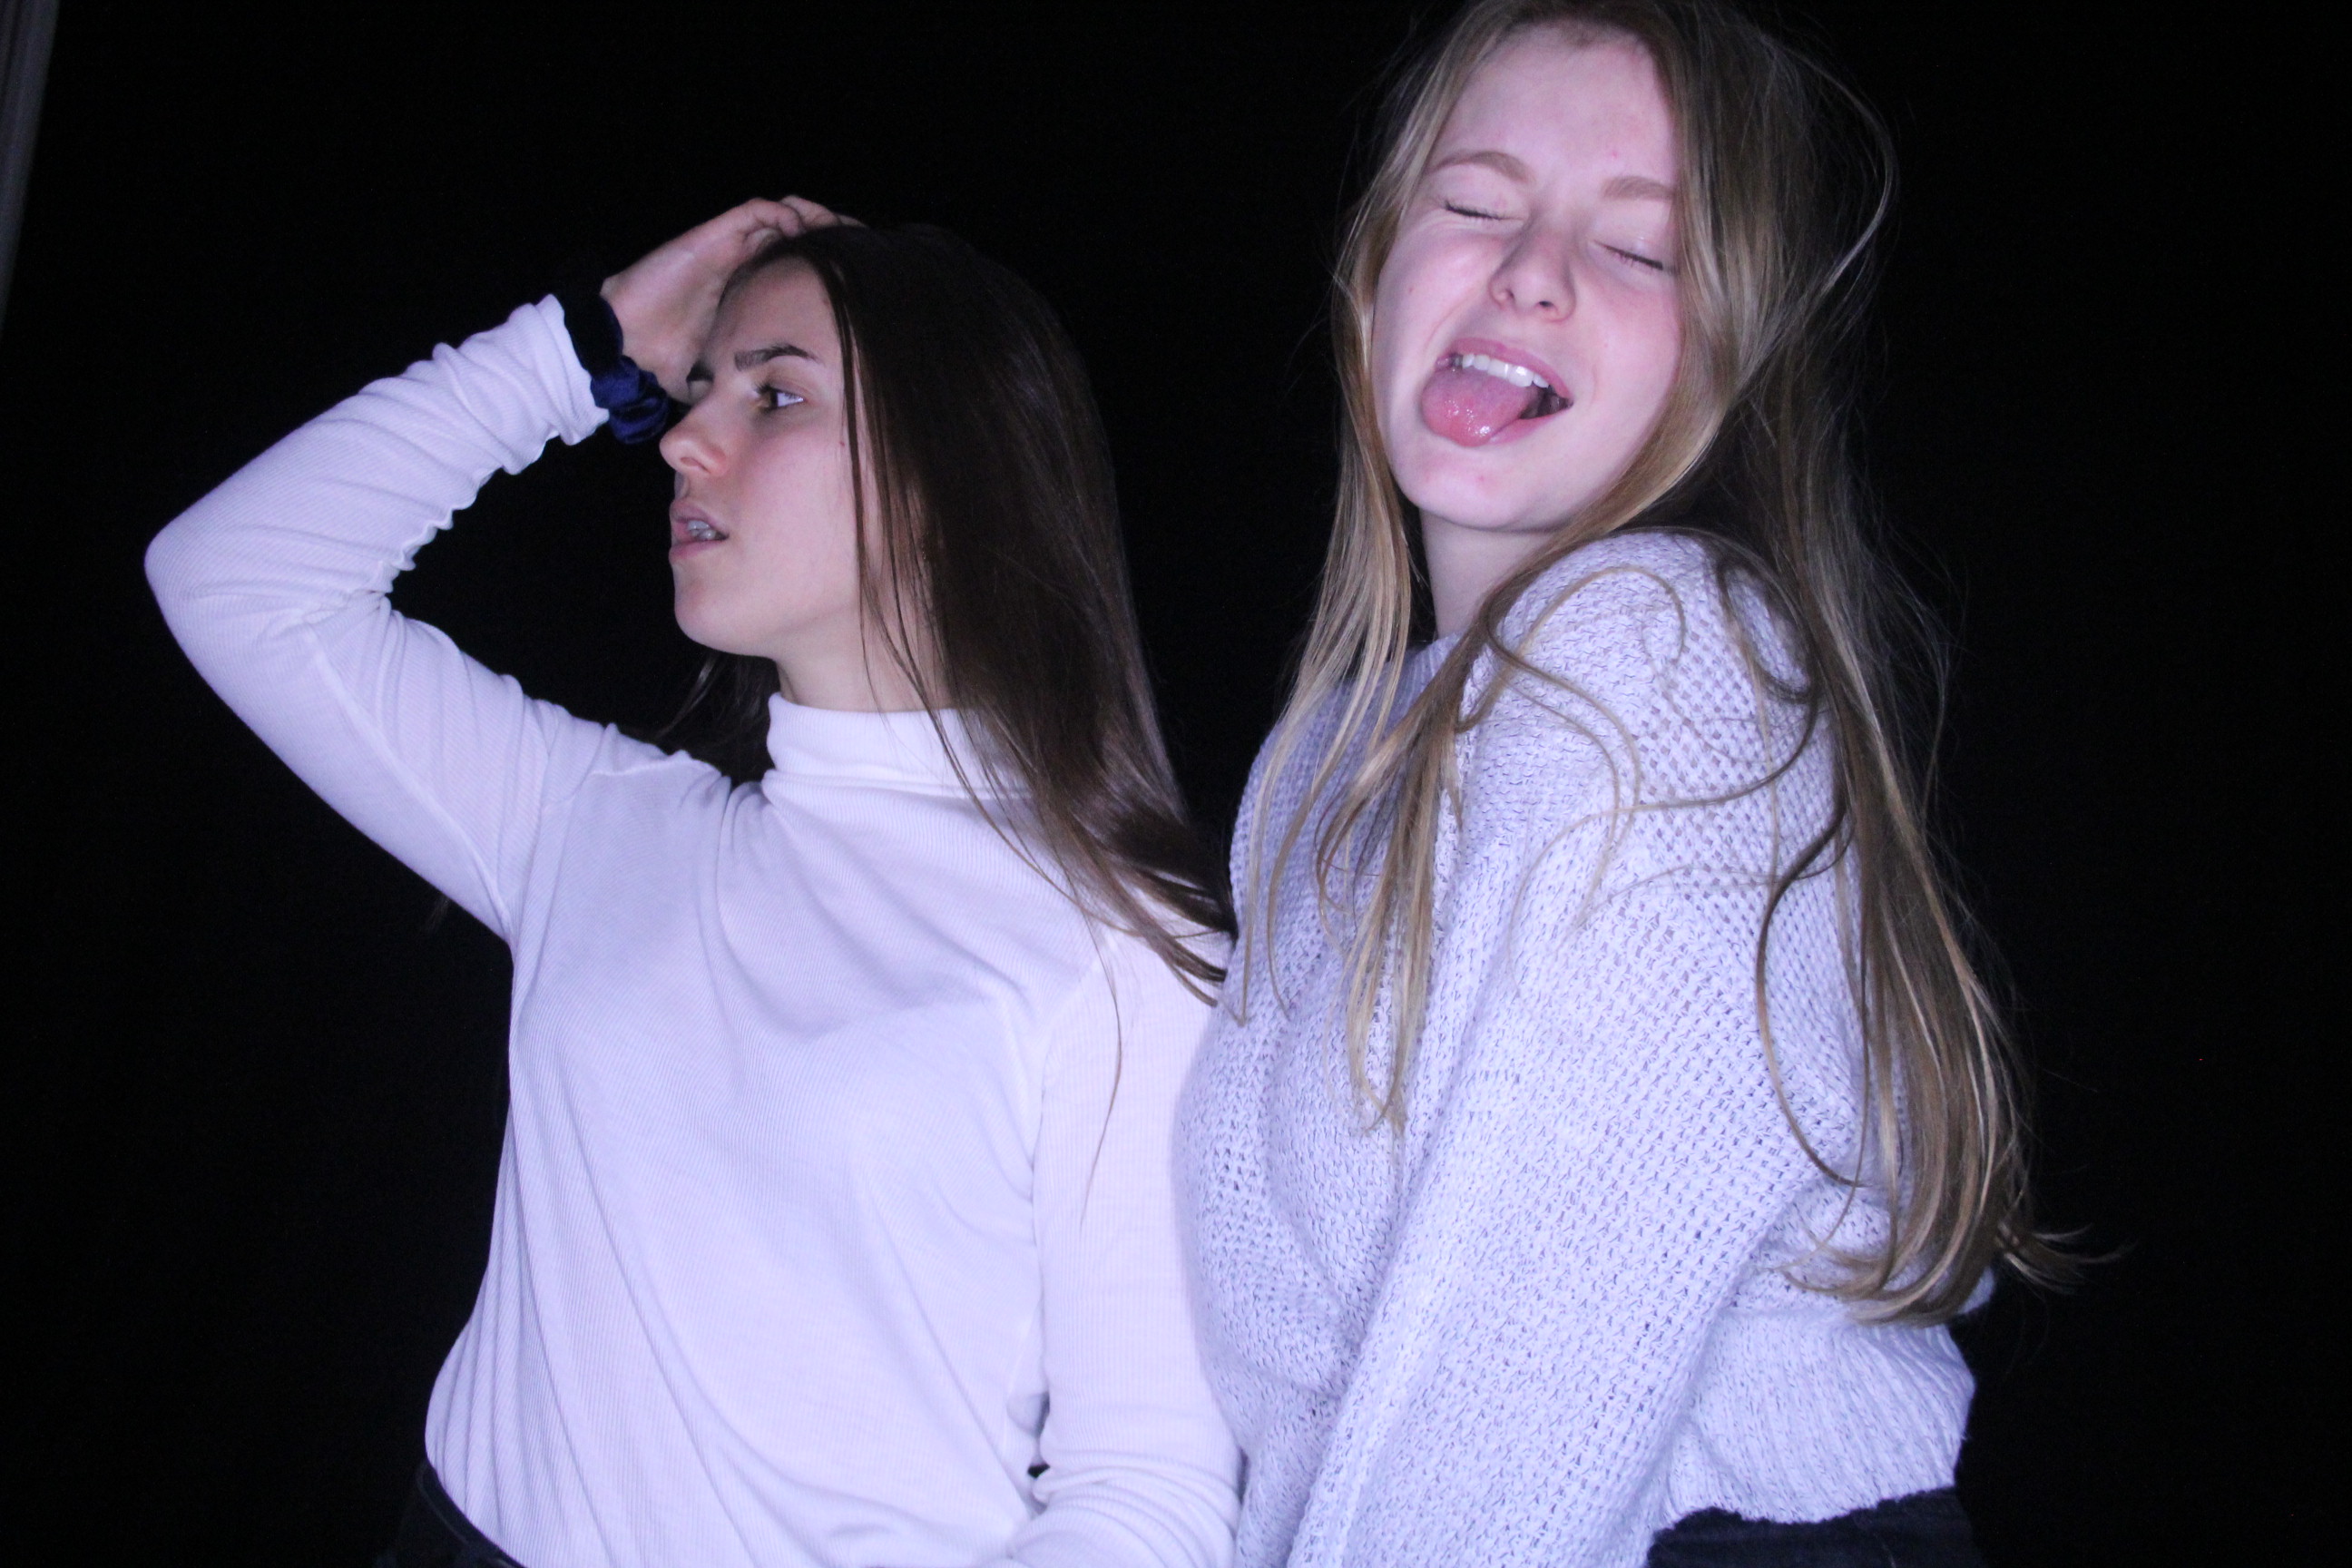
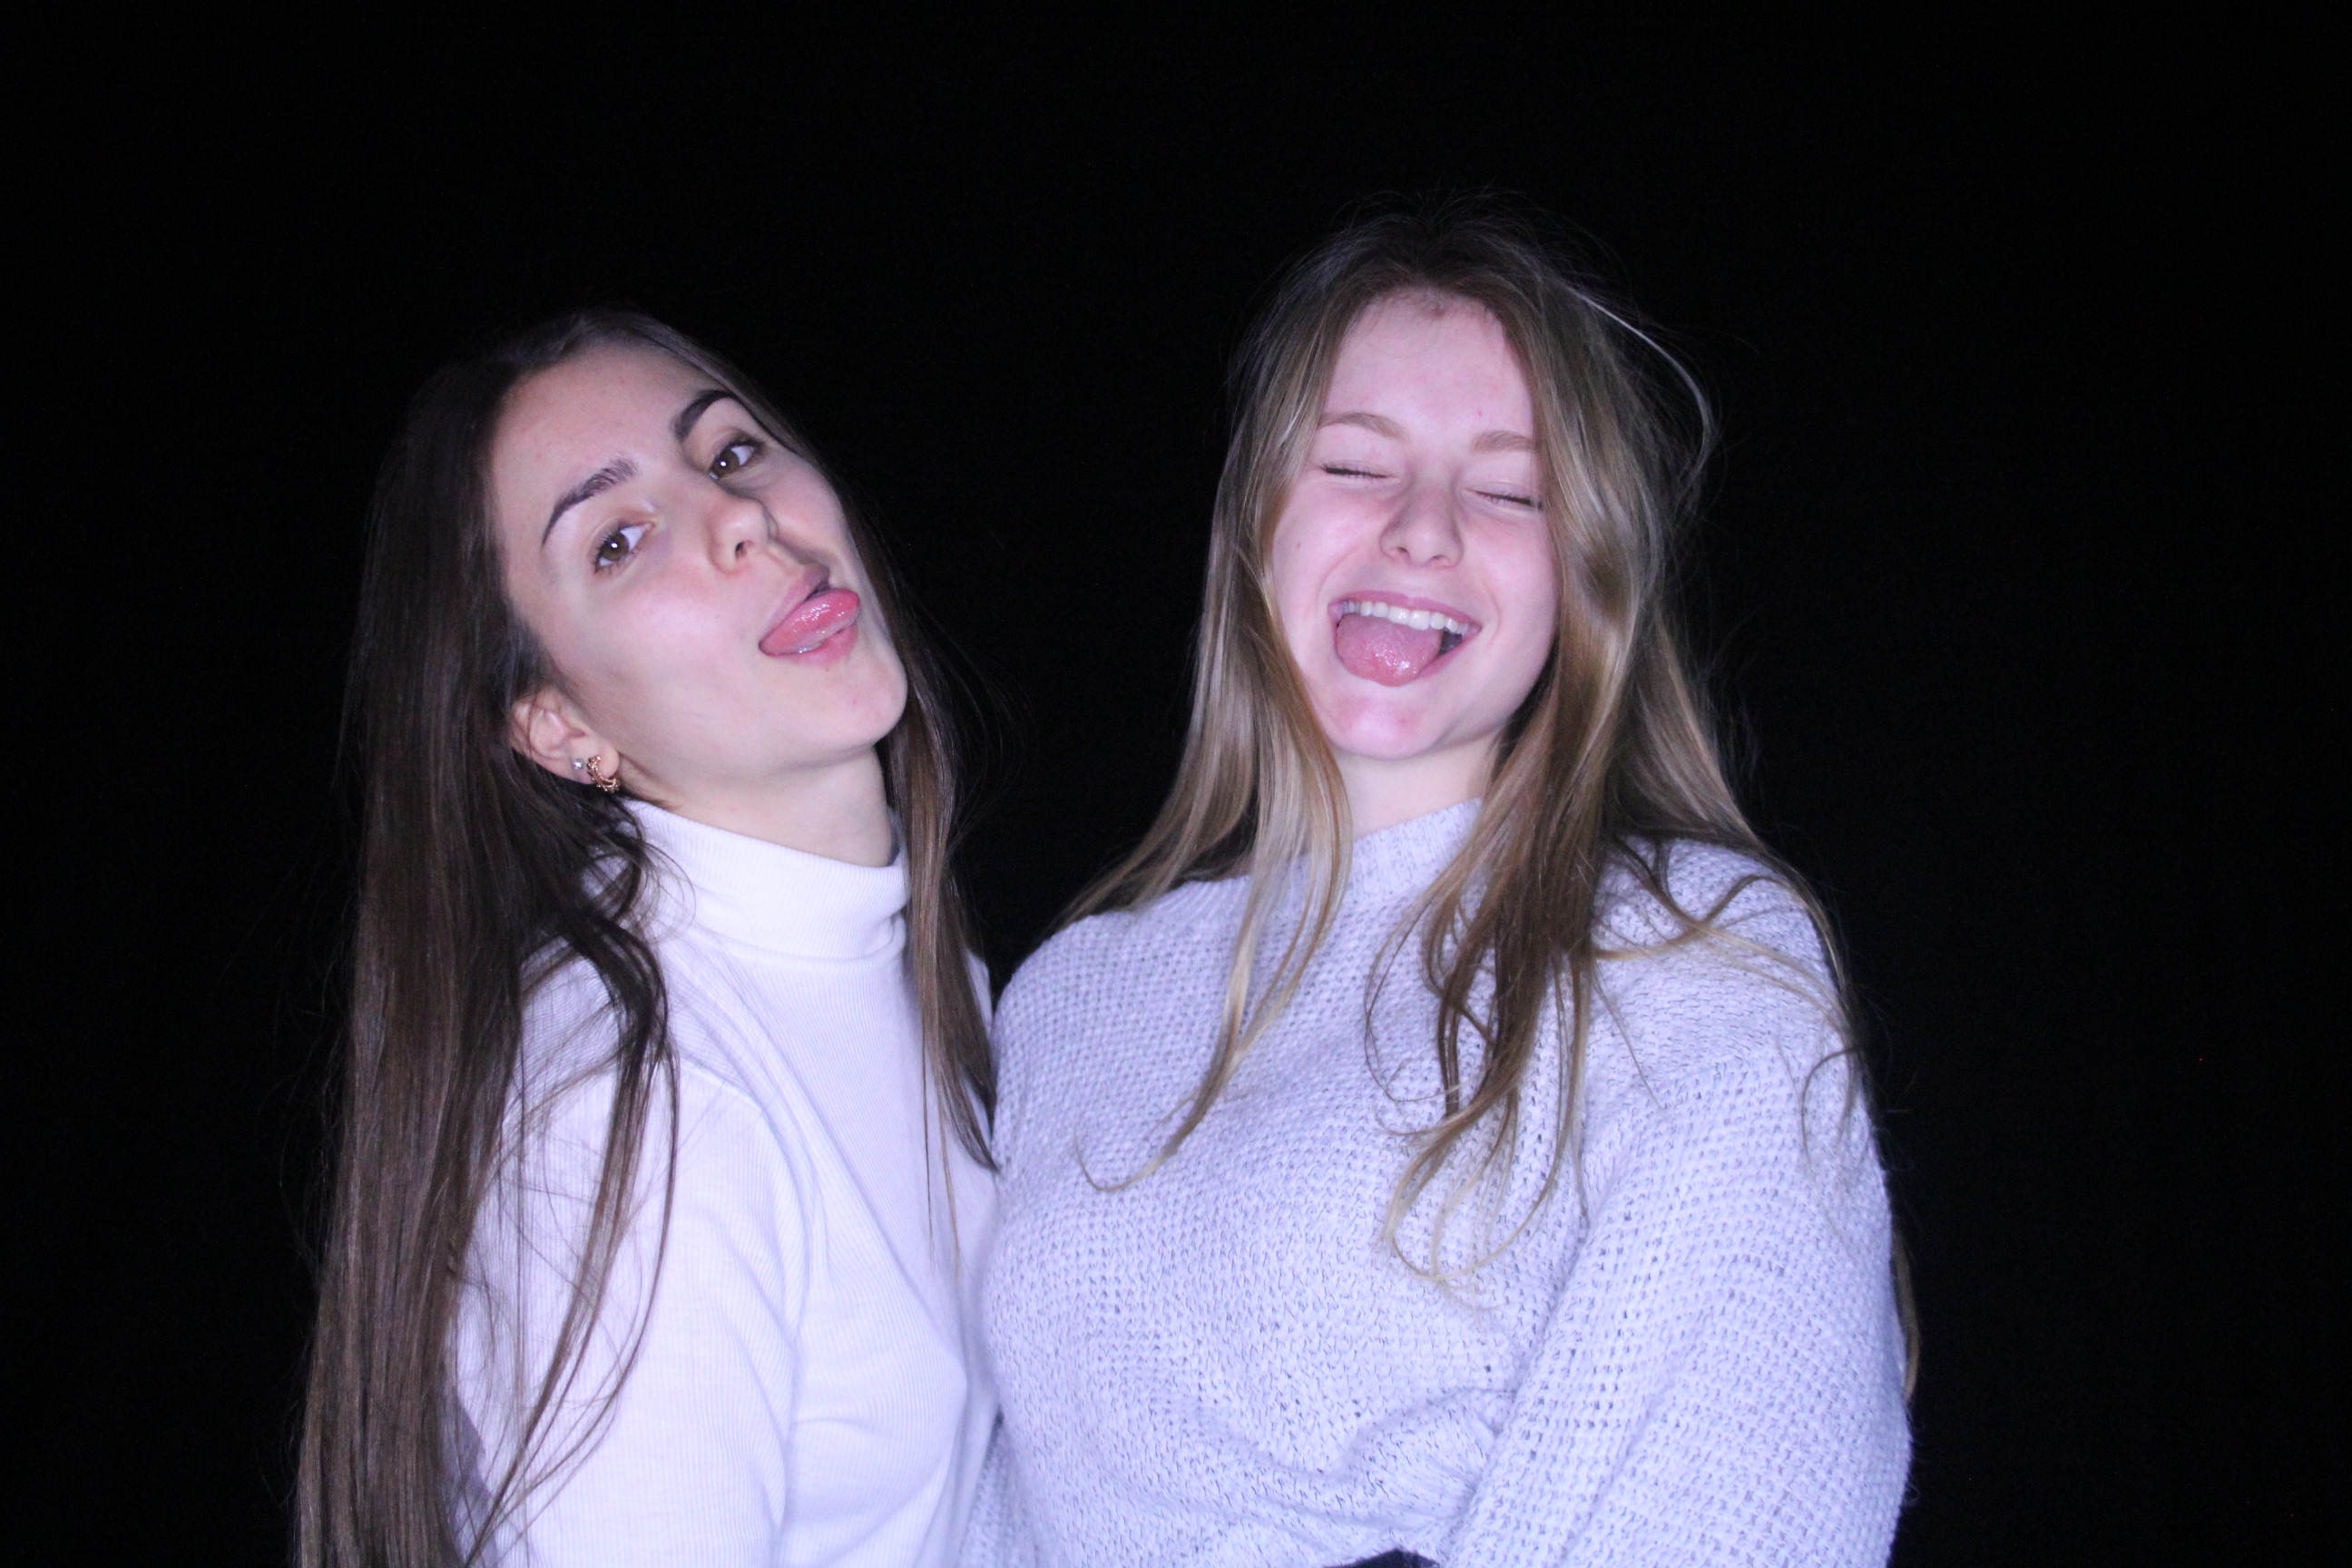
When using a full studio lighting set, I was working on looking at the contrast of light and Dark and over exposure and under exposure. Also how different lights give different effects and meanings behind photos. Also I was looking at creating shadows and trying to make alive shadow with a second figure behind.
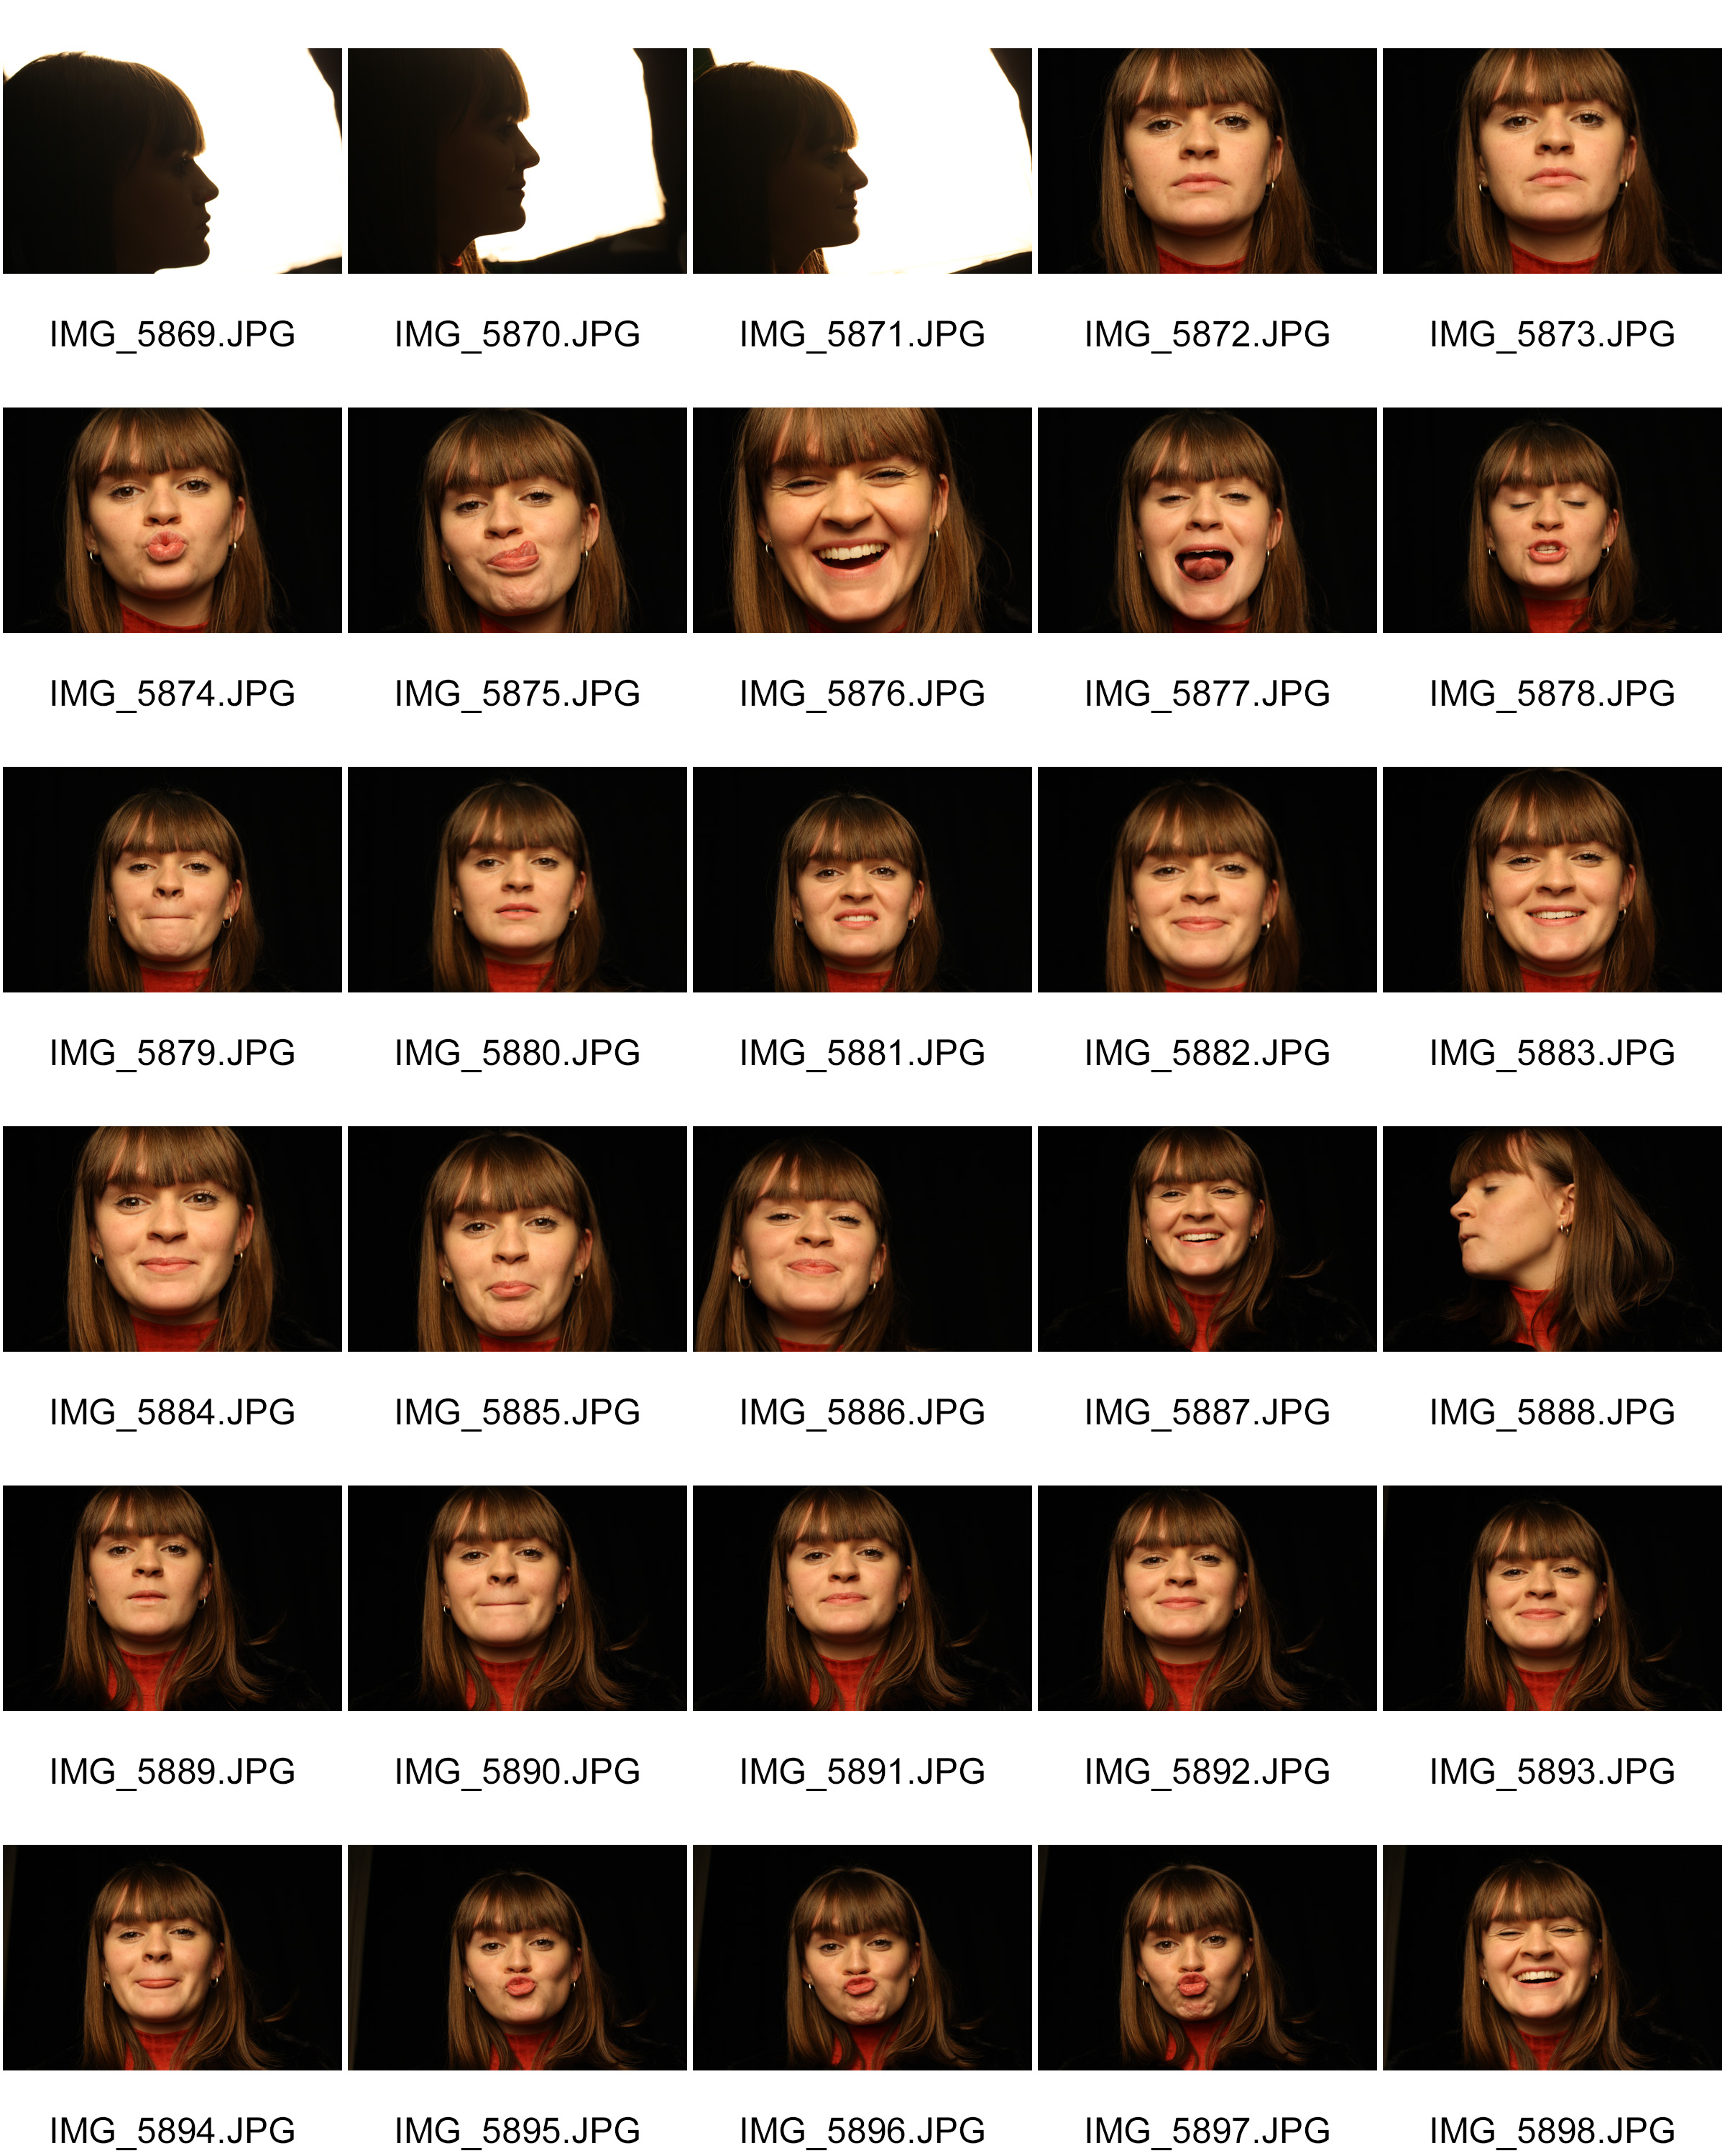
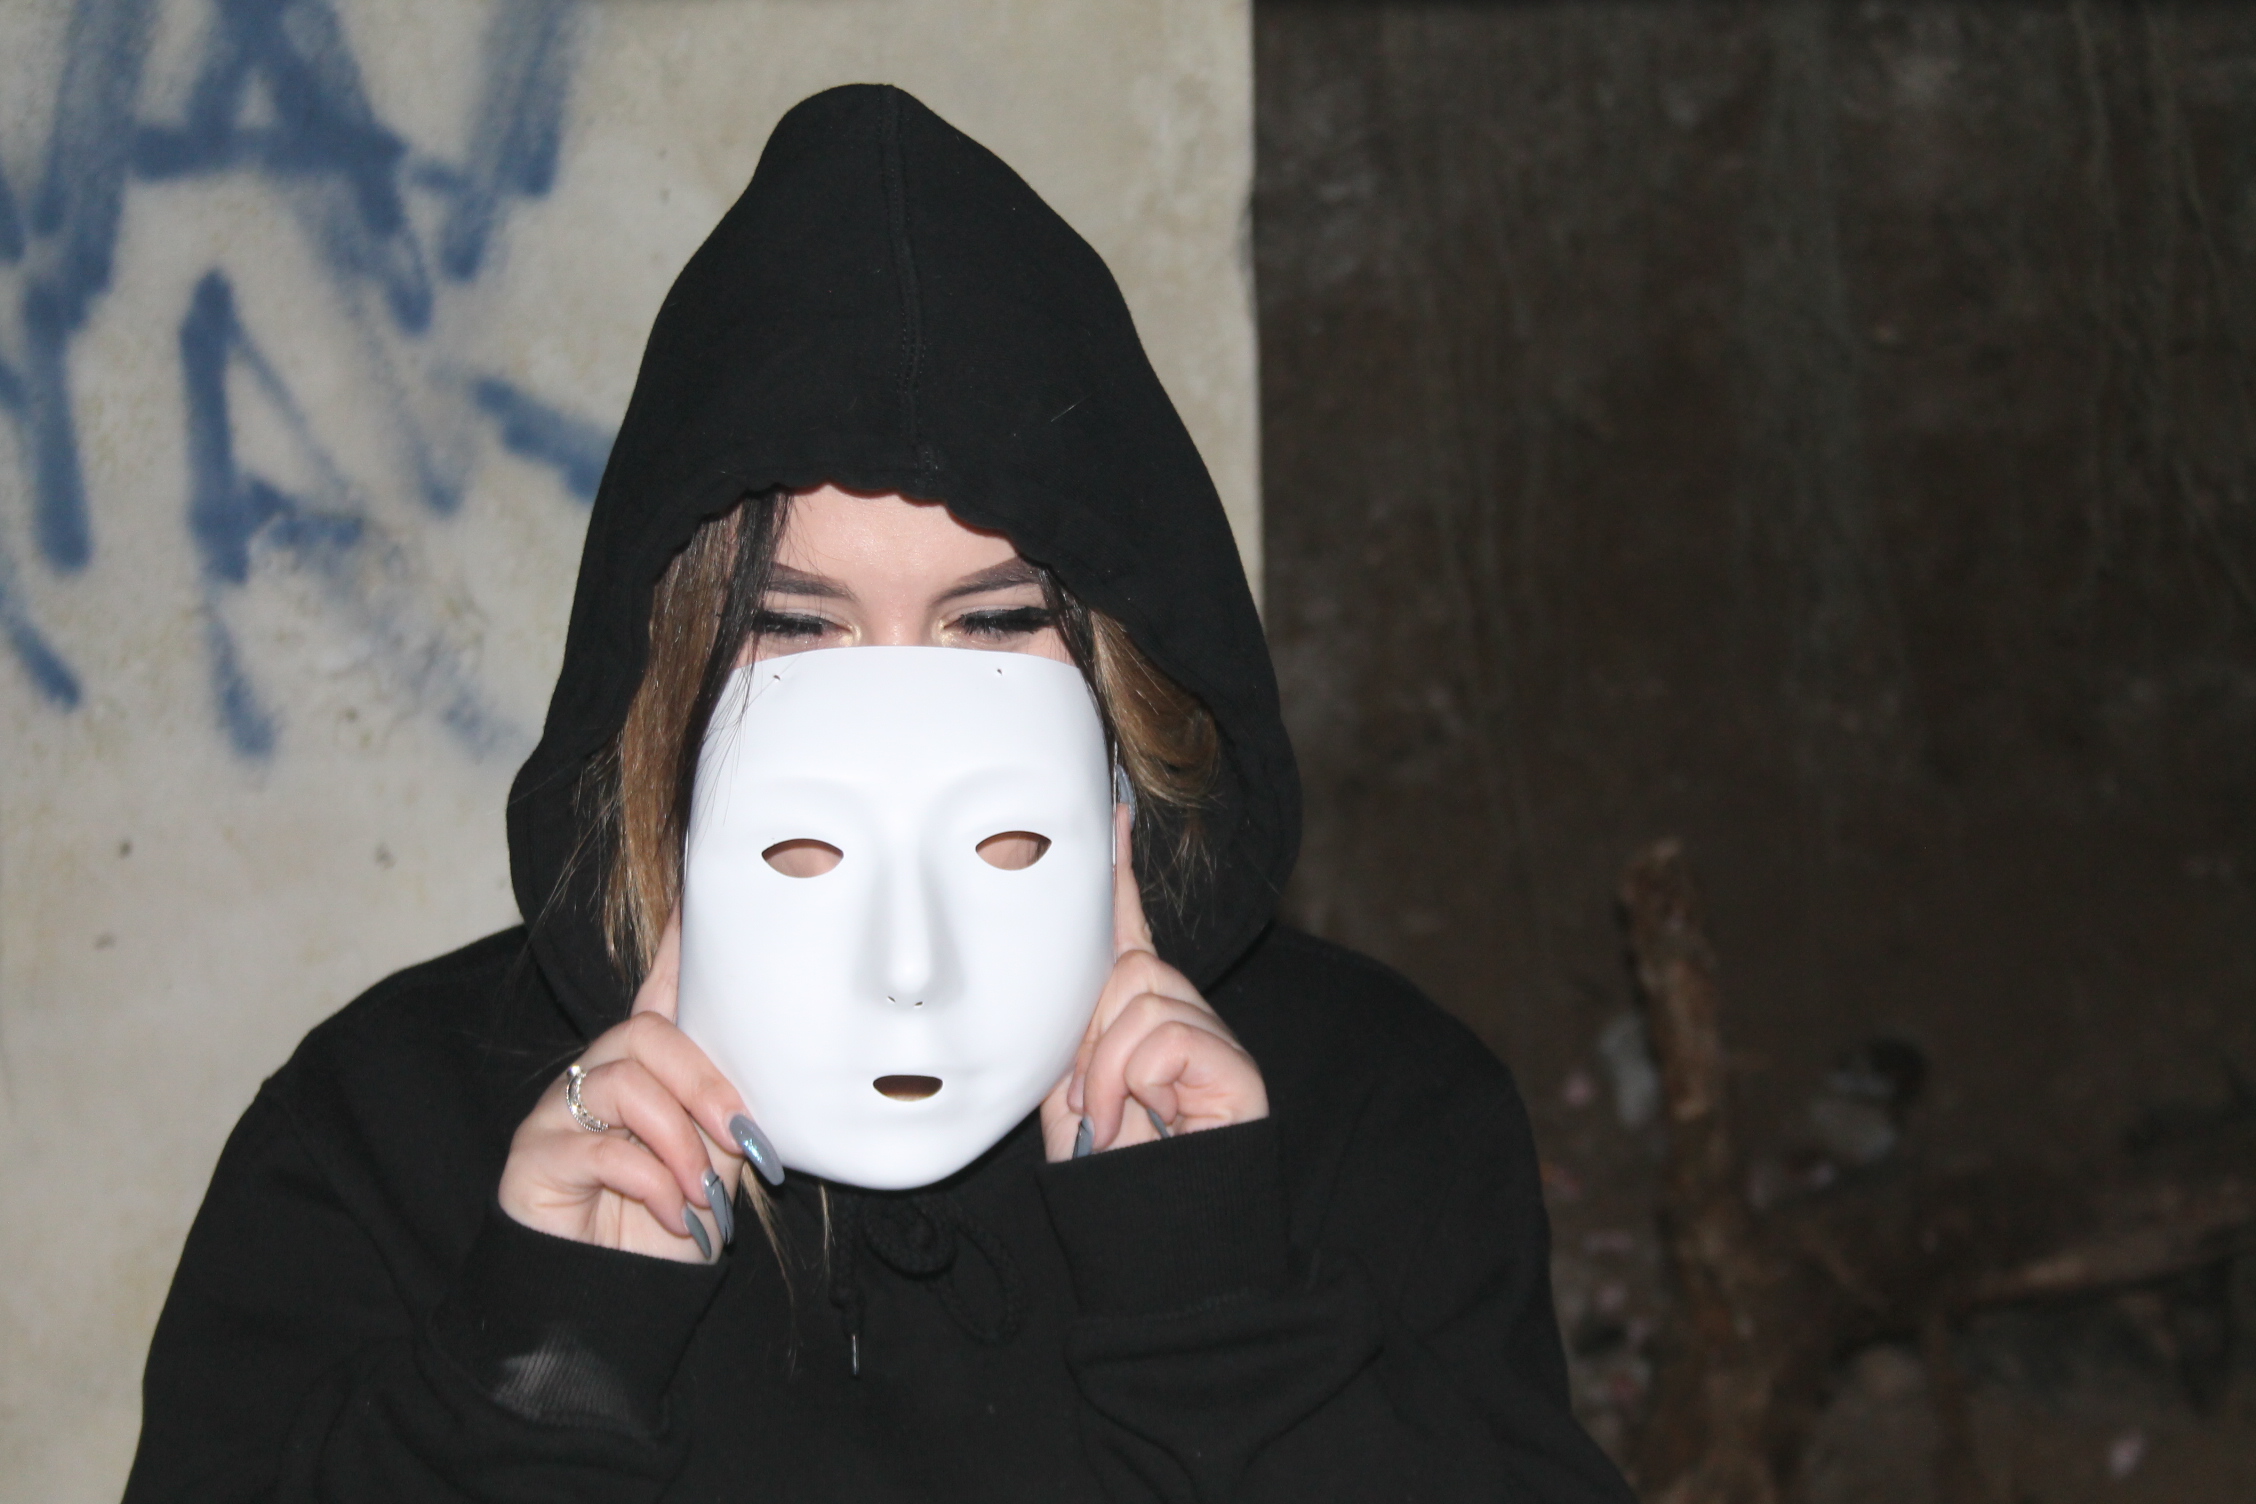
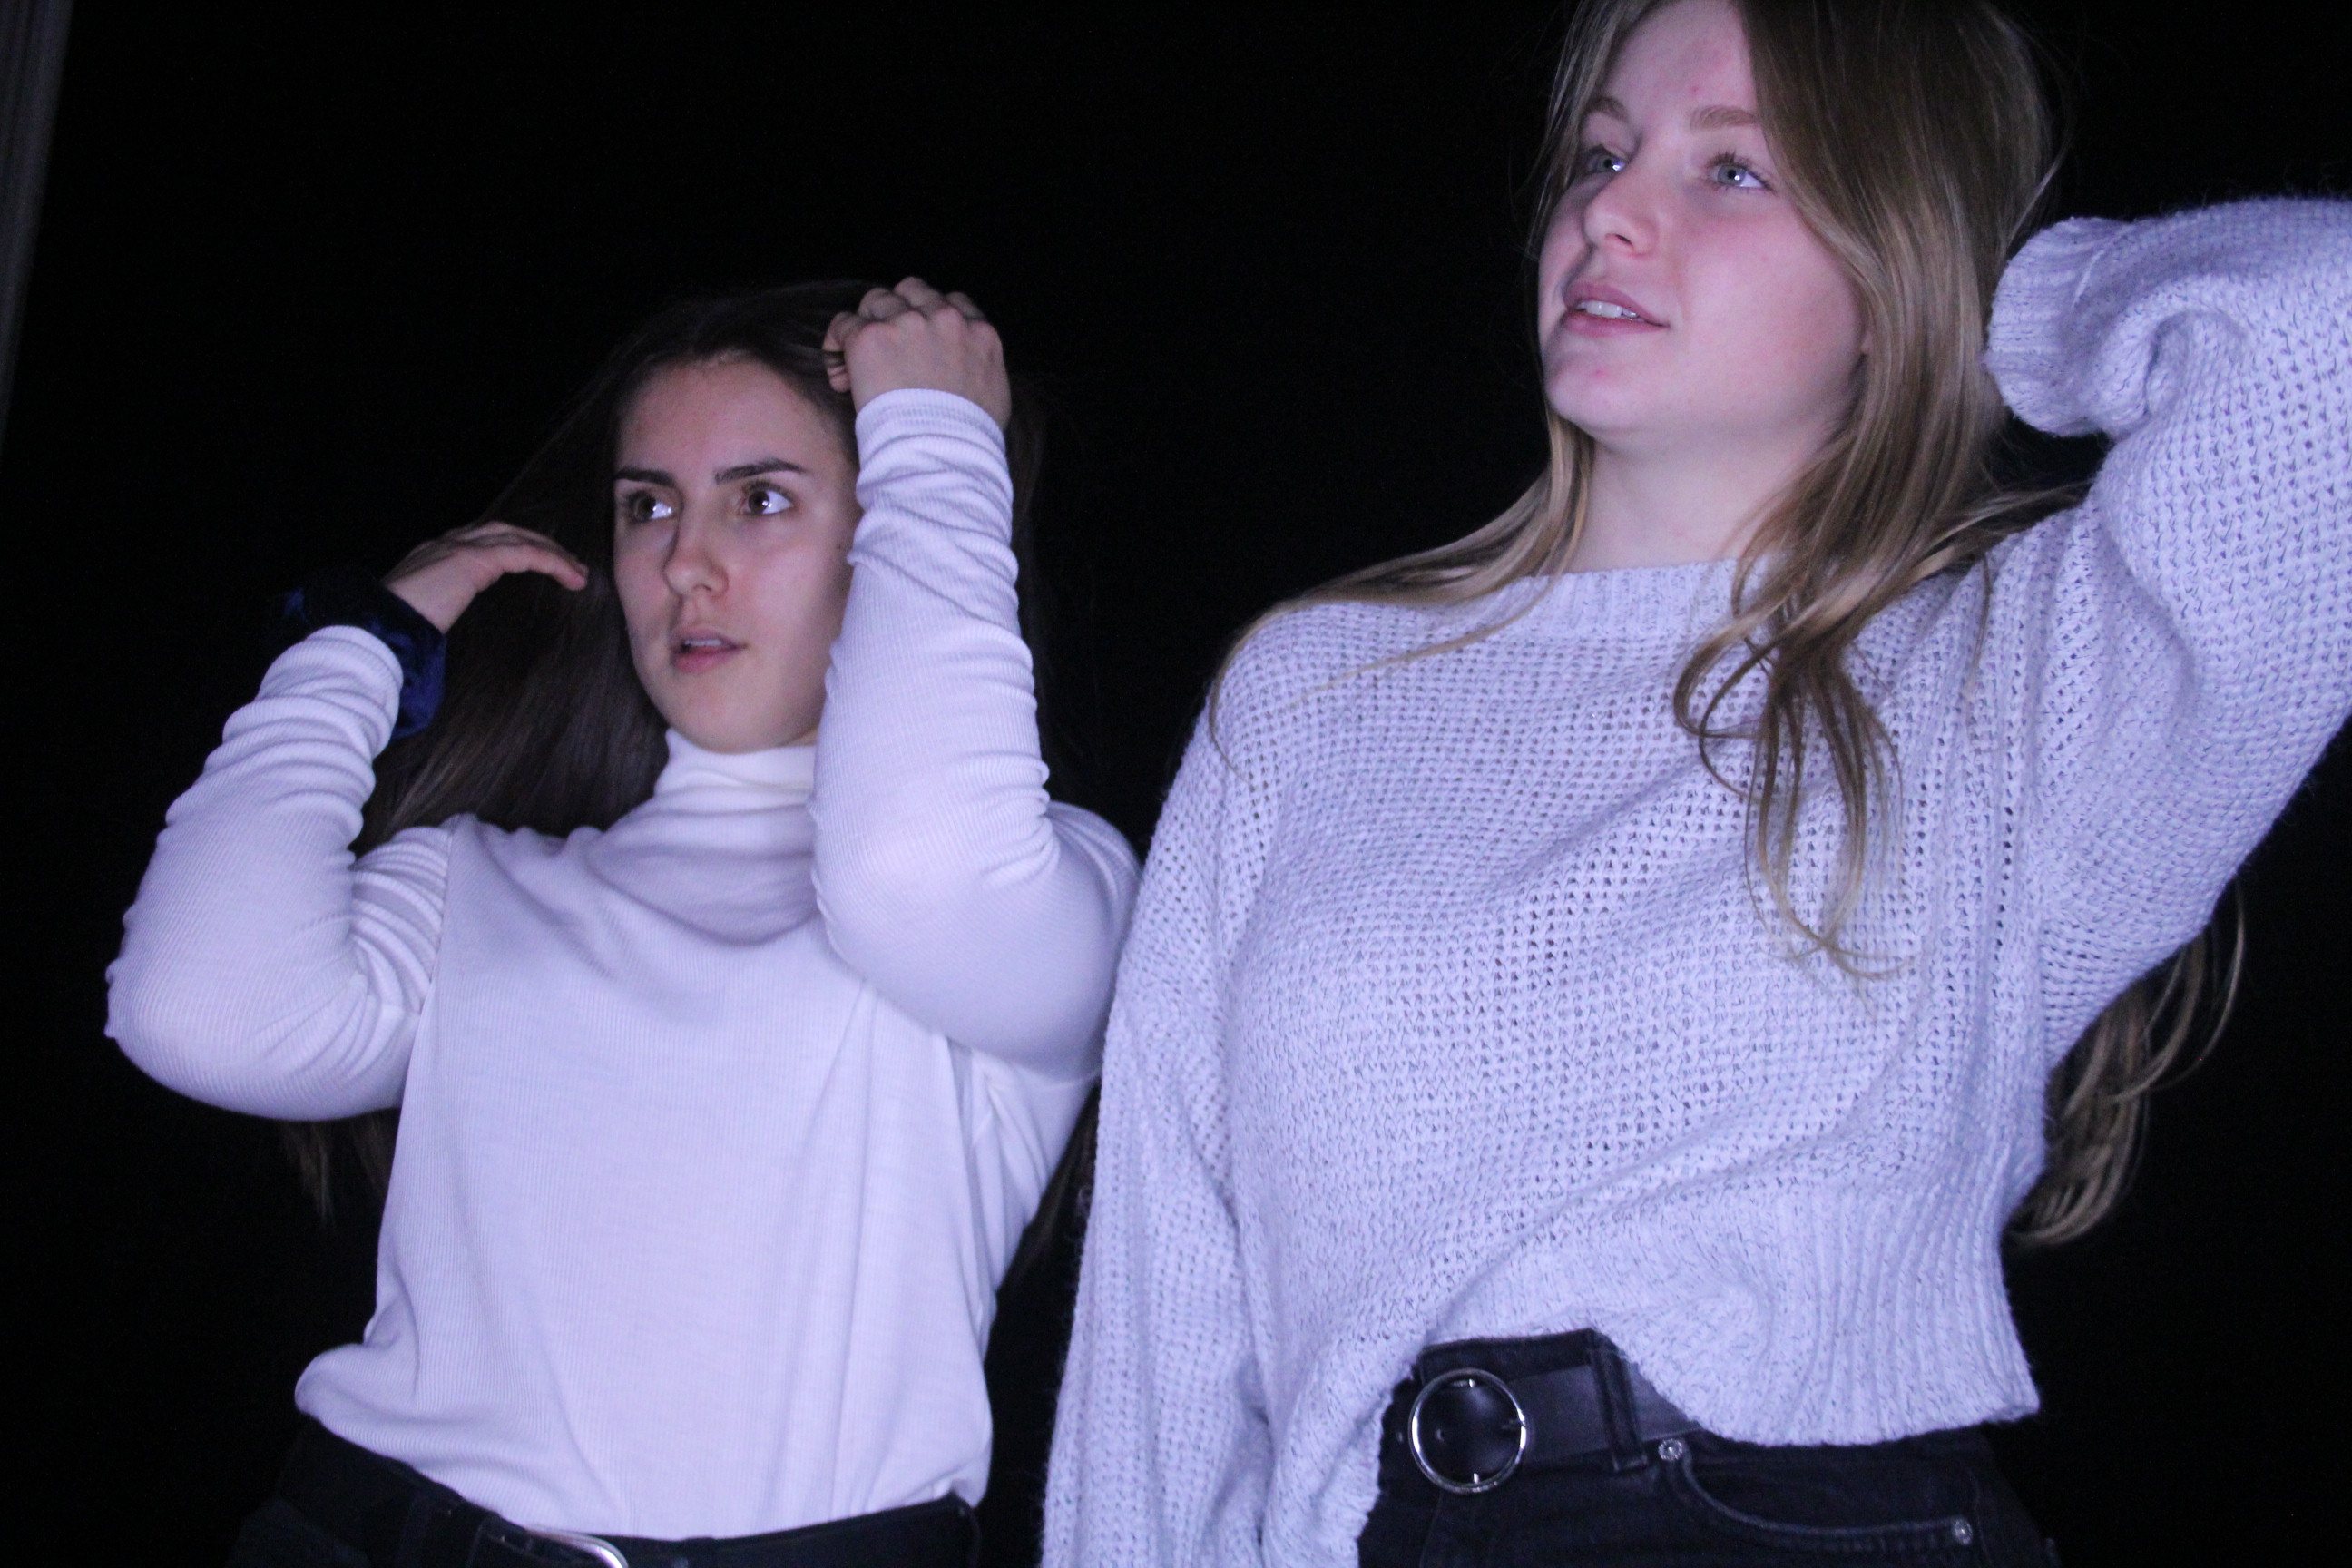
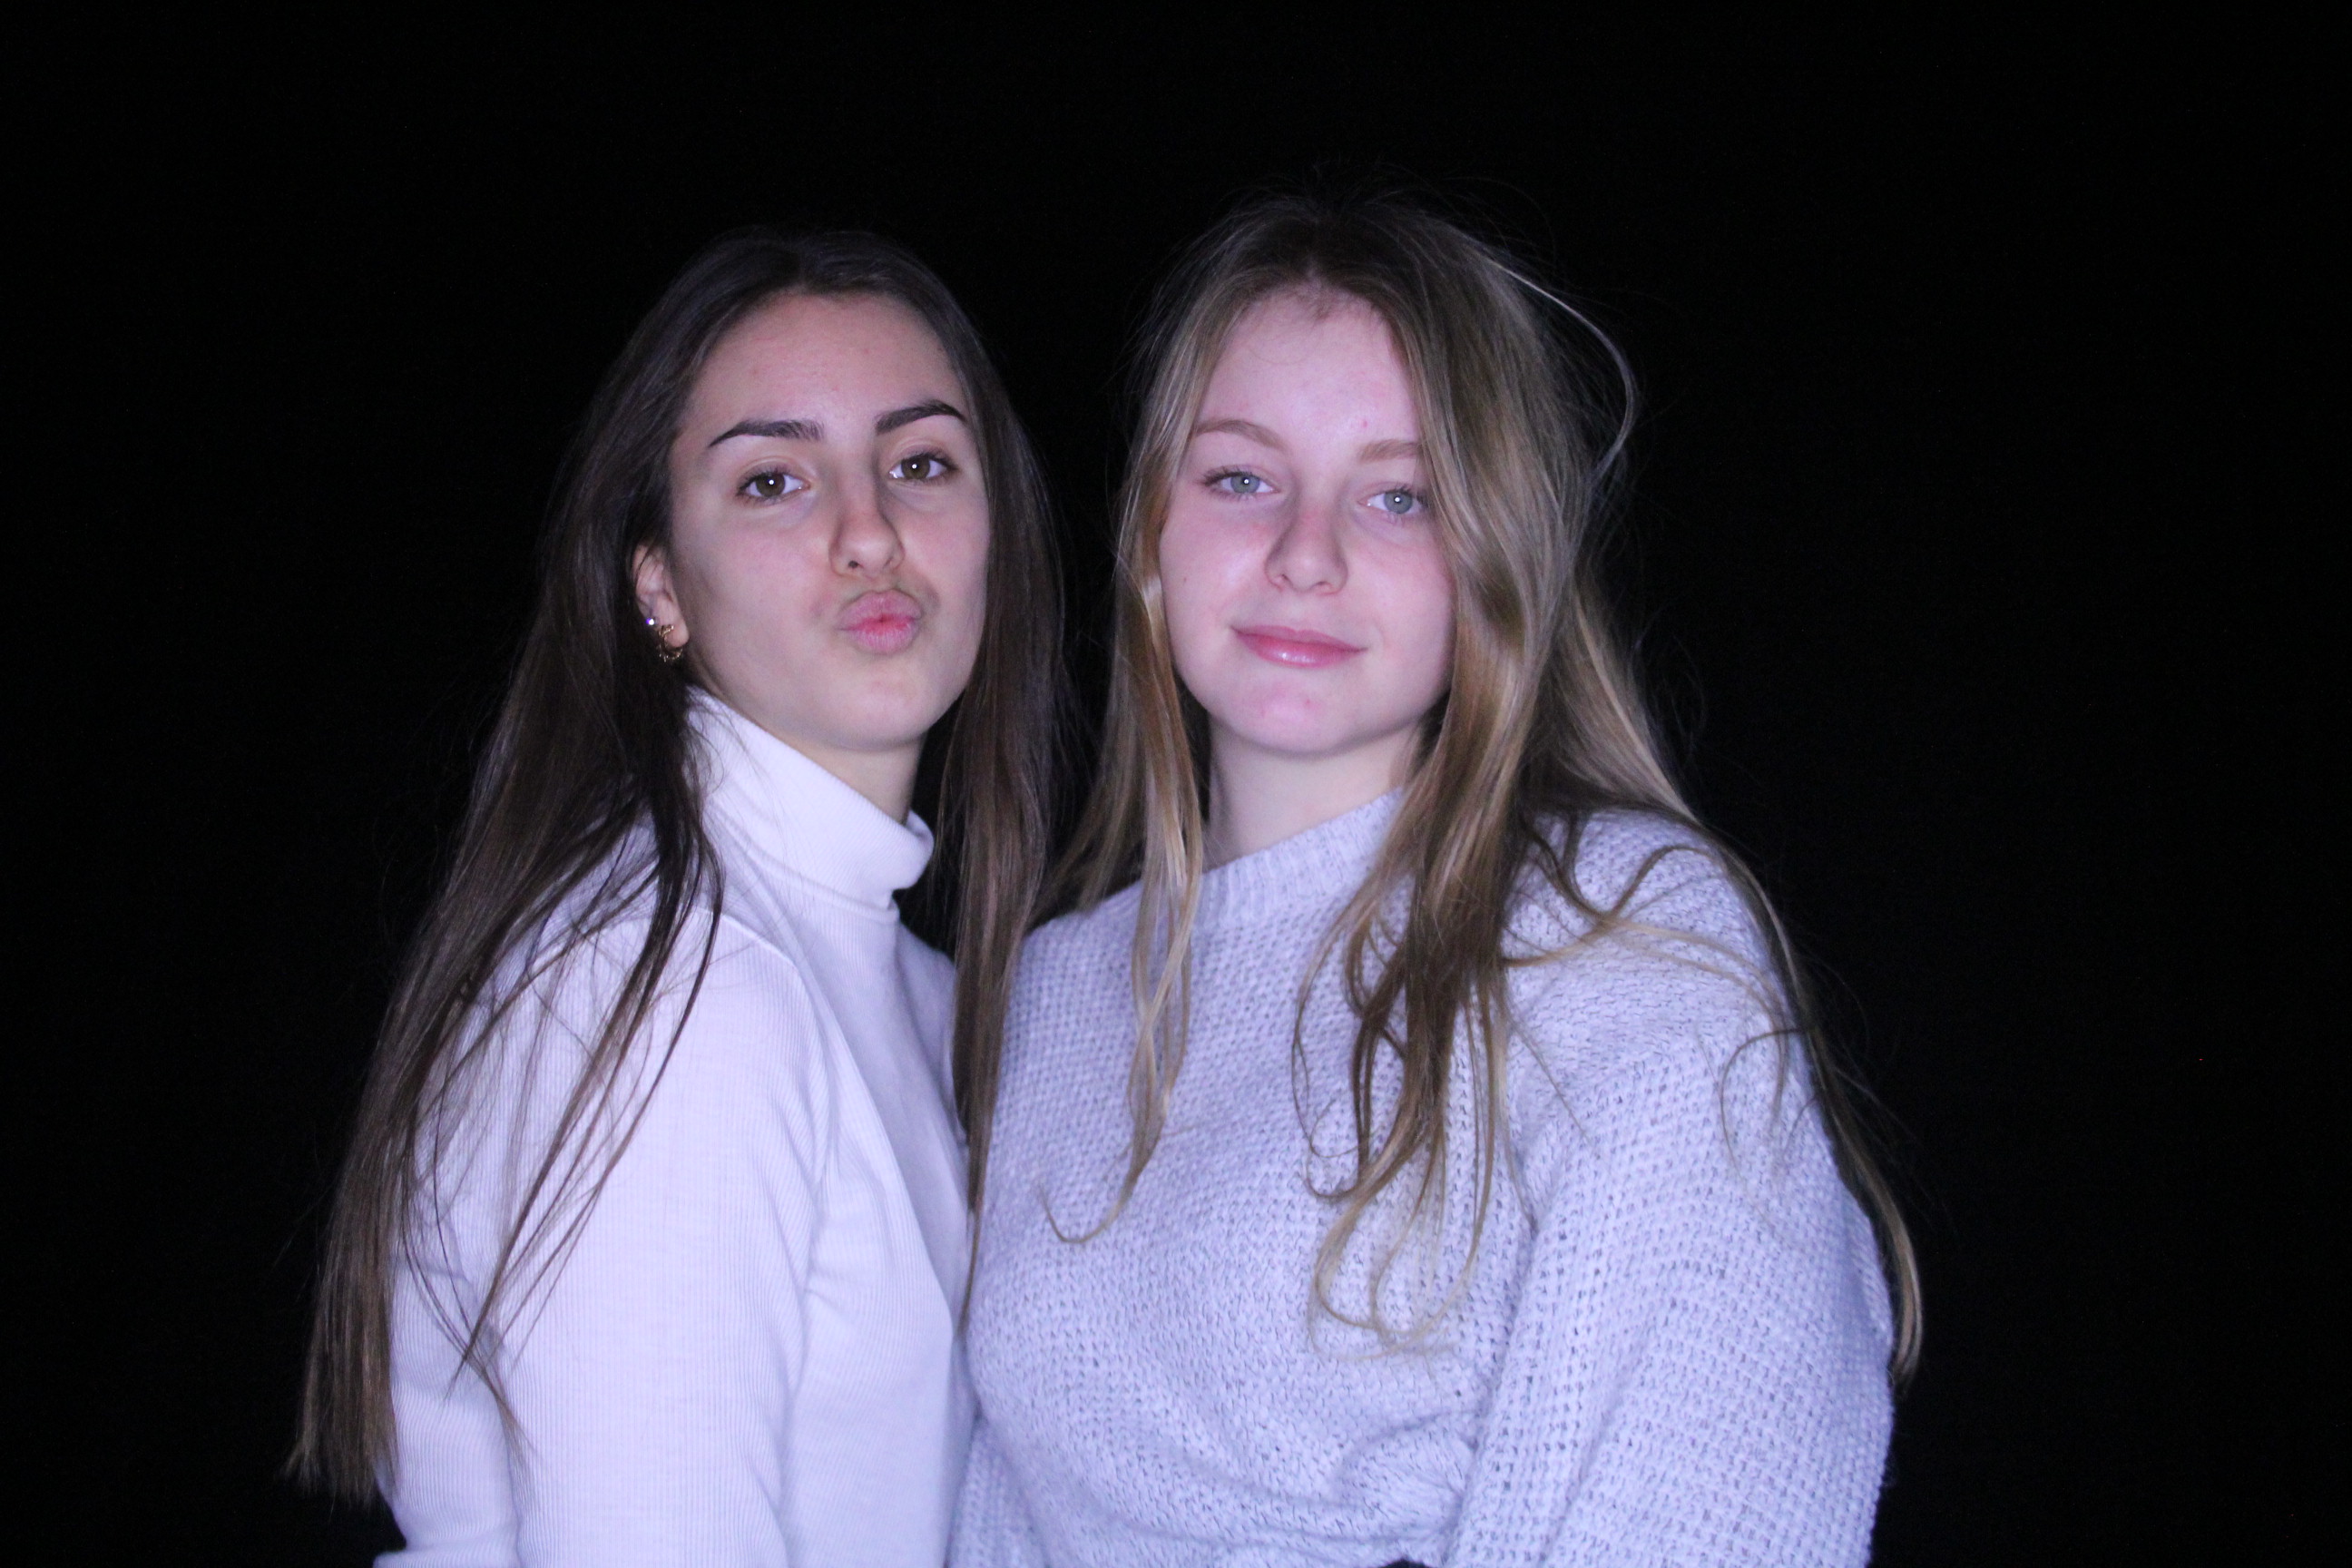
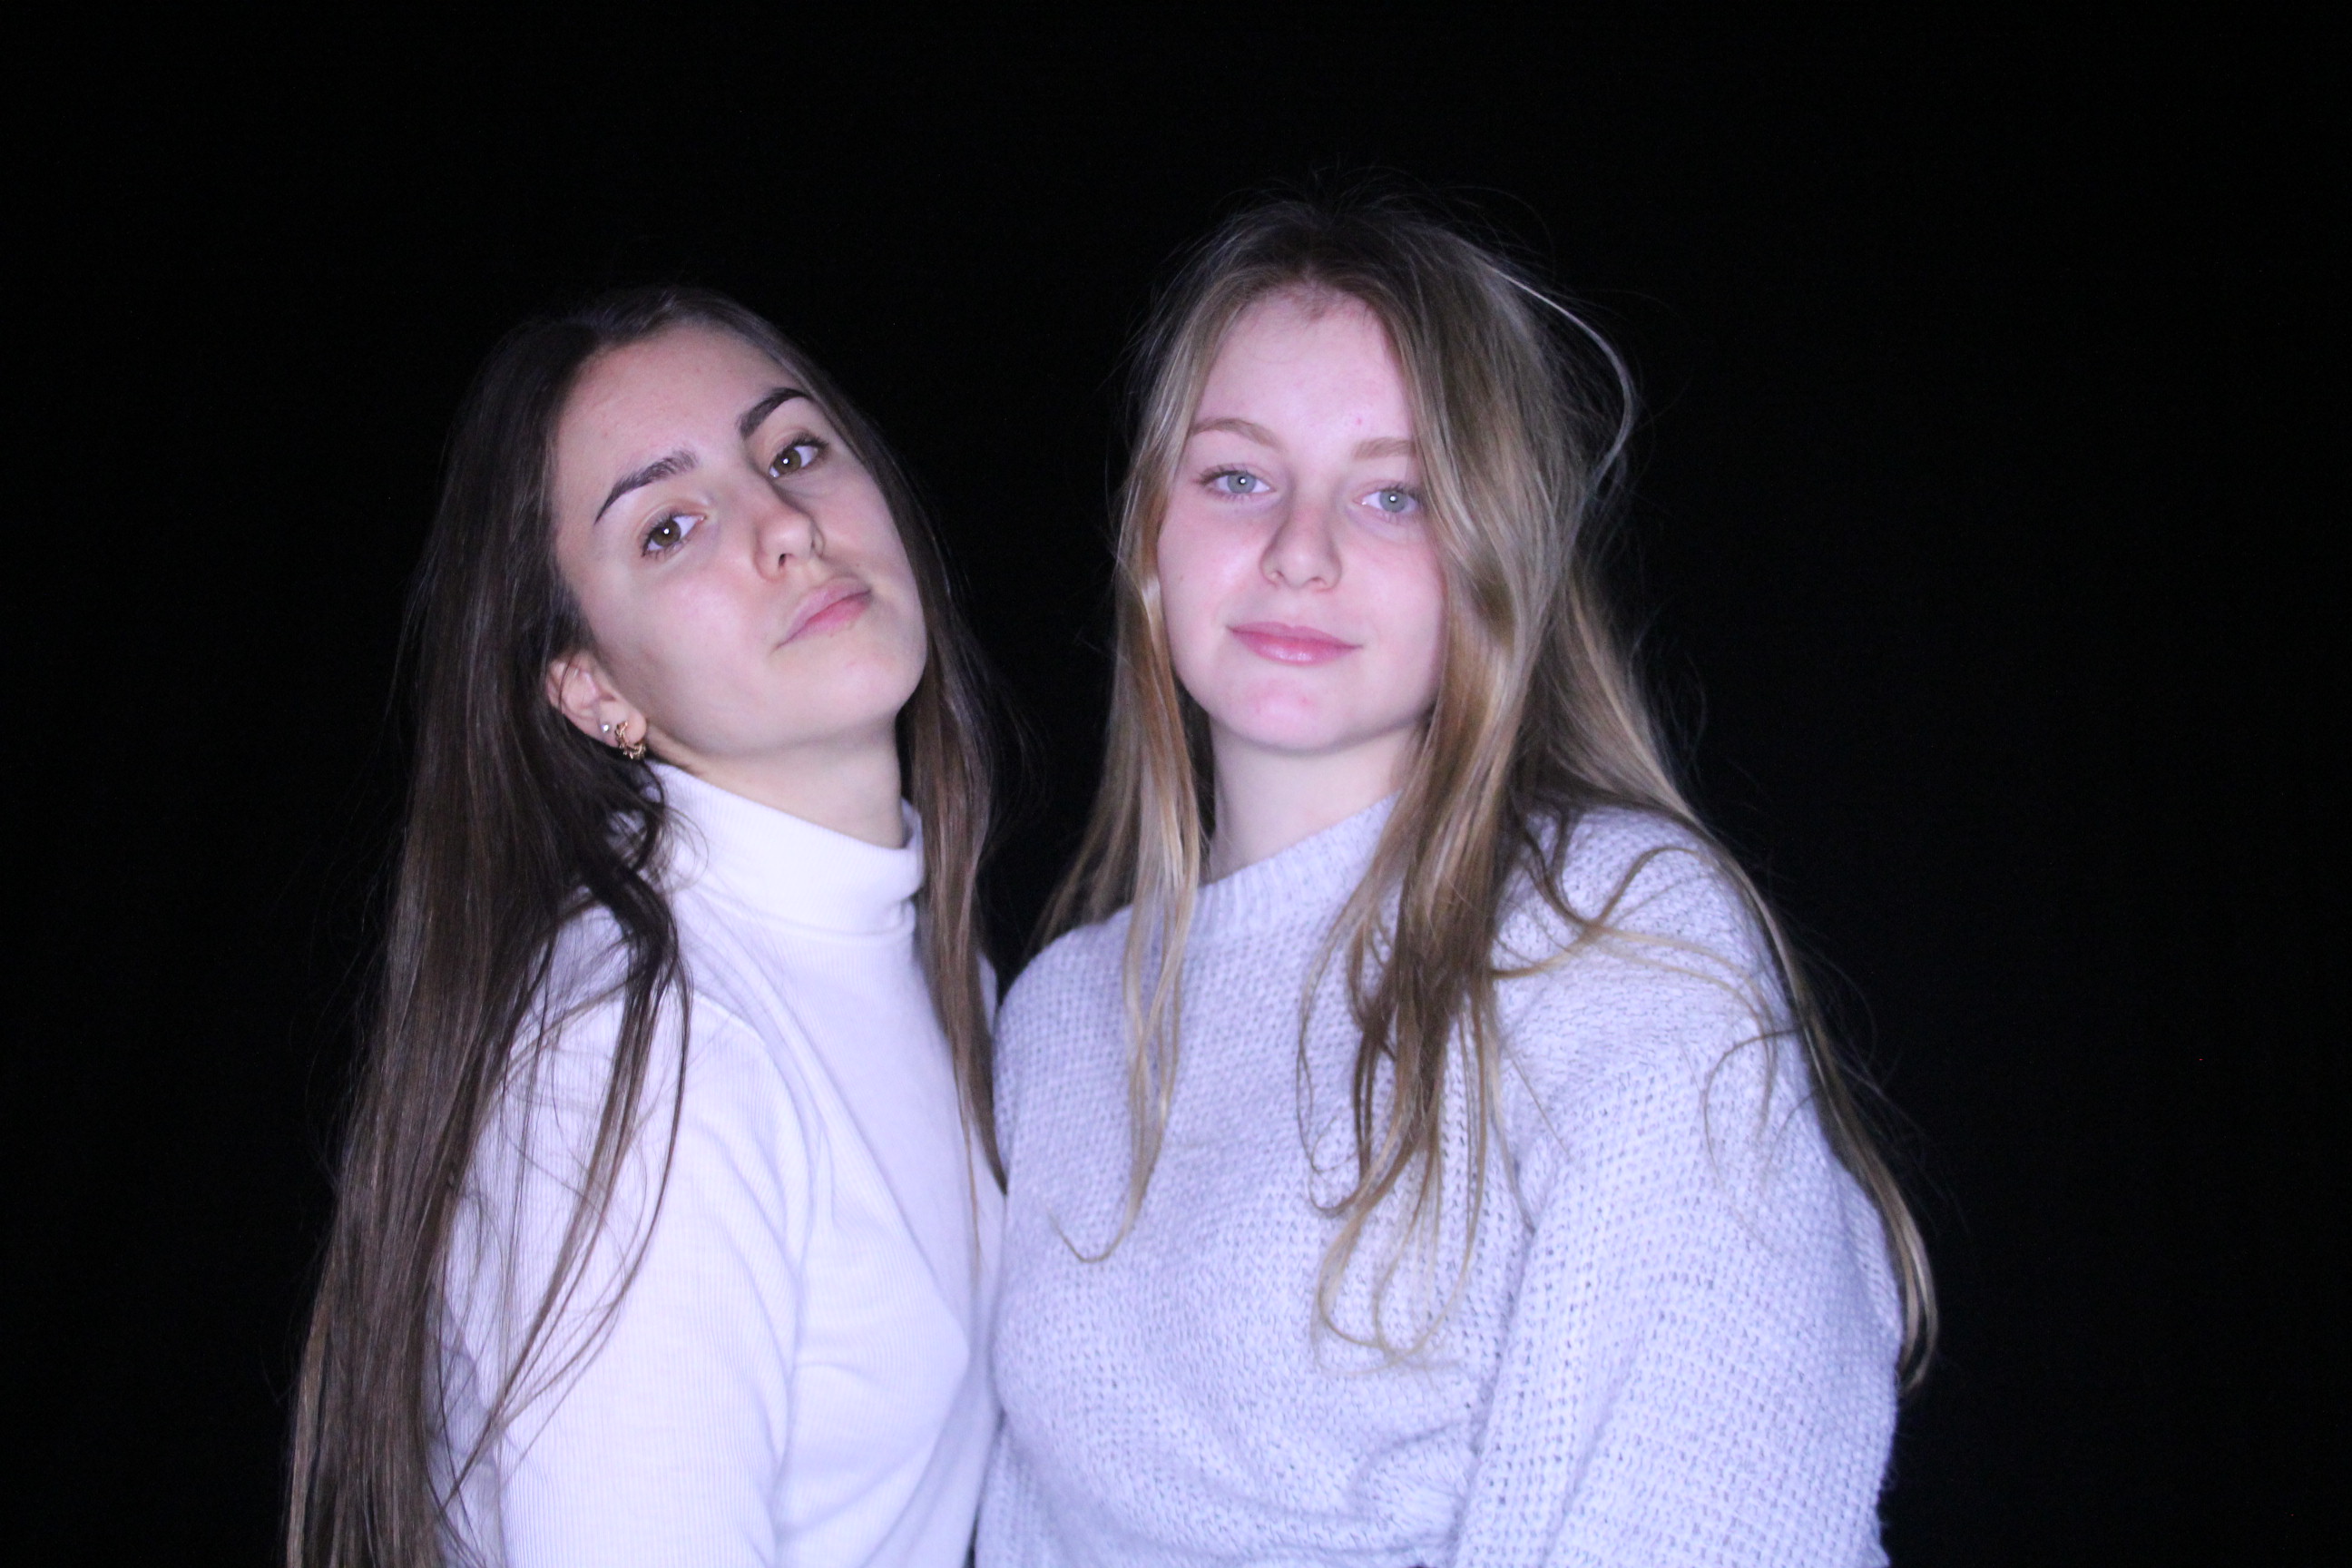
This is working on traditional portraits and lighting with a plane white or black back ground. My aim was to draw attention to the faces and make them the focal point of the picture. Worked with different angle making the focal point more to the right or left to offset the image and give it more visual interest and intrigue.
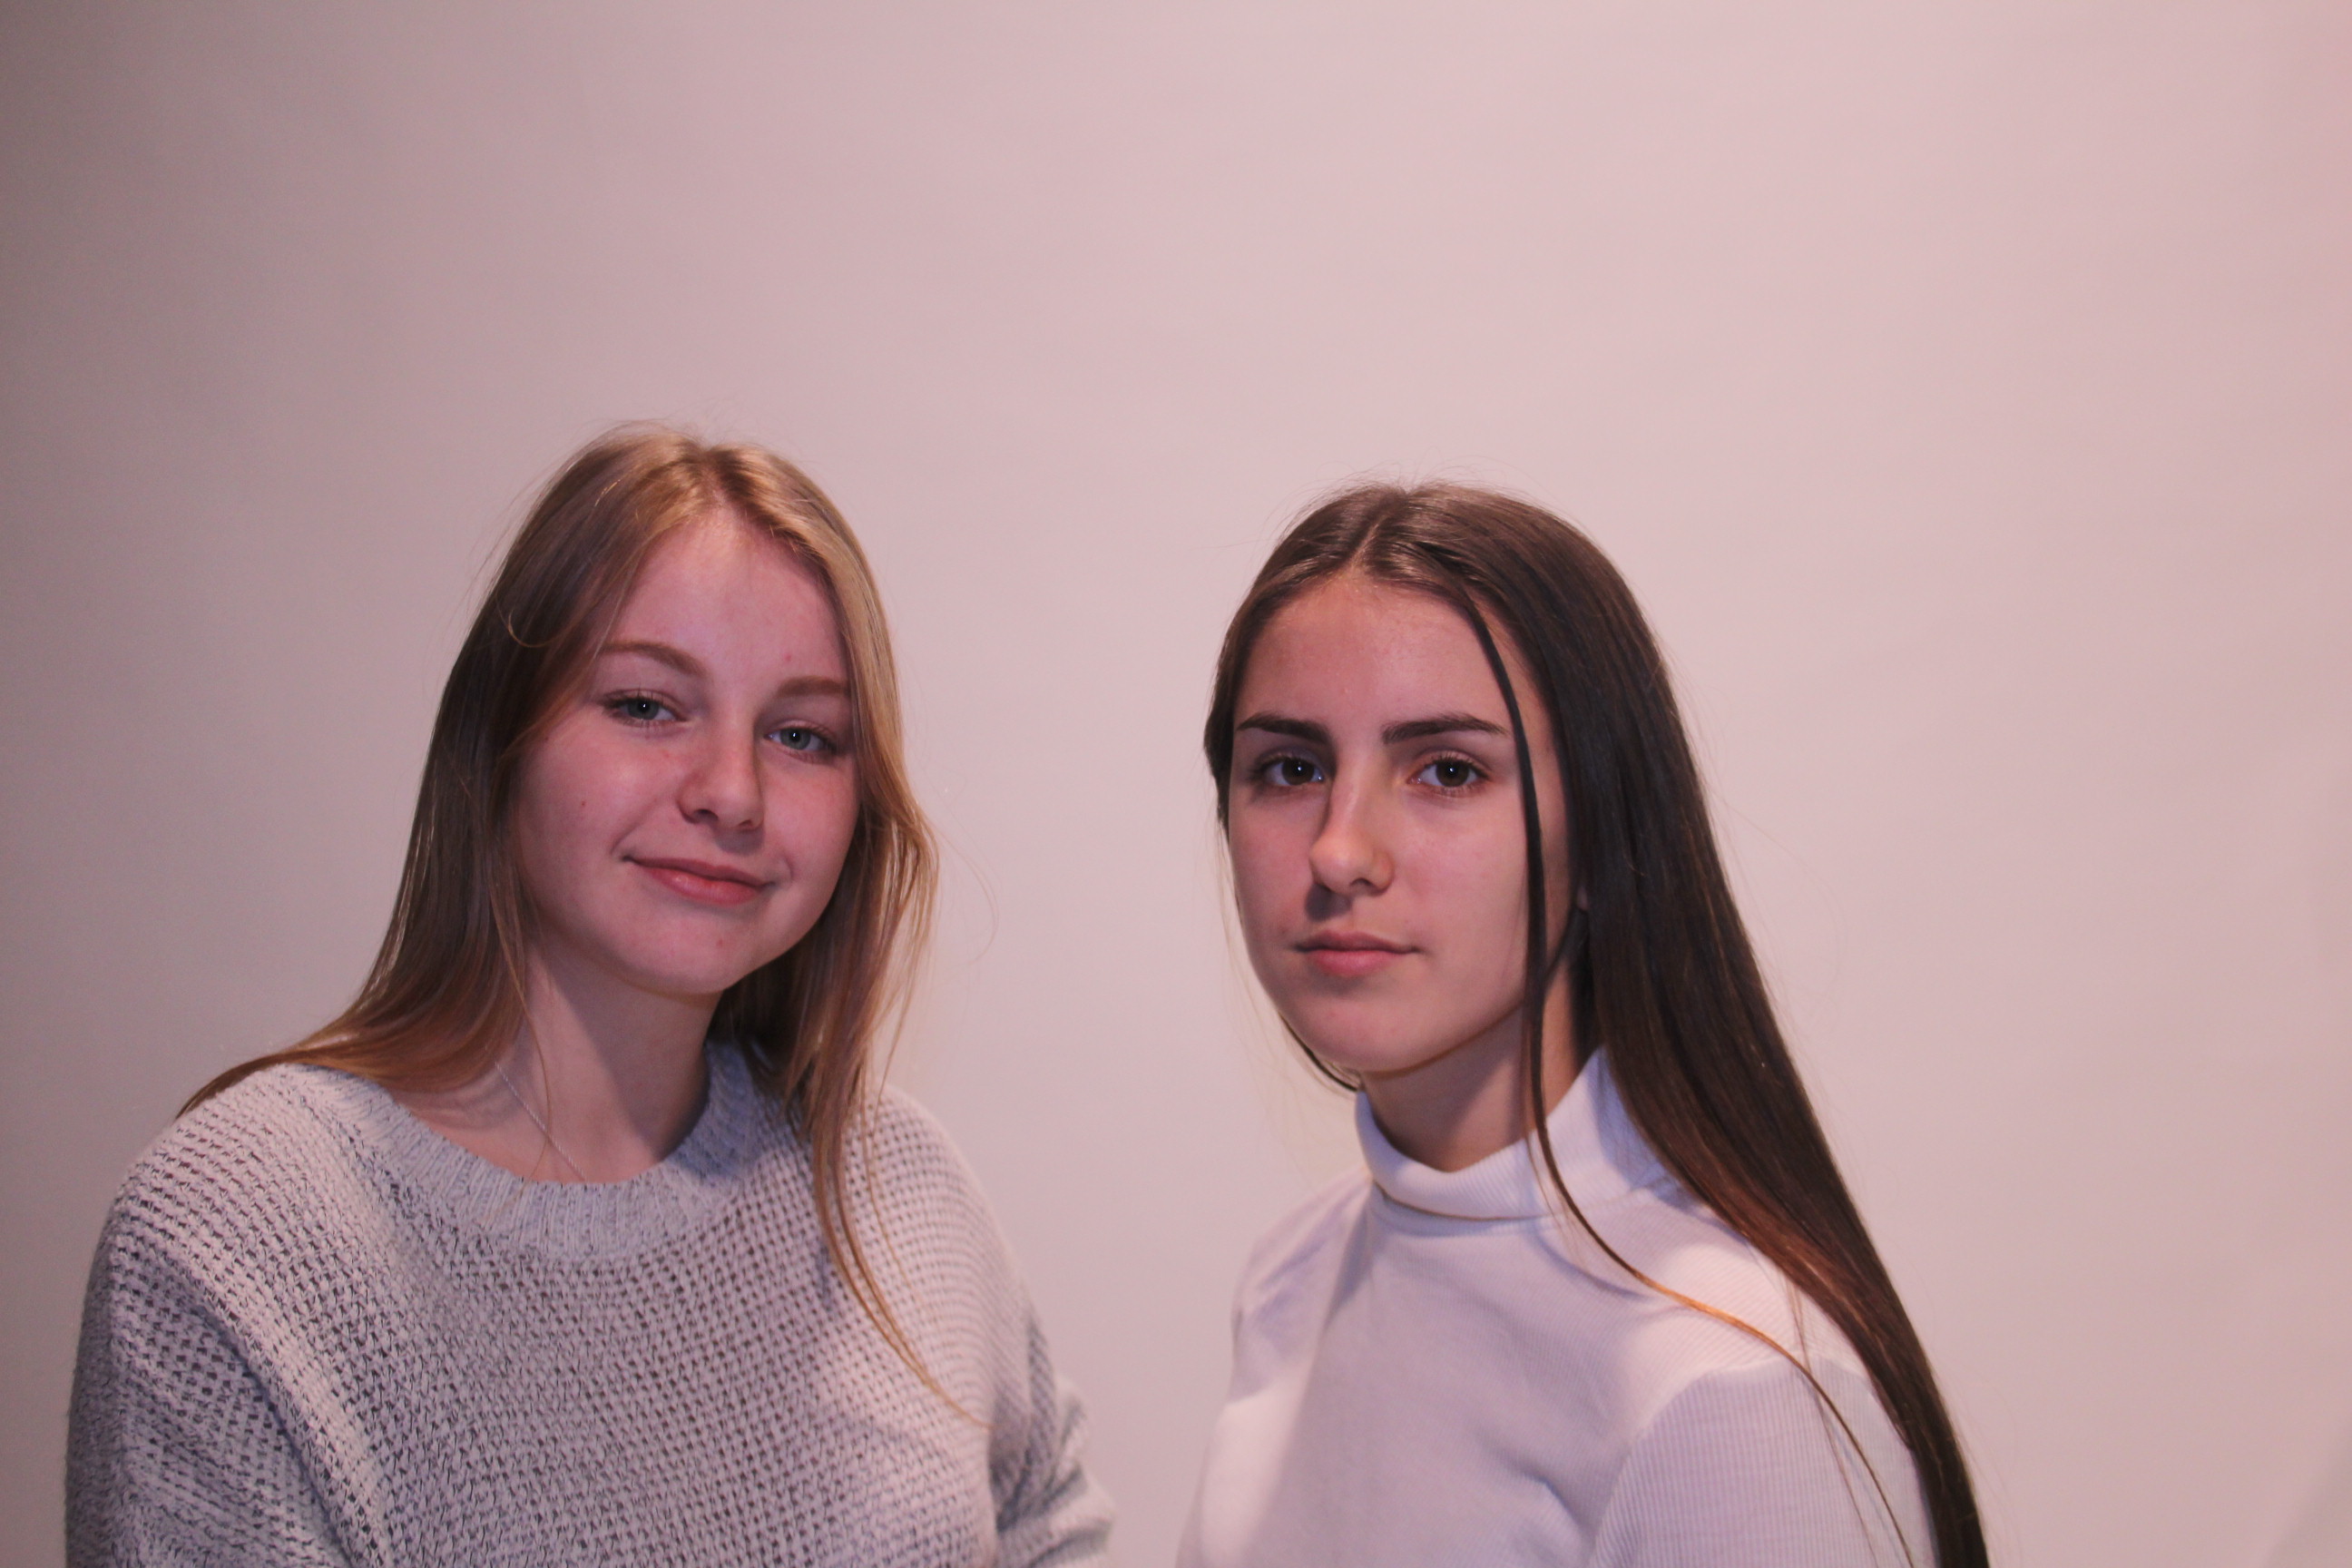
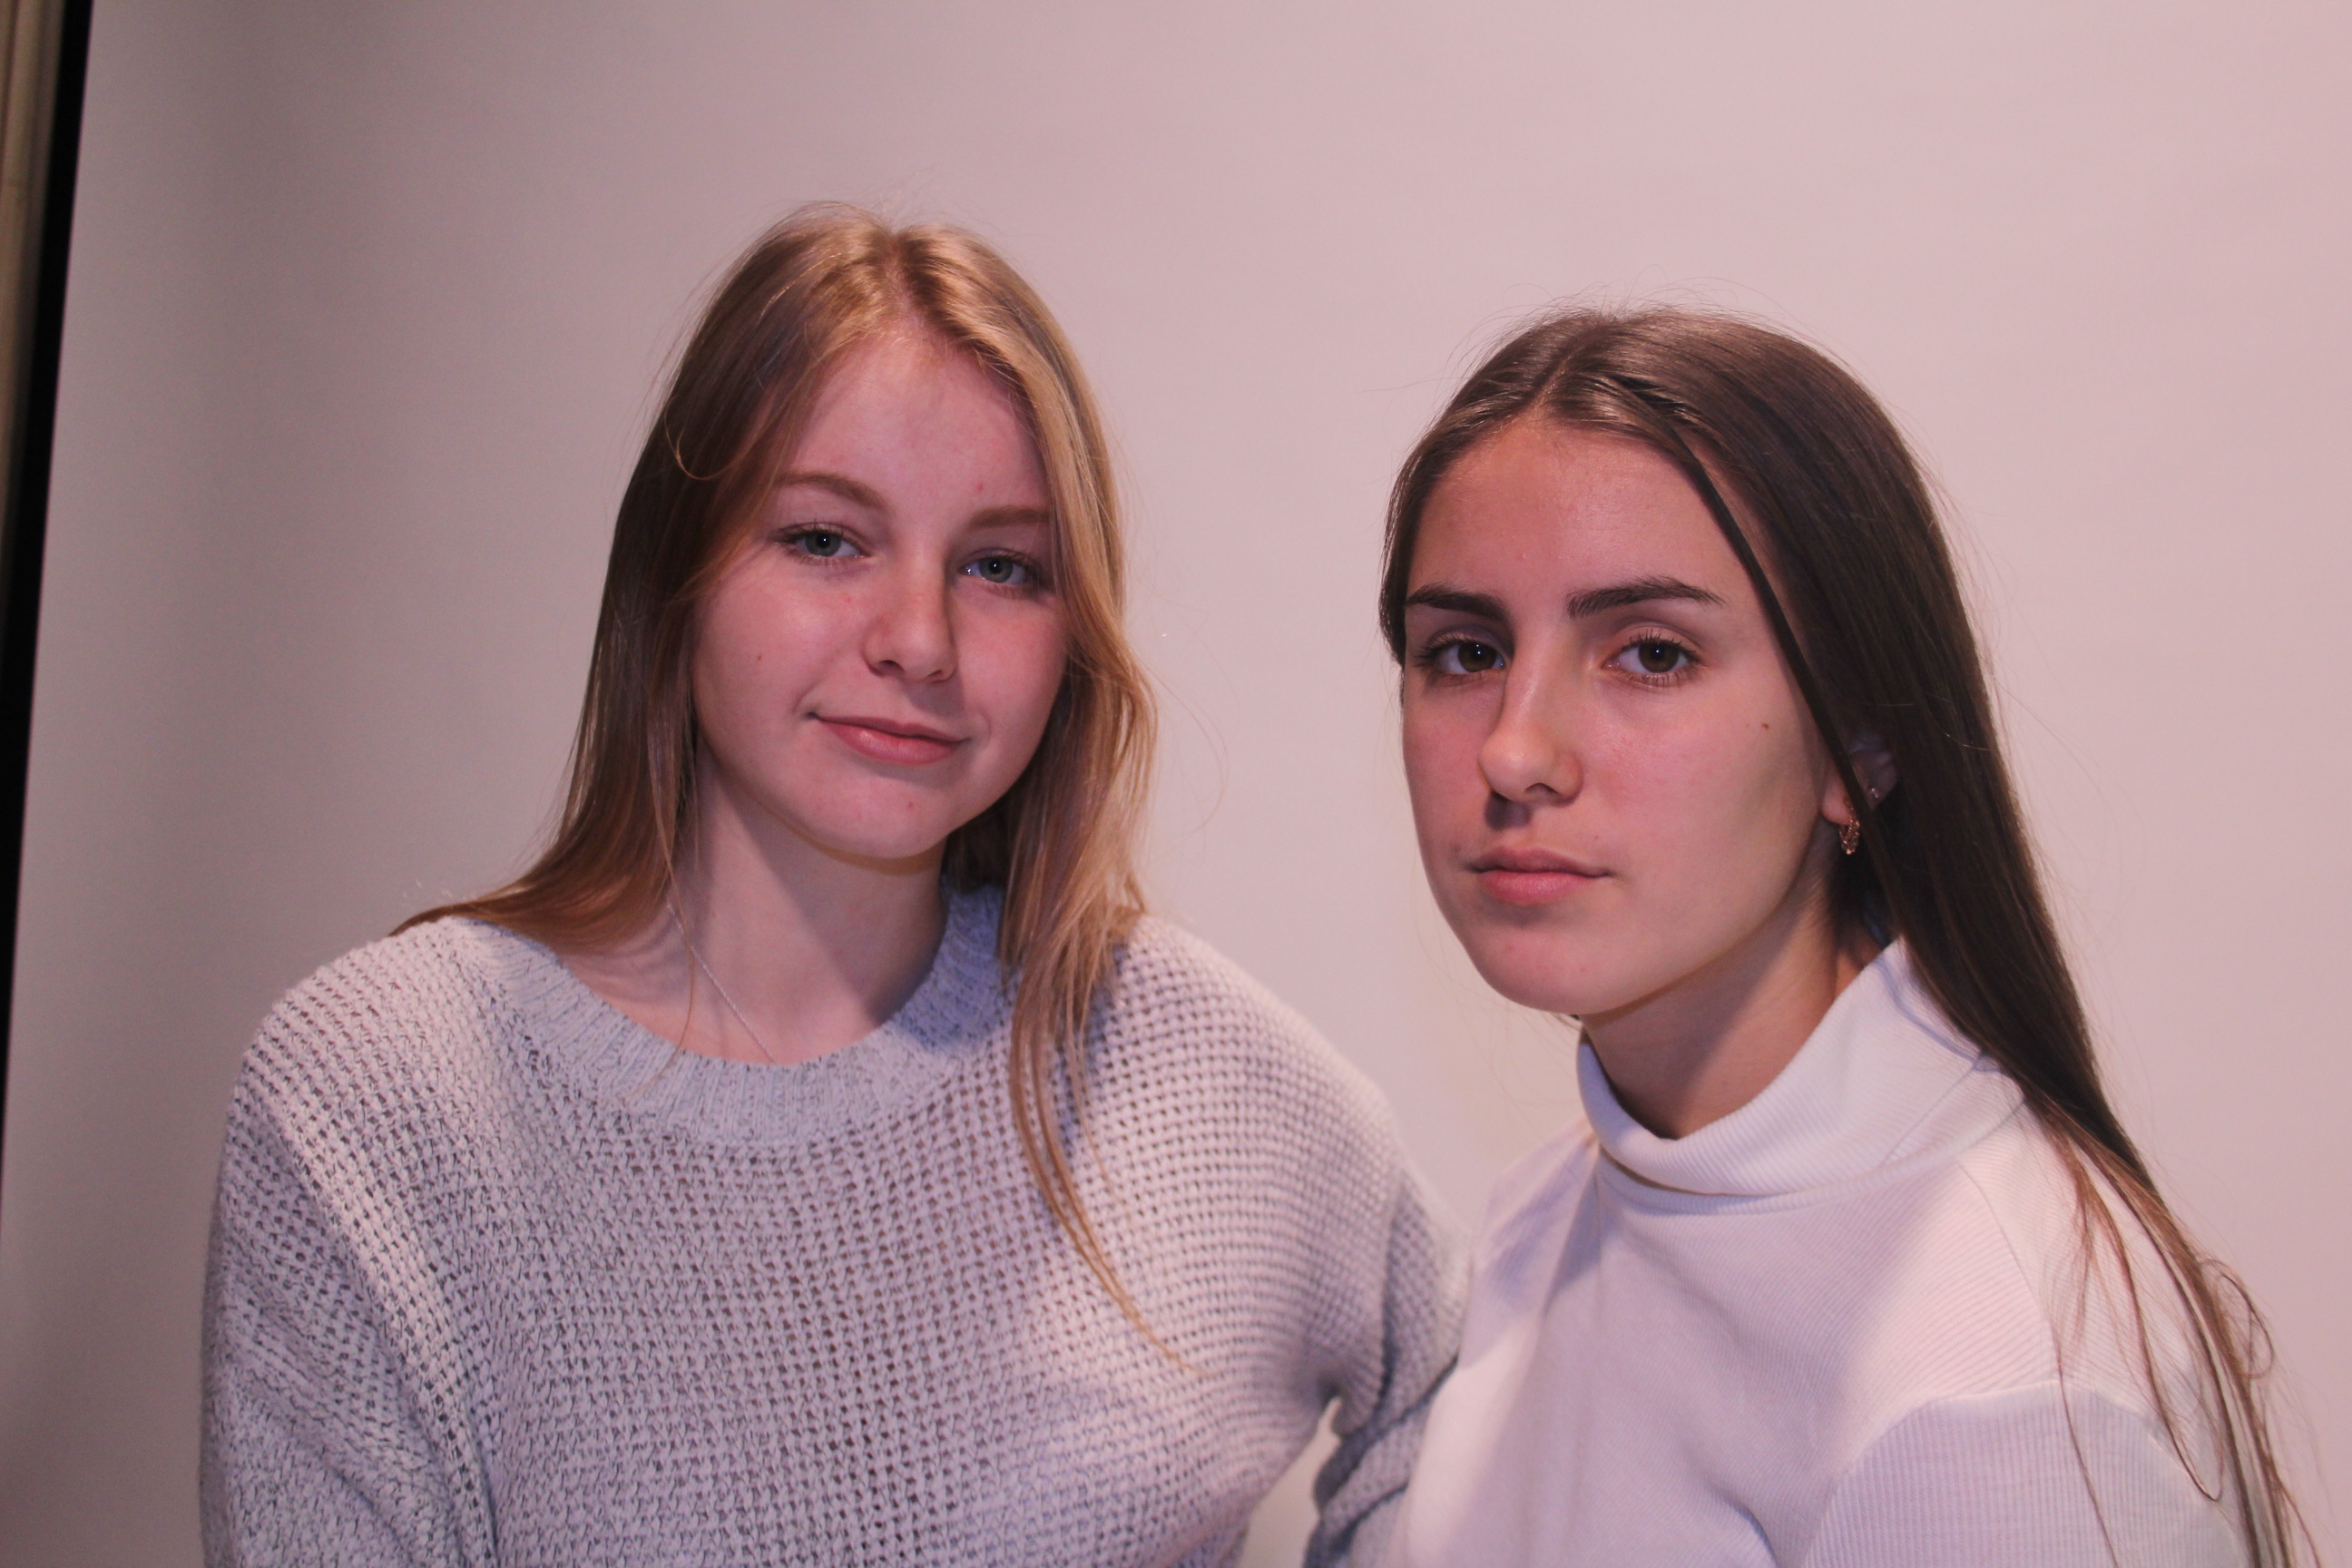
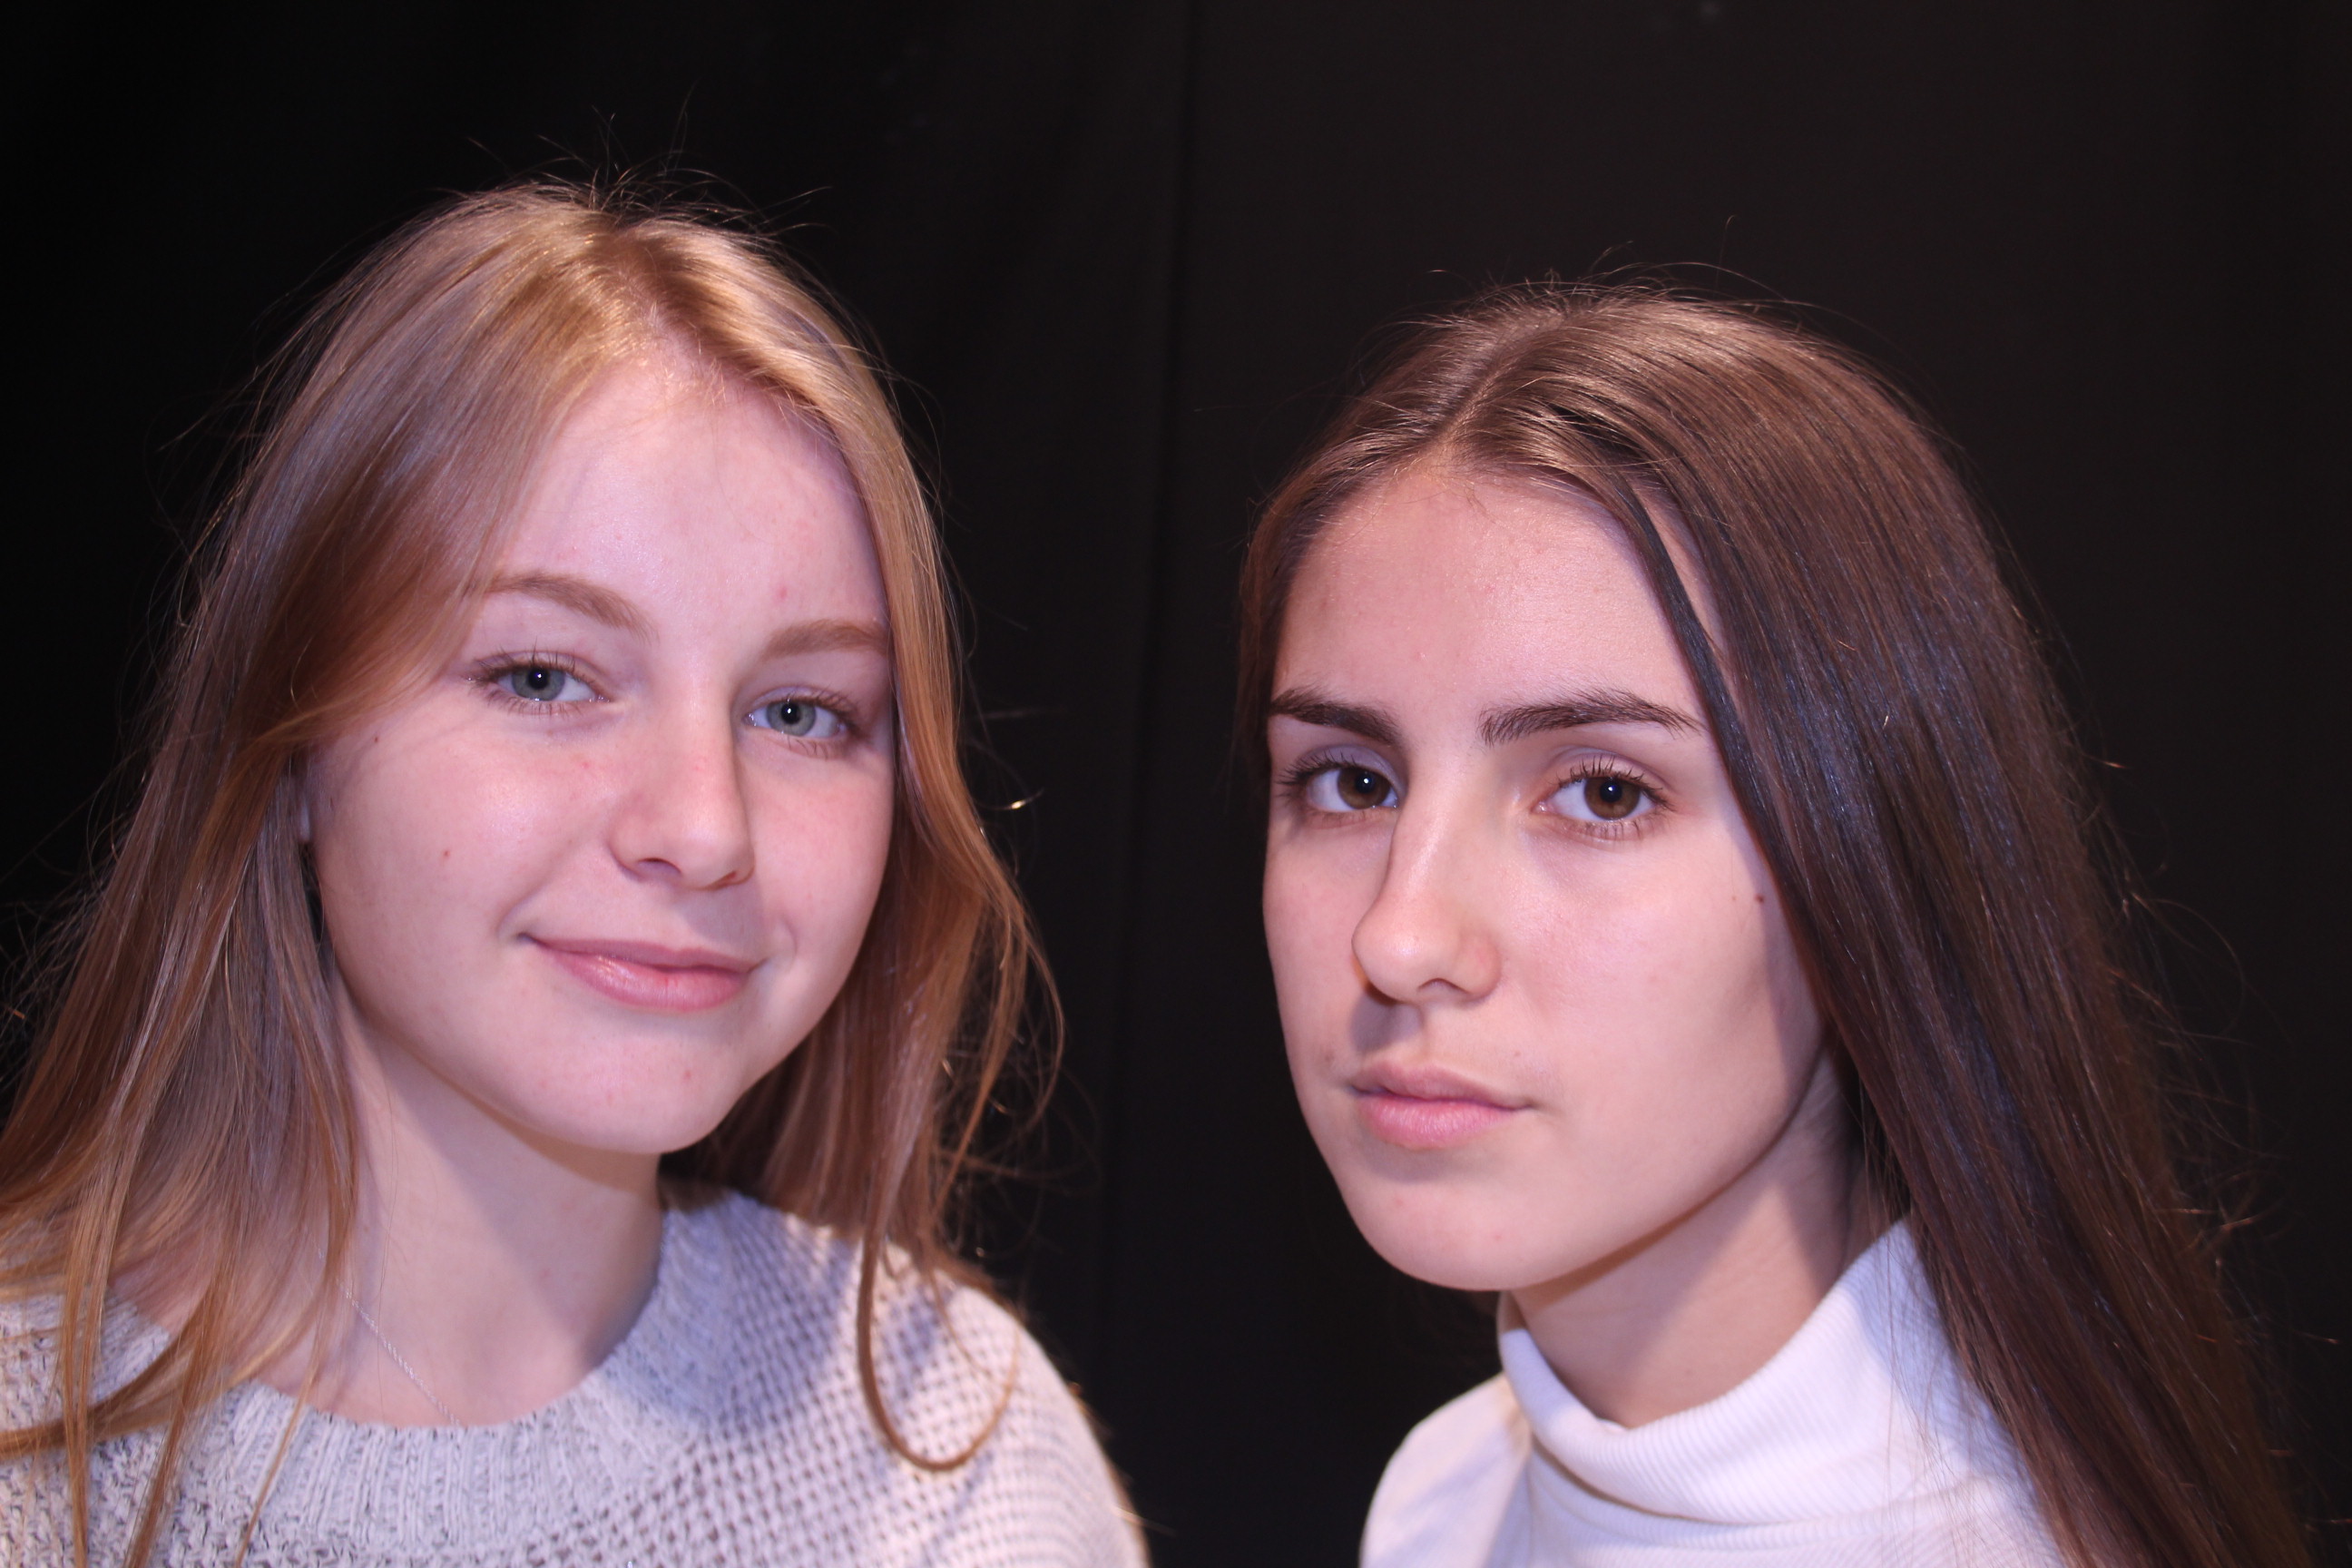
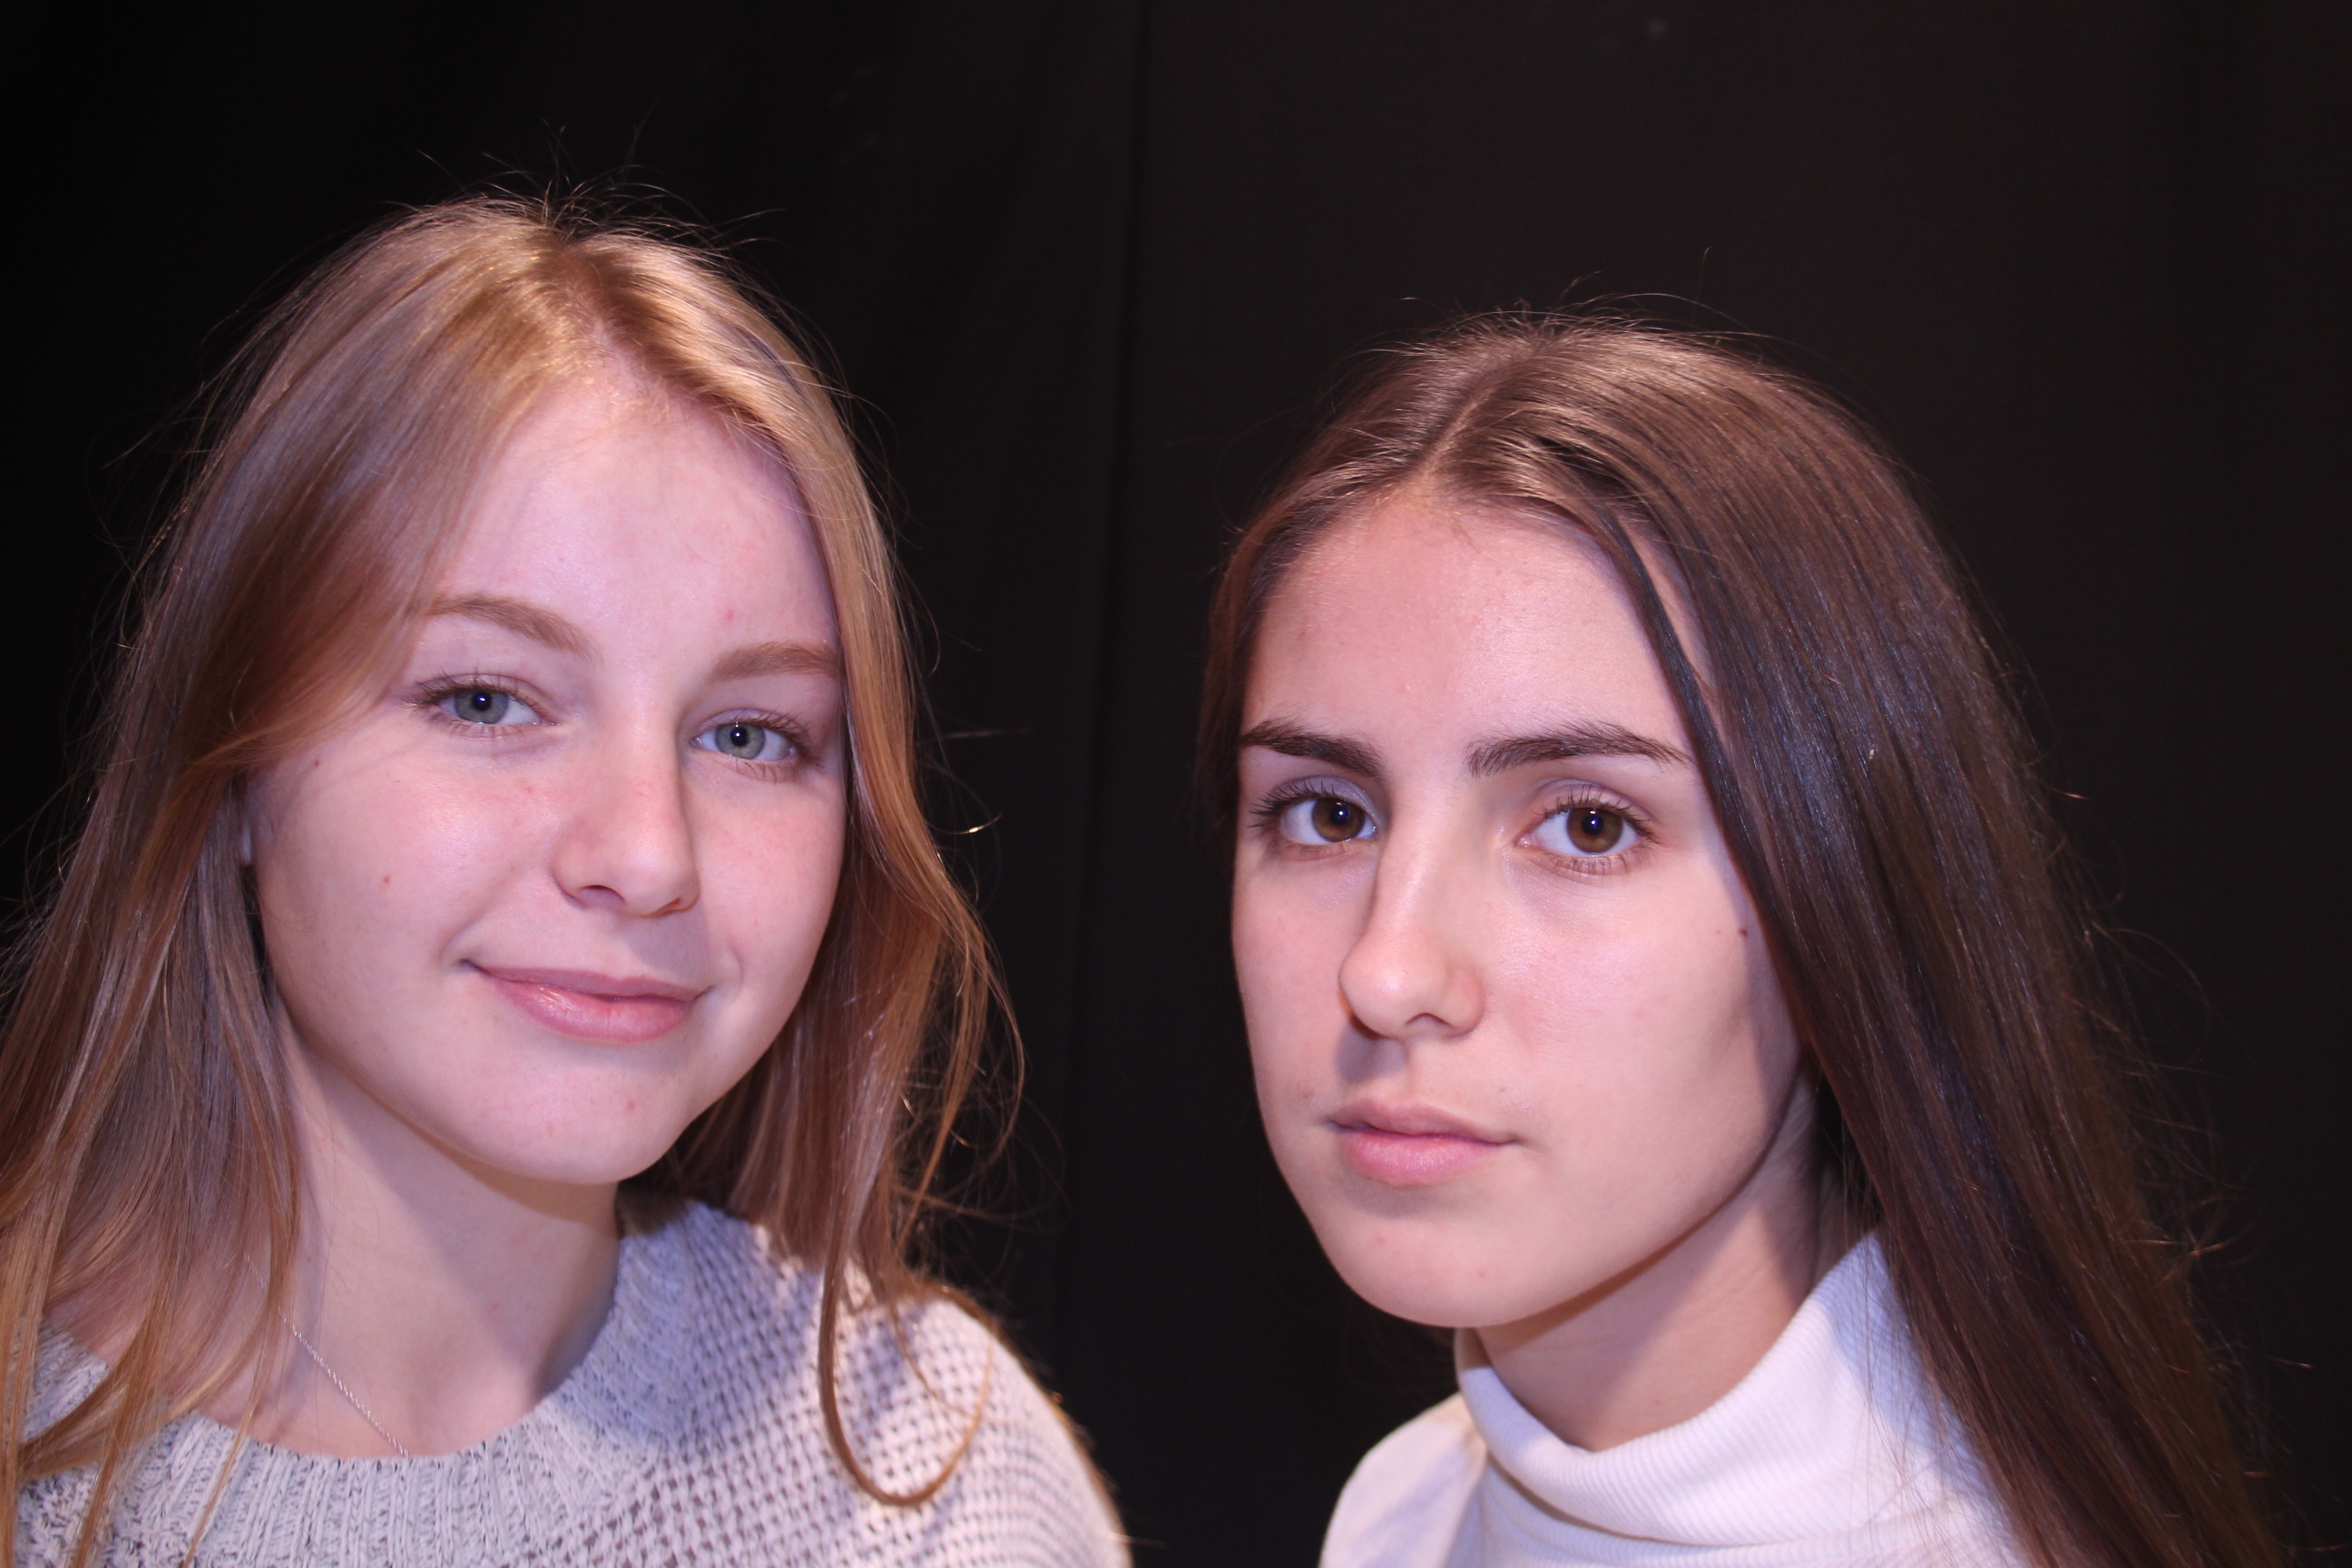
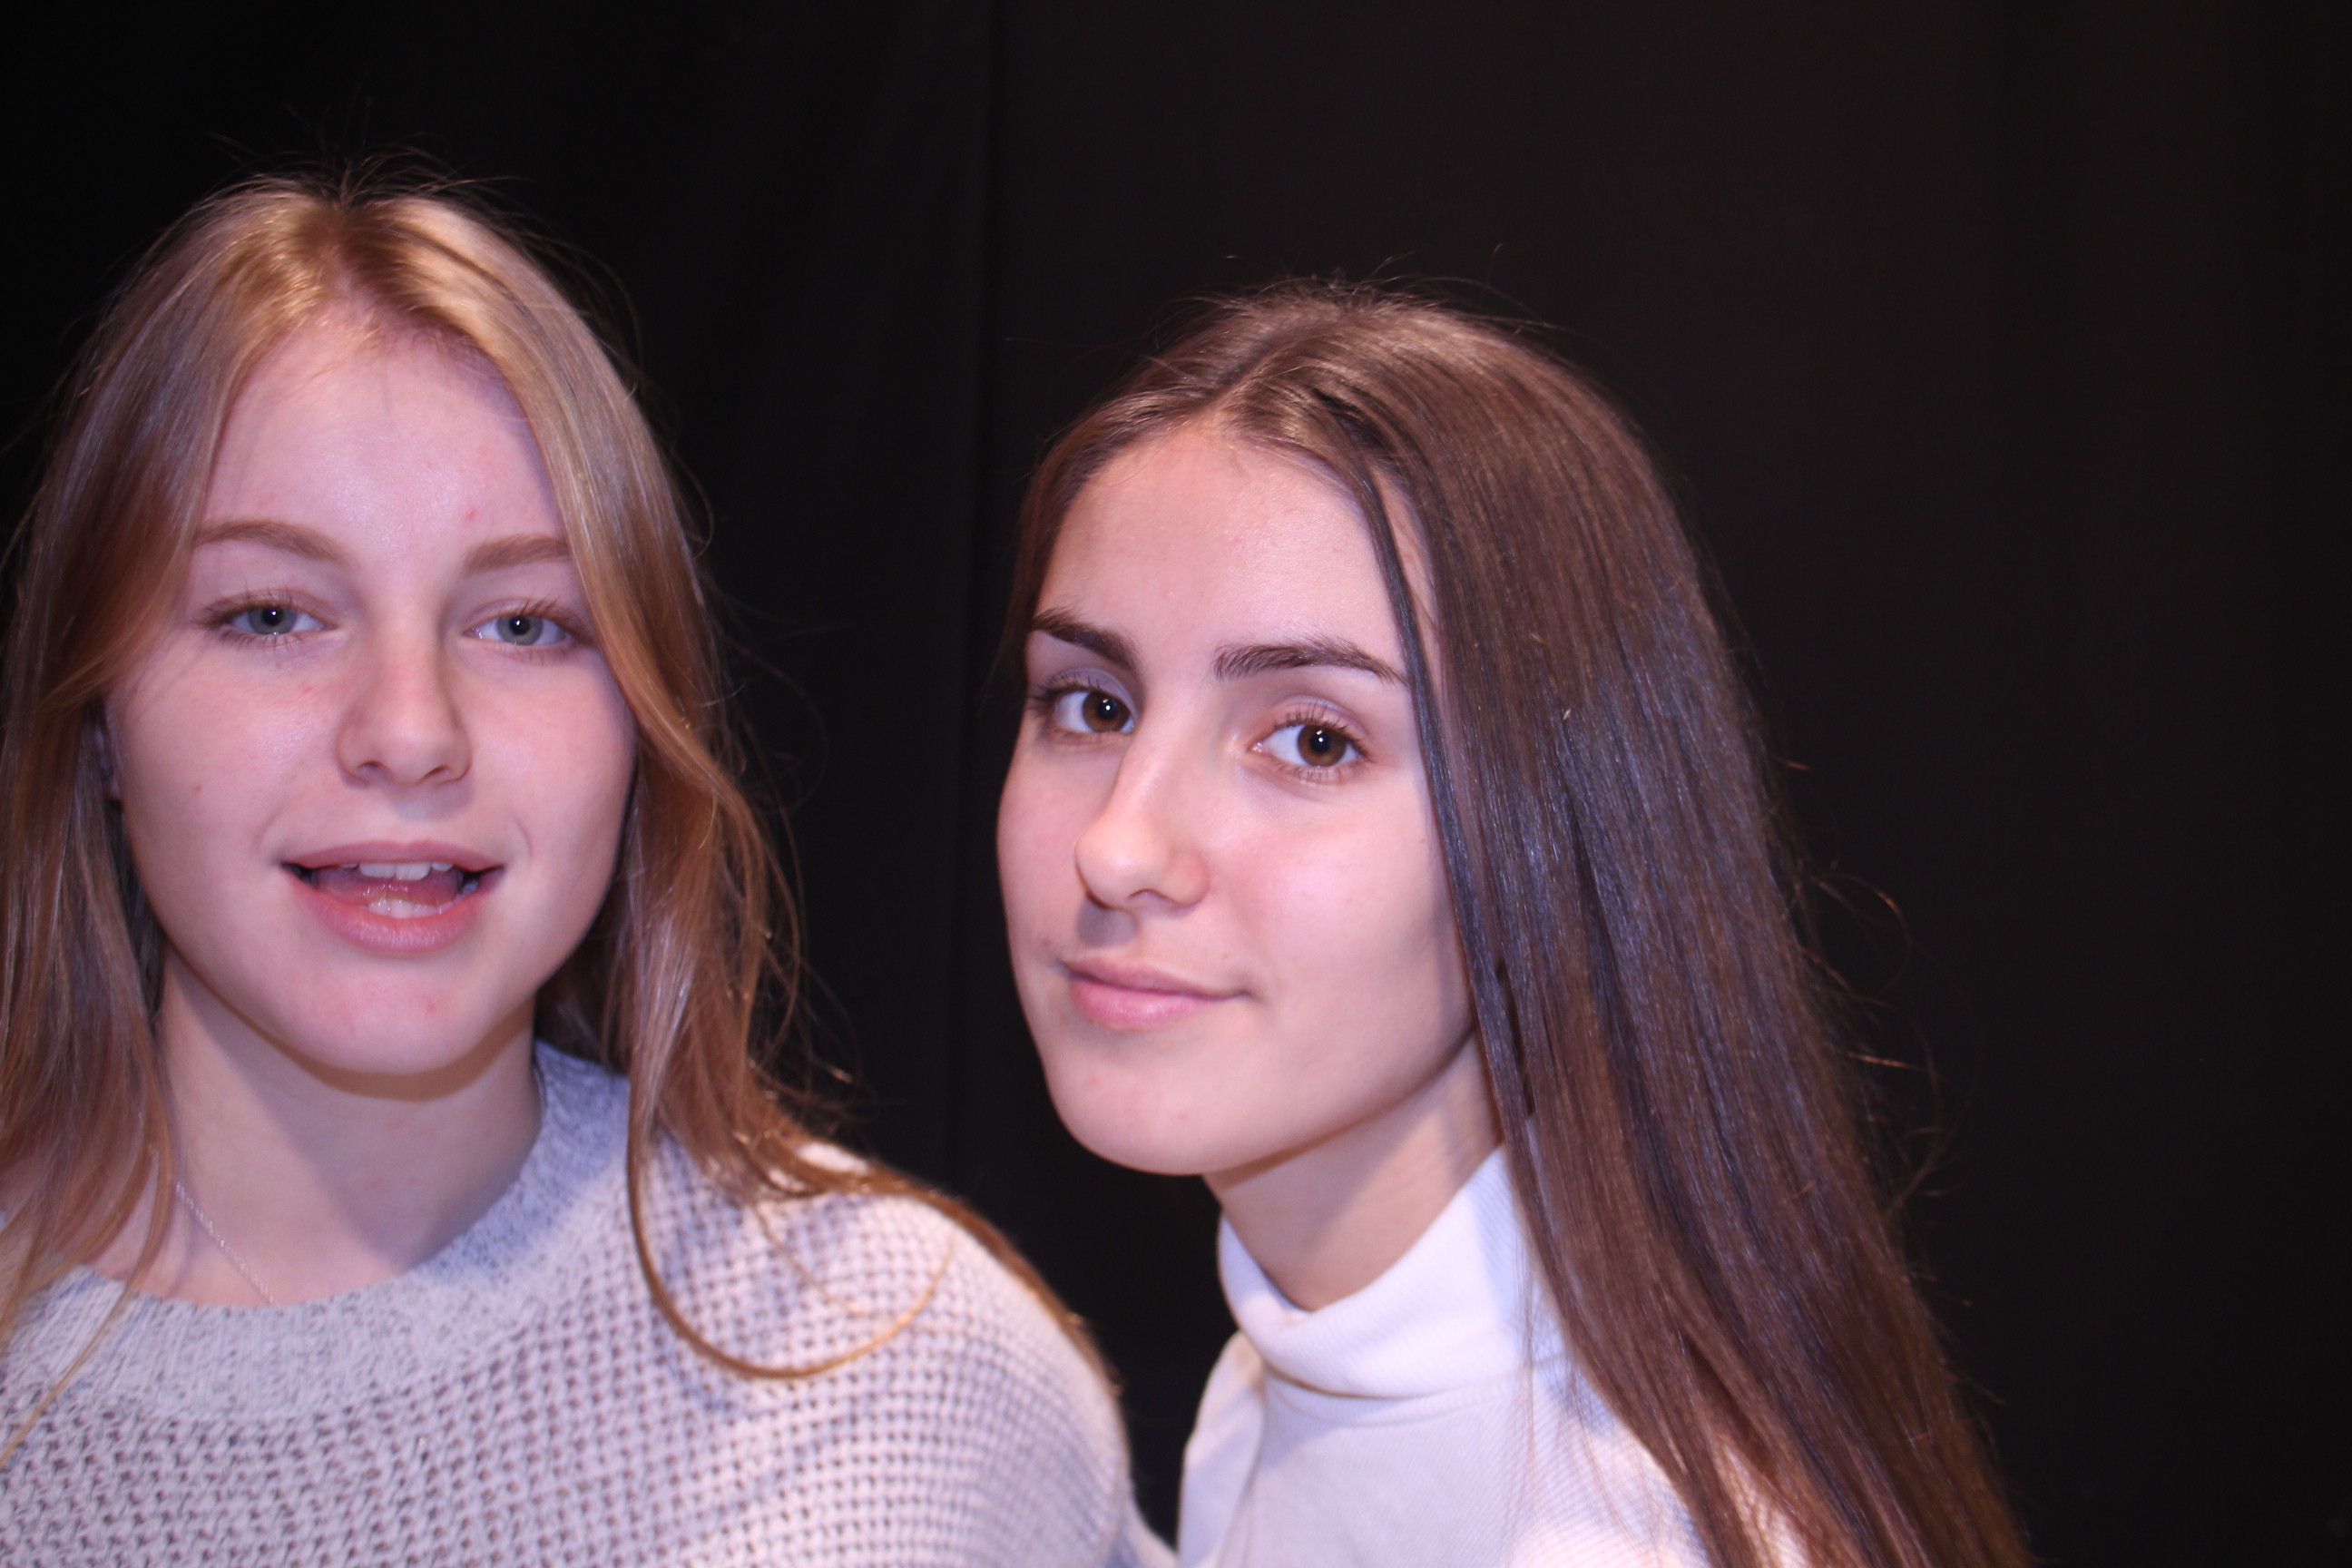
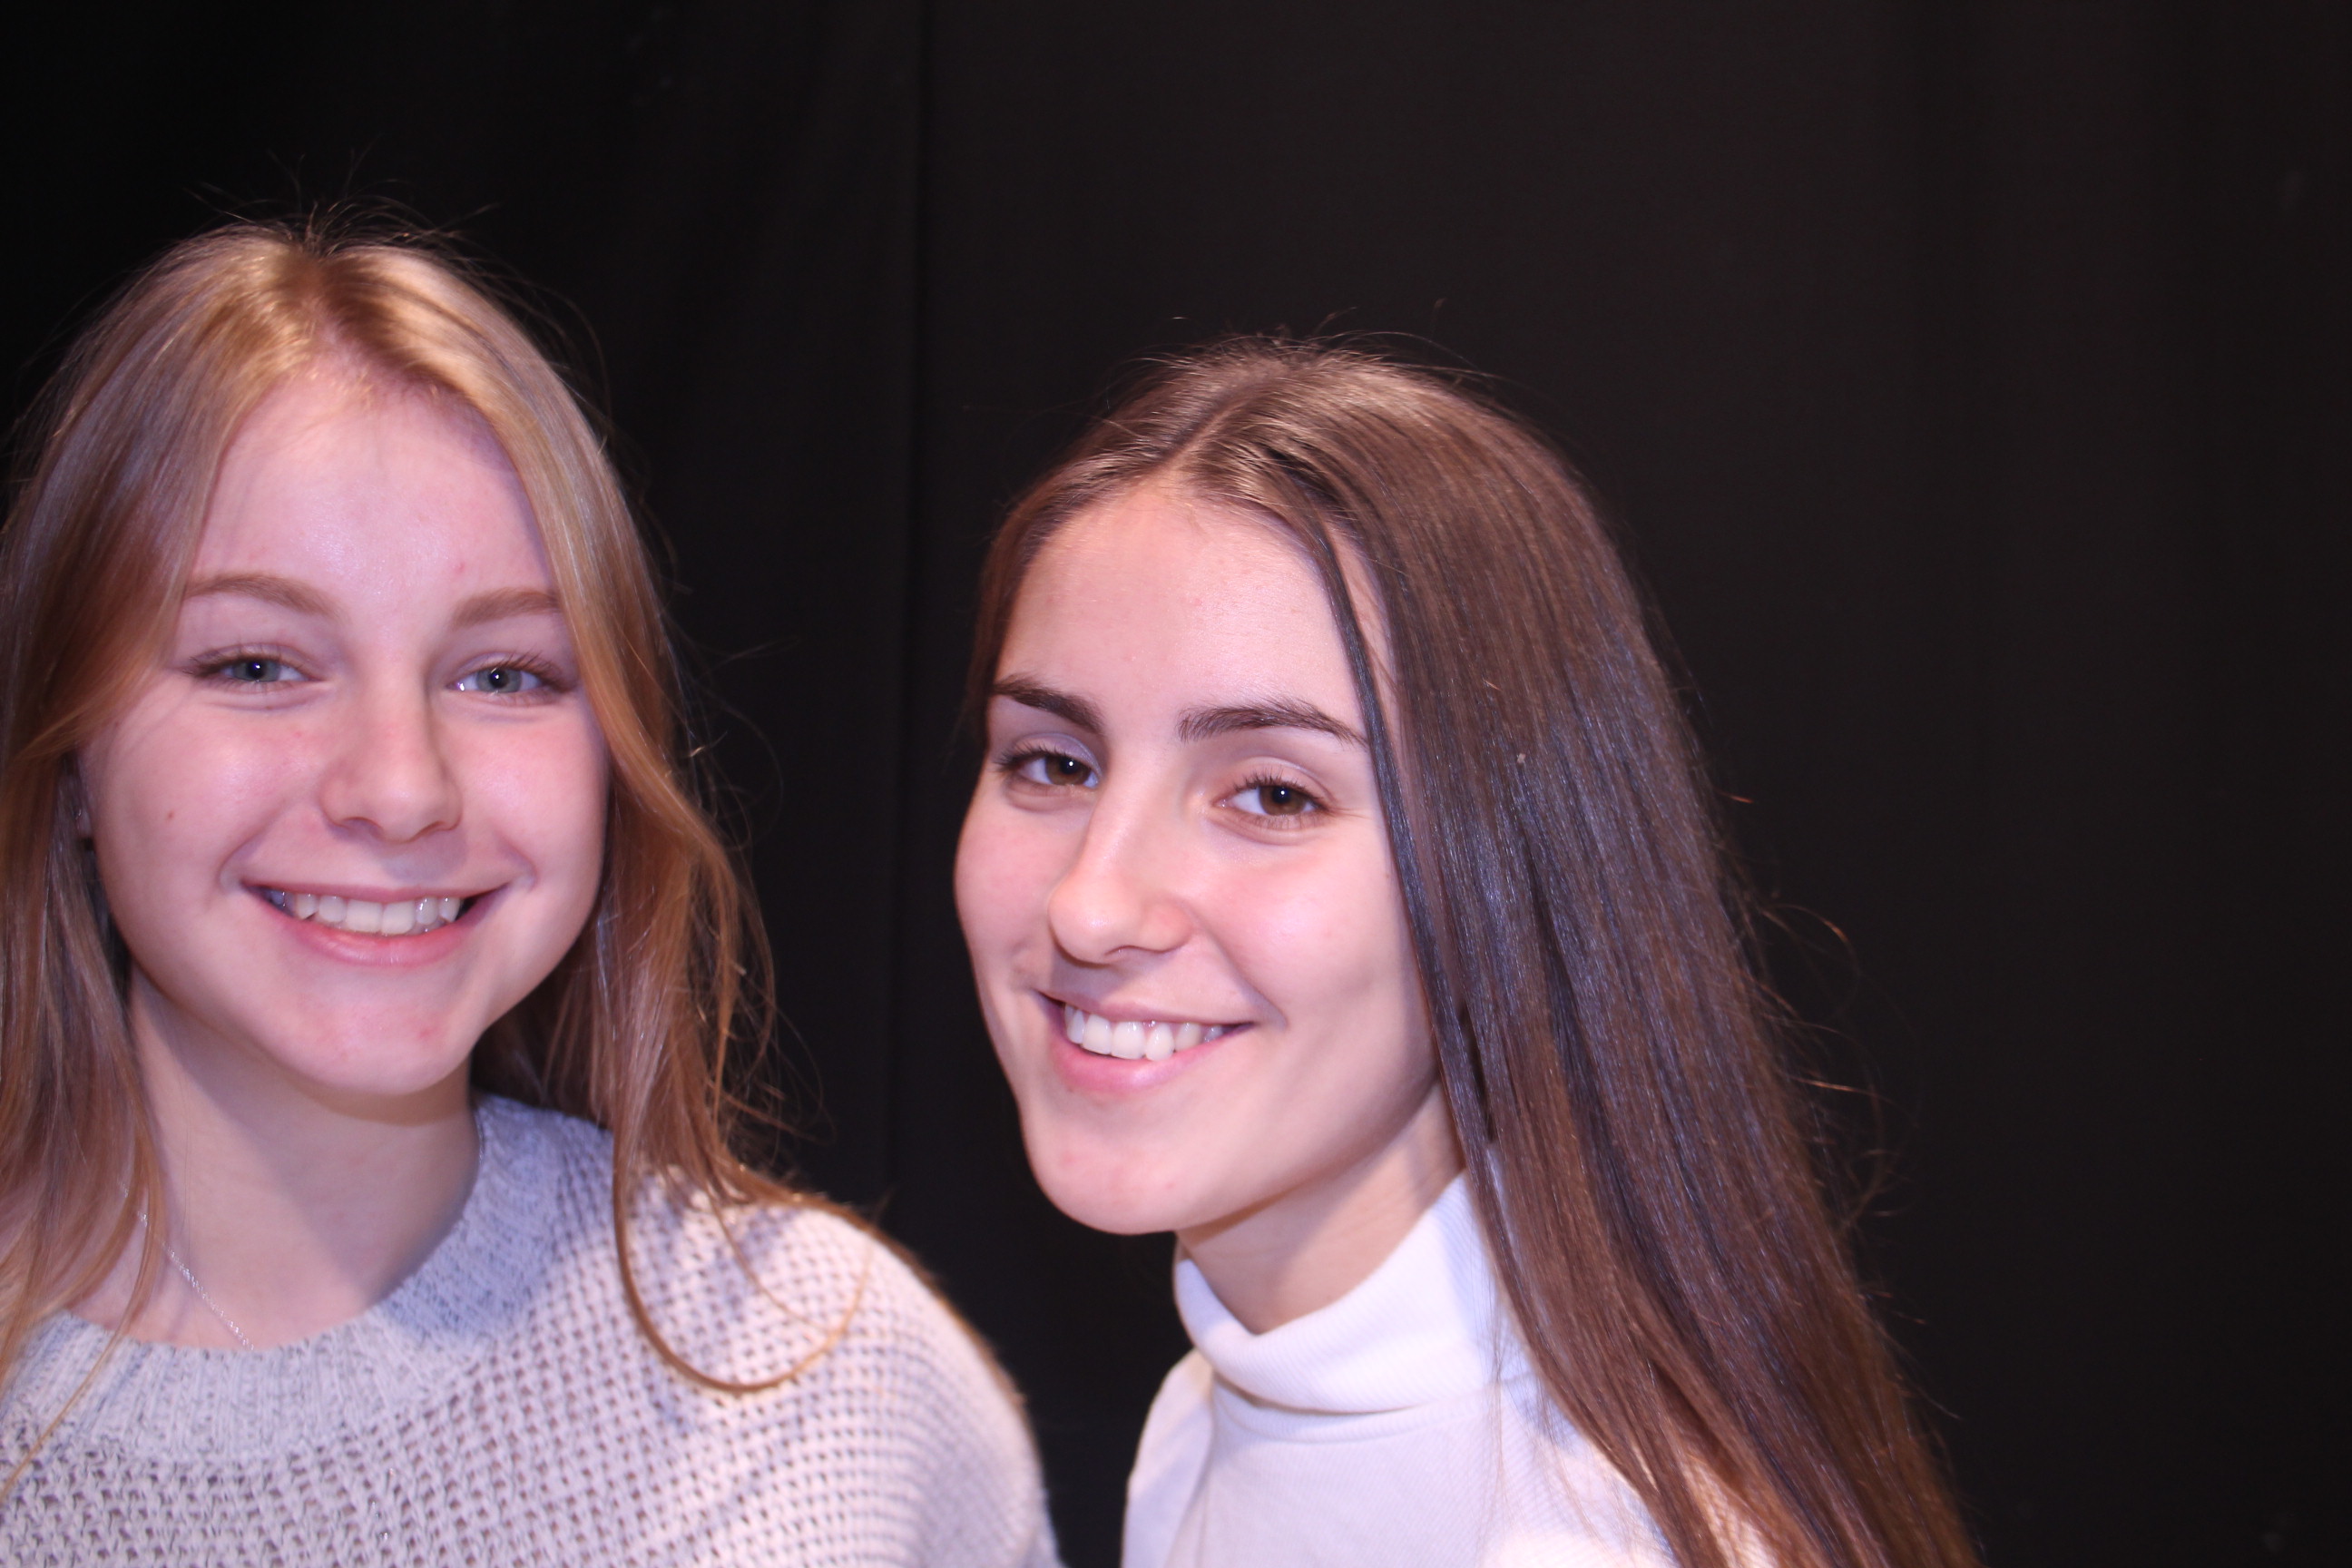
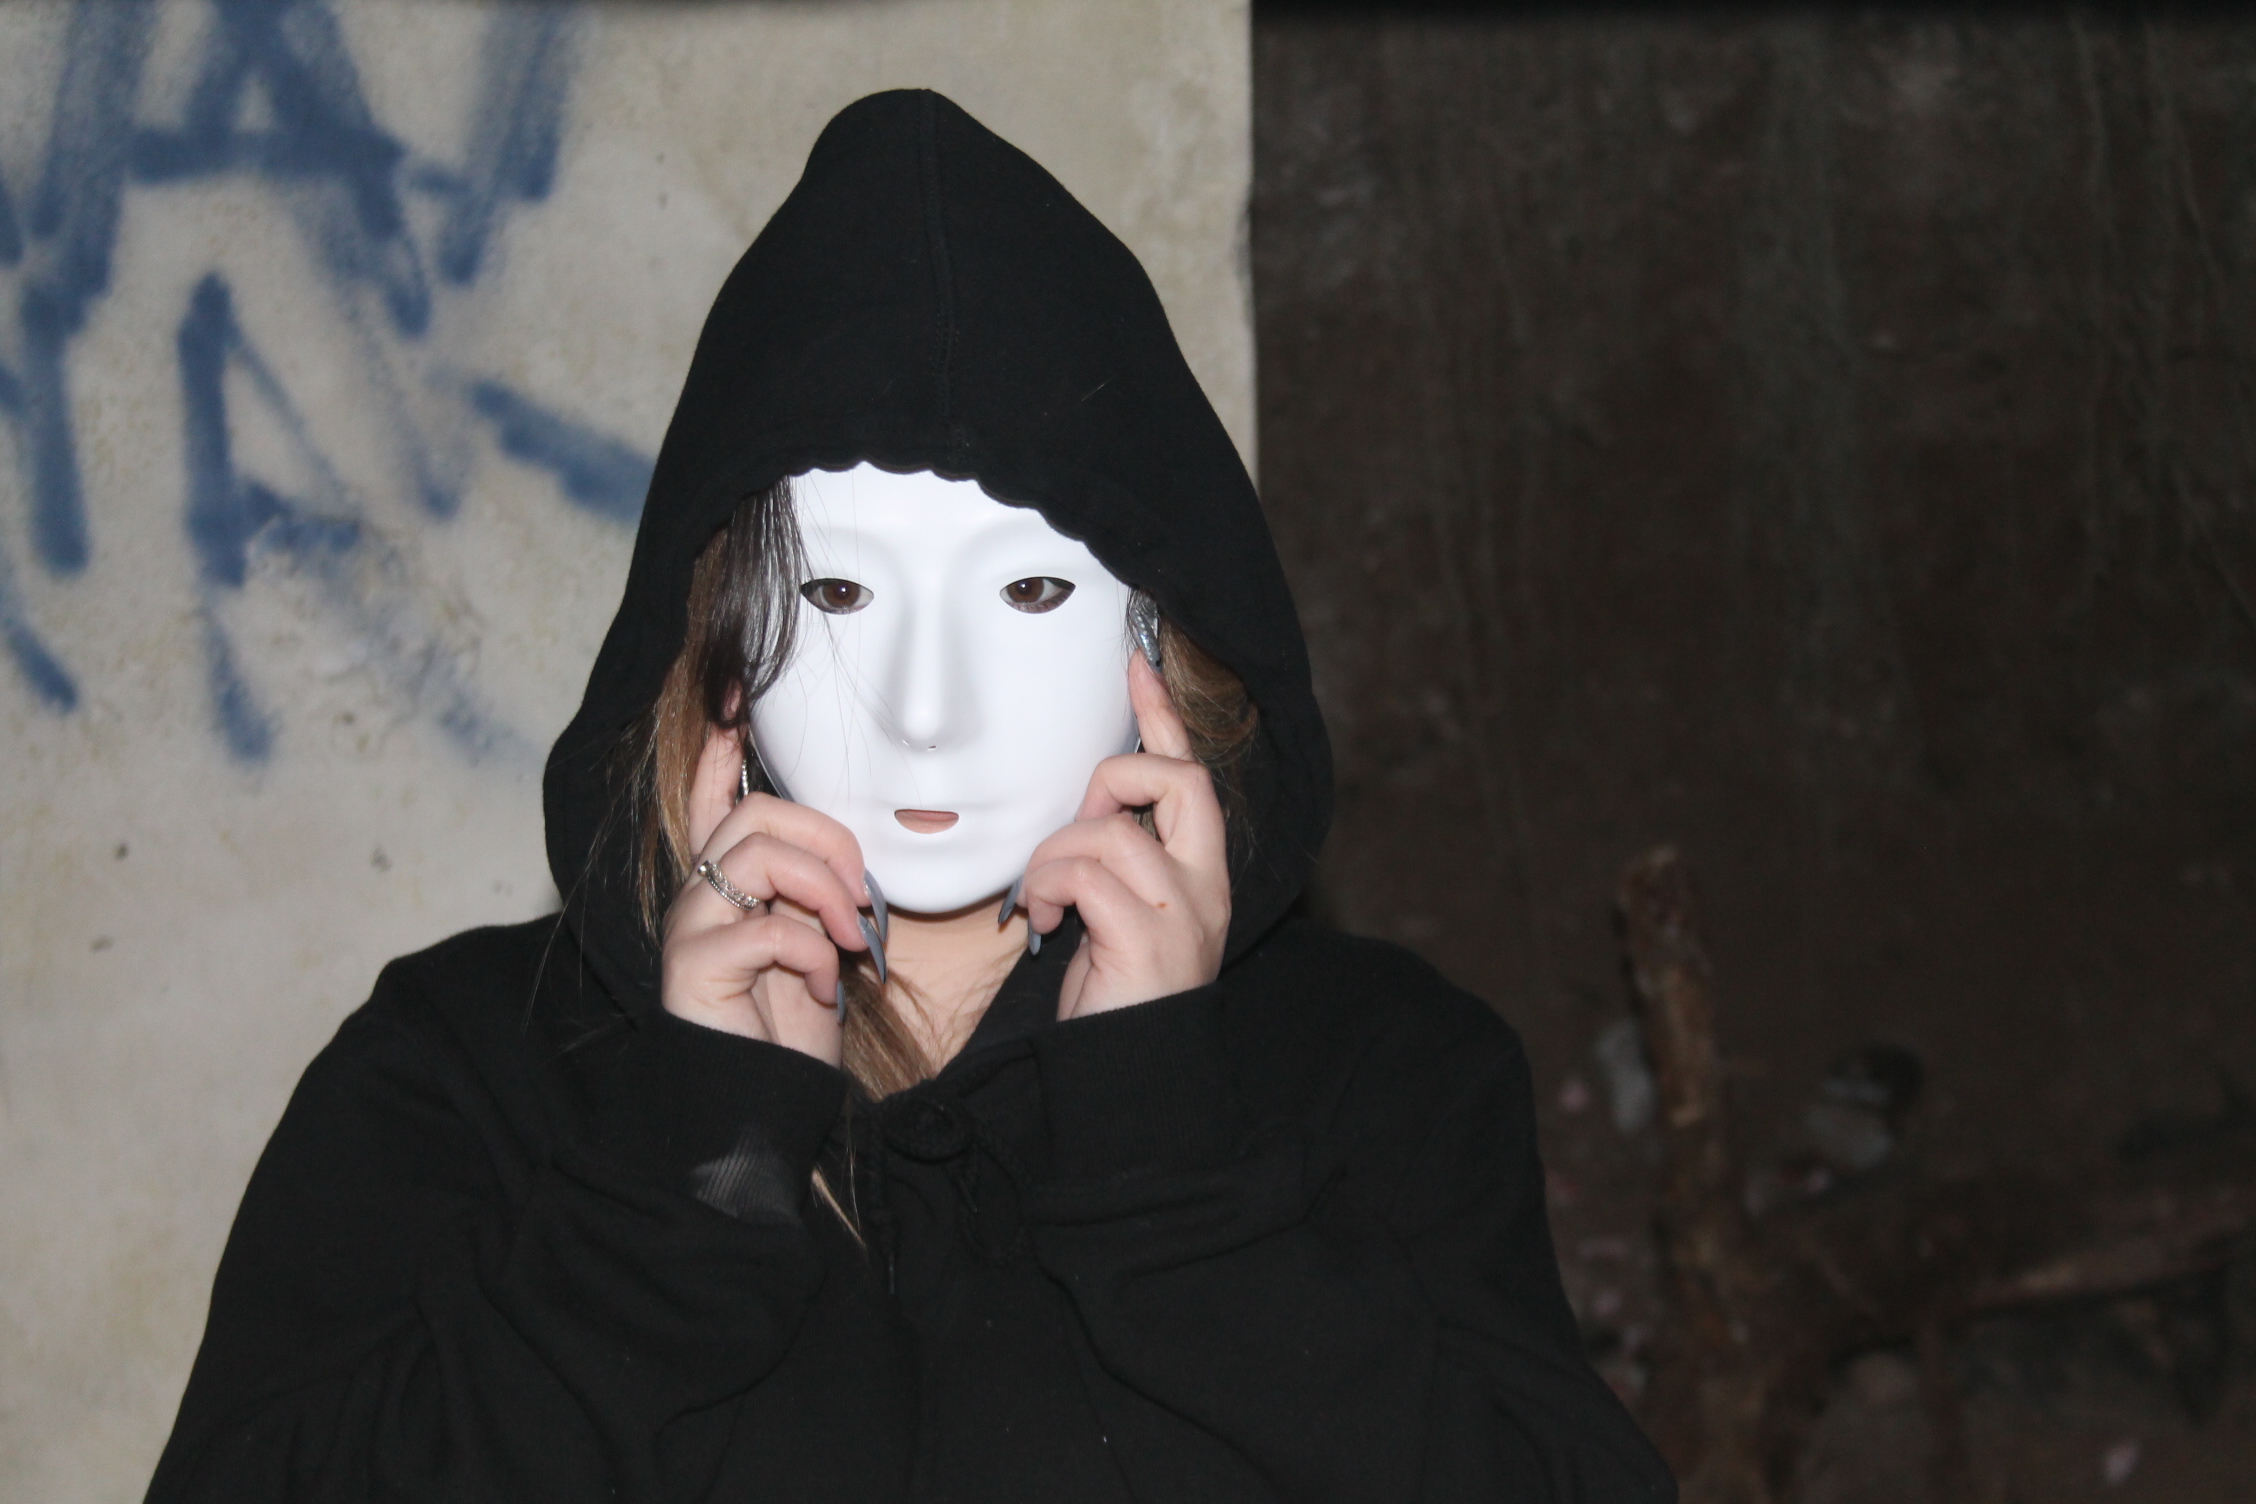
All of these images are playing upon the ideas of light and dark making the image actually contrast itself through the characters. This contrast of light and dark characters plays on the ideology of good and bad. These images are completely unedited, when I edit them I feel like the images are going to be more effective and have more of a visual impact.
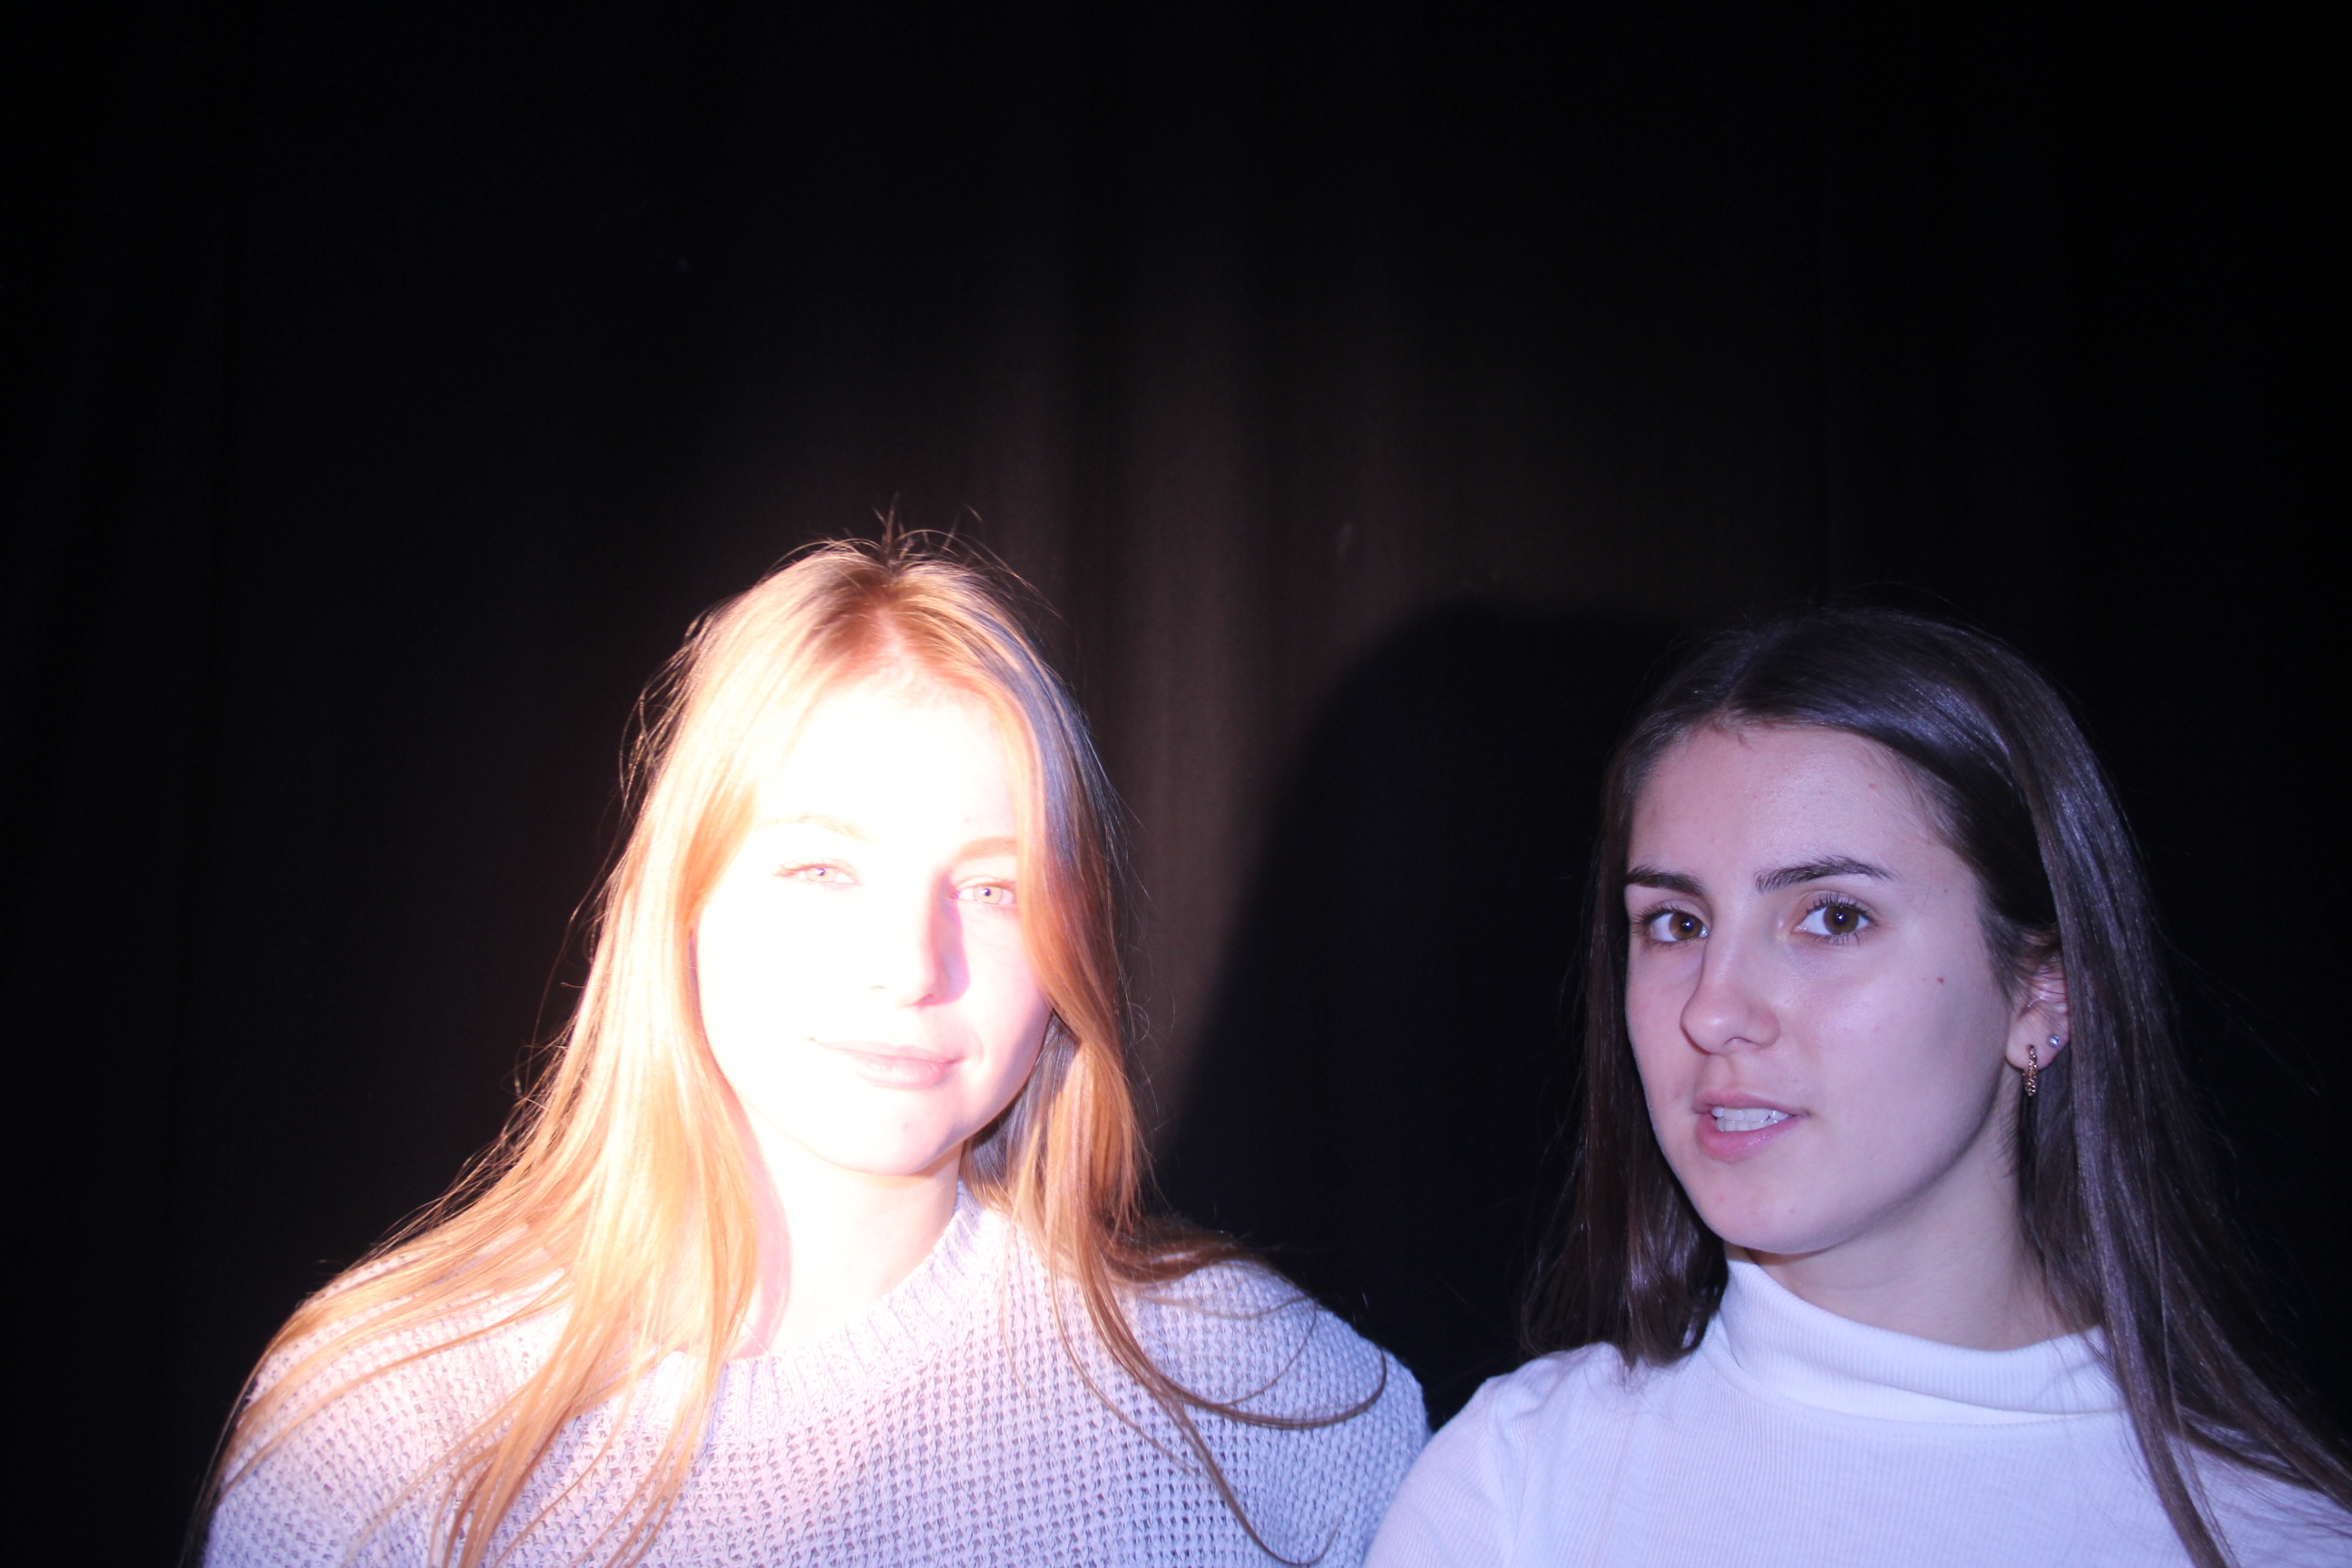
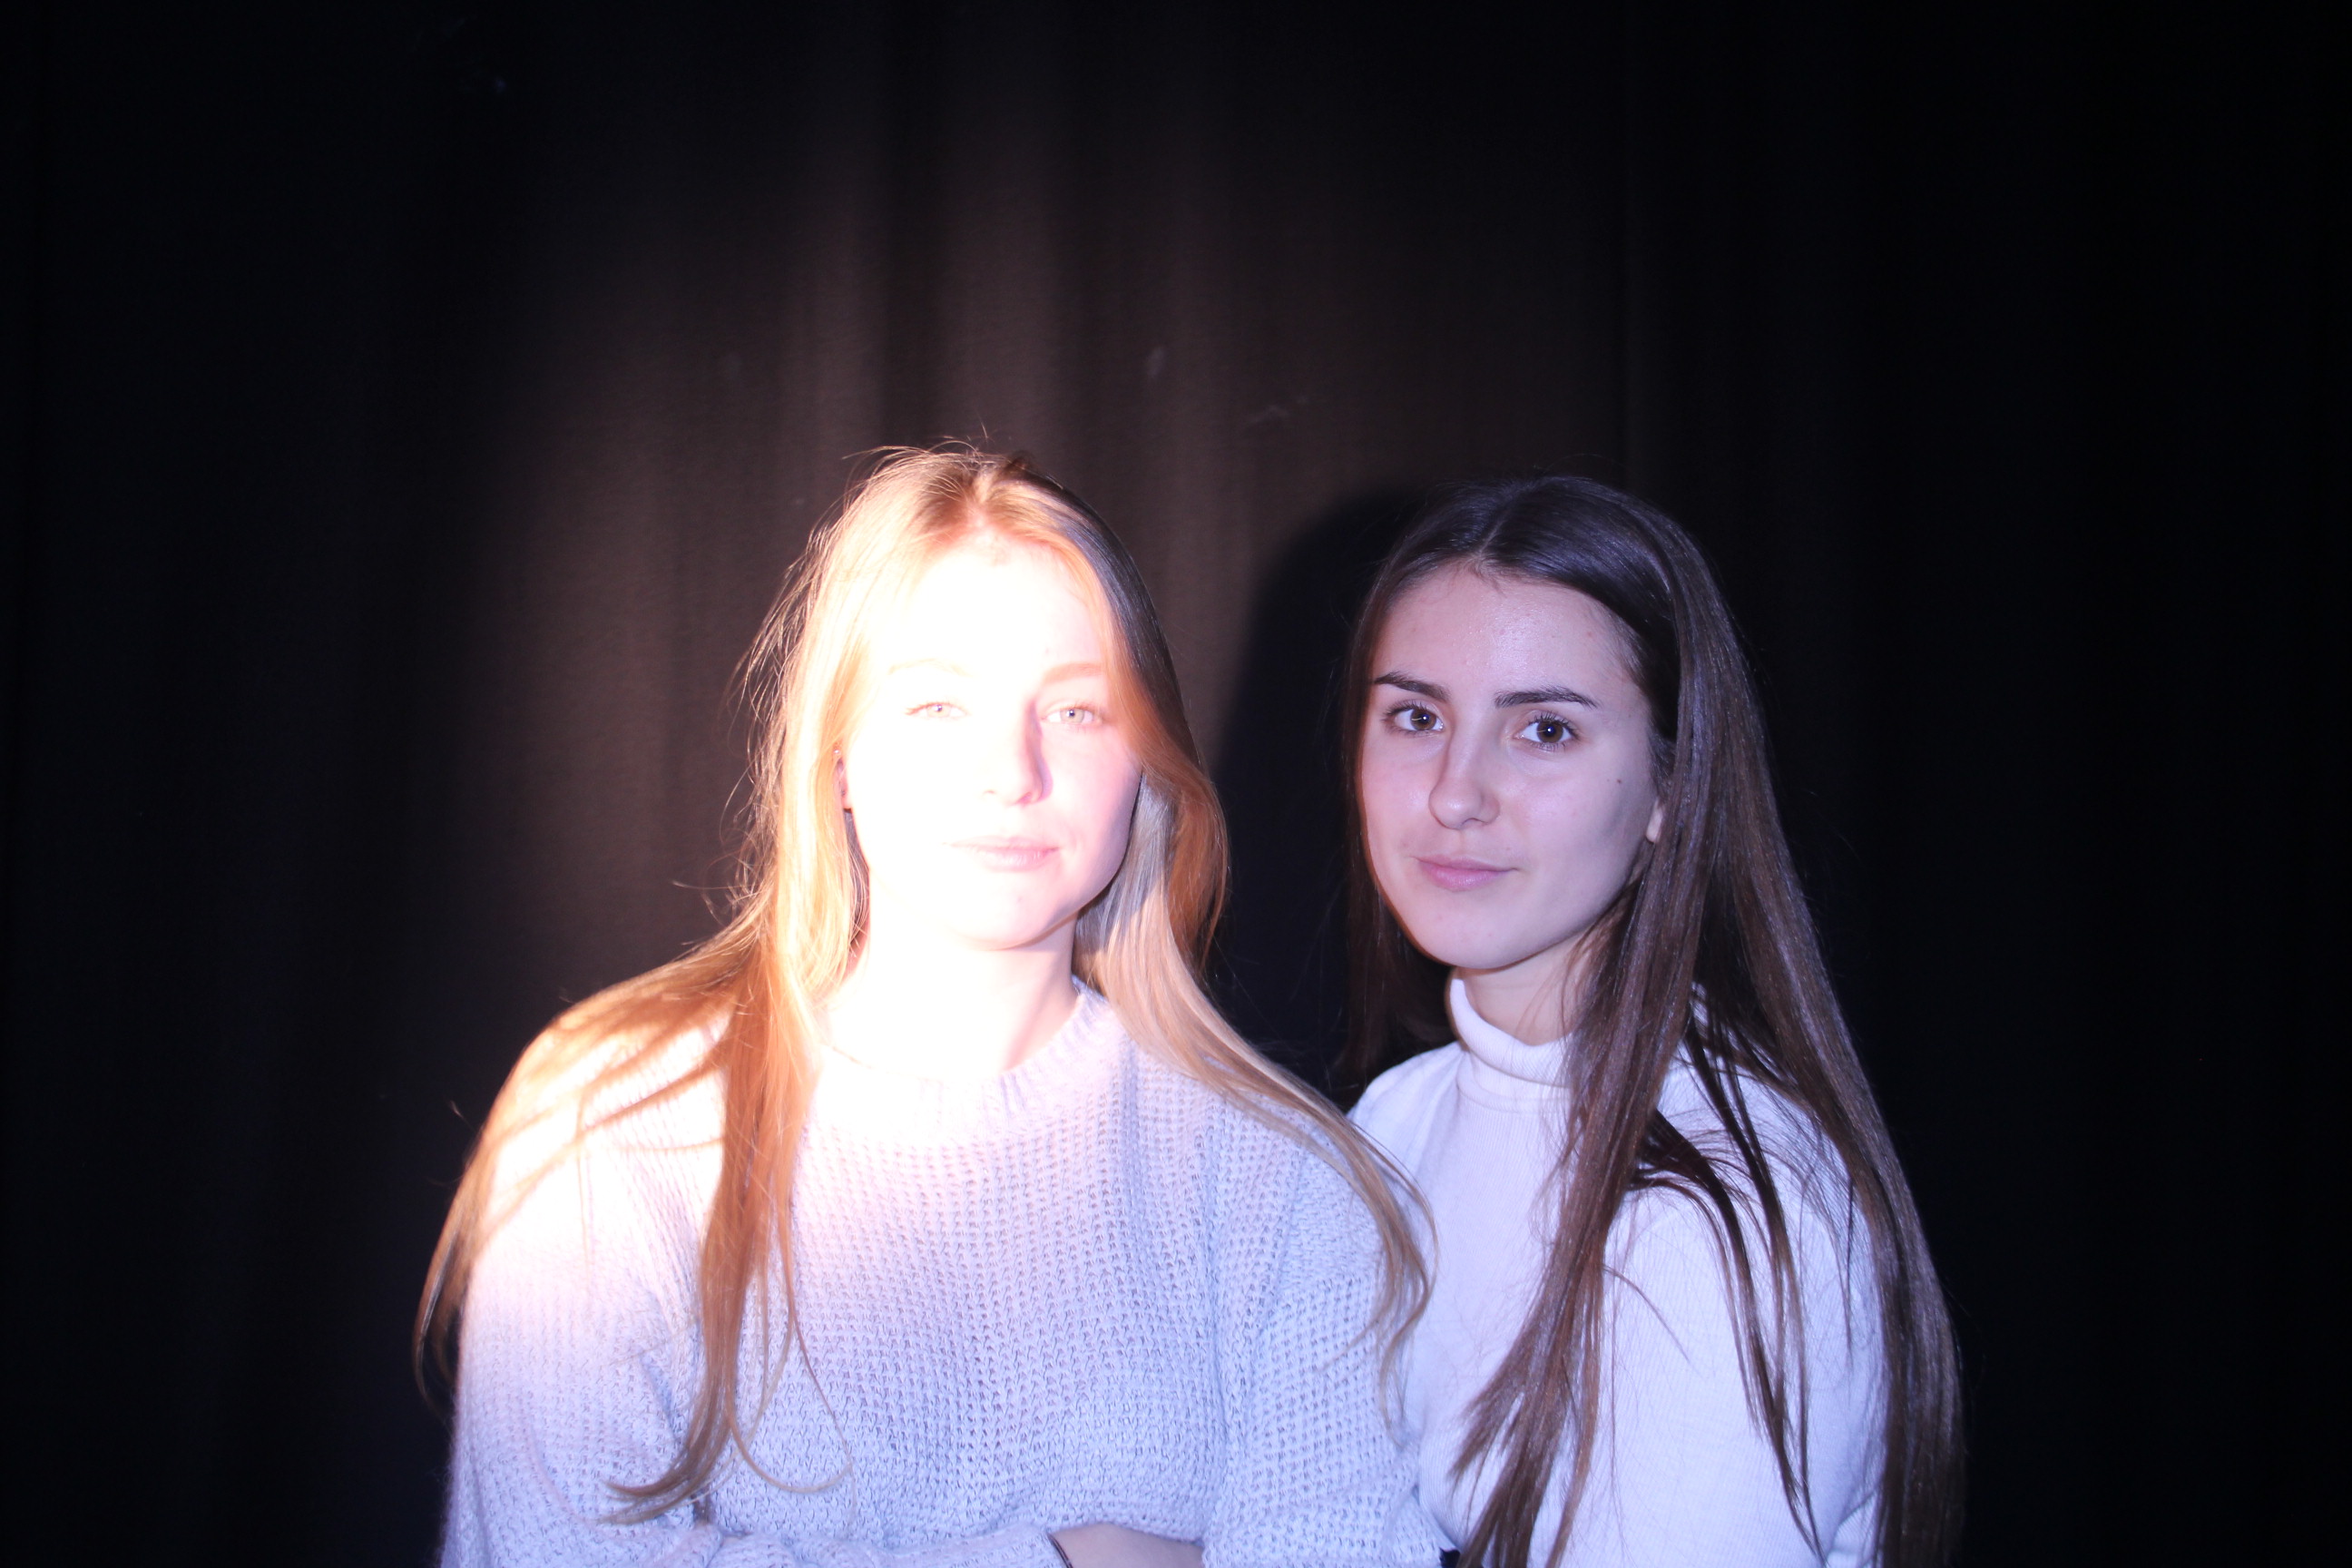

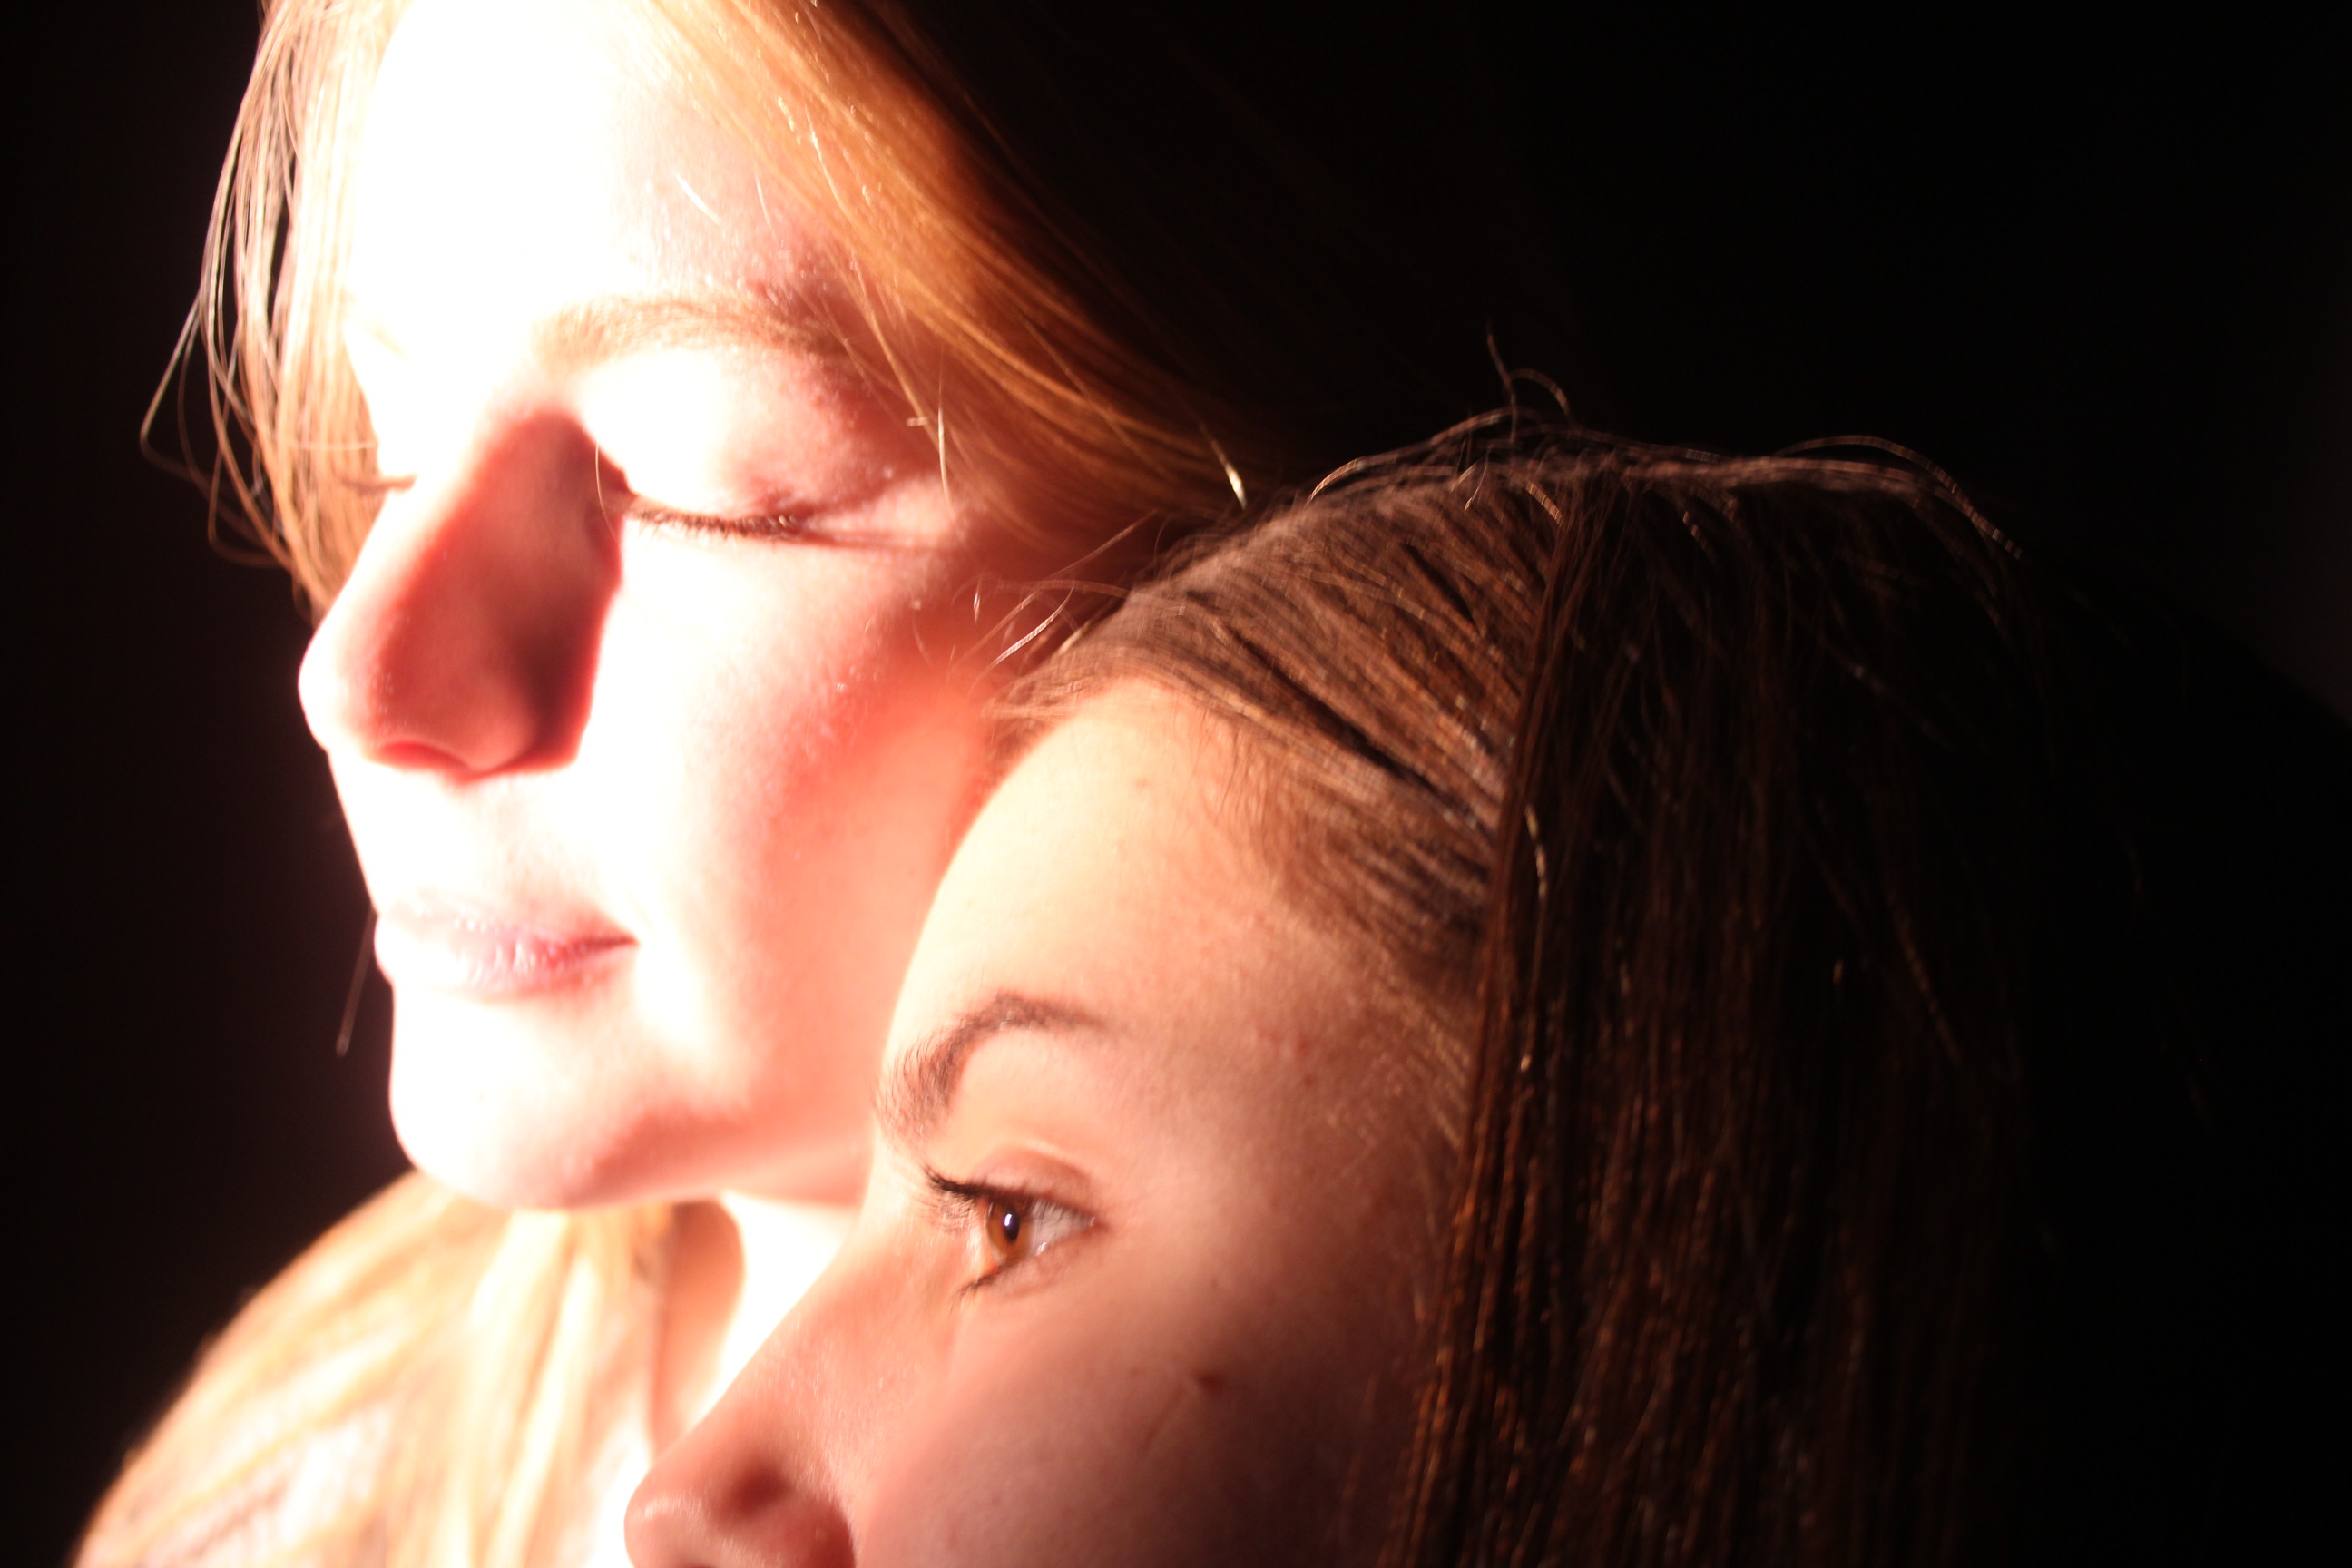
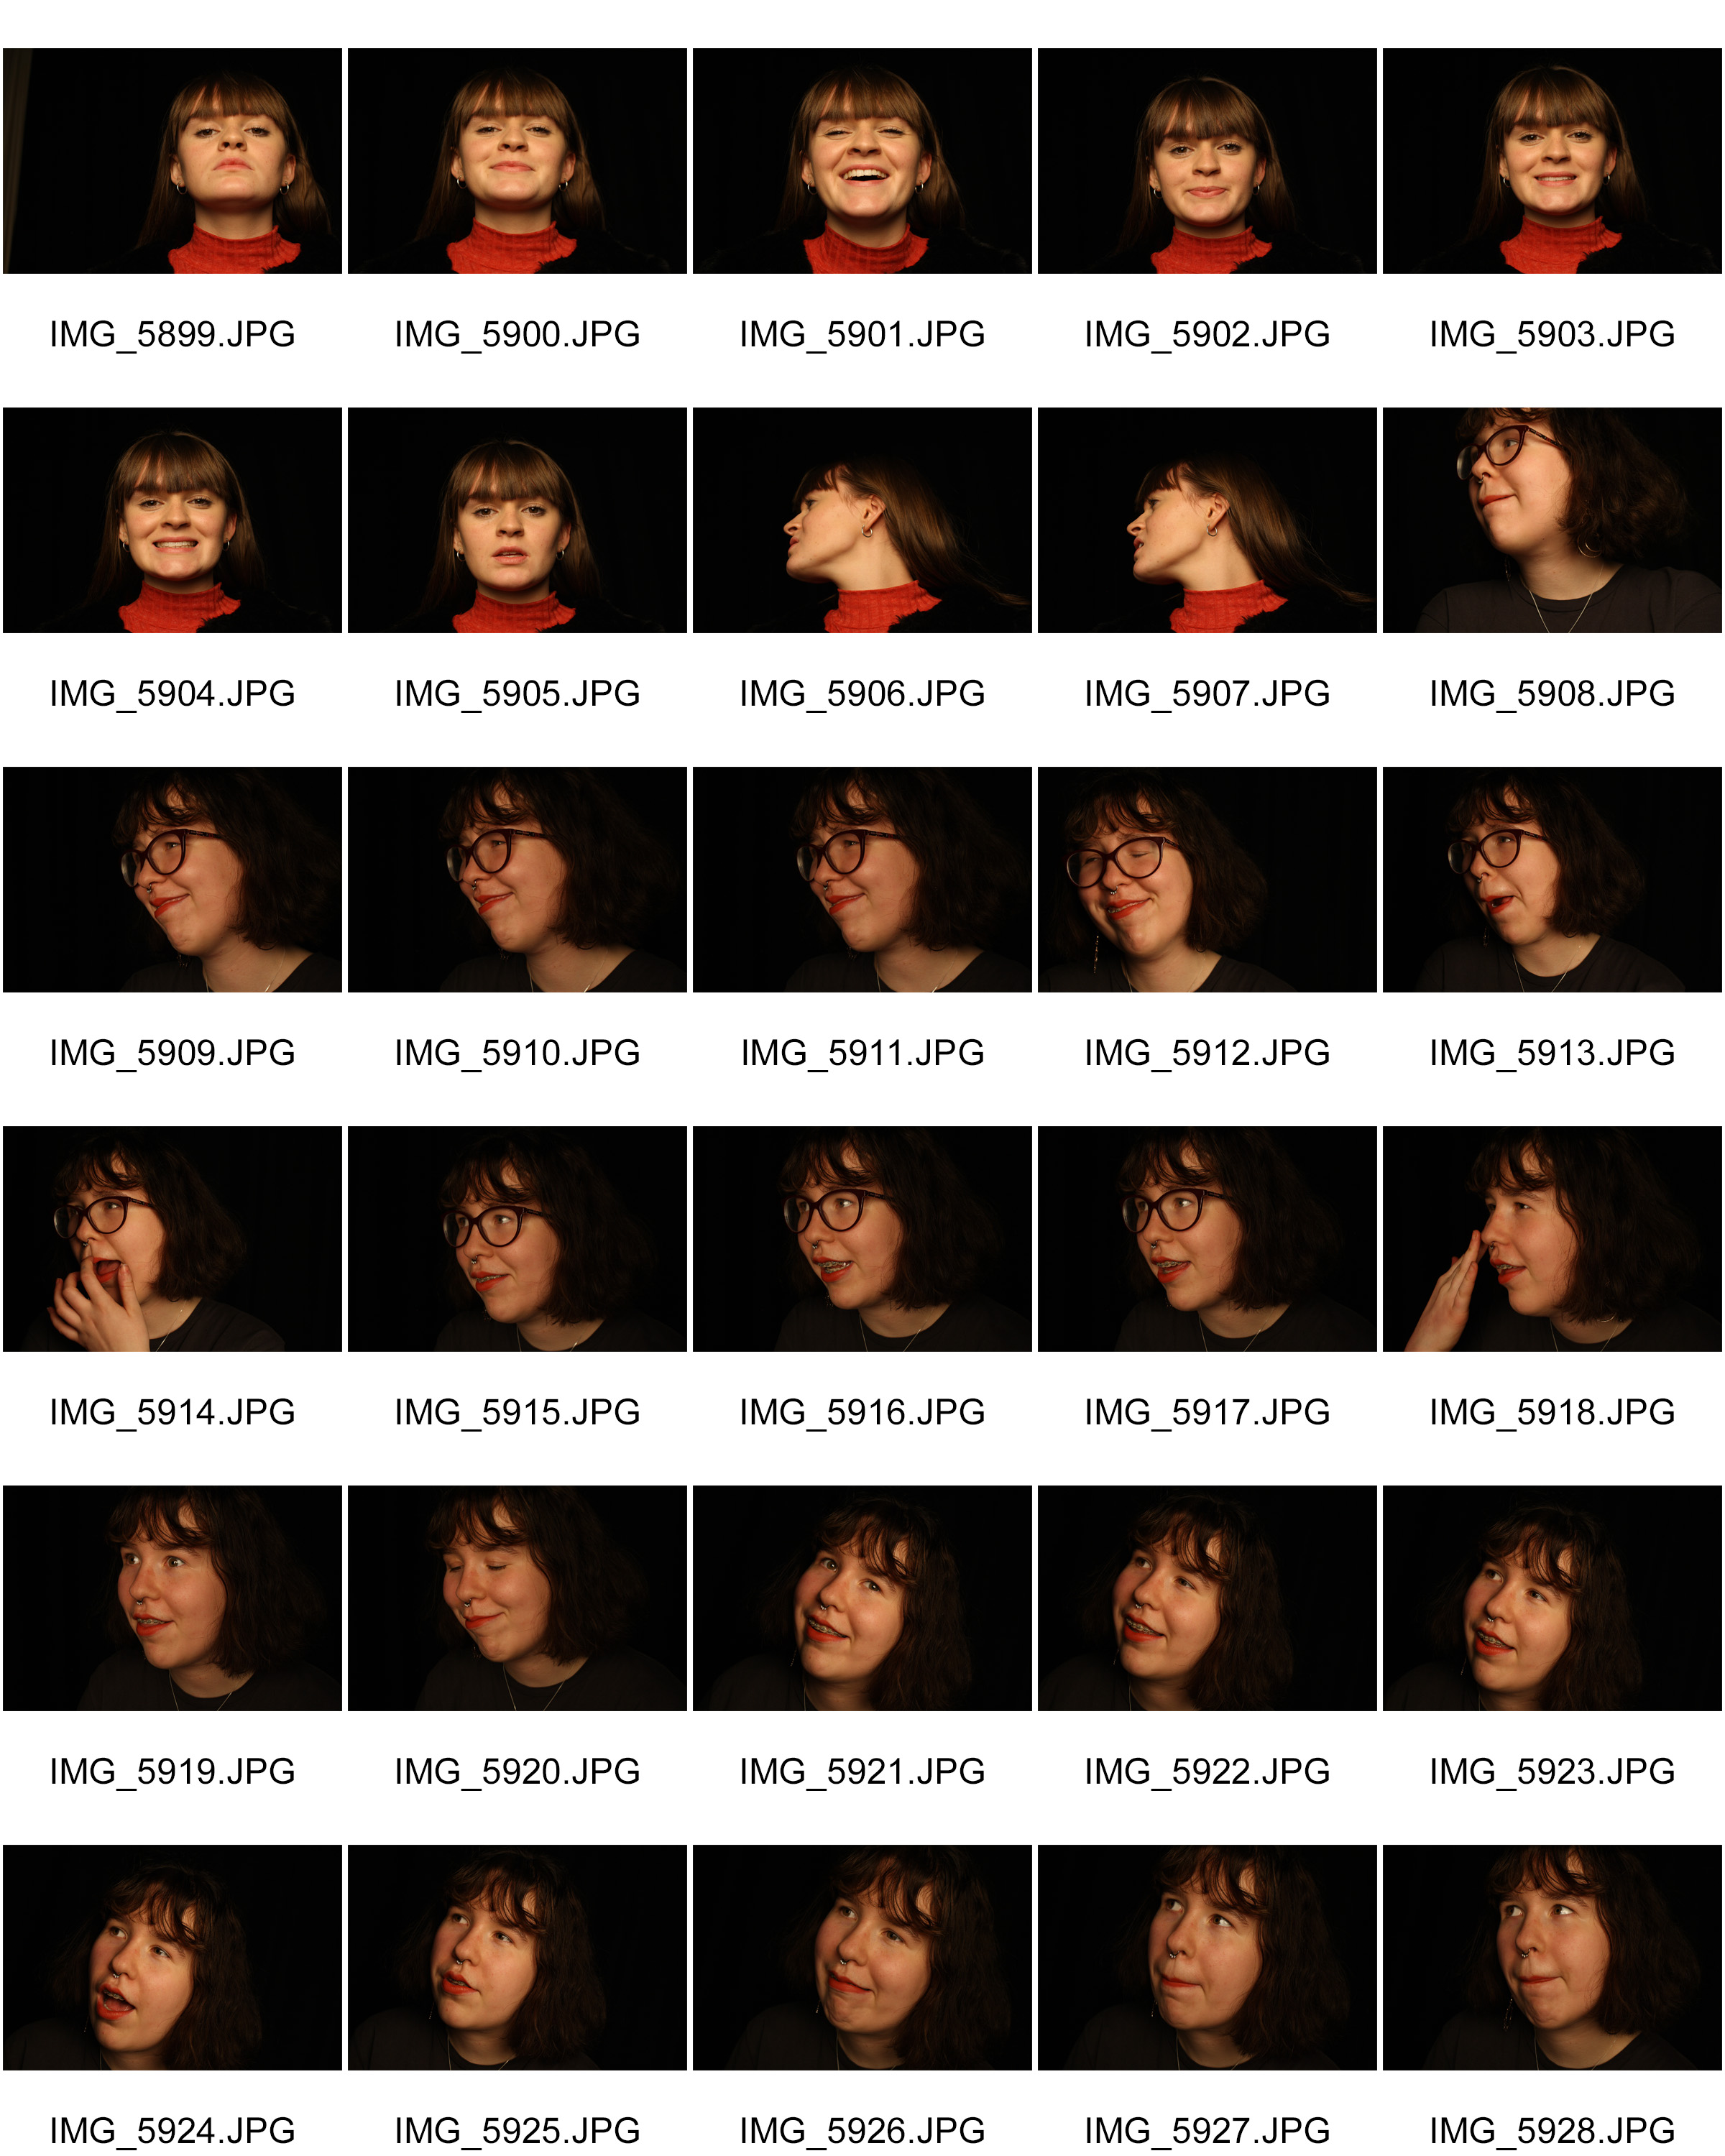
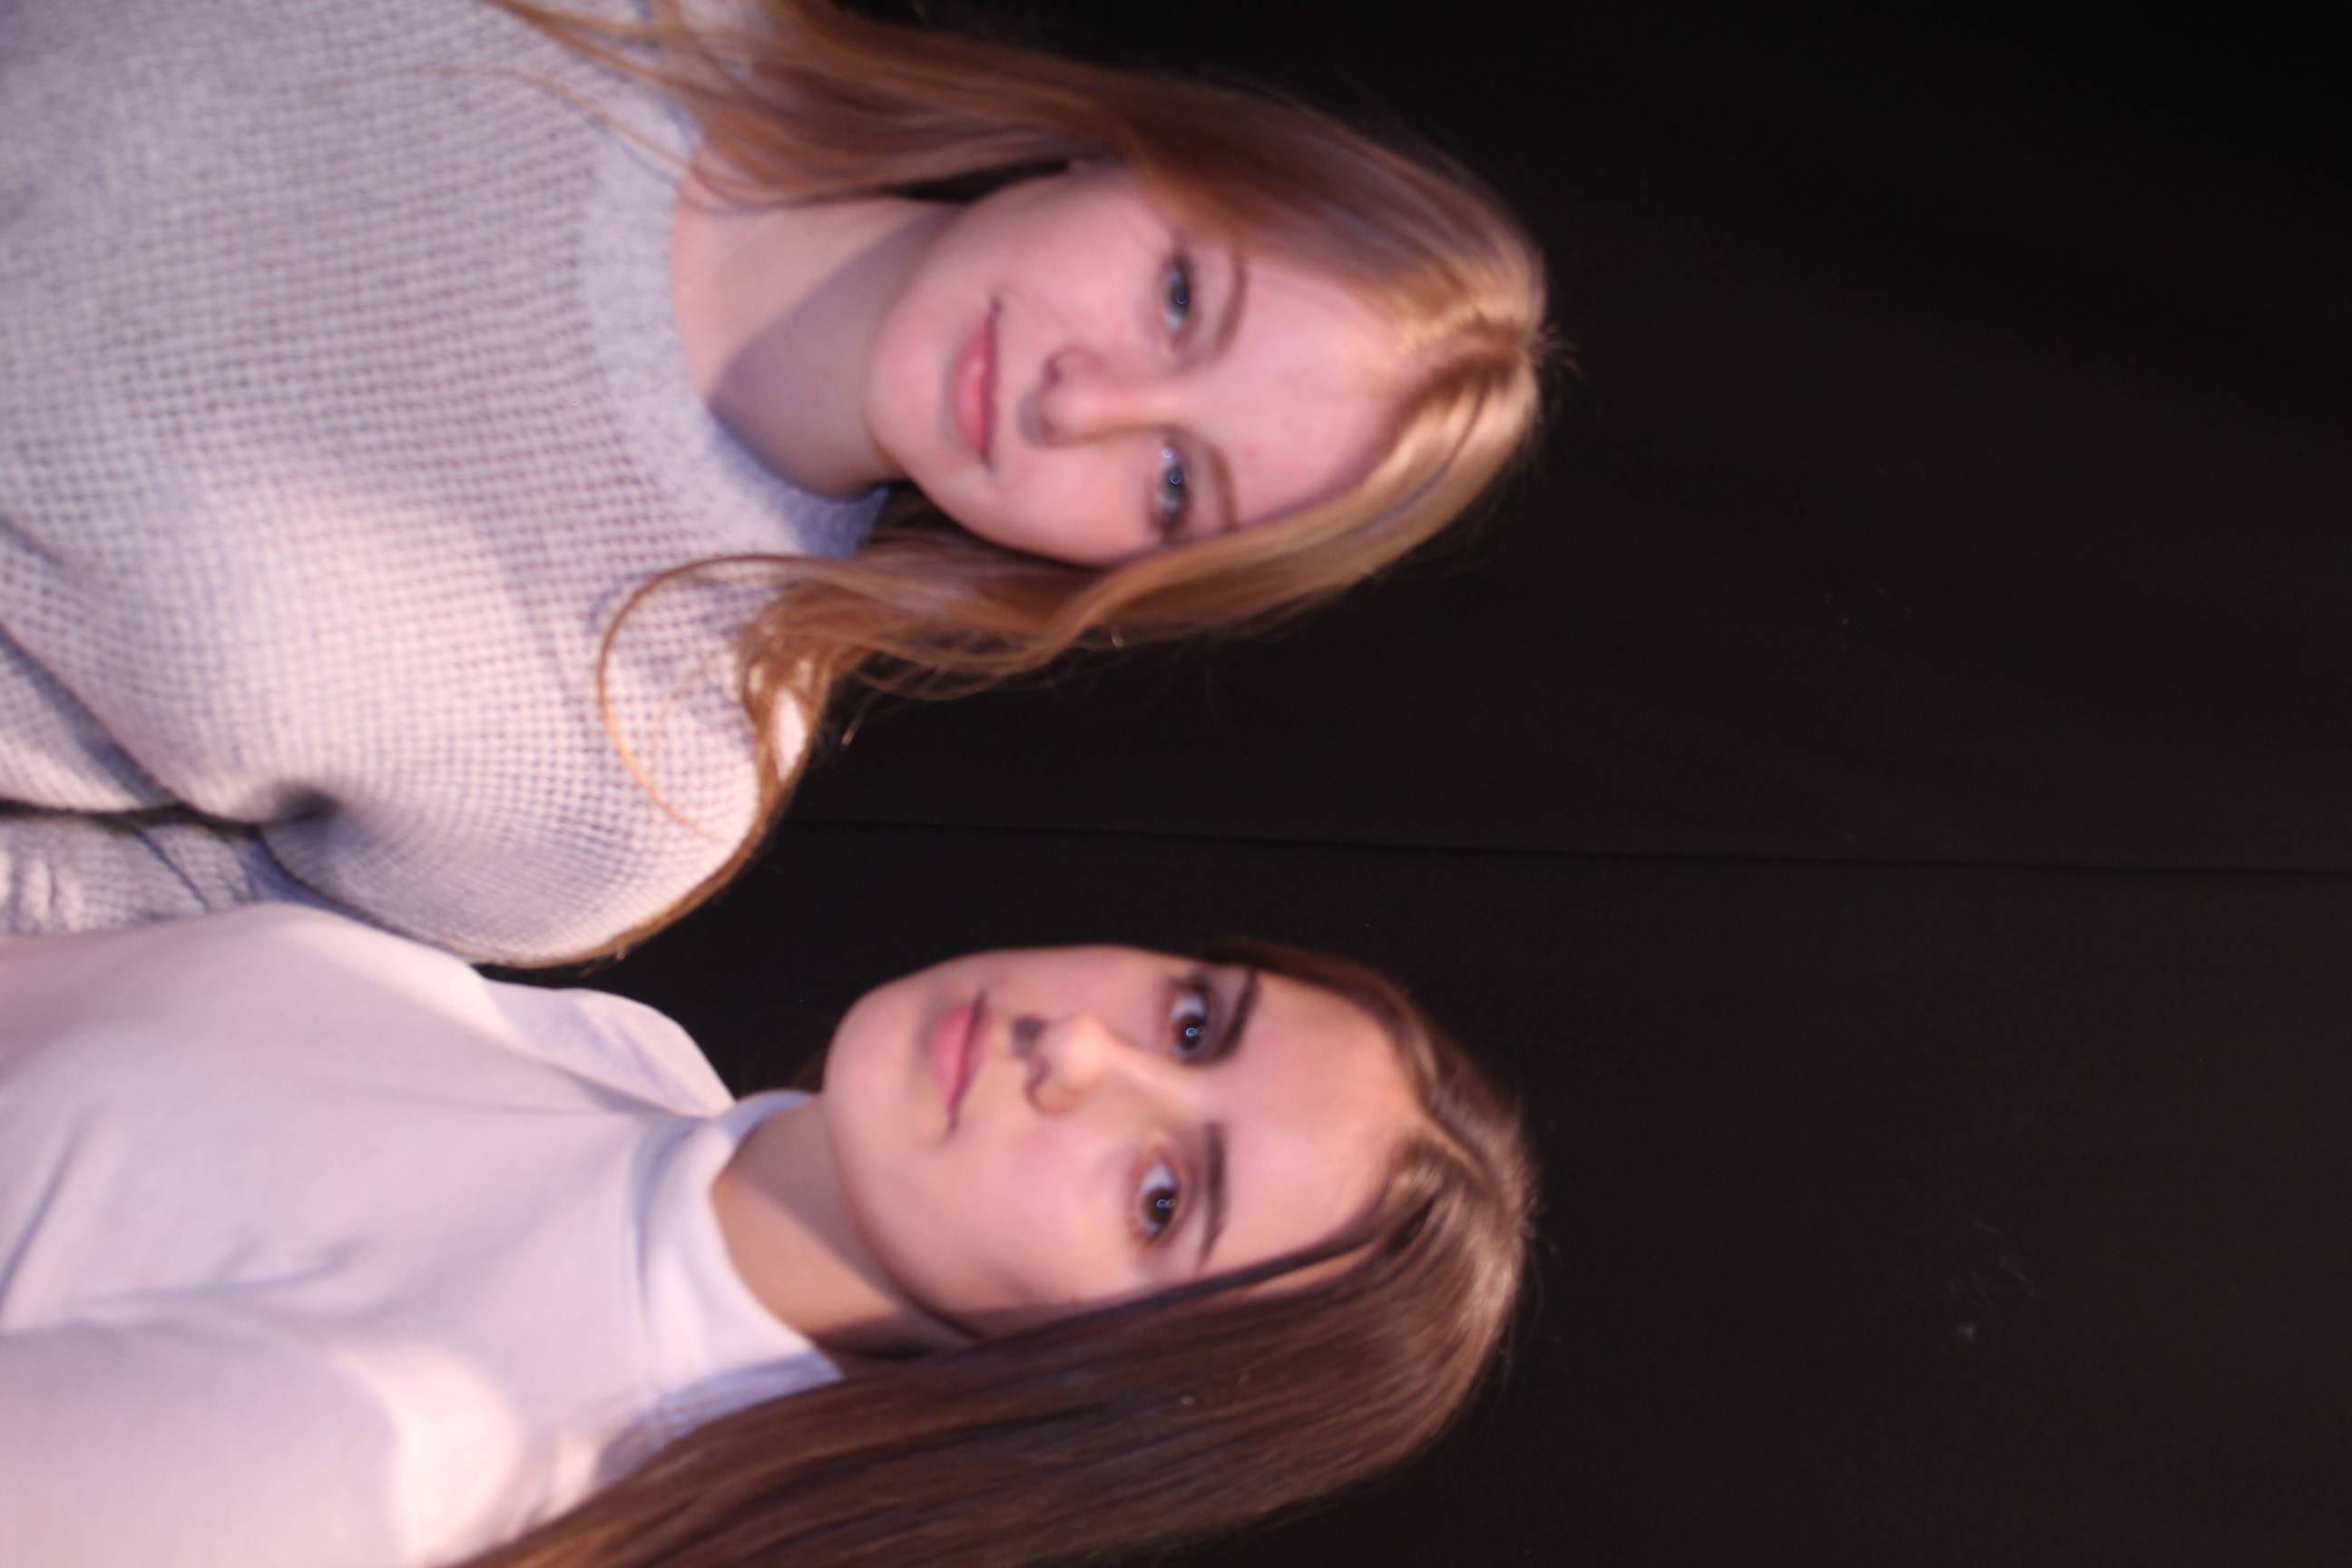
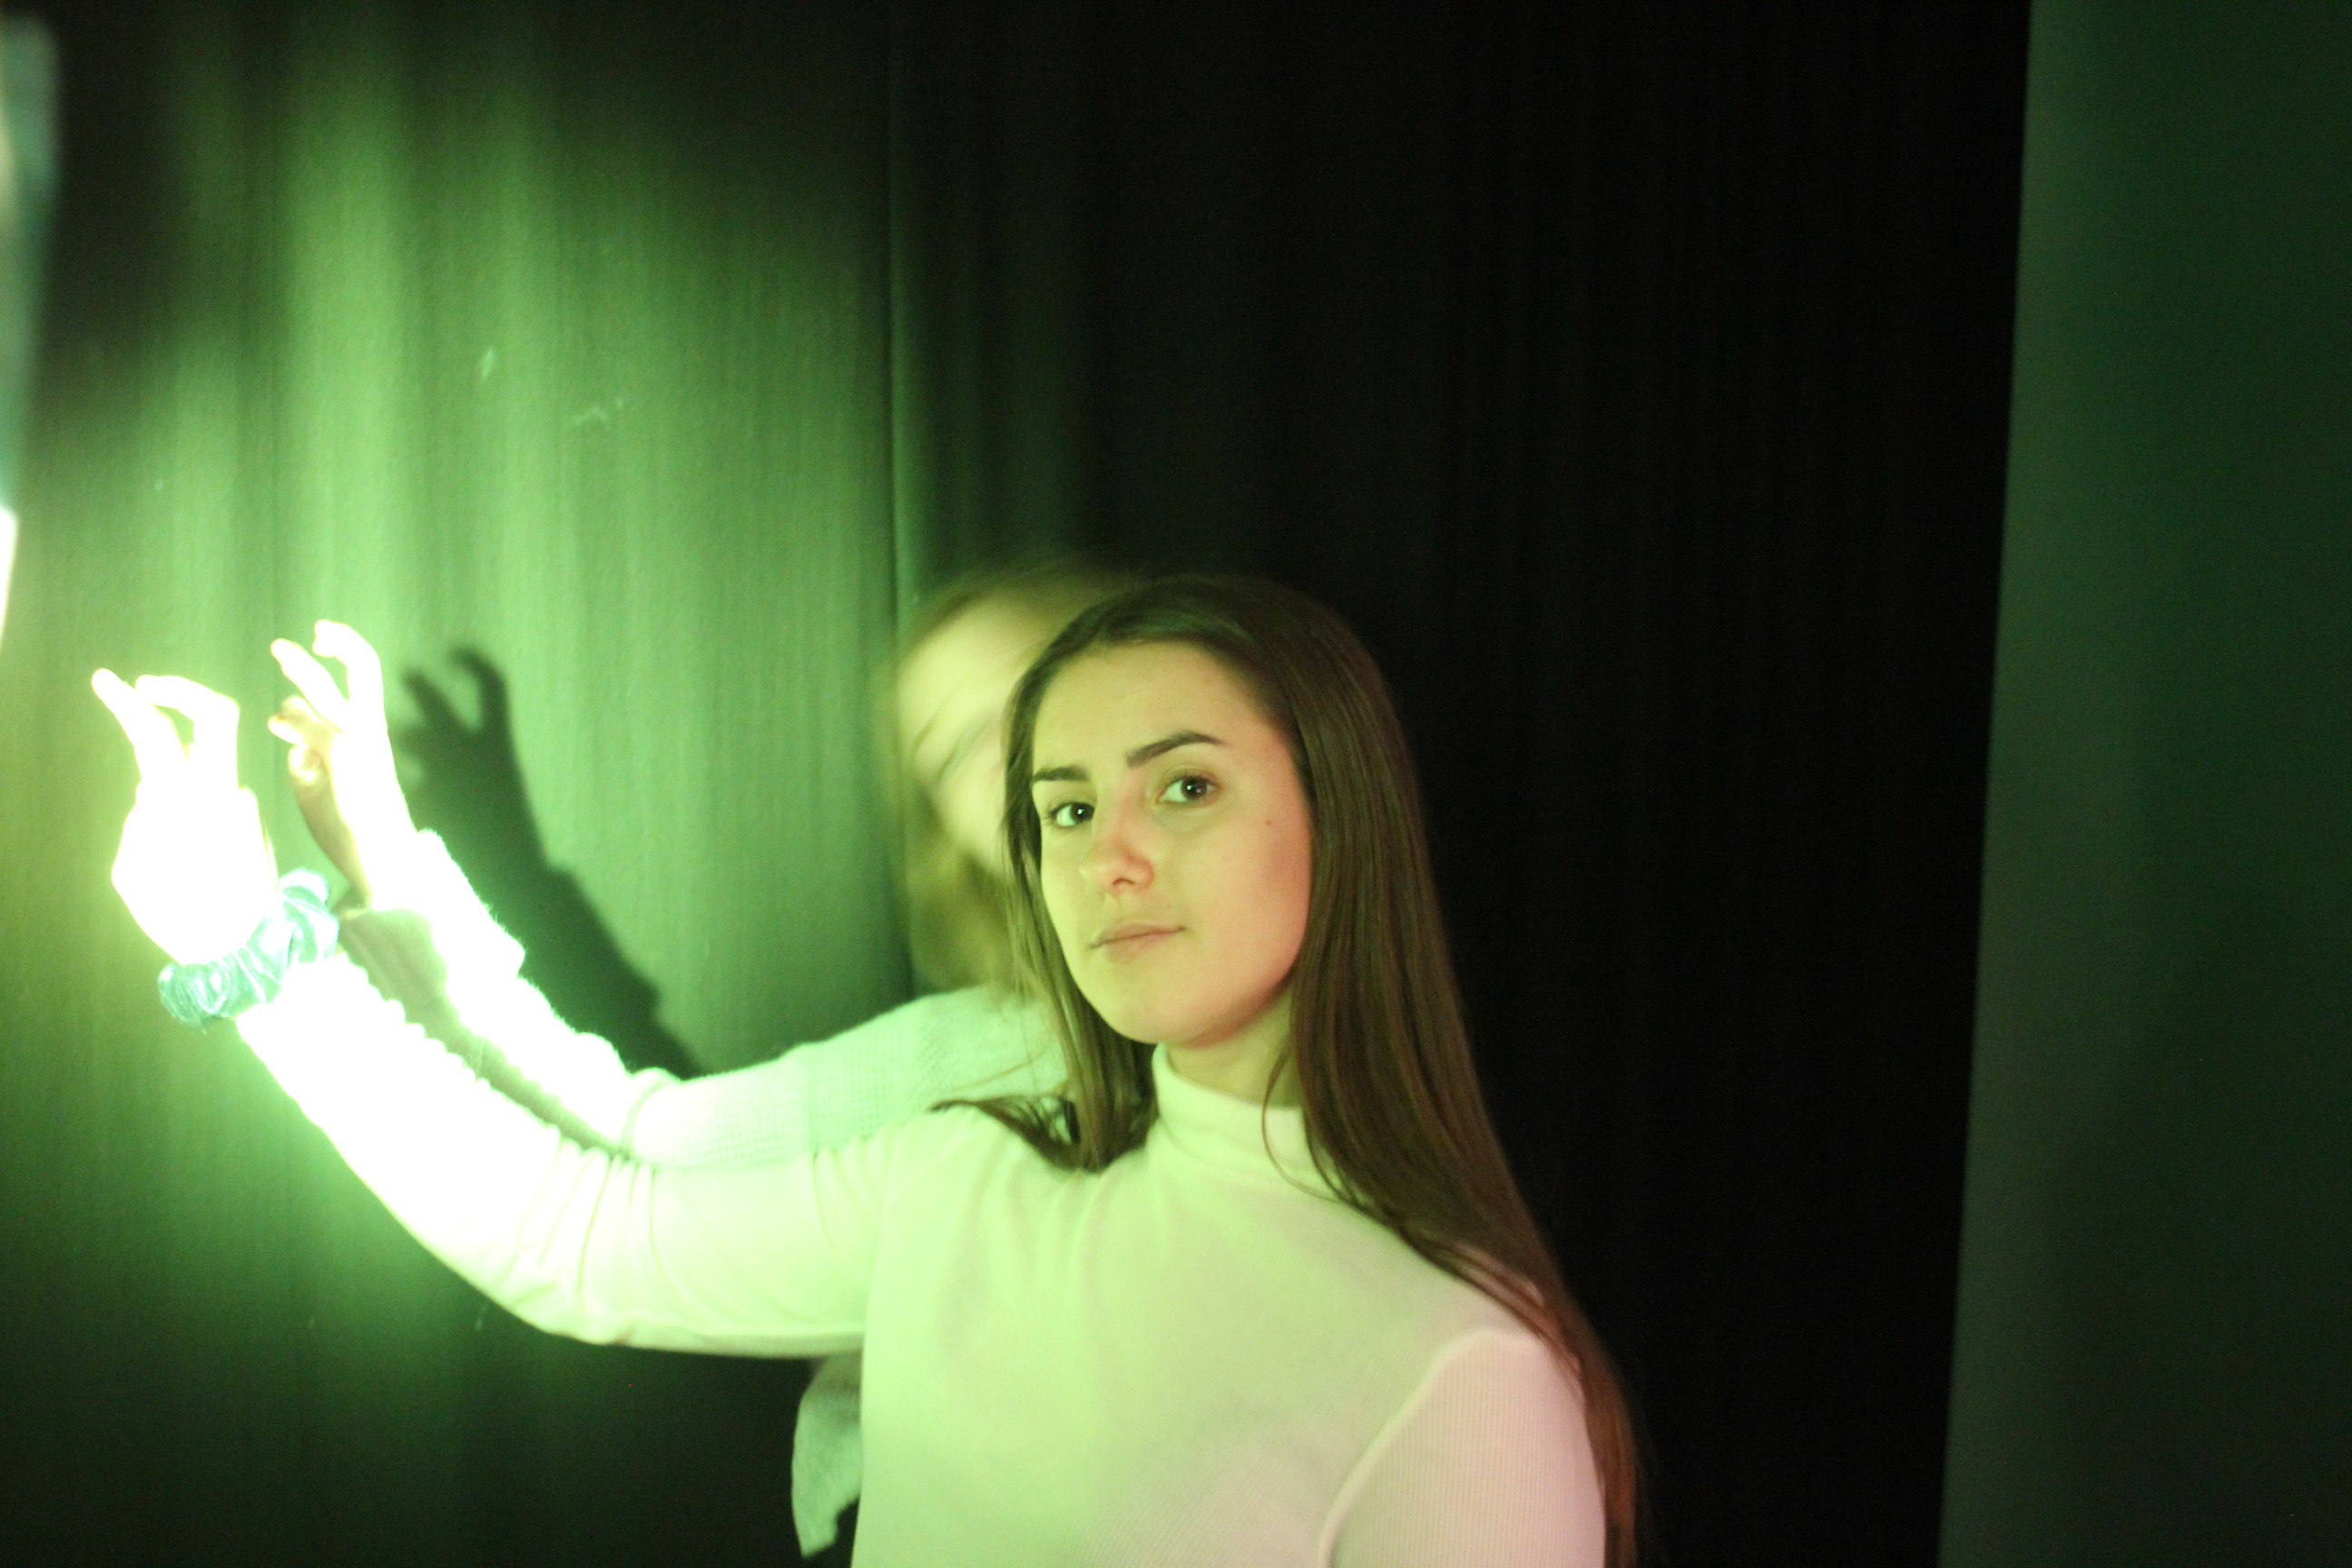
Also of these images are playing upon the concepts of doubles and shadows. Looking at using color filters over the Red head/ spot lights. This creates a creepy underwater kind of theme to the image. The last image of this set is my favorite creating a ghostly double exposure feel to the image. This image was not actually a double exposure it was just done with two models and a low sutter speed to create movement with the surrounding outsides of the images while keeping the faces in focus.
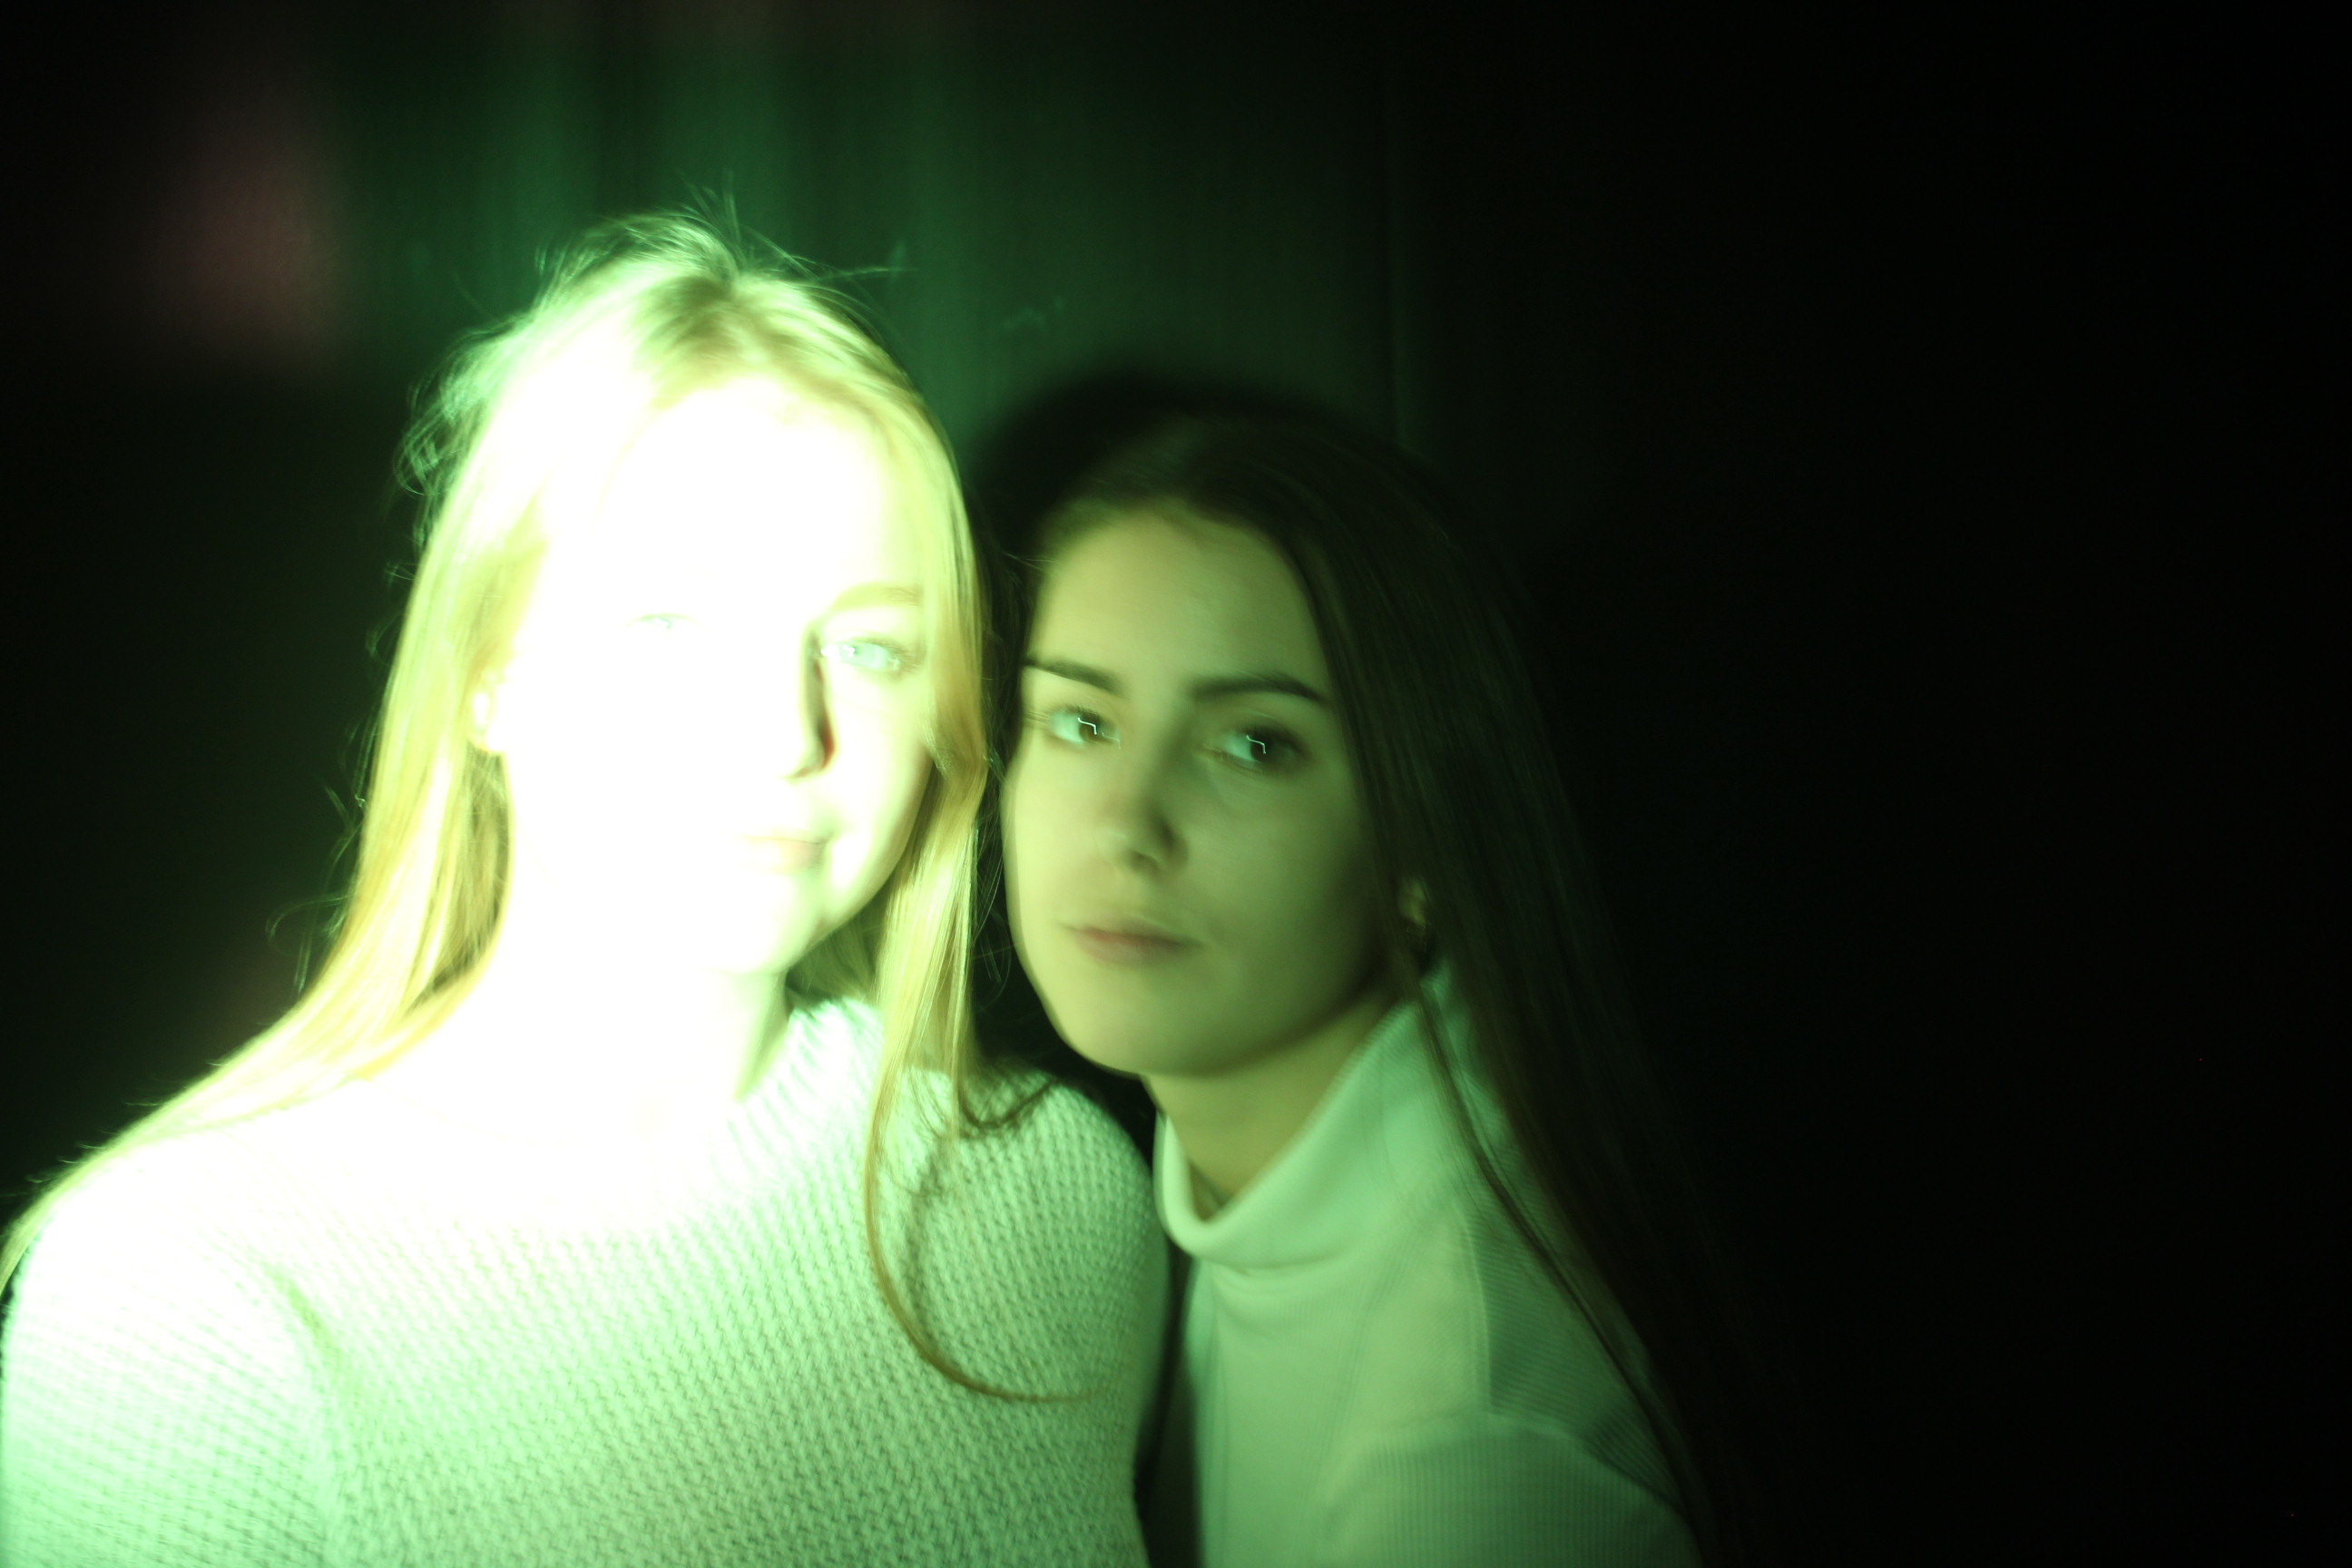
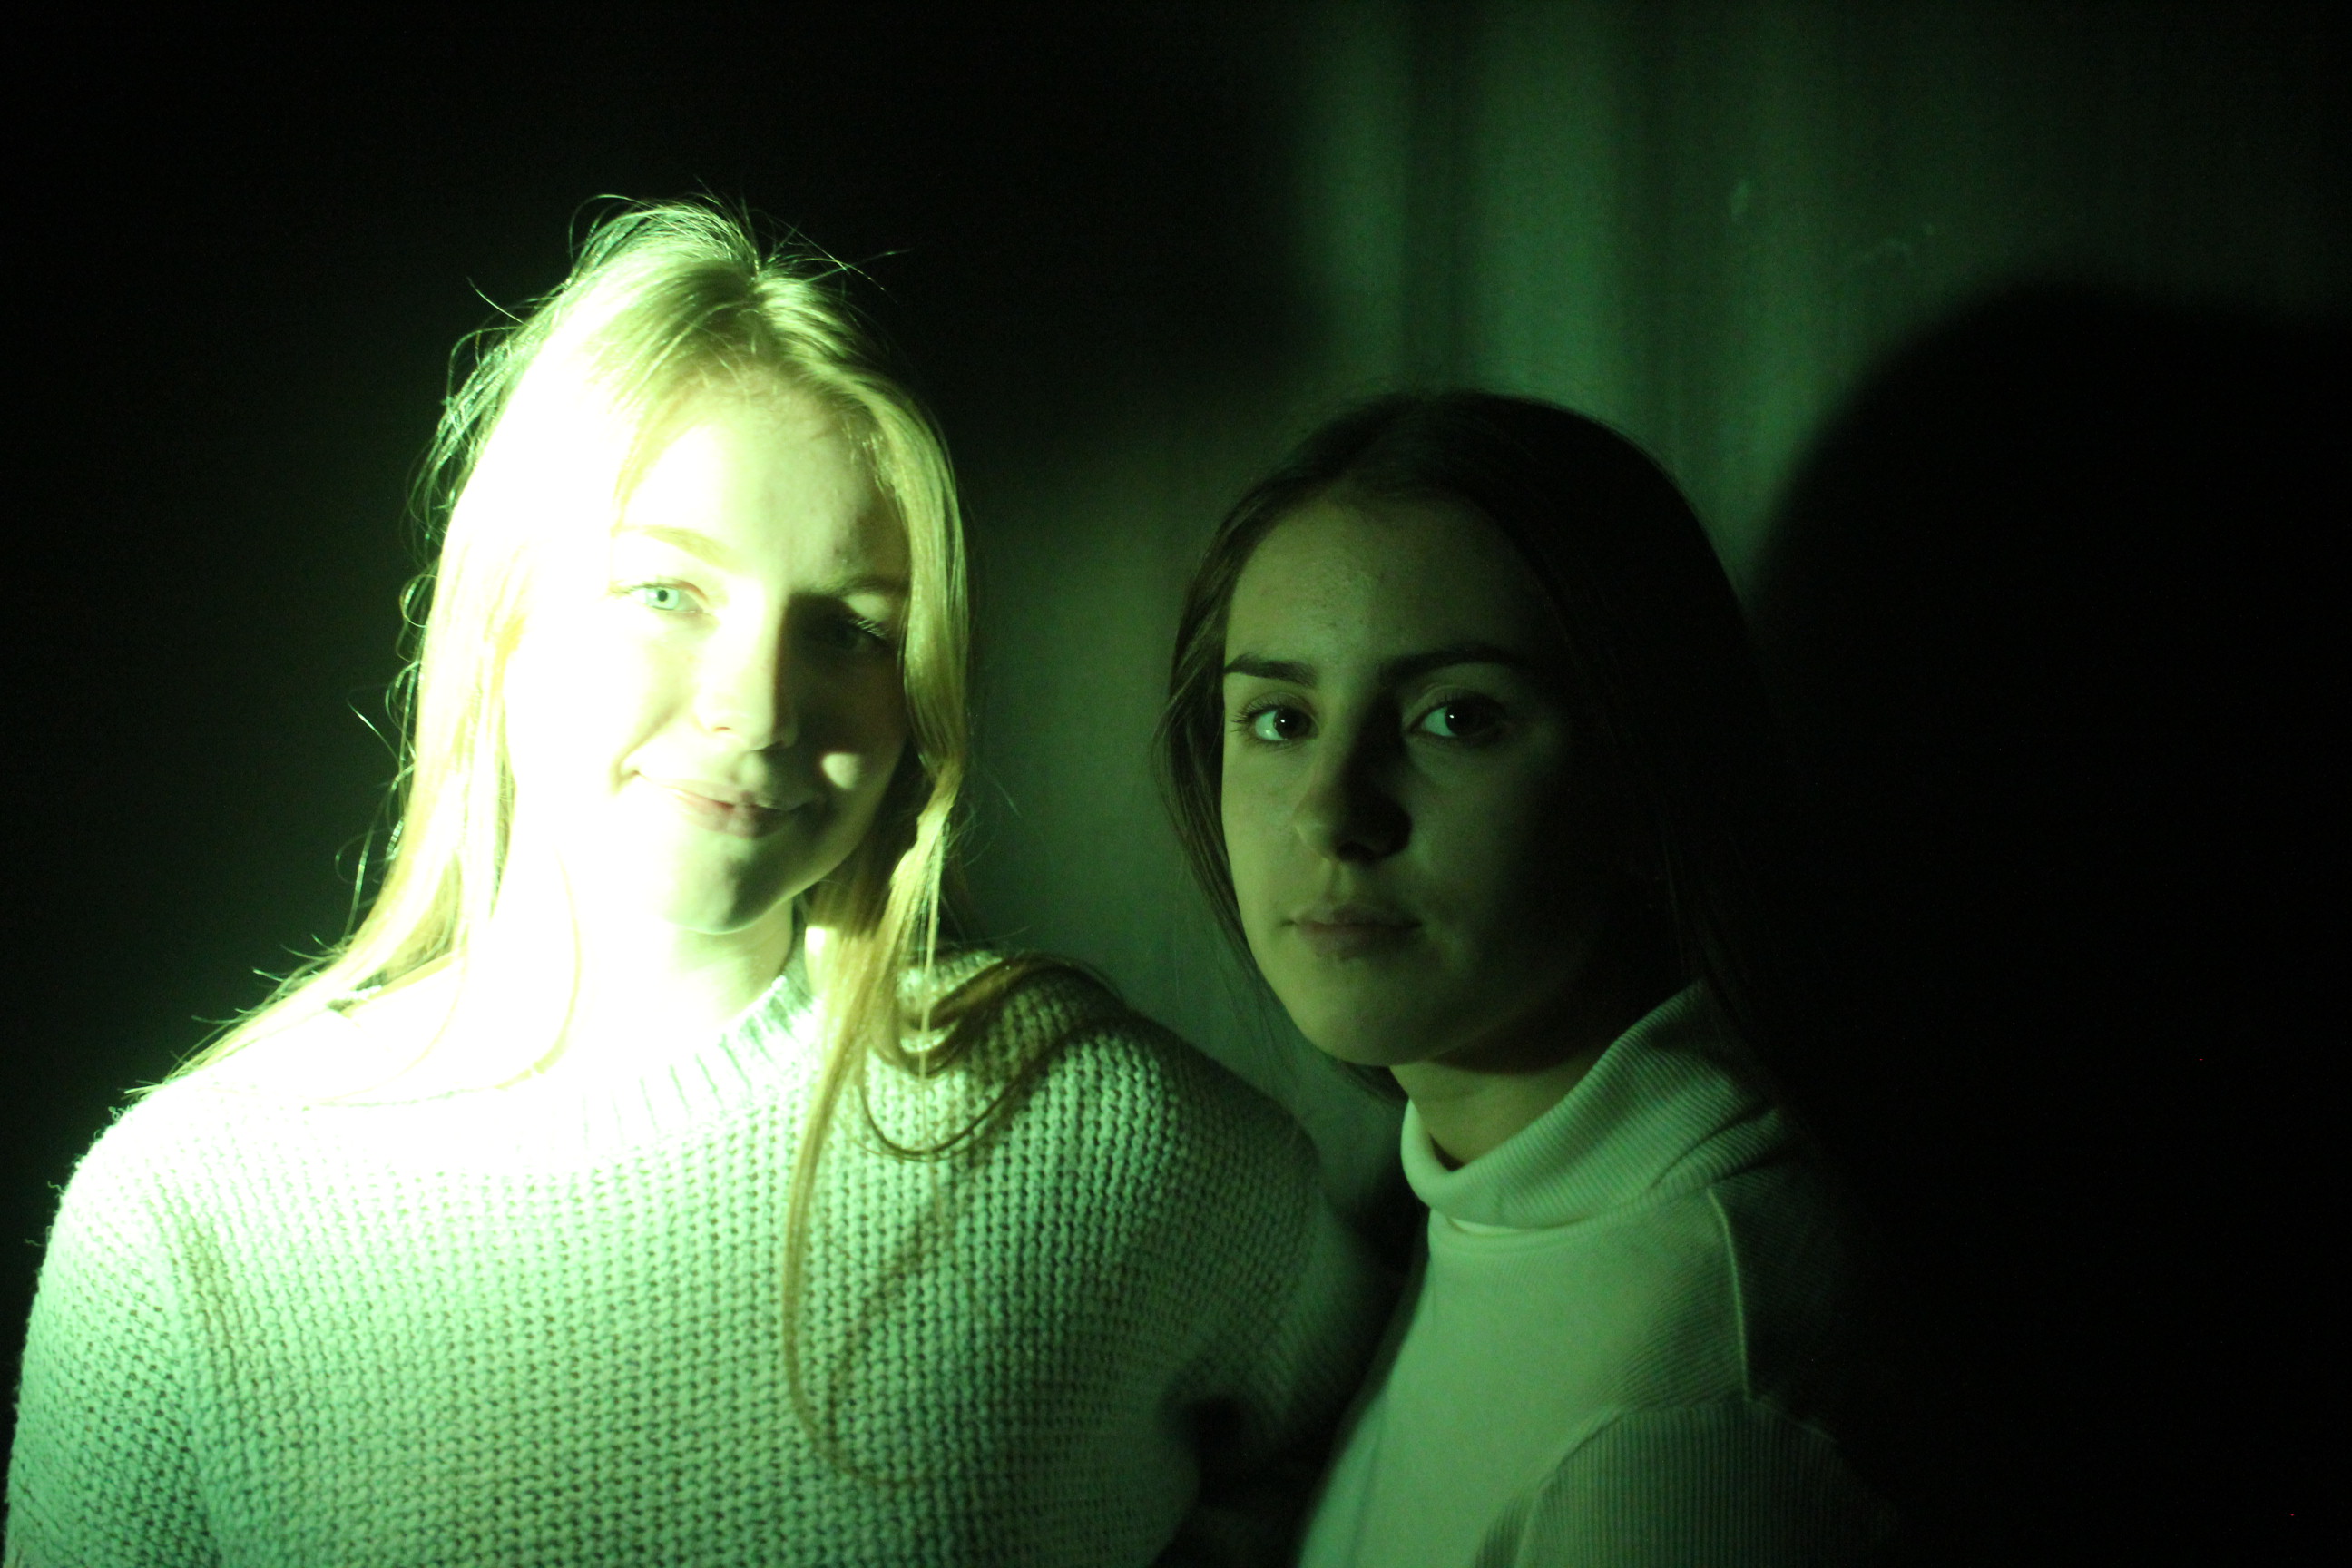
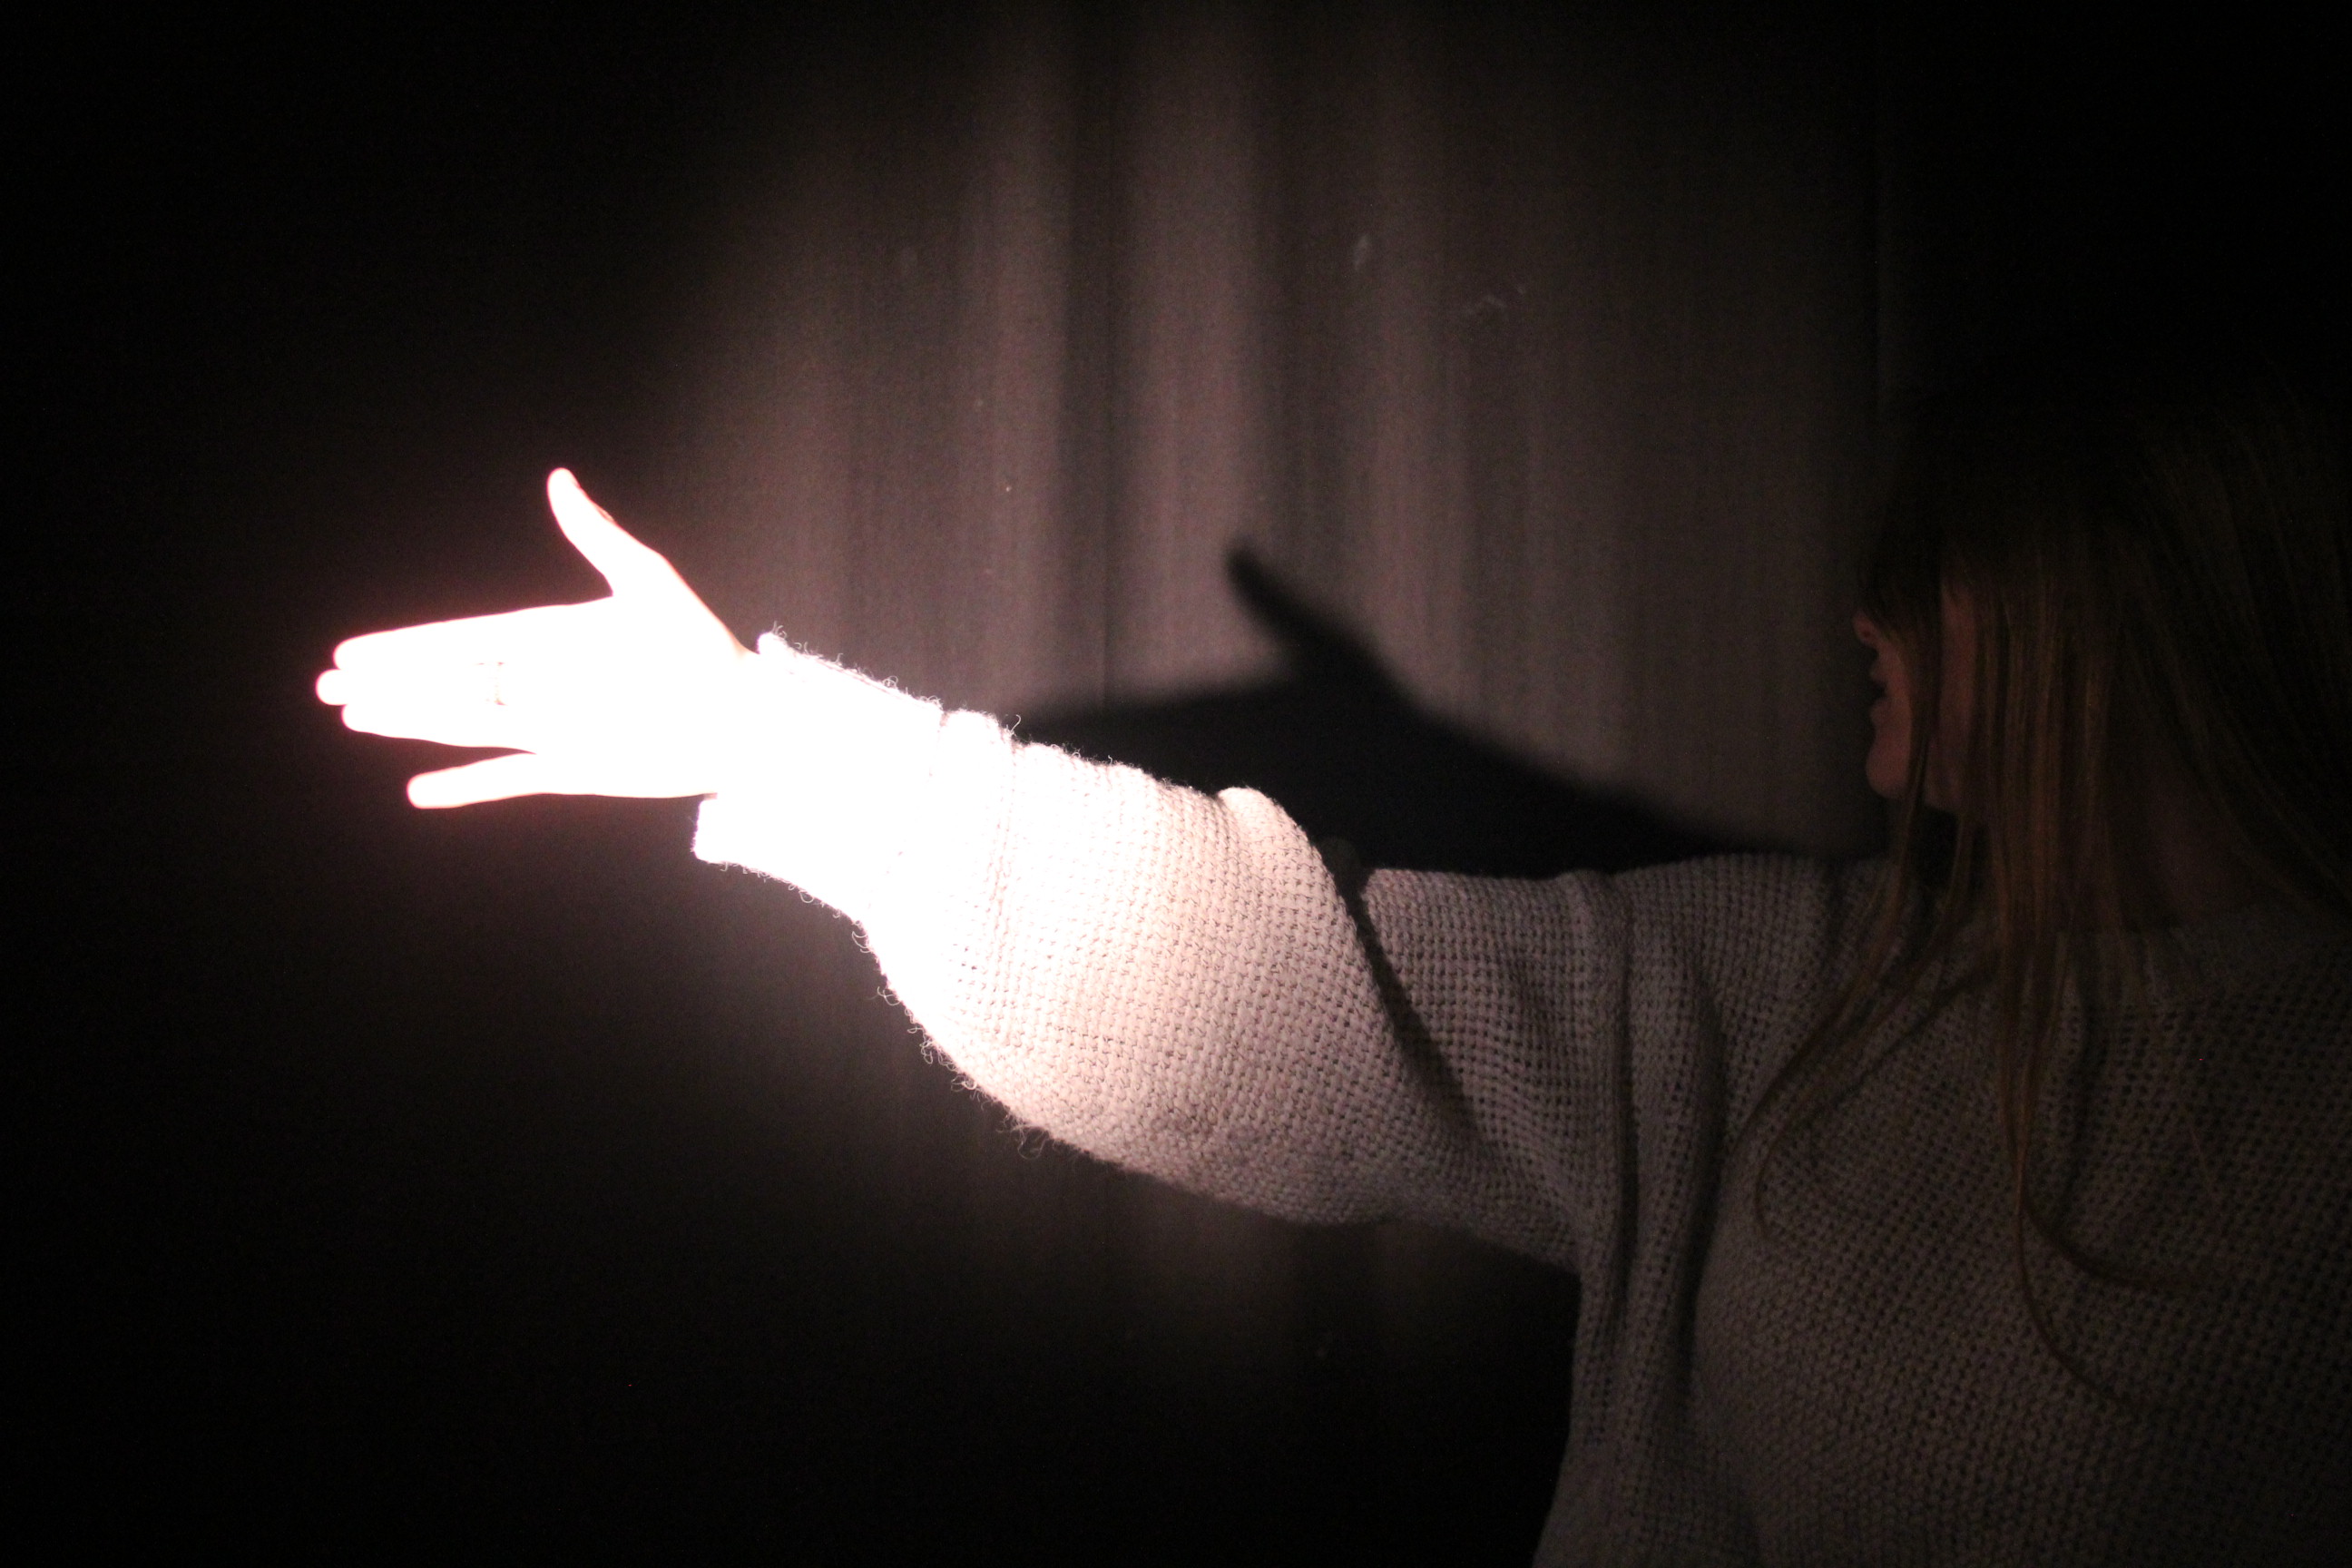
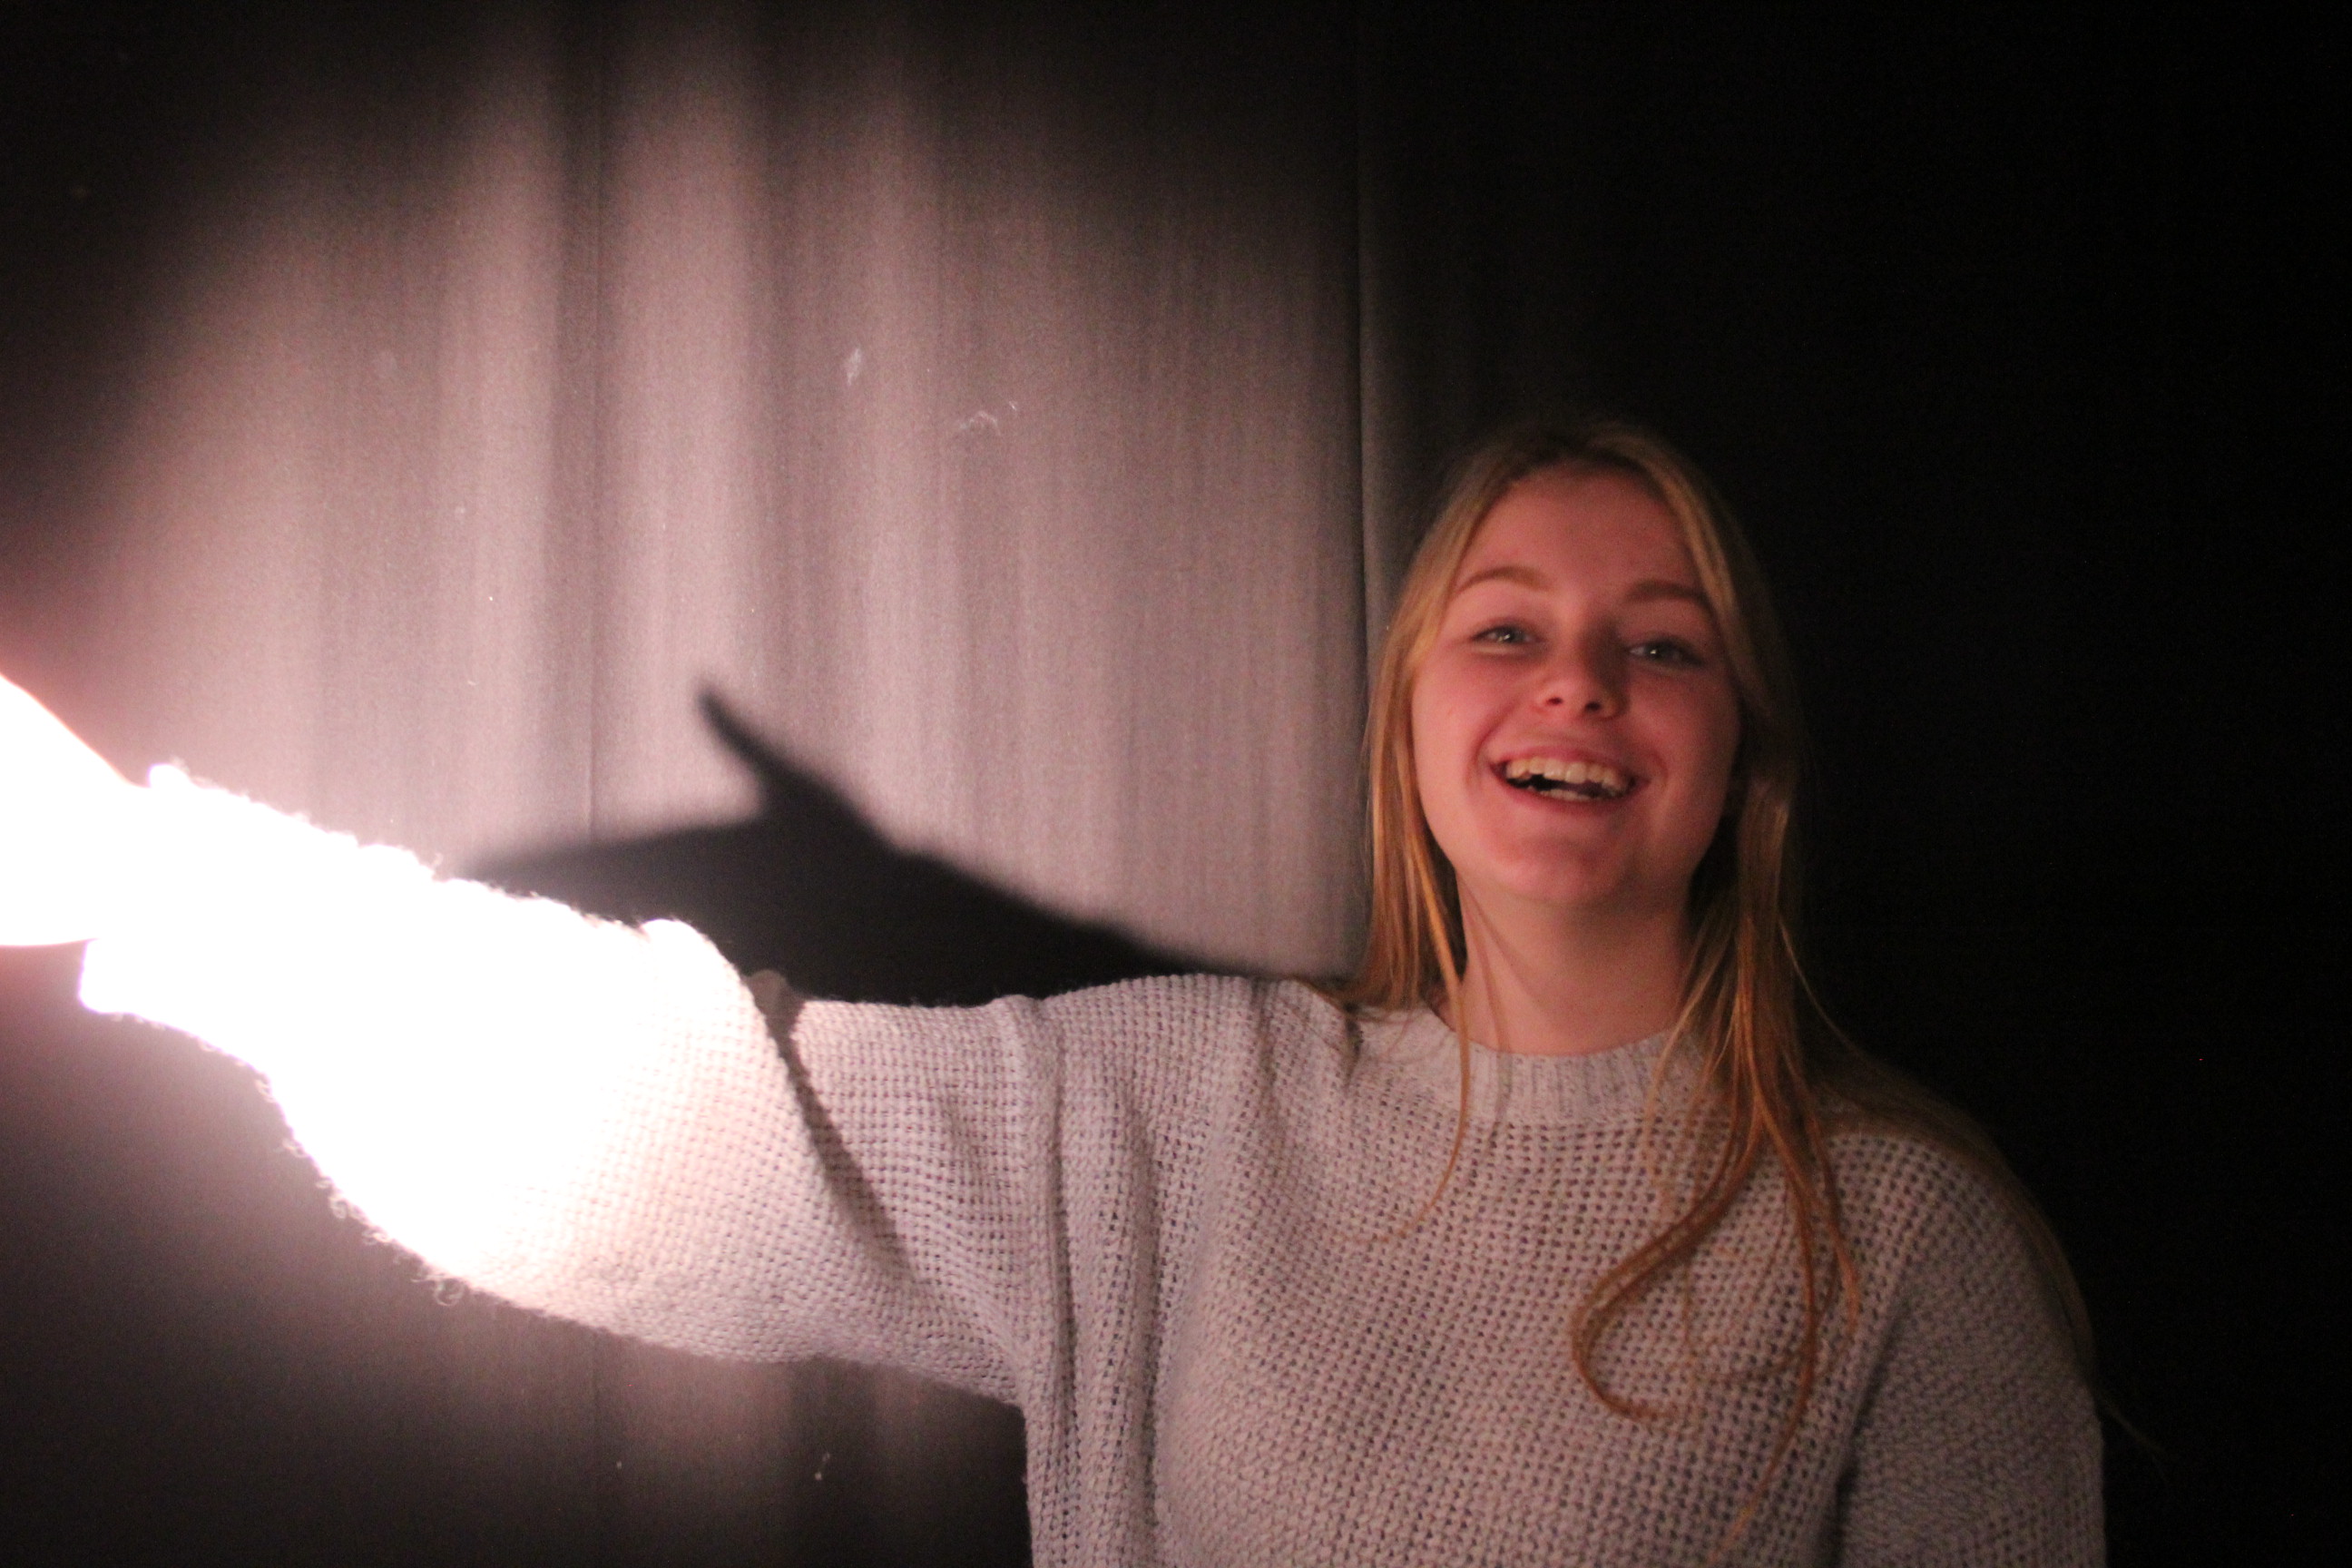
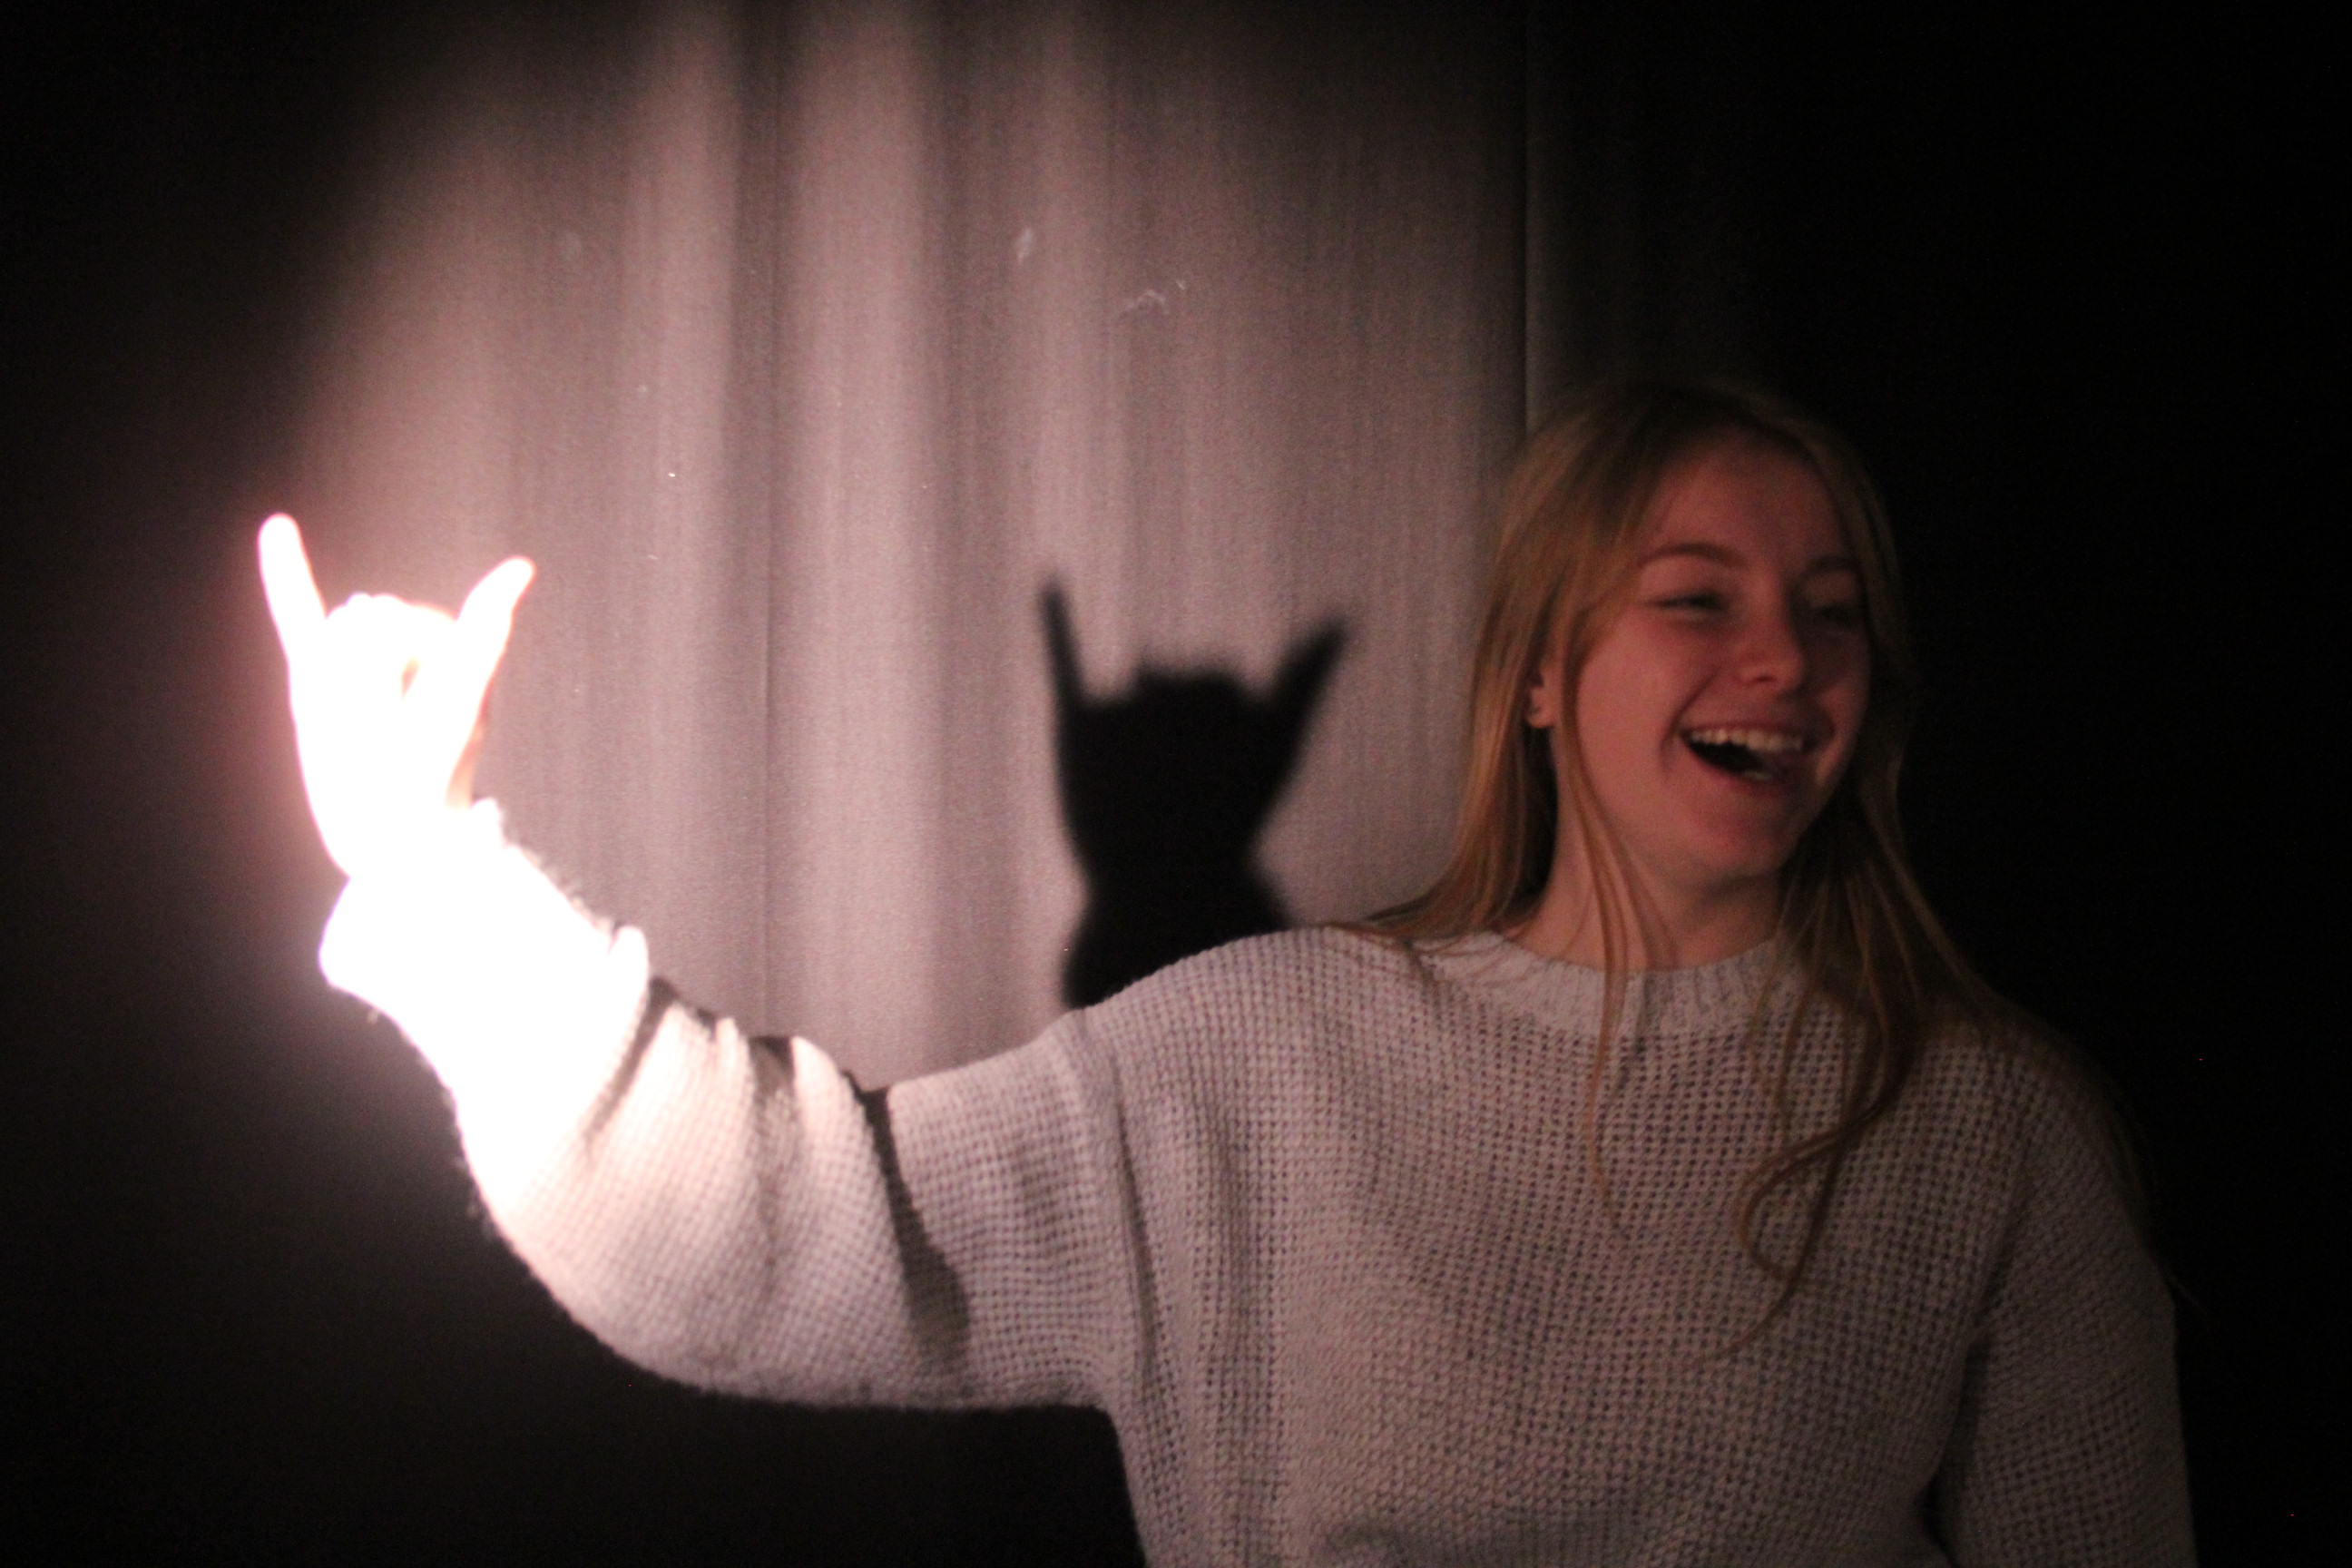

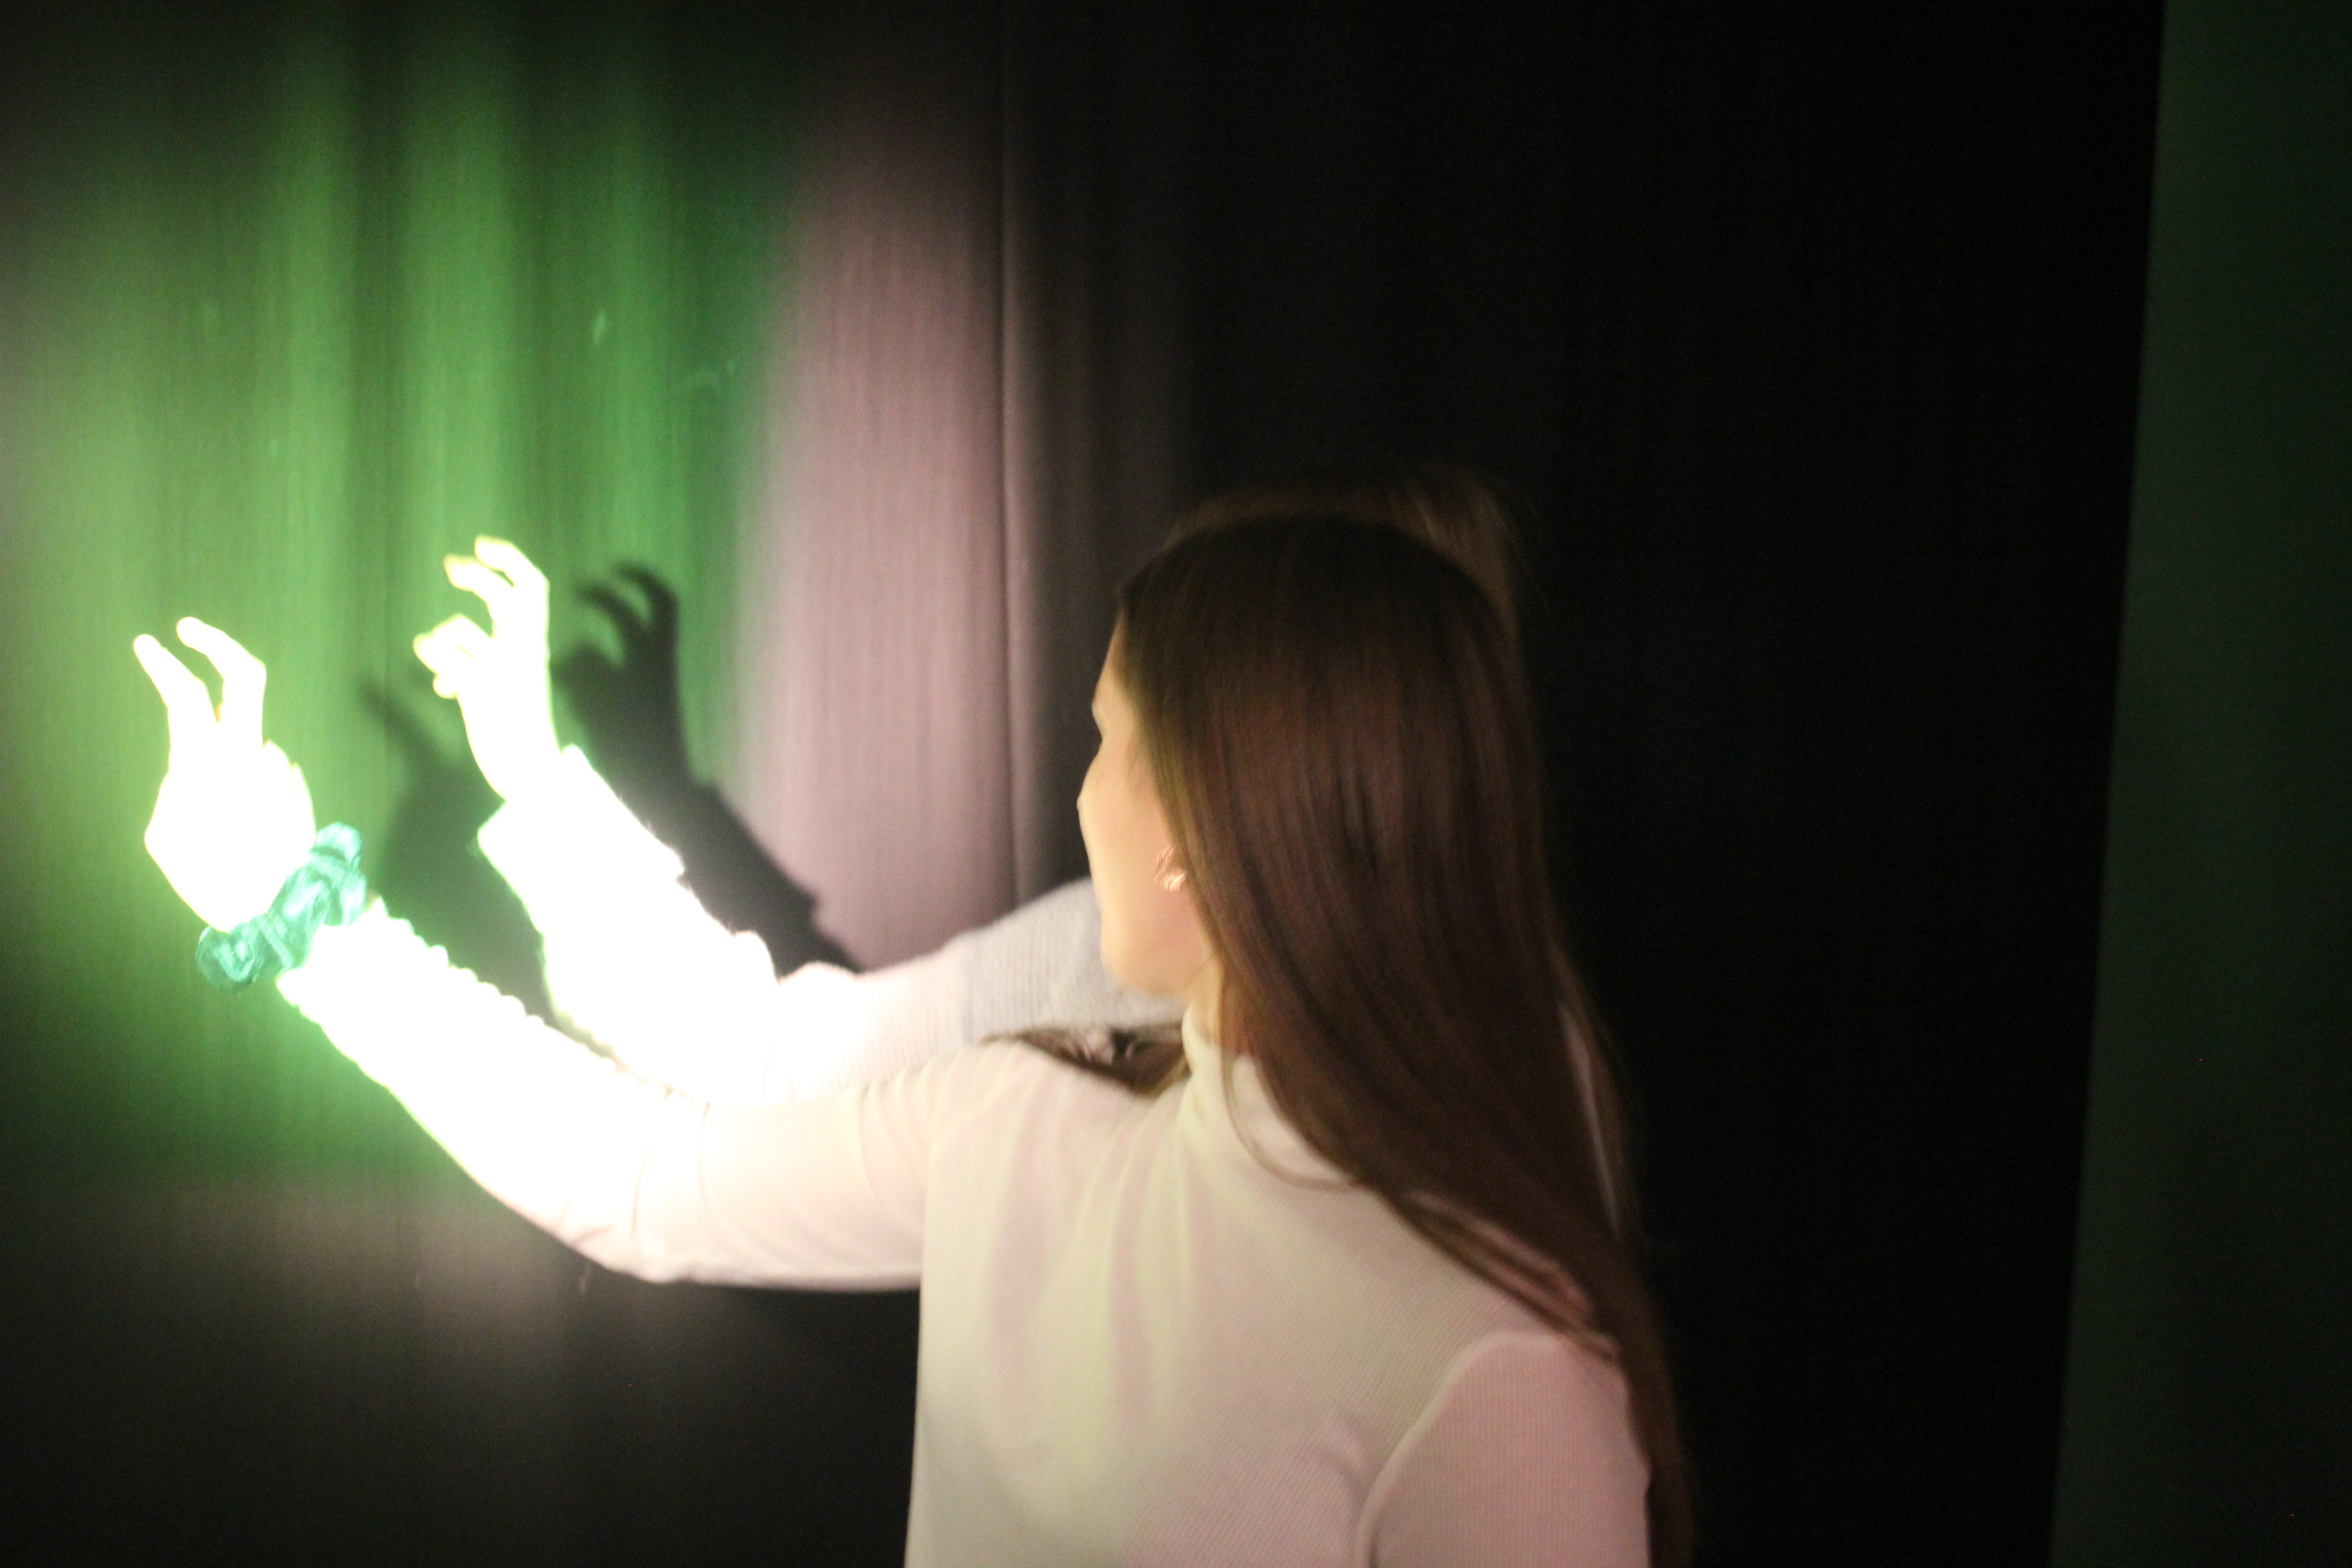
These images were taken using a ring light to create a brighter more ghostly light. Where as the soft box lights create more of a over all surrounding light which is warmer and has less of a directed focus. That why I chose to use a ring light because it works more on the light that is already preset and brightening it up . Also the ring light gives more of a crisp bright contract from the background.

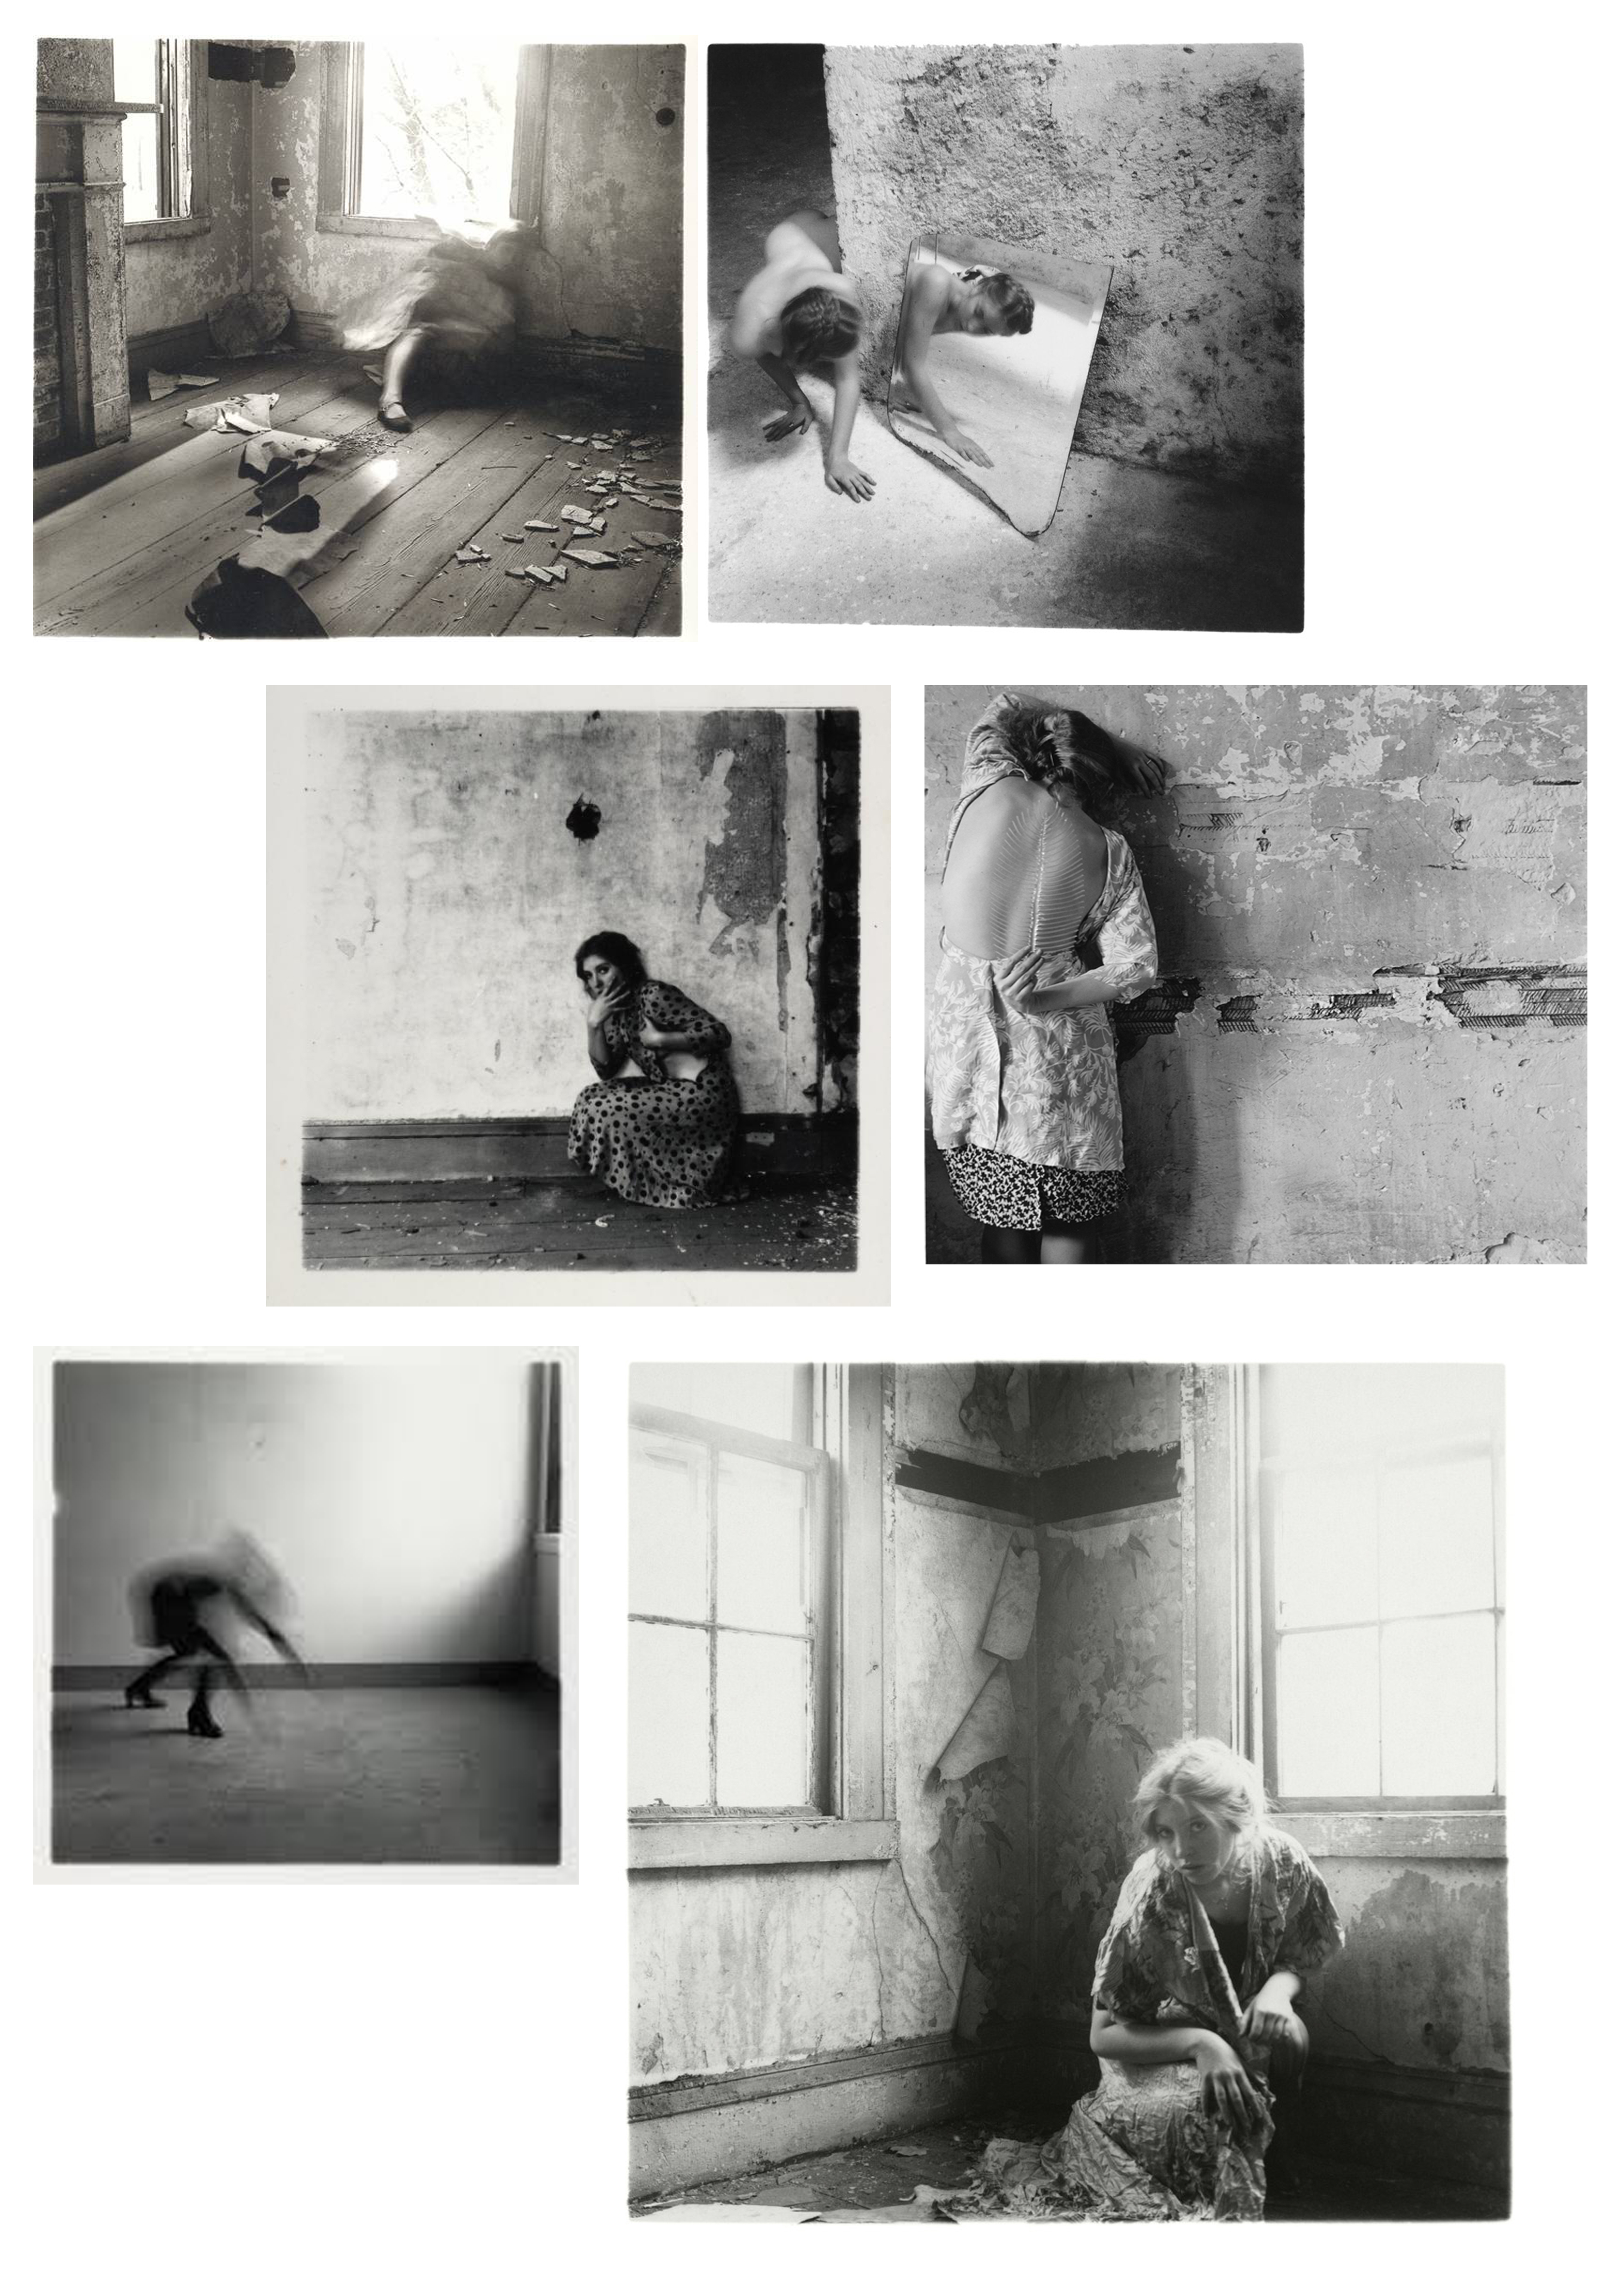
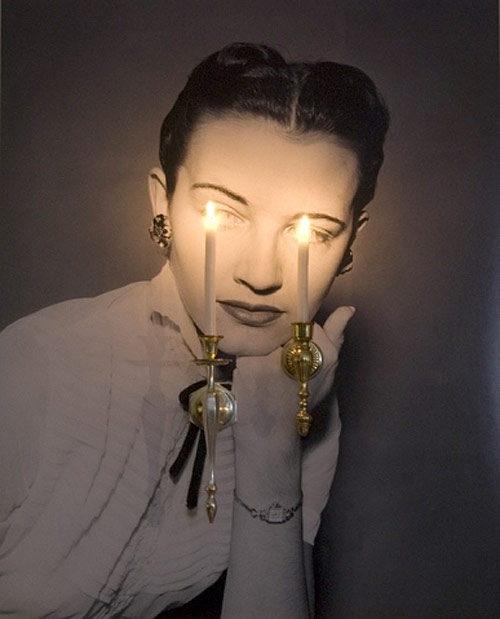
Francesca Woodman is best known for photographing herself. She is usually seen half hidden; sometimes by furniture or by slow exposures that blur her figure into a ghostly presence. She photographed herself in empty interiors. The images convey an underlying sense of human fragility. The fragility is exaggerated by the fact that the photographs are printed on a very small scale; they seem personal and intimate.
Francesca Woodman’s entire body of work was produced as a young person and created over eight years. Her photographs explore many themes that affect young people such as relationships, sexuality, questions of self, body image, alienation, isolation and confusion or uncertainty about personal identity.
Francesca distorts reality into a surreal fantasy by squeezing herself behind mantelpieces or into small cupboards. She hides herself by pulling wallpaper over herself like a blanket. She often seems to be retreating into the material of the building. This makes her seem vulnerable, isolated and alienated.
She continuously explored and tested what she could do with photography. She manipulated light, movement and photographic effects and used carefully selected props, clothing and decaying interiors to add a mysterious and gothic atmosphere to the work.
Joachim Schmidt is a Berlin based critic and conceptual Artist. Schmidt collects and re-purposes photographs that other people have thrown away. Schmidt takes these discarded, ripped, and mundane photographs, and creates artwork that is thought provoking and captivating. Joachim is extremely passionate for his art/photography work, Schmid has stated himself that he is “completely obsessed with photography”, He suspects that “few people in the world have looked at more photographs” than he has. At one point he counted: he had looked at 10,000 photographs in one day alone. And he has maintained his manic pace since embarking on his career as a “professional looker” in the 1980s.
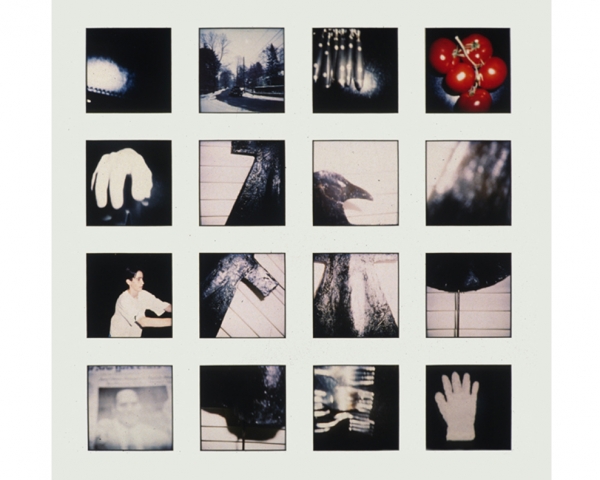
One of Schmidt’s first projects was ‘Pictures from the Street’ (Bilder von der Straße, in German) which ranged from the years 1982-2012. For this one, he would keep and classify each and every photograph (or fragment of a photograph) that he found in a public space. (The collection had more than 900 pieces at one time). If a photograph had been ripped to pieces, he re-assembled what he could and mounted it as a scientist would. All pieces of this collection are arranged and displayed on identical sheets of archival paper, in chronological order, noting the date and place where each was found. It is almost impossible to look at this collection and not try to imagine stories about who is pictured, and who owned the photo, and why the photos were thrown away.


Another of Schmidt’s ingenious art projects was developed in 1990, out of a prank, which he started by posting what looked like a serious notice in a public newspaper about the ecological dangers of unwanted photographs and negatives. He had created an “institute” that offered to safely recycle or re-use dangerous film and photos. ‘The Institute for the Reprocessing of Used Photographs’ (Erste allgemeine Altfotosammlung, In German). What started out as a prank, had become publicized worldwide and Schmidt was soon being overwhelmed by packages of people’s negatives and photos they wanted disposed of safely.
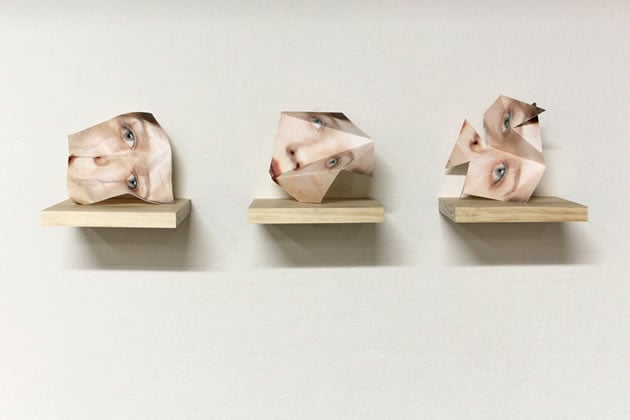
One of his packages contained a large amount of high quality negatives, from a photography or film studio. However they had been sliced in half, in order to decrease their value. Schmidt then came up with the idea of putting one half of an image with another, which do not match. He had created bizarre composites that were uniformly lit and fit together in an uncanny way. This was made easily possible as the photo studio seemed to always position its lights exactly the same way for years, and never moved the camera closer or further away from each model. This project was then named ‘Photogenic Drafts’.

Photogenetic Draft No. 32, 1991 © Joachim Schmid

Photogenetic Draft No. 4, 1991 © Joachim Schmid

Photogenetic Draft No. 8, 1991 © Joachim Schmid
YOUR FINAL BLOG POST SHOULD CLEARLY SHOW 3-5 POSSIBLE FINAL OUTCOMES for IDENTITY AND PLACE, INCLUDING YOUR PRESENTATION METHOD
FROM THIS YOU CAN CHOOSE YOUR IMAGES FOR PRINTING
Research and explore alternative approaches to presenting your final images. This should be an integral part of your concept…not a gimmick…ultimately, the quality of your photography will be the primary focus and your mark will reflect this…