When I looked over the images some had parts that were overexposed, this wasn’t a problem as I was shooting in raw so I was able to fix any exposure issues. I also cropped some of them but I had to maintain the scale so that they will fit on my final presentation.
These were only minor changes, the main one that I had to do was to make sure that all of them had the same levels of saturation, the reason for this is because it was an overcast day and the only light source that I had available was the sun, due to the cold light a lot of the images were under saturated so I had to boost it and have it so they all look like they are all equally saturated.

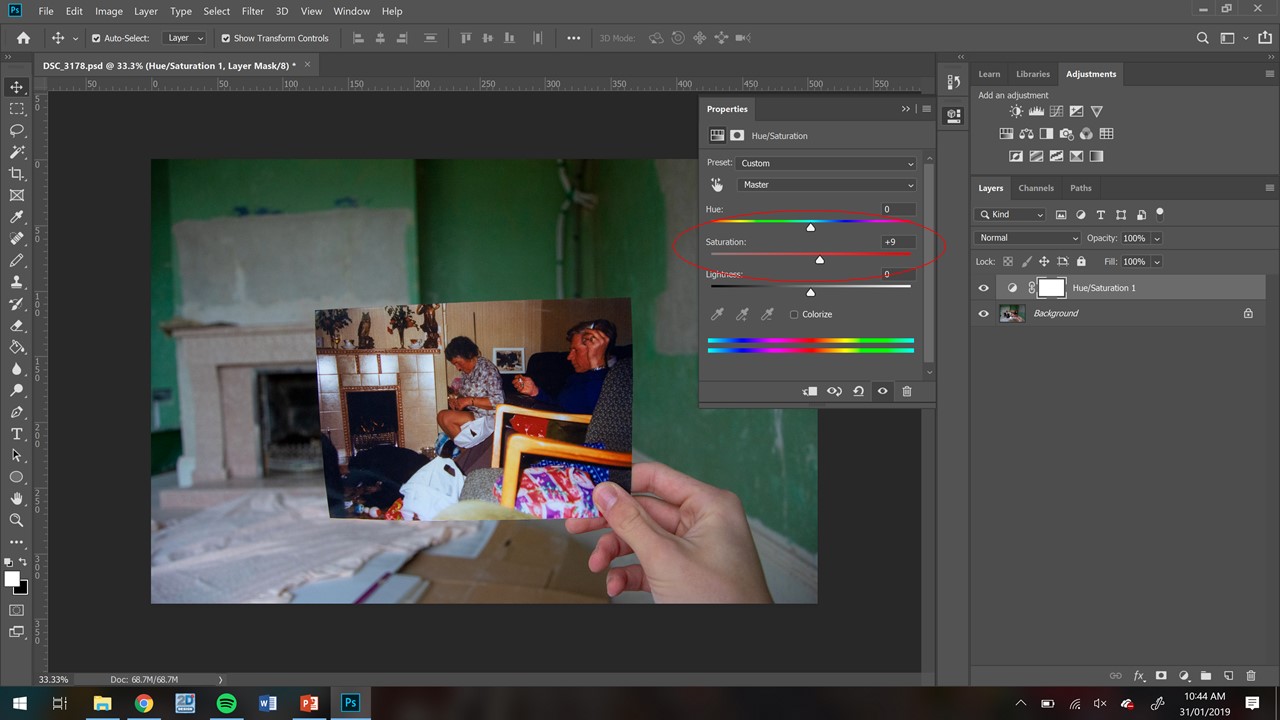
To change the saturation All I had to do was move the circled slider, the problem I had was getting them all to be the same, the way i overcame this is I had one image opened with the correct levels of saturation on one monitor and I was editing all of the other ones to make sure that it matched of the second monitor. This worked well as I could easily refer to the colours that I wanted.
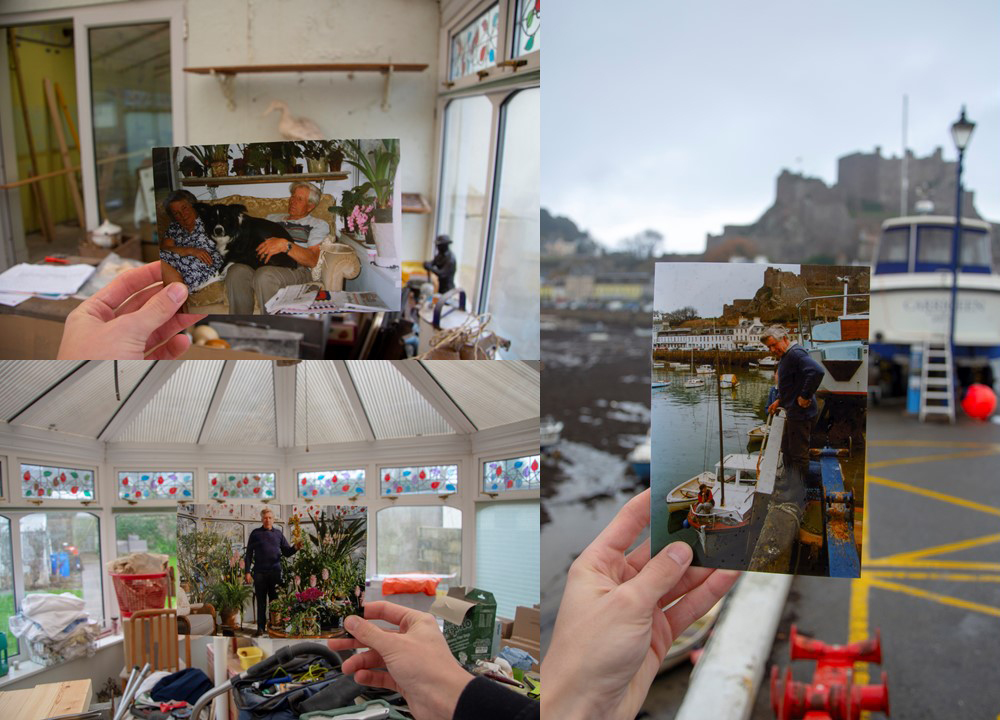
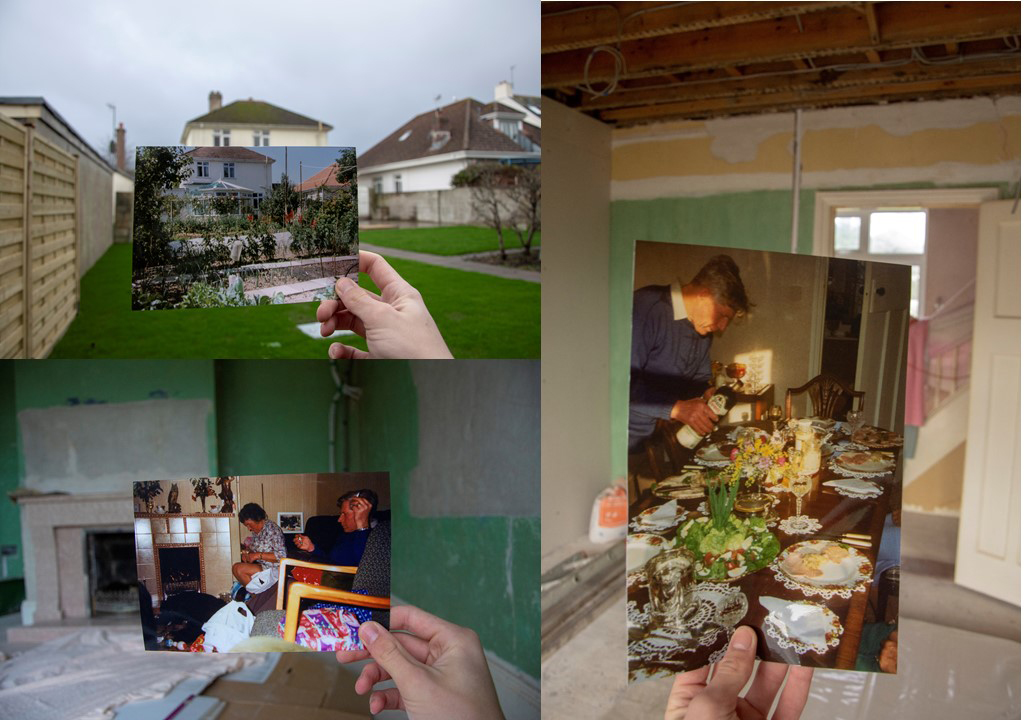
As can be seen below the images turned out well and I am happy with the colour grading and saturation that they all have. 

