
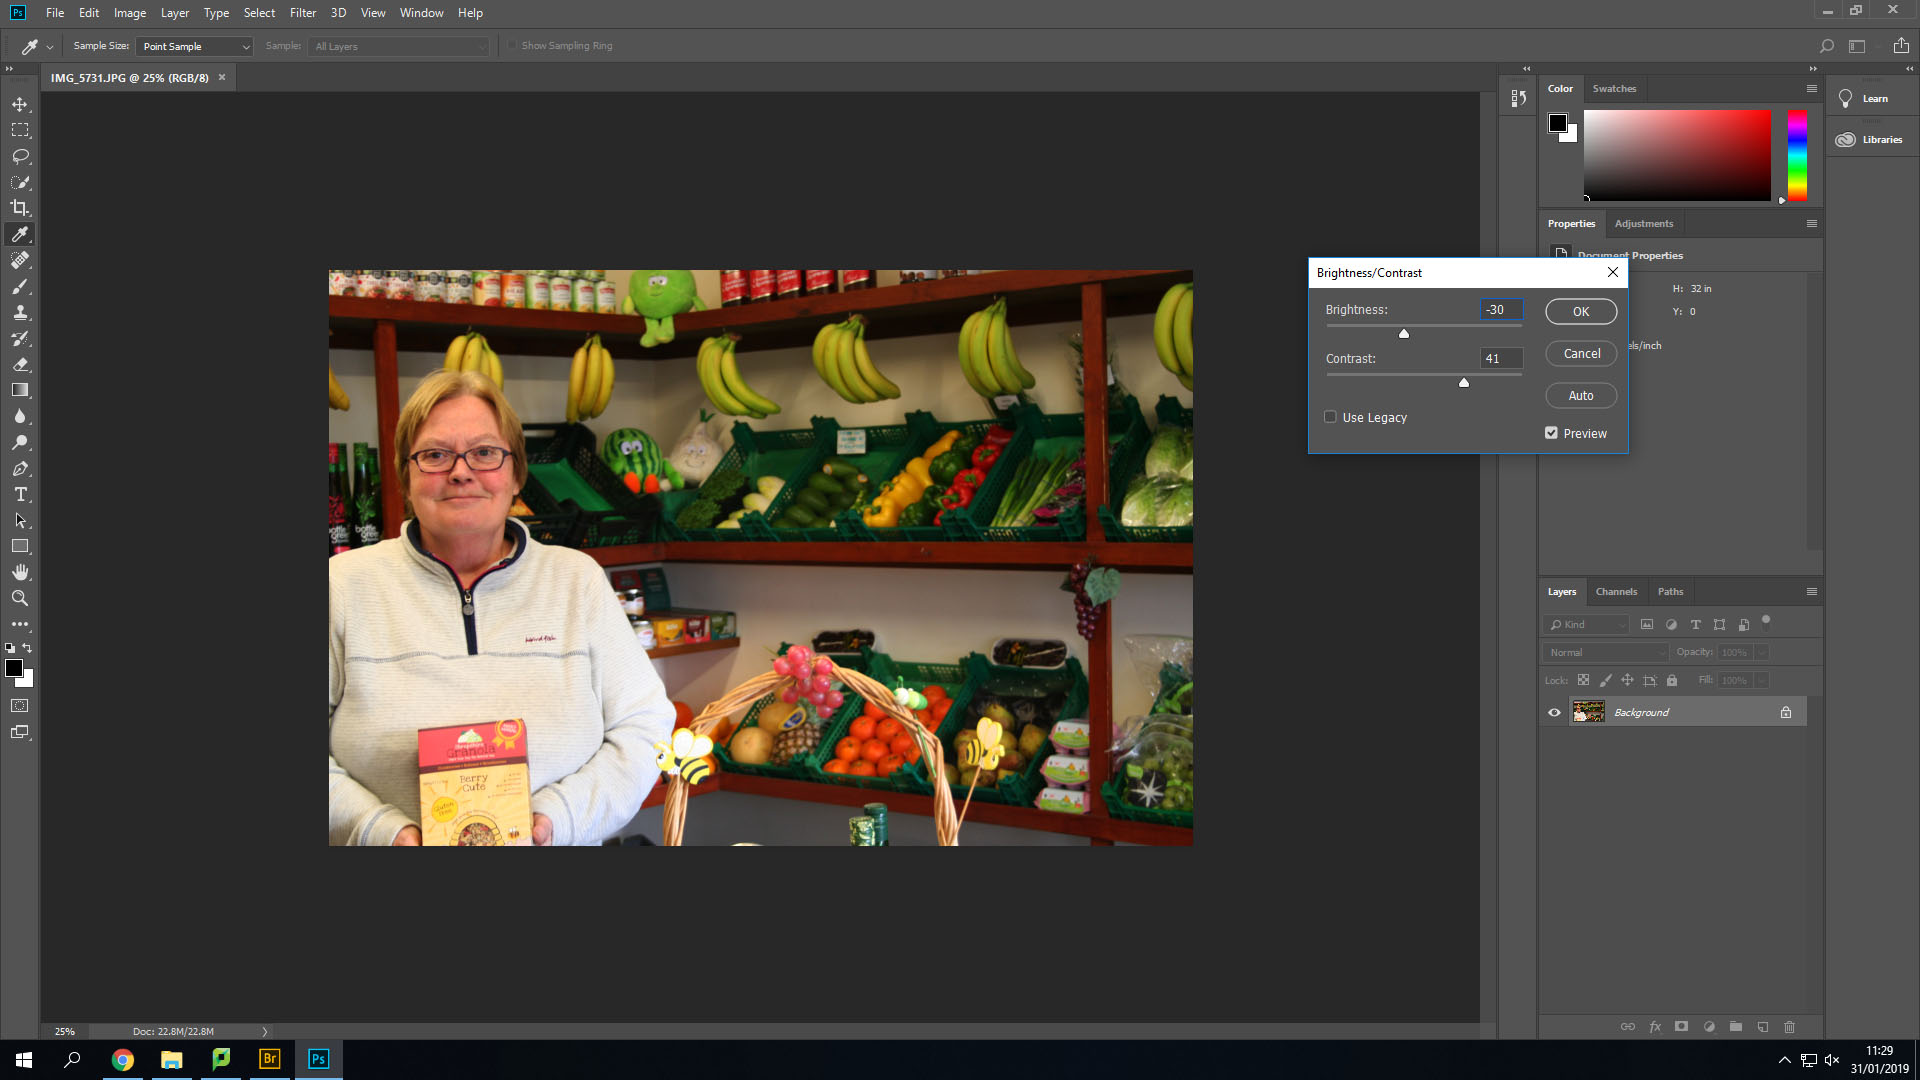
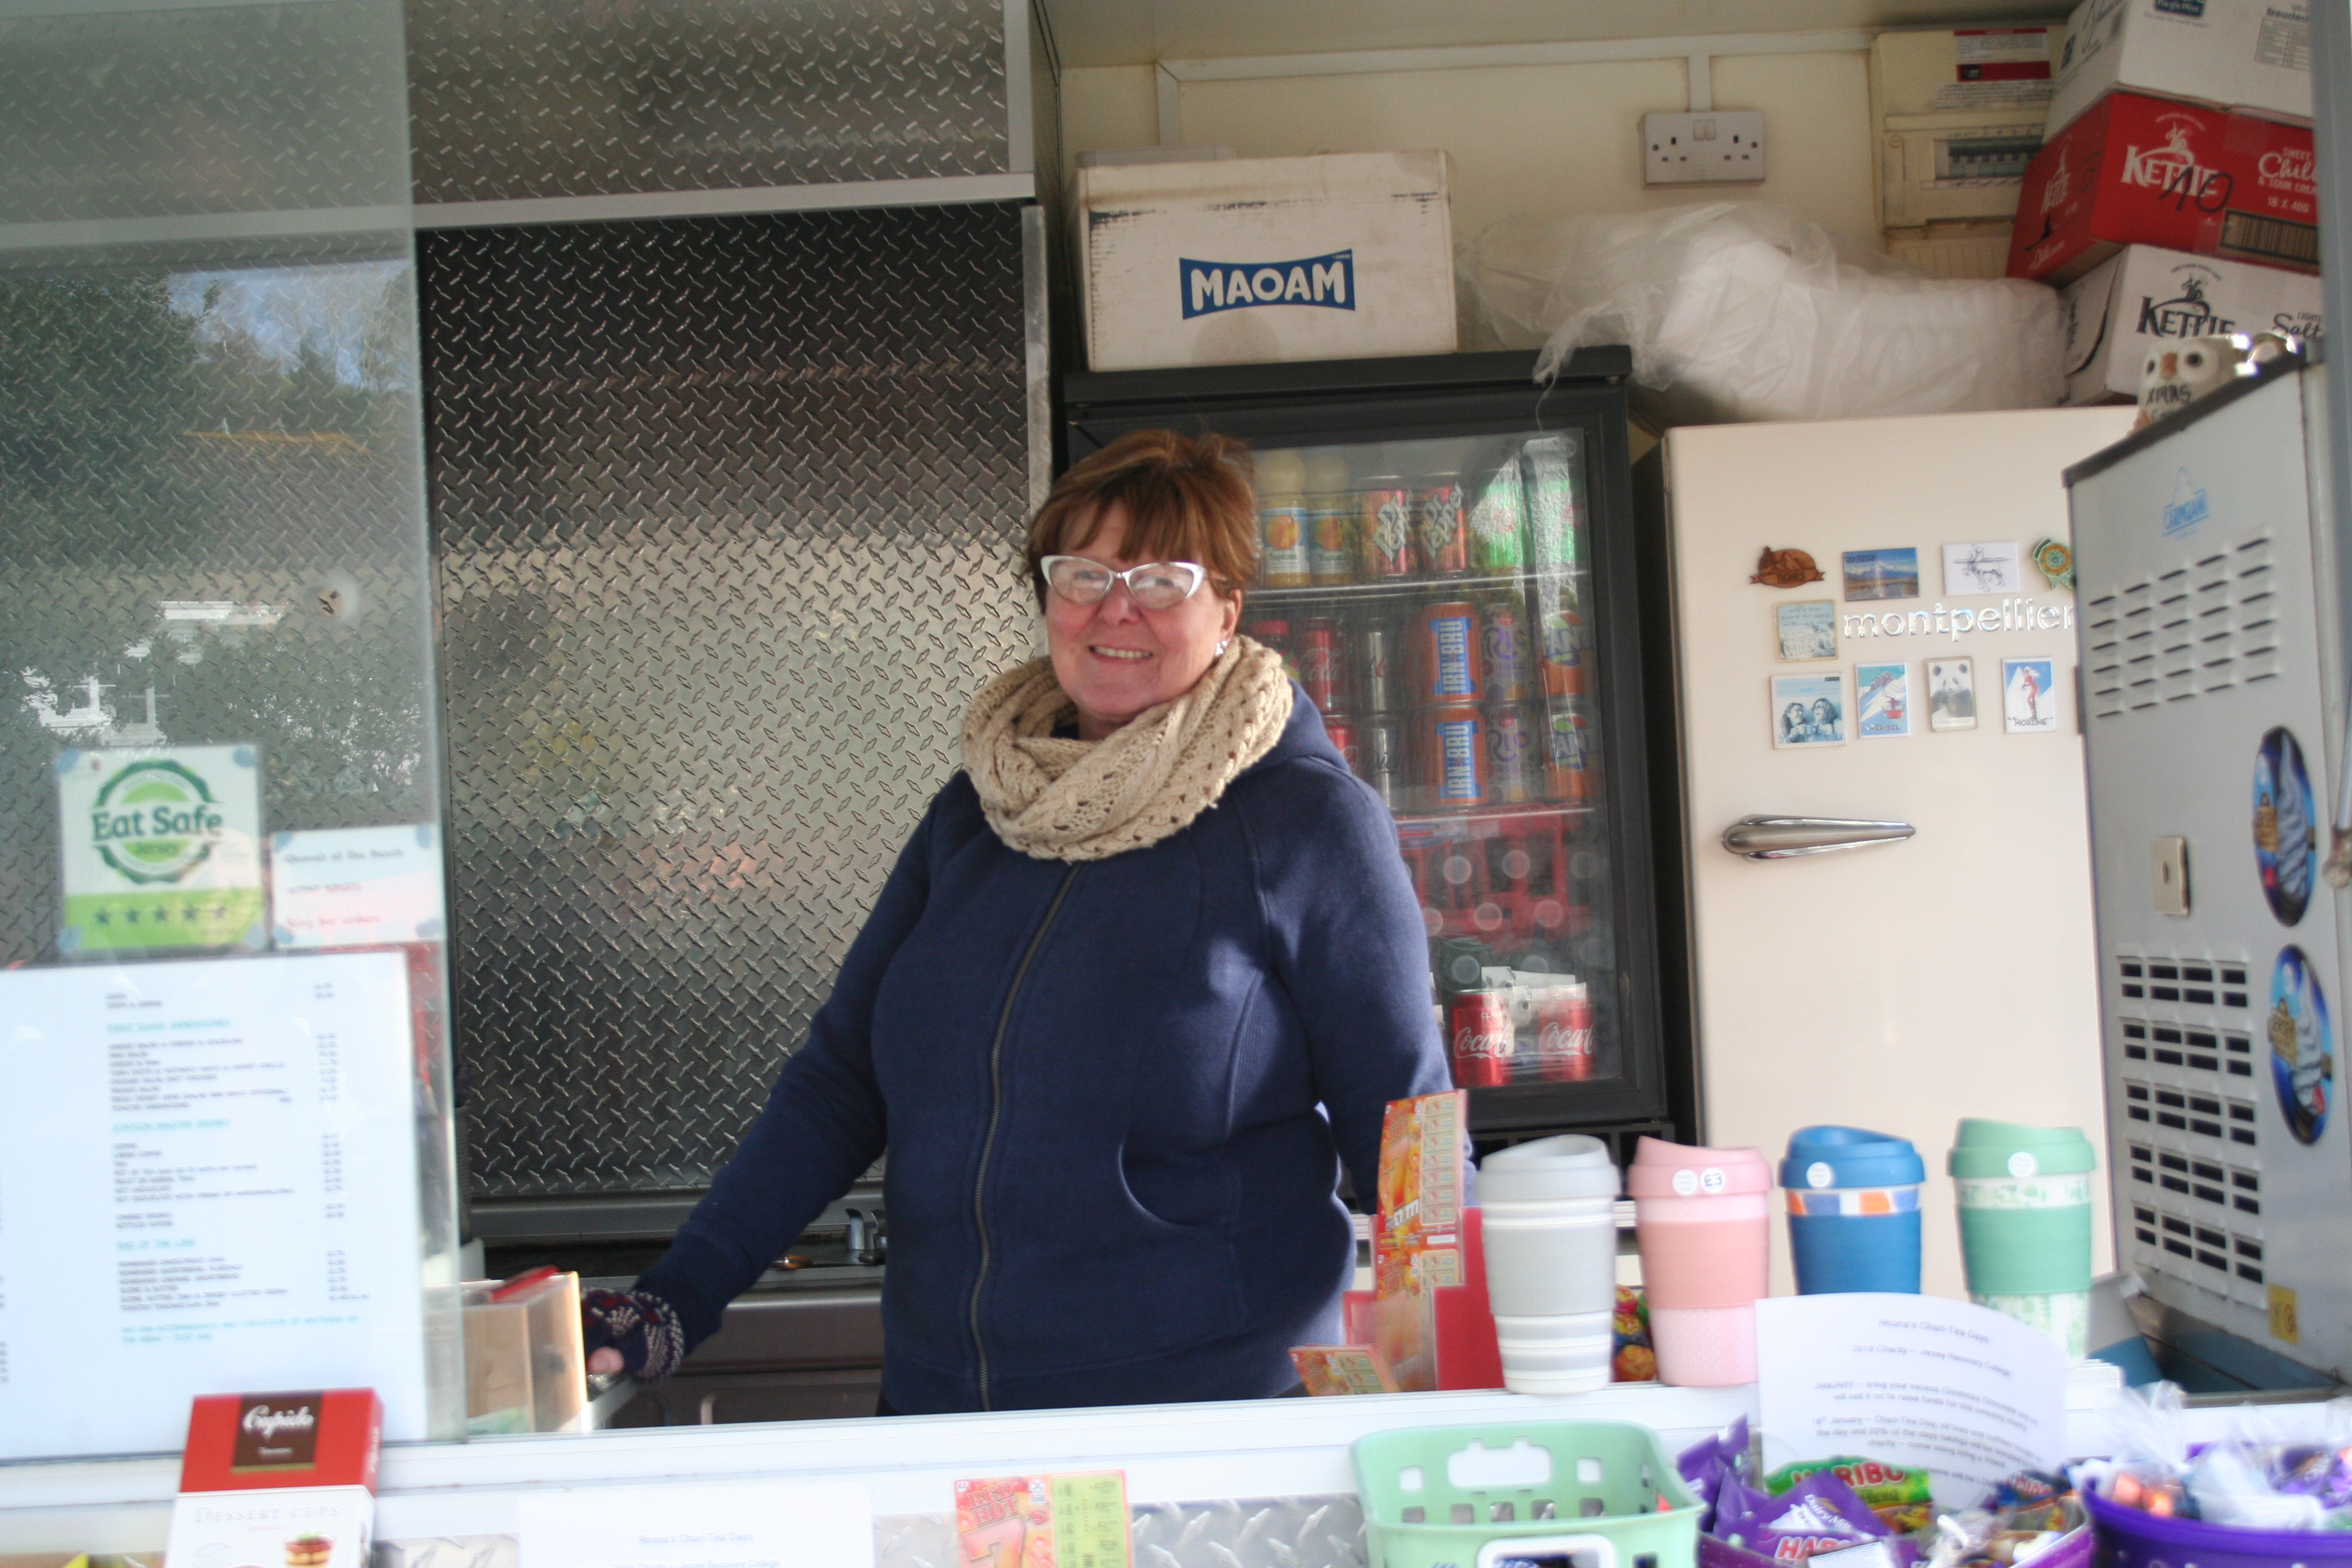
This is the original image. It is bright and uses natural lighting and artificial lighting from above.

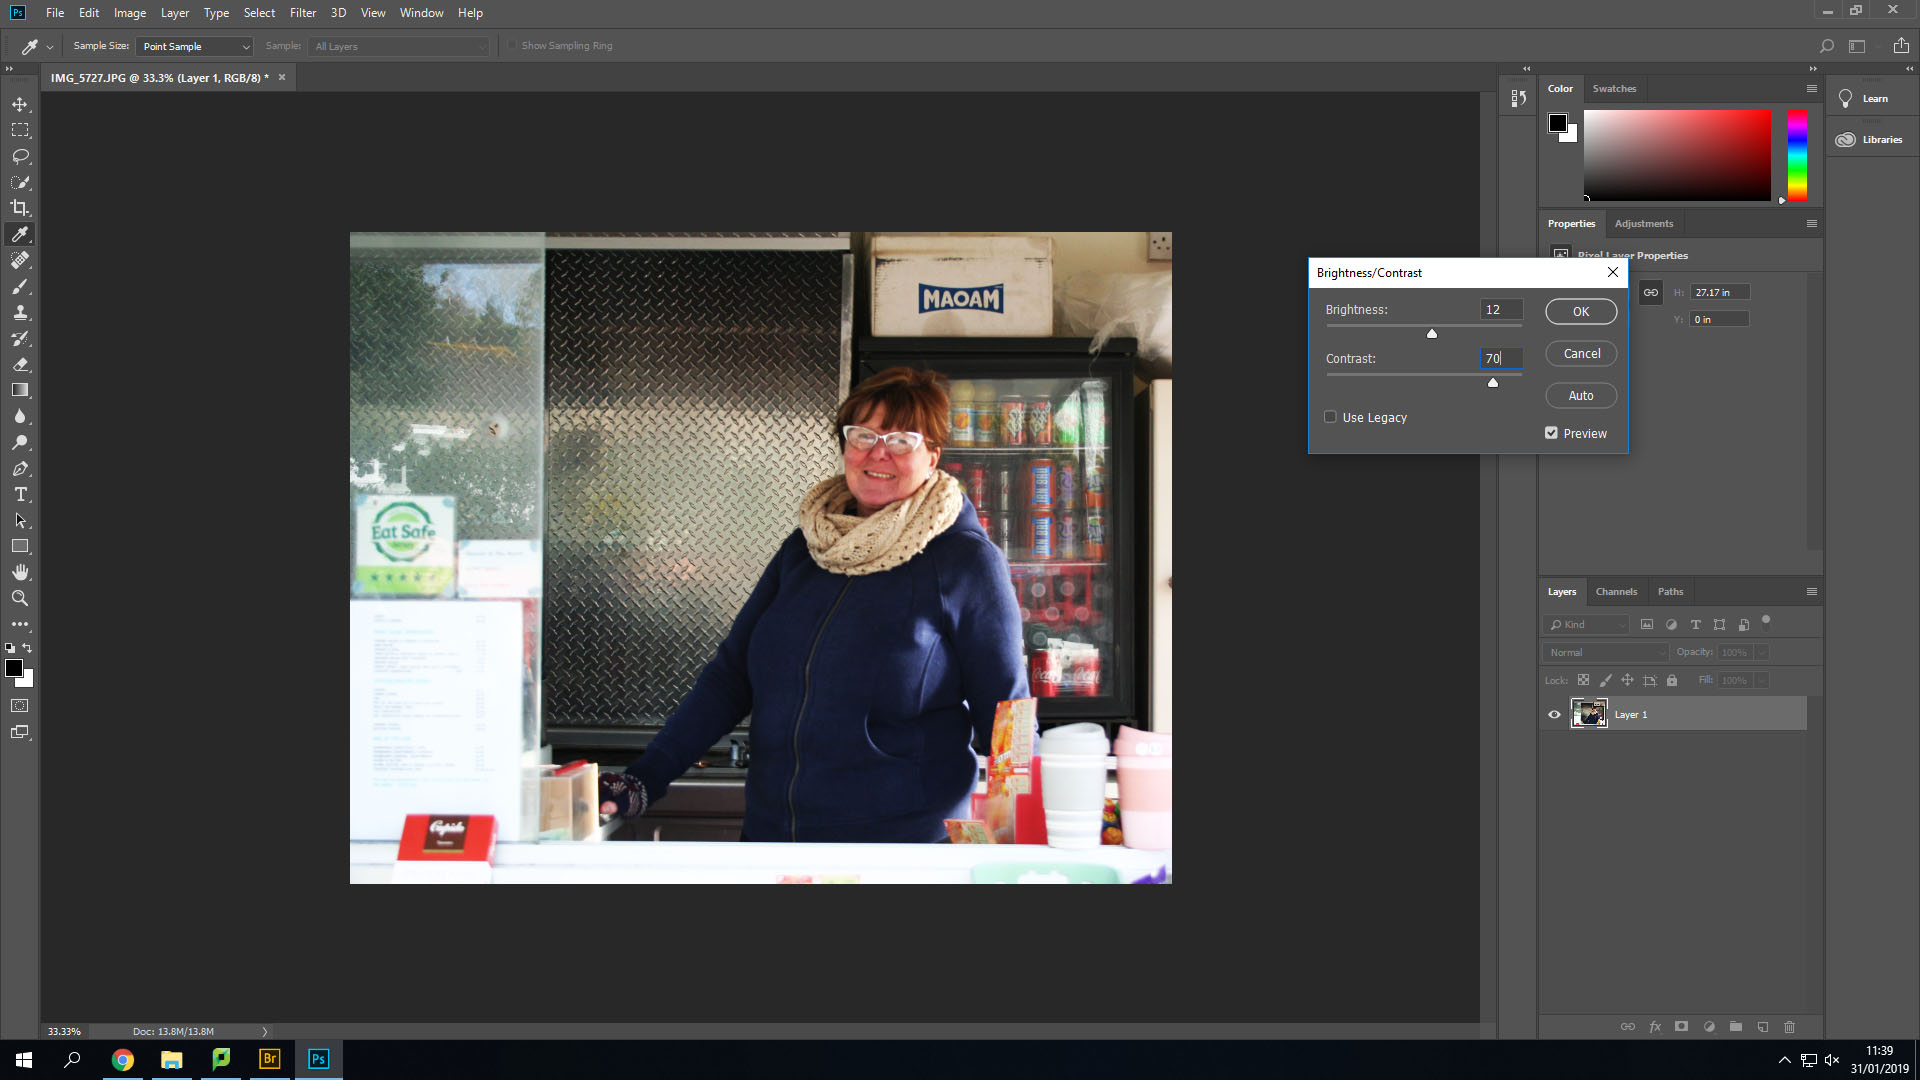
Firstly, I changed the contrast and the brightness to make the image slightly brighter, but also so that I could add more shadows in the background such as under each shelf.
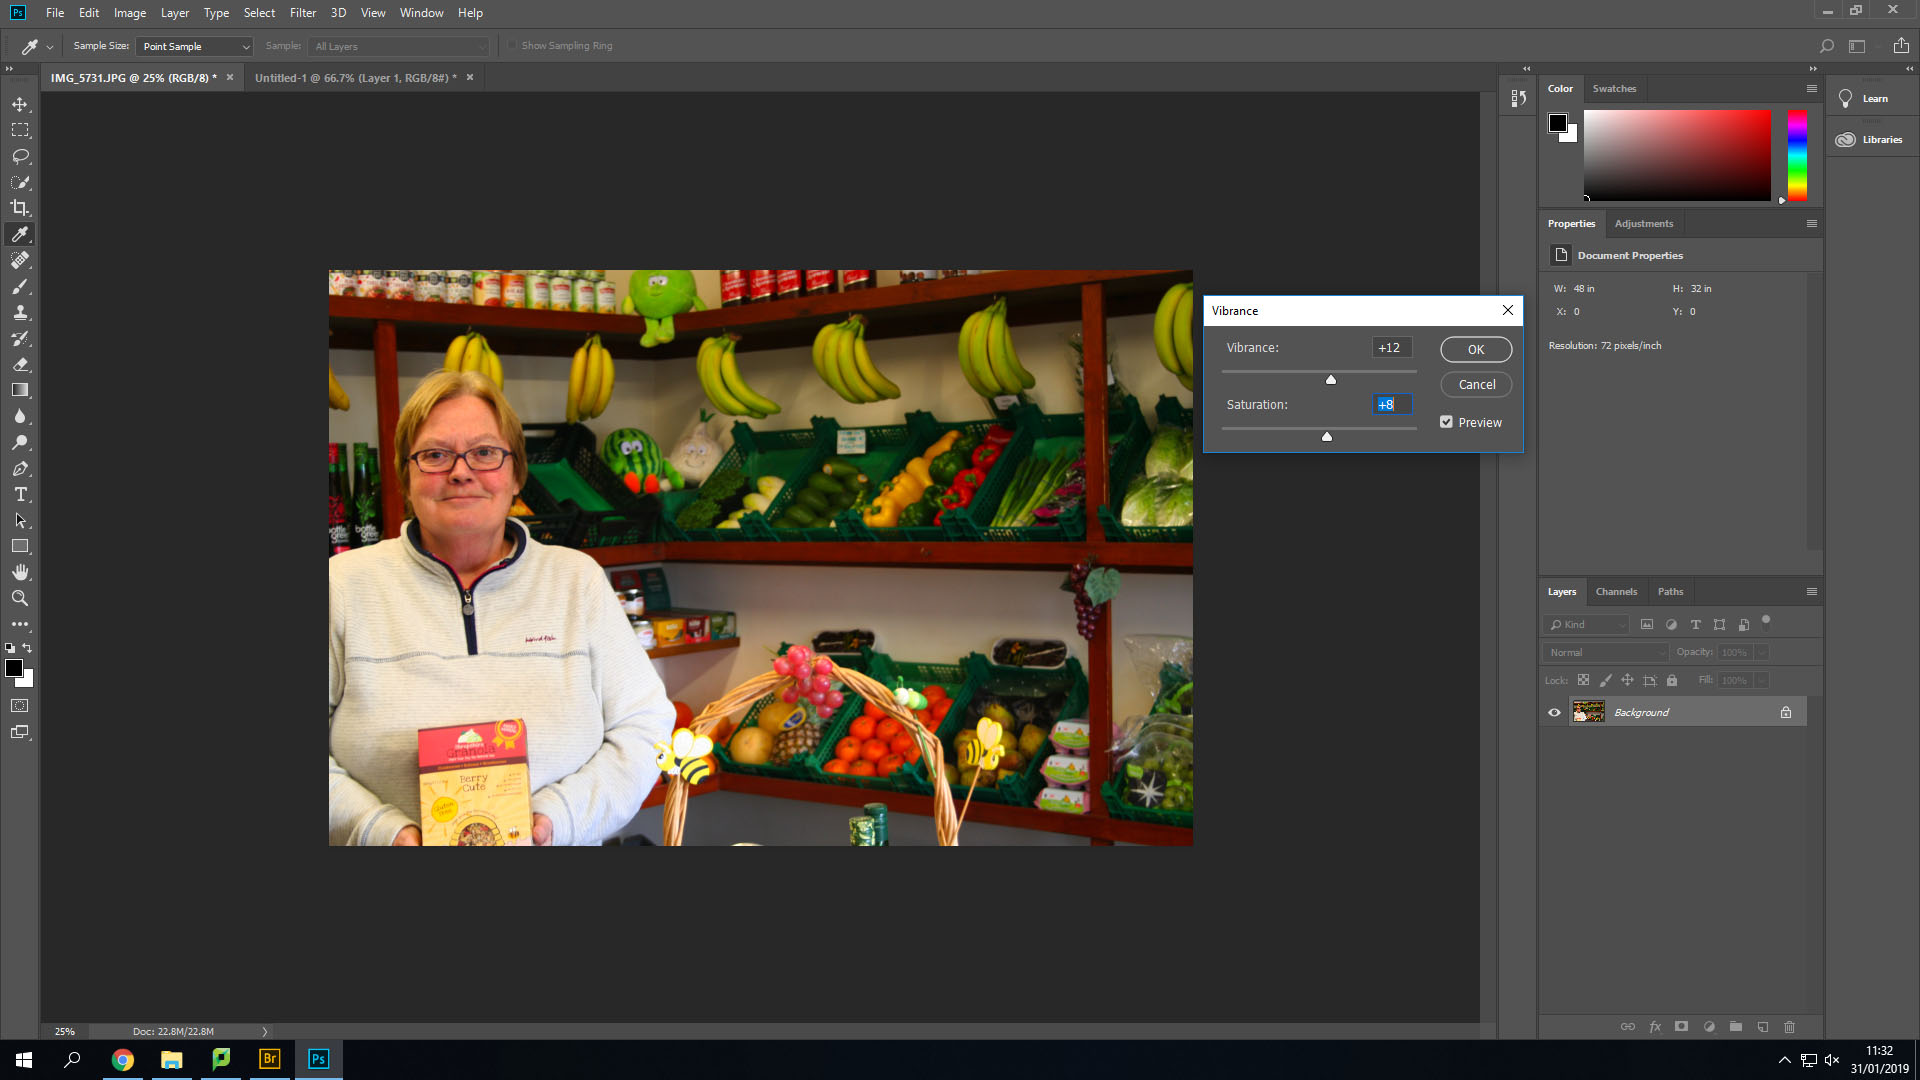
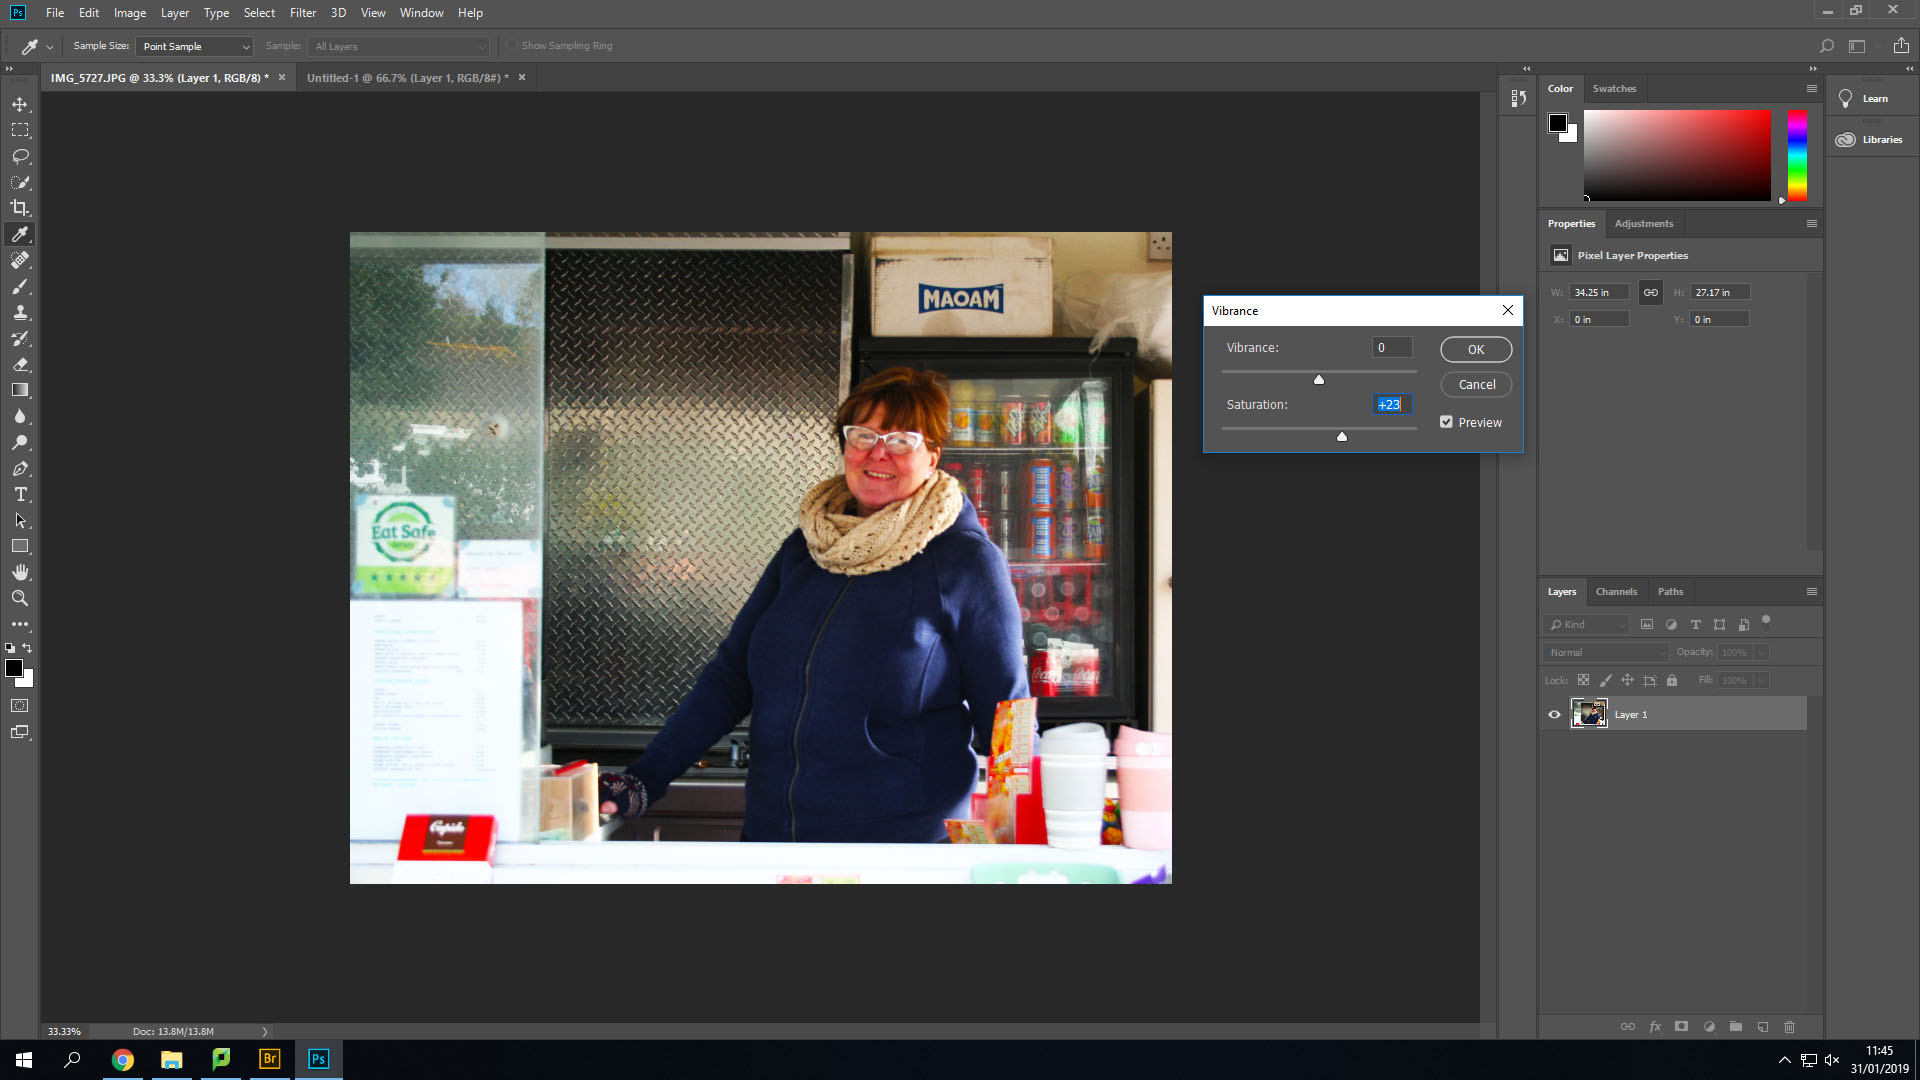
Secondly, I changed the Vibrance and saturation options to make the lighter colours stand out more and become brighter.
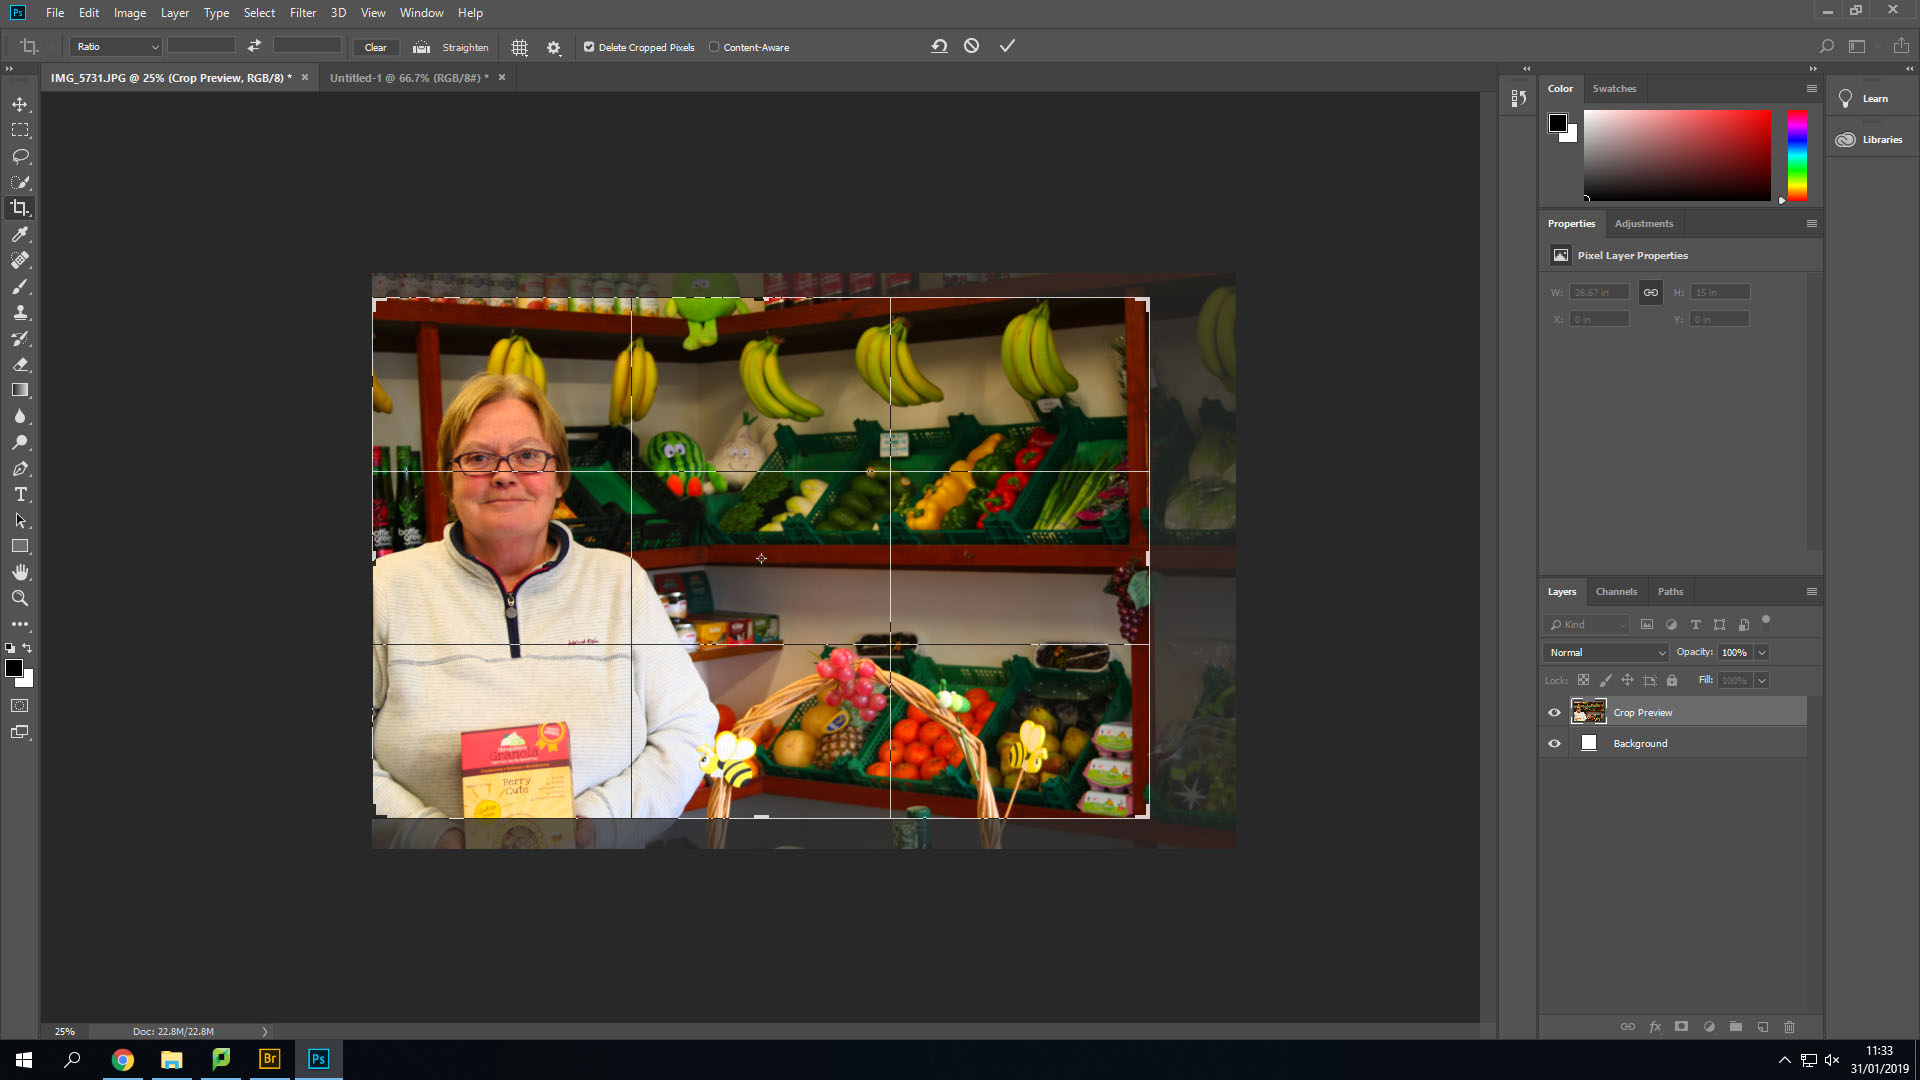
After this I cropped the image down a little bit to remove her hands from the image and line up her face into the middle of two different thirds.
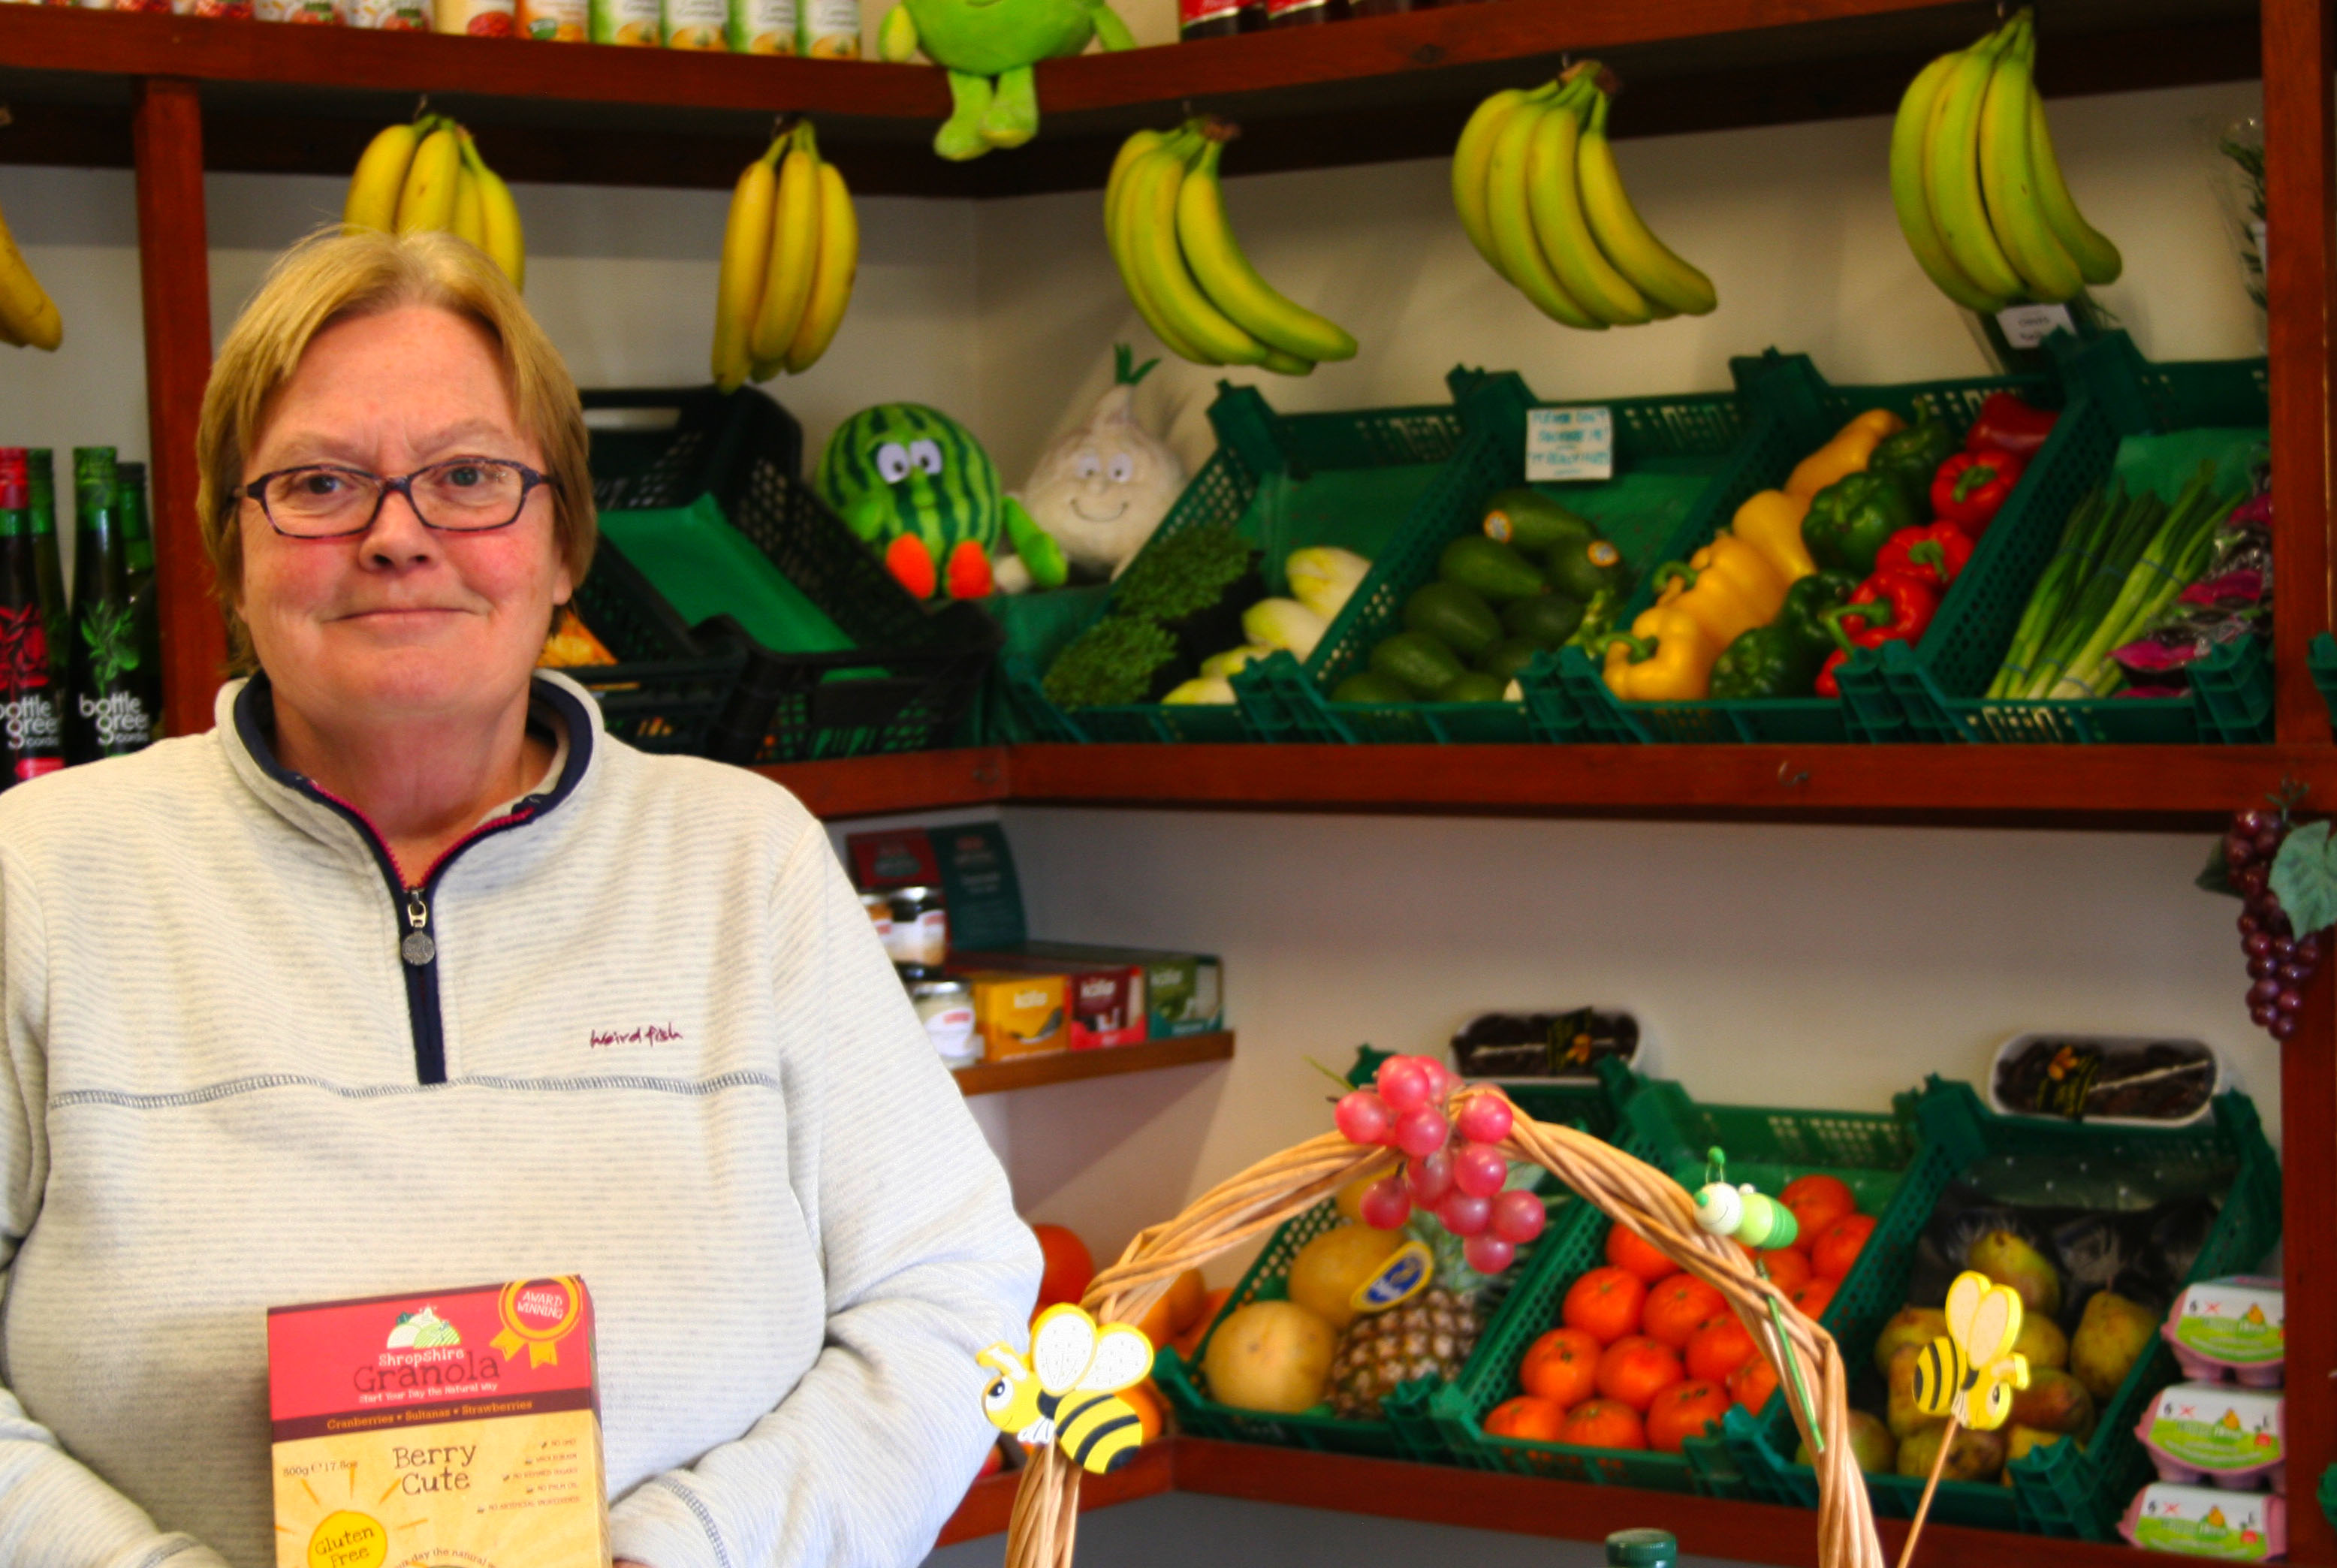
This is the final outcome of this image. I like how it has turned out. I could edit it more, but I do not want to overdo the editing as it could become far from the original image and be very different from the images like Tish Murthas and John Bulmers.
The image below is also one of the original images I took.
Firstly, with this image I transformed the image and turned it slightly to remove the angle that I took the image on. After that I cropped it down to remove the background showing behind the image that was created after I turned it. Then like the first image I changed the brightness and contrast to make the shadows larger and appear darker.
Secondly, I changed the vibrance and saturation again. This allowed me to make her face which was red at the time stand out more and let other colours such as the drinks in the background and the reflection off the glass to appear more easily.
This is the final outcome of that image. I especially like how this one turned out by using the high saturation.
