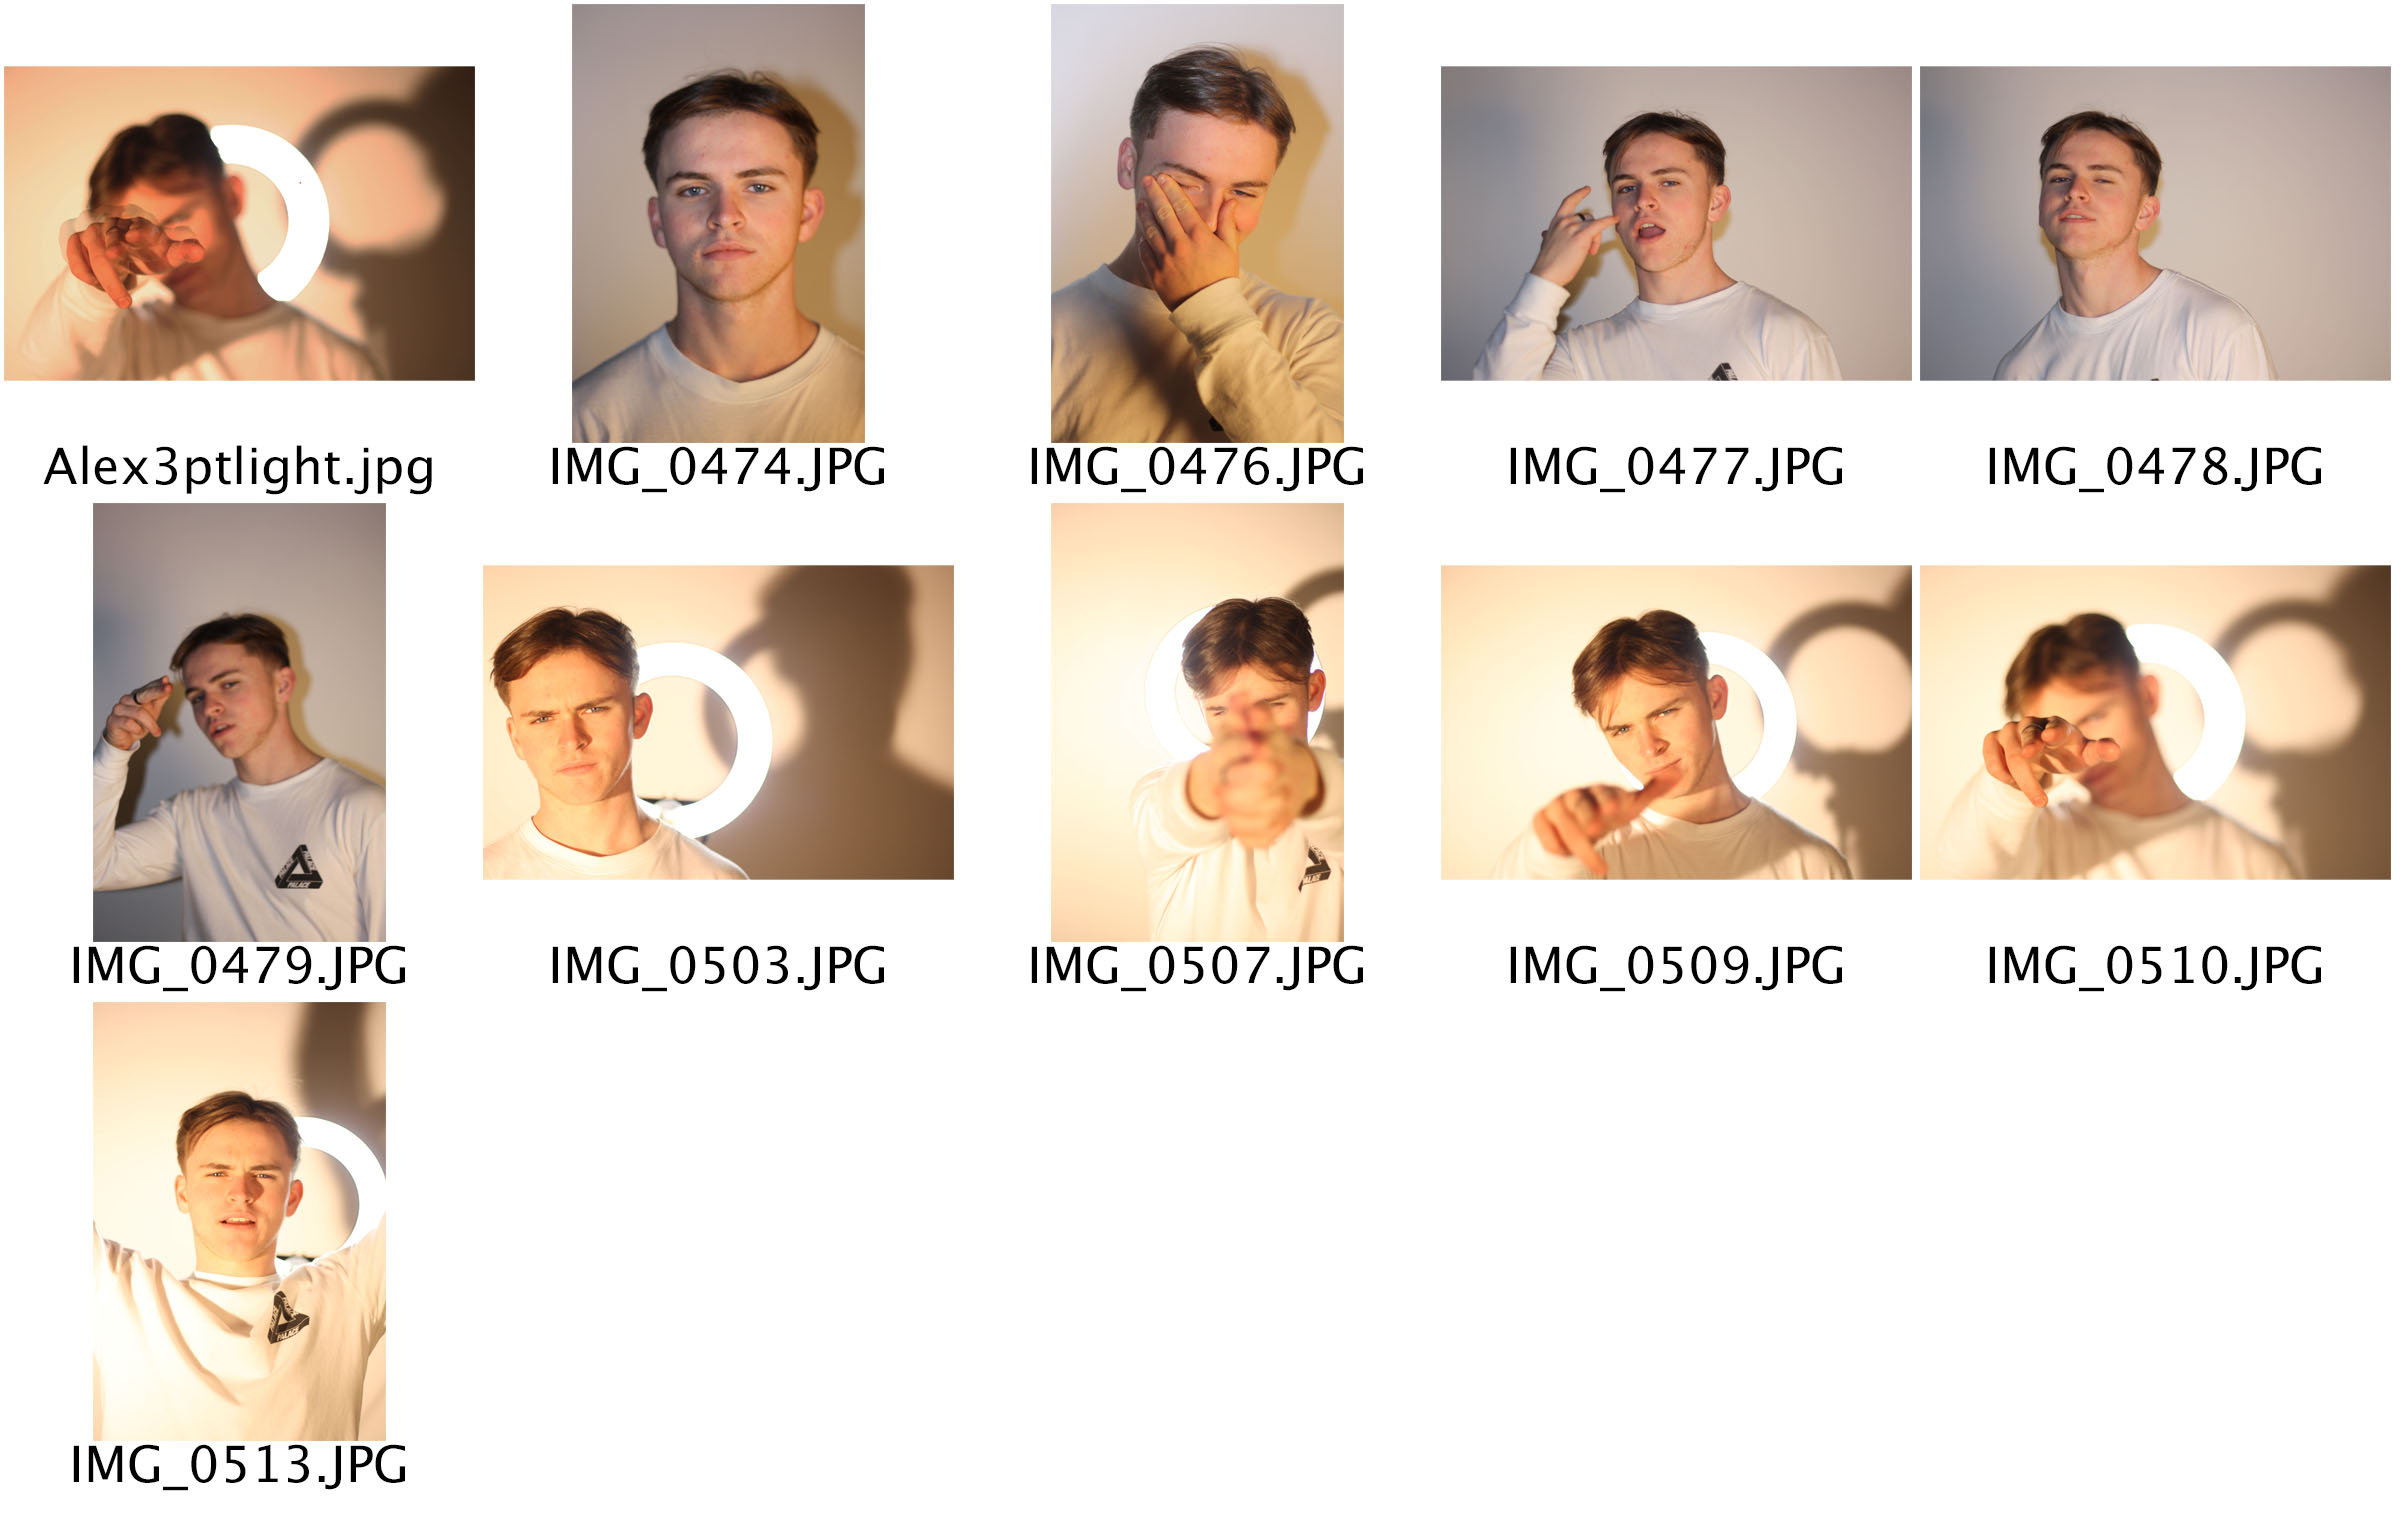
These are my final edited images from another photo shoot in the studio. The main purpose of this shoot was to experiment with different lighting techniques/colours.
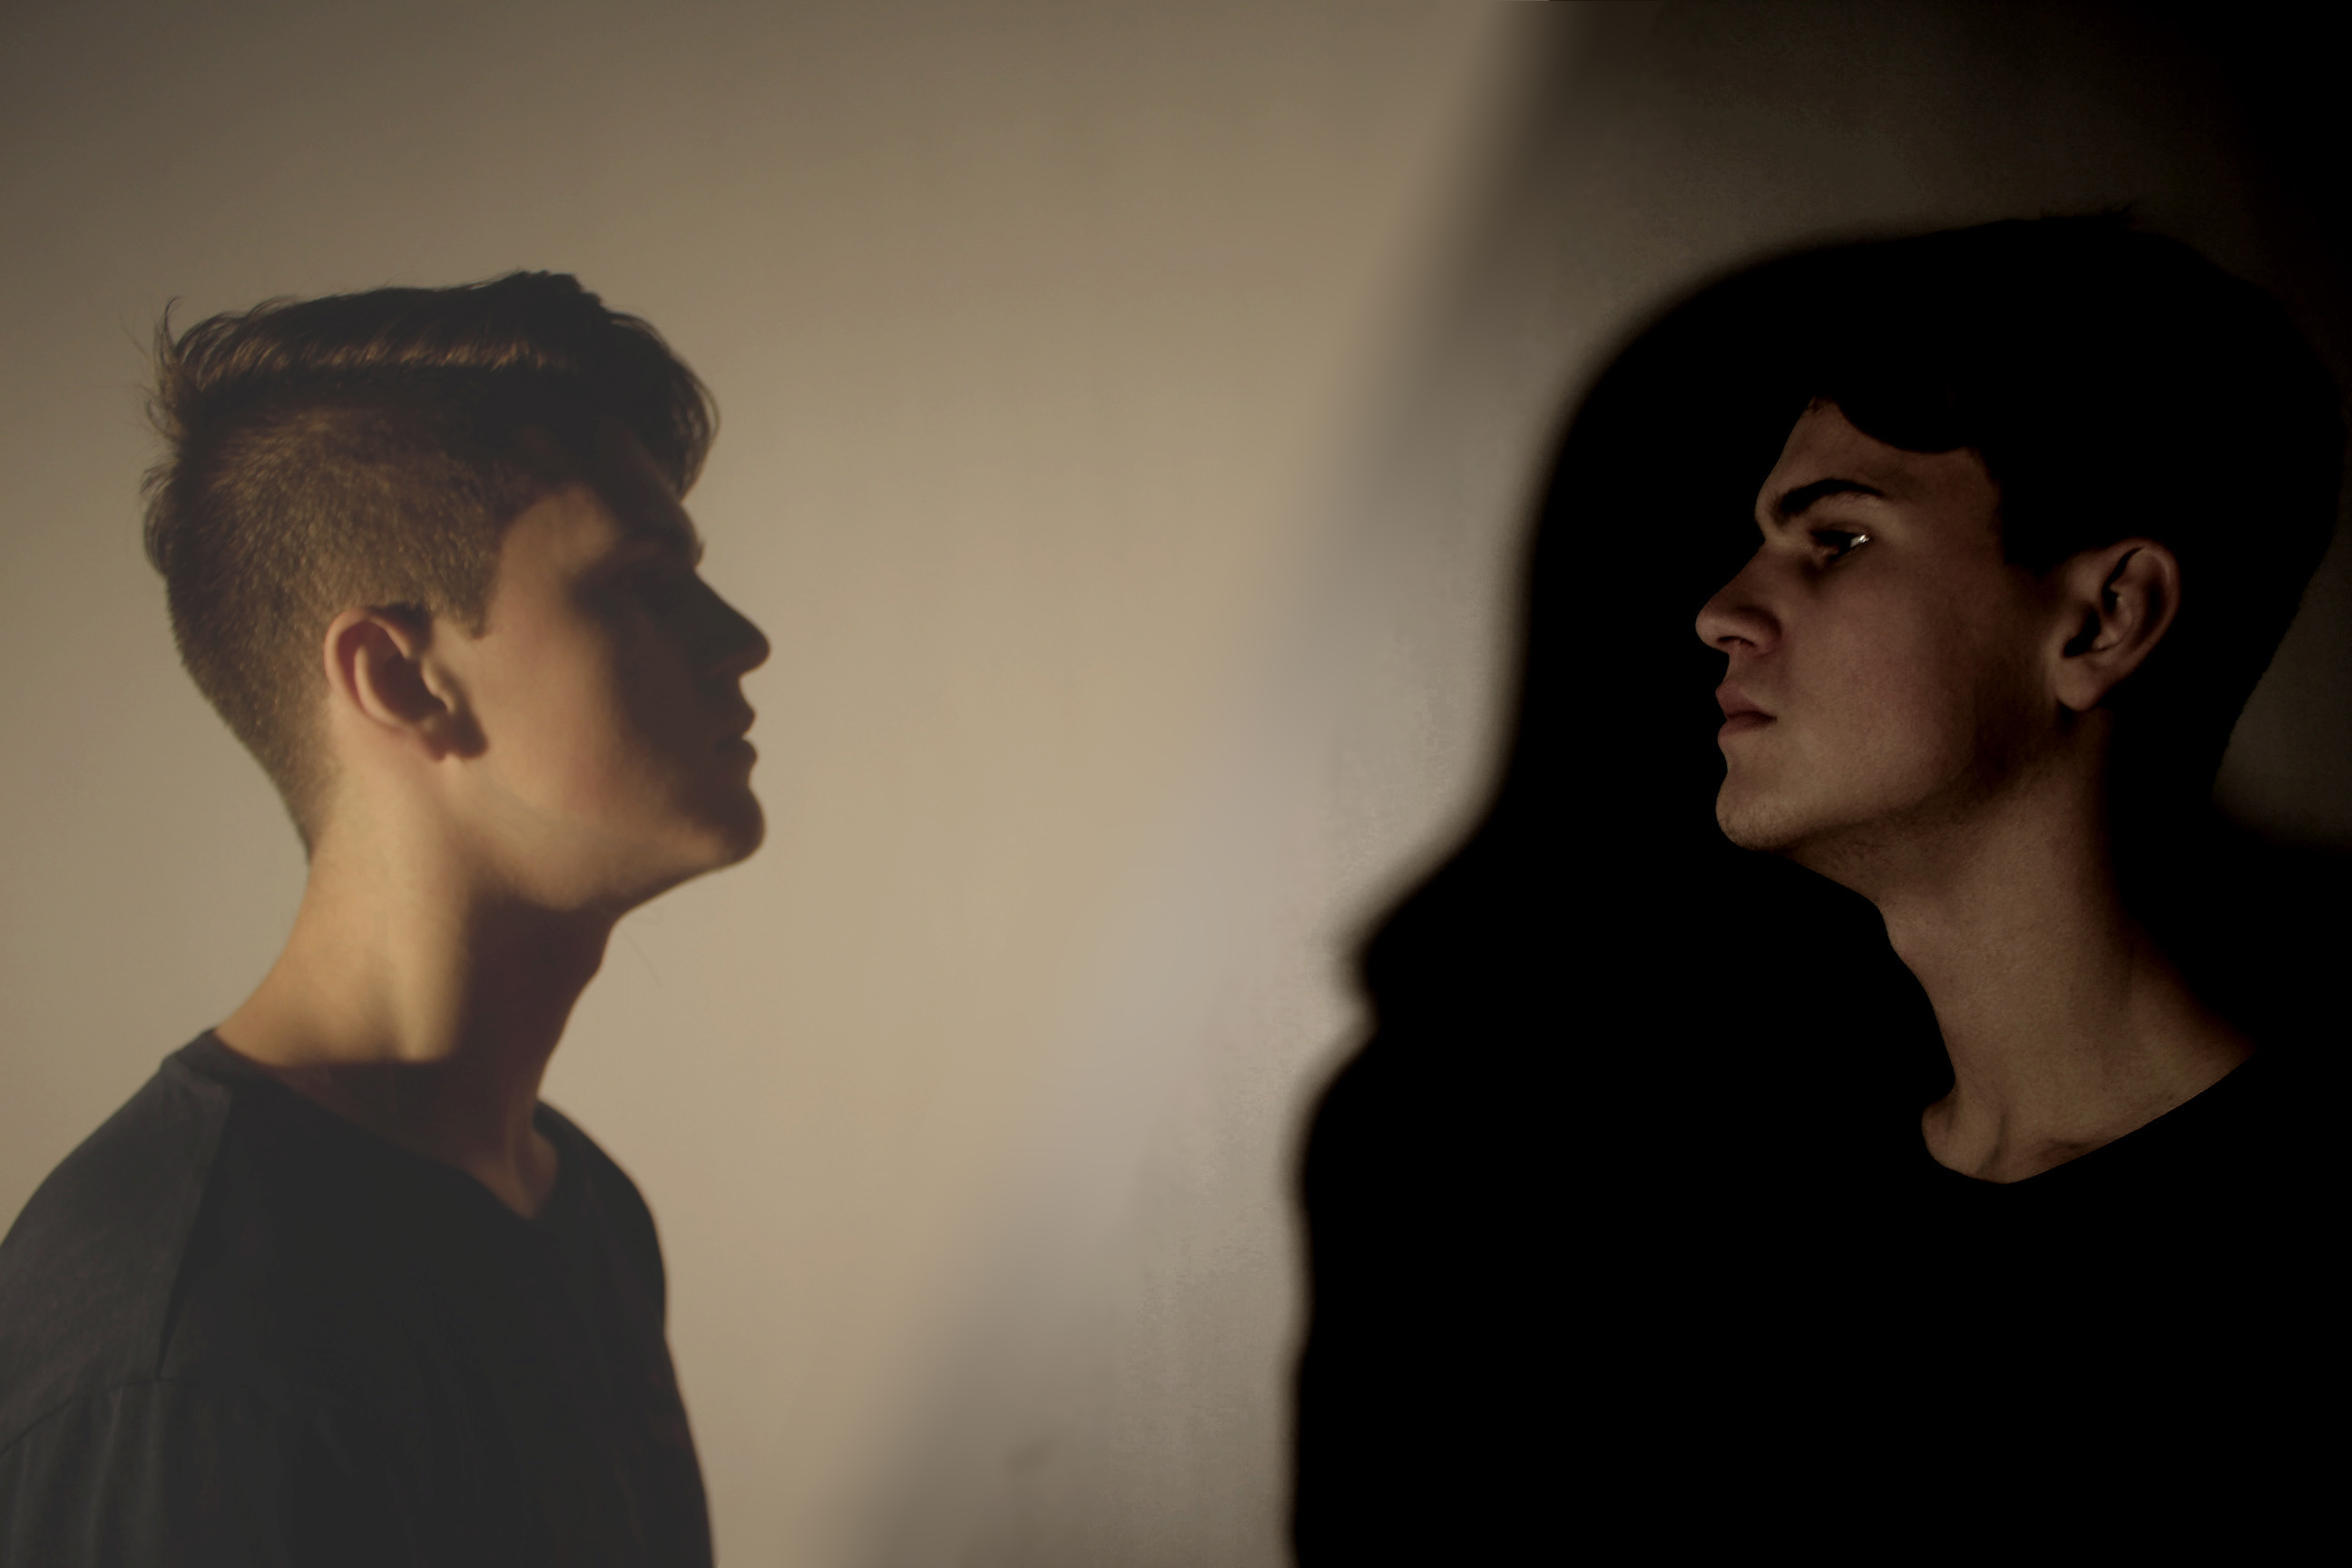
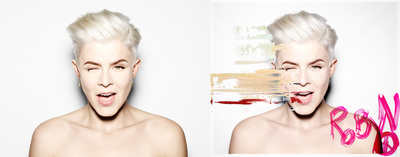
This is two photos edited together. The original was two different people staring at each other, but I decided to take another darker photo of myself and edit it into the previous one. This give a bright/dark good/bad side effect.
This photo used two-point lighting. A spotlight with a green tint to the left, as well as a ring light positioned directly in front of the camera. The ring light isn’t visible as the camera was placed in the middle of the ring light. This results in a brighter image, but still keeps the colour lighting.
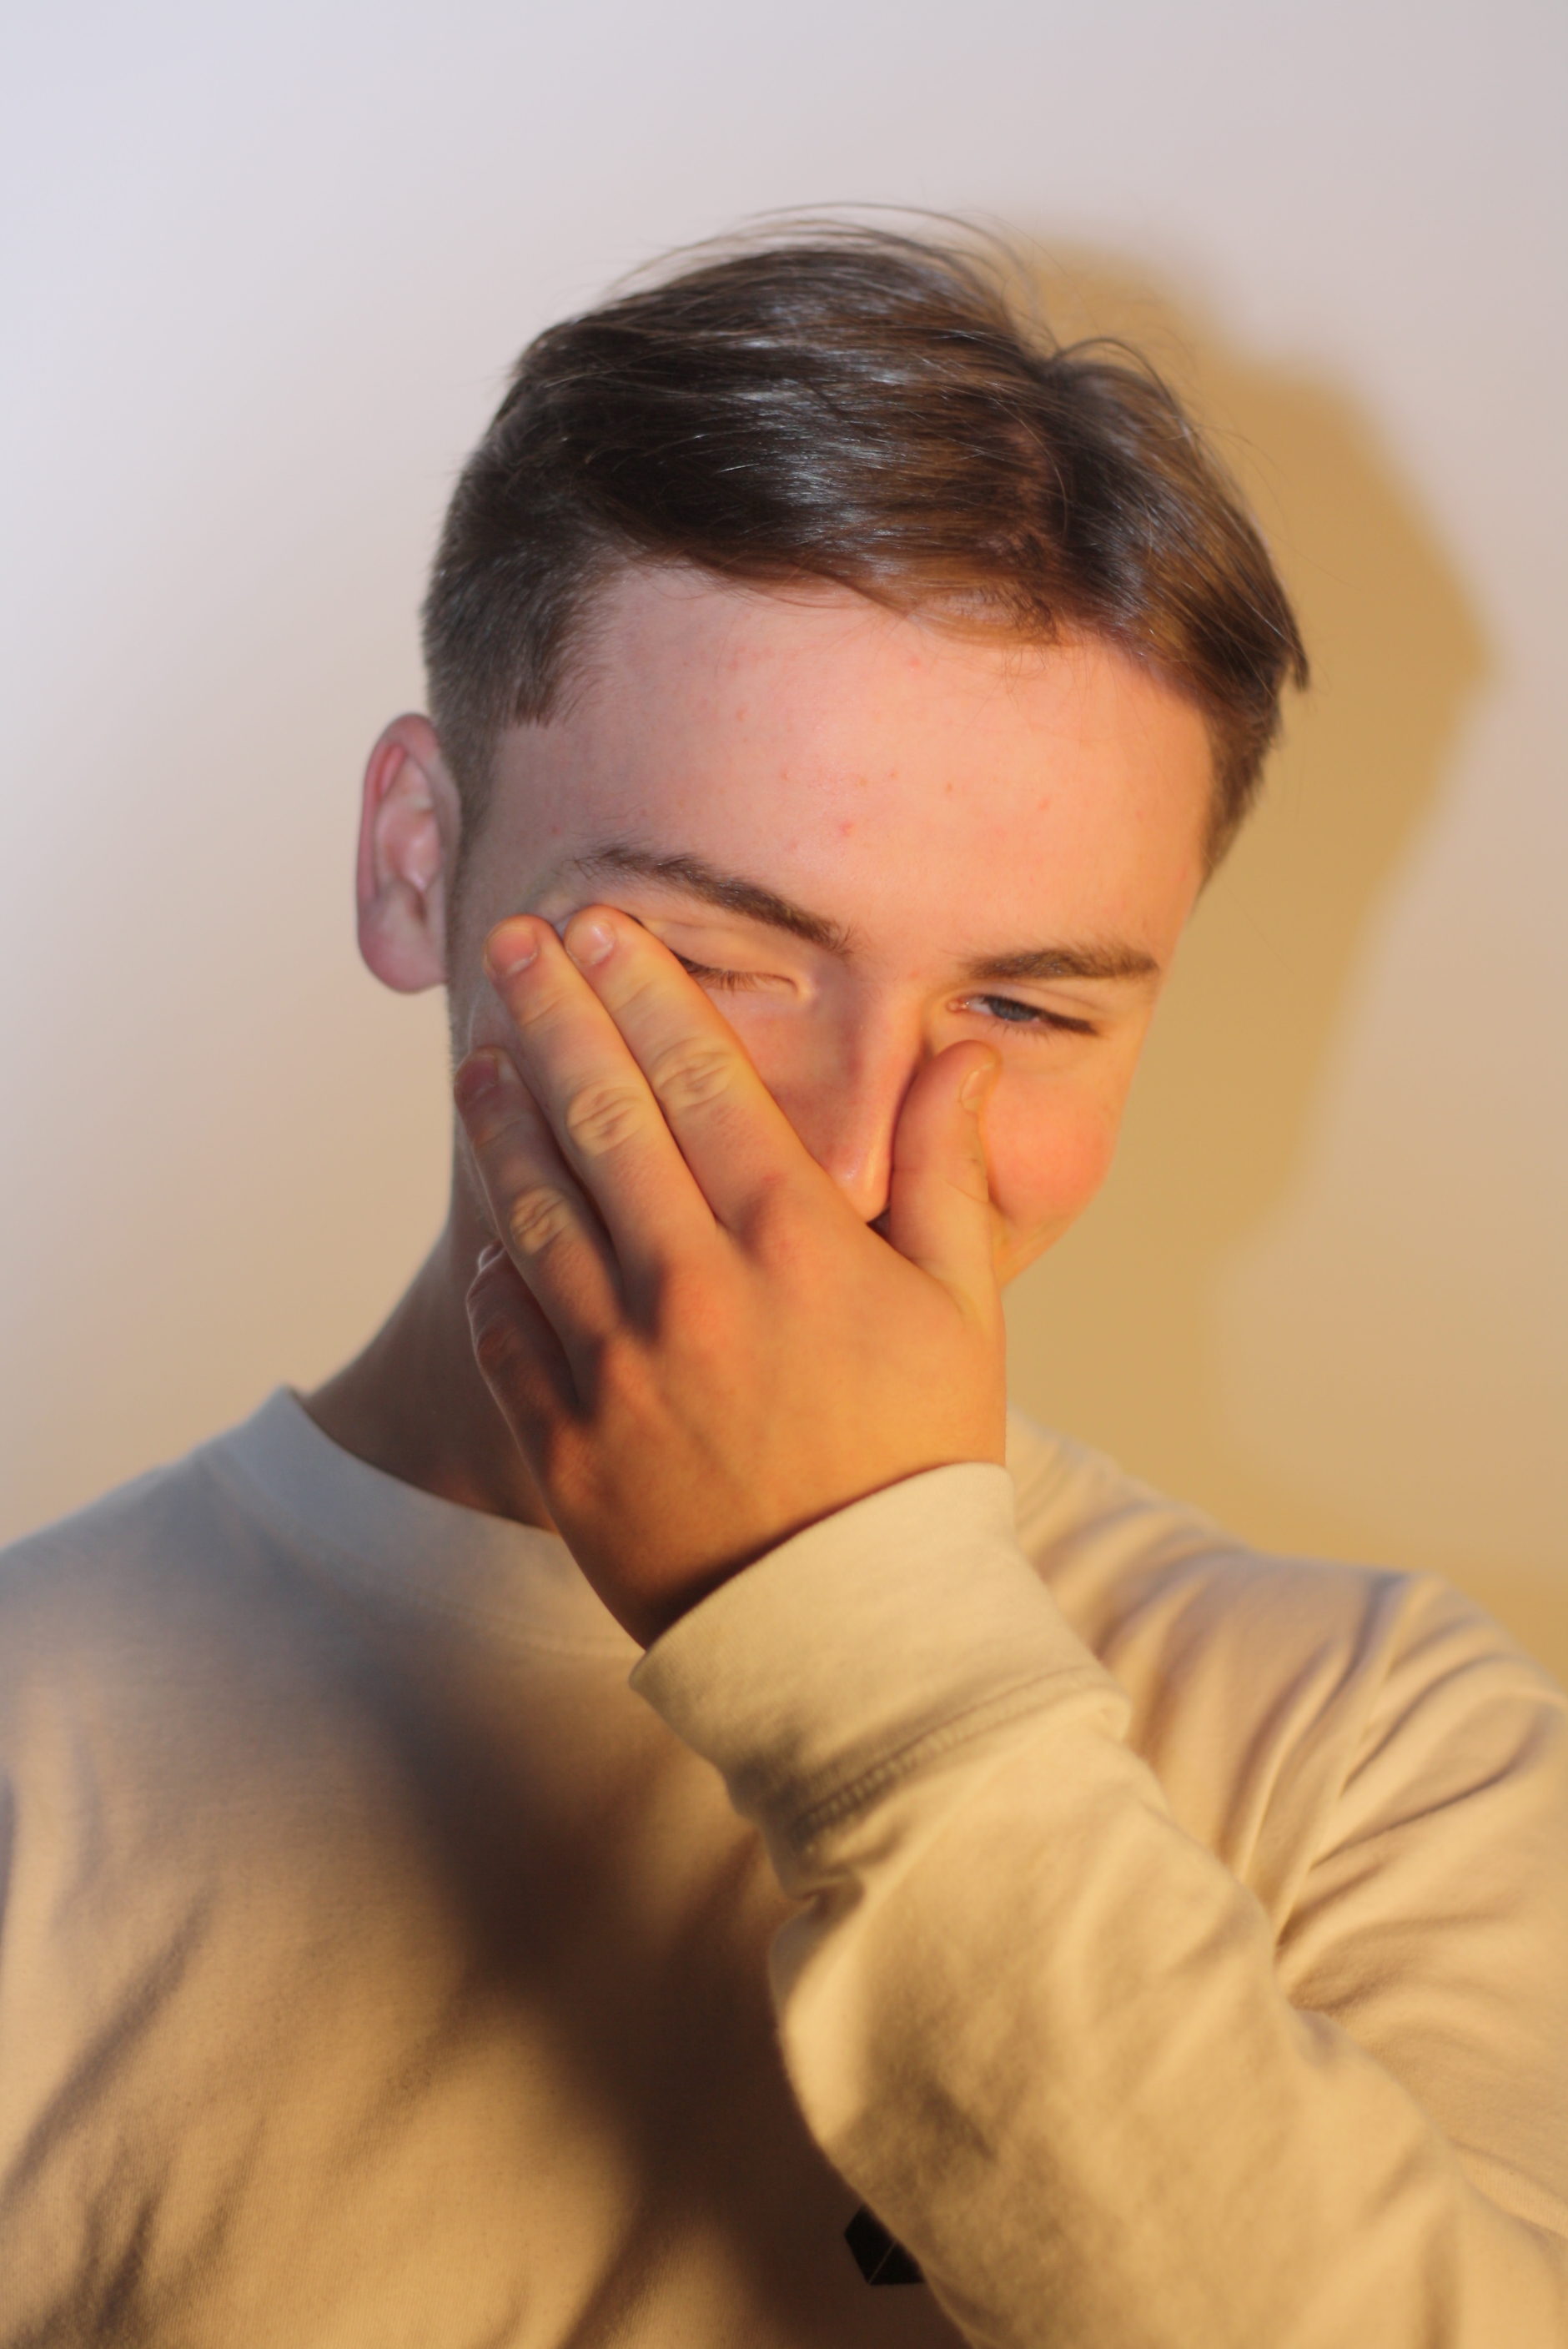
In both this, and the following photo I have used only one light source, this lights the model in the centre evenly with one colour, it also gives a big clear shadow to one side.
In this photo I used two-point lighting. There was a softbox placed to the right side at a slight angle, and a spotlight with a purple cover placed on the other side. This creates a warm and colourful effect.
The same lighting was used for this photo as the previous one. Only in this photo the camera is positioned nearer the purple tinted spotlight, which gives it a bigger overall impact on the face.
For this image I used light-room to lightly retouch the image, below you can see the settings that I changed. the only edit not shown in this screenshot is that I cropped the image slightly. This however can be seen in the comparison between the original and the retouched image. I mainly played with the exposure, black and white levels in order to produce an overall lighter image.
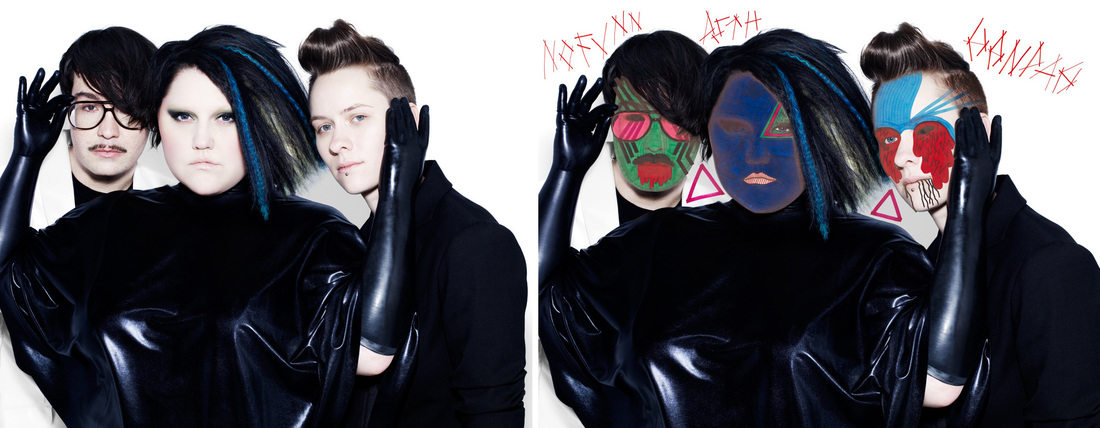
The art of destruction: Exploring manipulated studio portraits with Rankin and his collaborators.
Who is Rankin?
“Rankin made his name in publishing, founding the seminal monthly magazine Dazed & Confused with Jefferson Hack in 1992. It provided a platform for emerging stylists, designers, photographers and writers. The magazine went on to forge a distinctive mark in the arts and publishing spheres, and developed a cult status forming and moulding trends. It is responsible for bringing some of the biggest names in fashion to the foreground. Today, Dazed Media is a leading online fashion and cultural brand.
As both a photographer and director, Rankin has created landmark advertising and editorial campaigns. His body of work features some of the biggest and most celebrated publications, brands and charities, including Nike, L’Oreal, Dove, Pantene, Diageo, and Woman’s Aid. He has shot covers for the likes of Elle, Vogue, Esquire, GQ, Rolling Stone and Wonderland.”
What the project is about:
Words from his website –
“This short project formed part of a unit of work entitled Photographic Techniques & Applications with my Year 10 class and took the form of a Controlled Assessment. To celebrate Youth Music’s 10th Birthday, celebrated photographer Rankin asked 70 musicians and visual artists to ‘destroy’ their own portraits. The participants included Joe Strummer, Ian Brown, Marianne Faithfull, Andre 3000, Michael Stipe and Kylie Minogue as well as bands like Pete and the Pirates, The Enemy and The View. For example, Florence Welch drew over her portrait with a metallic pen, inspired by her school days of decorating photos from magazines and Debbie Harry burnt, masked out, painted and stitched-up her picture to make a series of six ‘destroyed’ portraits. Damien Hirst painted over the portrait of Joe Strummer. Asked about this approach he said,“I tried to keep it about him as a person. I kept looking at the thing on the hand, where it said ‘Joe’. Joe Strummer was a great guy who I met, who was much more of a hero in real life. You don’t meet many people like that,”
I was keen to encourage my students to create proficient studio portraits, considering a range of technical issues, before destroying them, thinking about the particular strategies they might use to add other layers of meaning.”
The most basic and important form of light is natural light, generally referring to any light created by sunlight.
Photo by Filipe Costa
In other instances, ambient light (meaning the available light in an environment) can be considered as natural because it isn’t directly influenced by the photographer’s lighting equipment. This usually indicates natural lighting from outside that lights up a room through a window.
BENEFITS OF NATURAL LIGHT:
Natural light is a part of nature. It’s always around even if it’s a cloudy afternoon natural light is always readily available. There’s no equipment you have to buy or set up in order to do an outdoor photo shoot. Artificial light, on the other hand, takes time to set up and can cost the photographer a lot of money should a bulb break or burn out. If you are just beginning your career as a photographer, you are going to want to save money where you can.
NATURAL LIGHT IS EVERYWHERE
Natural light allows the photographer to have fun with locations without movie equipment everywhere. You can use reflectors if you chose, but they aren’t necessary if you don’t want them. Everywhere you go there is always going to be some form of natural light, so photographers don’t have to confine themselves to a studio.
NATURAL LIGHT IS CONSTANT
When you work in a studio, you have to spend time adjusting the lights to match the pose of your subject. Natural light doesn’t have to be adjusted; you will just need to find locations with the best lighting. Of course, the sun is going to set throughout the day so you have to plan around that. However, the setting sun is going to give a chance to create different atmospheres for the photos–depending on what the client wants.
NATURAL LIGHT CREATES ADDS AN AIRY QUALITY
When natural light comes through doors and windows, it can create an airy, romantic feeling to the picture the photographer takes. This effect isn’t as easy to achieve when artificial lights are used.
CLIENTS OFTEN PREFER NATURAL LIGHT
Clients will always have their own ideas of what lighting works best for them, and sometimes they’re right. Wedding photography, for example, is often done outside because natural light is really going to bring out the natural beauty of the bride and the groom. You’re also going to be able to get amazing shots during the final hours of daytime because those rays will really bring out the natural tones in someone’s skin.
Natural light is everywhere so any location can become a photographer’s studio. It’s a free light source so you will never have to worry about buying new bulbs. Natural light will bring out the natural beauty of the subjects, and they will fall in love with your photography. So, for your next photo shoot don’t be afraid to step outside the studio and see what nature has to offer.
Artificial Lighting
What is it?
Lighting or illumination is the deliberate use of light to achieve a practical or aesthetic effect. Lighting includes the use of both artificial light sources like lamps and light fixtures, as well as natural illumination by capturing daylight.
There are four common types of artificial light sources used for photography today
Incandescent
Fluorescent
LED
Studio strobe
The challenges of using natural light are quite similar to those faced when shooting in artificial light. You must still understand how various light sources act upon a subject and how to produce the desired effect. Different sources of light can produce soft or hard light when shooting in a studio, but in this case, the photographer has direct control over elements such as hardness, distance, intensity, and angle. Furthermore, artificial light from different sources yields different color heat signatures. For instance, halogen bulbs are colder and produce a light that is blue in color, while tungsten bulbs, being hotter, produce light with a reddish hue.
Keep in mind that when you use different sources of artificial light, these must produce the same color heat signature. The only exception to this is if you’re shooting in black and white.
Photo by M.G.N. – Marcel
When it comes down to controlling and manipulating light, there are many options within photography, whether you’re dealing with artificial, natural, soft, or hard light. It comes down to understanding how images are affected by different lighting conditions, setting up the desired lighting environment, adjusting your camera settings (e.g., the white balance), and post-processing your picture in programs such as Gimp or Photoshop.
Definitions:
Intensity of the light – Light intensity refers to the strength or amount of light produced by a specific lamp source. It is the measure of the wavelength-weighted power emitted by a light source.
Direction of the light – Direction of light affects shadow placement and where darker/lighter spots are.
Temperature of the light and white balance –
The color of an object is affected by the lighting conditions under which it is viewed. Our eyes and our brain compensate for different types of light—that’s why a white object appears white to us whether it’s viewed in sunlight, under overcast skies or indoors under incandescent or fluorescent light. But digital cameras need help to emulate this process, to compensate for different types of lighting and render a white object white.
Within my image there are some faults with the composition and some minor photoshop problems, the reason that it didn’t get re-done is because the faults are very small and have only been seen by me because I have been looking at a very large version of it for a long time.
The problem here is that I wasted this space and didn’t take a photo within this area.
The problem here is that my hands on the edge of the pew are not in a straight line, this means that there is a jagged line but it is hard to see.
With 3 there is a small gap between two of the images of me essentially making a big gap in the middle of my chest. However, this isn’t a major problem because it is very far away and the wall behind is the same colour.
There is a small gap between the arm rest and my side, this is okay because it just looks like I am slightly further across the seat.
I lost a foot somehow and the end of my leg is missing but it is partly covered by the lamp in the pulpit.
Overall the image is good and the faults are only visible upon close inspection so I am happy with it.
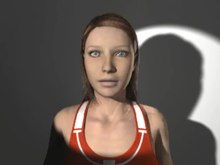
Three-point lighting is a standard method used in visual media such as theatre, video, film, still photography and computer-generated imagery. By using three separate positions, the photographer can illuminate the shot’s subject (such as a person) however desired, while also controlling (or eliminating entirely) the shading and shadows produced by direct lighting.
A portrait with three-point lighting: a 300 watt key light, a 150 watt back light, and fill light from a bounce board.
My own aim, action plan and technical features:
The aim for my 3 point lighting shoot was to use 3 different lights to capture a selection of images that demonstrate I can use the technique correctly whilst also trying to create images that are clear, in focus, and presentable. The lights were placed in 3 positions for some, with one in-front, one to the side and one on he other side. In a lot of the other photos there are a light in-front and behind the model and then a light slightly to the left. The technical features of these images included a wider aperture to allow a lot of light into the lens with a quicker shutter speed to keep the images harp incase the models move.
Contact Sheet:
Final Image Outcome:
Visual elements of this image include:
Visual elements of this image include a very simplistic array of colours which mainly consist of whites and yellows. The tone is fairly light and the texture, very smooth. There is a fair depth of field due to the shadows on and around the model which also creates a 3D object effect.
My final image turned out almost as I intended, one problem is that i could have done more poses sitting or interacting with the pews on the left side of the photo.
I think that I replicated his work well and also added my slight touch to it. I have the main few subjects in the photo; I also have a few more discrete ones in the backdrop and who will mean that there is something to the image at a glance but the more that it is explored the more is discovered.
A difference that I made without thinking about it is that my images are taken from a bigger distance and this means that my face isn’t as clear and apparent as it could be, where as with Paul’s work he is close to the camera and his face is clear in each image this means that his work has a slightly bigger impact on the viewer because it takes less time to see that every person in the image is him.
But I think by doing some of the weirder poses that I did like the upside down, the shirtless and the reflection of it in the door and having the umbrella open meant that I have en-captured the style of Paul as he often has odd poses in his images.

 This is two photos edited together. The original was two different people staring at each other, but I decided to take another darker photo of myself and edit it into the previous one. This give a bright/dark good/bad side effect.
 This photo used two-point lighting. A spotlight with a green tint to the left, as well as a ring light positioned directly in front of the camera. The ring light isn’t visible as the camera was placed in the middle of the ring light. This results in a brighter image, but still keeps the colour lighting.
 In both this, and the following photo I have used only one light source, this lights the model in the centre evenly with one colour, it also gives a big clear shadow to one side.
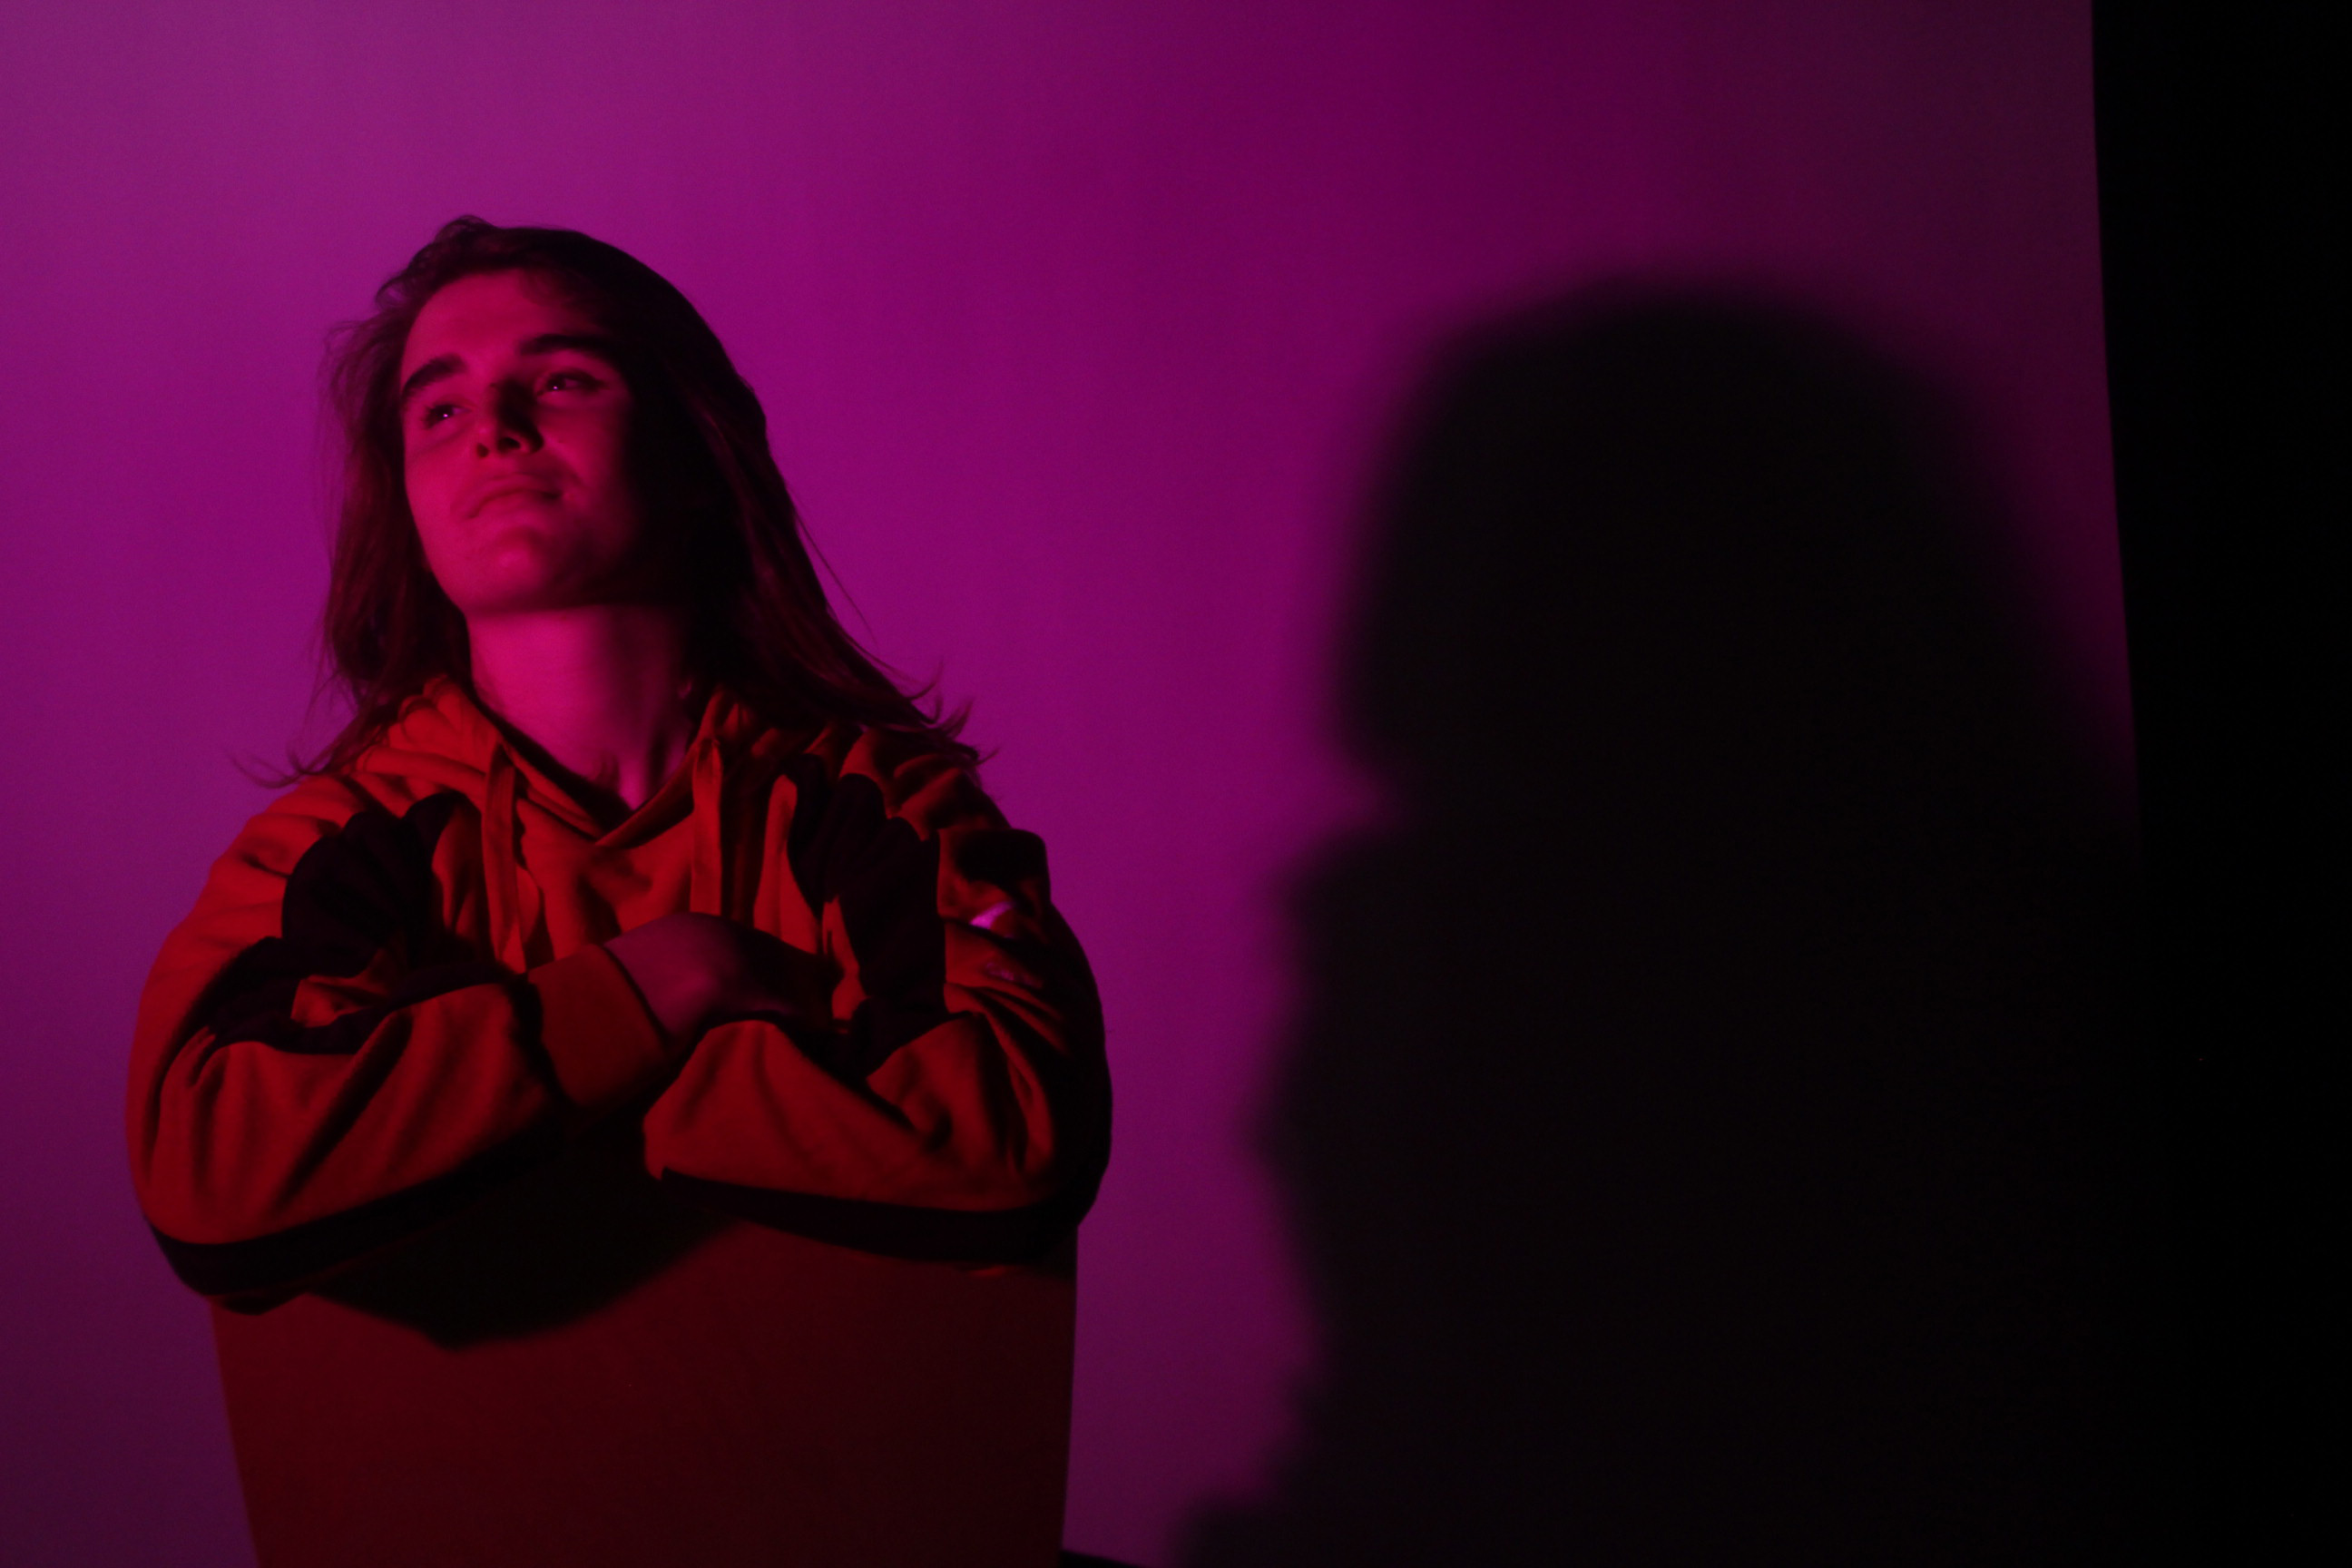
 In this photo I used two-point lighting. There was a softbox placed to the right side at a slight angle, and a spotlight with a purple cover placed on the other side. This creates a warm and colourful effect.
 The same lighting was used for this photo as the previous one. Only in this photo the camera is positioned nearer the purple tinted spotlight, which gives it a bigger overall impact on the face.
 Original
 Retouched
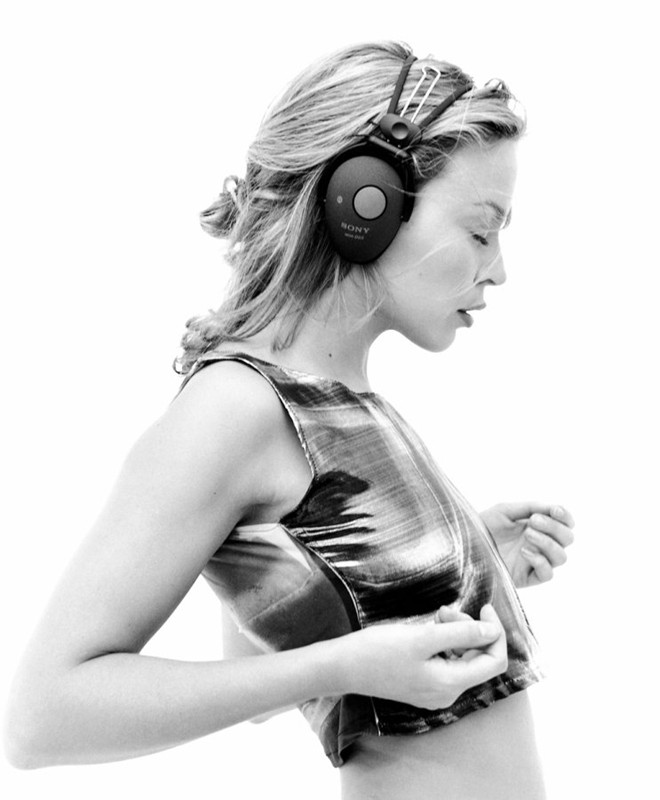


