
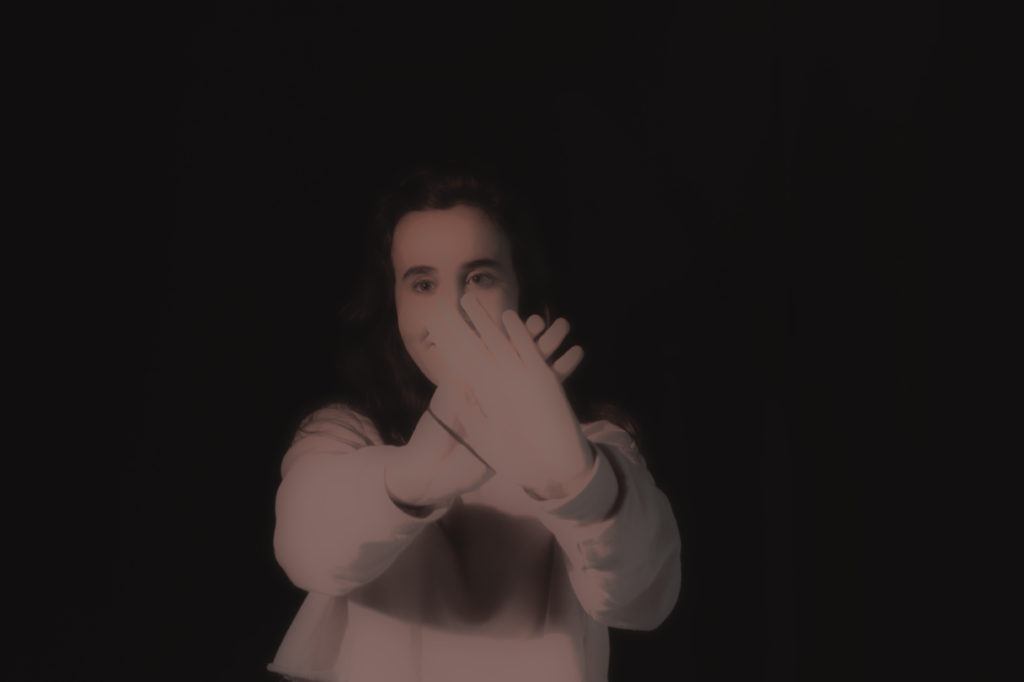
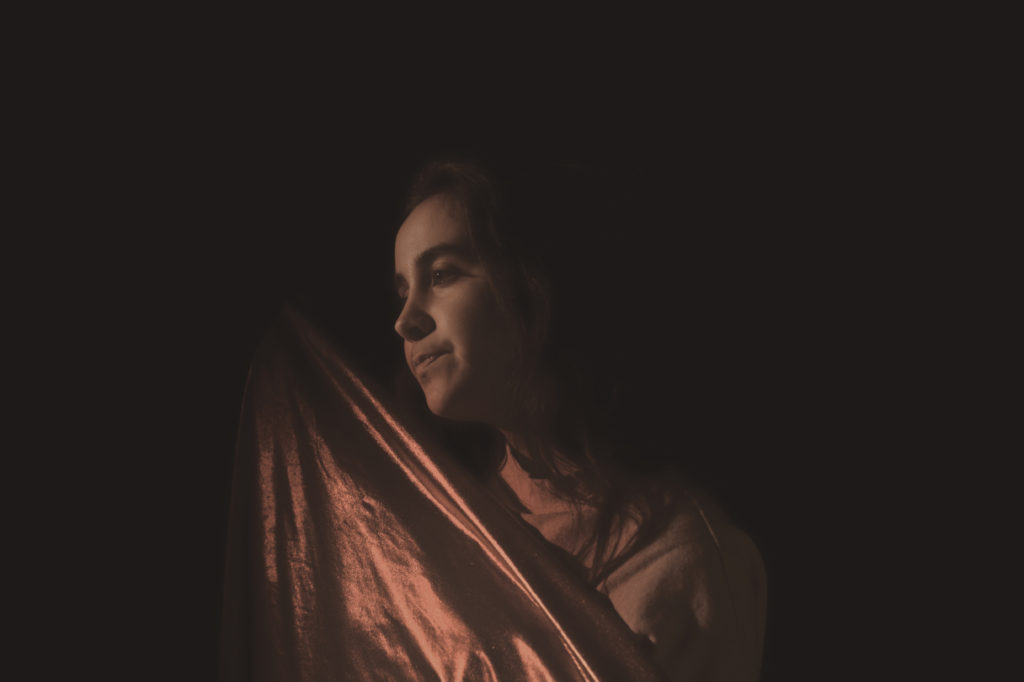

For the four previous photos I took them using a box light and a magenta filter. I didn’t do much in terms of editing in photoshop: all I altered was the saturation to tone down the vivd, harsh pink colours and to give it a ‘cloudy’ sort of look.

In this piece I wanted to keep the vivid colours, so all I did in terms of editing was change the exposure so the figures were more dominant.

All my other photographs had been rectangle, so I decided to change it up and have this in the format of a square. I added some noise to this photo as it gave the pink filter more of a texture on the models face. I also decreased the exposure as it made everything slightly darker except for the models face which, in turn, made it stand out.
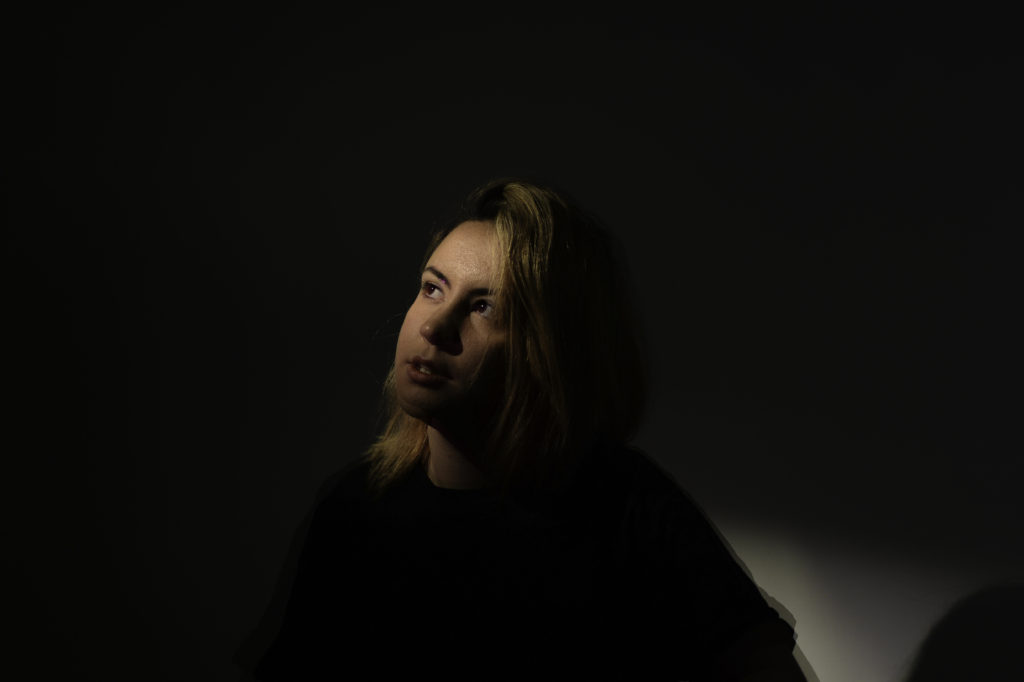
In this photo I had the model sit down so the light would catch the top of her head. I decreased the exposure and selected the history brush and brushed over her face to gain the light back. This created an effect like just her face was glowing.
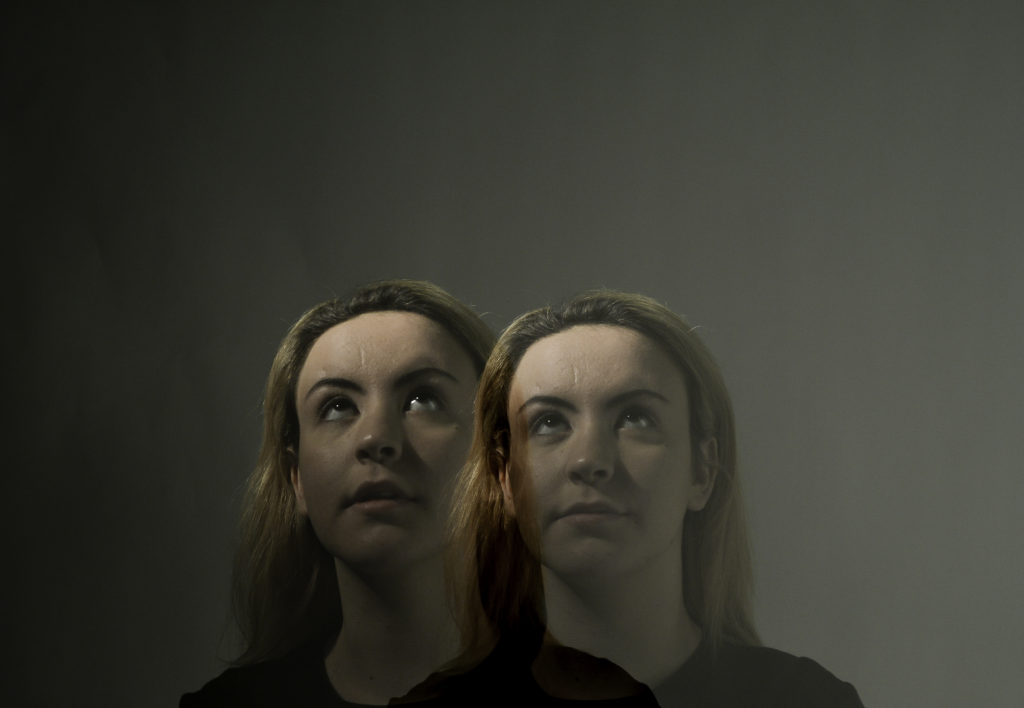
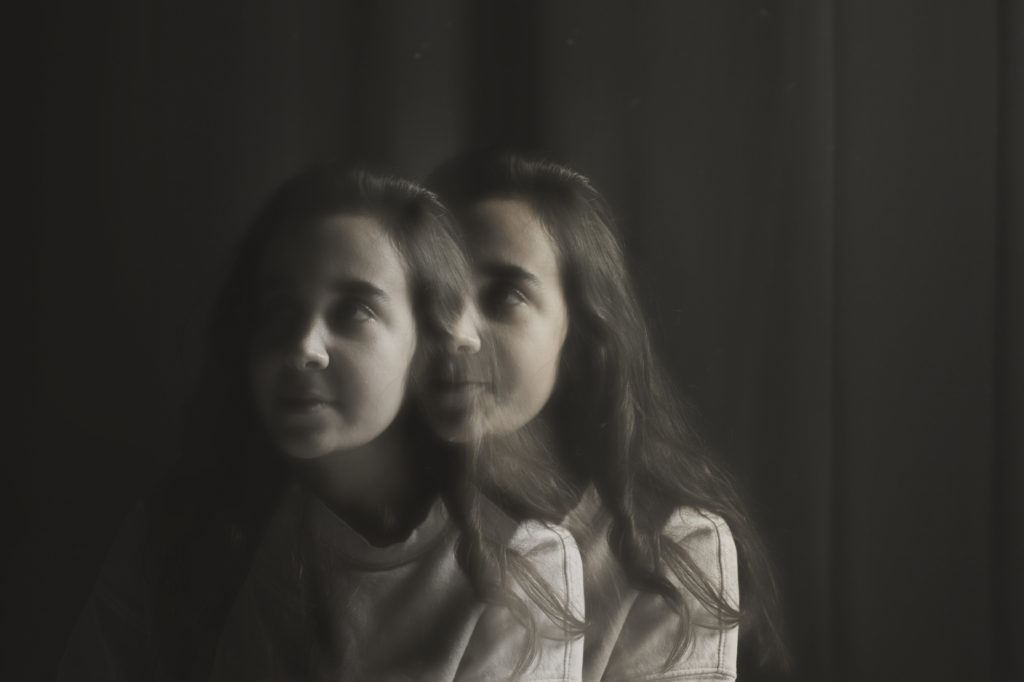
I used the double exposure setting on my camera to take this picture. My goal was to have a slight difference between the two figures, but not t

I had the model sit on the ground so I would be able to catch the light on her forehead. I wanted to enhance it a little more so I used Lightroom to edit this piece. Using a brush and selecting exposure, I brushed over the highlights on her head and eyes to strengthen the light.