
Window light is an excellent, free light source. It can achieve the same effects as much bigger, more expensive lighting equipment. A large window is essentially a huge softbox. It will diffuse light into the room and around the subject you place in front of it.
If you see the window as a softbox, everything that you know about a softbox will be relevant to this lighting.
First of all, the larger the window, the softer the light. A large window provides a wider angle from which the light falls on to your face. It produces less shadows. This is very important to remember if you’re trying to take photos with hard shadows.
There are many ways in which a window is better than a softbox. They come in all shapes and sizes. They’re everywhere. They’re free to use. And they’re easy to experiment with.
The downsides are that the light is dependent upon the weather and time of day. You also have to move the model or subject, rather than just the light source (the window).
The soft nature of window light makes it very flattering for portrait photography. The shadows that appear on the face are very natural and don’t accentuate any features.
If there were any features that you would want to hide, you’d want to make the light harder. You do this by standing farther from the window, or using a smaller window.
A window is a great way to get an expensive look for free – how you use your window is up to you.
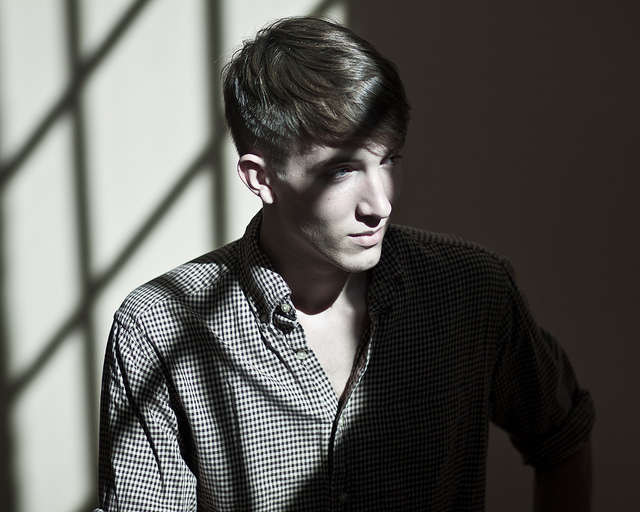
Move the subject closer to you with the majority of the window light behind them. The lighting on the face will become softer as the left side of the face starts to even out with the right.
Turn this the other way and the right side of the face will even out with the left, making for a more evenly lit subject.
It’s important to experiment and see which you like the most and whether it suits whatever you’re shooting.
Obviously there are more uses for window lighting than just models: still life, animals, etc.
When the subject is facing a window, you will end up with a very soft, yet rather flat, image with fewer shadows.
Yes, this will light the subject but it won’t look all that interesting compared to some of the other possible effects.
It’s also important to note any other light available in the room. You don’t want any of the lights to be on or you’ll struggle to set the right white balance; there is more than one light source.
When the window is behind the subject, you get the same sort of results as when you shoot into the sun: the camera will probably try to expose for the window, unless you’re using spot metering, causing a silhouette.
When you have the camera set to spot metering, you can overexpose the background to blow out the light, while exposing for the subject in the foreground. This can produce a very cool effect and it’s about the only interesting white/light background that I like to use.
experimenting with window lighting:
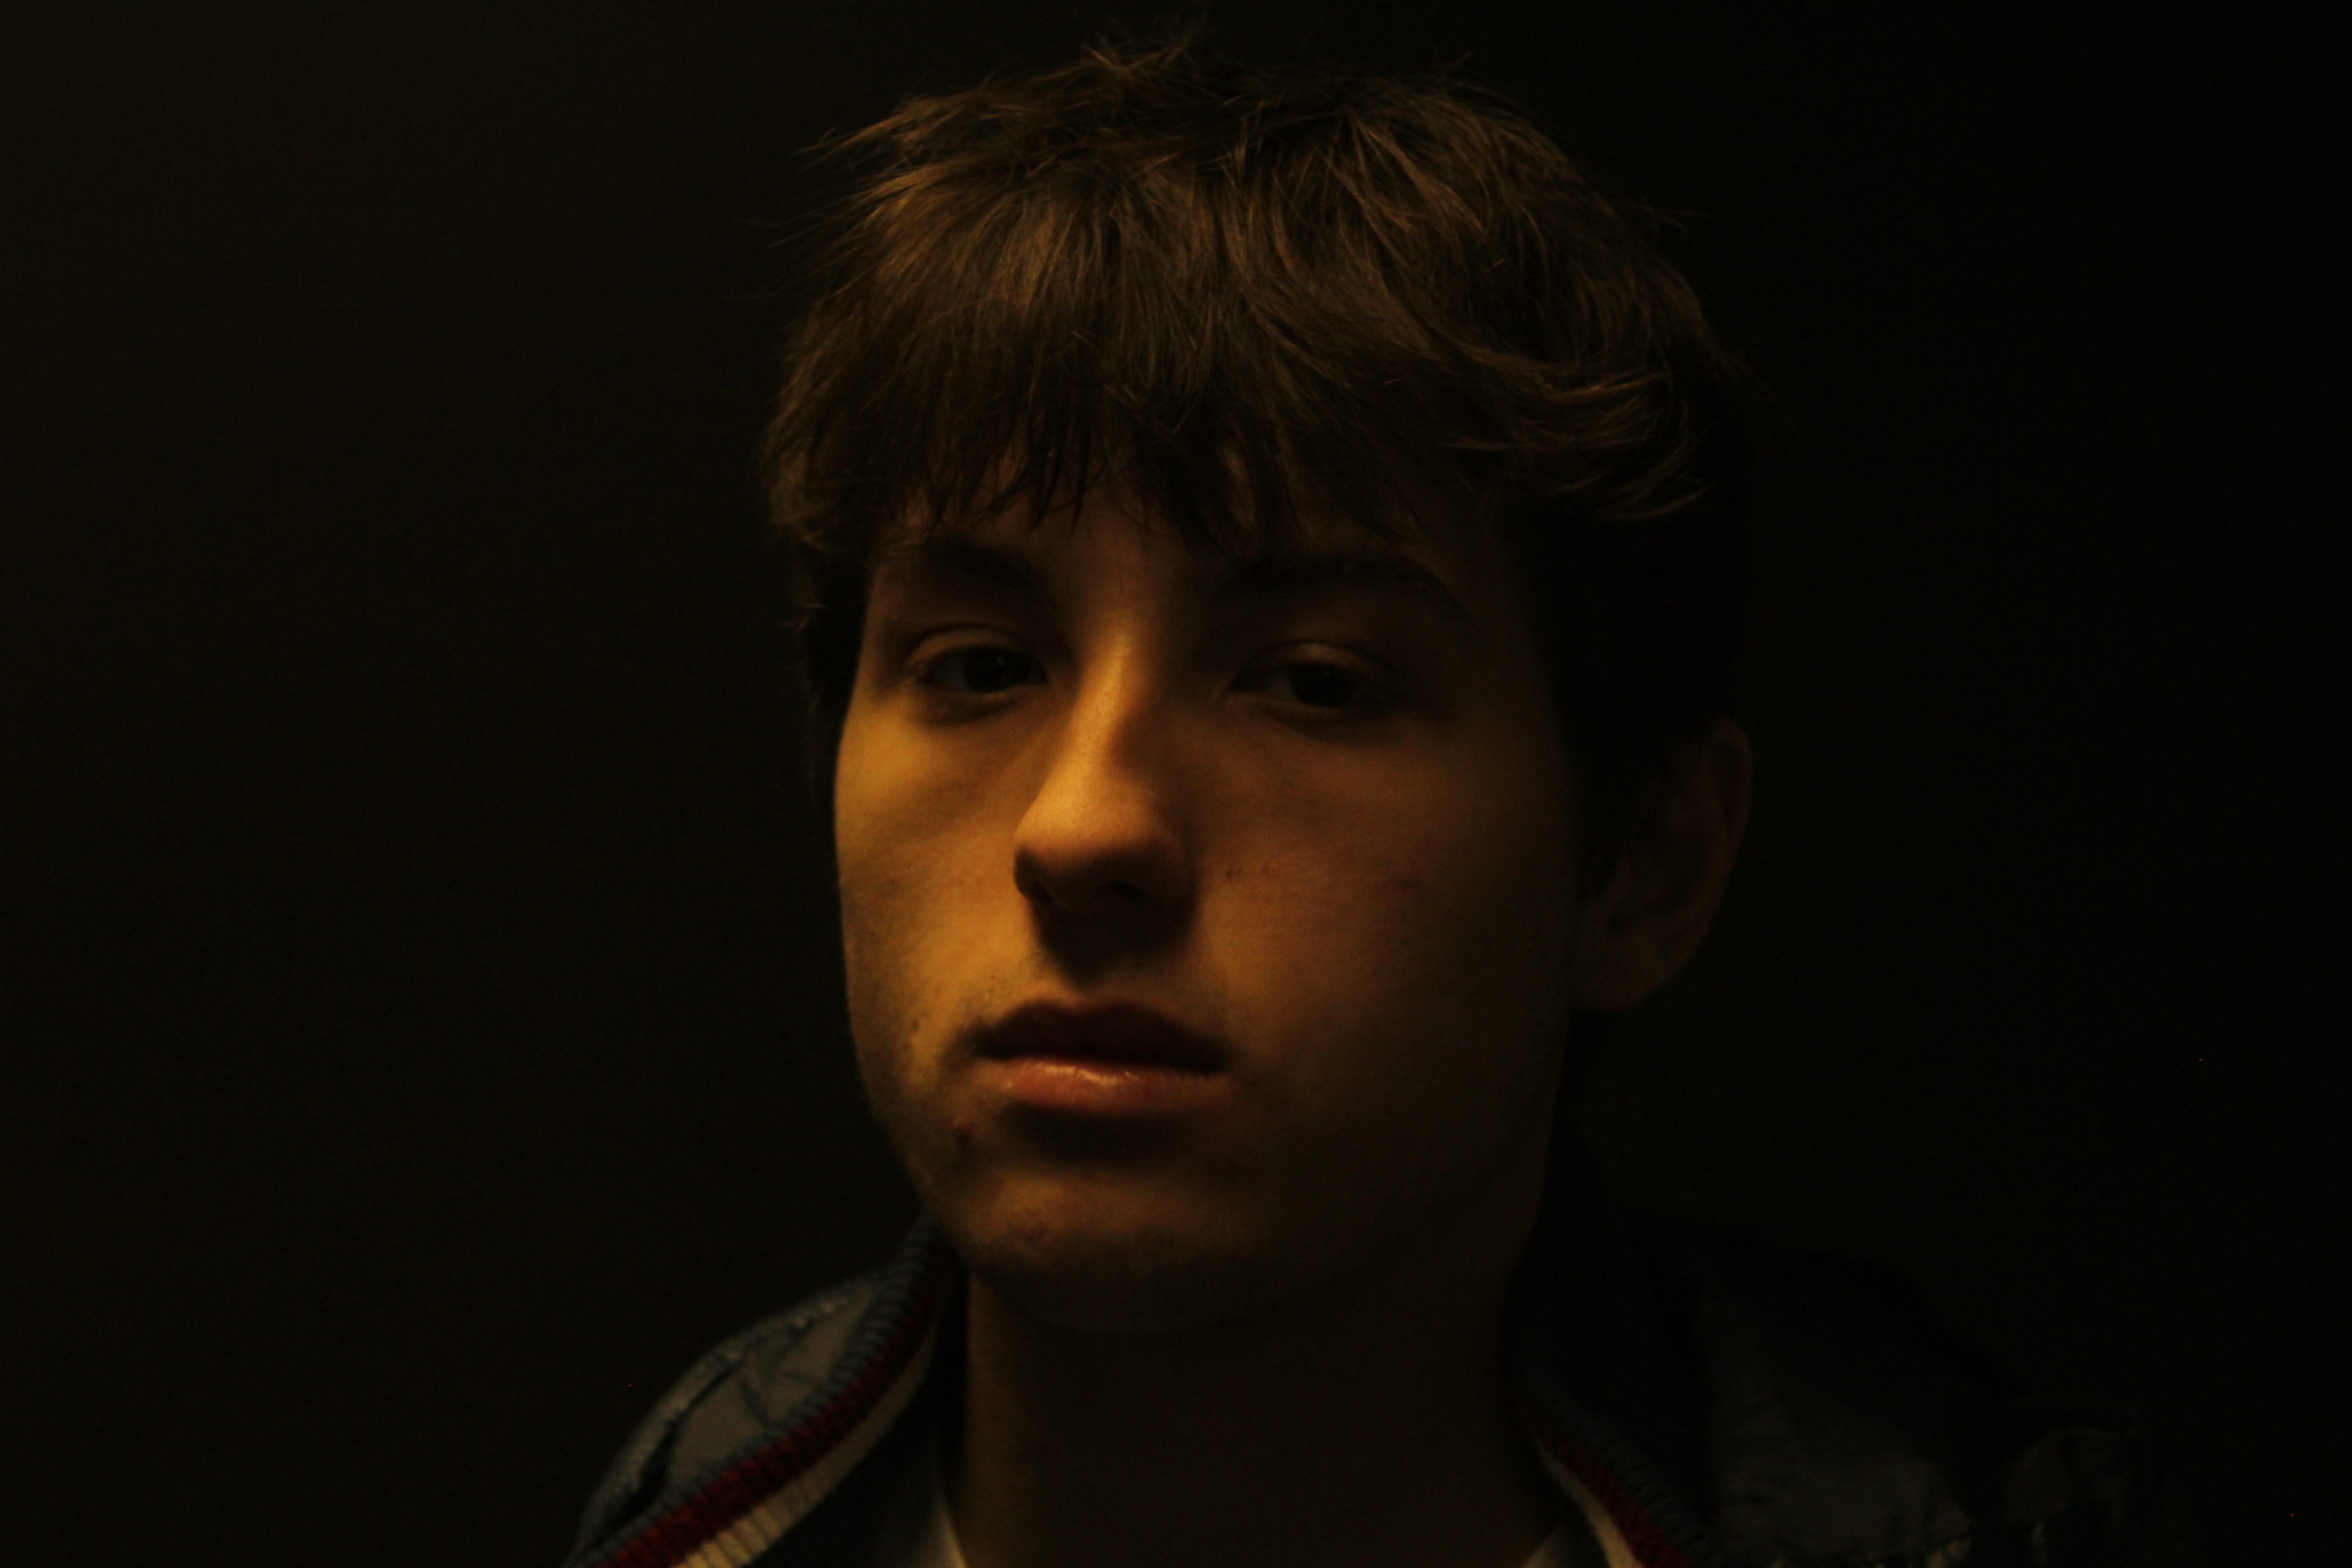
in this portrait the iso was on 400, it was taken under an artificial yellow light with a black card behind the person in the portrait. The shooting settings was on manual like the focus settings. the person in the portrait was not positions in the center he was a bit to the right of the light so that half of his face is in shadow and the other half is lighten.
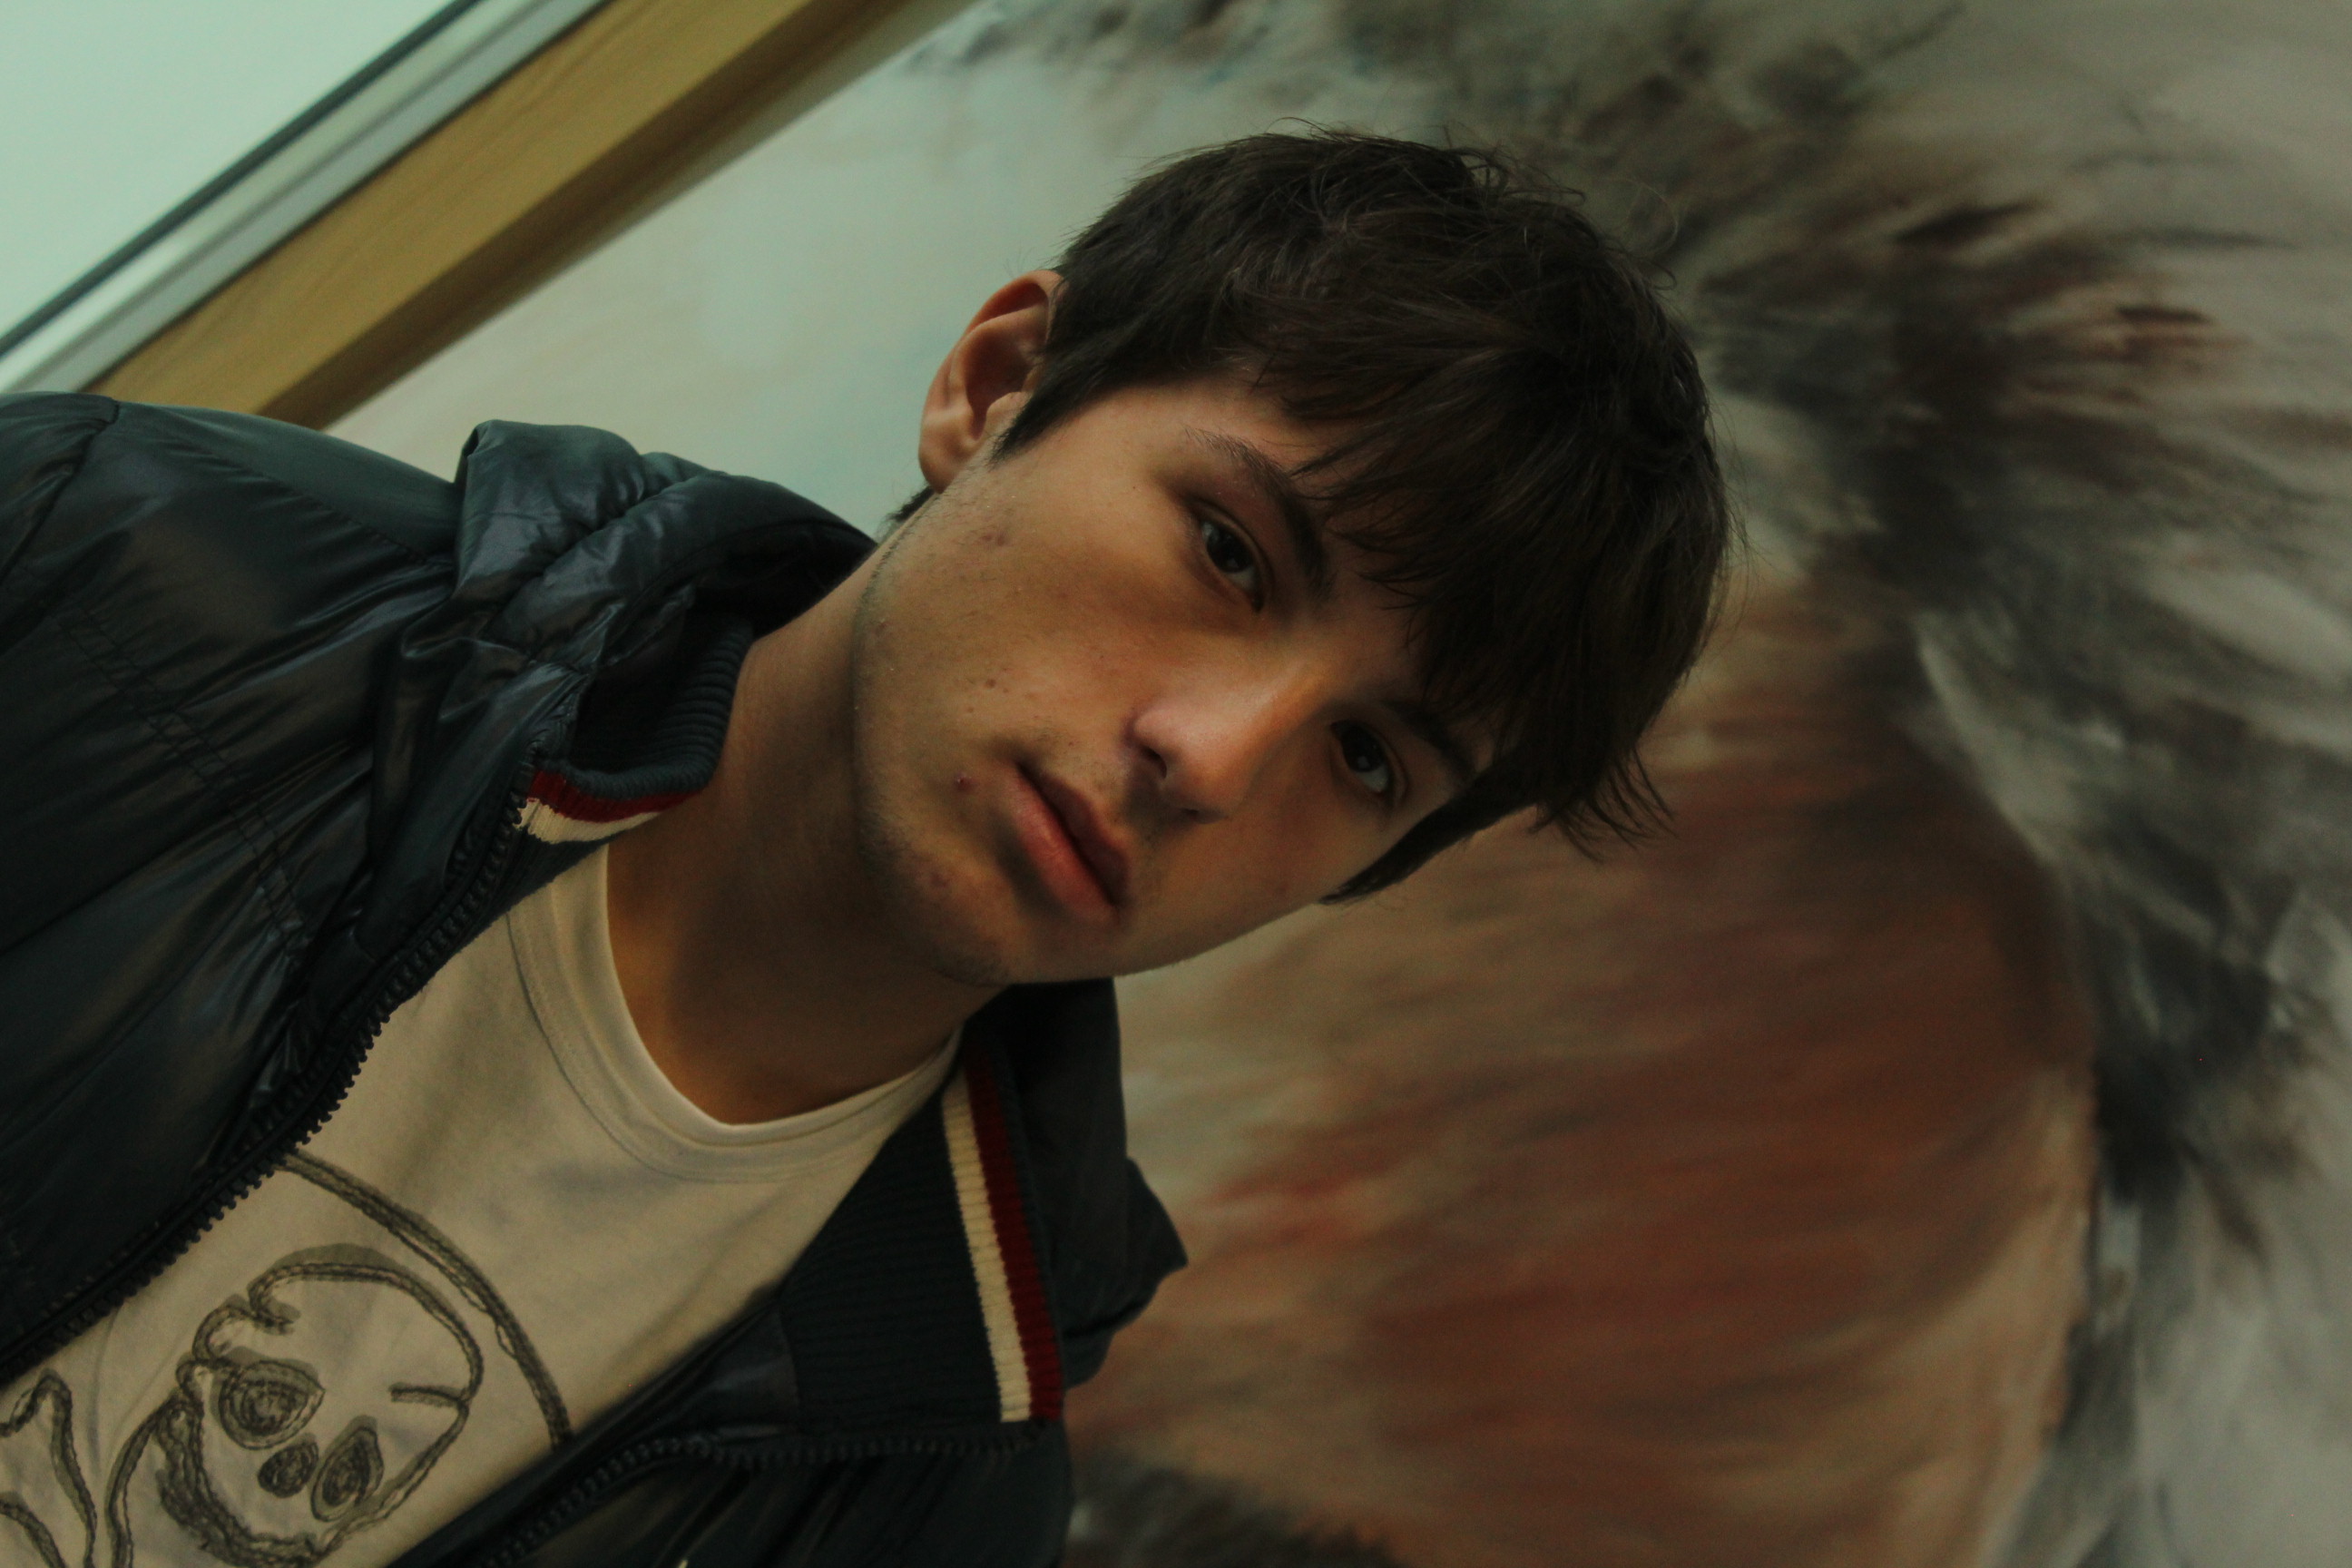
in this photo it was on high shutter speed, and was focused using manual focus. the photo was taken at a 45 degree angle to create movement in the portrait. the background was chosen on purpose, its an abstract painting that was made by one of the art students, it creates a lot of color in the background. the light was natural coming the window on the left of the photo but it was distributed and soft because the sunlight went through the clouds which diffused the light. but as you can see there is still some light on the right of the photo, that light was created using a light reflector board that was positioned from the bottom by the other student to reflect some of the window on the right side of the face.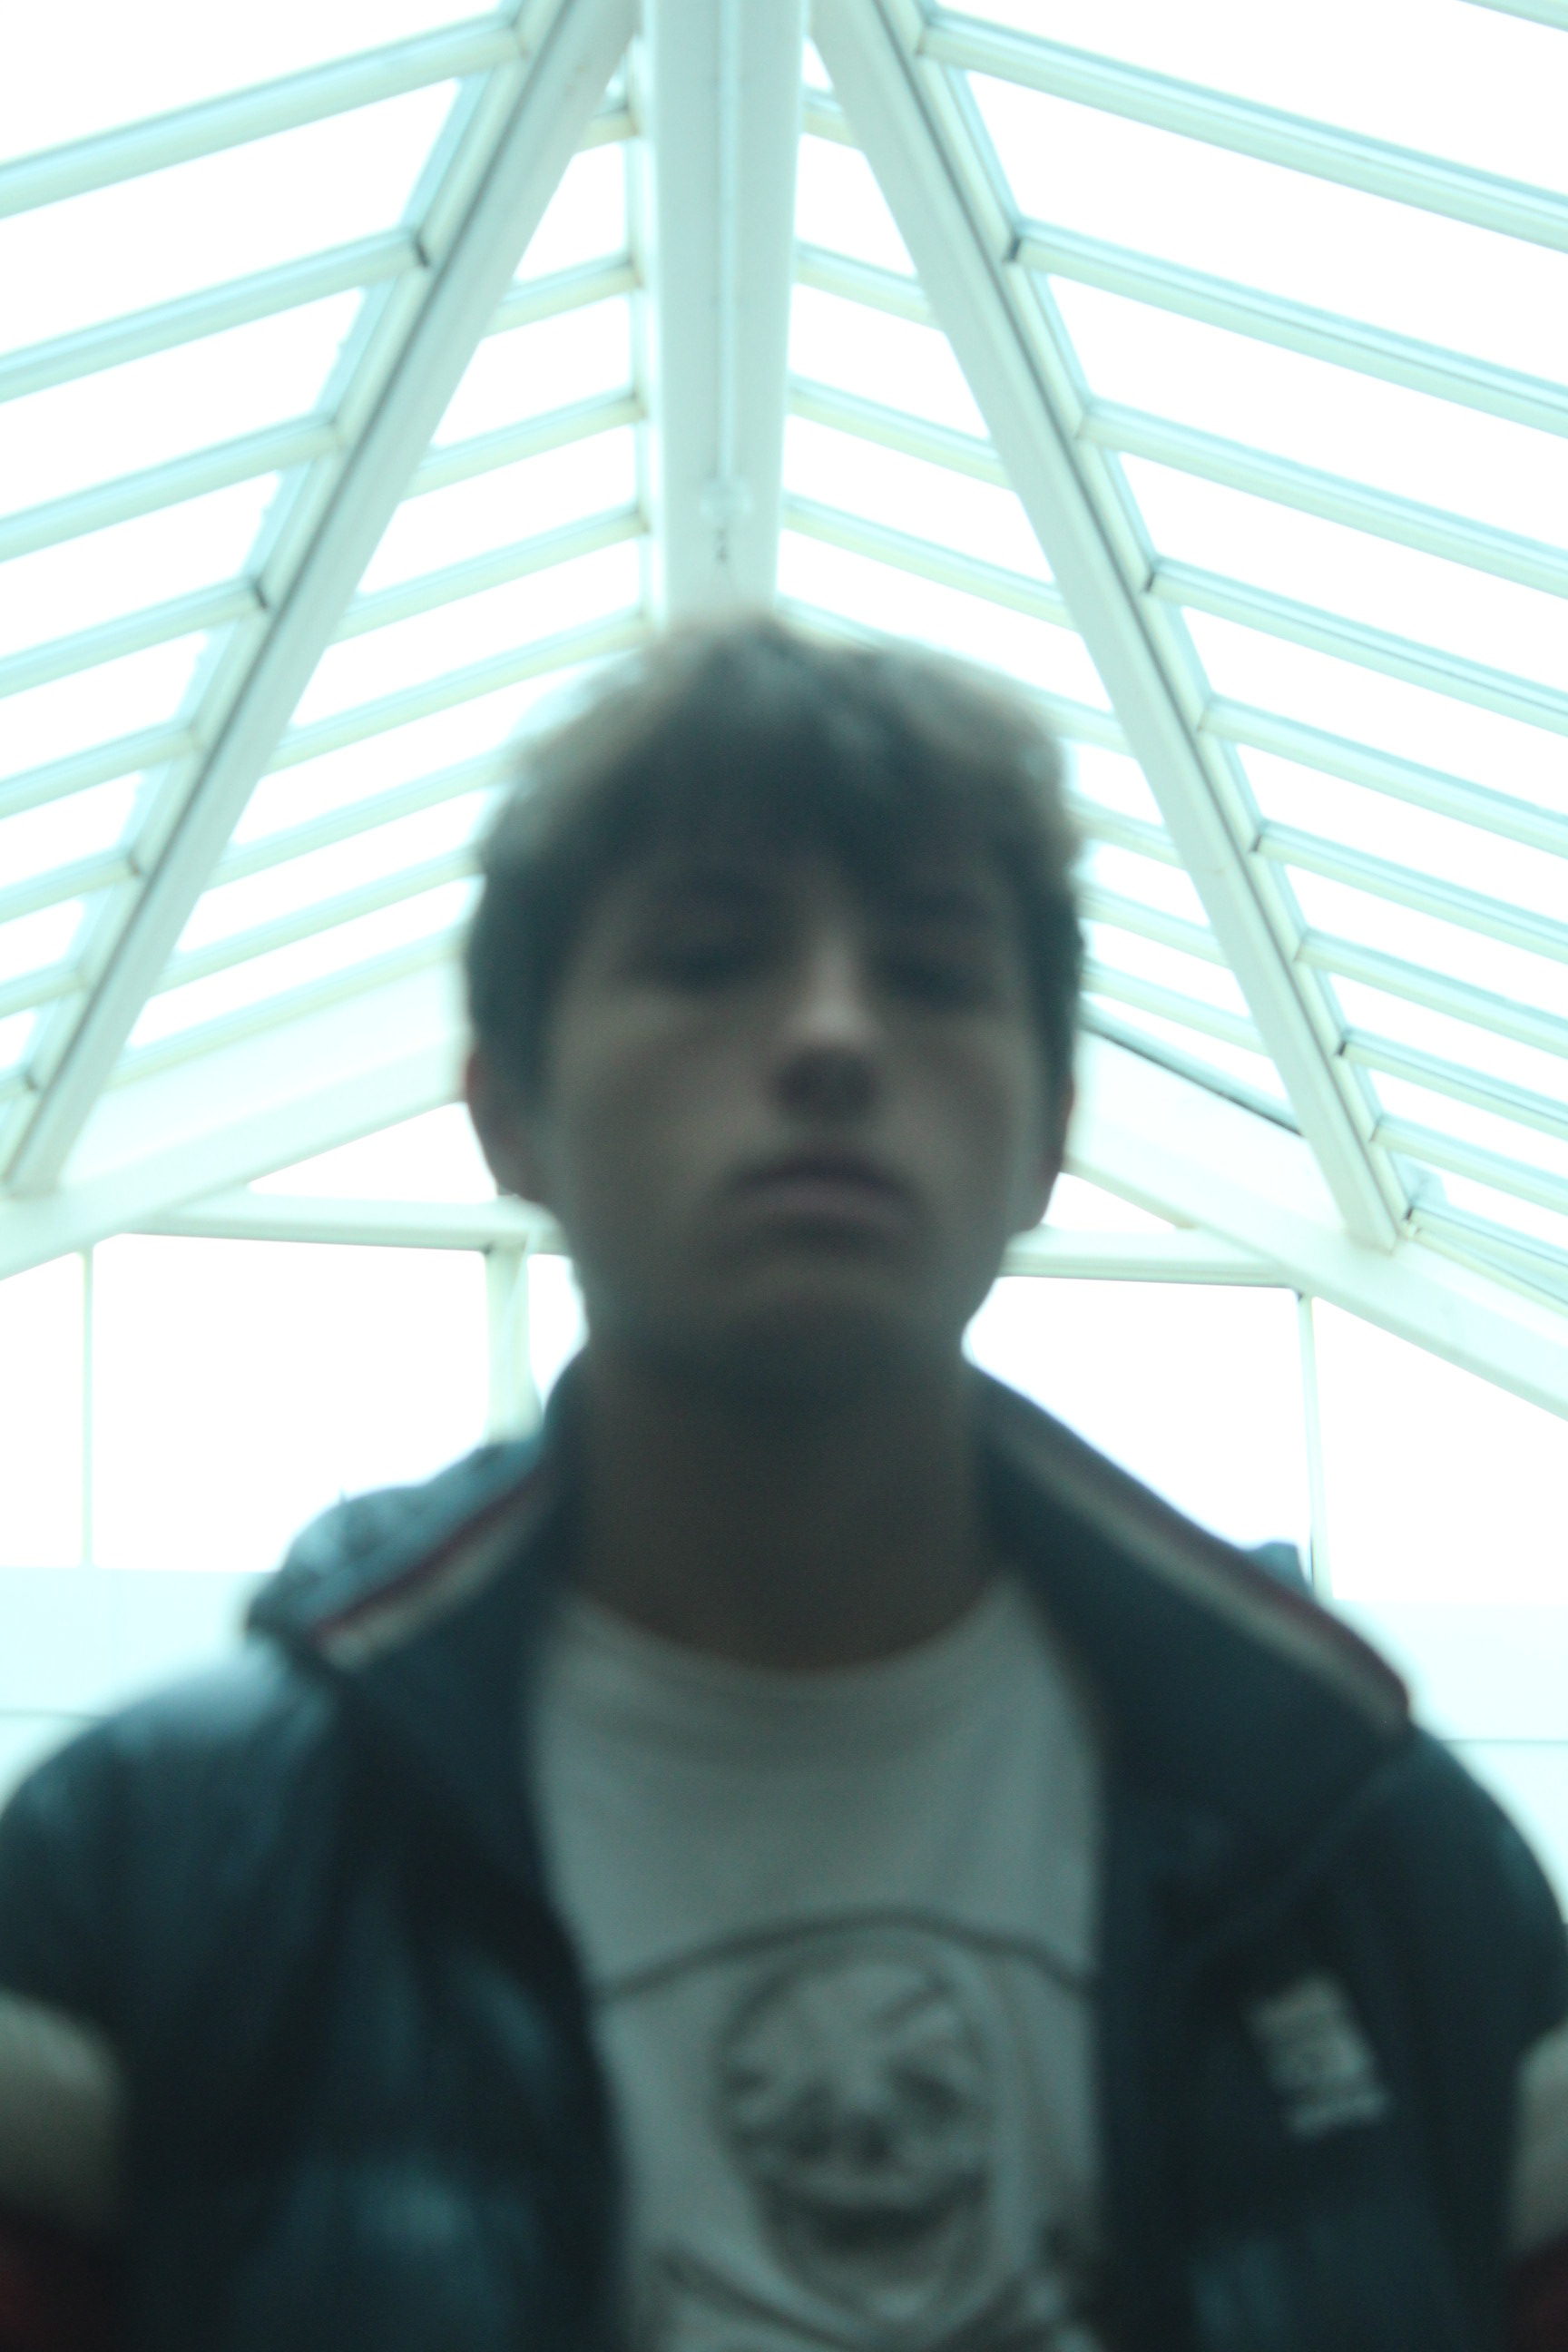
this portrait was taken from the bottom looking upwardish on the face. it was taken using low shutter speed and manual focus that made the photo not focused to create texture in the portrait. the light was coming from ceiling windows on top of the school, the windows are actually the background of the portrait. and light on the front of the face was created by reflecting the background light through reflectors positioned under the camera.
in conclusion all portraits that are made with window lighting have a special affect on them. and a lot can be experimented using window lighting (direct sunlight, diffused sunlight, using reflectors….) and not all portraits have to be focused. and last but not least you have to always have your person in the portrait have direct eye contact with the cameras lens.