


Daily Archives: December 4, 2018
Filters
experimenting with window lighting
Window light is an excellent, free light source. It can achieve the same effects as much bigger, more expensive lighting equipment. A large window is essentially a huge softbox. It will diffuse light into the room and around the subject you place in front of it.
If you see the window as a softbox, everything that you know about a softbox will be relevant to this lighting.
First of all, the larger the window, the softer the light. A large window provides a wider angle from which the light falls on to your face. It produces less shadows. This is very important to remember if you’re trying to take photos with hard shadows.
There are many ways in which a window is better than a softbox. They come in all shapes and sizes. They’re everywhere. They’re free to use. And they’re easy to experiment with.
The downsides are that the light is dependent upon the weather and time of day. You also have to move the model or subject, rather than just the light source (the window).
The soft nature of window light makes it very flattering for portrait photography. The shadows that appear on the face are very natural and don’t accentuate any features.
If there were any features that you would want to hide, you’d want to make the light harder. You do this by standing farther from the window, or using a smaller window.
A window is a great way to get an expensive look for free – how you use your window is up to you.
Move the subject closer to you with the majority of the window light behind them. The lighting on the face will become softer as the left side of the face starts to even out with the right.
Turn this the other way and the right side of the face will even out with the left, making for a more evenly lit subject.
It’s important to experiment and see which you like the most and whether it suits whatever you’re shooting.
Obviously there are more uses for window lighting than just models: still life, animals, etc.
When the subject is facing a window, you will end up with a very soft, yet rather flat, image with fewer shadows.
Yes, this will light the subject but it won’t look all that interesting compared to some of the other possible effects.
It’s also important to note any other light available in the room. You don’t want any of the lights to be on or you’ll struggle to set the right white balance; there is more than one light source.
When the window is behind the subject, you get the same sort of results as when you shoot into the sun: the camera will probably try to expose for the window, unless you’re using spot metering, causing a silhouette.
When you have the camera set to spot metering, you can overexpose the background to blow out the light, while exposing for the subject in the foreground. This can produce a very cool effect and it’s about the only interesting white/light background that I like to use.
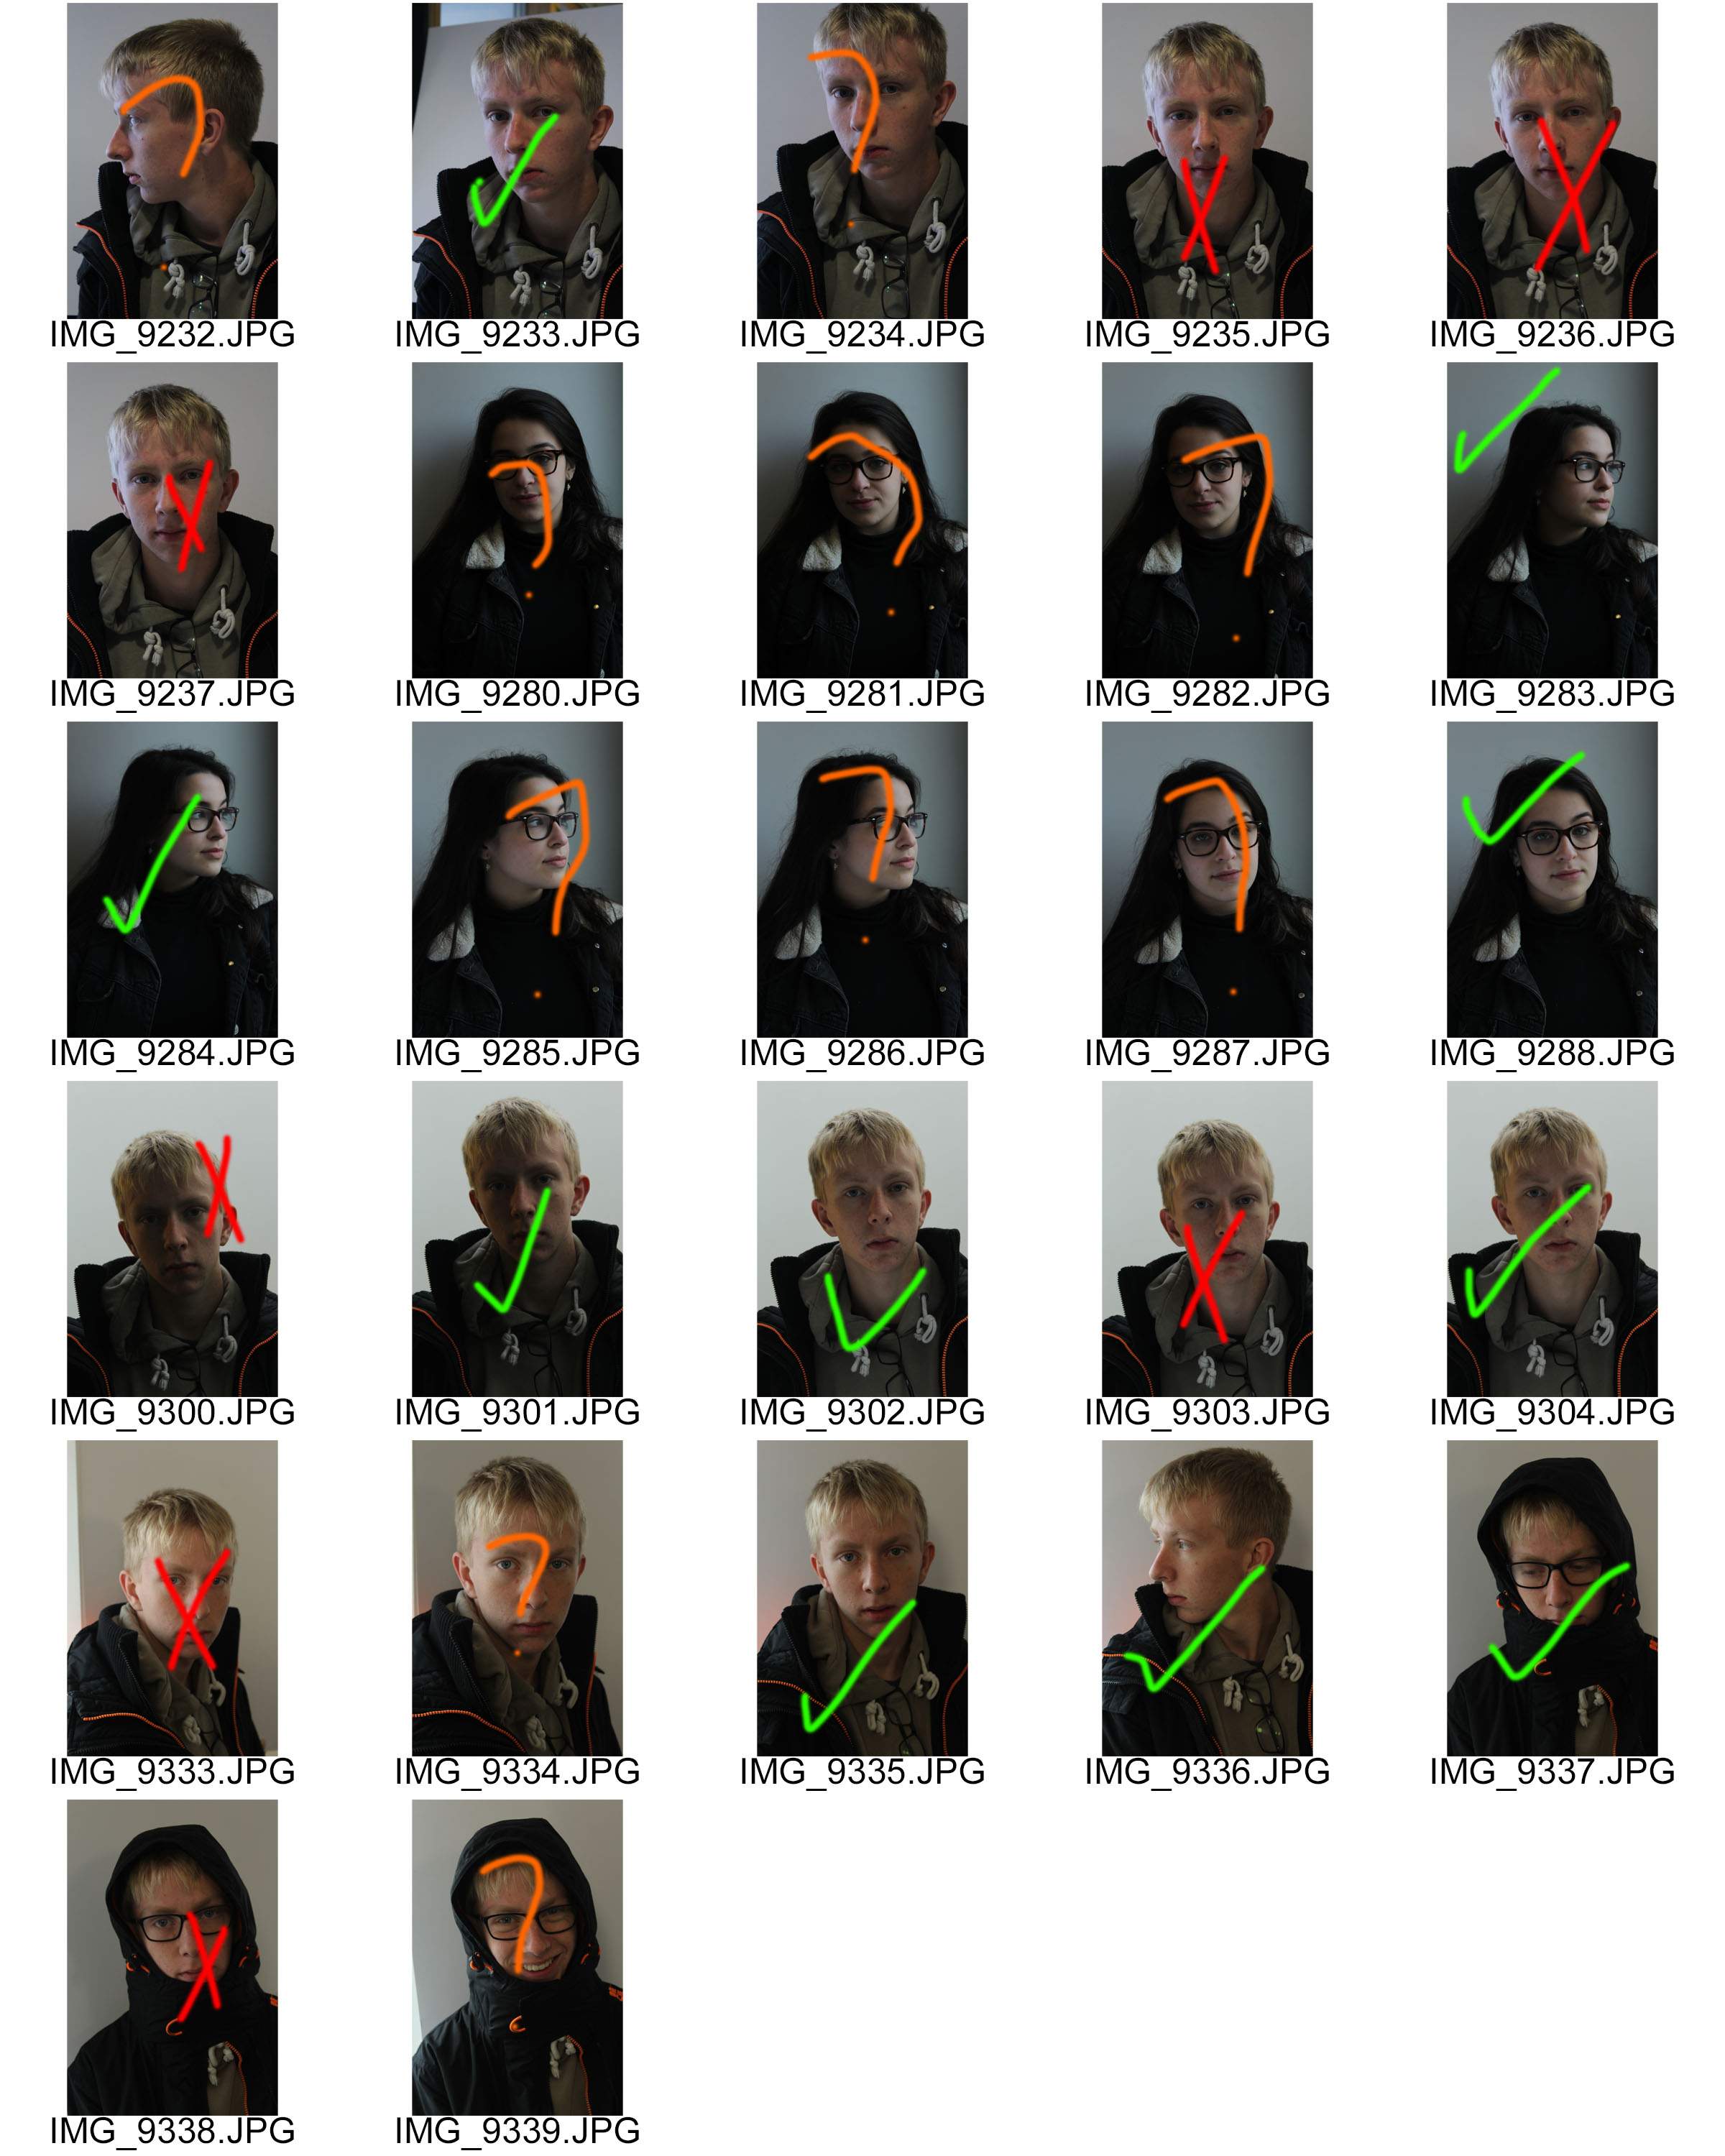
experimenting with window lighting:
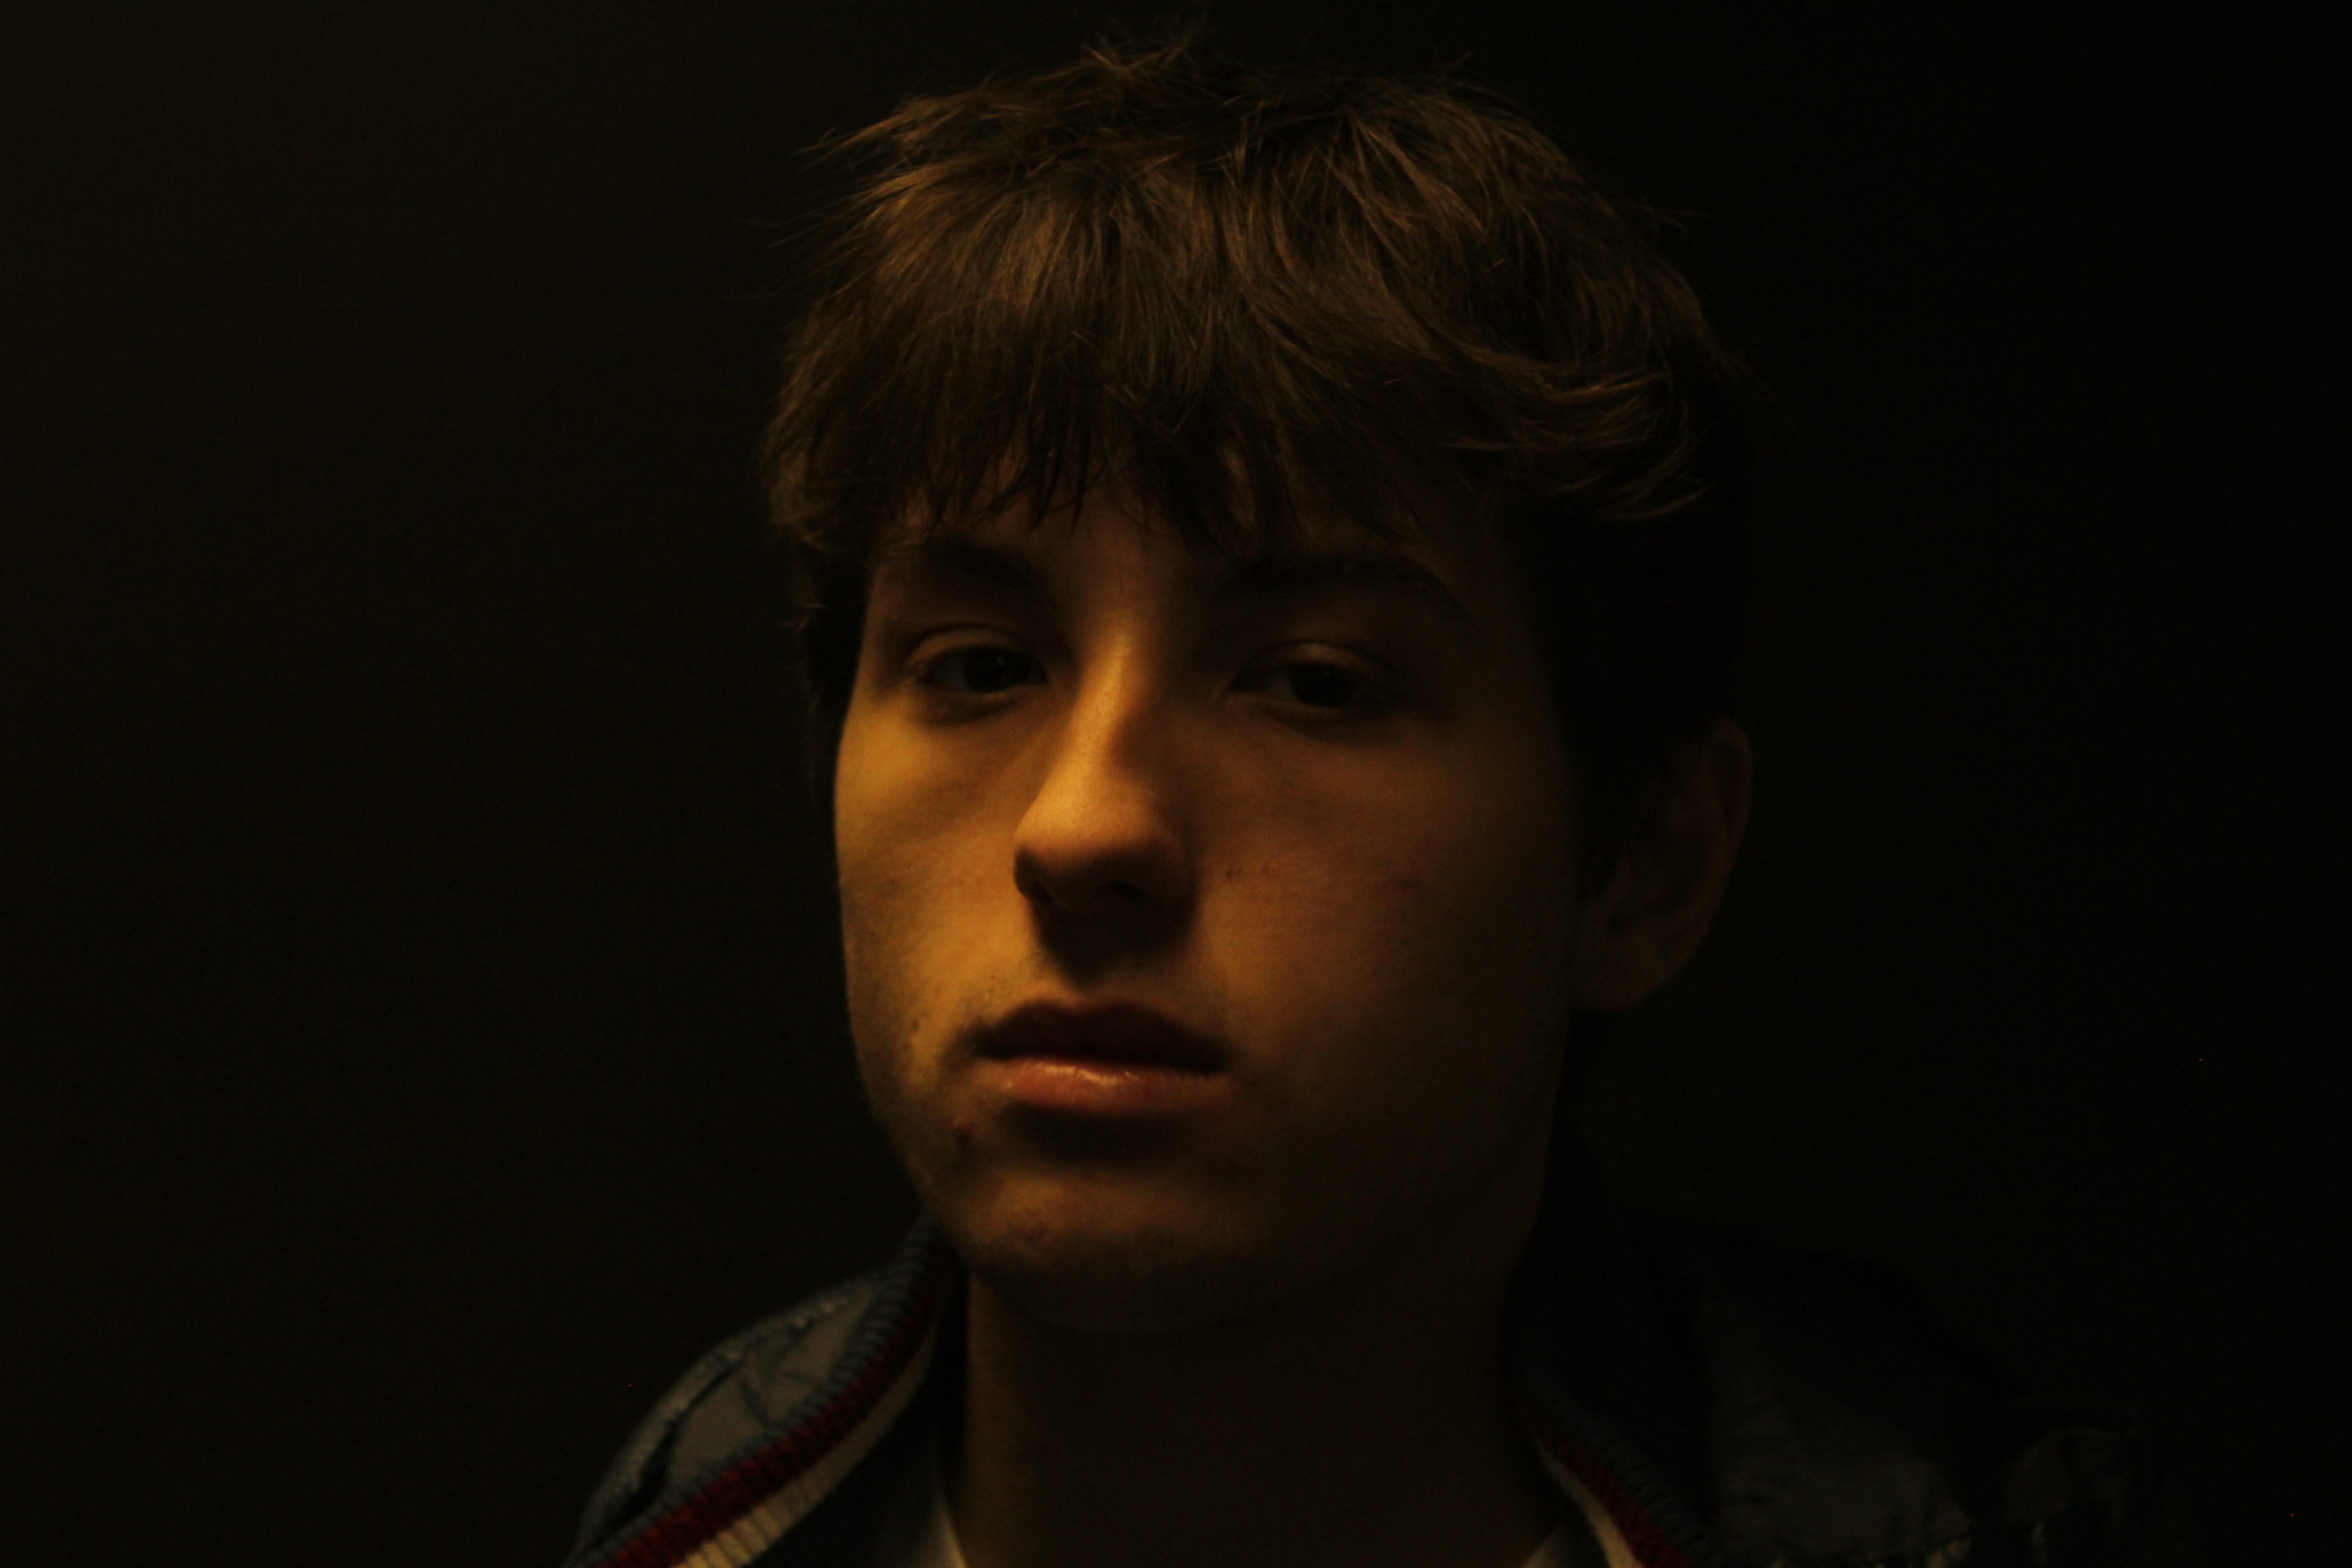
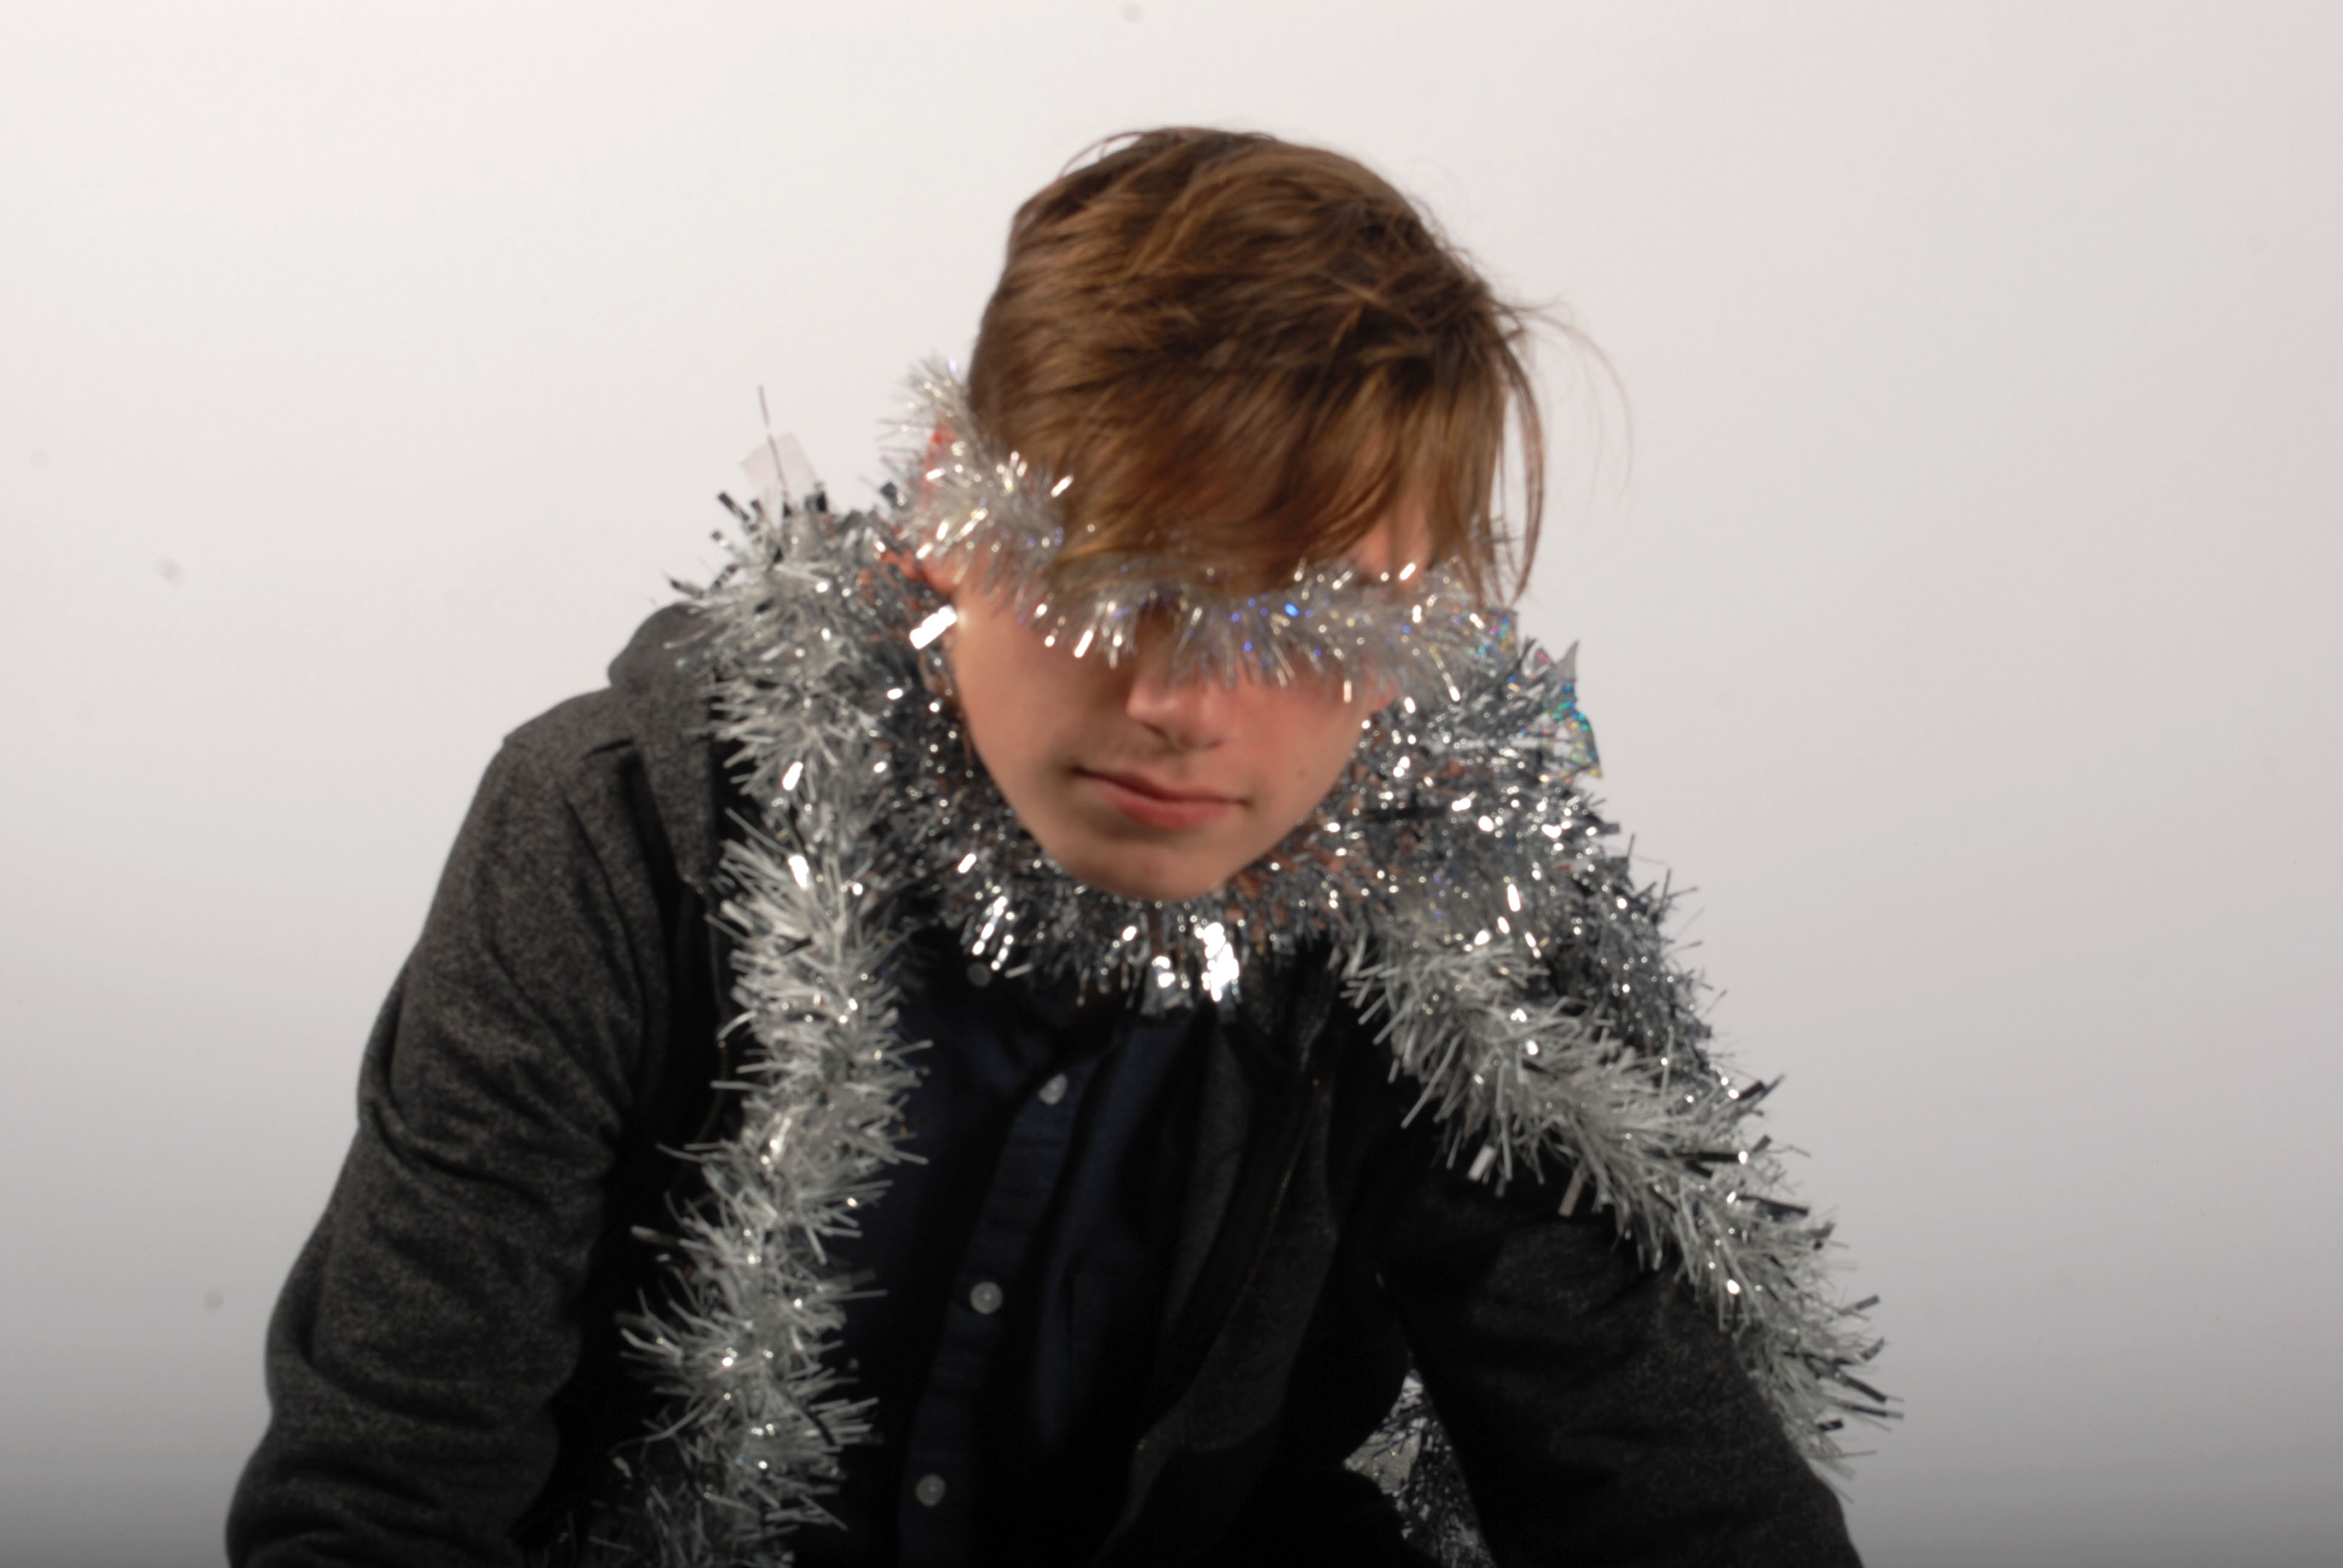
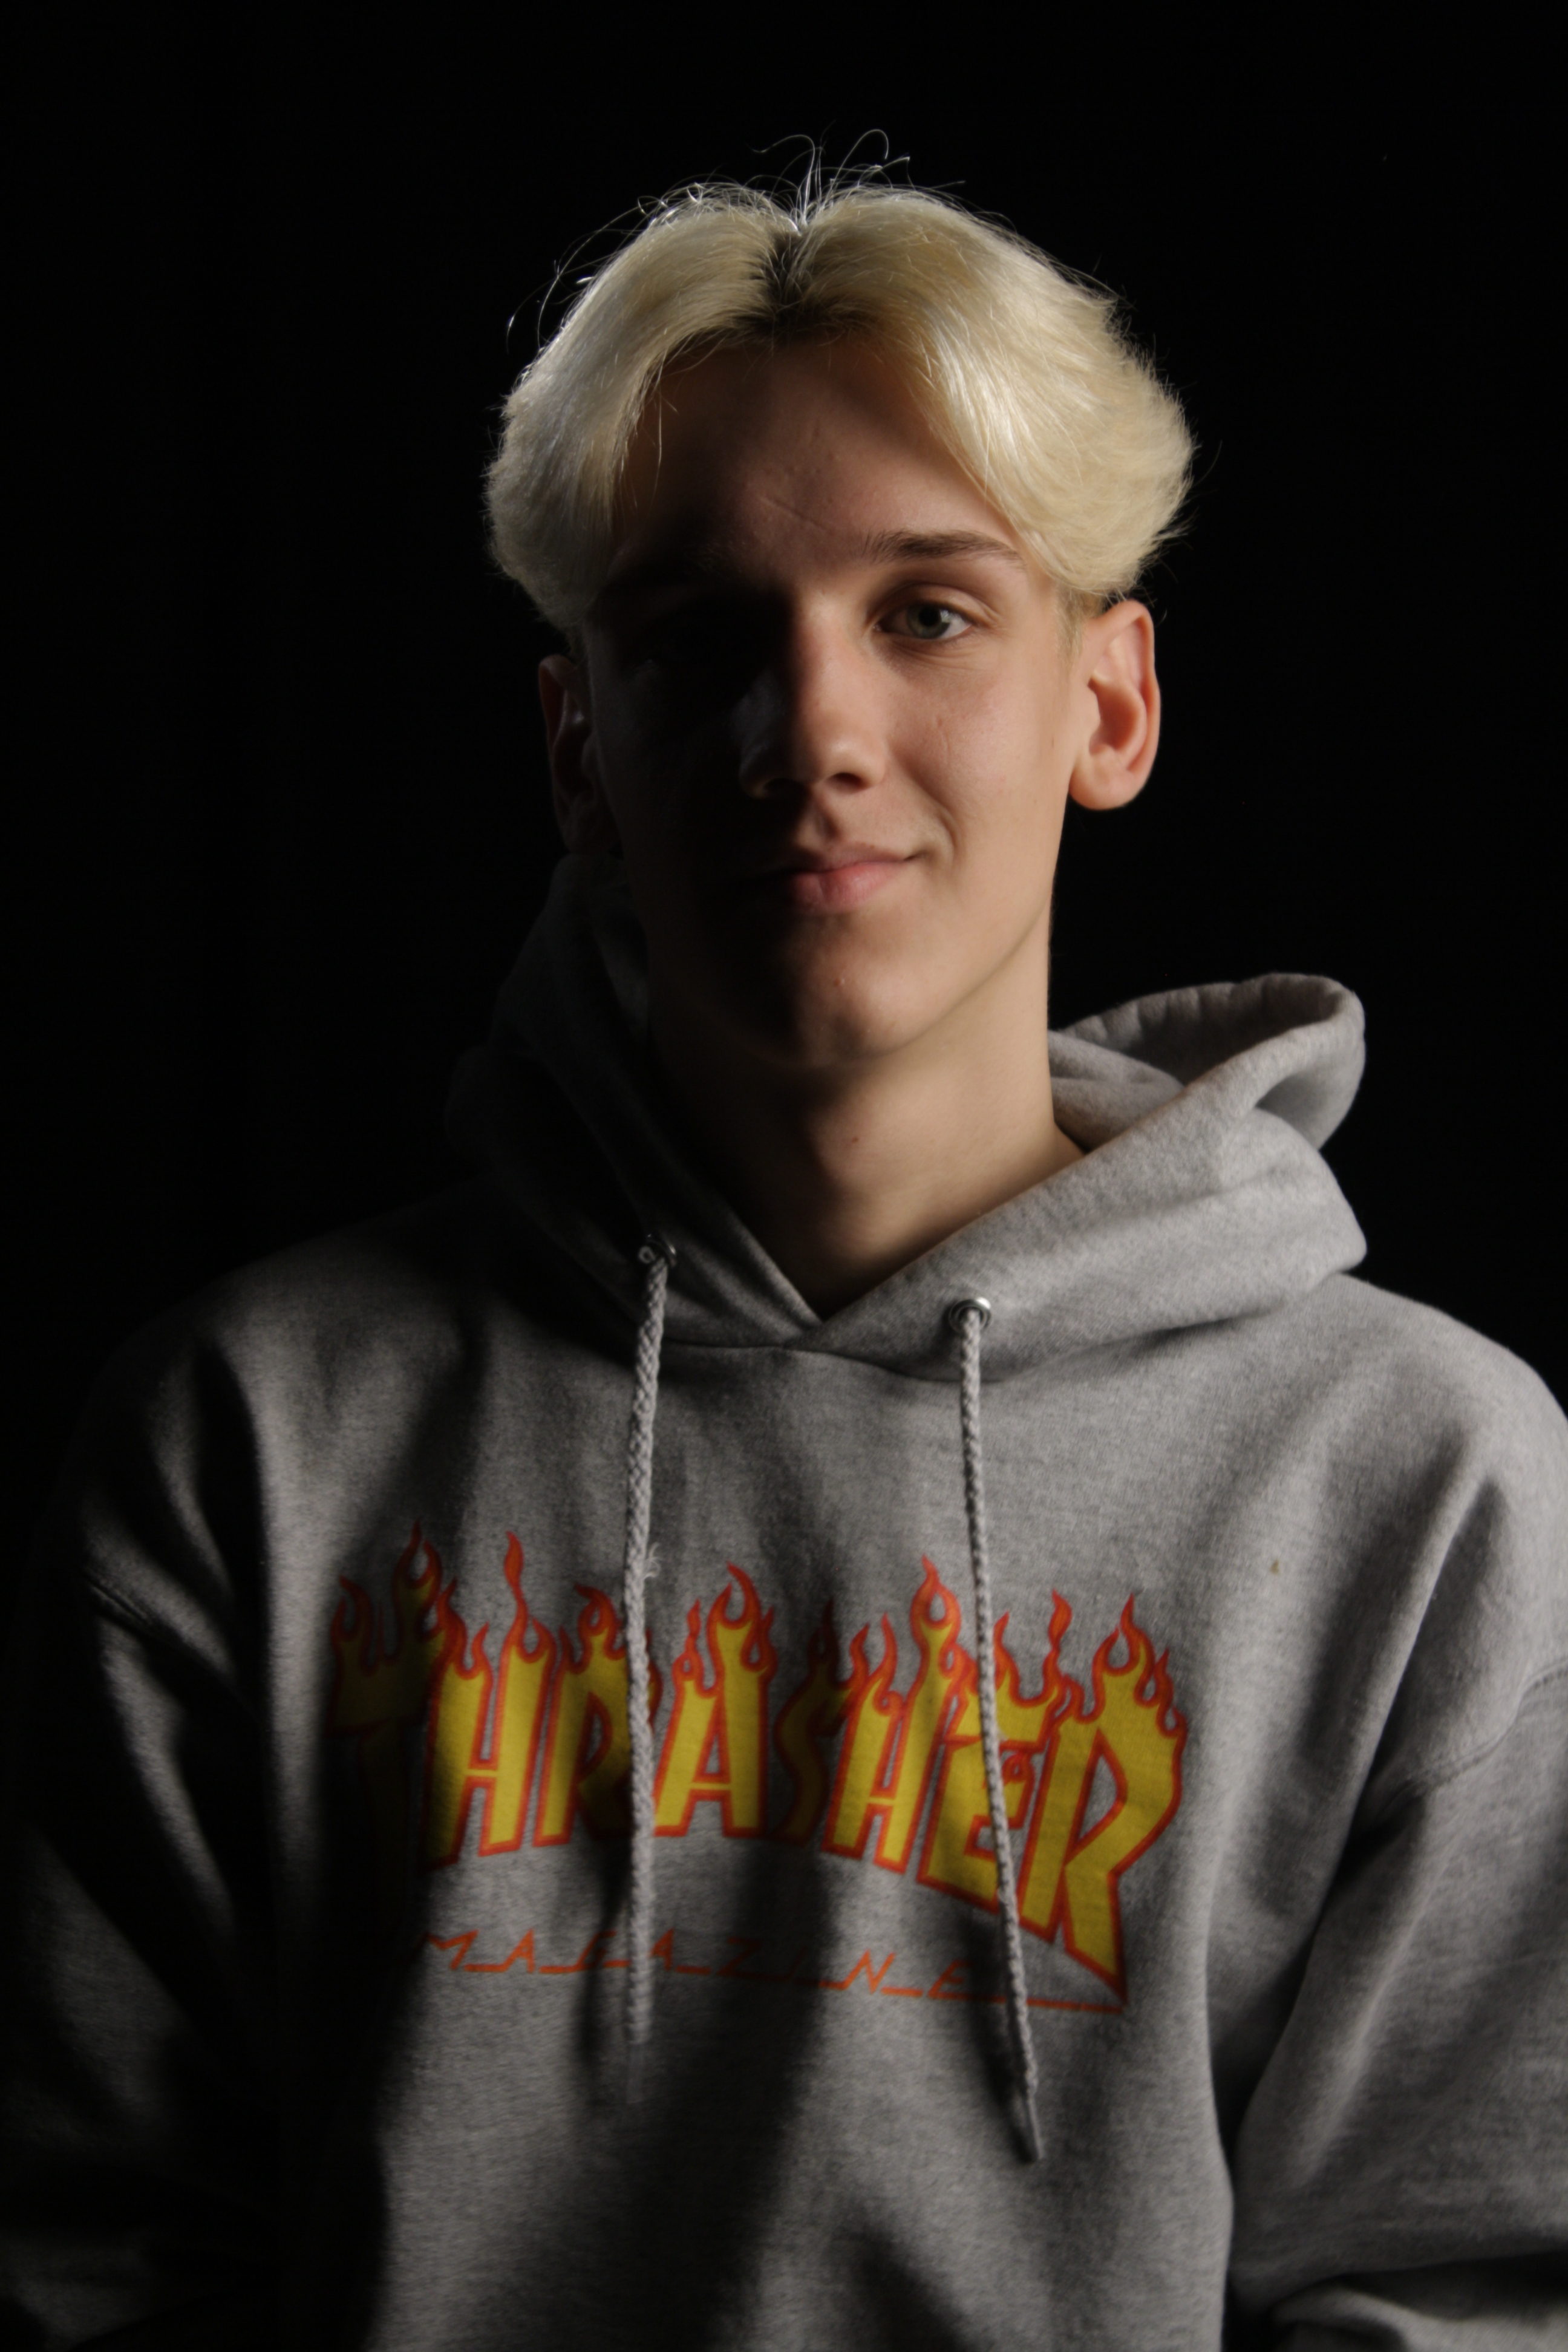
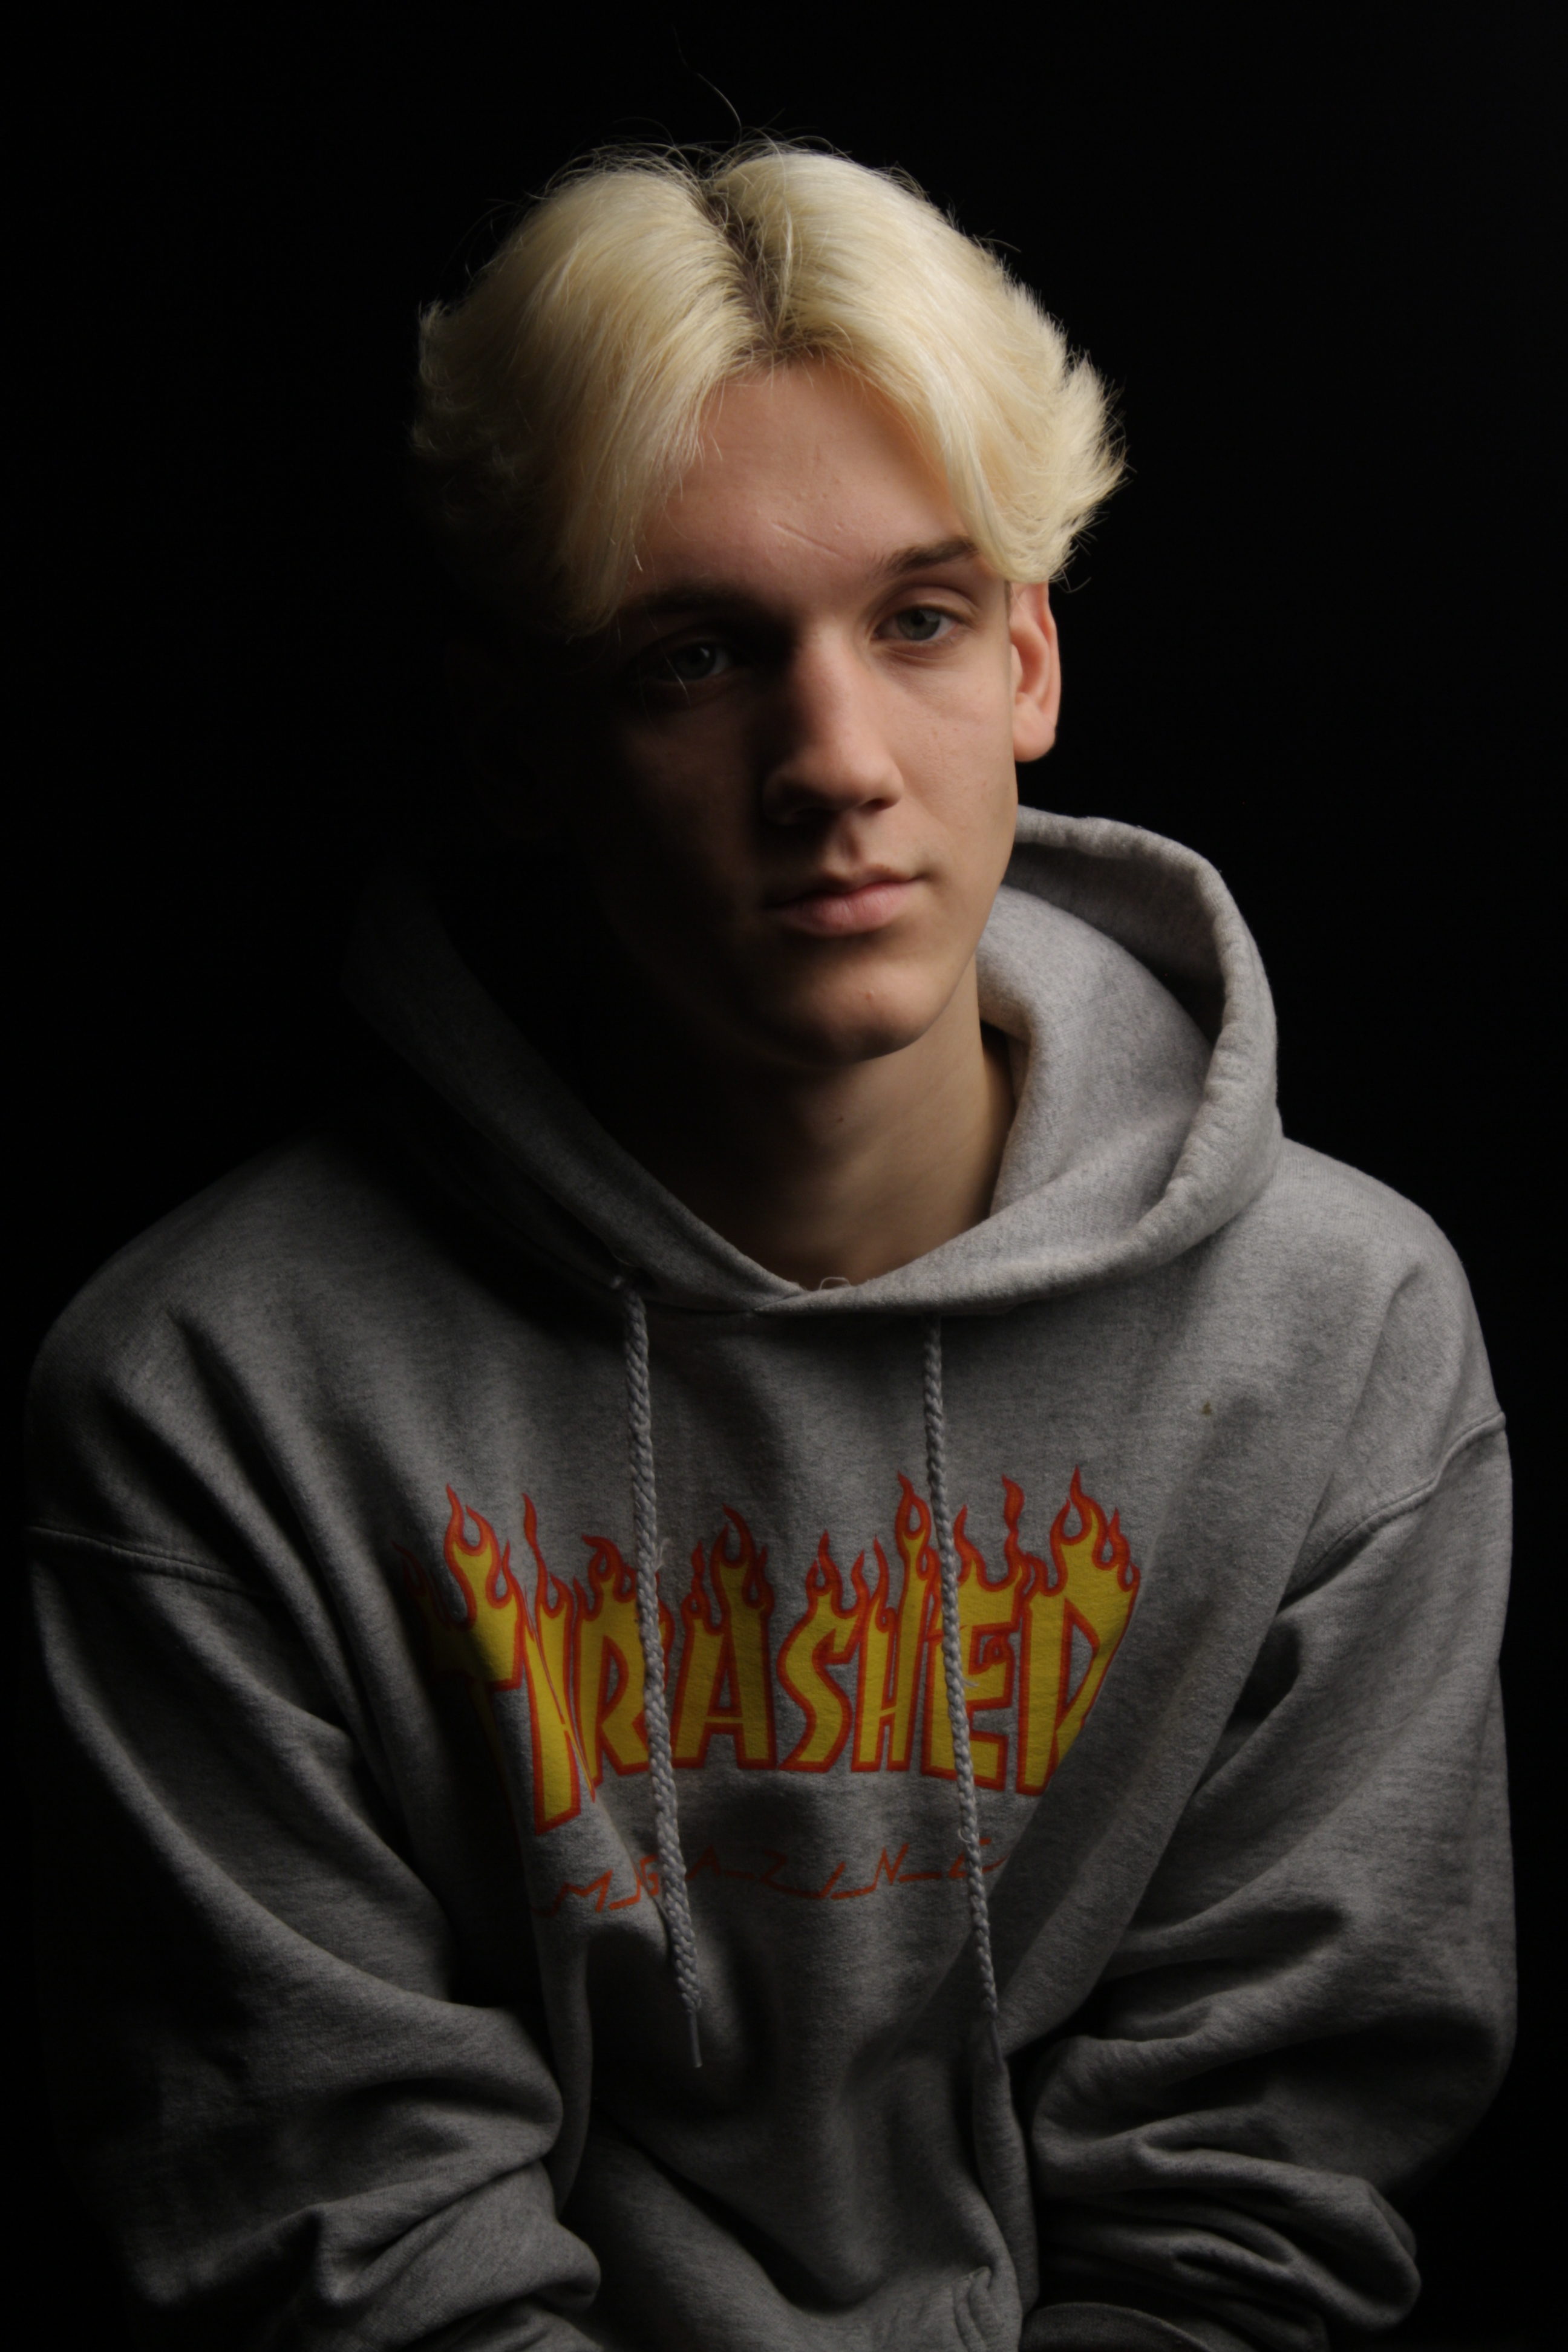
in this portrait the iso was on 400, it was taken under an artificial yellow light with a black card behind the person in the portrait. The shooting settings was on manual like the focus settings. the person in the portrait was not positions in the center he was a bit to the right of the light so that half of his face is in shadow and the other half is lighten.
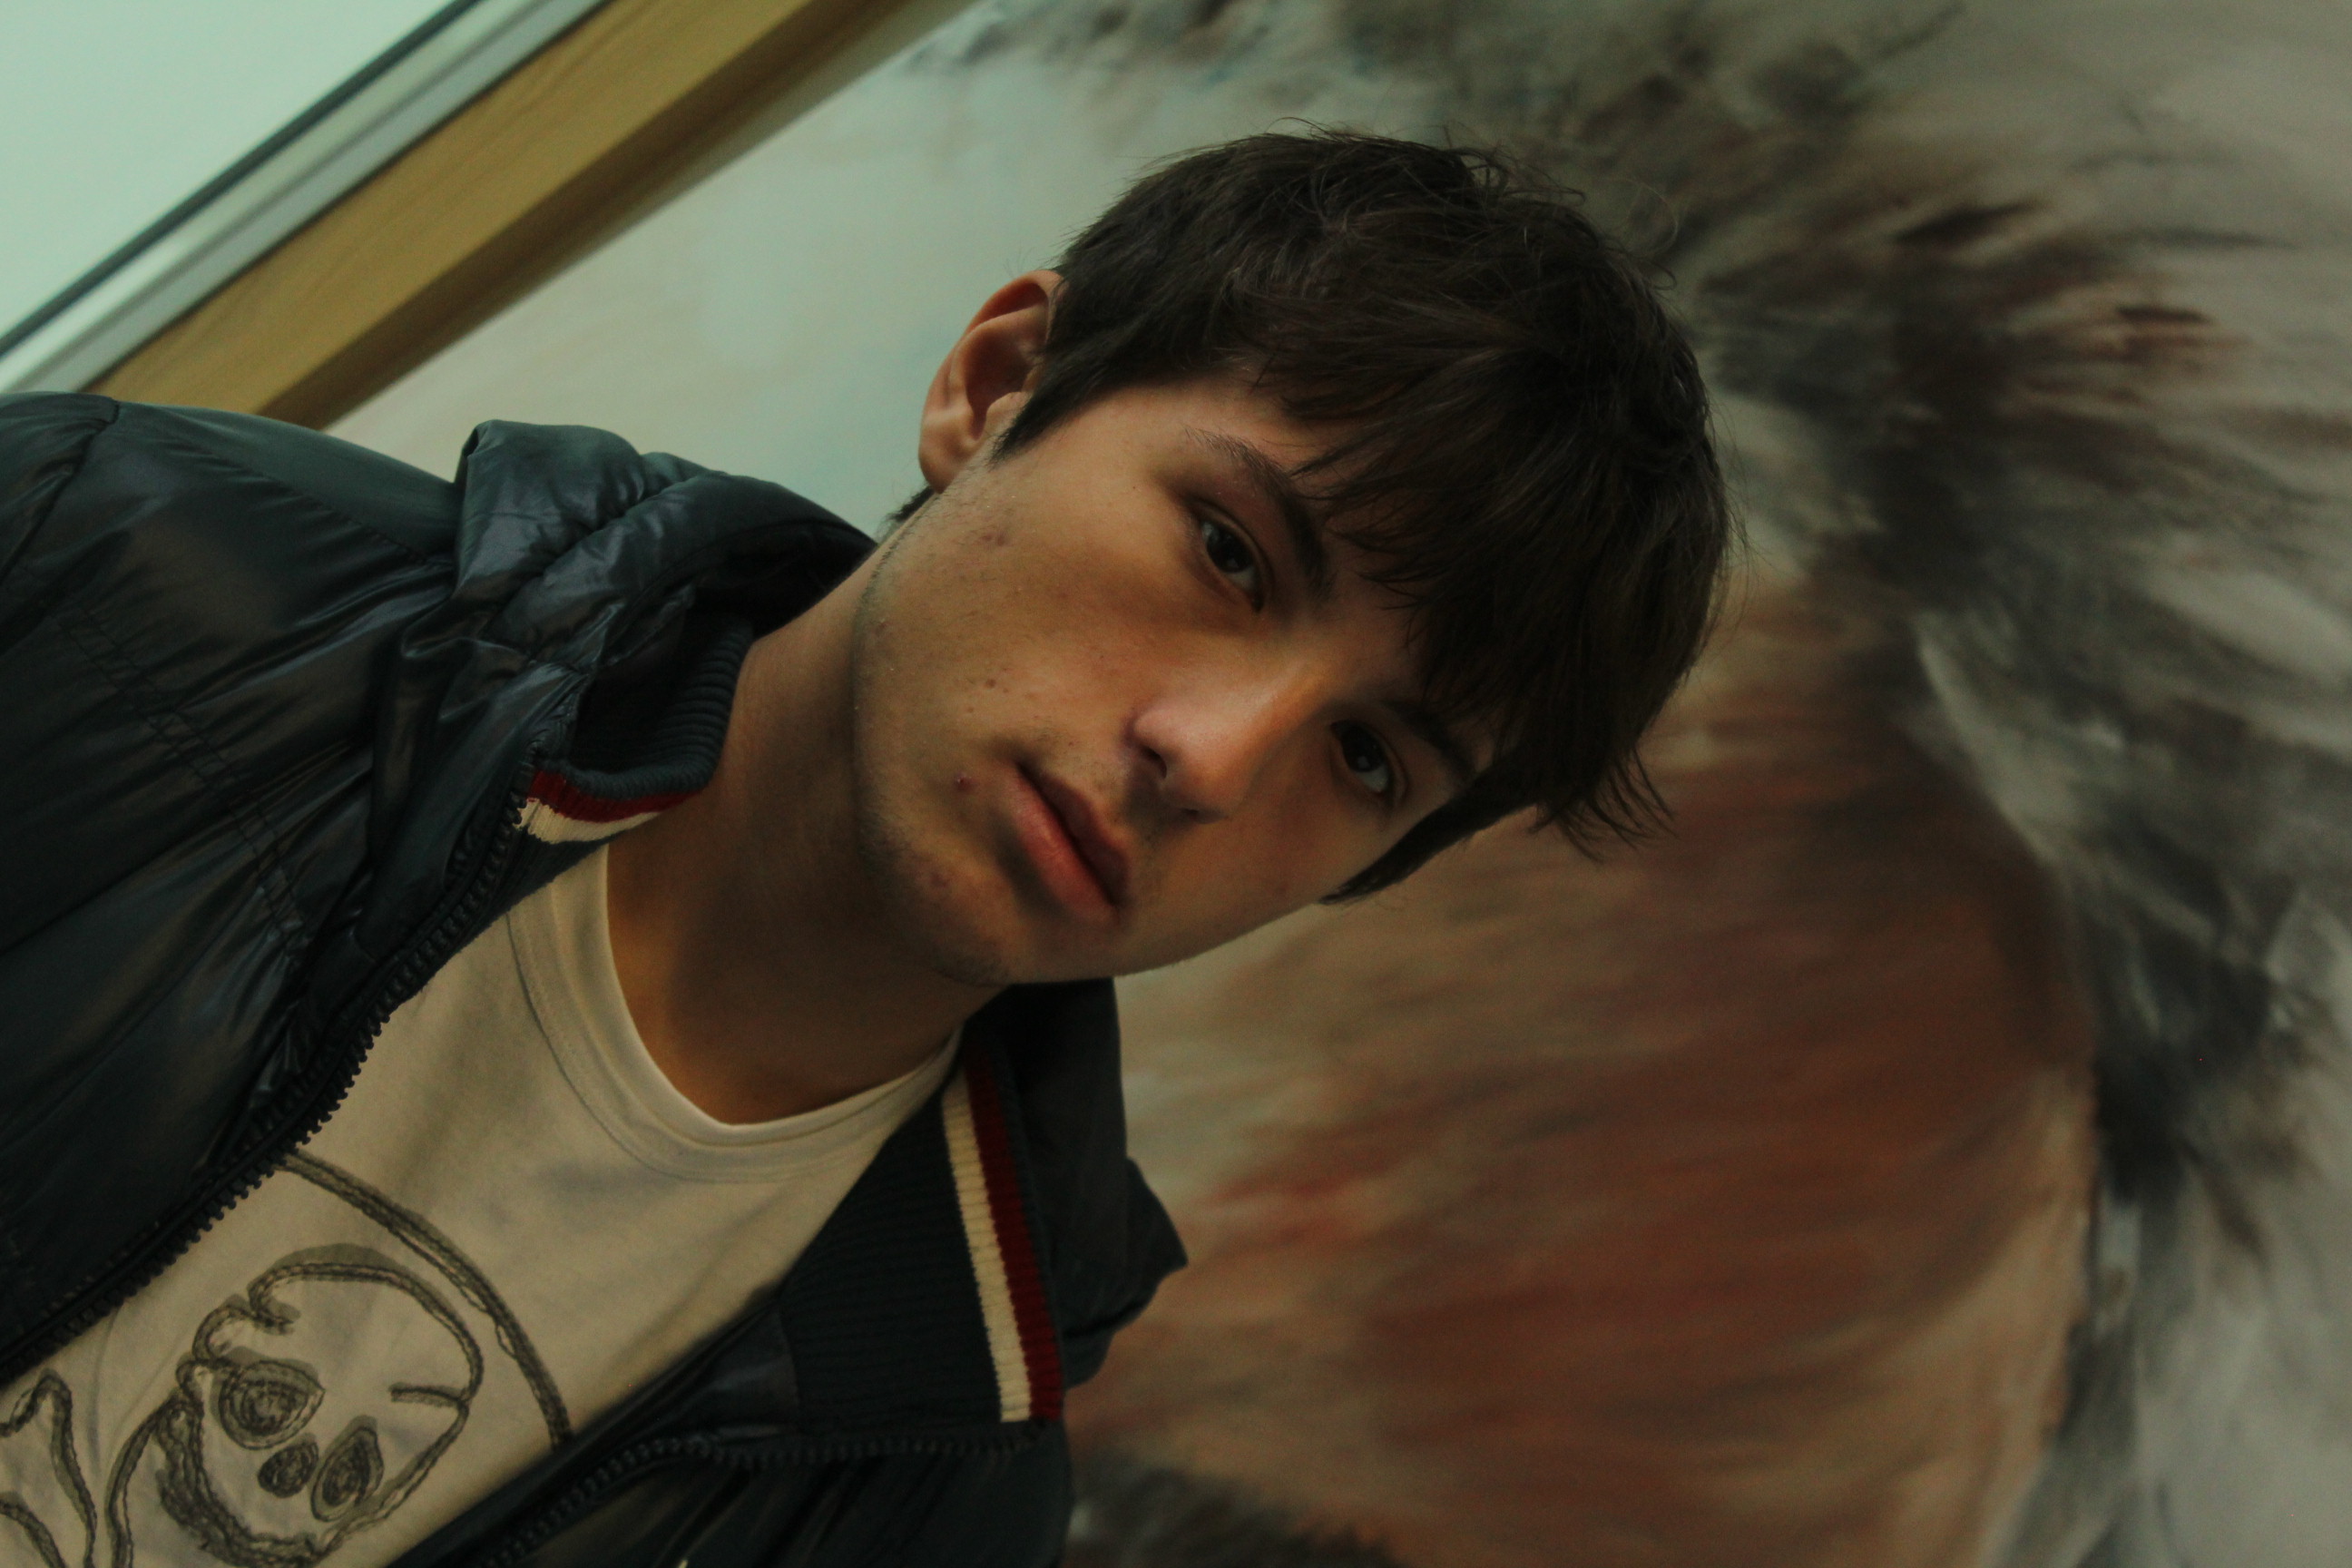
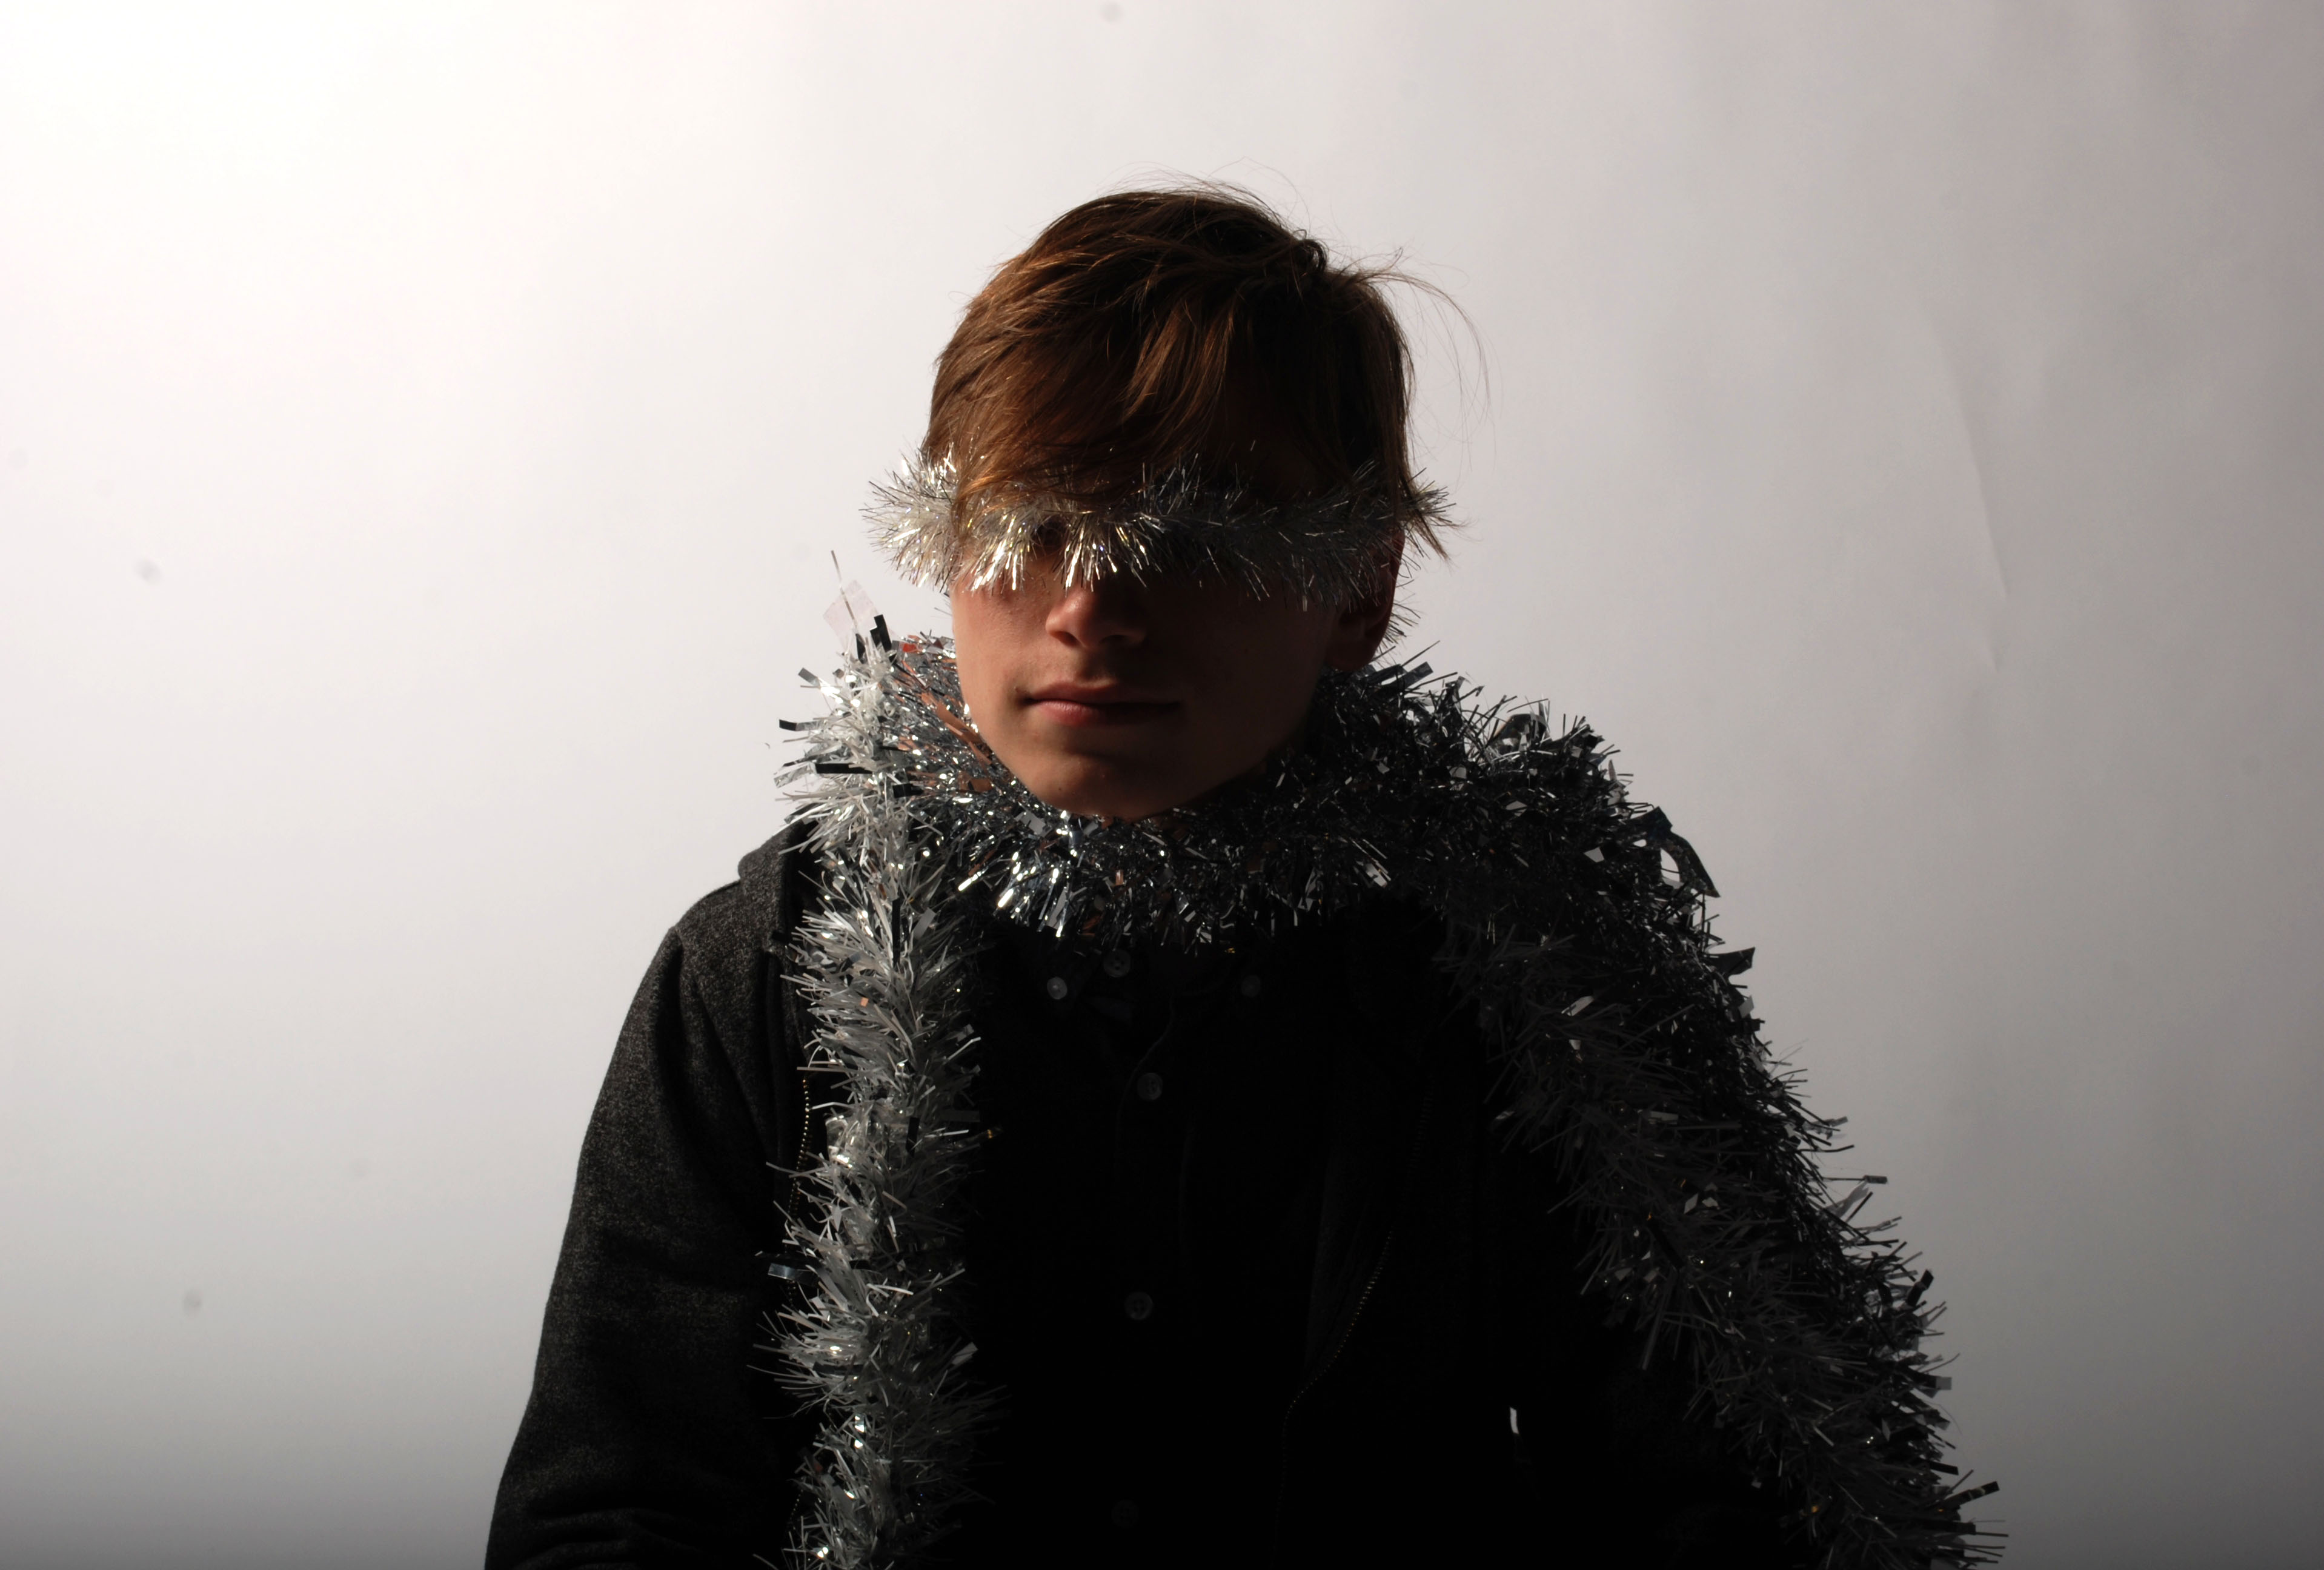
in this photo it was on high shutter speed, and was focused using manual focus. the photo was taken at a 45 degree angle to create movement in the portrait. the background was chosen on purpose, its an abstract painting that was made by one of the art students, it creates a lot of color in the background. the light was natural coming the window on the left of the photo but it was distributed and soft because the sunlight went through the clouds which diffused the light. but as you can see there is still some light on the right of the photo, that light was created using a light reflector board that was positioned from the bottom by the other student to reflect some of the window on the right side of the face.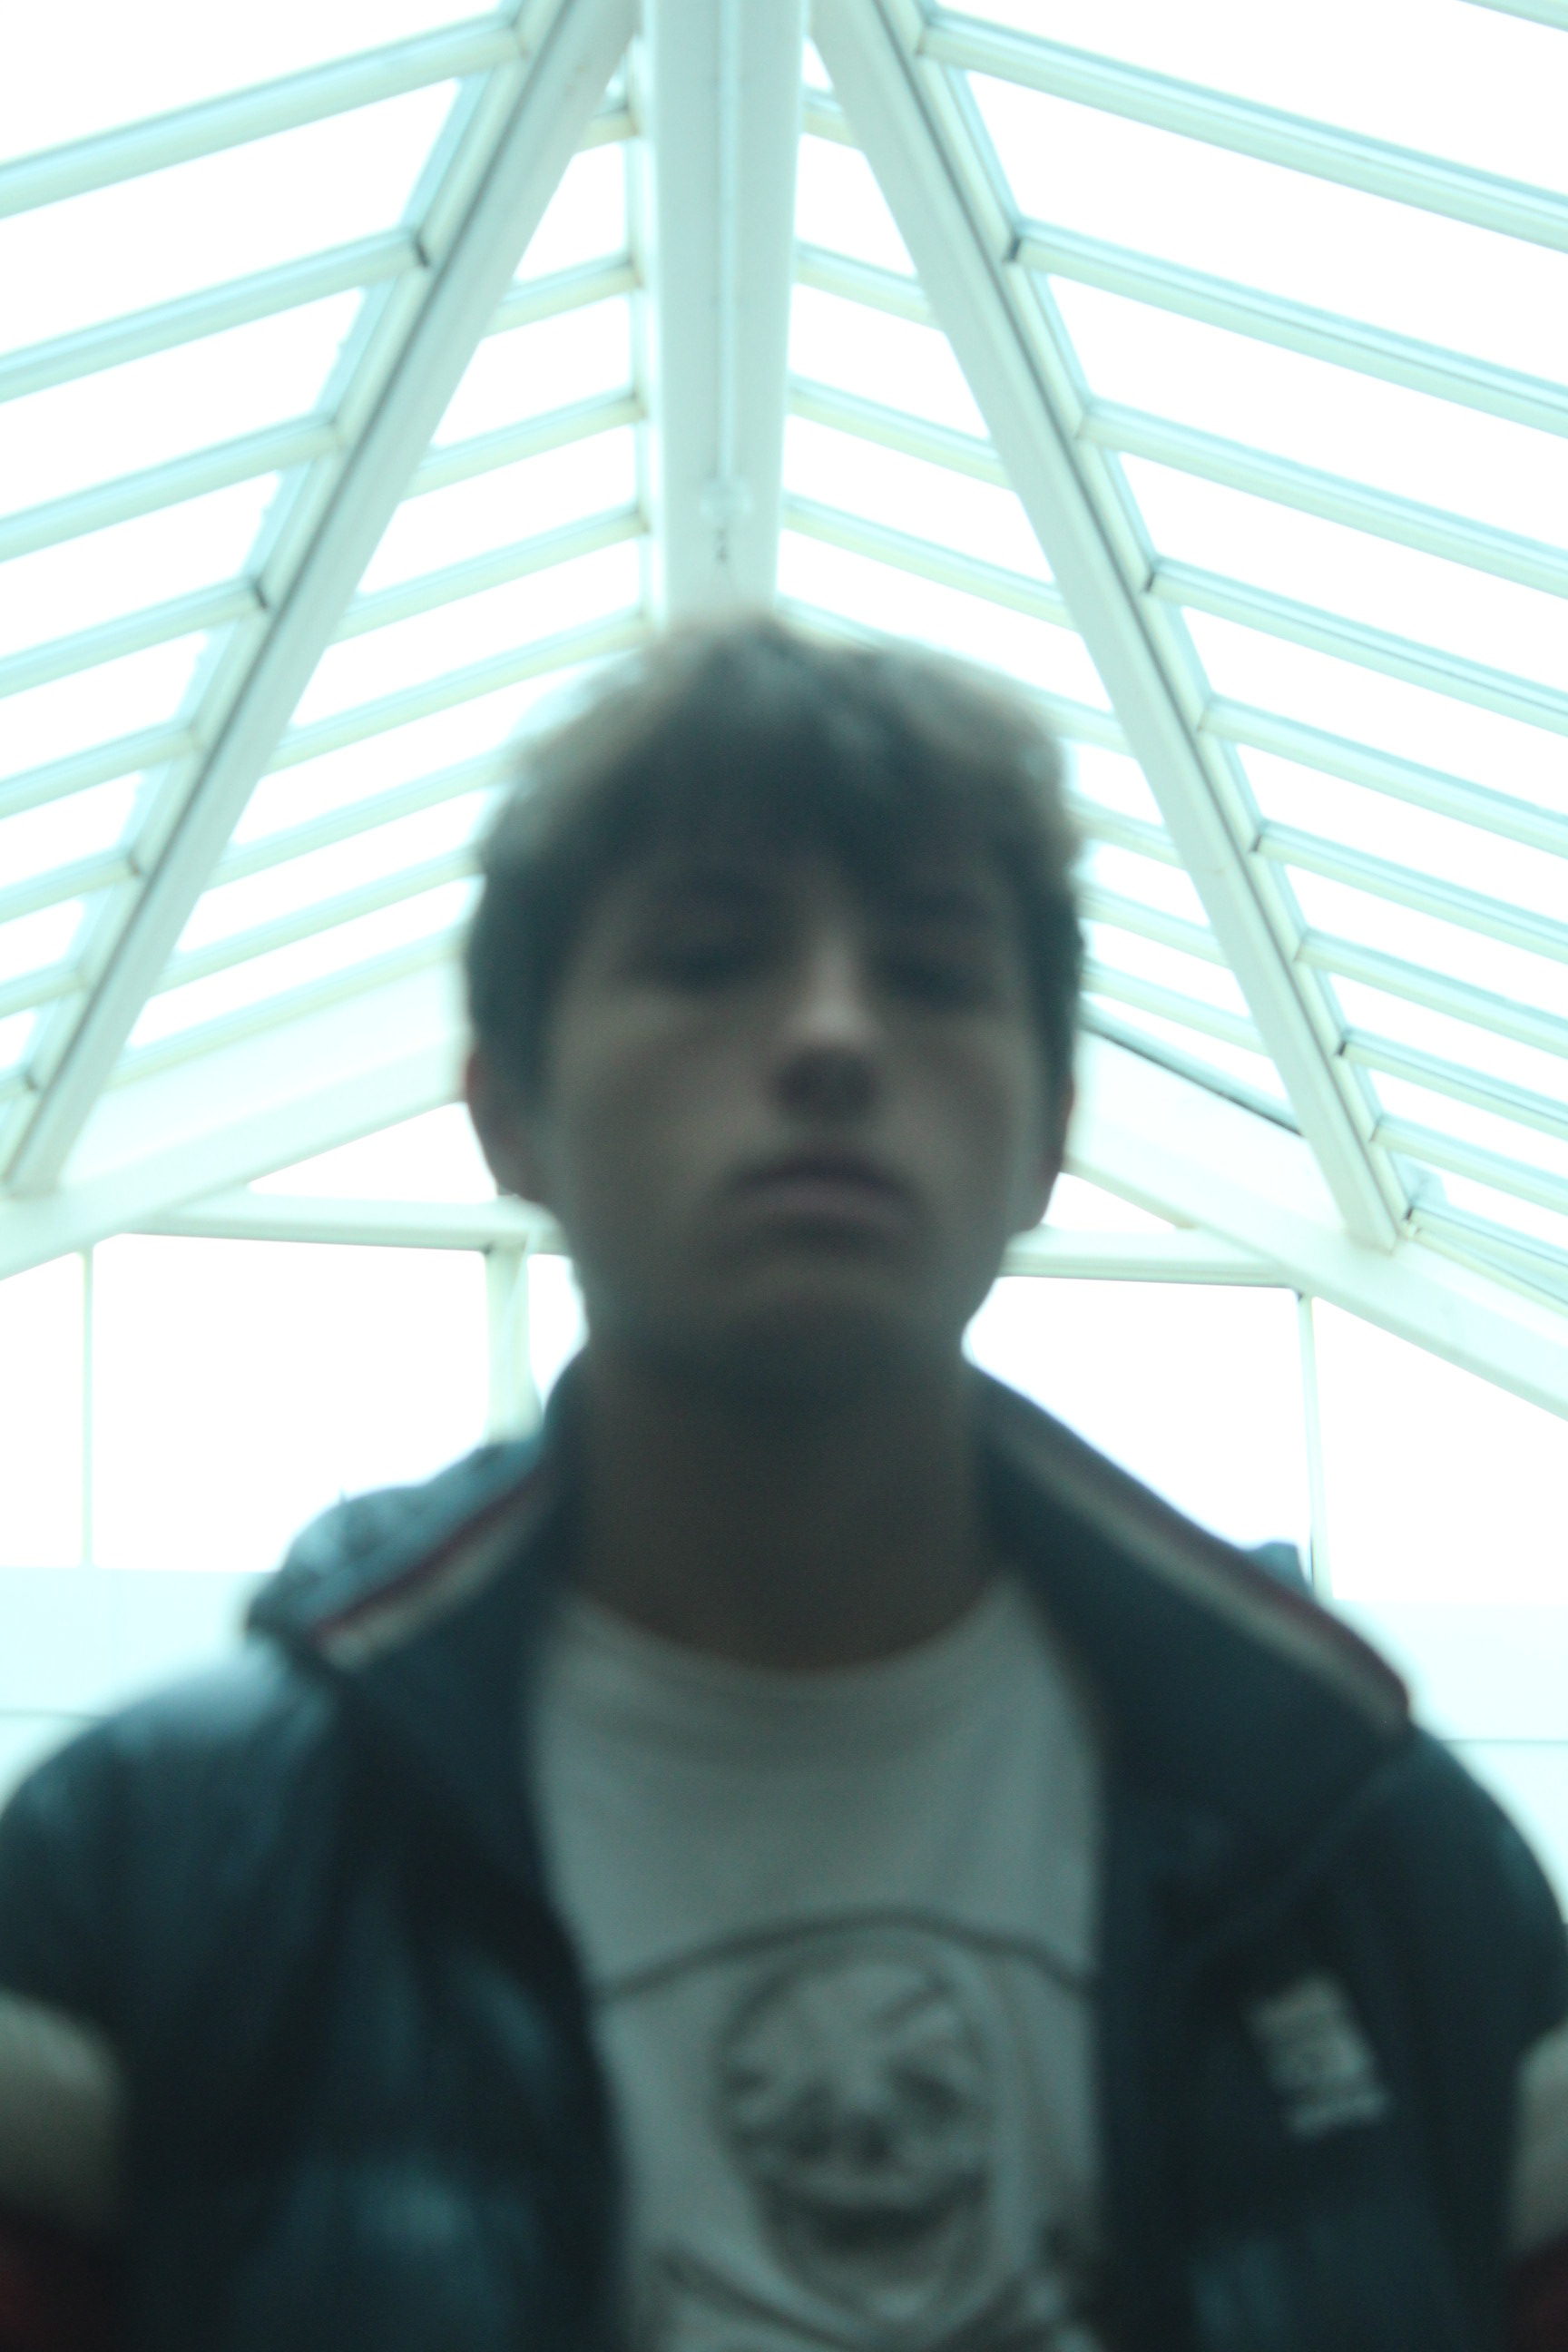
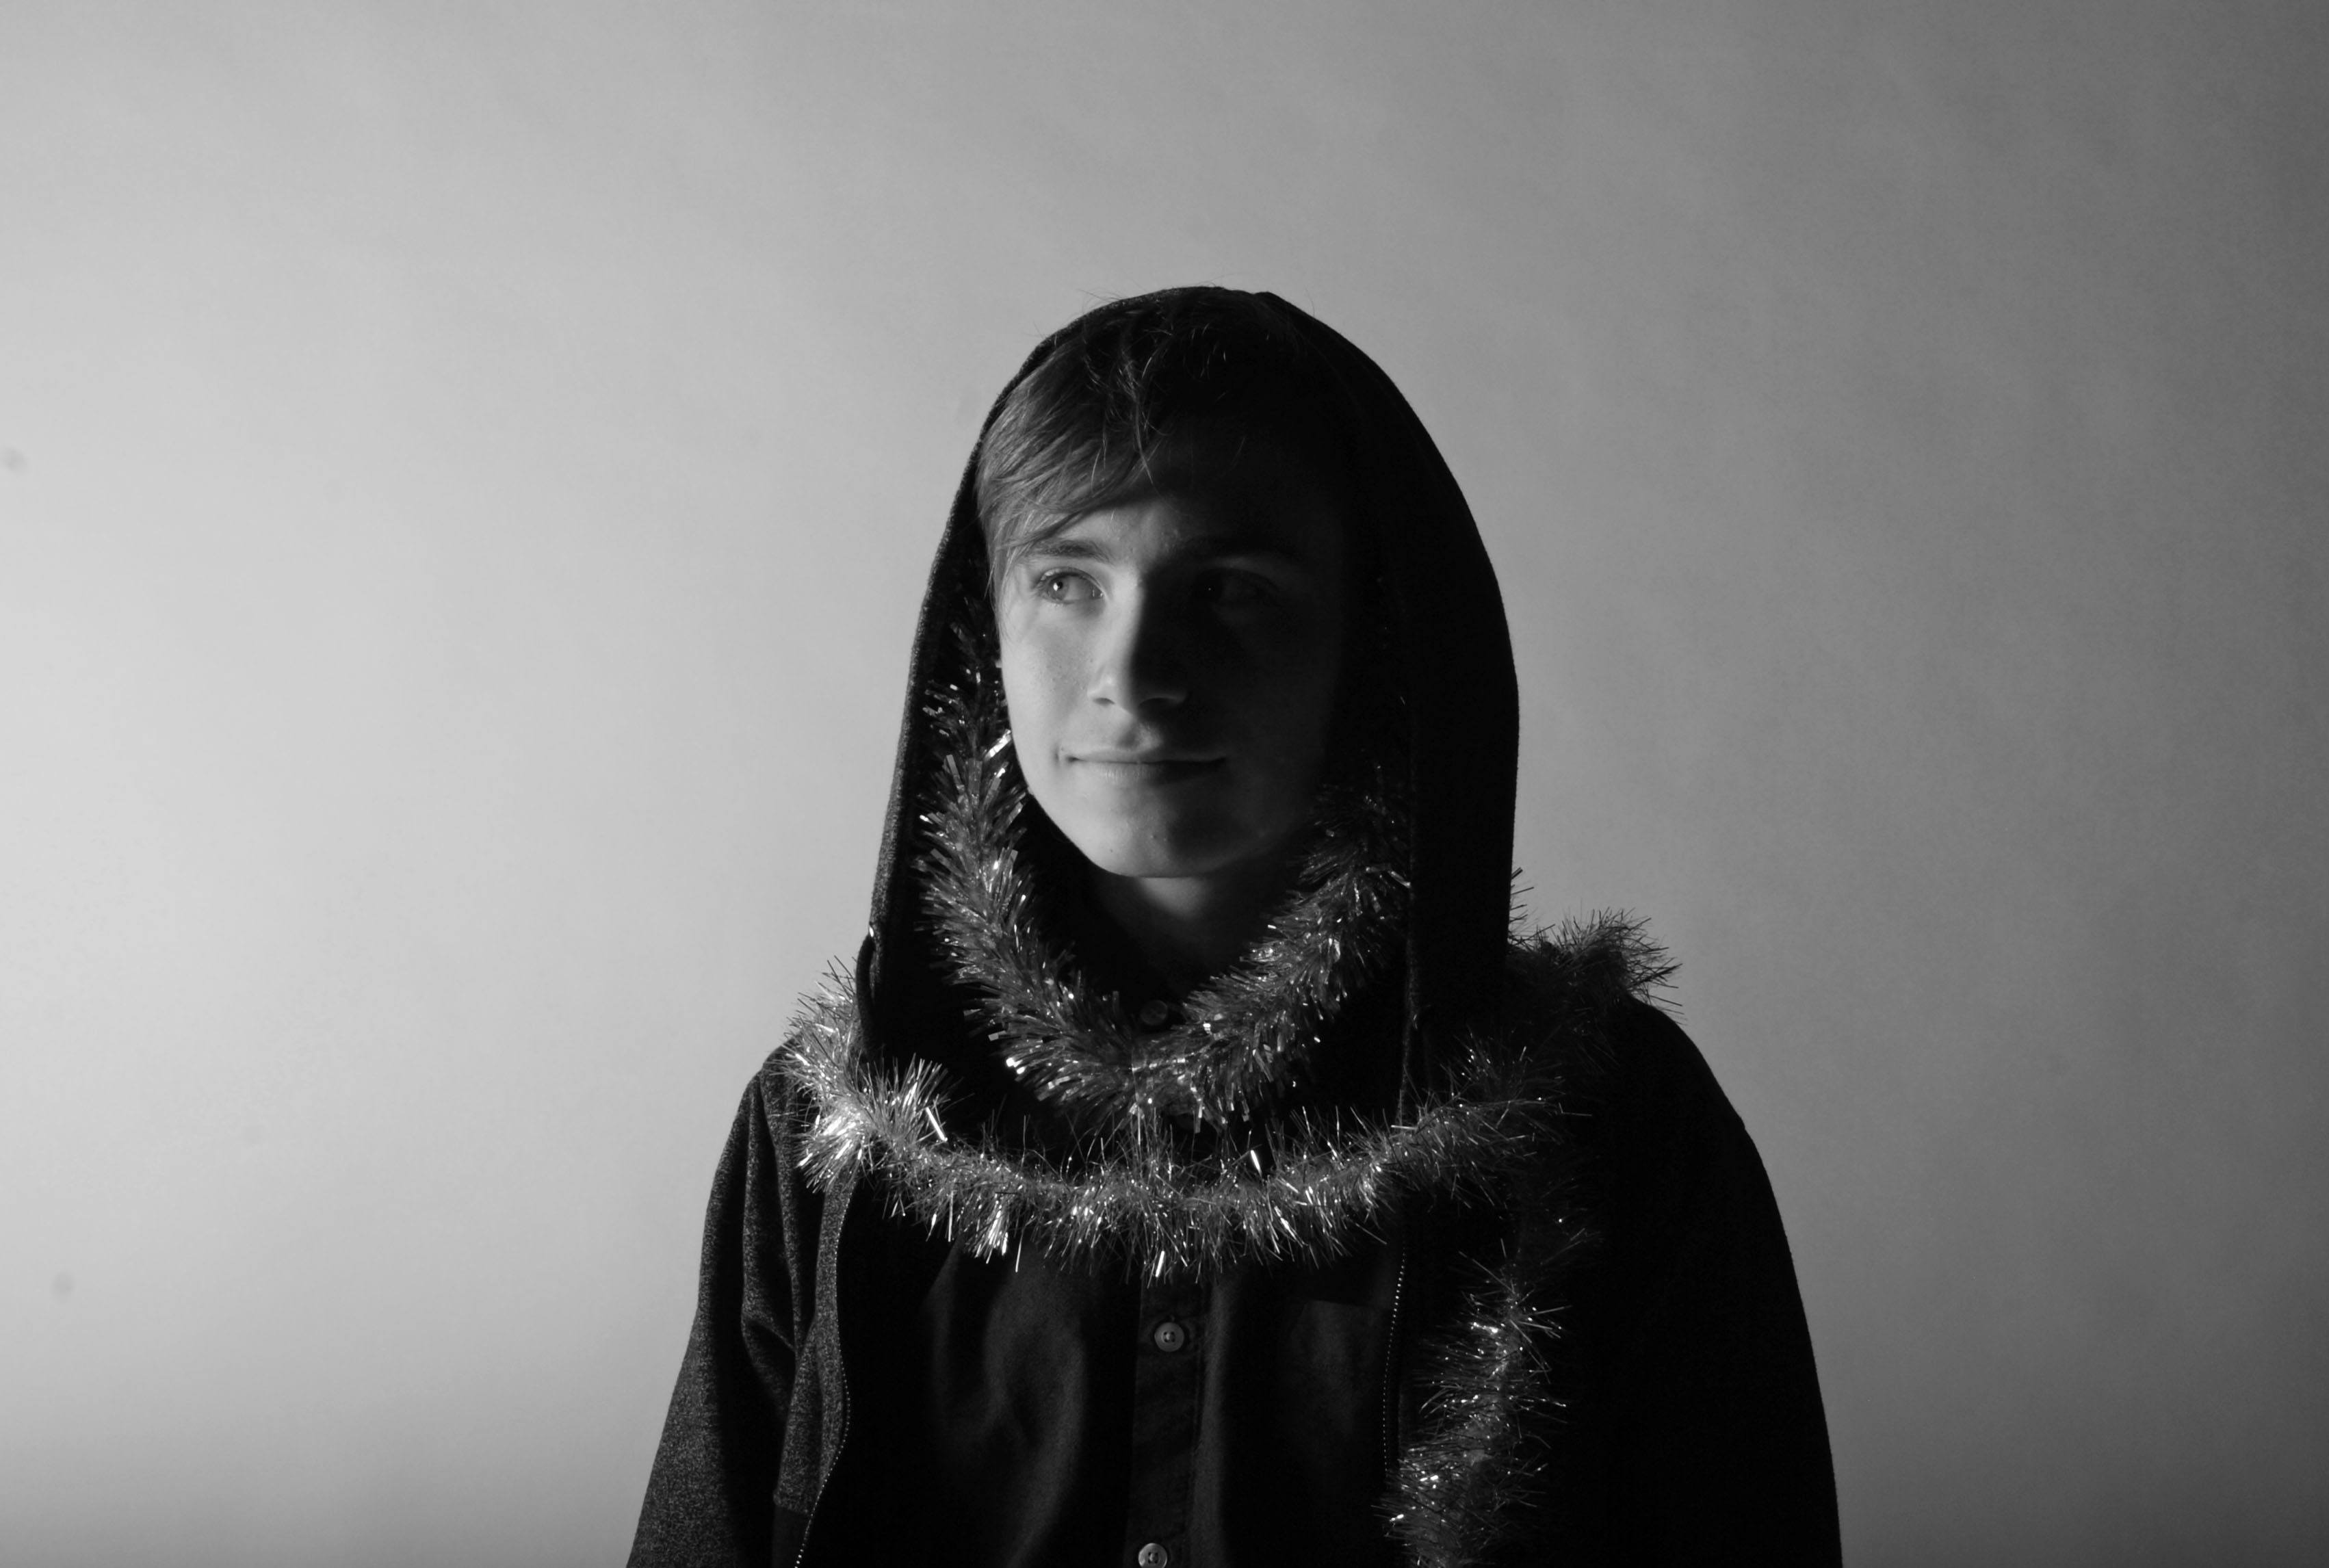
this portrait was taken from the bottom looking upwardish on the face. it was taken using low shutter speed and manual focus that made the photo not focused to create texture in the portrait. the light was coming from ceiling windows on top of the school, the windows are actually the background of the portrait. and light on the front of the face was created by reflecting the background light through reflectors positioned under the camera.
in conclusion all portraits that are made with window lighting have a special affect on them. and a lot can be experimented using window lighting (direct sunlight, diffused sunlight, using reflectors….) and not all portraits have to be focused. and last but not least you have to always have your person in the portrait have direct eye contact with the cameras lens.
Studio Portraits and Lighting Techniques
Why do we use studio lighting? – I think we use studio lighting because the lighting can create different effects and make the photo look different and unique.
What is the difference between 1-2-3 point lighting and what does each technique provide / solve? – One is the key light, two is the fill light and three is the back light. The key light provides the technique of Chiaroscuro, adding the back light dims the effect of Chiaroscuro and then adding the fill light removes all shadows.
Example: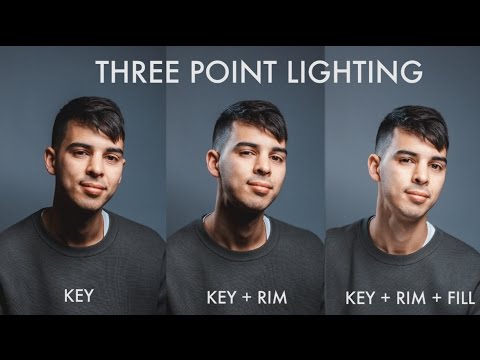
What is fill lighting? – Fill light is used to reduce the contrast of a scene to match the dynamic range of the recording media and record the same amount of detail typically seen by eye in average lighting and considered normal.
What is spill lighting? – Spill light is the light that illuminates surfaces beyond the area intended to be illuminated.
What is Chiaroscuro ? Show examples + your own experiments – Chiaroscuro, in art, is the use of strong contrasts between light and dark, usually bold contrasts affecting a whole composition. It is also a technical term used by artists and art historians for the use of contrasts of light to achieve a sense of volume in modelling three-dimensional objects and figures.
My example: 
Natural Lighting:
- intensity of the light – Intensity is the brightness level of light and it brightens up your subject. For both natural light and studio light, you can modify the light source to change the intensity.
- direction of the light – The placement and width of shadows in a photograph is created by the angle between the camera and the light source. The width of the shadows increases as the direction of the light moves from the camera out to the side.
- temperature of the light and white balance – f the light in the image was Tungsten (3000K) or Daylight (5500K) they would post produce with a white balance of 2800K or 5300K respectively. Any temperature setting lower than the color temperature of the light in a scene, will yield a more blue or “cooler” image
- Using reflectors (silver / gold) – In flat lighting, a reflector can add interest or drama to the shot. Some photographers use reflectors as hair lights outdoors. Many reflectors have a black side that can be used to block out light instead of to reflect it. Reflectors are also great for bouncing a flash when there’s nothing around to bounce off of
For this project I took some models around school and posed them where there was a lot of light, so near a door or window. My white balance was on tungsten and I had quite a small aperture.
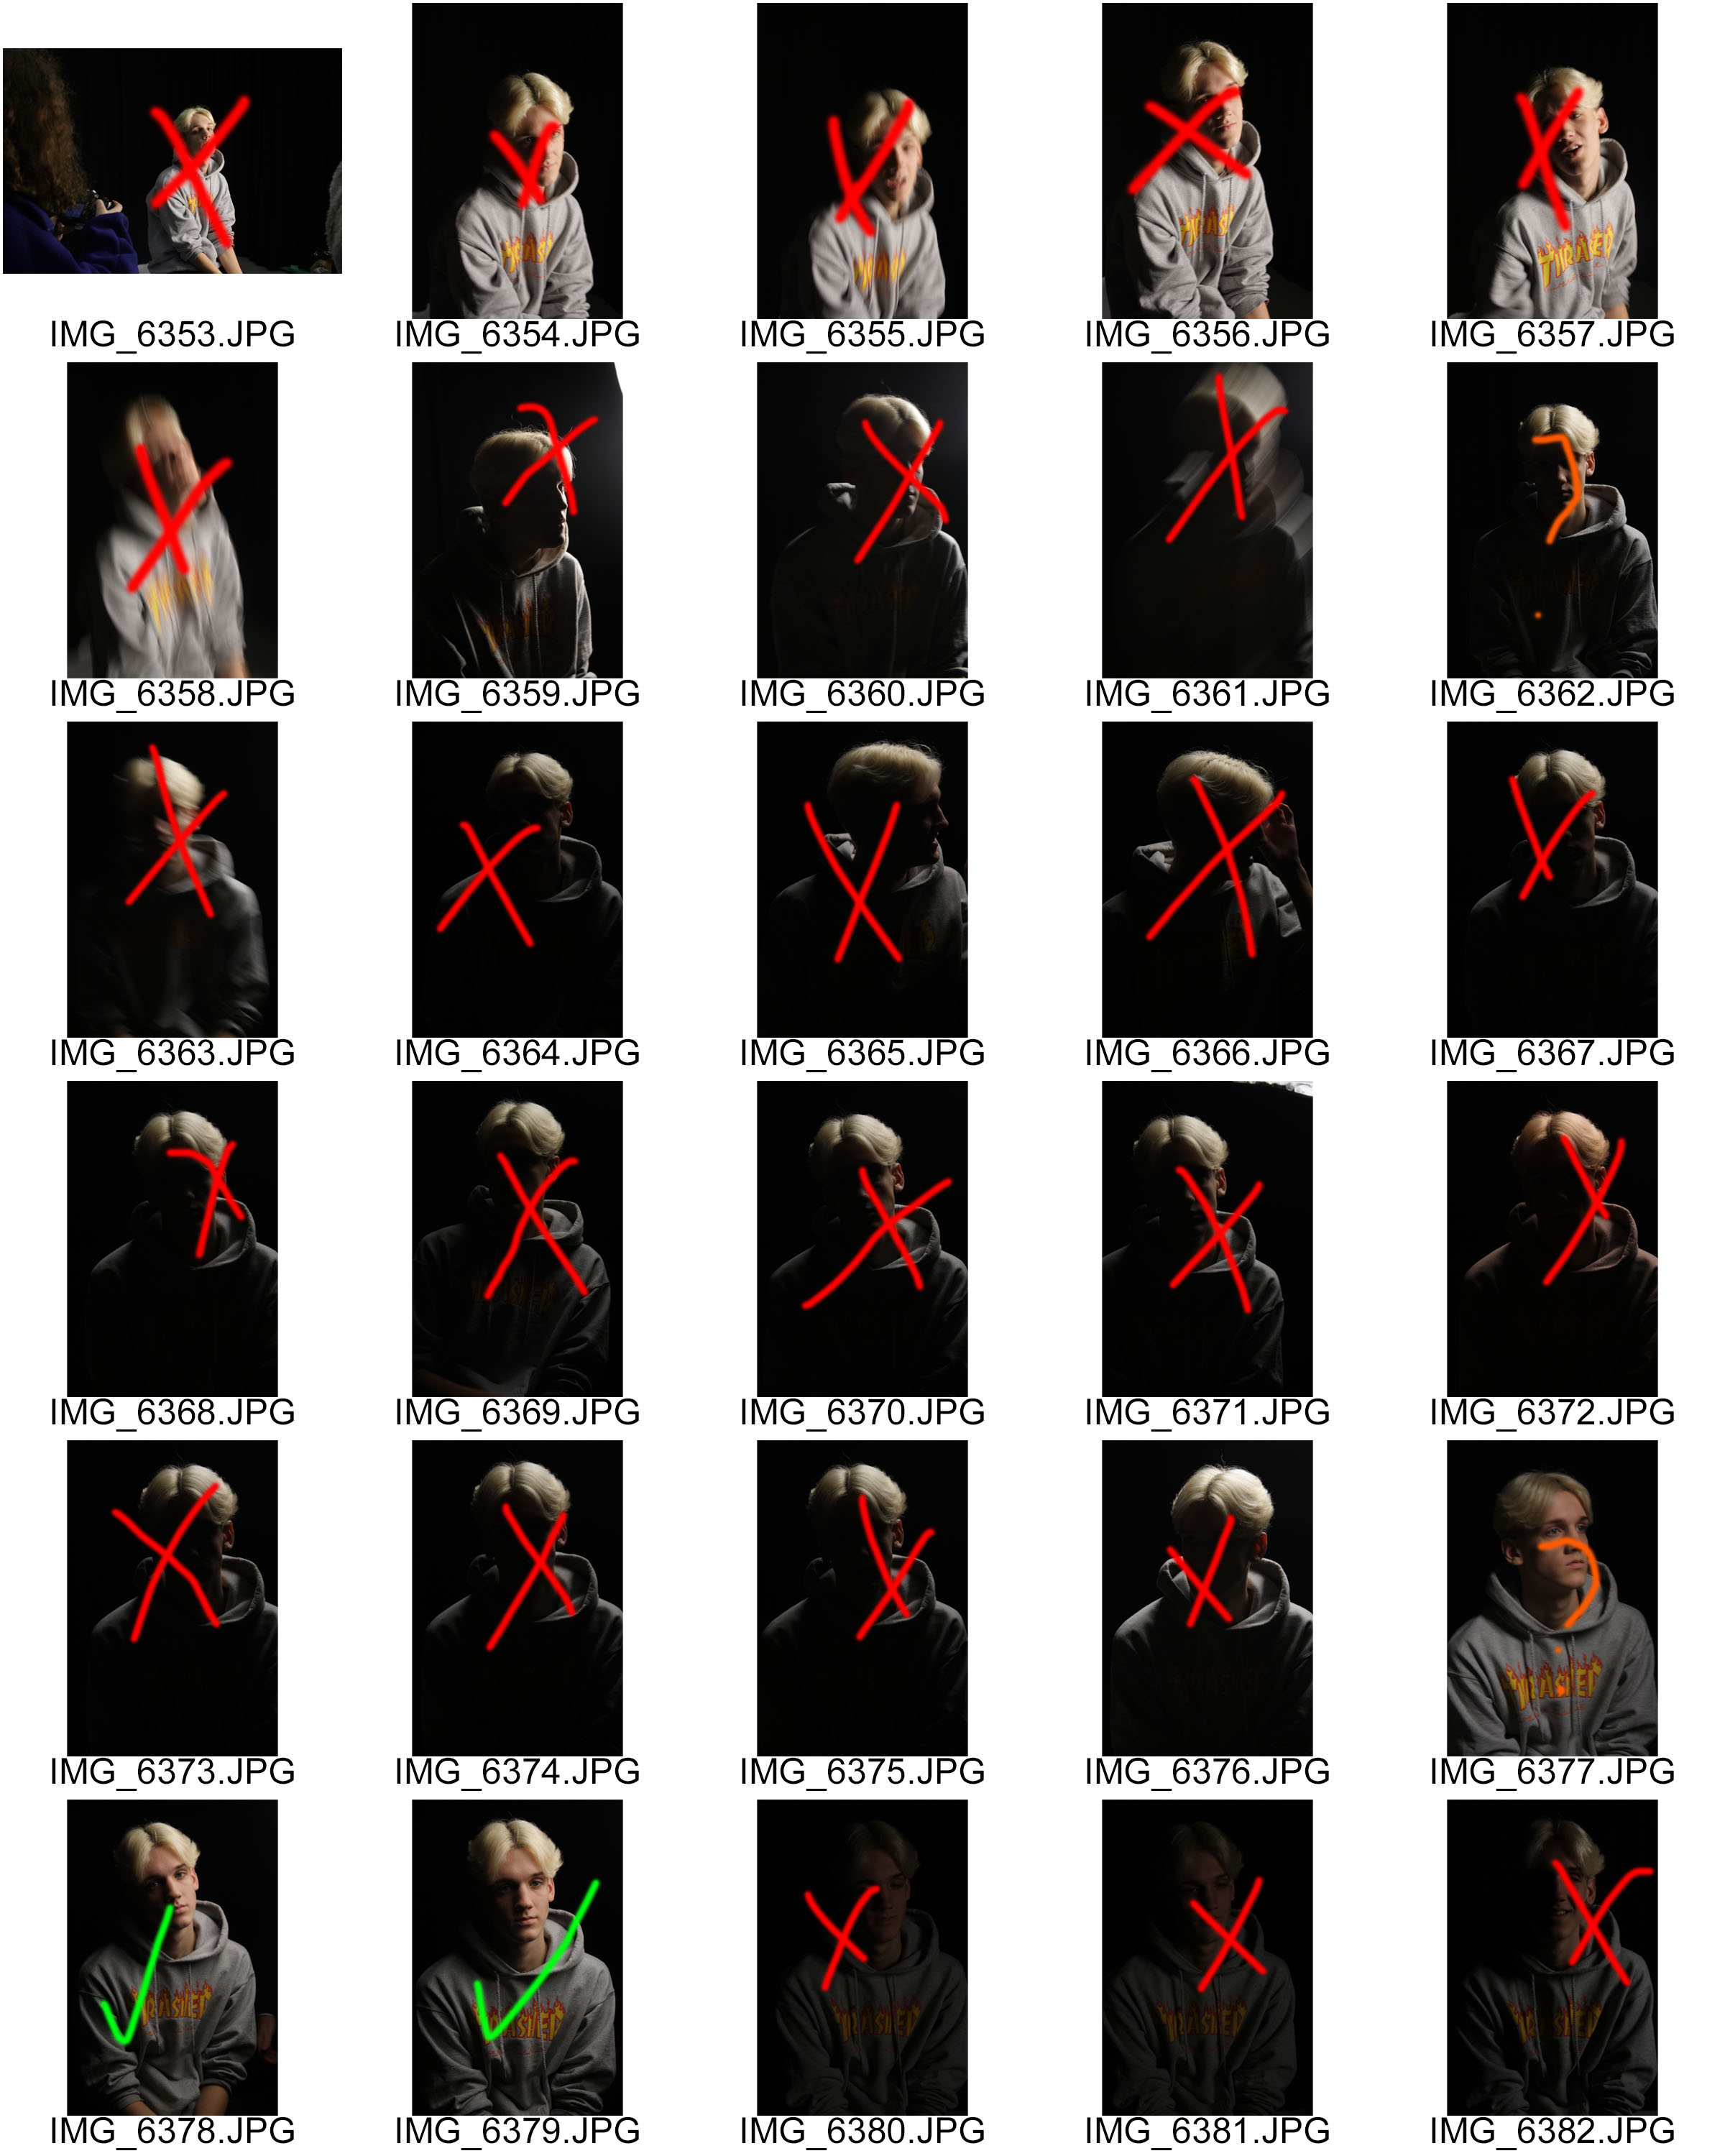
Contact Sheet:
Red – No
Orange – Maybe
Green – Yes
Final Outcomes (Unedited):

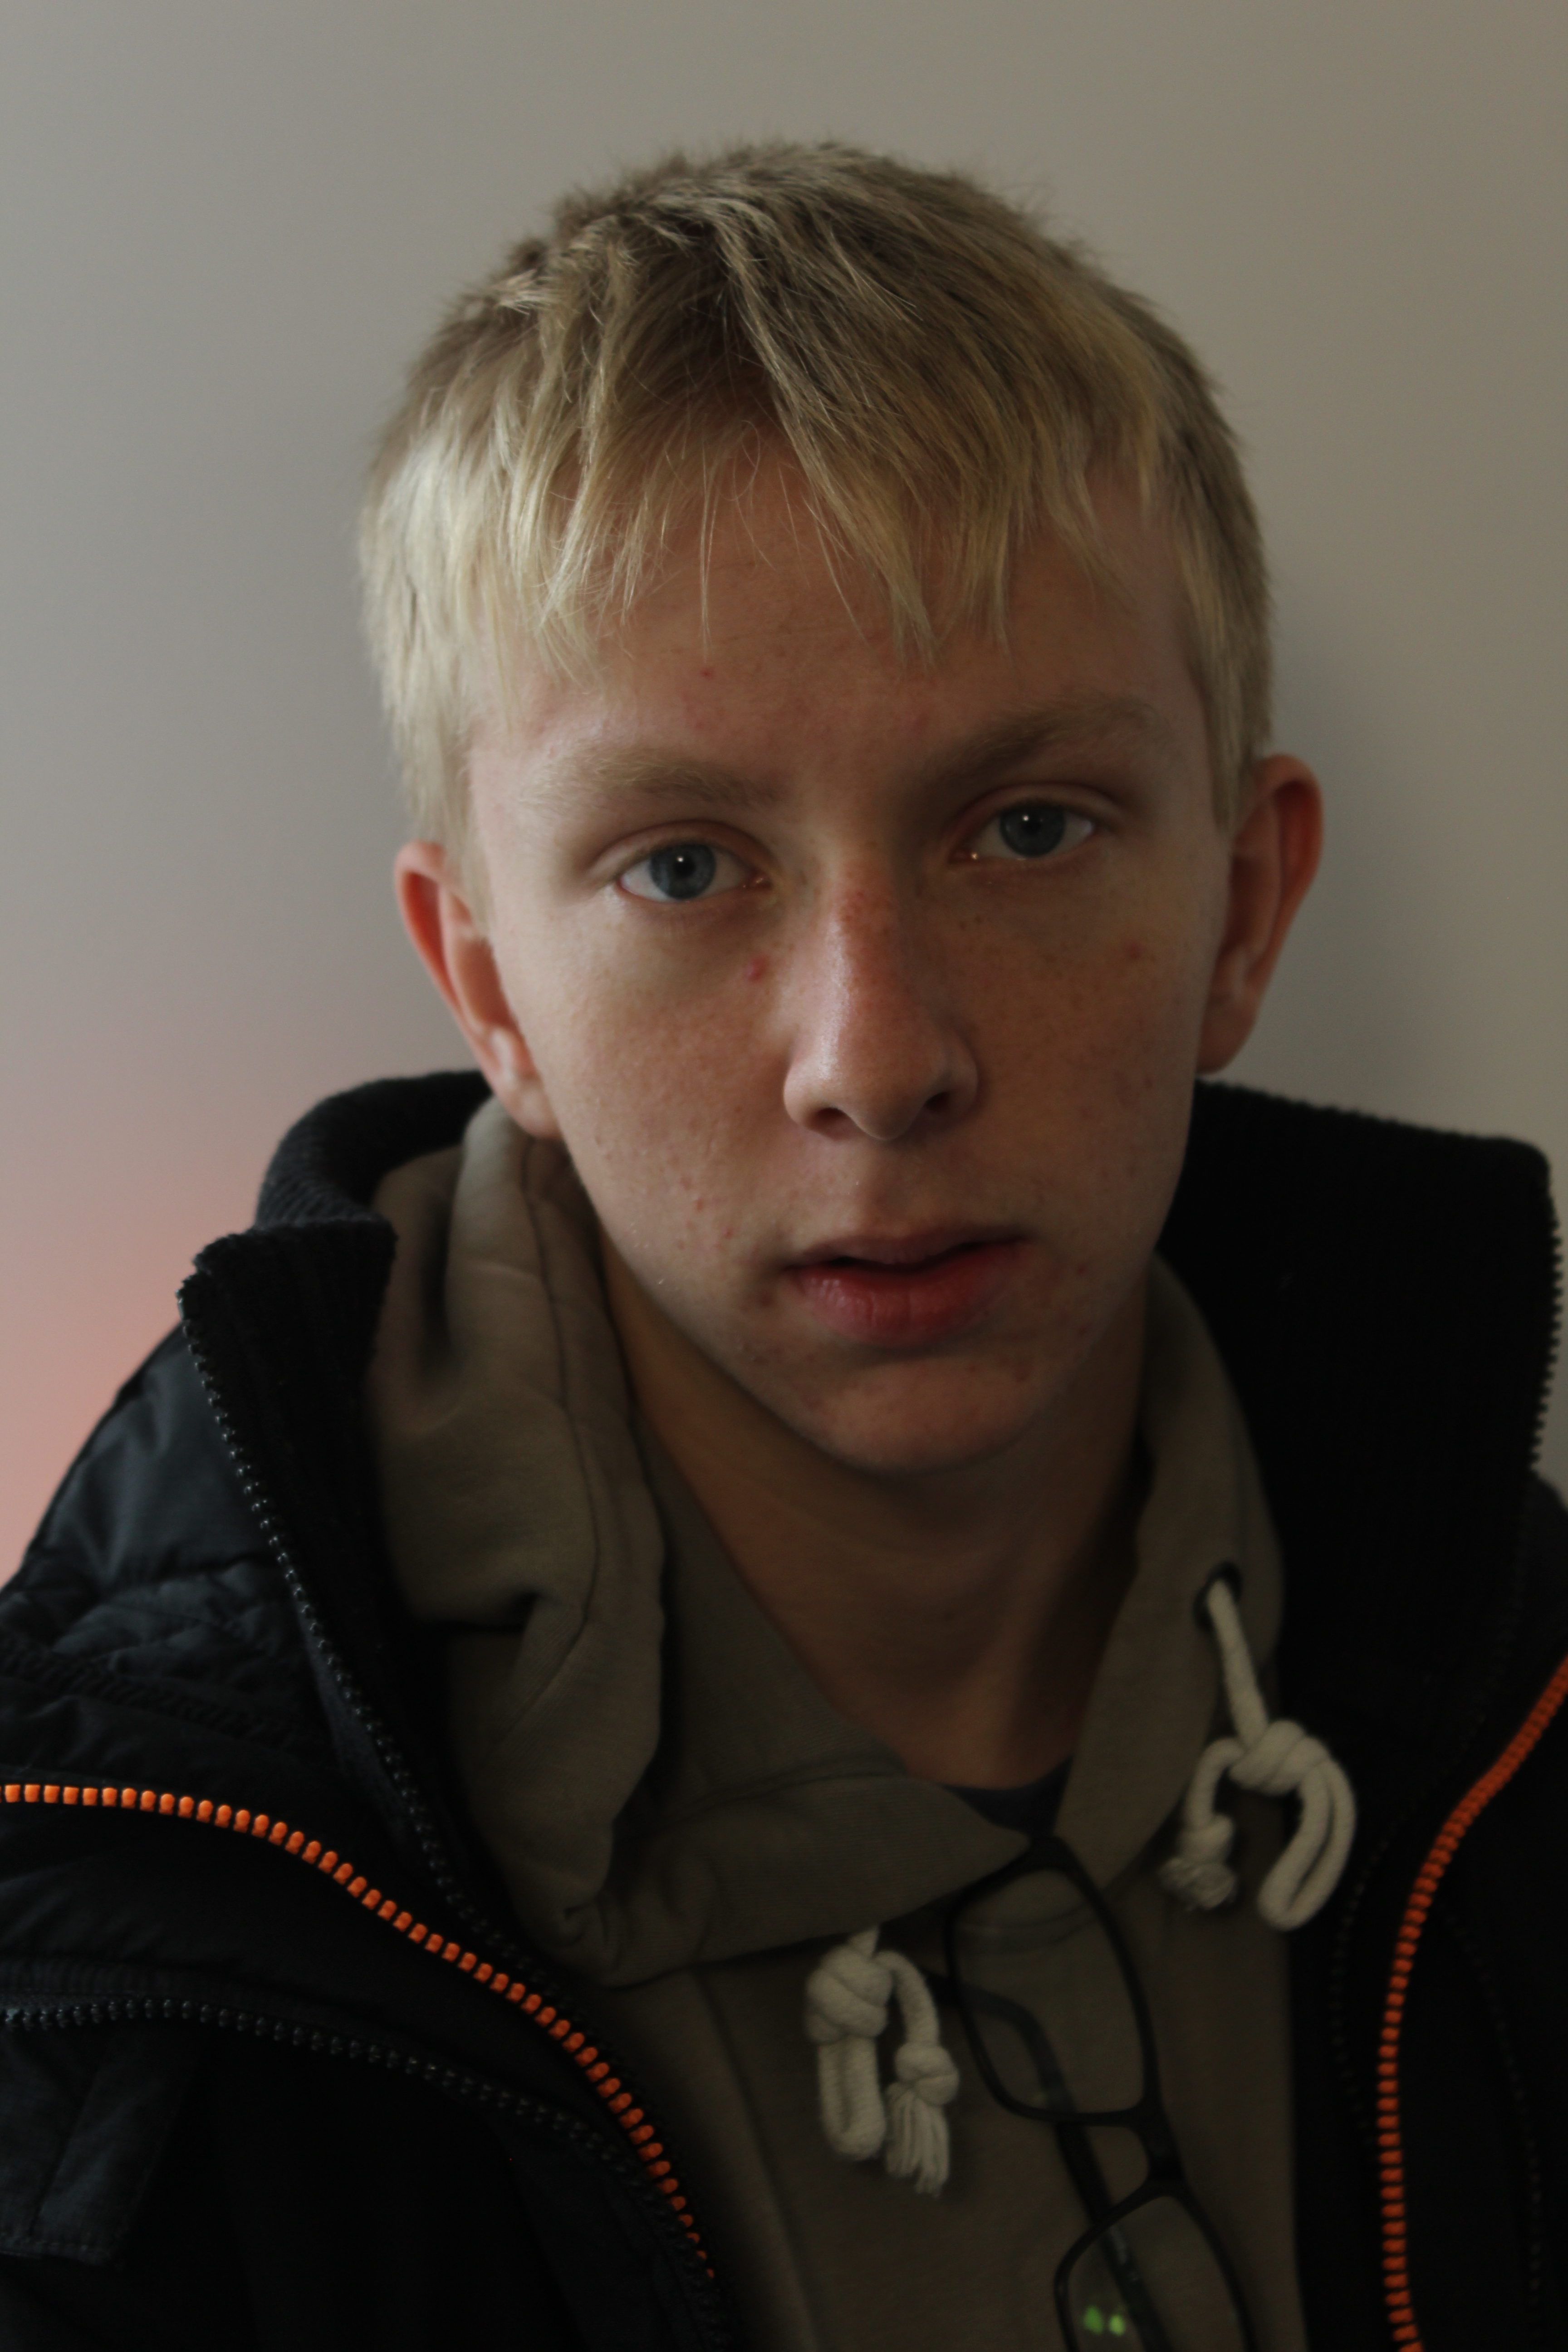


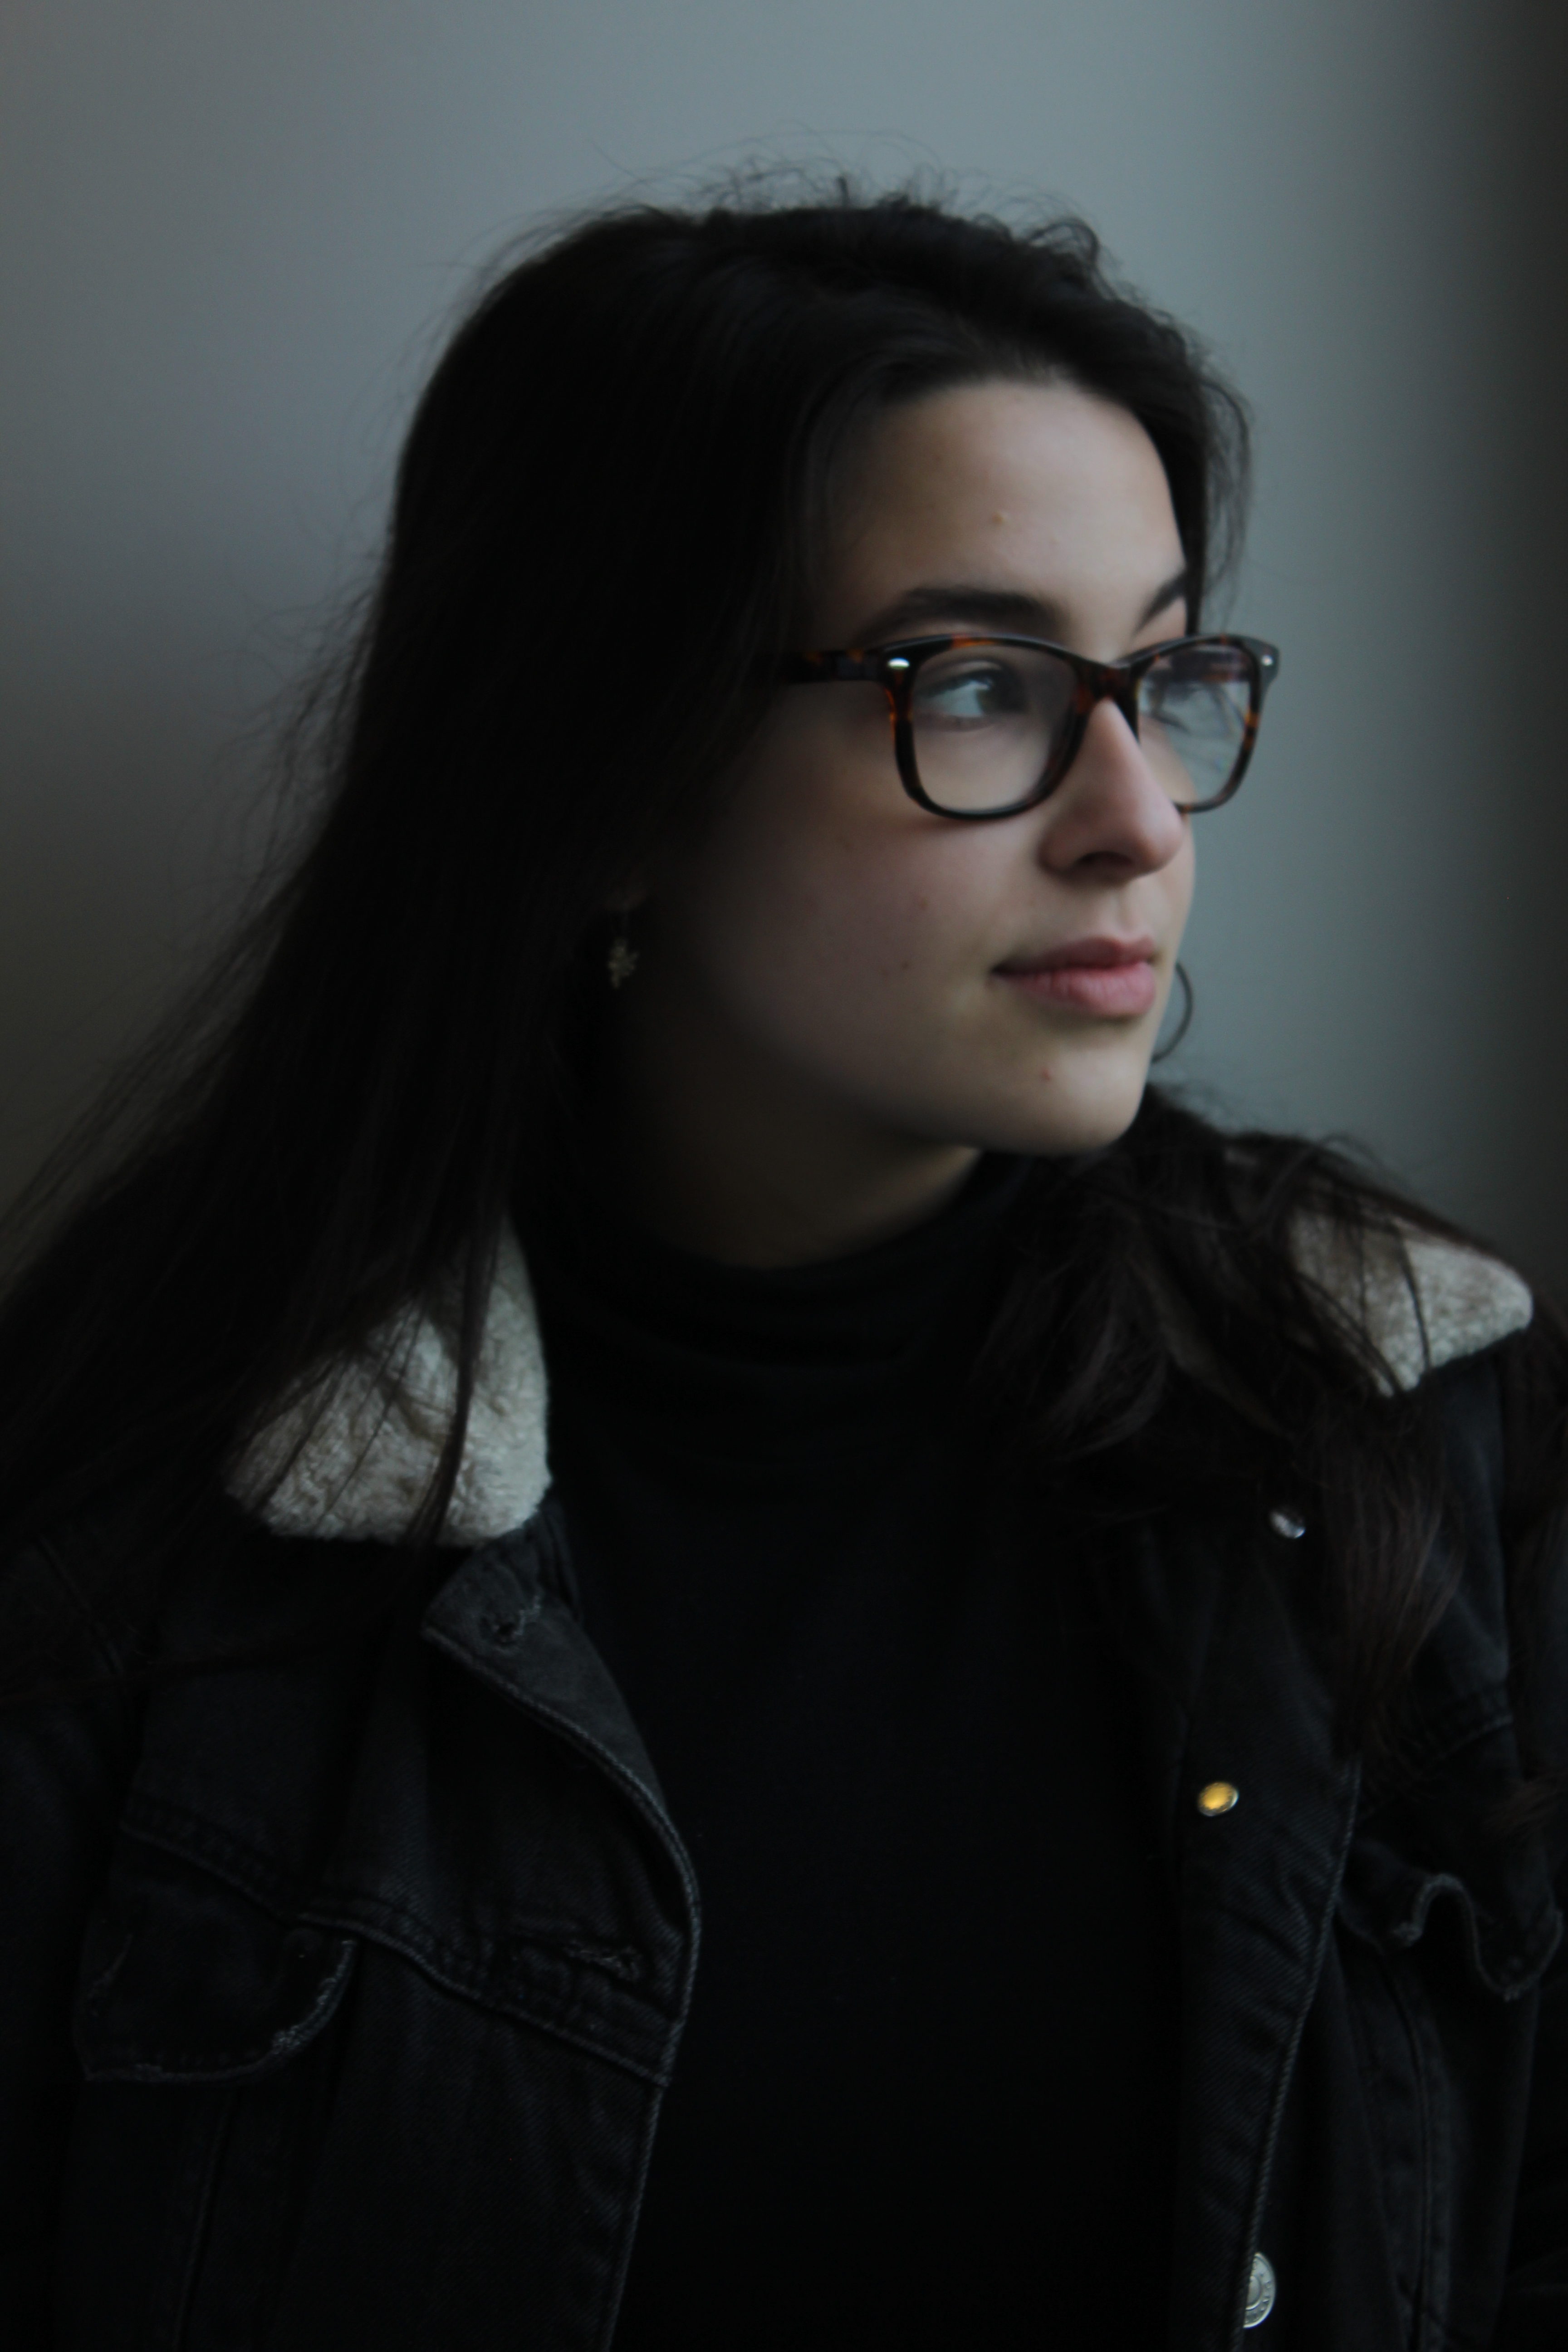
I really like the outcomes of these unedited photos but I wanted to edit them a little to bit to enhance the photos.
Best Photo:
I chose this photo for my best image because it looks the sharpest and shows my camera skills the best.
Studio Lighting:
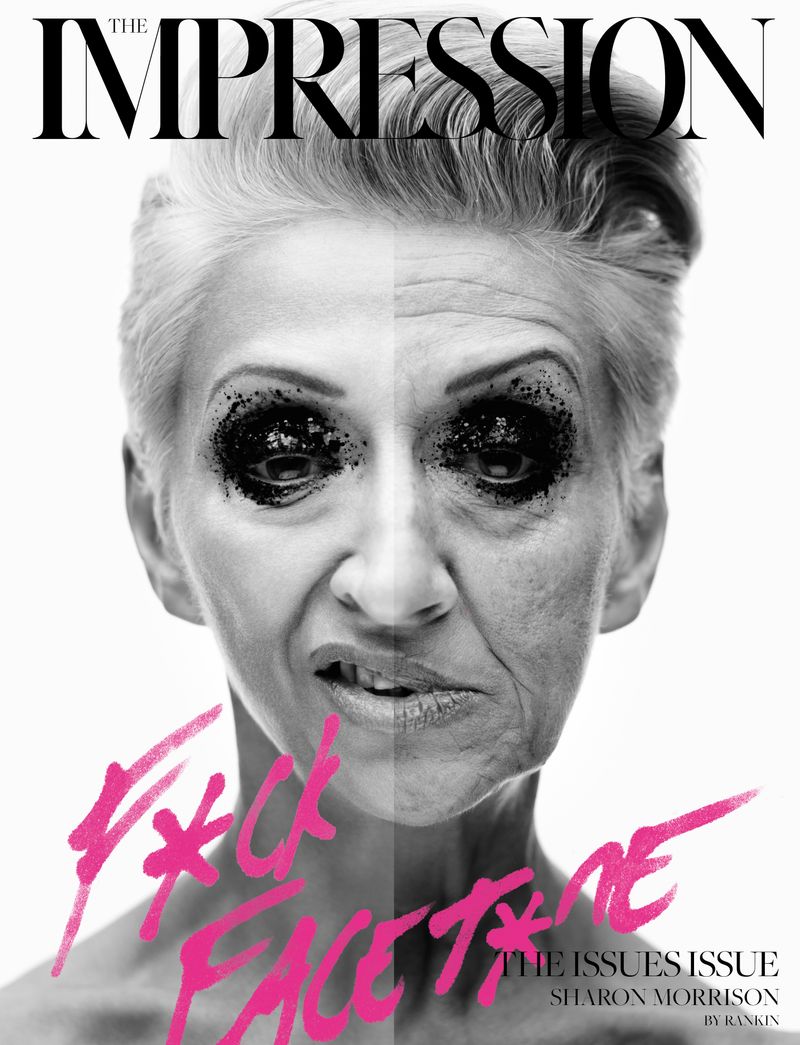
Rankin (John Rankin Waddell) – 
John Rankin Waddell (born 1966), also known under his working name Rankin, is a British portrait and fashion photographer and director.
Best known as the founder of Dazed and Confused magazine (along with Jefferson Hack), and for his photography of models including Kate Moss and Heidi Klum, celebrities such as Madonna and David Bowie and his portrait of Elizabeth II. His work has appeared in magazines such as GQ, Vogue and Marie Claire. In 2011 Rankin started the biannual fashion, culture and lifestyle magazine, Hunger and launched Rankin Film to produce and direct his own commercial and editorial film work.
Examples of his photography:


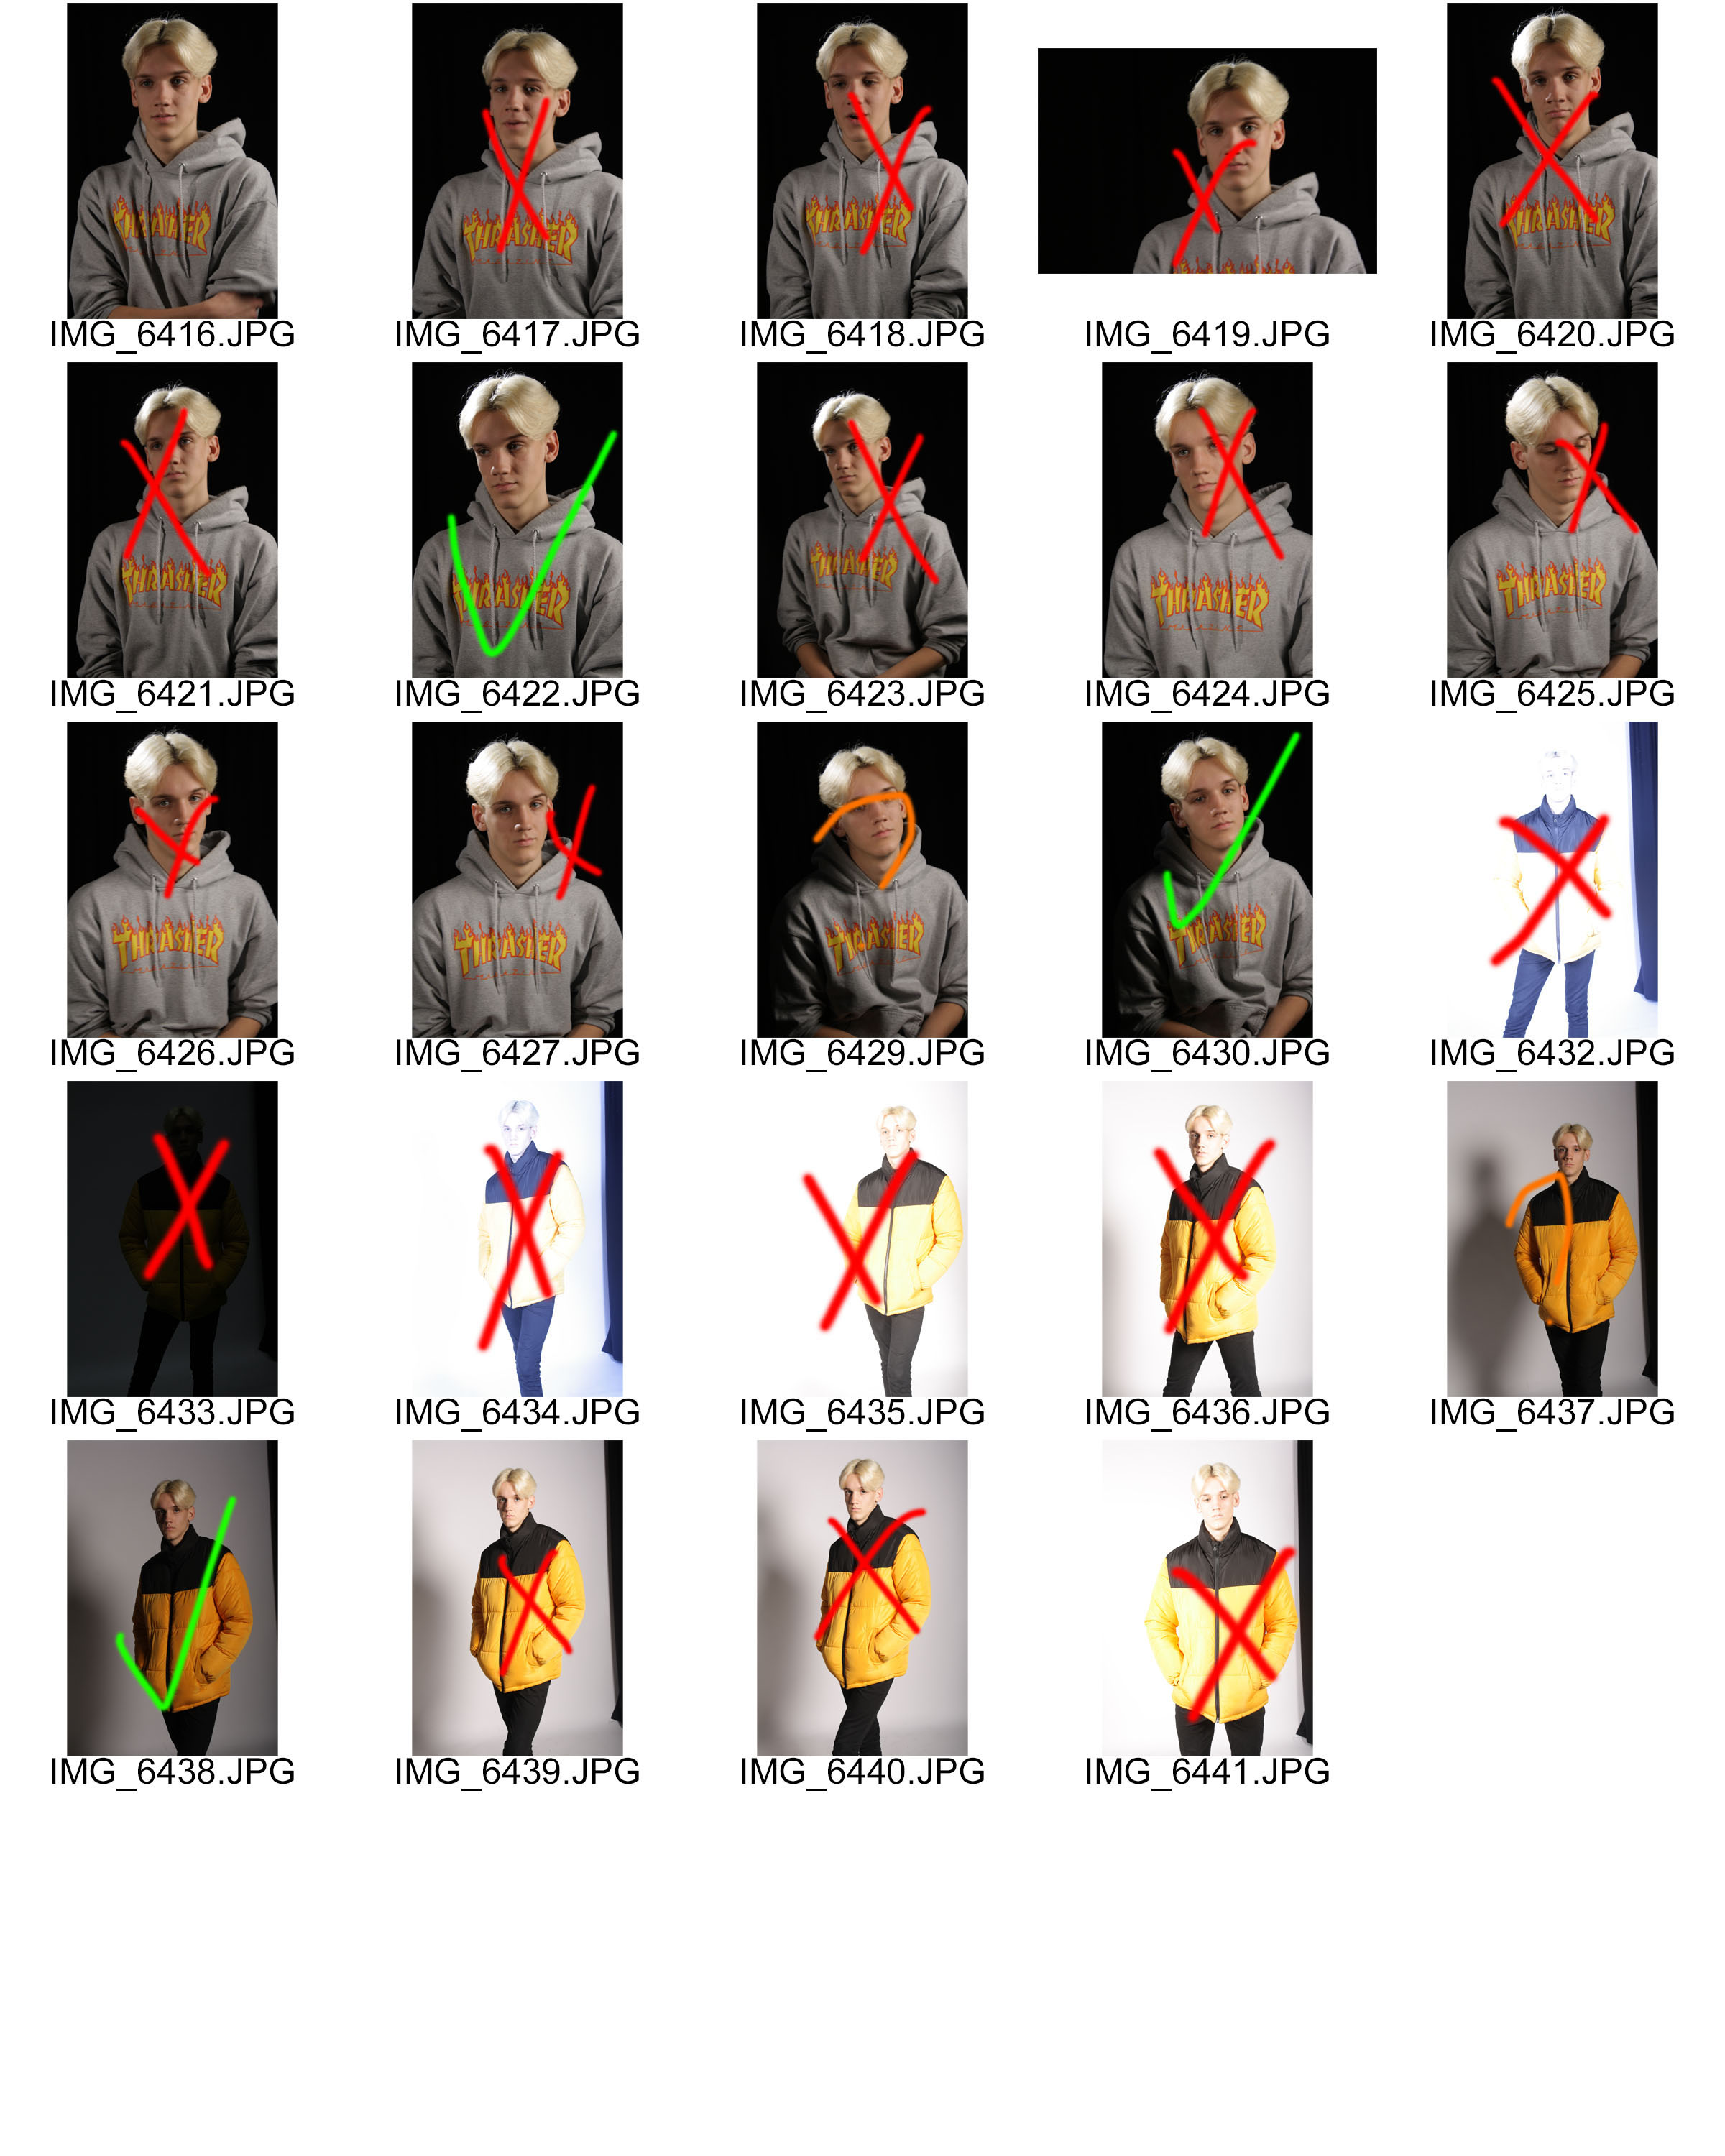
Contact Sheets:
Red – No
Orange – Maybe
Green – Yes


My Response (Final Outcomes Unedited):


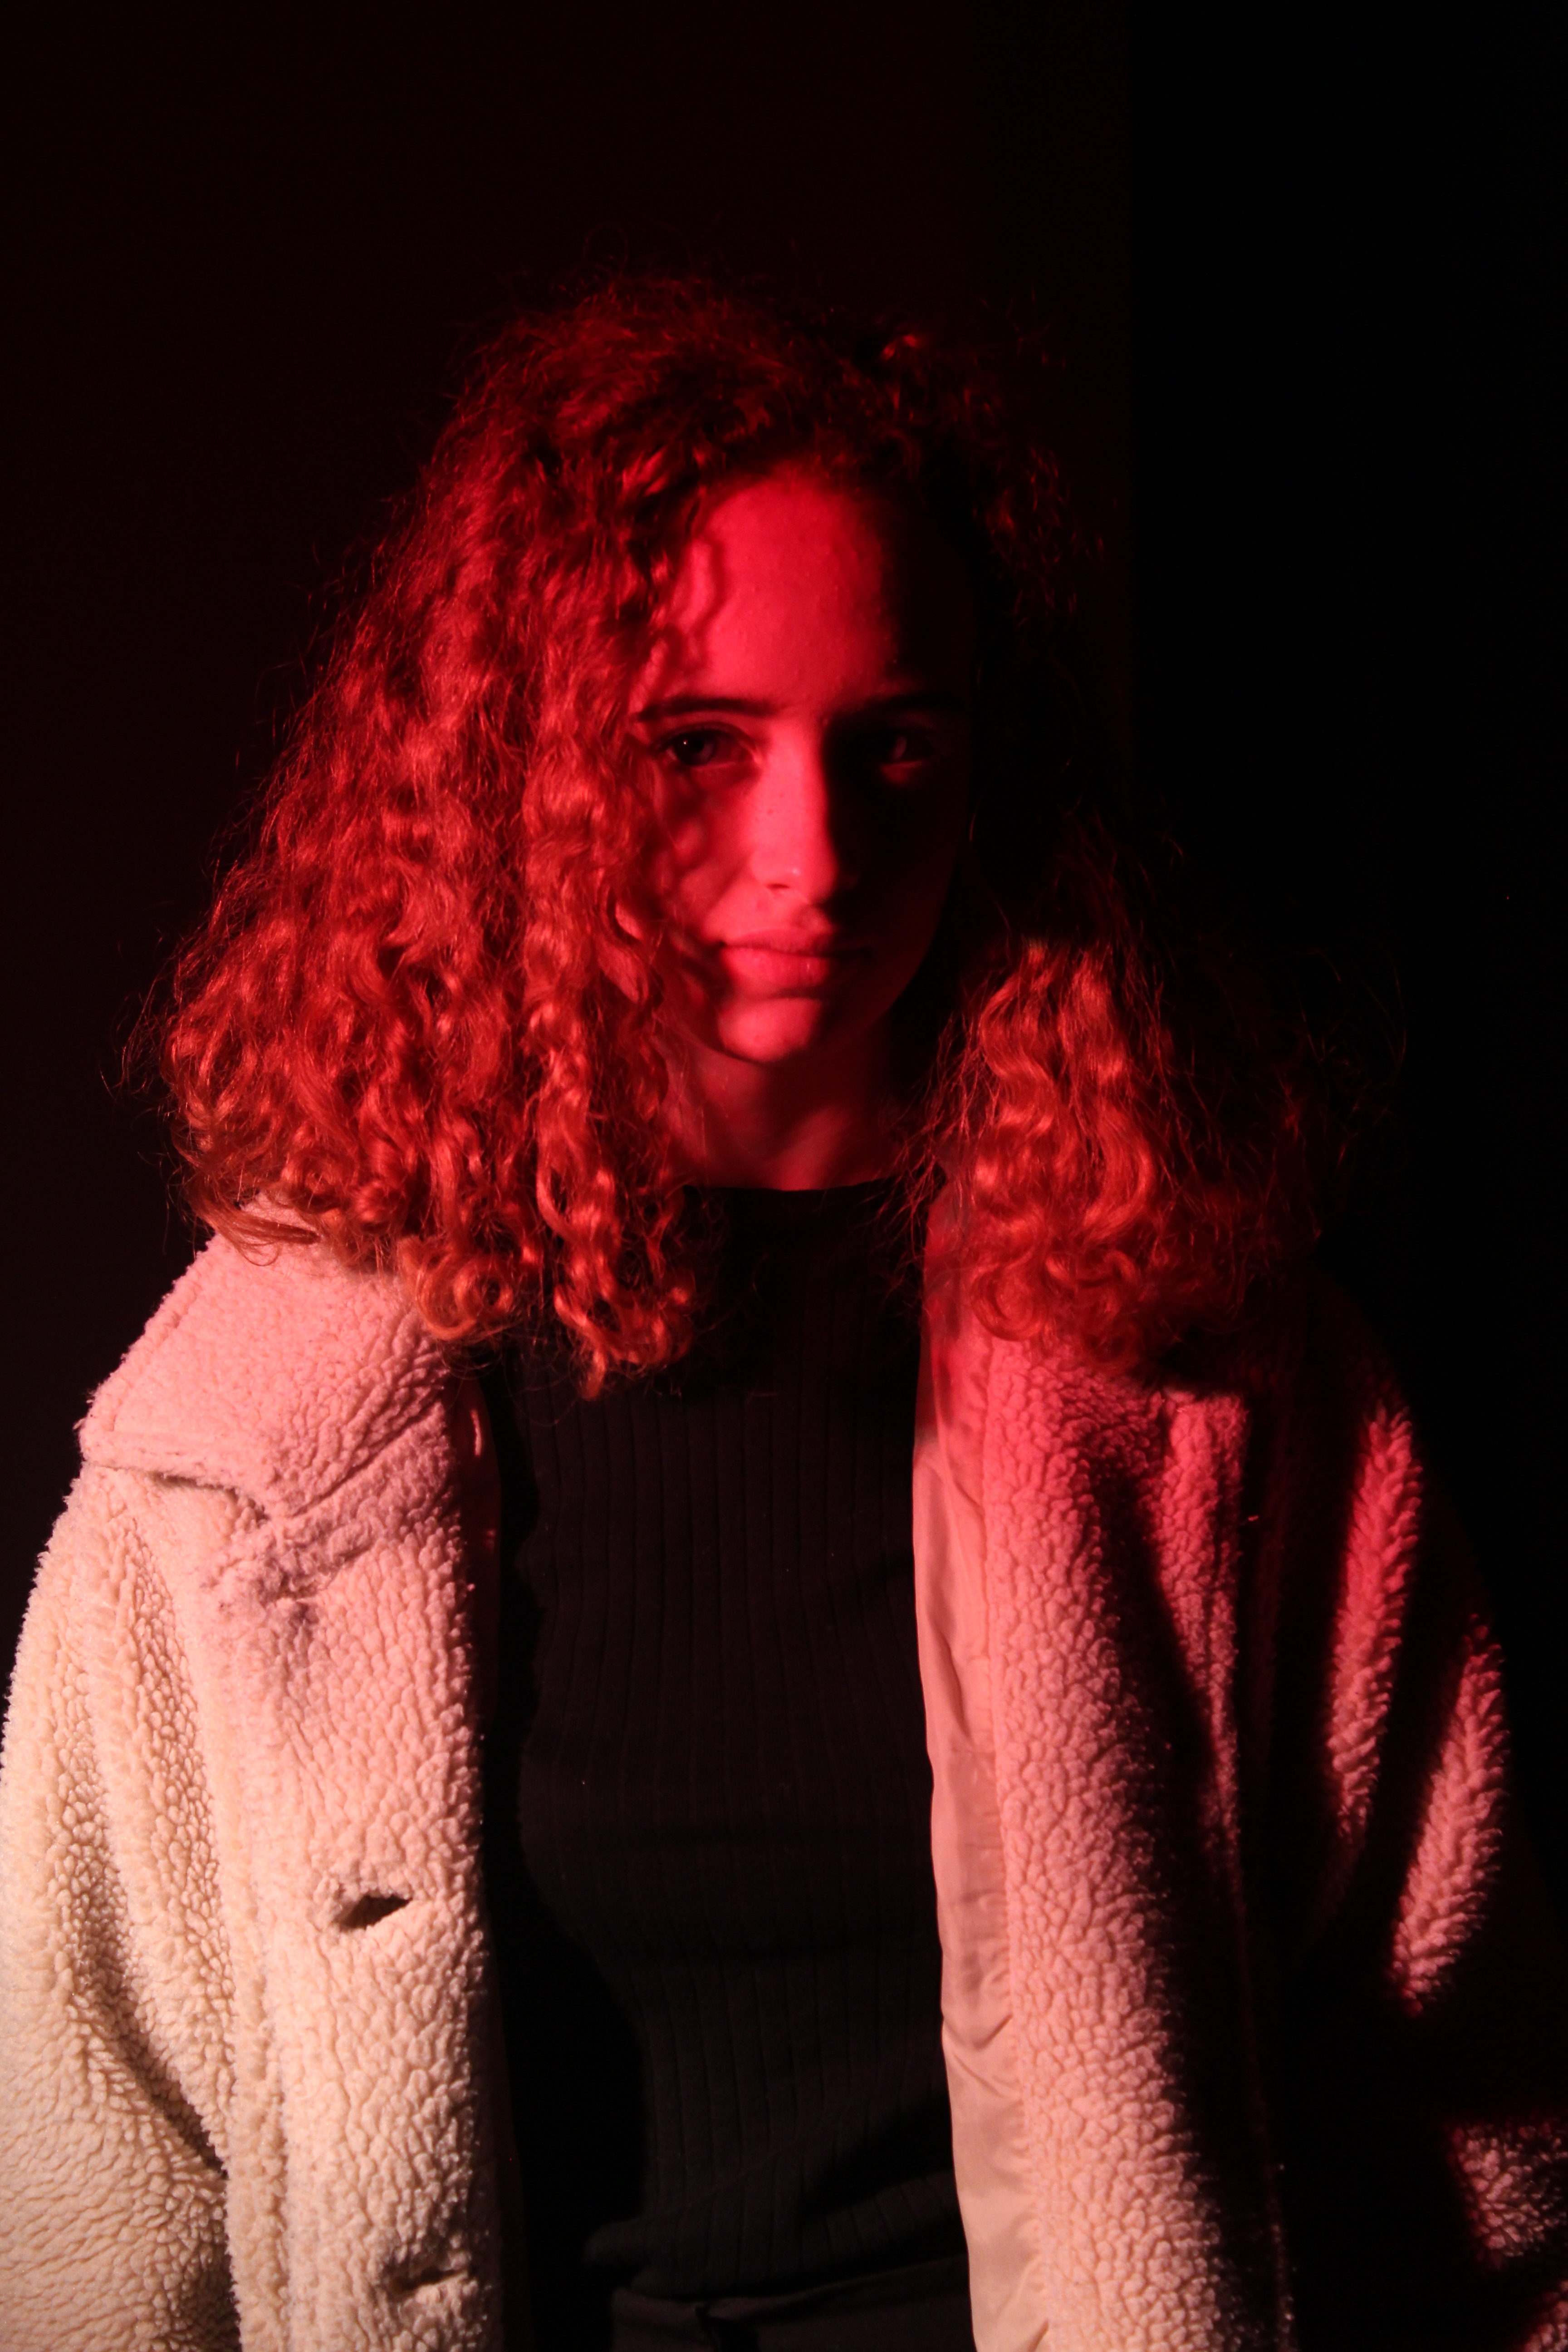


For some of these photos I used coloured gels to get the red and green colour you see in the photos. I also used one light on the side to create the Chiaroscuro effect. I also used two lights with a trigger flash on the camera to create full body photos.
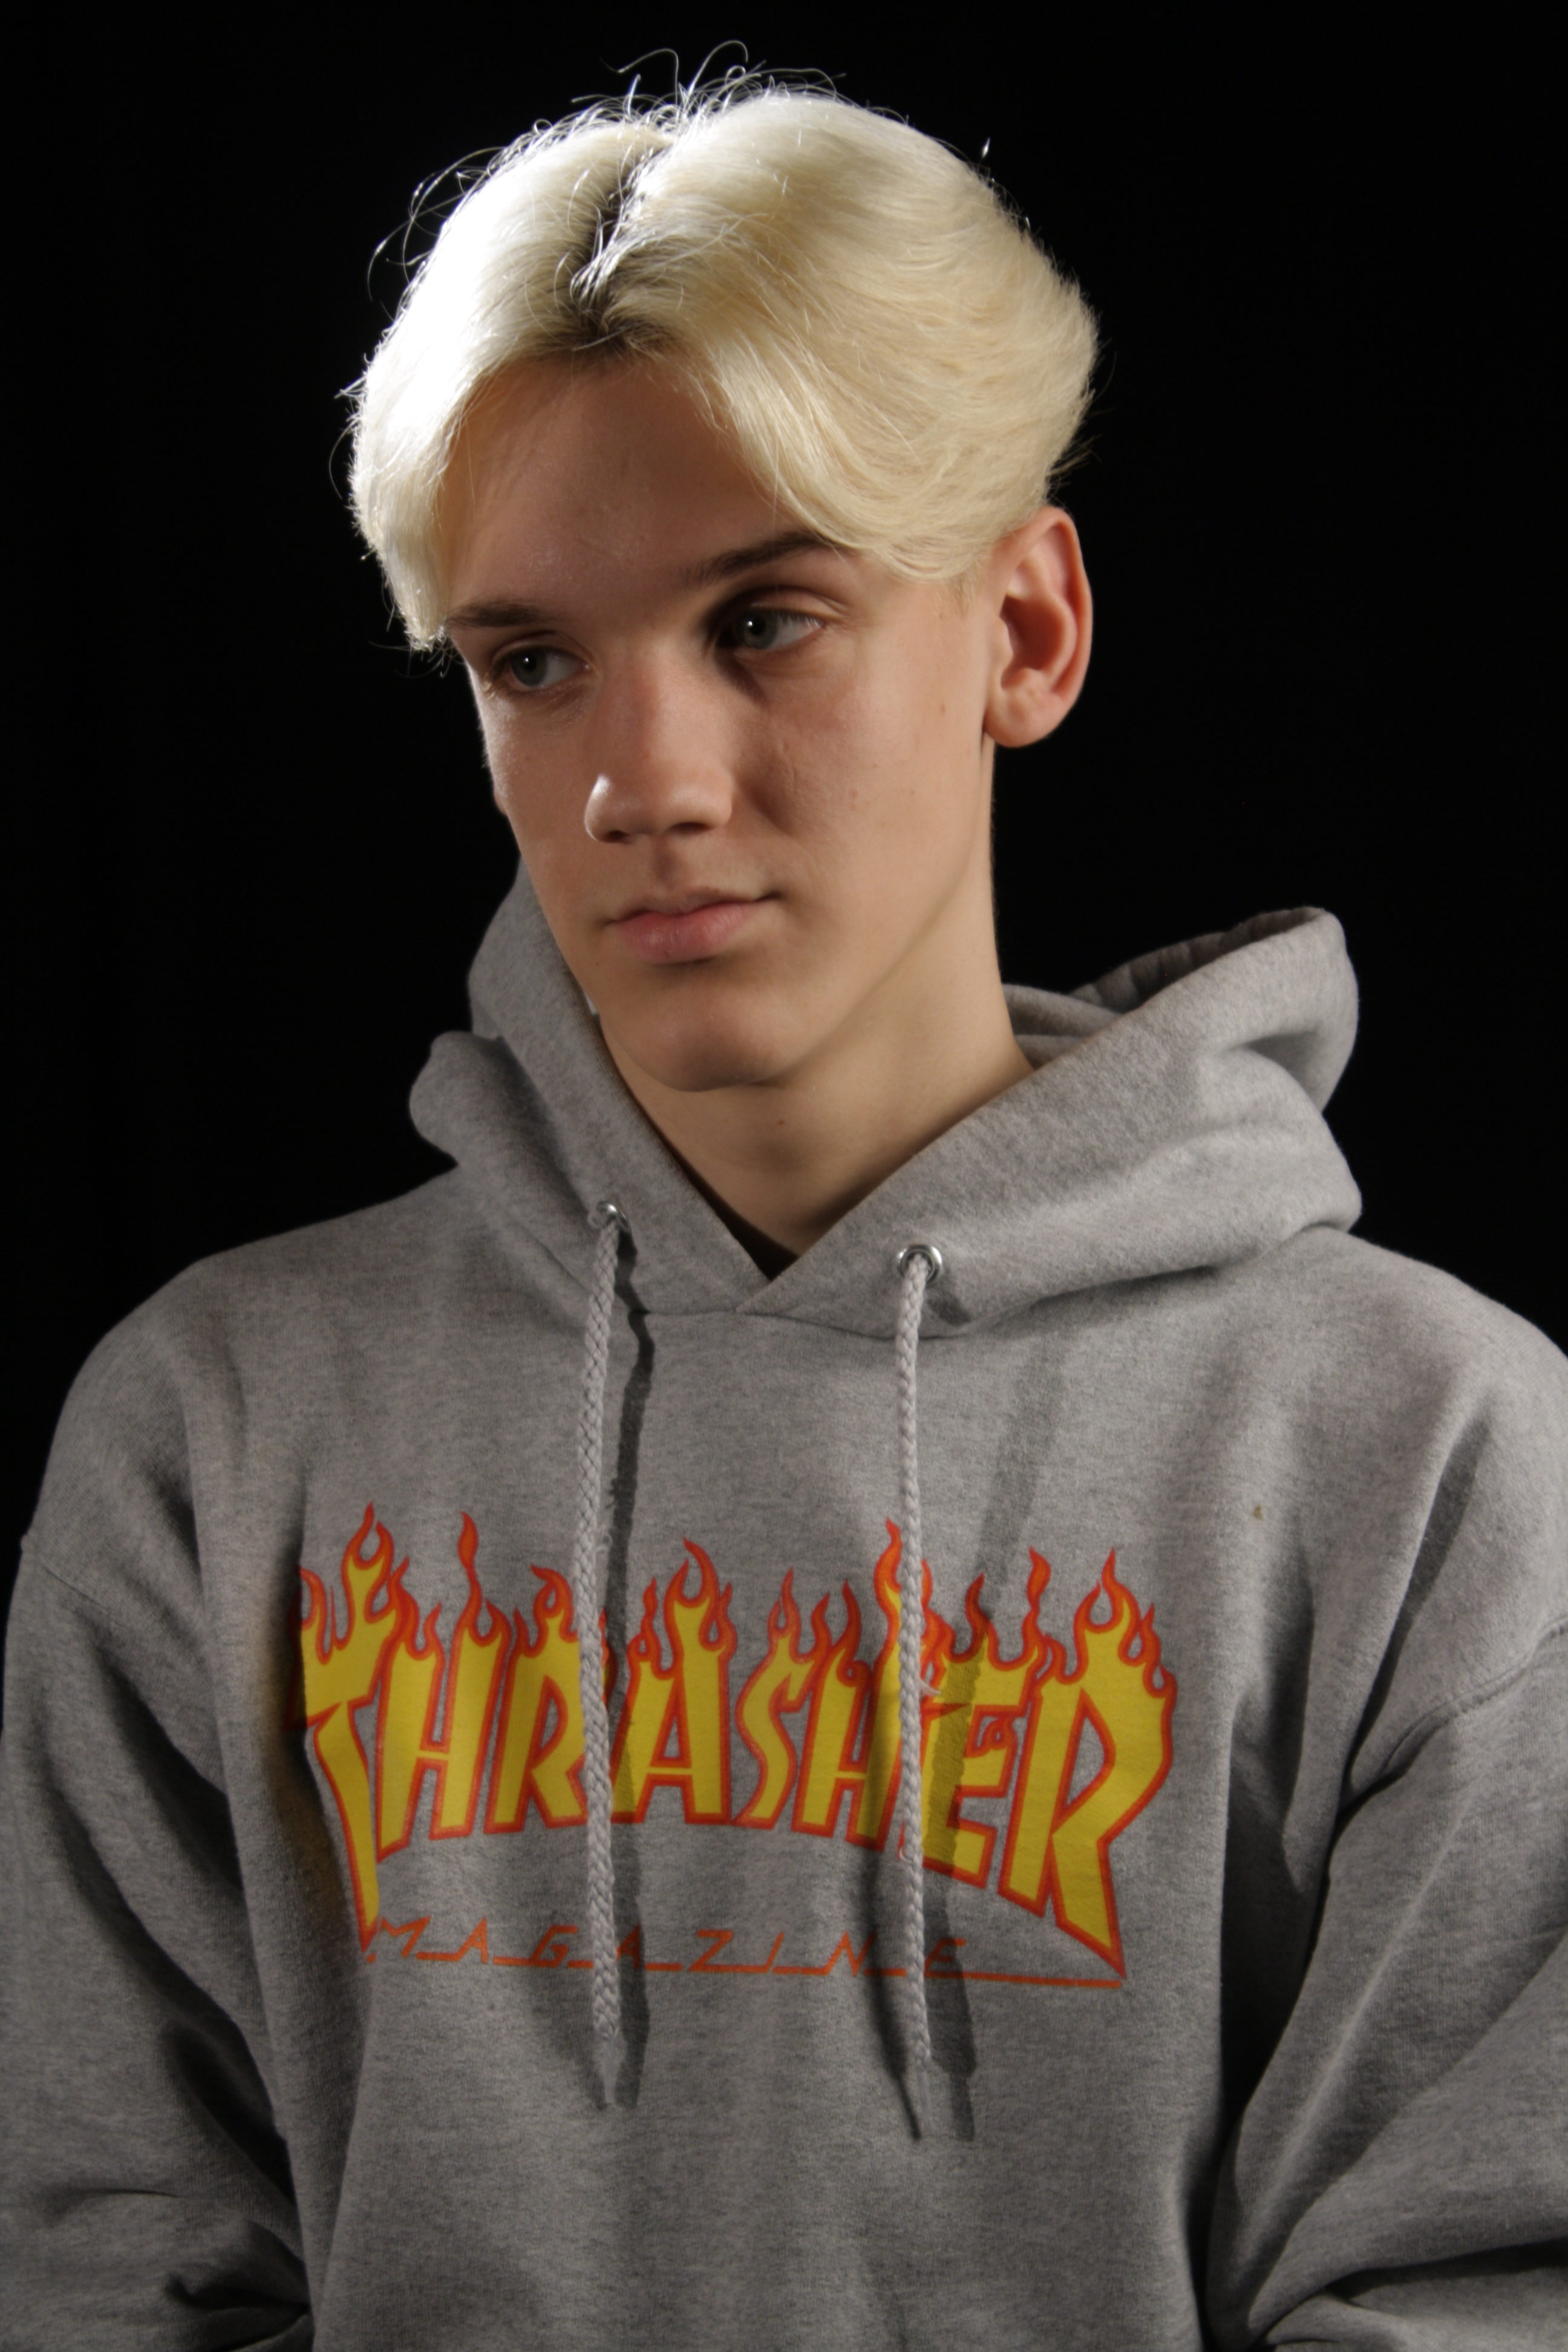
Best Photo:
I think this is my best image because the chiaroscuro looks really effective and the image is very sharp and well exposed. It also has a really good white balance.
Flash Photography:
As I didn’t take many with flash, I only have a few good photos. I used two studio lights and a trigger flash on my camera to get these images. I hope next time I can take more photos with flash as I liked the outcome of these few photos. Most of the images were too over exposed as I was adjusting the settings and testing out the trigger flash.
Contact Sheet:


Best Image:
I chose this photo because it has better exposure and looks sharper and better than the other photo I took.
Conclusion:
Overall I am very happy with how these three best images turned out. I think it shows my camera skills very well and shows that I can work a camera well also. I really like studio photography as I want to look further into fashion photography so this really helped with what I would like to do in the future.
Studio Lighting
Using artificial lighting can offer many creative possibilities, I will explore…
- size and shape of light – the larger area of light produced, the softer the shadows will be.
- distance from subject to create hard / soft light – the further away the lights are from the subject, the softer the light will be, and vice versa.
- angles and direction…high, low, side lighting – changes the direction of the shadows that are cast.
- filtered light –
- camera settings : WB / ISO / shutter speed etc – makes light cooler/warmer, changes the amount light hitting the sensor, amount of motion blur in the image.
- reflectors and diffusers – diffusers make the light and shadows softer, reflectors are used to manipulate the direction of the light
- key lighting, fill lighting, back lighting, 3 point lighting – key light- main lighting, fill – used to reduce contrast, back – used to make the subject a silhouette – 3 point – all of the above at once.
- soft-boxes, umbrella lights, spot lights and floodlights – all help the photographer manipulate the light
- chiaroscuro and Rembrandt lighting – used to create a high contrast with shadows on the subject.
- high key and low key lighting techniques – high key – low contrast, overexposed, bright. low key – dark, high contrast, shadows.
- backdrops and infinity curves – creates a clean backdrop for the photographer to use.
- head shot – portrait that realistically demonstrates a person’s appearance.
- half body shot – similar to a head shot, but focuses on the torso as well as the head and shoulders.
- full body shot – picture of the whole body leaving equal space around the subject for balance
Tableau Photography
What is Tableau
Tableau is french for “living picture”, meaning a picture is staged to give it a sort of snapshot effect. The image usually contains two or more models interacting with each other or props and their environment and are usually stationary and silent. props may be used as well if relevant to the context.


Paul M Smith
Paul M Smith is a UK Based tableau photographer who is most well known for his portrayal of the image of typical, working class “lads” in the 1990s. His work explores the ideas of the image of young juvenile males and their friendships and working class lives
Here are some examples of his work


These two particular images all include Smith as every character in the image. This effect was achieved by utilizing multiple images and photo editing software to give a multiple exposure effect. Essentially multiple photos are taken of the same character in different outfits in different positions and then layered over the top of each other.
Some of Smith’s most prolific work is in collaboration with Take That! star Robbie Williams. Smith was tasked with creating album art based around William’s love of football. The set features images associated with playing and watching football and helps perfectly paint the picture of the working class in the late 90s.


