

Monthly Archives: November 2018
Filters
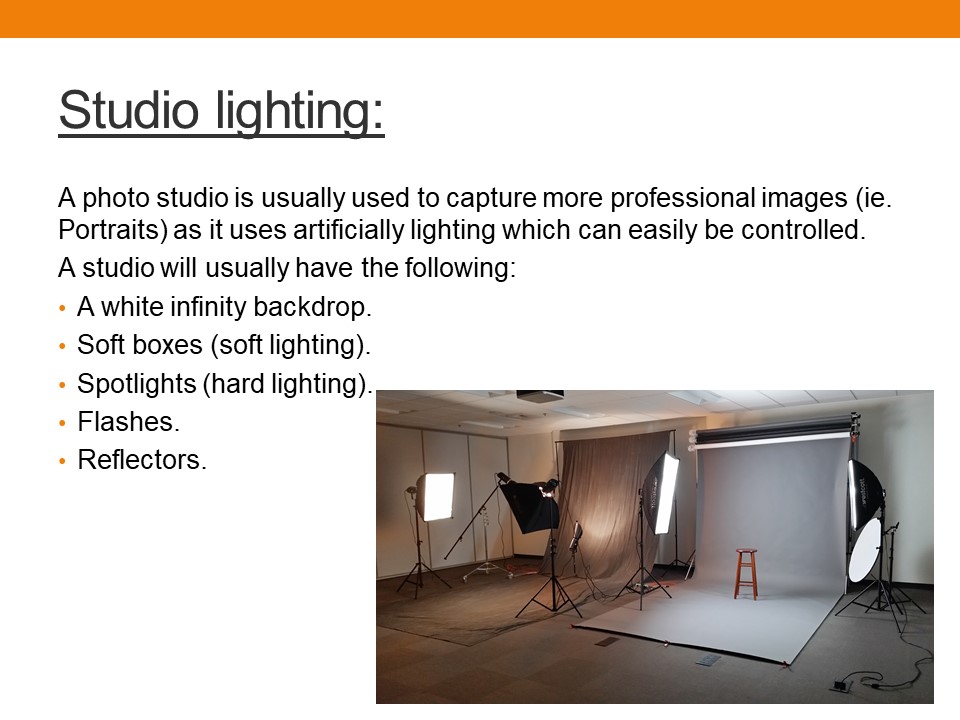
Studio Photography: Lighting
Why is studio lighting used?:
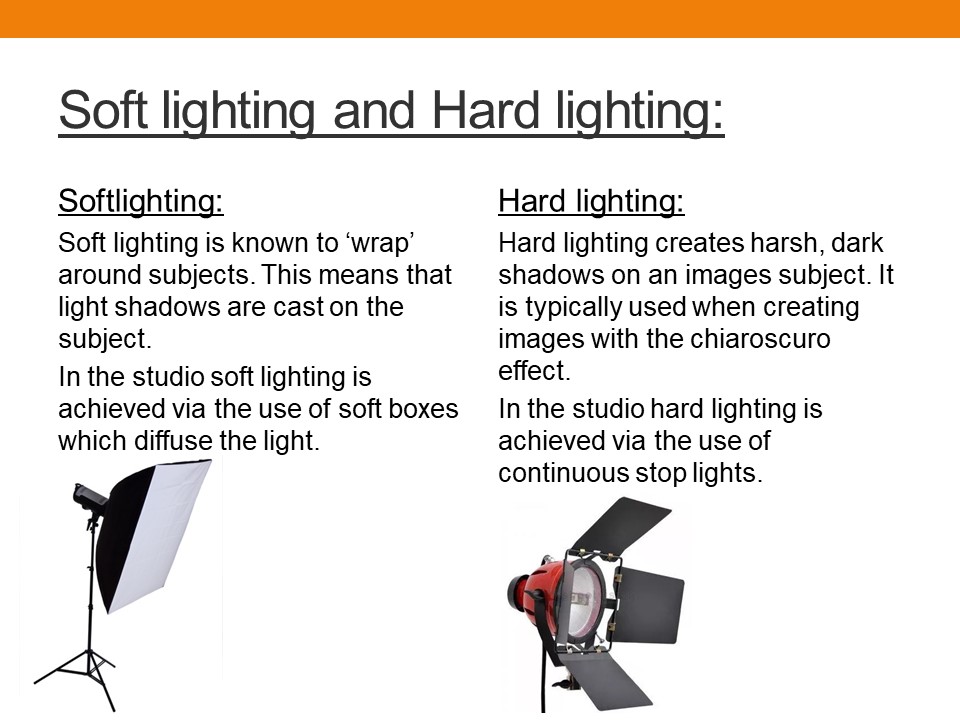
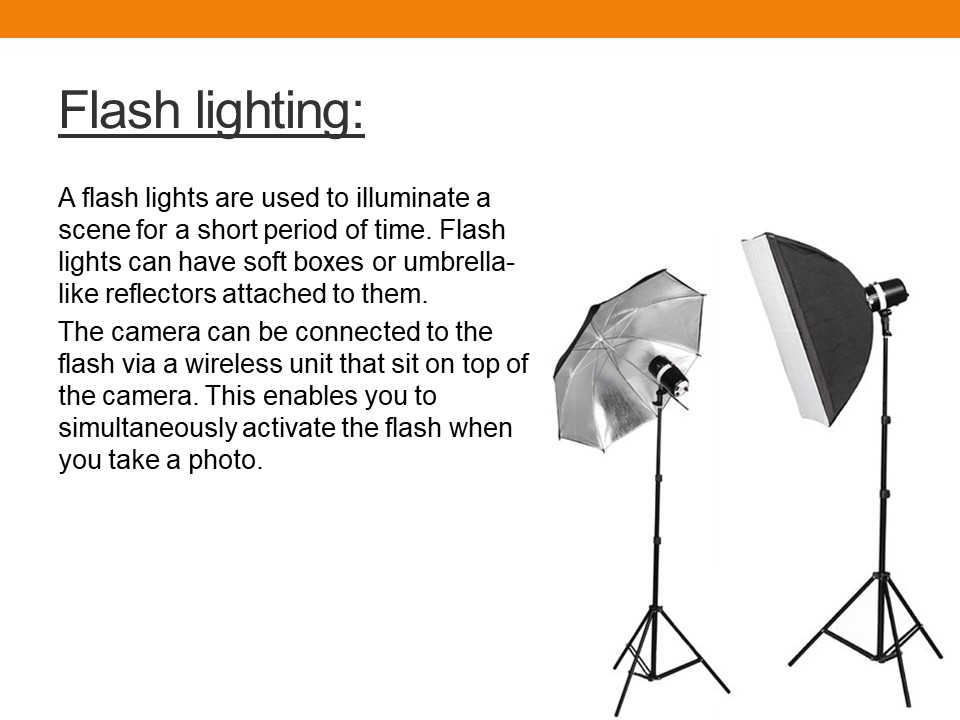
Lighting is an important aspect of studio photography, as it allows for certain parts of the subject to be emphasized, and other parts softened. Lighting can also impact how an audience responds to an image, as harsh, cold colored lighting can give an image a sense of seriousness and professionalism, whereas softer, warmer colored lighting can make an image seem more friendly and relatable.
Natural lighting is often used in photographs that are taken in public places and nature, however is a photographer wants a very specific photograph that requires all aspects of the image to be controlled, then studio lighting can be useful to produce the effect that the photographer wants without having to wait for natural lighting the change.
1,2 and 3 point lighting:
Photographs can be taken using a variety of different lights, which are all used to produce different types of lighting in an image, the lights typically used in studio photography are called the key light, the filler light and the back light.
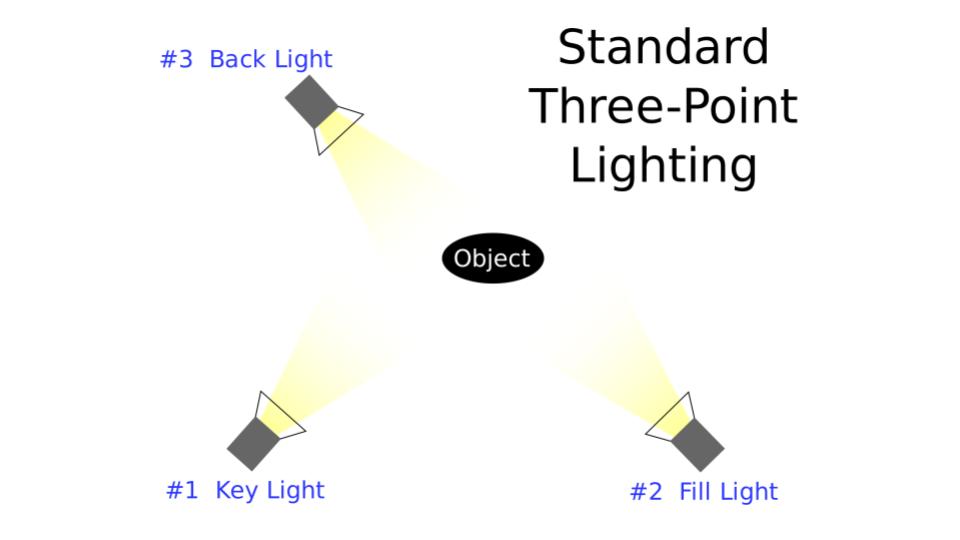
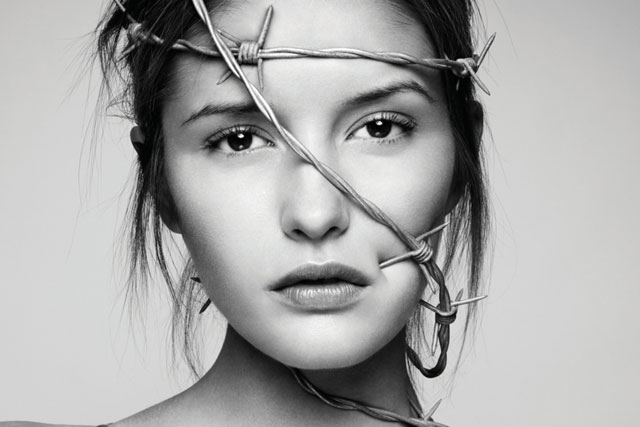
1 point: 1 point lighting typically uses just the key light. The key light is the main light used in studio photography, and is used to light the part of the subject that needs to be the brightest. It is usually used to illuminate the face of the subject in portraiture photography, and is the most important light used out of the 3. 1 point lighting usually places the key light to the side of the subject, so that one side of the face is illuminated, and a shadow is cast over the other side, thus giving the subject more depth, and creating a chiaroscuro effect on the subject.
2 point: 2 point lighting makes use of both the key light and the filler light. The key light is still used to illuminate the most important part of the subject, whereas the filler light is used to fill in the shadows that are produced by the key light, and to soften them. Softening the shadows created but the subject in a photograph can help draw maximum attention to the subject themselves, and the illusion of the photograph is kept, as the viewer isn’t drawn to the fact that lights were used to create the effects they see.

3 point: 3 point lighting uses the key light, the filler light and the back light. The filler and key lights still work the same, and the back-light is added behind the subject, to create a glowing effect around the online of them. Back-light can be used to separate the subject from the background, and to create a sense of perspective and depth in the image.
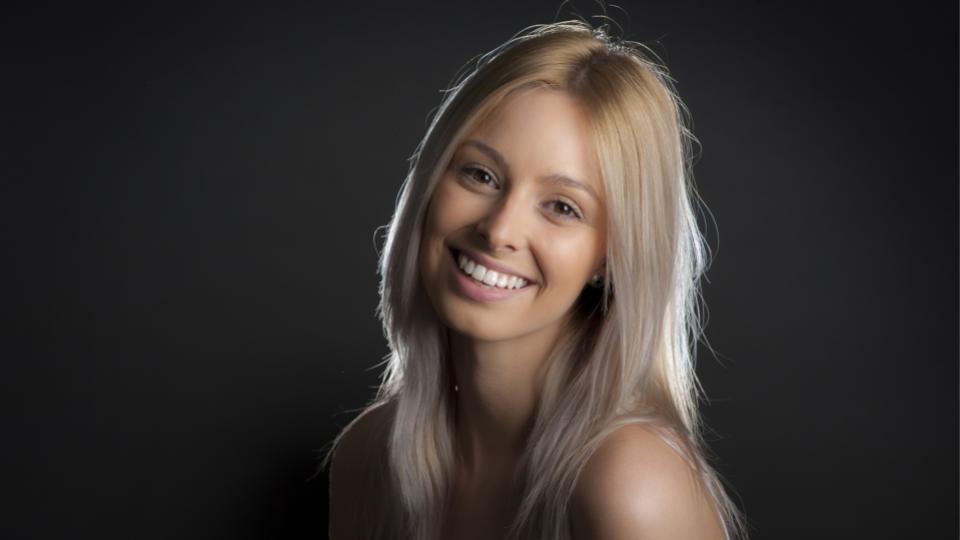
The number of lights used to create the lighting for an image greatly impacts the final outcome of the image, and so its important that a photographer experiments with all lights in order to find the correct combination for their photograph.
Fill Lighting:
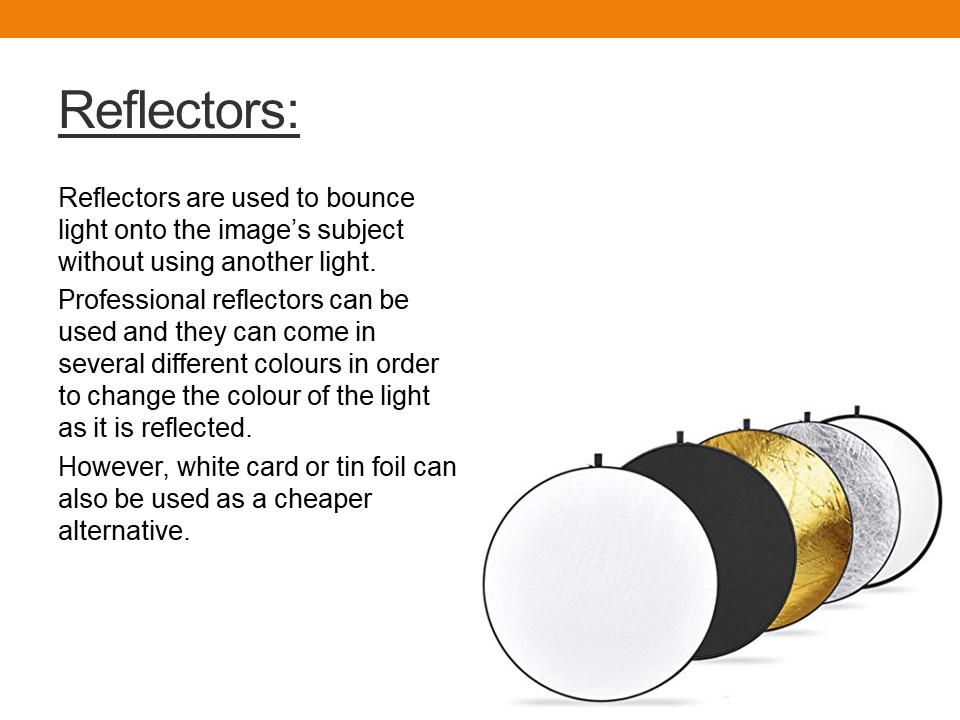
Fill lighting is a light that is used in a studio to fill in the shadows caused by other lights, and to soften or remove them from a photograph.
Fill lighting in portraiture usually allows for the subject and the background to become more clearly distinct (without the distraction of a shadow blending the 2 together slightly) and so the final produce appears to have more depth, despite the image being 2D.
Professional examples of photographers using fill lighting can be seen below:
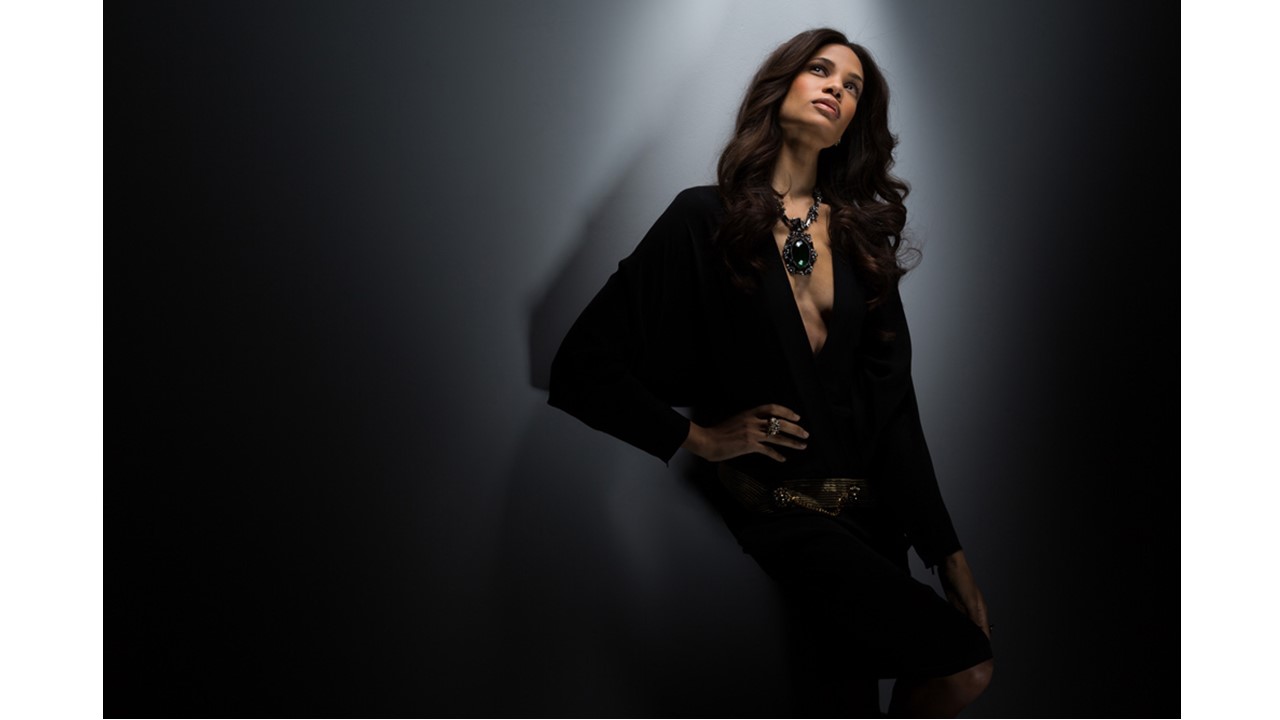
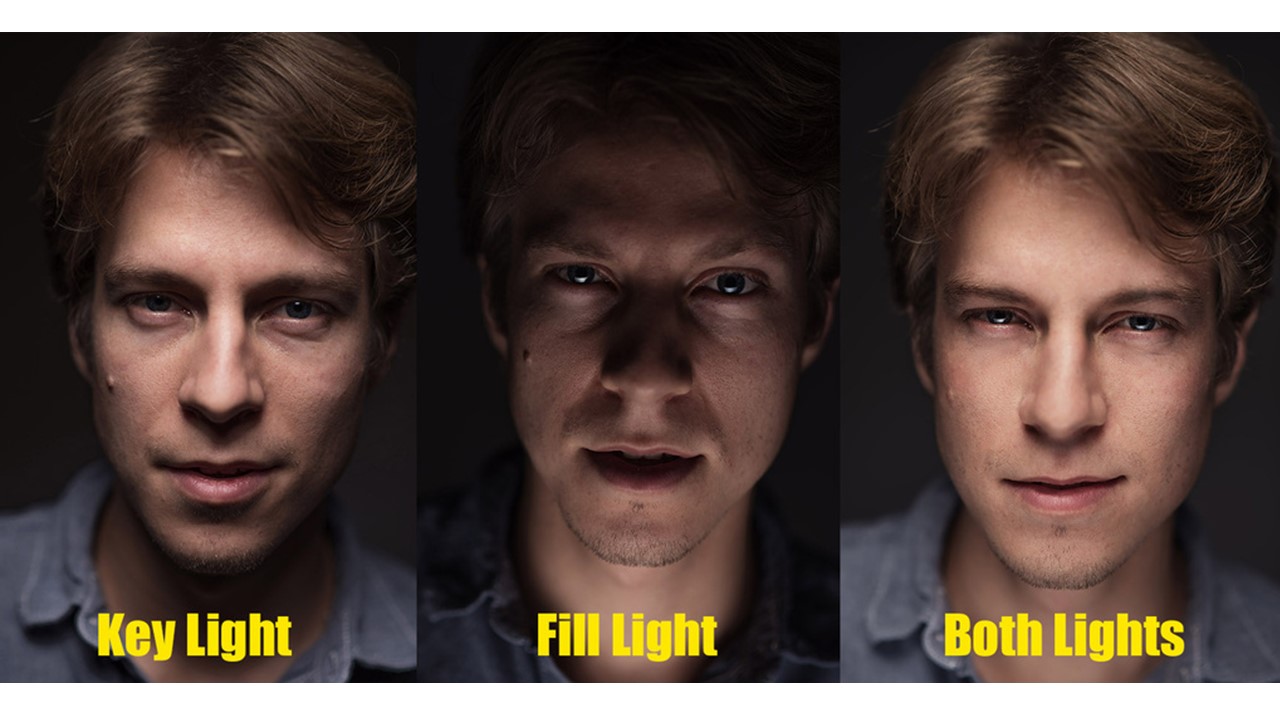
Fill lighting is another example of how different lights can be used together to manipulate the overall lighting for a photograph.
Spill Light:
Spill light refers to the light that illuminates surfaces beyond the area that is intended on being illuminated, It is light that, for example, illuminates a part of the background that does not need to be illuminated. Spill light is usually something that photographers want to avoid, because it can draw attention away from the main subject of a photograph, and can make an image seem more flat and unfocused.
Below is an example of spill light and how it can effect an image:
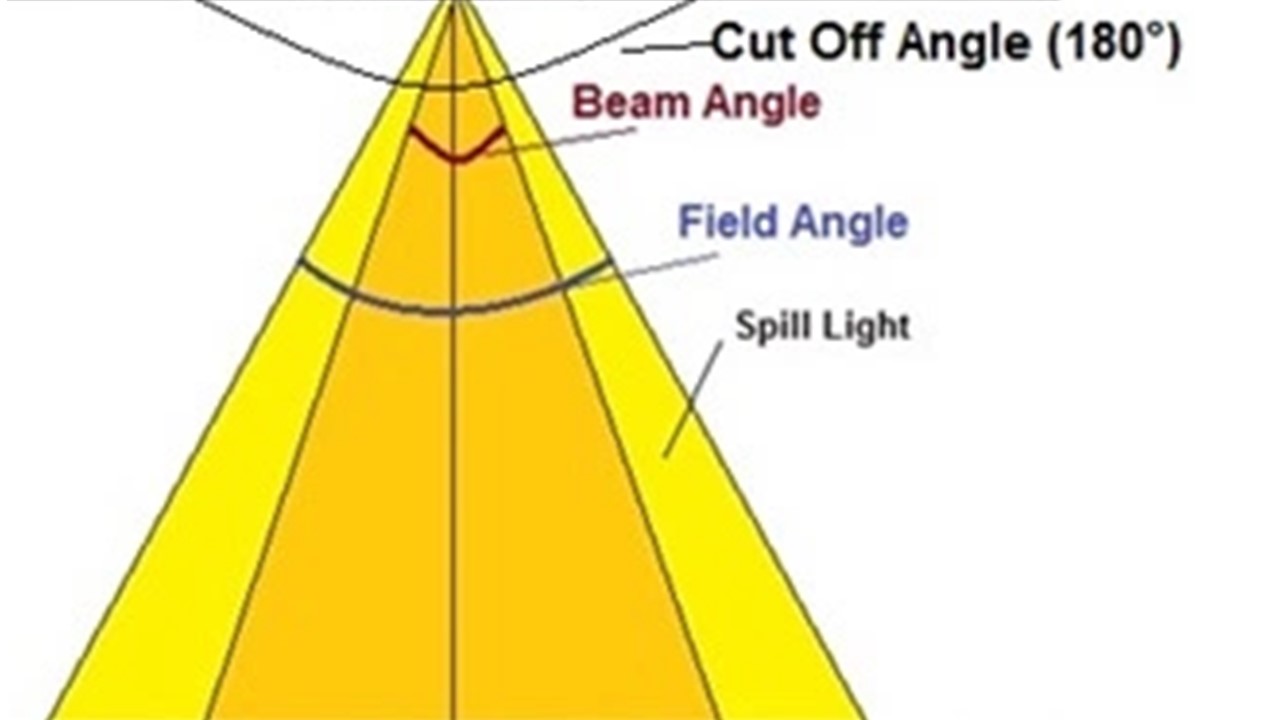
The image above shows an example of how excess light can become spill light. If the light is focused on a specific point, the majority of the light will focus on that point, however some of the light will “spill” out, and illuminate the parts of the background that do not need to be illuminated. Spill light can be controlled more by focusing the light on a smaller area, as the spill light will not be as significant.
Chiaroscuro:
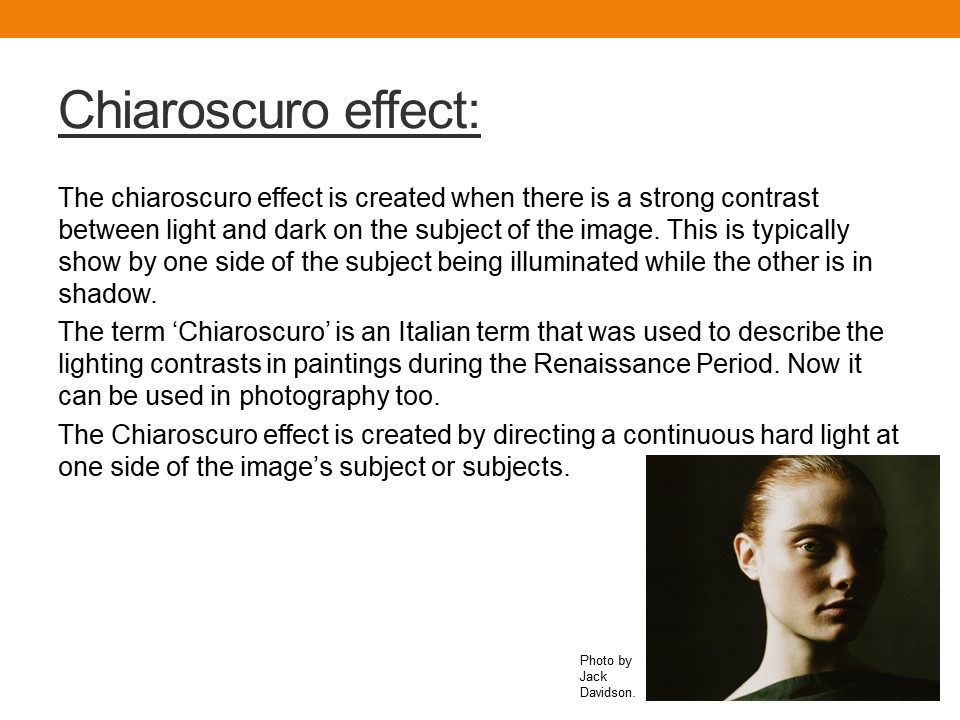
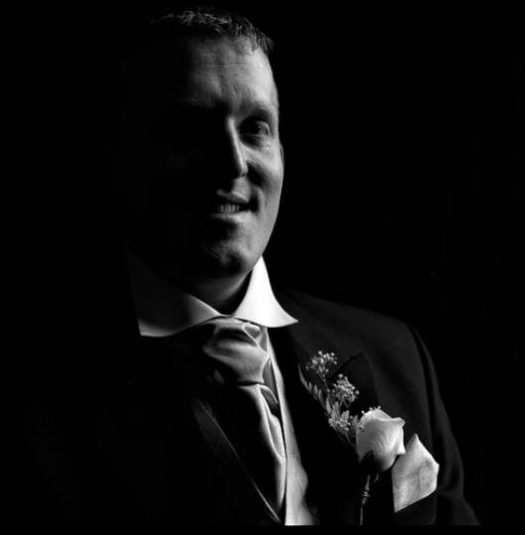
Chiaroscuro in photography refers to the contrasting areas of extreme dark and extreme light that can be presented on a subject. In portraiture, this usually occurs on the face of the subject, and can be very effective if paired with a black and white color scheme.
Chiaroscuro can give the subject of the image more depth, and can help to make the subject seem more 3D and real, regardless of the image itself actually being flat. Examples where chiaroscuro has been used by professional photographers can be seen below.
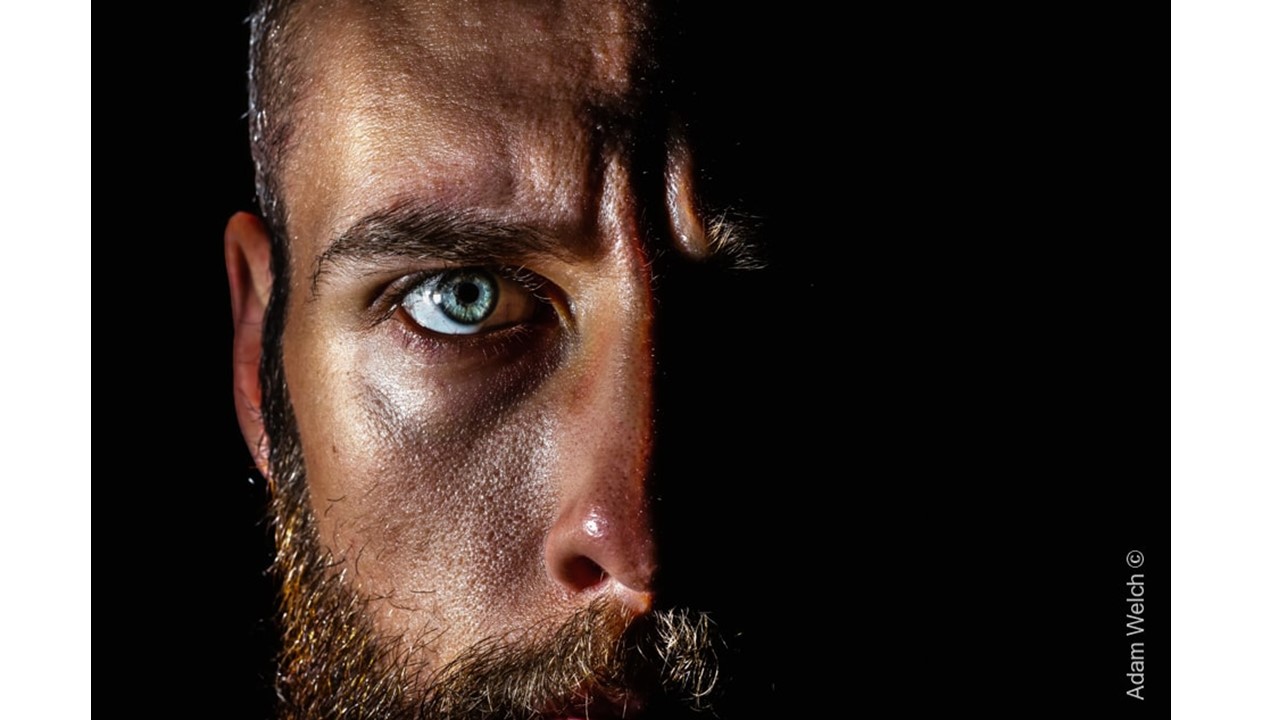
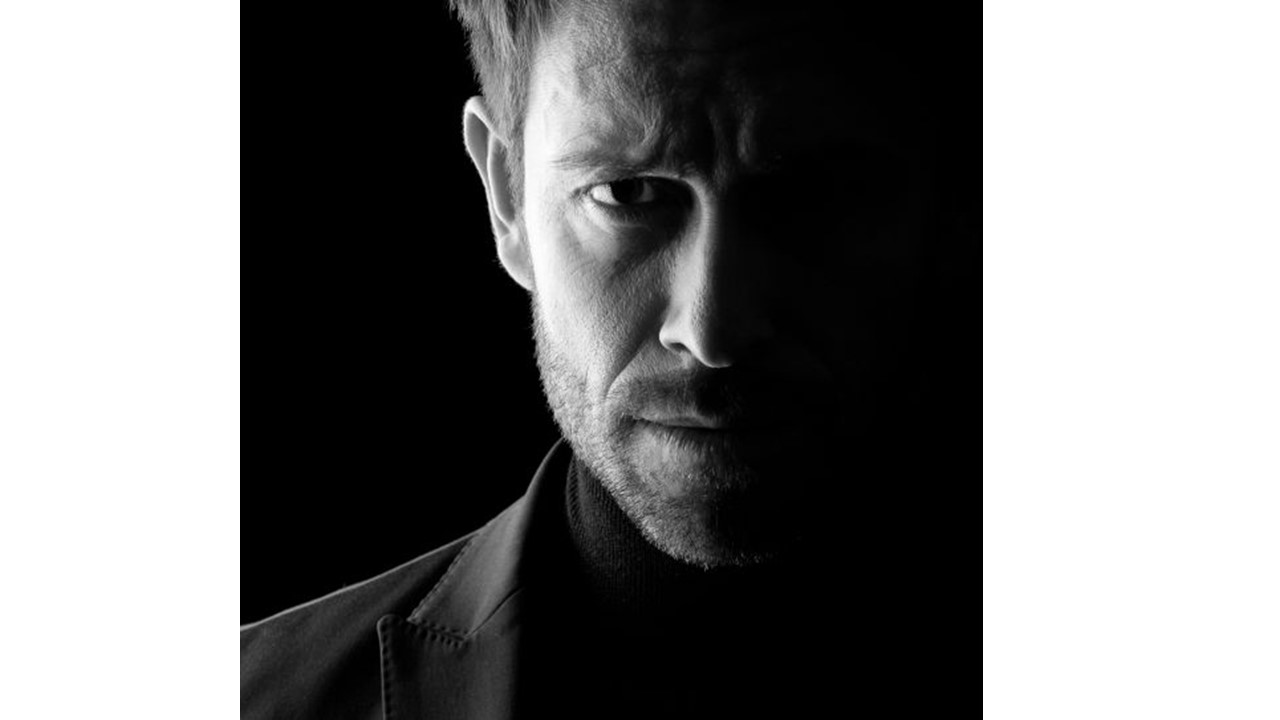
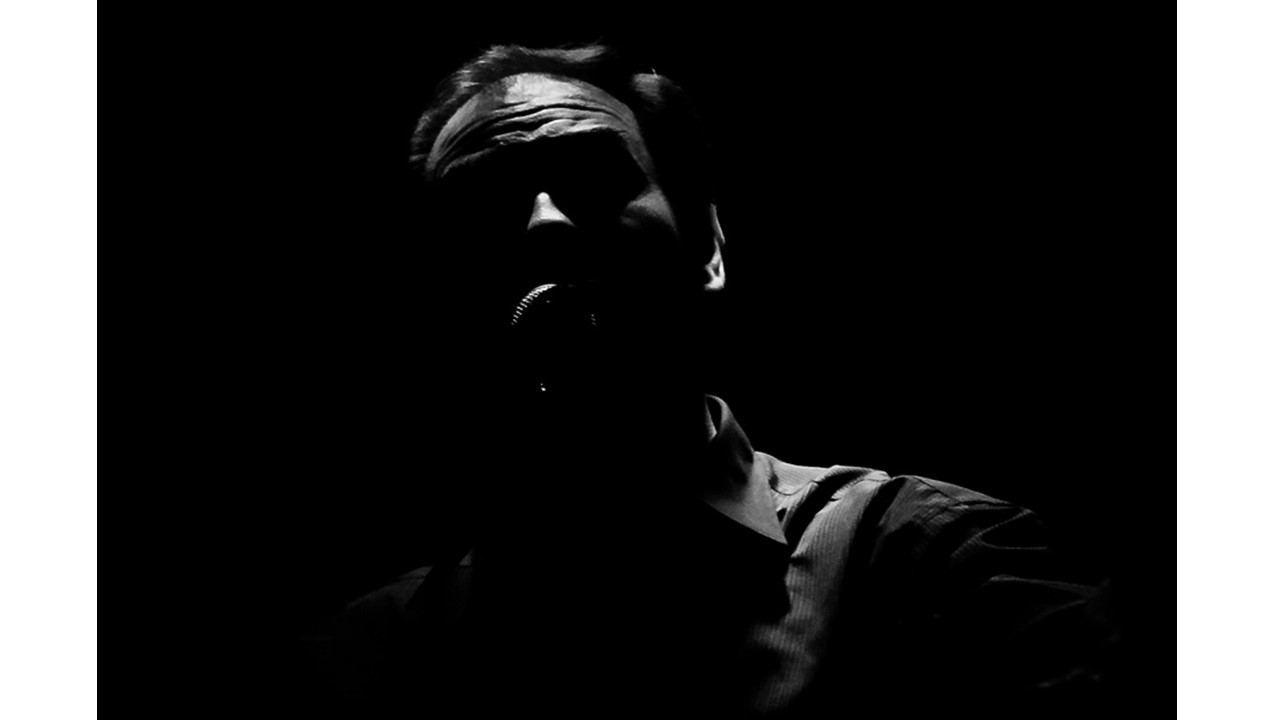
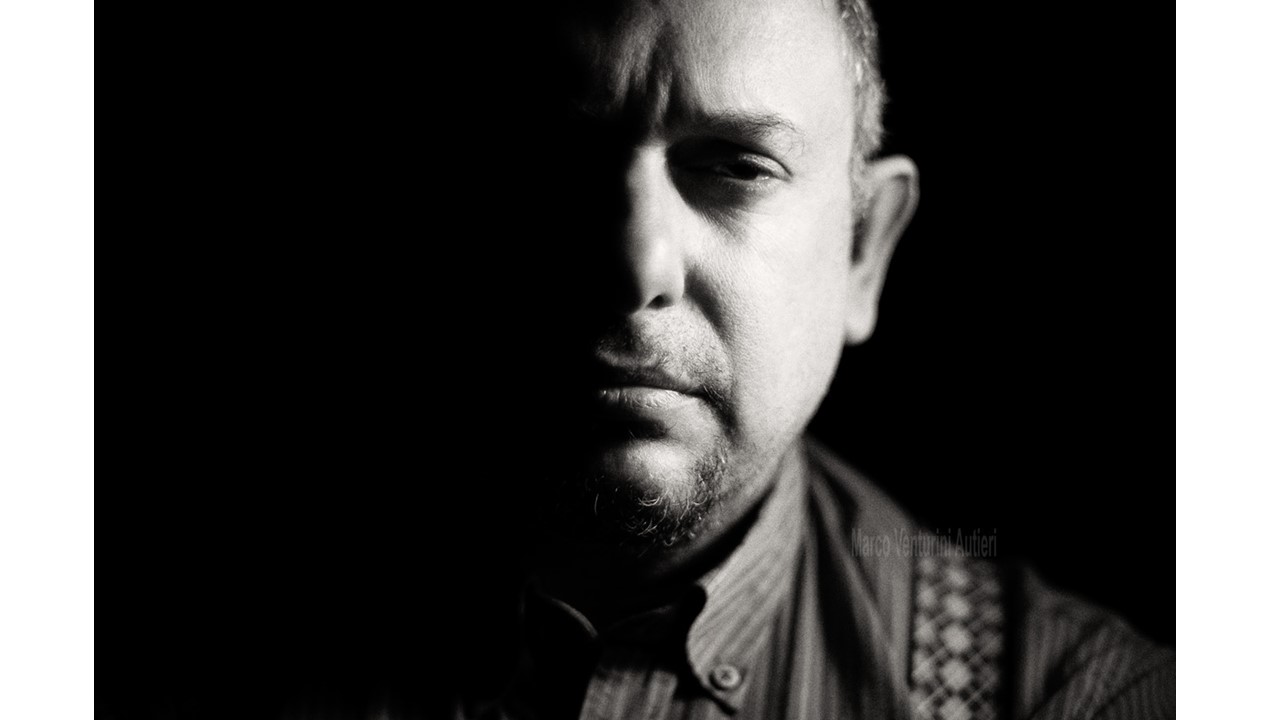
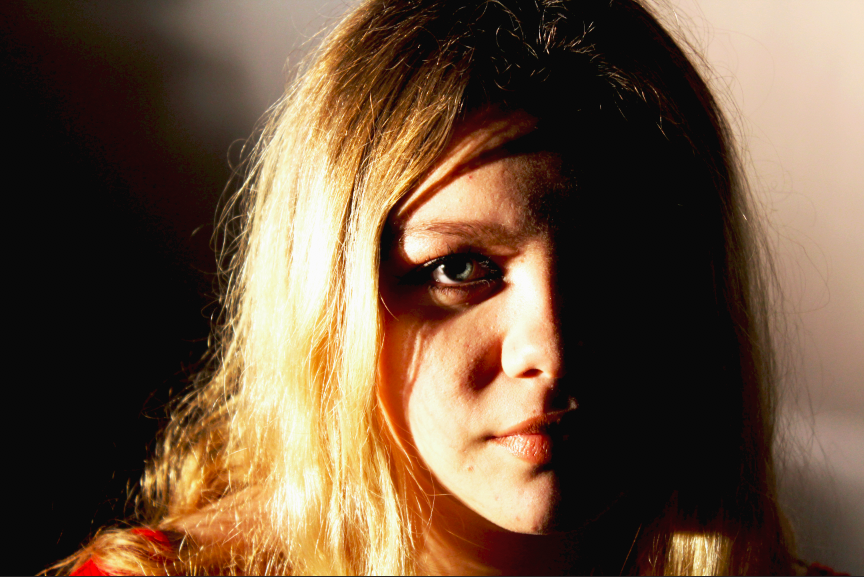
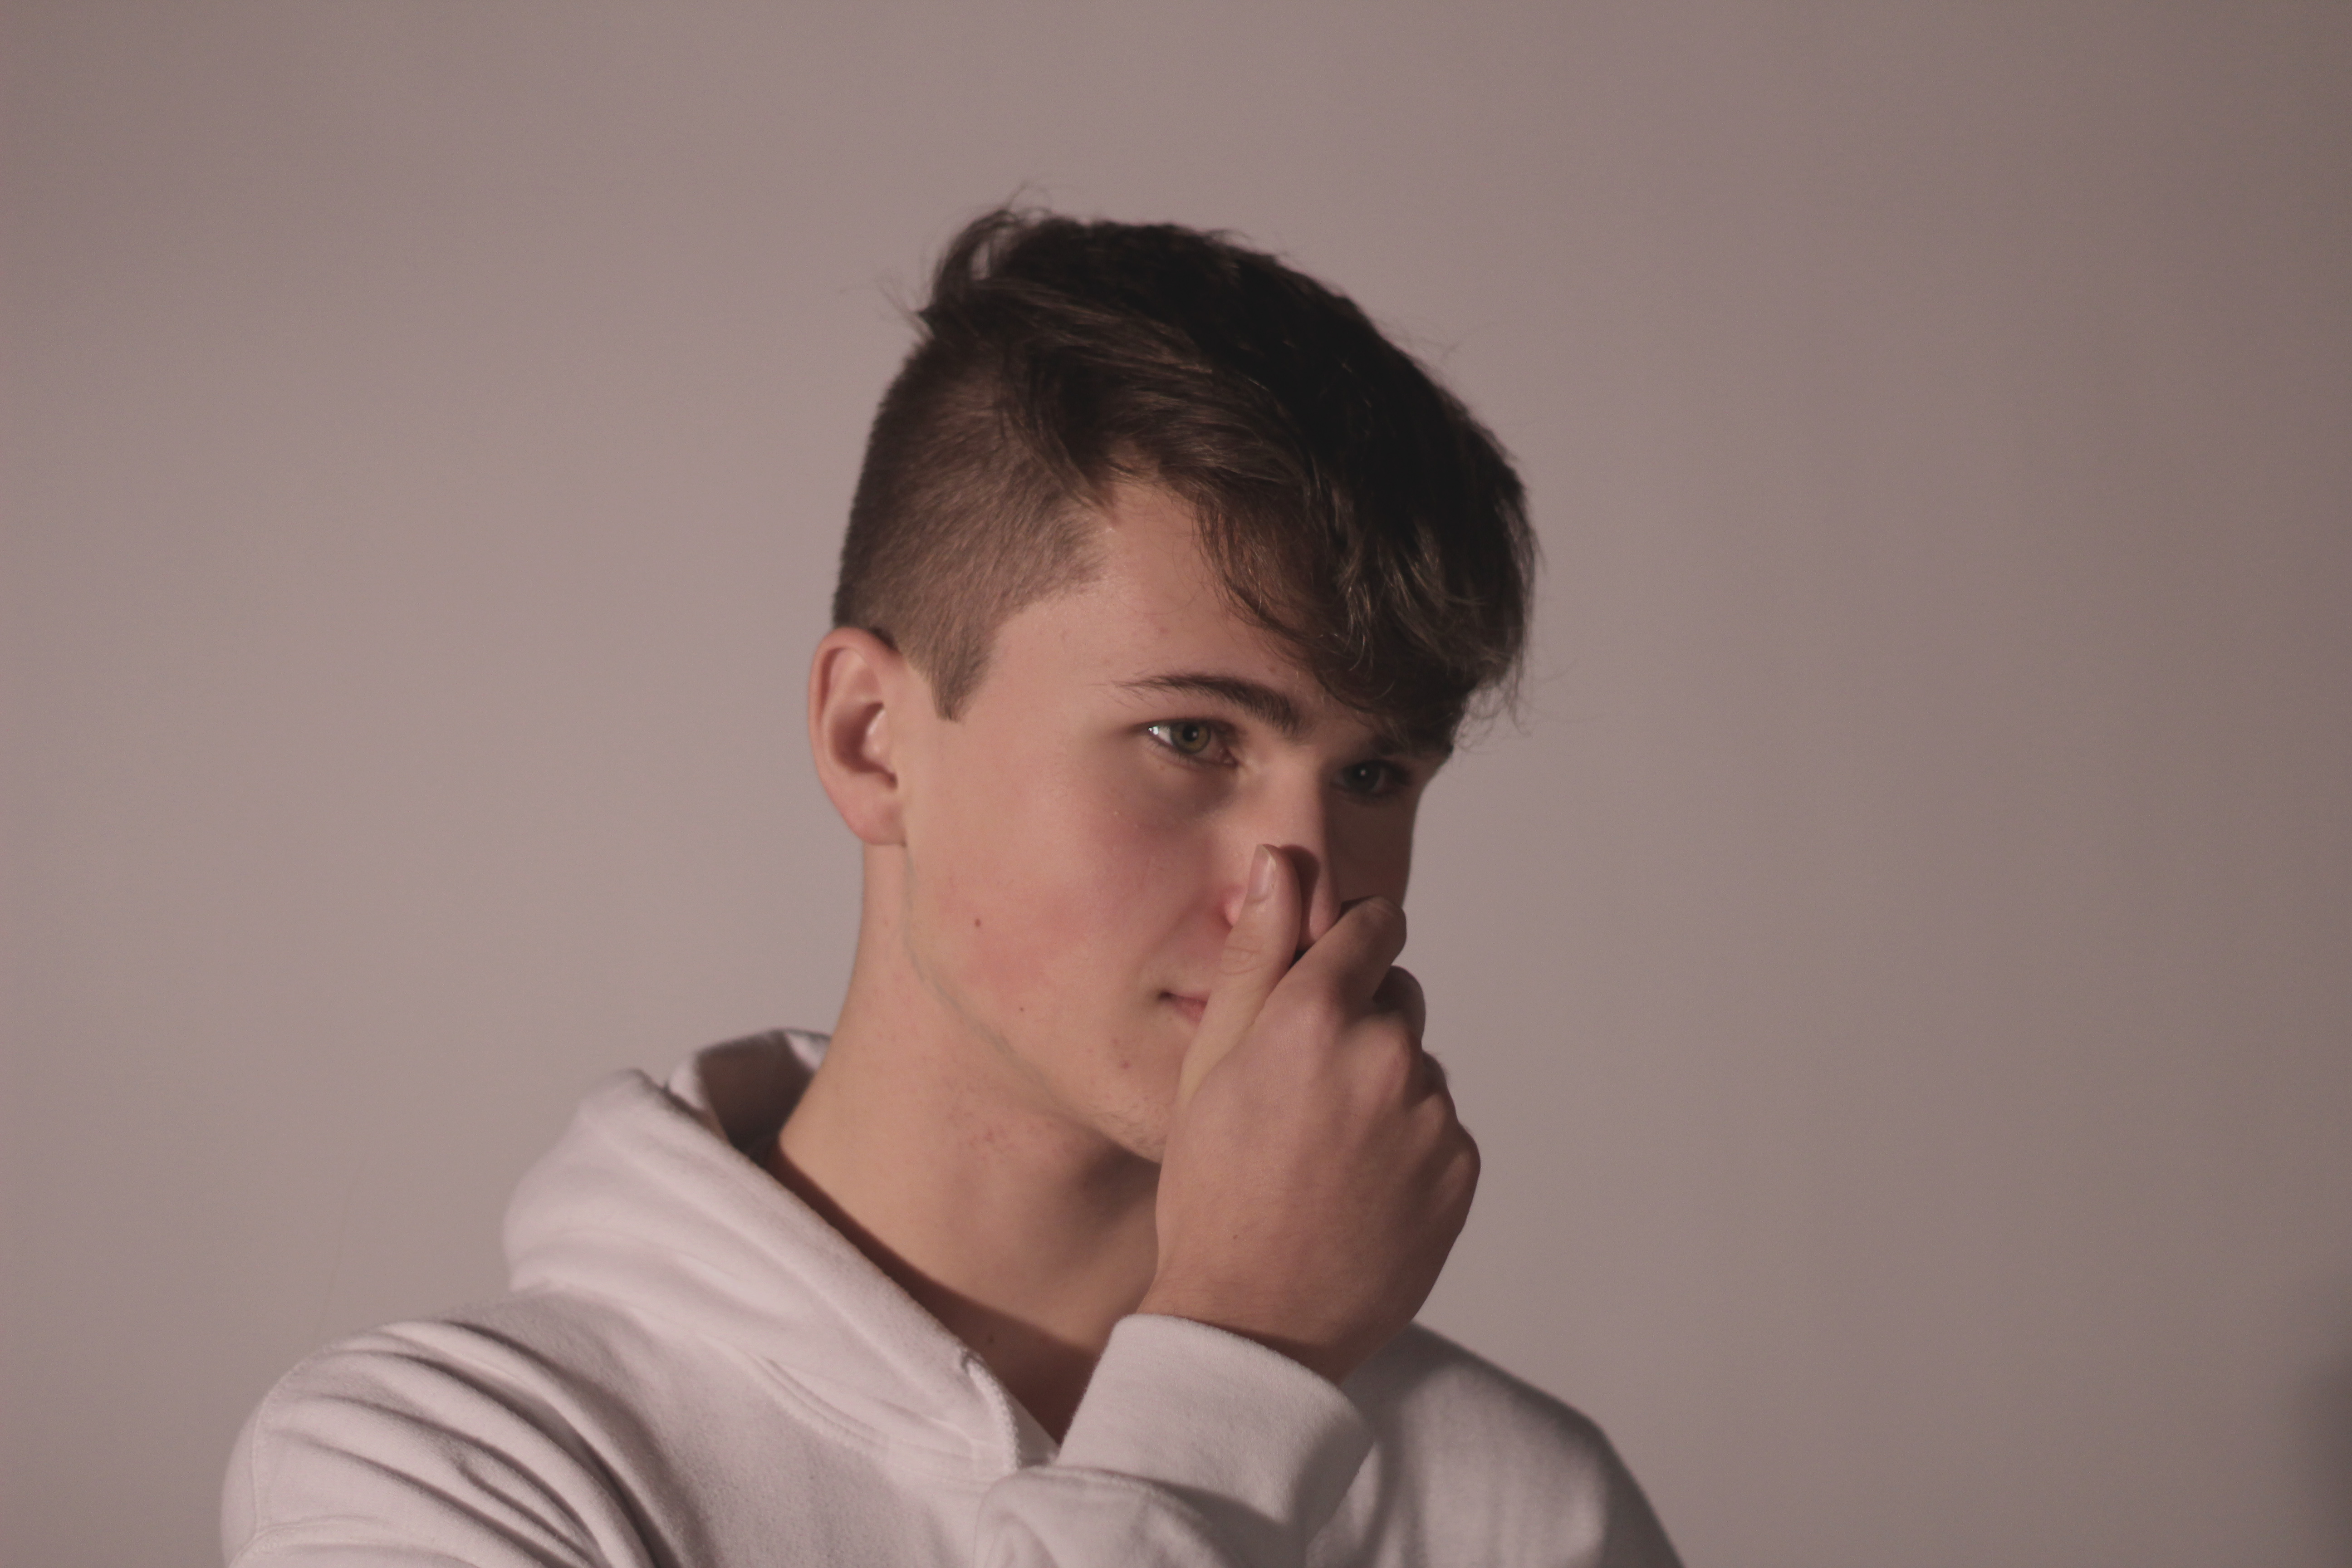
Chiaroscuro makes use of the contrasting tones created using different lighting techniques to exaggerate the light and dark portions of a subjects face. Typically a key light would be pointed at the subject from an angle, so that a harsh light illuminated 1/2 of the subject, while the other 1/2 remains in the shadow caused by the lack of light.
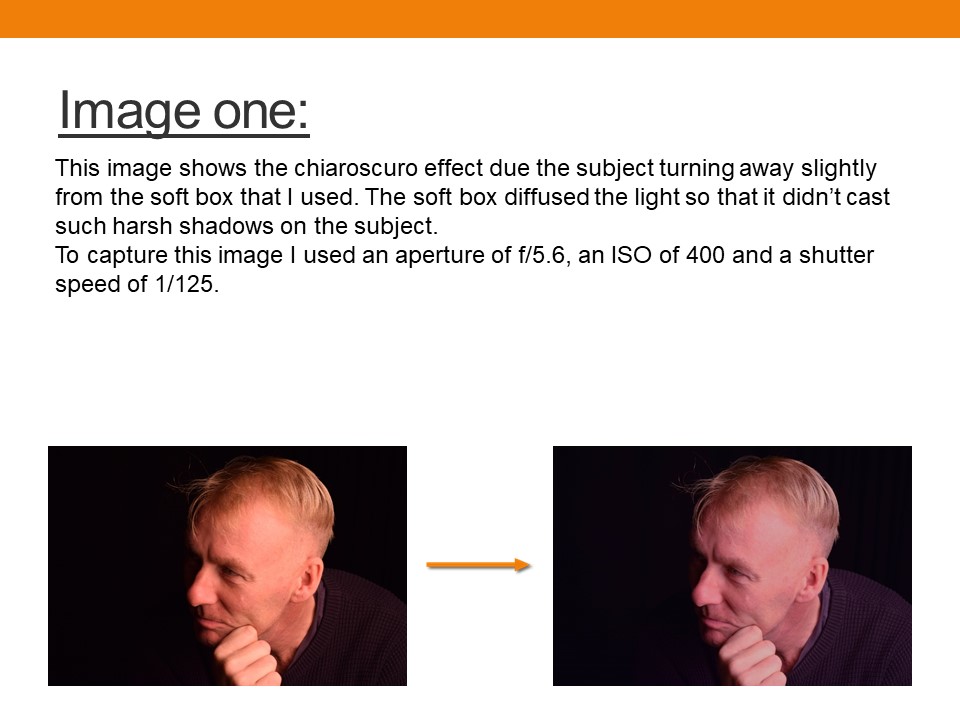
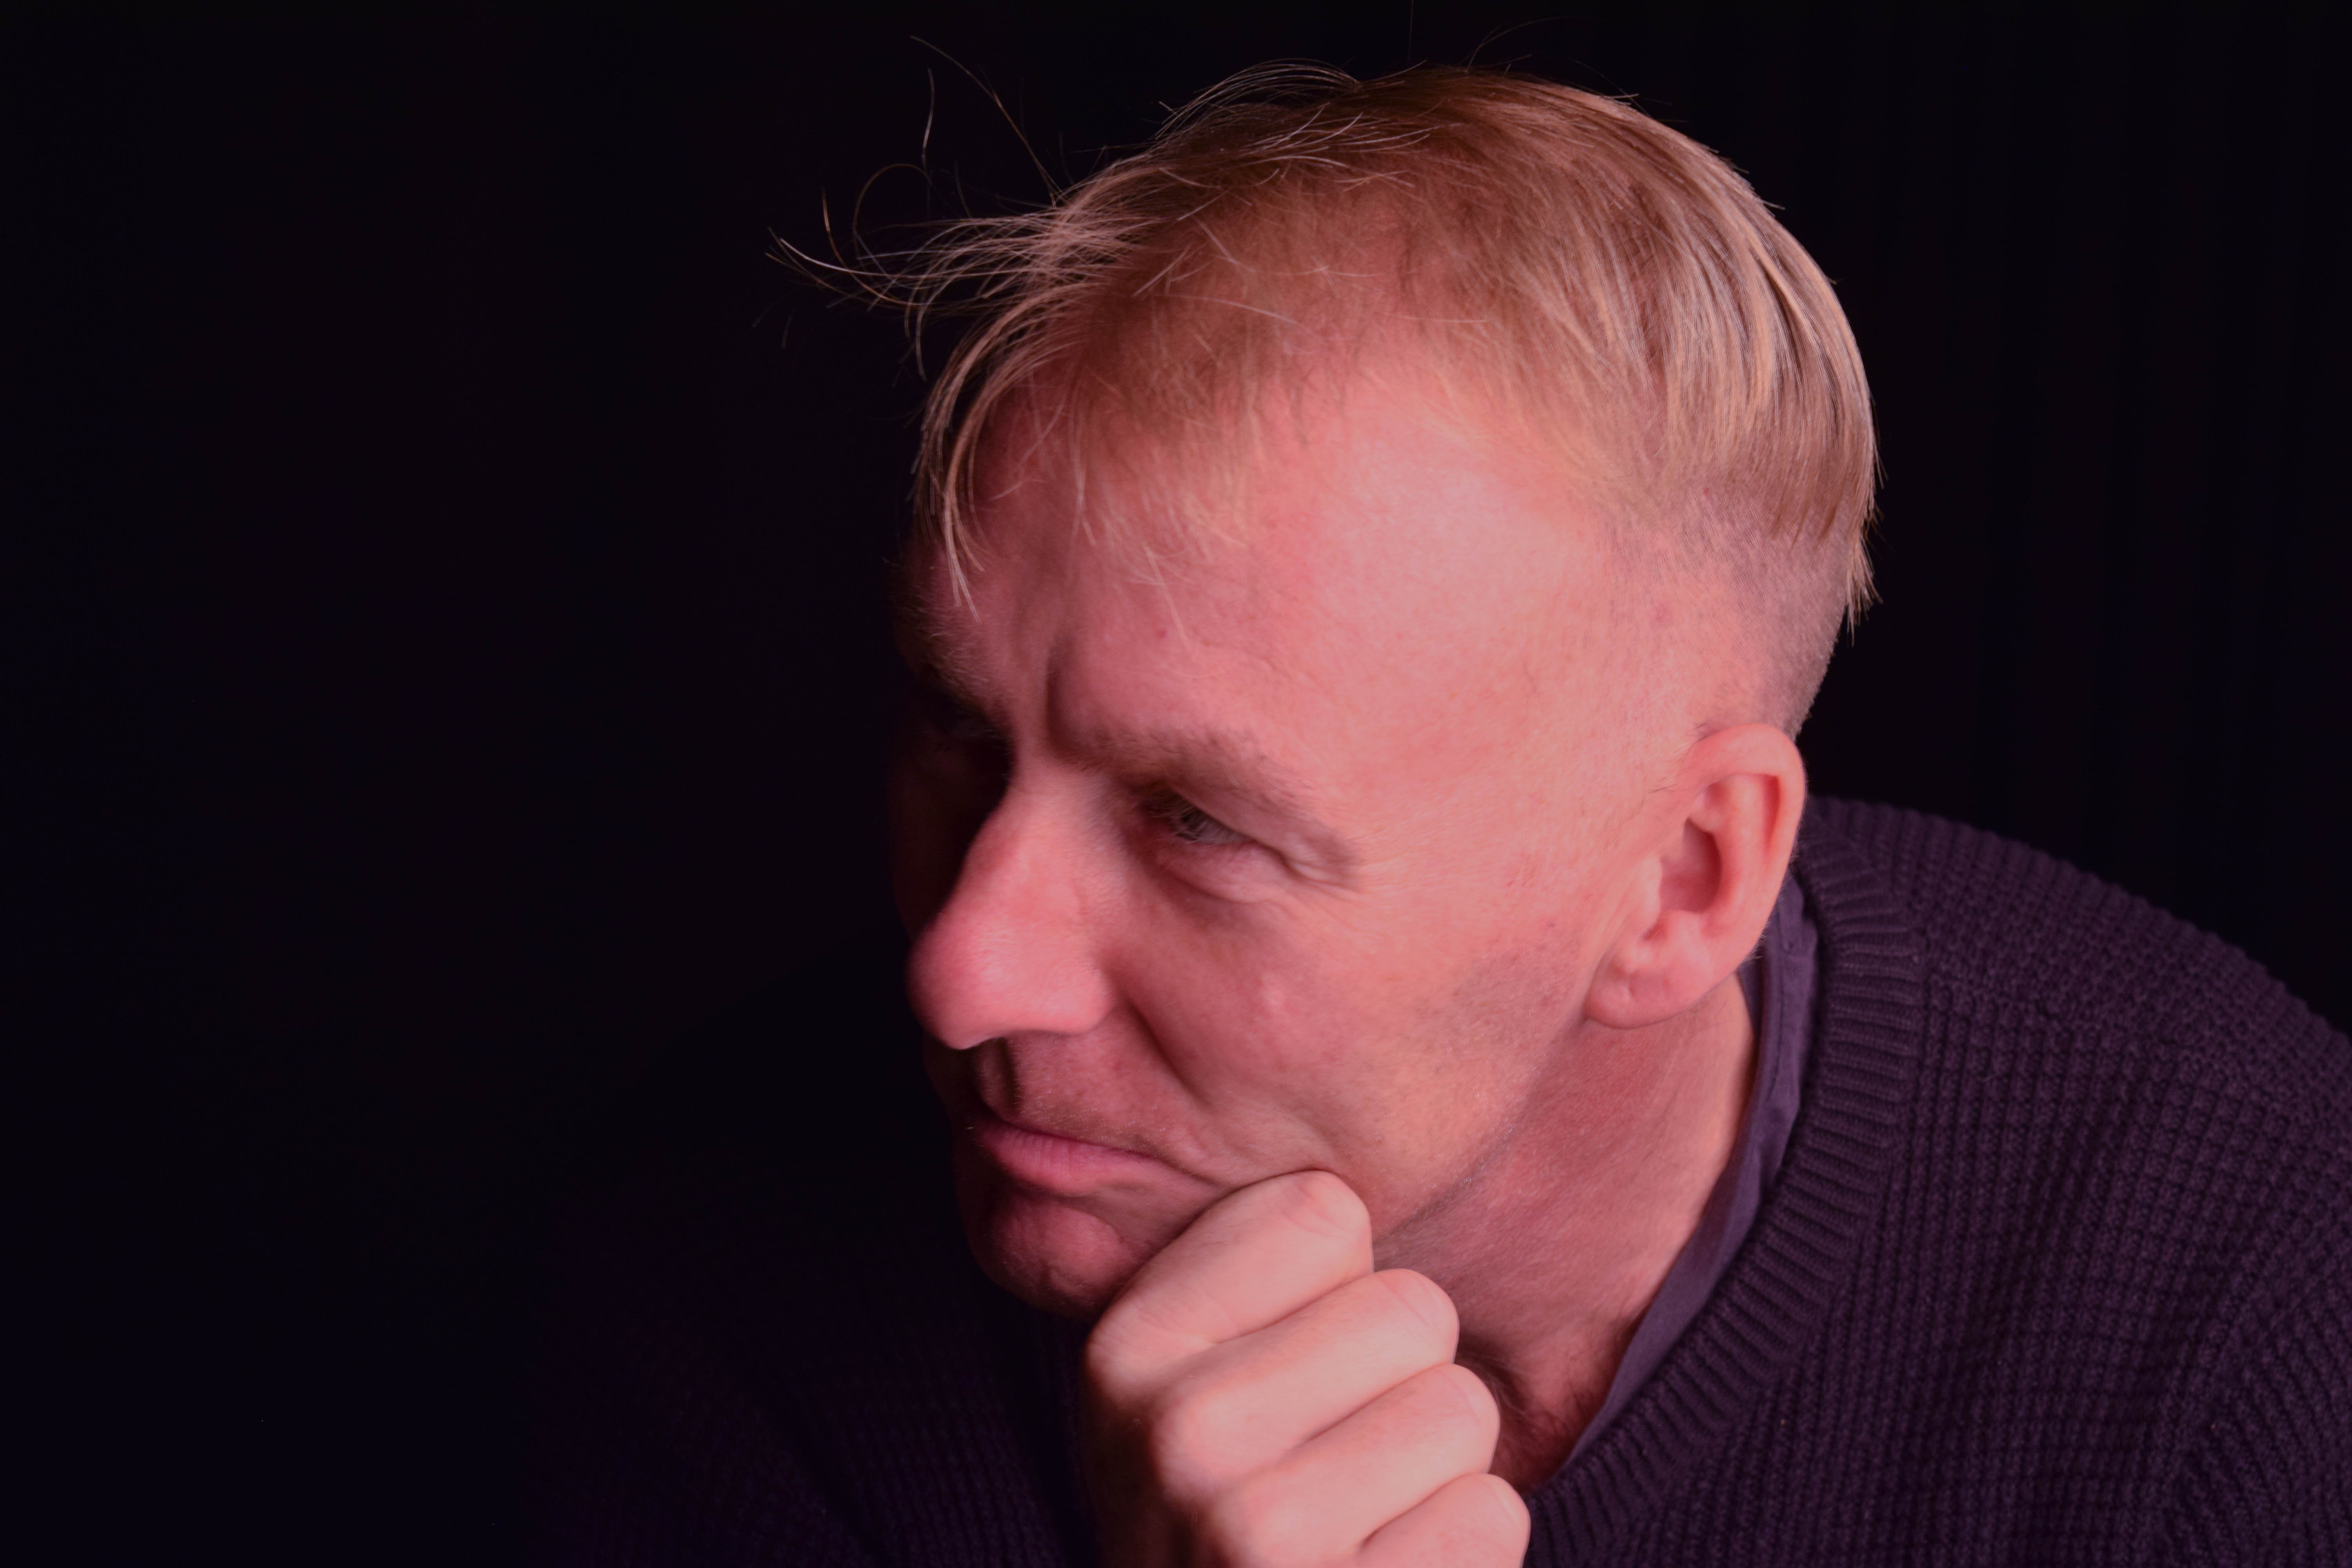
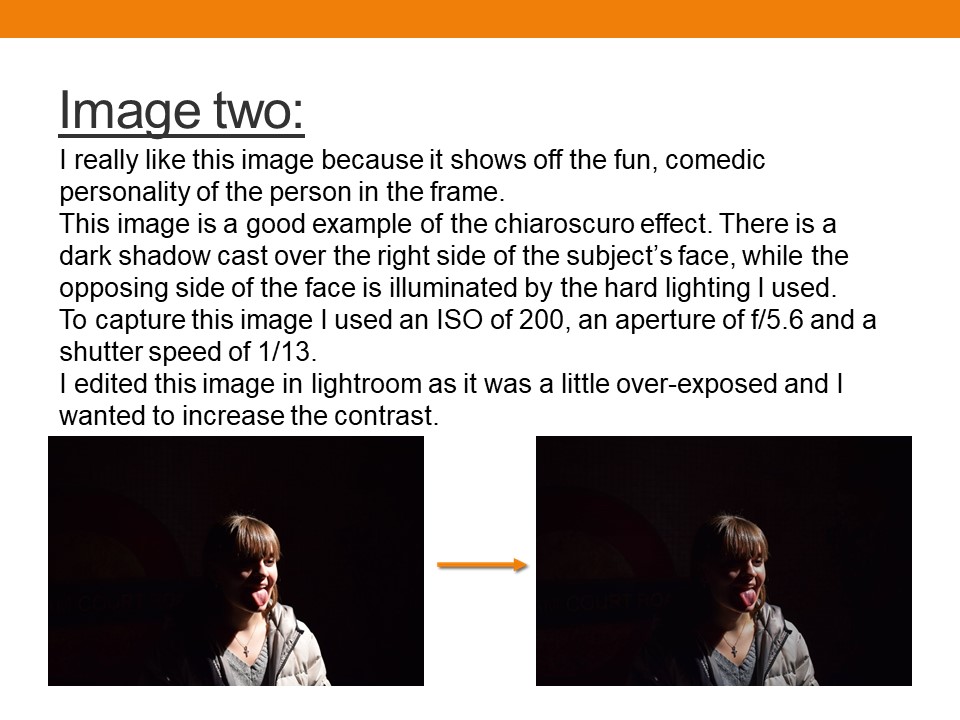
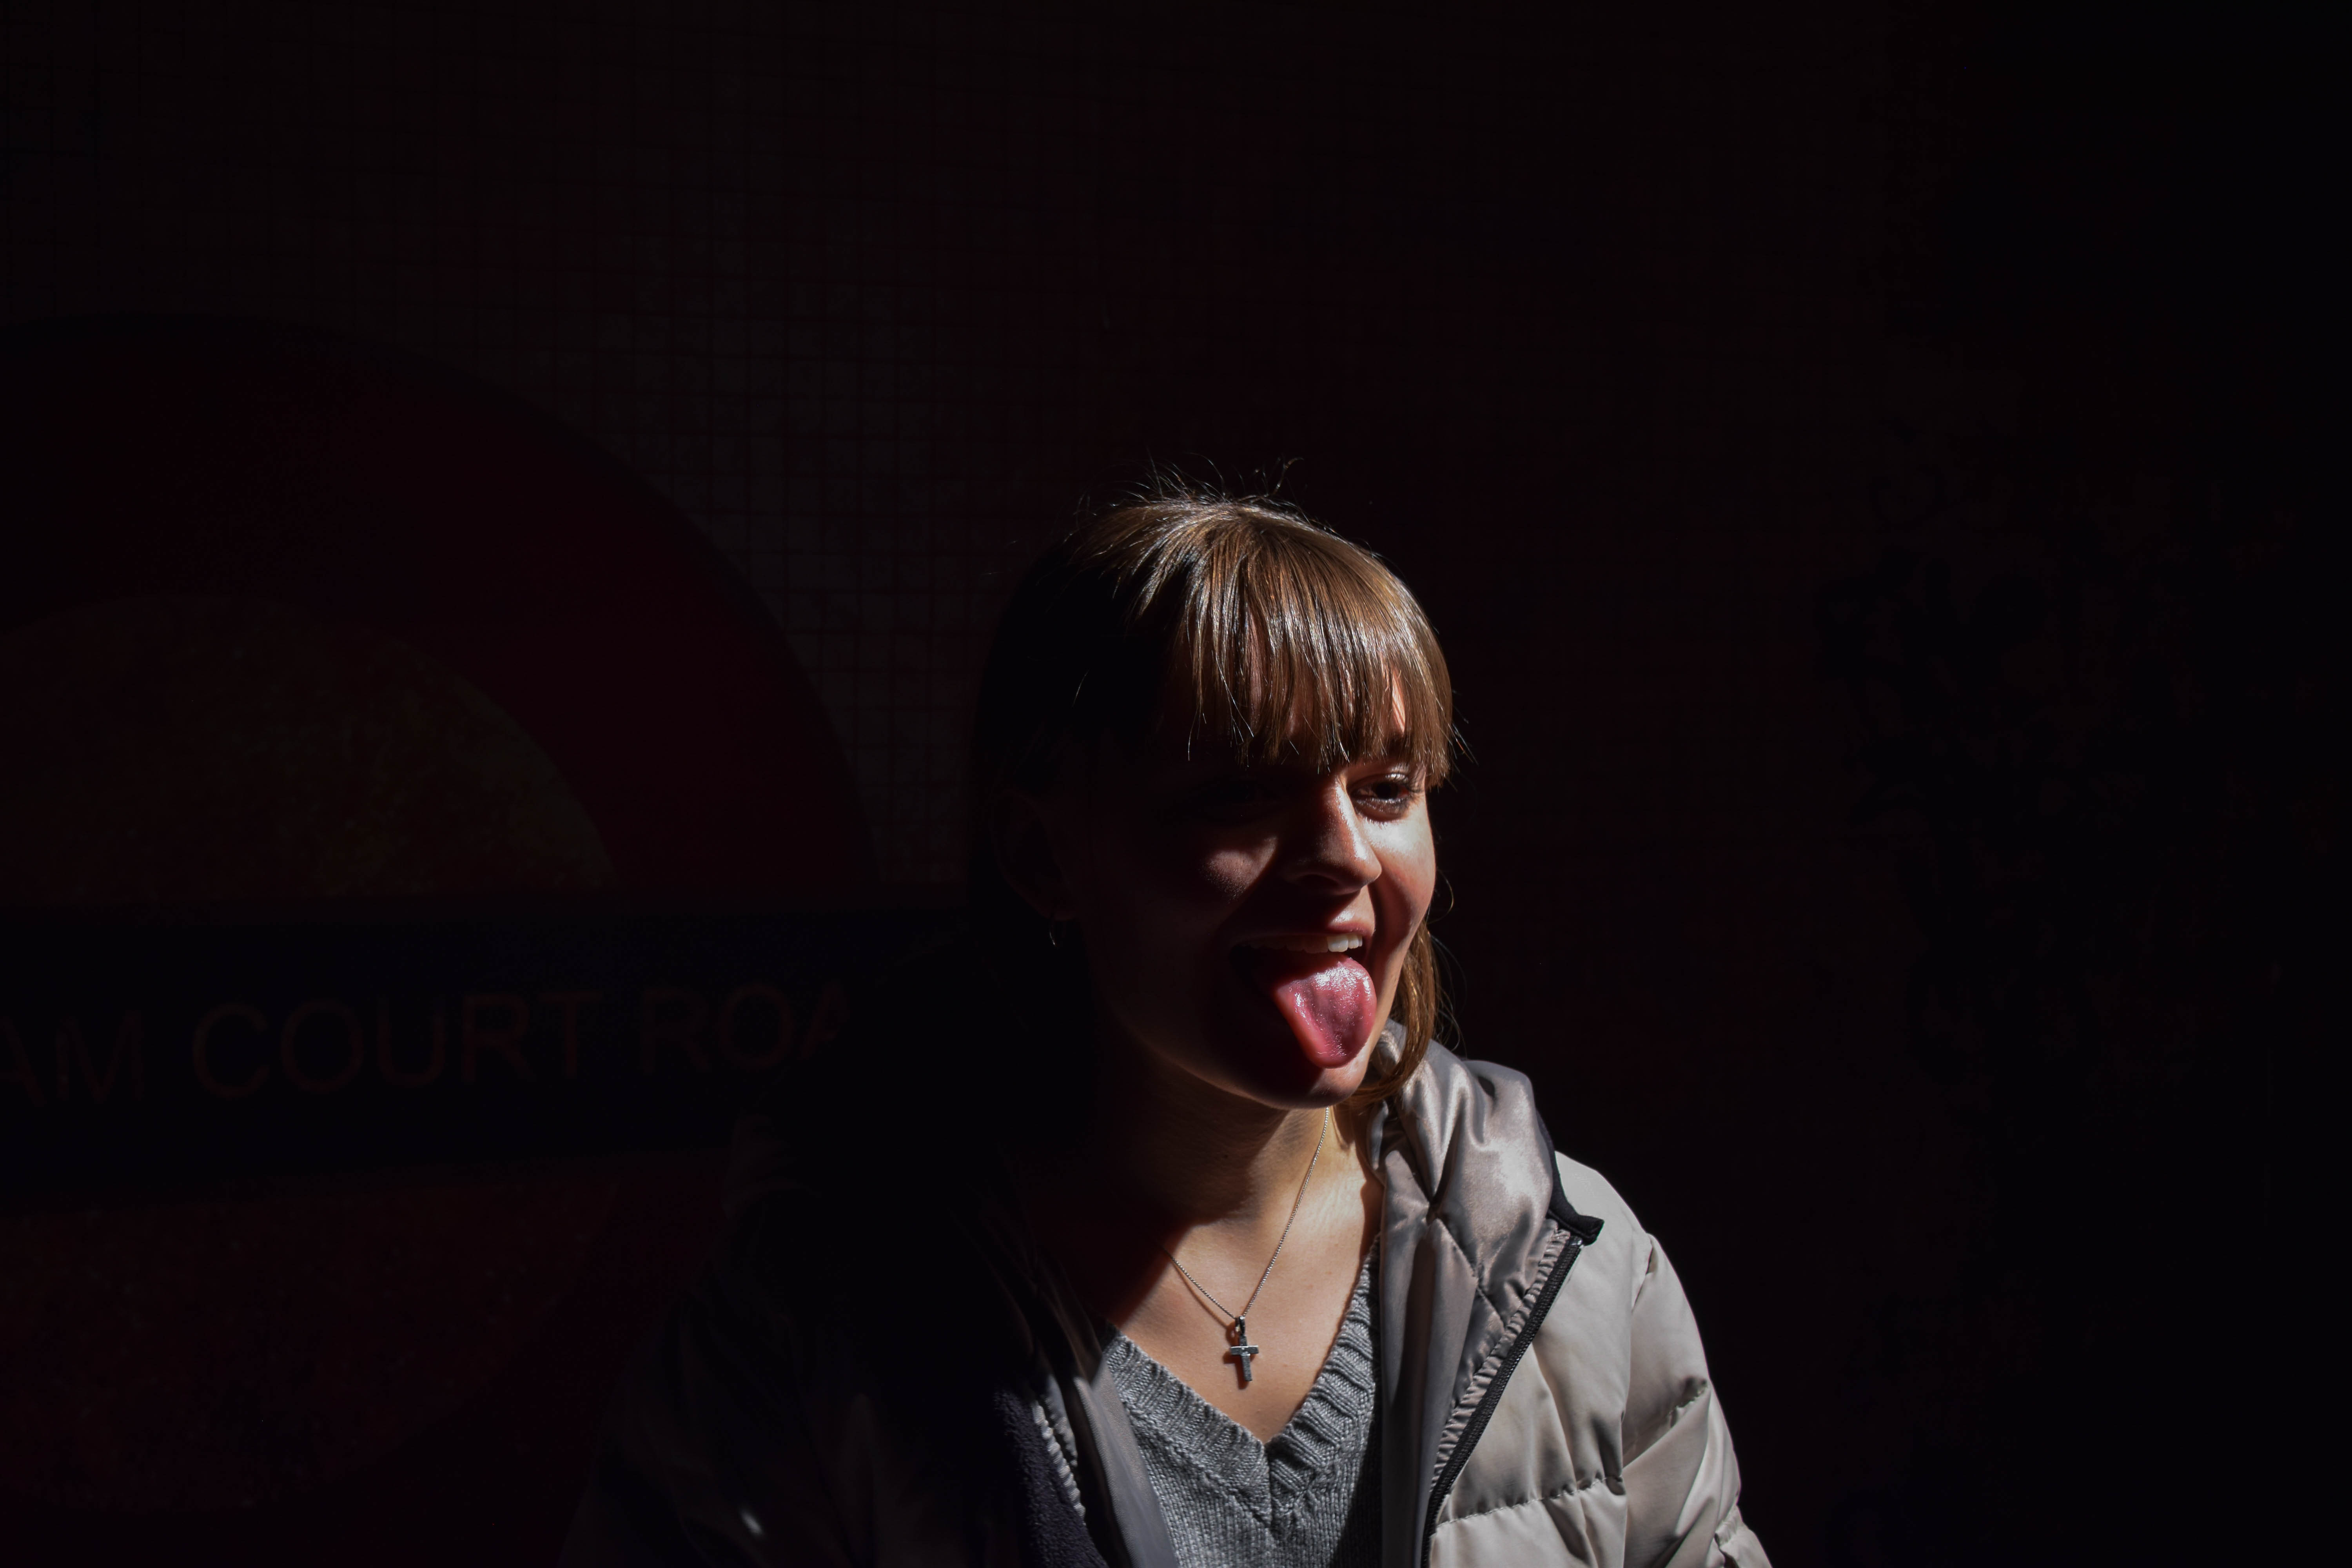
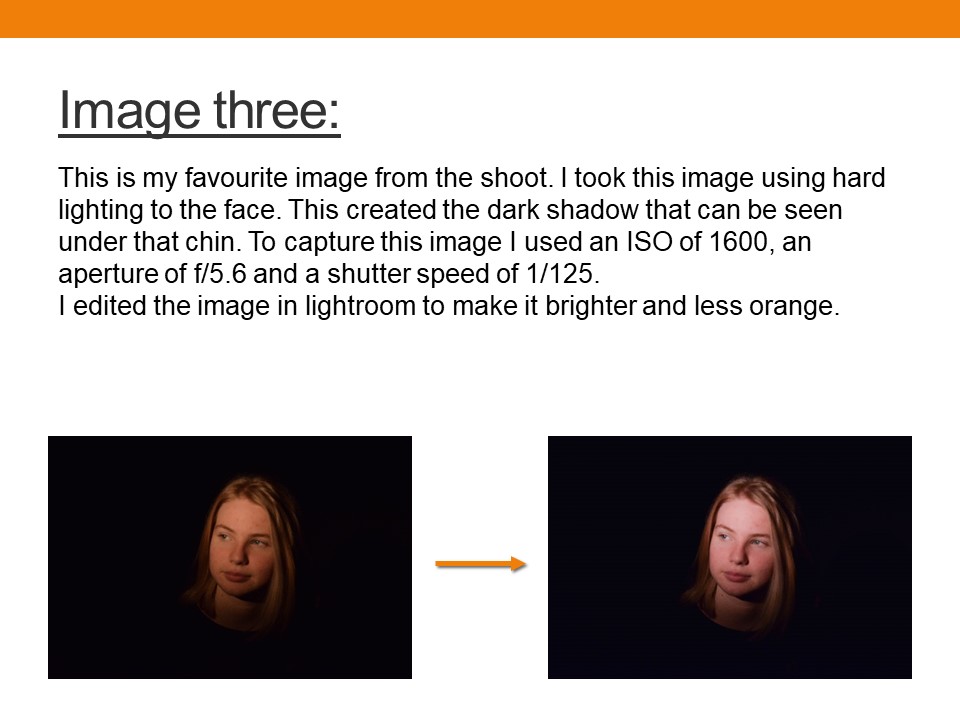
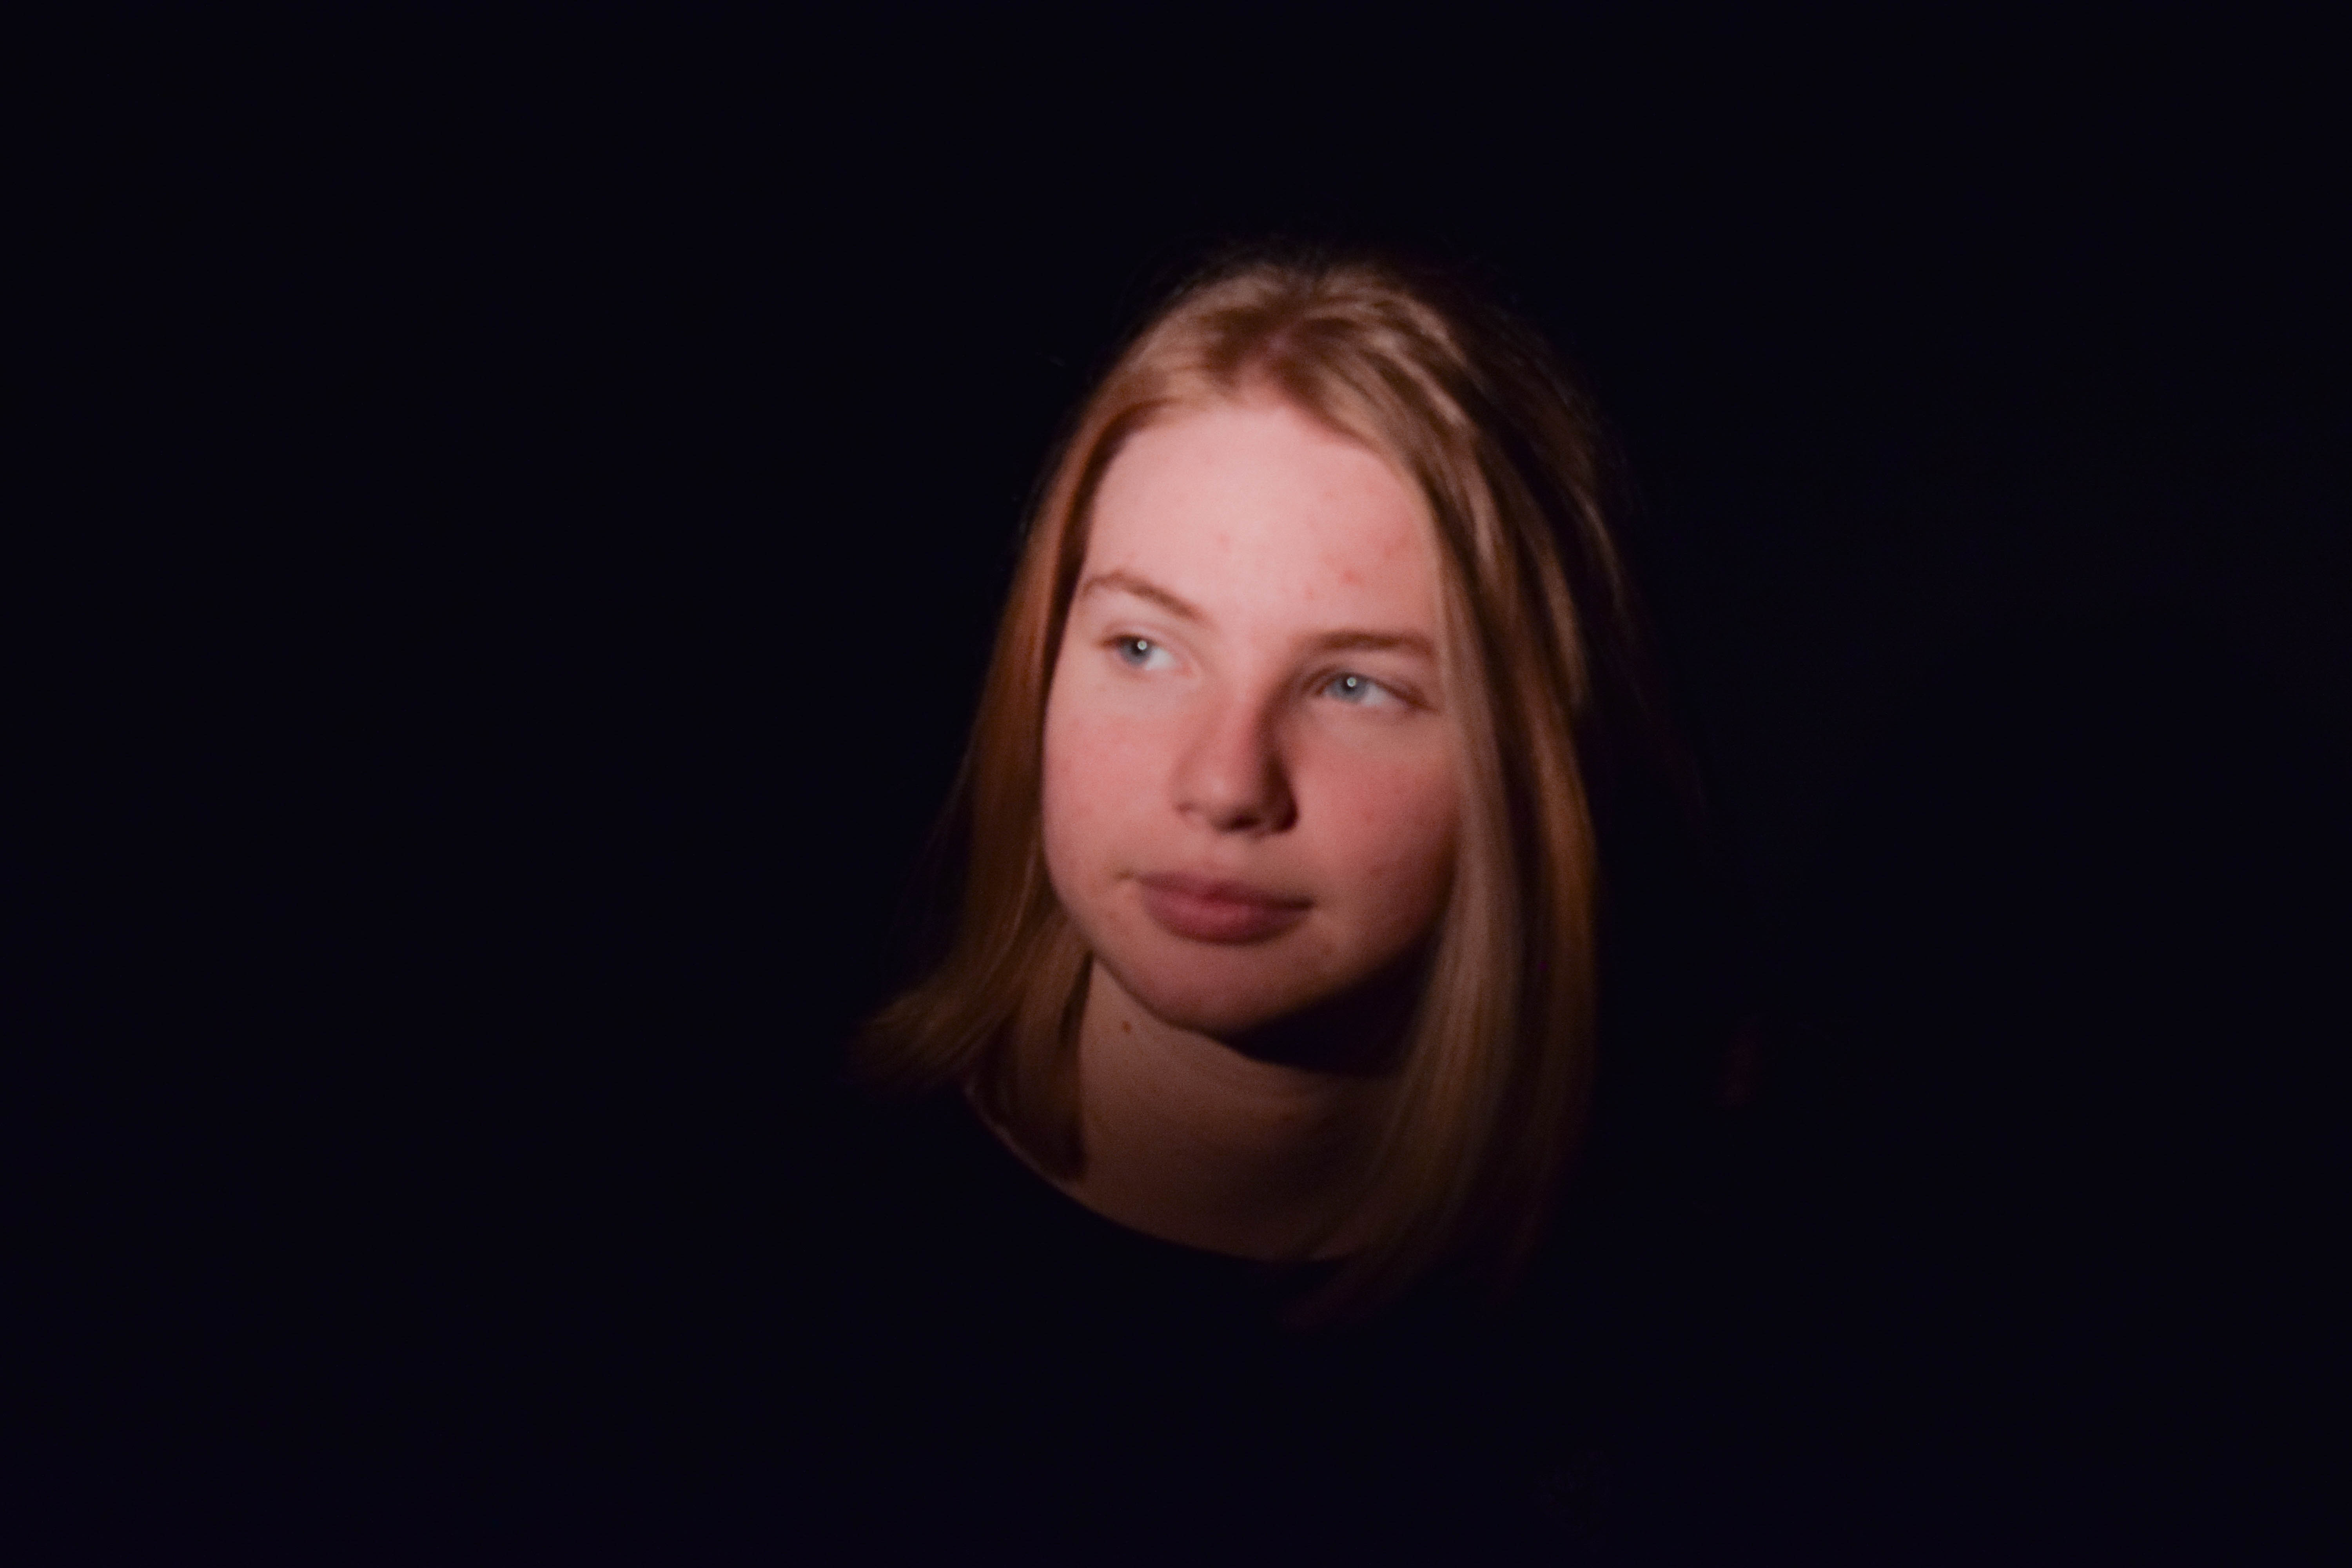
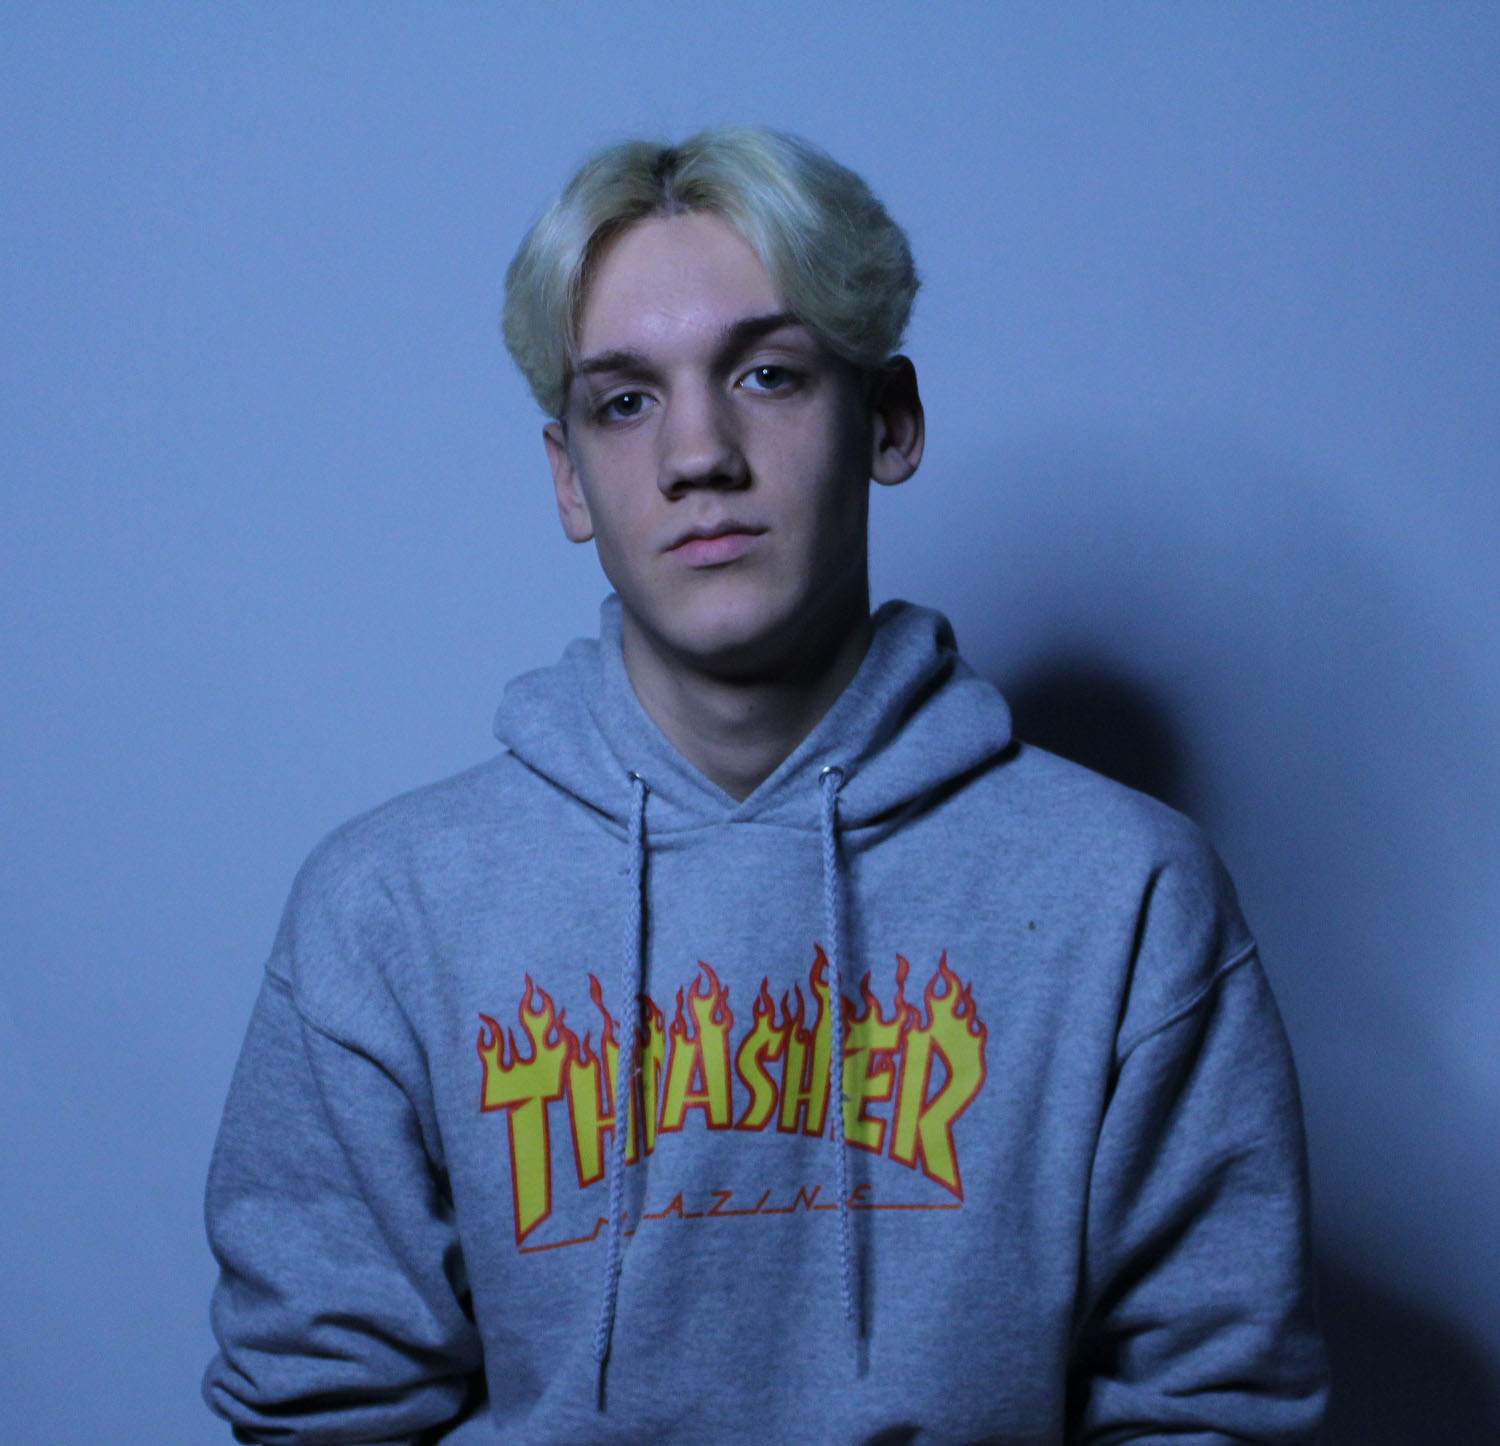
An example of where I have used chiaroscuro in my own photography can be seen below:
Rankin: Studio Portraiture
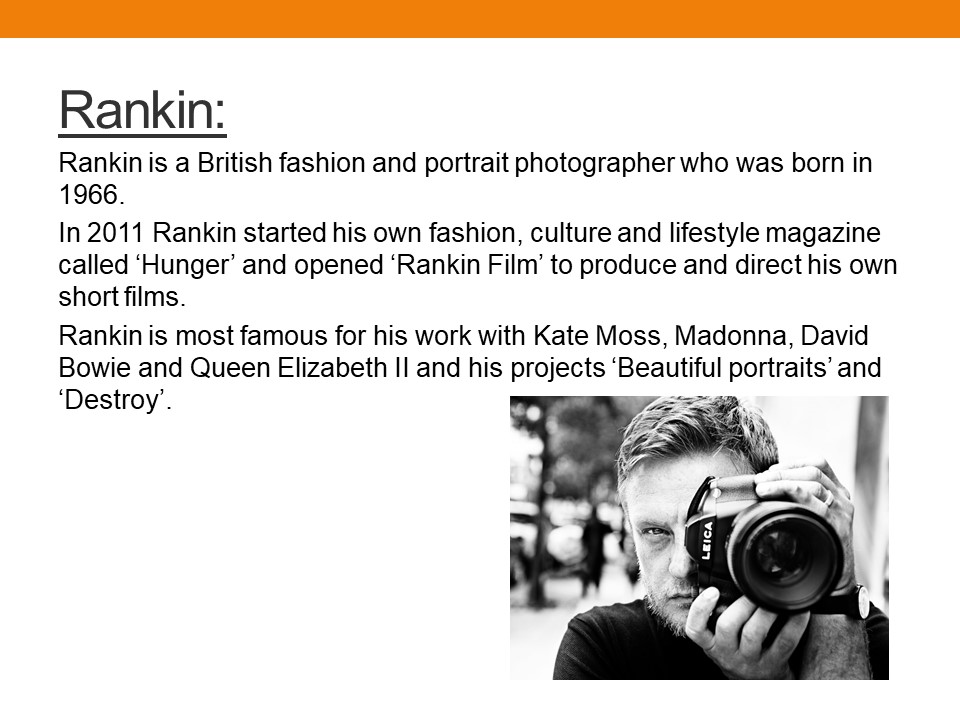
John Rankin Waddell is a British portrait and fashion photographer. He often works with celebrities and well known figures, using portraits to emphasize certain qualities of the subject, which are then used in adverts, billboards and other promotional material.
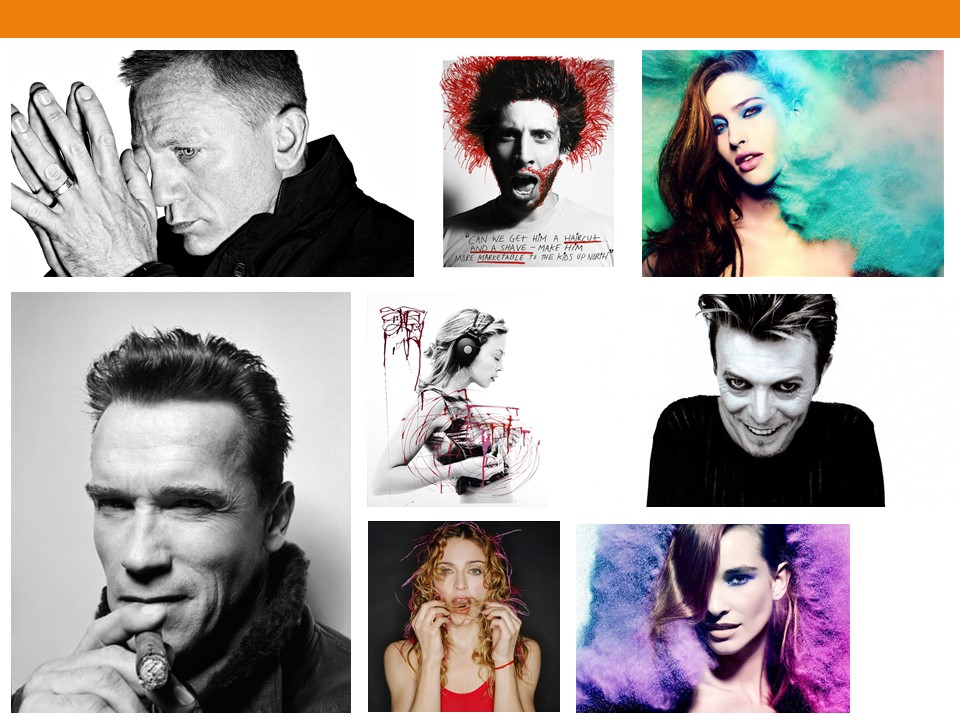
A lot of Rankin’s photography focuses on close up head-shots of the subject, using a variety of facial expressions and props to create an interesting and intriguing image. Rankin makes use of both grey-scale and colored photography, and through using a studio as the setting for most of his portraits, the background of the image is often left a bold white, which draws maximum attention to the subject in the foreground.
Examples of Rankin’s portraiture work can be seen below:
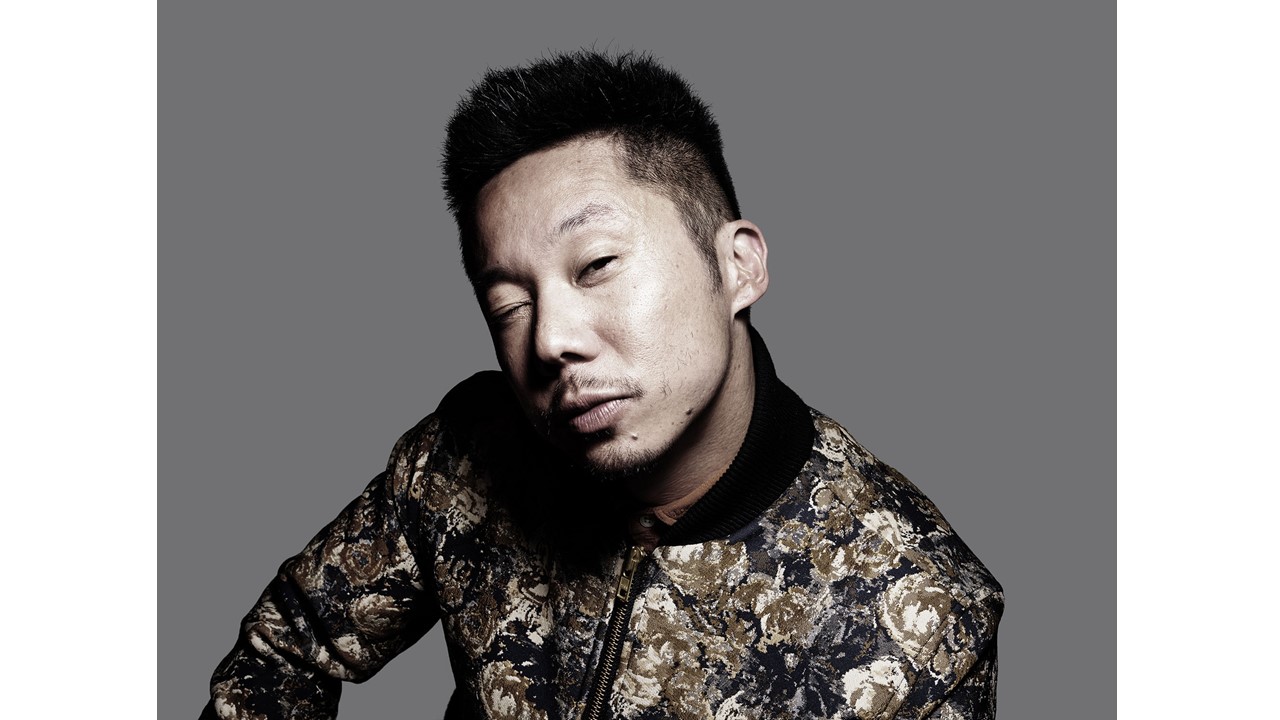
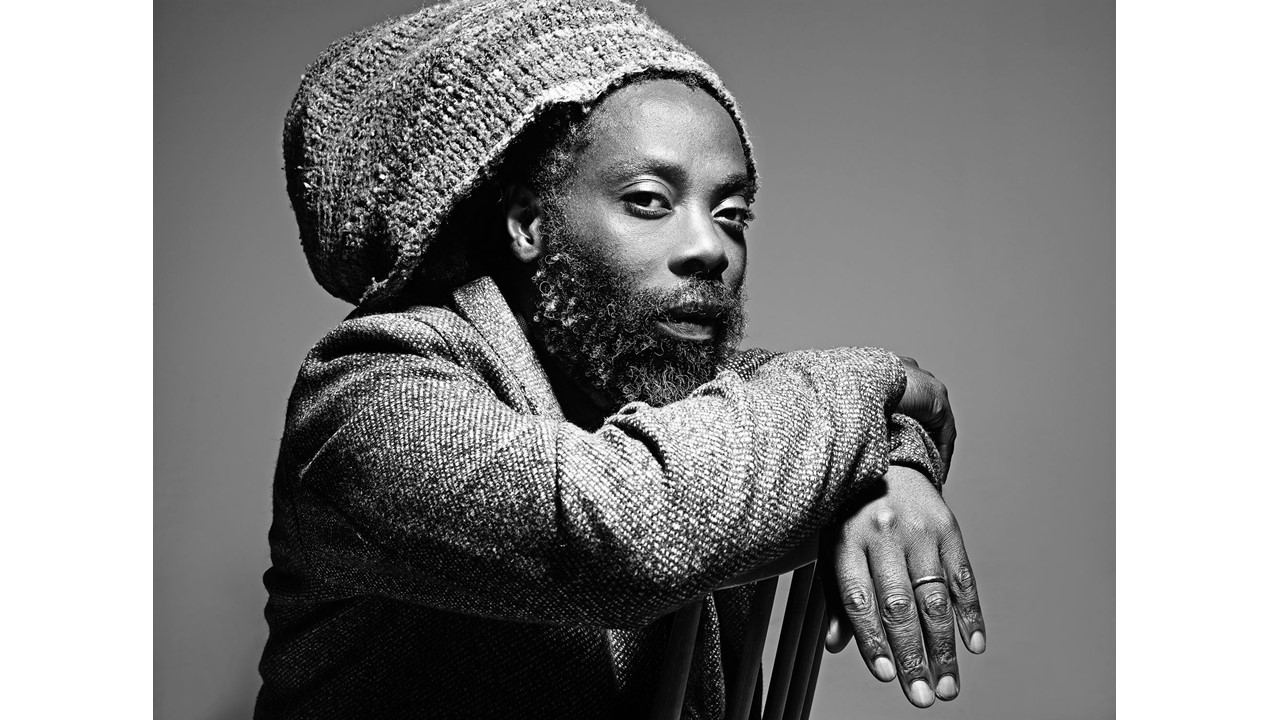
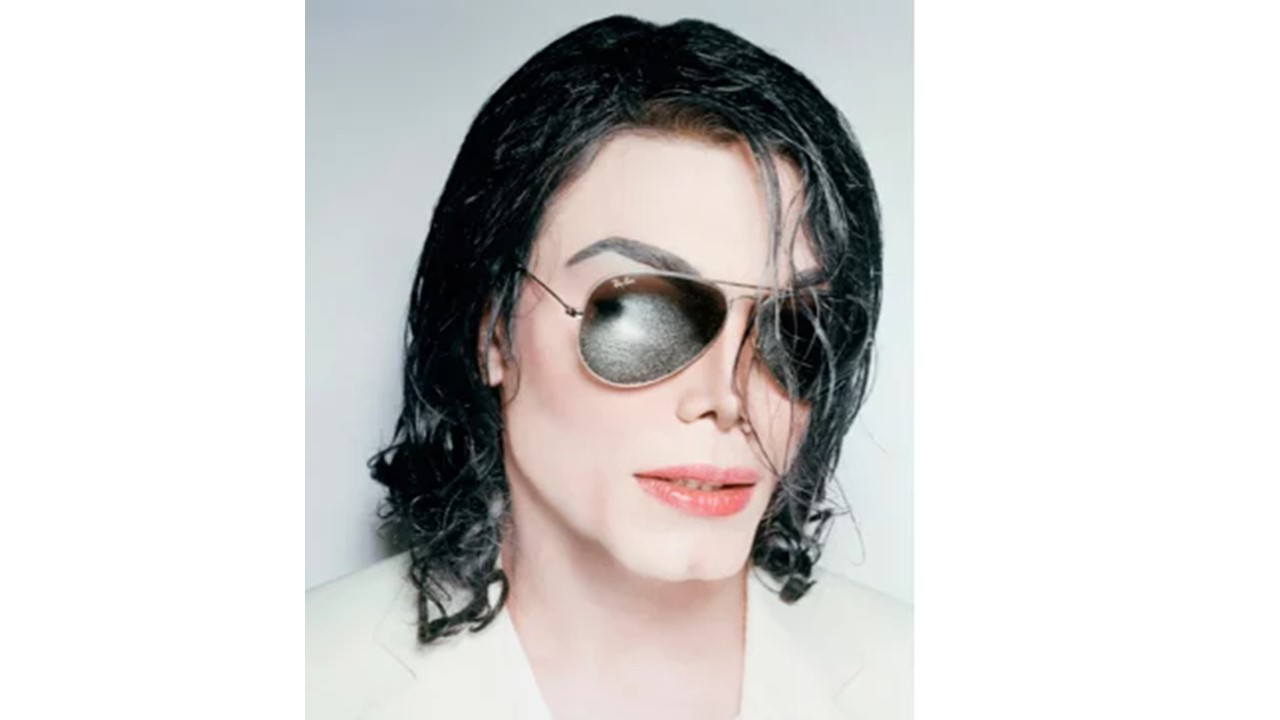
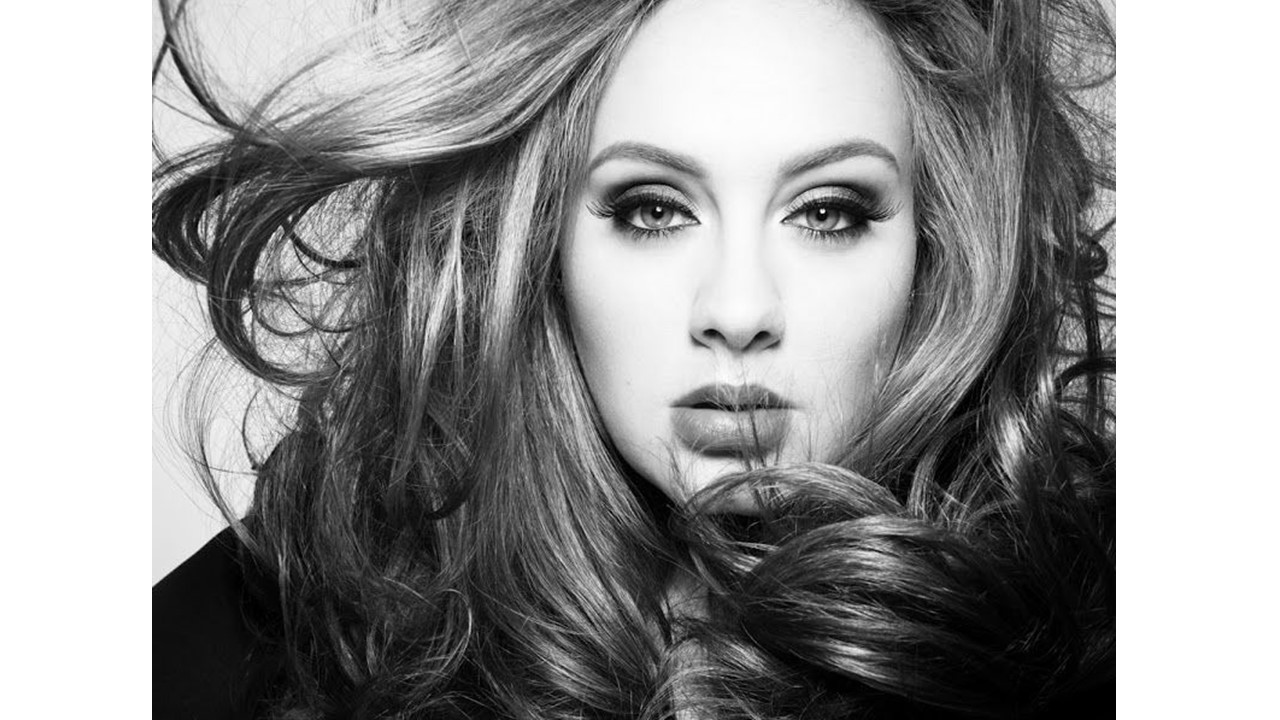

Rankin’s work often experiments with color and tone, using grey-scale to accentuate certain areas of the face, whereas in other photographs bold and eye-catching colors are used to draw more attention to the shapes and features of the subject.
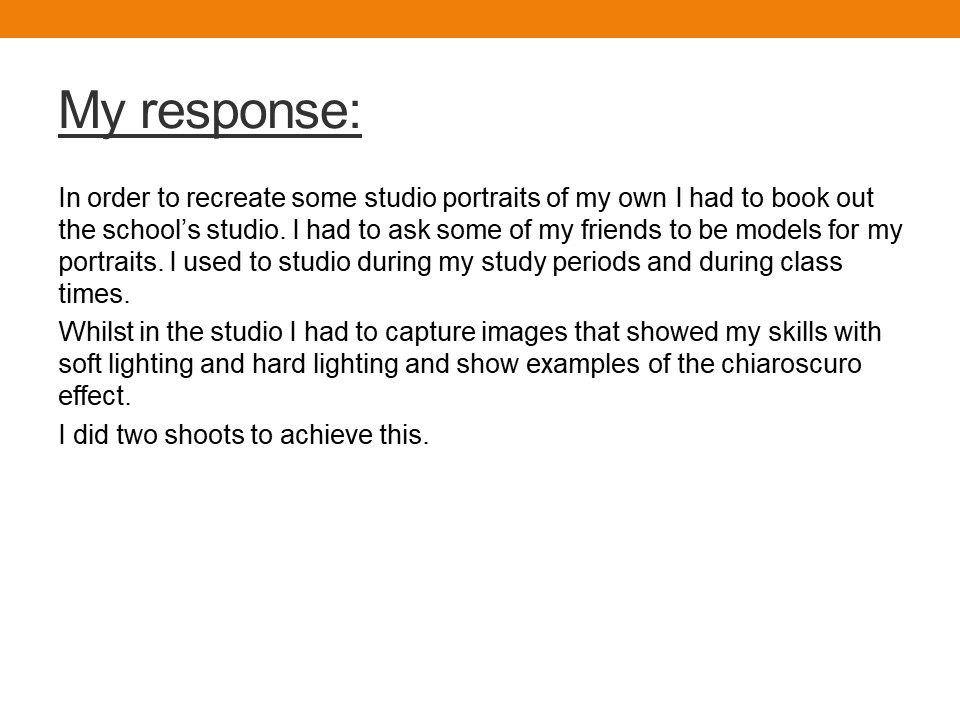
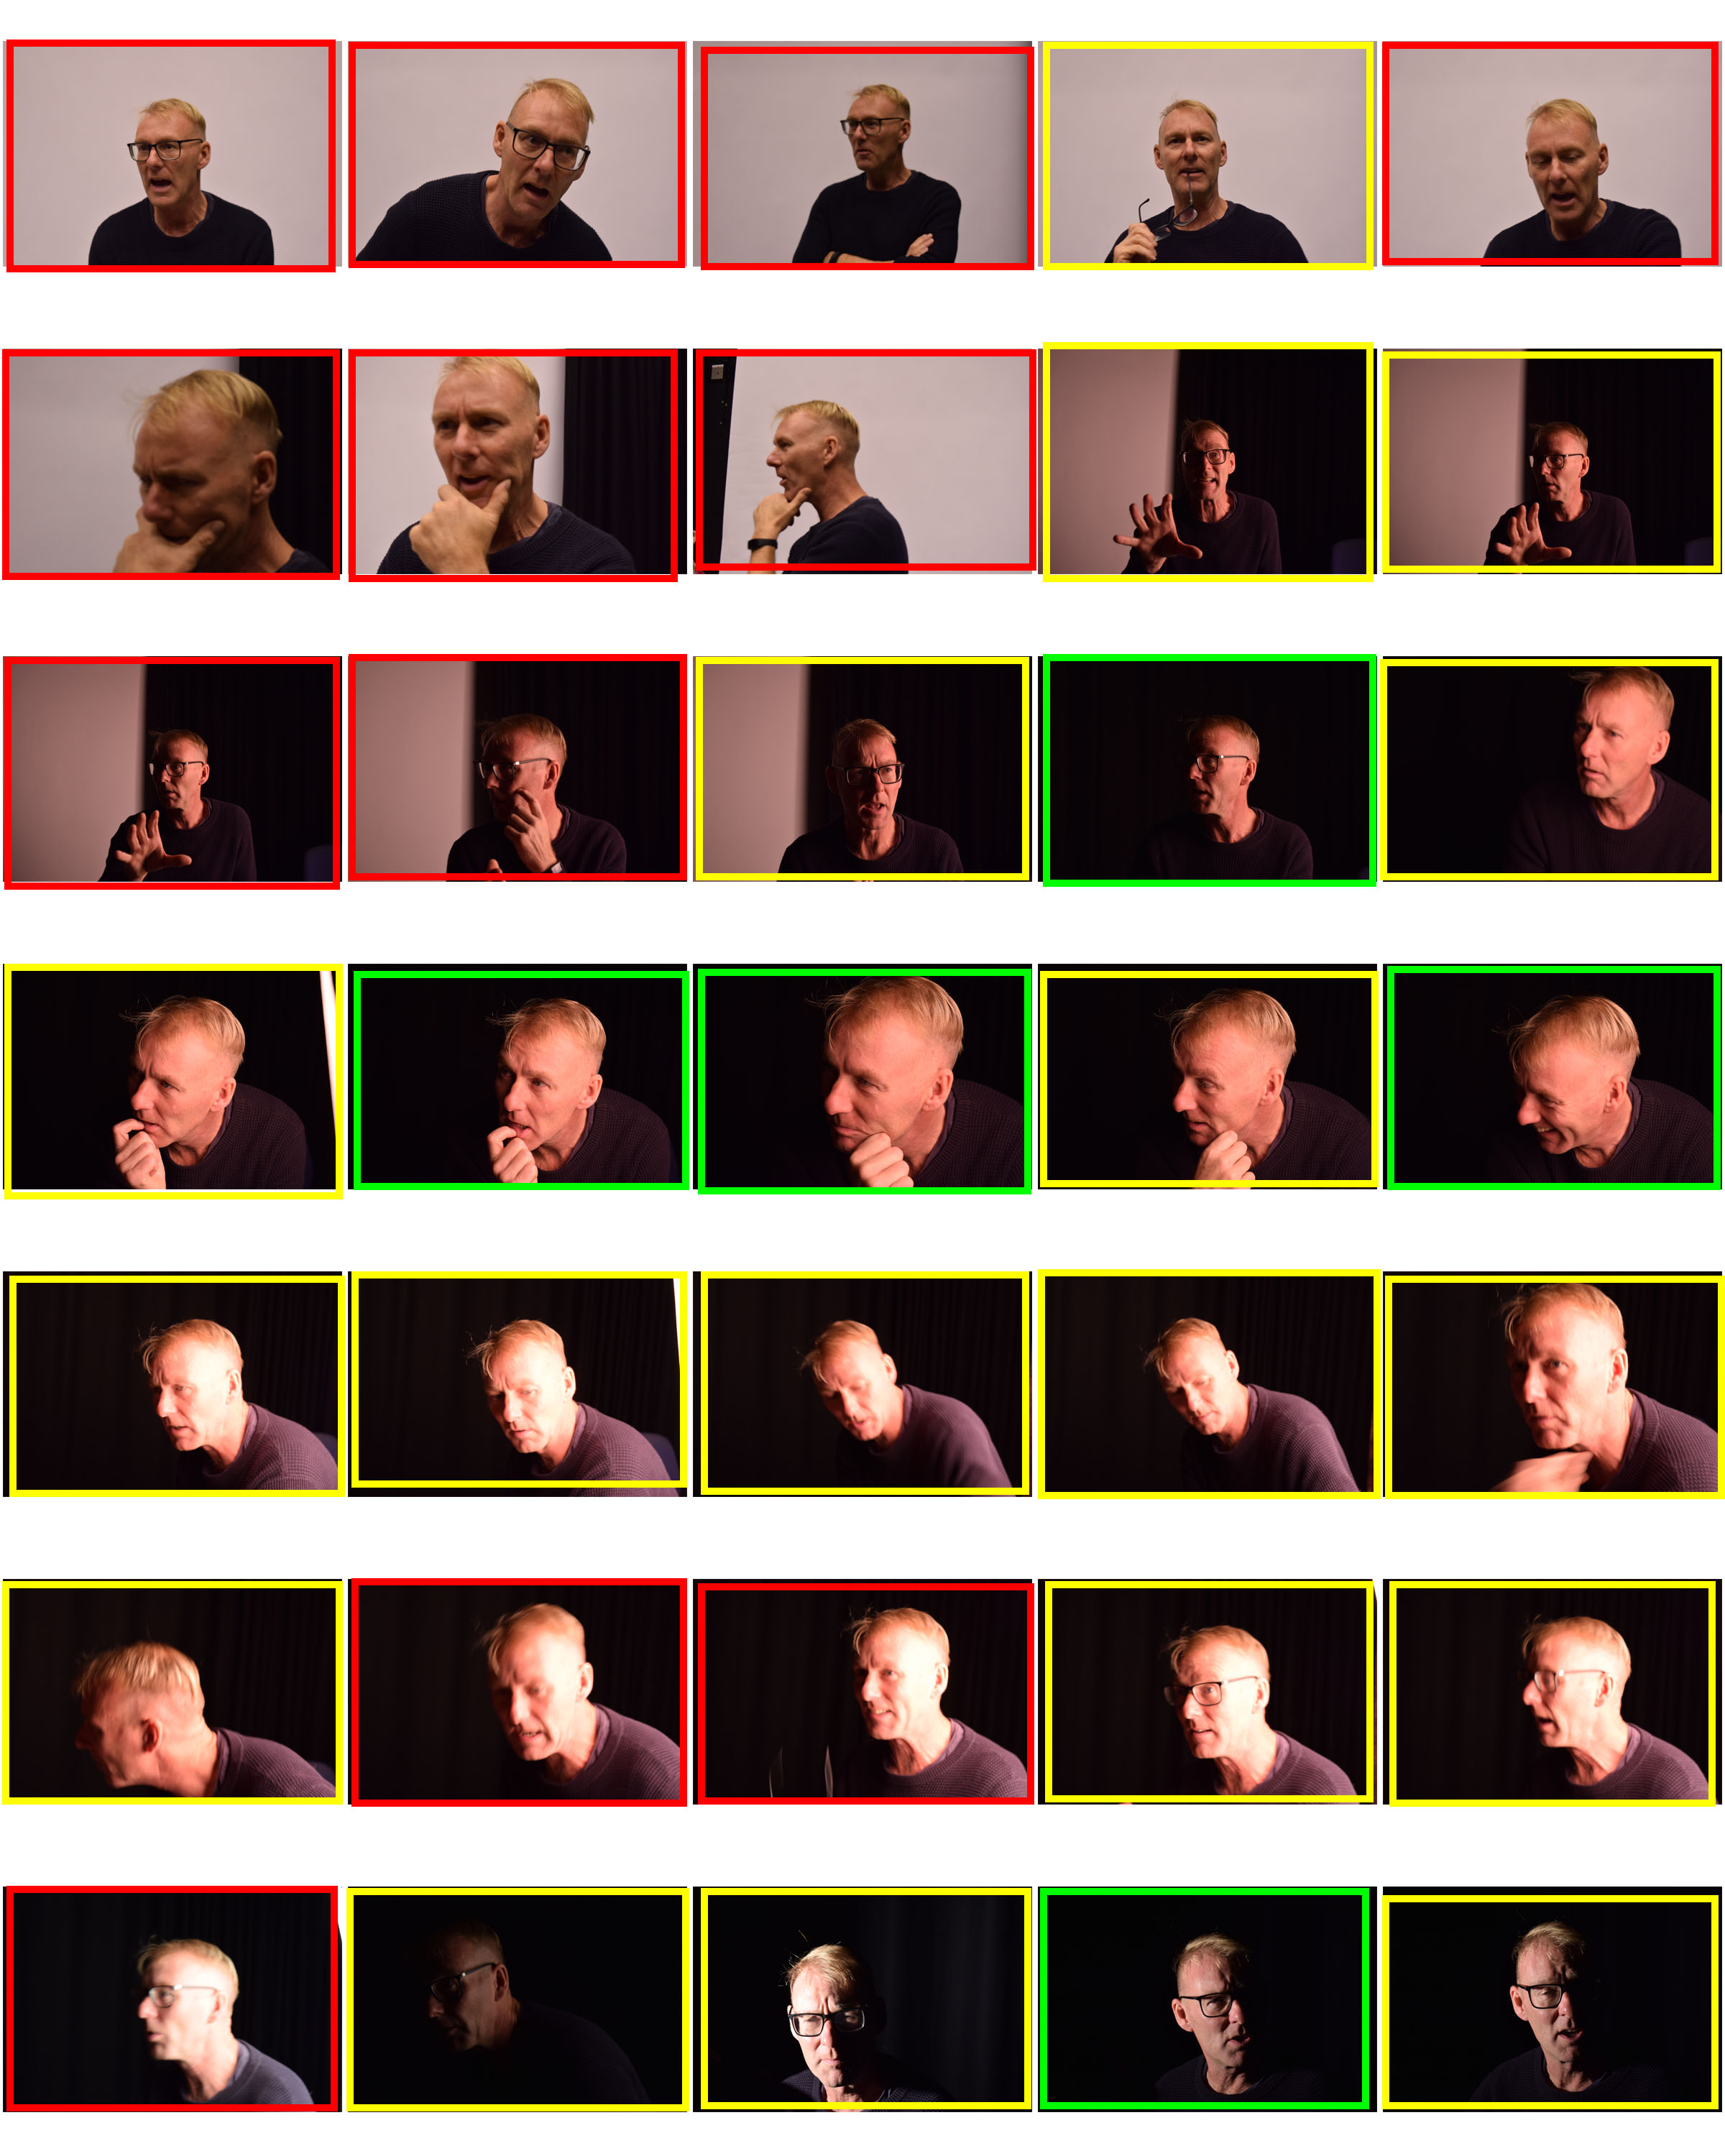
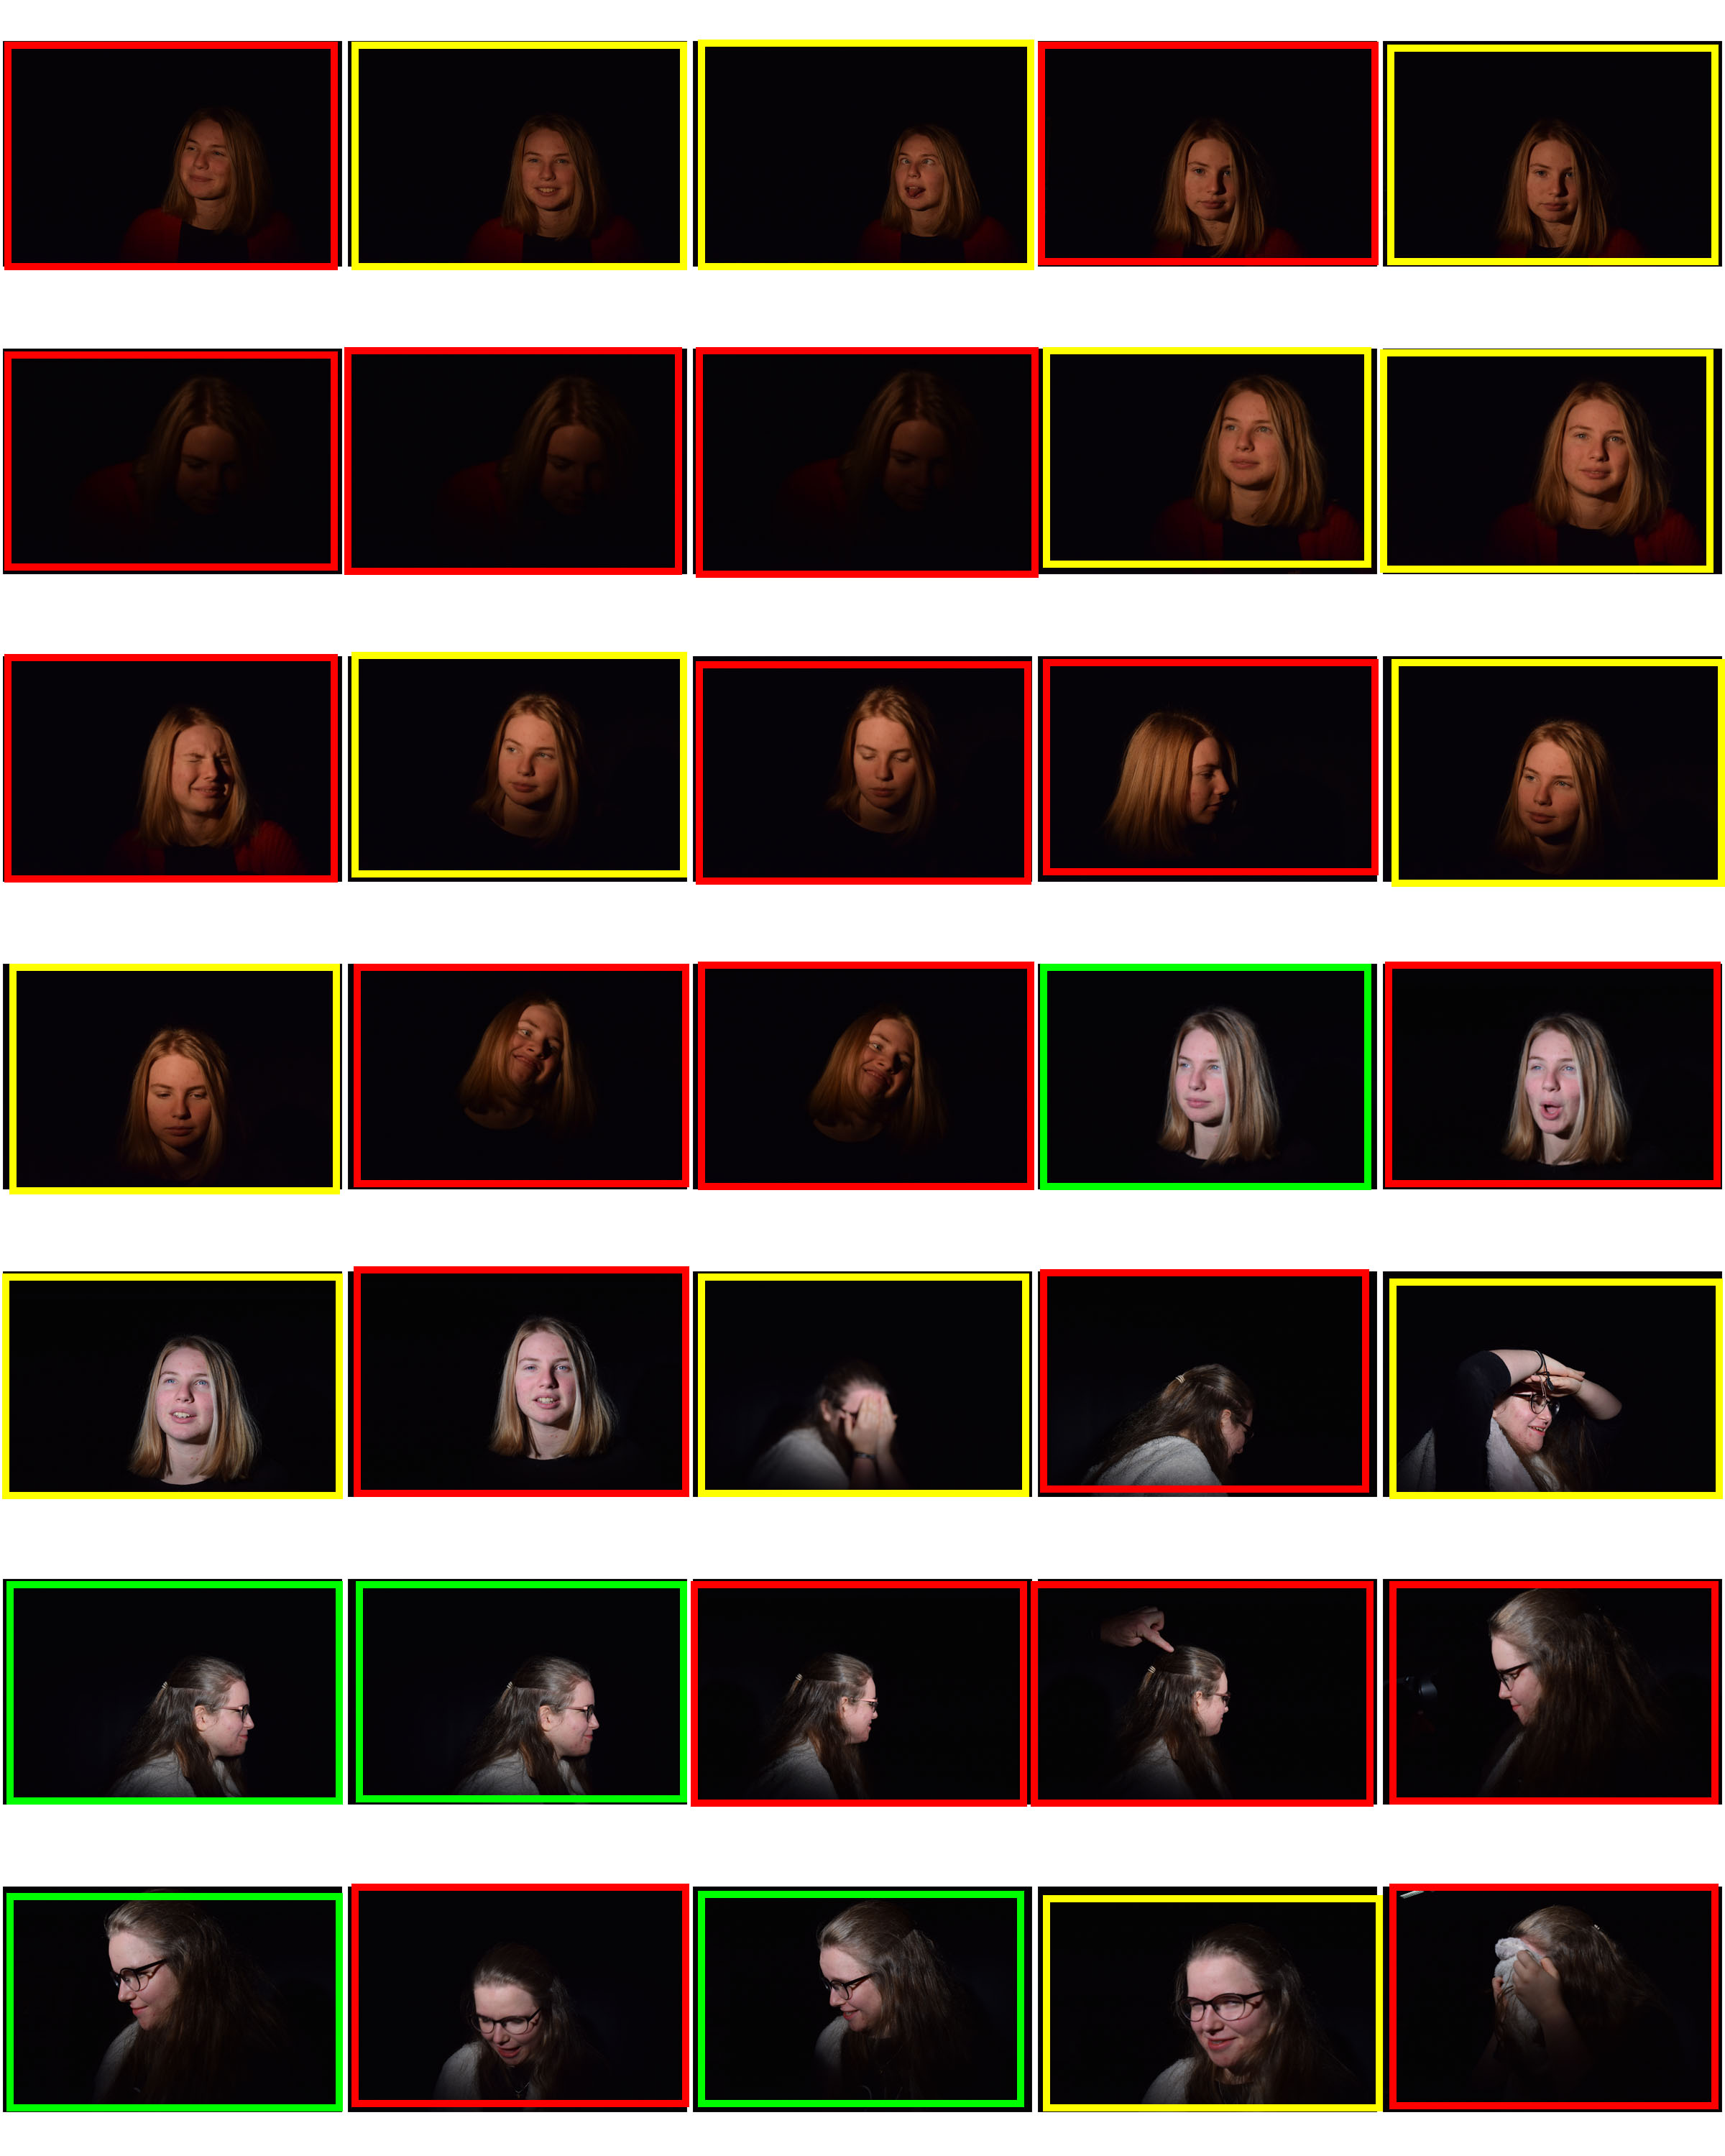
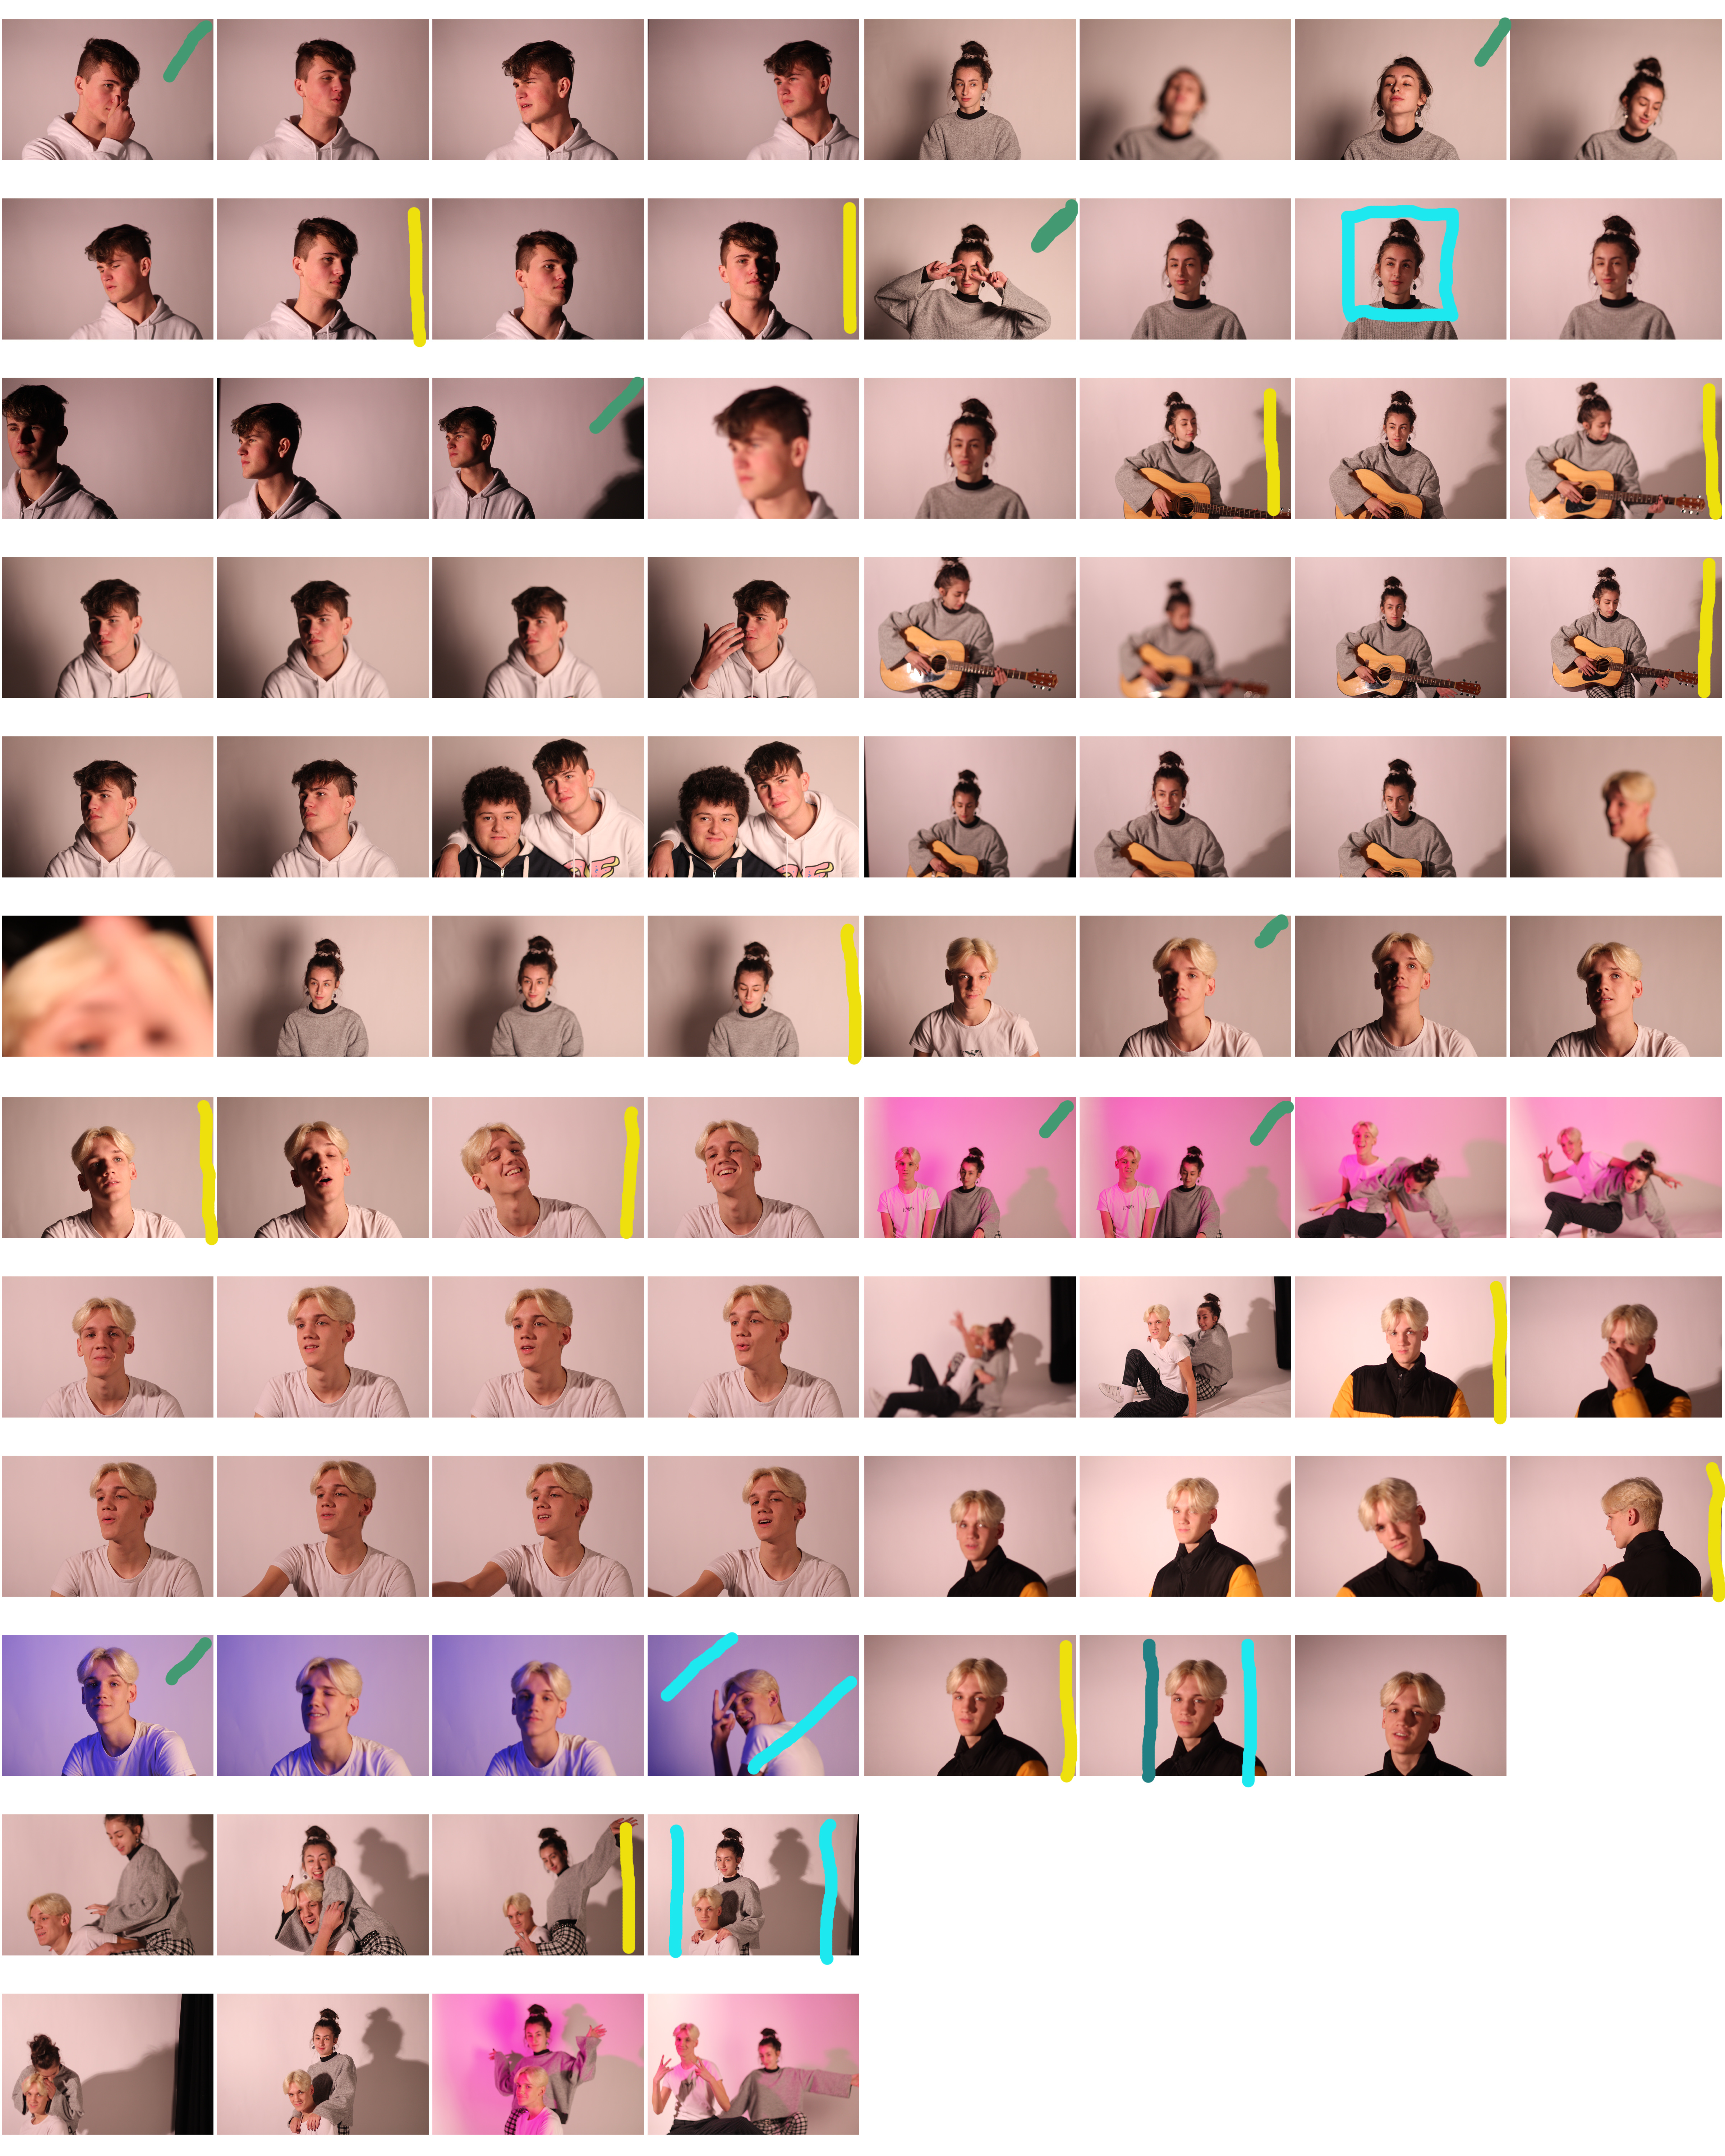
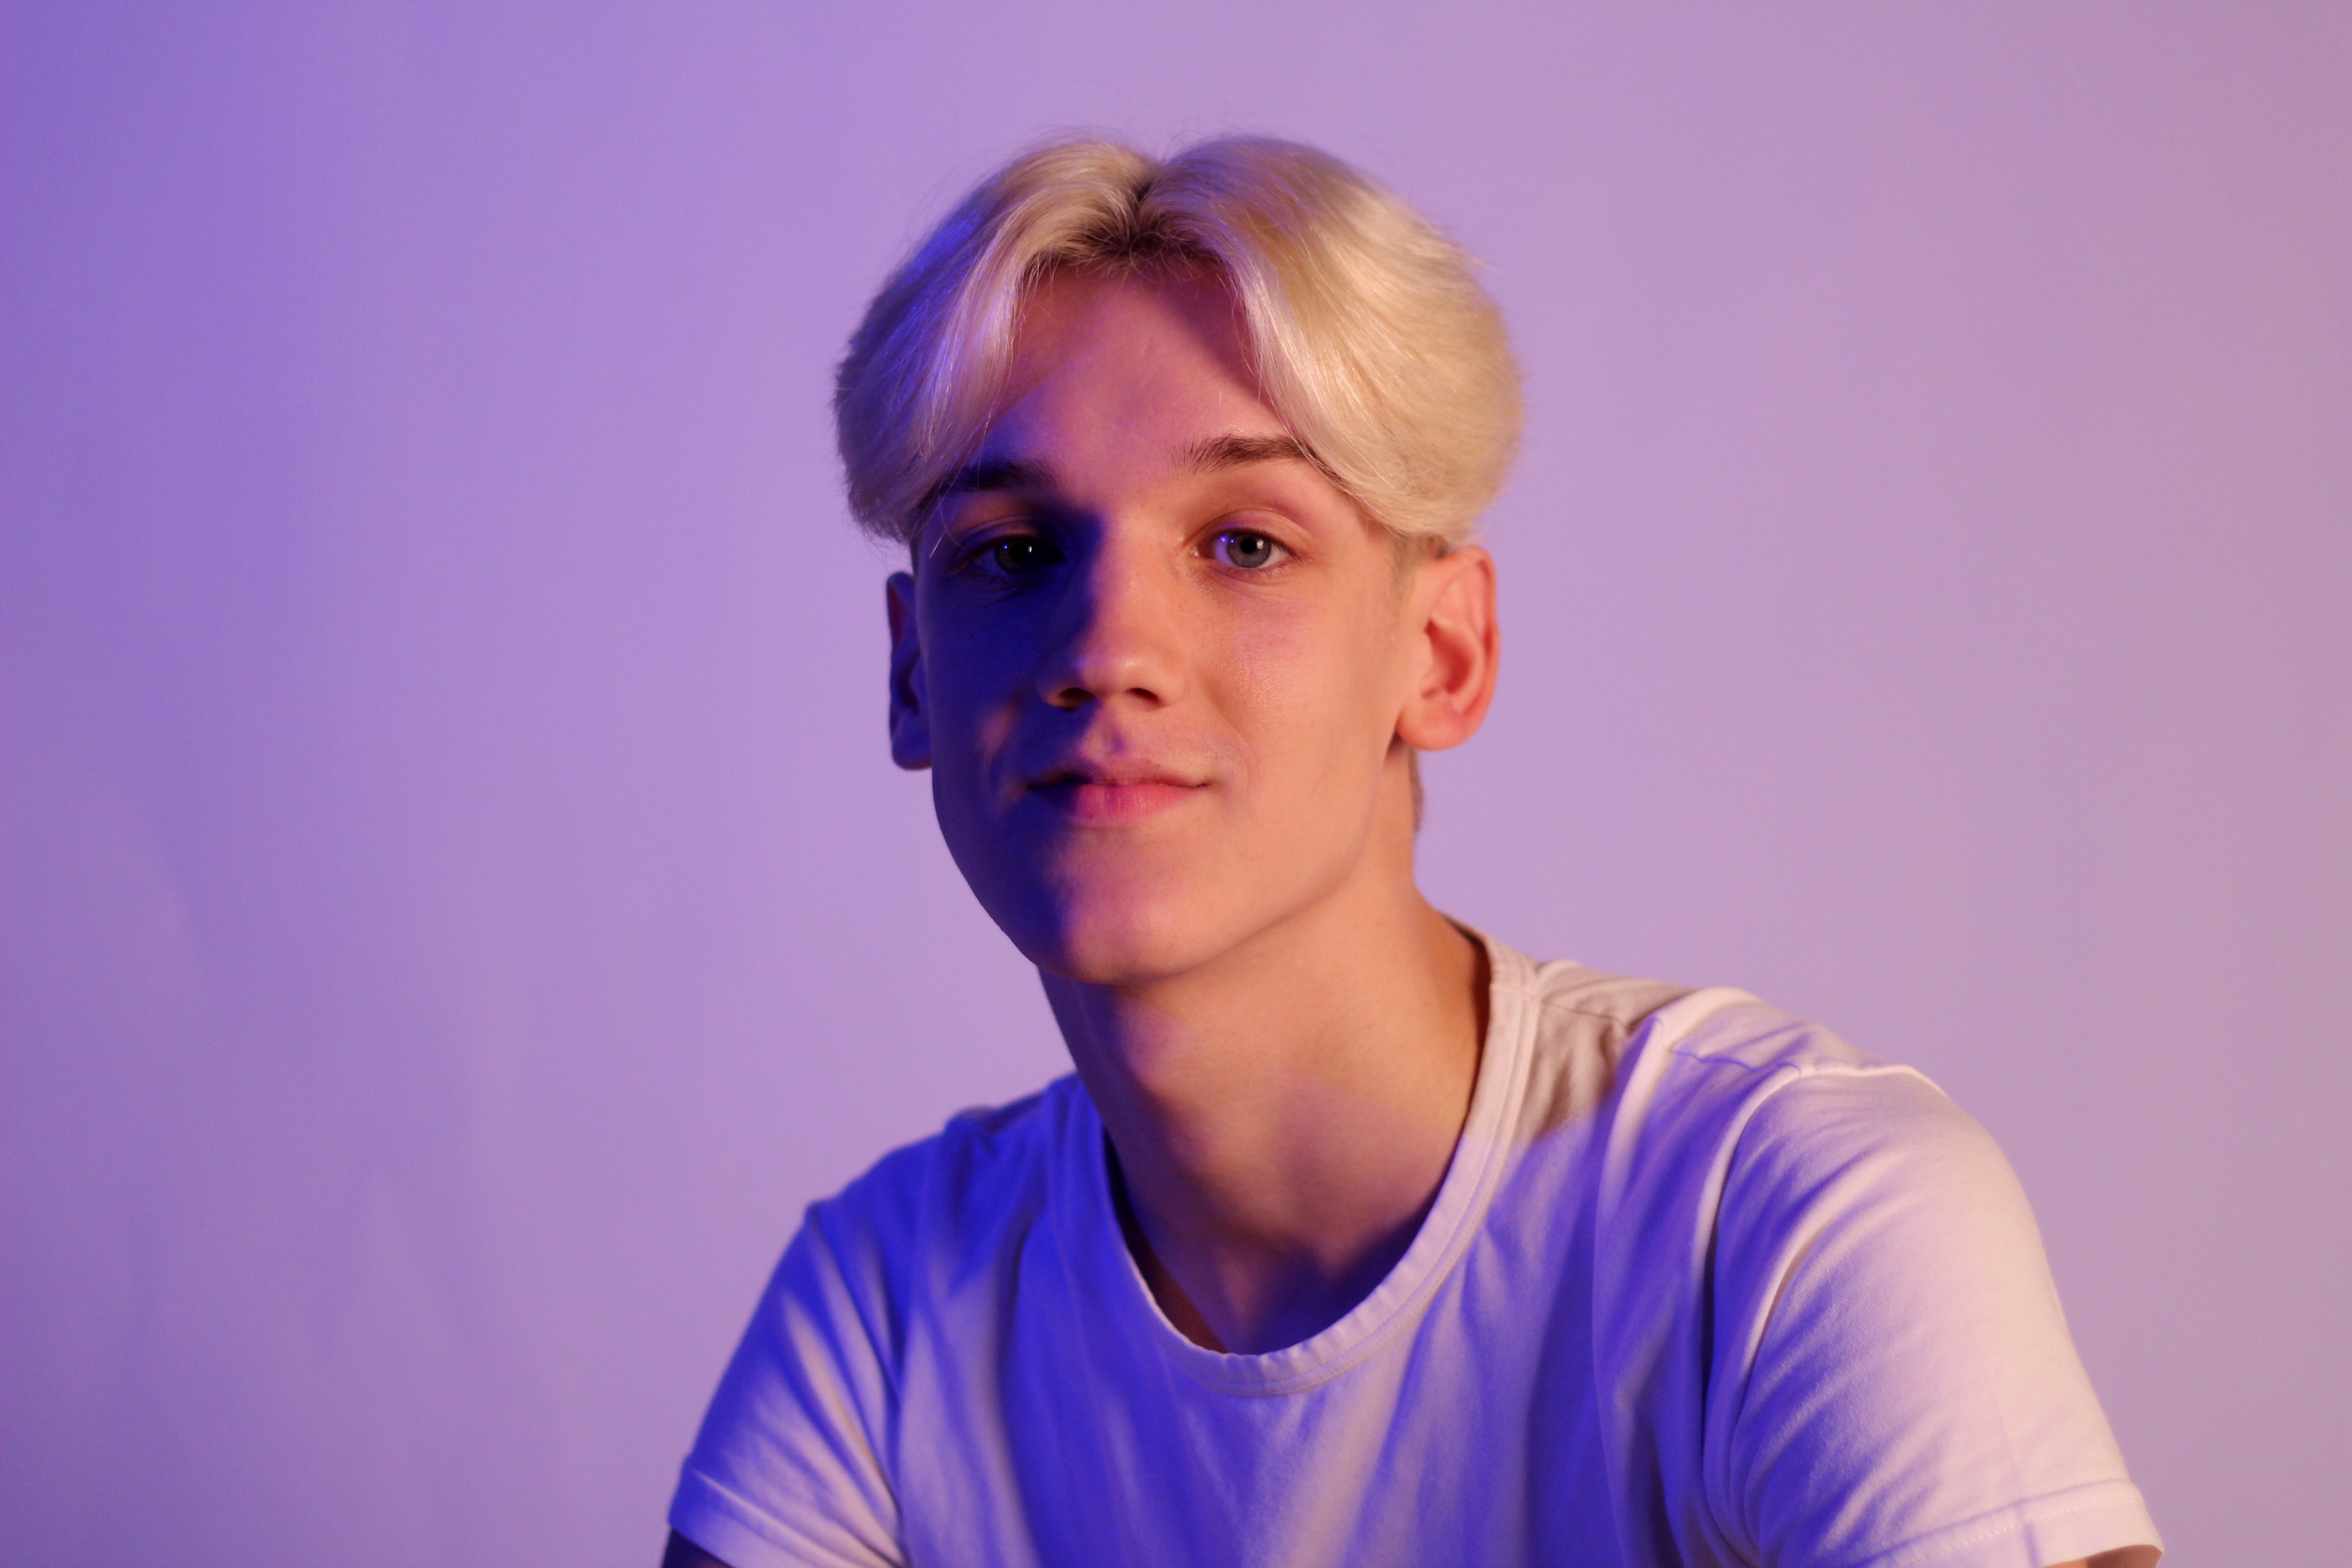
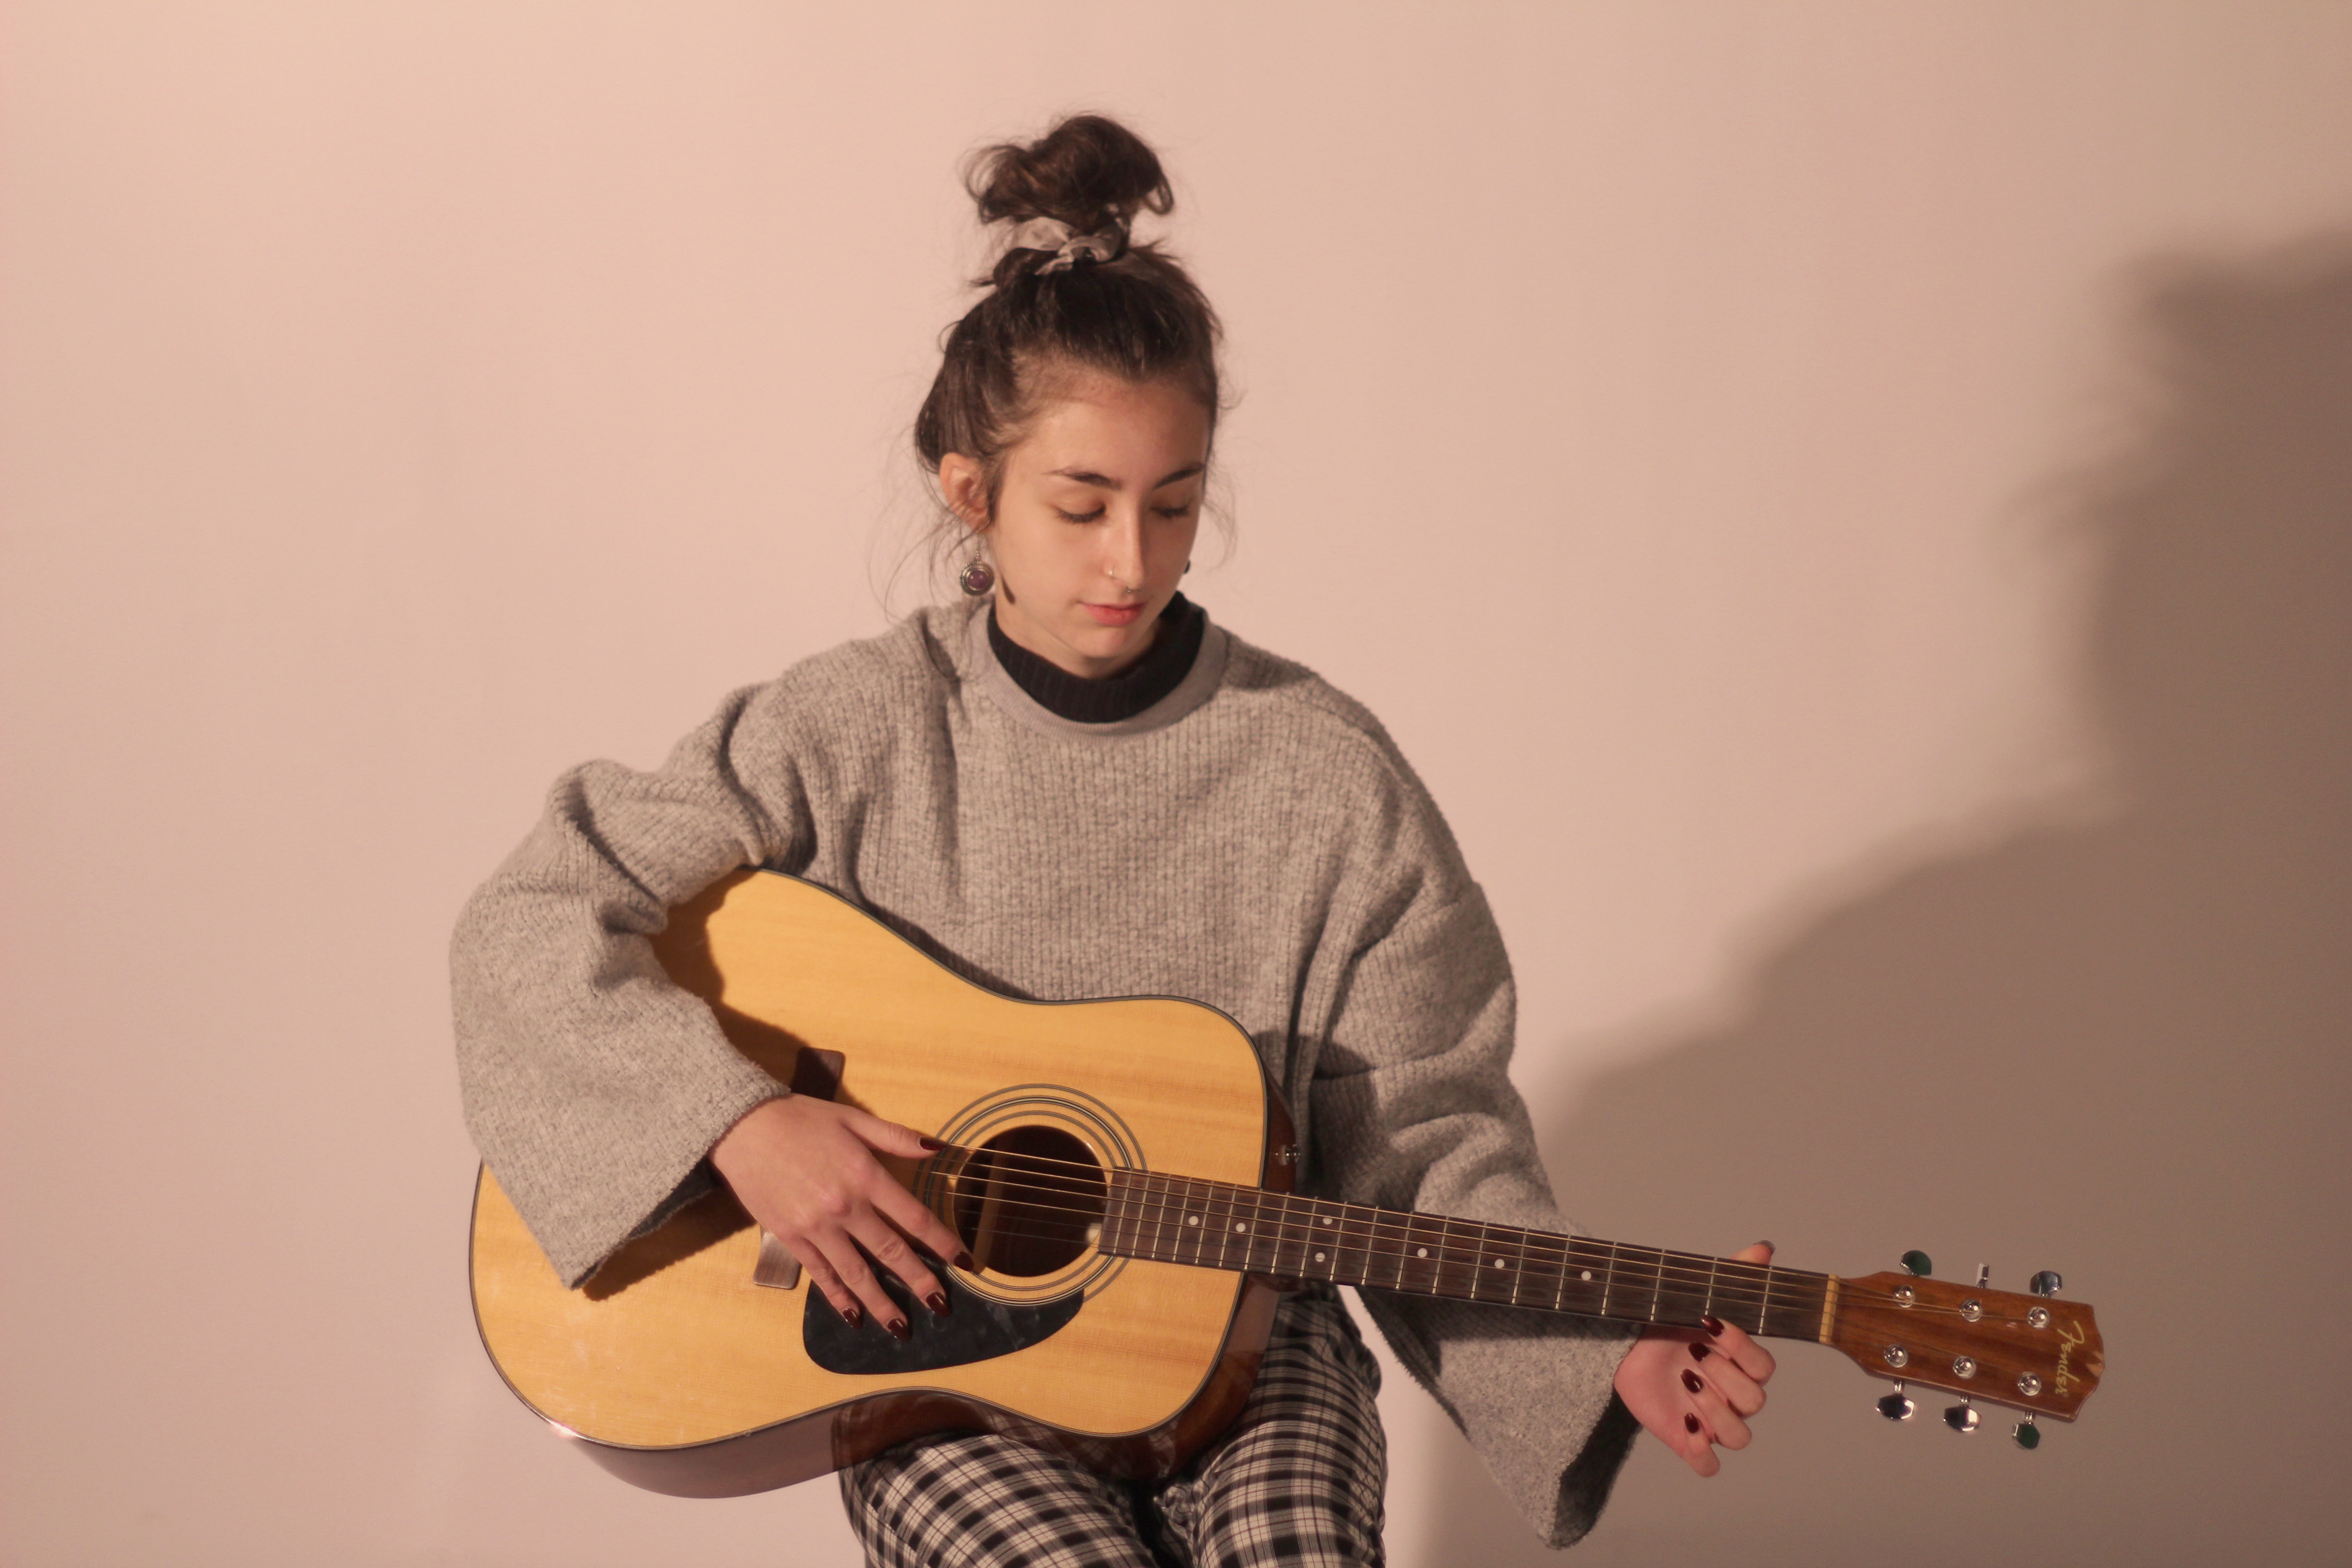
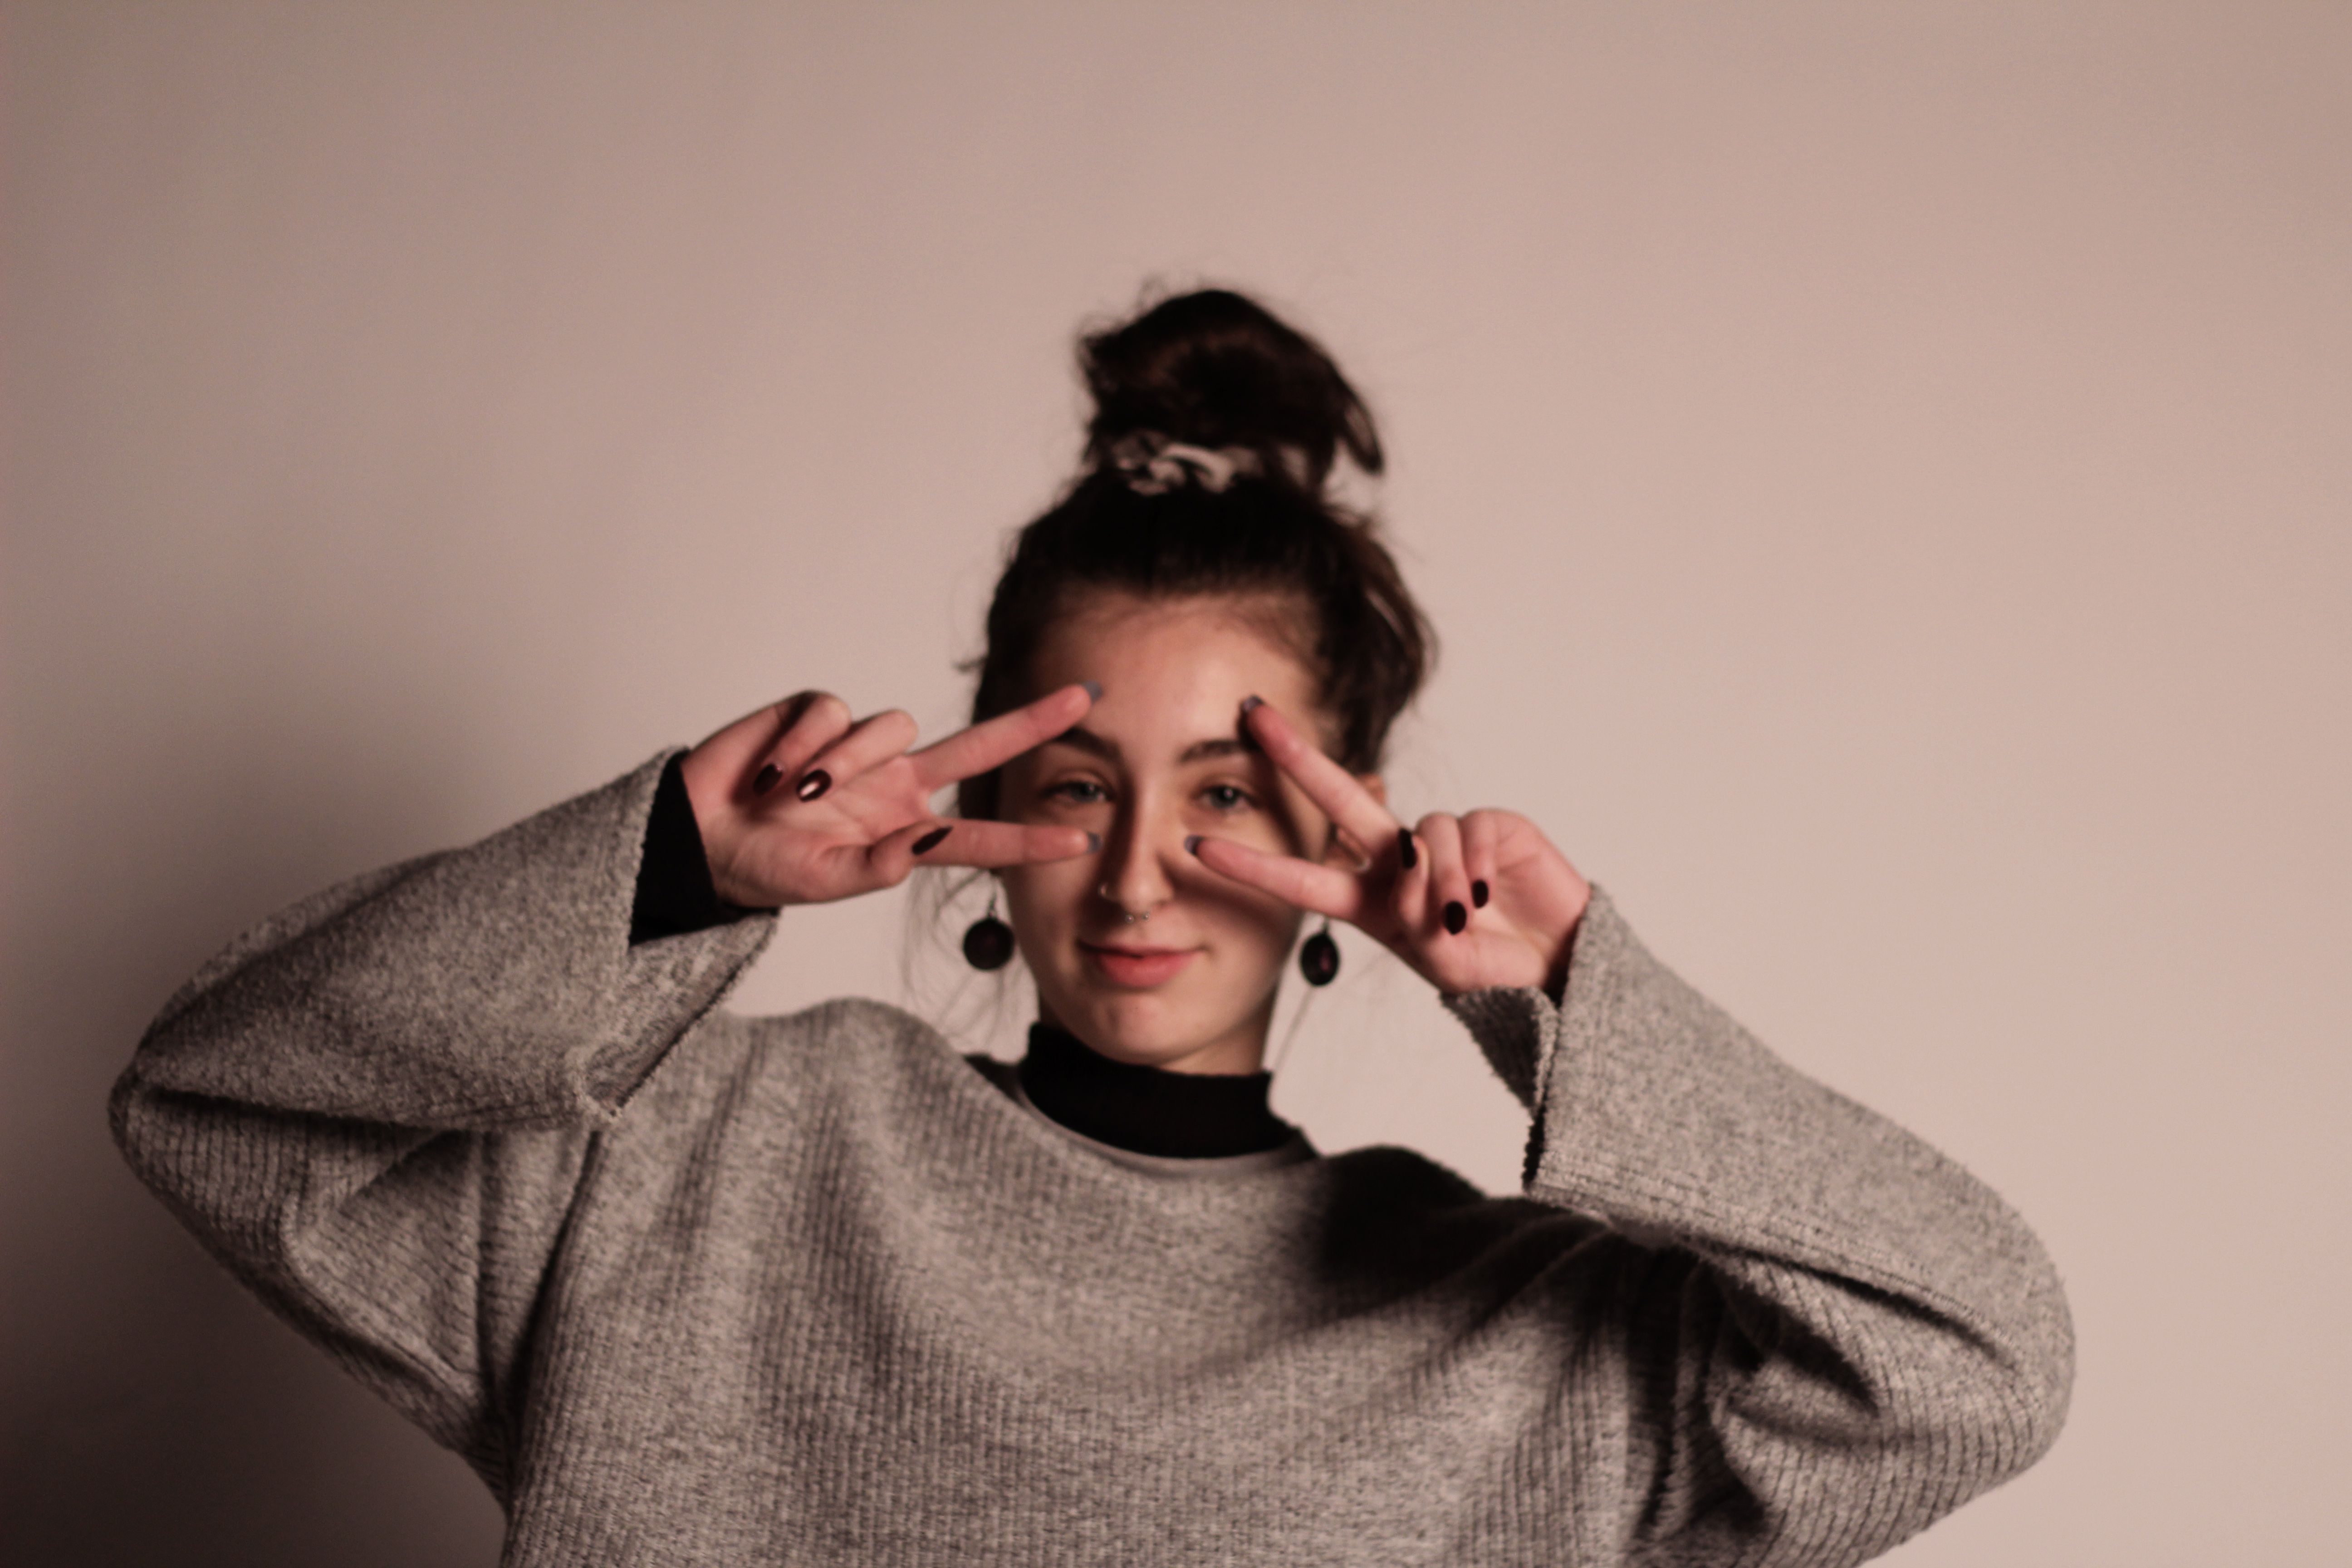
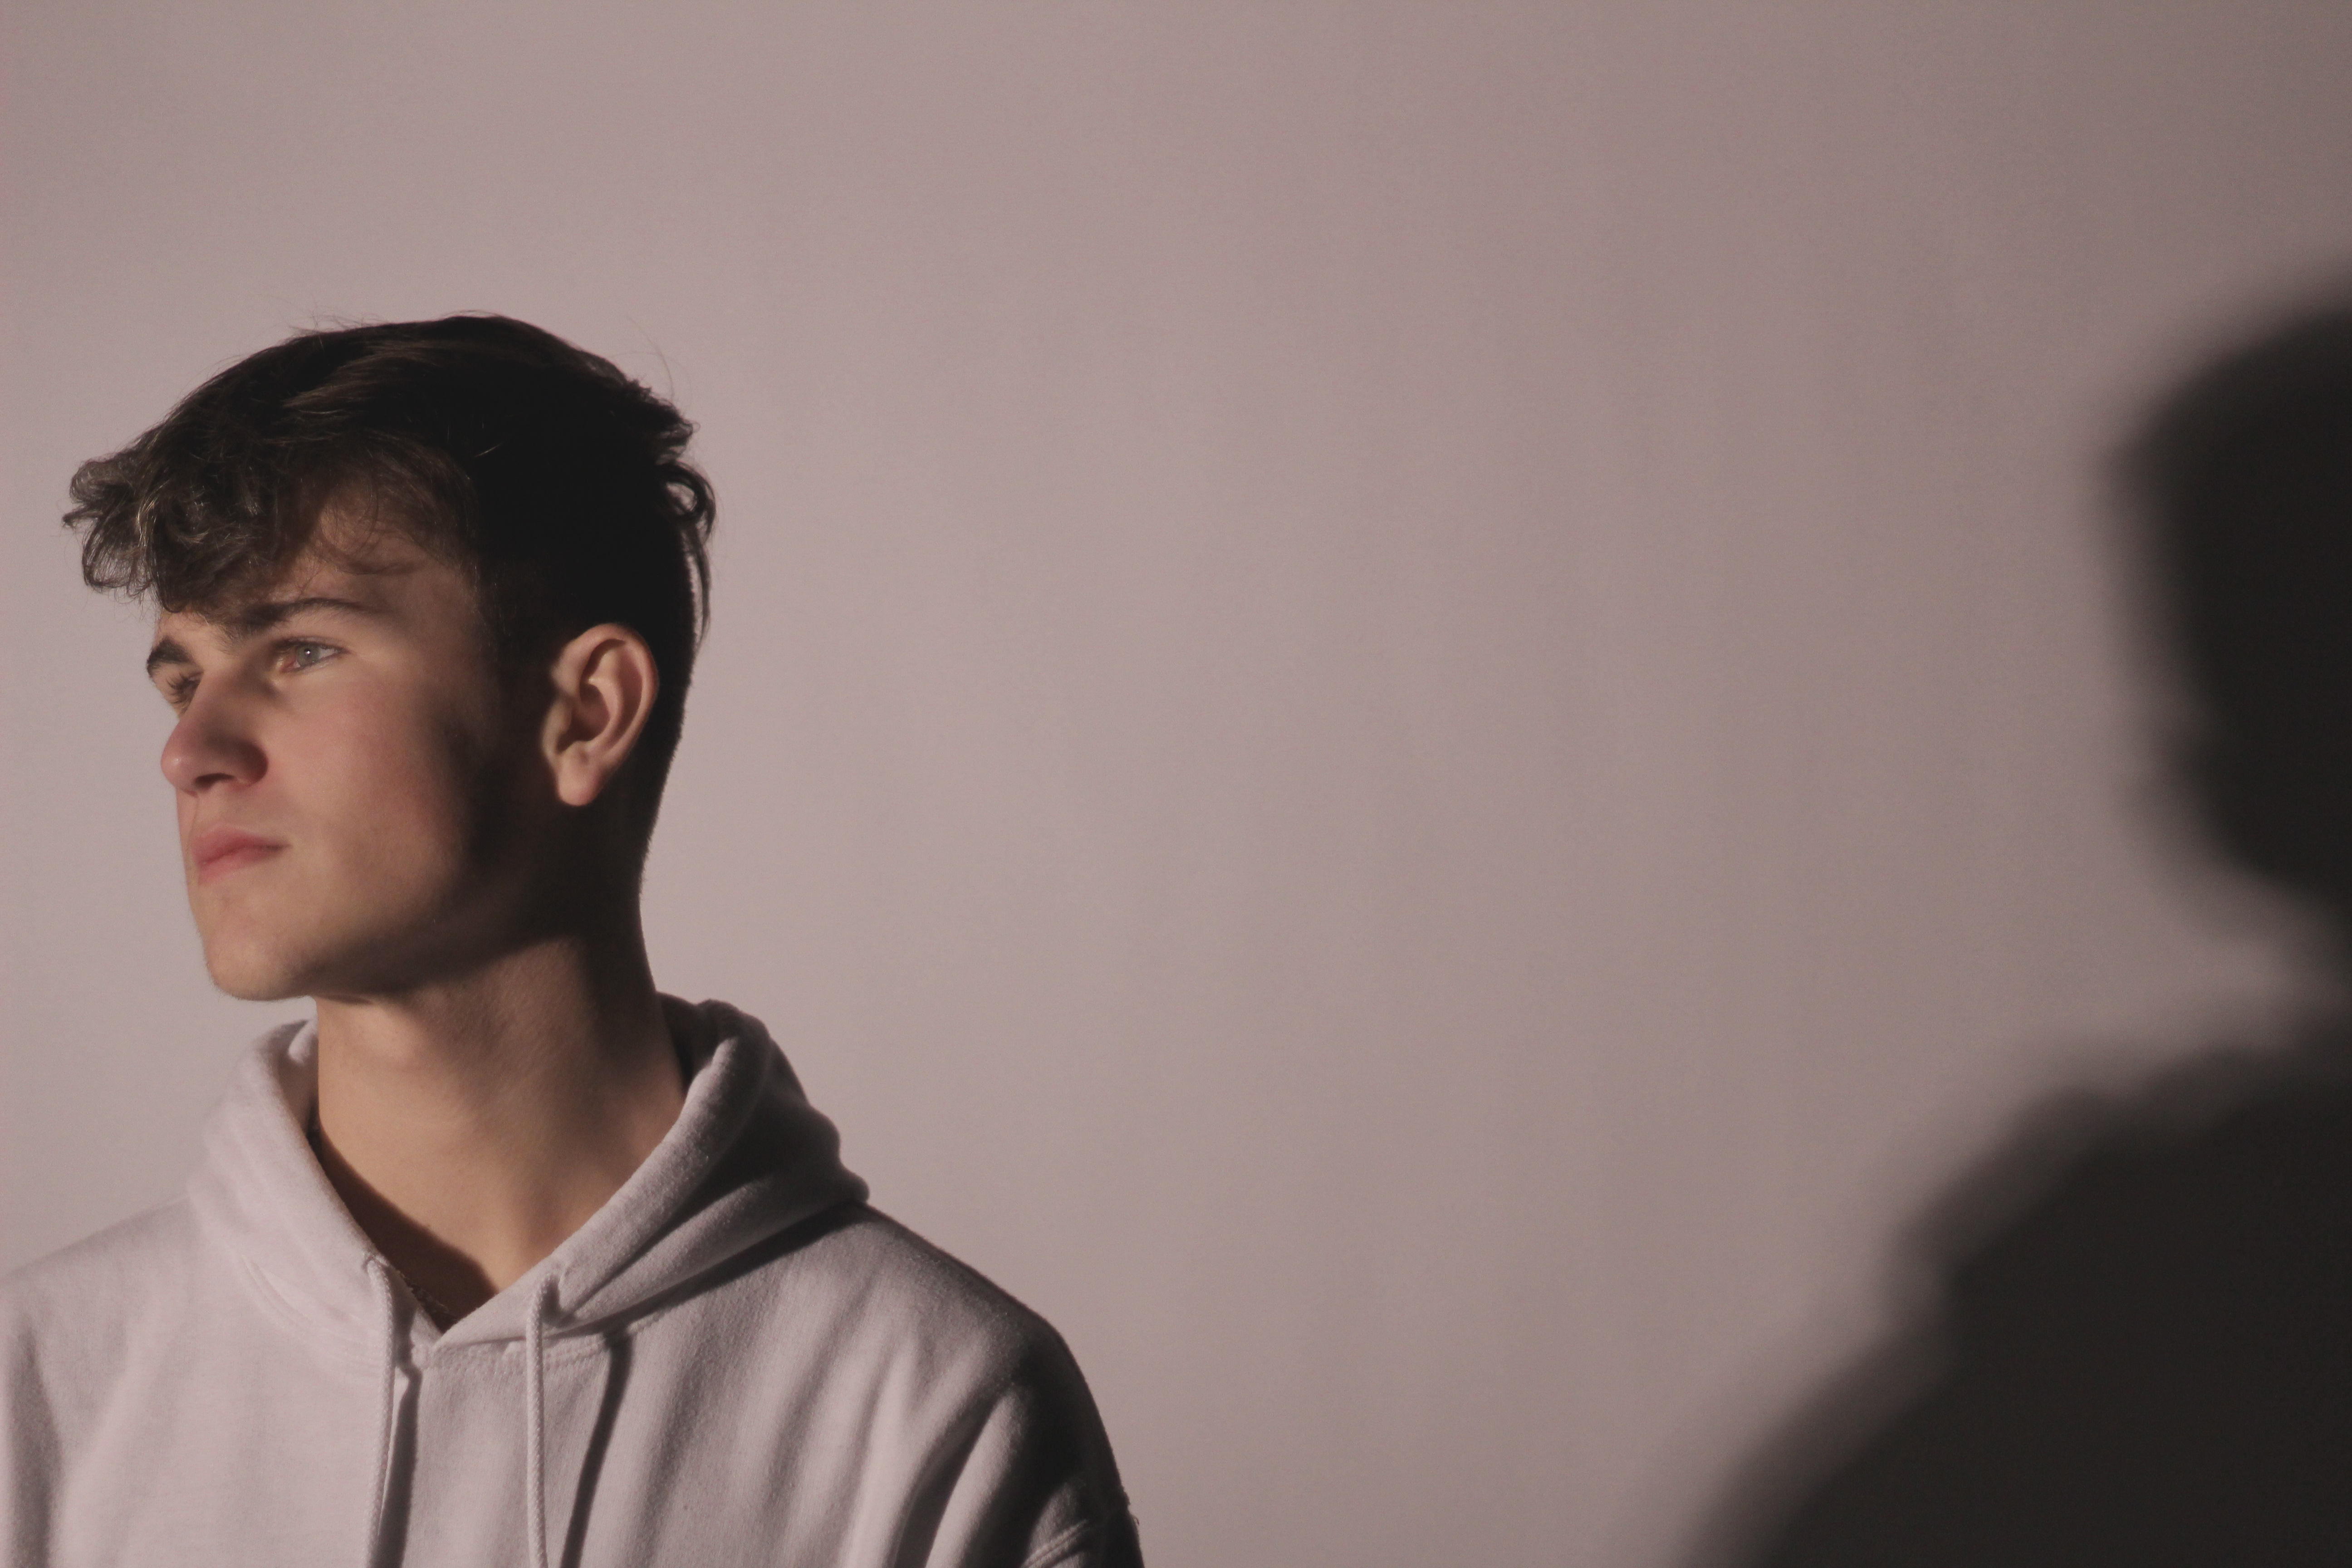
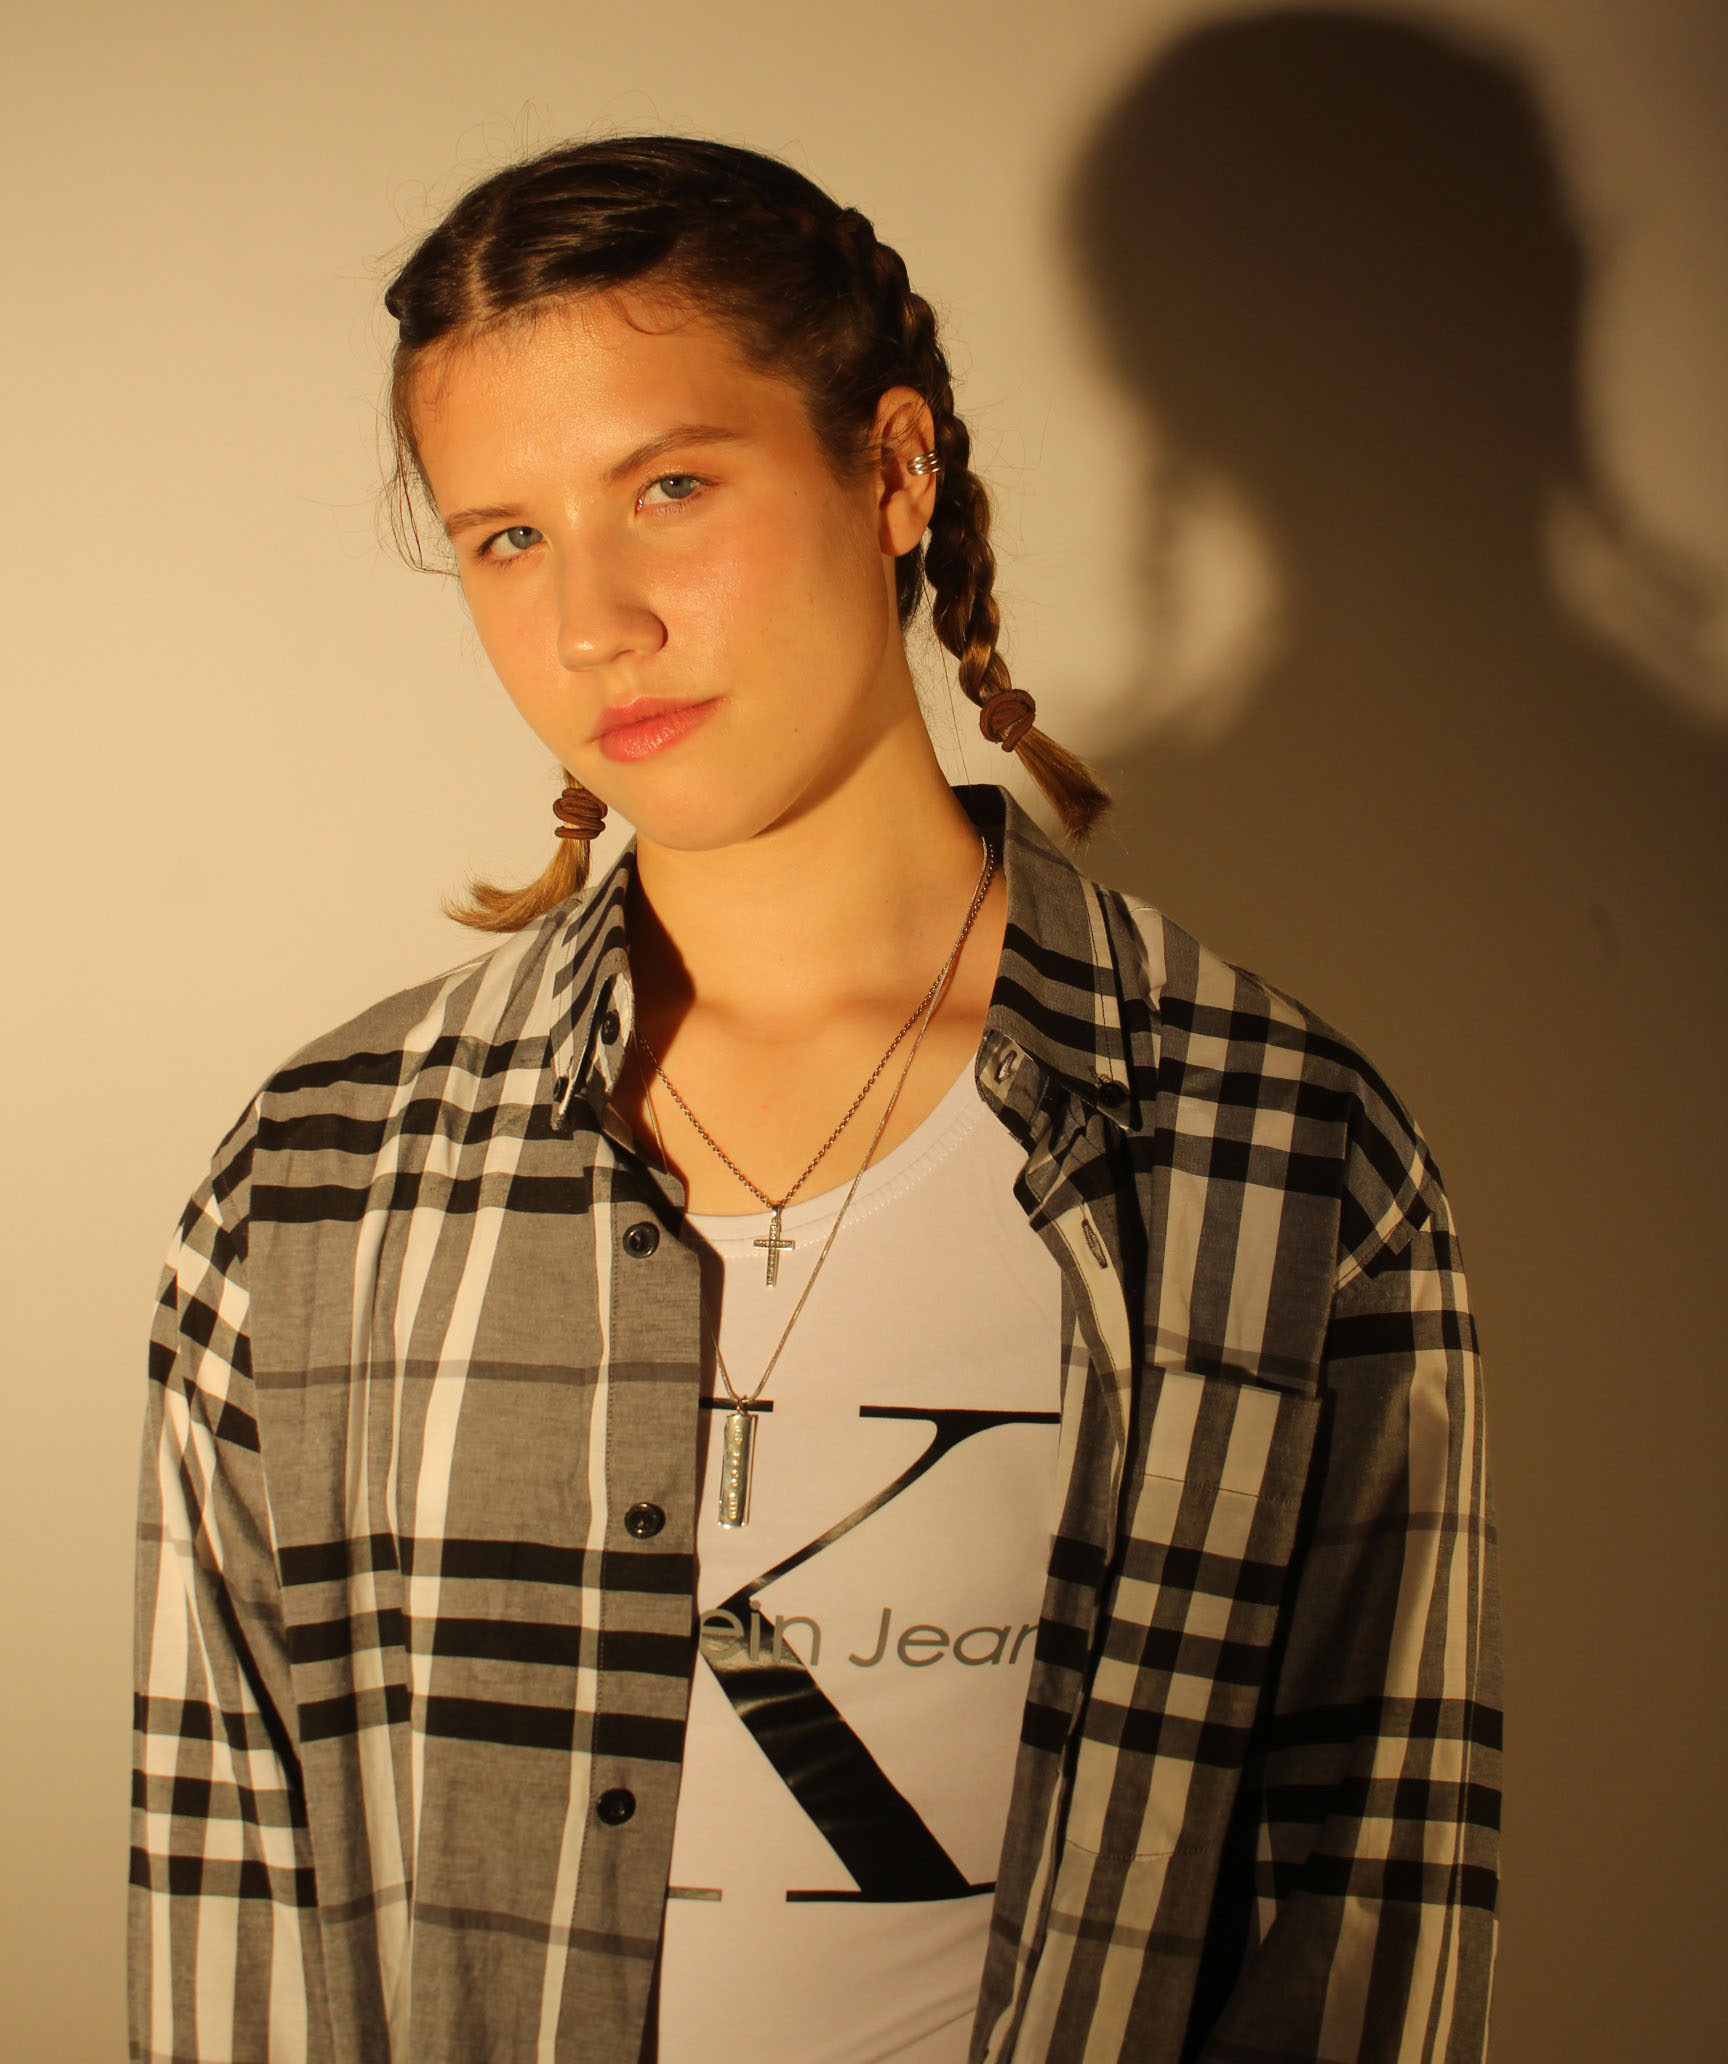
In response to my study into Rankin, I have produced a series of portrait images that were taking in a studio, to mimic the work of Rankin himself, the following images are what I have produced.
Studio photo shoot
Studio Photography
Rankin
Is a British portrait and fashion photographer he is also the founder of ‘Dazed and Confused’ magazine and for his photography. He has work with many famous people, including models, Heidi Klum and Kate Moss, celebrities such as David Bowie and Madonna and is known for his portrait of Elizabeth II. His work has appeared in magazines such as GQ, Vogue and Marie Claire. In 2011 Rankin started the biannual fashion, culture and lifestyle magazine, hunger and launched Rankin Film to produce and direct his own commercial and editorial film work. Rankin was destined for life of an accountant until he discovered his interests lay somewhere else as he drop his accountancy studies and began studying photography instead. Rankin’s work has a distinct patterns of using white backgrounds, or single colour background, which helps to concentrate all focus on the person he is shooting. The blank background creates almost a blank canvas in with the person is the paint, the more expressions and feeling in the persons face the more detailed the canvas becomes. He is very much a studio photographer and works with artificial light and flash photography to capture the detail on peoples faces.


Lighting
- Why do we use studio lighting? It allows us to create natural lighting effects in a variety of situations its easy to control and to adapt to fit the needs of the shoot. Also with so many options available nowadays, it doesn’t have to be confined to a studio.
- What is the difference between 1-2-3 point lighting and what does each technique provide / solve
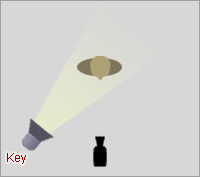
Key Light
This is the main light. It is usually the strongest and has the most influence on the look of the scene. It is placed to one side of the camera/subject so that this side is well lit and the other side has some shadow.
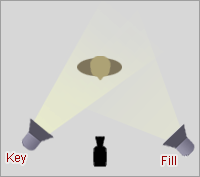
Fill Light
This is the secondary light and is placed on the opposite side of the key light. It is used to fill the shadows created by the key. The fill will usually be softer and less bright than the key. To achieve this, you could move the light further away or use some spun. You might also want to set the fill light to more of a flood than the key.
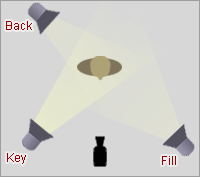
Back Light
The back light is placed behind the subject and lights it from the rear. Rather than providing direct lighting (like the key and fill), its purpose is to provide definition and subtle highlights around the subject’s outlines. This helps separate the subject from the background and provide a three-dimensional look.
- What is fill lighting? Fill light is form of supplementary light mainly used to lighten shadows in an image. Fill light is often used in portrait photography to create a contrast between the image subject and image background giving the scene a sense of depth despite the final product being 2 dimensional. In this situation the use of fill light also reduces the overall dynamic range of the scene allowing for easier selection of the exposure settings required to capture an image. When fill light is correctly applied it does not significantly impact the main light source of an image.
- What is spill lighting? Light spilling is where light falls where it was not intended to fall, creating a hazy, blown out look at times.
- What is Chiaroscuro ? It’s the strong and bold contrasts between light and dark areas in a photograph.
Ring Light
Two Point Lighting
Three Point Lighting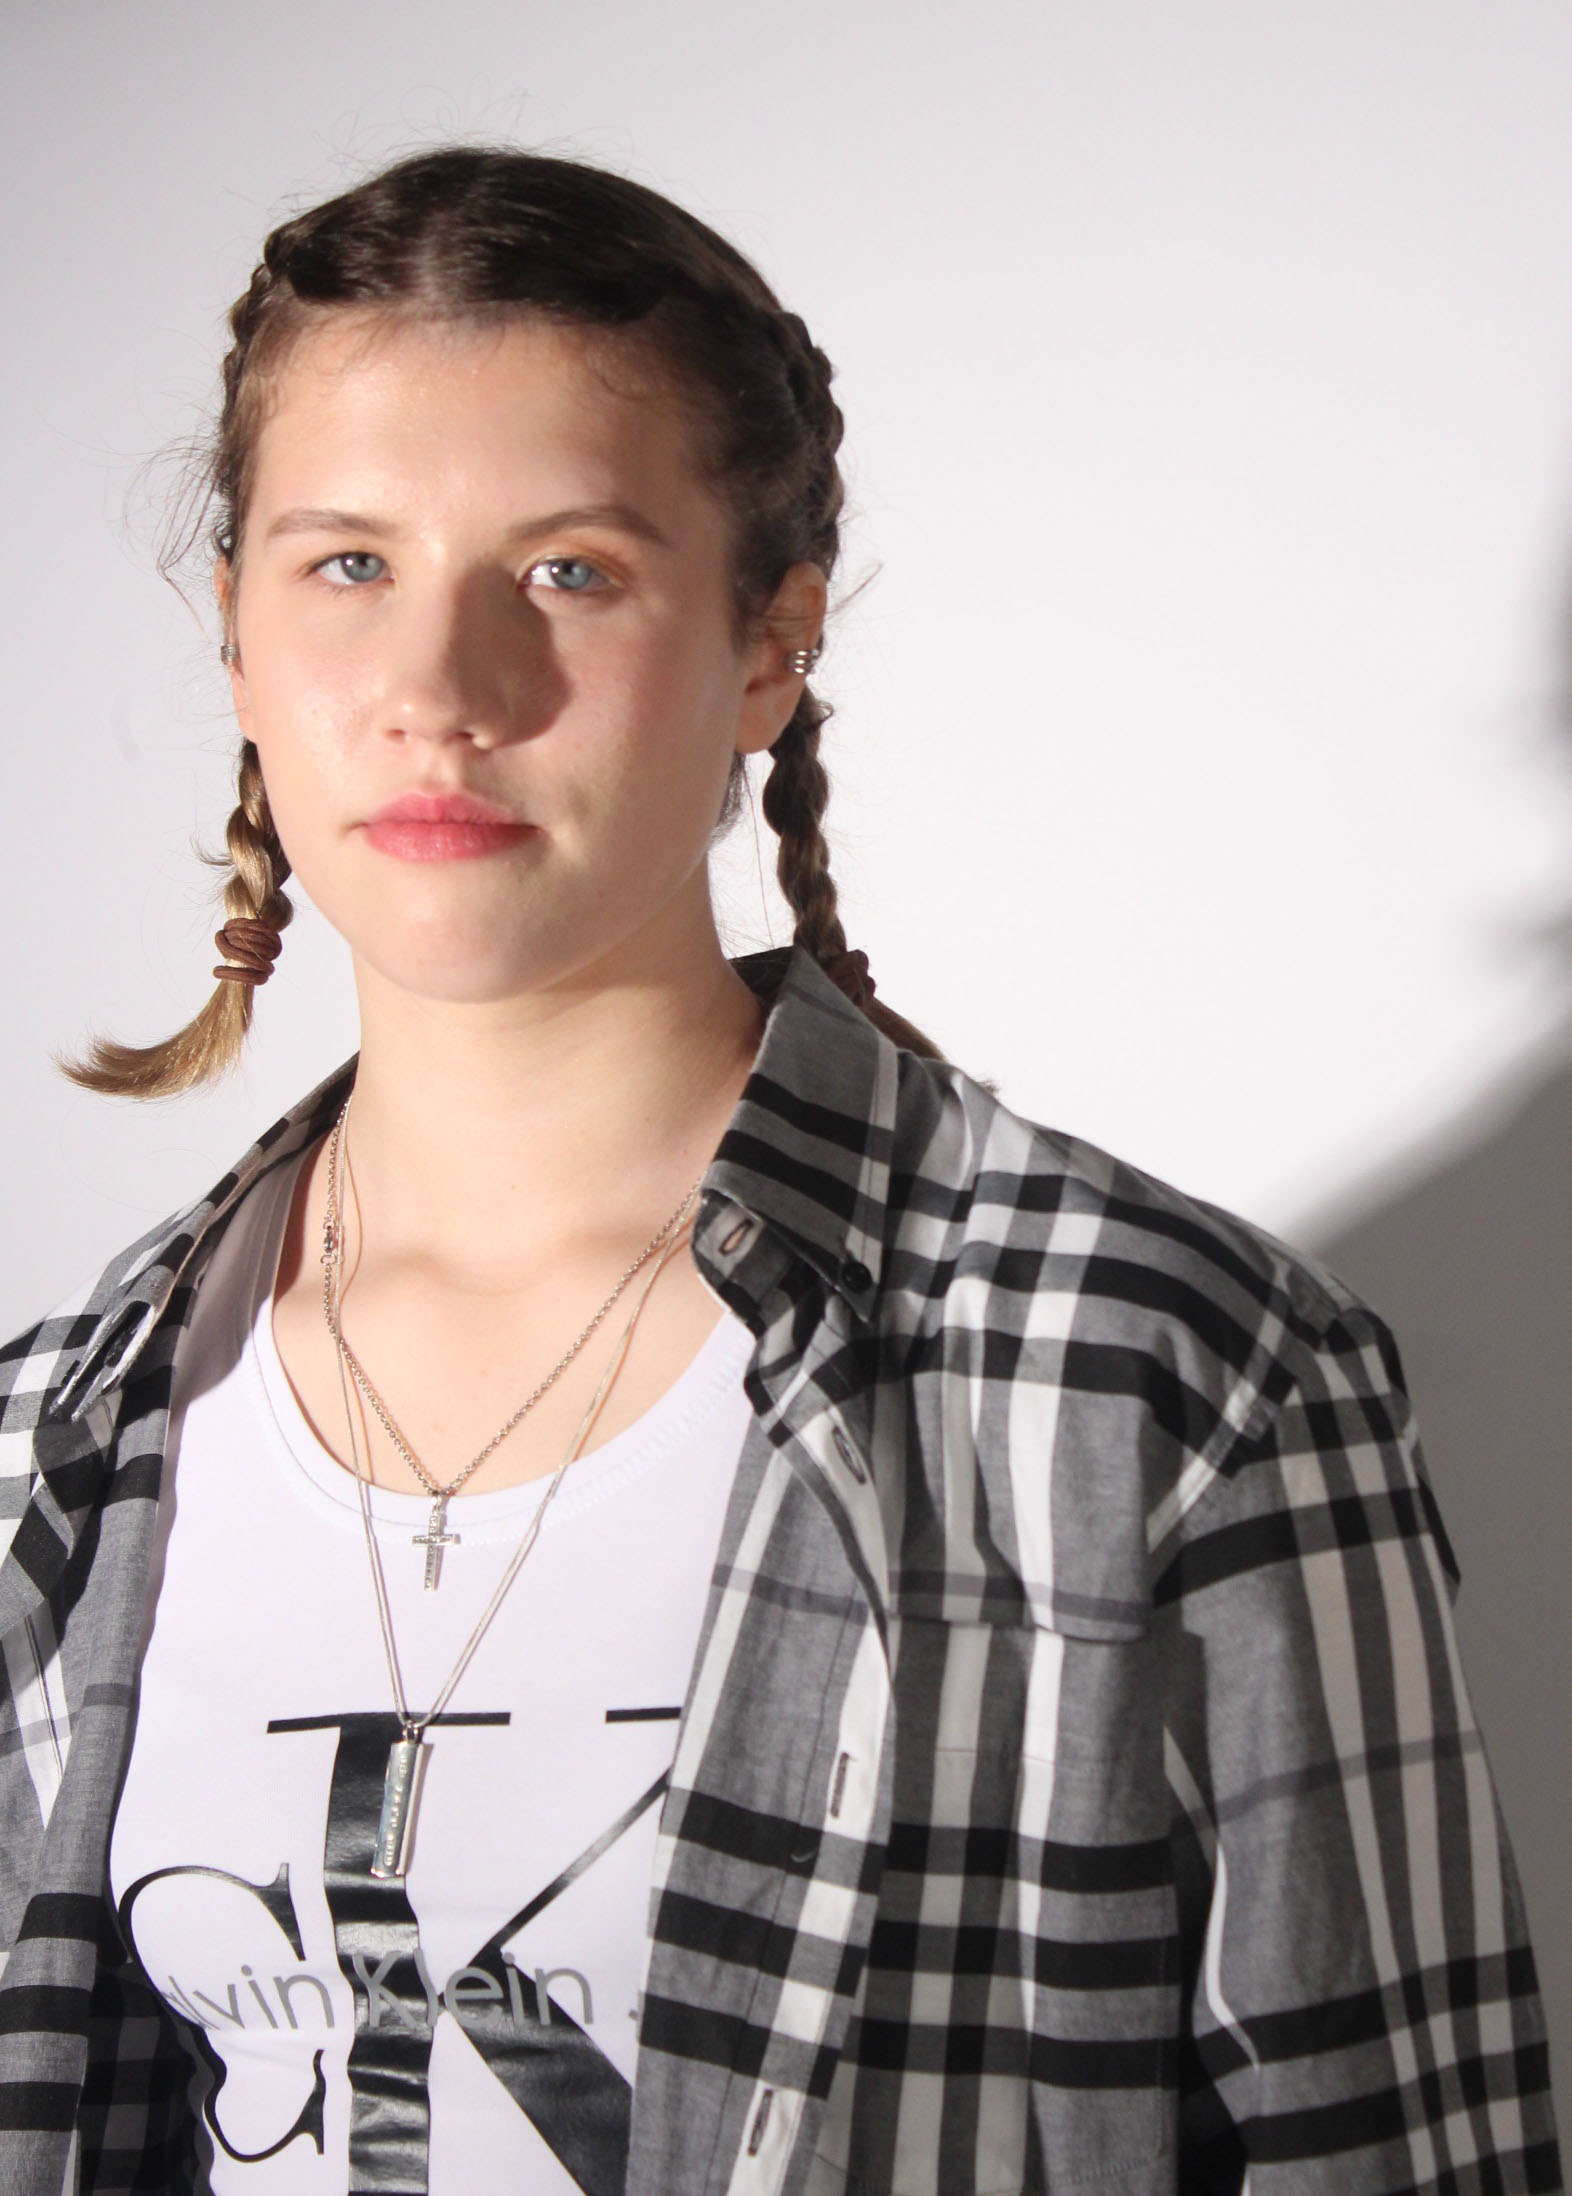
Chiaroscuro
Street Photography
Street Photography
What is street Photography?
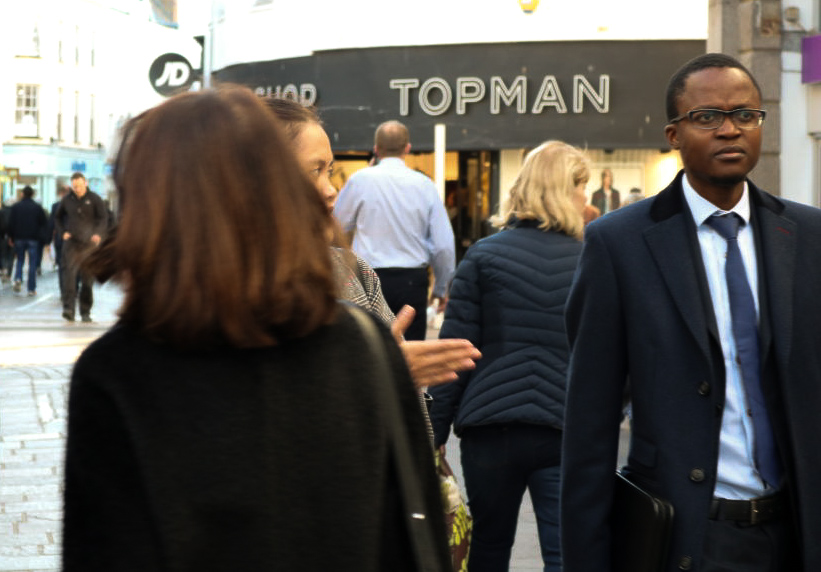
Street photography, also sometimes called candid photography, is photography conducted for art or inquiry that features unmediated chance encounters and random incidents within public places. The images captured when taking photos in the street are immediate and happen often quite quickly no member of the public stands there and stages this out therefore all images happen by fate.
For me there are a few ways of interpreting the way someone takes photos under the theme of ‘Street Photography’ In these examples some of the images were taken a long time ago. For street photographers they have seen,through images,changes in clothes, appearance and just the way individuals have interacted with one another for the past hundred years or so.
There are many artists that are linked to street photography here are just some examples:
- Bruce Gilden
- Henri – cartier Bresson
- Garry Winogrand
- Weegee
- Robert Doisneau
- Vivian Maier
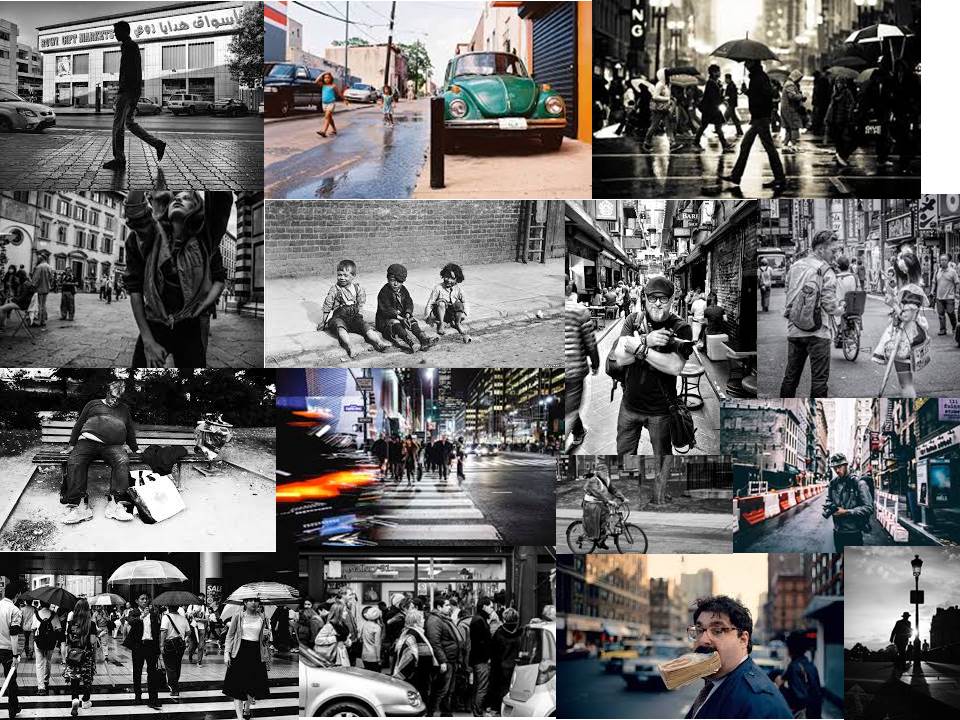
These are some quotes that photographers have said or wrote whilst out and about photographing the streets and whats inside it.
“Photographers mistake the emotion they feel while taking the photo as a judgment that the photograph is good.” – Garry Winogrand
“I love the people I photograph. I men they’re my friends. I’ve never met most of them or I don’t know them at all, yet through my images I live with them”- Bruce Gilden
“Don’t wait. the time will never just be right” – Napoleon Hill
Below is a video on some more examples of street photography :
Arnold Newman
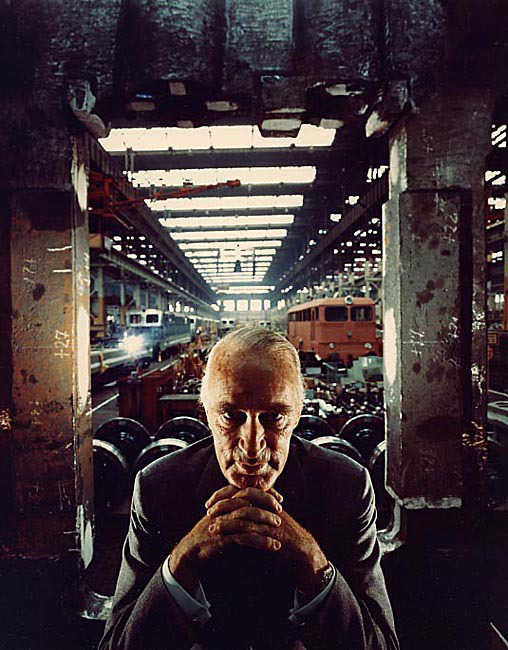
The context behind this image is Arnold Newman essentially was asked to photograph Alfred Krupp (by himself). However when Alfred found out that Newman was Jewish he no longer wanted to be photographed him. Newman insisted of Krupp looking at his portfolio before making any final decisions. Finally Krupp just agreed and the photo was taken and published in 1963. This image was taken in front of whats believed to have been a train factory which was used to deport Jews off to concentration camps. Krupp allegedly used slave labor to make weapons and help the Nazis with the extermination of Jews. However it is believed that Krupp ended up in jail because of his un-thought actions.
Having first looked at this image without knowing any of the background knowledge i wasn’t too keen on it. I didn’t like it because there’s quite a lot of elements going on in the photo in terms of objects wise. additionally the photo being under exposed also makes me not like as there’s quite a lot of dark and tones you wouldn’t normally see if the image was a happy image. Looking closely at the mans face he looks like hes scheming something it looks sinister. Having further investigated the image i can now see that Alfred was actually trying to make himself look evil and that make out to be quite powerful.
The color of the image is quite rusty and dark, by using this effect on the picture it allows the focus to be directly in the middle of the mans face.
Arnold Newman –
Recognized for his incredible ability to capture the spirit and personality of his subjects, Newman is credited for his work in environmental portraiture and having countless world leaders pass before his lens. Born on March 3, 1918 in New York, Newman began studying painting after moving to Miami with his family.
Newman’s career quickly escalated as he explored the idea of photographing his subjects in their own personal environments. He first began photographing artists, often with their own work, and quickly moved on to photographing some of the world’s most prominent figures. With careful composition and dynamic design, his environmental portraiture managed to evoke a sense of the person’s inner spirit. Newman explained, “I am interested in what motivates individuals, what they do with their lives, their personalities, and how I perceive and interpret them.”
Mood Board Portraits
Portraiture
Portrait photography or portraiture in photography is a photograph of a person or group of people that captures the personality of the subject by using effective lighting, backdrops, and poses. A portrait picture might be artistic, or it might be clinical, as part of a medical study.
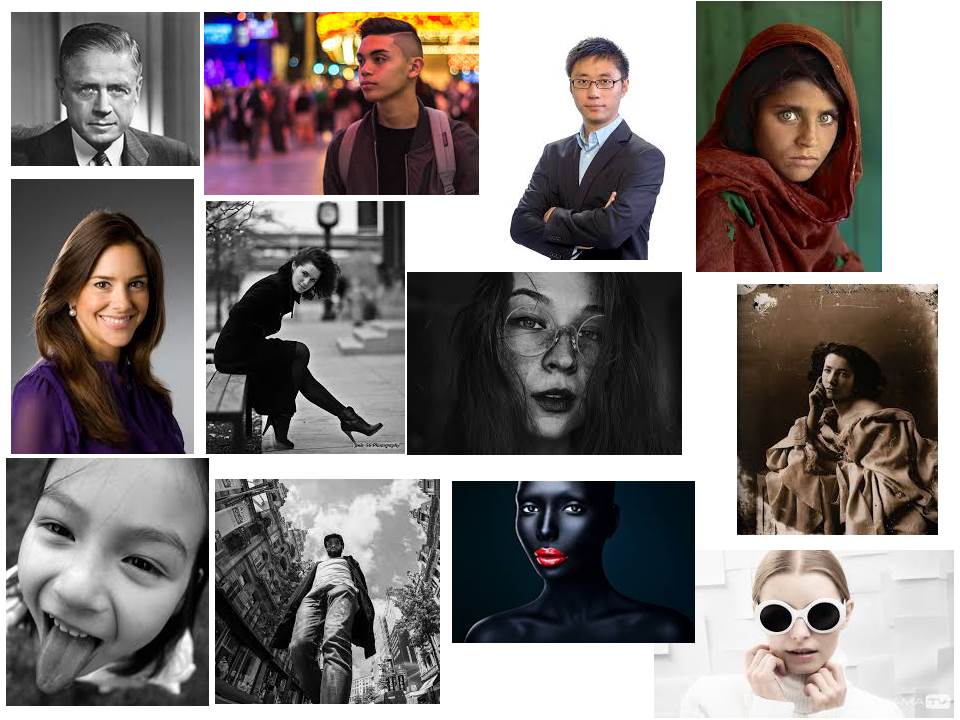
Every one of these images:
- formal
- informal
- candidate
- High angle
- Low angle
- Headshot
- futuristic
- high key
- colour
- black and white
- half body
- Full body
- natural
- posed
Environmental Portraits
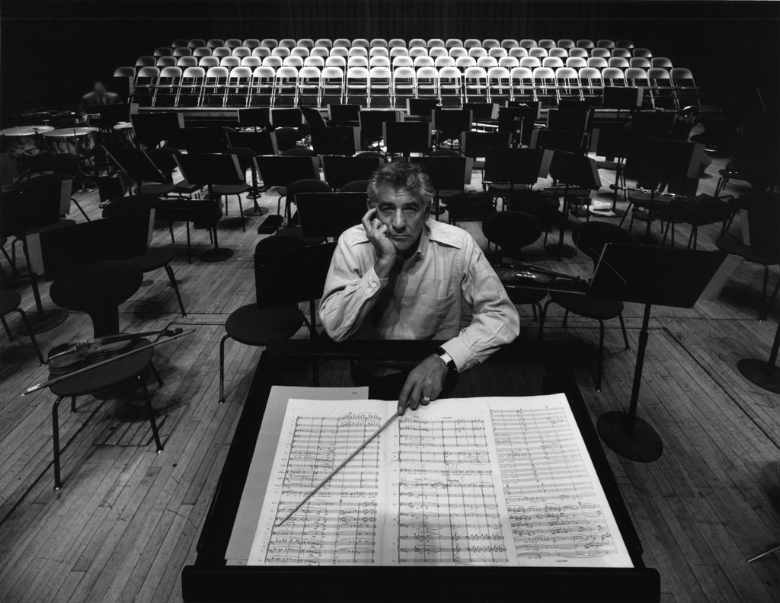
This is an example of an environmental portrait.
The lighting and exposure of the images is quite low however it highlights the focus on to the man who is wearing white. As shown in the image the man is engaging with the camera, unlike street photography where the person being photographed usually isn’t aware environmental portraits is the opposite and encourages the person to be looking at the image.
Arnold Newman began taking images that were based around on who the person actually is. For this man it looks like his background is something along the lines of being a musician so therefore he’s trying to capture part of his identity. This captures the idea of environmental as its trying to portray the idea that this what they do day to day.
Henri Cartier-Bresson
Henri Cartier-Bresson was a French humanist photographer considered a master of candid photography, and an early user of 35 mm film. He pioneered the genre of street photography, and viewed photography as capturing a decisive moment.
Henri Cartier-Bresson was born in Chanteloup-en-Brie, Seine-et-Marne, France, the oldest of five children. His father was a wealthy textile manufacturer, whose Cartier-Bresson thread was a staple of French sewing kits. His mother’s family were cotton merchants and landowners from Normandy, where Henri spent part of his childhood. The Cartier-Bresson family lived in a bourgeois neighborhood in Paris, Rue de Lisbonne, near Place de l’Europe and Parc Monceau. His parents supported him financially so Henri could pursue photography more freely than his contemporaries. Henri also sketched.
Cartier-Bresson recuperated in Marseille in late 1931 and deepened his relationship with the Surrealists. He became inspired by a 1930 photograph by Hungarian photojournalist Martin Munkacsi showing three young African boys, caught in near-silhouette, running into the surf of Lake Tanganyika. Titled Three Boys at Lake Tanganyika, this captured the freedom, grace and spontaneity of their movement and their joy at being alive. That photograph inspired him to stop painting and to take up photography seriously. He explained, “I suddenly understood that a photograph could fix eternity in an instant.”
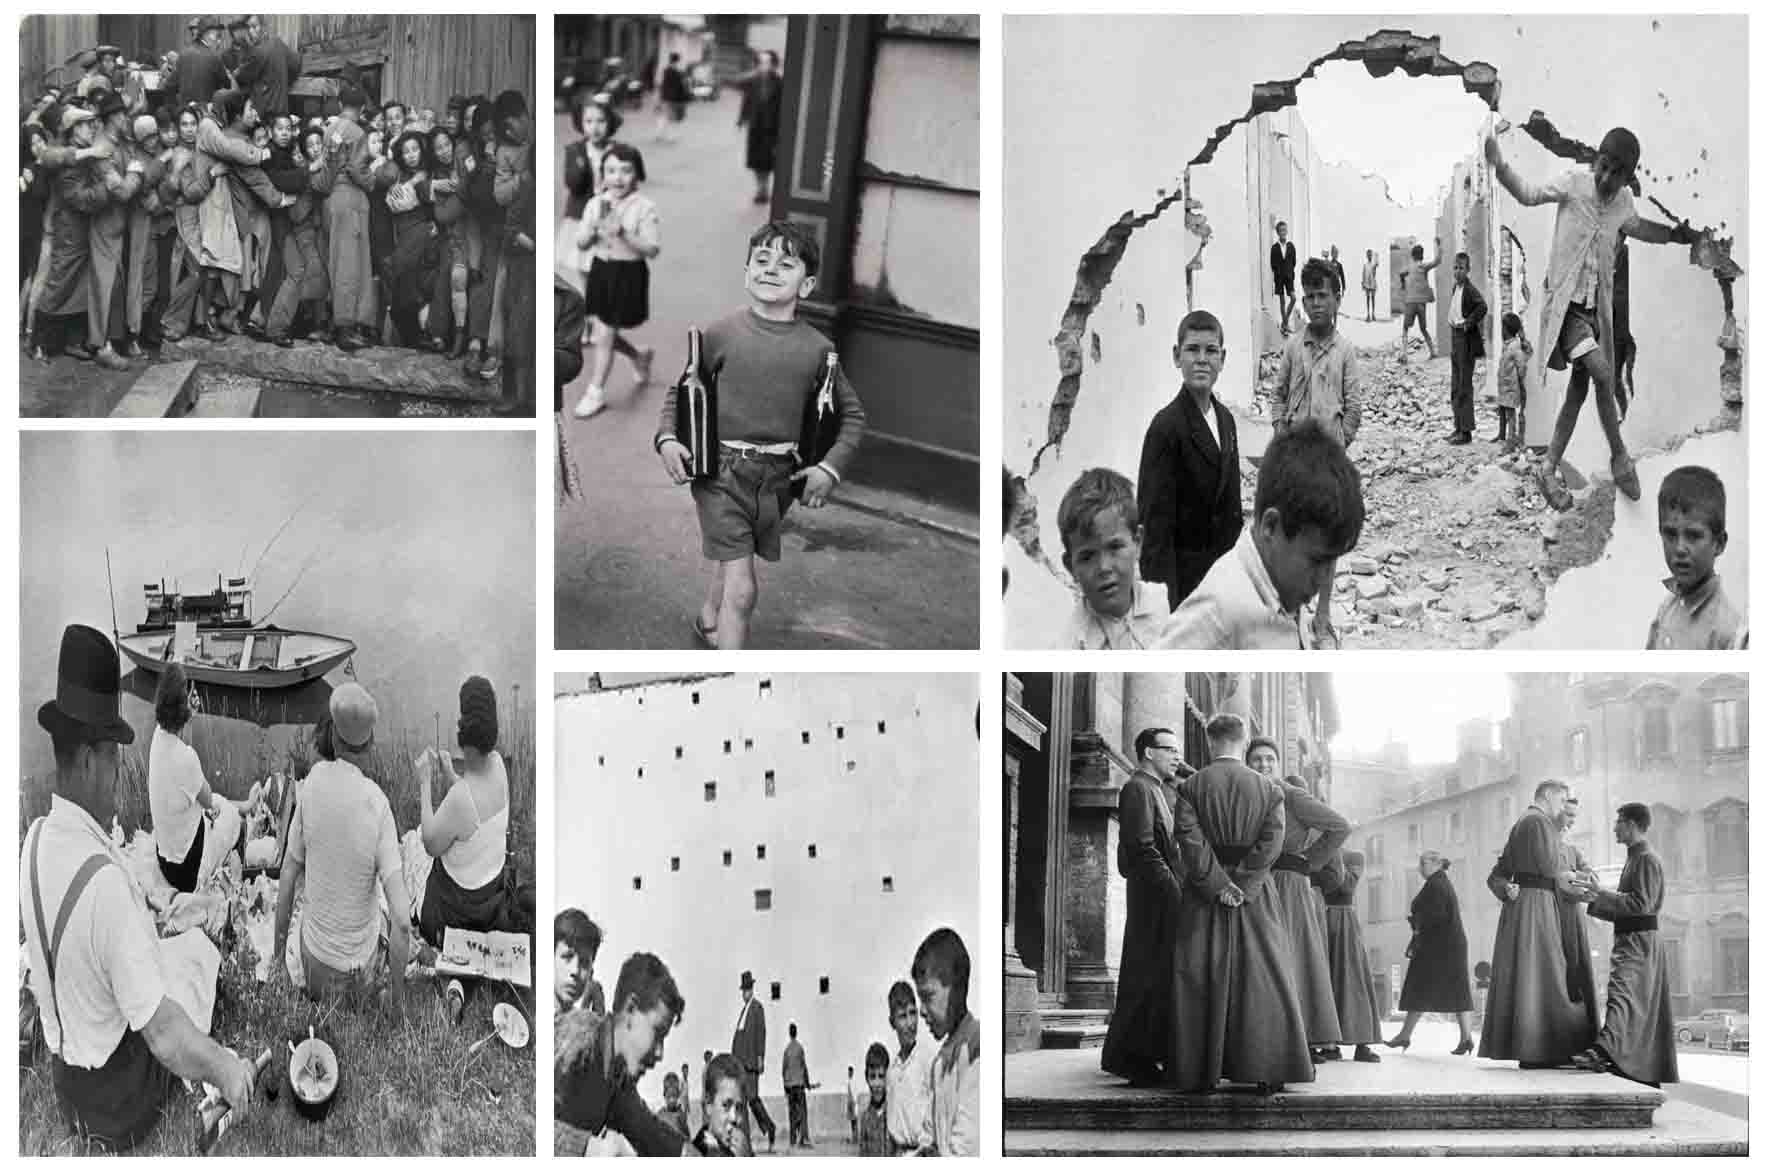

In this picture, you can clearly see the rubble of what were once houses, and the victims of the attack gathered around. It’s a grim sight to see, however while some of the children are staring at the camera glumly, other in the background seem to be ignoring what was around them and continuing on with their day, playing around and throwing things , seeming unaware of the photographer. The boarder draws our attention to the destroyed buildings in the background. Changing this photo into one without colour adds a strong emphasis to how grim this scene is. They’ve lost their homes and it seems like Bresson wanted to make their feelings obvious to the viewer.
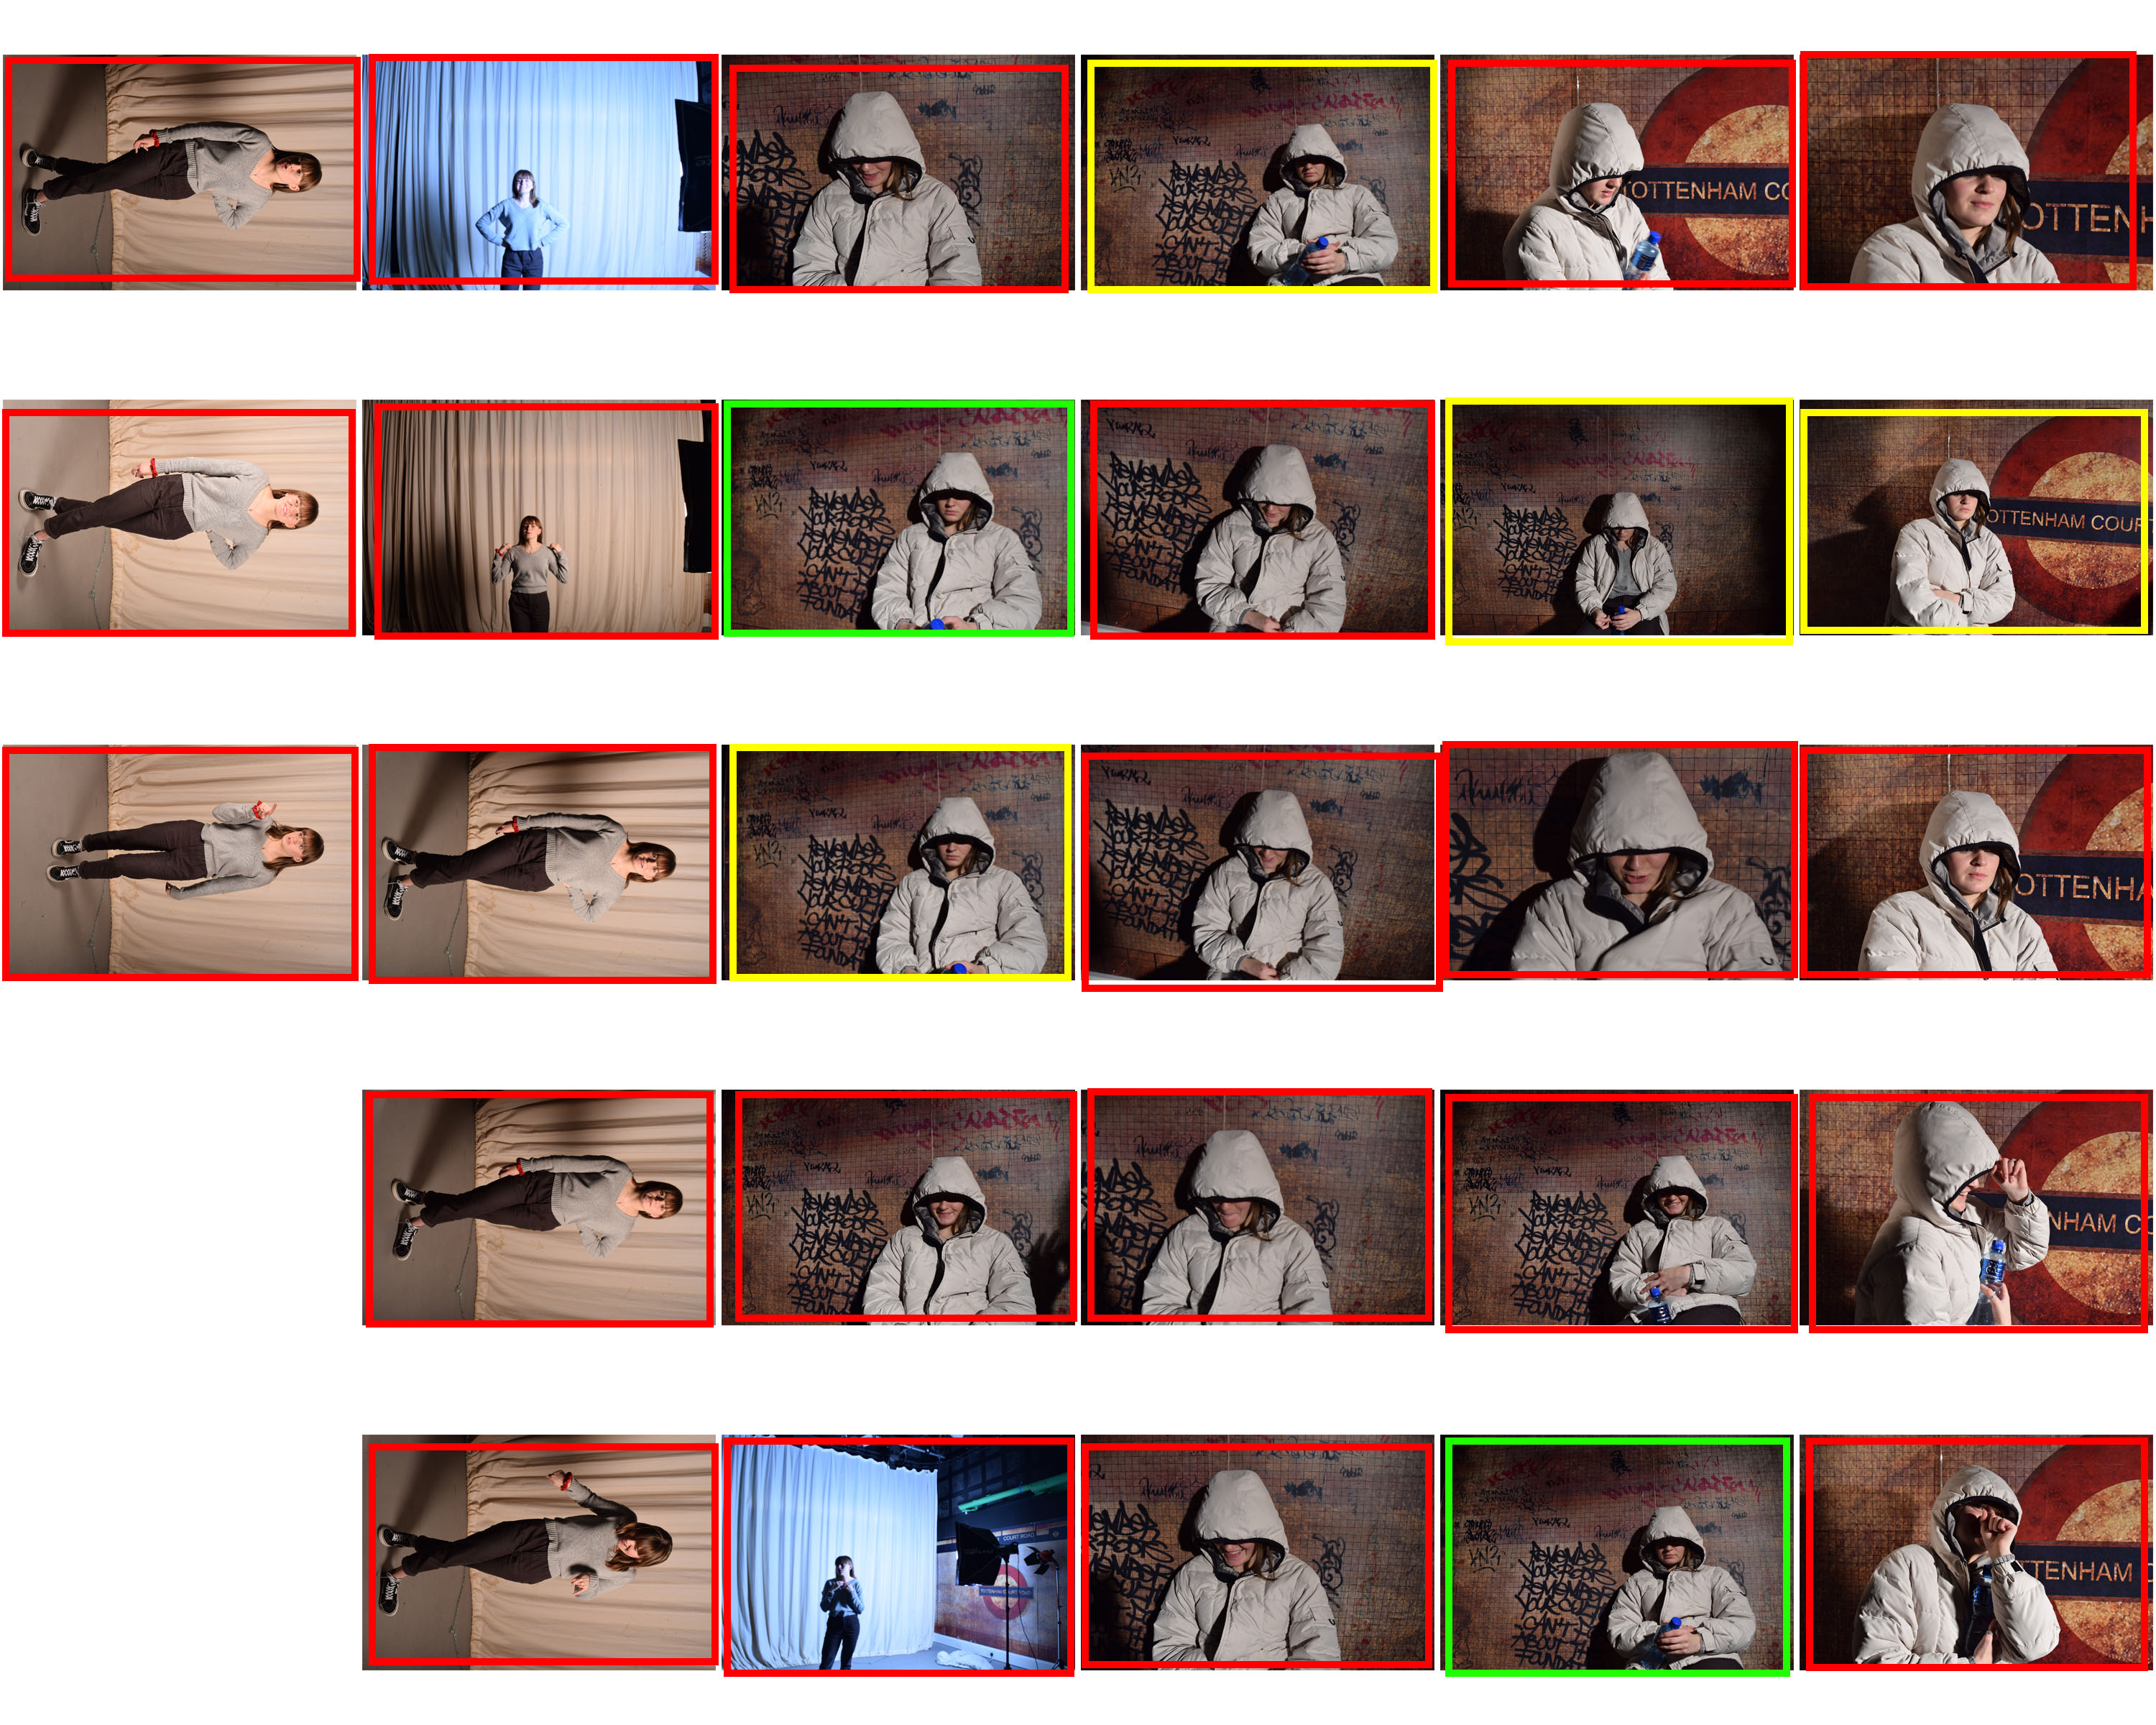
Street photography Practice
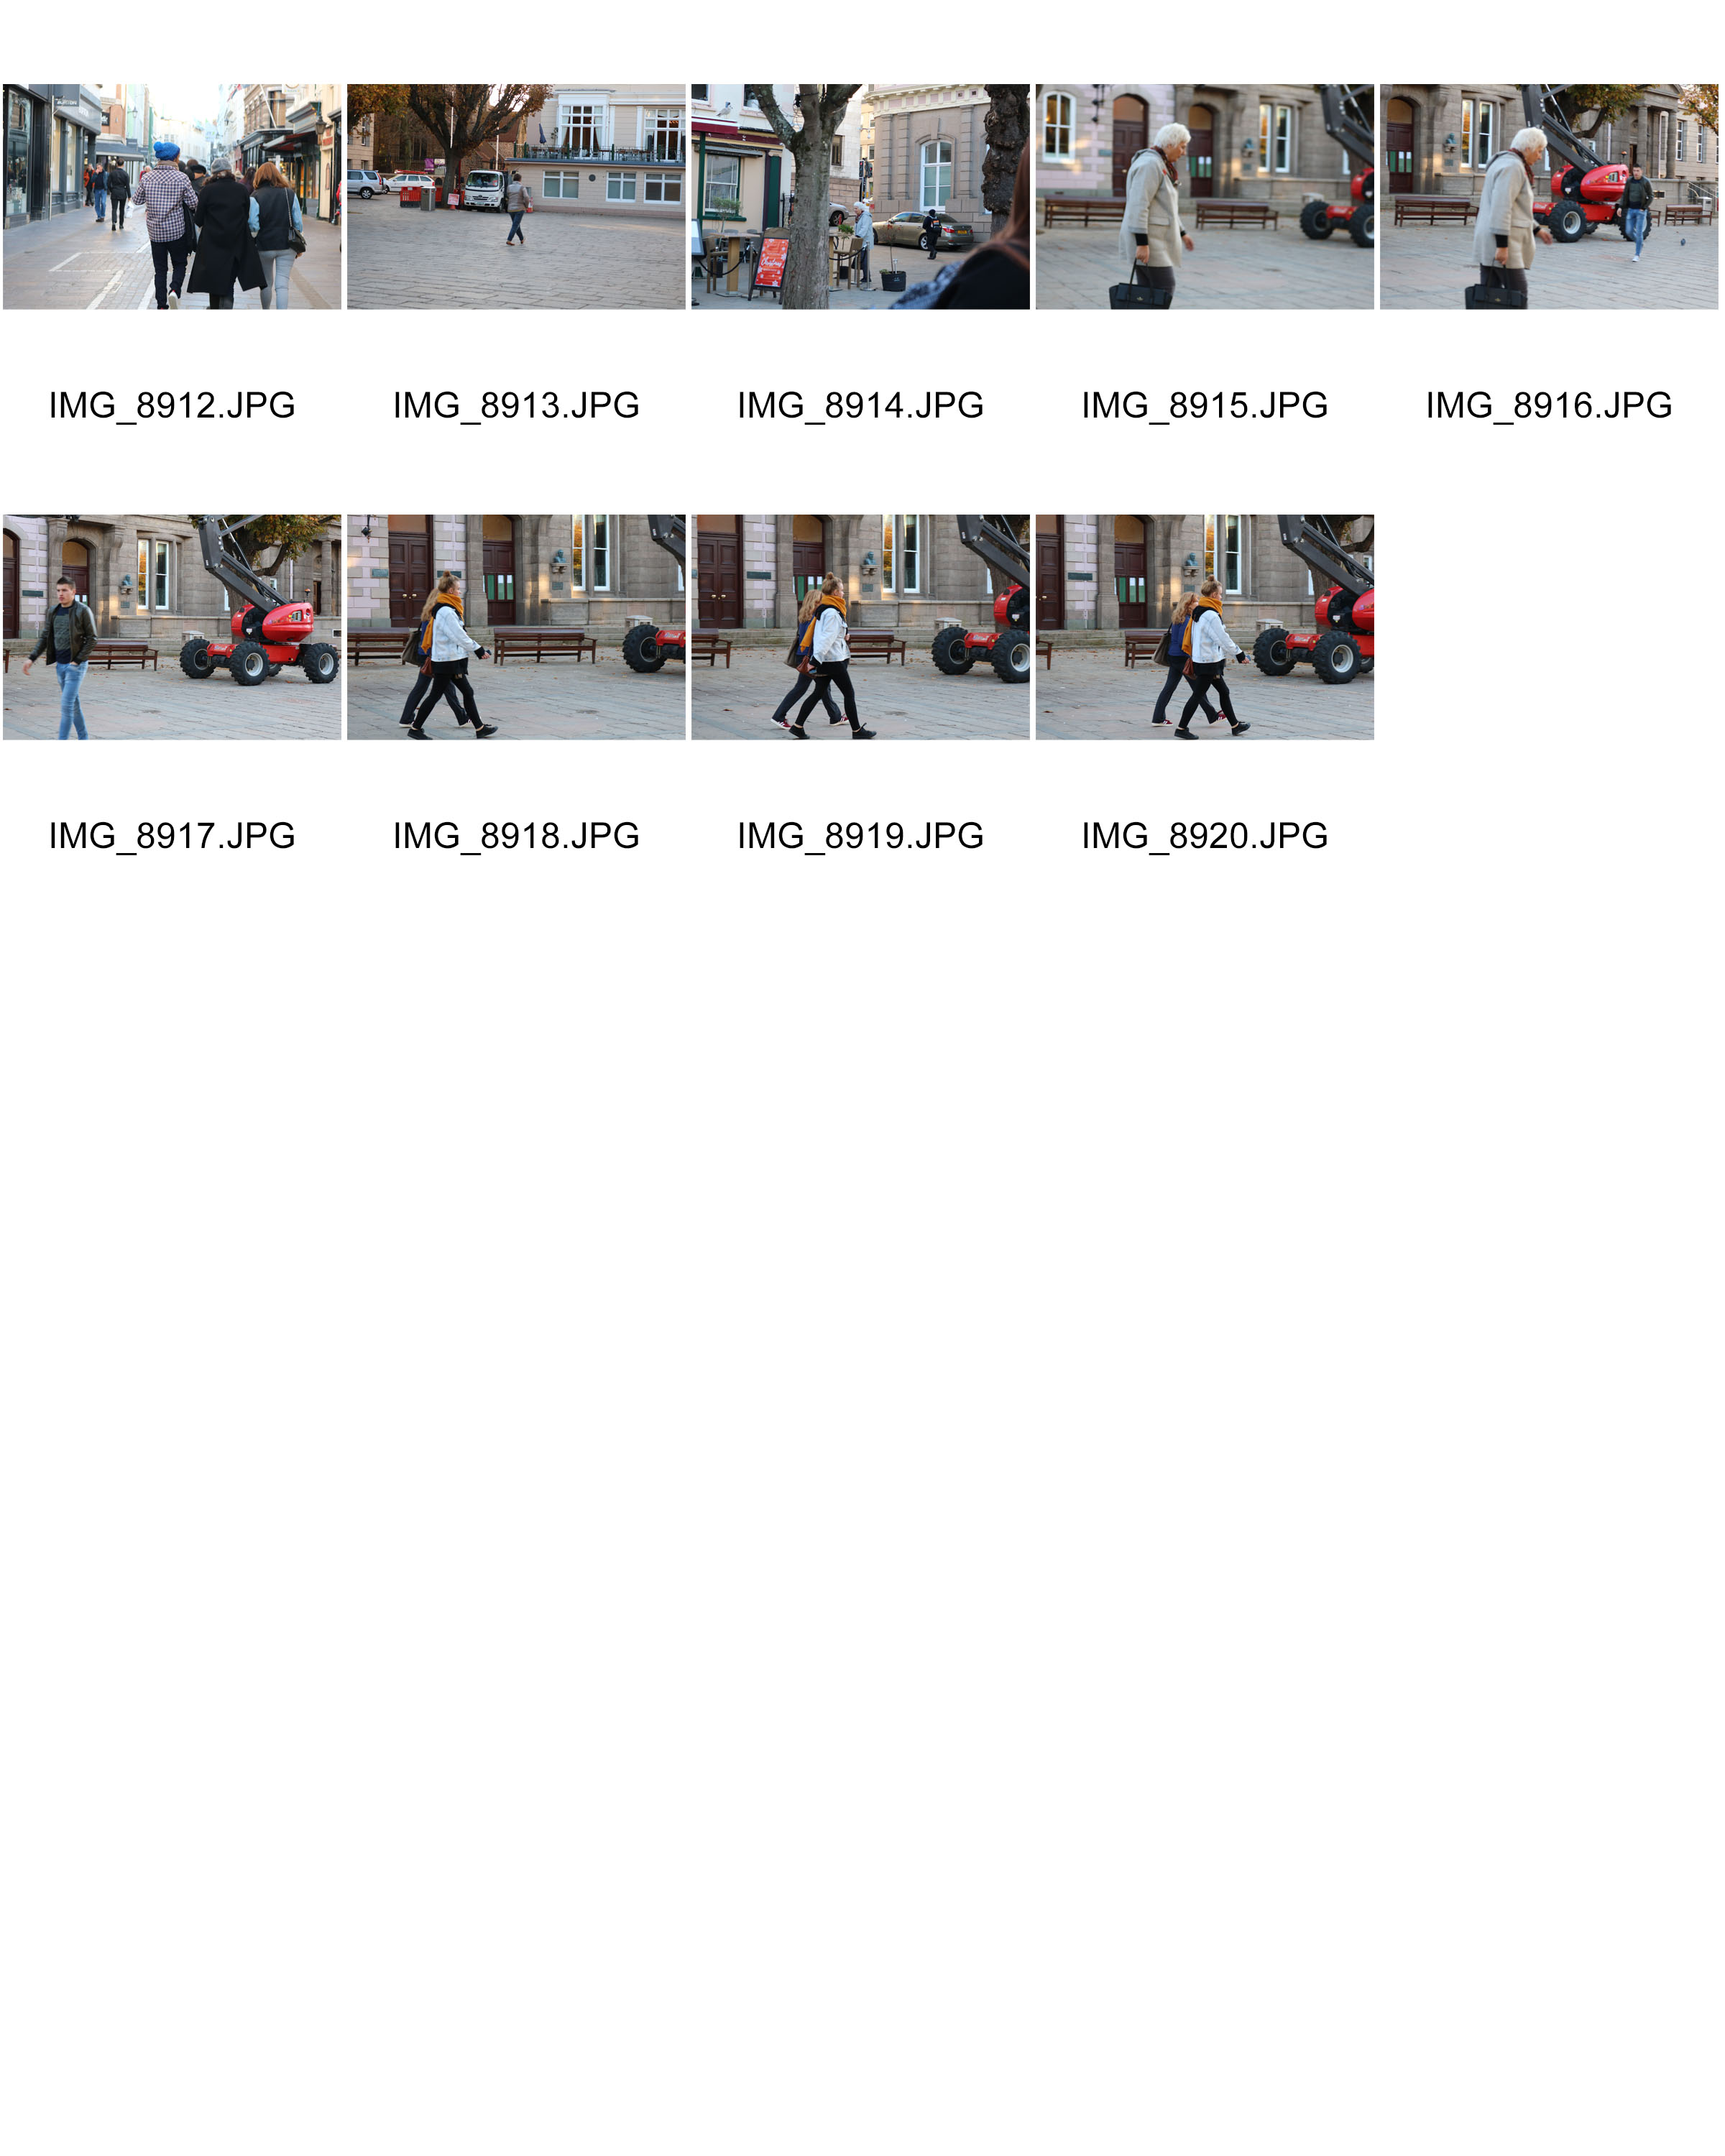
Contact sheet
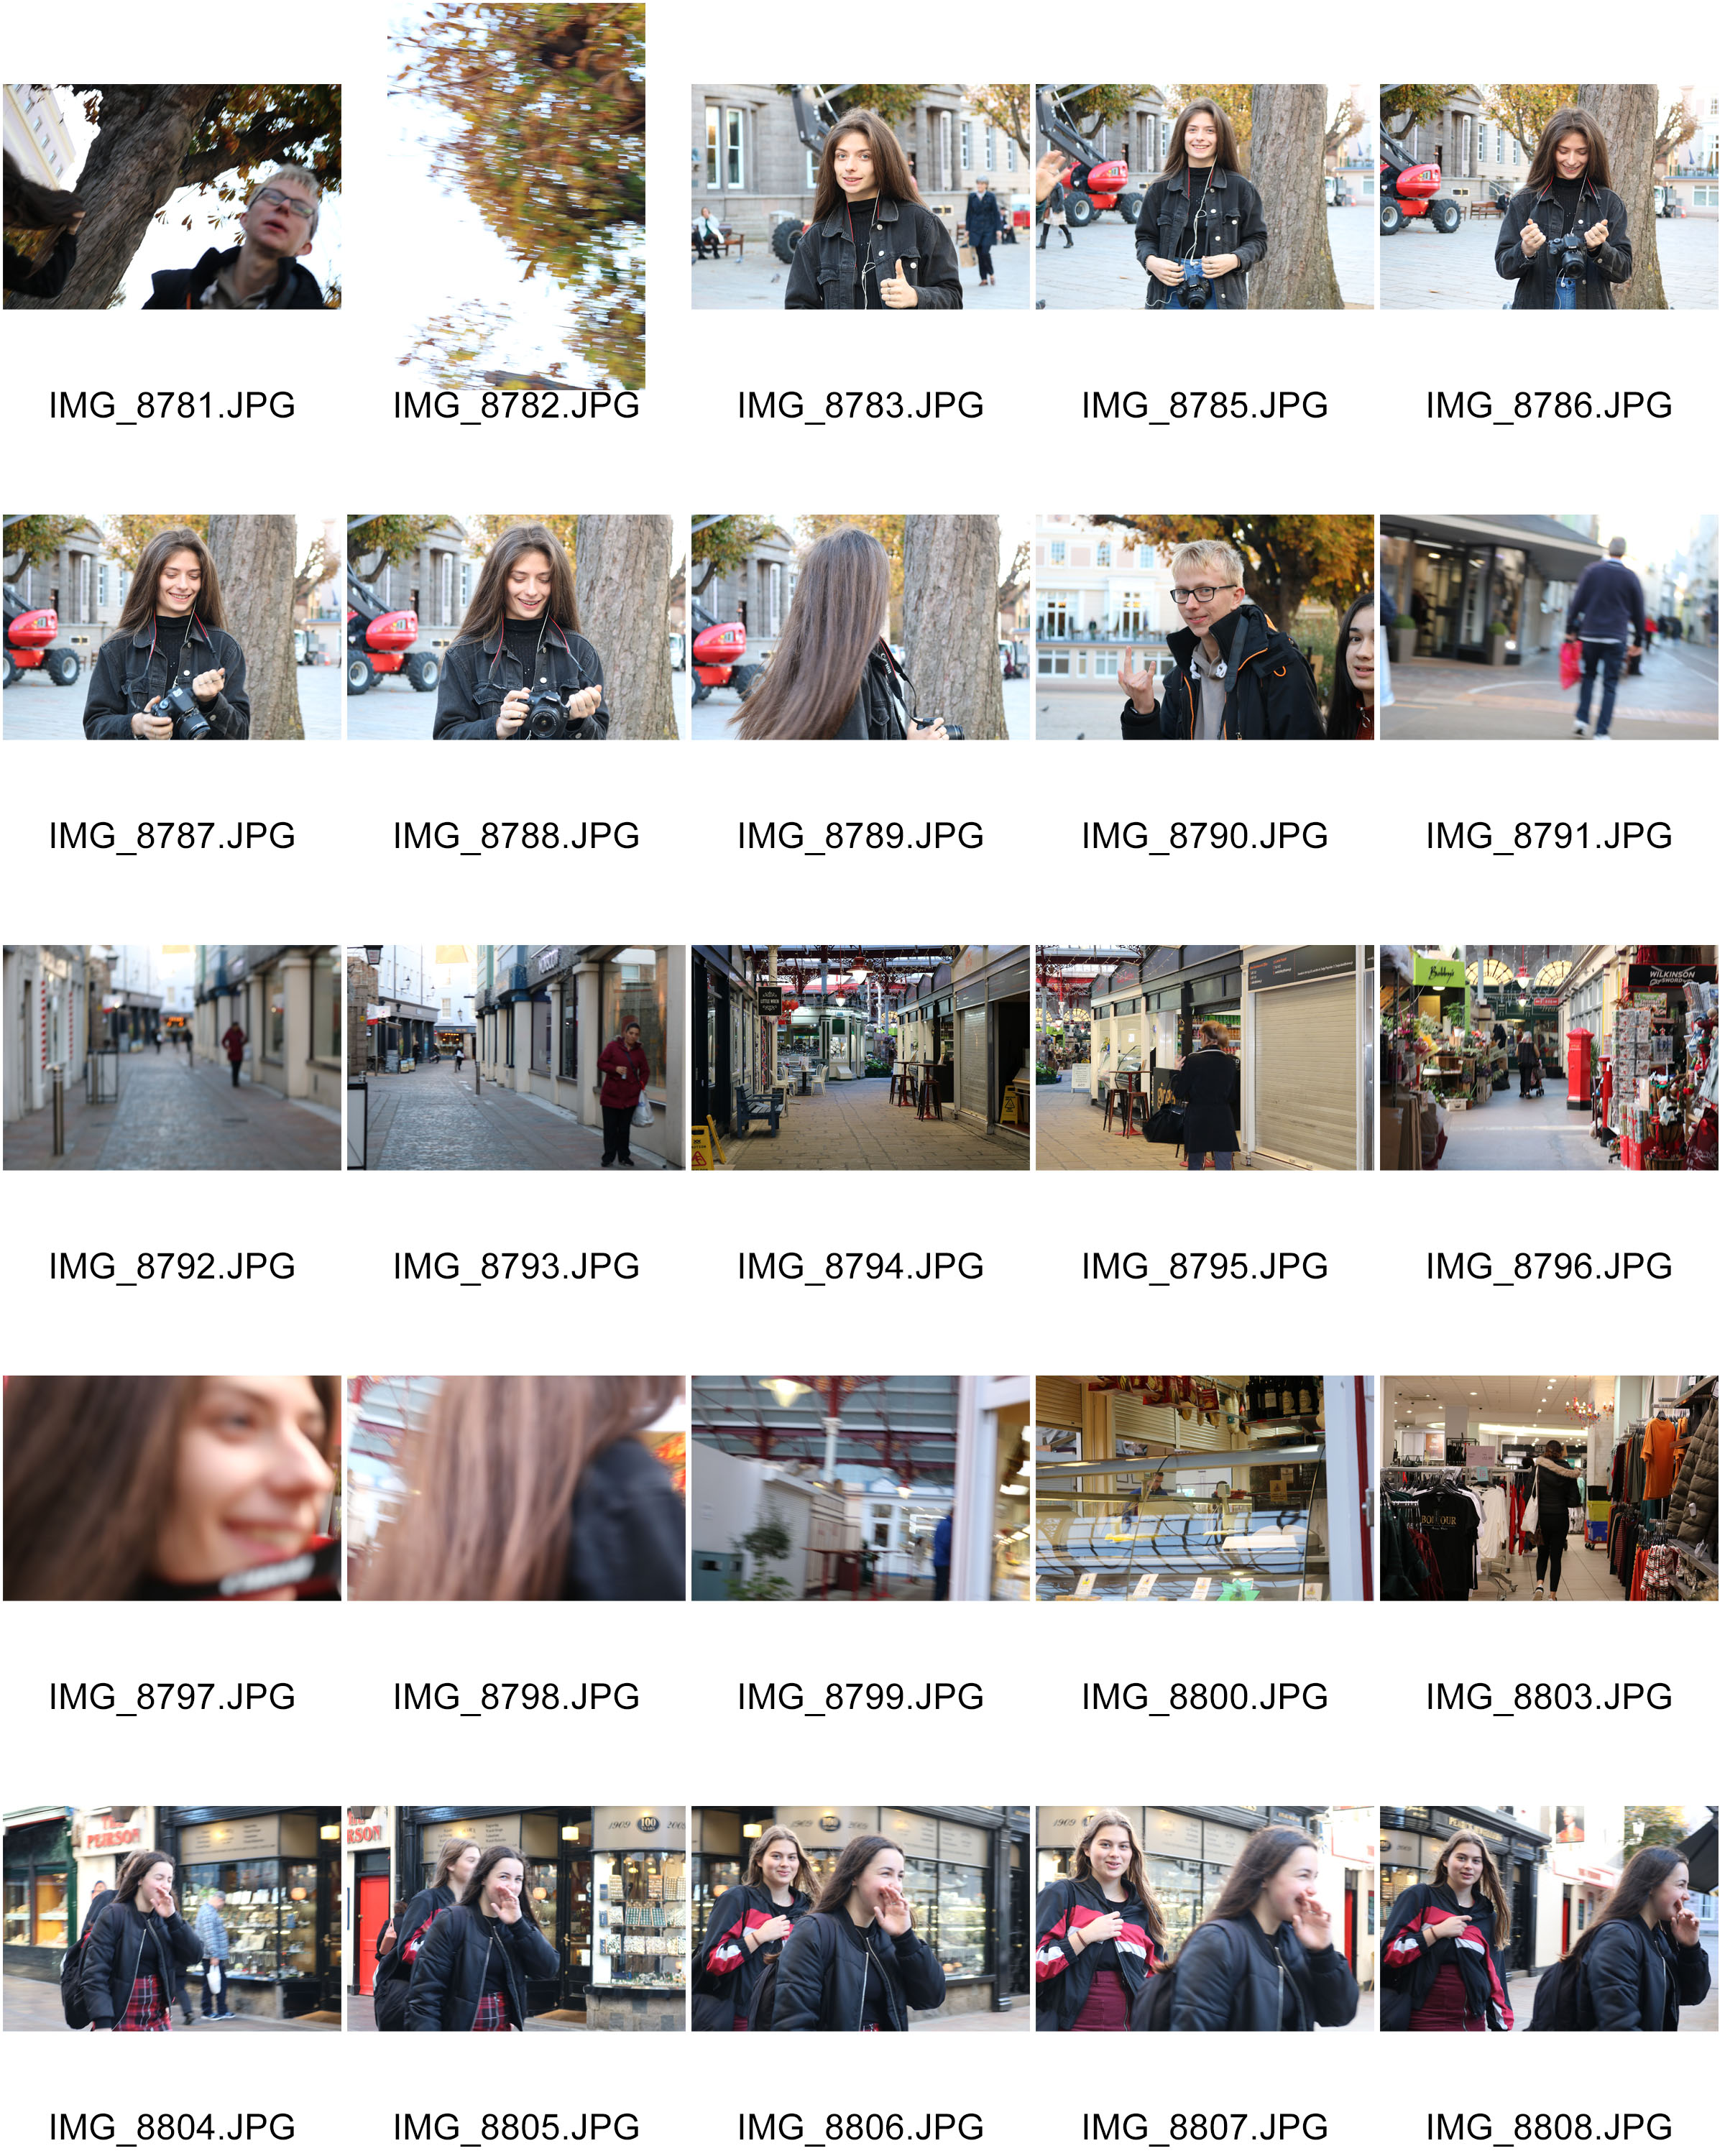
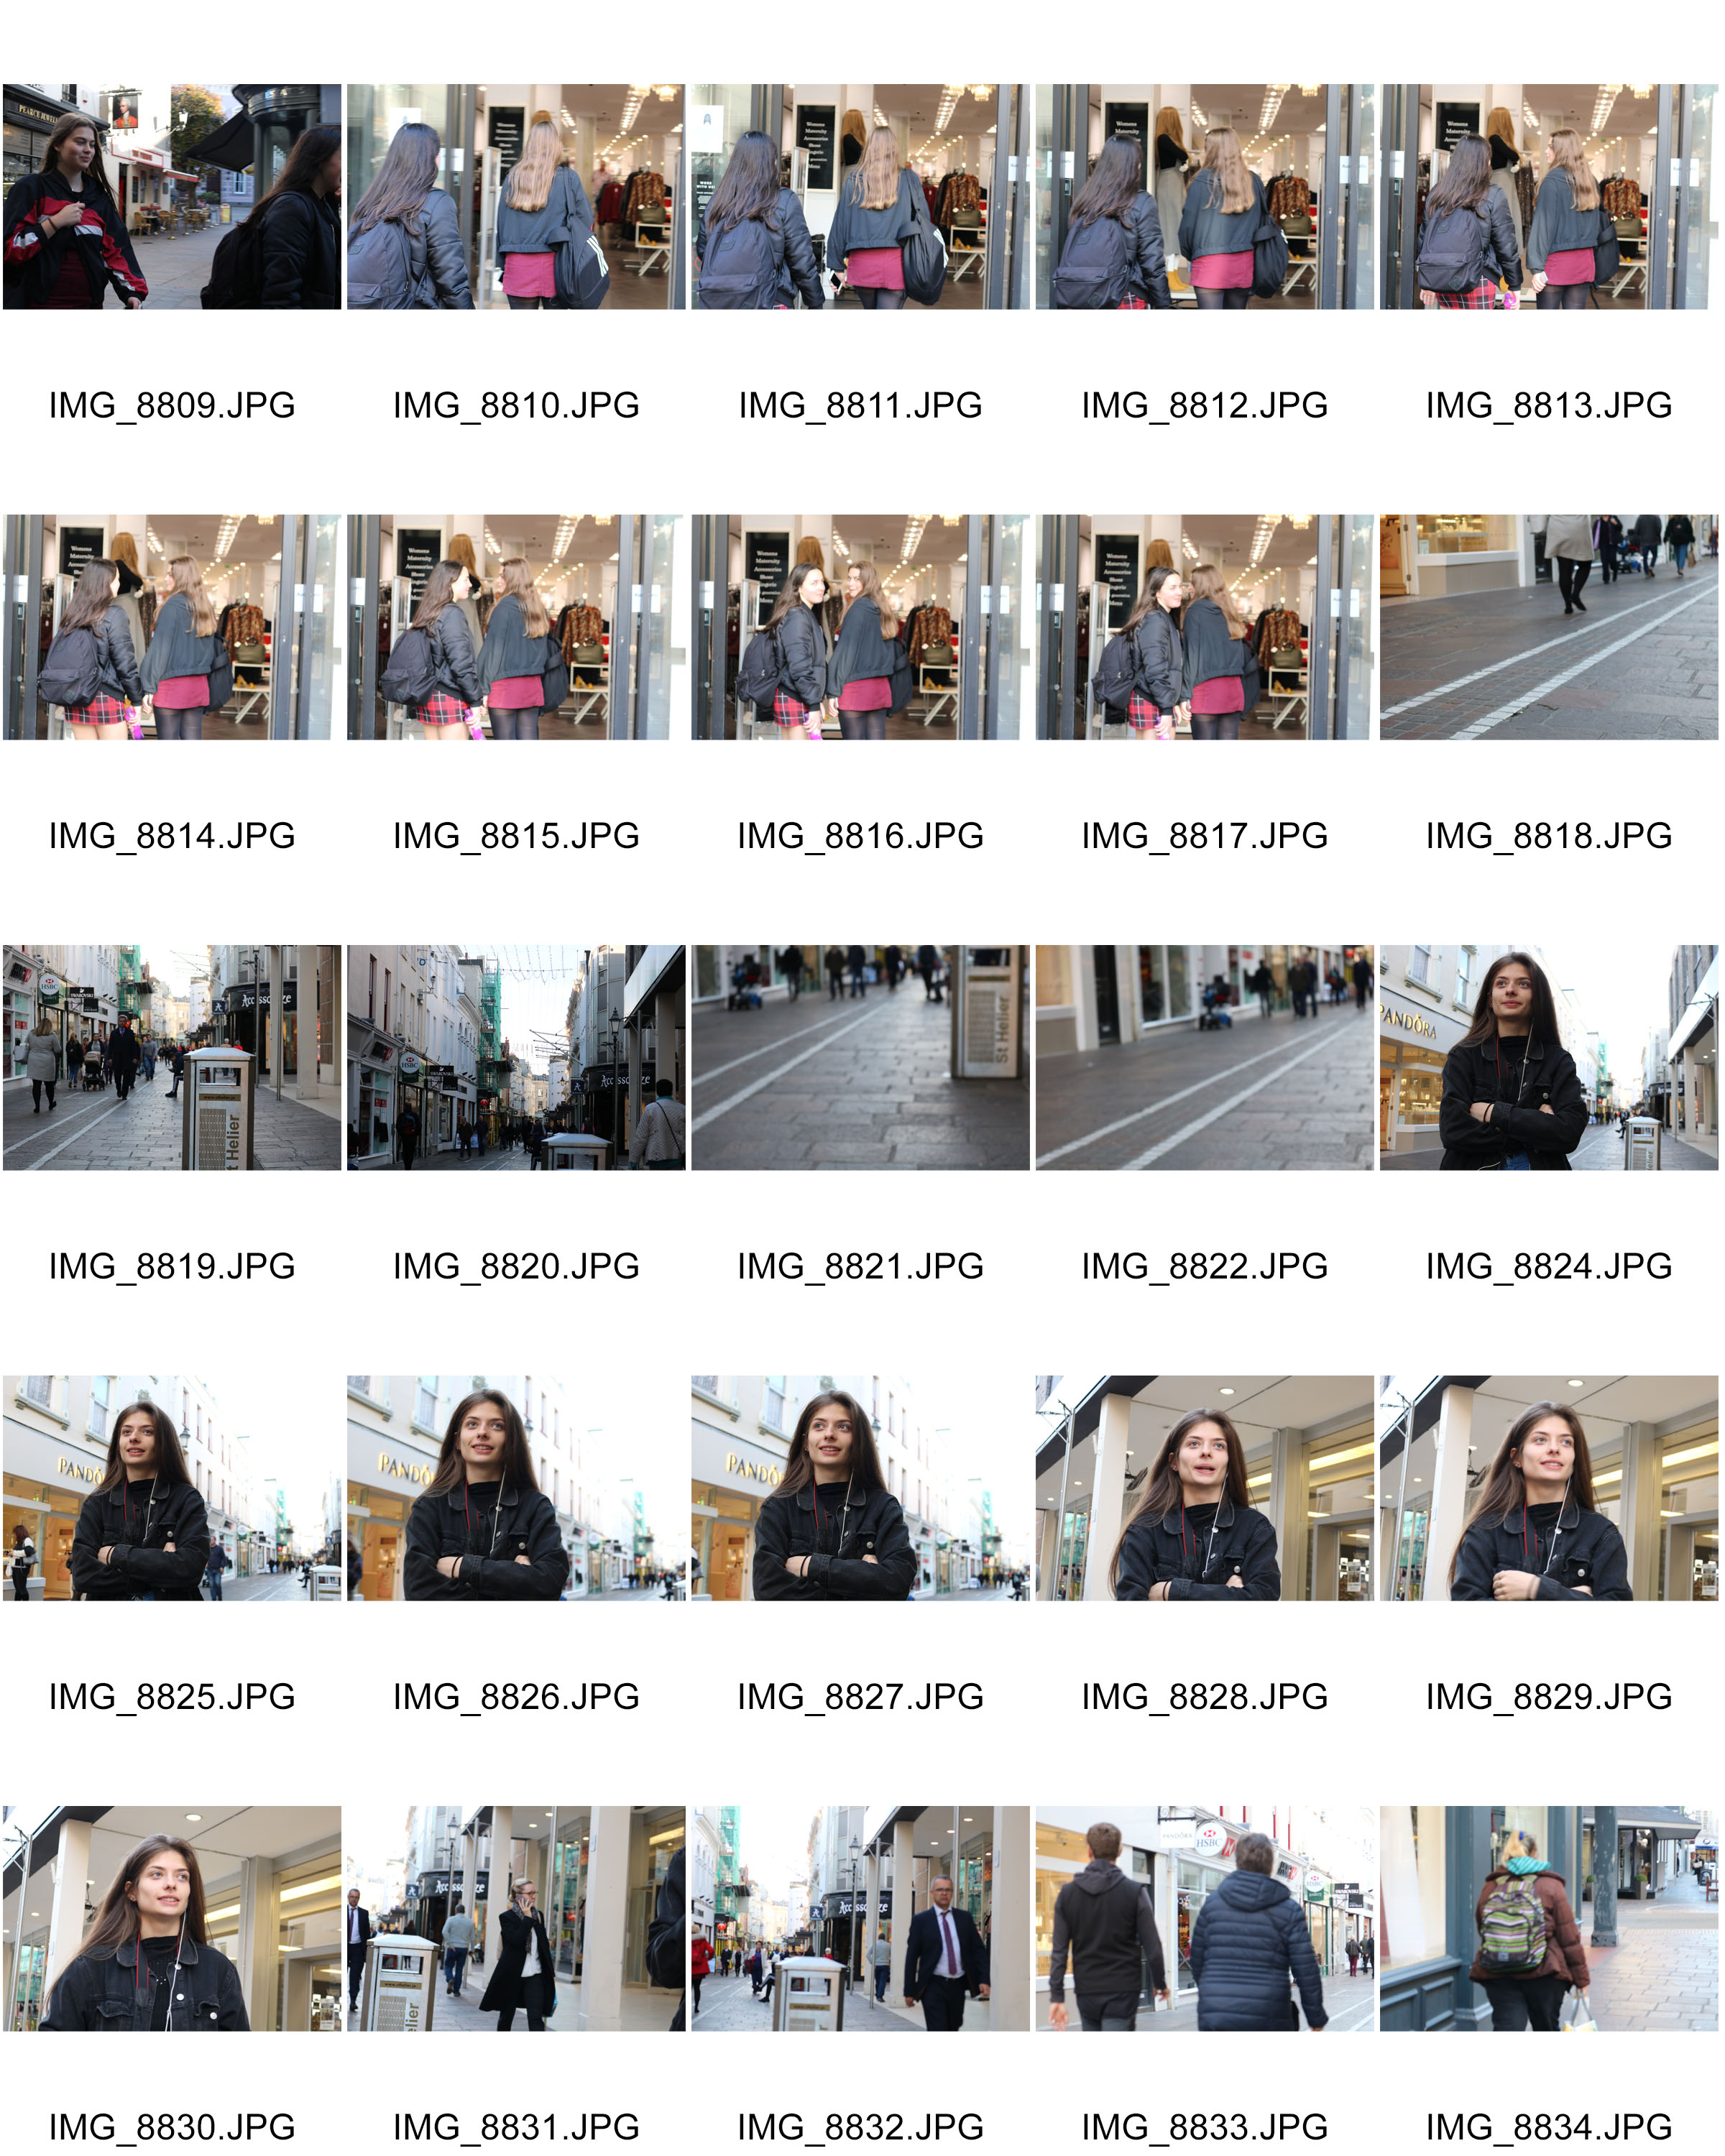
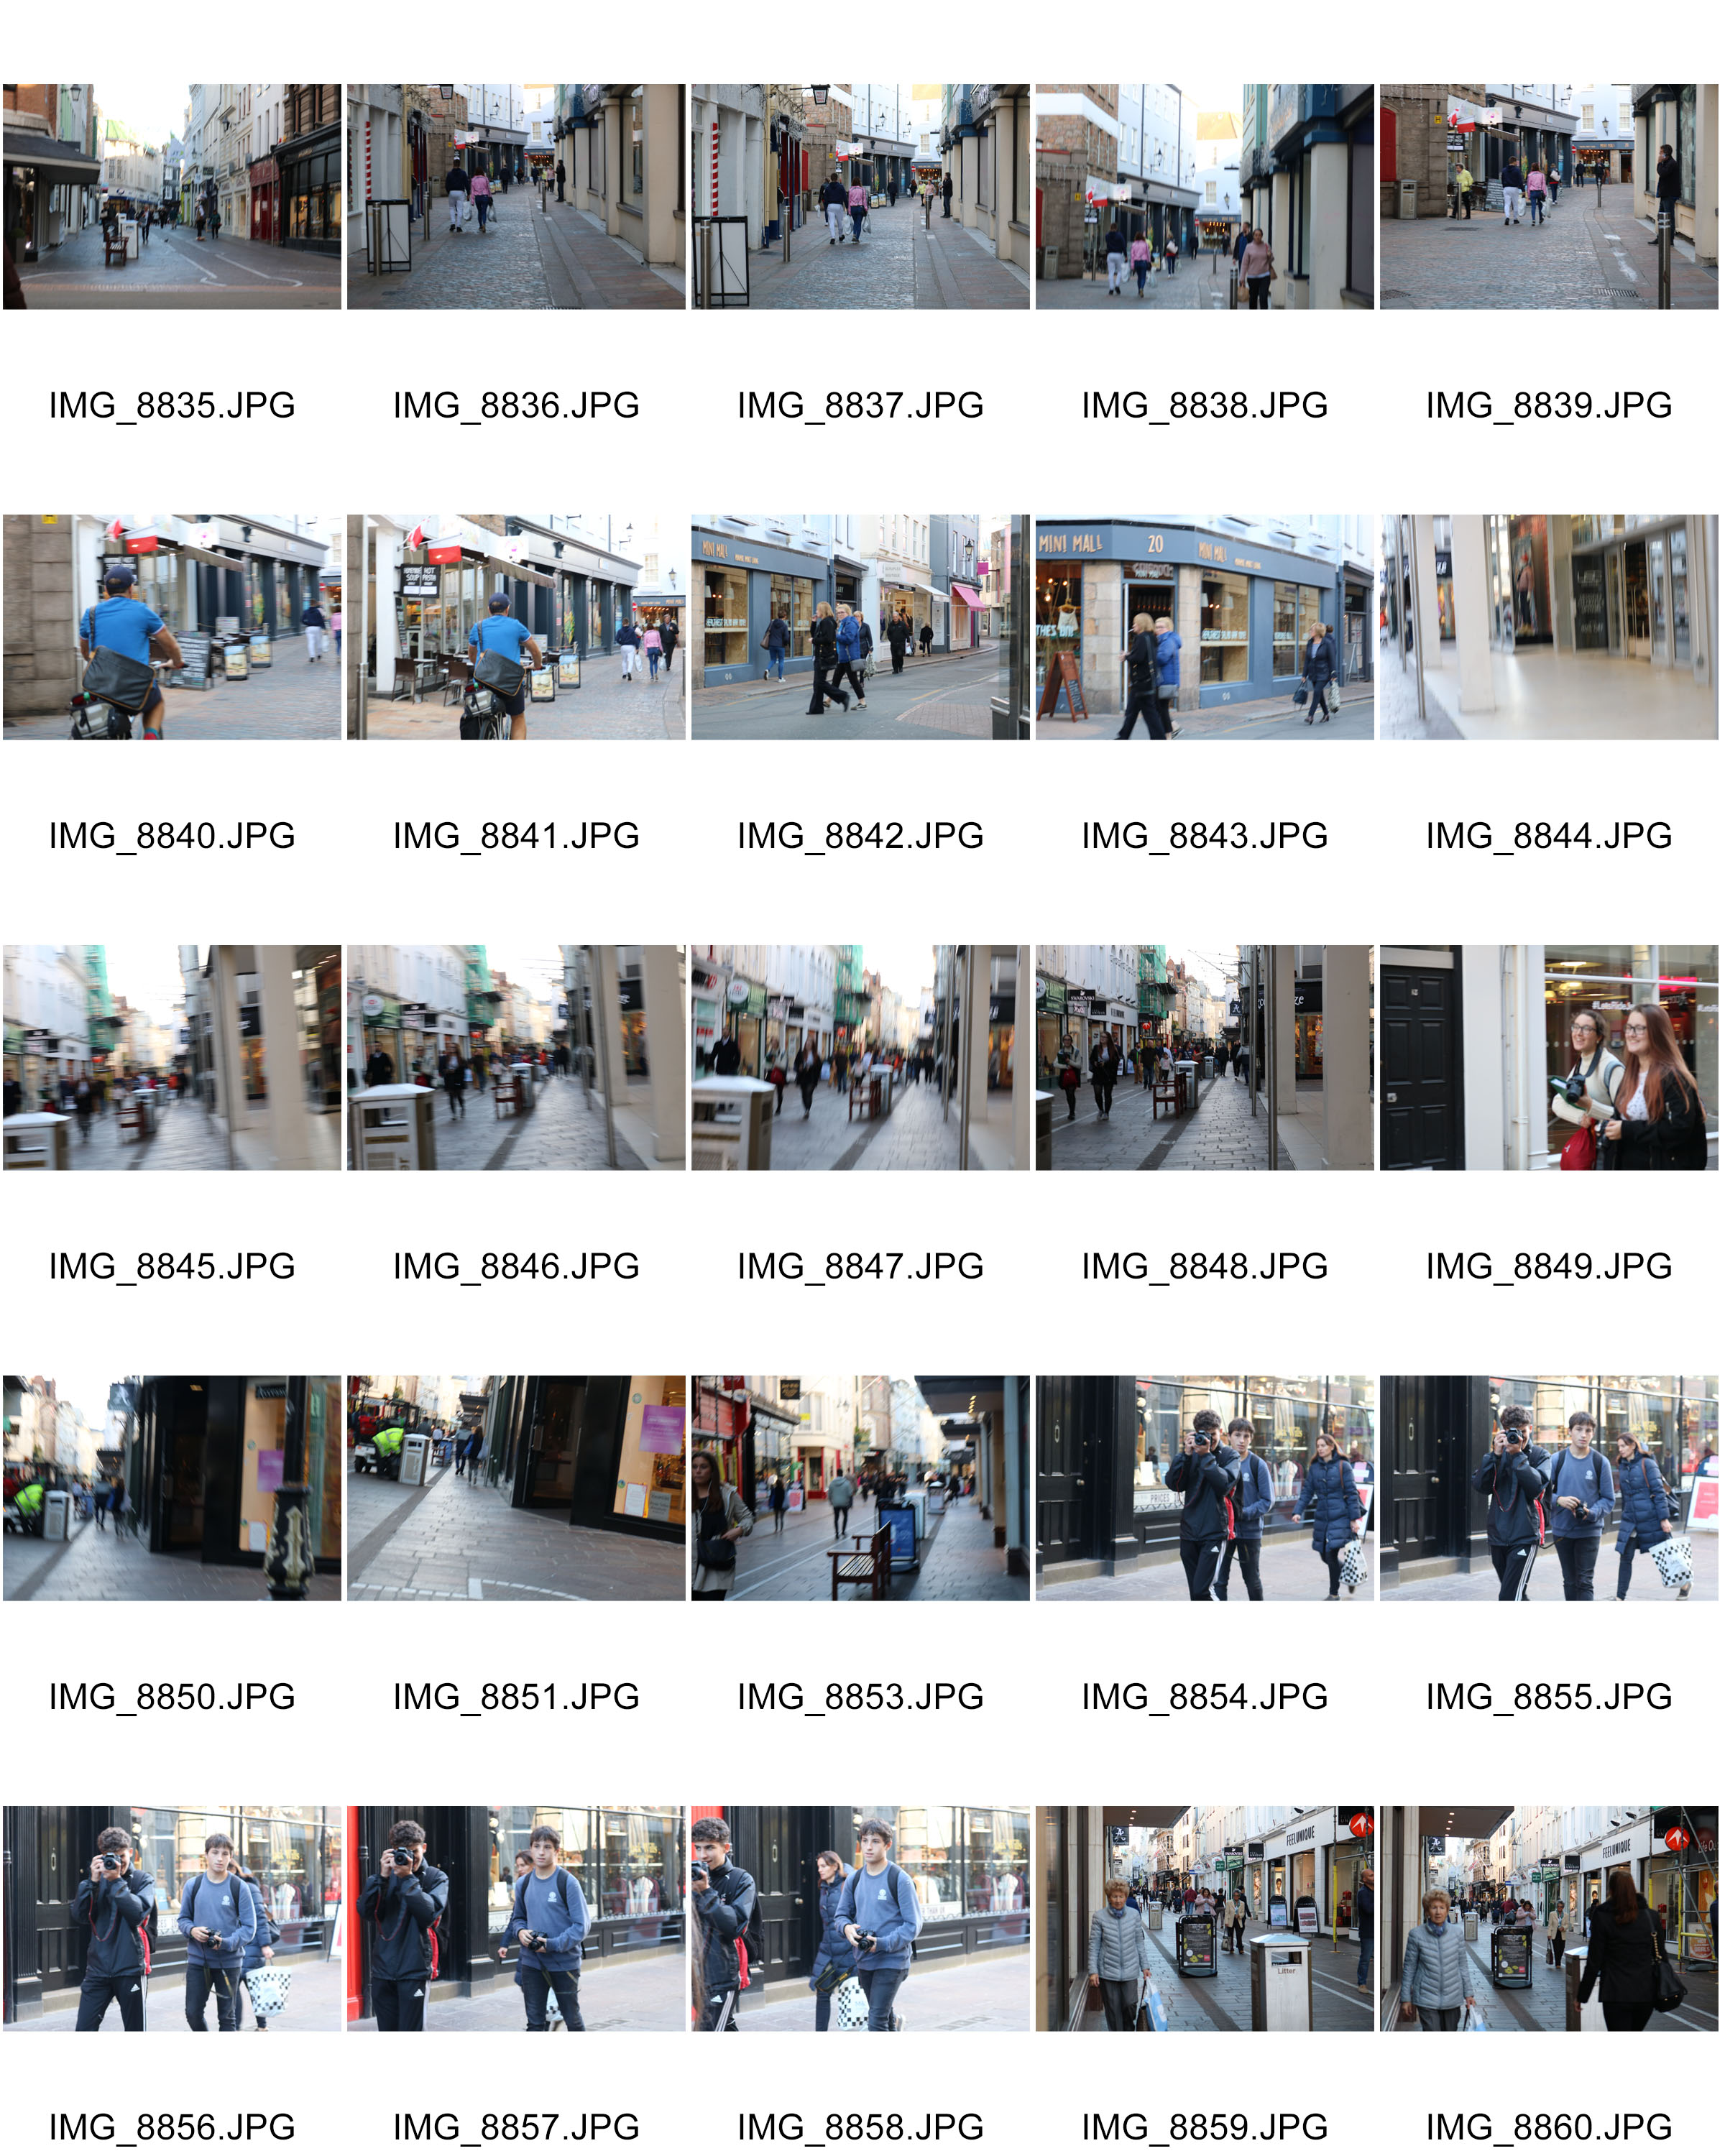

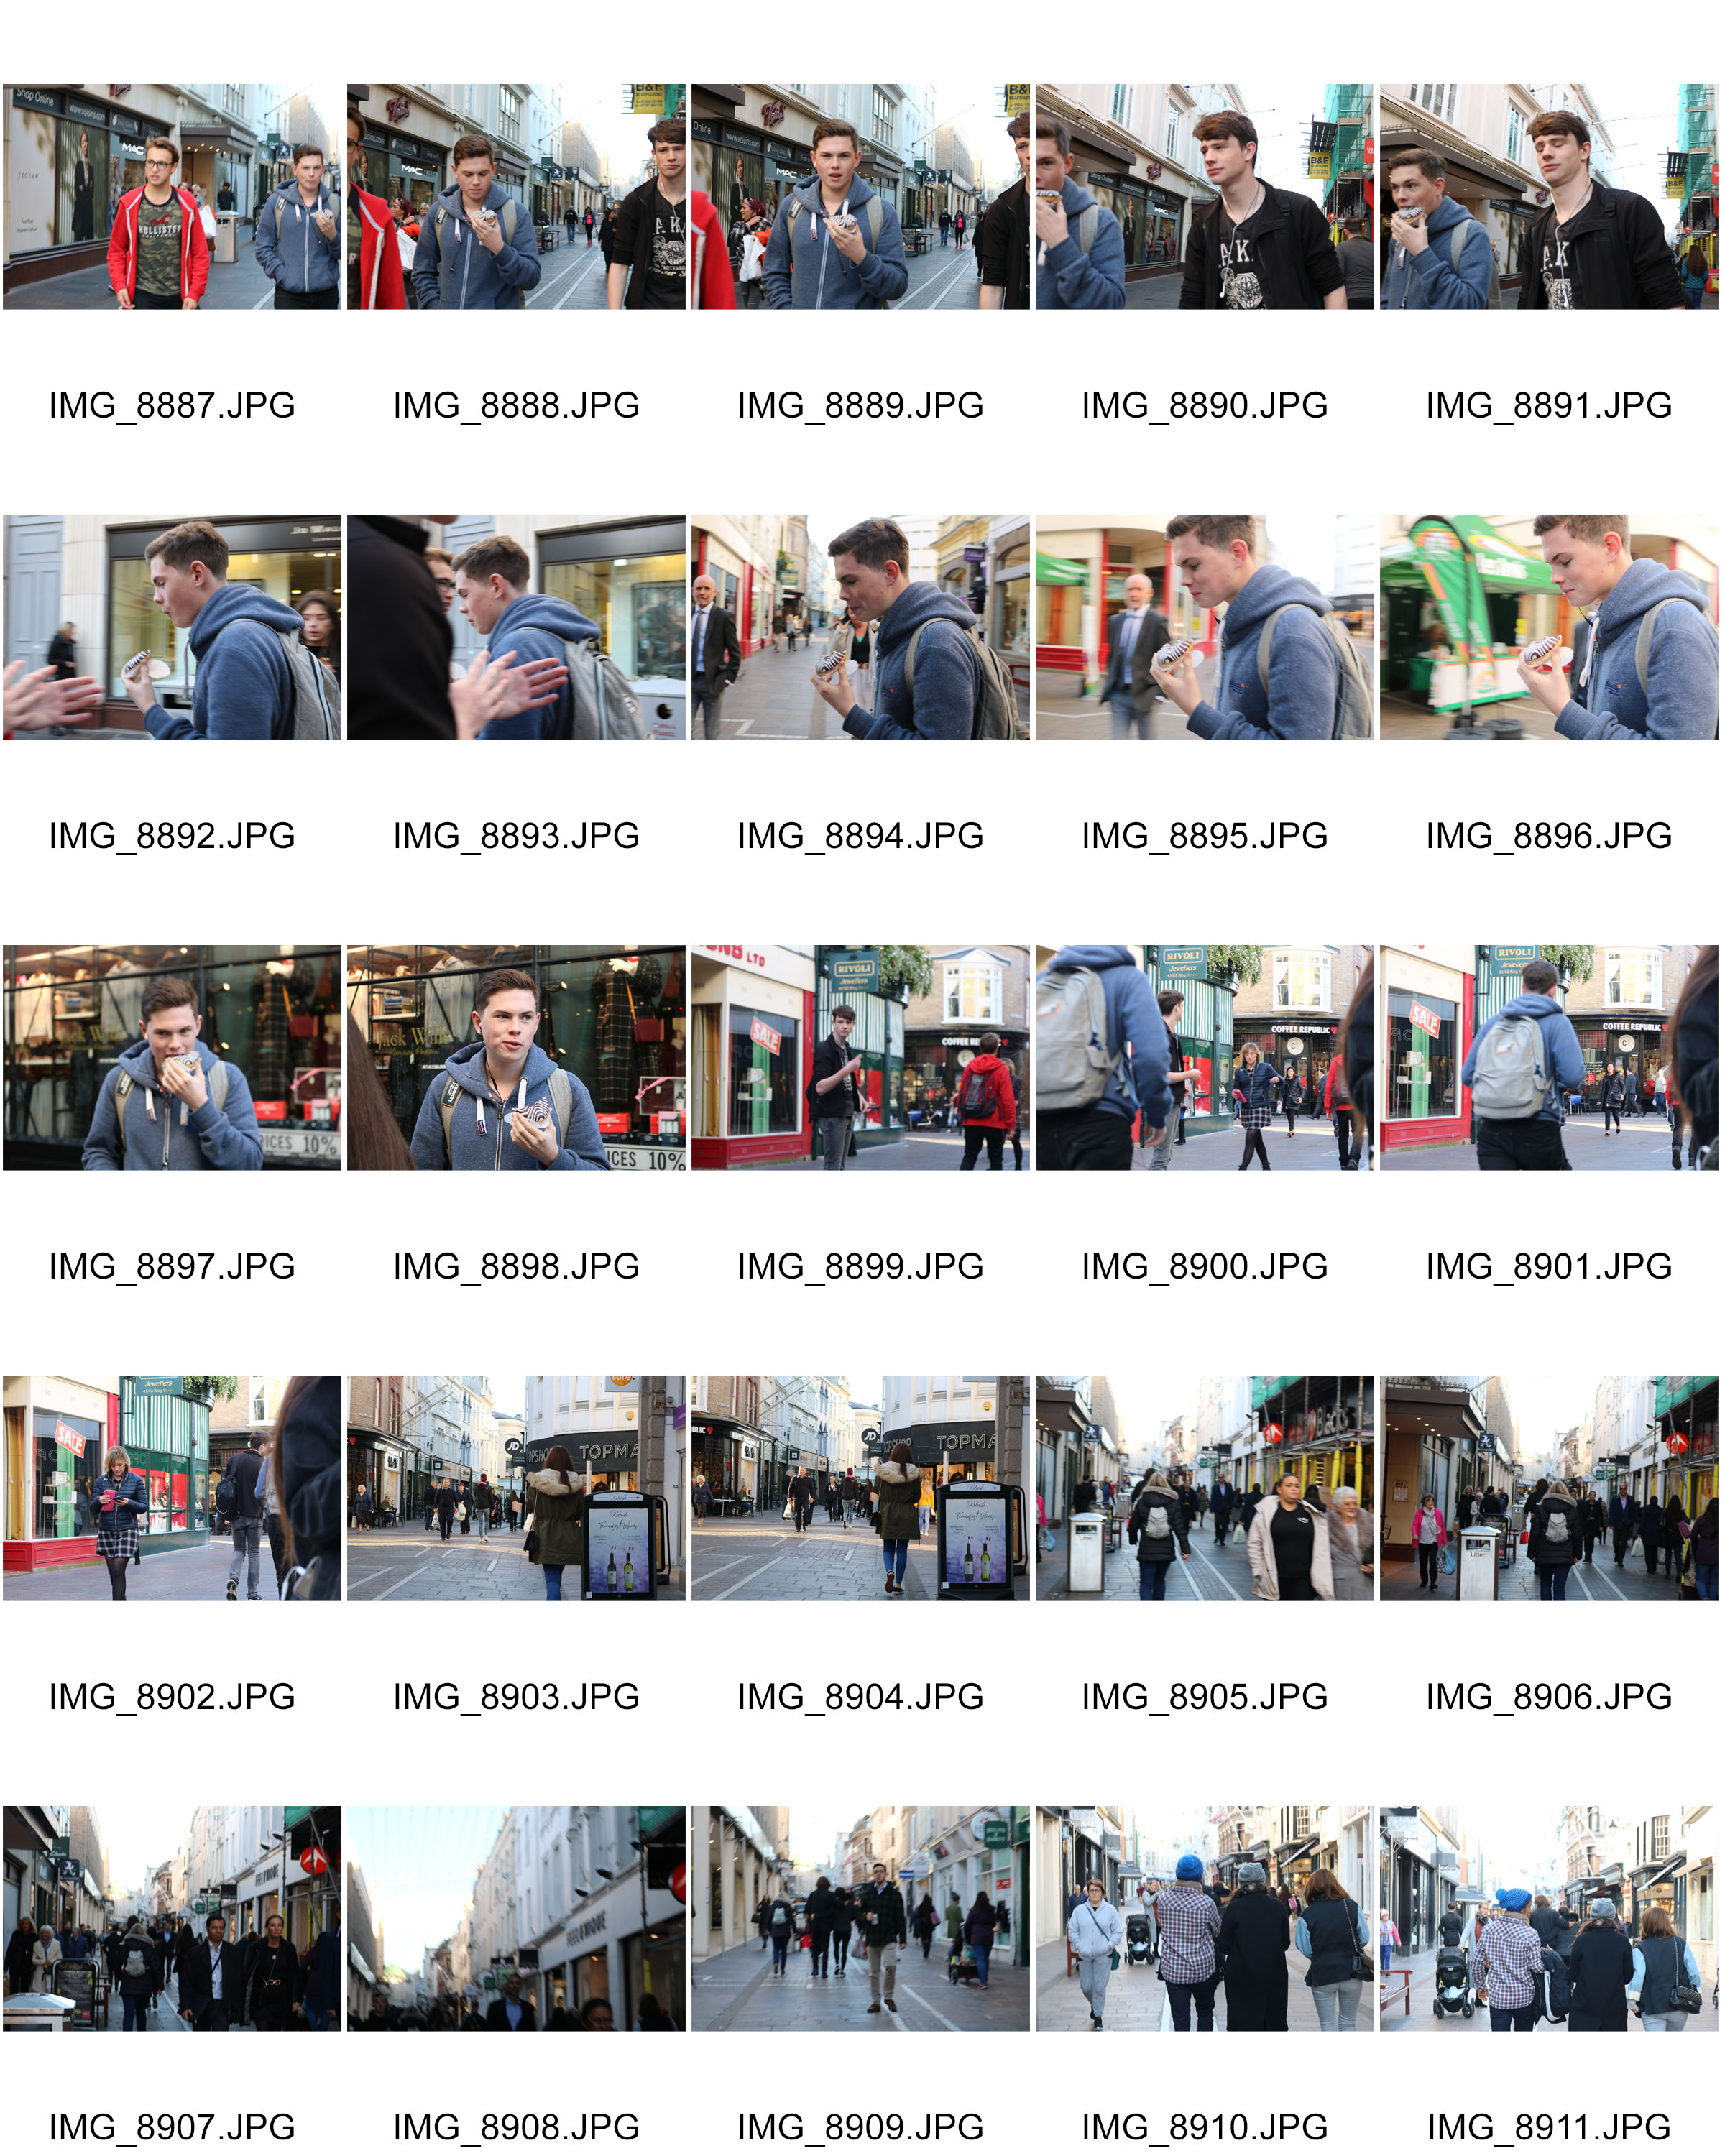
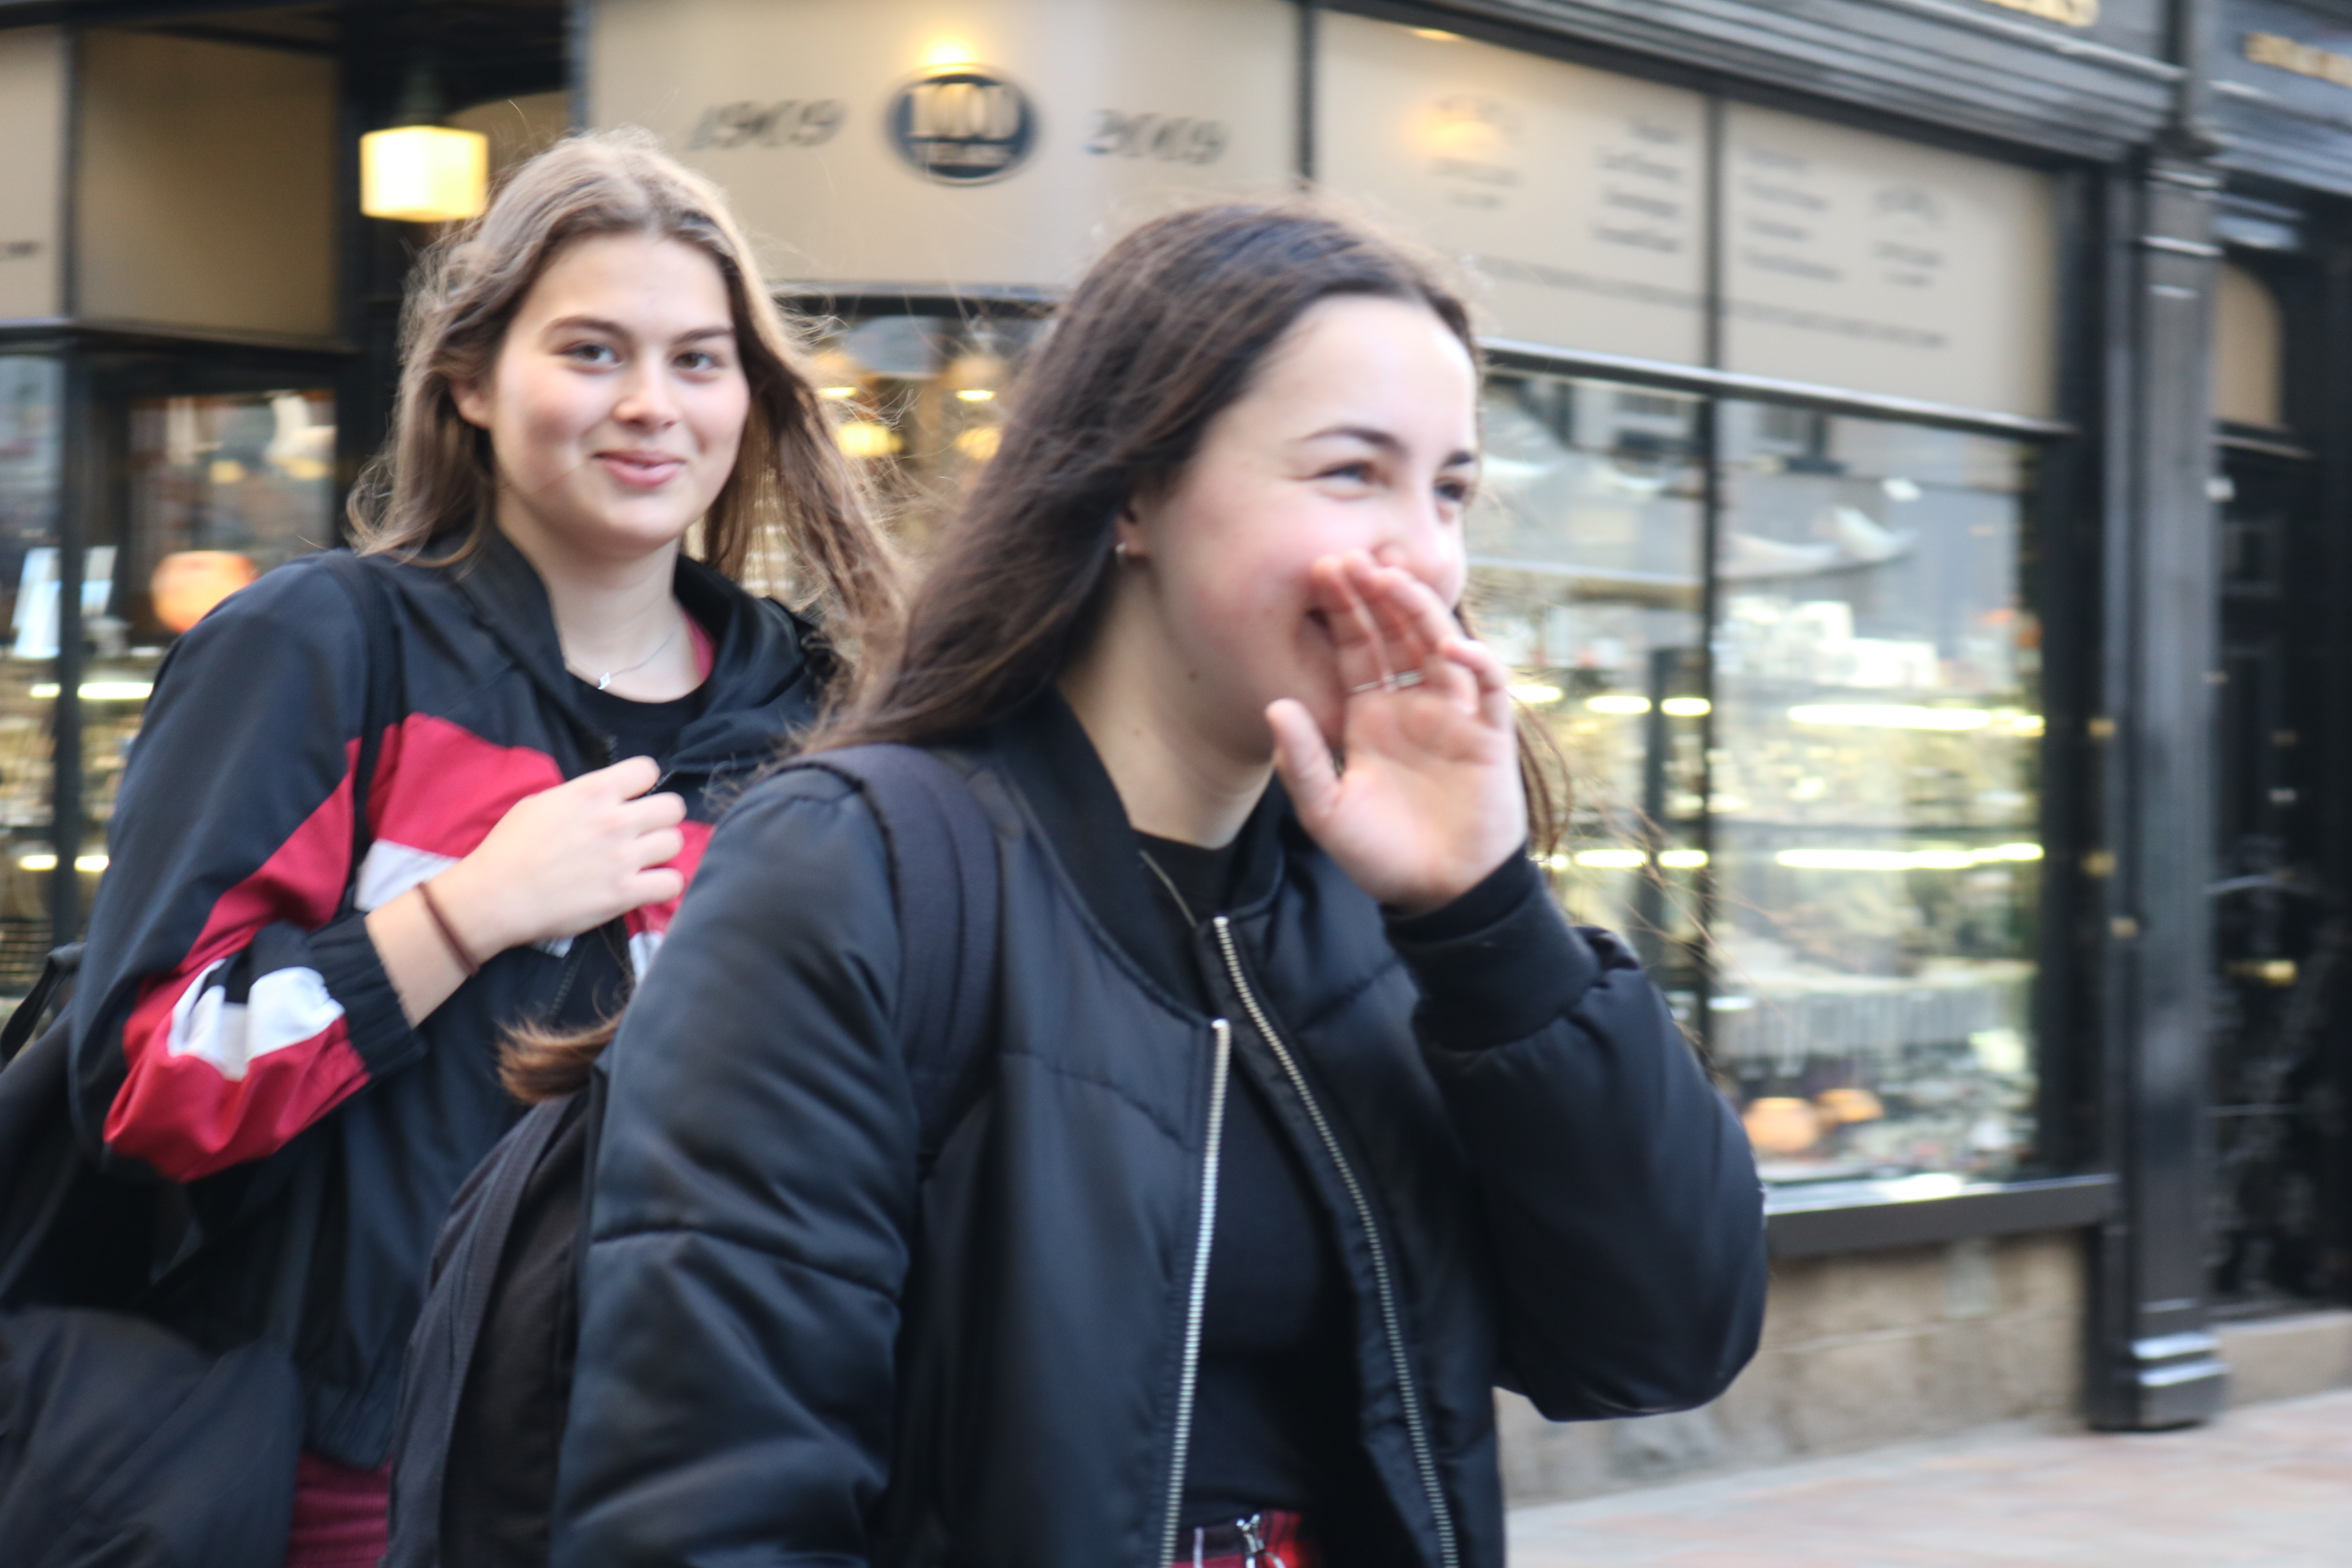
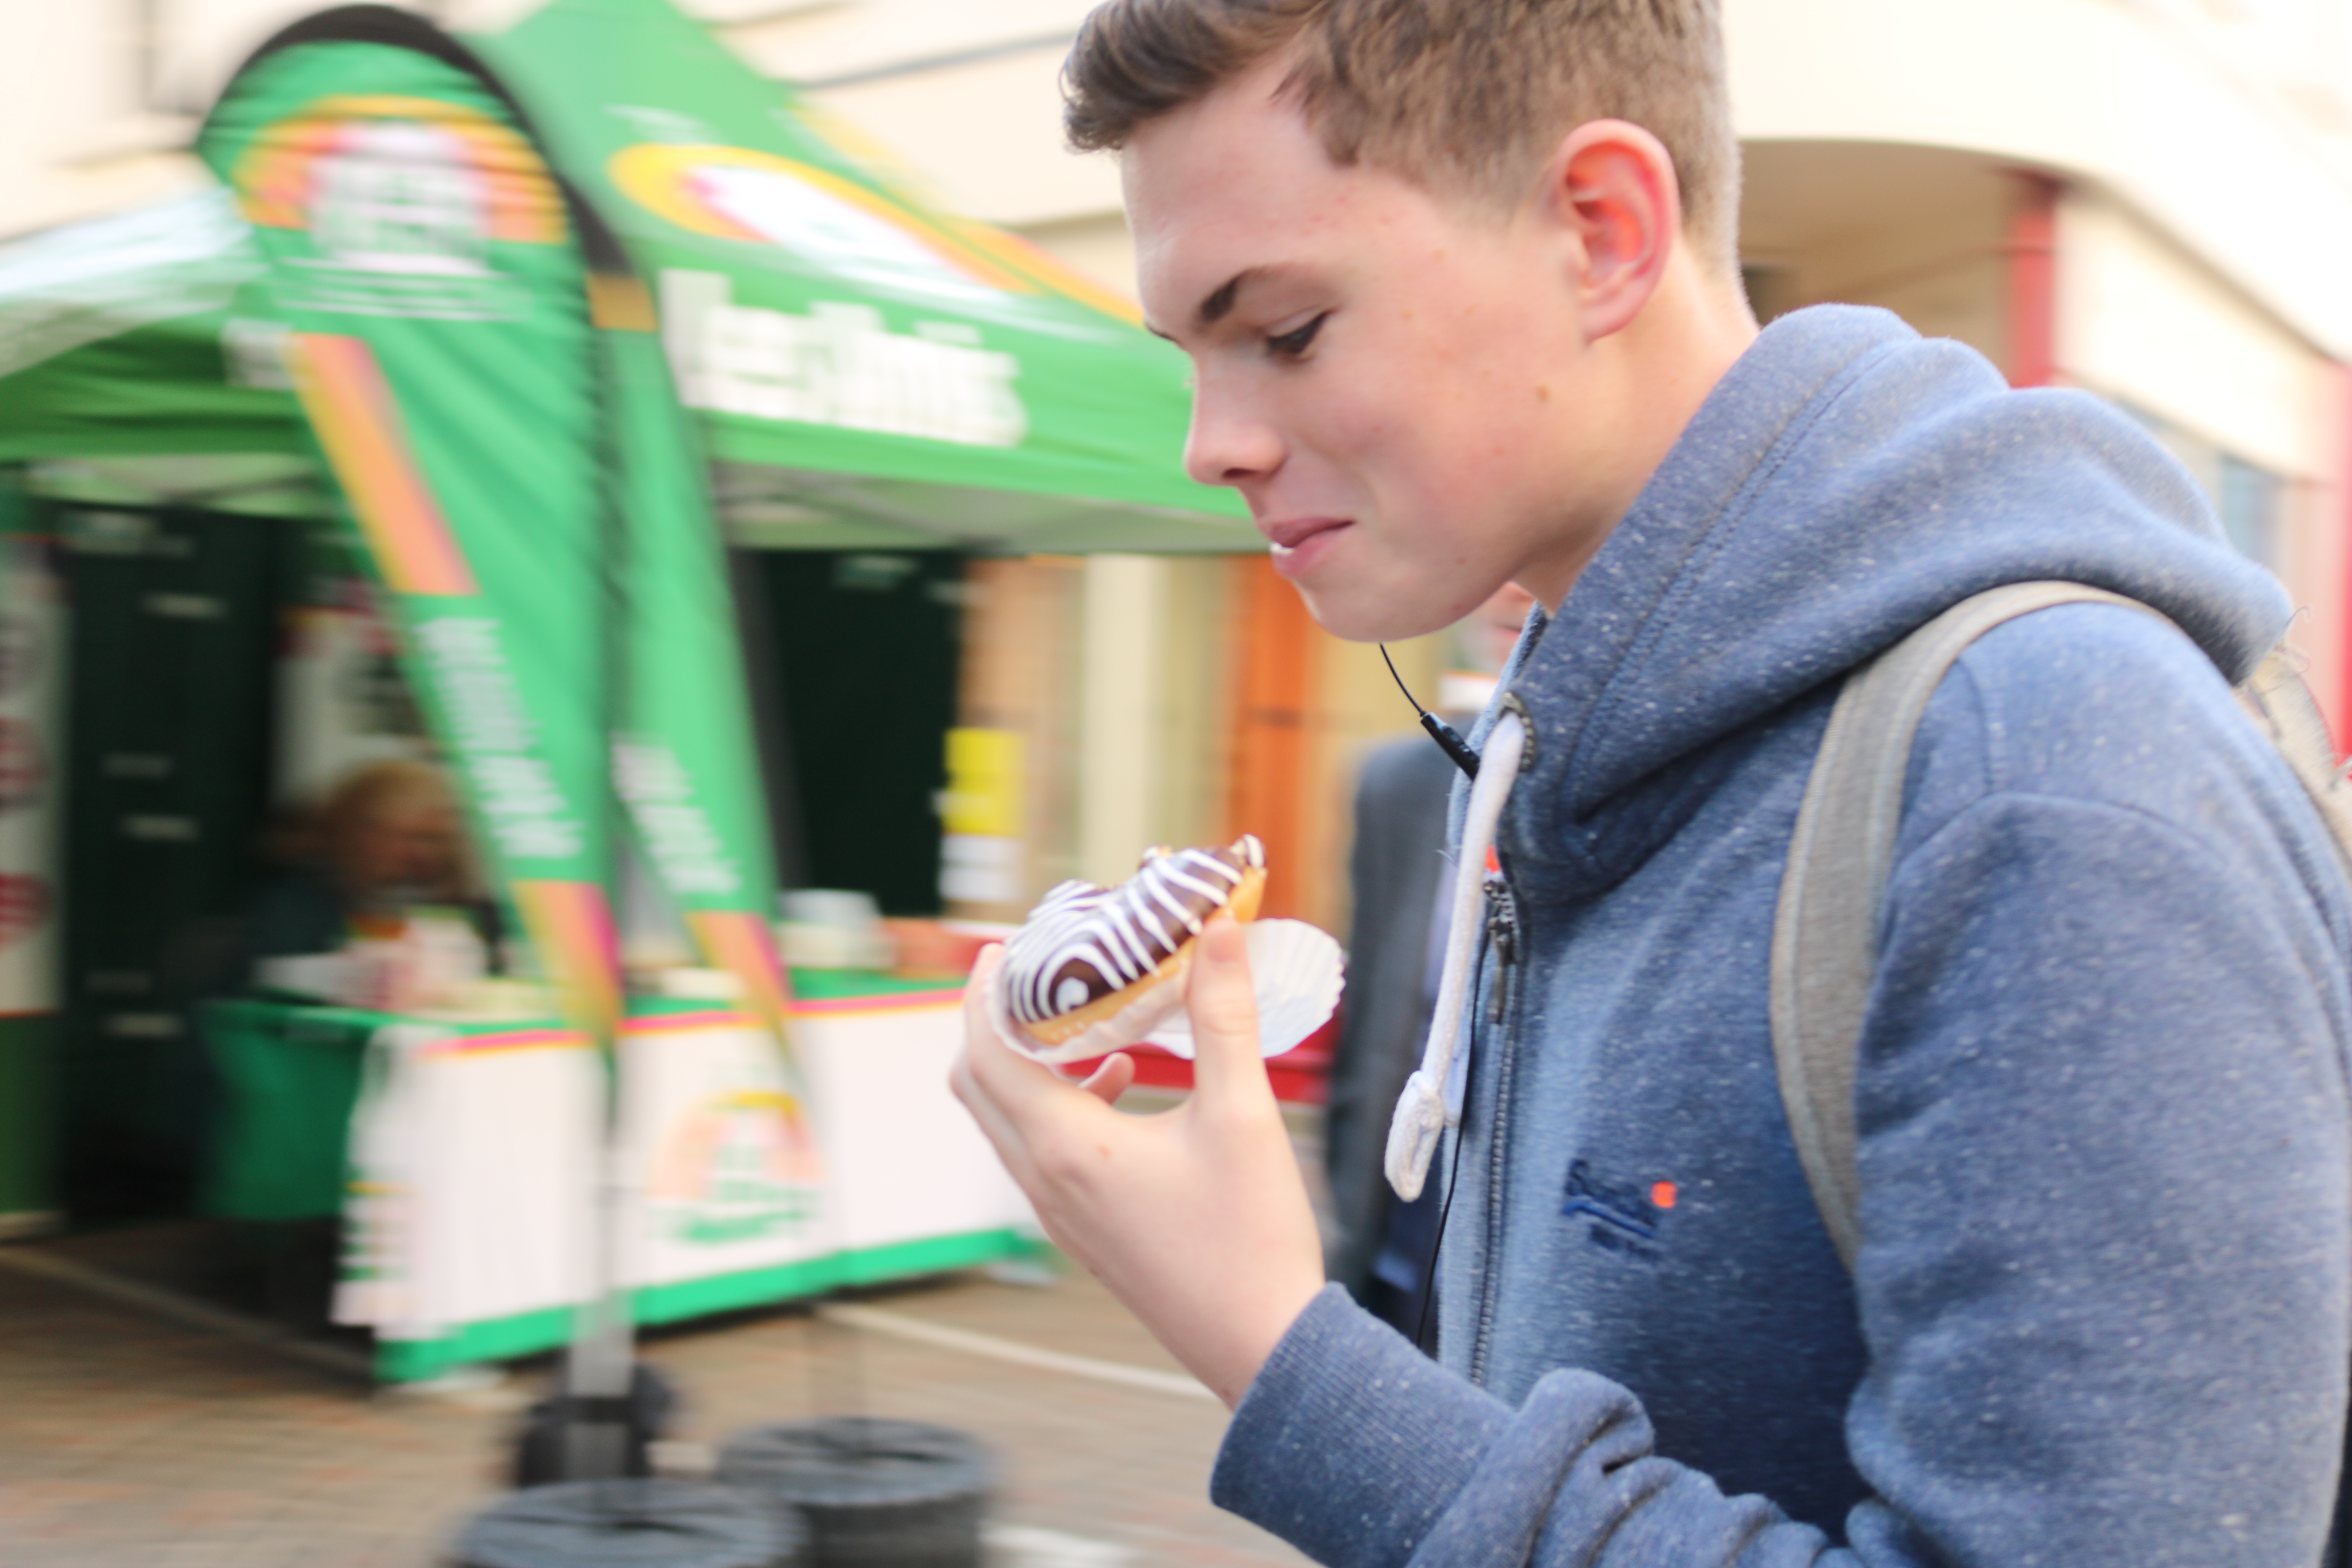
Best outcomes
Editing
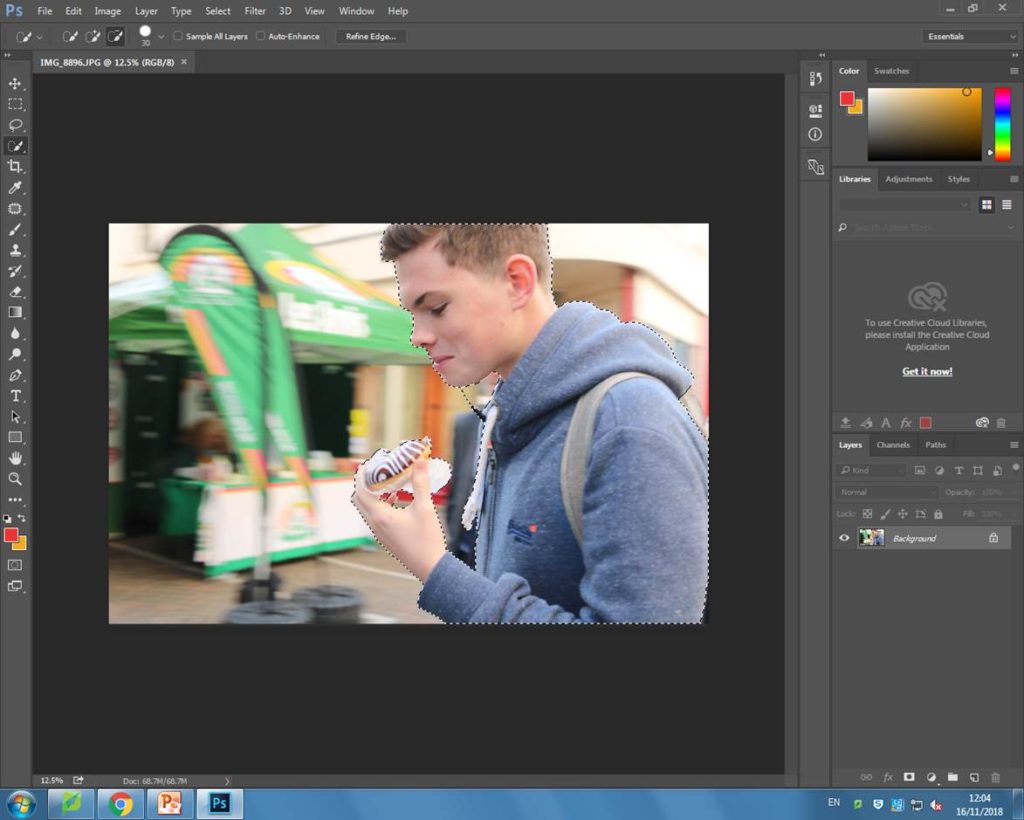
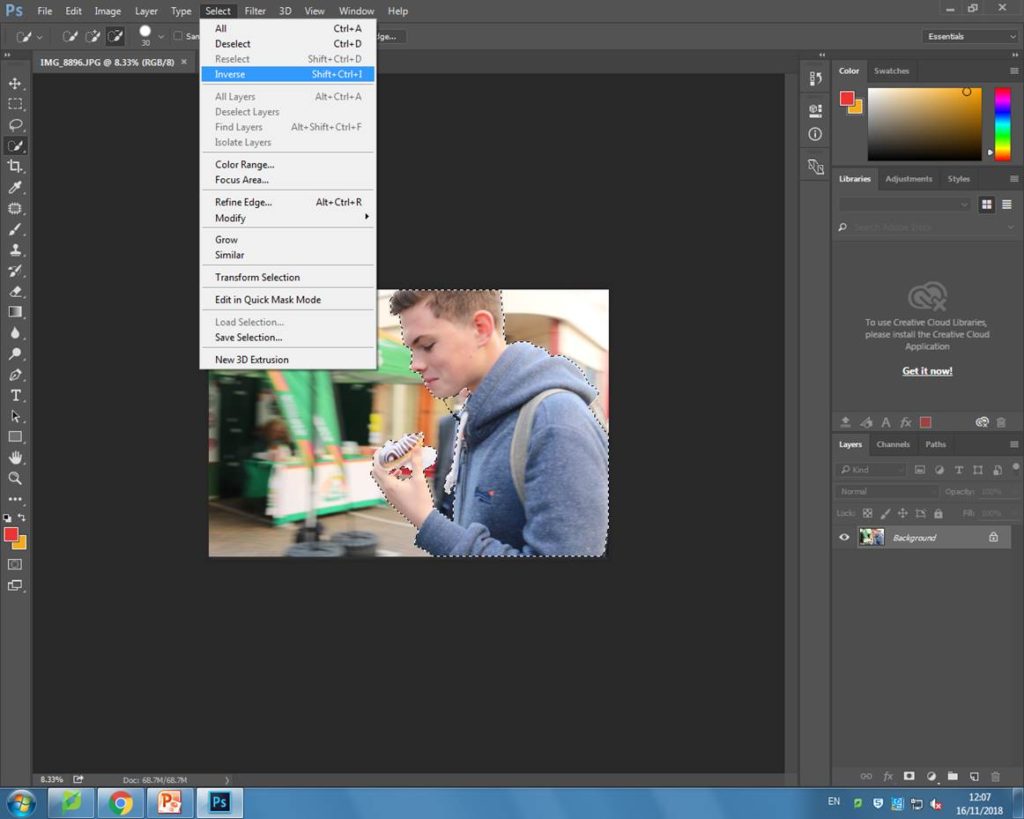
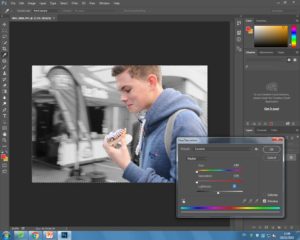
Firstly, I used the quick selection tool to select the person in the image. I then inversed it so that the entire area around his was selected instead. After, I turned the hue and saturation right down while also decreasing the brightness a tiny bit. Below is my final outcome:
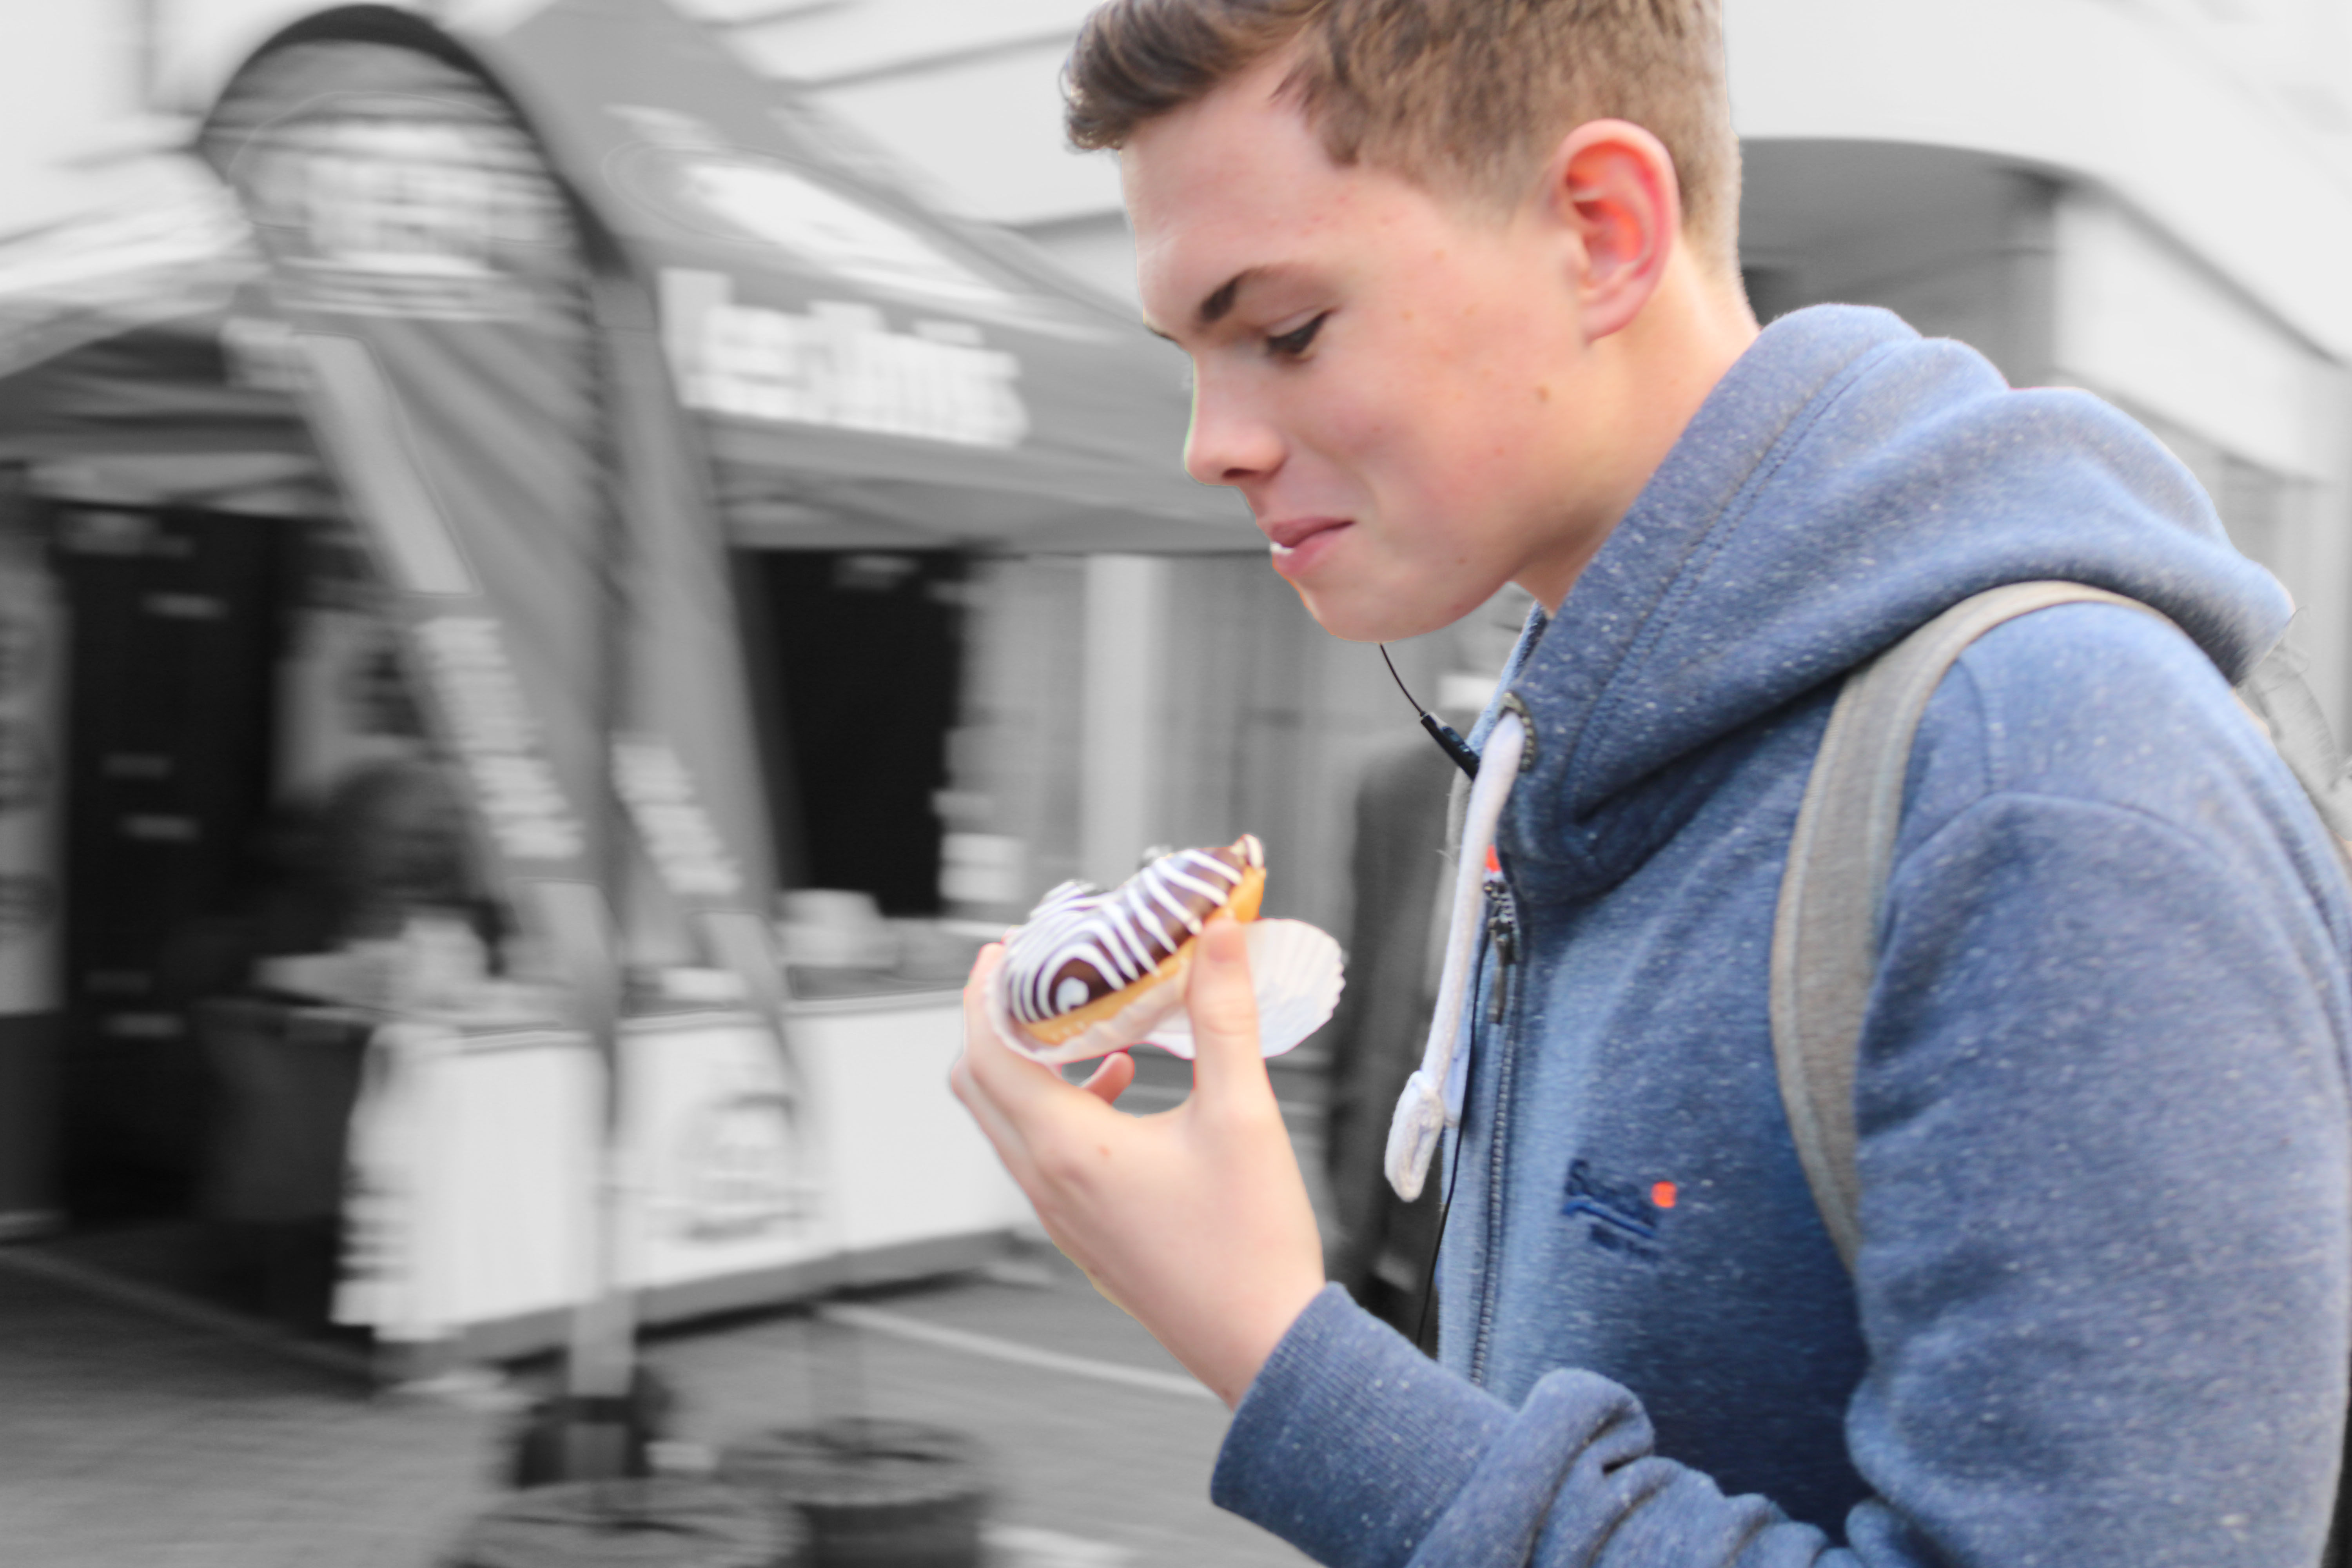
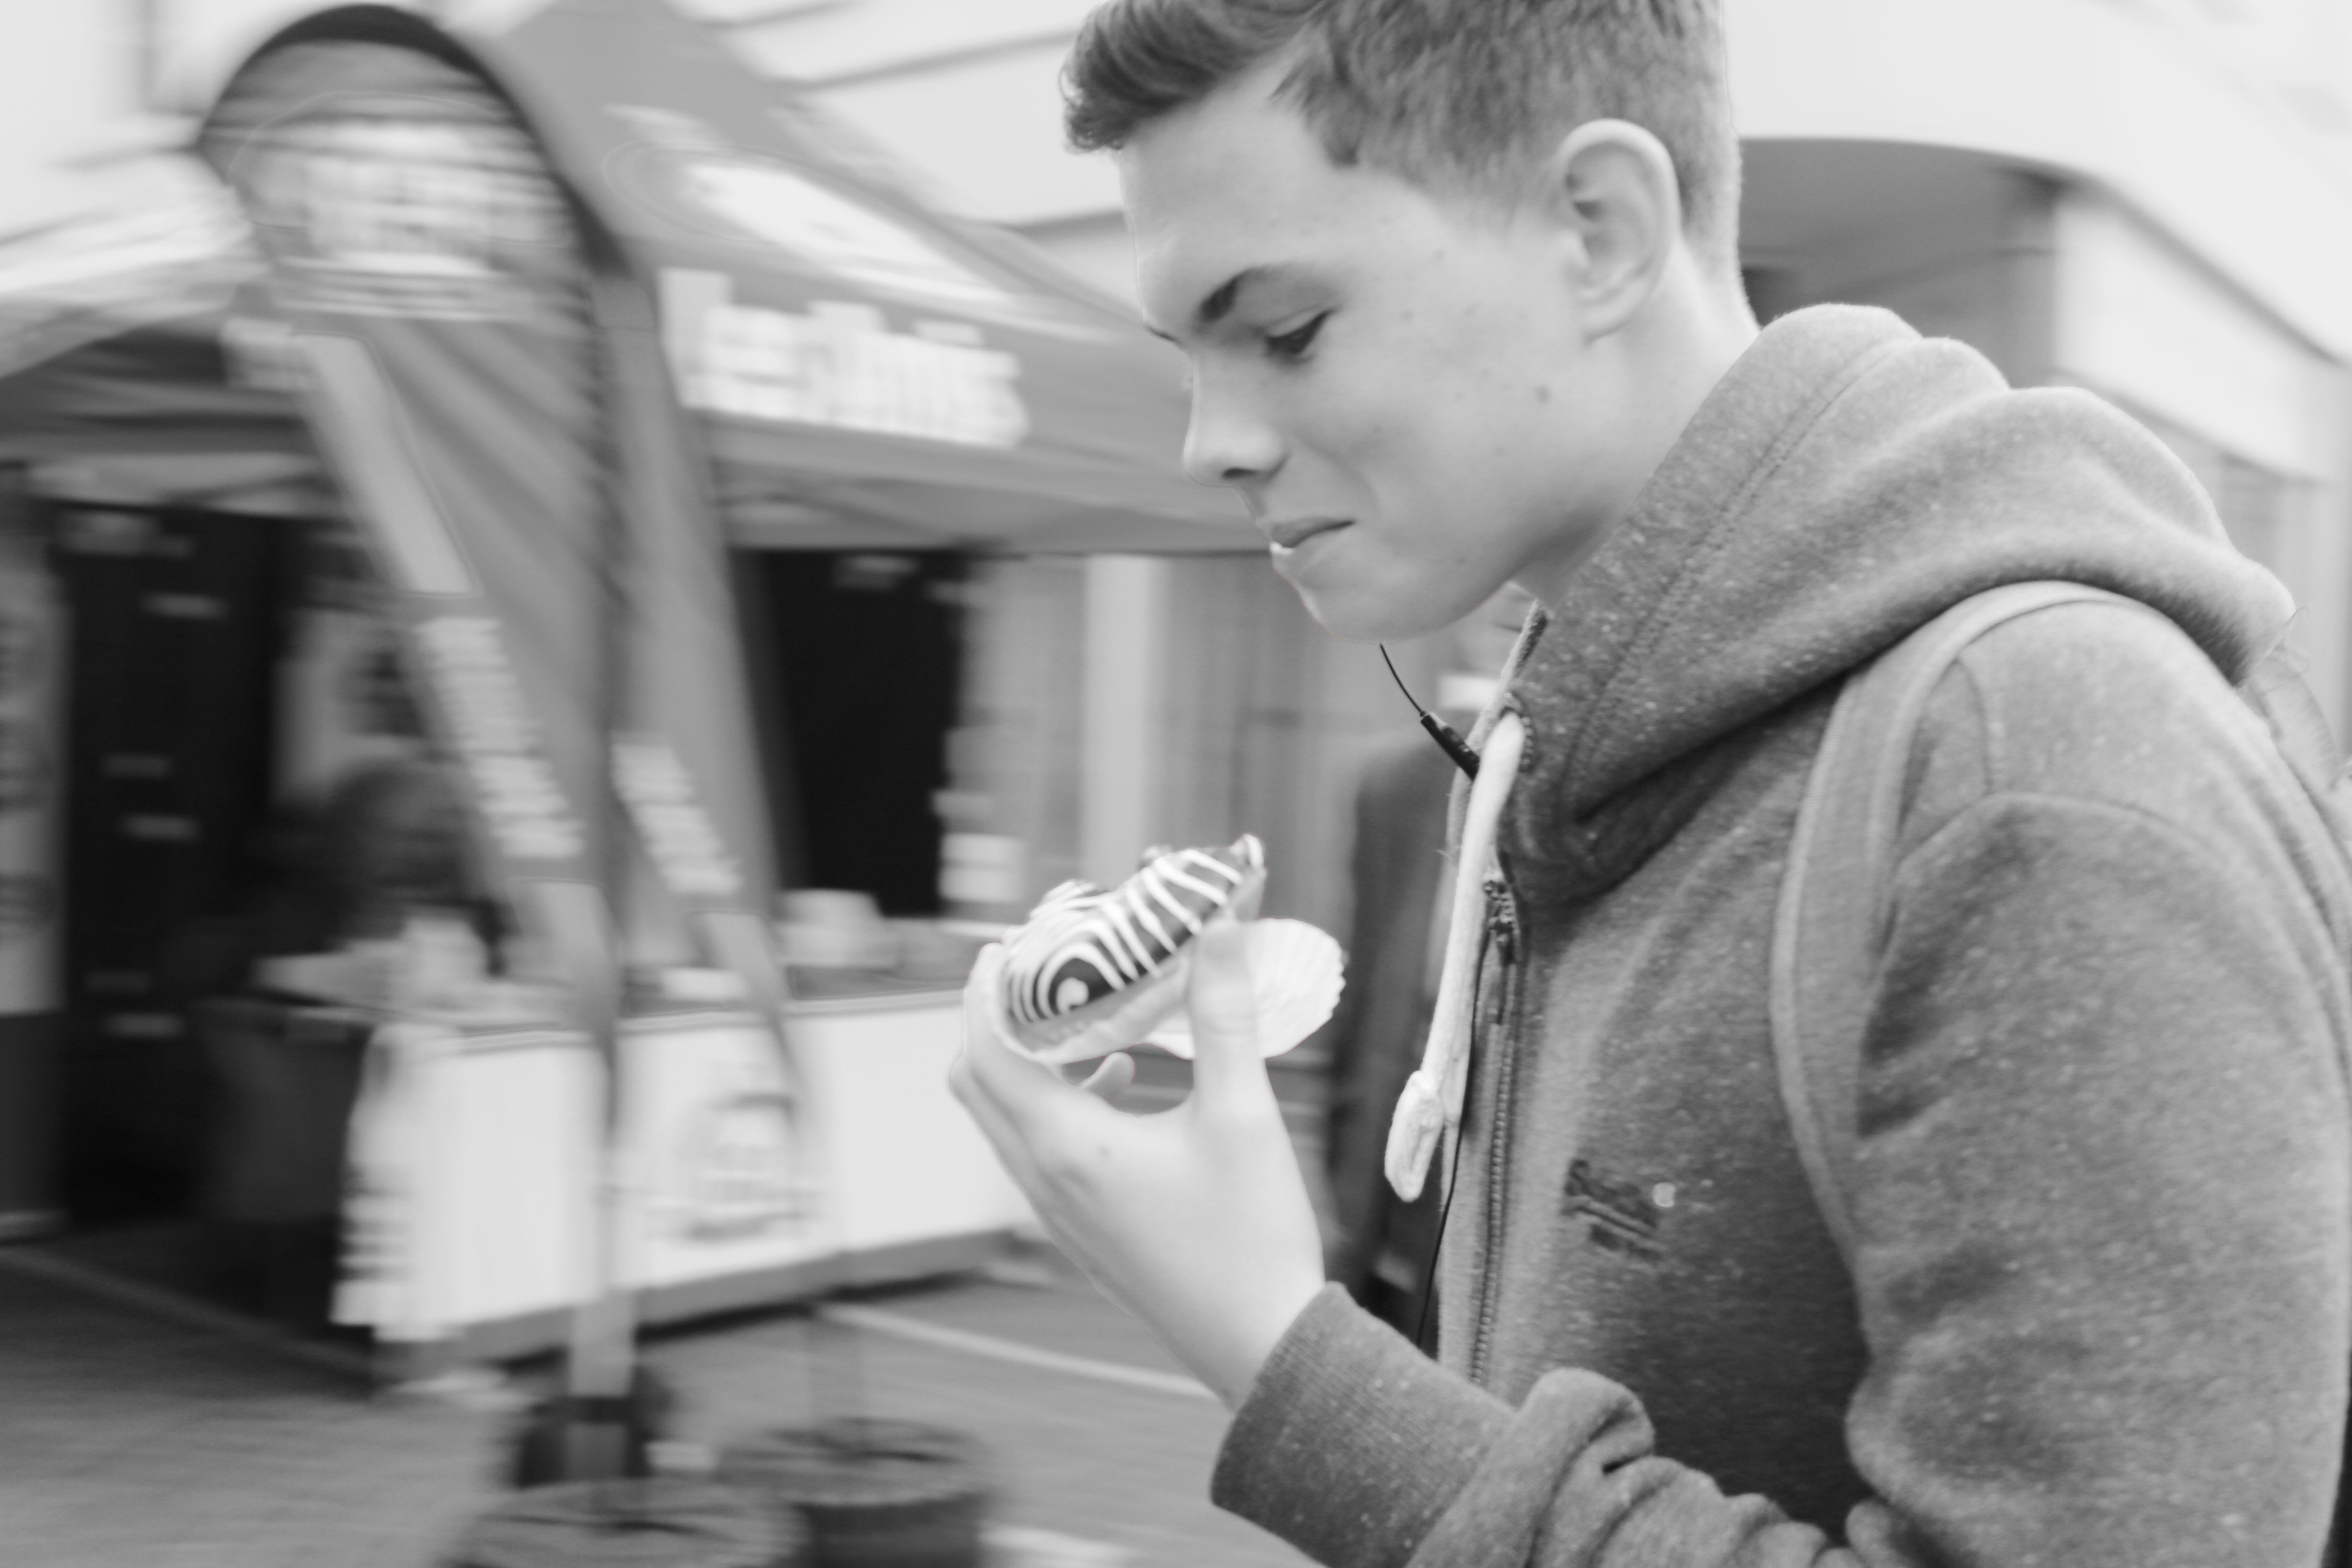
The reason that I thought I would do this is because it would make the person stand out more against the plain background. I thought this would be a good idea because it would help to bring out people’s personalities and individuality out a lot more as that is what I personally thinks makes street photography interesting.
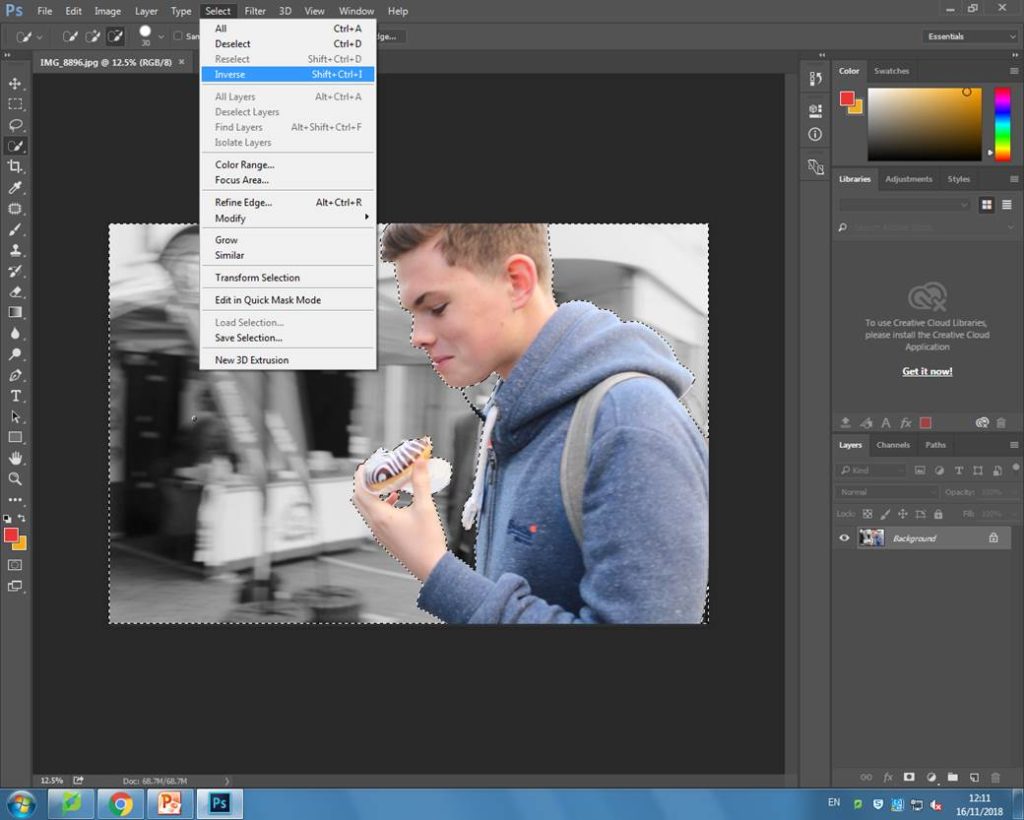
I also wanted to experiment with making the entire photo black and white also as I thought this could make my image look more like the ones Sander took. To do this i inversed the selection again, so that it was around the person and turned the hue and saturation right down. I kept the brightness at 0 so that the person would still slightly stand out, but not as much as before.
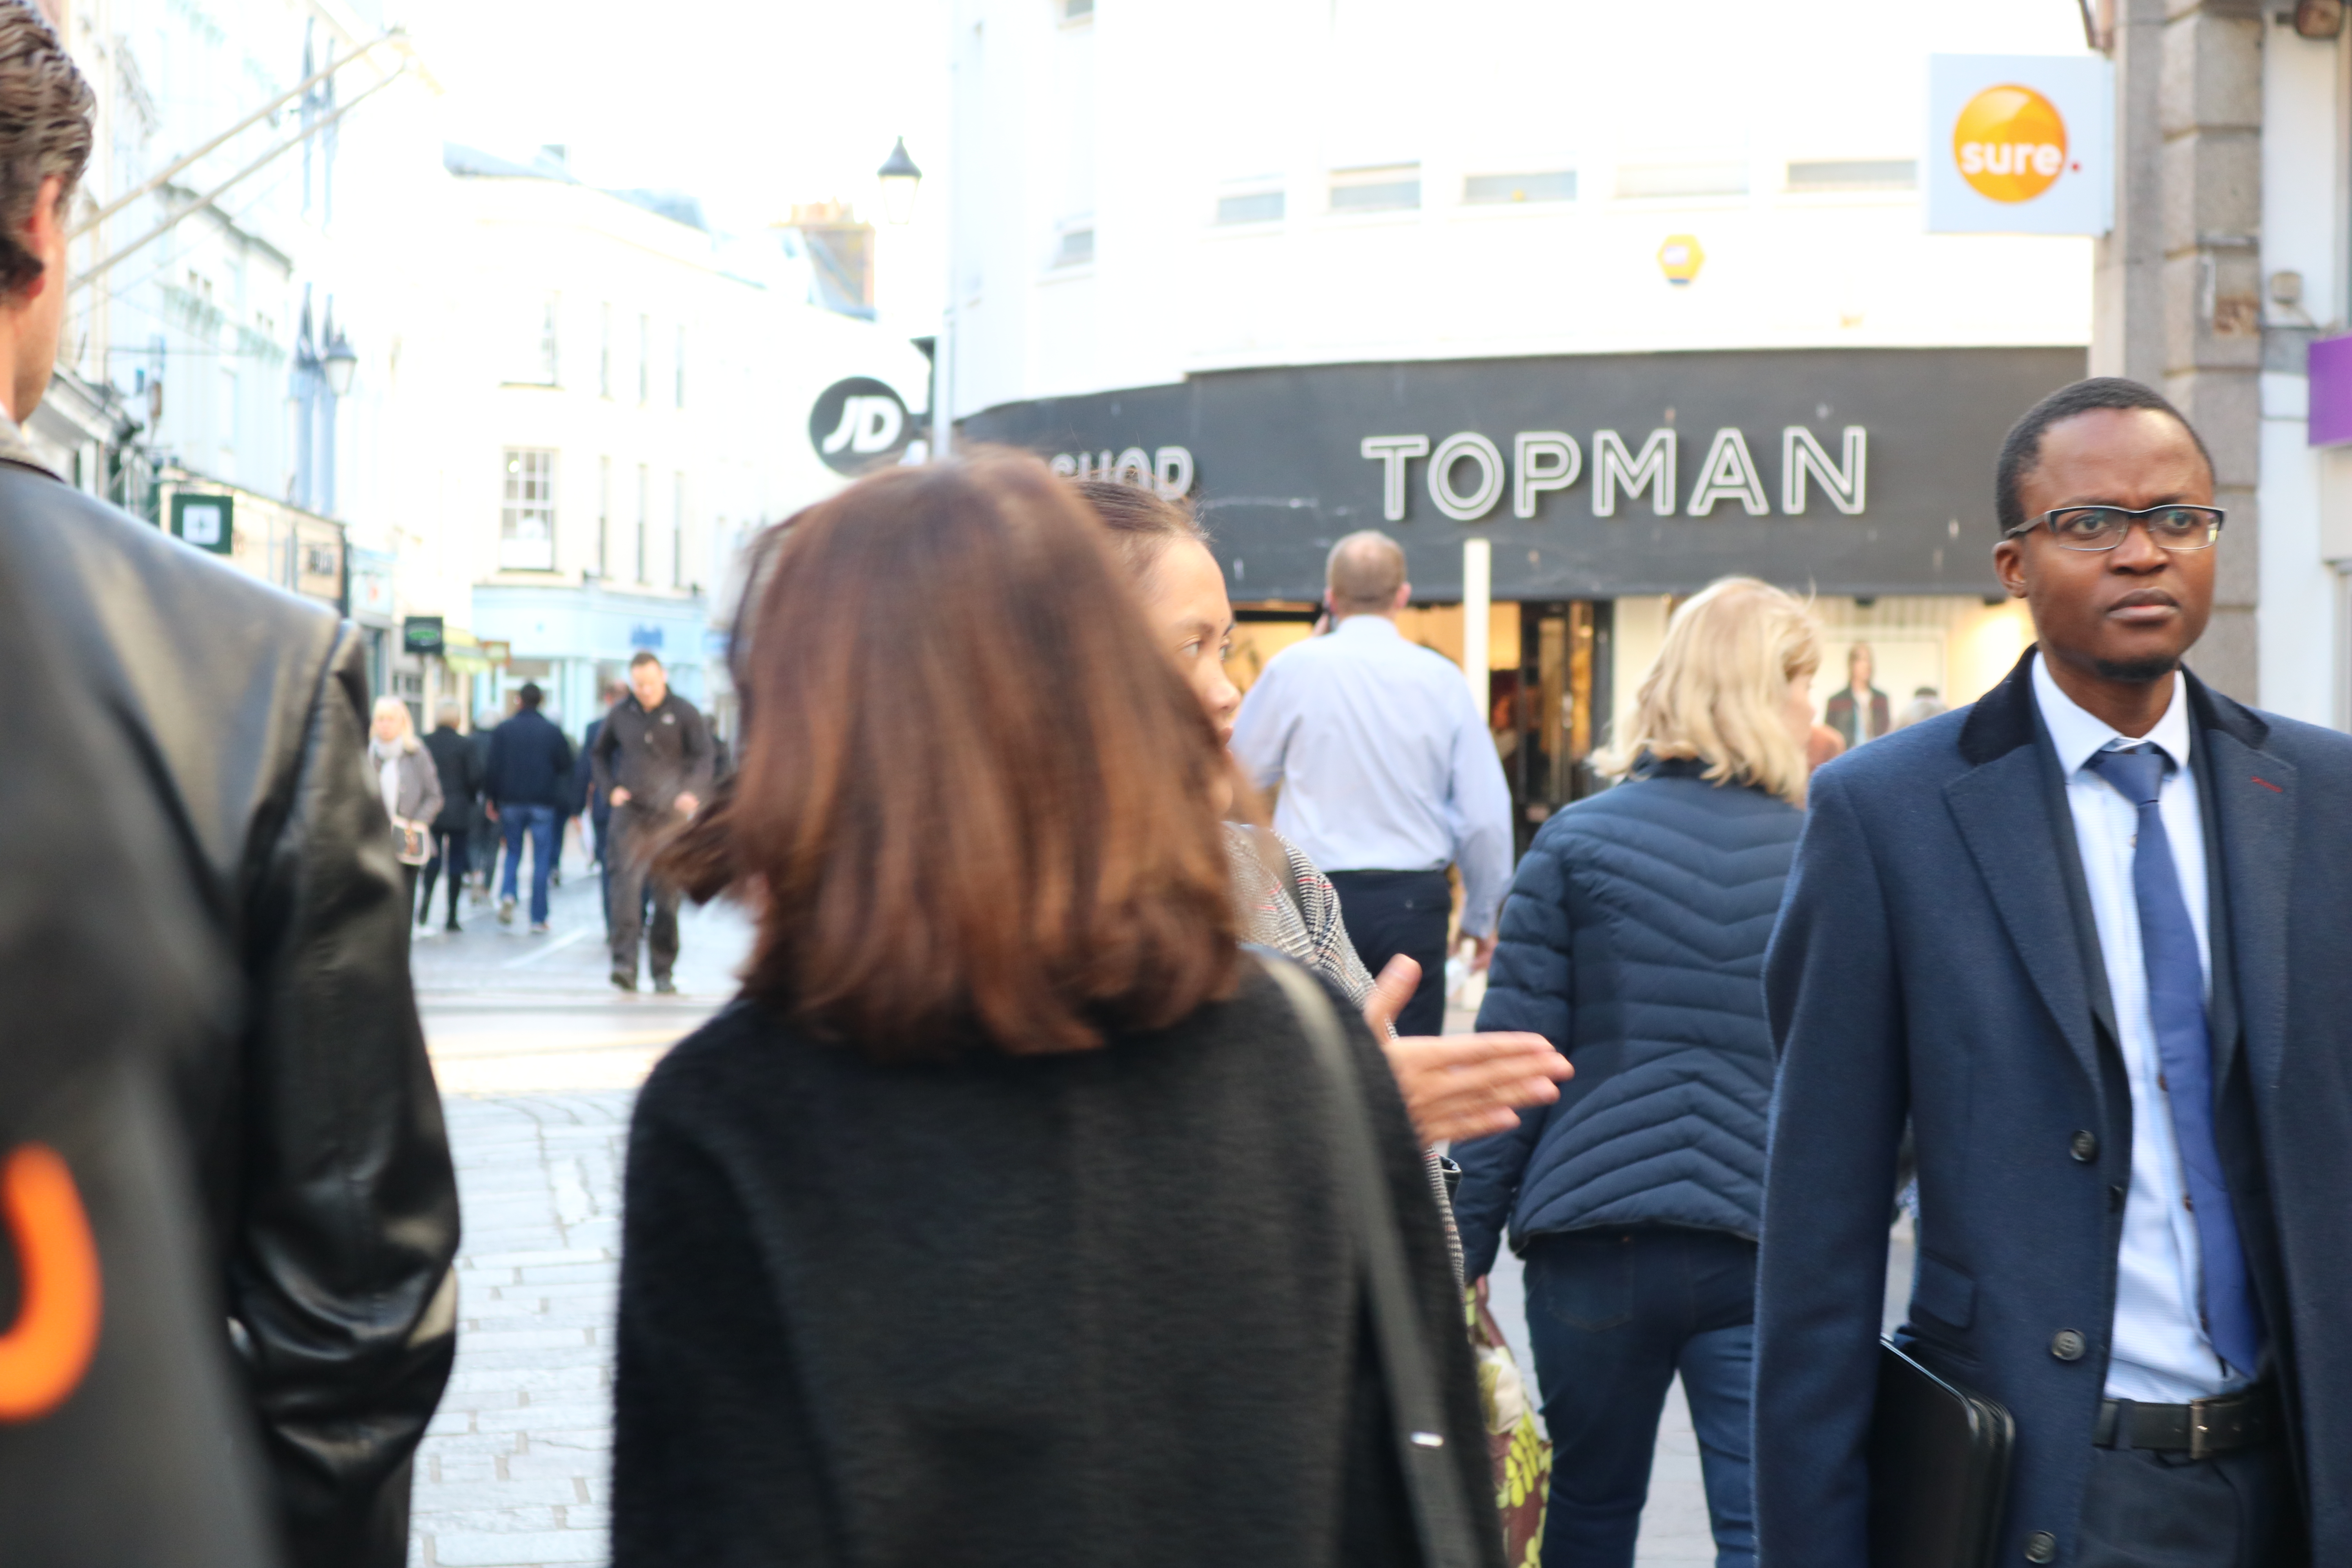
Editing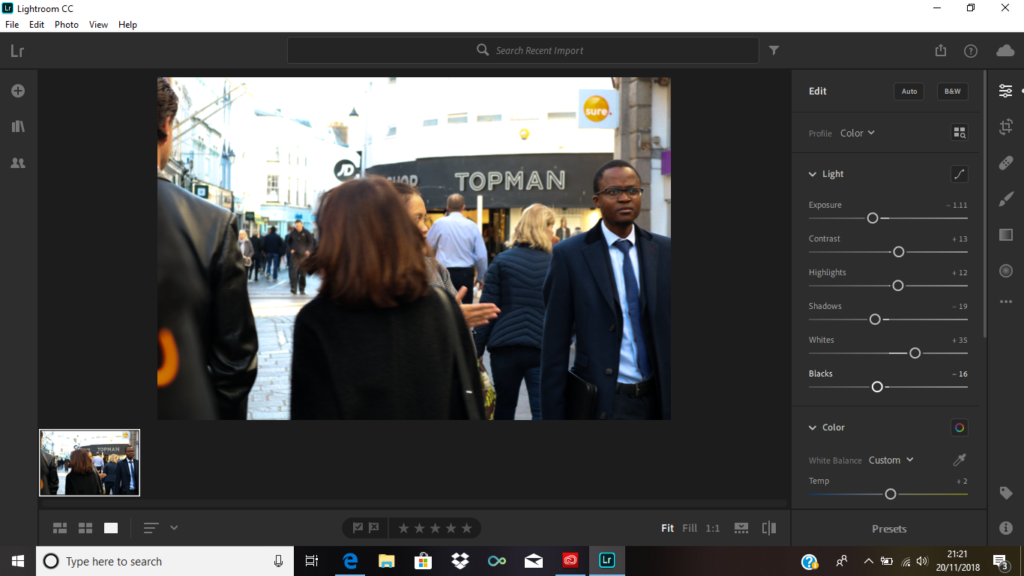 I edited this image using Lightroom. As the image was overexposed along the top, I lowered the exposure, shadows and black shades and increased increased the contrast, highlights and whites. This helped not make the people in the image too overexposed.
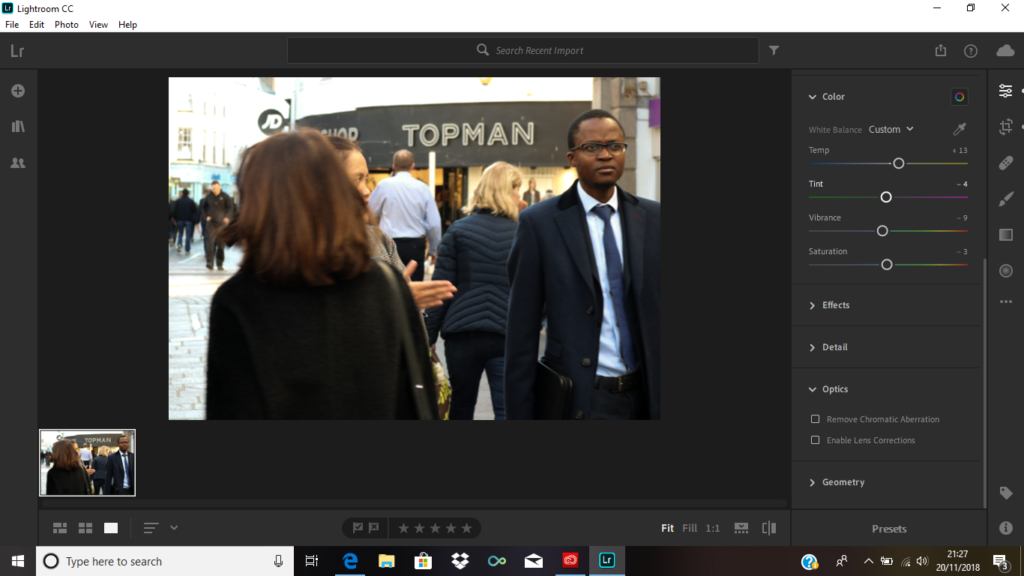 Lastly, I cropped the image to get rid of the left part as I thought it was quite unnecessary since it was quite distracting. This way you’re able to notice the main subject of the image more.

