I conducted a photo shoot to explore all the different types of lighting within studio photography. The types of lighting I looked at was:
- One Point Lighting
- Two Point Lighting
- Three Point Lighting
- Ring Lighting
- Warm/Cold Lighting
- Intensity of the Light
- Lighting Rig (On Ceiling)
All these lighting techniques have been explained in previous blog posts.
Set Up
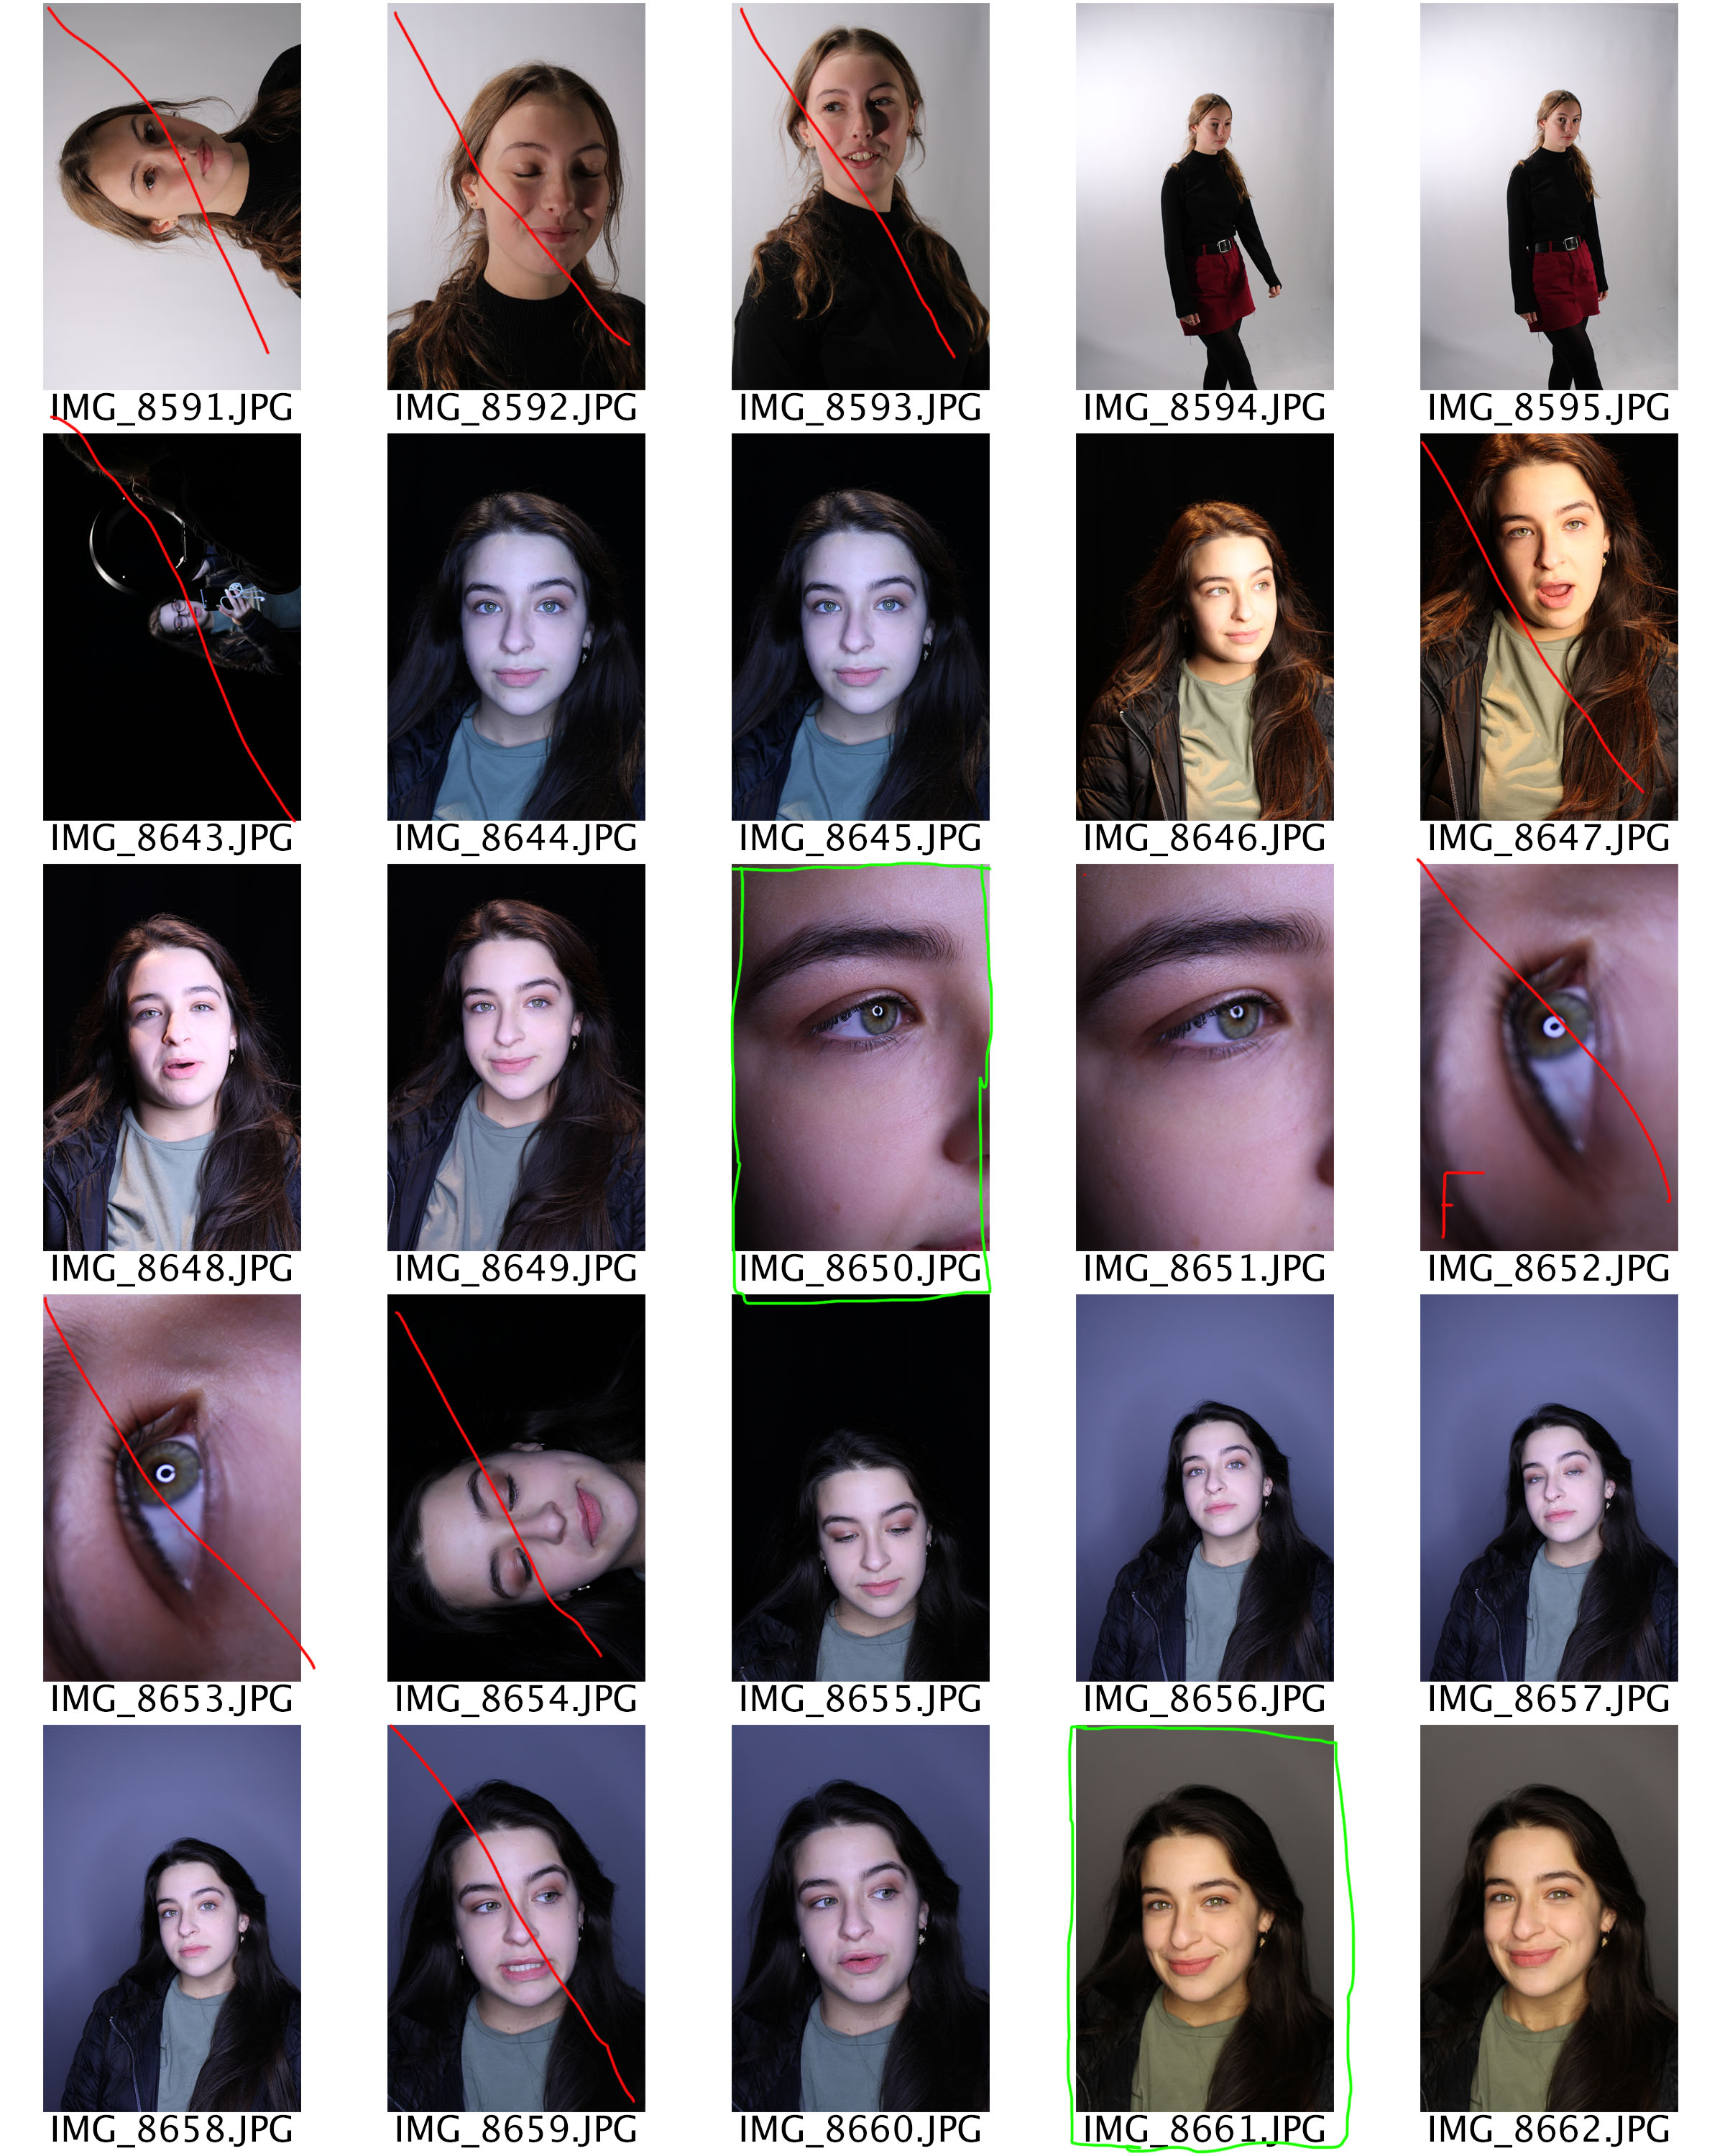
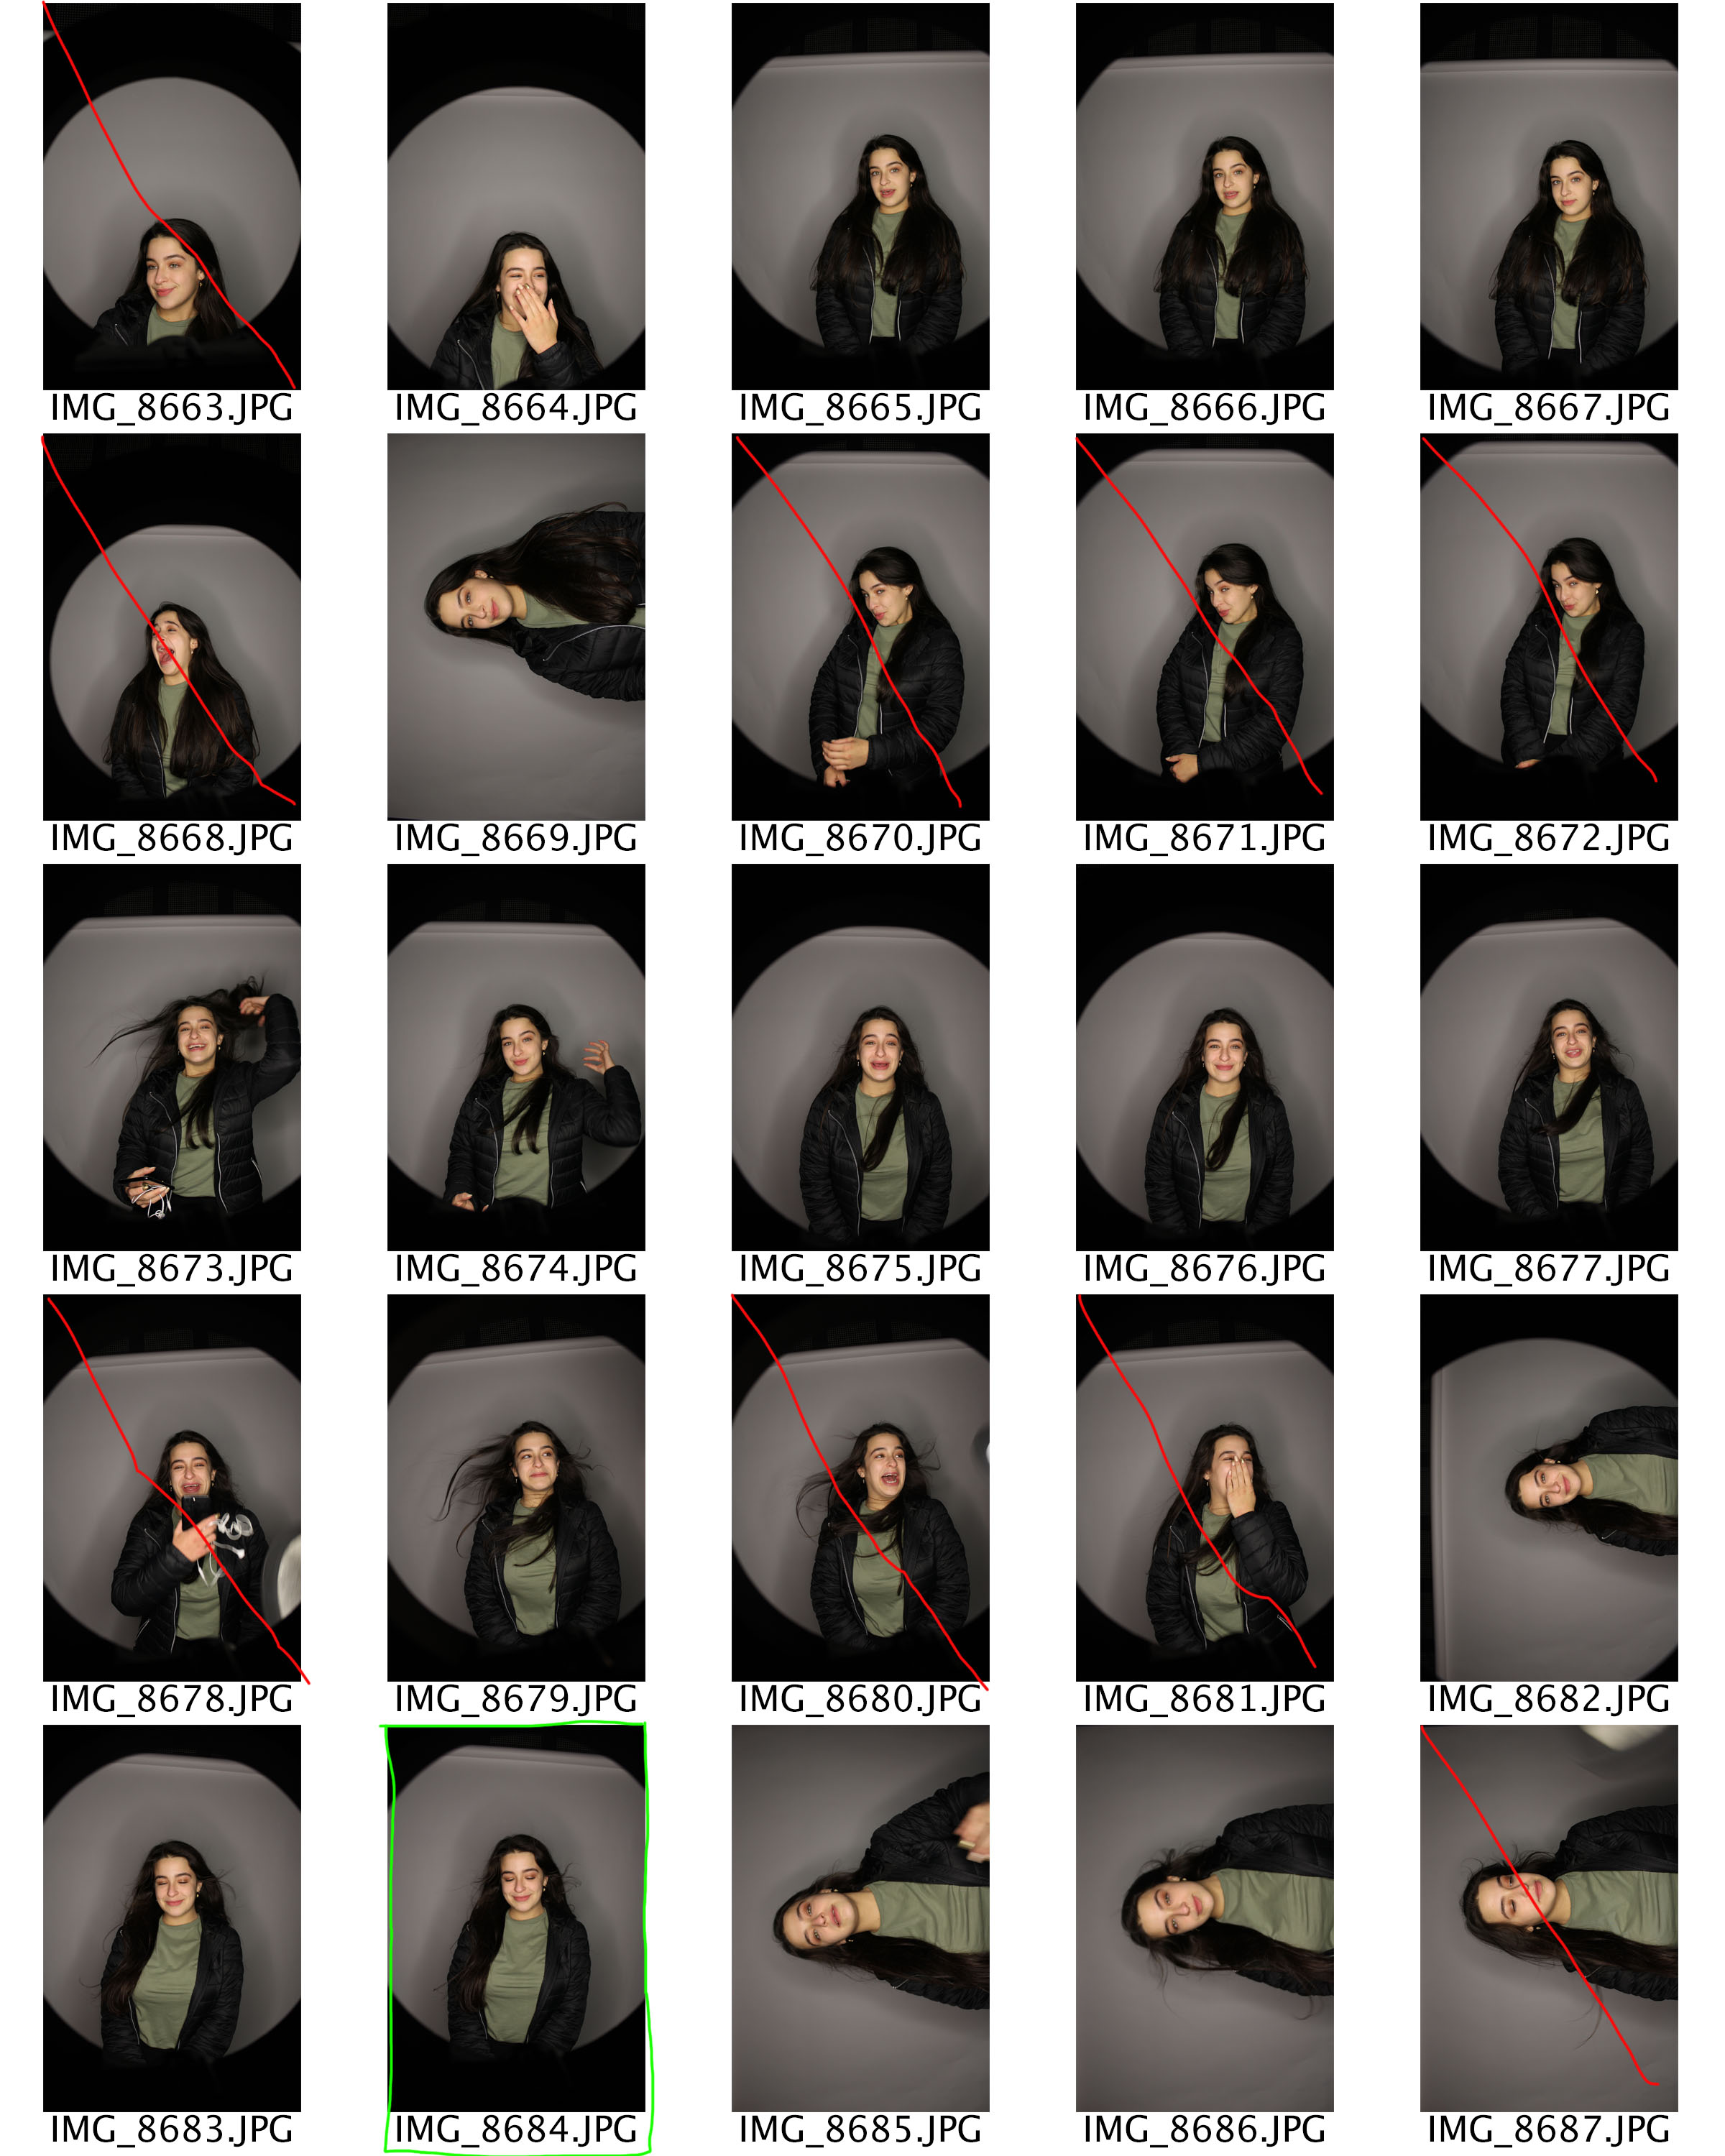
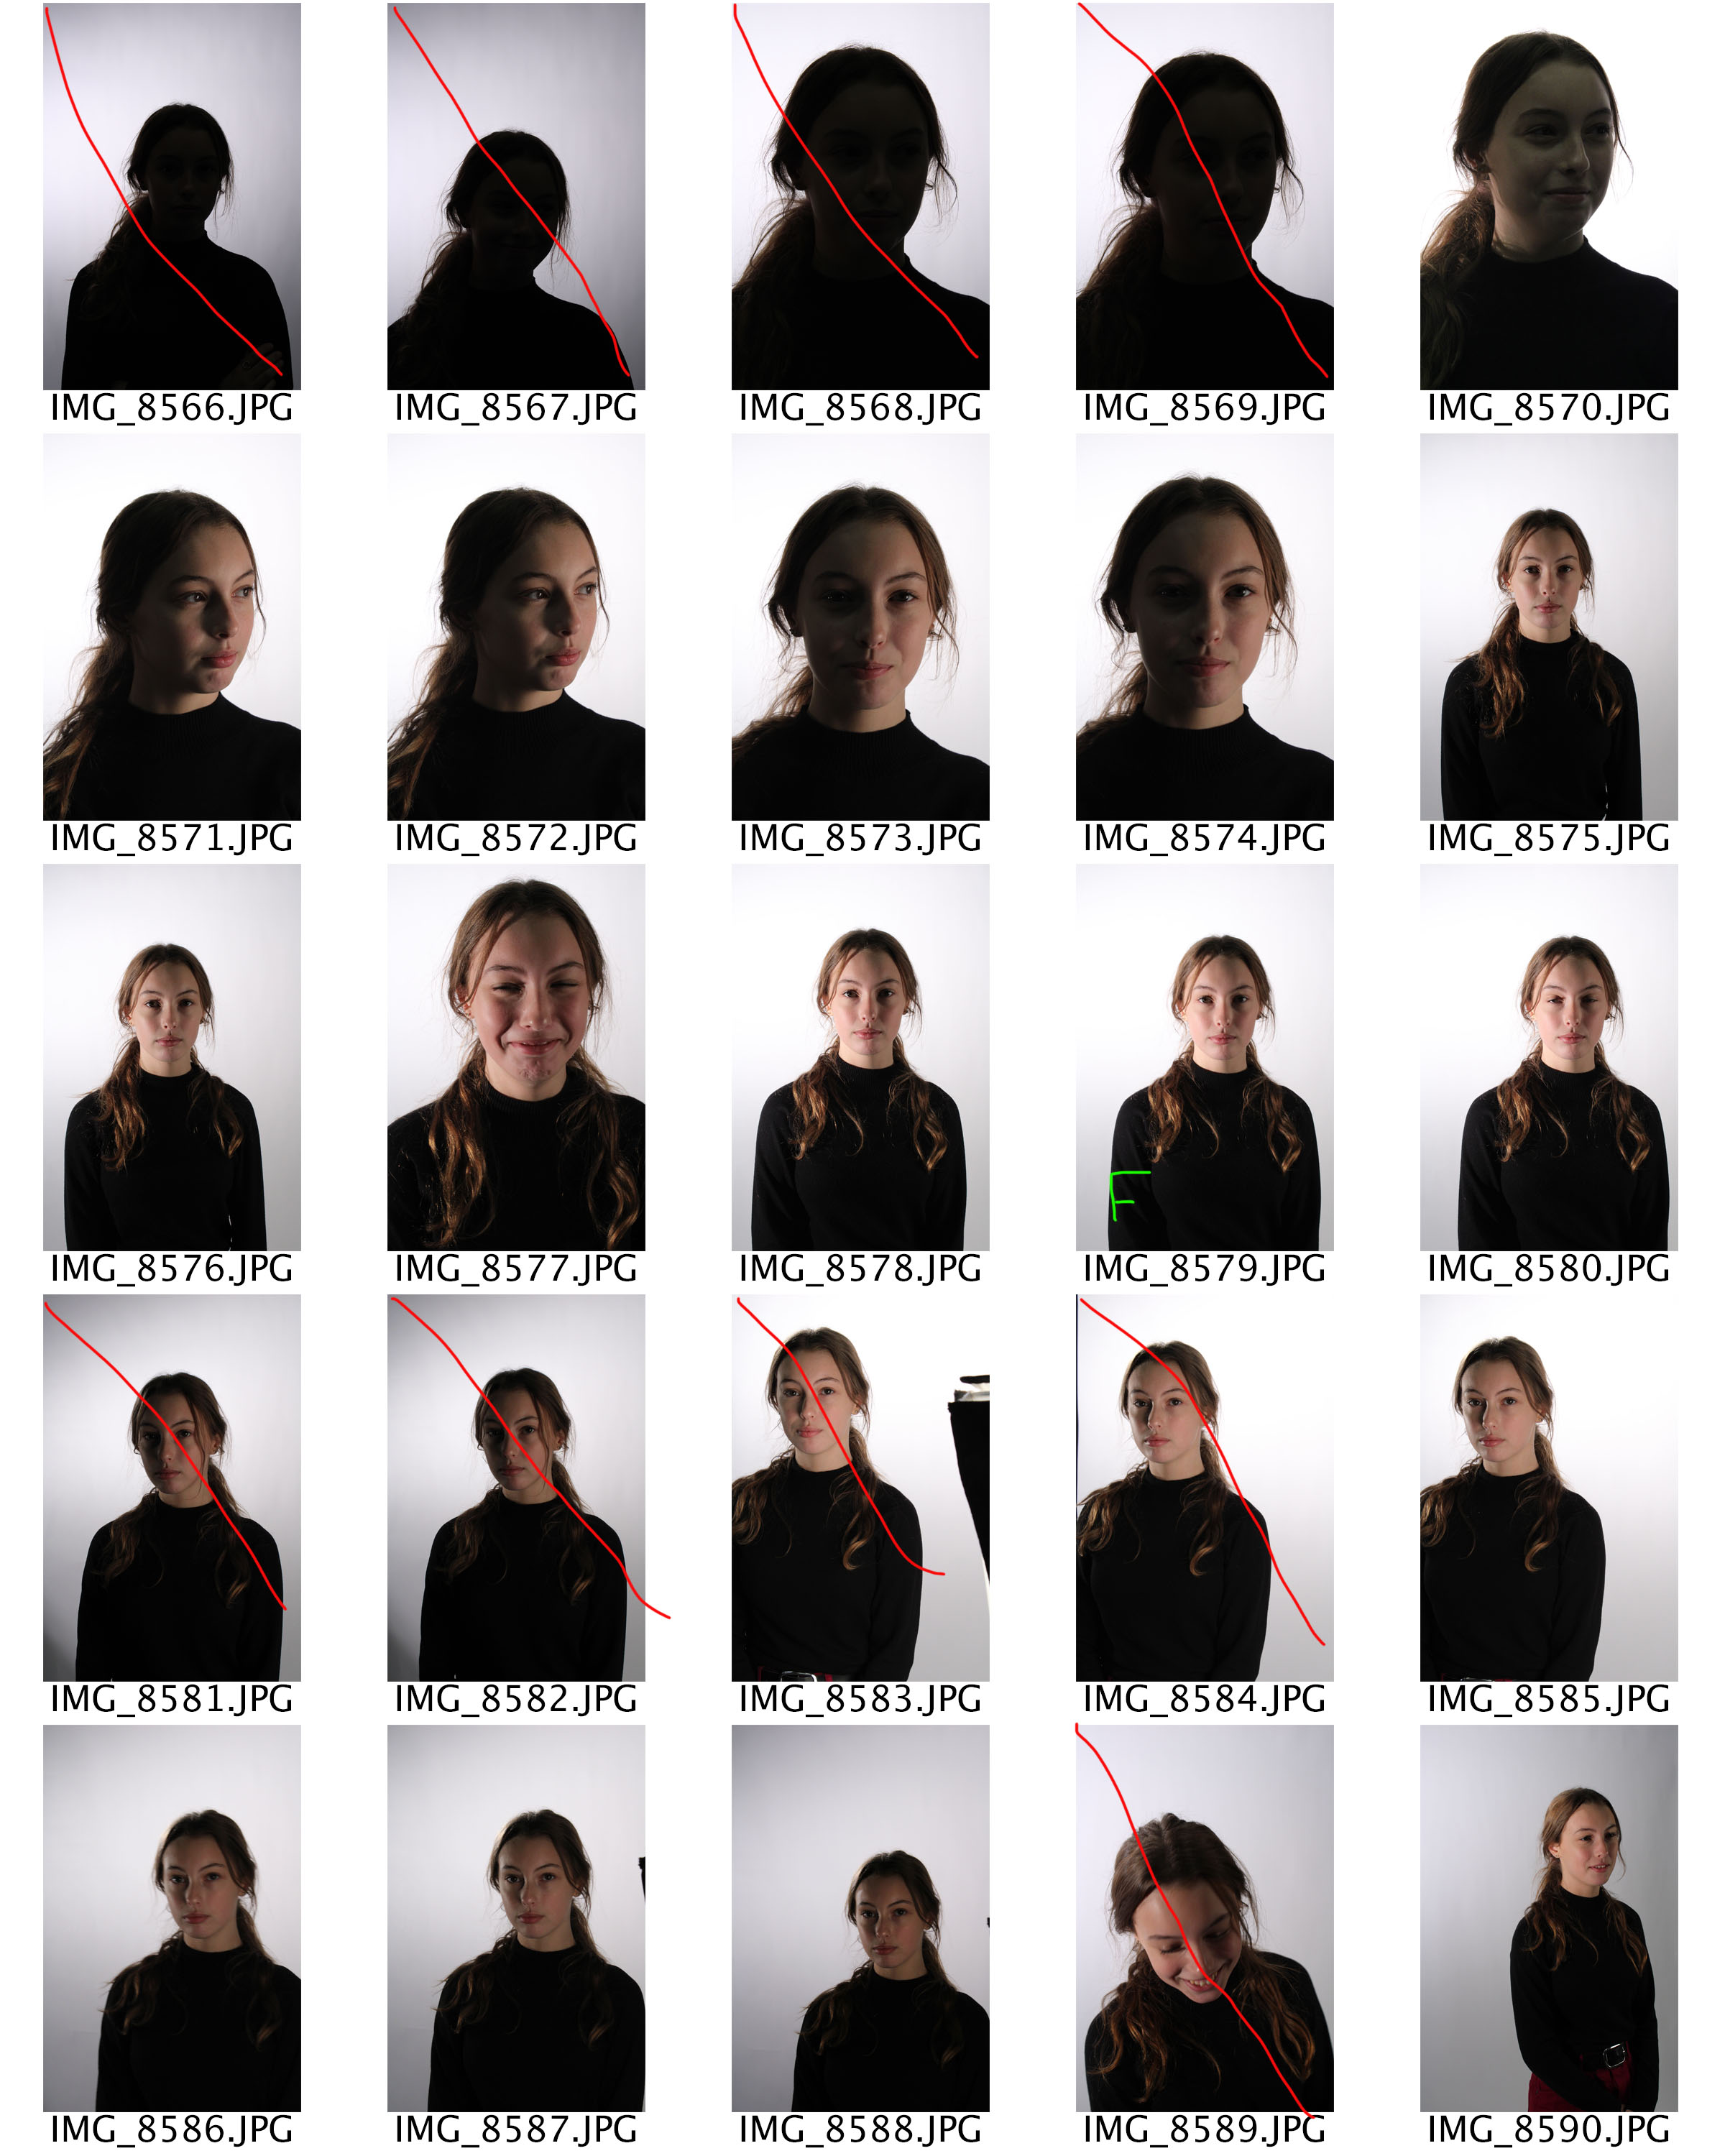
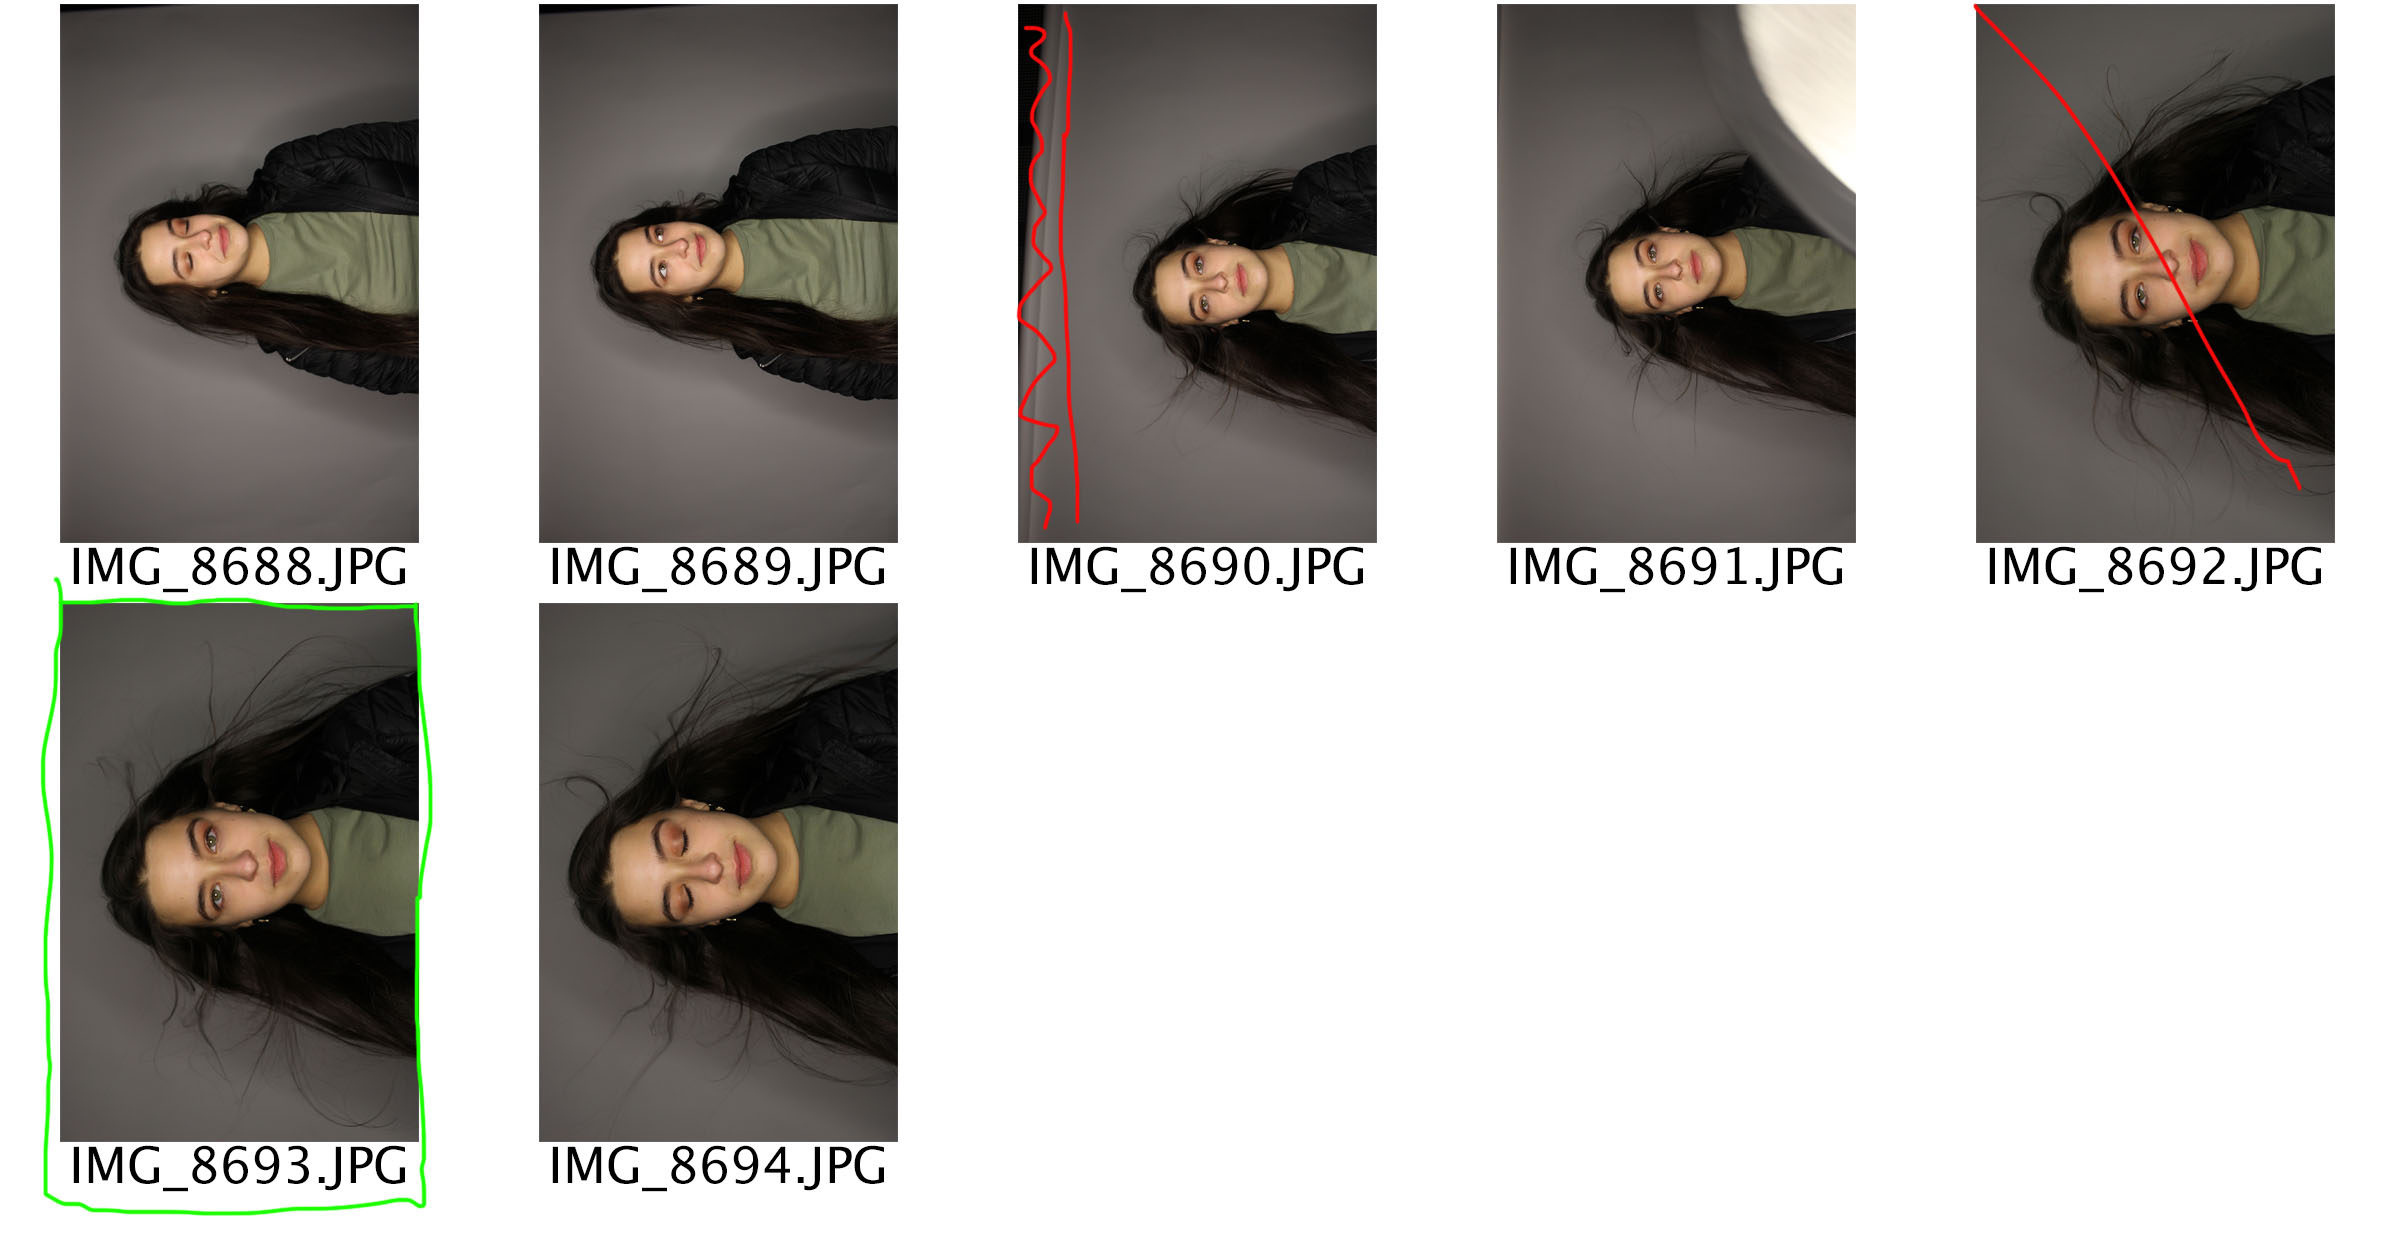
My main light source had a diffuse on it making it a soft light, this was angles slightly to the right of my models face, making a chiaroscuro effect. I then added an additional light which was angles to the left of my model, this evenly lit up my model. Finally I used another light at the back. This was raised on a tripod and was facing directly down onto the model, making the model stand out from the background. Due to this it started to create an element of 3D in my photographs. I then played around with turning some of these lights off, but keeping them in the same place, to see what effect I could create. Moreover, I experimented with ring lighting. This is a singular light which is shaped as a circle, the light is usually quite cold and harsh. You are also able to see the ring of the light in the models eye. When using this light, I made sure it was my only light source. I positioned it to face directly at my model’s face. I then placed my camera through the gap in the middle to capture the model. With this lighting I experimented with the different background colors and the different types of white balance. Additionally, using this lighting I looked at taking macro photographs of my models eye, where you are able to see the ring. Finally, the last lighting set up I used where the ceiling lighting rig. I experimented by using the different lights and their positioning. With some of these photographs I also used the soft box light to make my model more lit up.
Another technique I looked at while trying to capture these photographs was, high key and low key. In my first set of photo shoots in the studio I mainly focused on low key where there is a lot of shadows and contrast found in the image. This time around I looked at high key photographs, where the images are much lighter and too some extent are over exposed. To capture these images I used harsh cold lighting and adjusted my white balance to make the images seem over exposed. Furthermore, I tended to stick with a white background in order to add to the effect of a high key image. When I come to edit these photographs my intention is to use the levels and curves to make these photographs seem brighter than they actually are which will also help to present these images as high key photographs.
Contact Sheets
Edits
These edits are the best outcomes from using ring lighting. Due to previous photo shoots conducted, the other techniques of lighting can be found in there outcomes. When it came to editing I simply adjusted the levels and curves to ensure that my images where sharp.
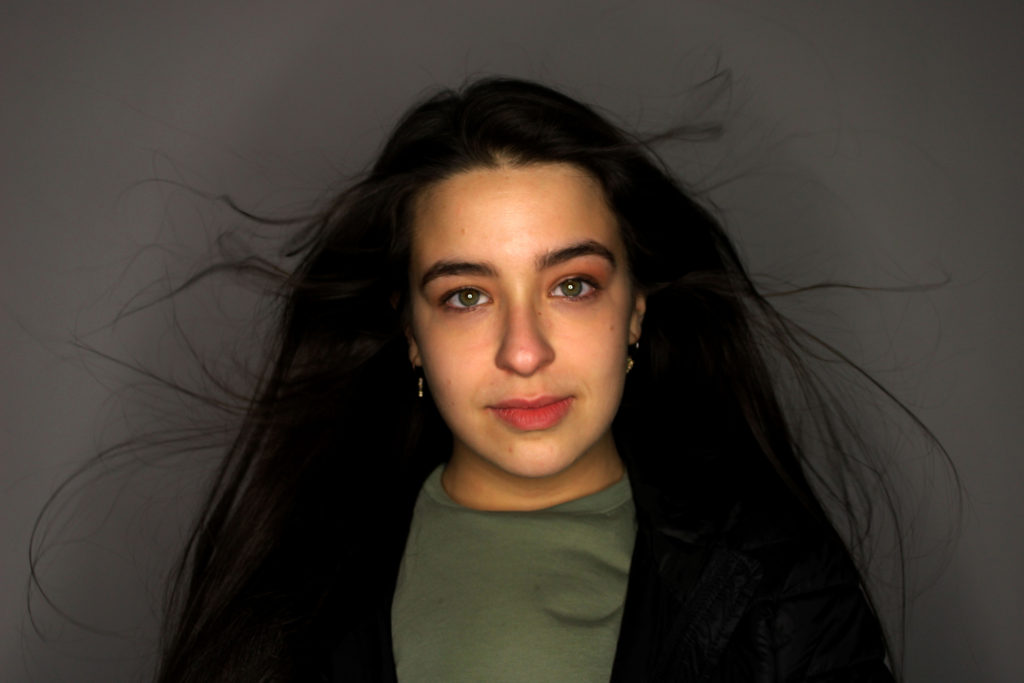
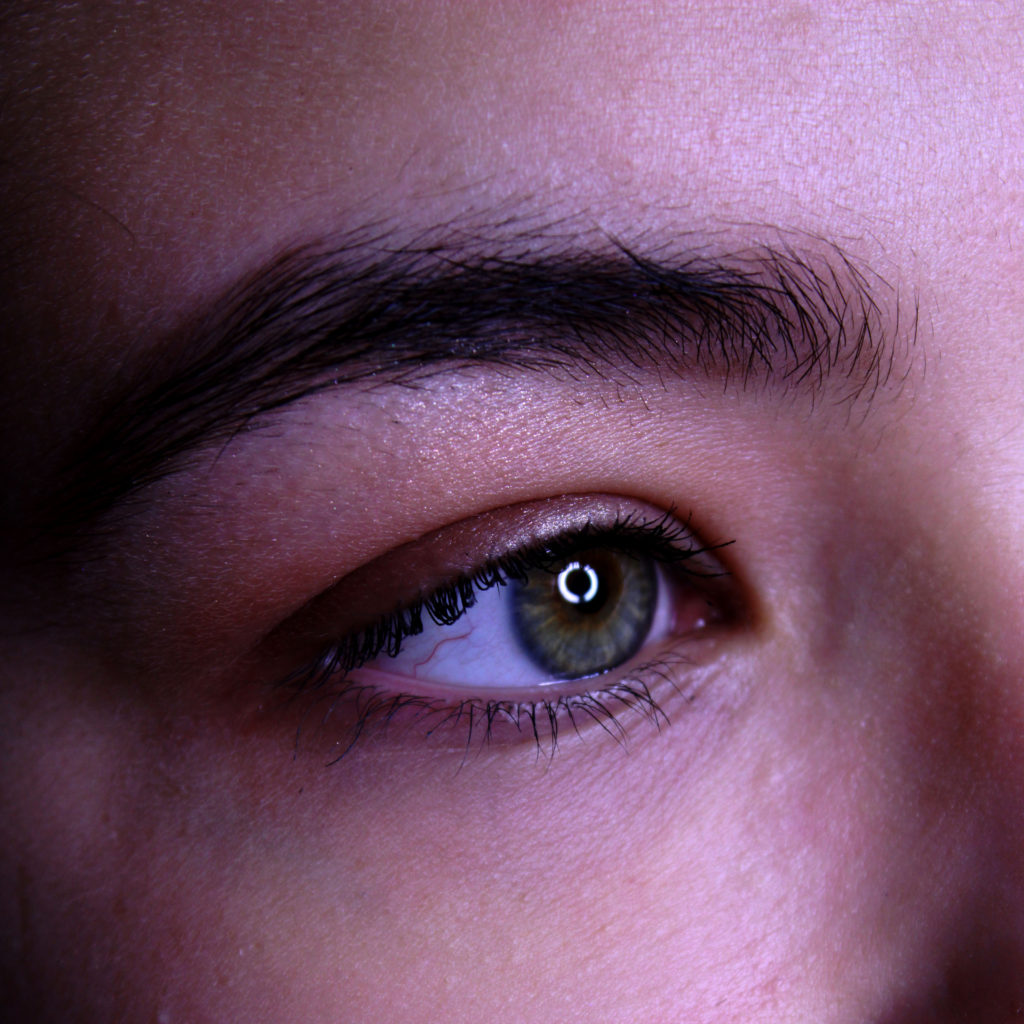
This macro photograph is of the ring light reflecting into my models eye. I decided to capture this as I believed that it was interesting and peculiar to look at. Due to the image being macro it allows the viewer to see all the detail of the facial features, from the eyebrows to the veins in the eye. This helps to present the formal element of line and texture. 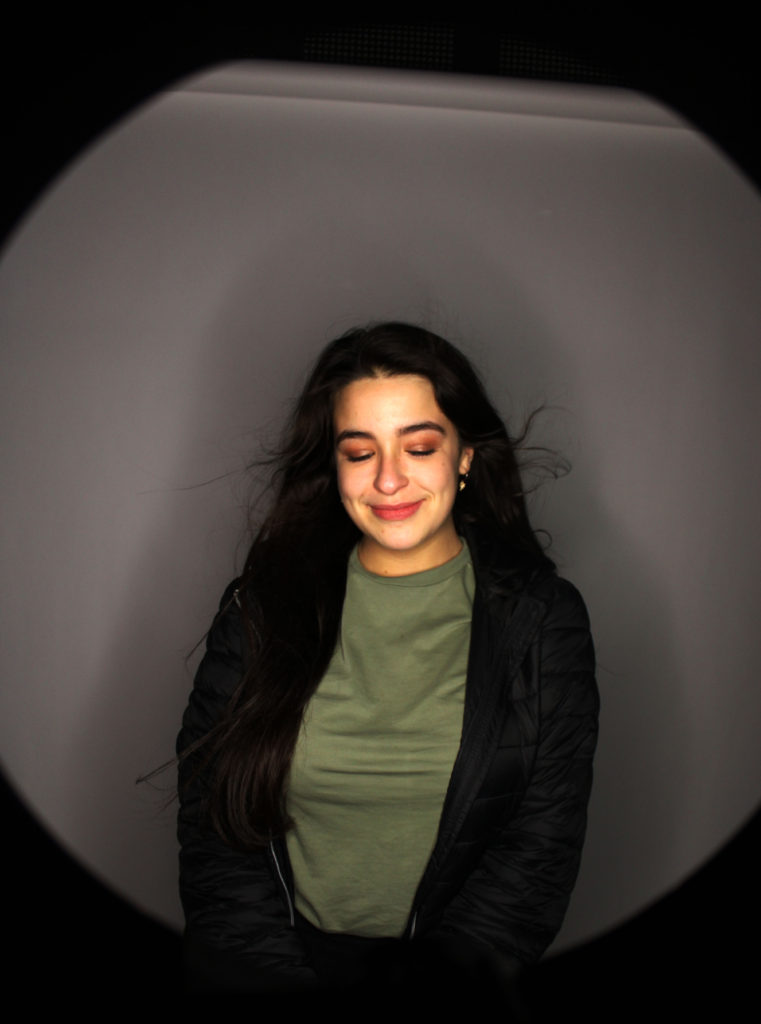
In this final outcome I tried to use the inside of the ring light to frame my model. This has helped to make the model the main focus point of the image. Moreover, I used wind to move around the models hair which has allowed movement and an element of 3D to be found in this image.
