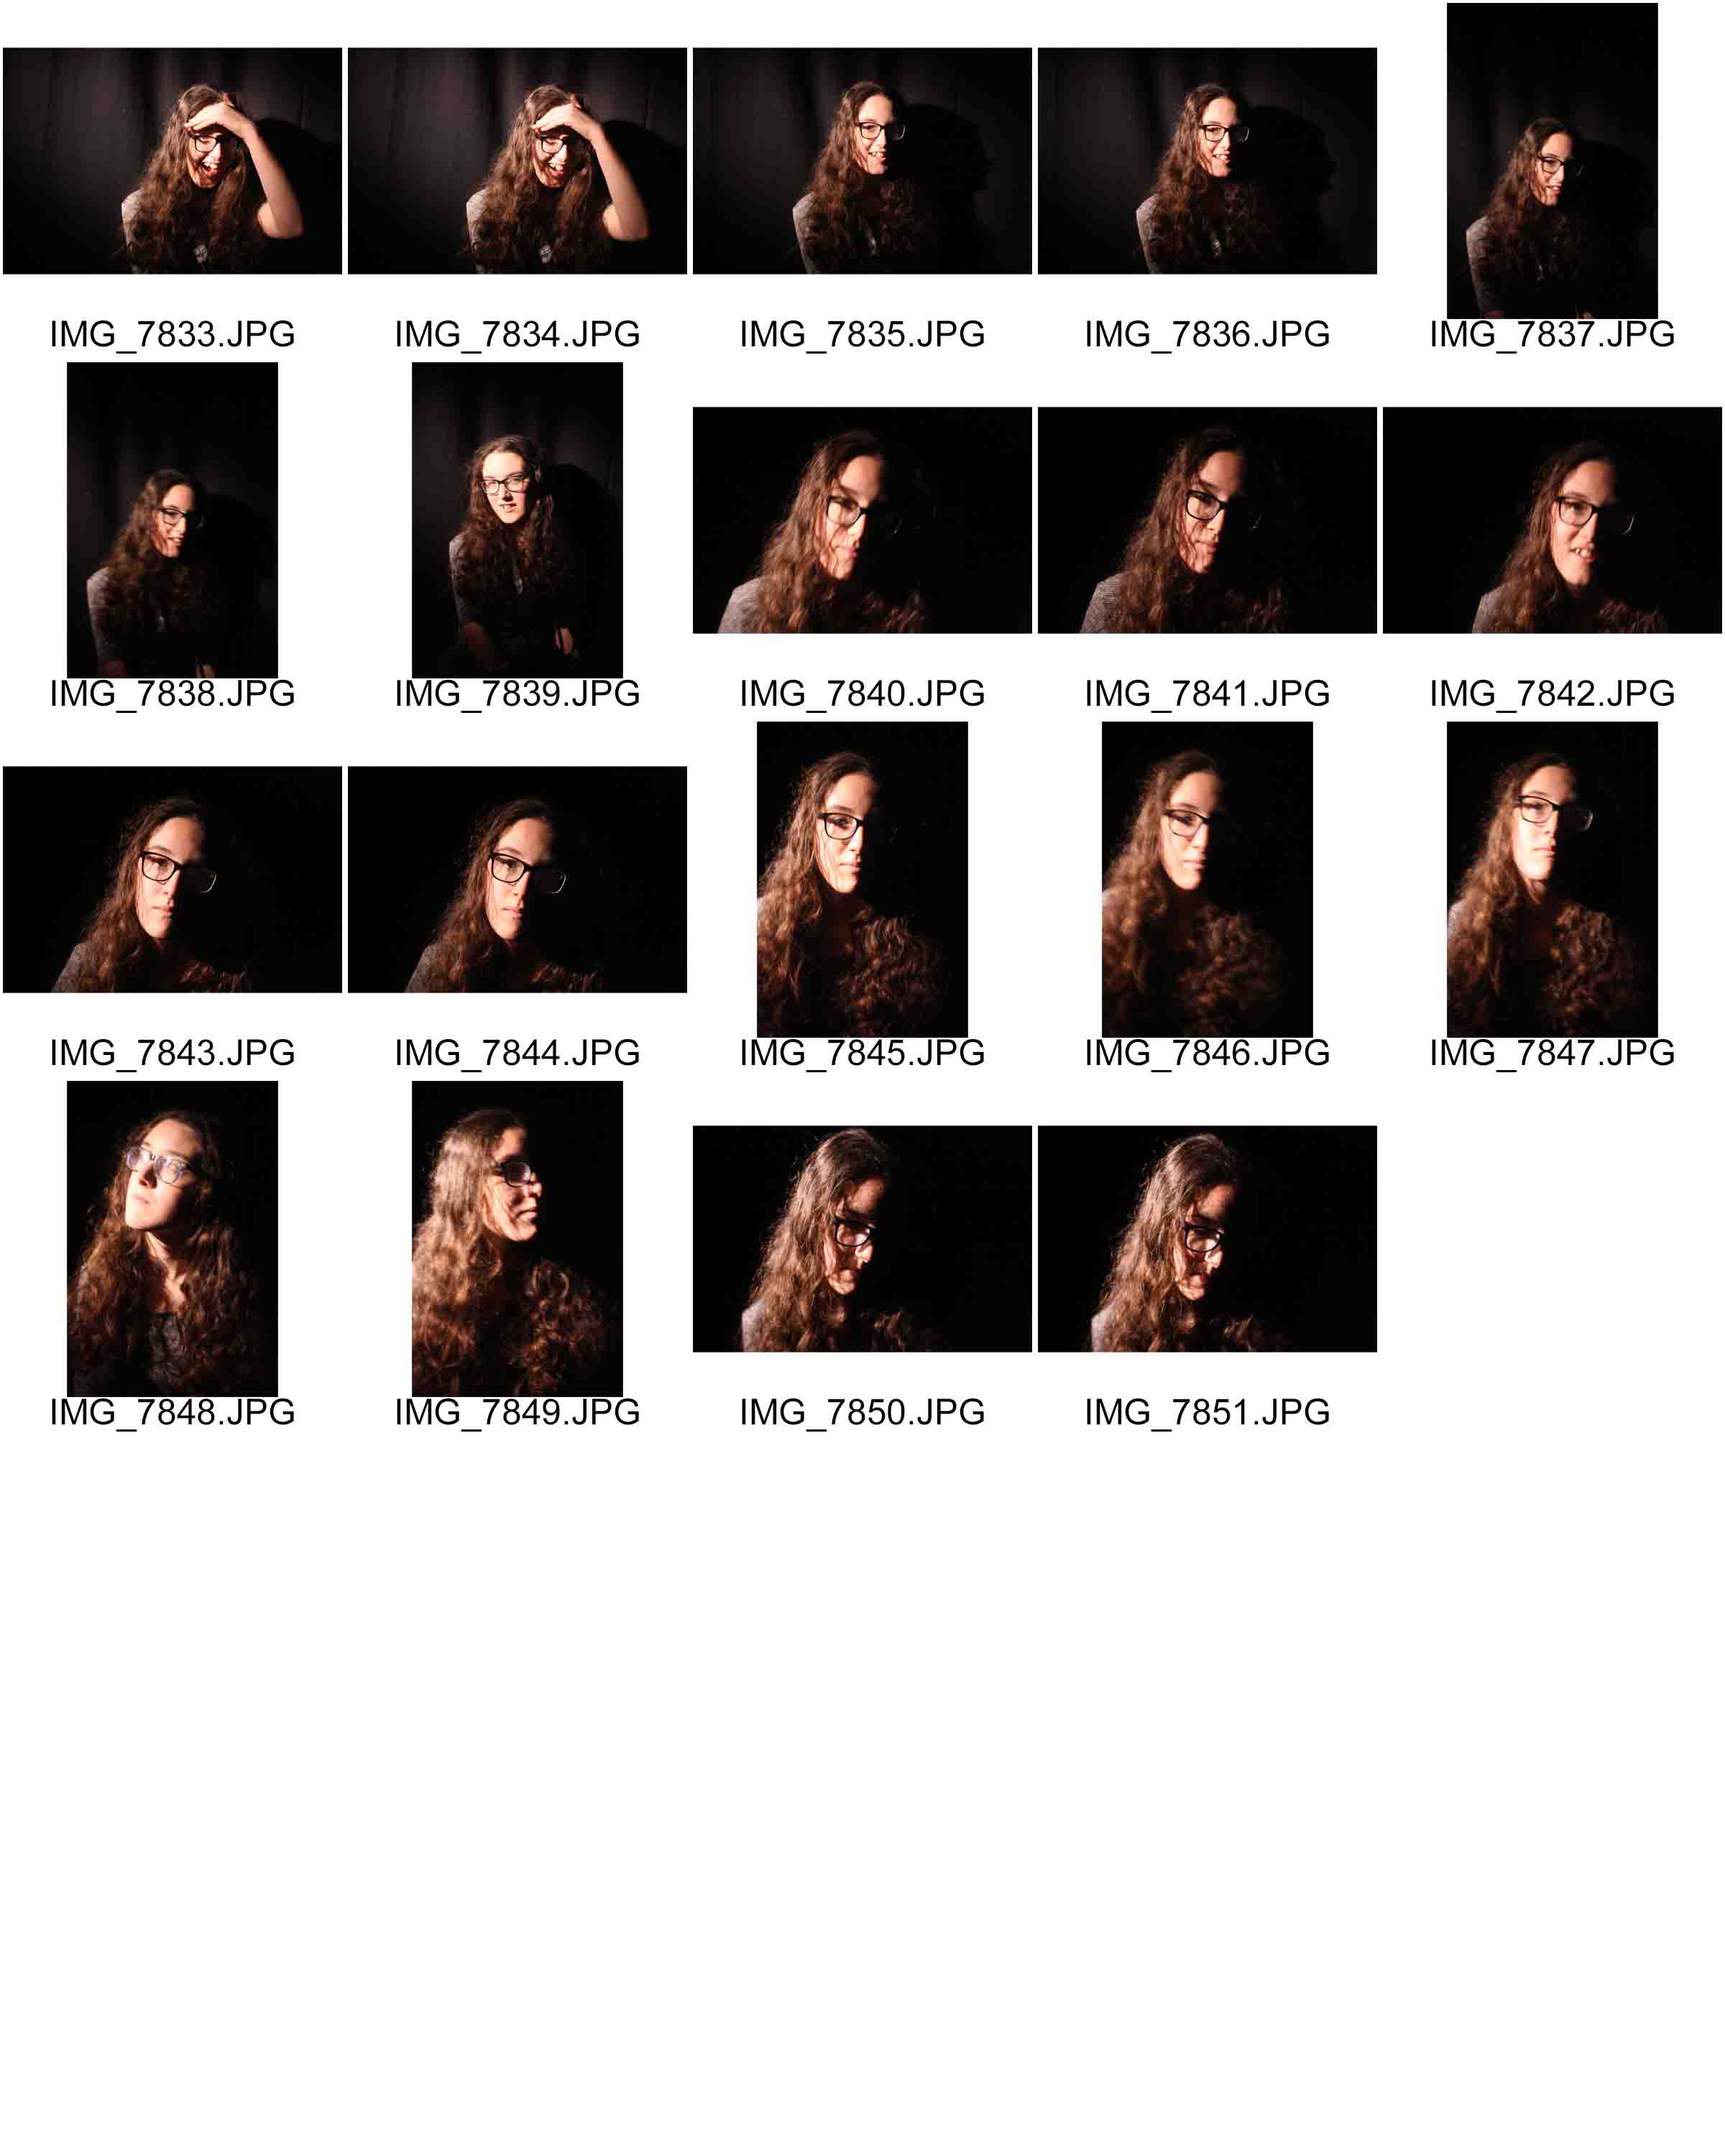
After my first couple of times in the studio doing portraiture I have a small selection of photos that really stand out for me, but to make them better I put them through Photoshop and the editing software that comes through windows.
I will be showing the before and after photos, just to show a contrast between an original and an edited version of a photo, although the difference may be very subtle I think that they really change the photos looks.
 This is the first photo that I will be editing, it is one of the best photos I took from my second visit to the studio.
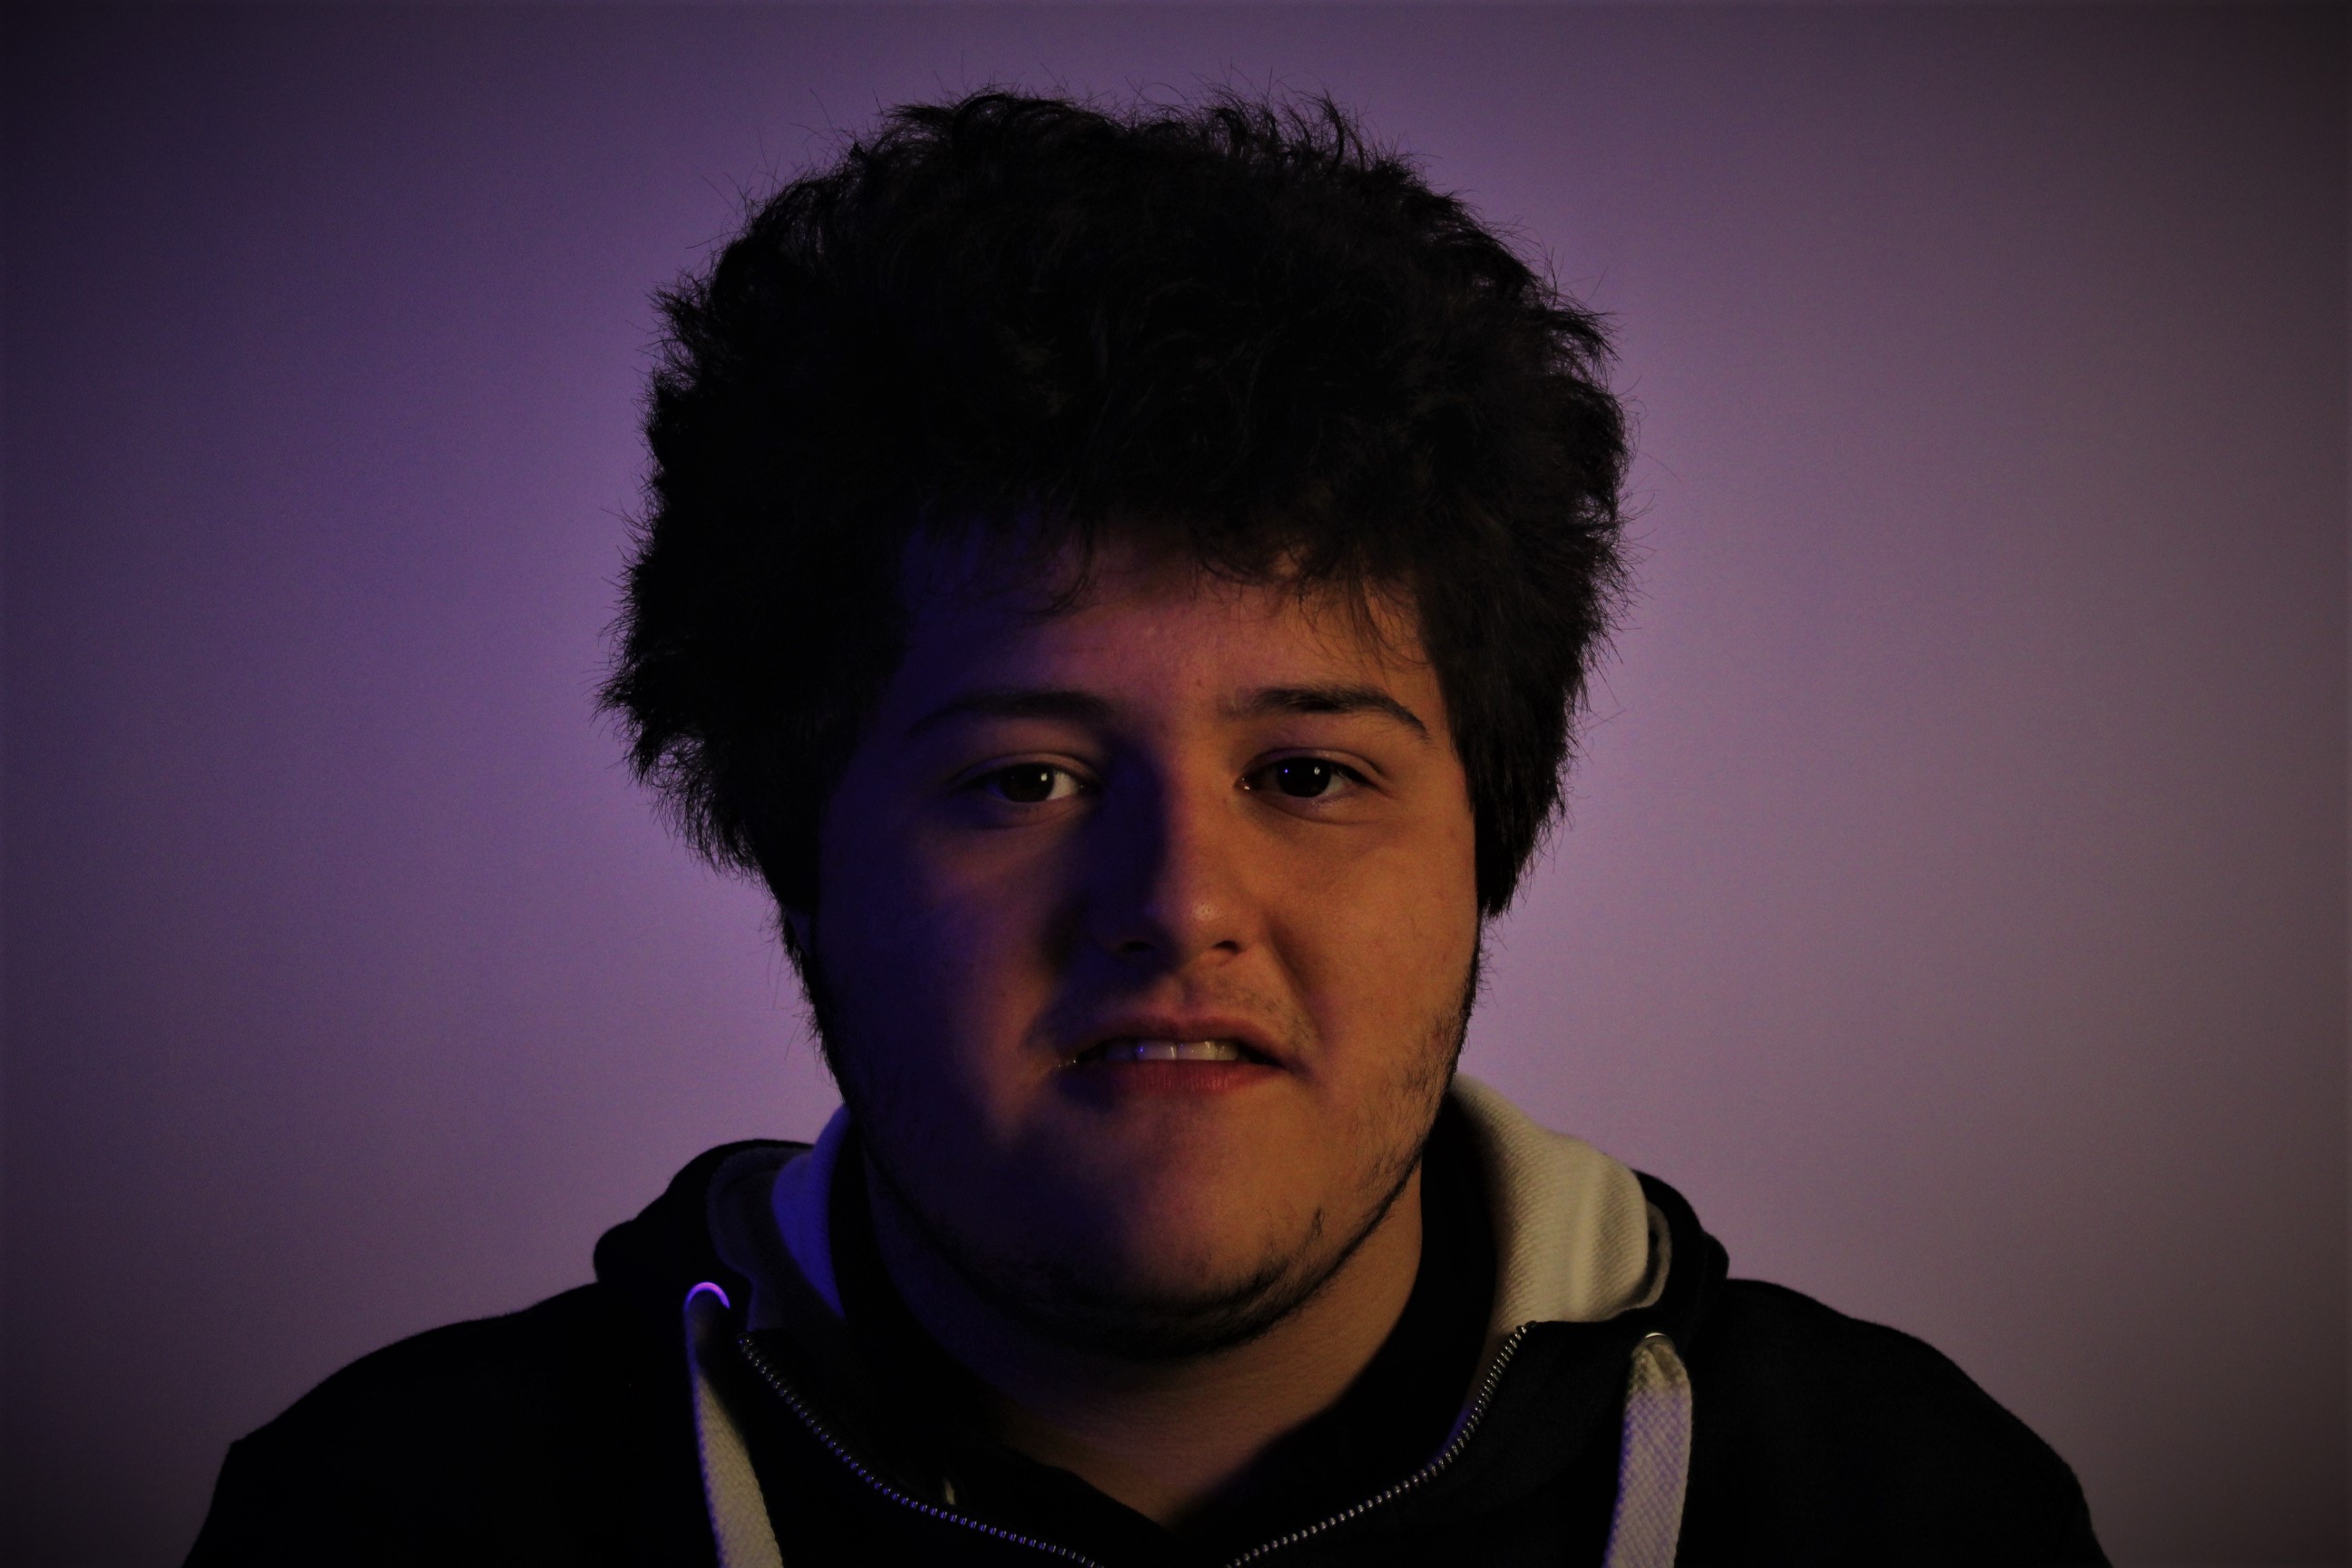 In this edited version of my photo all I have done is used spot fix to make the skin seem smoother and clearer I also turned up the color making the blue/purple look bolder. I also brought up the clarity on the photo to make it seem bolder and for some features to stand out. Again I increased the vignette to darken round the edges and corners but so that the model is the main piece of the photo.
 I really like this photo as it brings in the style of one point lighting to only show one side of the face but has the added feature of the color making it seem more vivid.
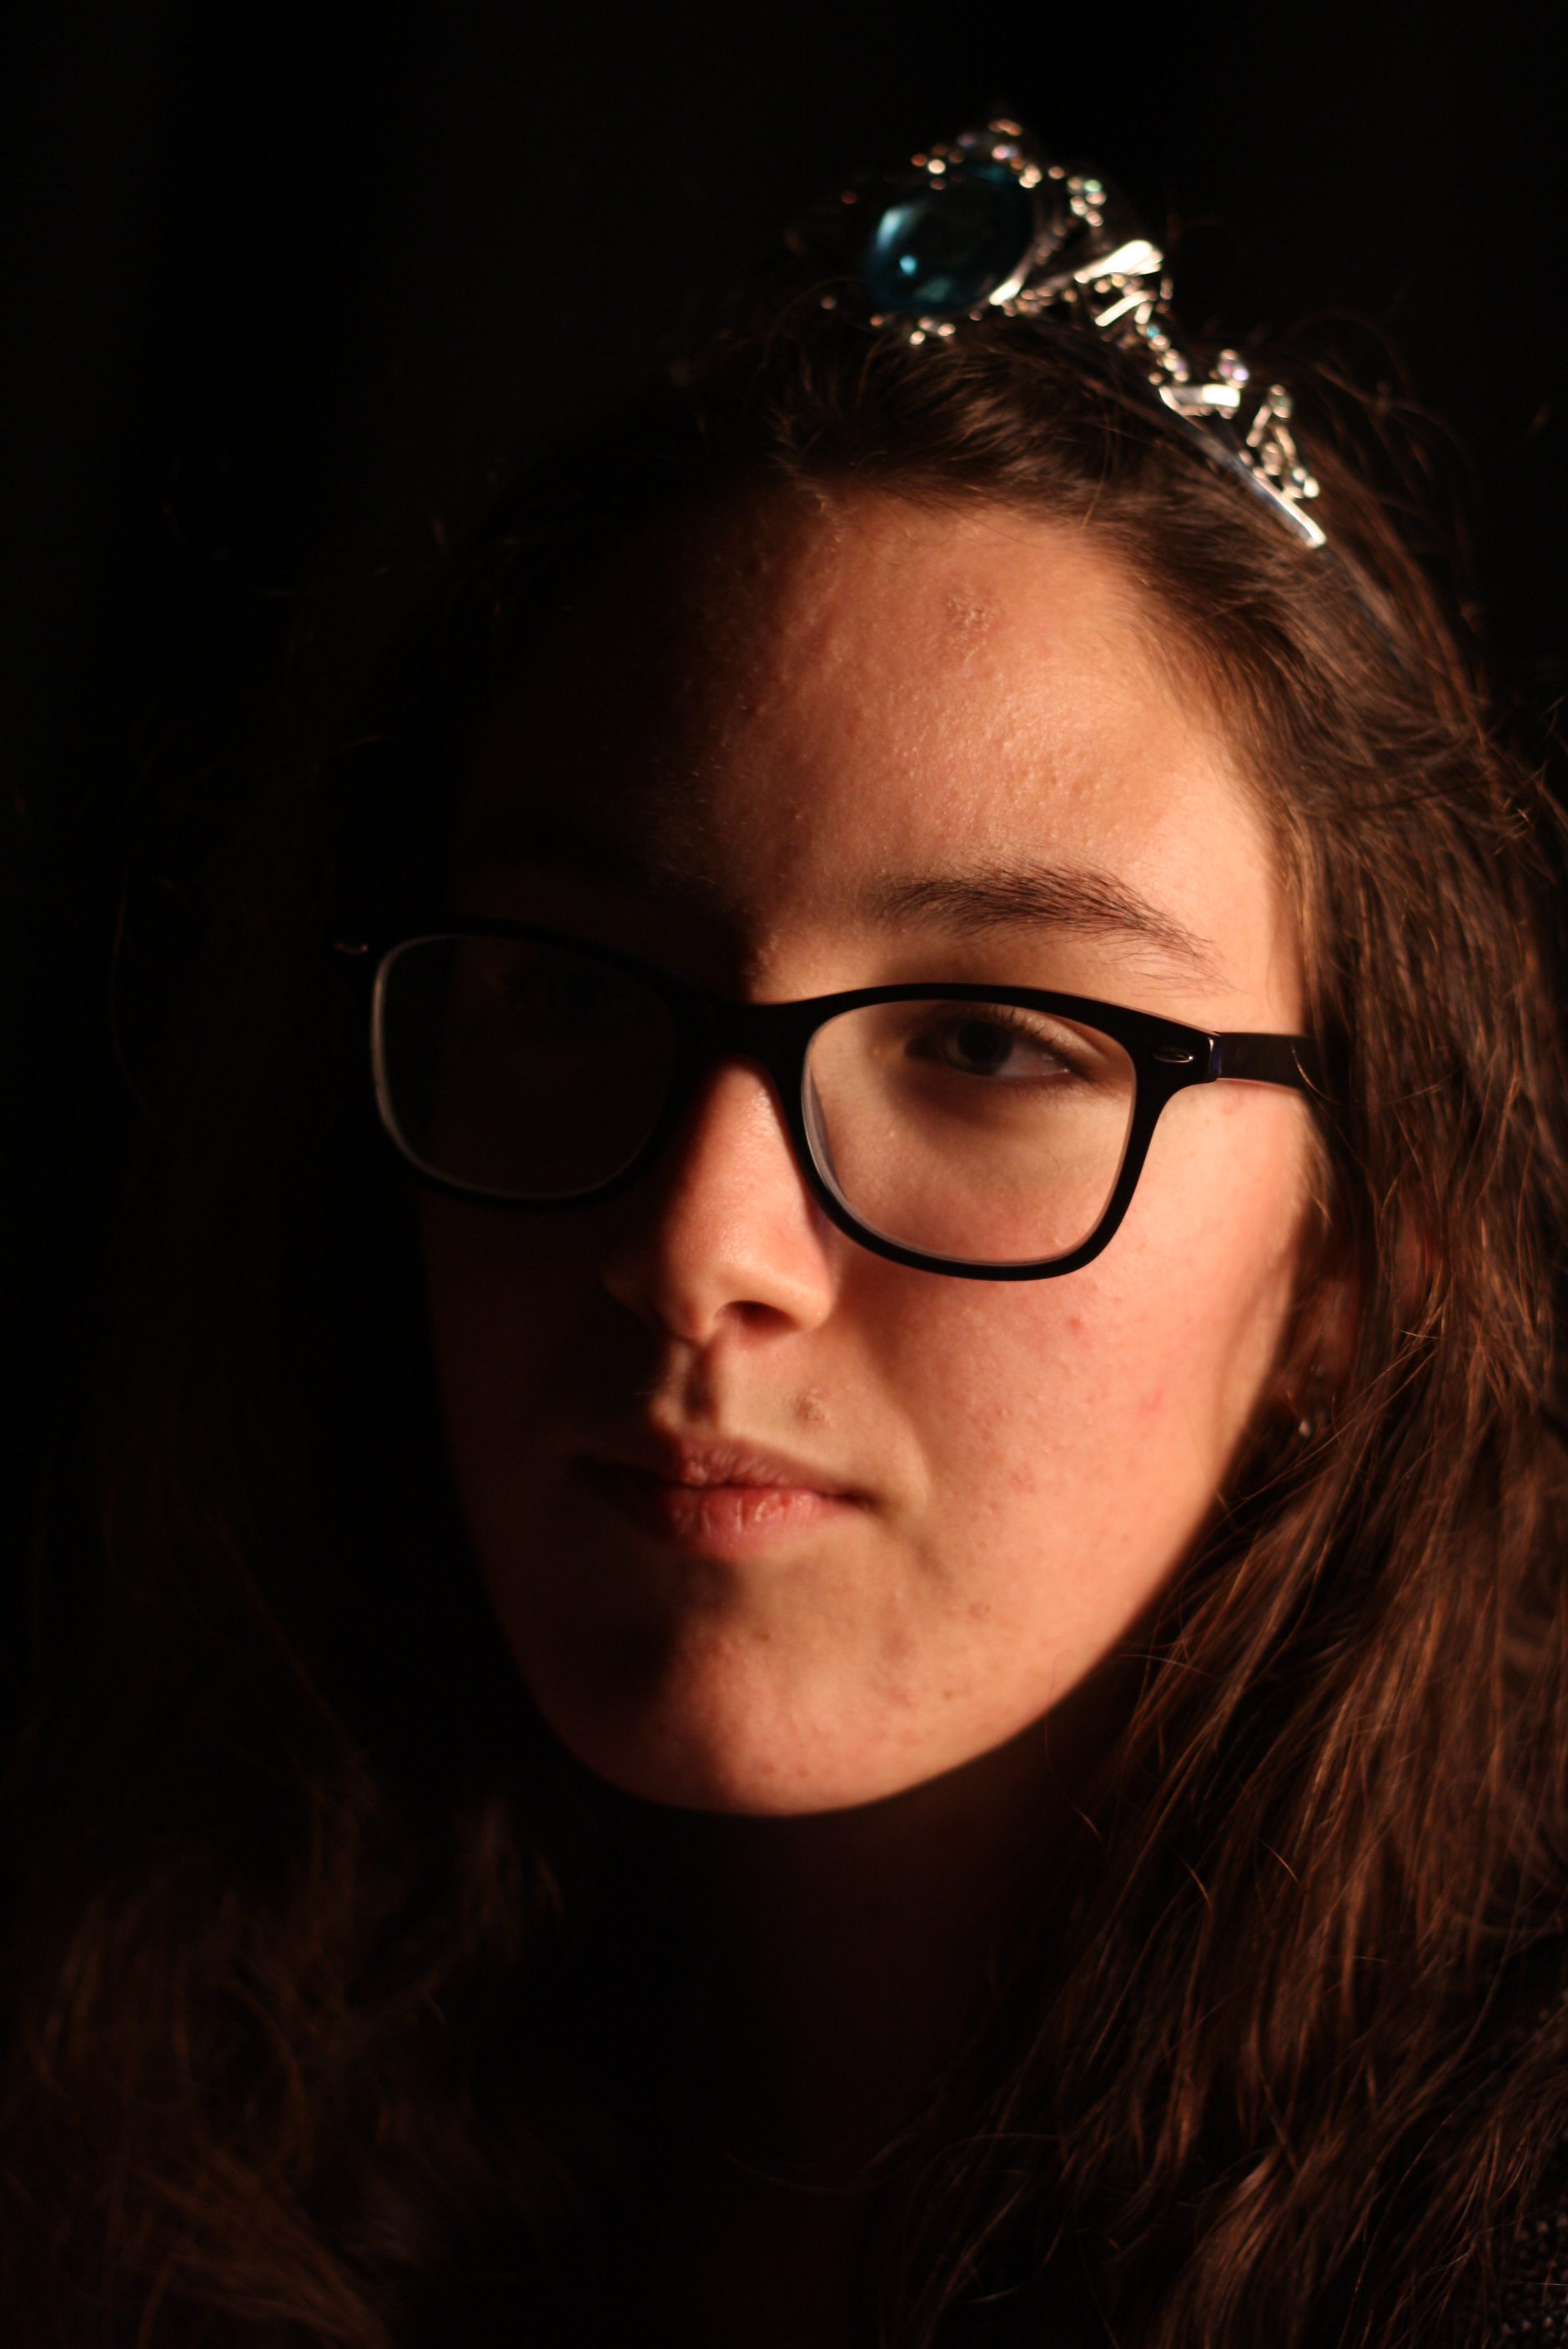
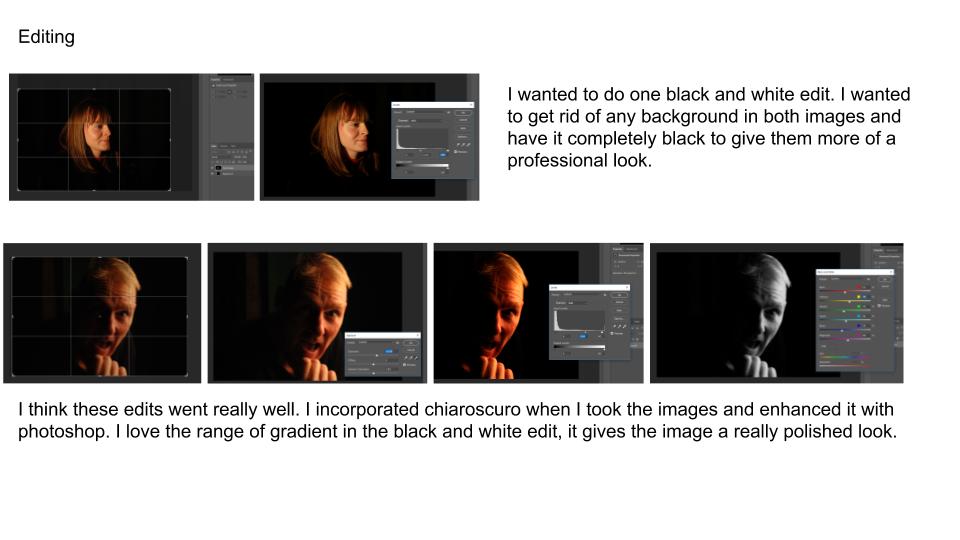
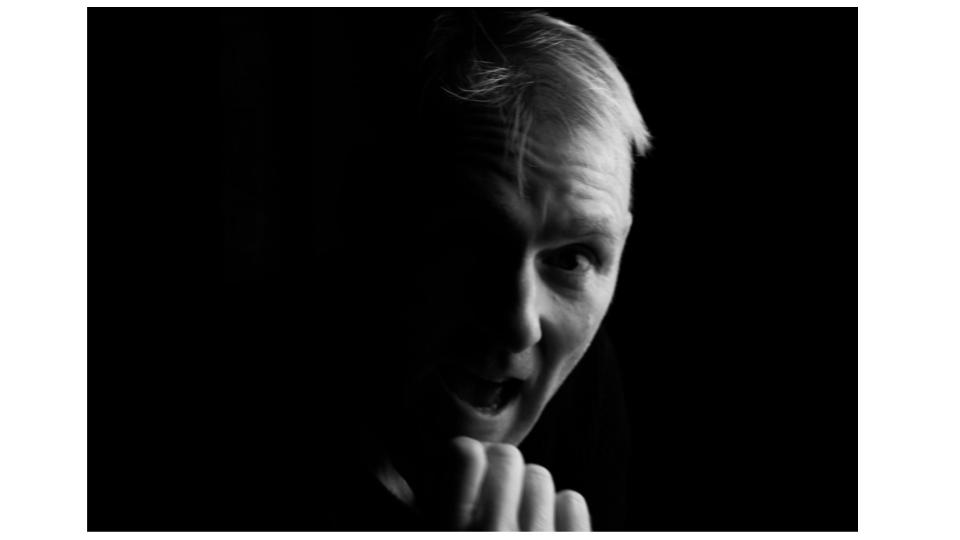
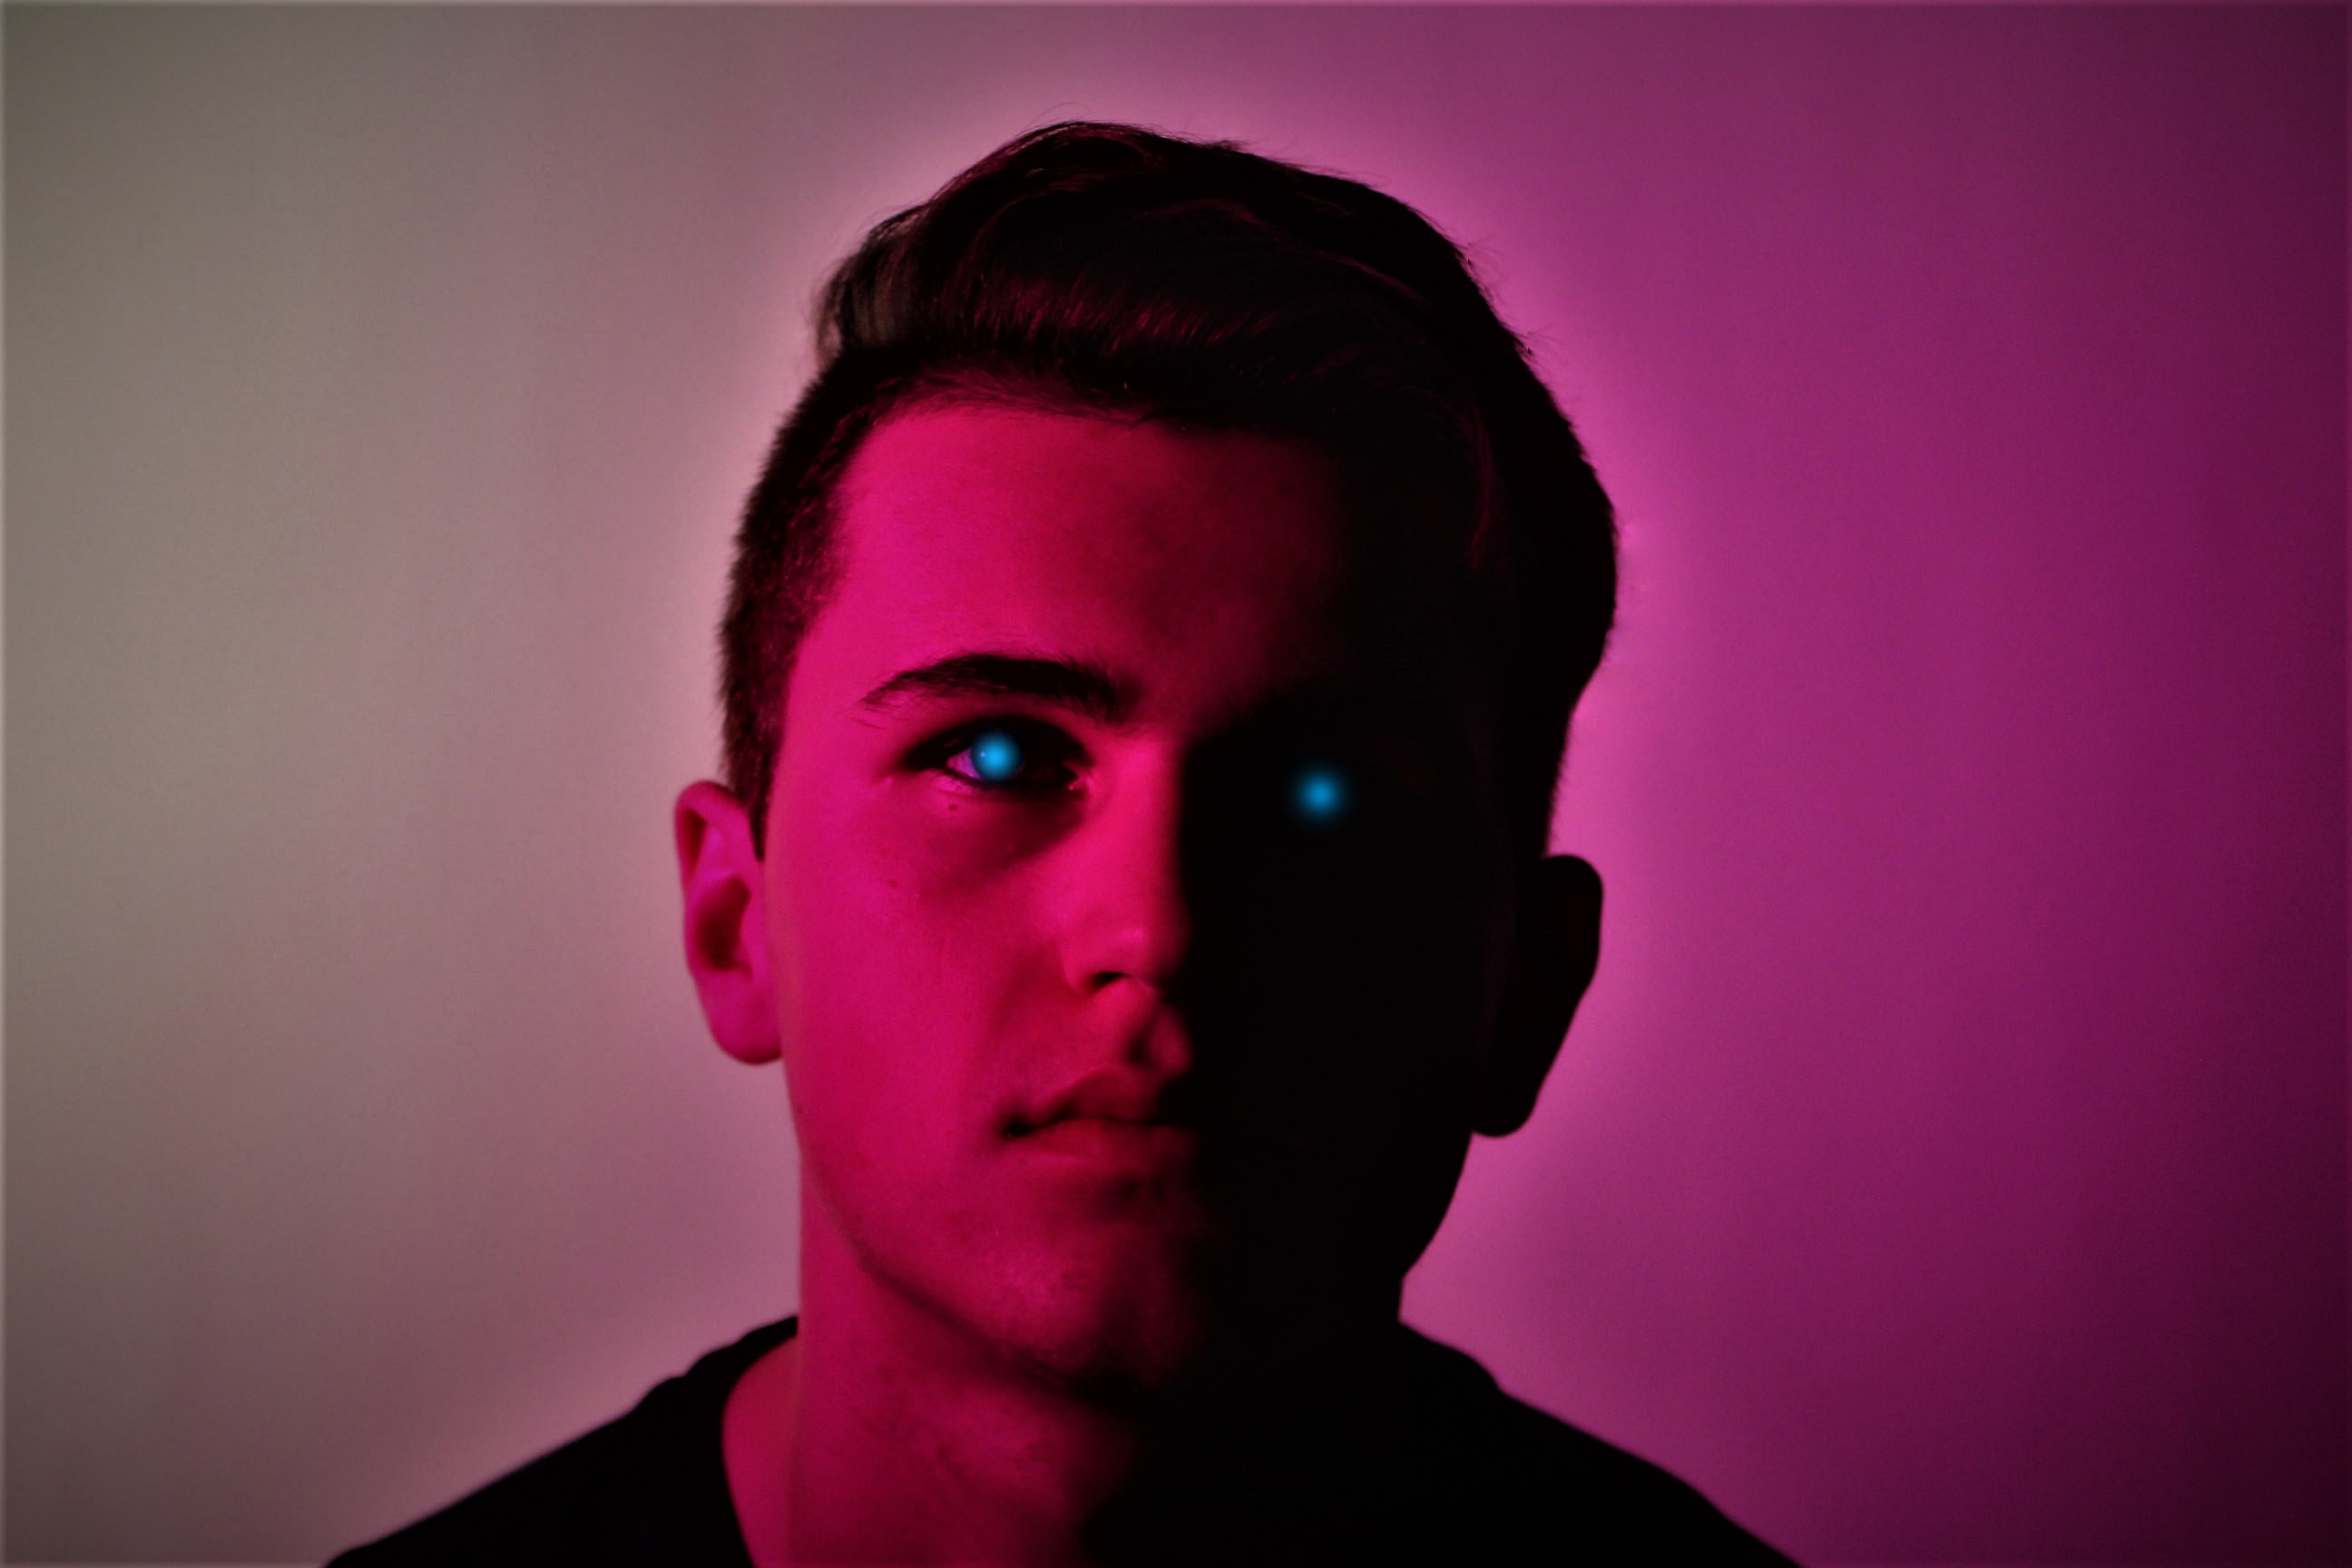 In this photo you can see an immediate change in the look of the photo. The first major change you can see is the blue specks of color where his eyes are. On the left side of his face (As you look at it) you can see where his eye is, but due to the one point light, you can’t see where the other eye is, I think that the blue dots of color help make the picture stand out. Also with this photo I put the clarity all the way to maximum just so that his key features stood out. I also raised the vignette just a bit to create the same effect as before. Again with this photo I used spot fix, but this time not to make his skin to appear smoother but to fix any hairs on the photo which looked out of place, this makes the outline of his head to shoulders seem more in place and smoother looking.
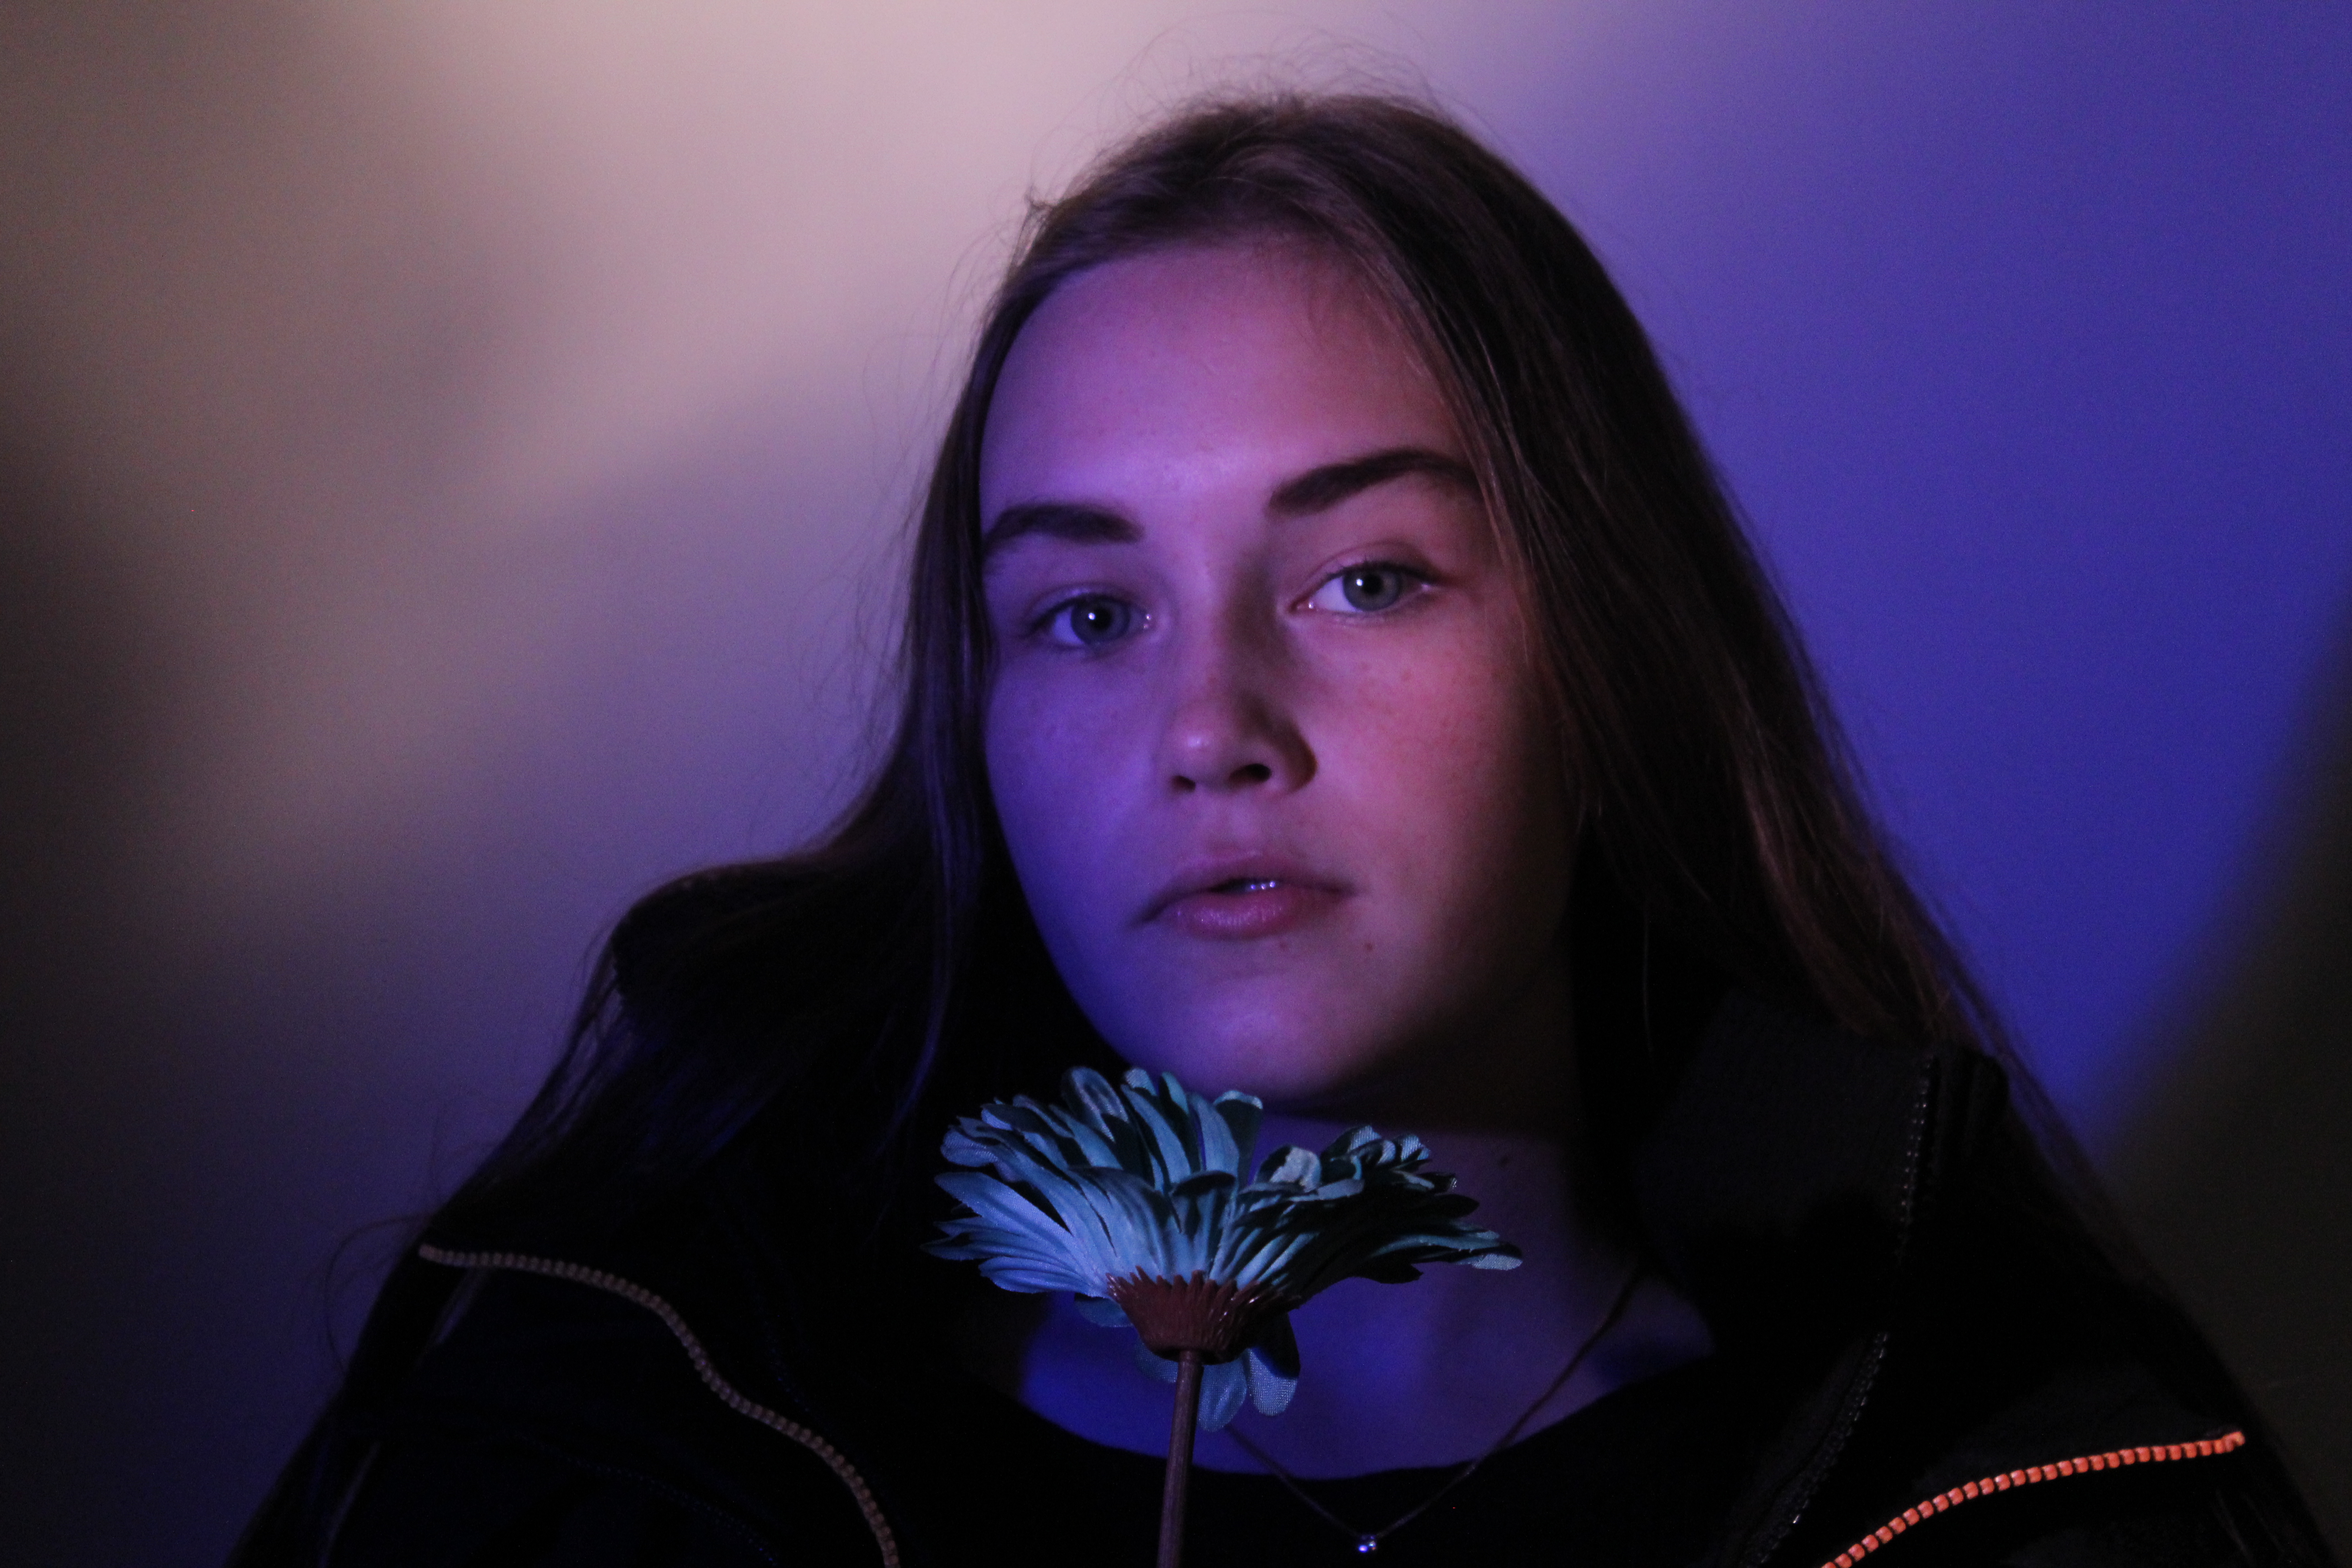 I have done nothing to edit this photo as I think that it is really good. What I really like about this photo is that the use of the color blue really makes the much paler blue stand out. I also like the use of propping with the coat as it does just make the color and atmosphere of the picture stand out.
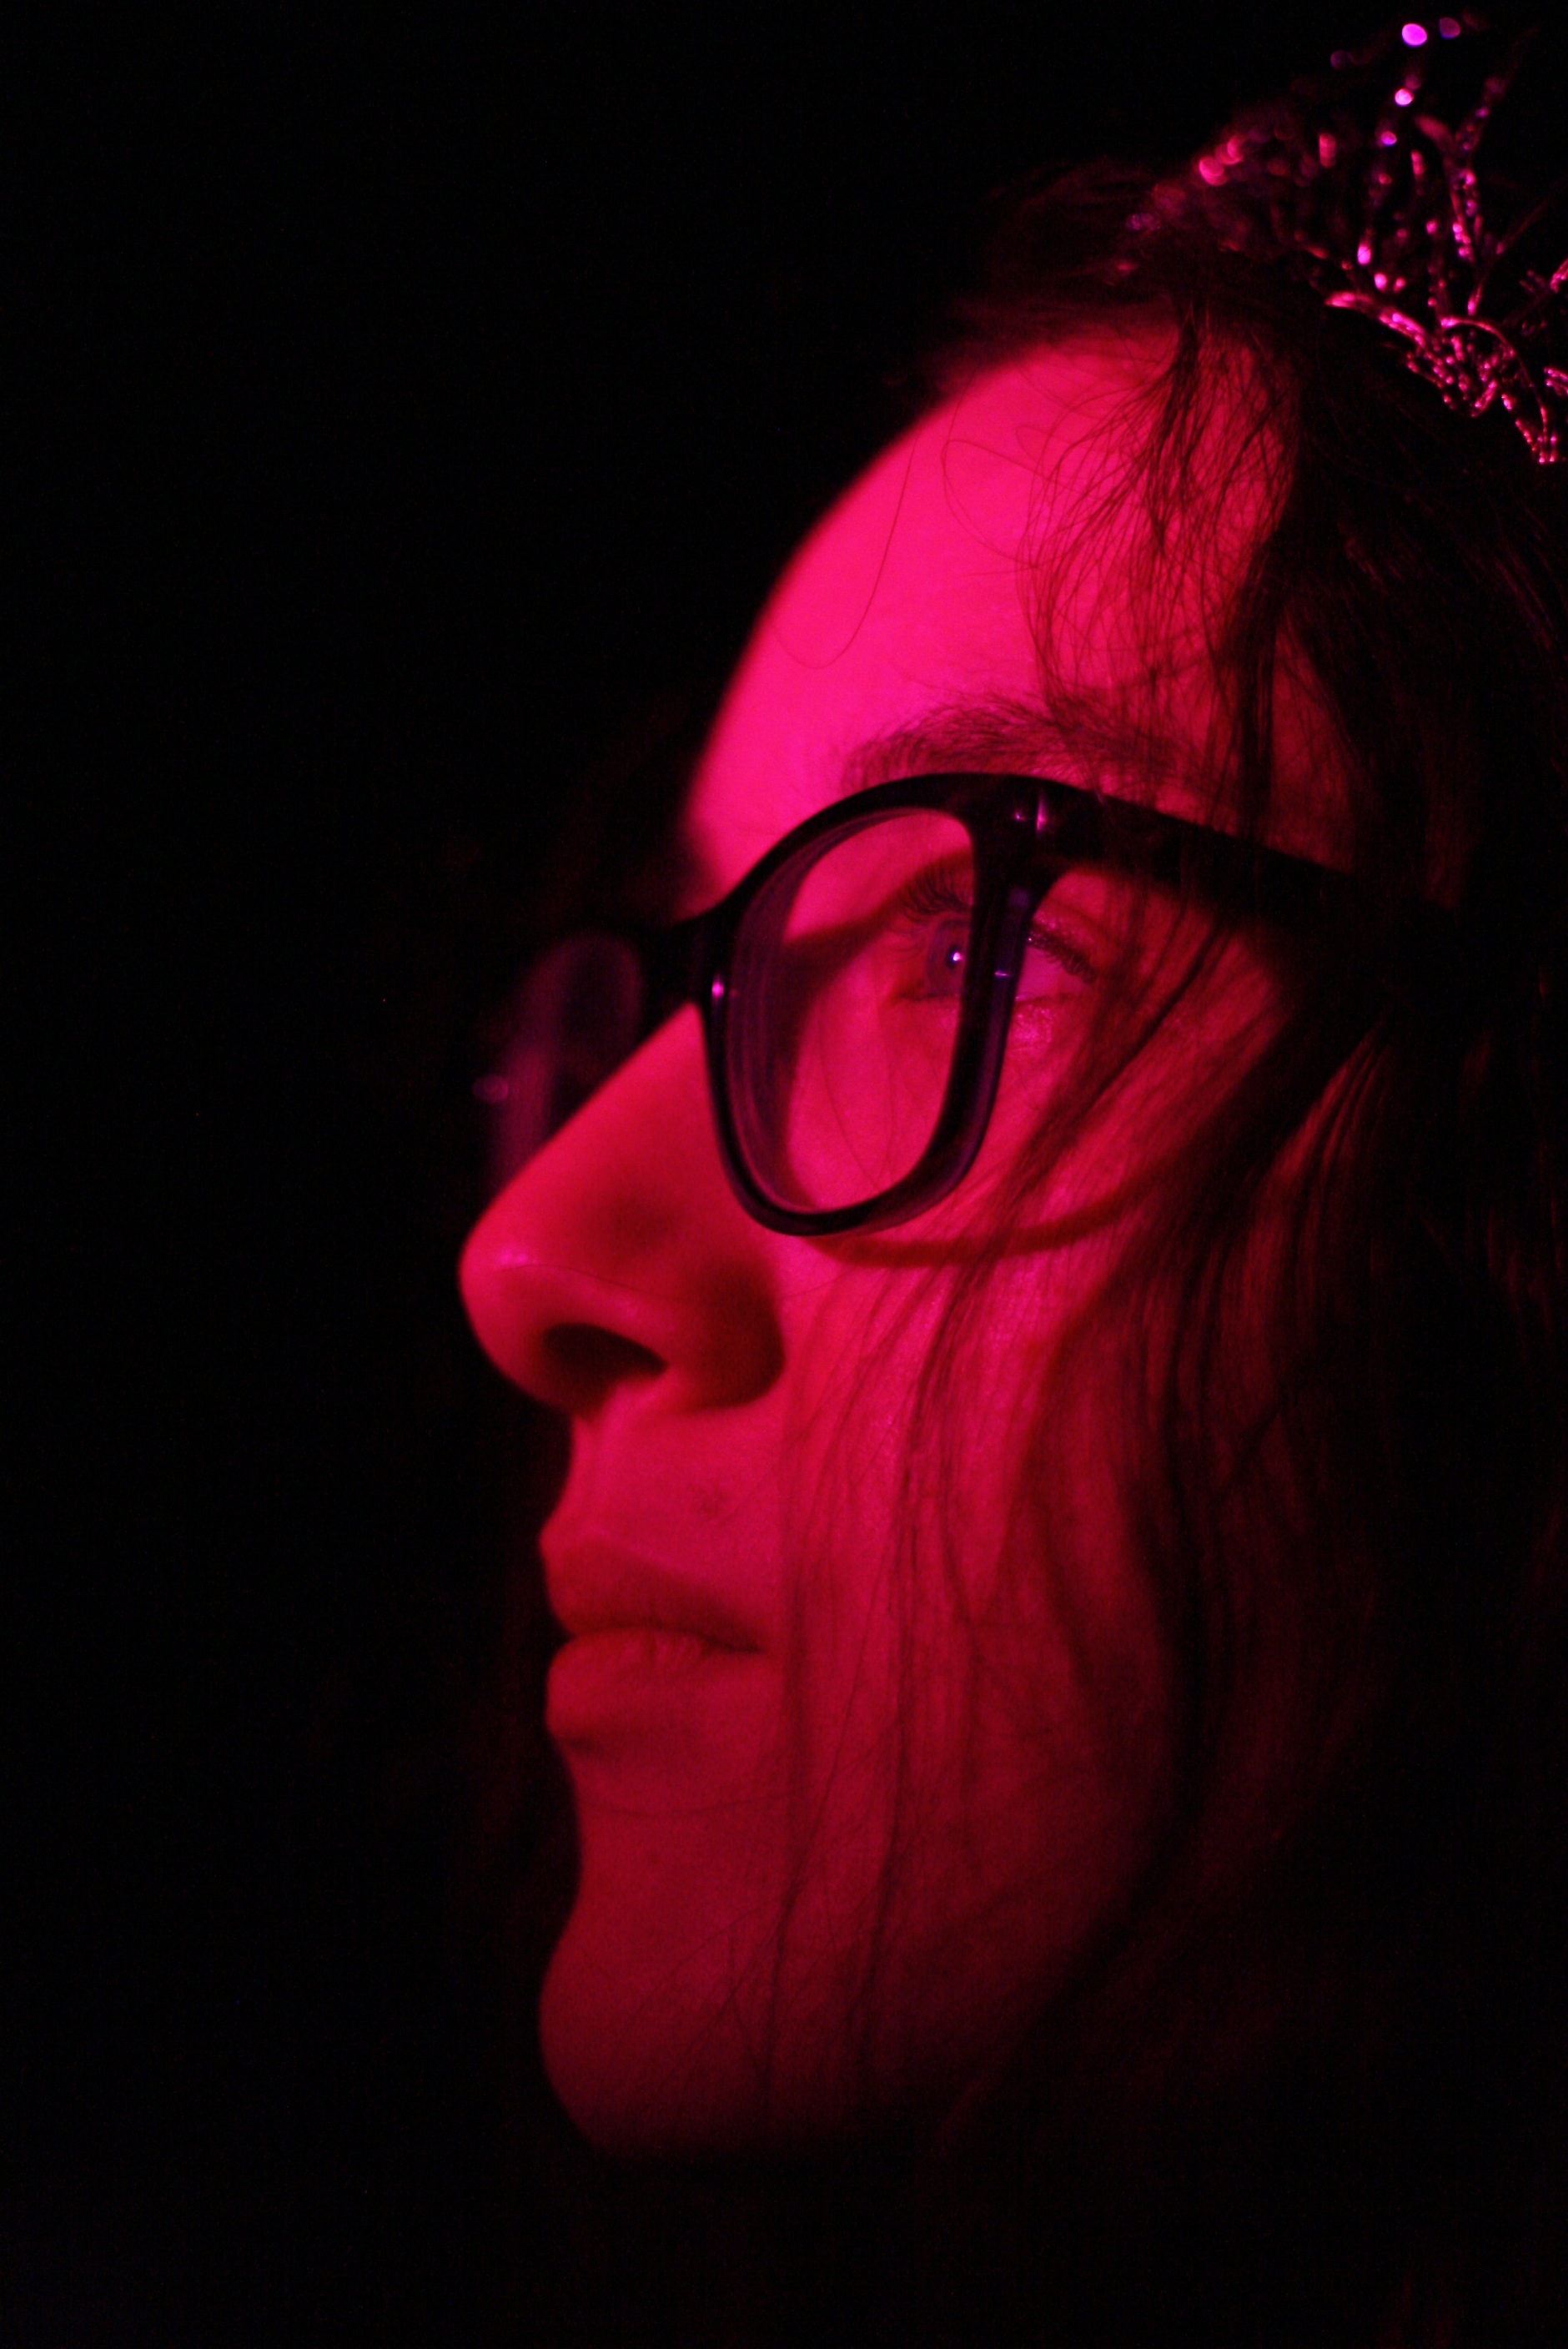
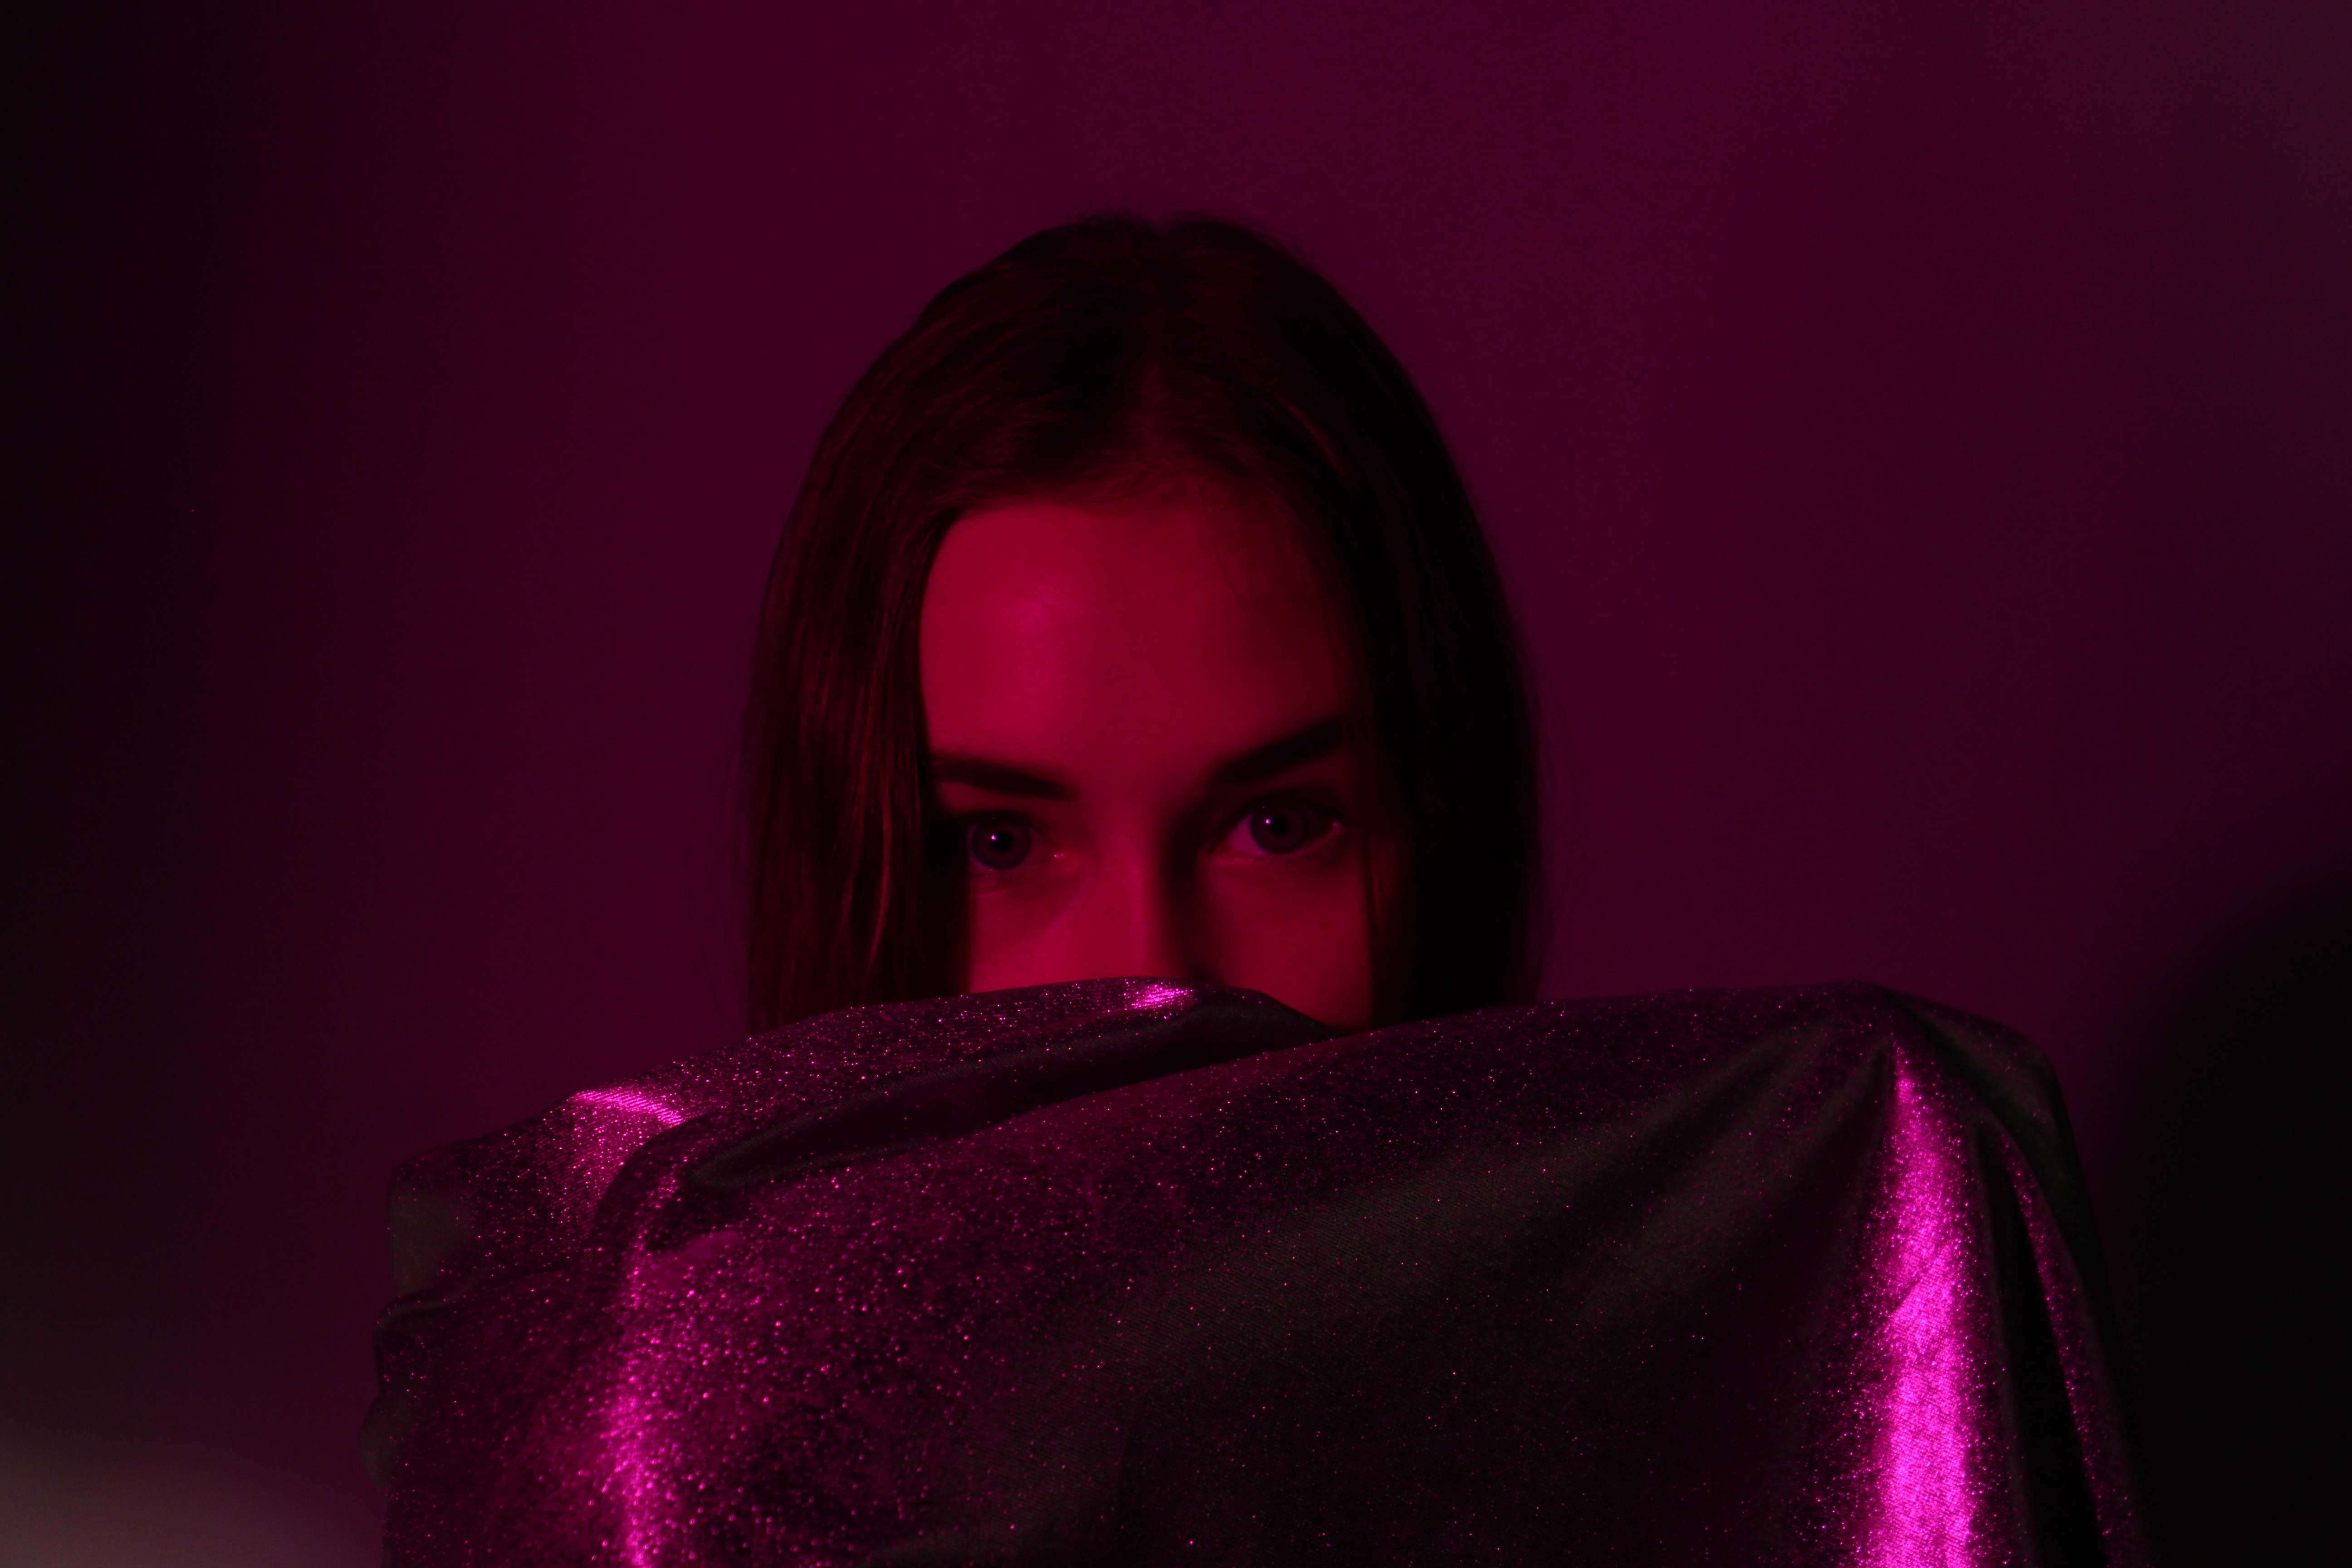 I also really like this photo, as the use of the red and purple mix of the film to create a mix of colors on the model really makes her eyes stand out among the rest of the photo. I like the use of the silver and glittery sheet as it stops you from becoming too focused on the rest of her face. The use of the sheet also works well with the light as it has its dark and light tones which makes it sparkle and stand out.
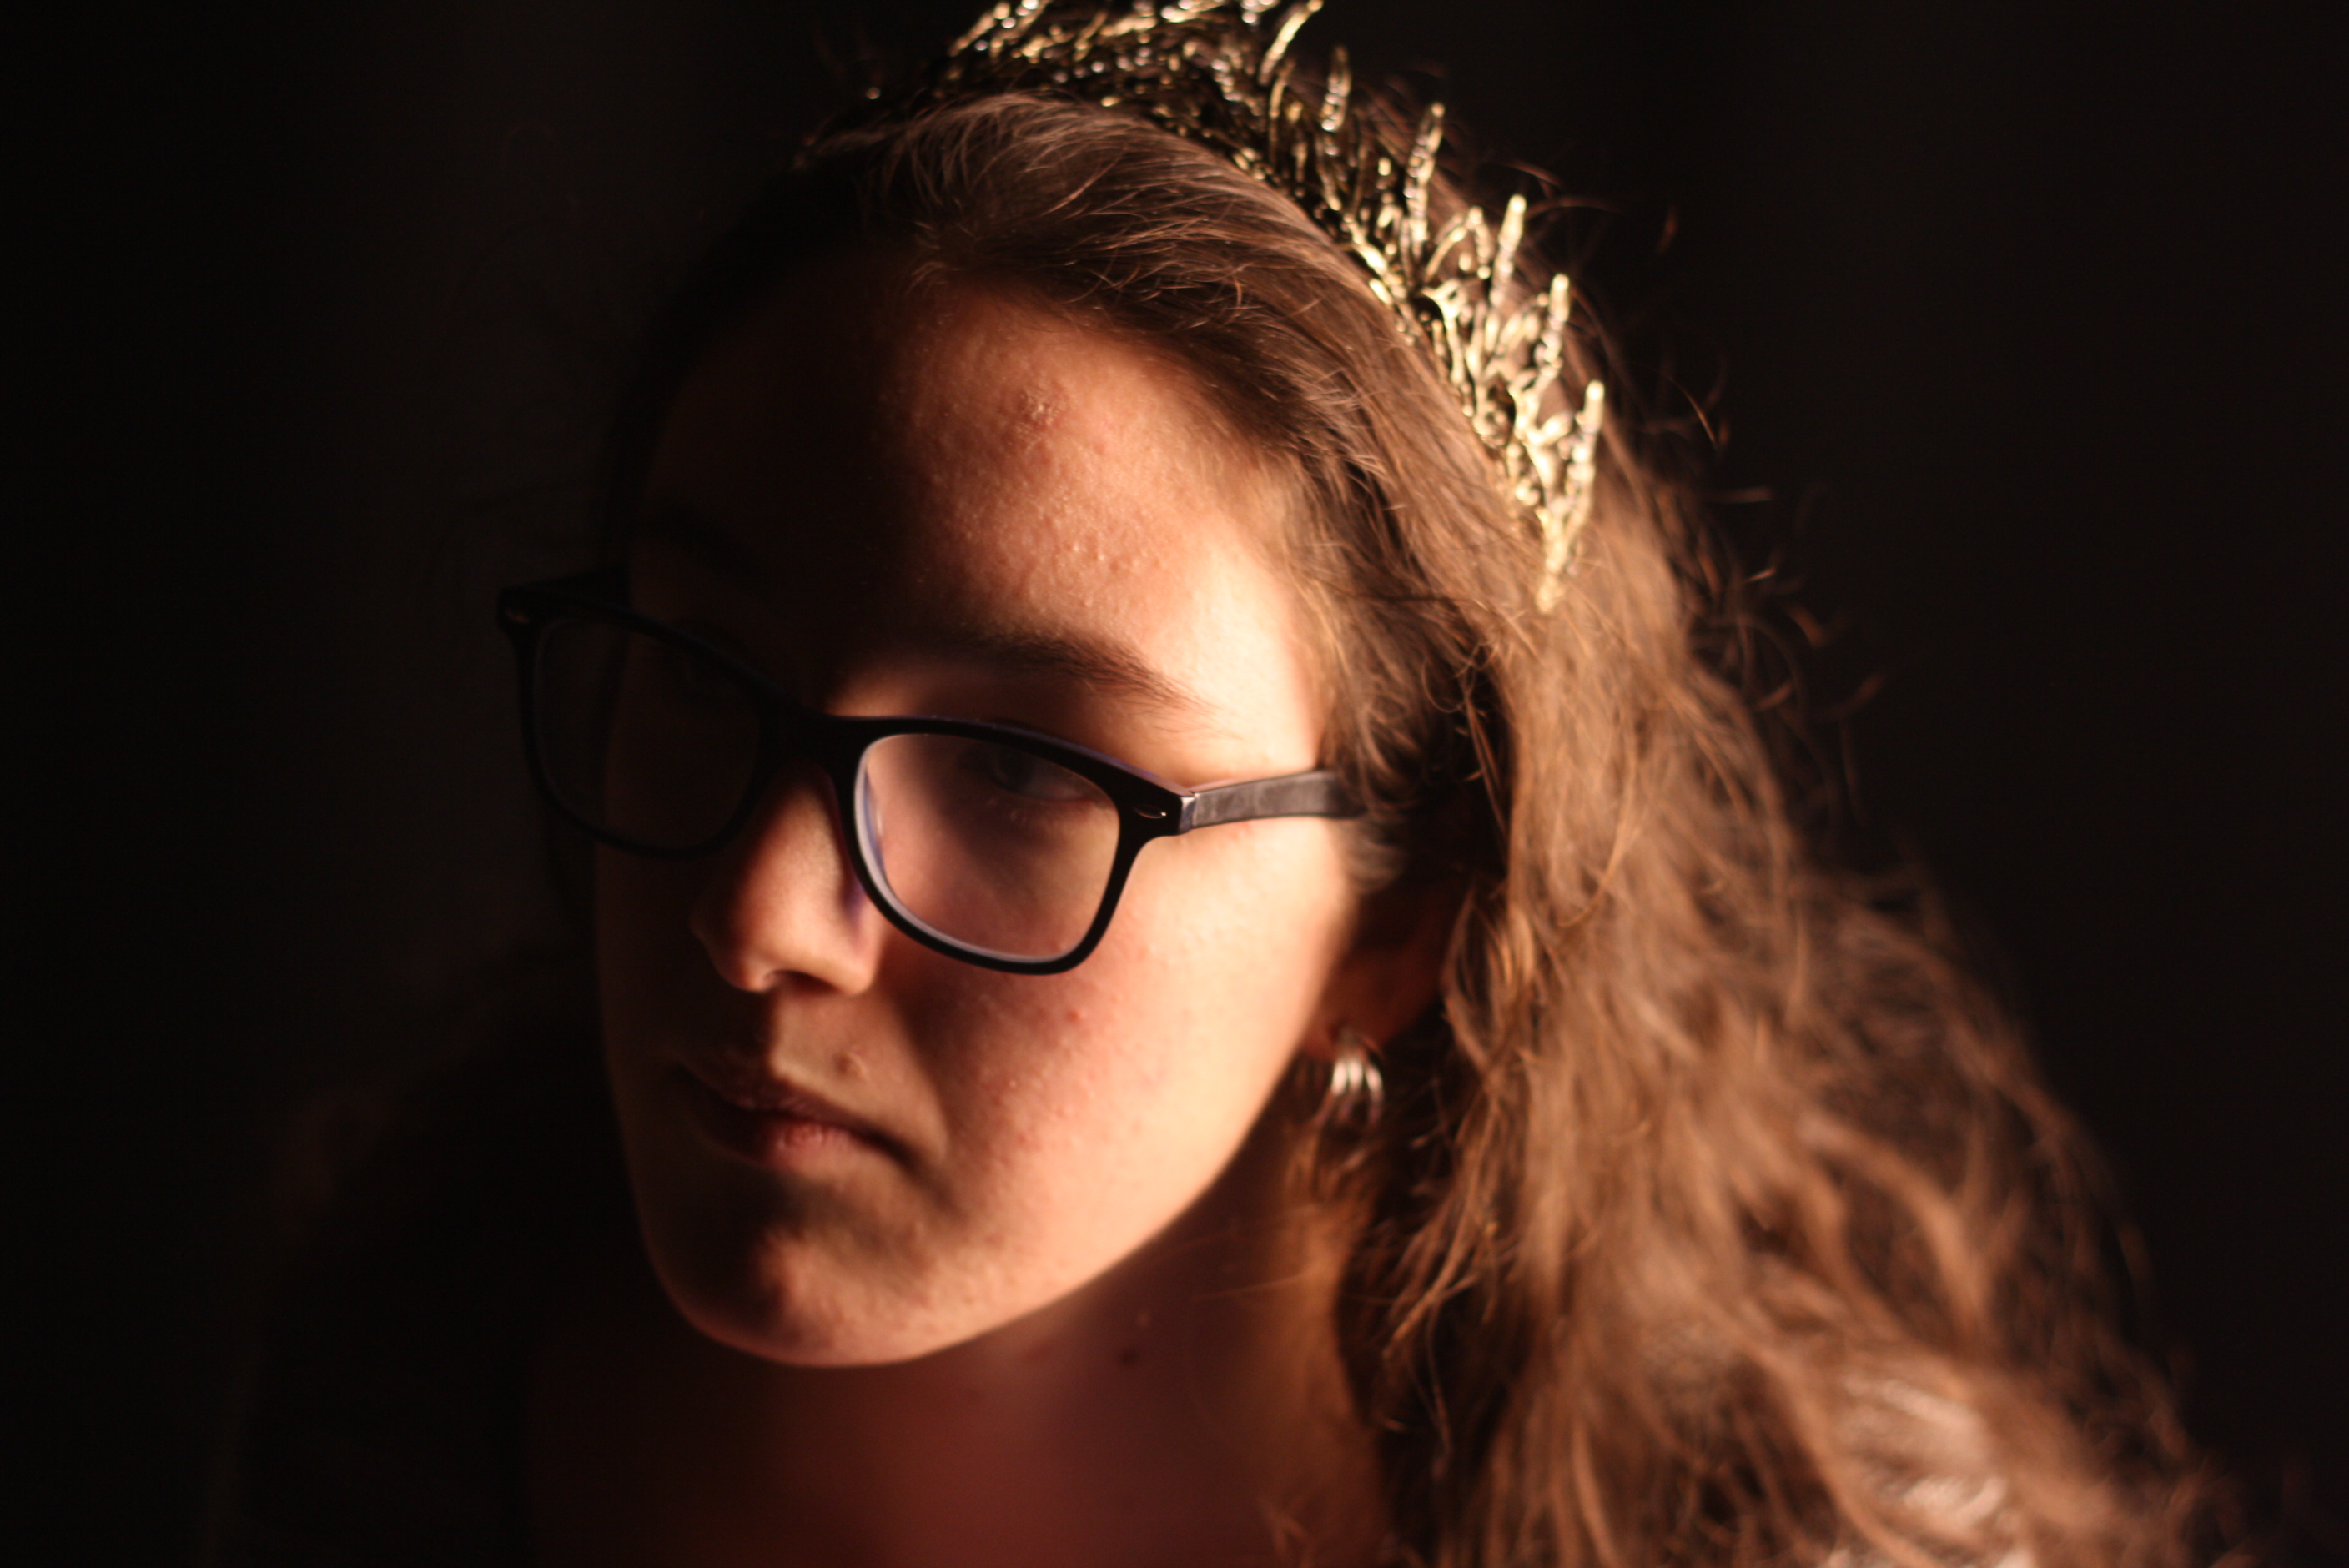

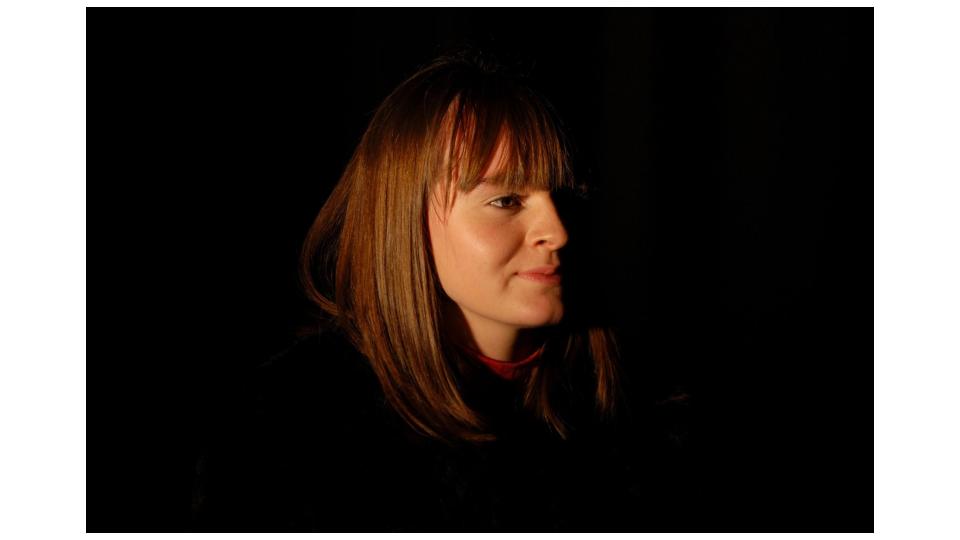
 This is the first photo that I will be editing, it is one of the best photos I took from my second visit to the studio.
 In this edited version of my photo all I have done is used spot fix to make the skin seem smoother and clearer I also turned up the color making the blue/purple look bolder. I also brought up the clarity on the photo to make it seem bolder and for some features to stand out. Again I increased the vignette to darken round the edges and corners but so that the model is the main piece of the photo.
 I really like this photo as it brings in the style of one point lighting to only show one side of the face but has the added feature of the color making it seem more vivid.
 In this photo you can see an immediate change in the look of the photo. The first major change you can see is the blue specks of color where his eyes are. On the left side of his face (As you look at it) you can see where his eye is, but due to the one point light, you can’t see where the other eye is, I think that the blue dots of color help make the picture stand out. Also with this photo I put the clarity all the way to maximum just so that his key features stood out. I also raised the vignette just a bit to create the same effect as before. Again with this photo I used spot fix, but this time not to make his skin to appear smoother but to fix any hairs on the photo which looked out of place, this makes the outline of his head to shoulders seem more in place and smoother looking.
 I have done nothing to edit this photo as I think that it is really good. What I really like about this photo is that the use of the color blue really makes the much paler blue stand out. I also like the use of propping with the coat as it does just make the color and atmosphere of the picture stand out.
 I also really like this photo, as the use of the red and purple mix of the film to create a mix of colors on the model really makes her eyes stand out among the rest of the photo. I like the use of the silver and glittery sheet as it stops you from becoming too focused on the rest of her face. The use of the sheet also works well with the light as it has its dark and light tones which makes it sparkle and stand out.