Studio Photography II

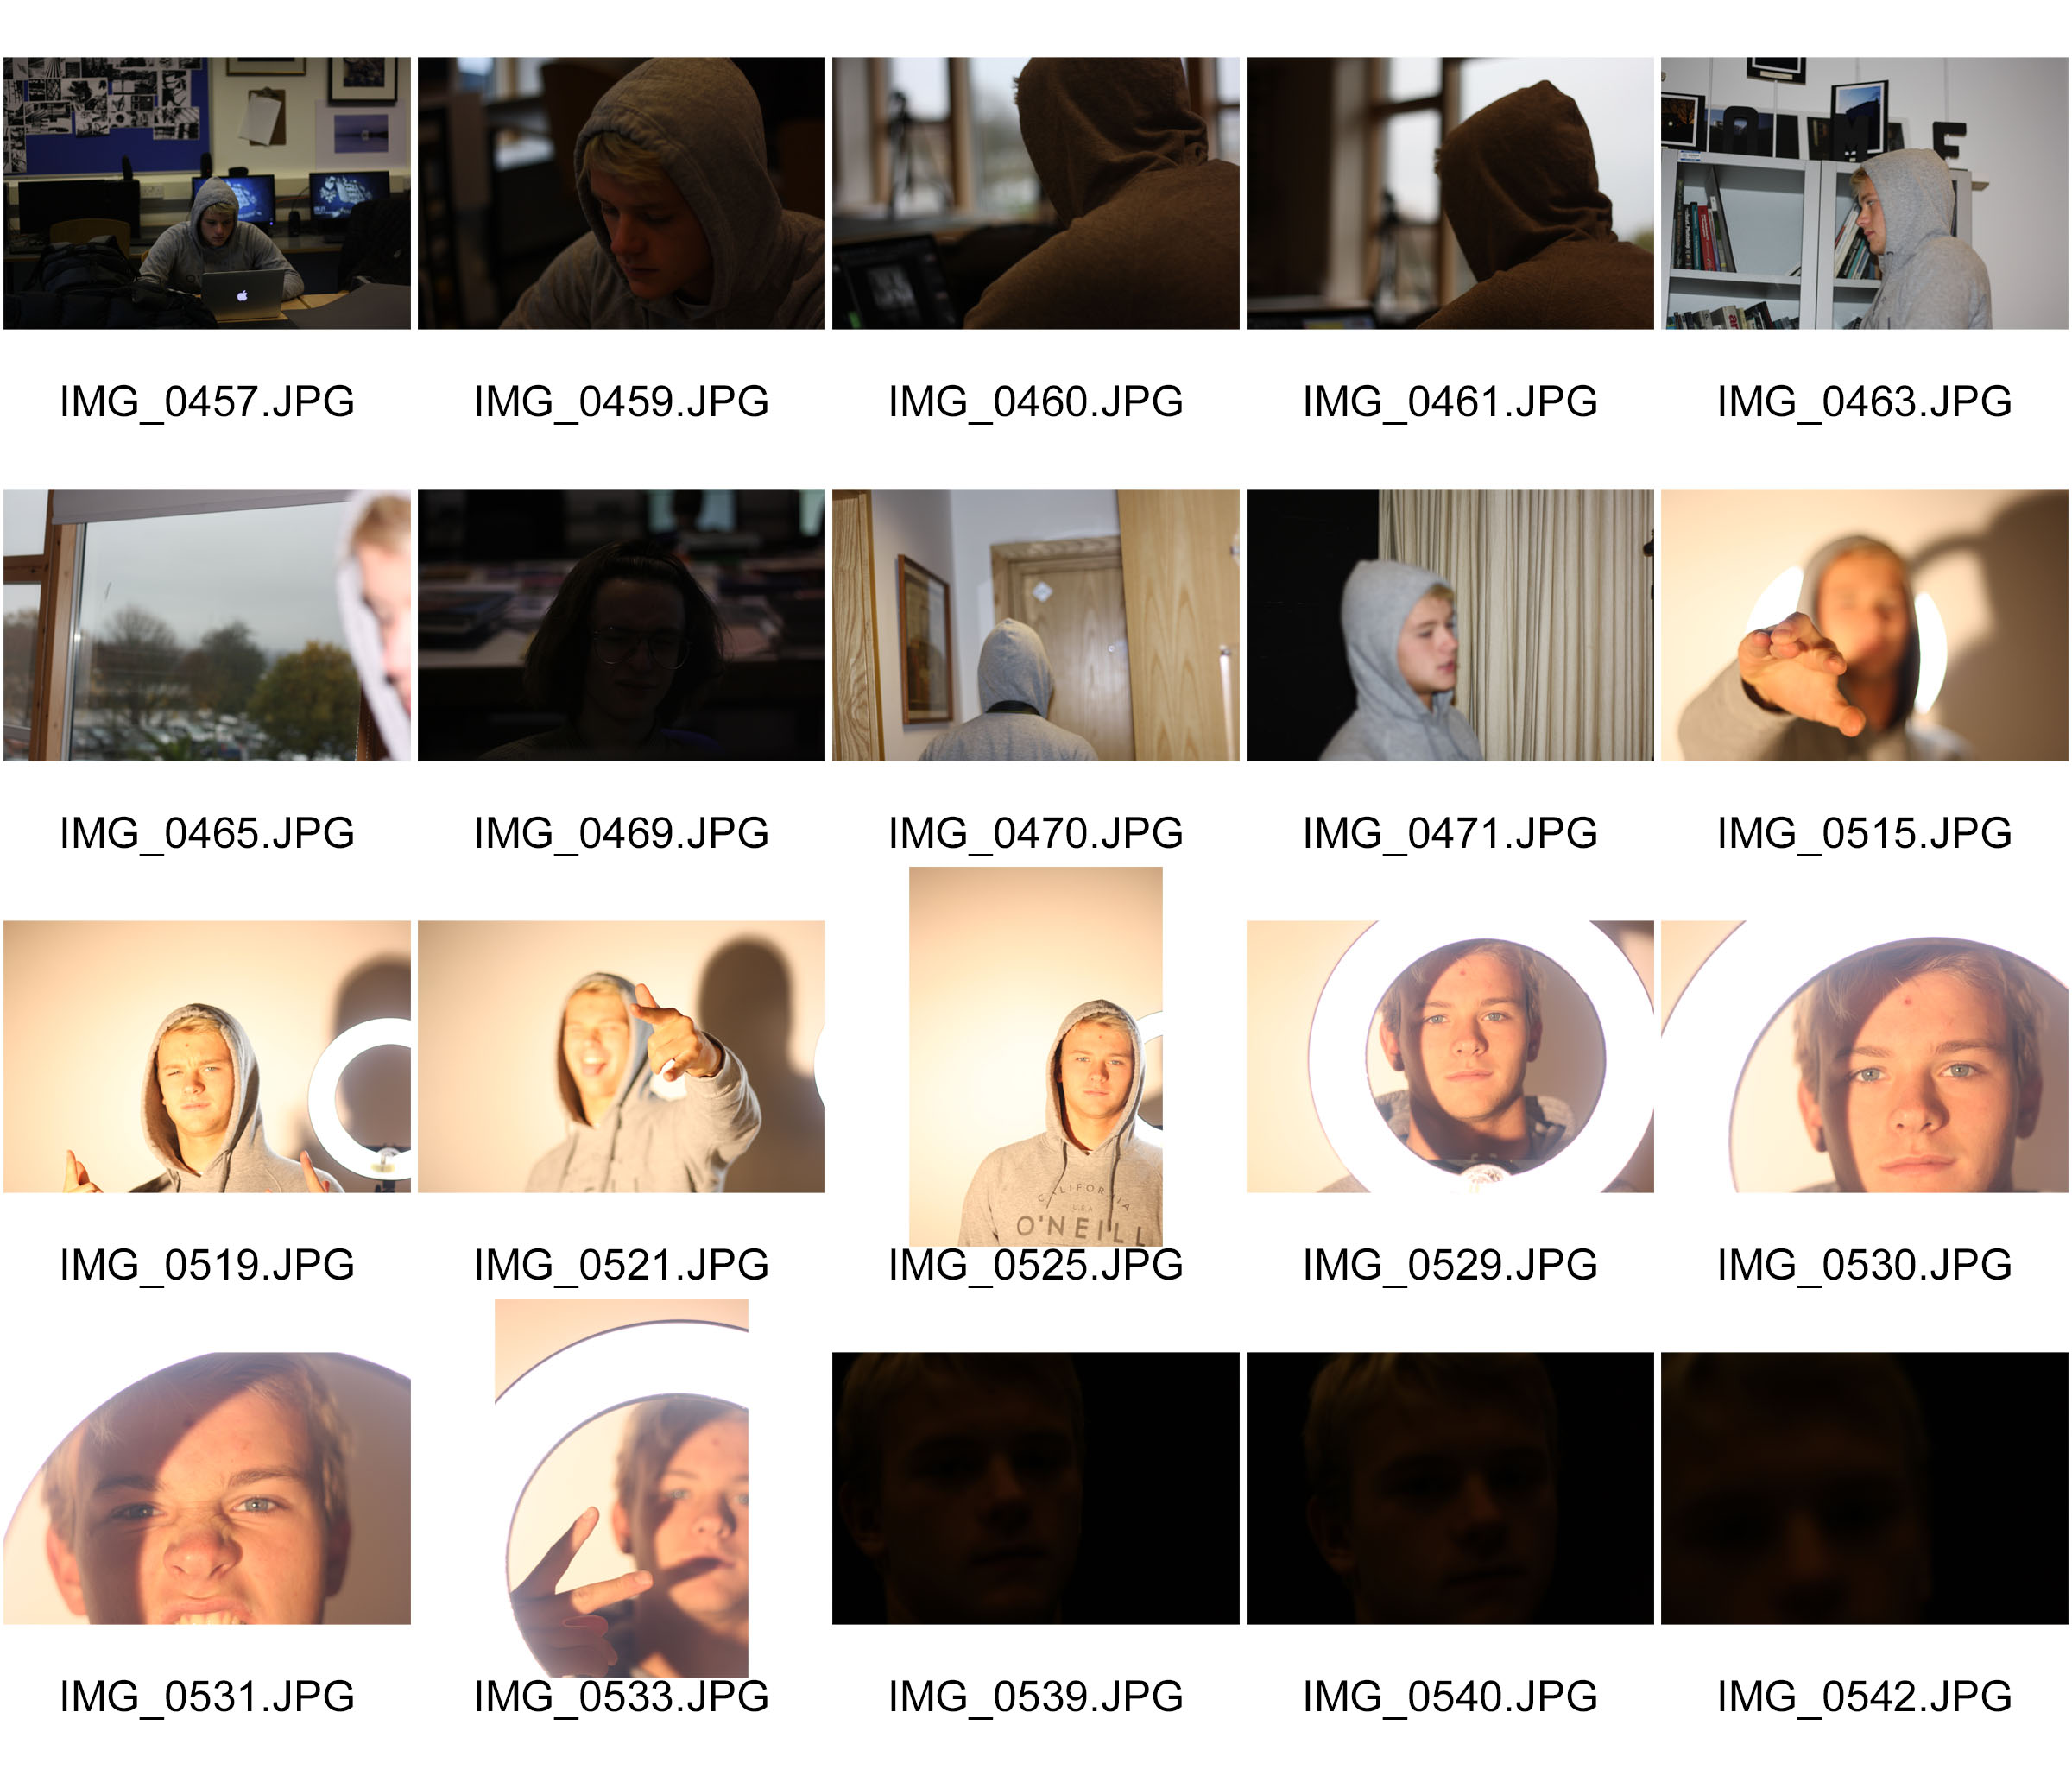
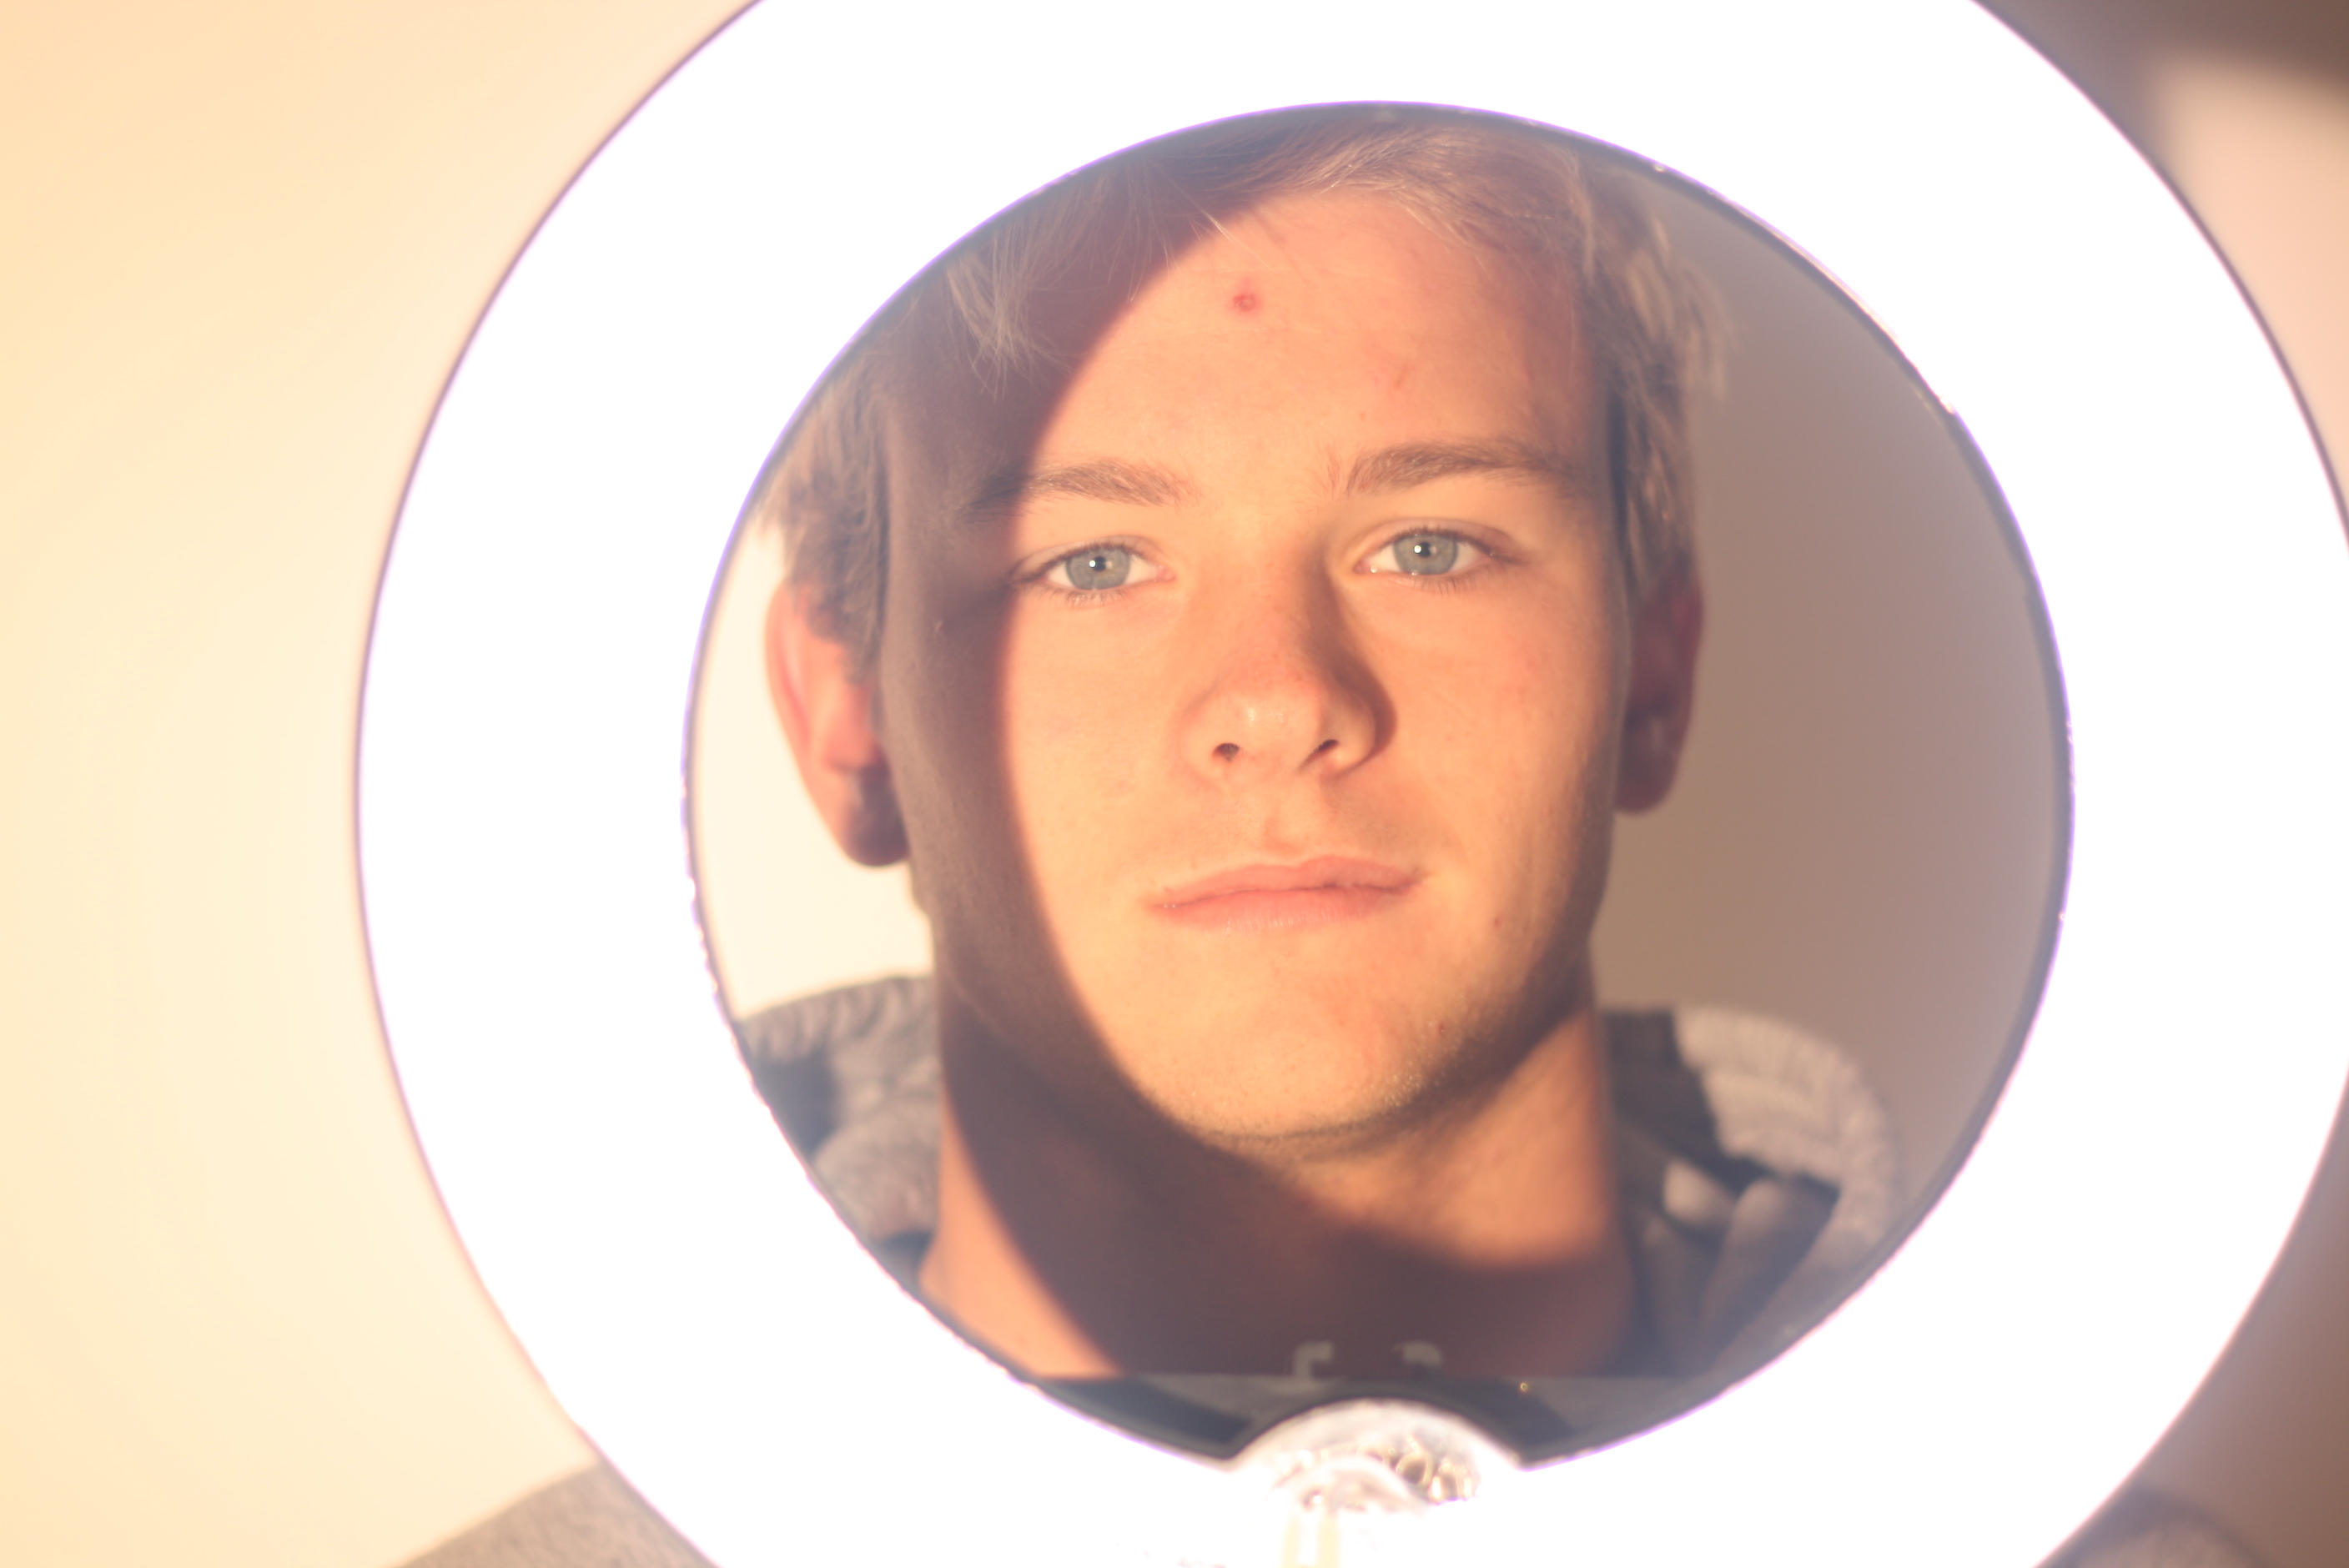
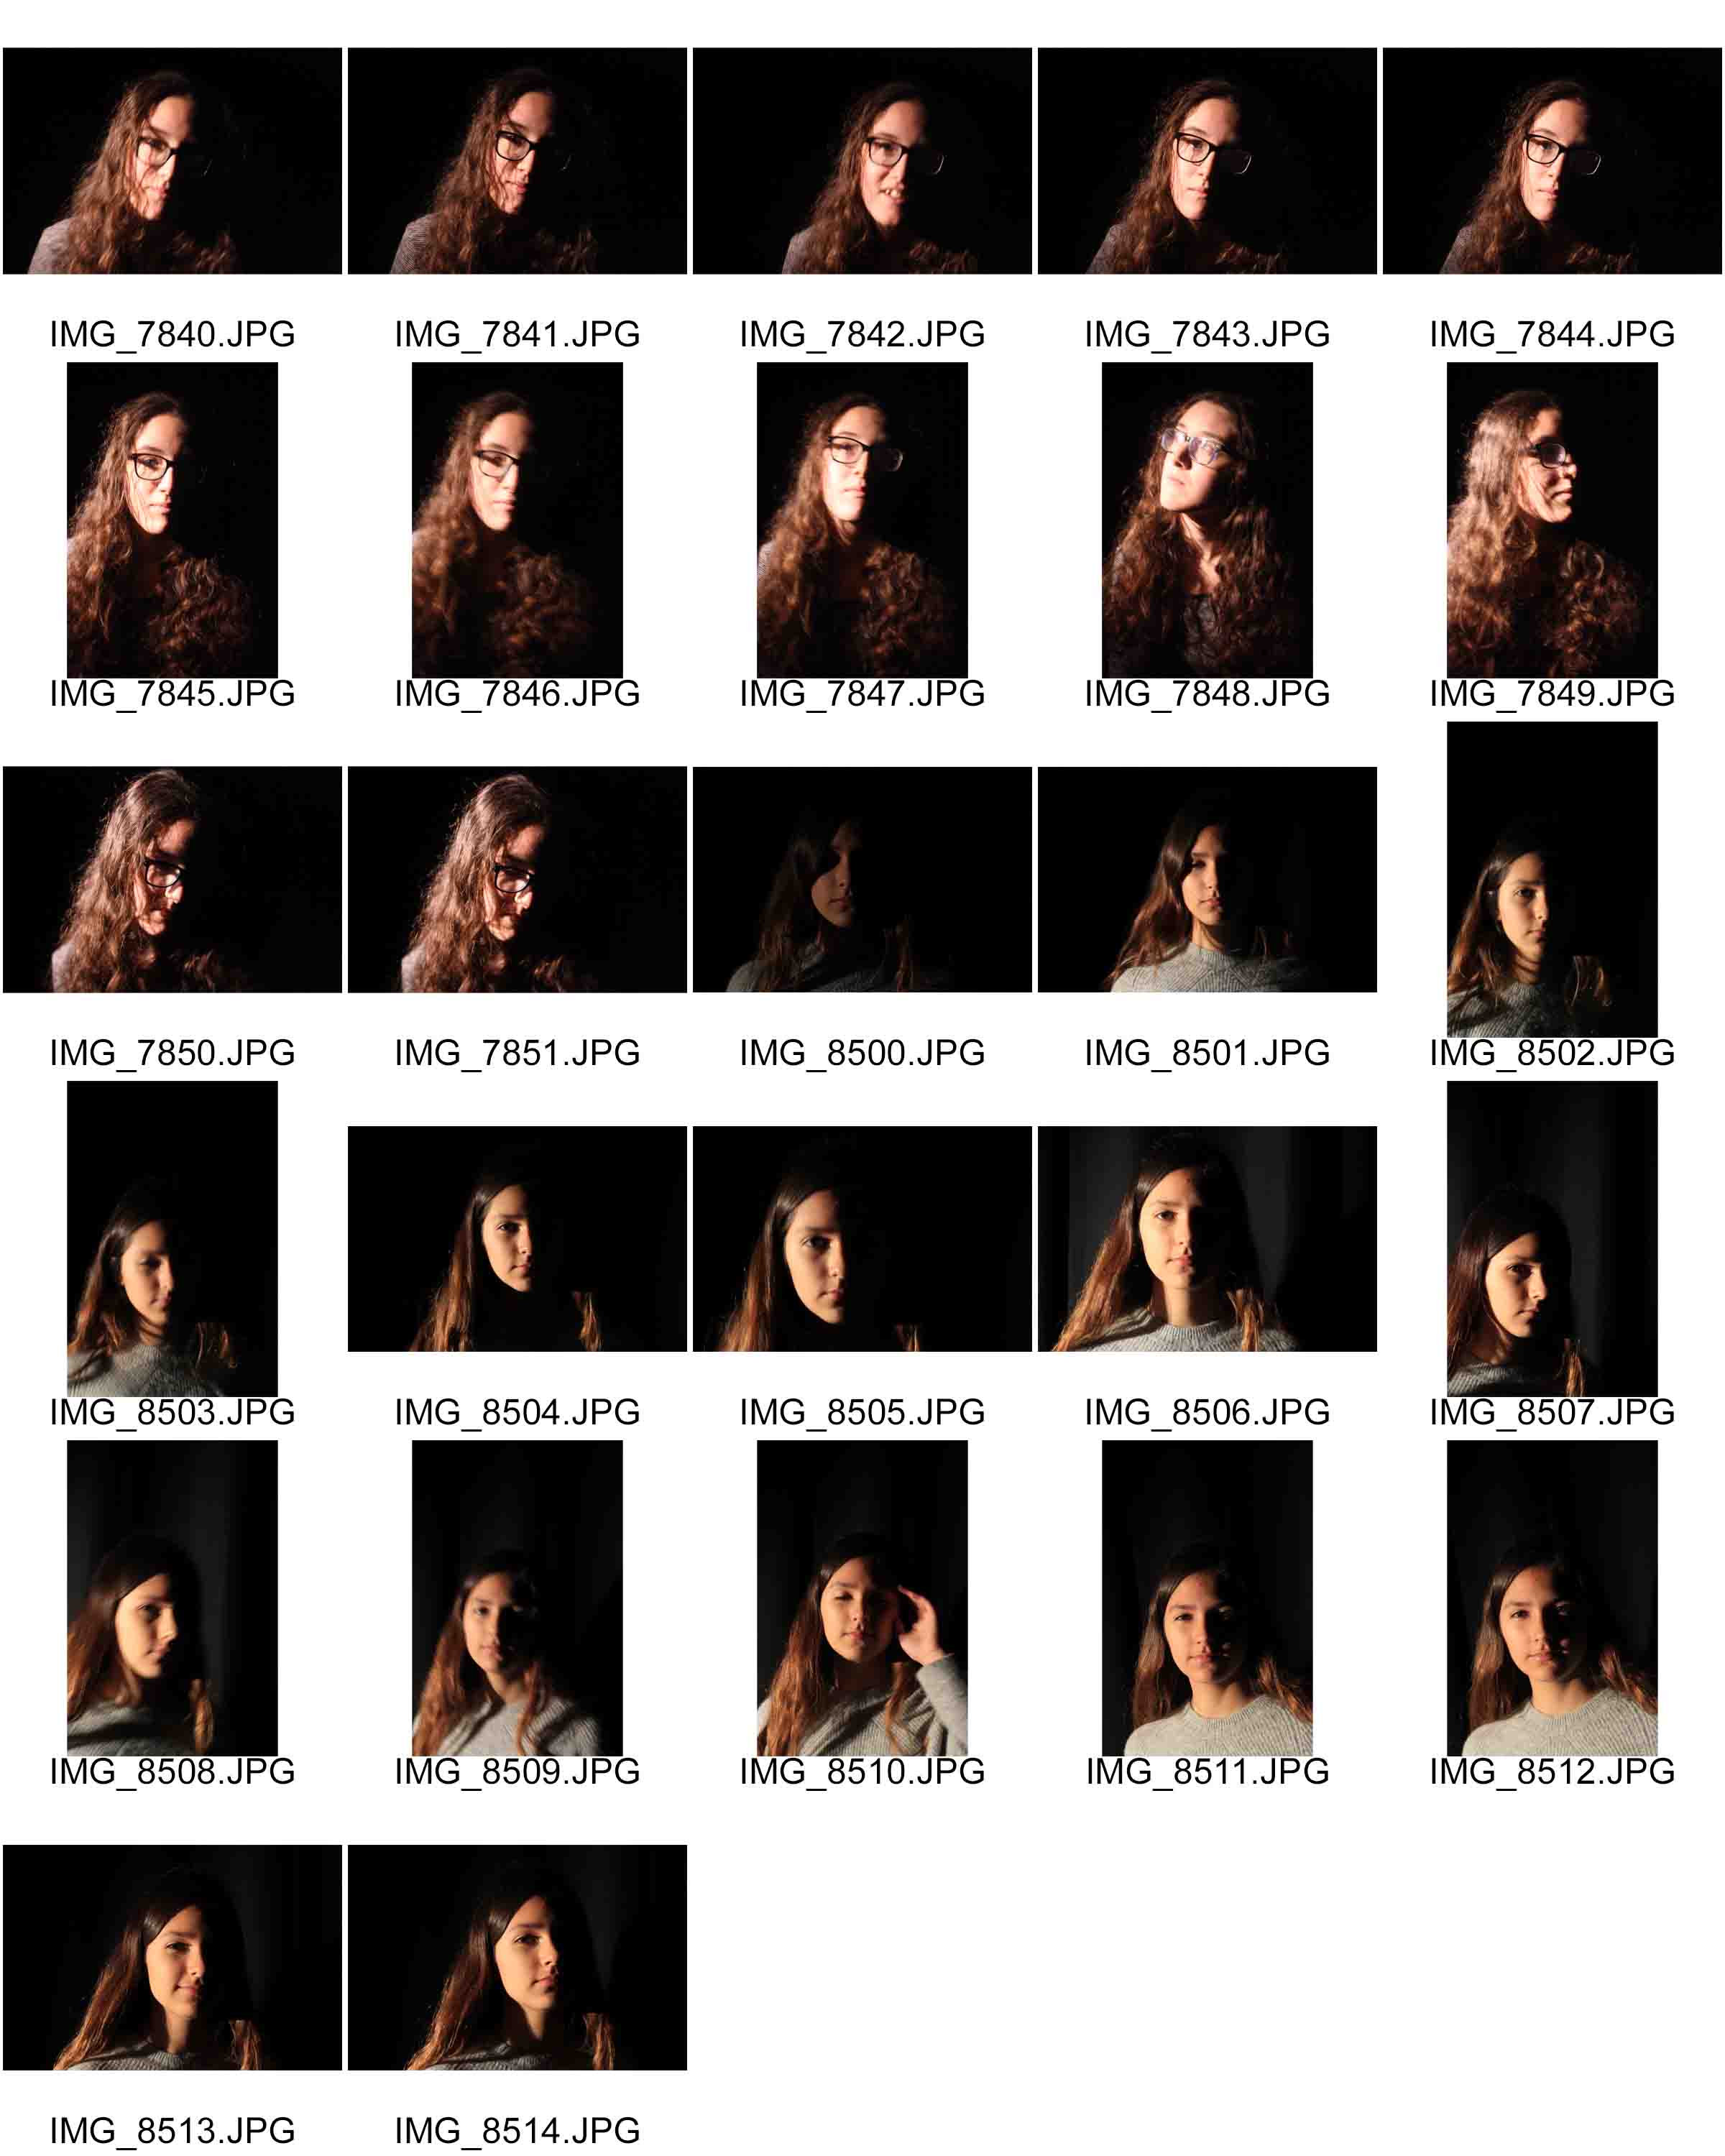
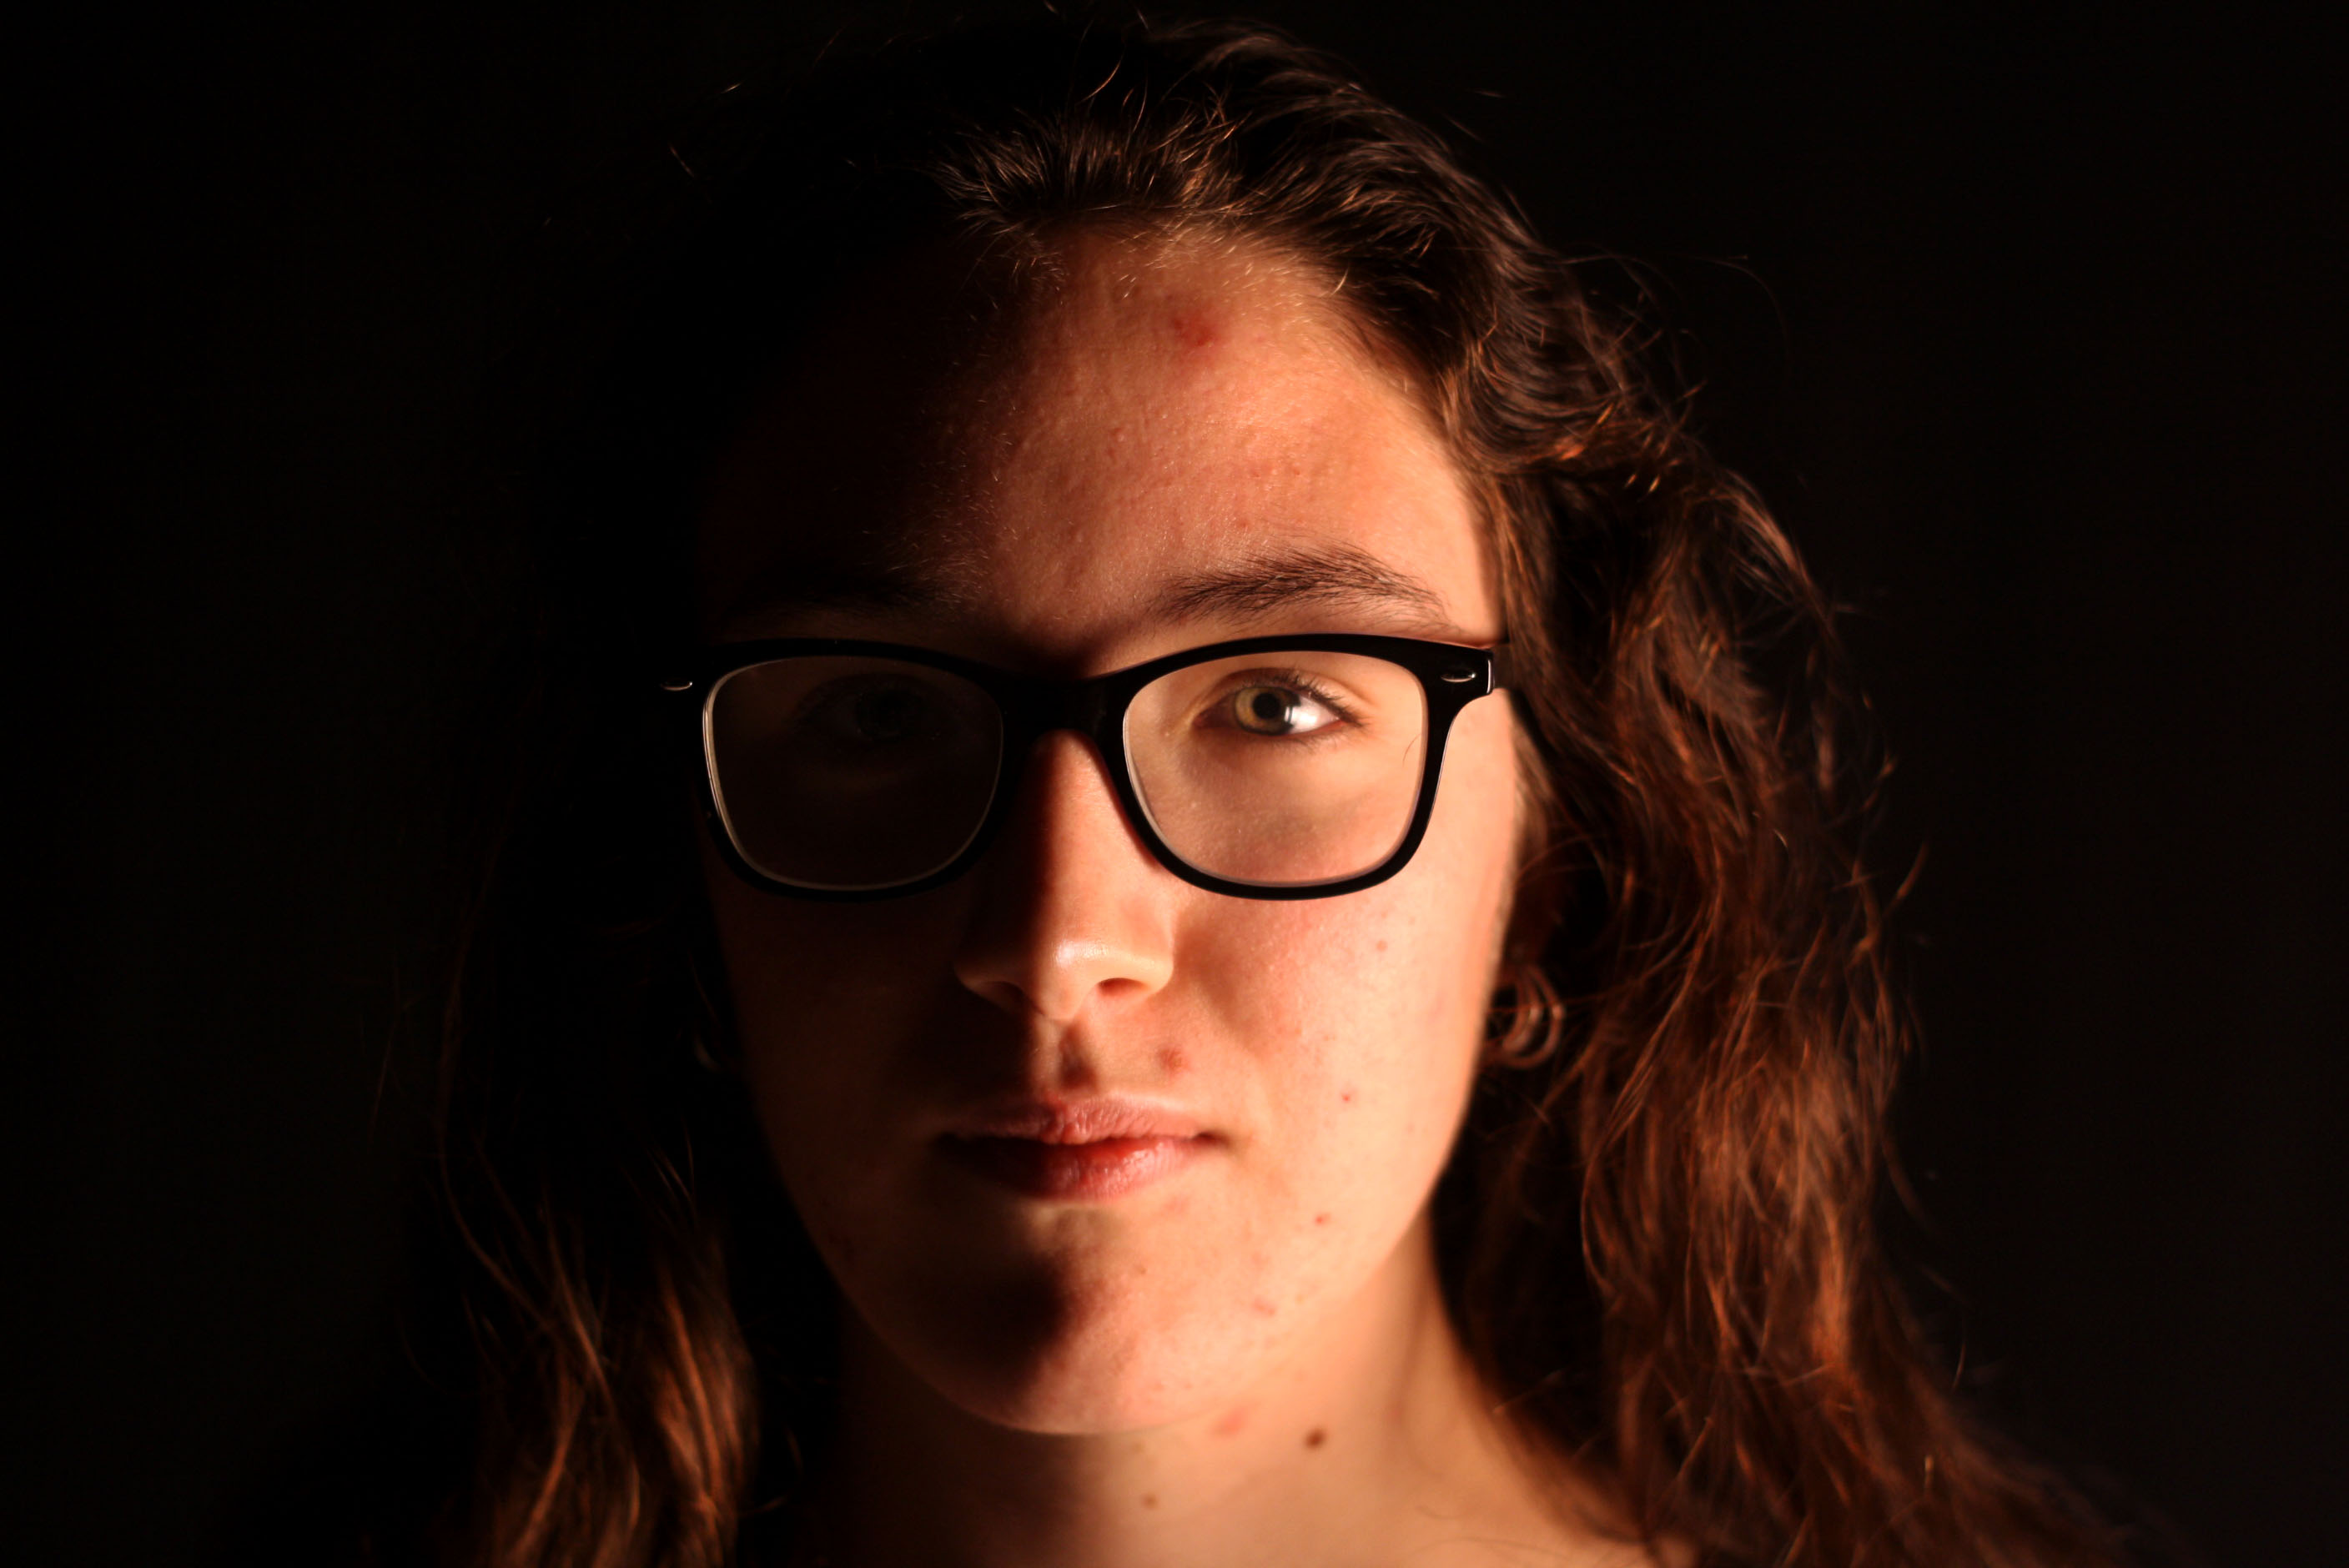
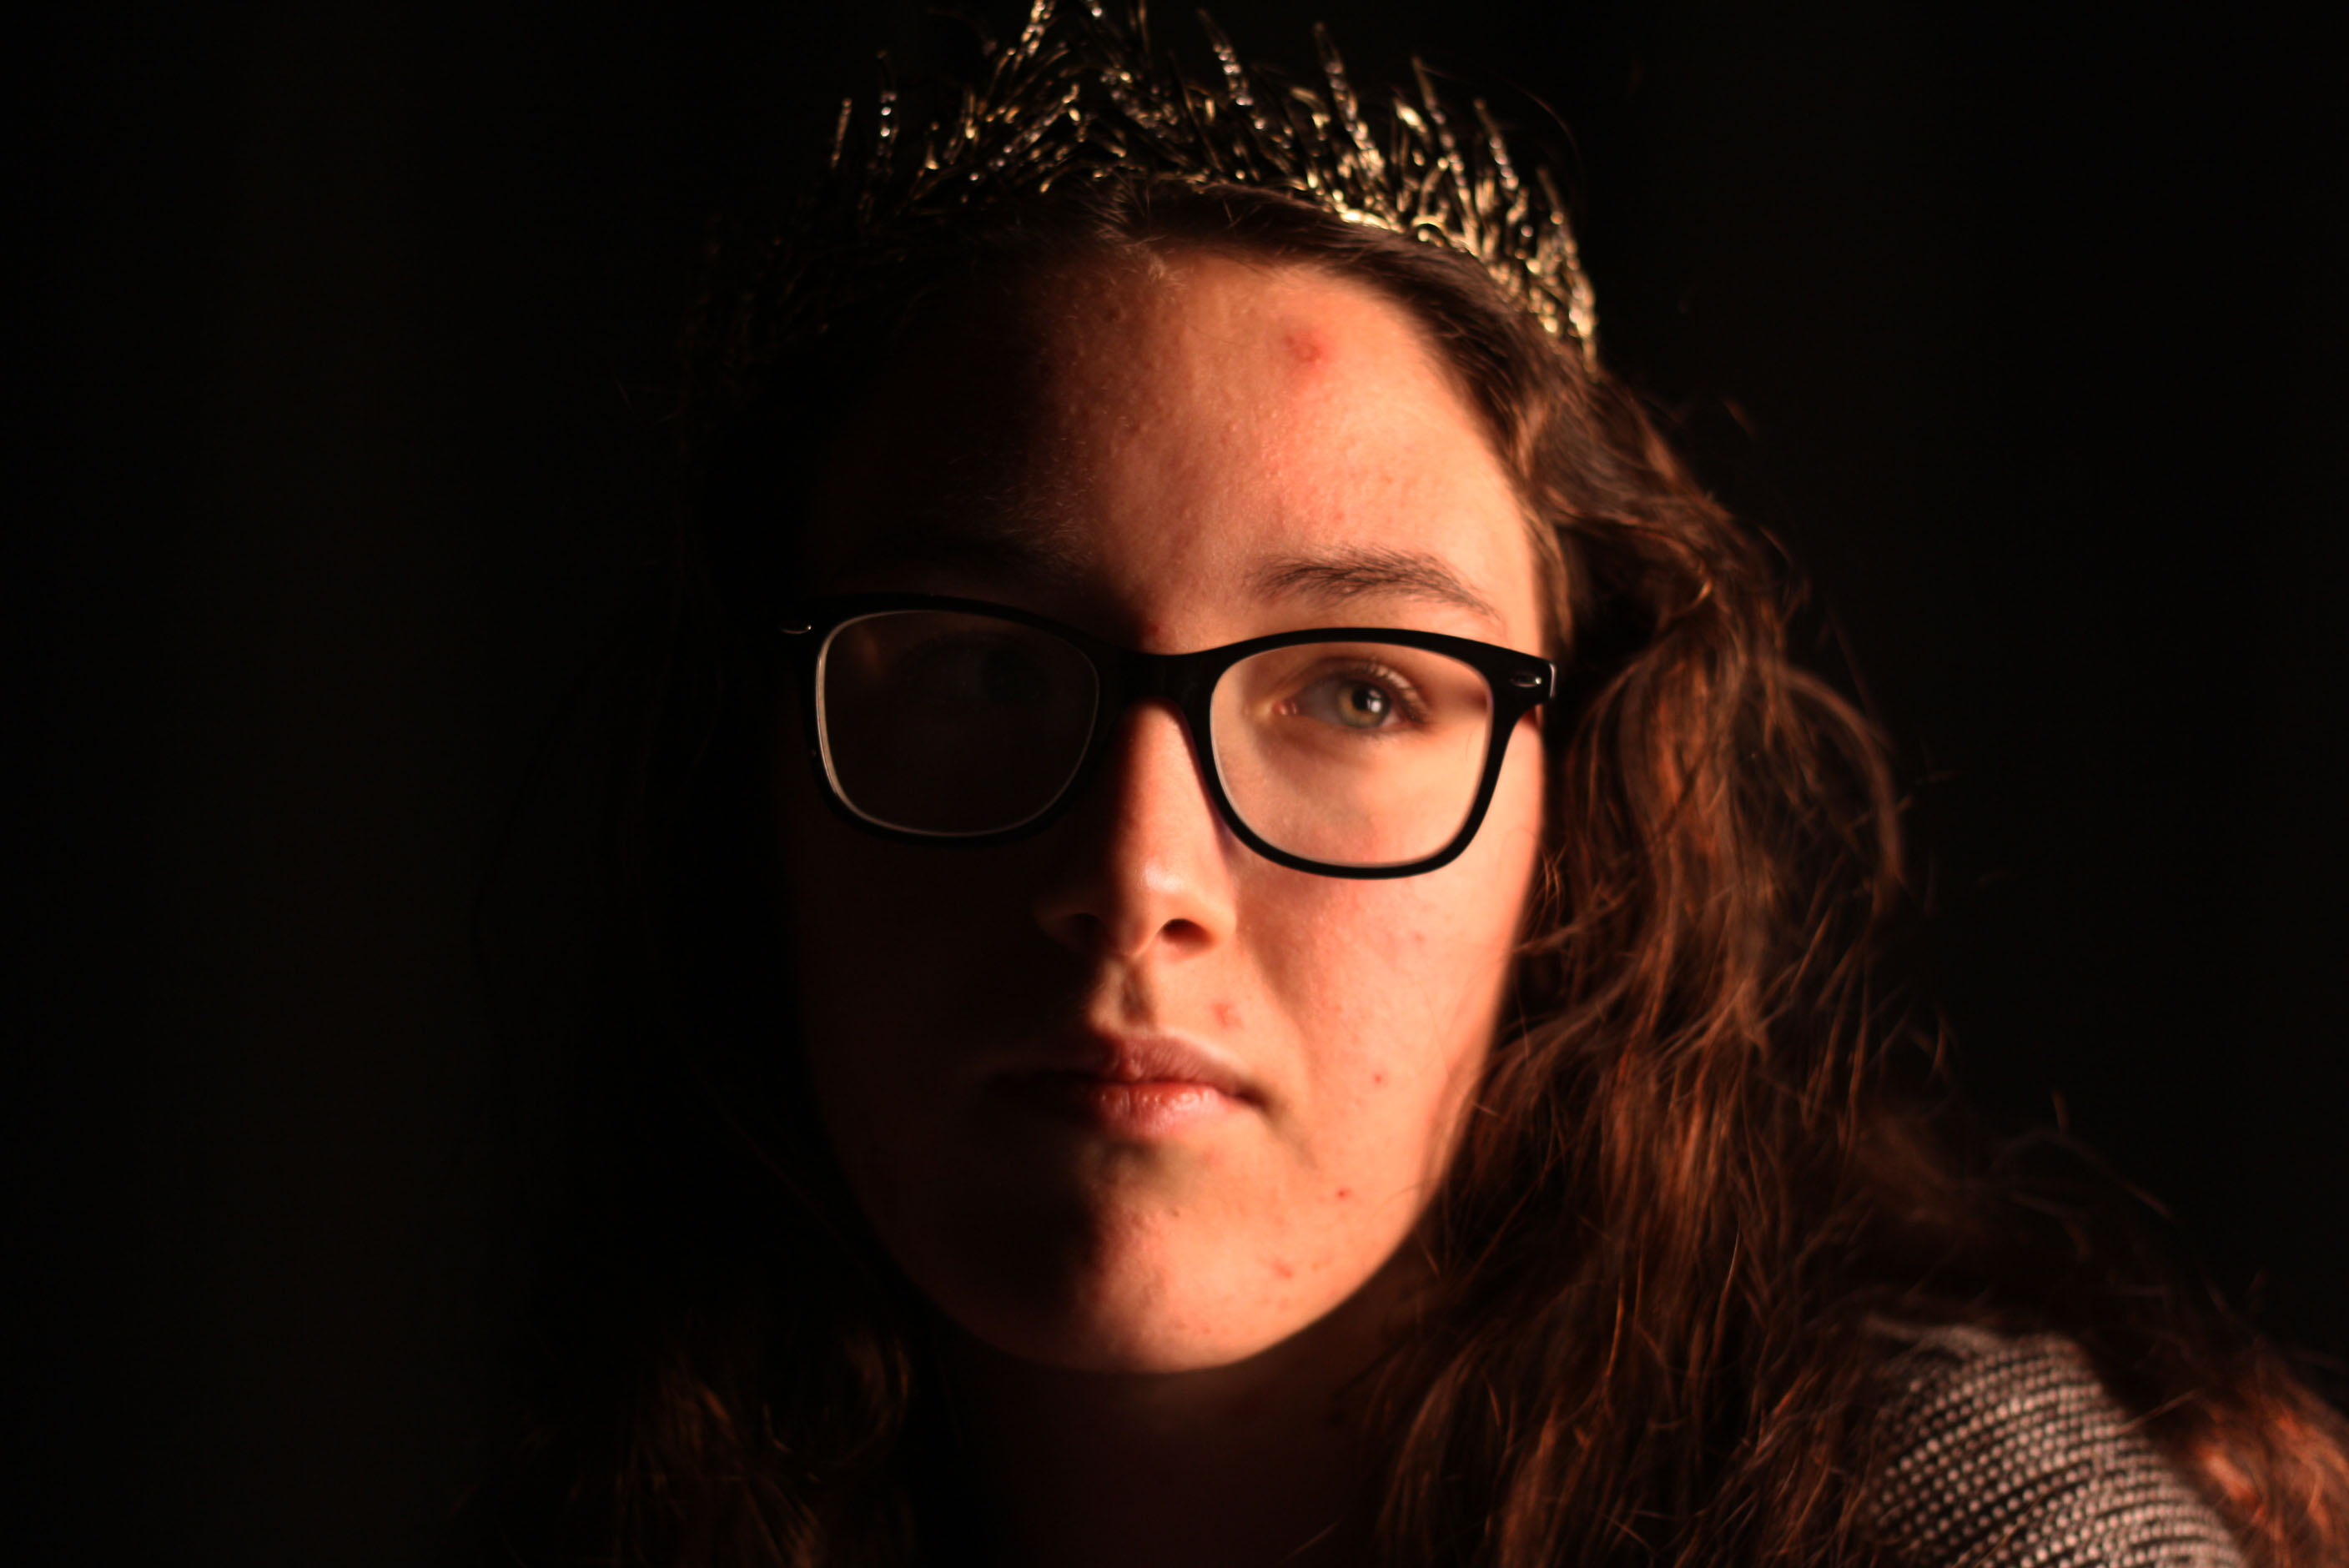
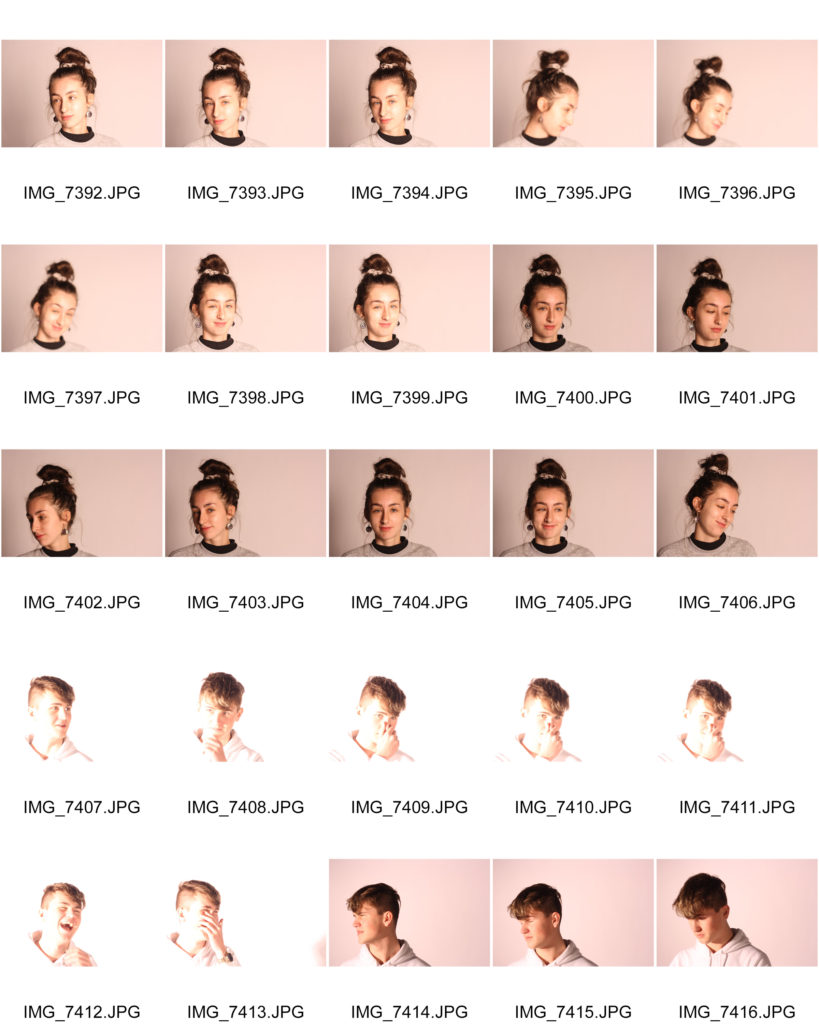
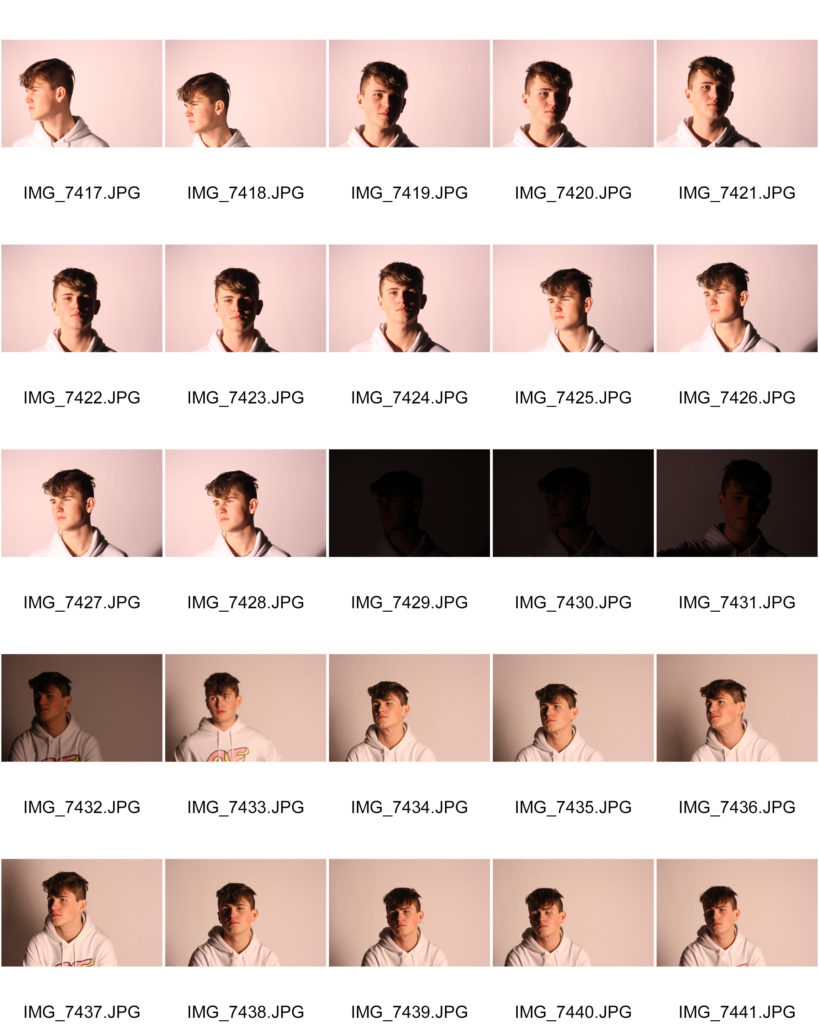
So this was my second time doing photography in the studio, so at first I had the same struggles of under and over exposing the photos, so I was adjusting the ISO after every photo just to get the perfect image which really paid off in IMG_0621.JPG.

During most of the photos I had the ISO set at around 400-800 but eventually changed it to auto, so it would instantly adjust to what ISO was needed on the spot.

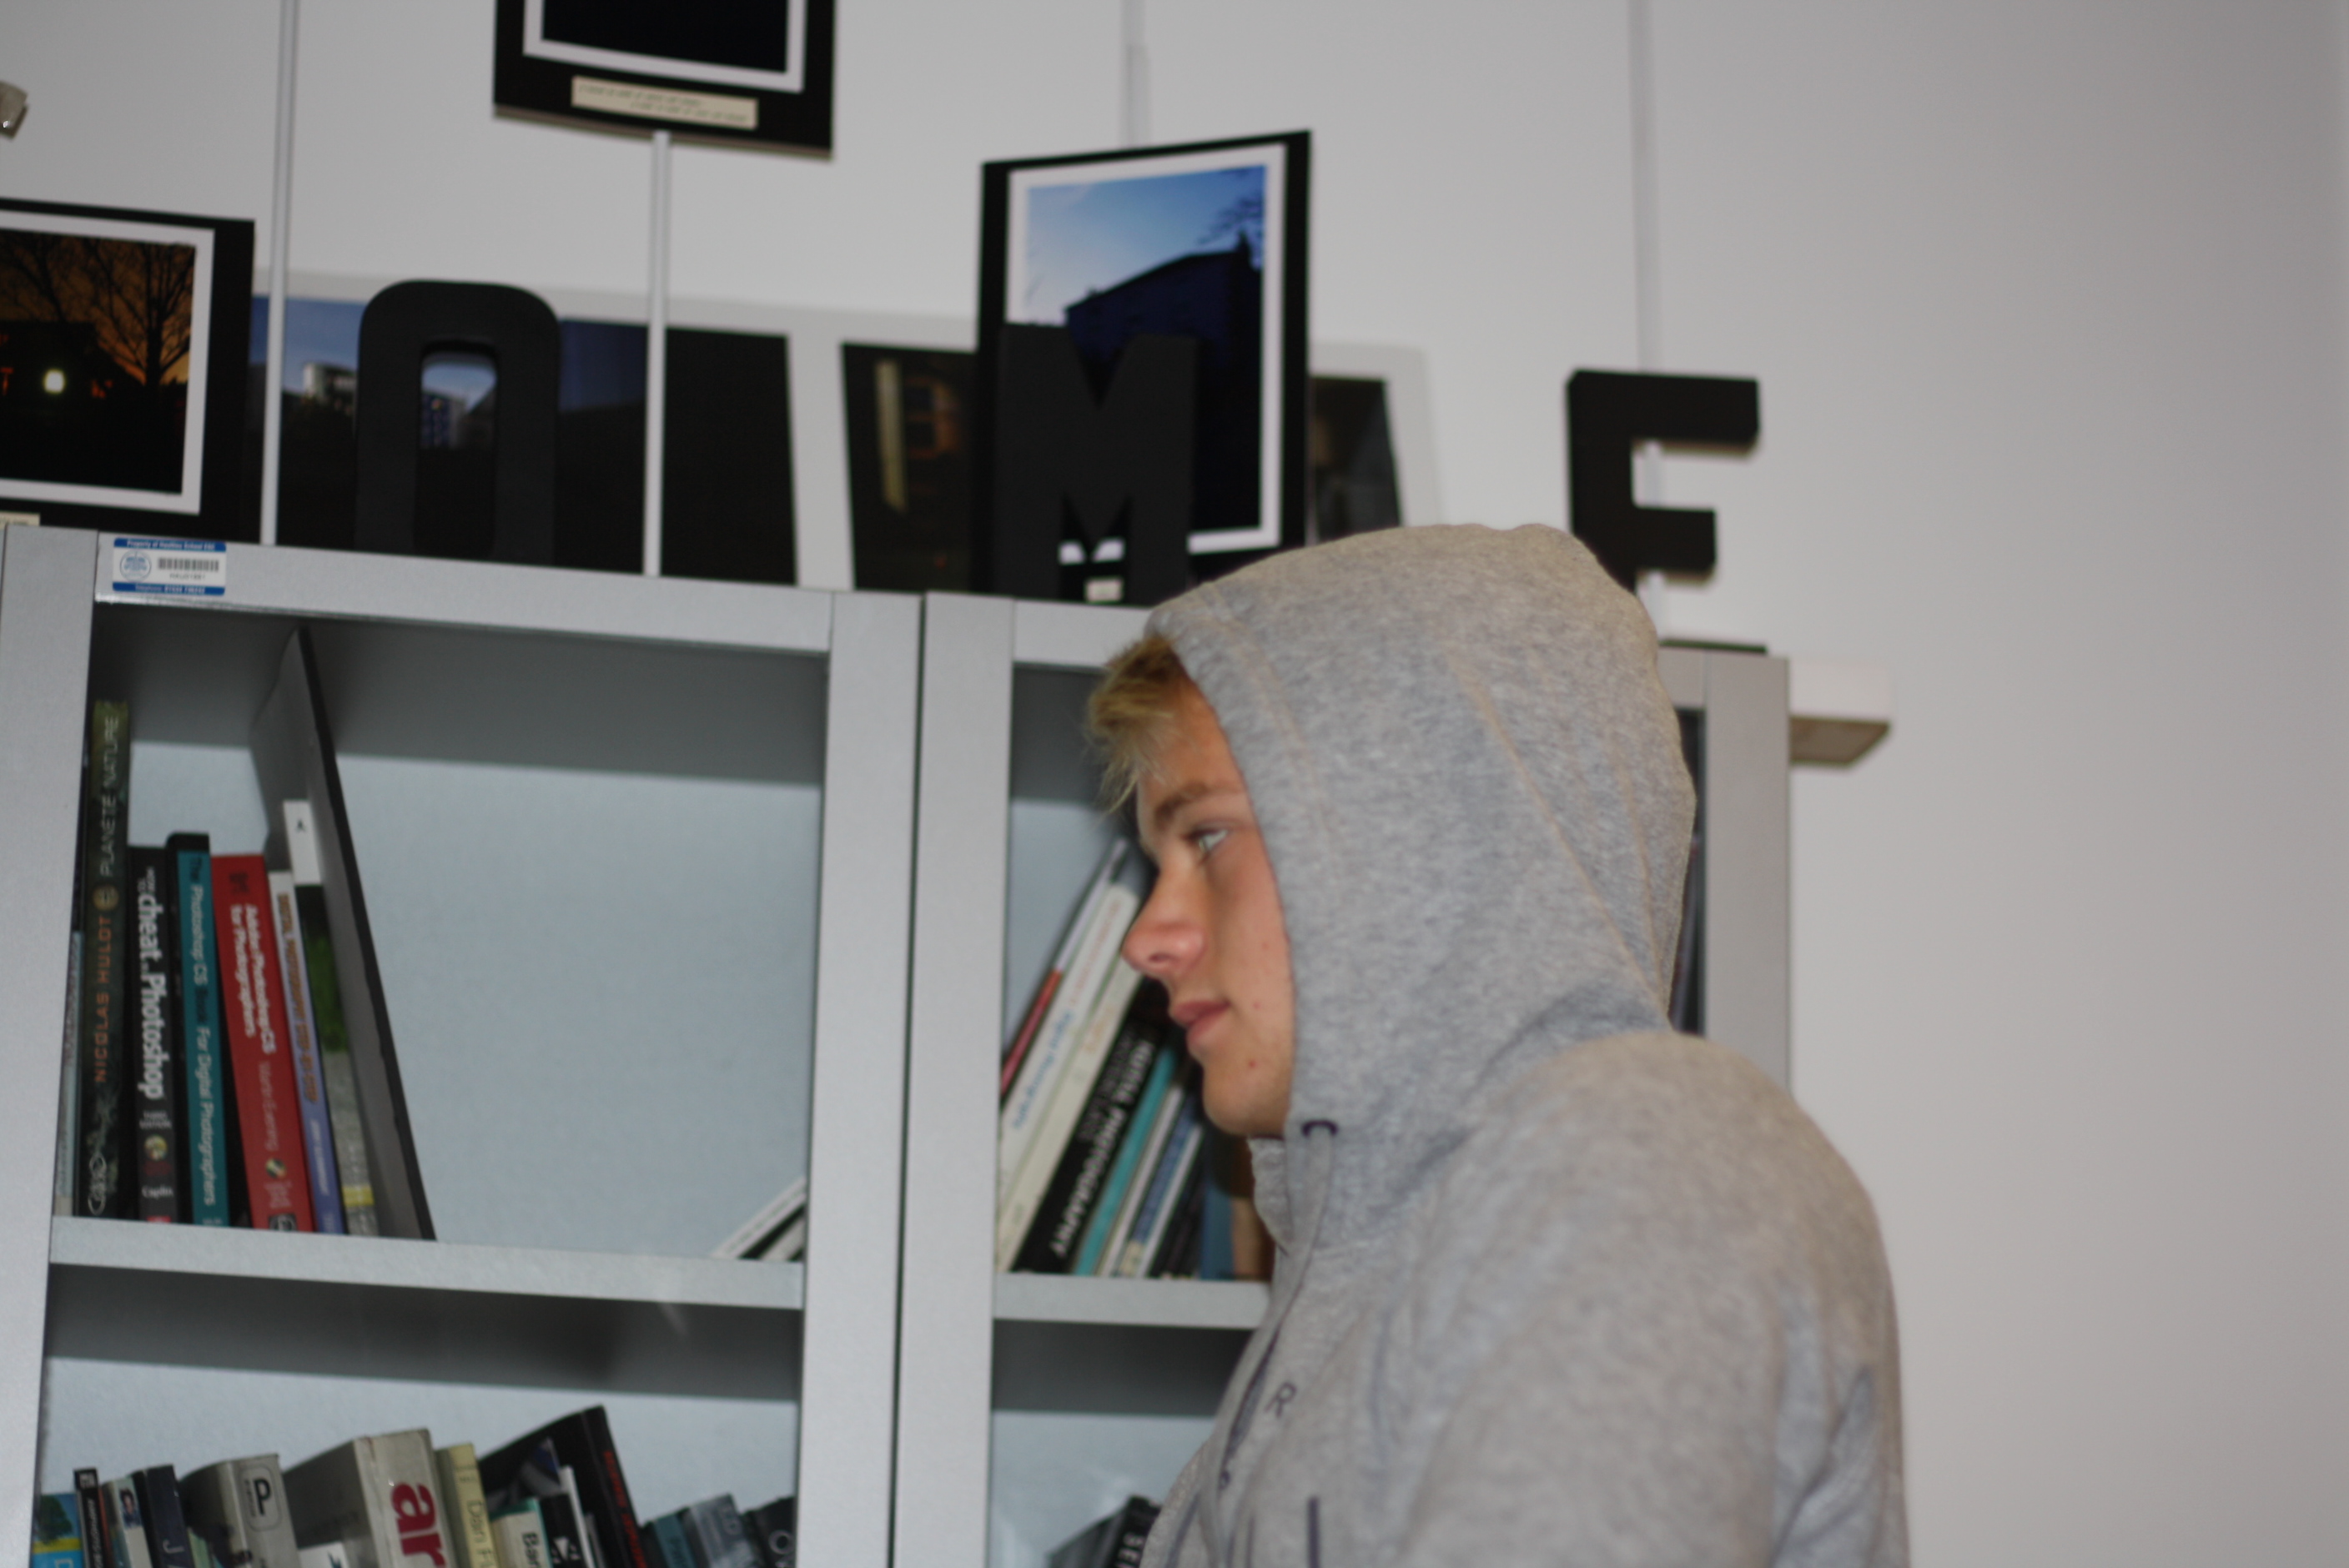
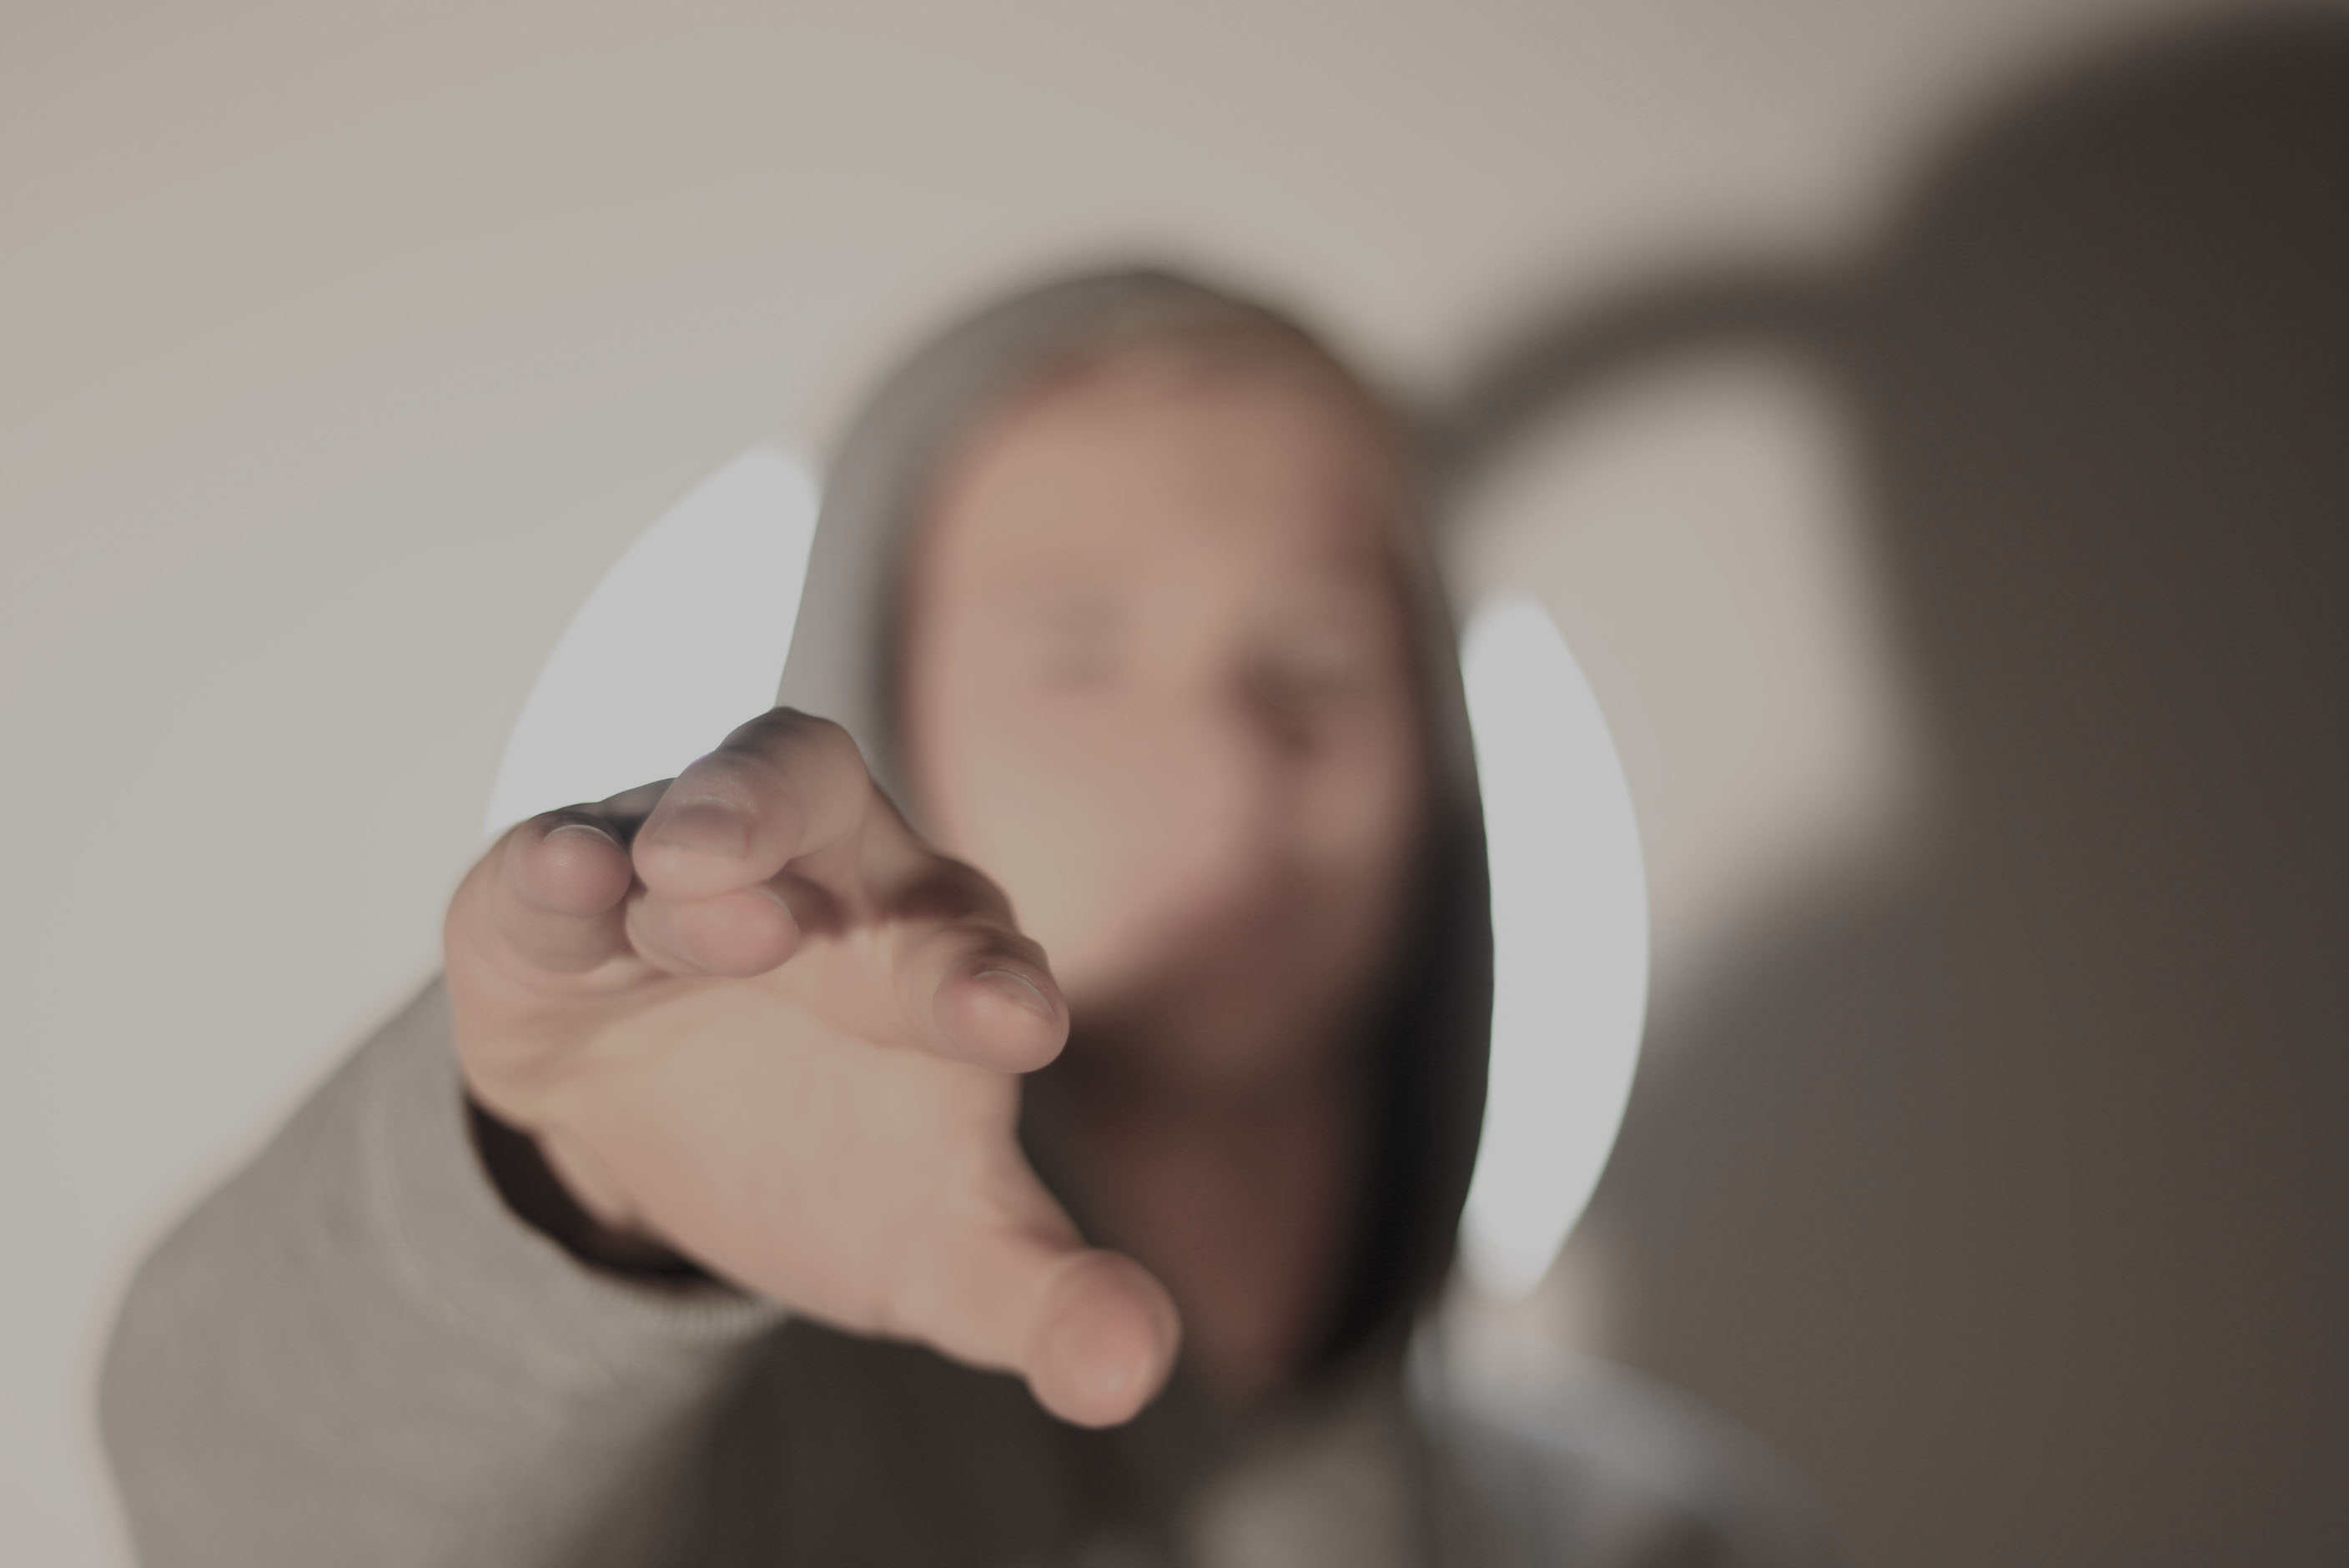
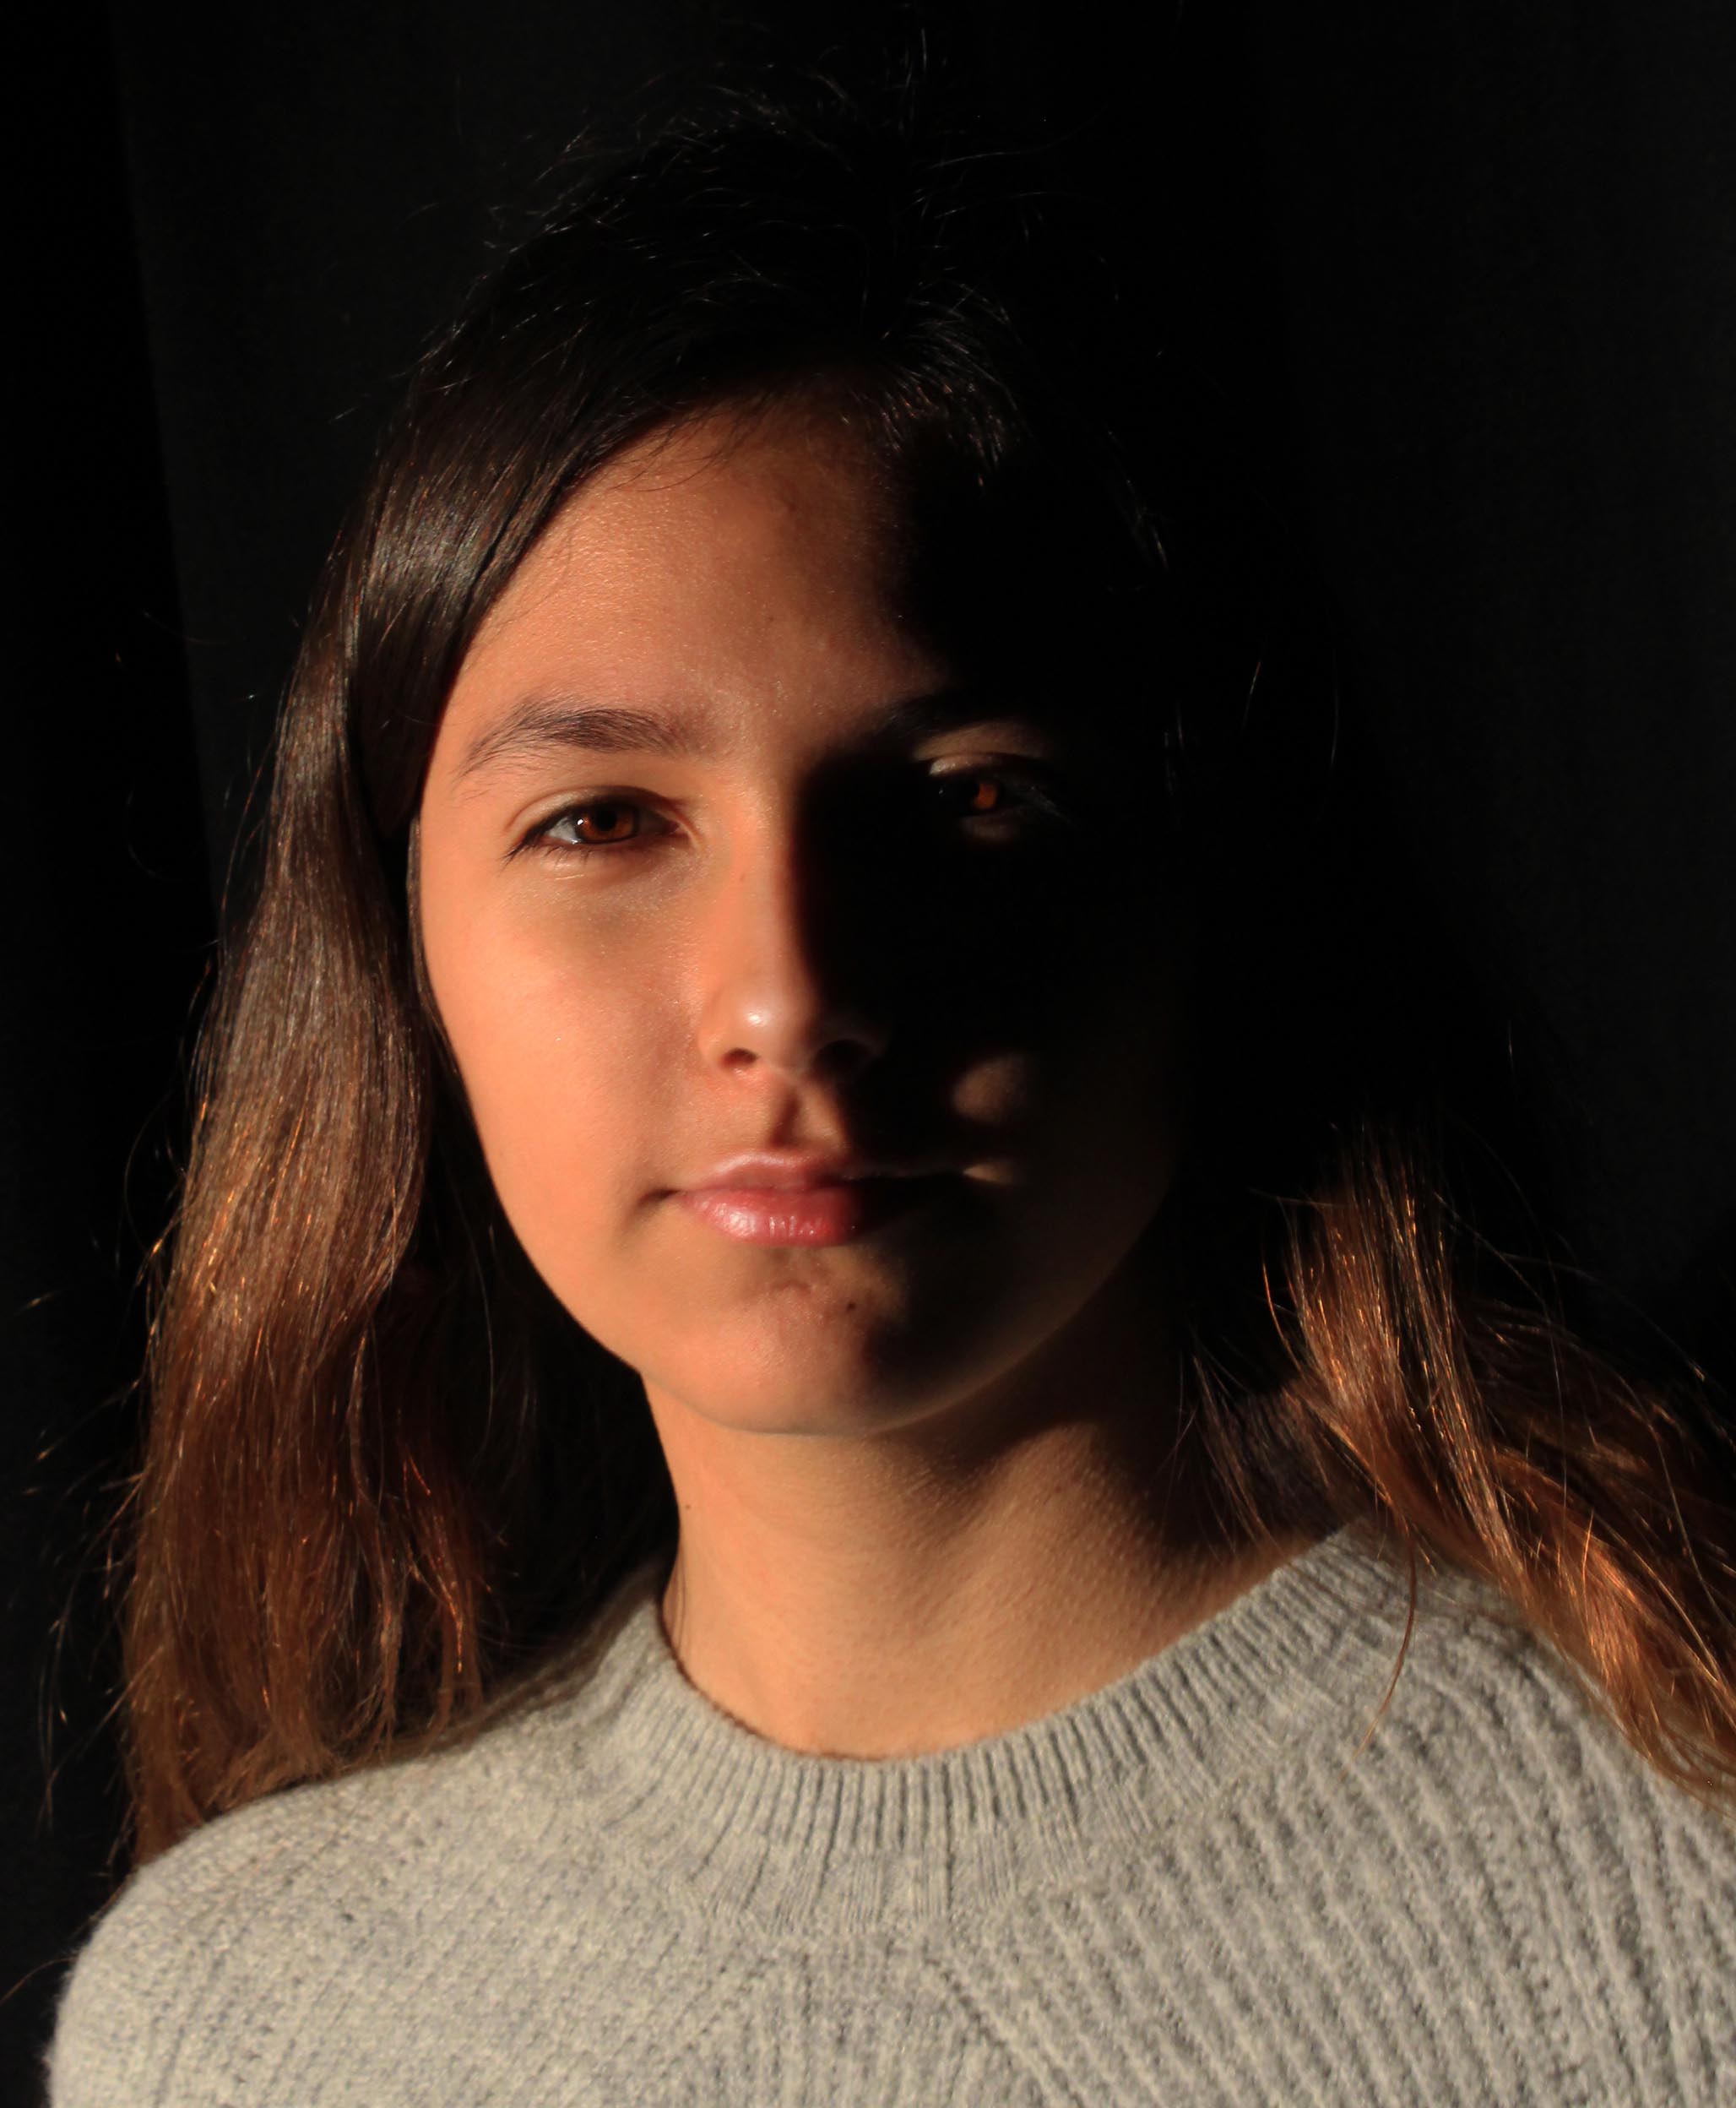
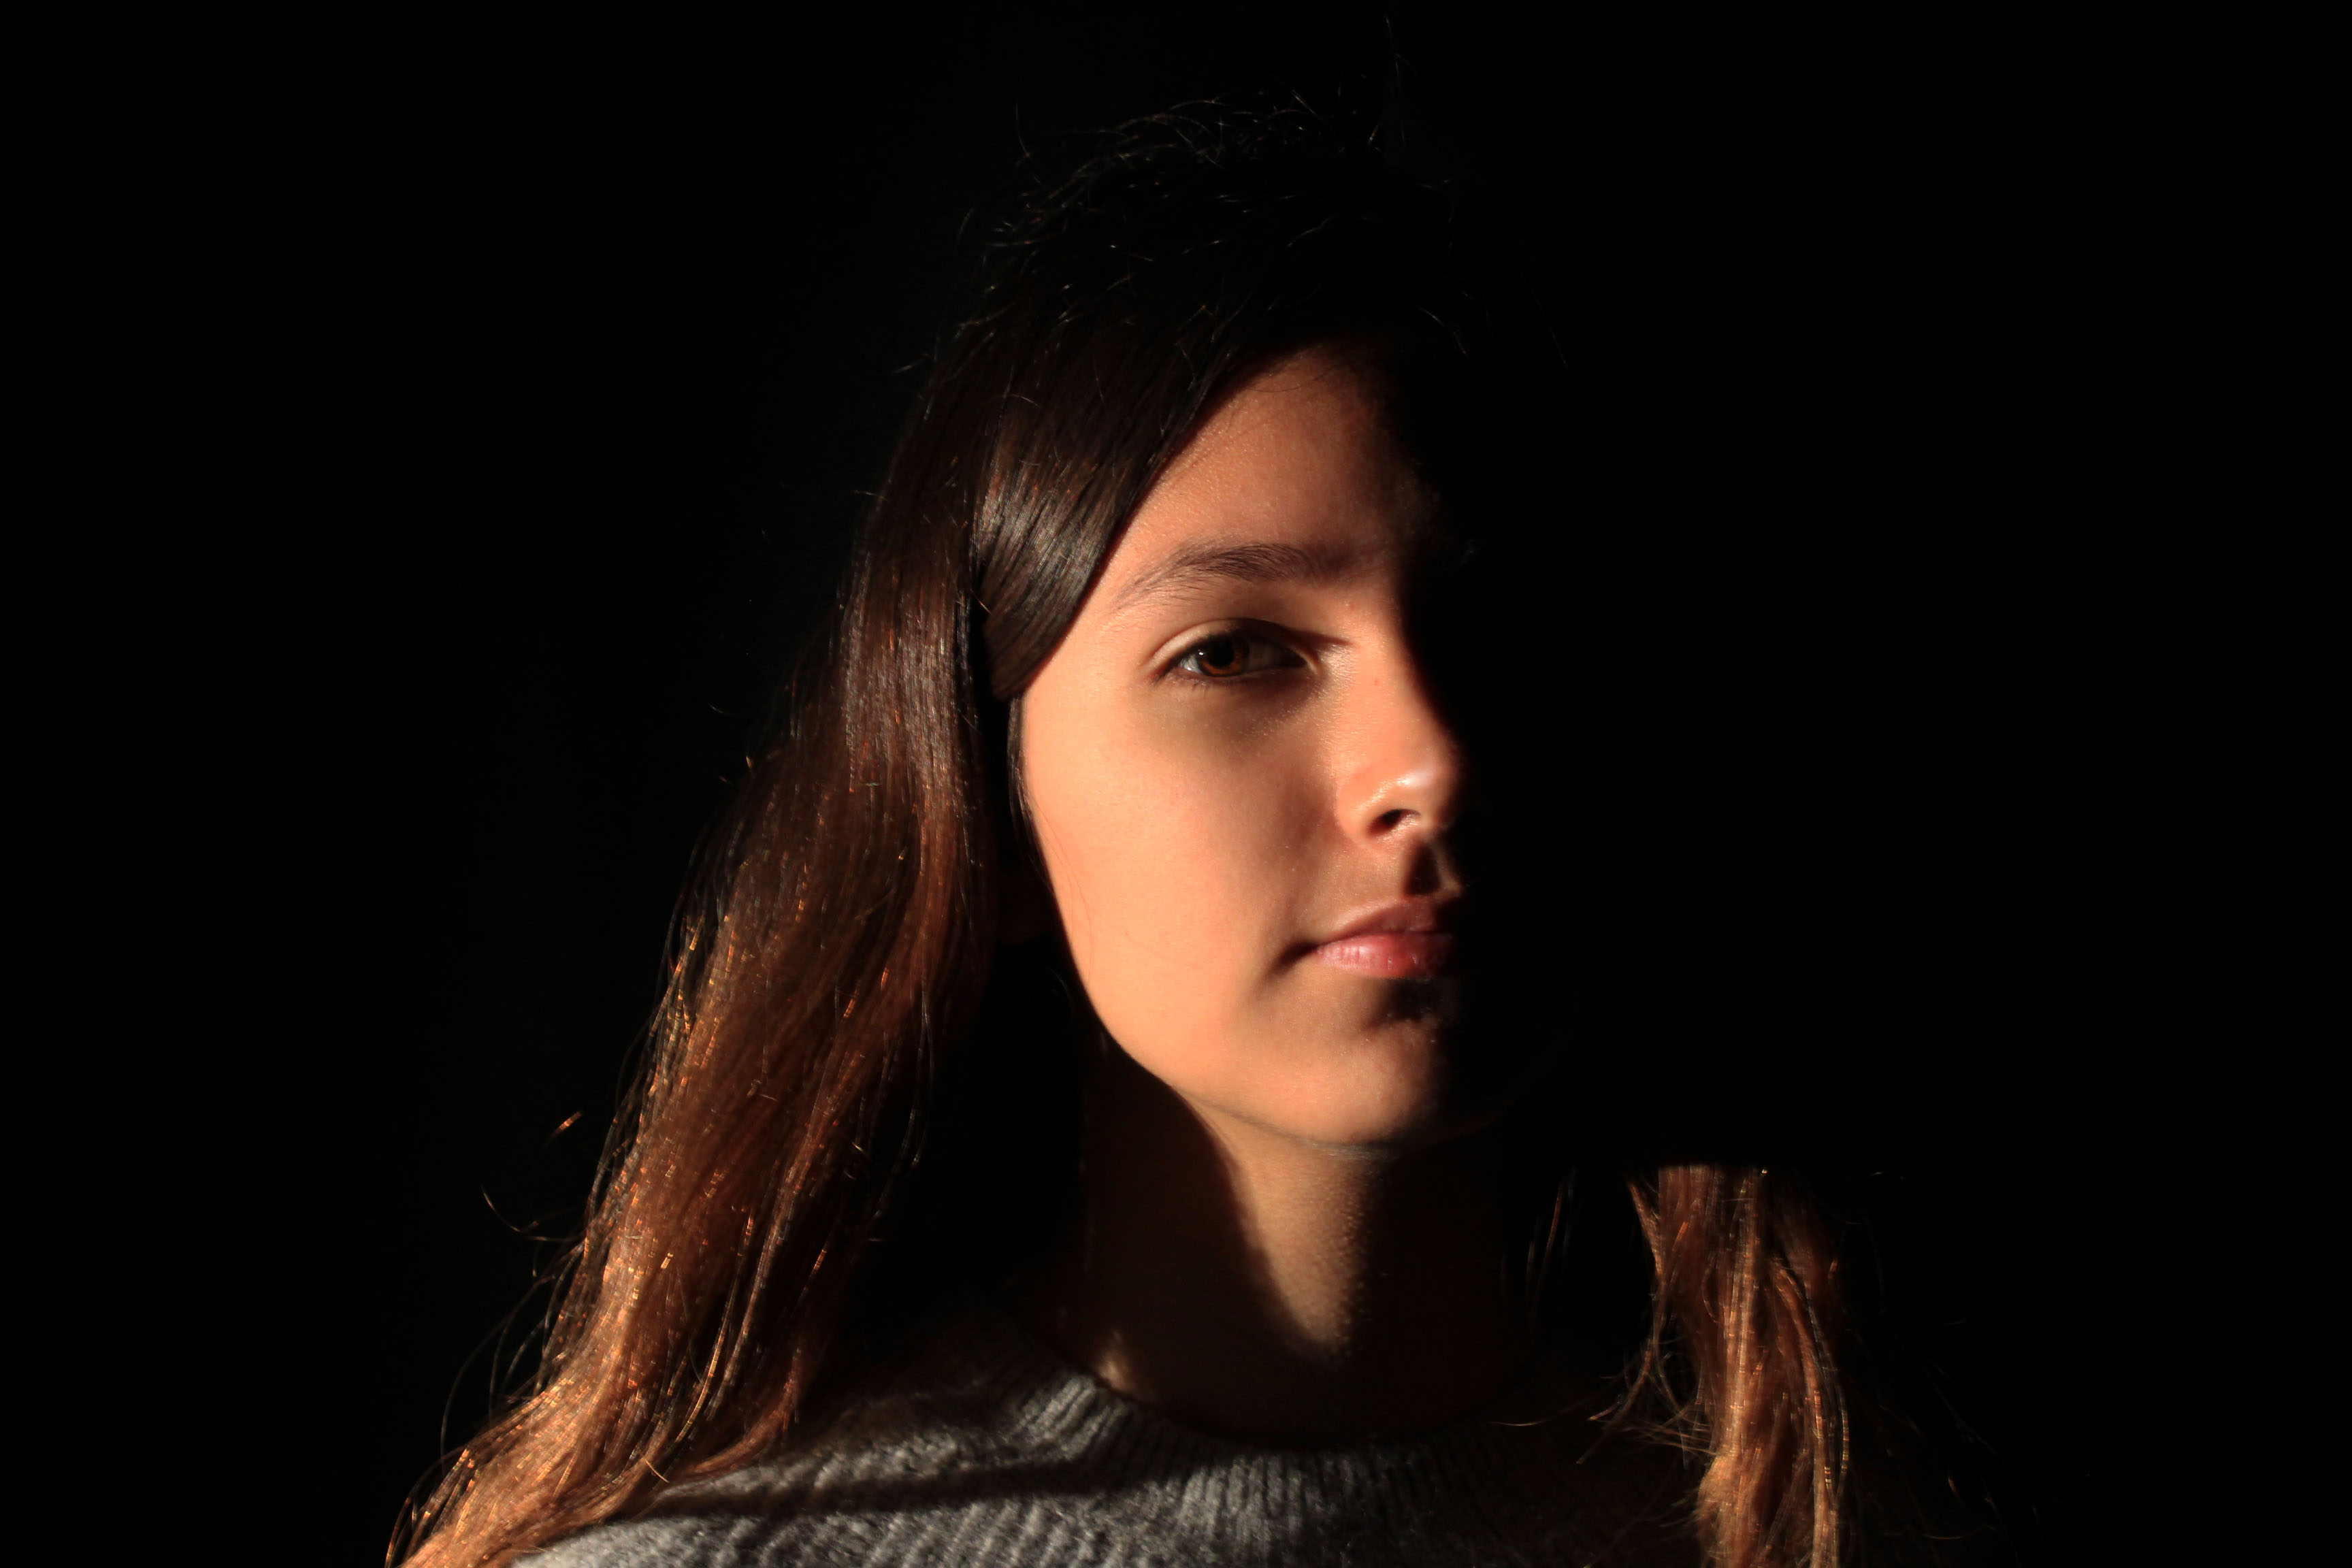
I did however always use manual focus, just so I could change where I wanted the focal point to be or whether I wanted my models to be in or out of focus, which I like to differ depending on the lighting and my mood or where the models are standing.

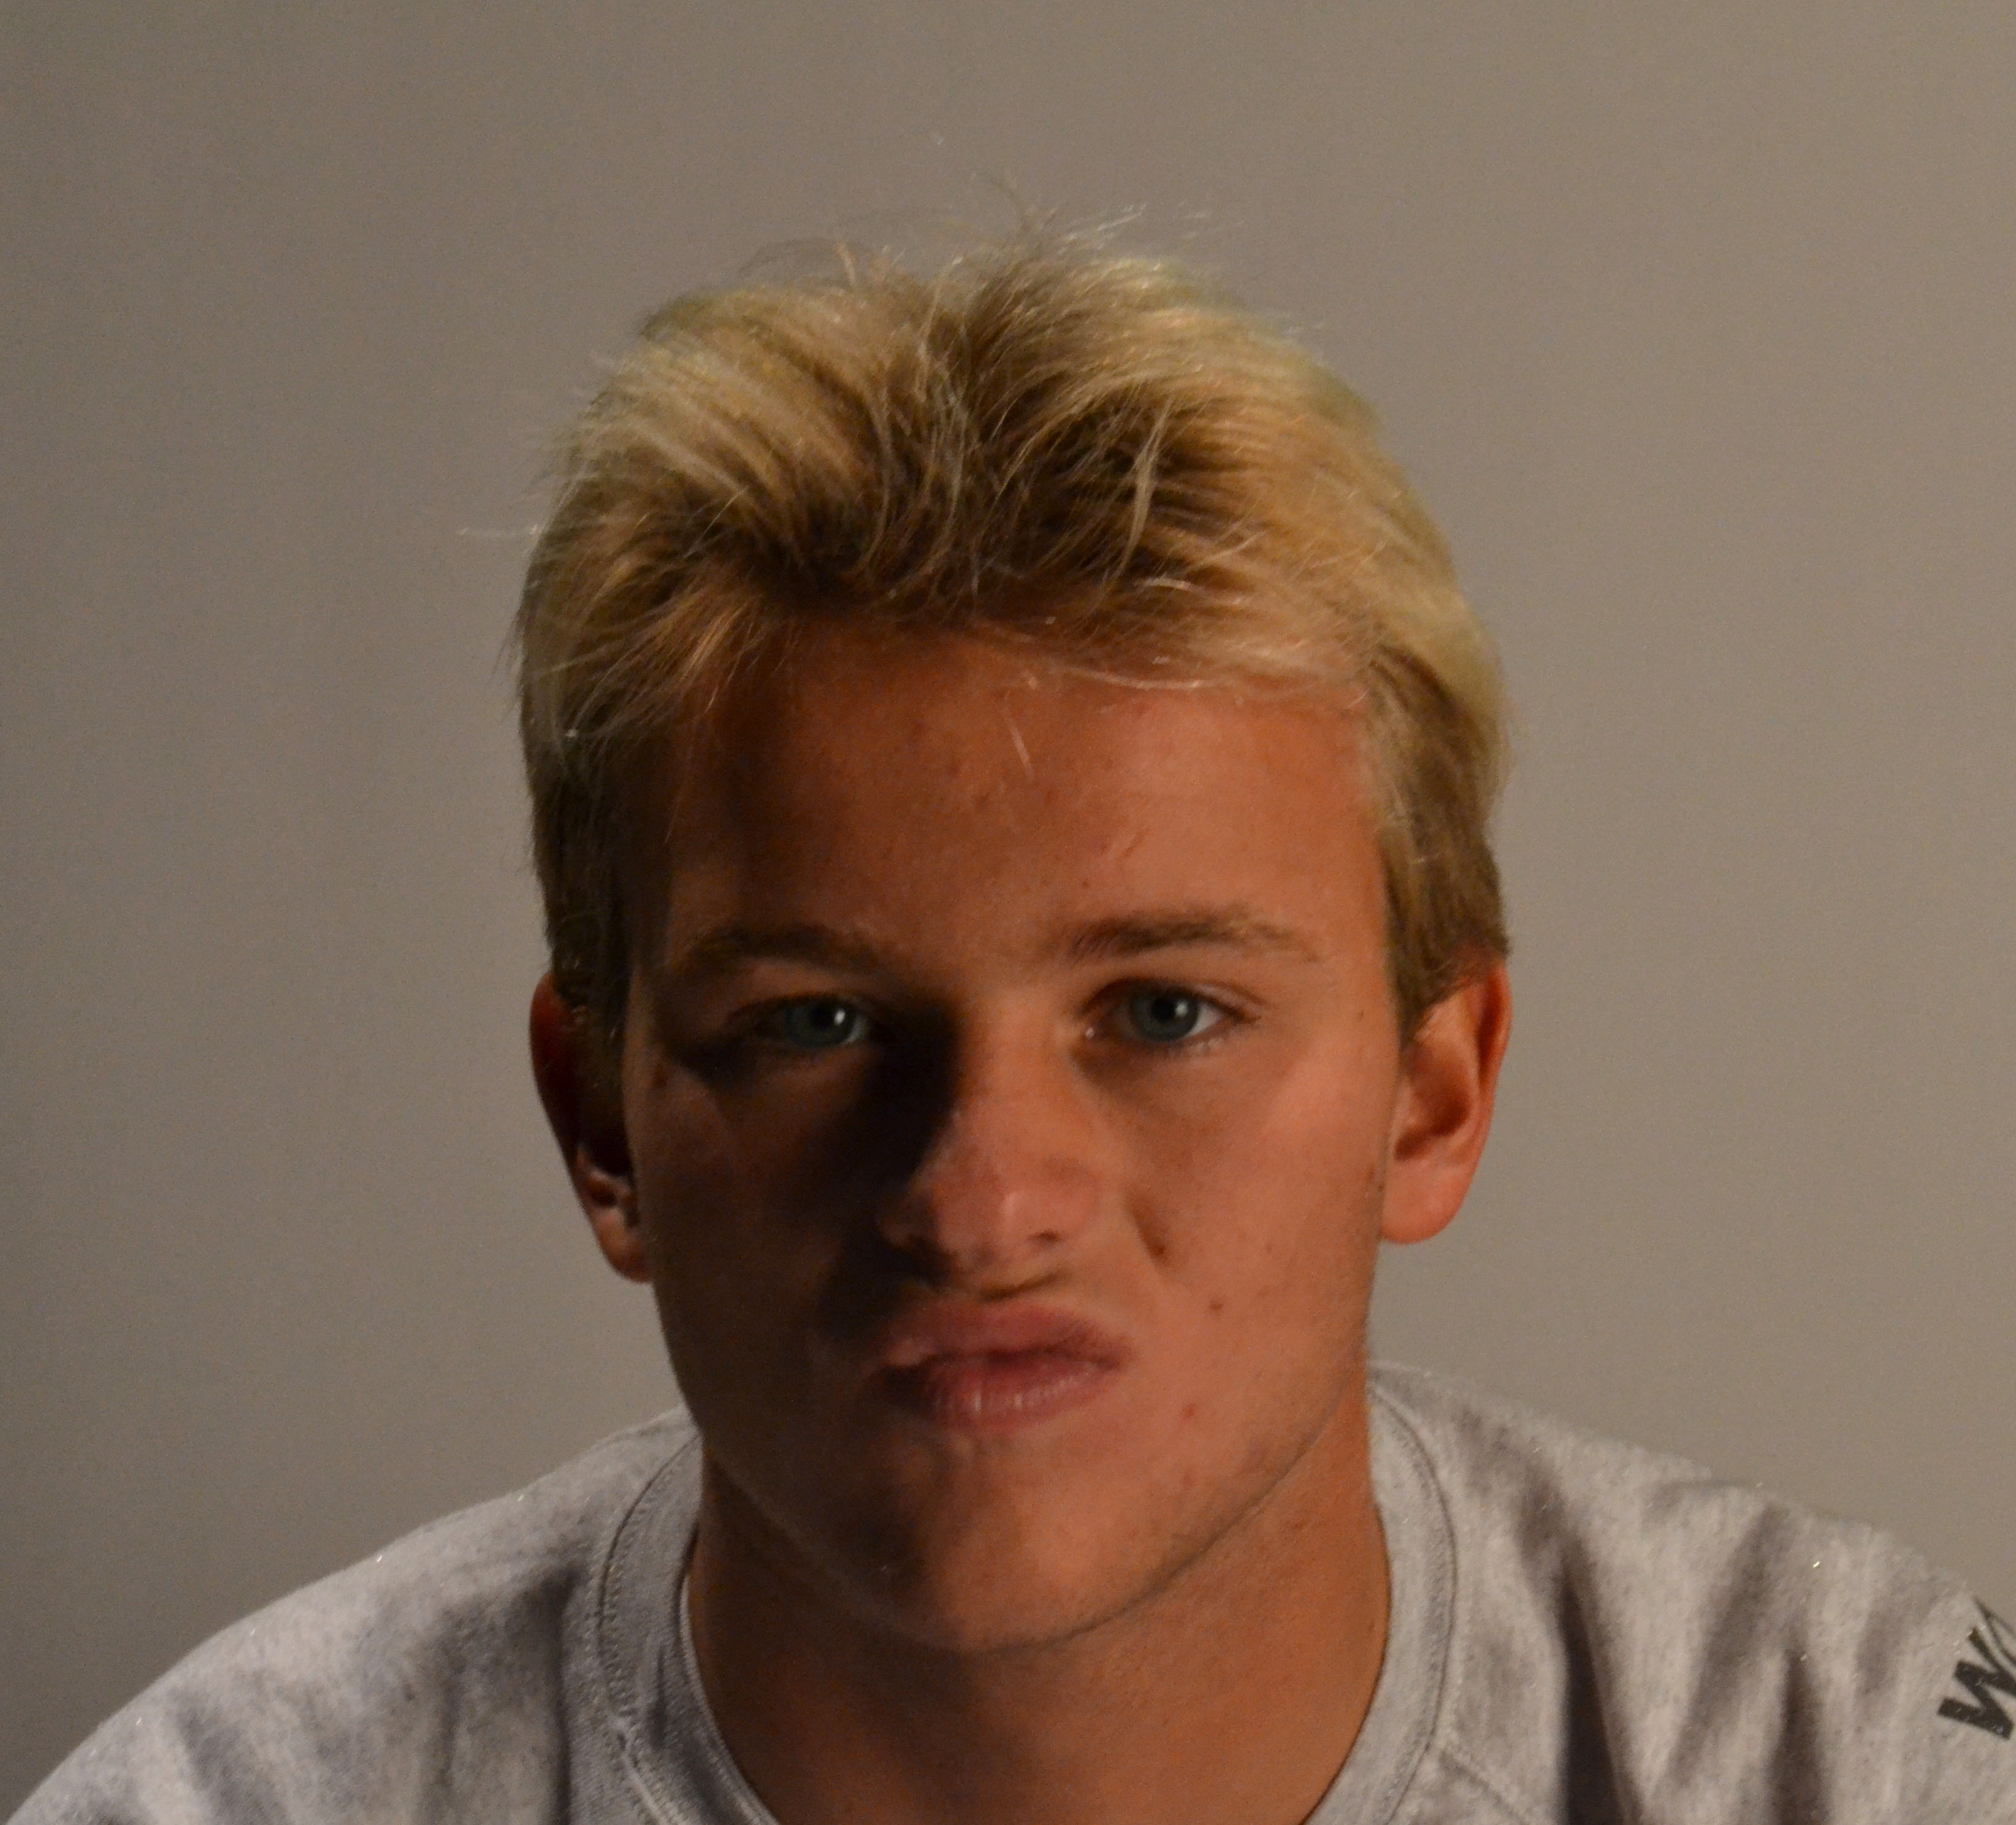
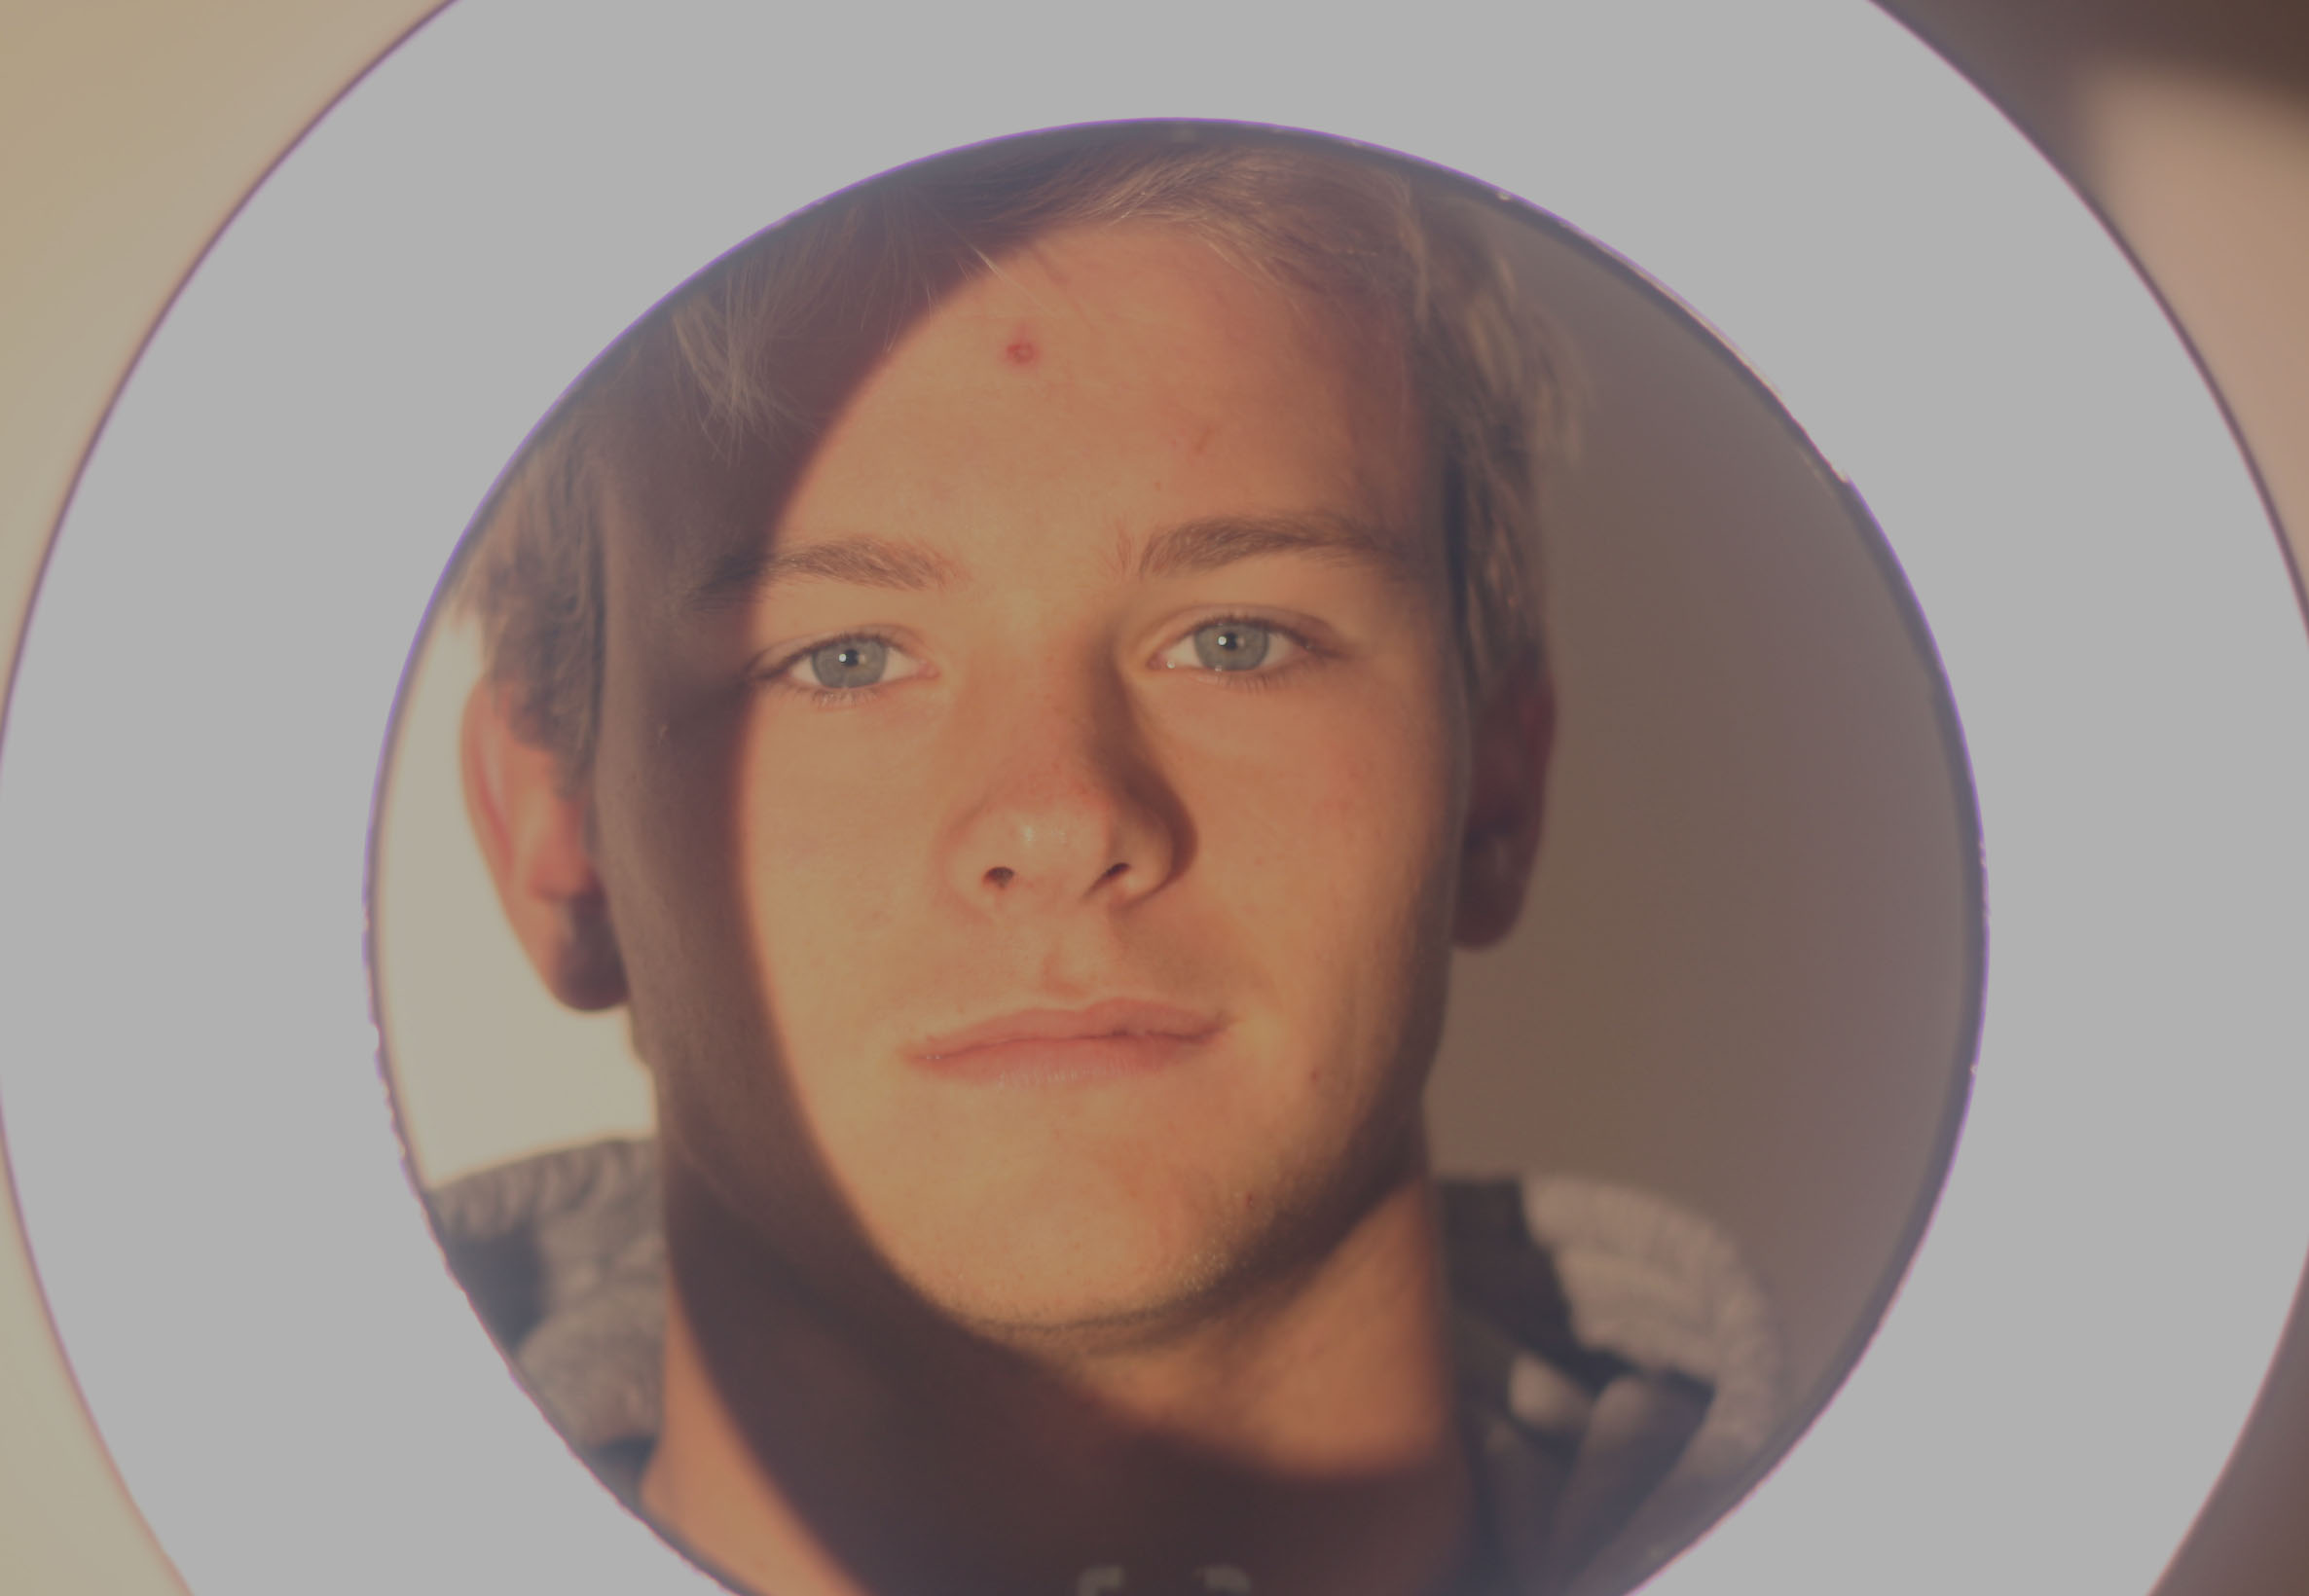
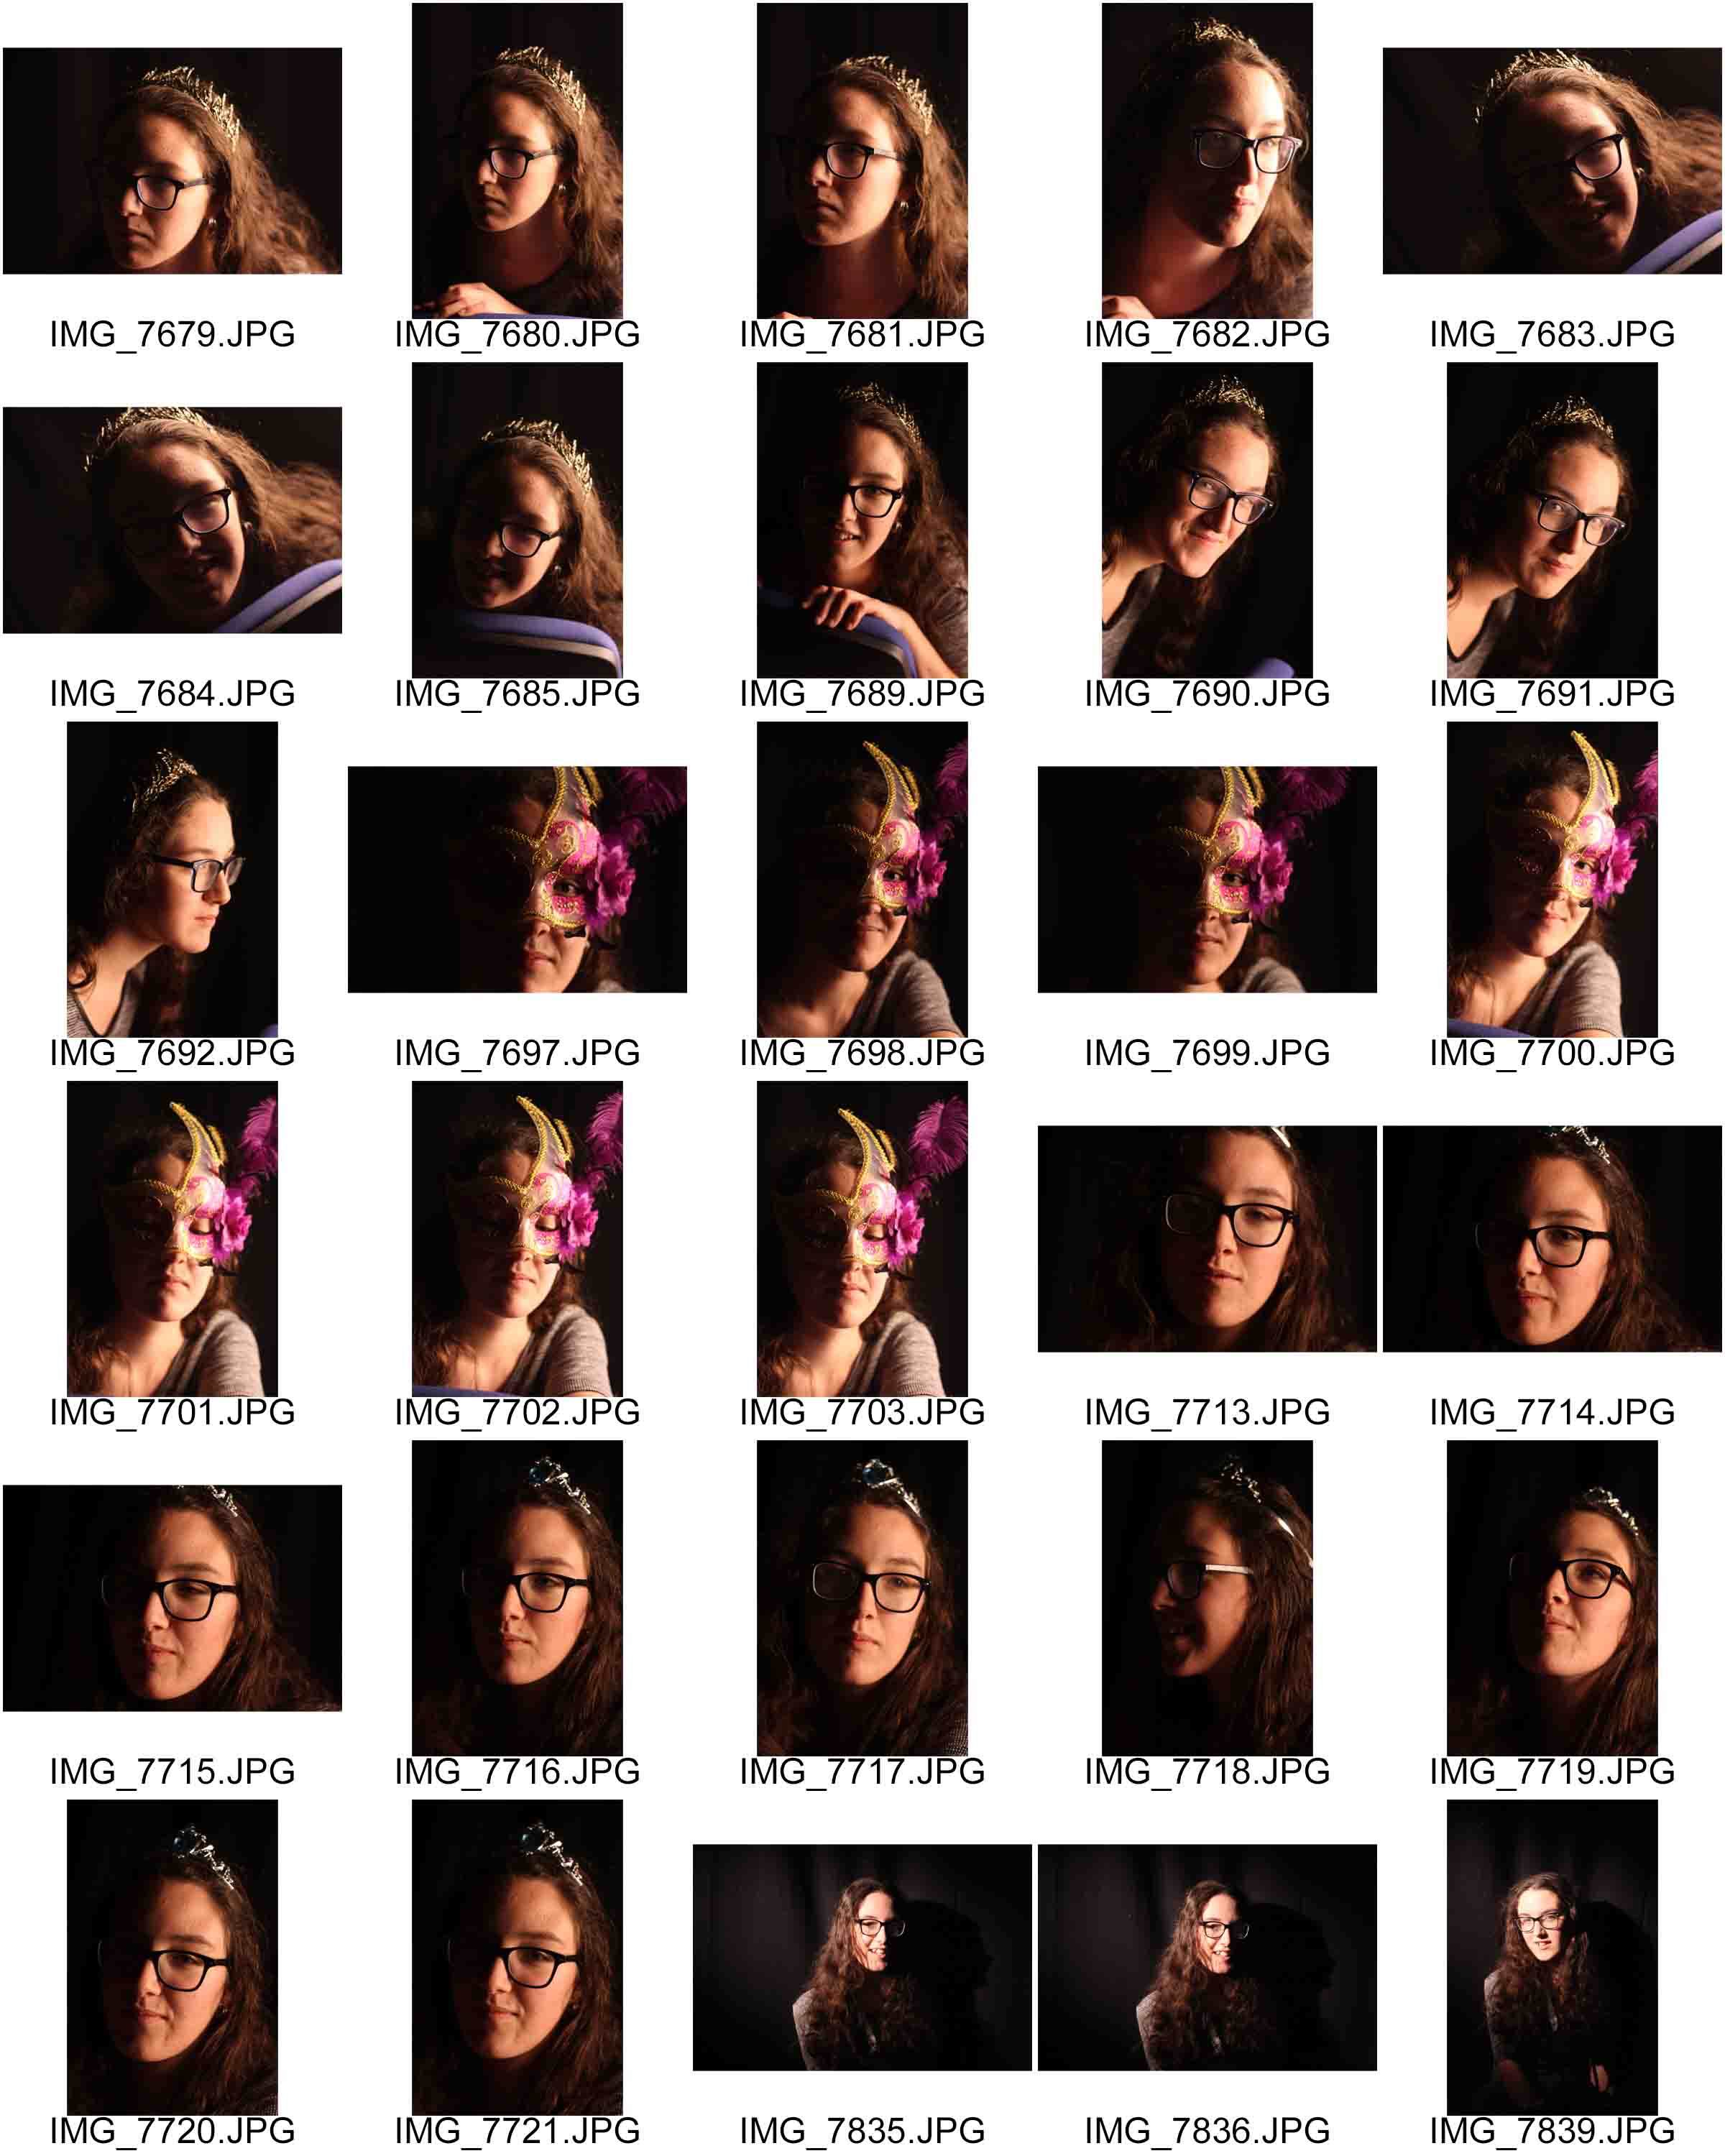
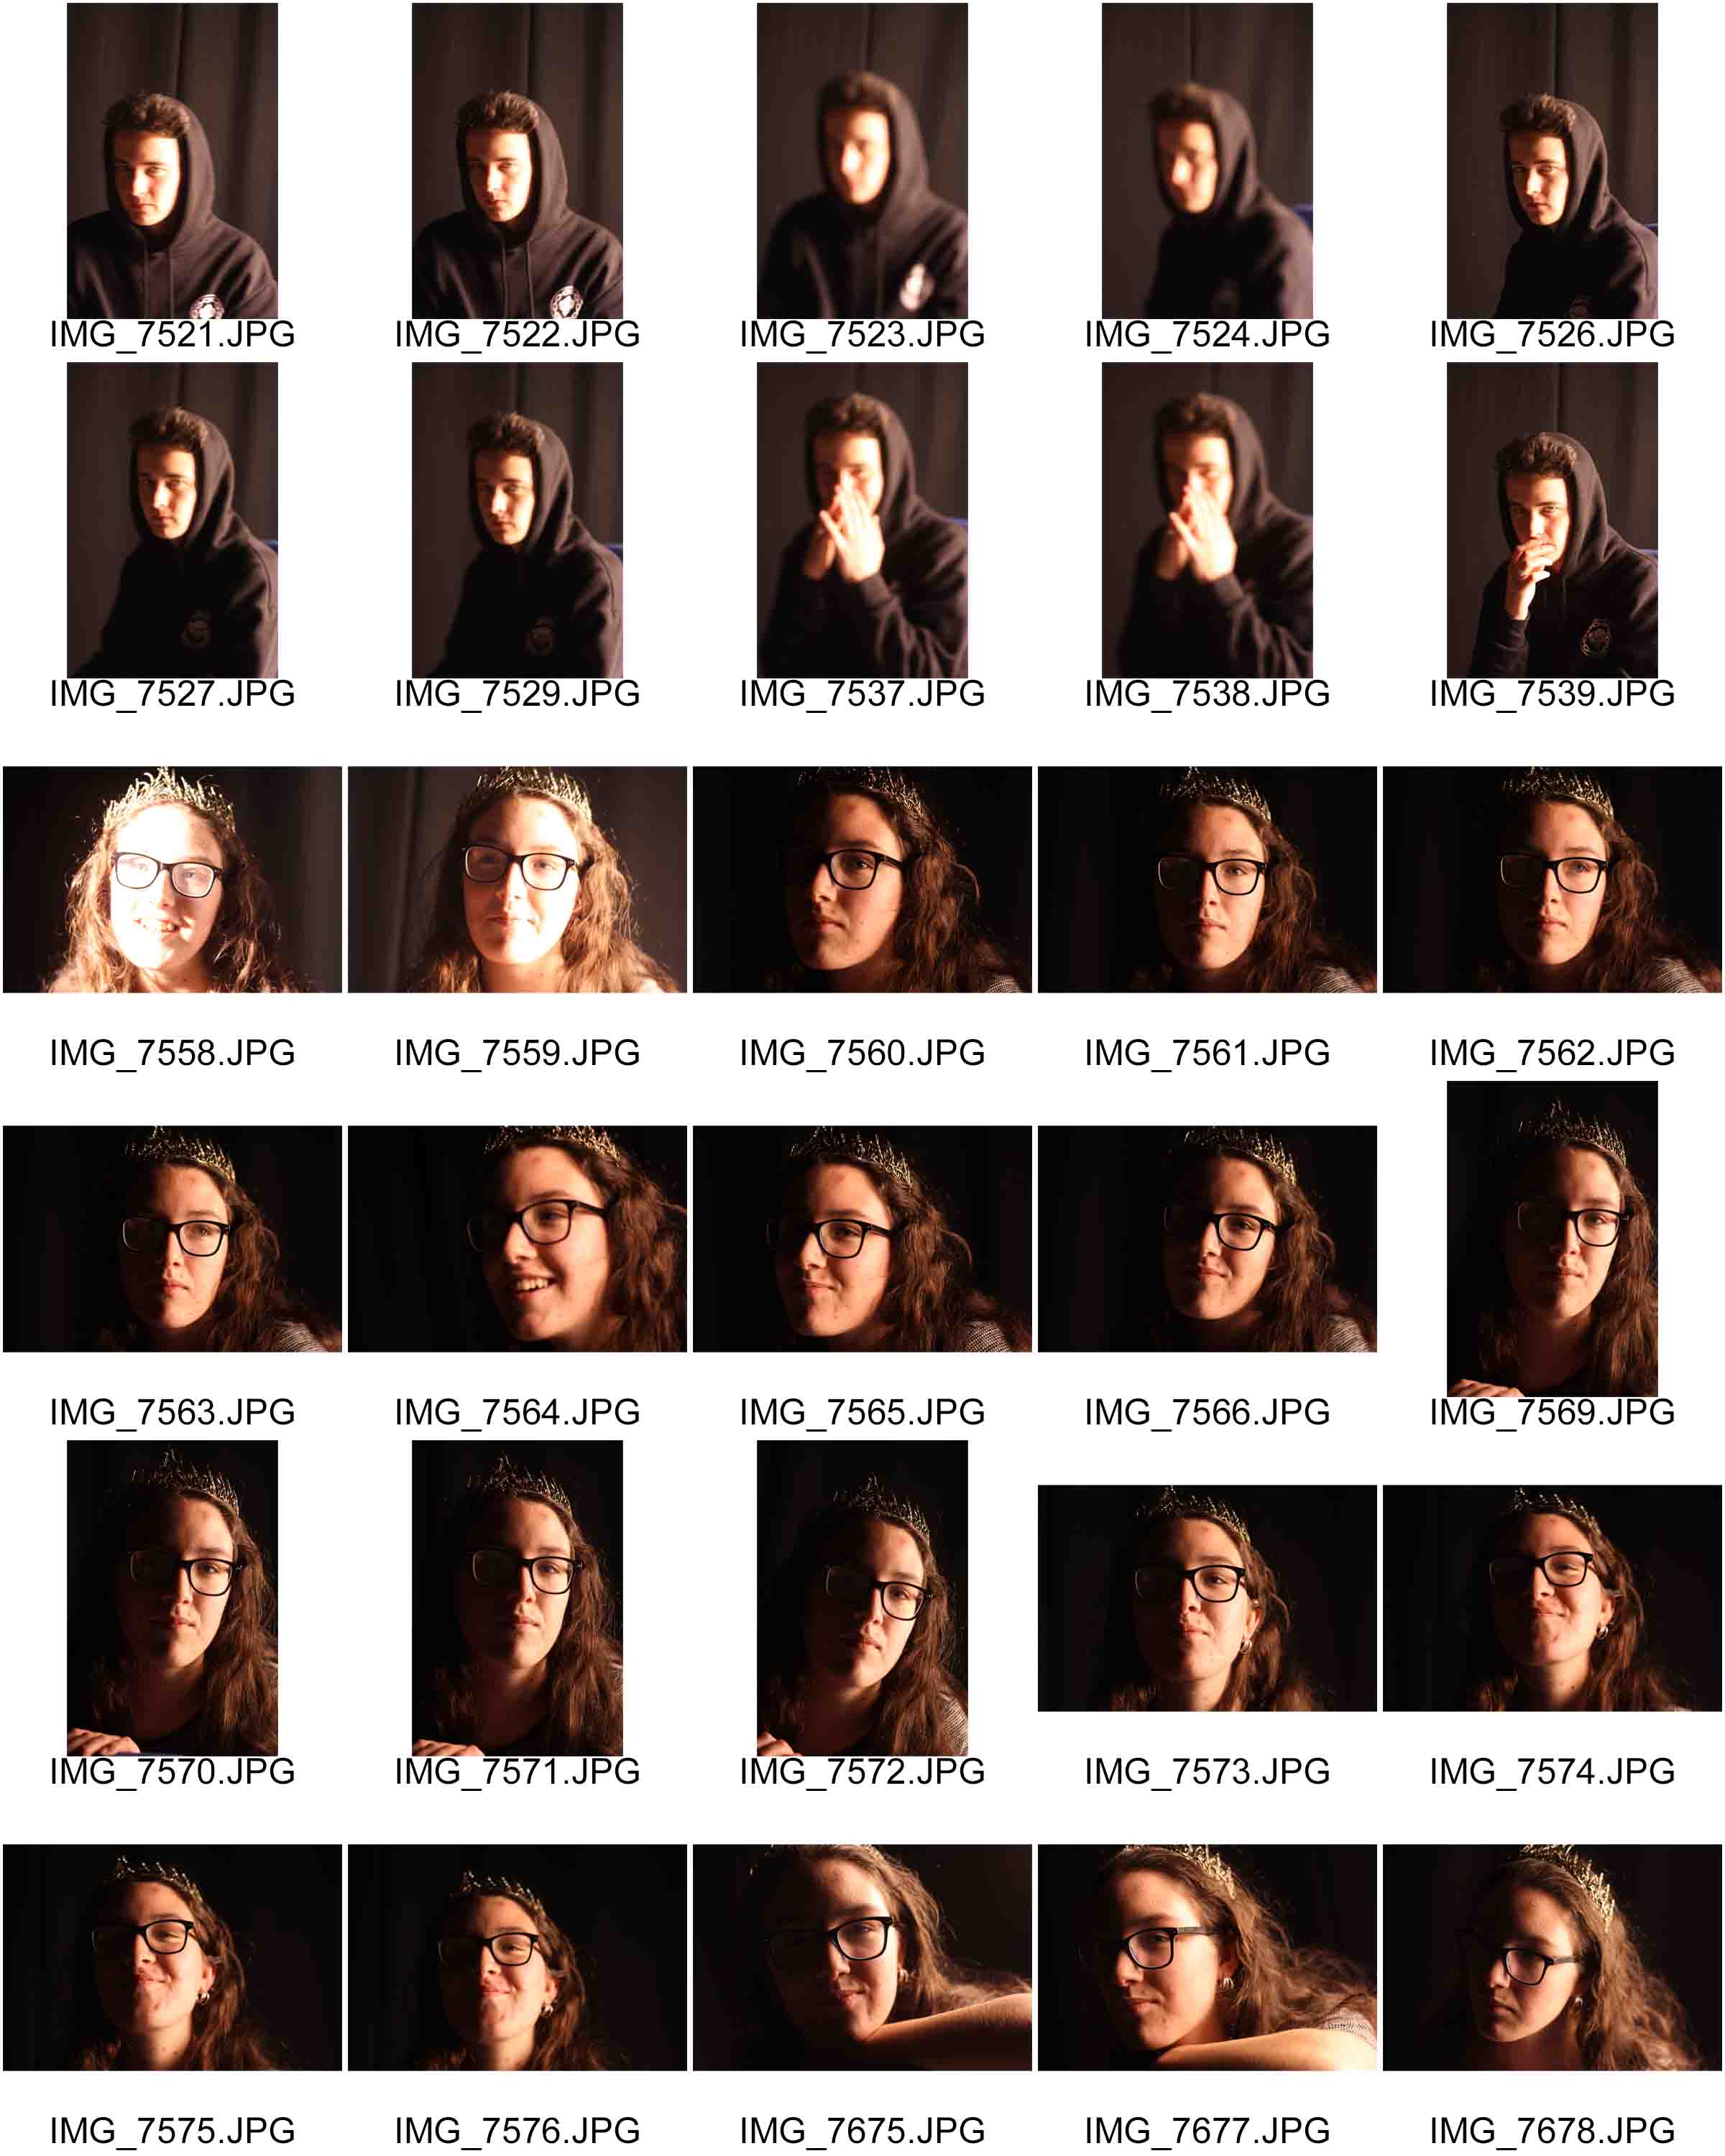
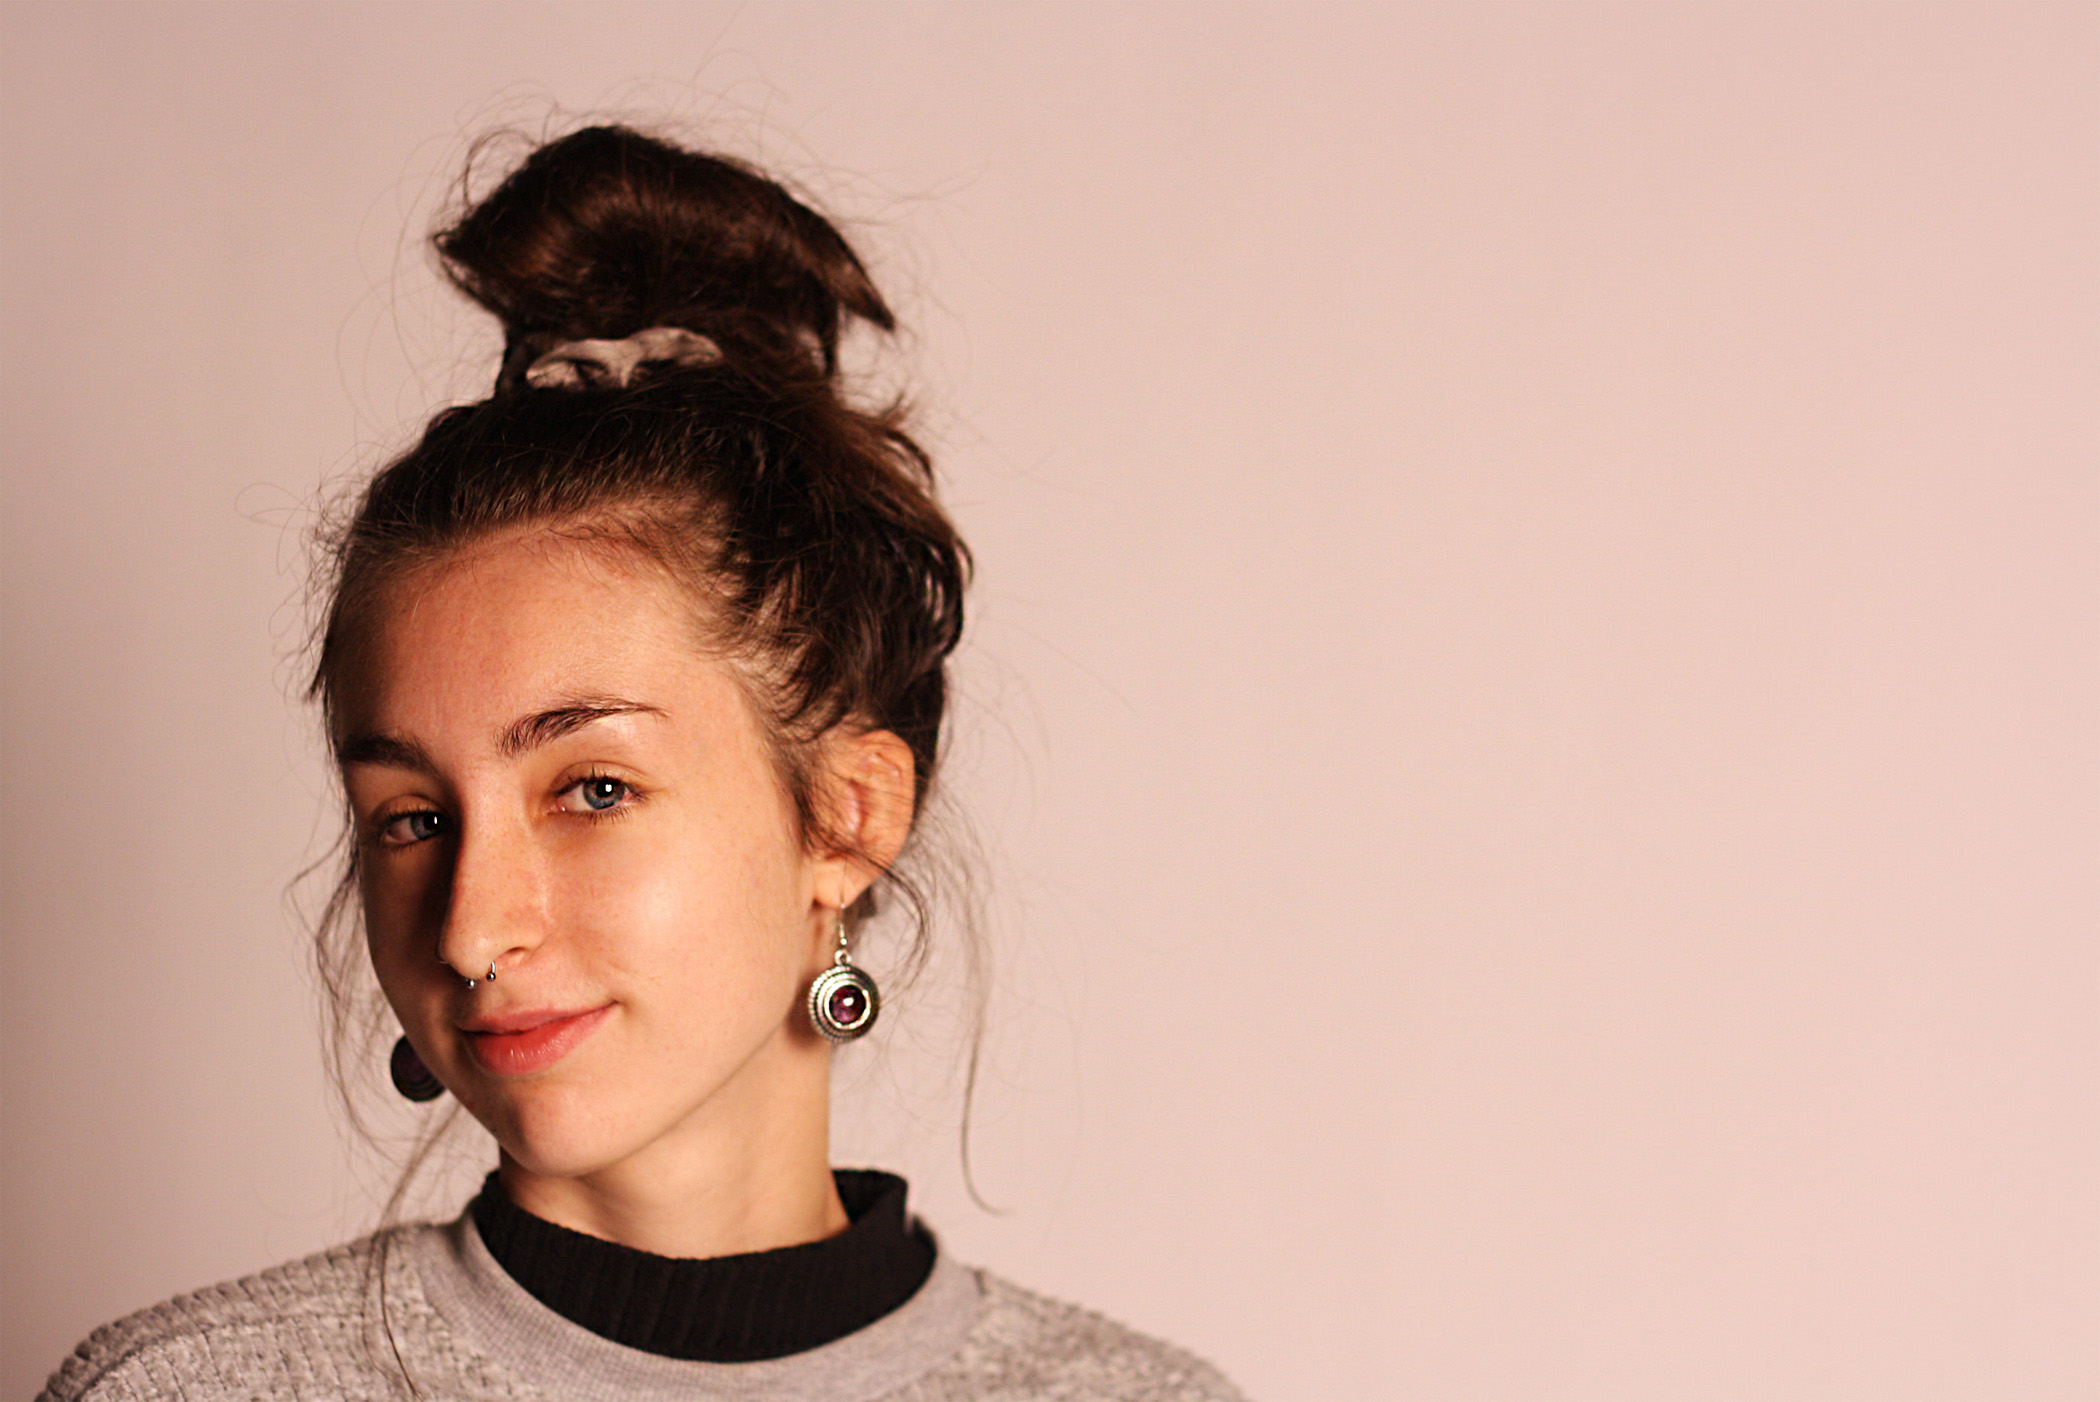
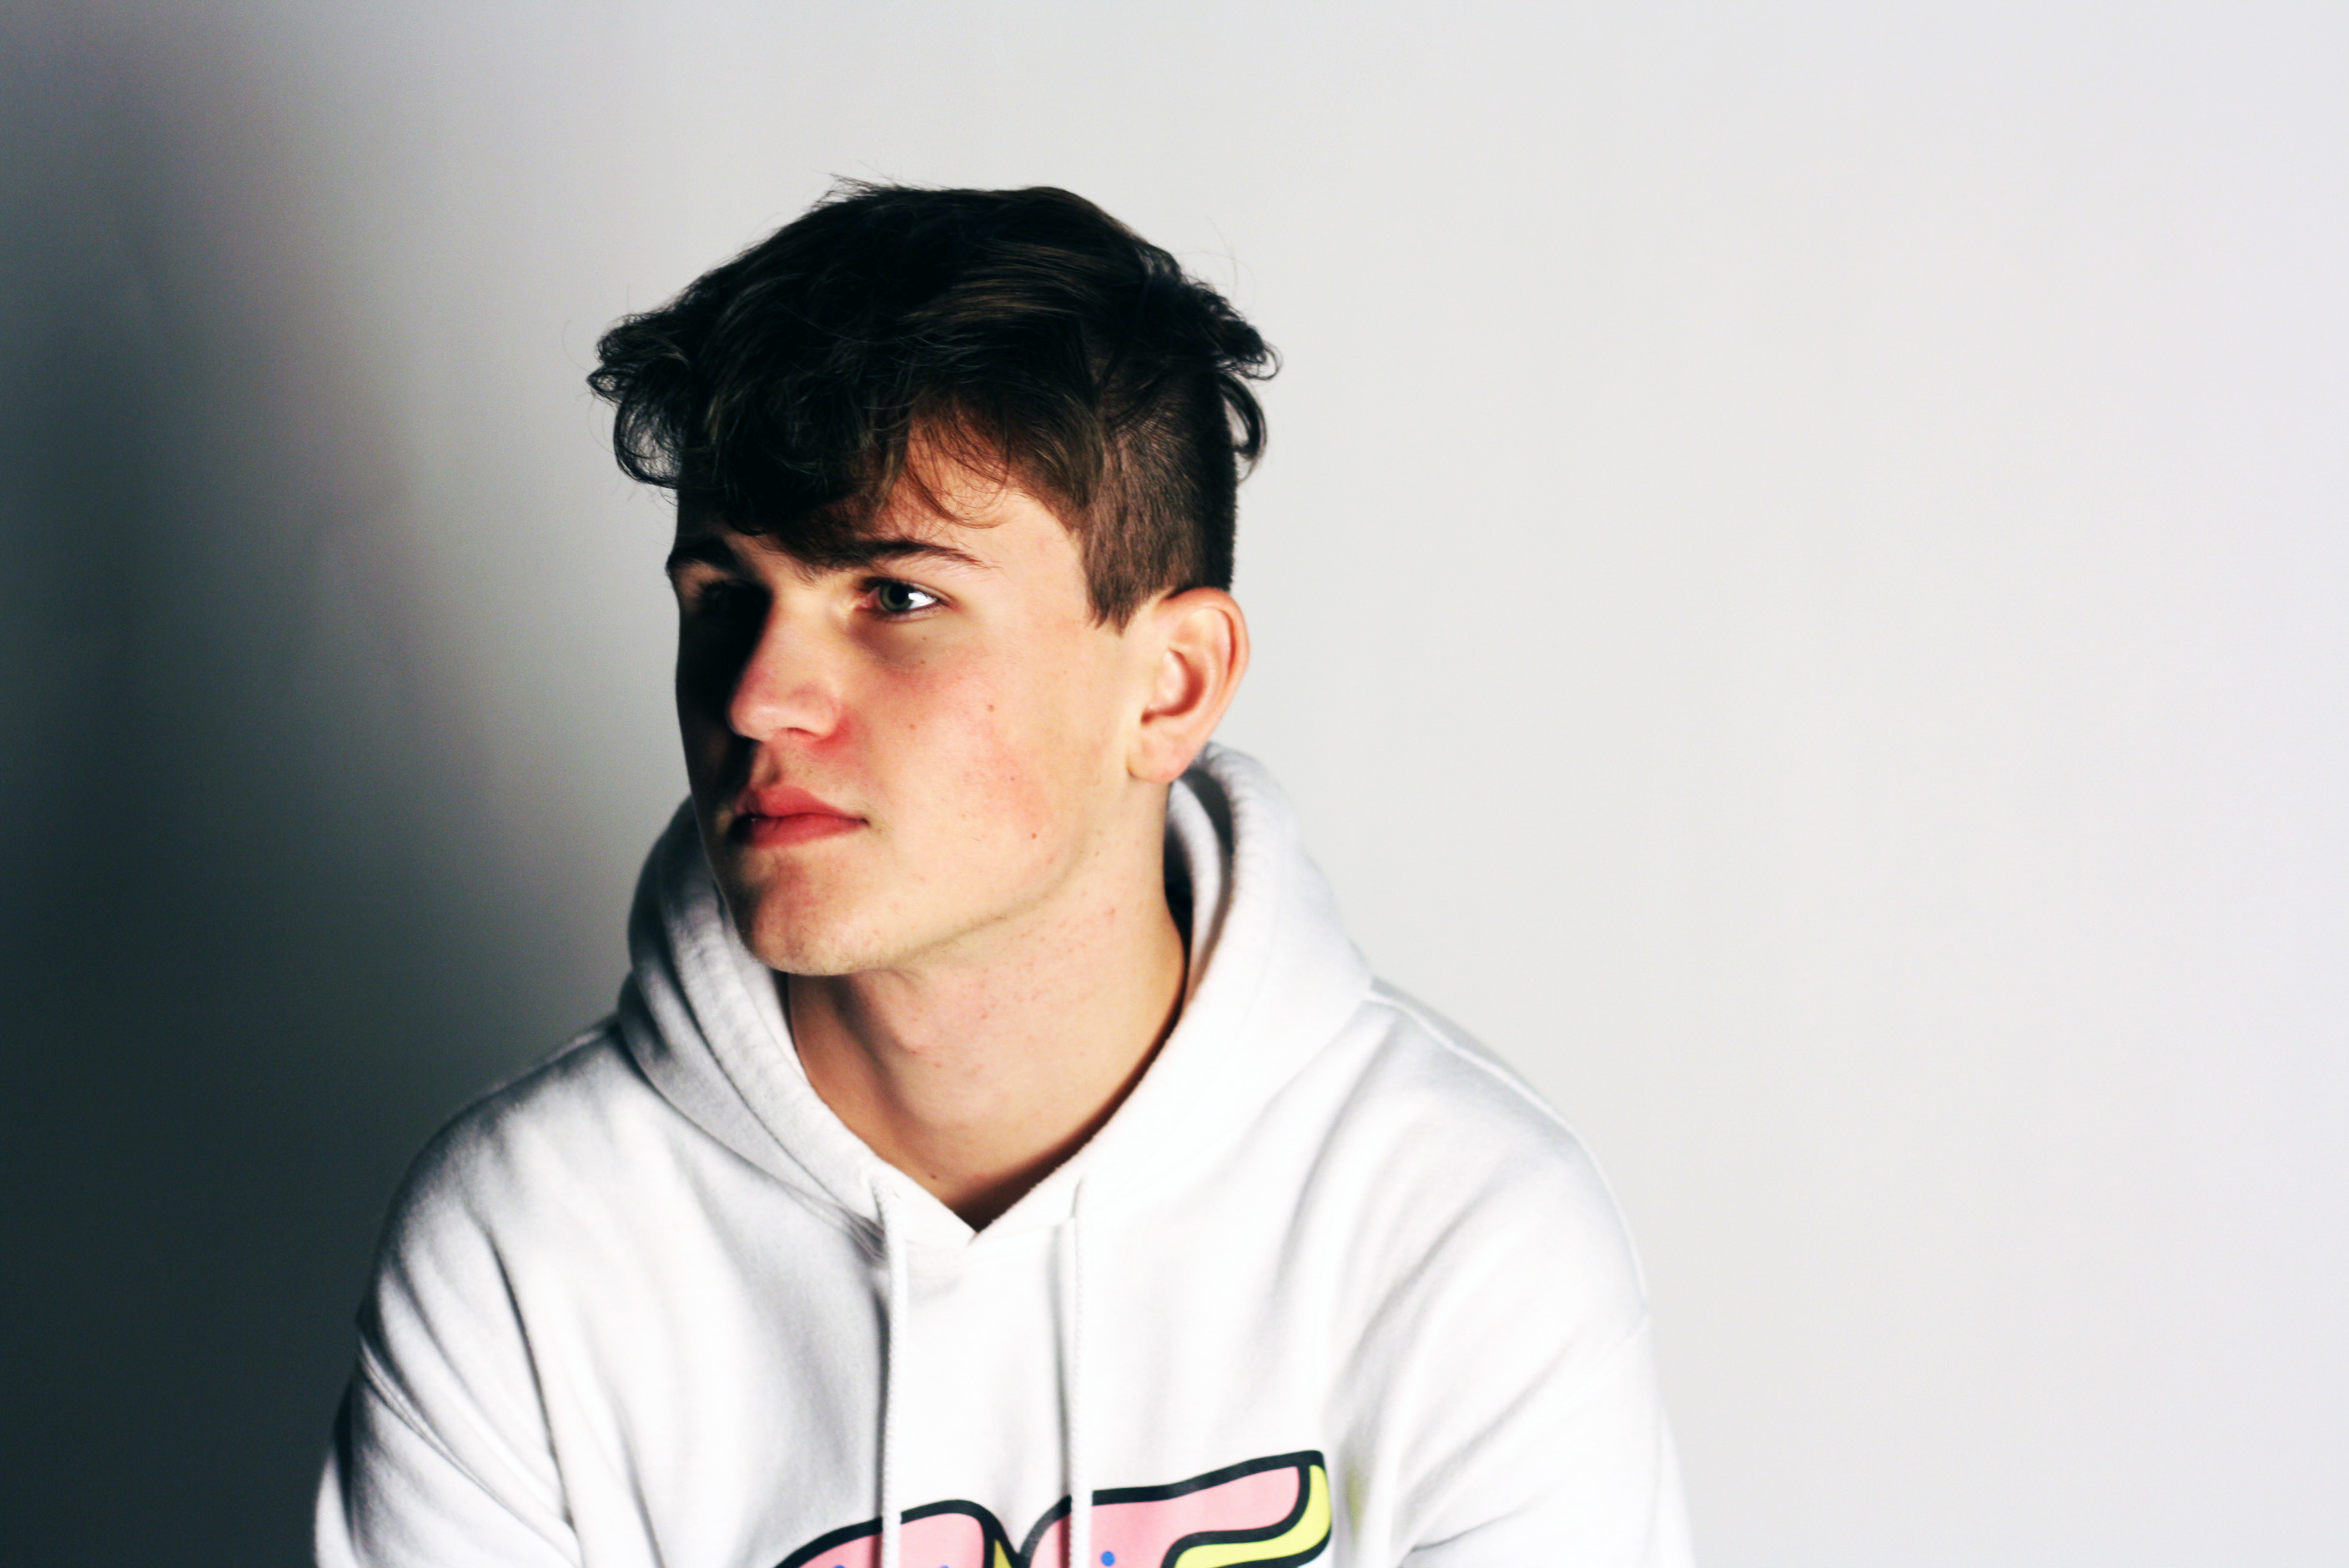
I was very lucky in this instance to be able to have 2 models which enabled me to change my style of photography for each, due to their differences in look and style I was able to use these to my advantage and let them express themselves for the camera.

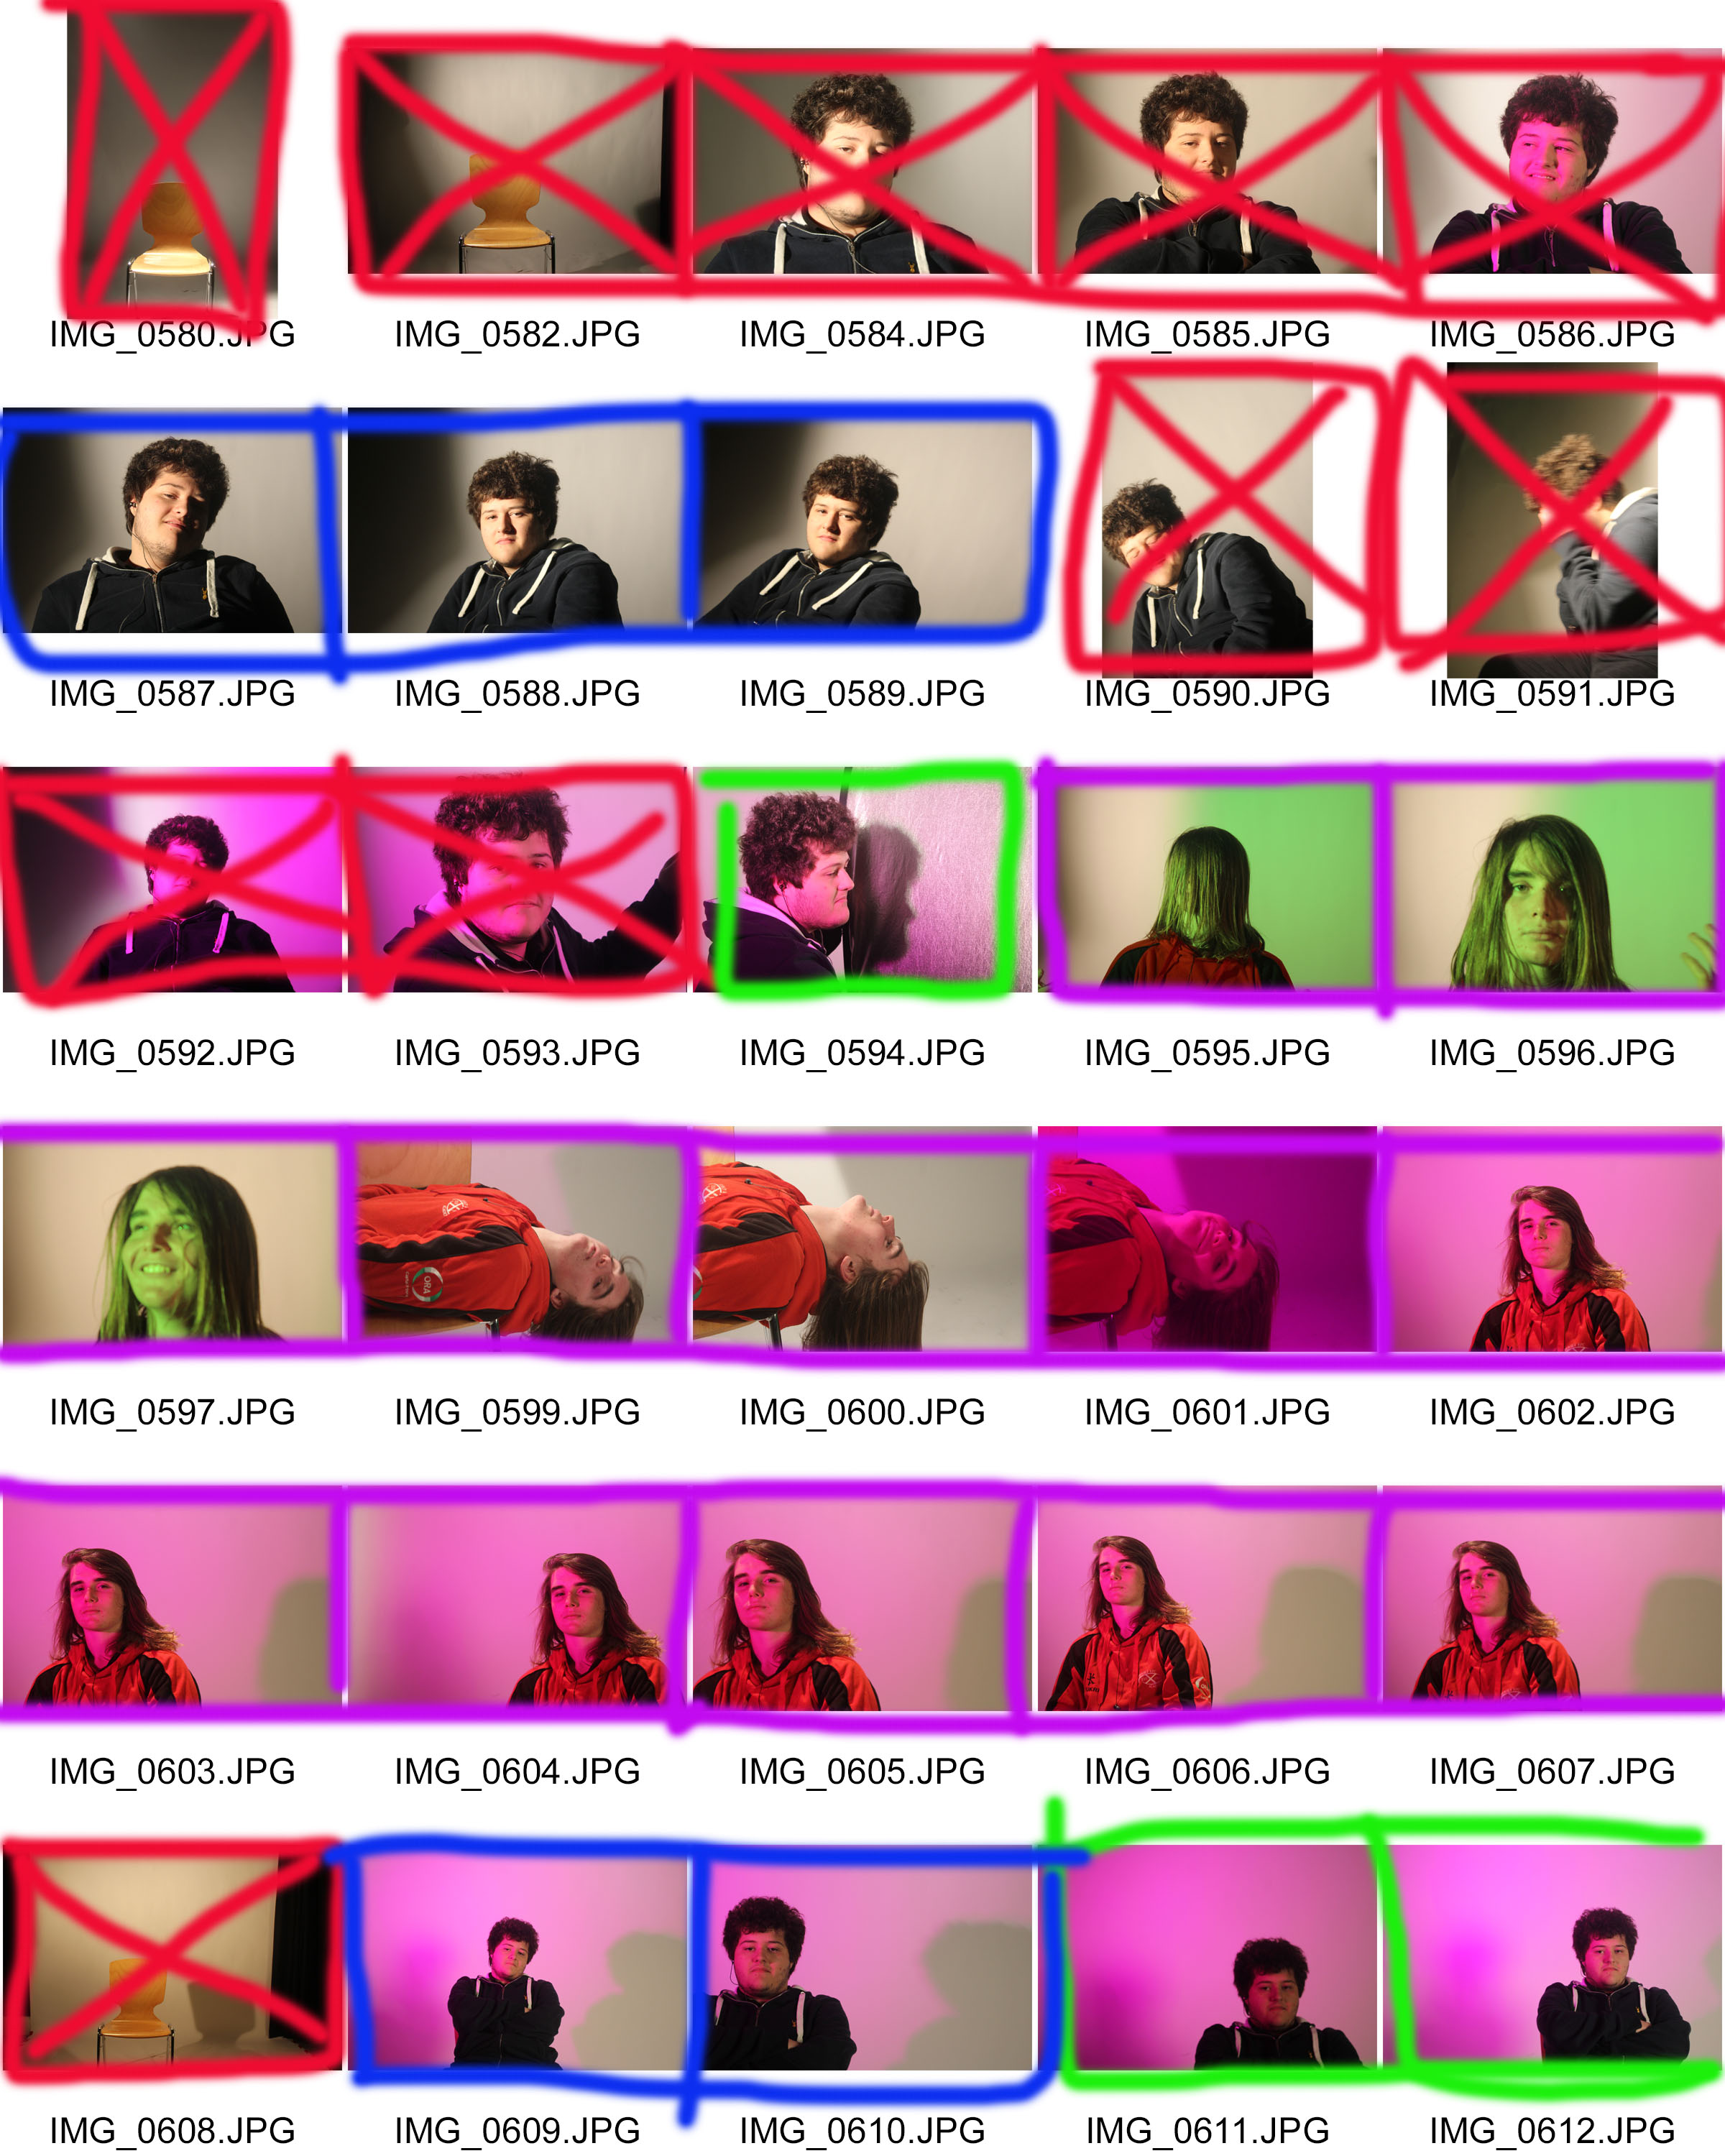
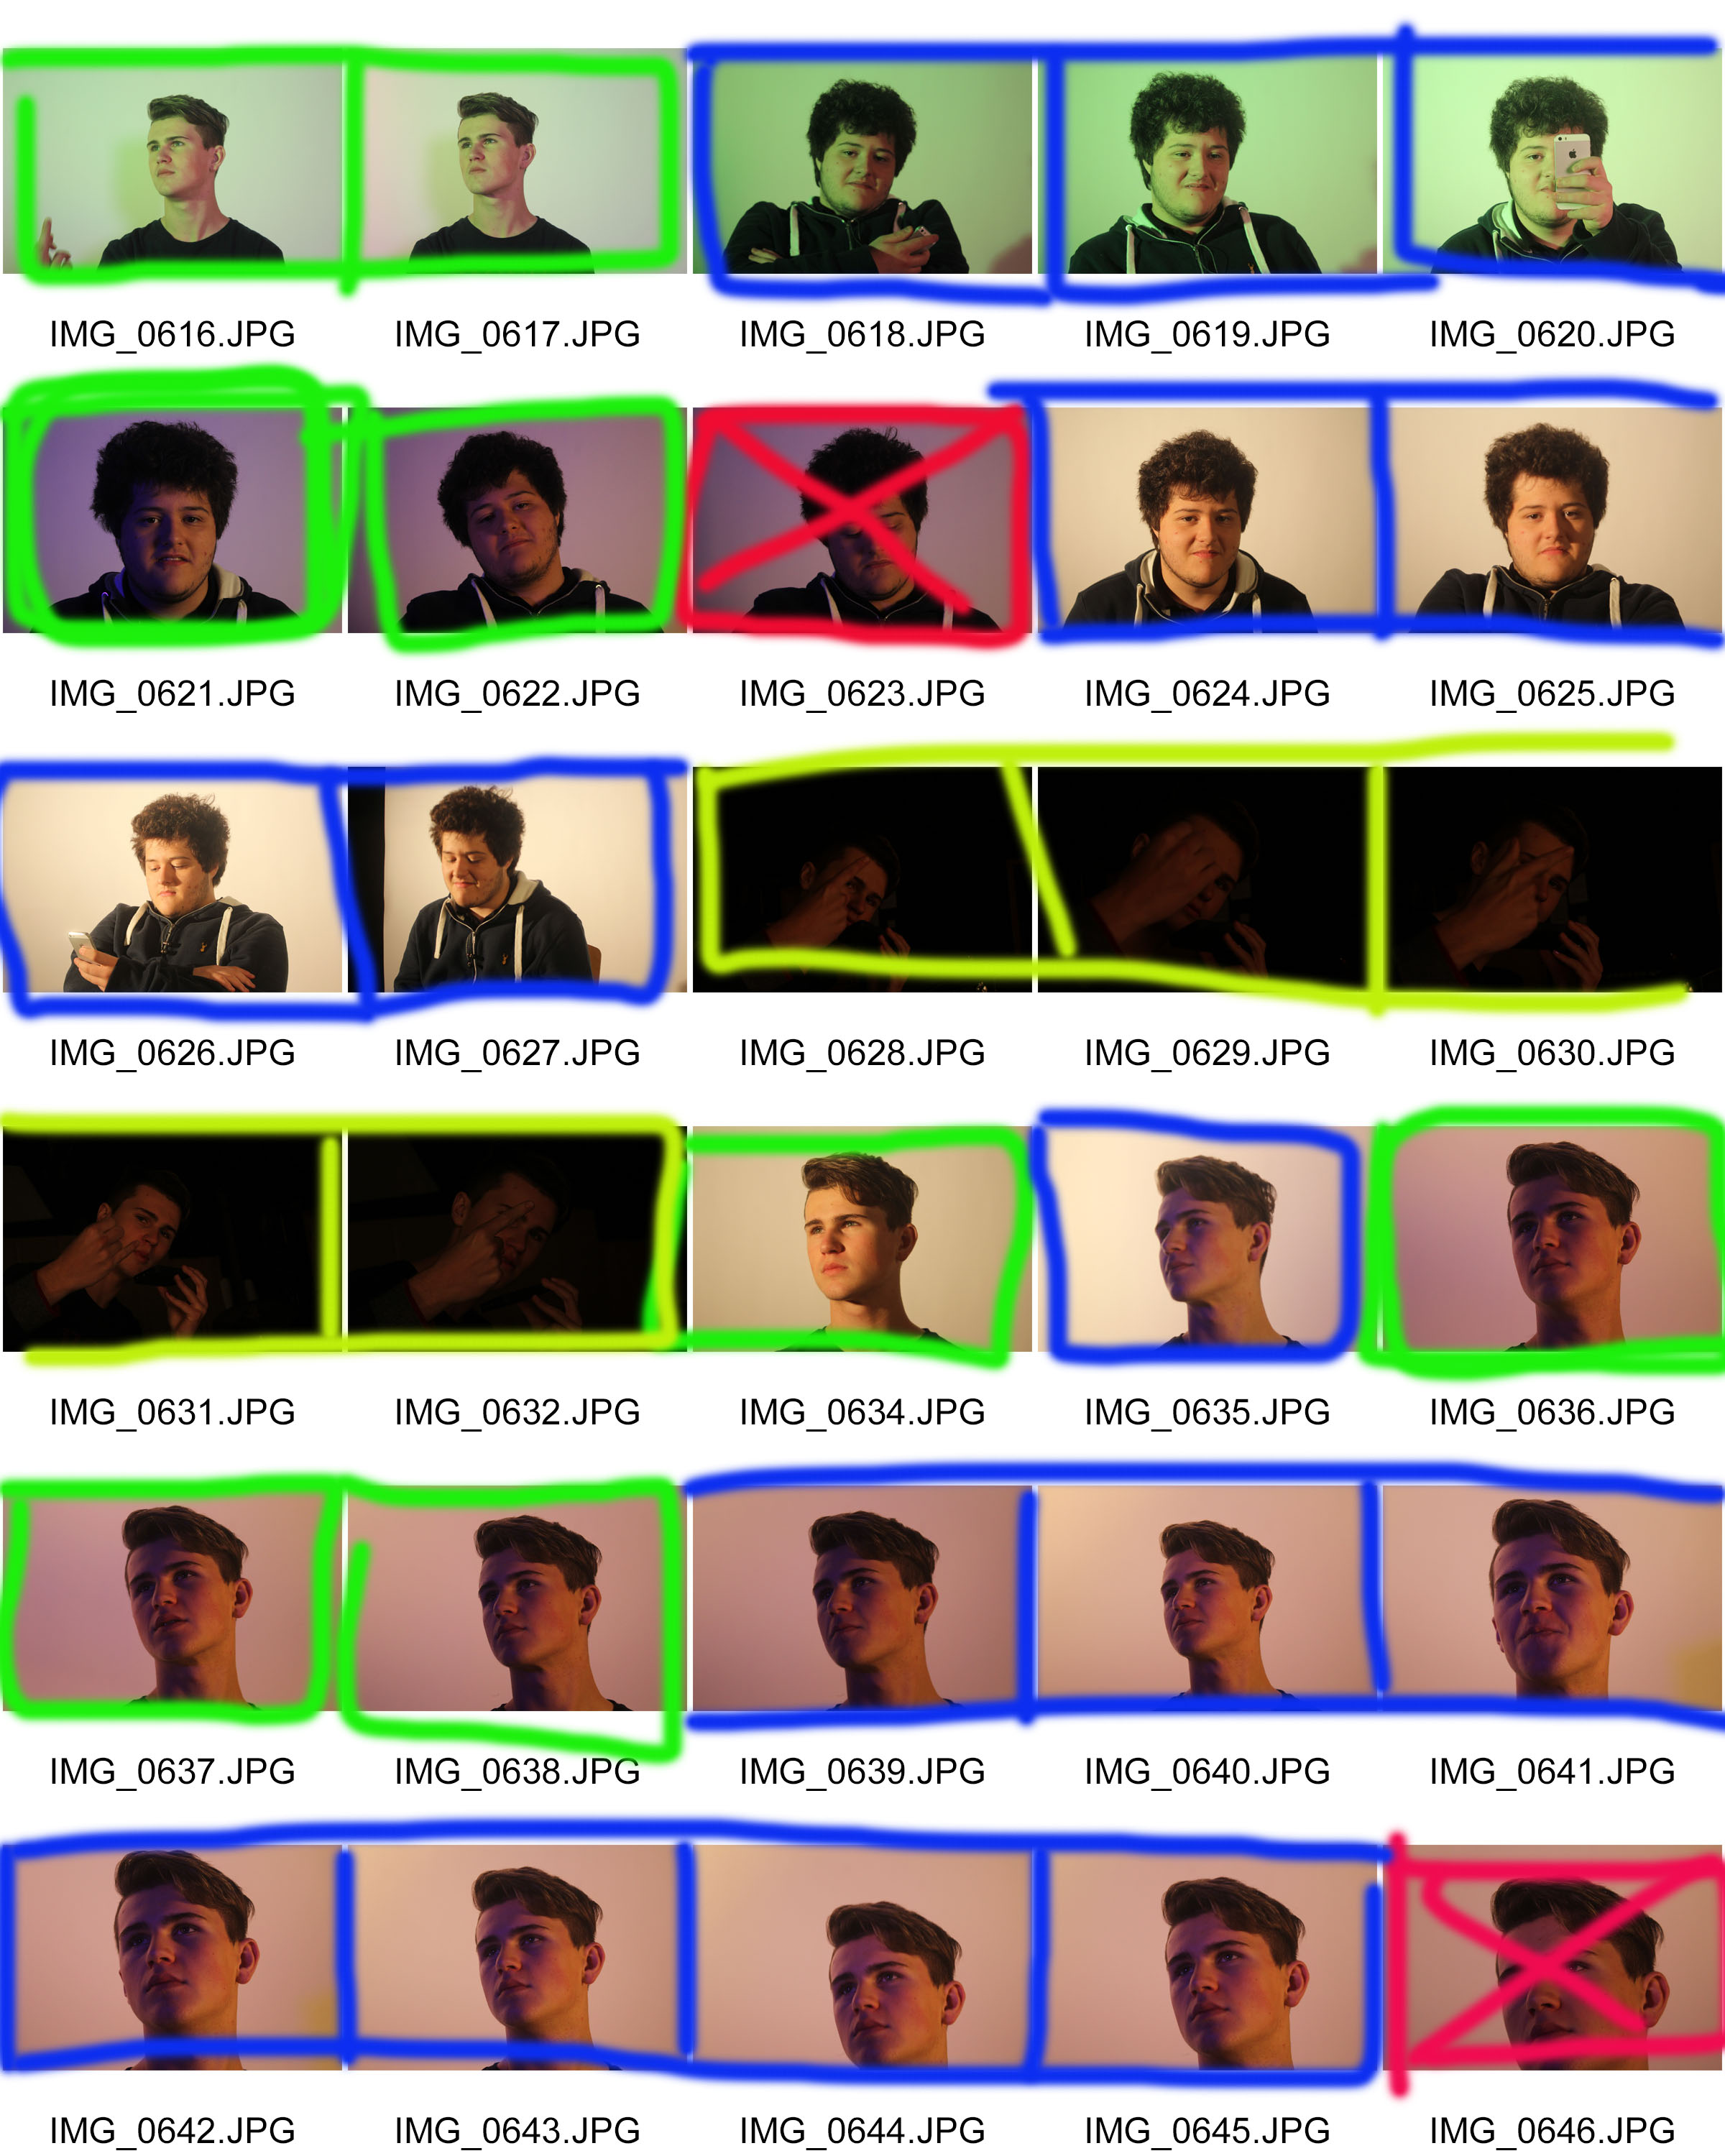
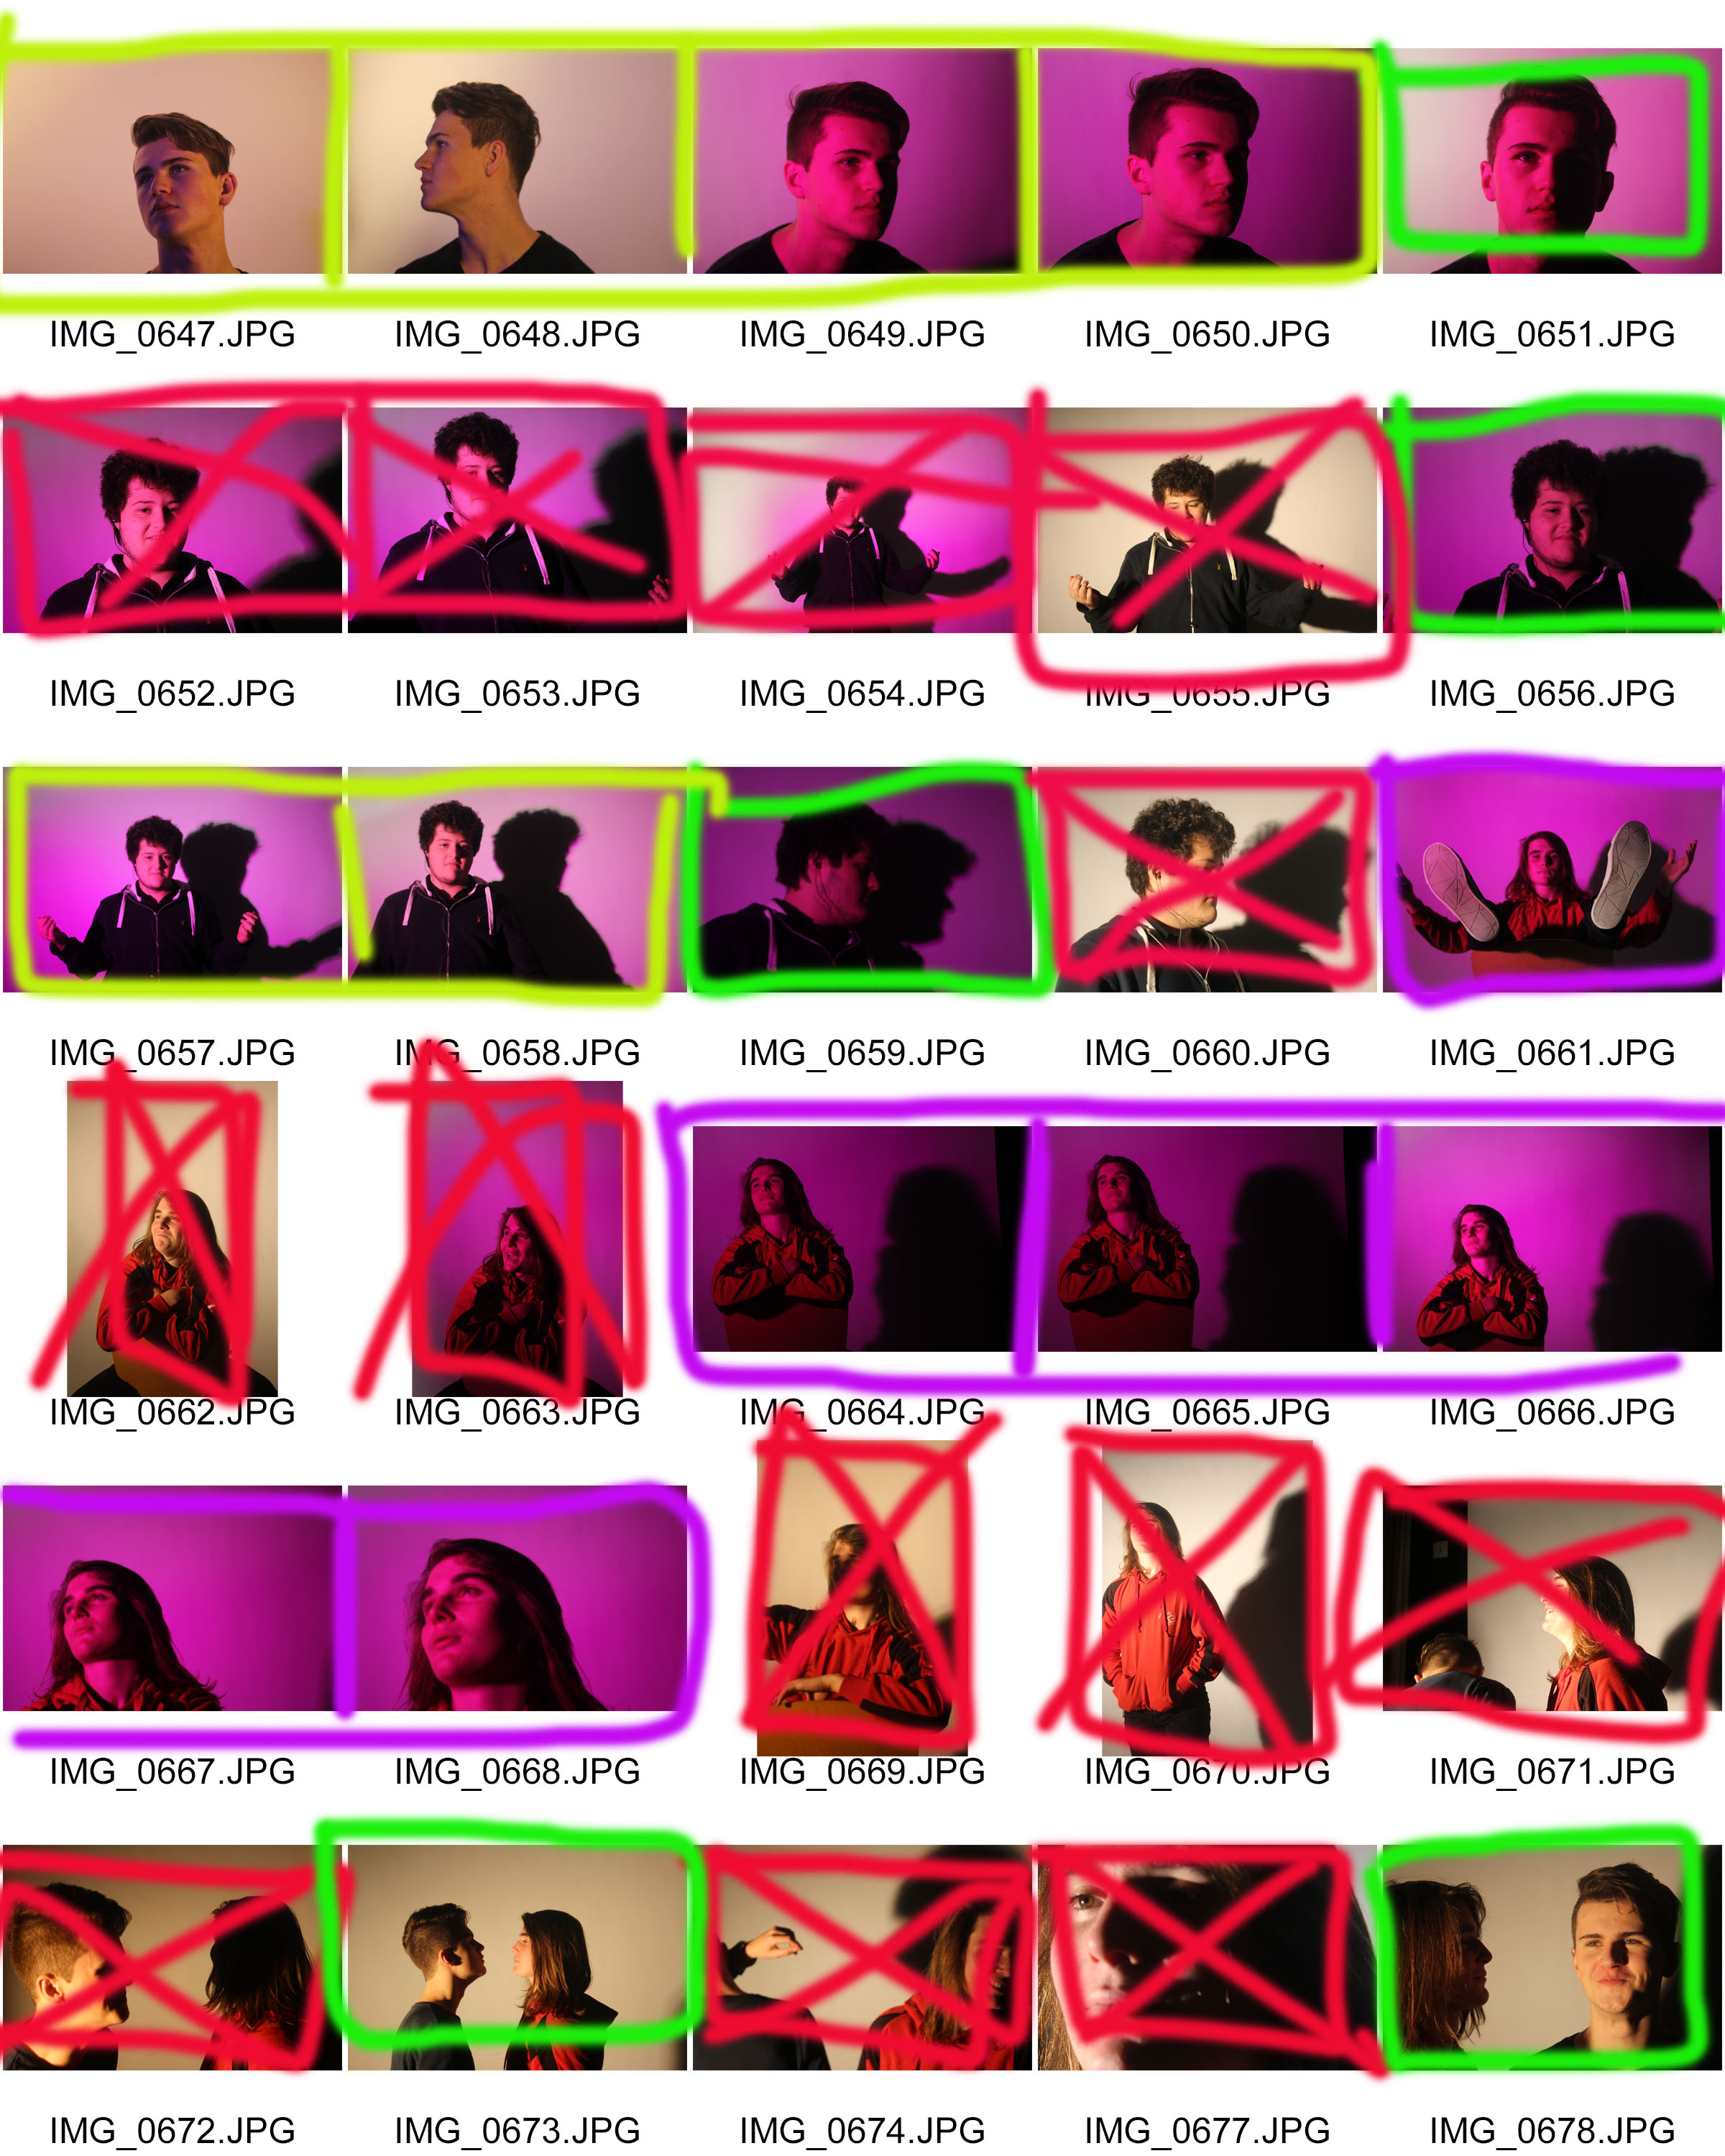
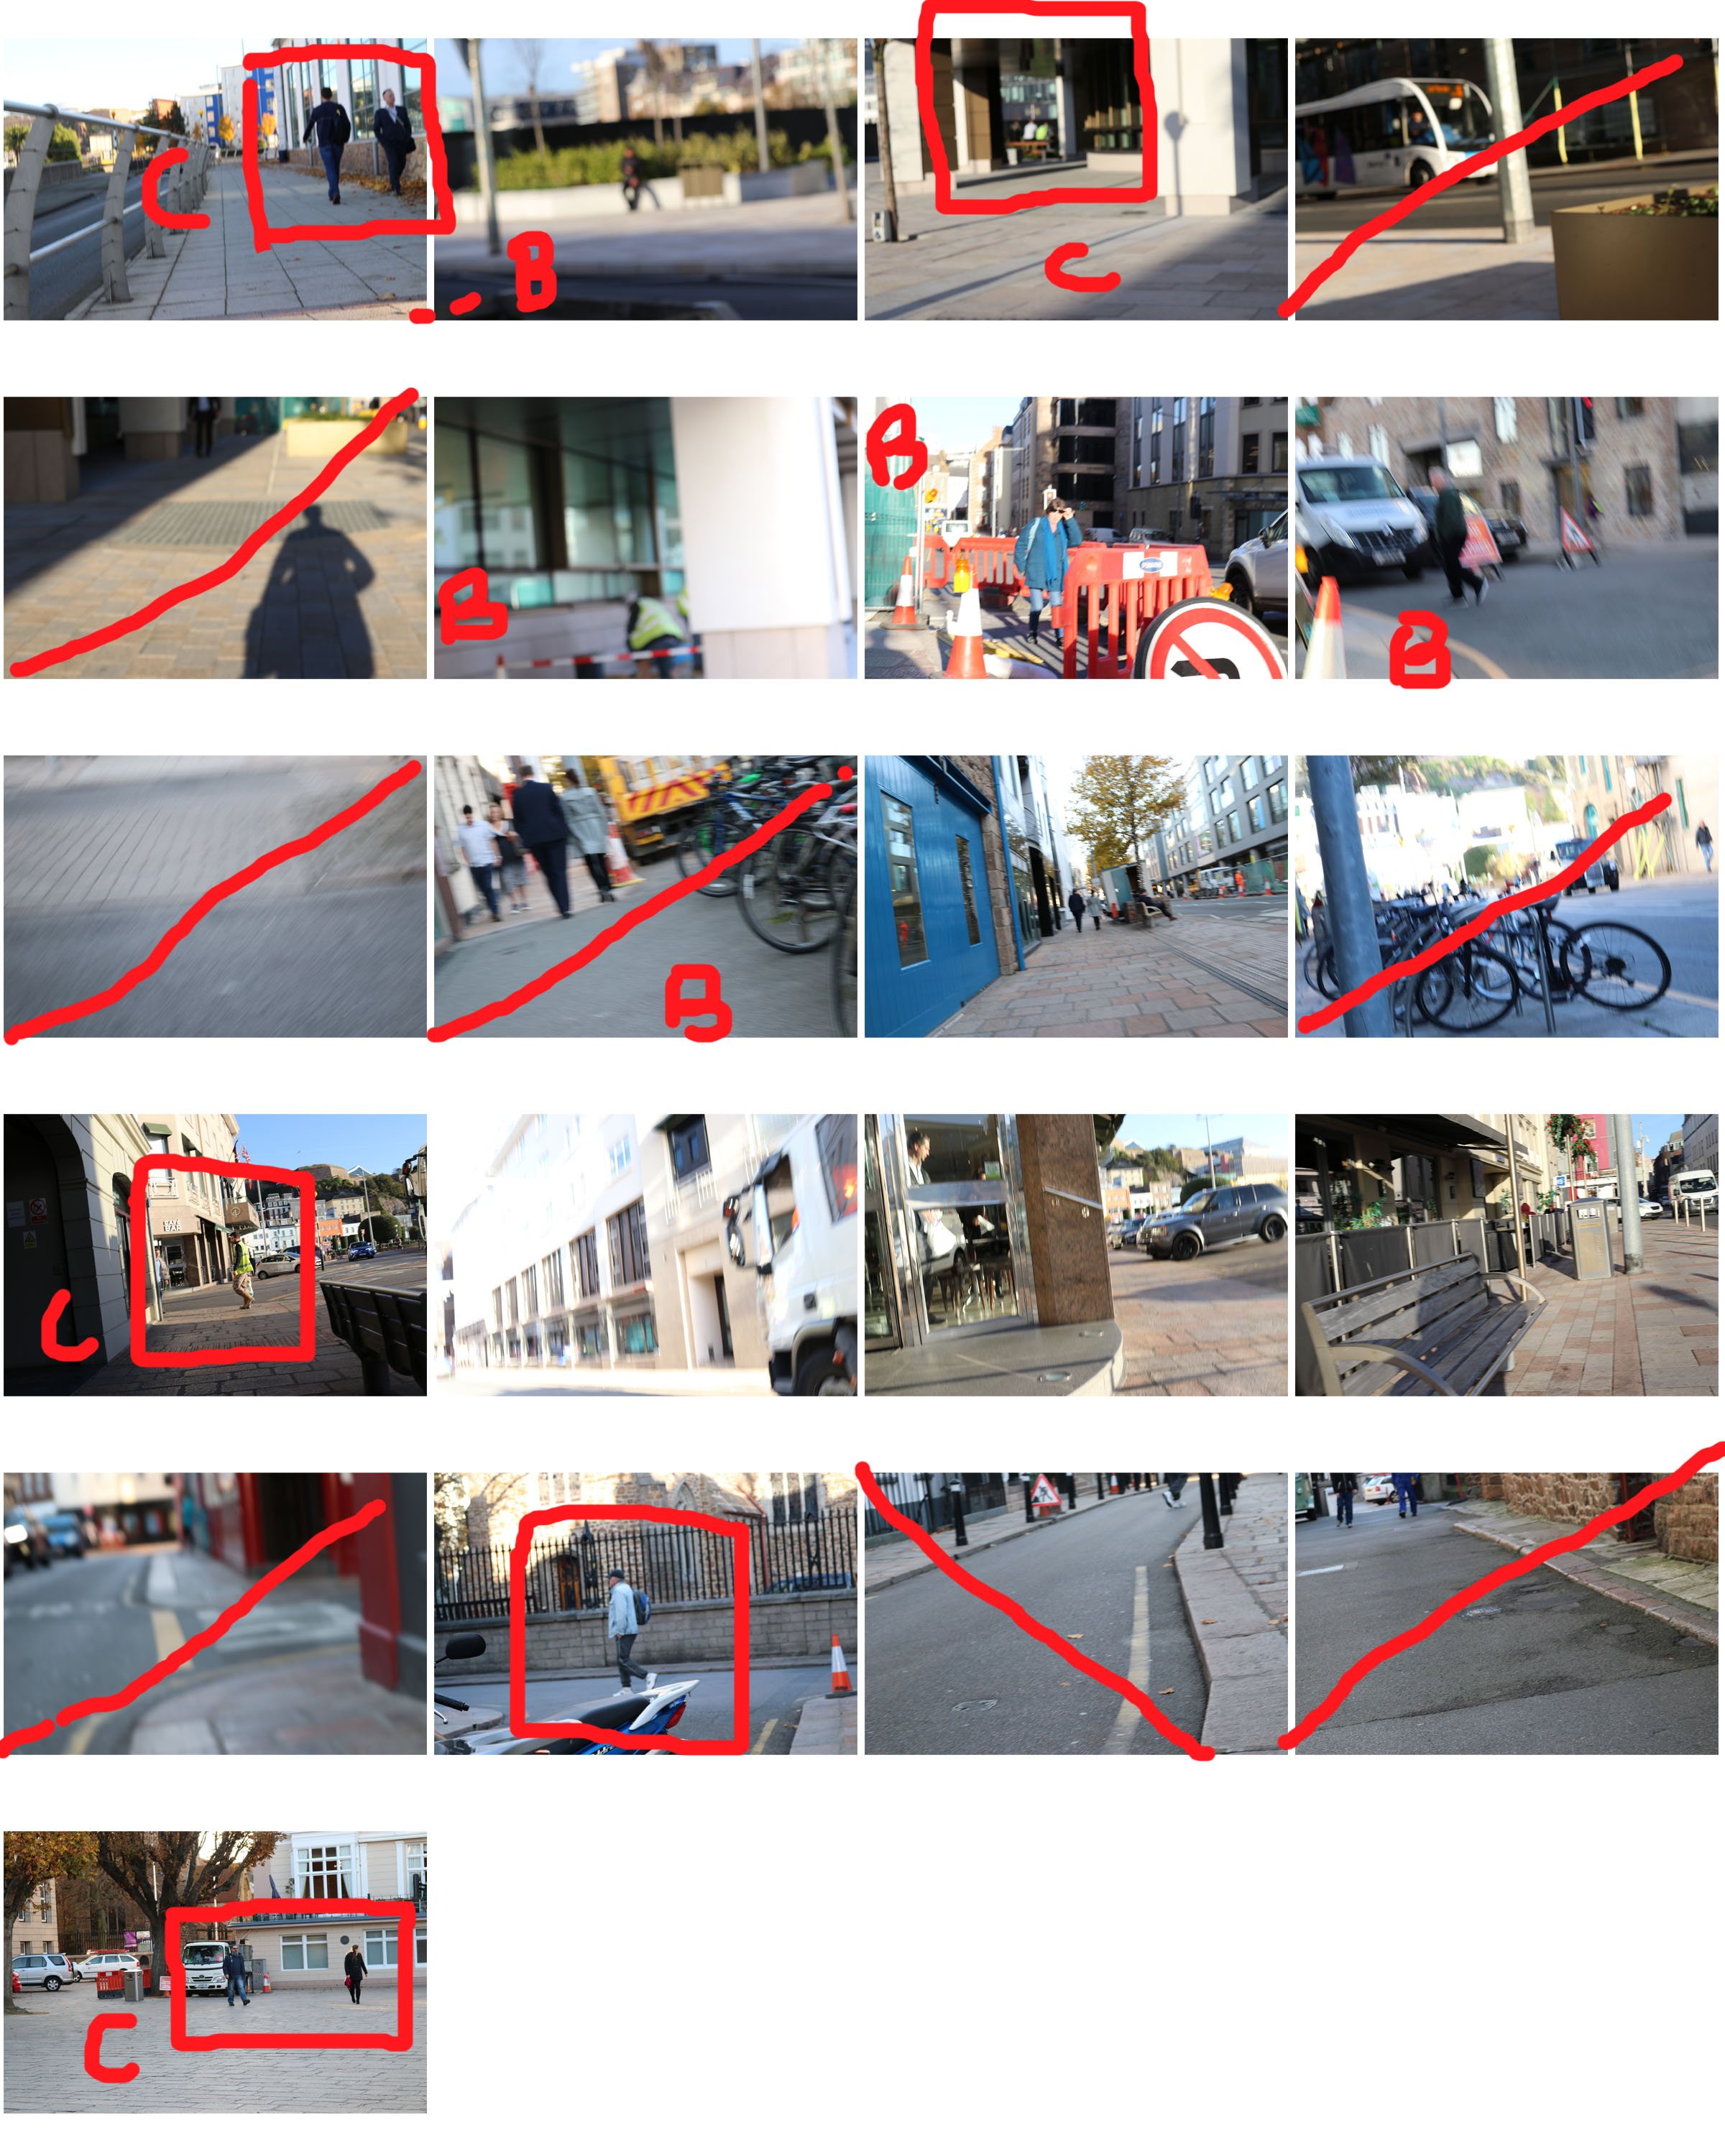
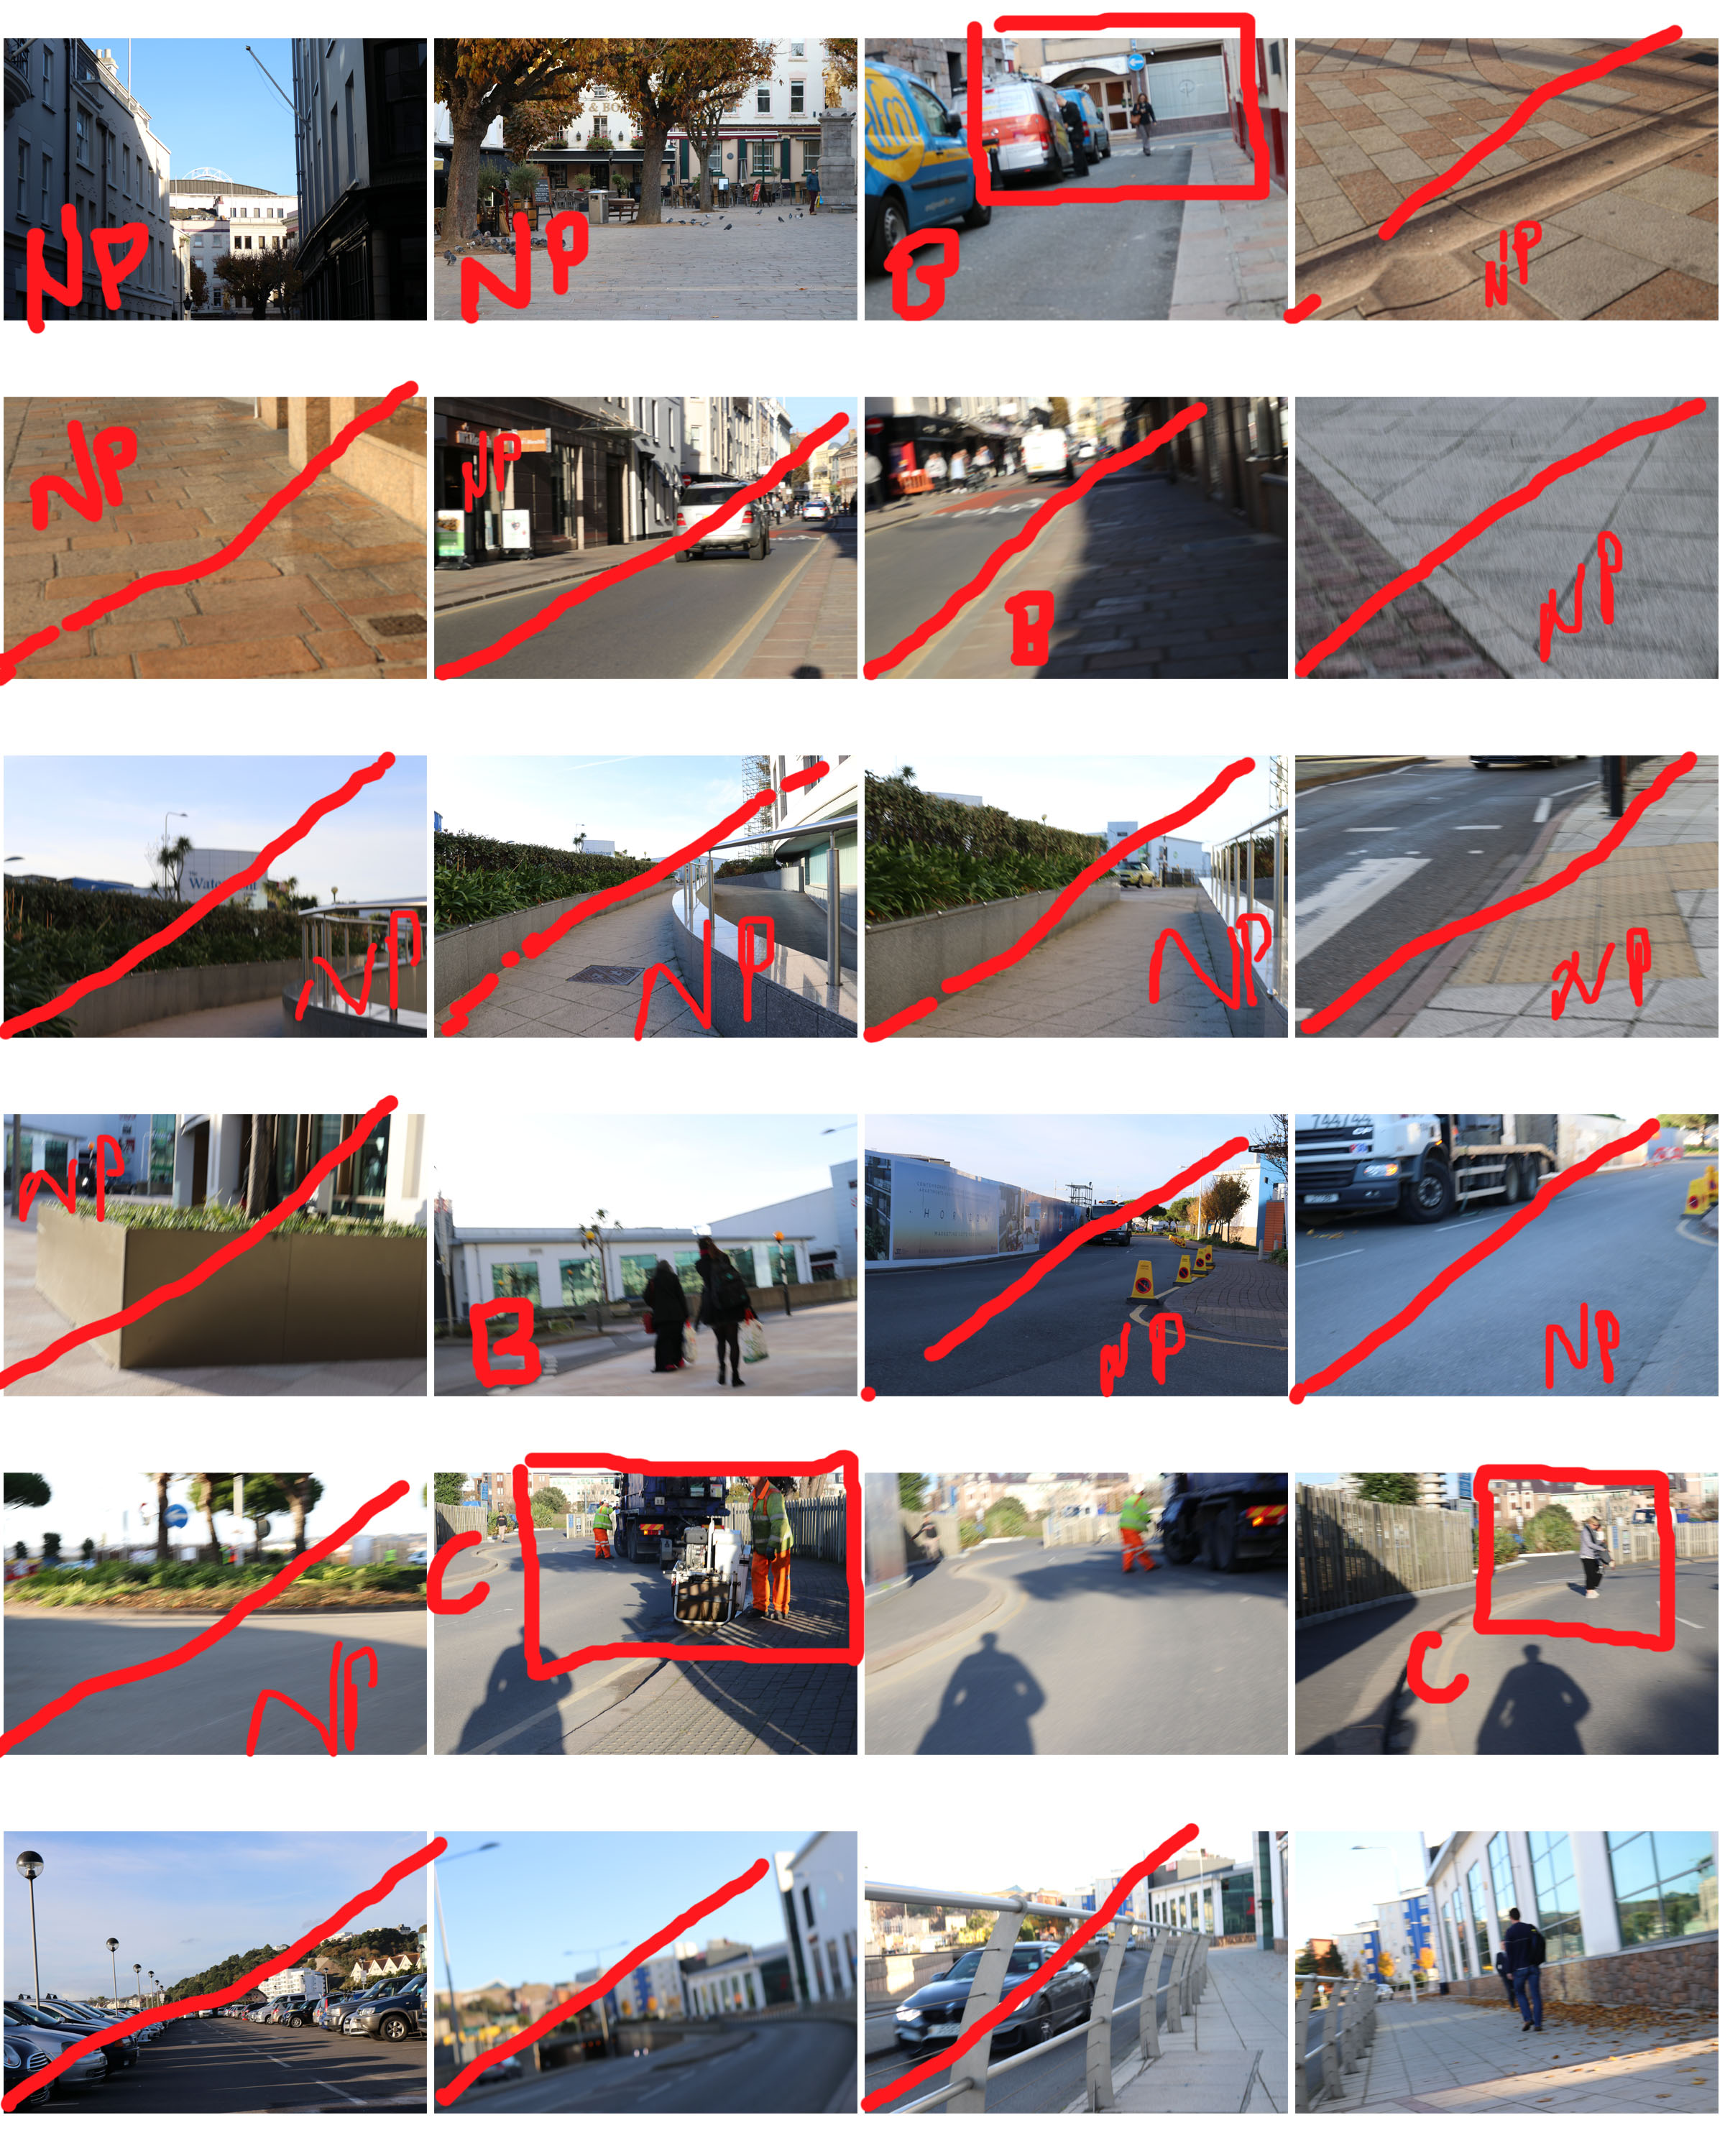
You will notice in this contact sheet that there is a new color which only surrounds myself. This is because of us working in one group we all used the same camera, I isolated my pictures from the rest so I could not be biased towards them. But due to the light, focal points and camera work they are nice photos.

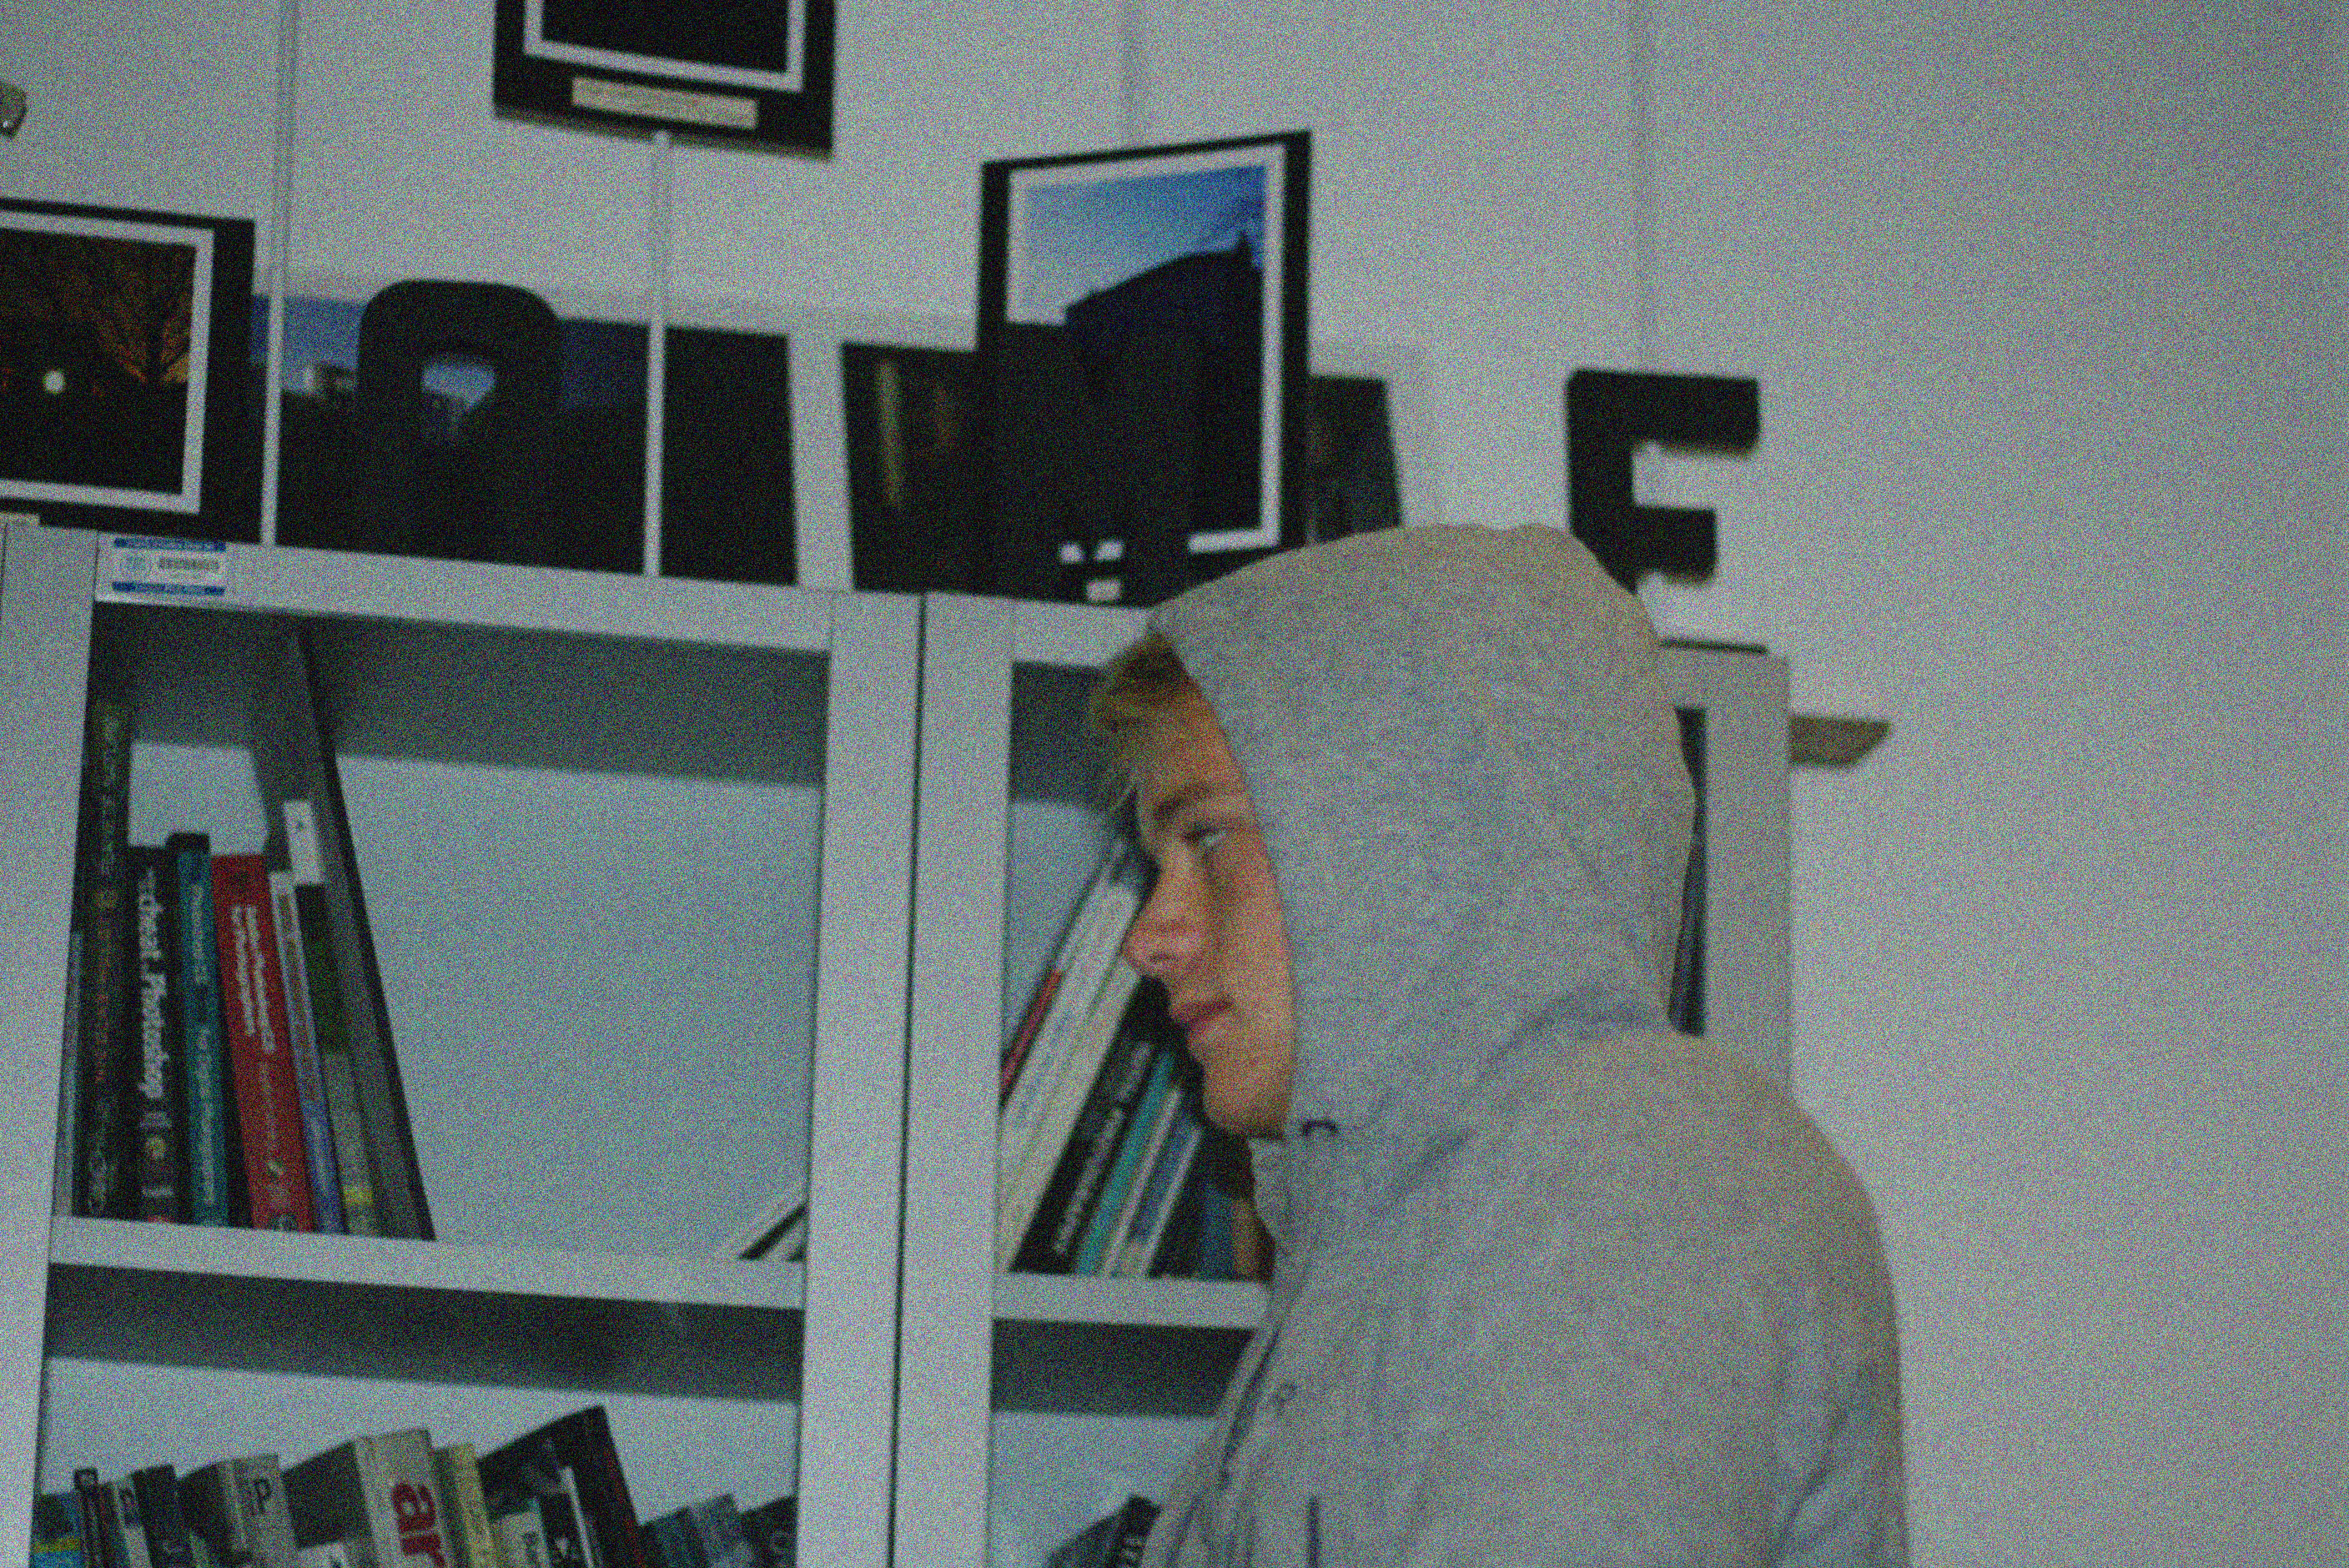
My favorite photos are the green bordered photos, this is because in these ones I really feel like I helped express the models movement and personality into the photo, making it seem naturalistic and just great.


Questions about Studio Portraits Techniques.

Why do we use studio lighting?

we use studio lighting for several reasons, for example we use it to control and manipulate how the light is being used also it helps to create a successful image. Also we use light so that if an image is too dark then we can use the light to brighten the image.

What is the difference between 1-2-3 point lighting and what does each technique provide/solve?

One point lighting is where you use only use one light source in the image, this would mean that only one part of the image is illuminated, it provides shadows.  This is the set up of the one point lighting.

Two point lighting uses two light sources – fill and key,  They are usually next to each other on opposite ends They both illuminate the object, this is good because if you don’t want any shadows they both eliminate them, here is the set up for two point lighting:

Three point light uses 3 light sources just like two point lighting however they use a back light this is usually positioned behind the object in the corner this is to illuminate the back of the object, this technique can also solve the issue of shadows as they all work together to eliminate them. Here is the setup for three point lighting:


 What is fill lighting?

Fill light is form of supplementary light mainly used to lighten shadows in an image. Fill light is often used in portrait photography to create a contrast between the image subject and image background.

What is spill lighting?

They use a reflector to spill the light from one of the light source on to the object this way they have more control over the lighting. The term “spill fill” refers to fill light which results from the footprint of light sources bouncing off surfaces in the shooting environment.

What is Chiarascuro ?

The treatment of light and shade in drawing and painting.  is the use of strong contrasts between light and dark, usually bold contrasts affecting a whole composition. It is also a technical term used by artists and art historians for the use of contrasts of light to achieve a sense of volume in modelling three-dimensional objects and figures. Here is an example of this:

Street photography — Artist comparison


I think that the portrait photo that I produced is very similar to the style of Winogrand because it has the main features of his work, i.e. the main subject in the fore-ground and shows the street and the surrounding area to.

The other two images have elements of Winogrand in them, they are inspired by his work, but instead of having a person as the front point and main focus one has a shoe and shows the background and the setting of the street, and the other shows the opposite to the others with the background being out of focus and the main feature, being the bin, being thrown far out of focus.

To get all of the shots that I needed for this I did use a film camera like I talked about but I didn’t have the ability to get some black and white film of the grade I wanted in time and it would have taken too long to get developed.

Studio Lighting – Post 4 (Two Point Lighting Shoot)

Two Point Lighting:

Two point lighting set up produces highlights in the eyes and some light and shadow. The secondary source of light is used to eliminate shadows that are created by the key light, it will soften contrasts and make more of the subject visible by enhancing the illumination of the face from  the key light.

It creates visible contours and enhances highlights and shadows on the face or body of the subject. It is very useful for close up portraiture as it shows off the facial features of the subject subtly. It is often used in the fashion and cosmetic industry as it creates a deep image with shadows and highlights and display the subject very well.

Mood Board:

My Response:

Best Images:

3 Point Lighting

What is 3 Point lighting?

3 Point lighting is the process of capturing the subject with maximal yet effective lighting, controlling shadows and shade.

This process involves a hair light, fill light and a key light, all positioned as shown in the diagram below.

Image result for 3 point studio lightingFor th

Contact Sheet

Here is a contact sheet of all my images from the shoot

Selected Image Editing

for this project, I wanted to explore more creativity with my editing, while not going too overboard

Here is an original photo

For this photo, I am going to lower the exposure slightly, increase the cyan colour within the image and apply a distorted filter over the top to give off a lo-fi effect.

Here is another image

I decided to use the ring light as  a frame to almost isolate the subjects face and create high contrast effects with the ring light and a slight shadow effect on the subjects face while maintaining the 3 point lighting. However, I find the image way too bright so I will edit it accordingly

For this image I simply just lowered the exposure and slightly altered the vibrance.

Final Images

Here are my final images

Chiaroscuro – studio work

For one of our studio tasks we were asked to try out Chiaroscuro, a lighting technique where you light one half of someones face leaving the other one shadowed. It’s an interesting way of creating something unique but not overdoing it, and its an effective way of adding some mystery and contrast to an image.

Contact sheets:


Chosen edits:

I chose these images because they show how dramatic the chirosuro effect can be. By darkening one half of the face to a point where you can’t even see their features and their face blends into the black background adds a bit of mystery to the image, you feel less connected to the person, however the highlighted part of their face stands out and is all which you can focus on.