
What Is Studio Lighting:
When lighting a studio setup, dramatic lighting is important. Create dramatic lighting by producing a lot of contrast. This means that dark areas are just as important as light areas. Dramatic lighting requires a number of light sources placed in a way to create very light and very dark areas.

The most basic studio lighting arrangement uses a key light (1), a fill light (2), and a back light (3). This is the most common lighting arrangement for standalone characters and objects in the studio. A three-point setup will give good results right away and is an excellent starting point for creating special effects. Spotlights are useful because you can control their direction and hot spot to give the scene drama.

http://docs.mcneel.com.s3.amazonaws.com/flamingo/nxt/help/en-us/lighting/studio_lighting_basics.htm
Basic 3 Light Set Up:
Key light: The key light is the dominant light in the scene. It sets the mood, provides direction, shows dimension and texture, and creates the darkest shadows.
Fill light: The fill light is placed just above the lens on the opposite side from the key light. Its purpose is to reduce contrast and bring out detail in the shadows by simulating light reflected off nearby objects. The key light and fill light may be of equal intensity for a low-contrast result, but the key light is usually brighter and harder than the fill light. The fill light should not introduce any more dark shadows into the scene.
Back light:  The backlight effect is subtle but can define the edges of objects in the scene and add depth by preventing objects from blending into the background. Backlights are usually placed behind and above the object and are pointed toward the camera. The effectiveness of backlights depends in part on the reflectivity of the surfaces they are lighting.

http://docs.mcneel.com.s3.amazonaws.com/flamingo/nxt/help/en-us/lighting/studio_lighting_basics.htm
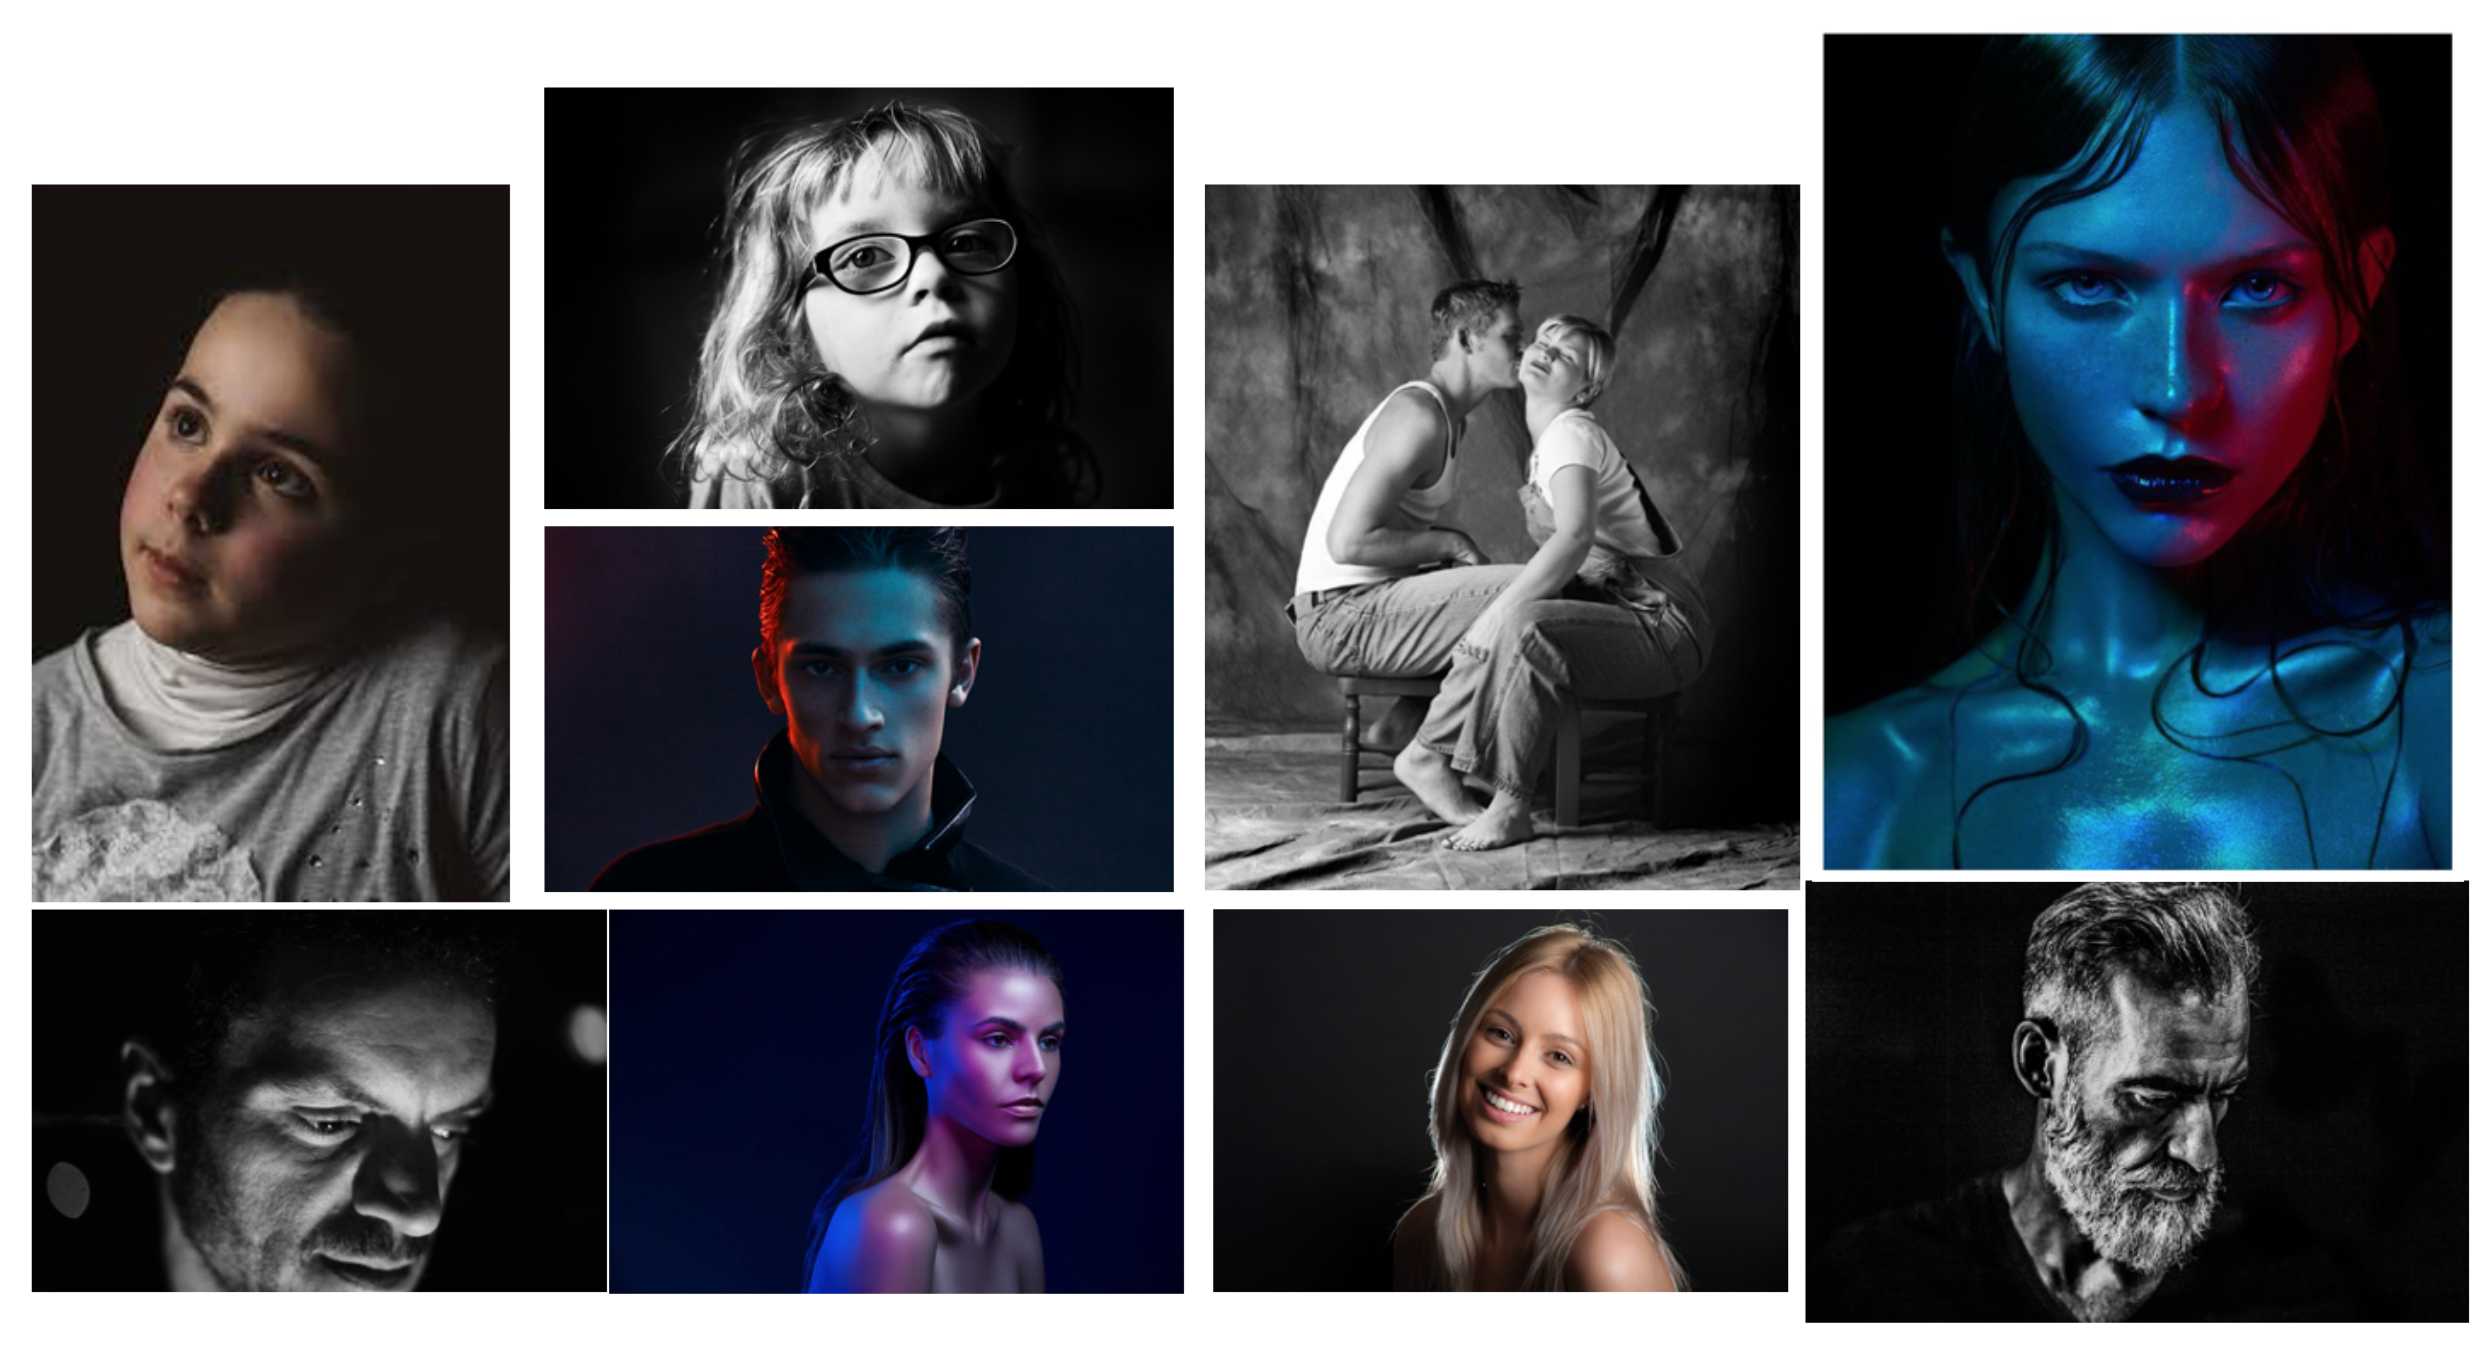
Mood Board:
Action Plan:
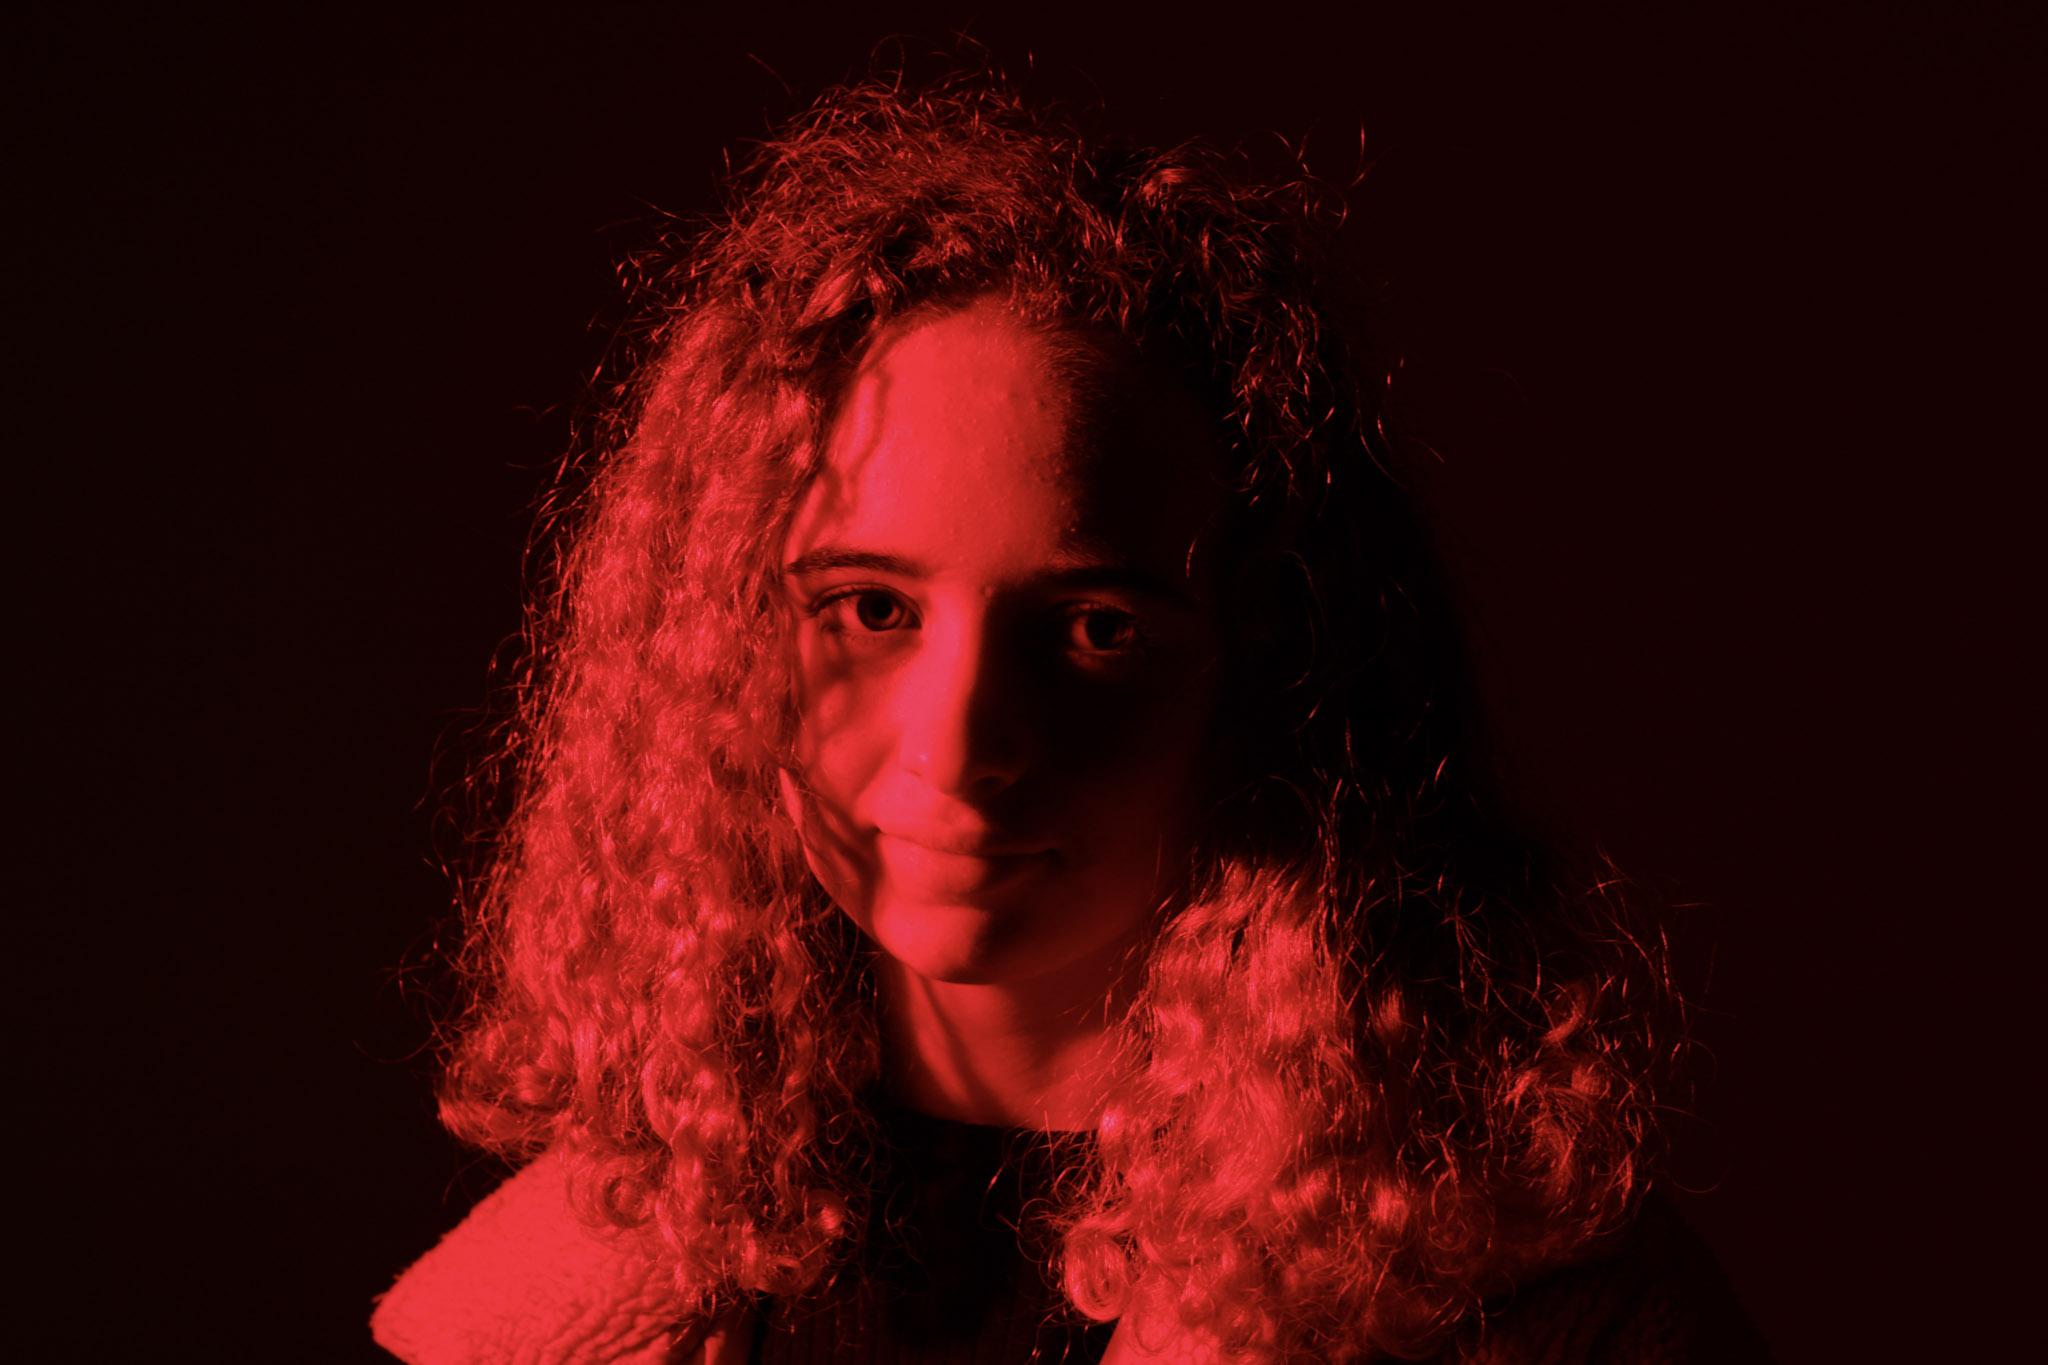
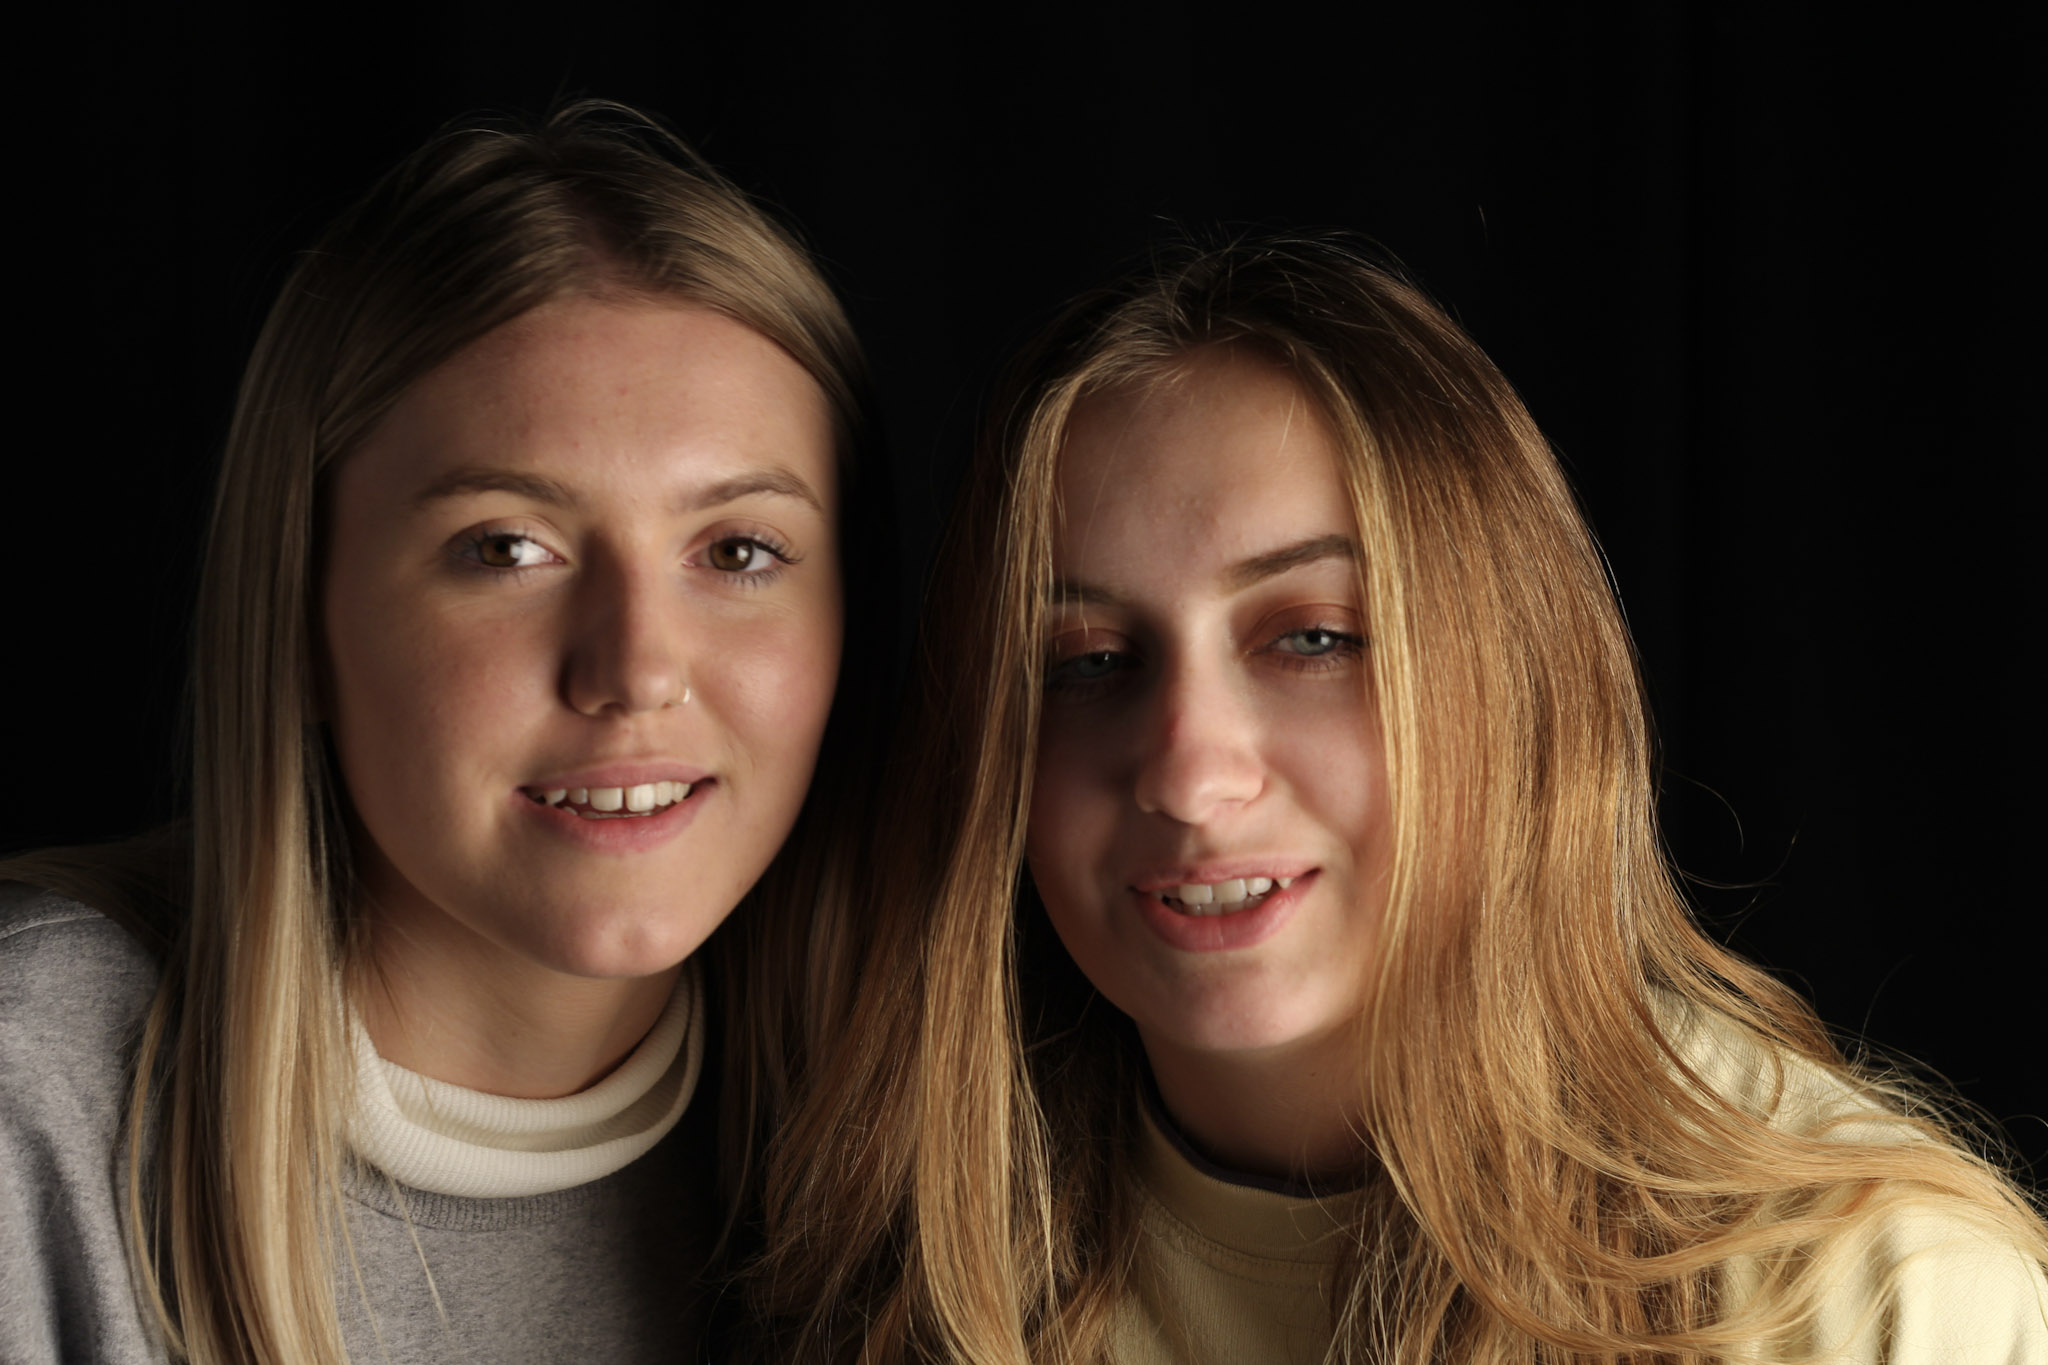
In my first studio lighting shoot I am going to try to create both contrast by having one half of the face with the light, and the other half with a shadow. I am also going to experiment with filters and using two lights on either side of the face. I will also experiment with shooting onperson, two people and then three people to see how the light works with numerous people. There are two lights that I am going to switch between my images, a light with a soft box and a redhead light. With the red head light I also placed coloured filters over to experiment with.
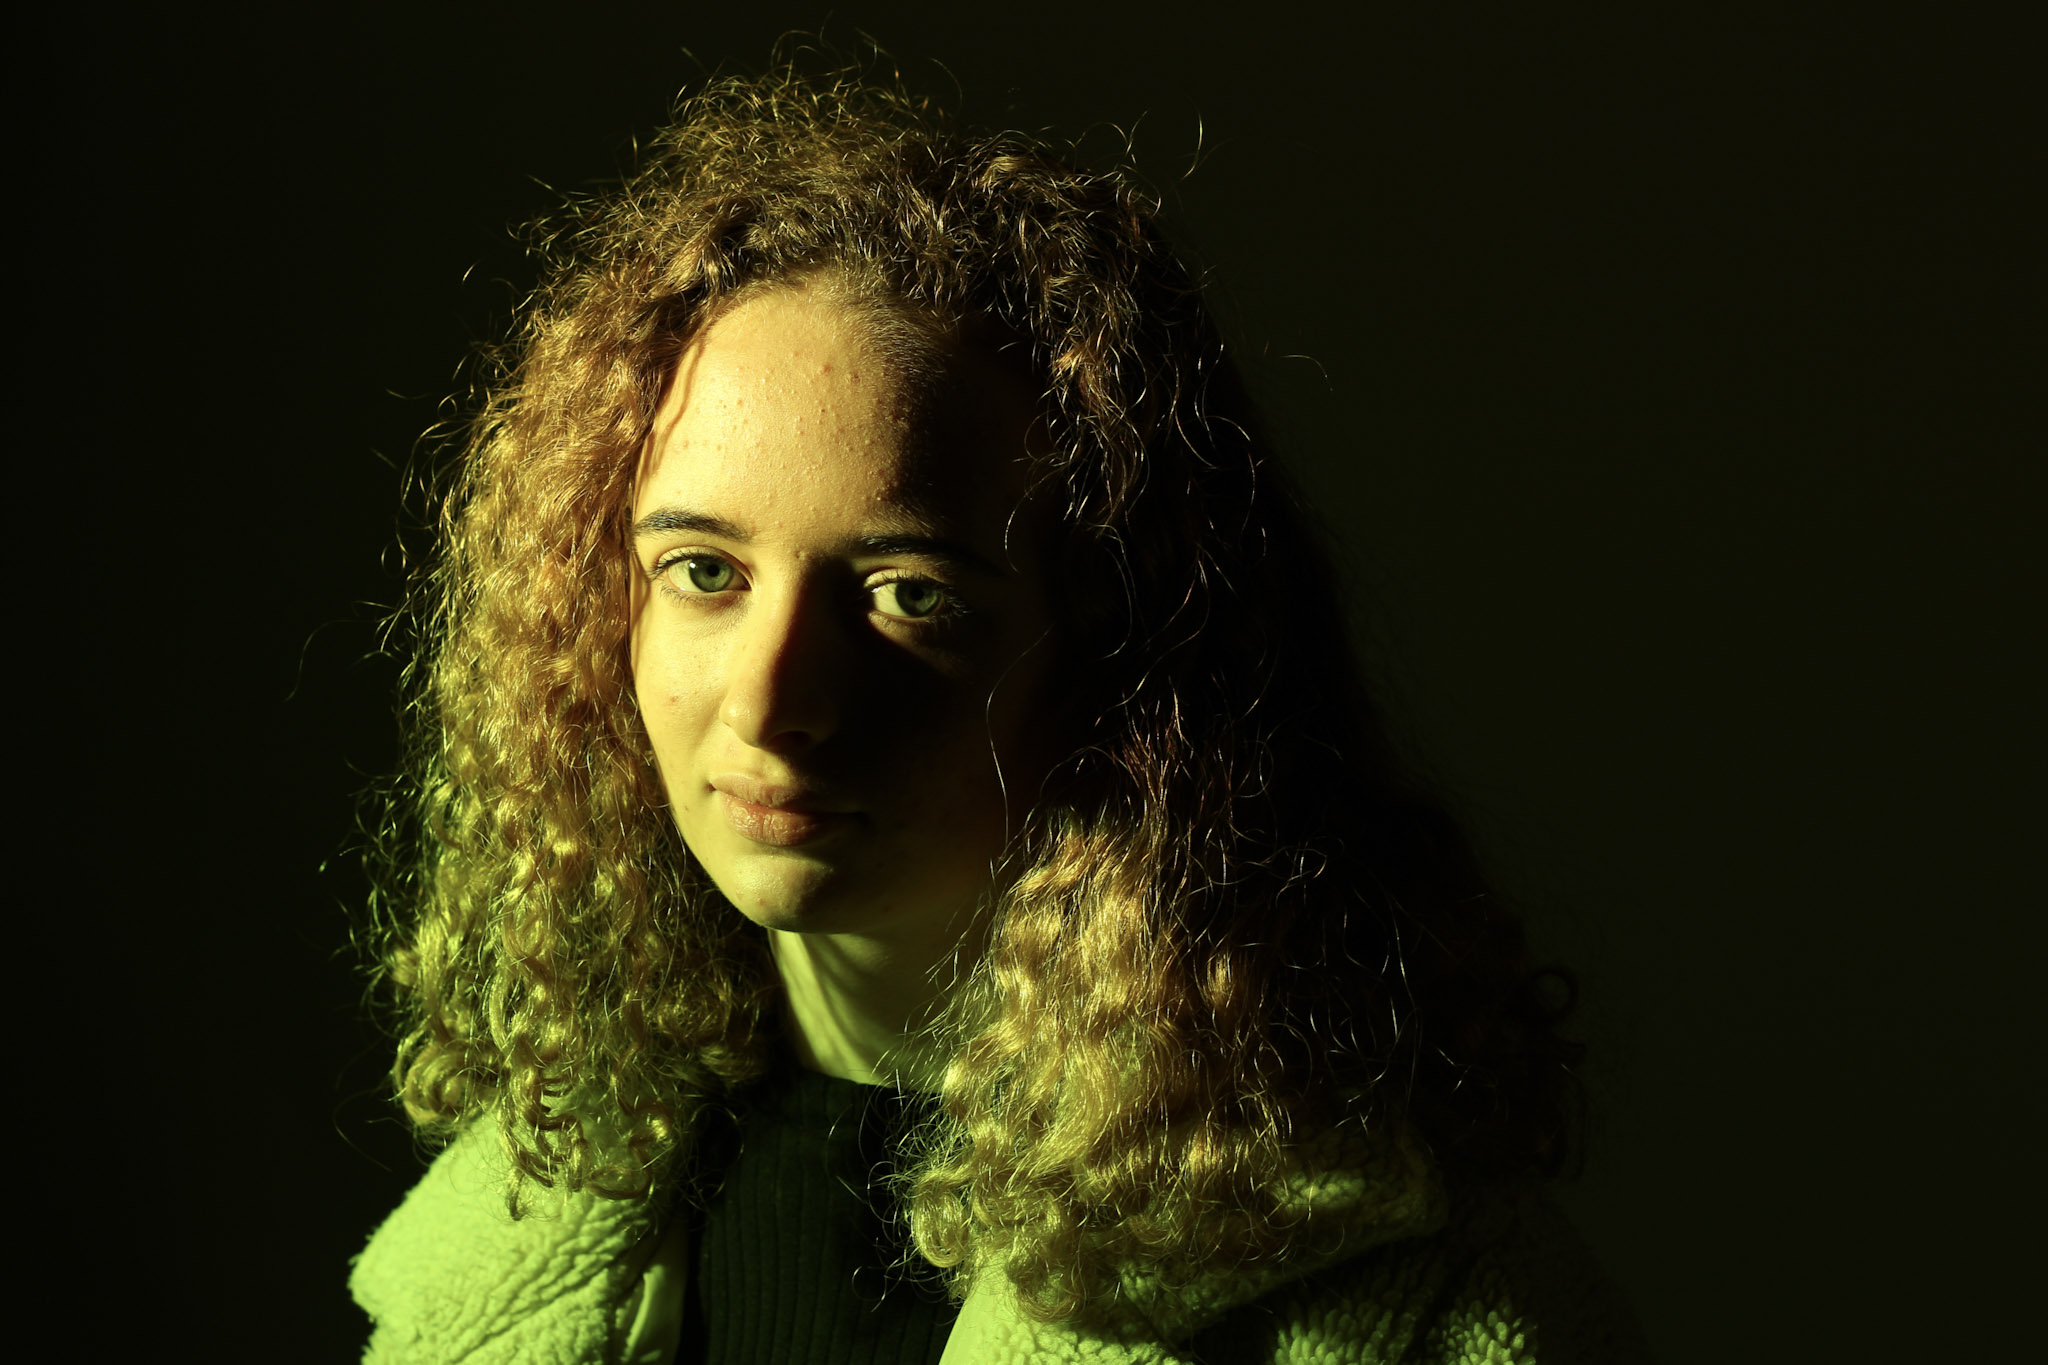
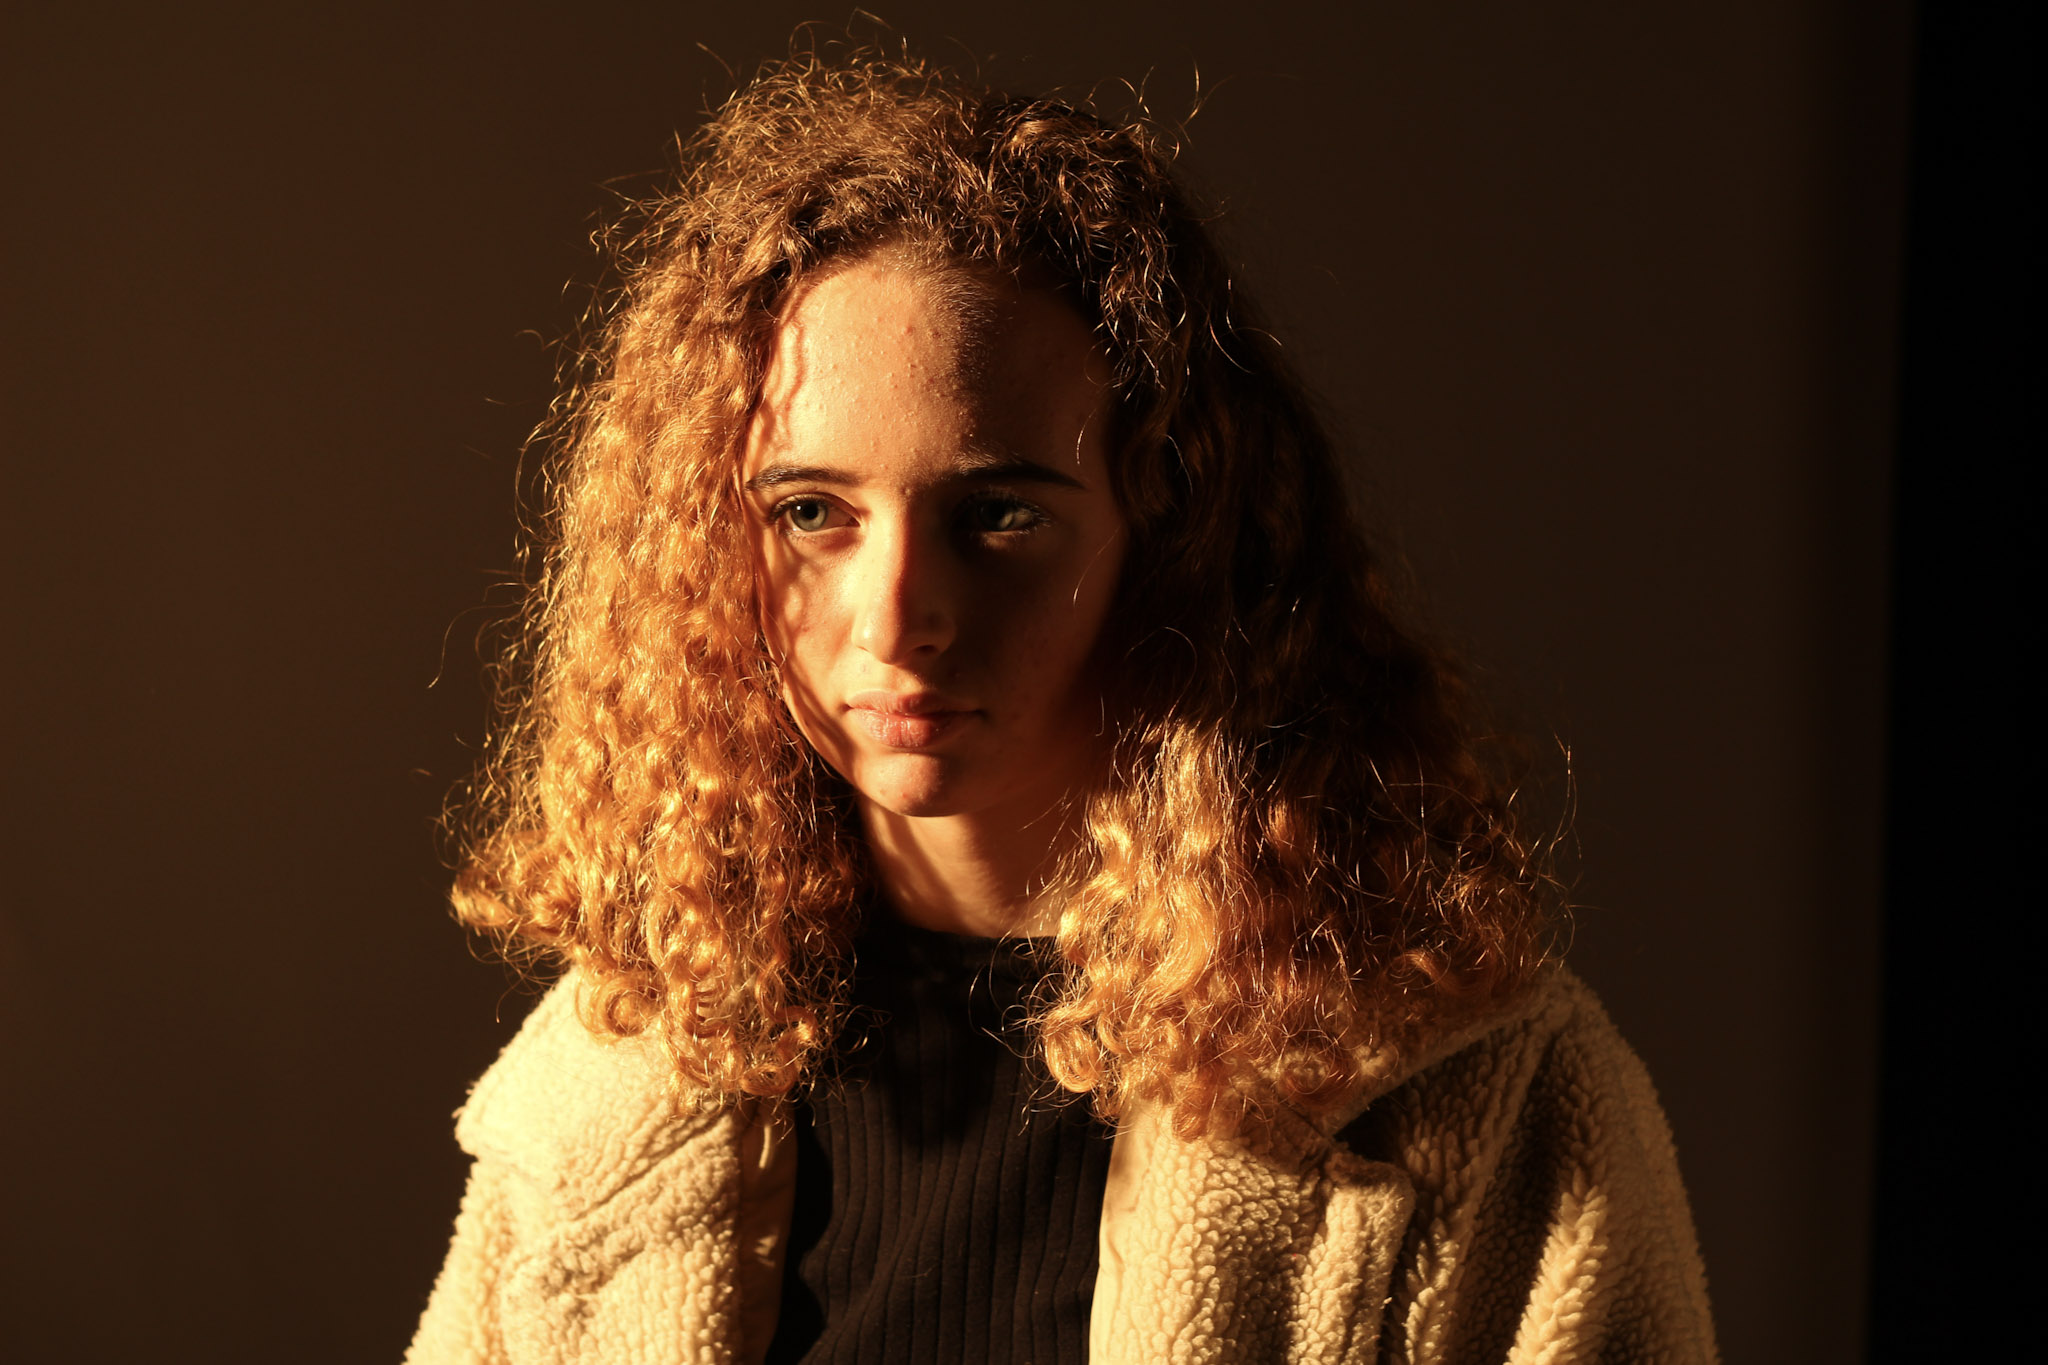
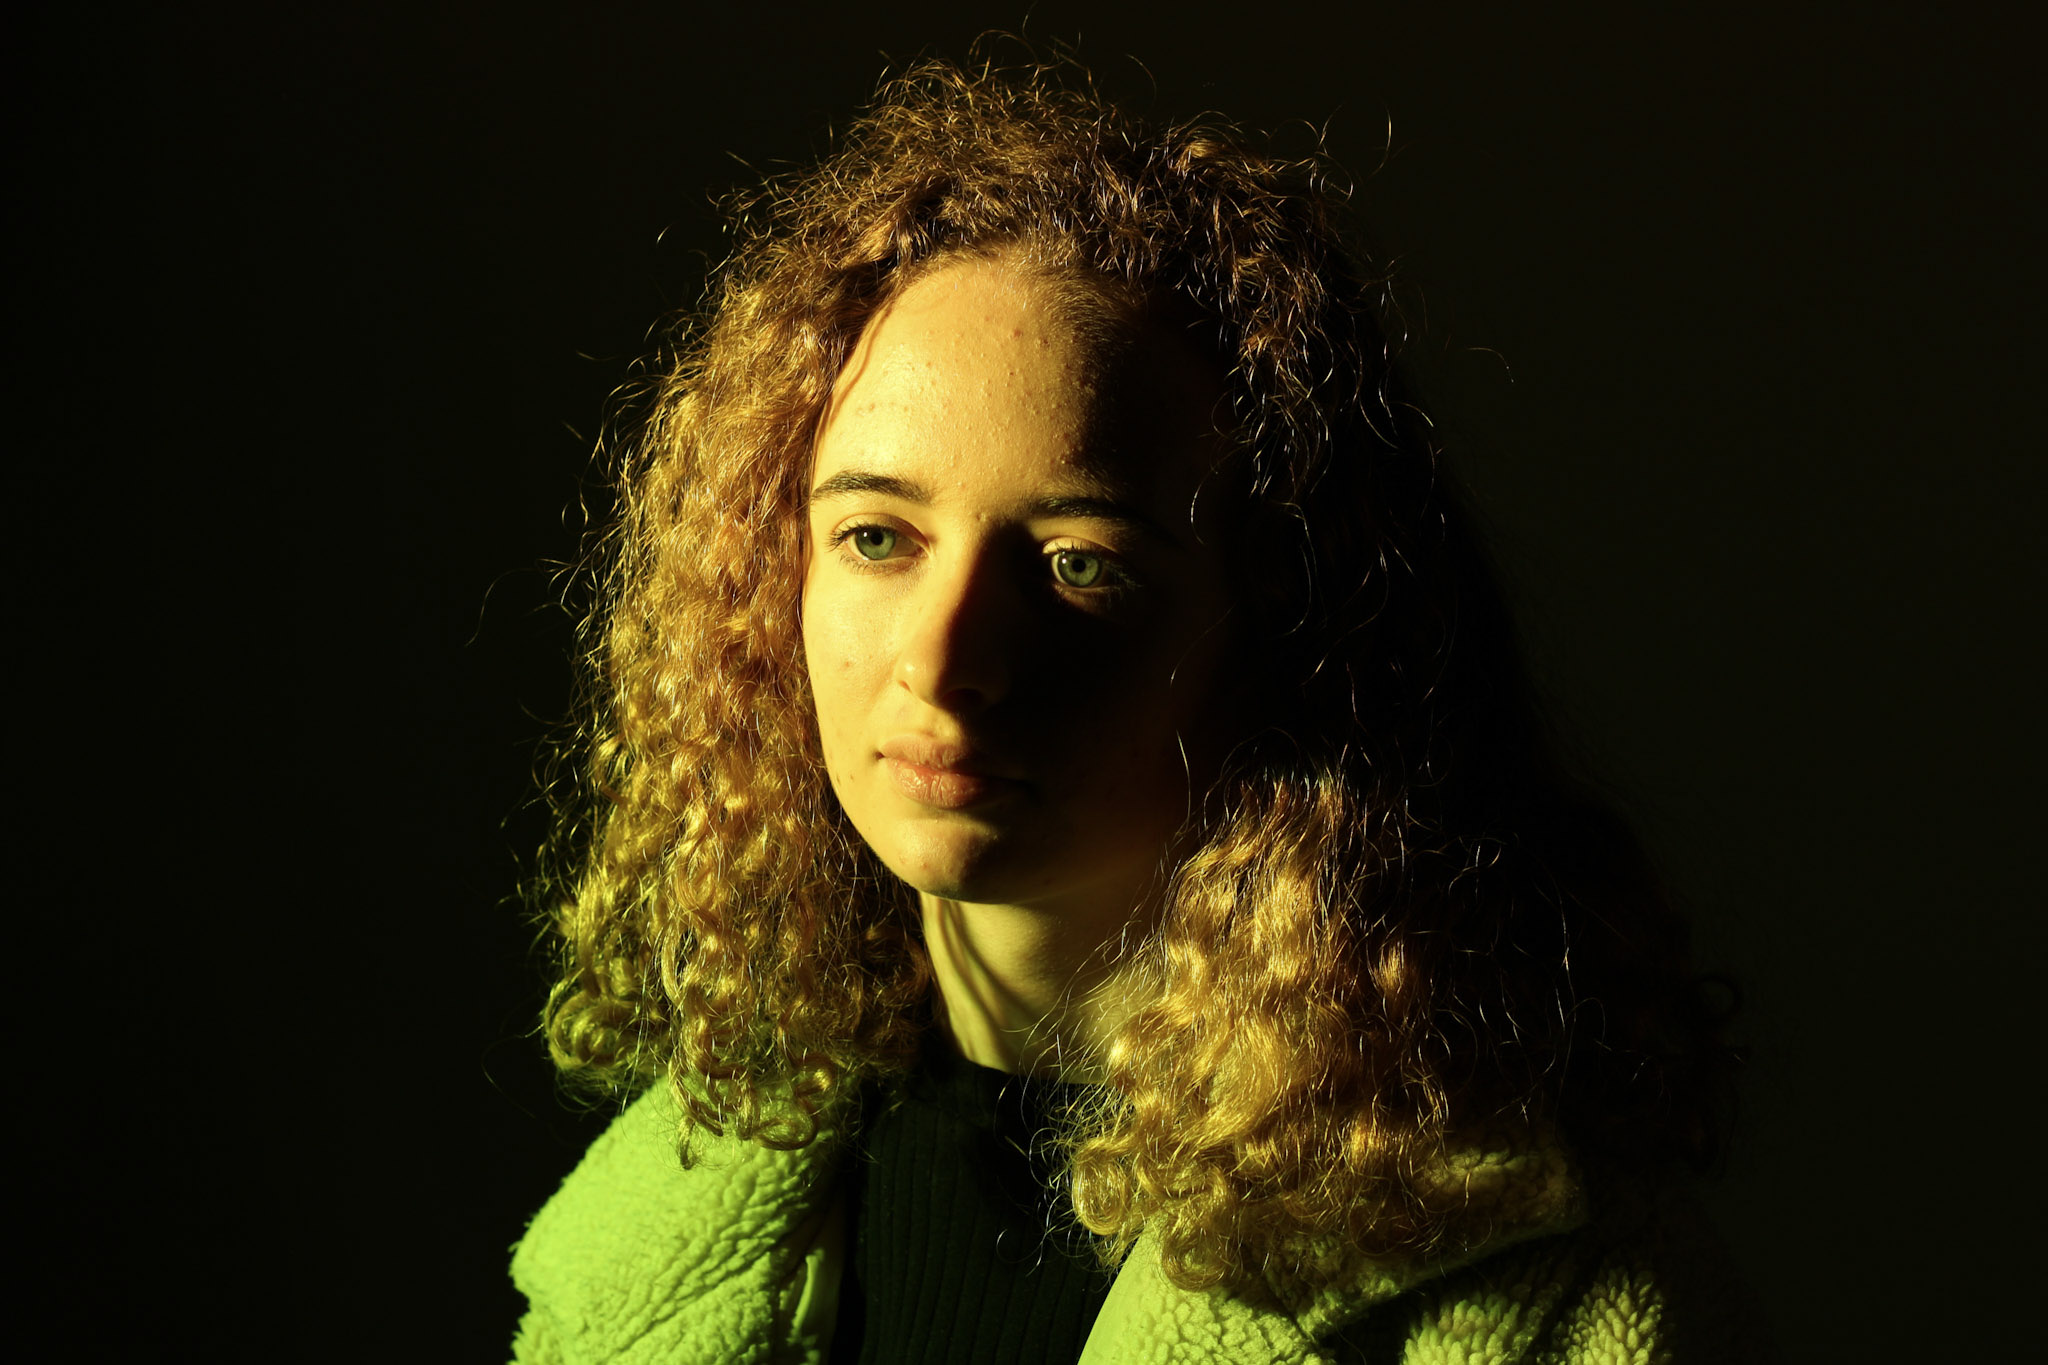
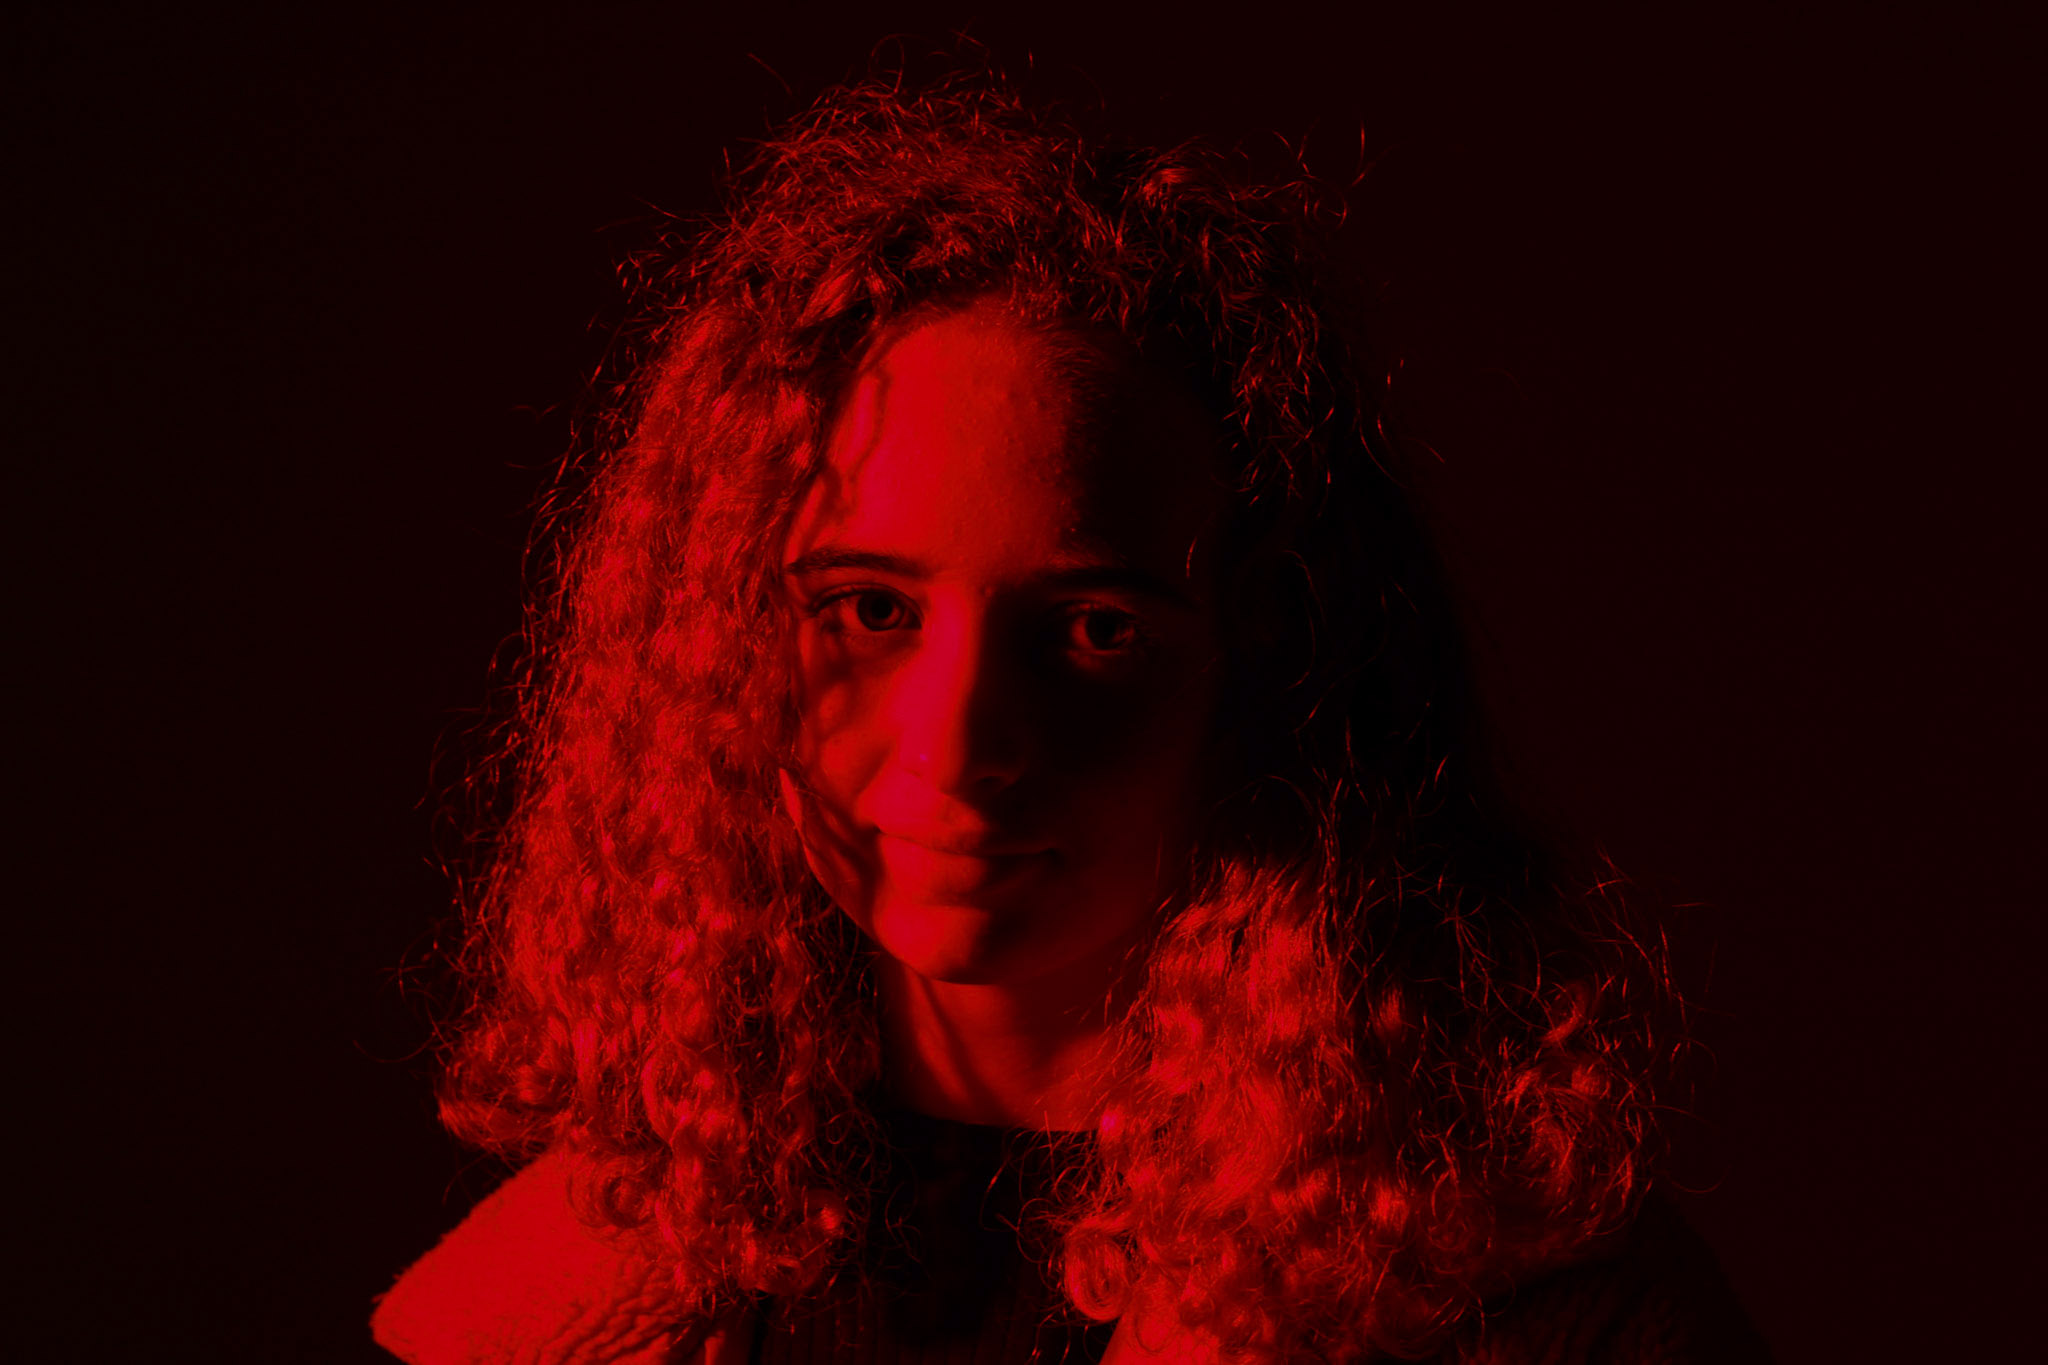
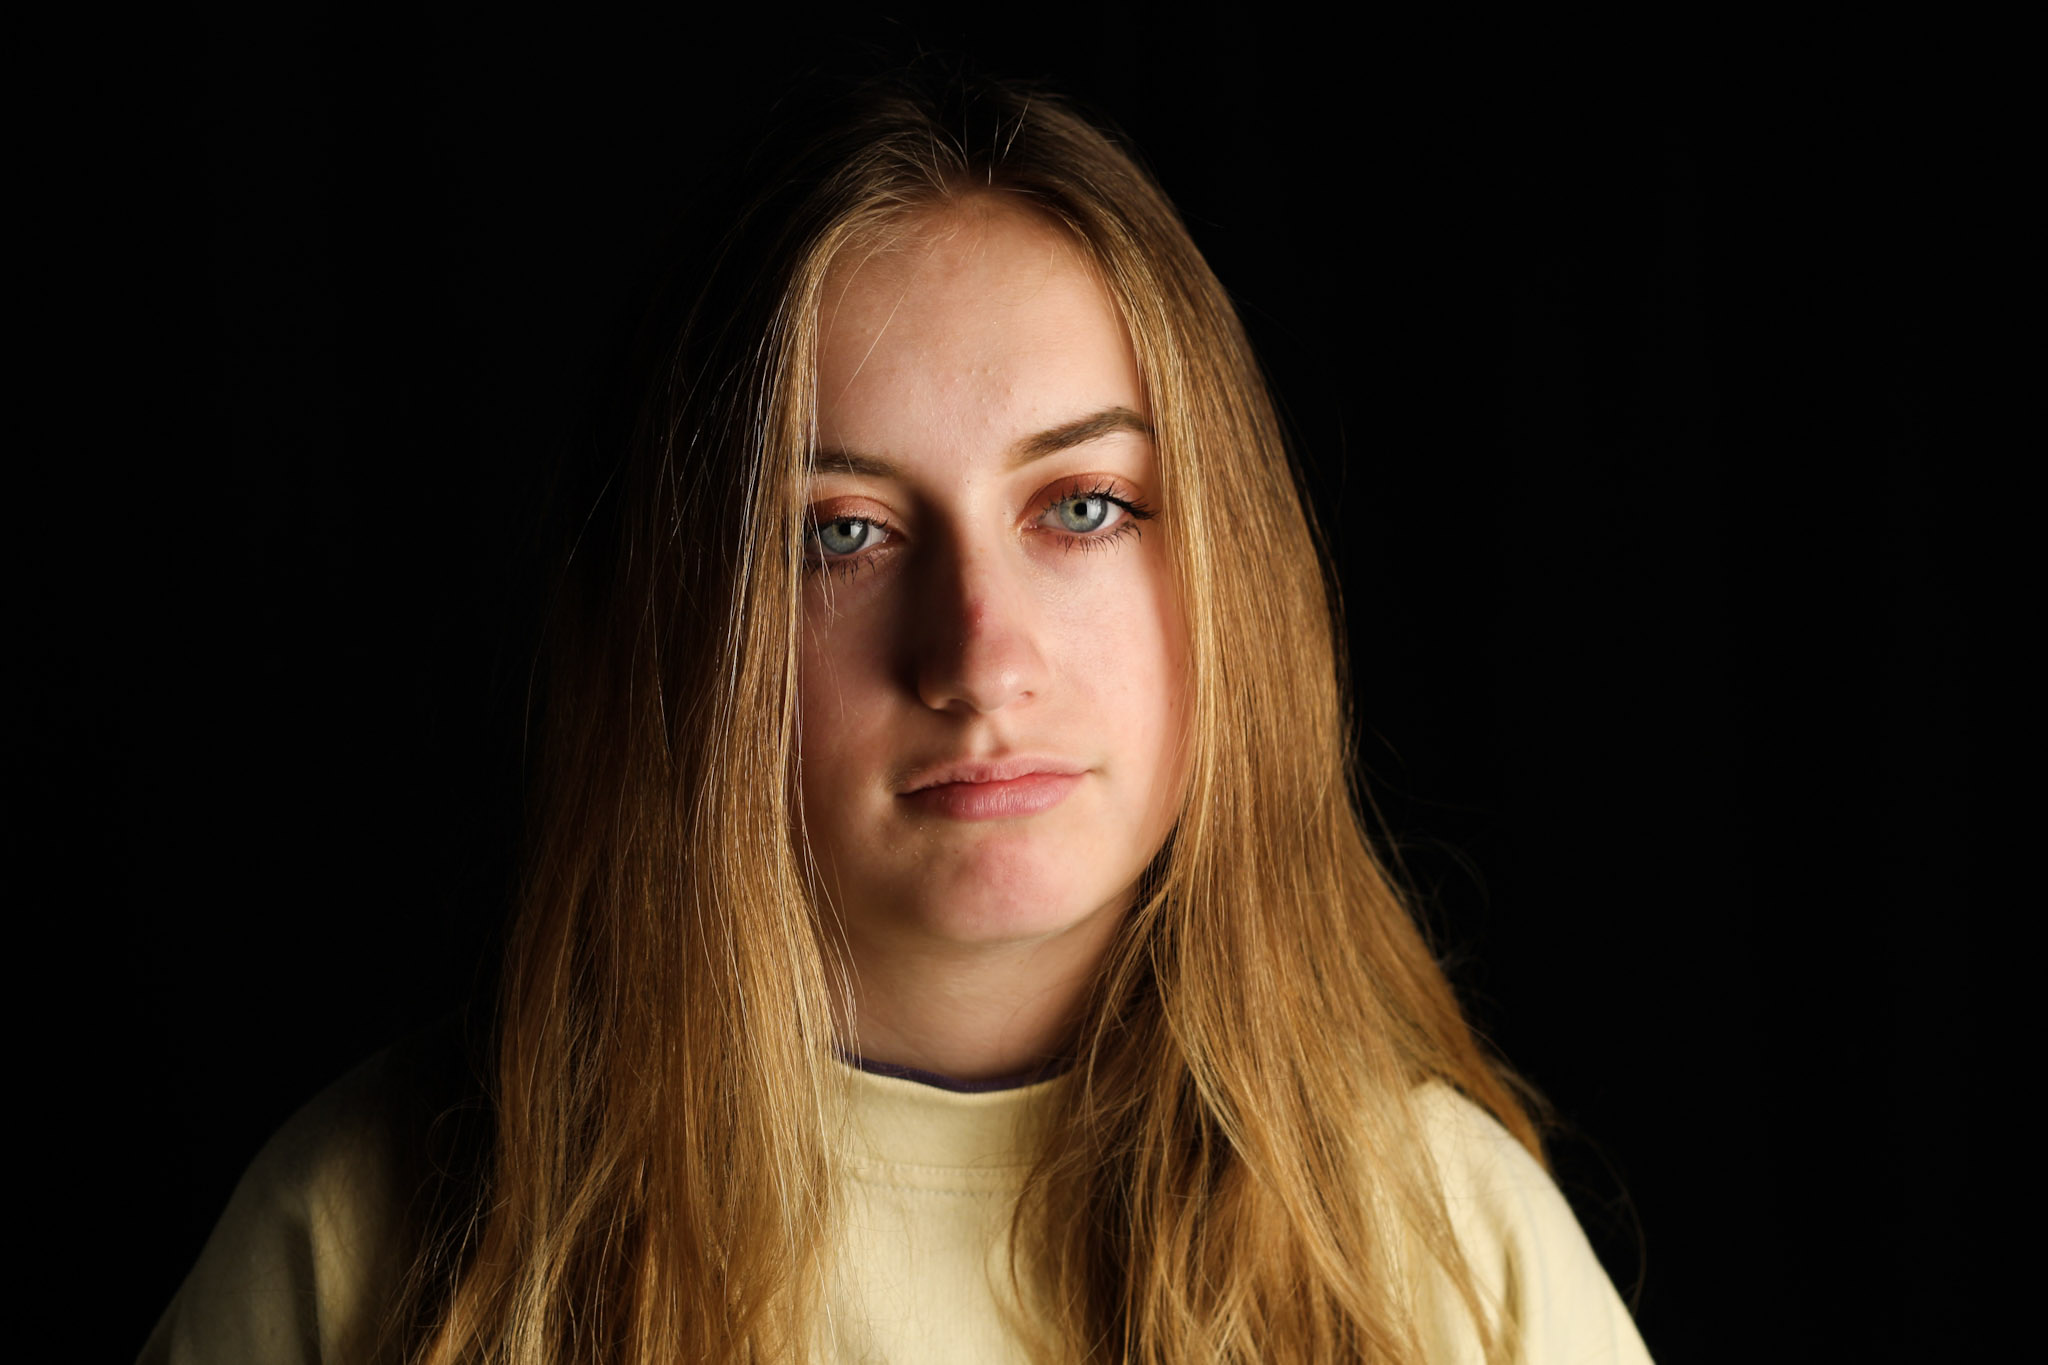
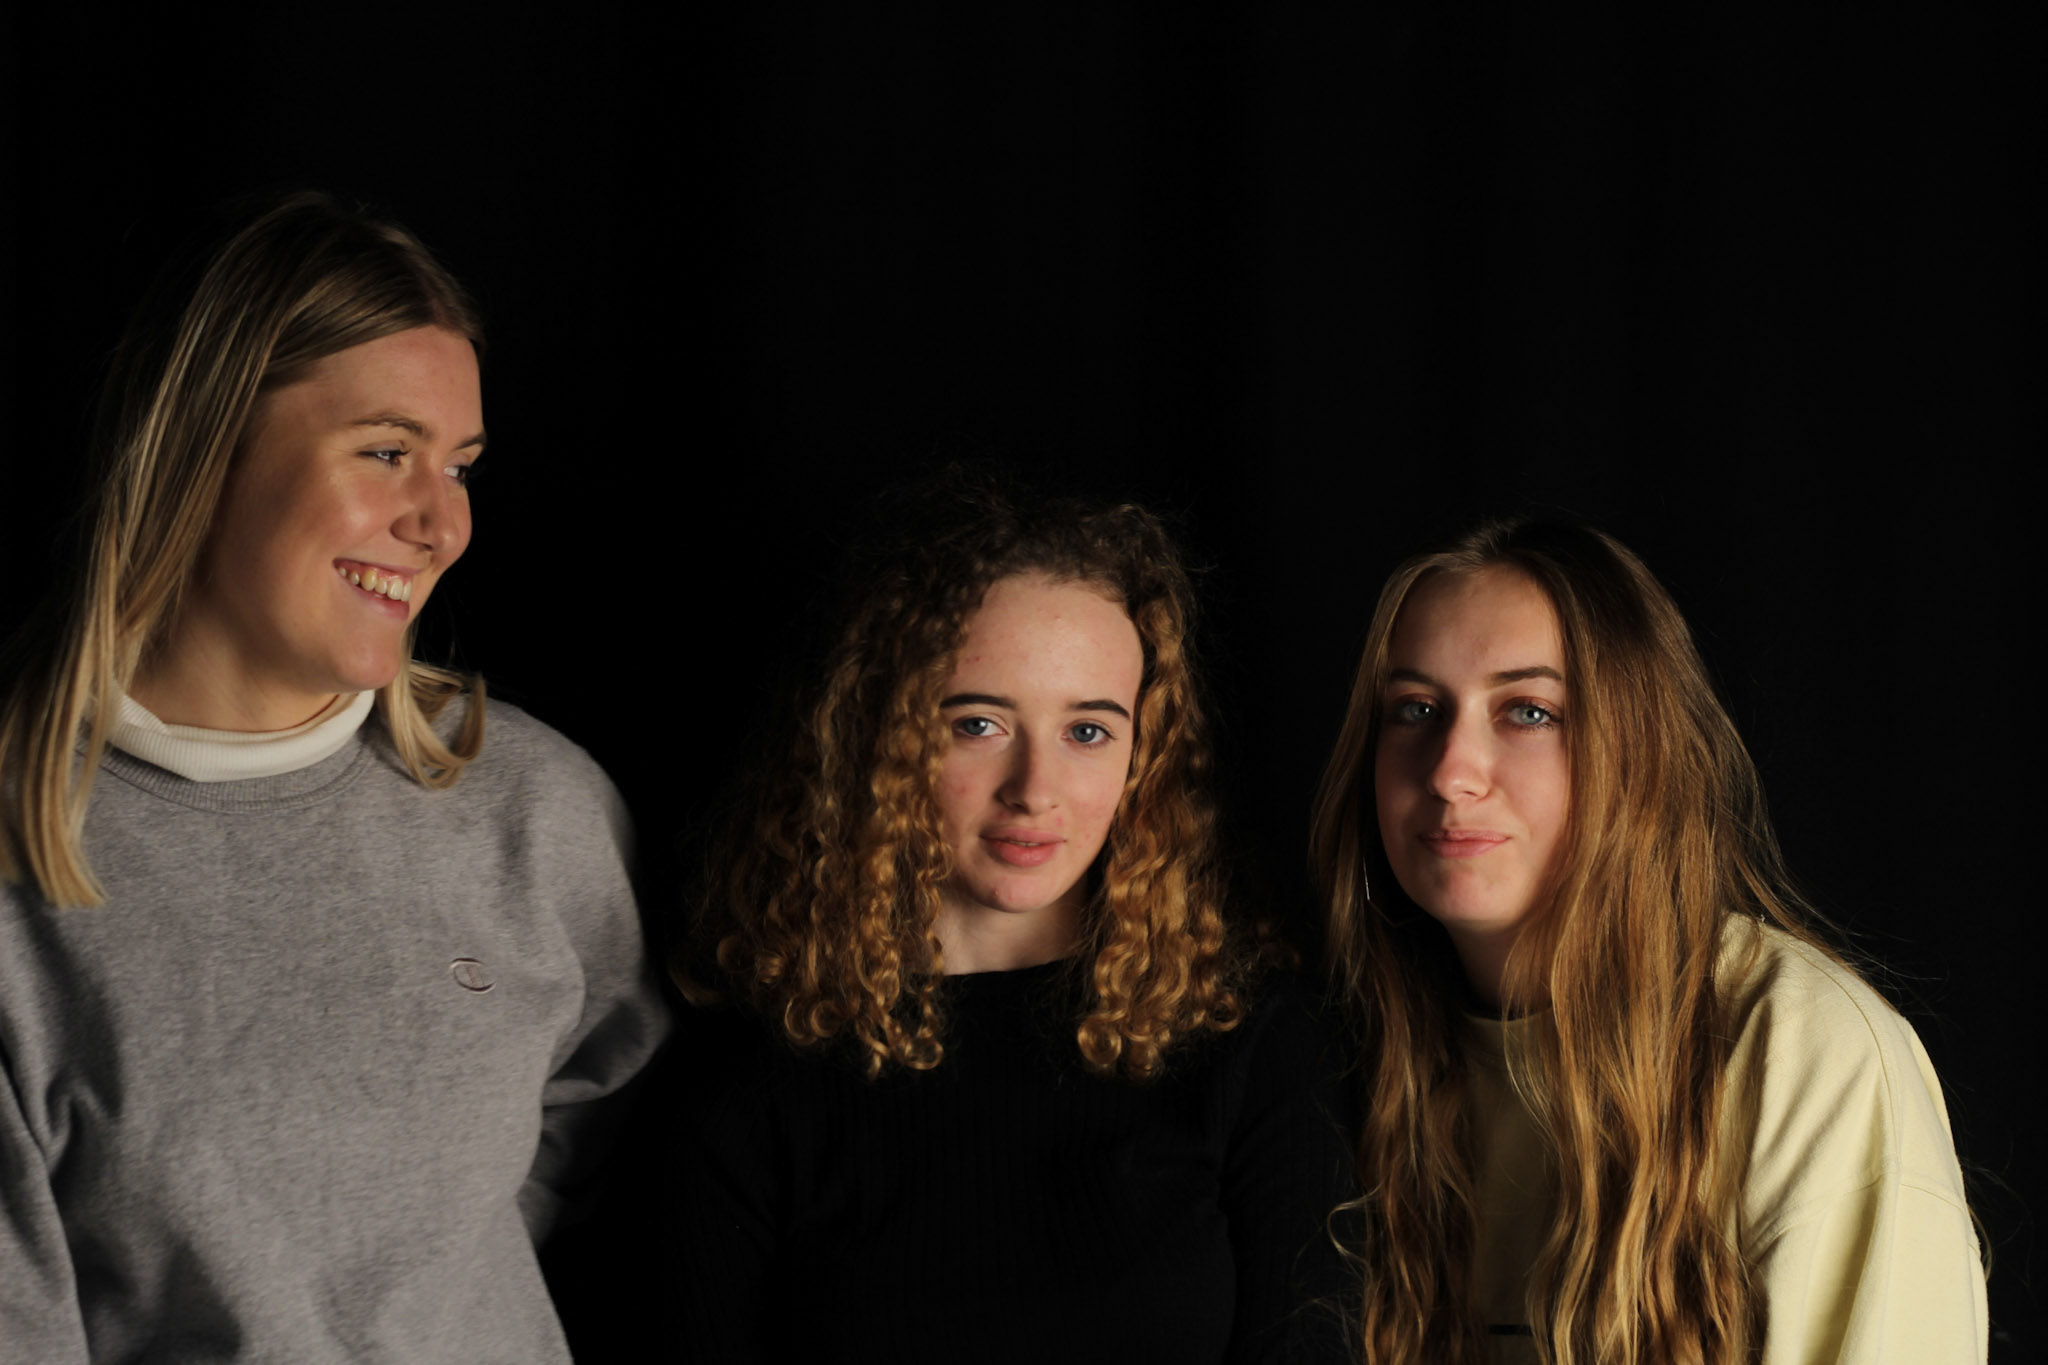
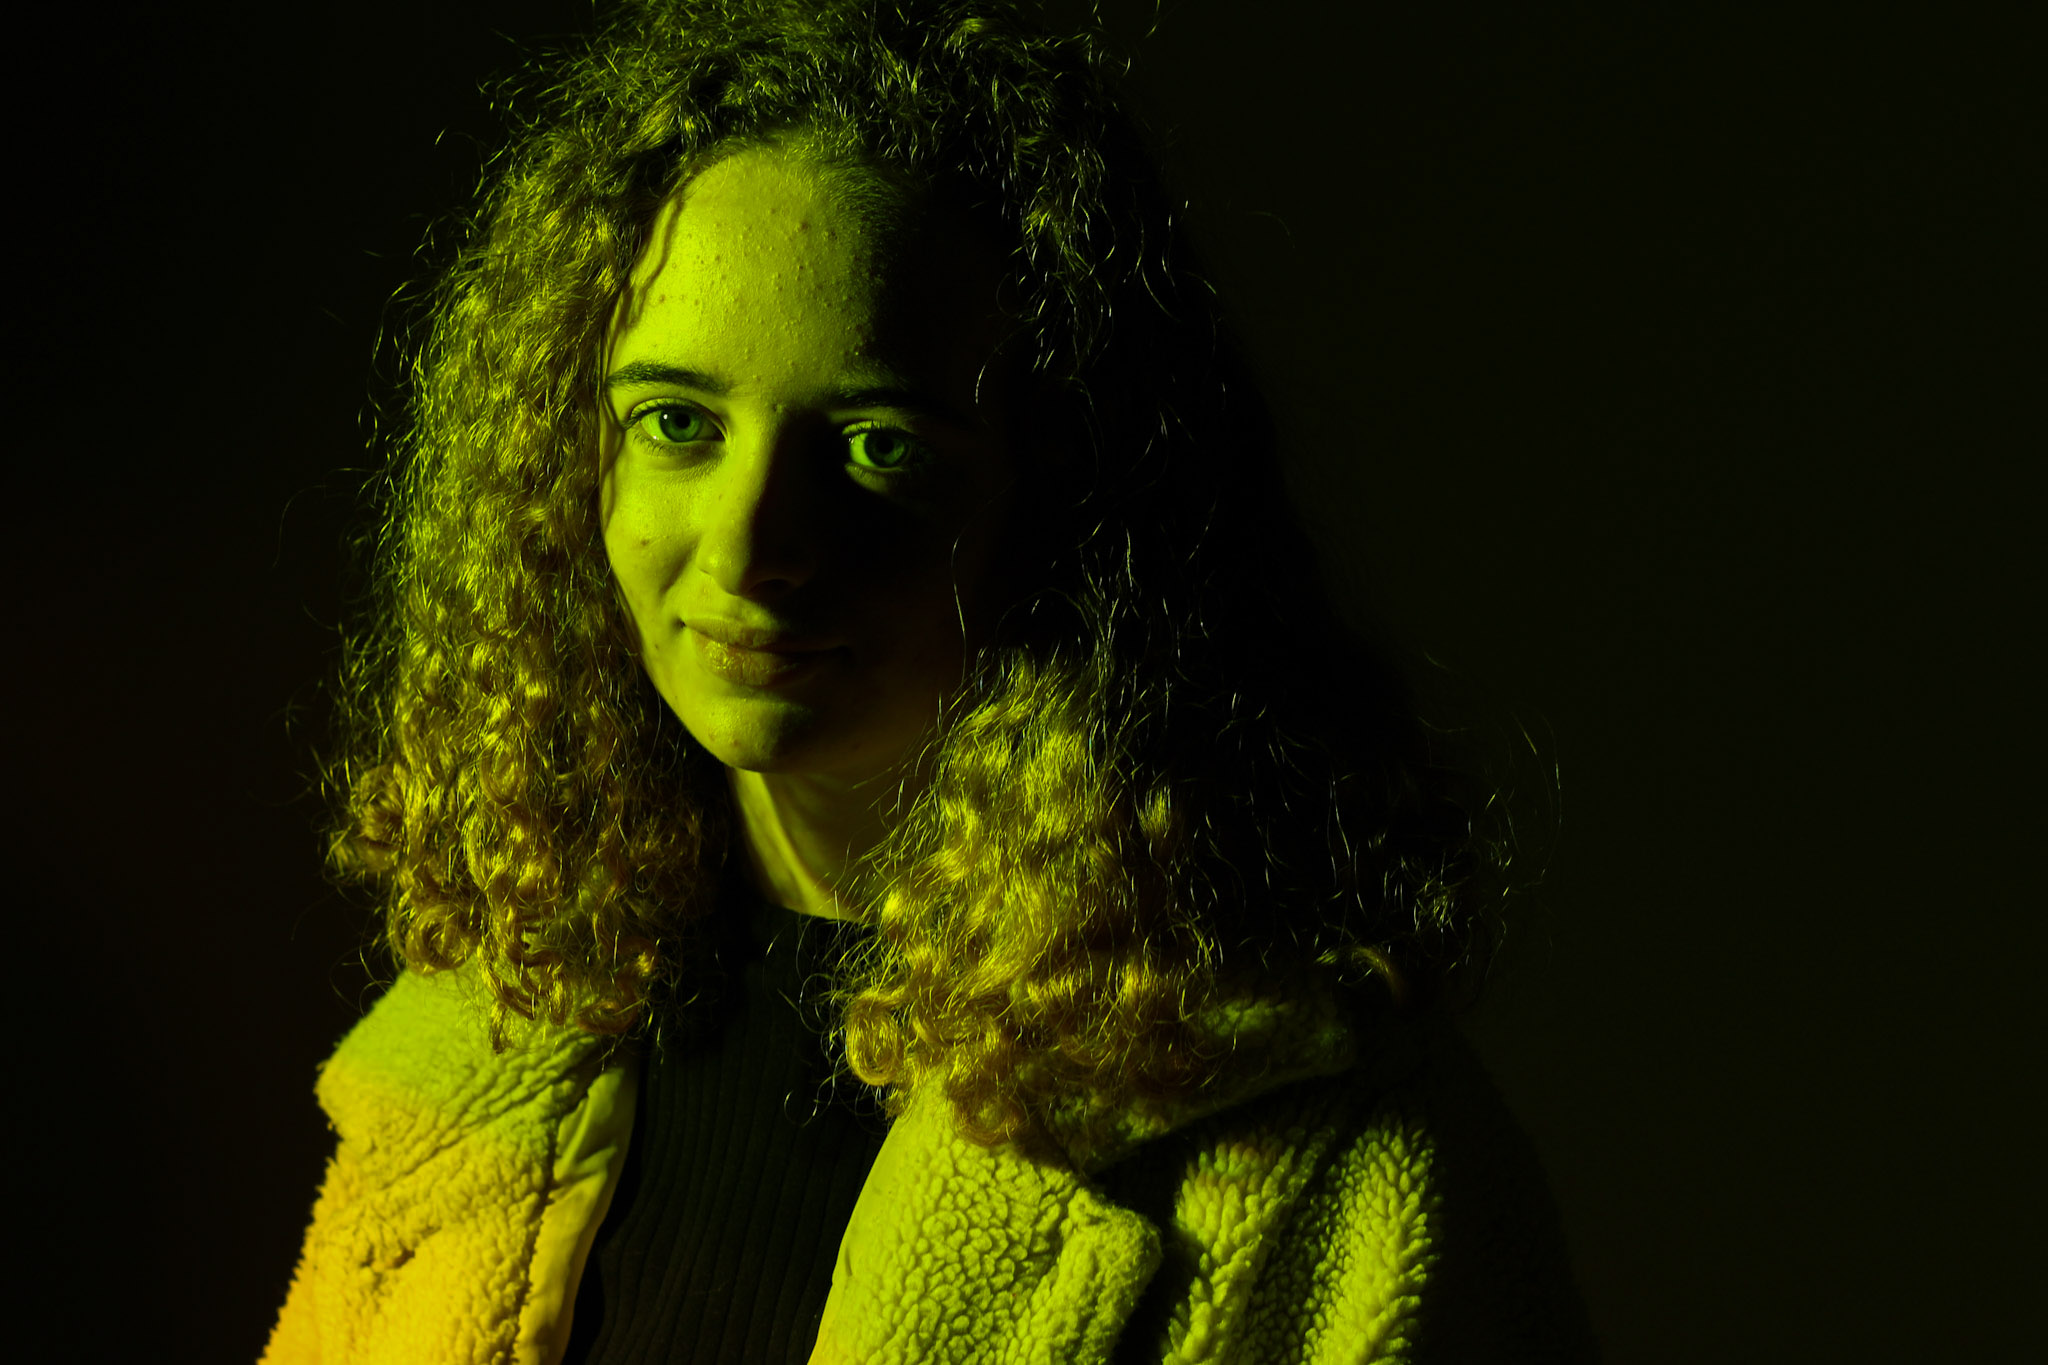
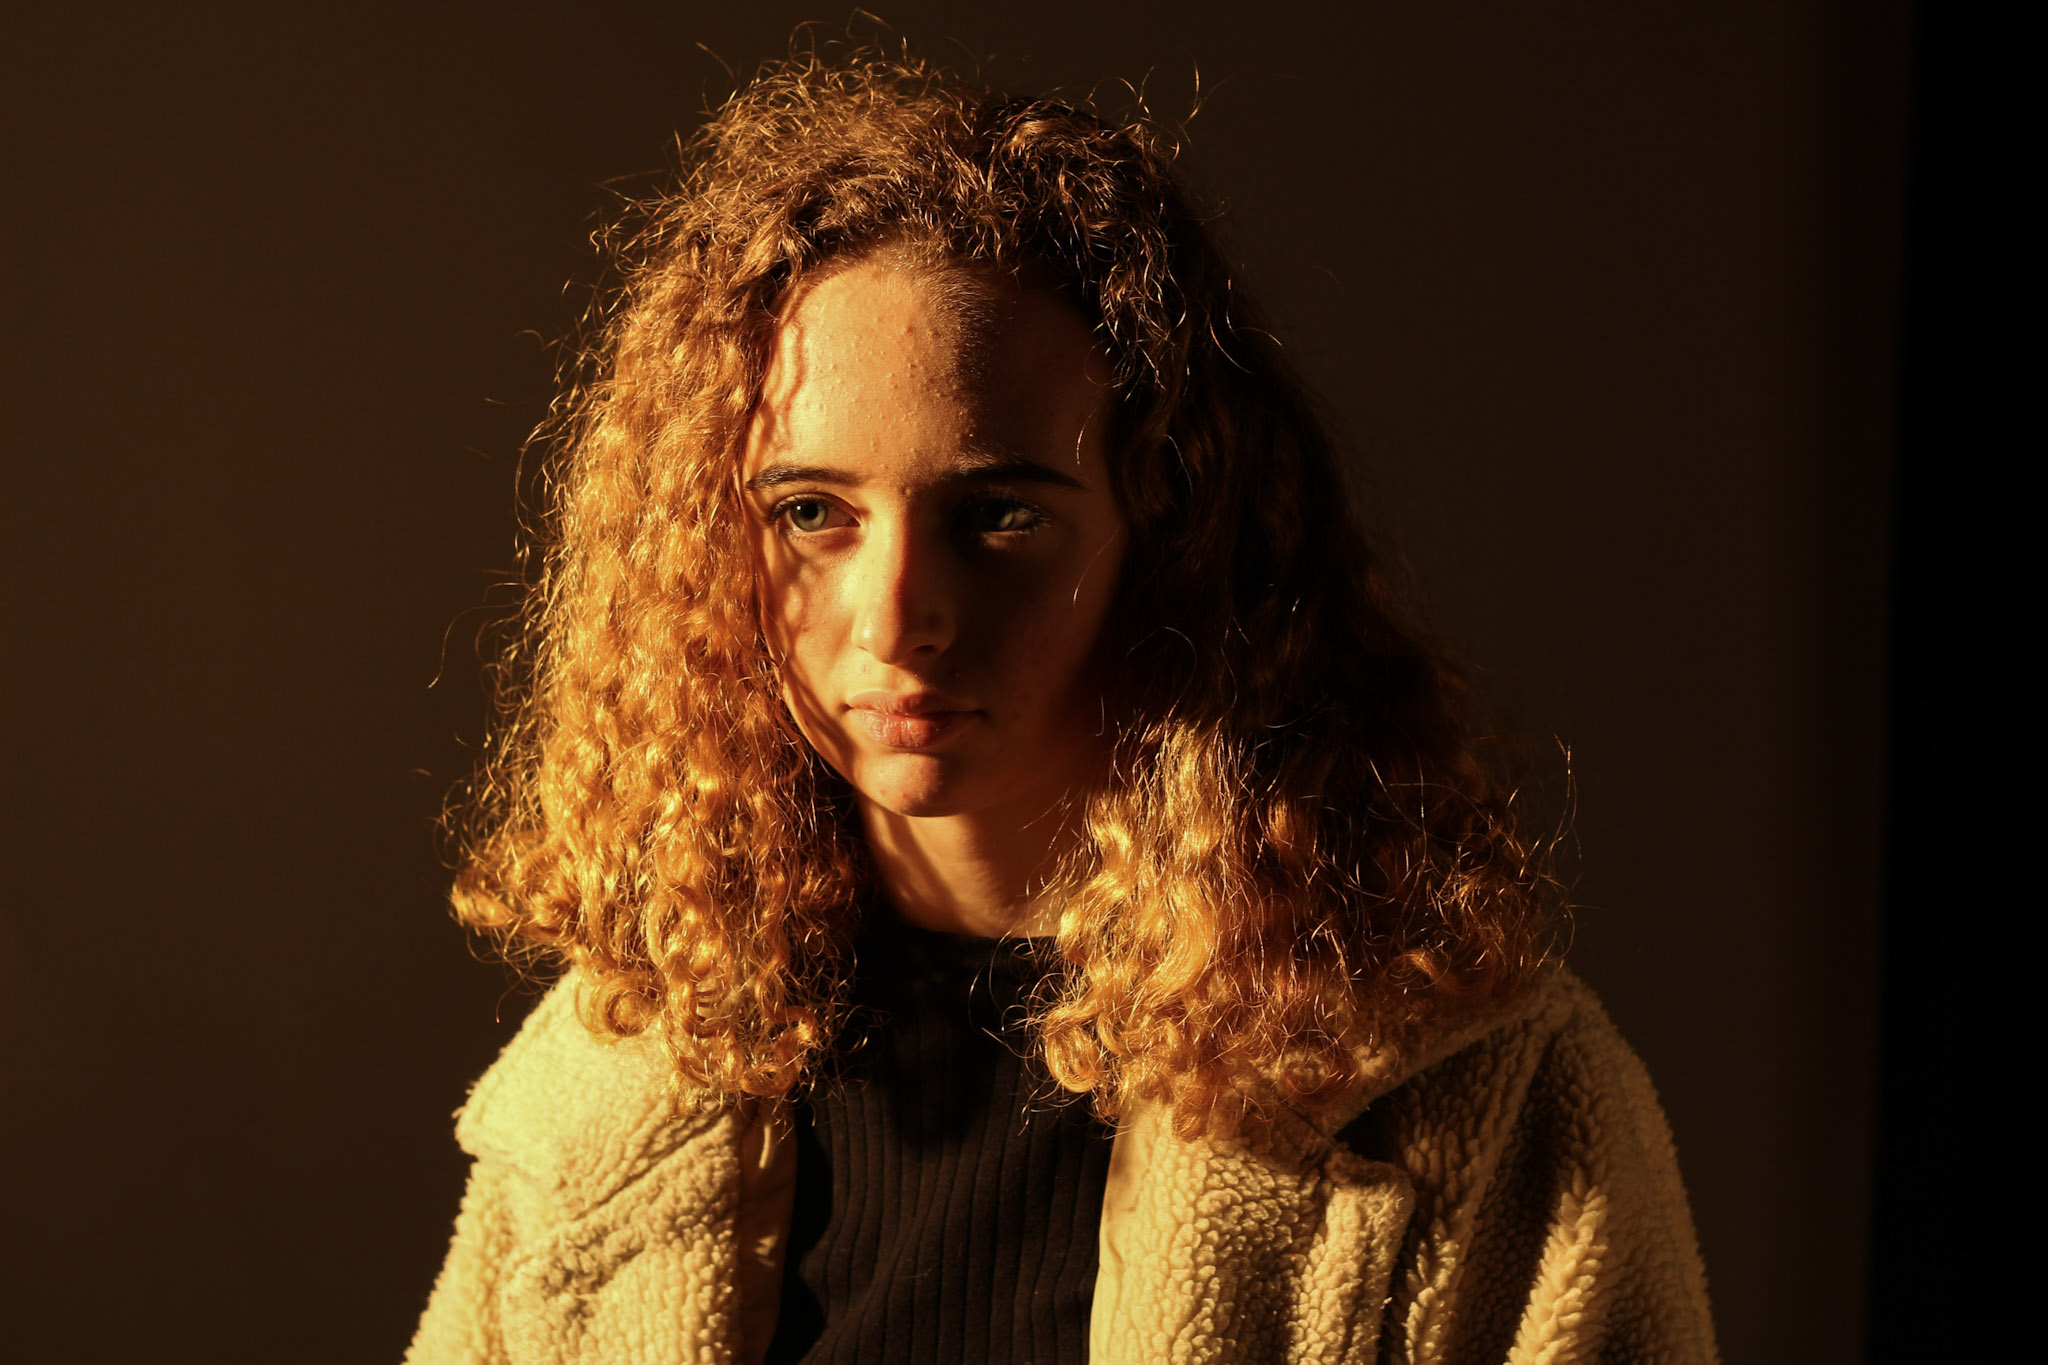
The Photoshoot:

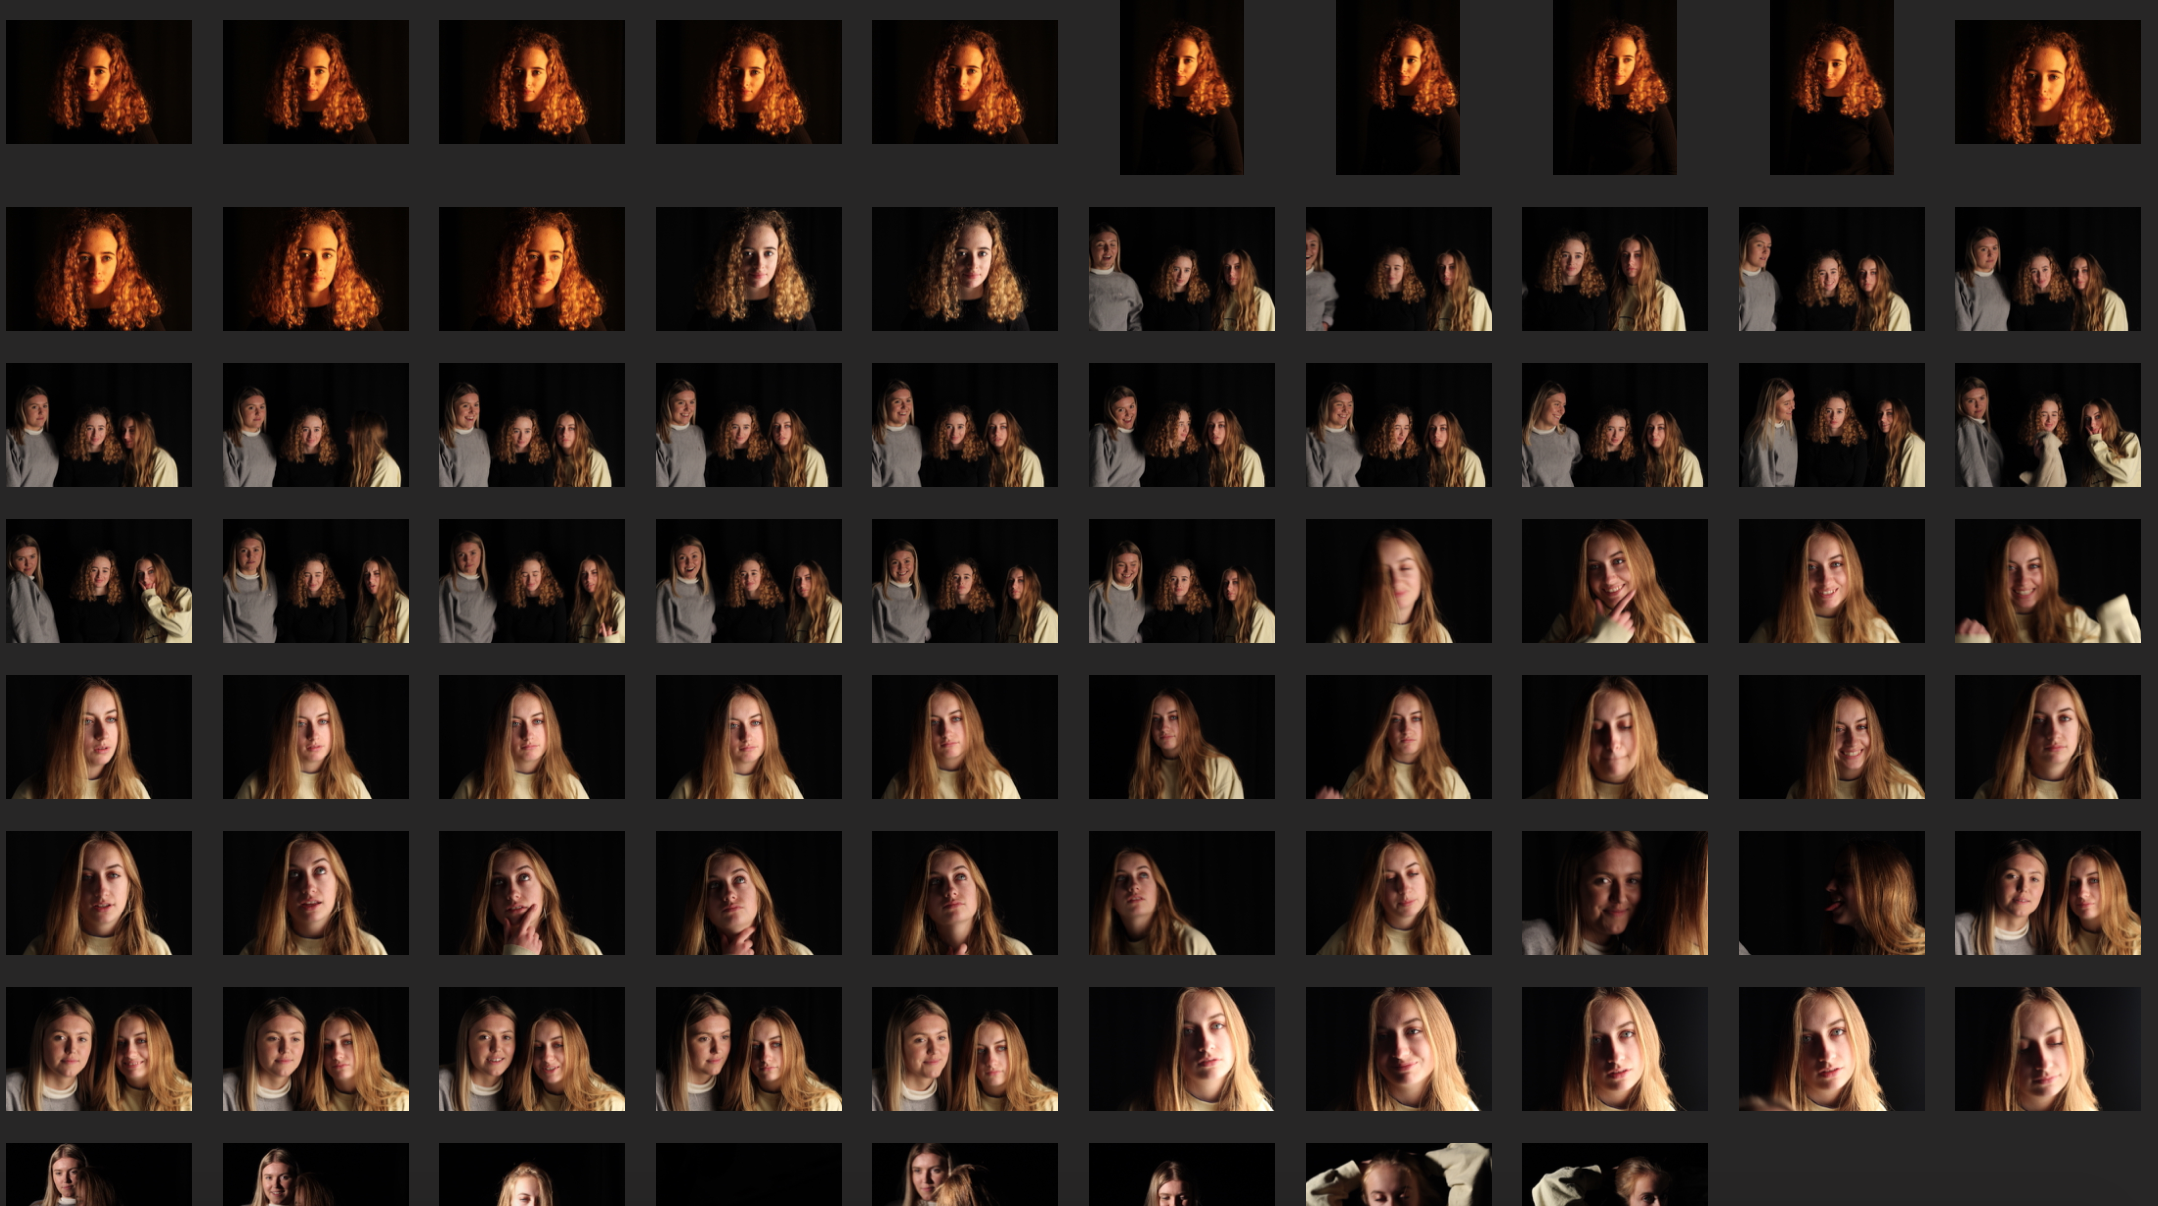
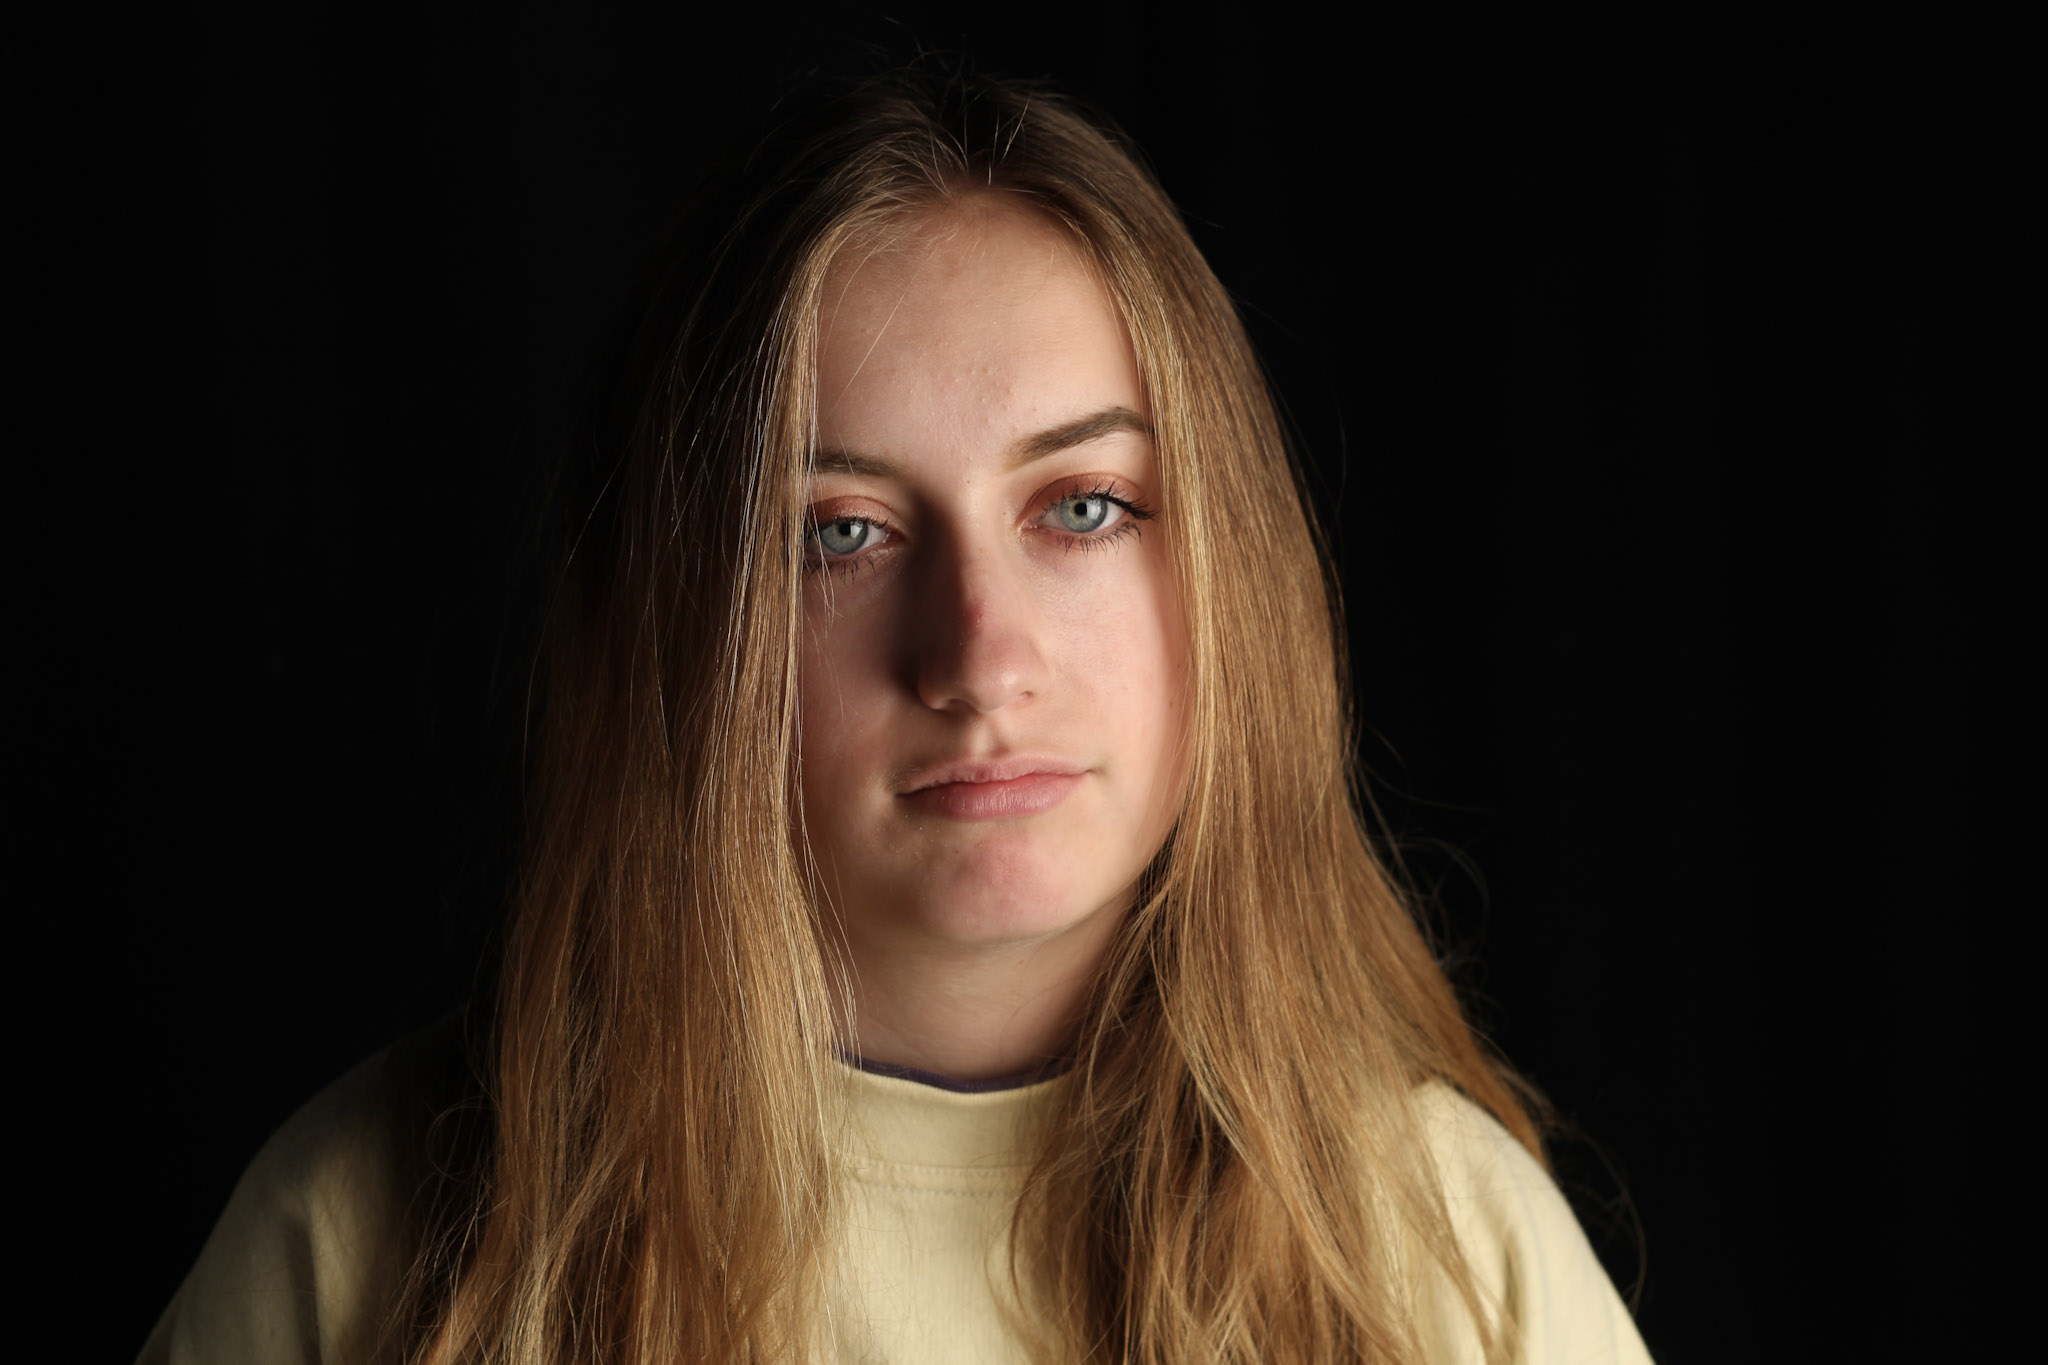
As you can see I experimented with soft light, hard light, colour filters and multiple people. I also experimented with different white balances, creating a warm tone in some images. The shadowing of the soft box creates a contrast across the face betwen light and dark. It adds mystery and depth to the image. I stood fairly close to the models while taking the images however I also wanted to include the black background in the image because I feel it makes the models stand out more.
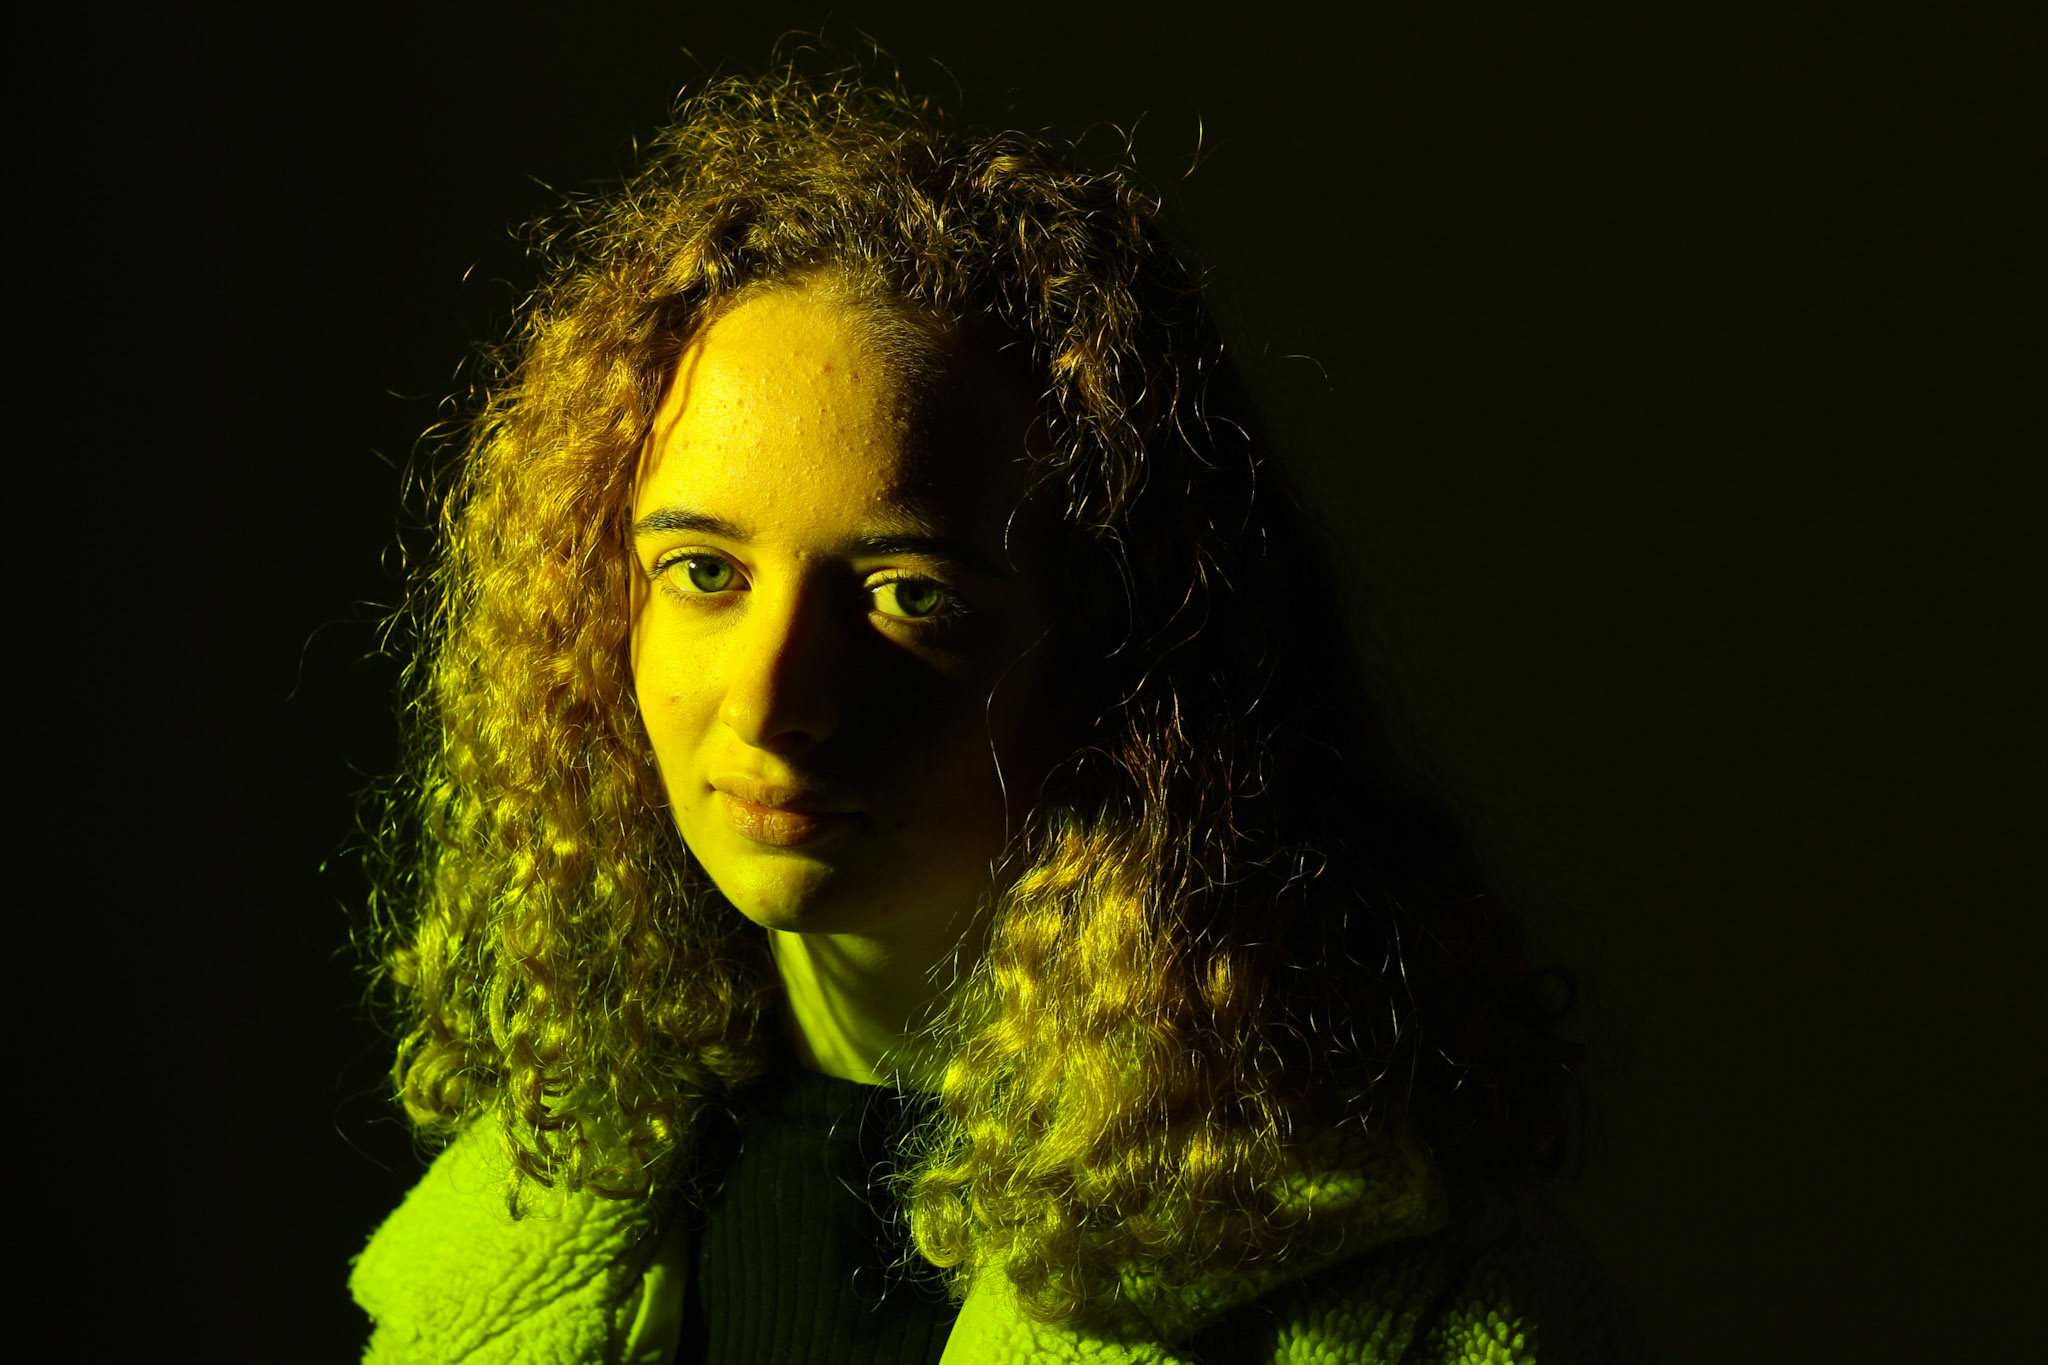
Images to Manipulate:
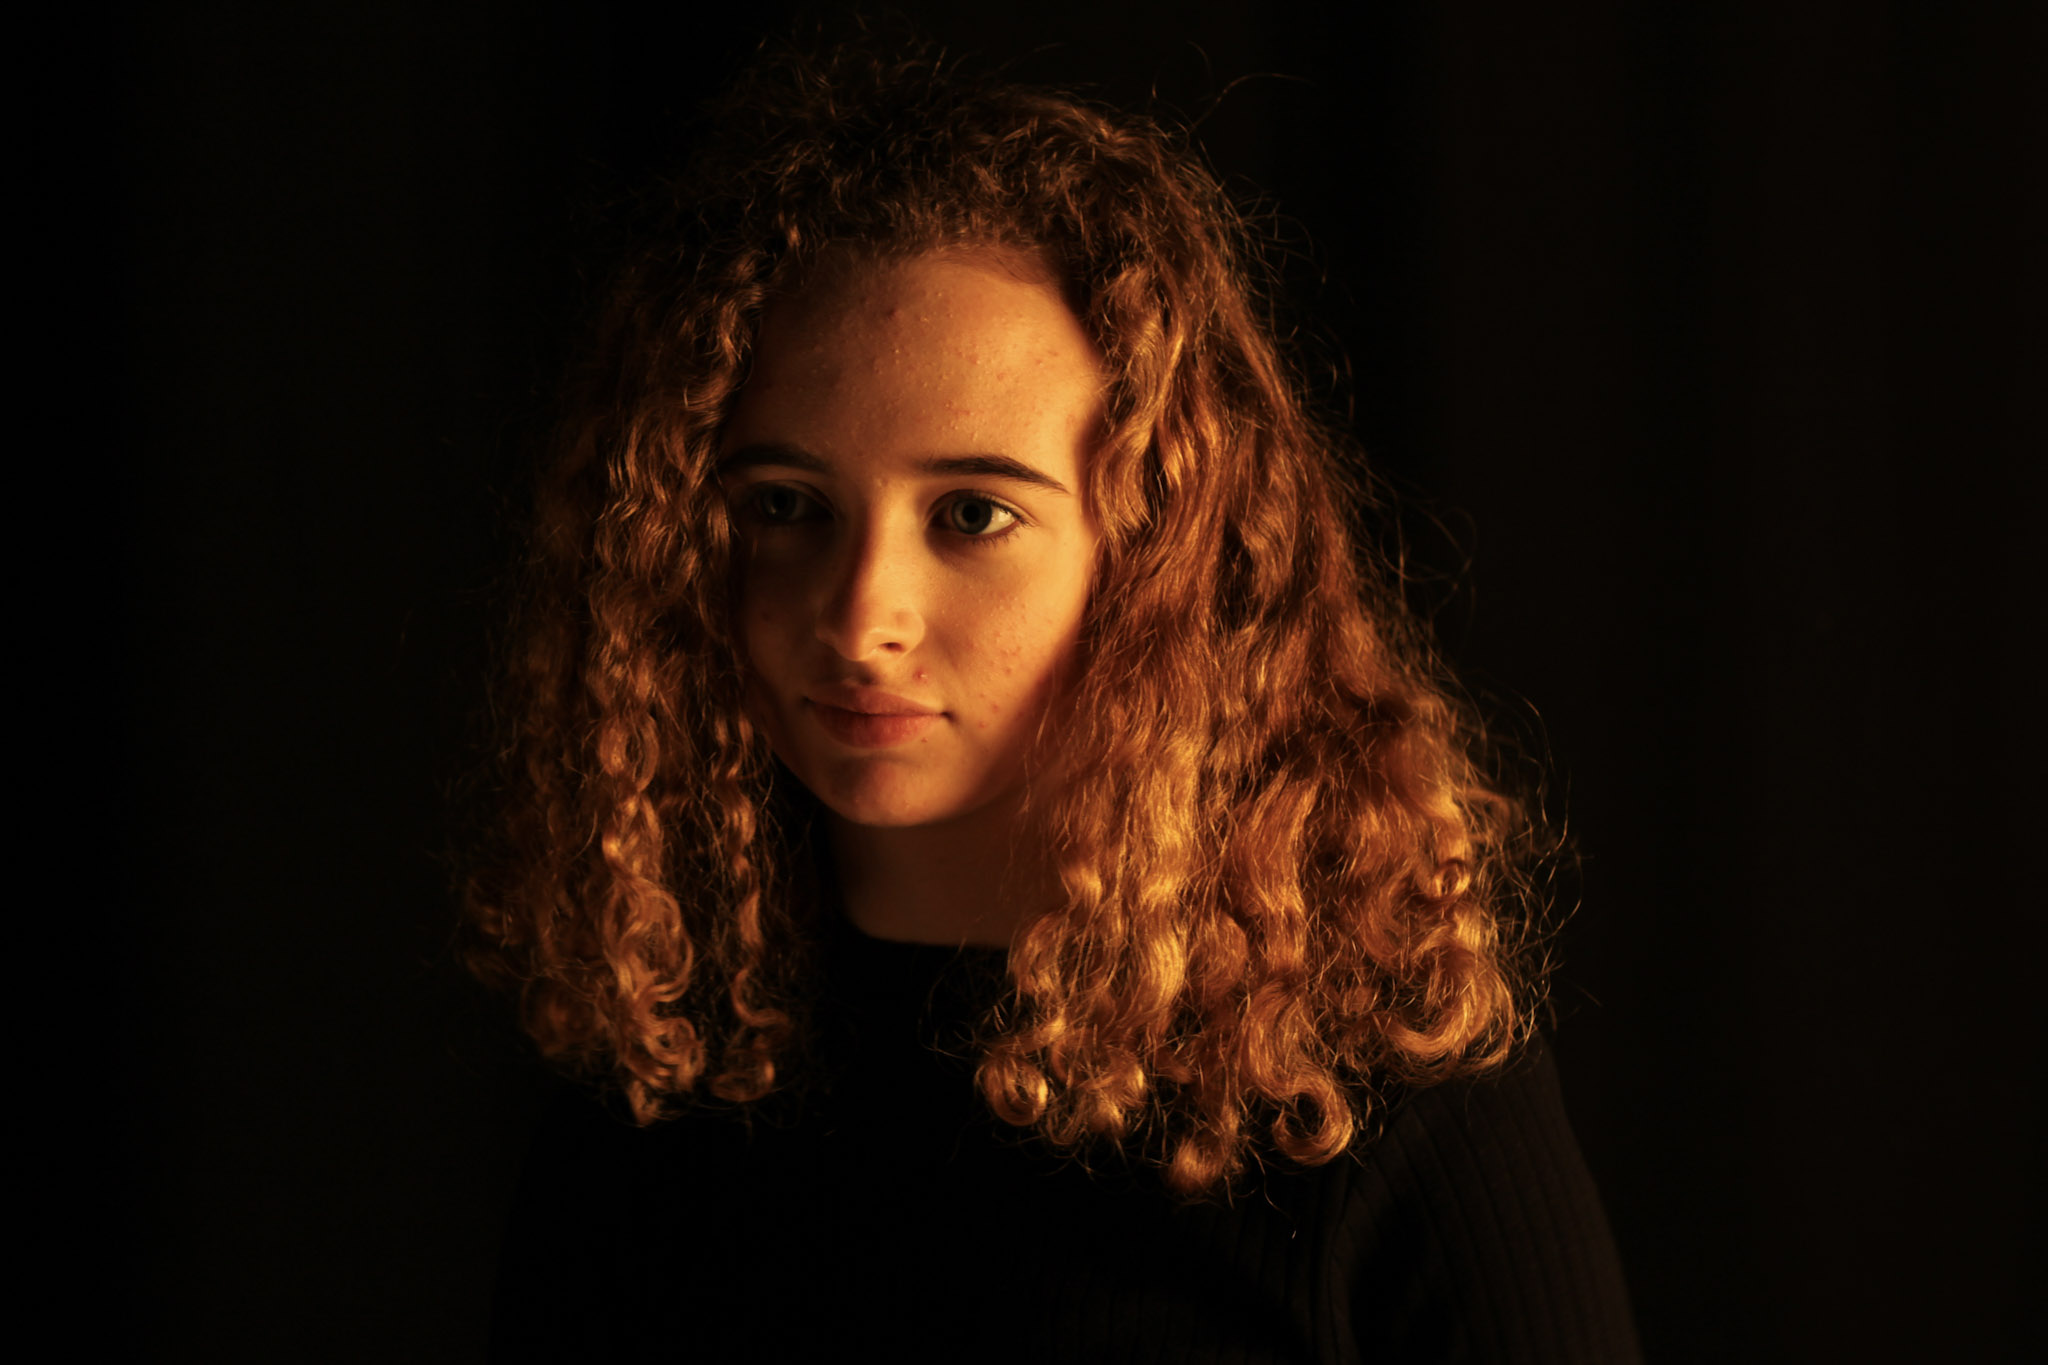
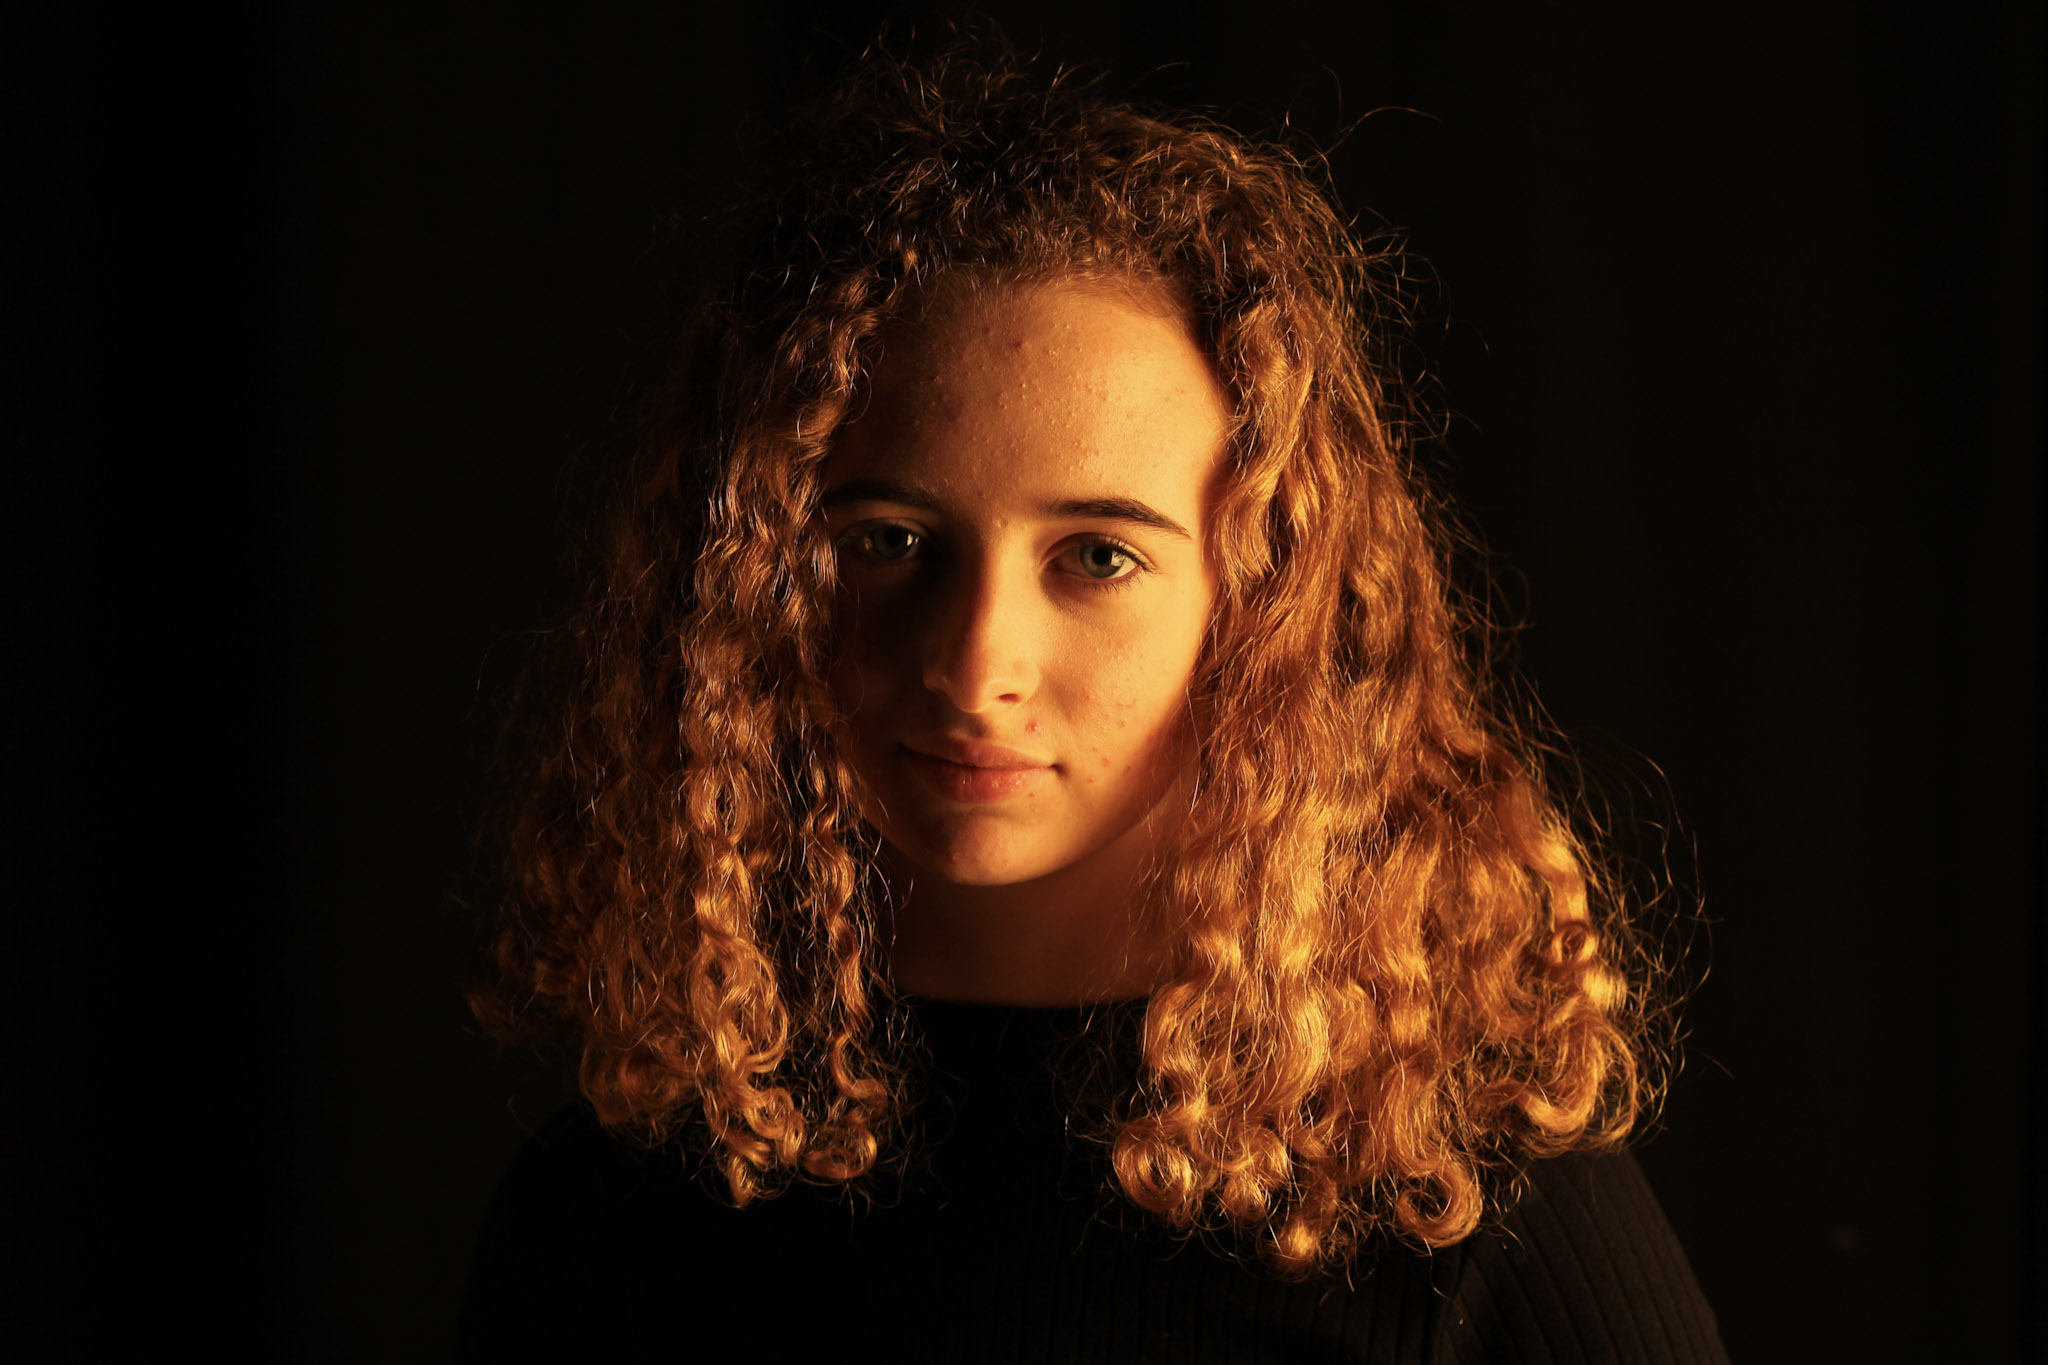
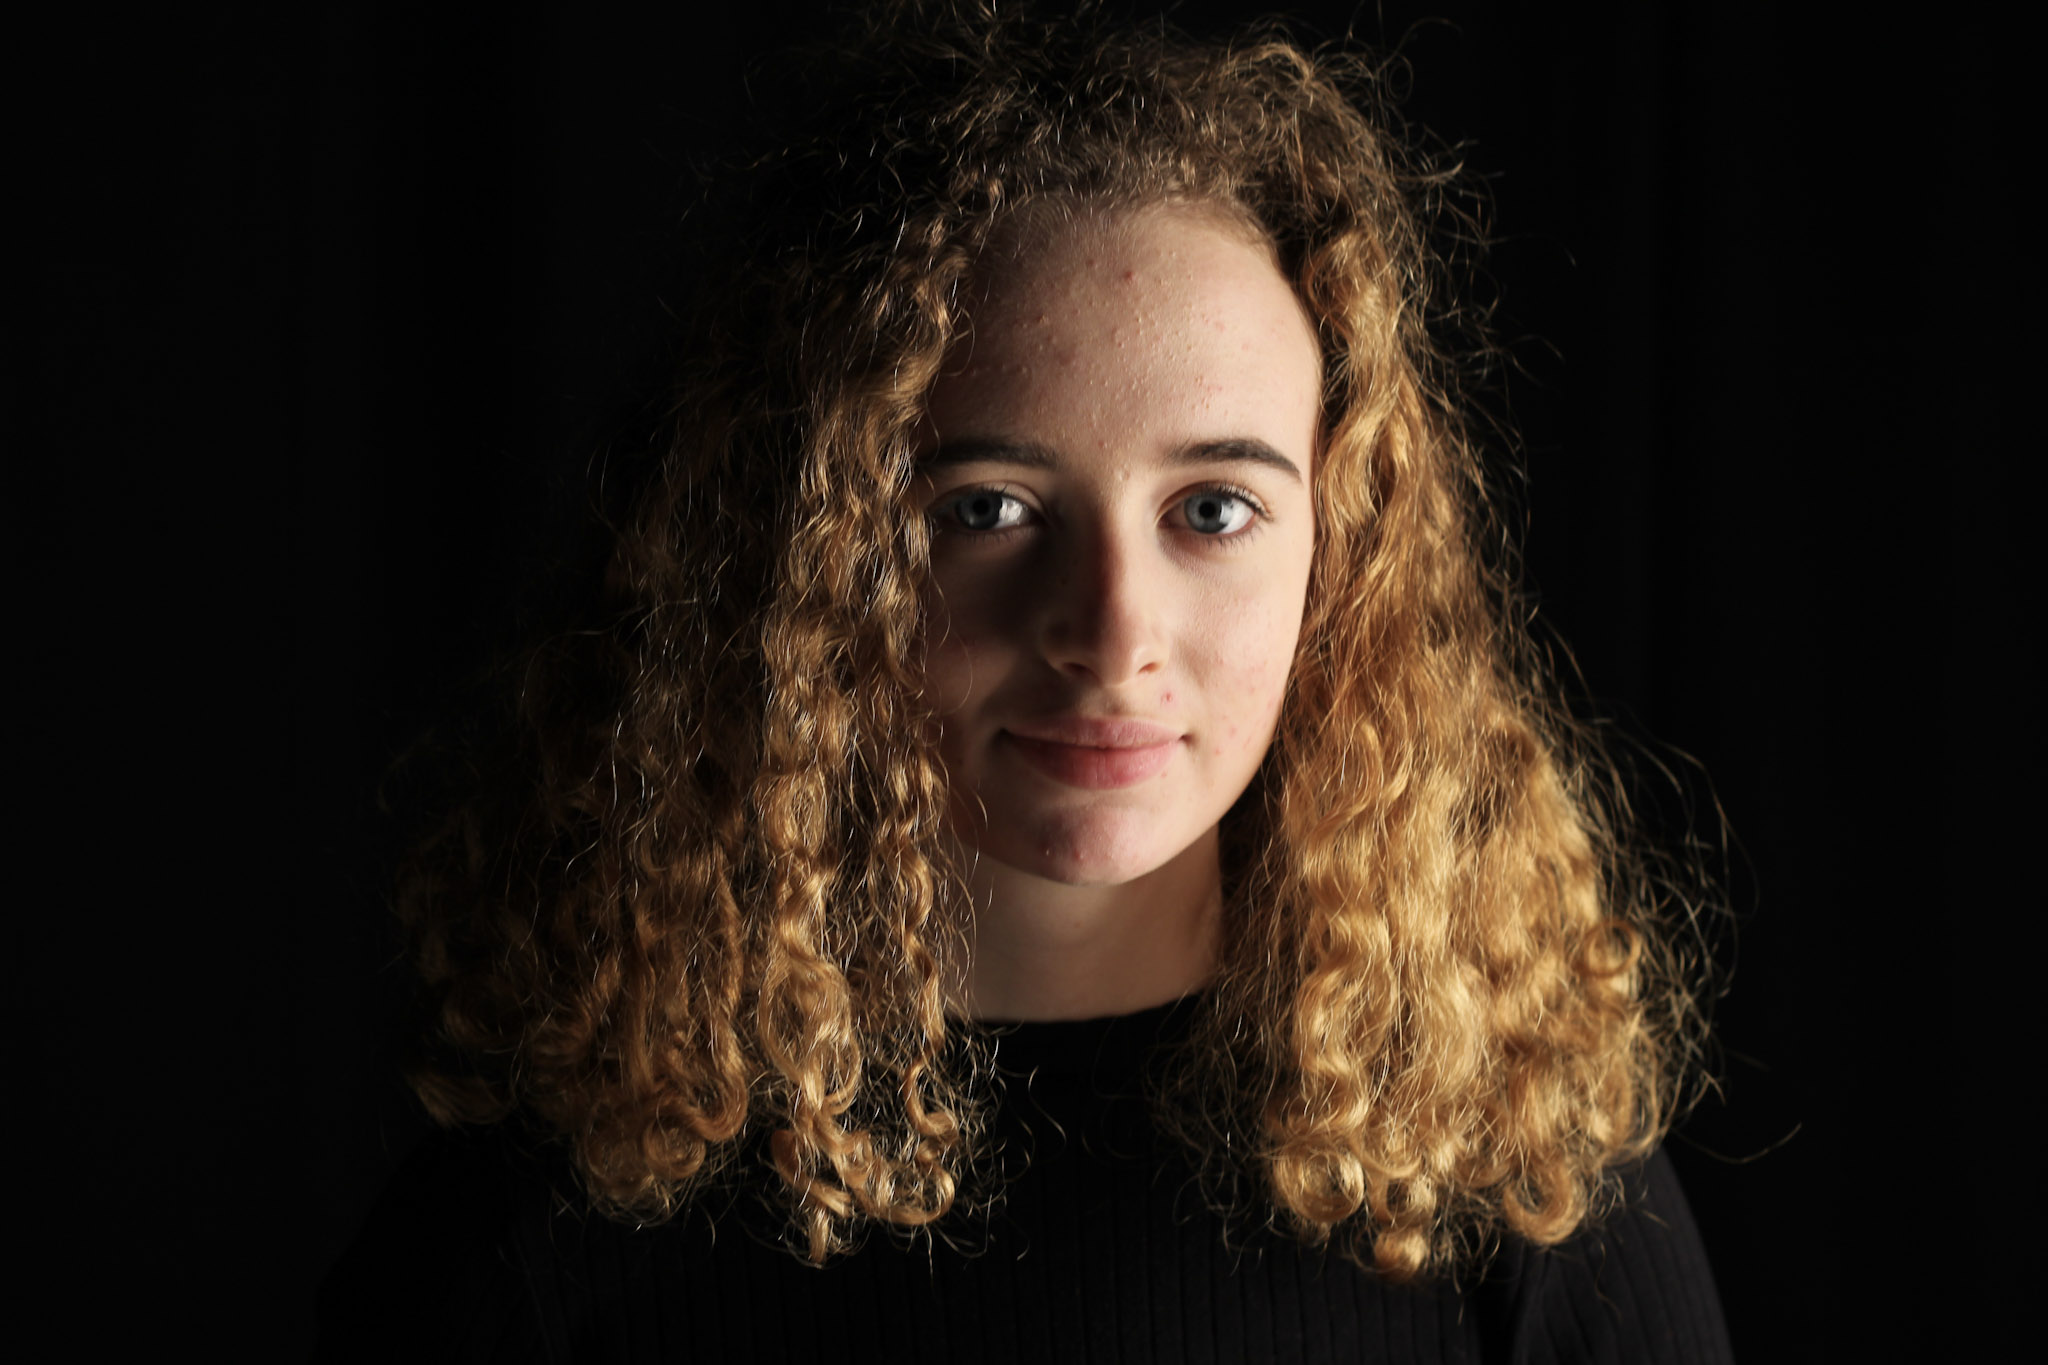

I chose to manipulate these images because they were the most focused and aesthetically pleasing images. I feel that the curly haired model Aimee has very photogenic eyes which make the image more interesting.
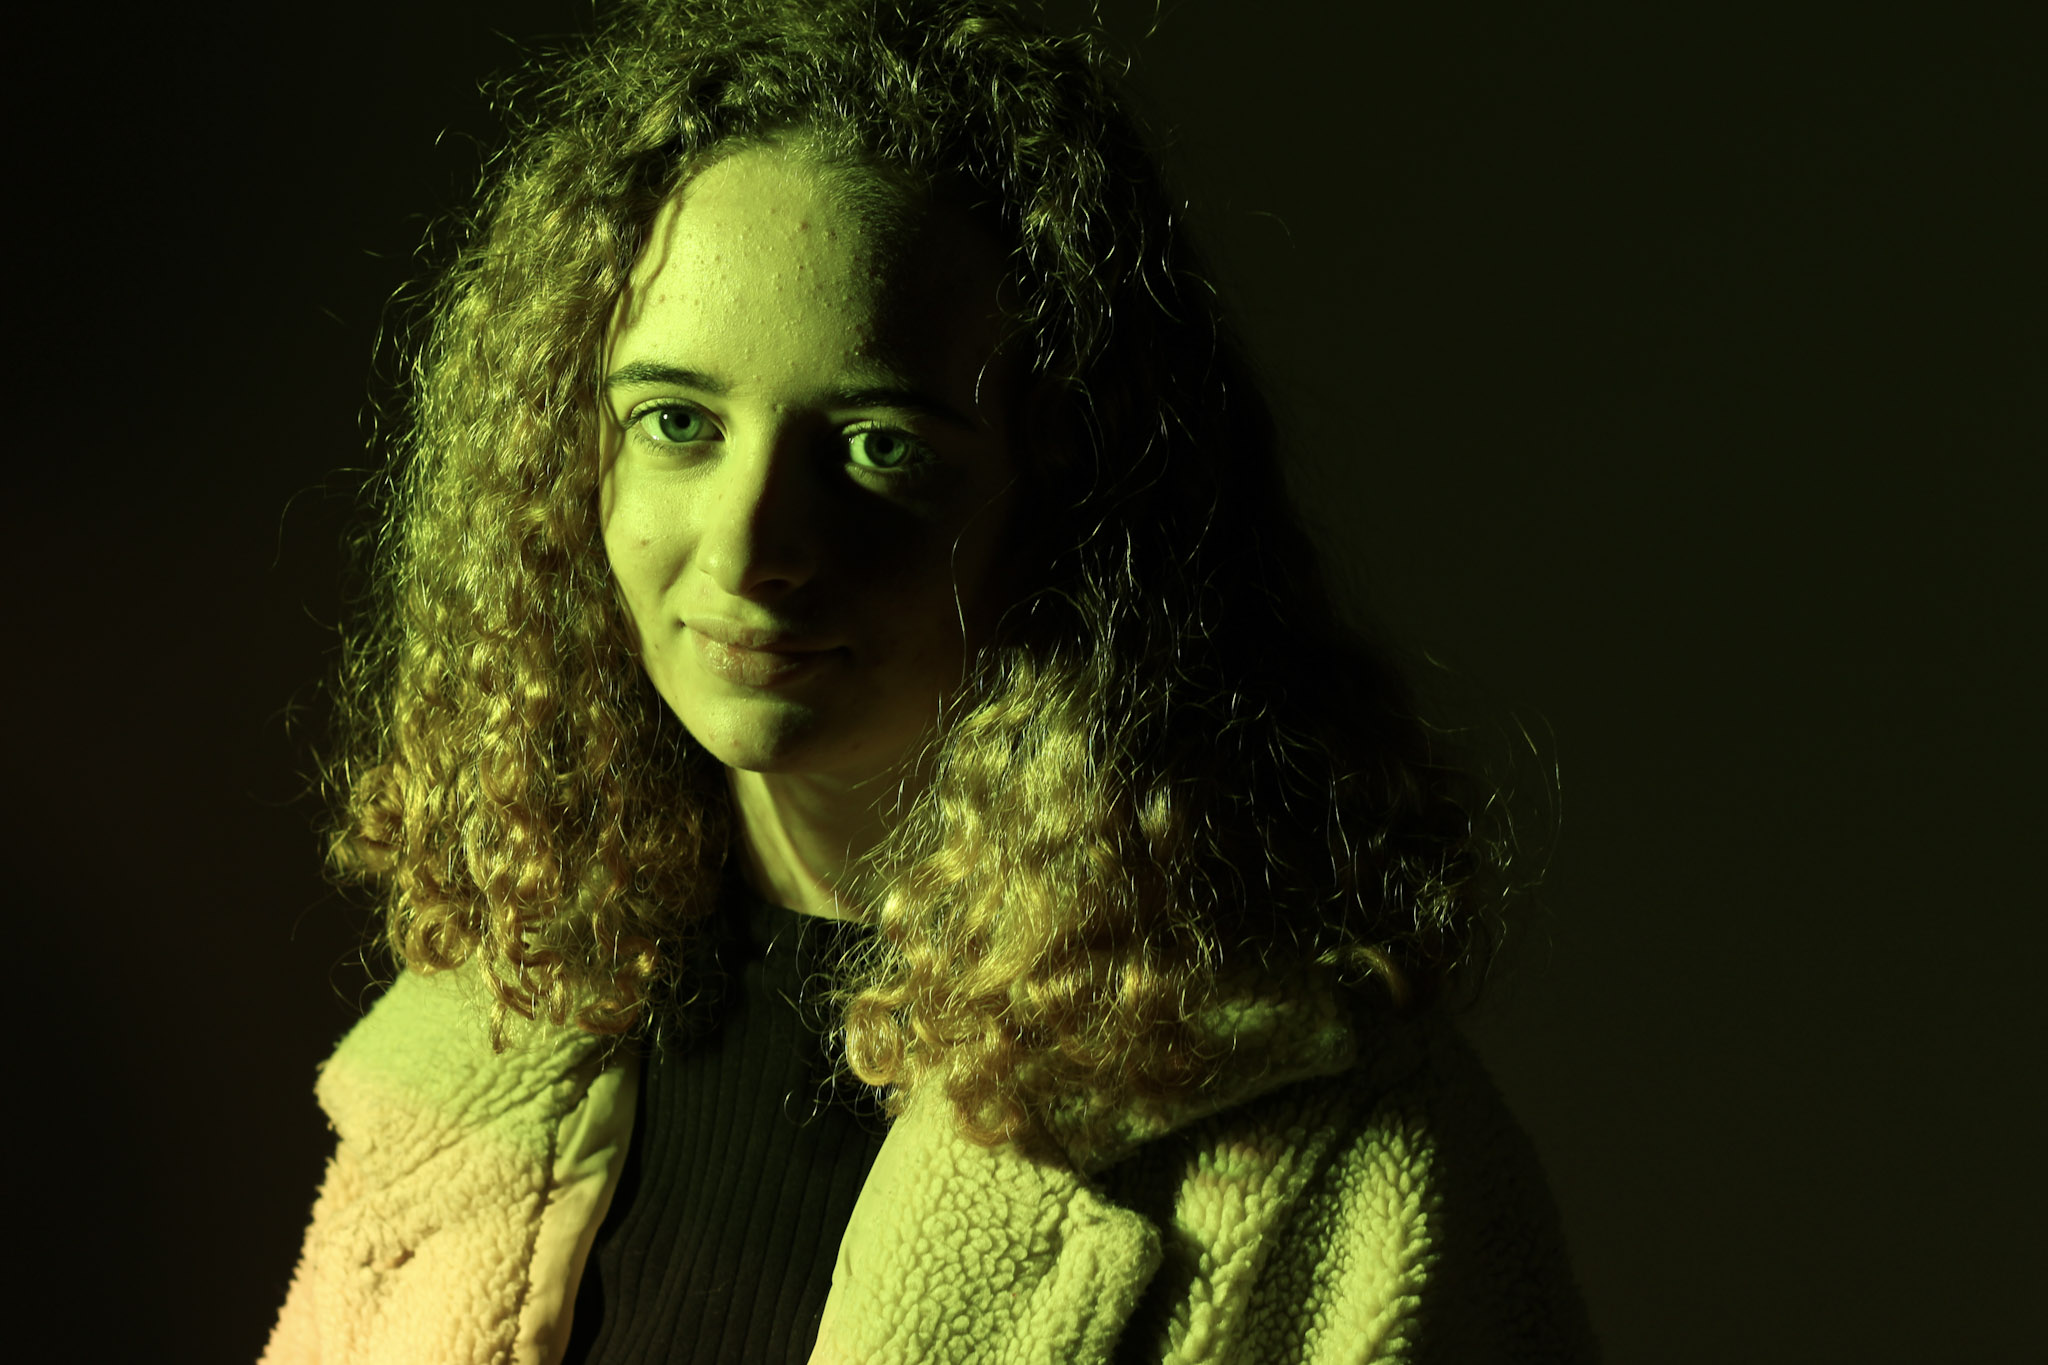
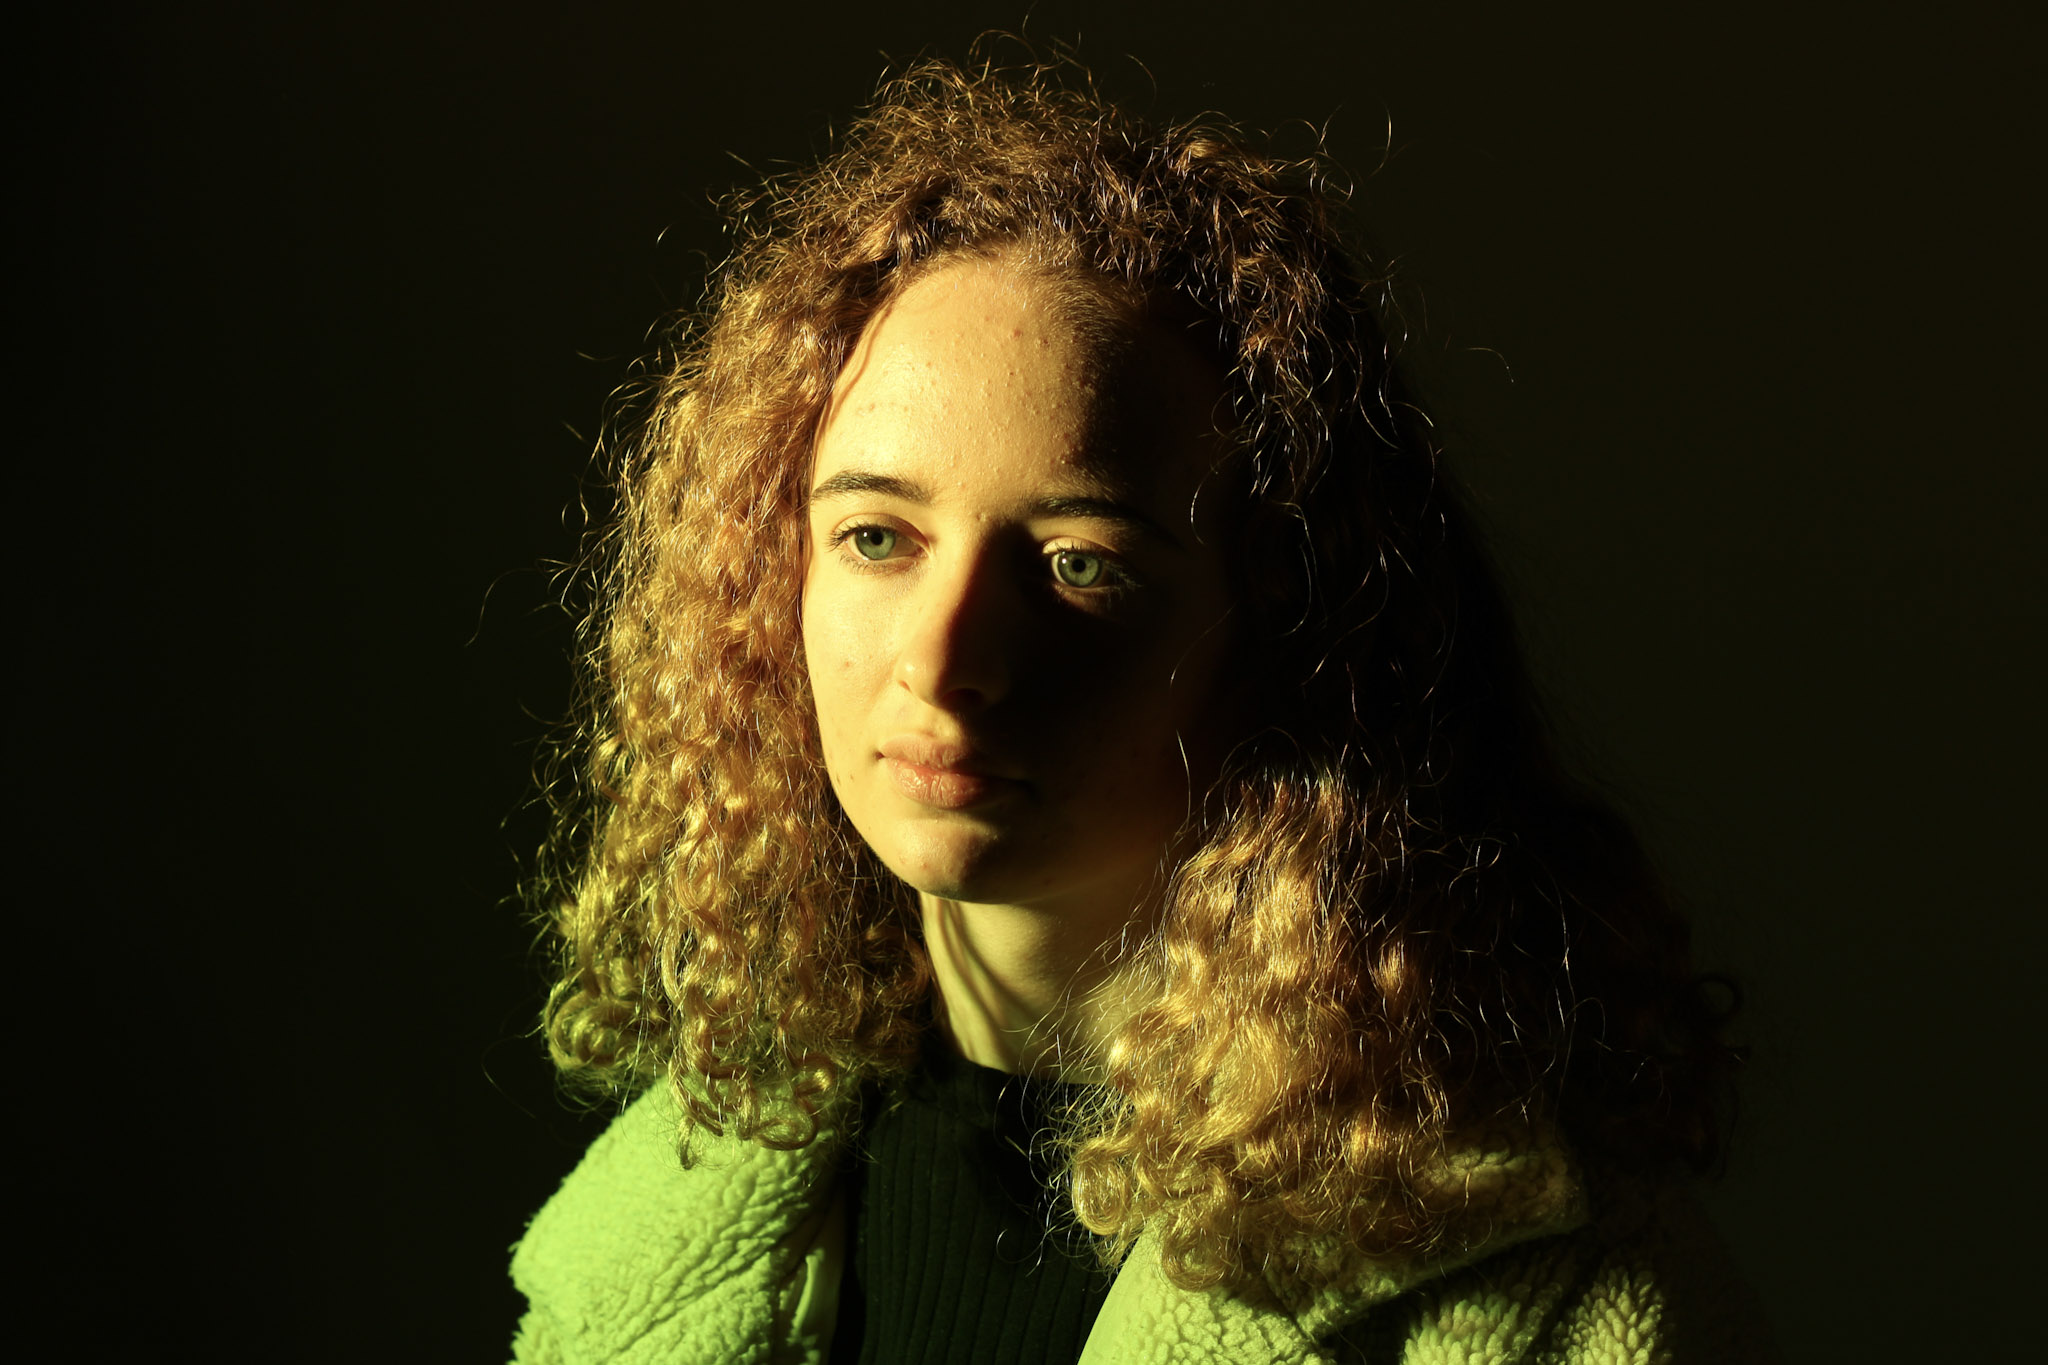
Manipulated Images:


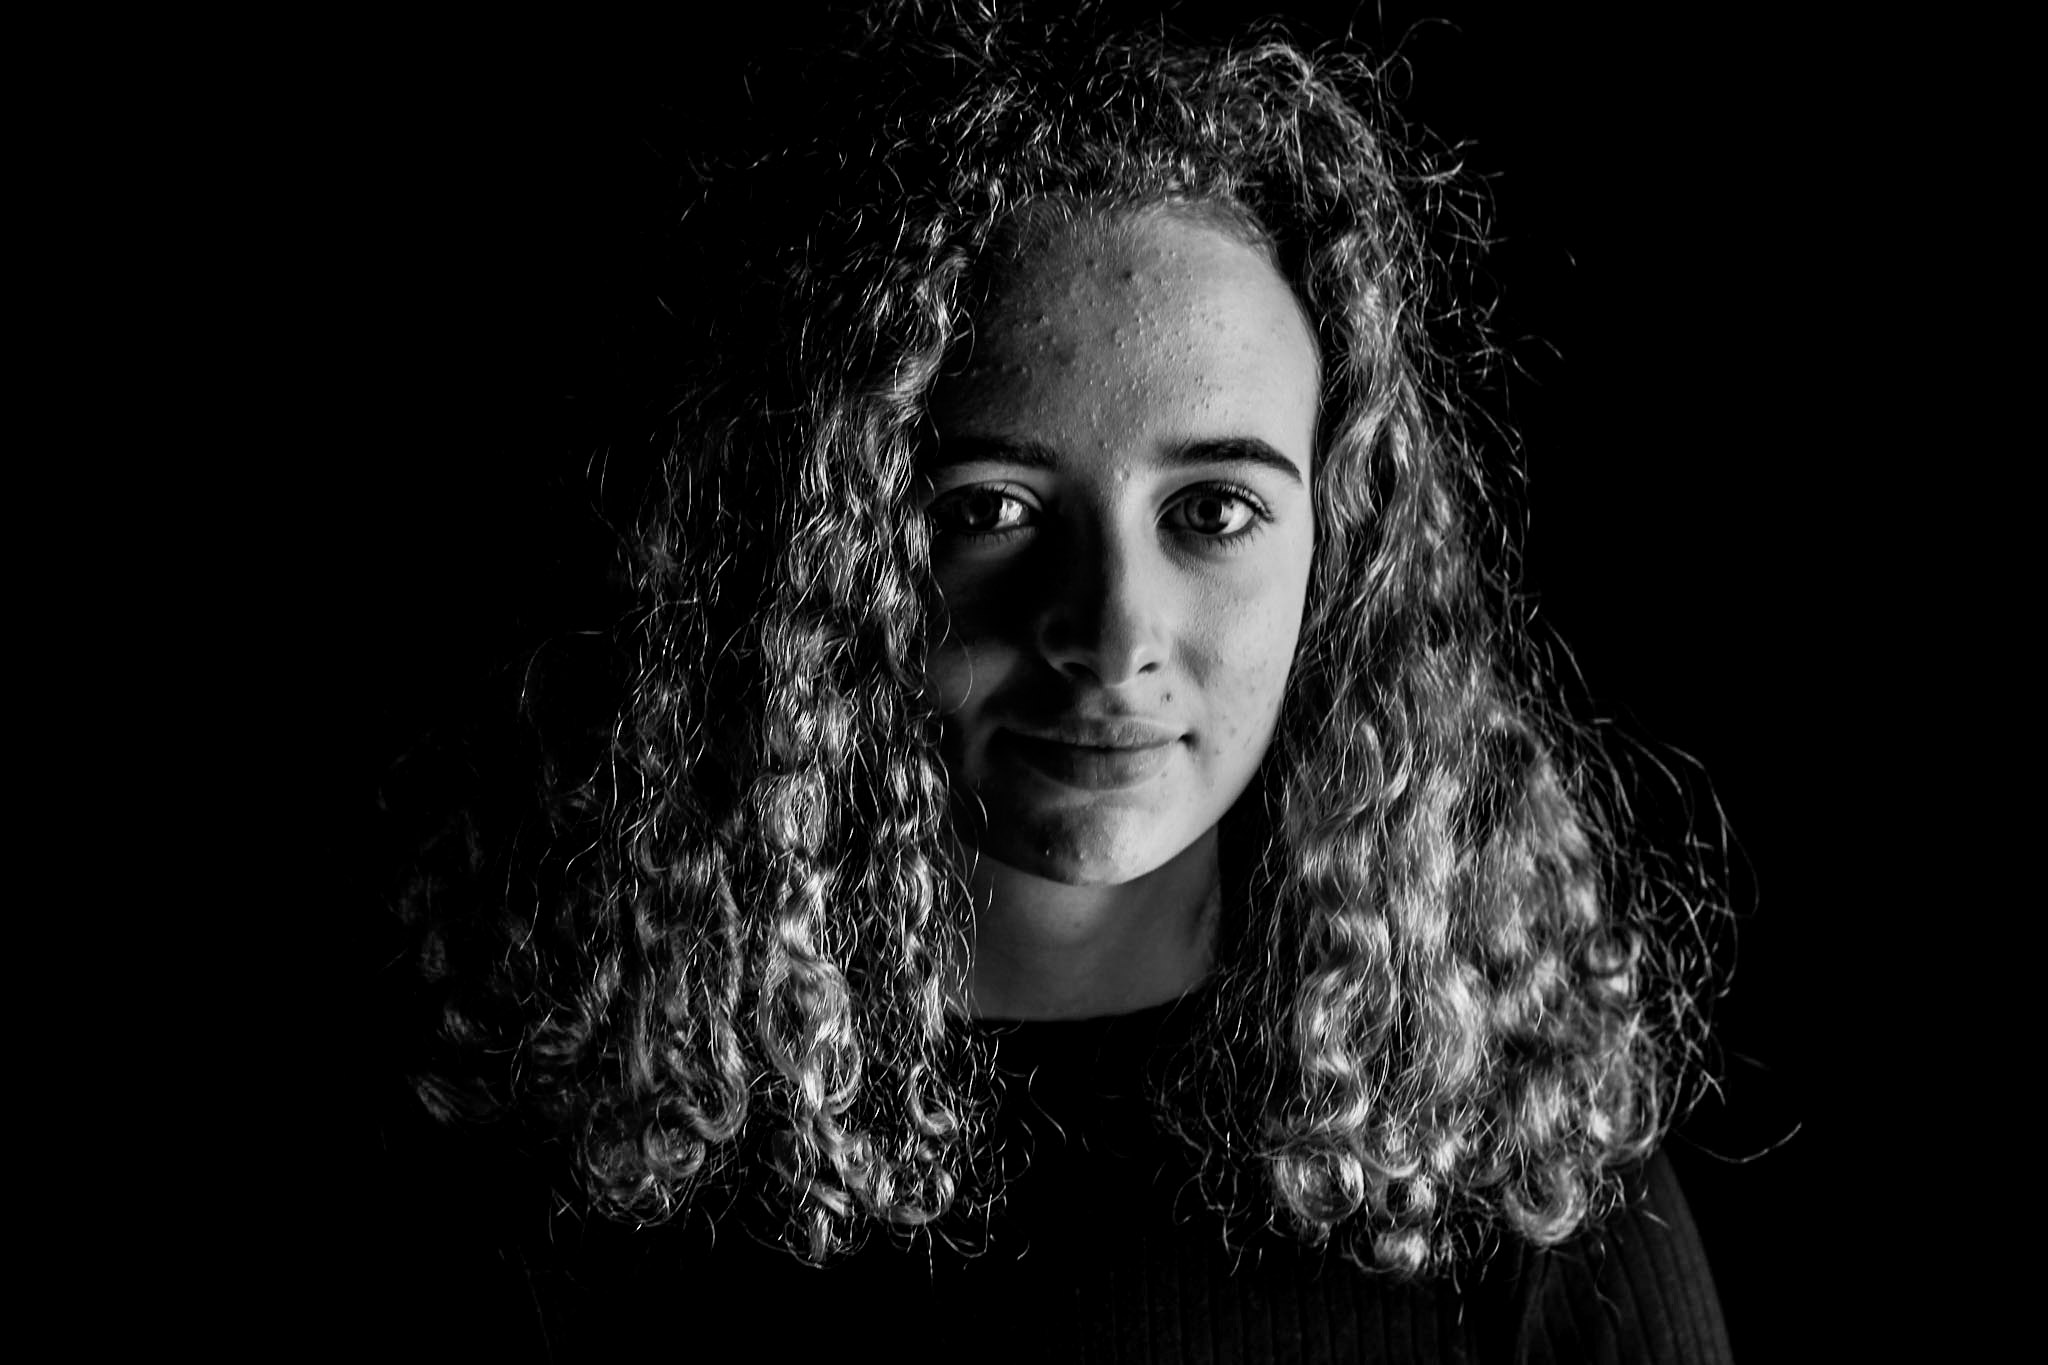

I manipulated all of these images using adobe lightroom. I adjusted general settings such as contrast, highlights, shadows, exposure, vibrance, saturation and clarity. However, with some images I also experimented with presets. For example, my image of my friend Aimee in black and white was applied with the black and white filter "punch". I then slightly adjusted the exposure, highlights and contrast.
Reflection:
Overall I did like the outcome of my images. Once again I need to perfect my focusing skillsbecause some of my images are still slightly blurry. I also need to experiment with different lighting techniques such as using two lights at once. I would also like to experiment more with composing my images to make it look more interesting and maybe using male models aswell so I can compare and see if I have to take my images any differently.