What is dual point lighting:
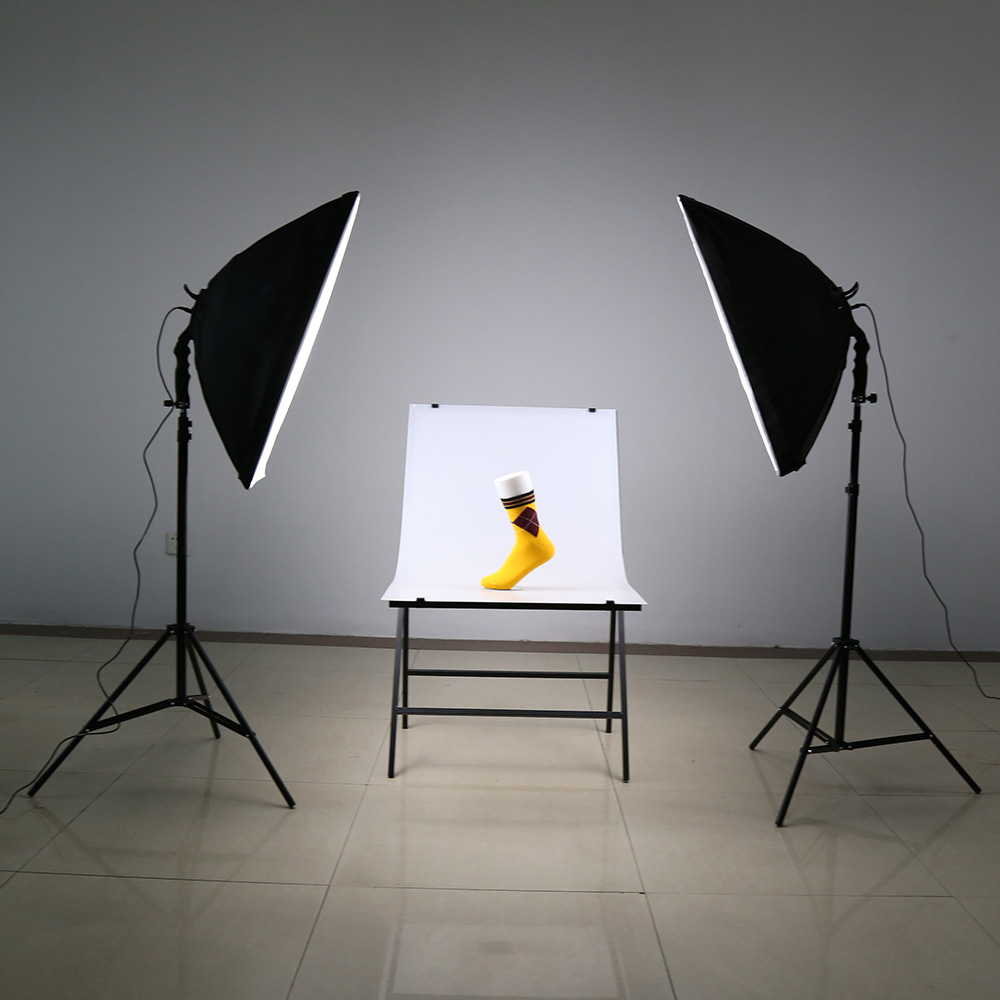
Two point lighting setups can be very beneficial. By adopting two separate positions, the photographer can illuminate the key subject (such as a person) however desired, while also controlling (or eliminating entirely) the shading and shadows produced by direct lighting.
The key light, targets the key subject of the photo and serves as the primary illuminator source. The Photographer can experiment with the strength of the video lighting, colour and angle. The key light will determine the shot’s overall lighting design.
Then a fill light can be used to balance out the shadows appearing on your subject. The fill light will typically not be as strong as the key light. If your lights are all the same strength you can look into using diffusers to help soften a light source along with colour gels. A colour of lighting gel is a transparent coloured material placed over a light source for colour correction and video lighting effects.
Diagram:

Examples:


My own aim, action plan and technical features:
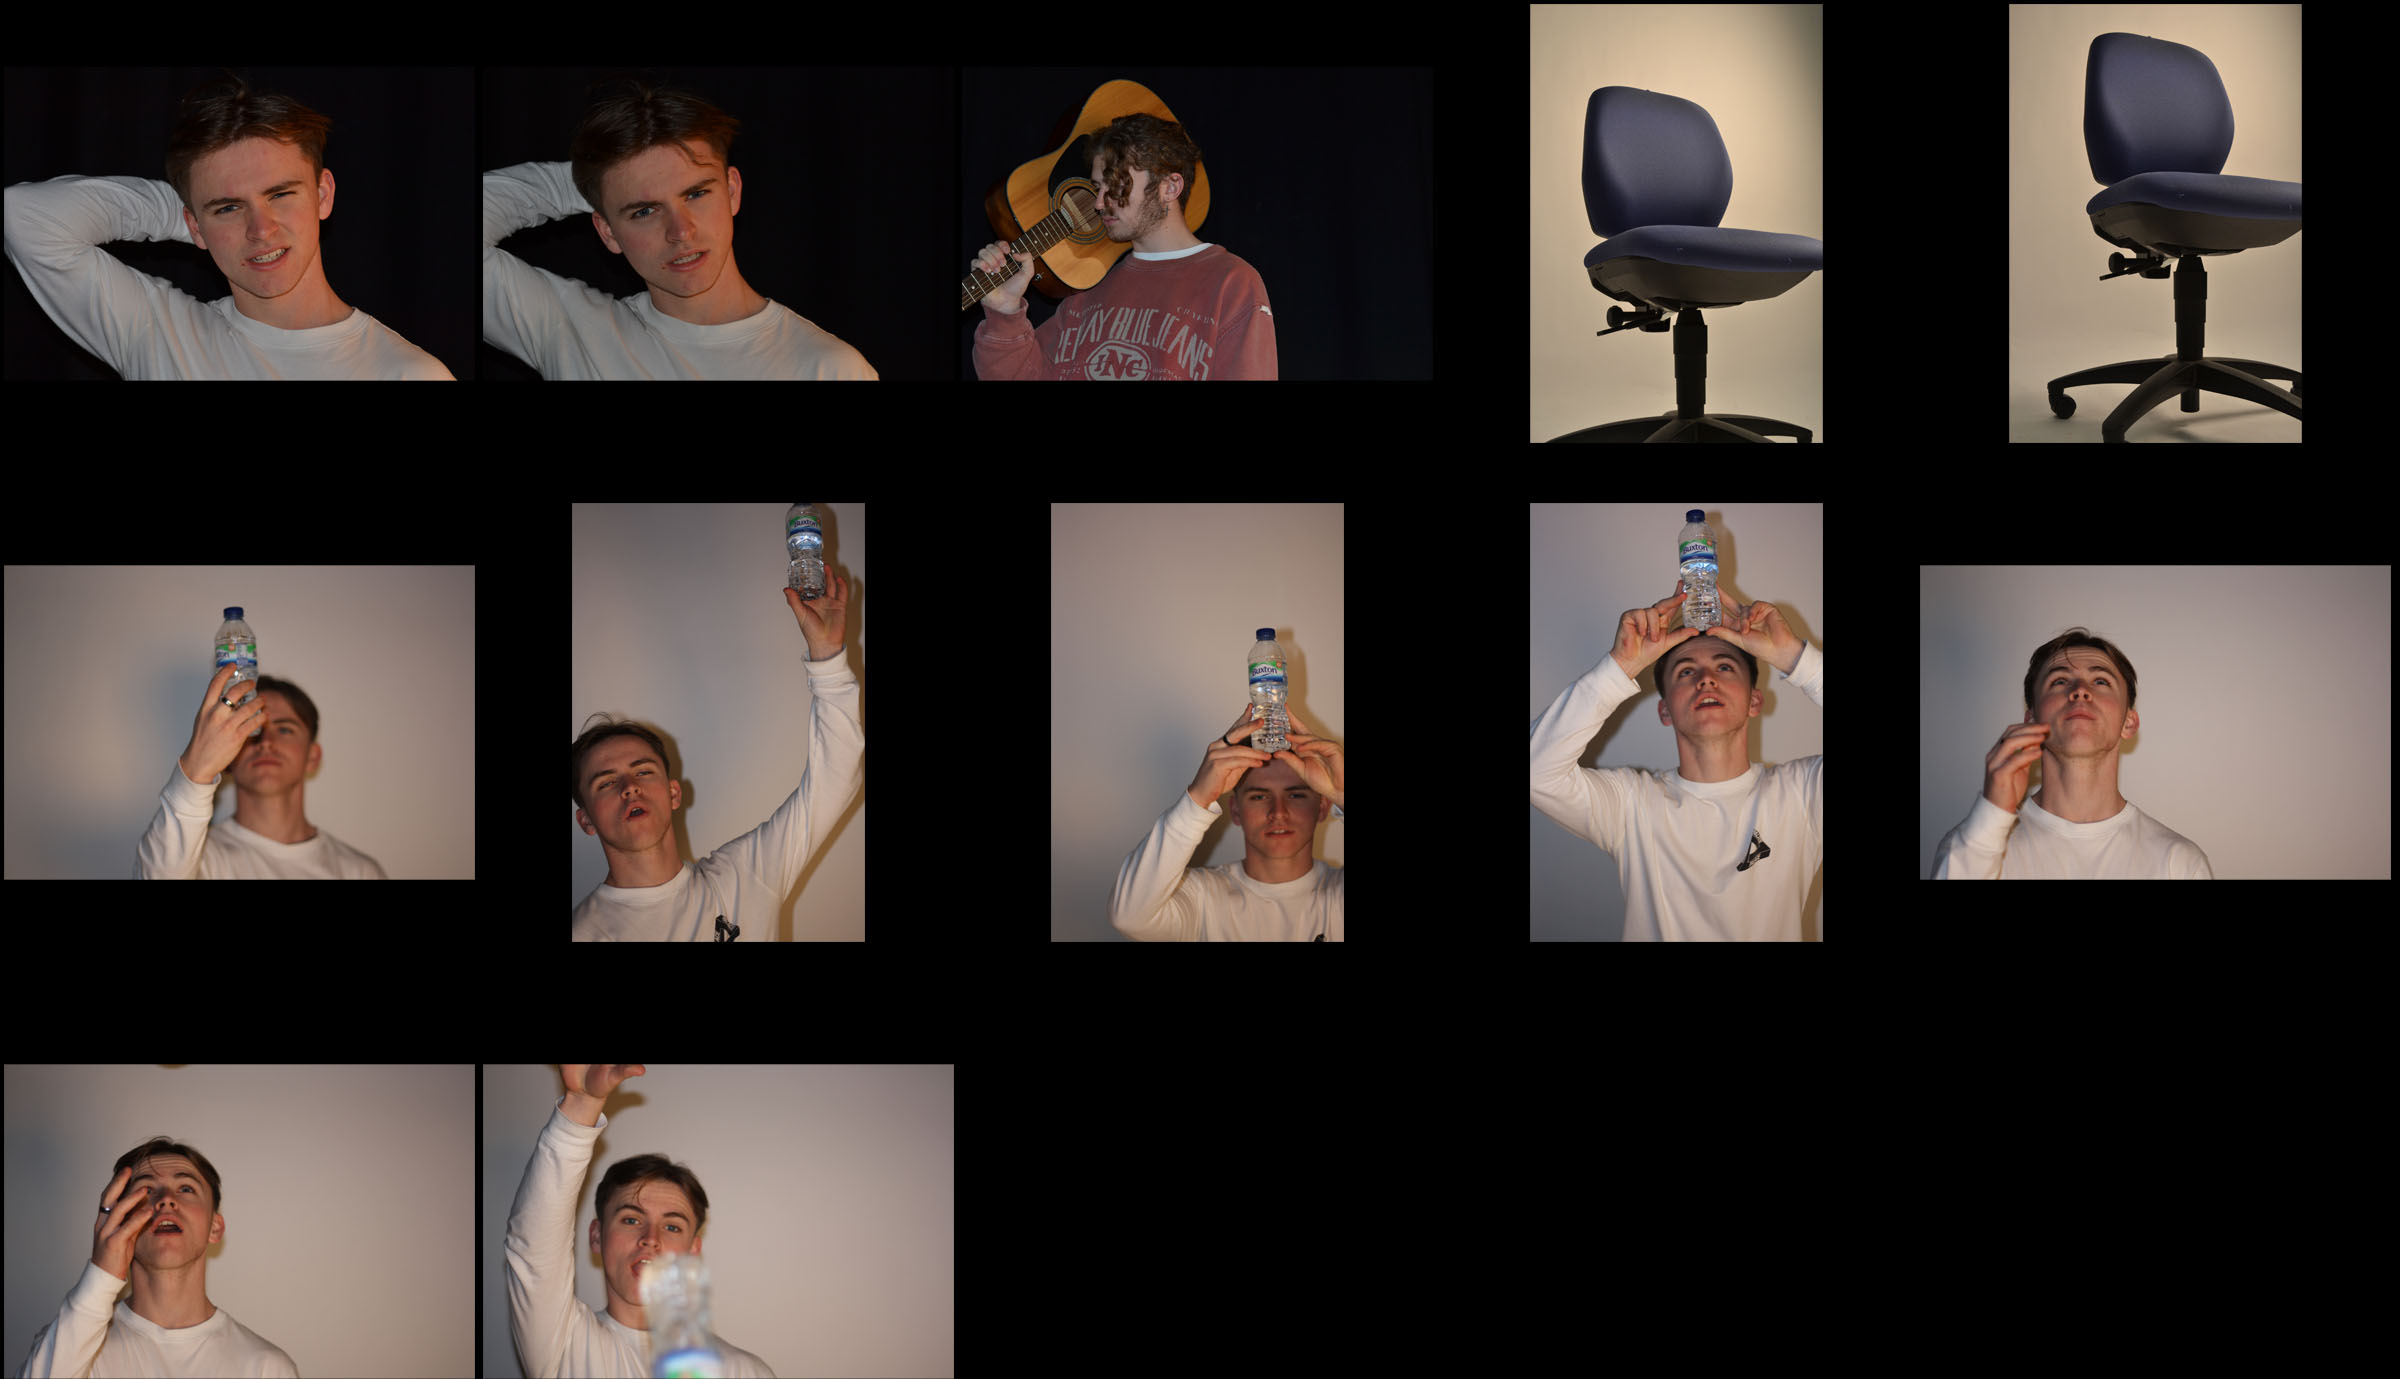
Use two separate lights in different angles facing the model to capture a series of images that highlight/concentrate on key features of the photograph.
Therefore is se up two lights one facing towards the model from the left and one light facing towards the from the front. This helped to keep the focal point in the part of the photo where those lights cross over, which illuminates the key areas I want to show. I then set my camera to a high ISO so the colour differences were distinct in the harsh light, whilst using a shutter speed of around 1/8 second and a slightly lower aperture so not as much of the light could enter the camera.
Contact sheet:

Final image outcome:

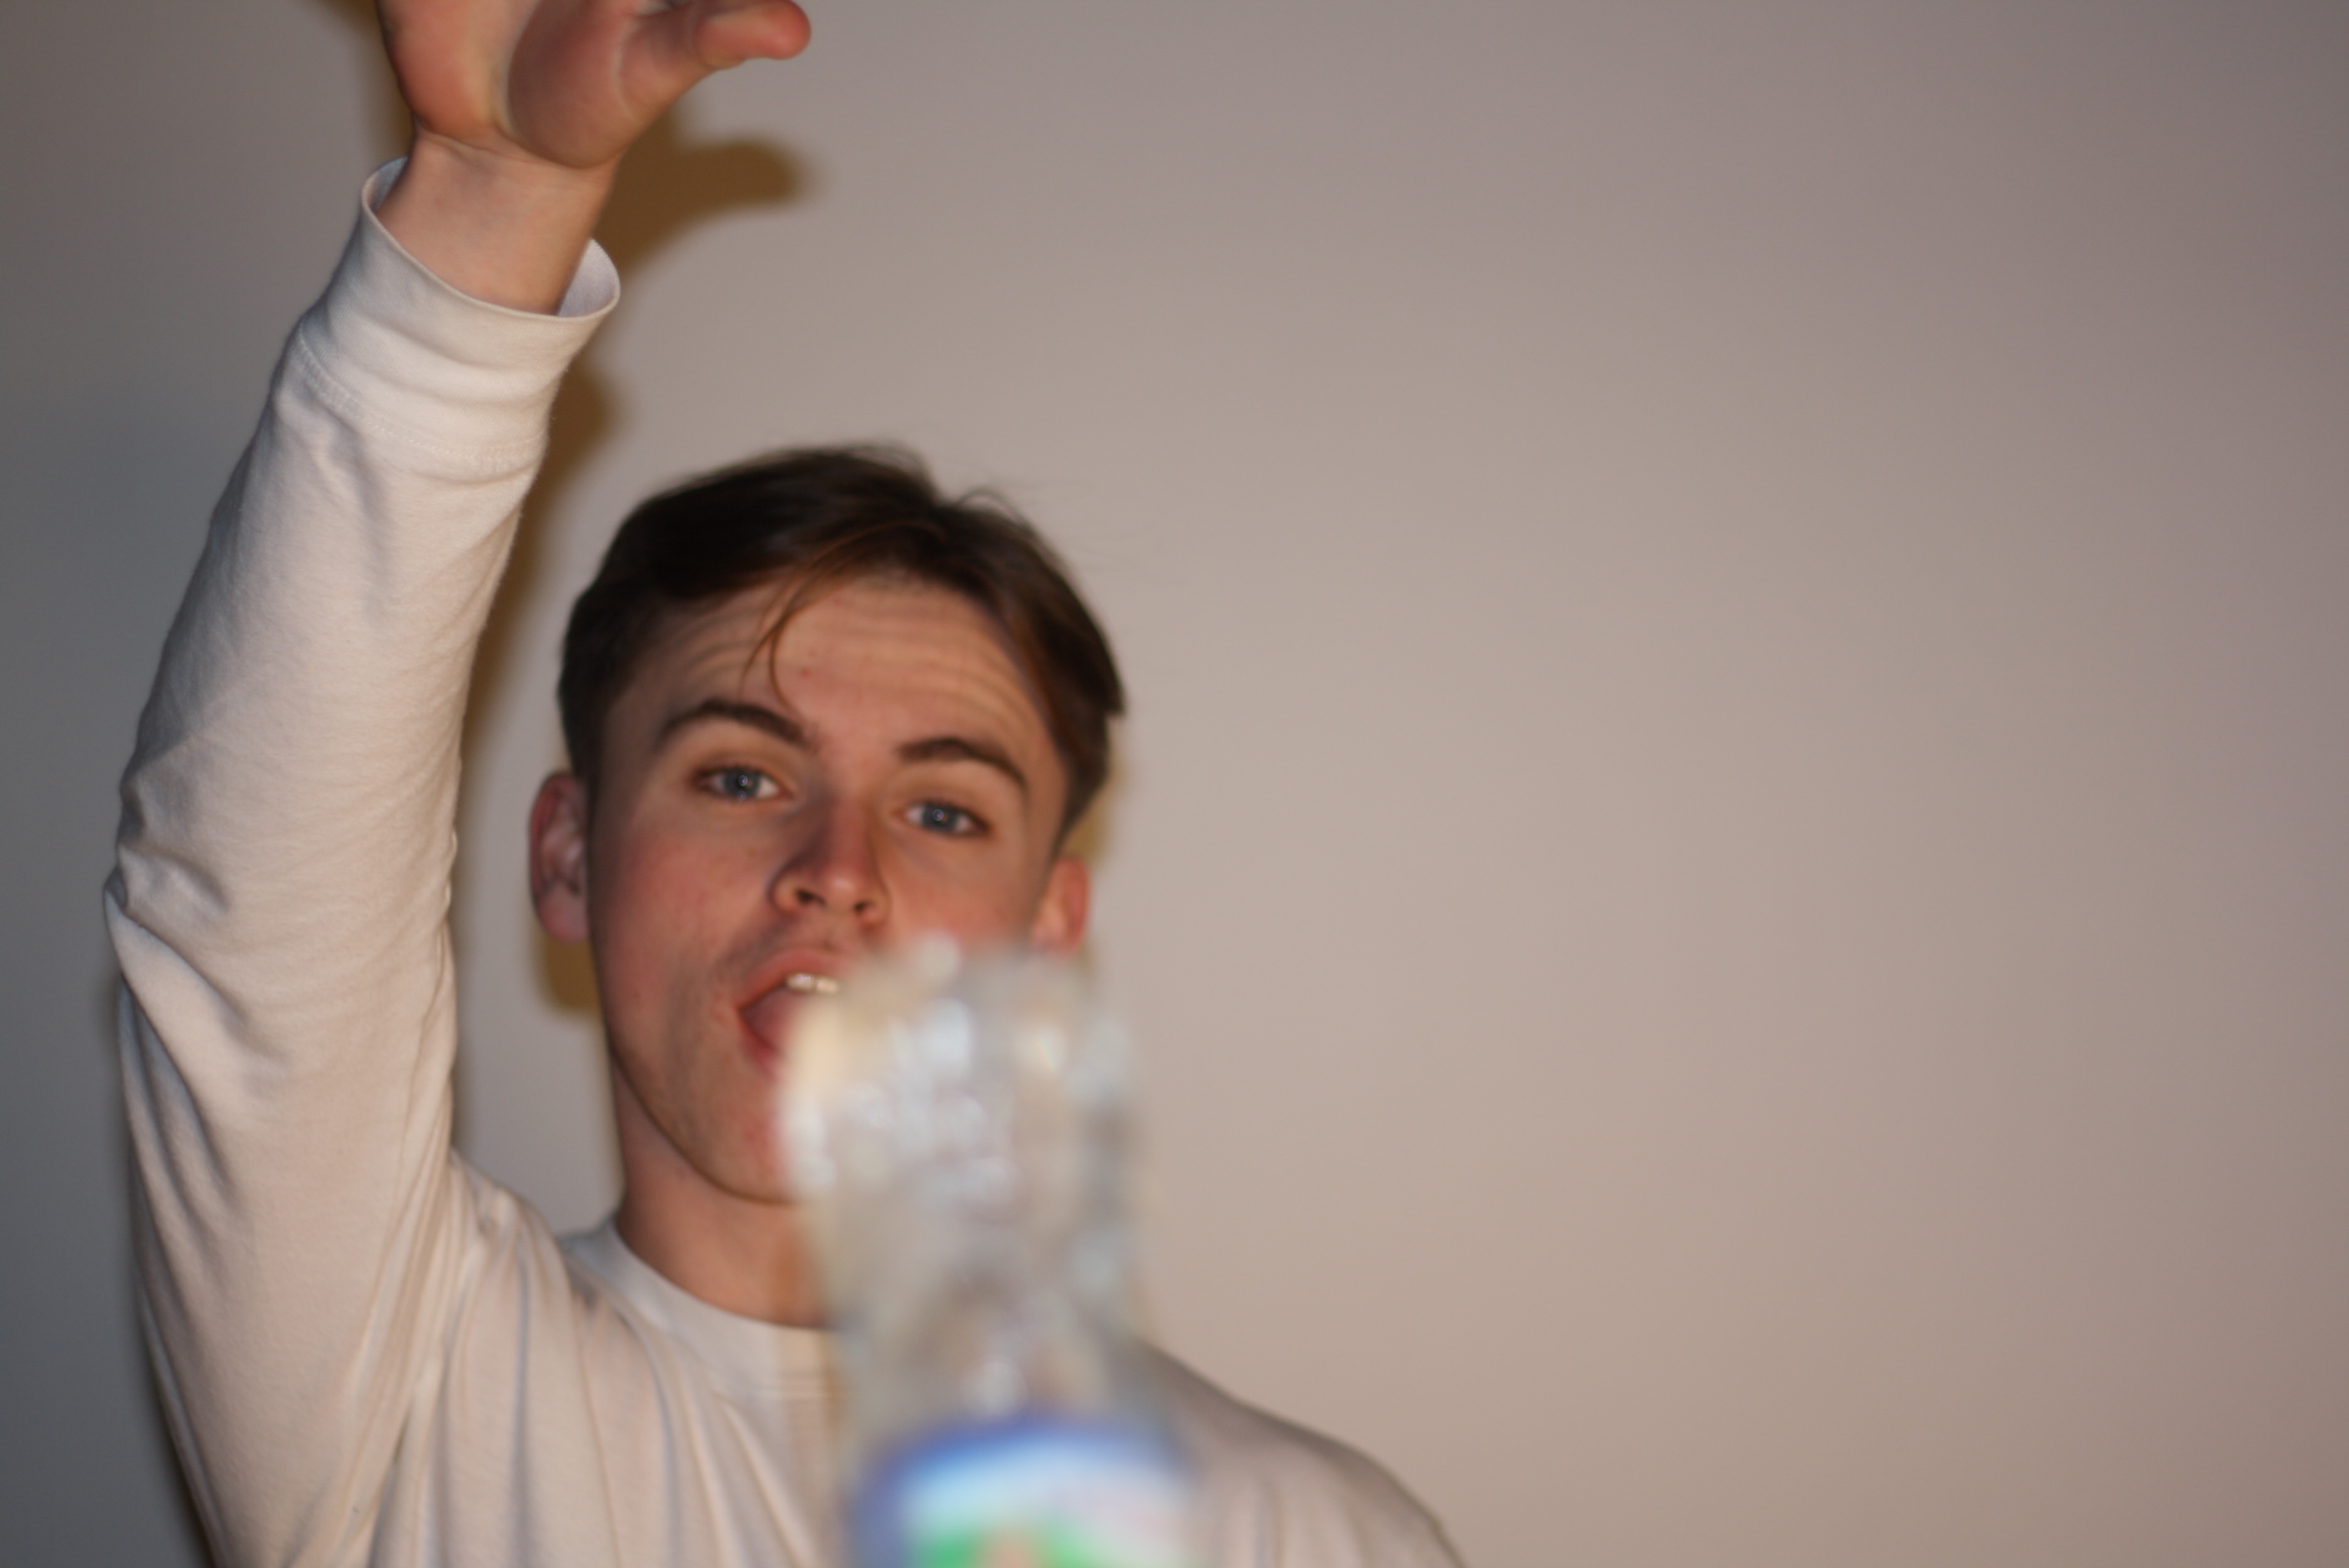
Visual elements of this image include:
The lighting in this was in two locations with one light at the front of the model and there was another lamp to the right side. A fairly plain colour range of primarily whites, greys, browns and black can be seen with a range of light and dark tones across the photography which contact each other. The depth of field and 3D-ness of the photograph is created by where the bottle in the foreground is not in focus, but the model is. The texture is quite smooth and there is a slight lead in line using the sides of the bottom.
Many portraits have contextual and conceptual meanings but this one does not and is designed to showcase a camera technique.
