For my experimentation into using lighting in a studio setting, I decided to also incorporate a number of camera skills into my experimentation as well, to produce the best products possible.
The lighting in the studio consisted of a key light, and a soft box light. the key light was used to illuminate the face of the subject, and to alter the overall lighting of the image, whereas the soft box light was used to manipulate shadows, softening them where necessary to alter the appearance of the image.
The following images are of contact sheets I have created including all of my studio portraits:
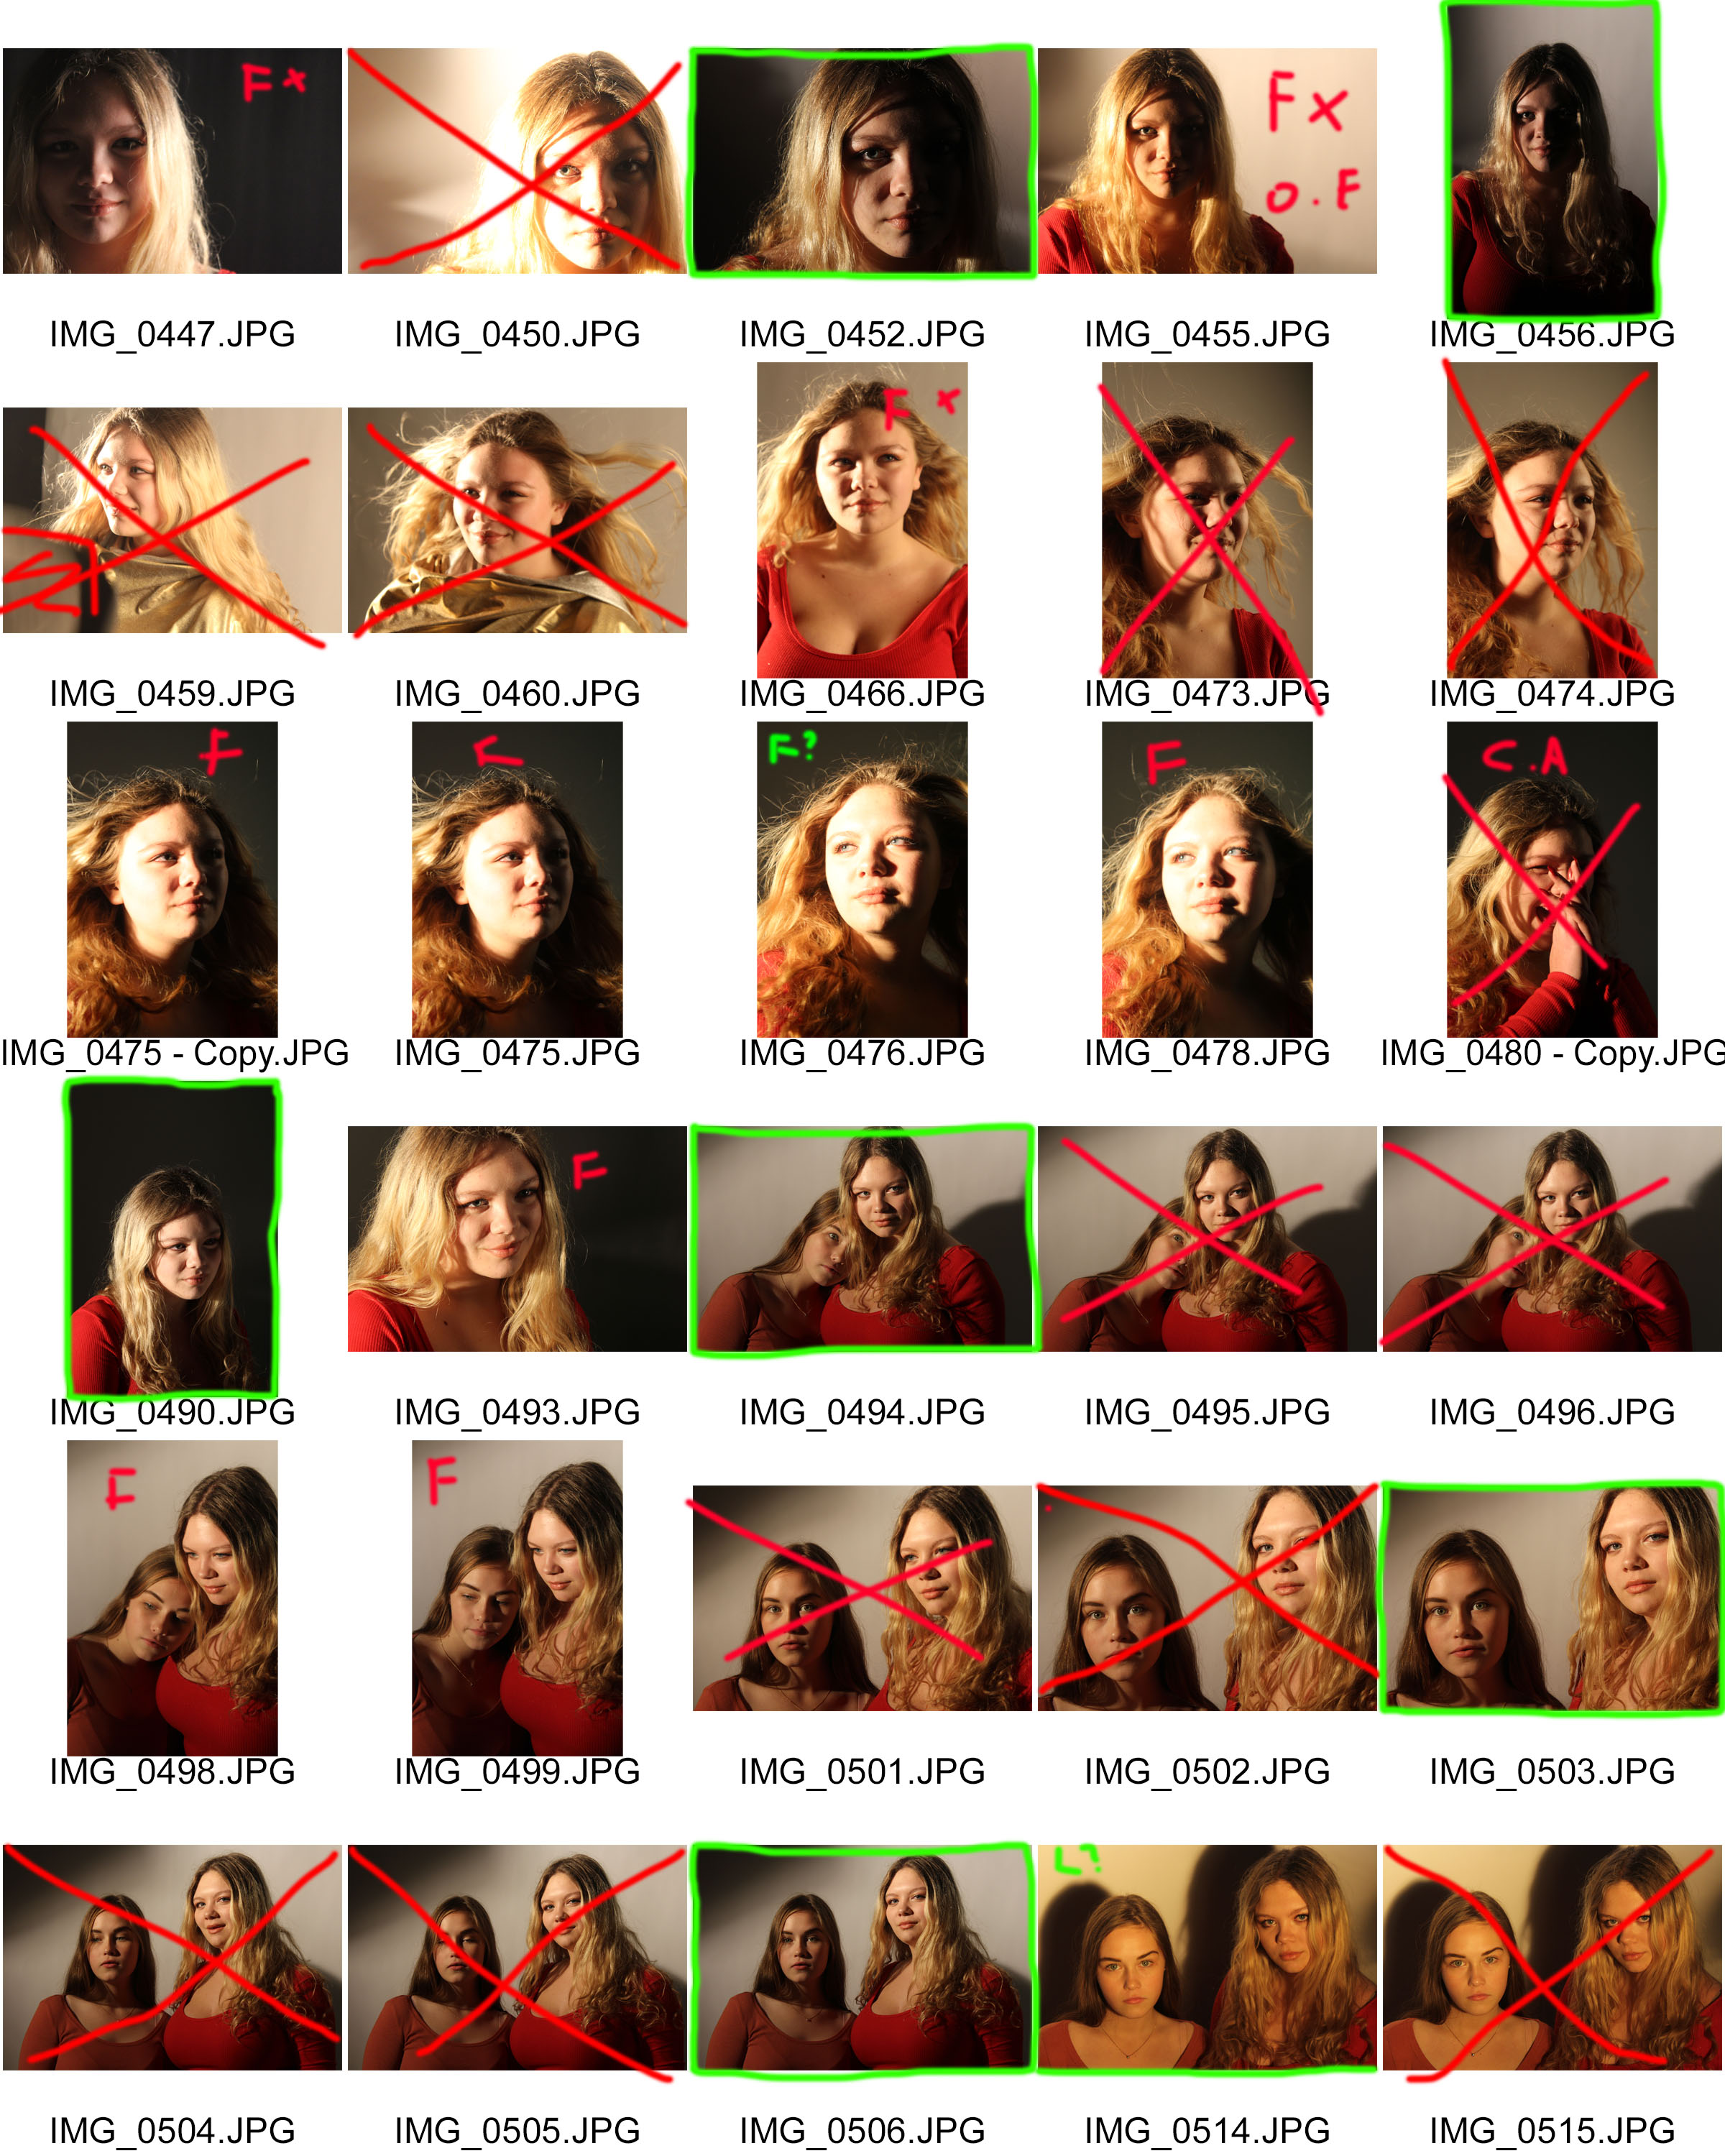
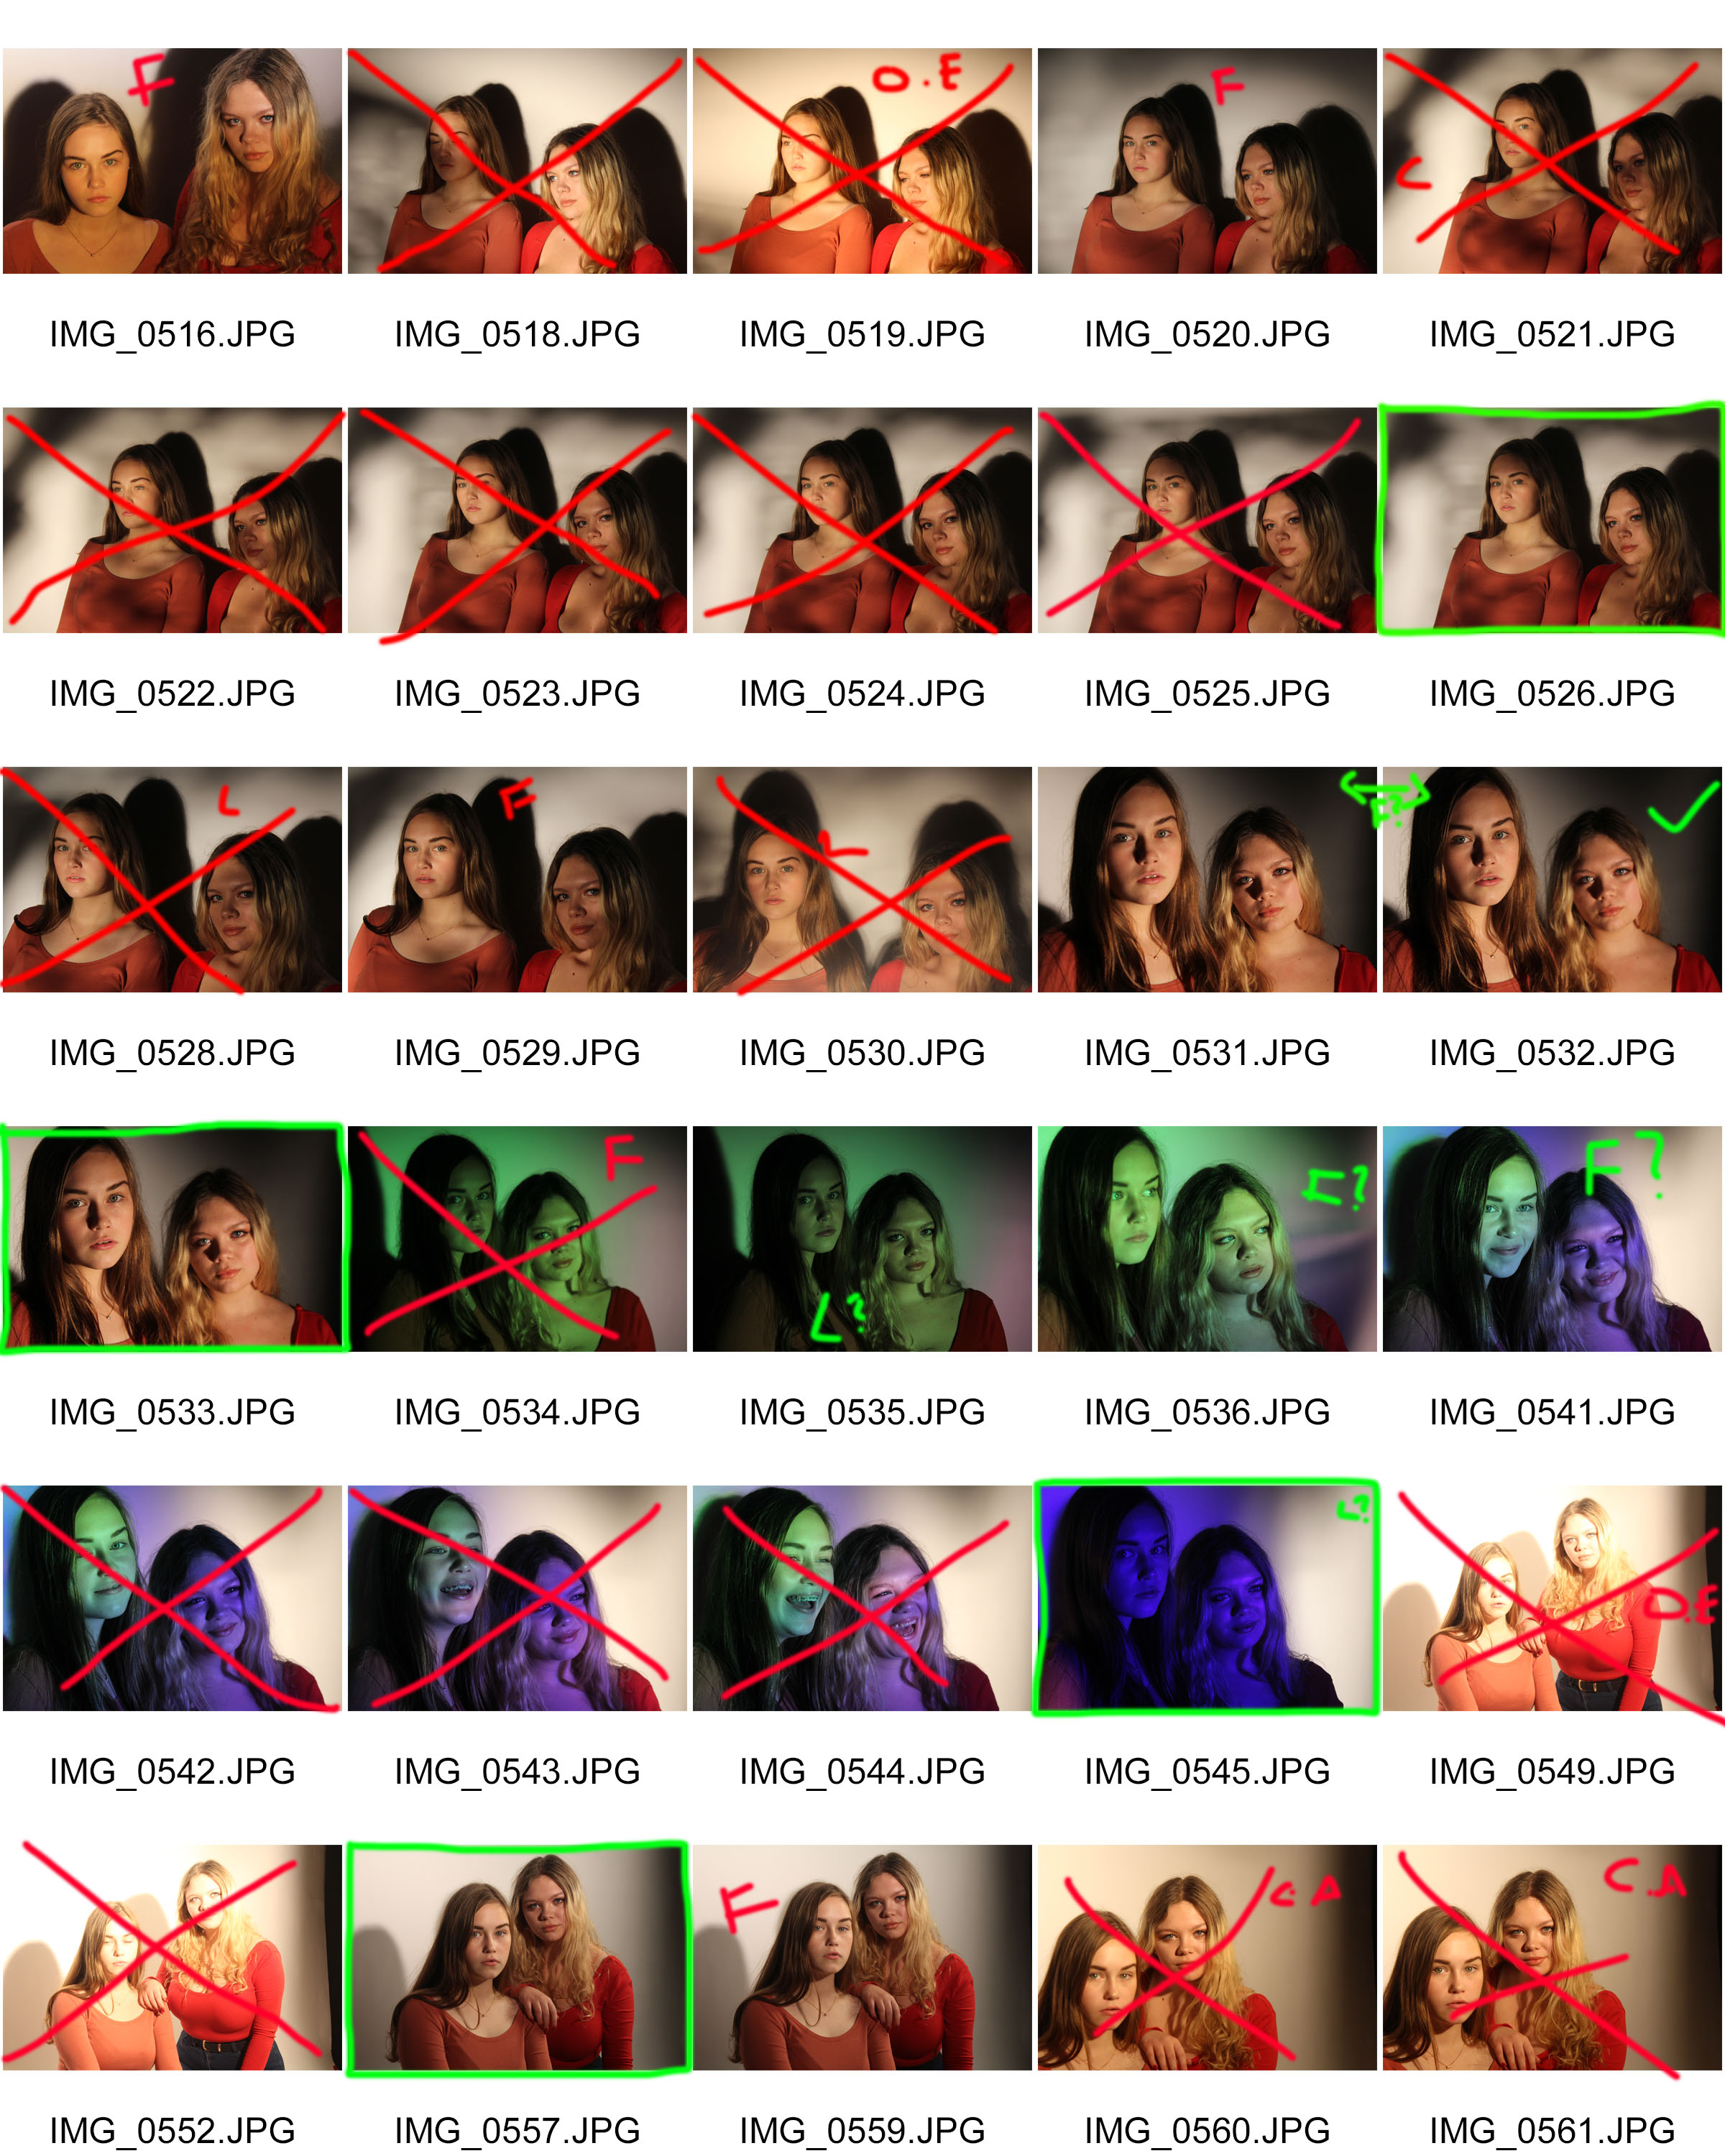
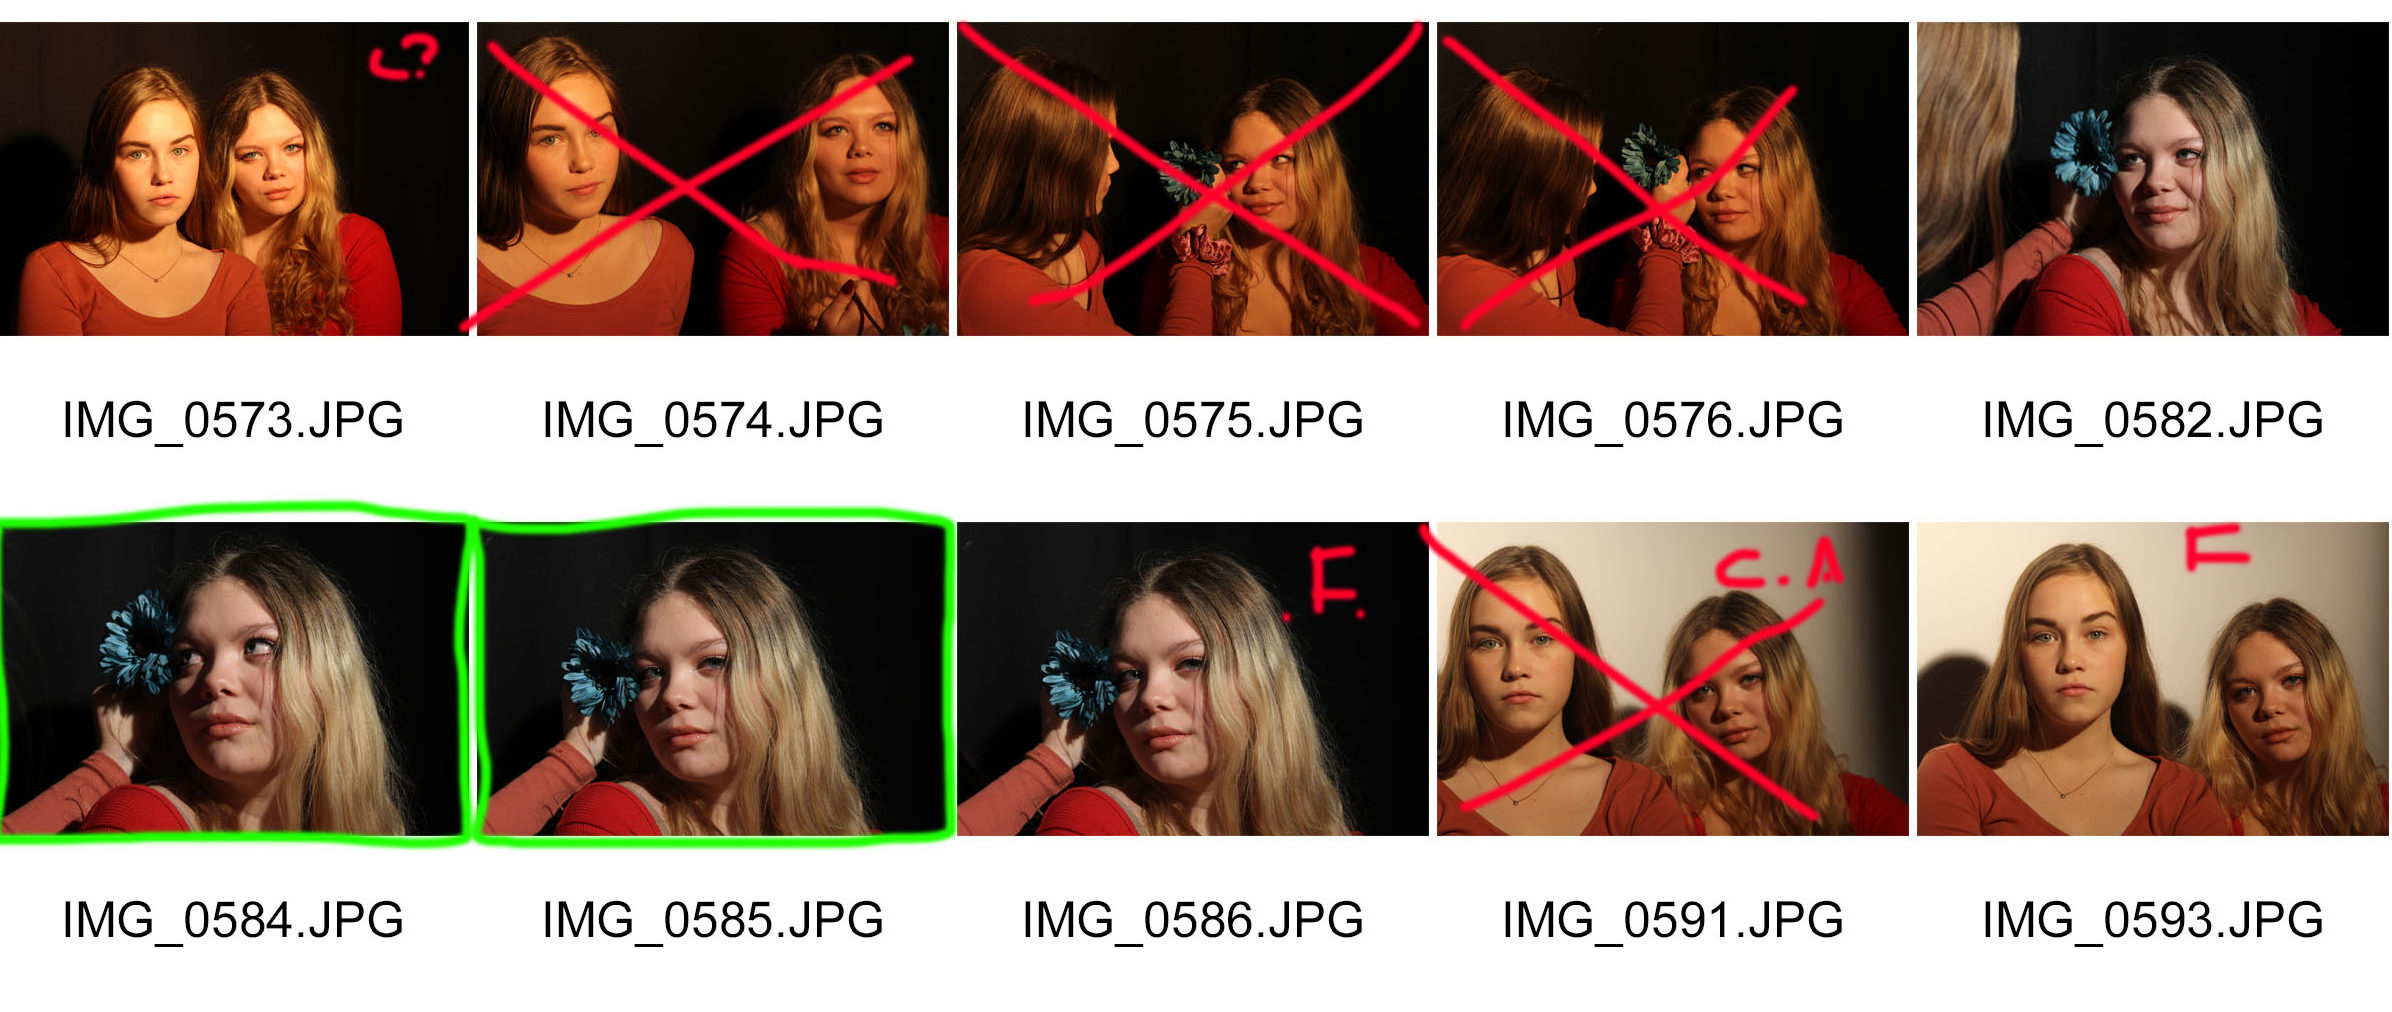
Key: Red F = out of focus, Red C.A = wrong camera angle, Green L = slightly off lighting , Green F = slight focus issue, Red O.E = over exposed, Red Cross = rejected, Green Box = finals for editing
The final images before the editing process can be found below:
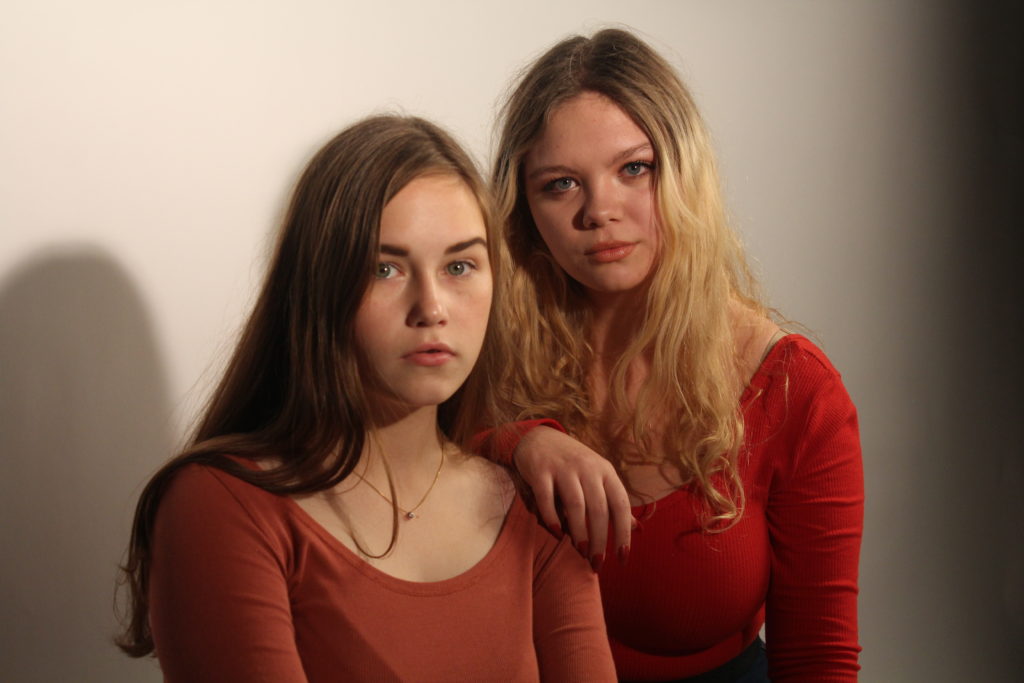
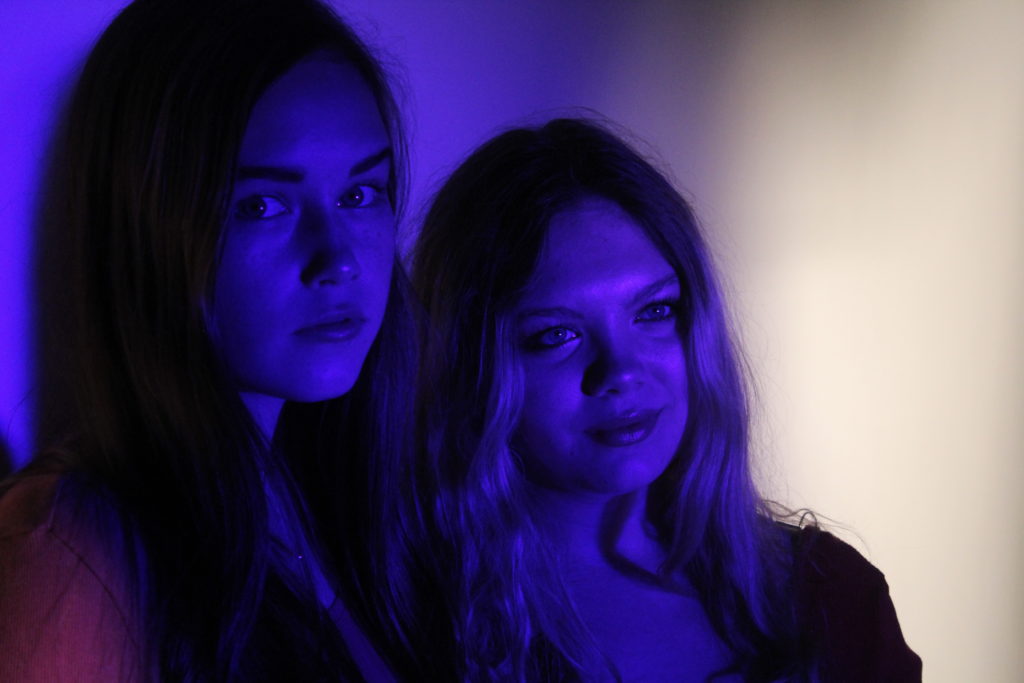
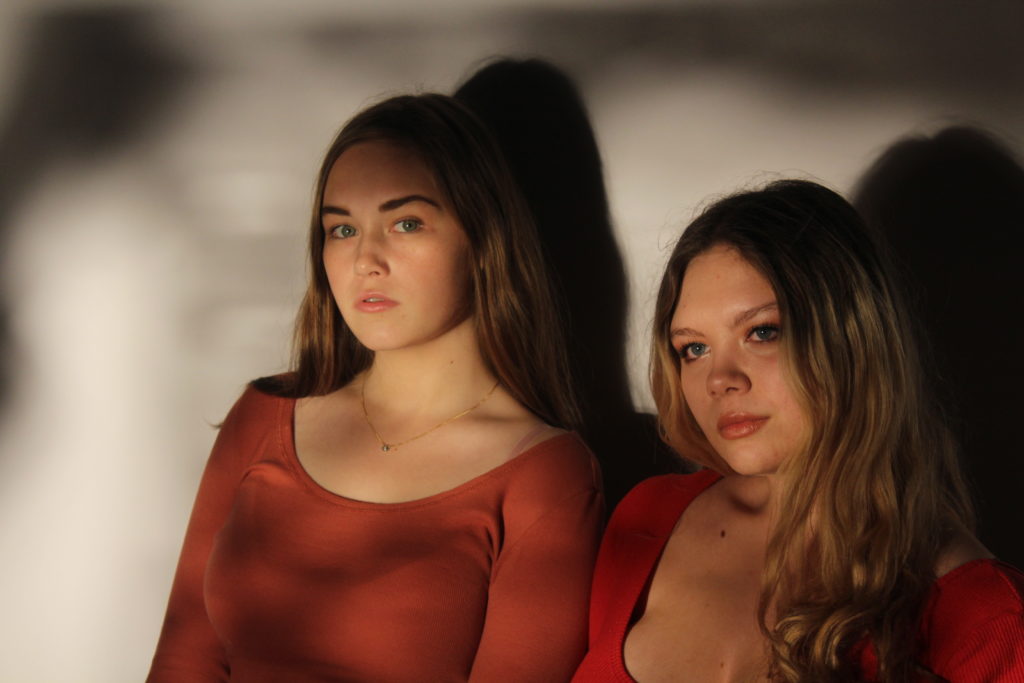

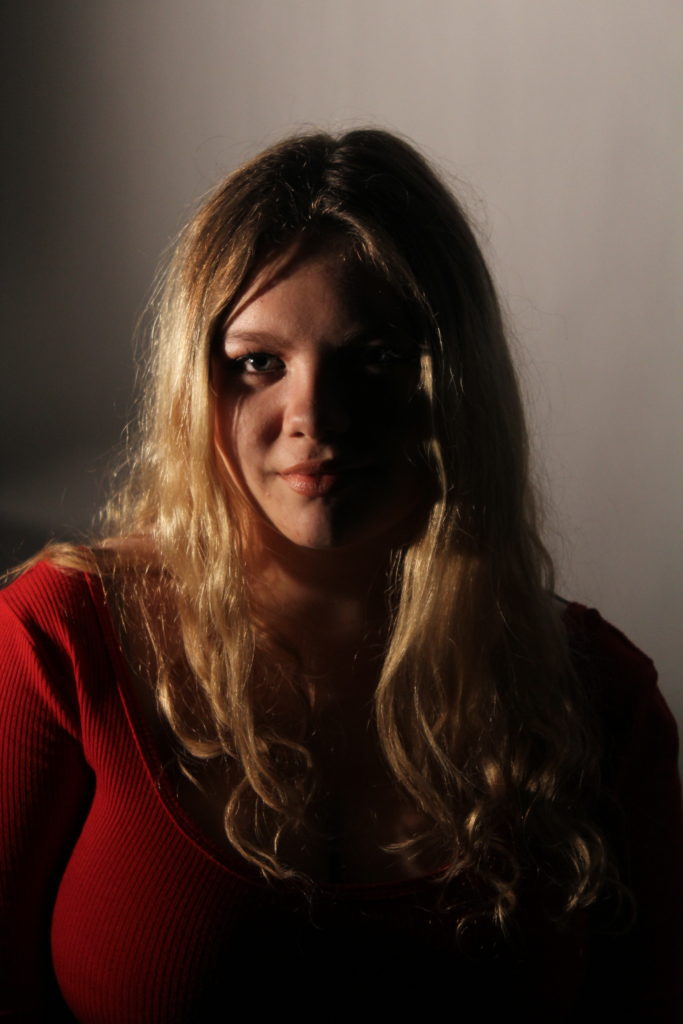
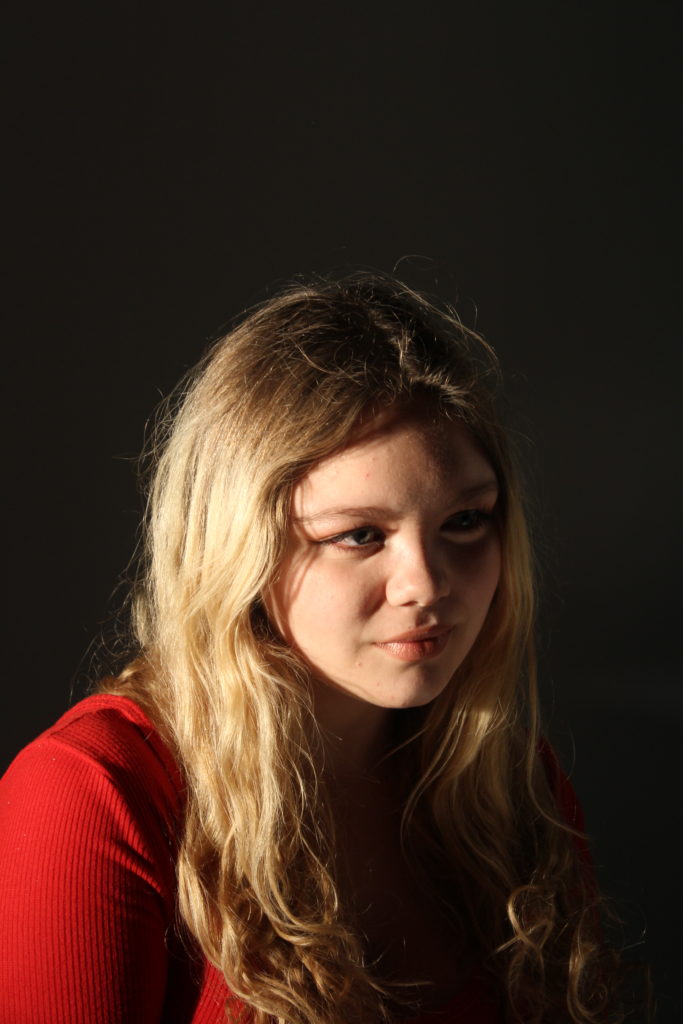
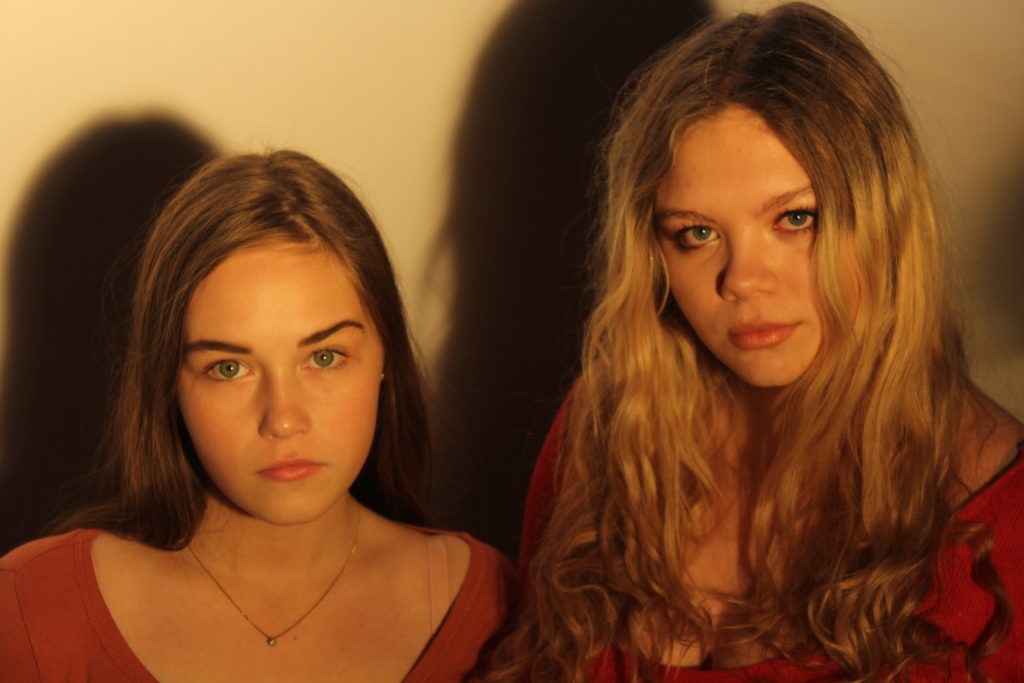

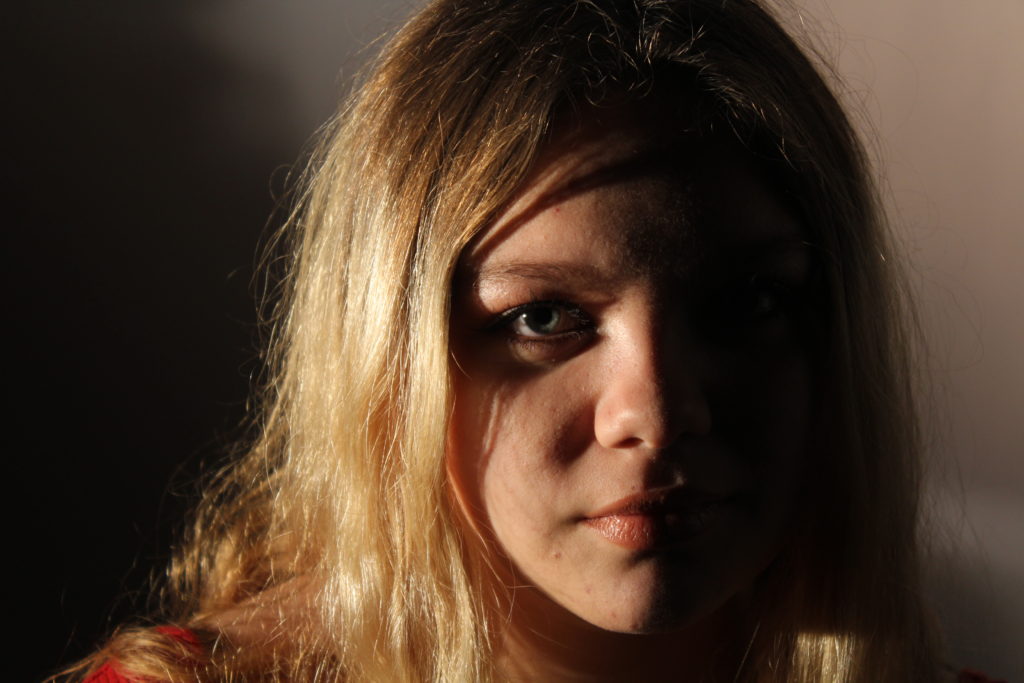
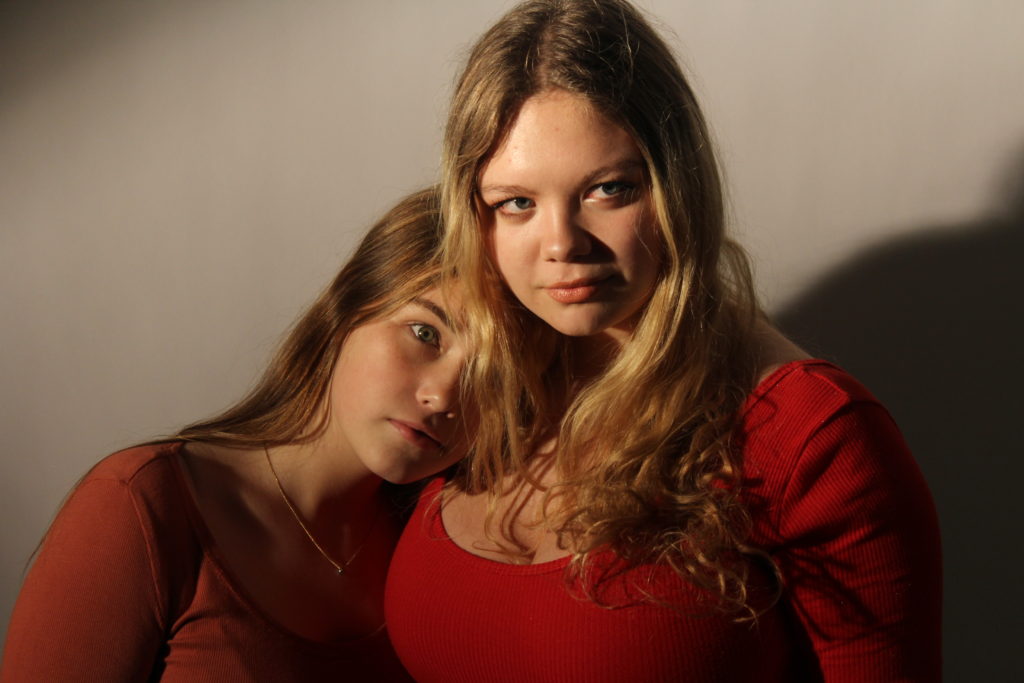
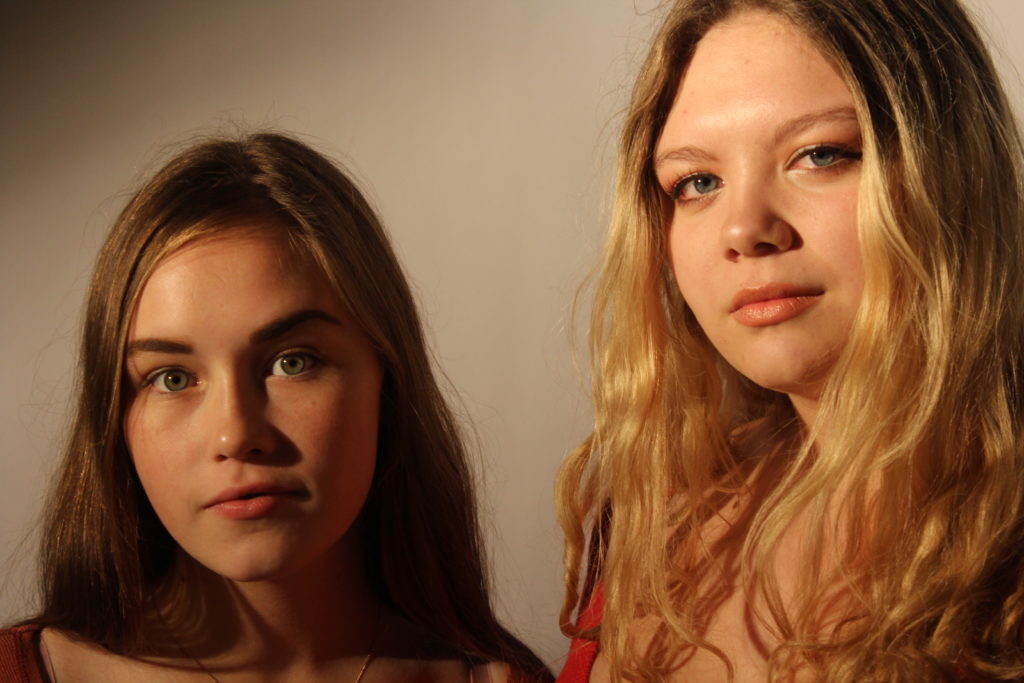
After deciding on which images should be processed to the editing stage, I used Photo-shop to manipulate the colors and tones of the images to make them as eye-catching and effective as possible.
The aftermath of editing can be seen below:
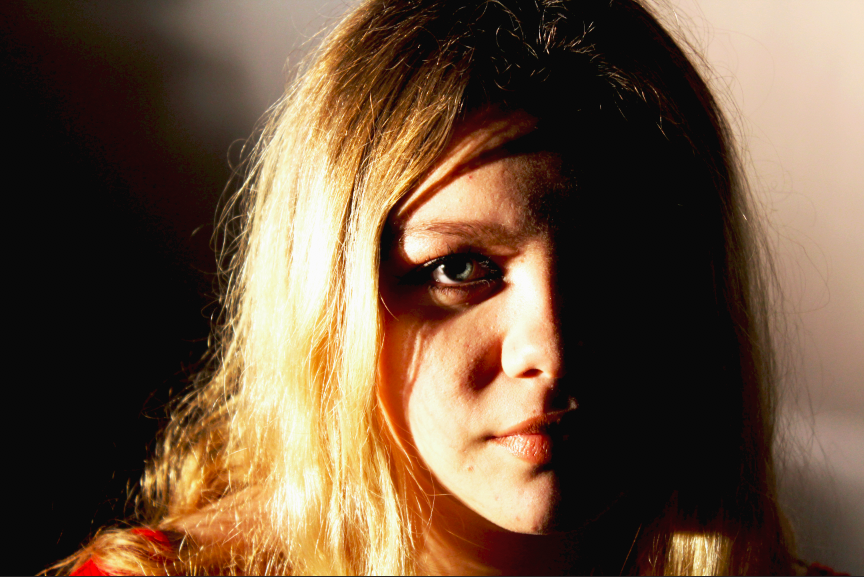
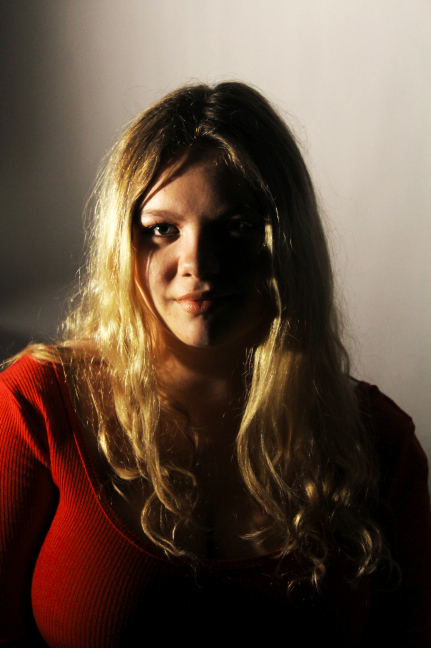
The above 2 images are photographs are examples of me attempting to create a chiaroscuro effect, where 1/2 of the face of the subject is illuminated using studio light, and the other portion is shadowed, to create a contrast between the 2 portions of the same subject. This is very effective when trying to draw attention to the depths of the subject, and it helps to bring the image to life, giving it more of a 3D effect.
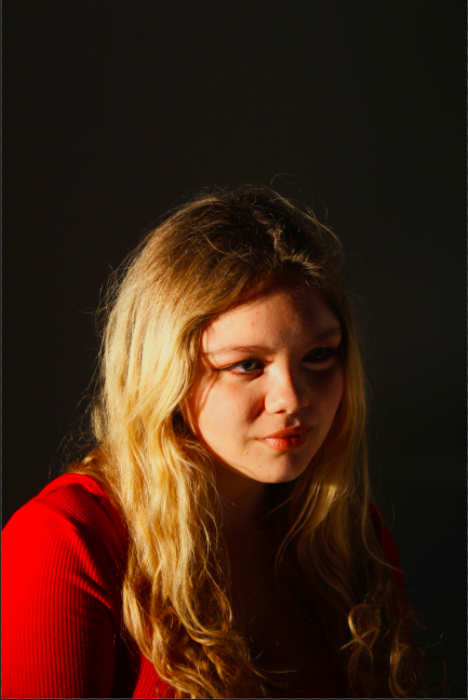
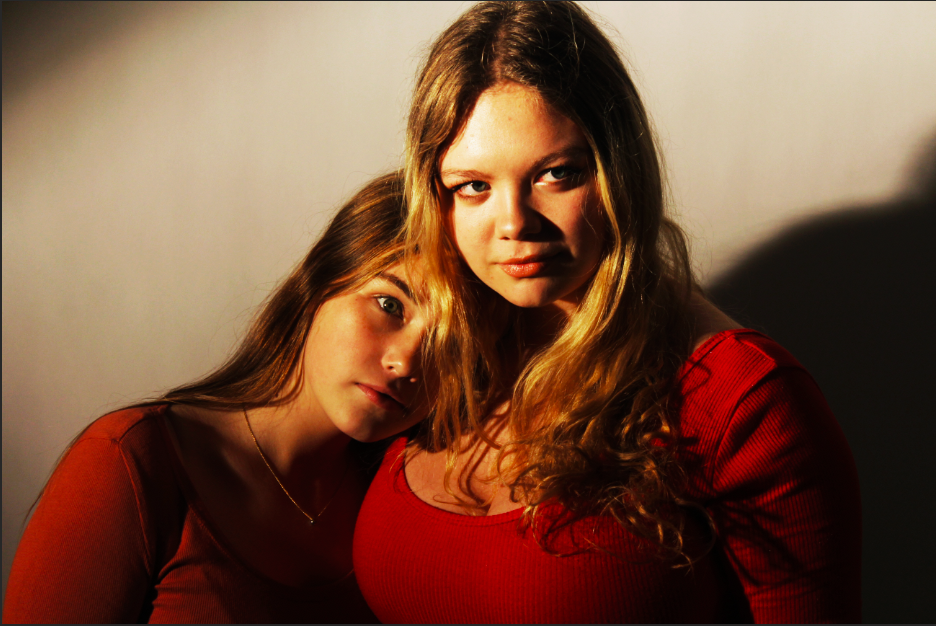
Some of the images were over saturated due to the lighting in the studio and the original position of the camera, and so I attempted to edit some of the images to reduce the saturation, and make the coloring of the images more natural. This kind of editing occurred in the above 2 images.
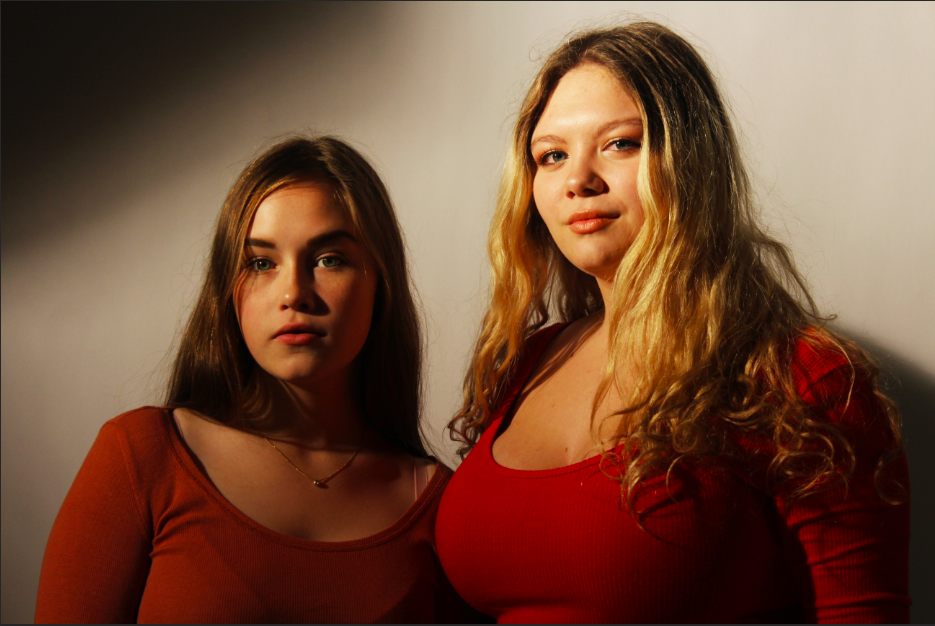
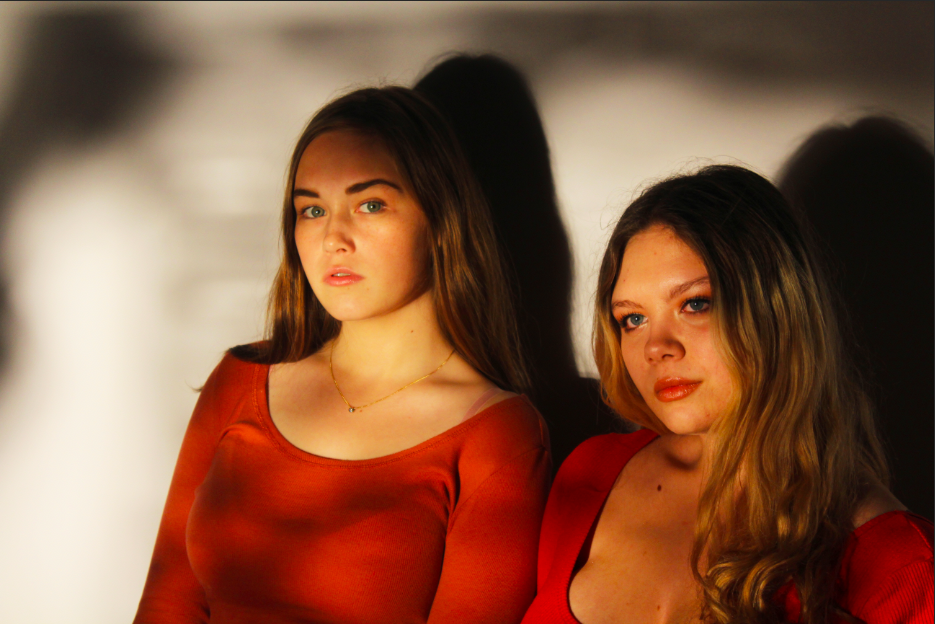
For some of my photographs, I experimented with using different filters in front of the lighting, to create different effects of the image. Colored filter paper was used to manipulate the overall color of the photograph, but for the above photograph, a piece of paper covered in holes was held in front of the key light. I think this created an interesting shadow effect, and helps to draw more attention to the photograph, and gives the viewer more to look at.
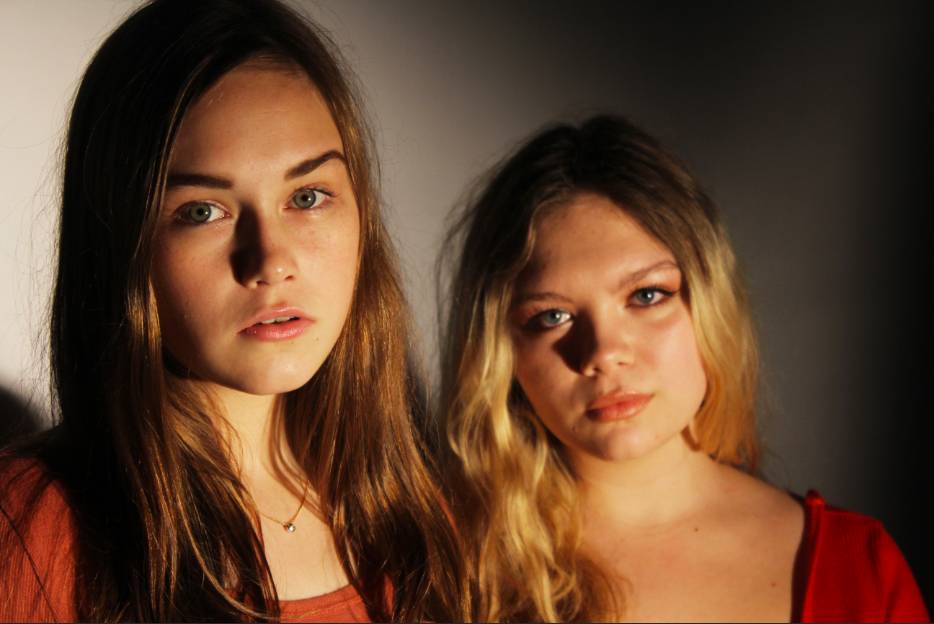
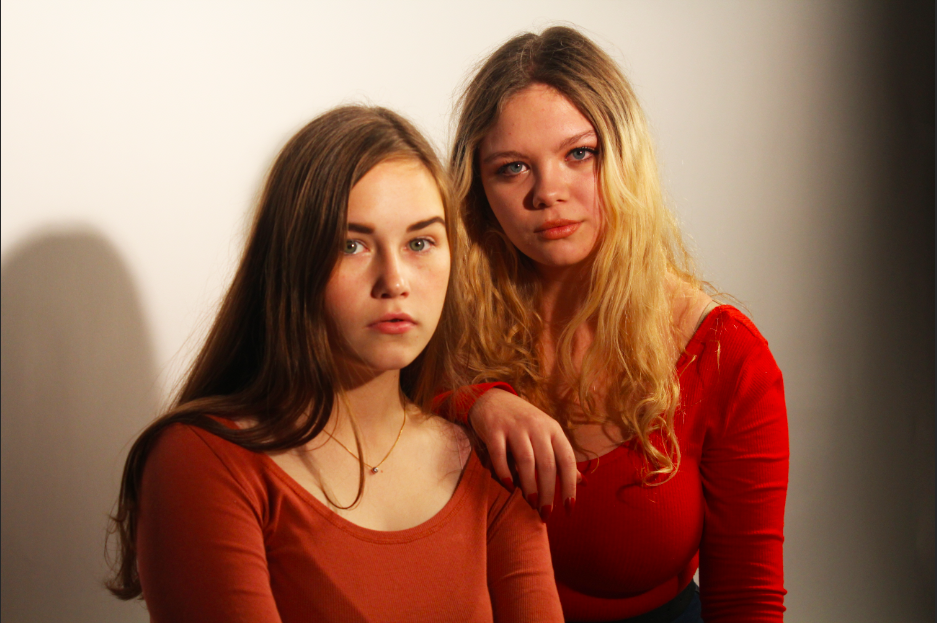
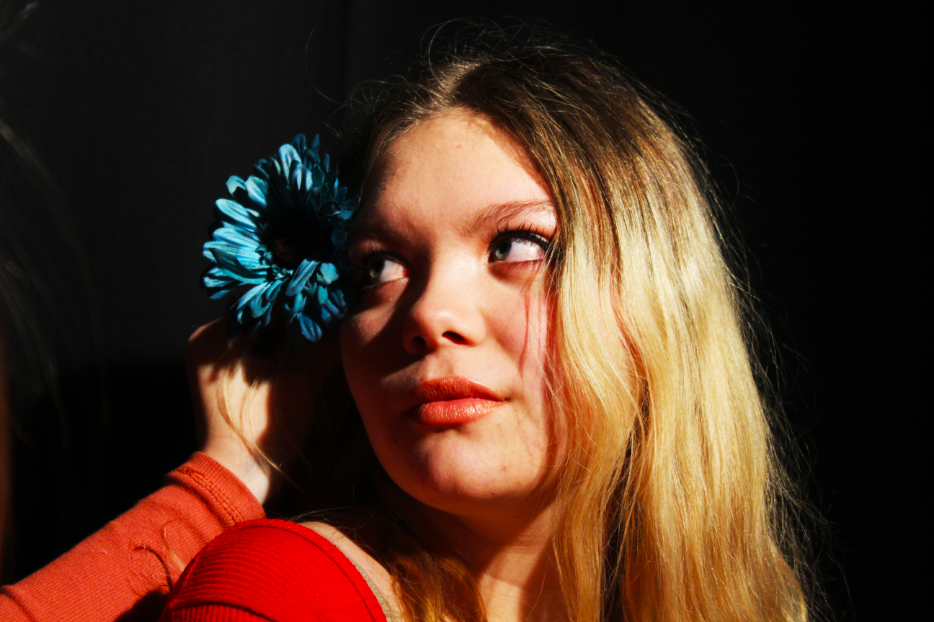
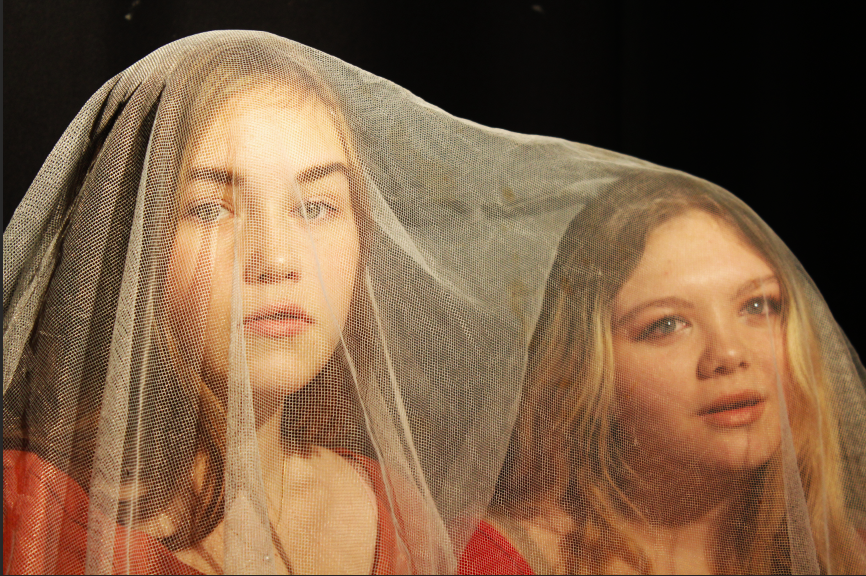
The above 2 examples are example of props being used in studio photography. Props are often easier to use and manipulate in a controlled environment like a studio, rather than in a natural setting. The props in the above image can be used to create a contrast to the colors of the subject, thus breaking up the color of the image and creating more areas for the subject to have their attention drawn to, and can in certain circumstances be useful in conveying meaning and reason in an image.
Overall, I believe that experiencing the different kind of lighting that can be used in a studio setting has allowed me to understand how much having control over the lighting of an image can effect the final outcome of the photograph. Natural lighting is useful to create a natural effect in an image, however for situations where natural lighting is not possible, or when a particular angle or intensity of lighting is required, using studio lighting can be very useful.
