Street Photography-St Helier

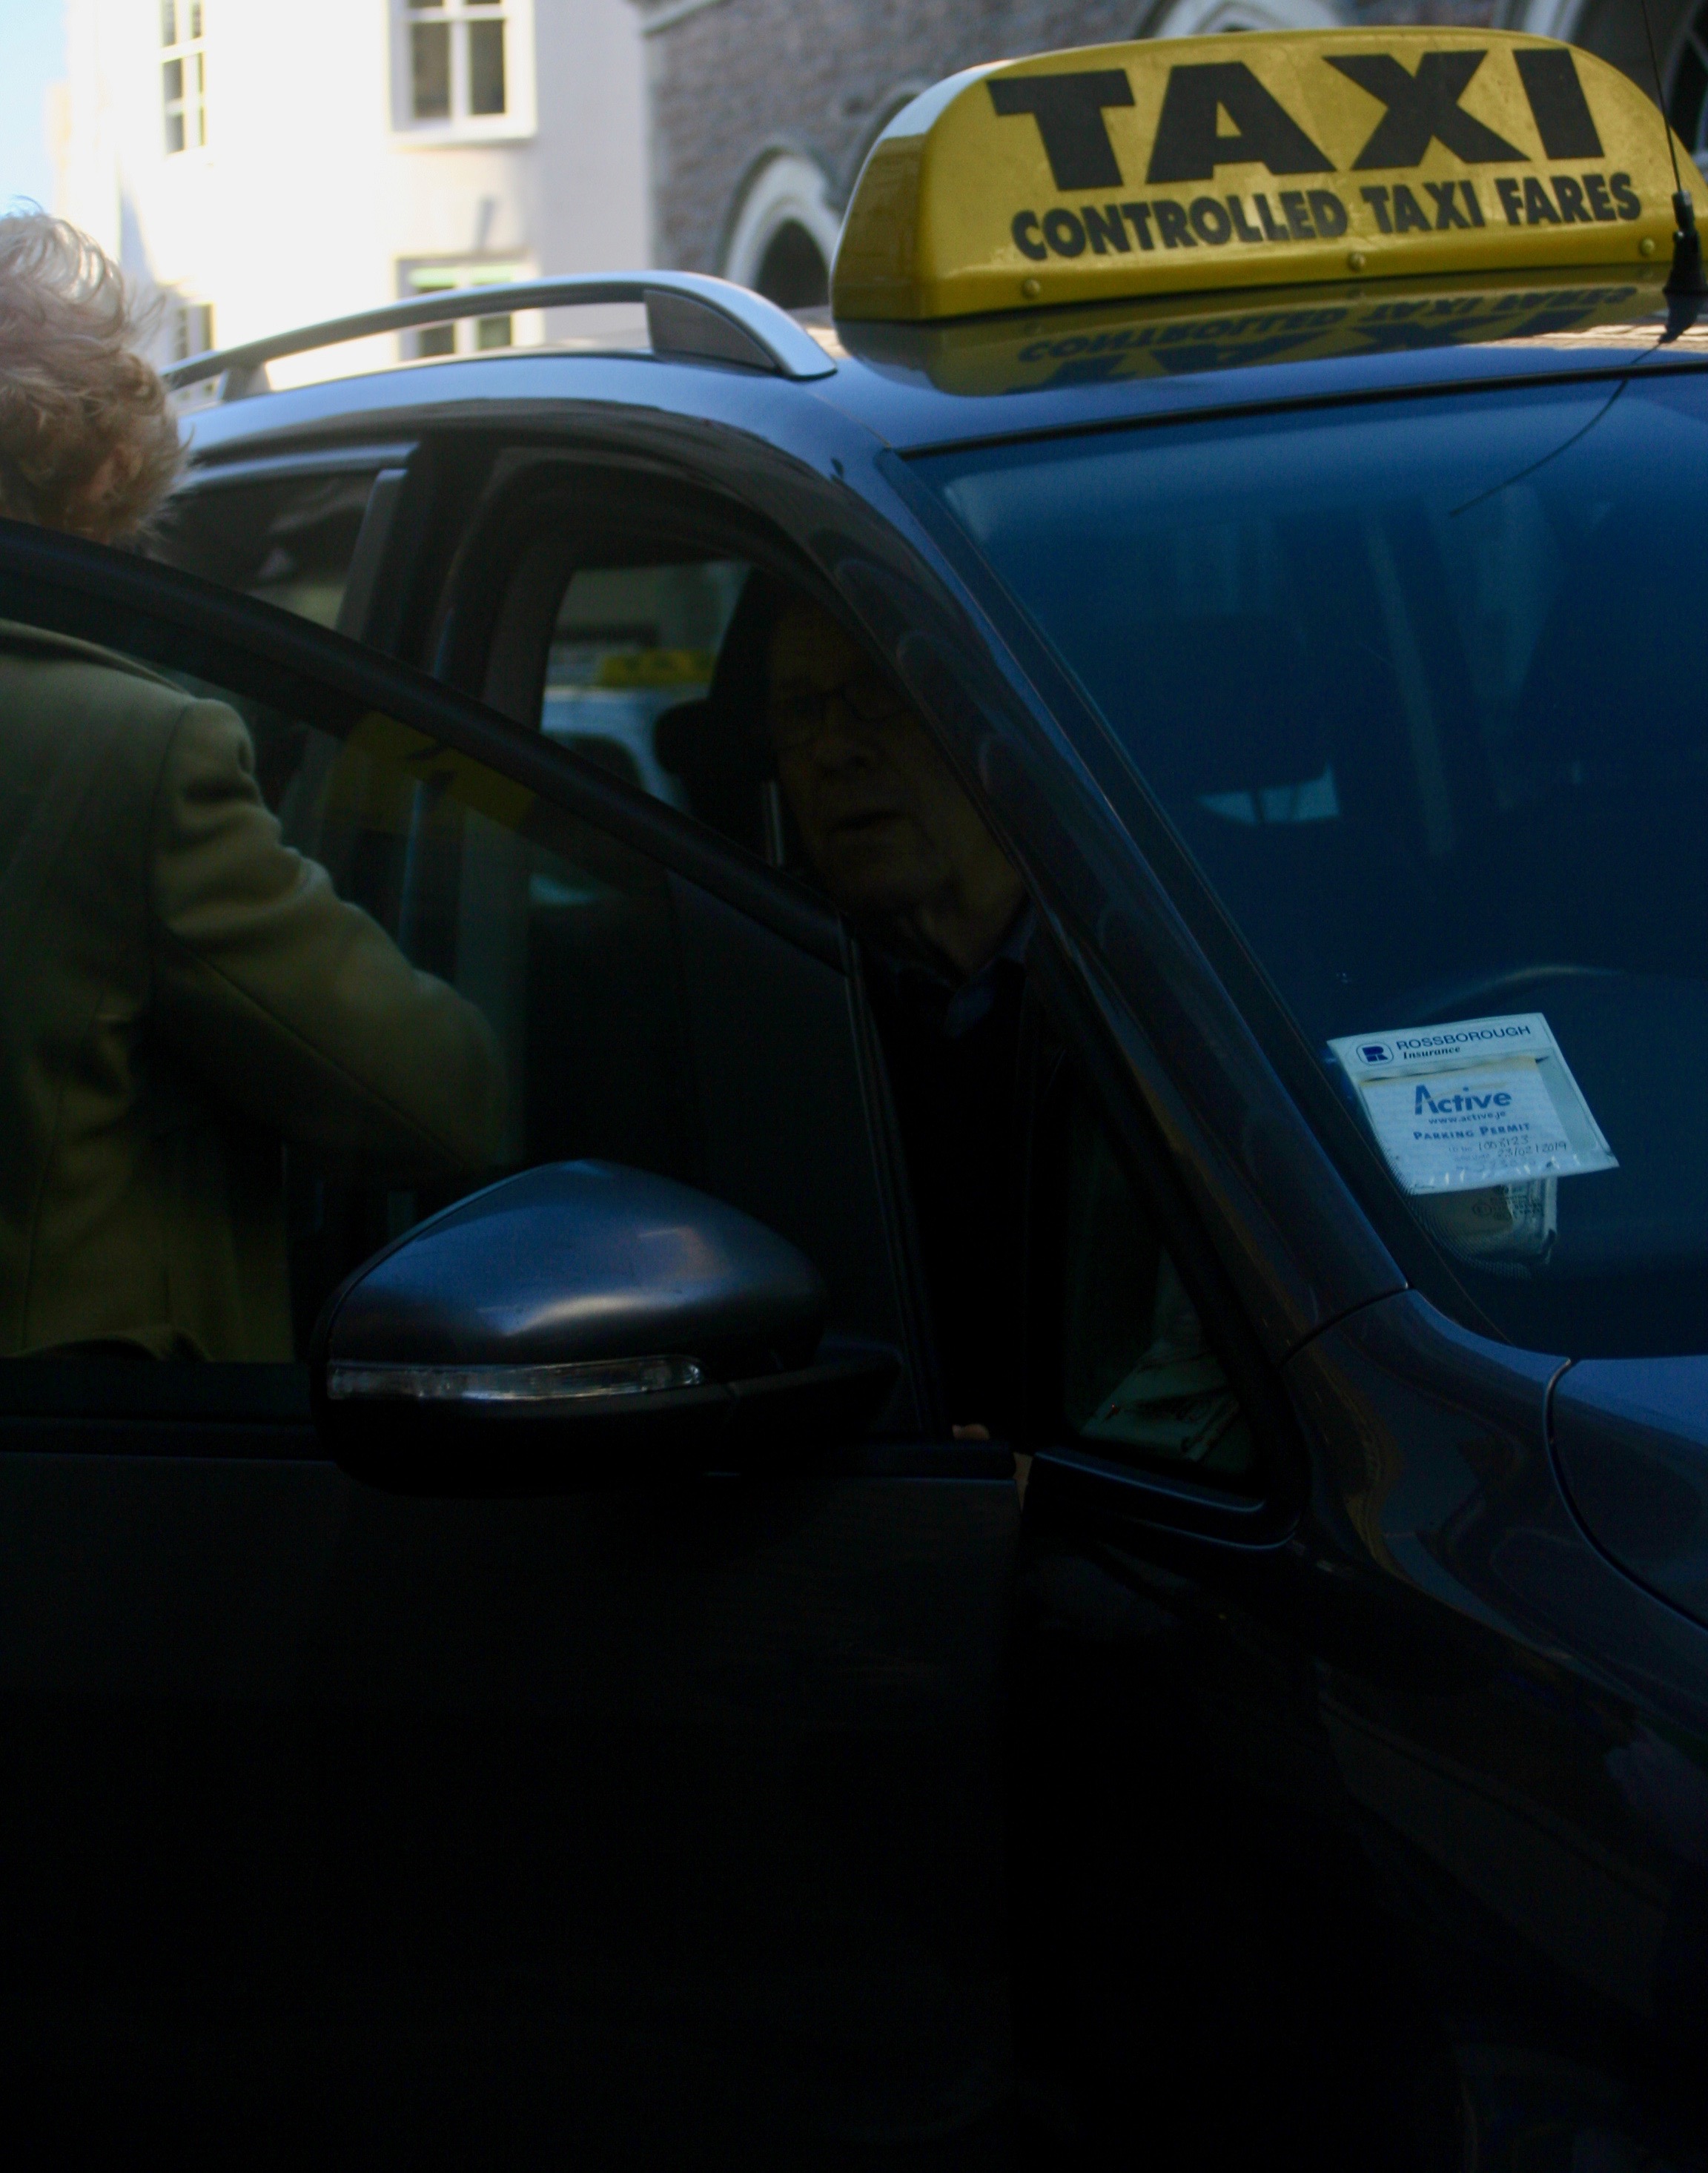
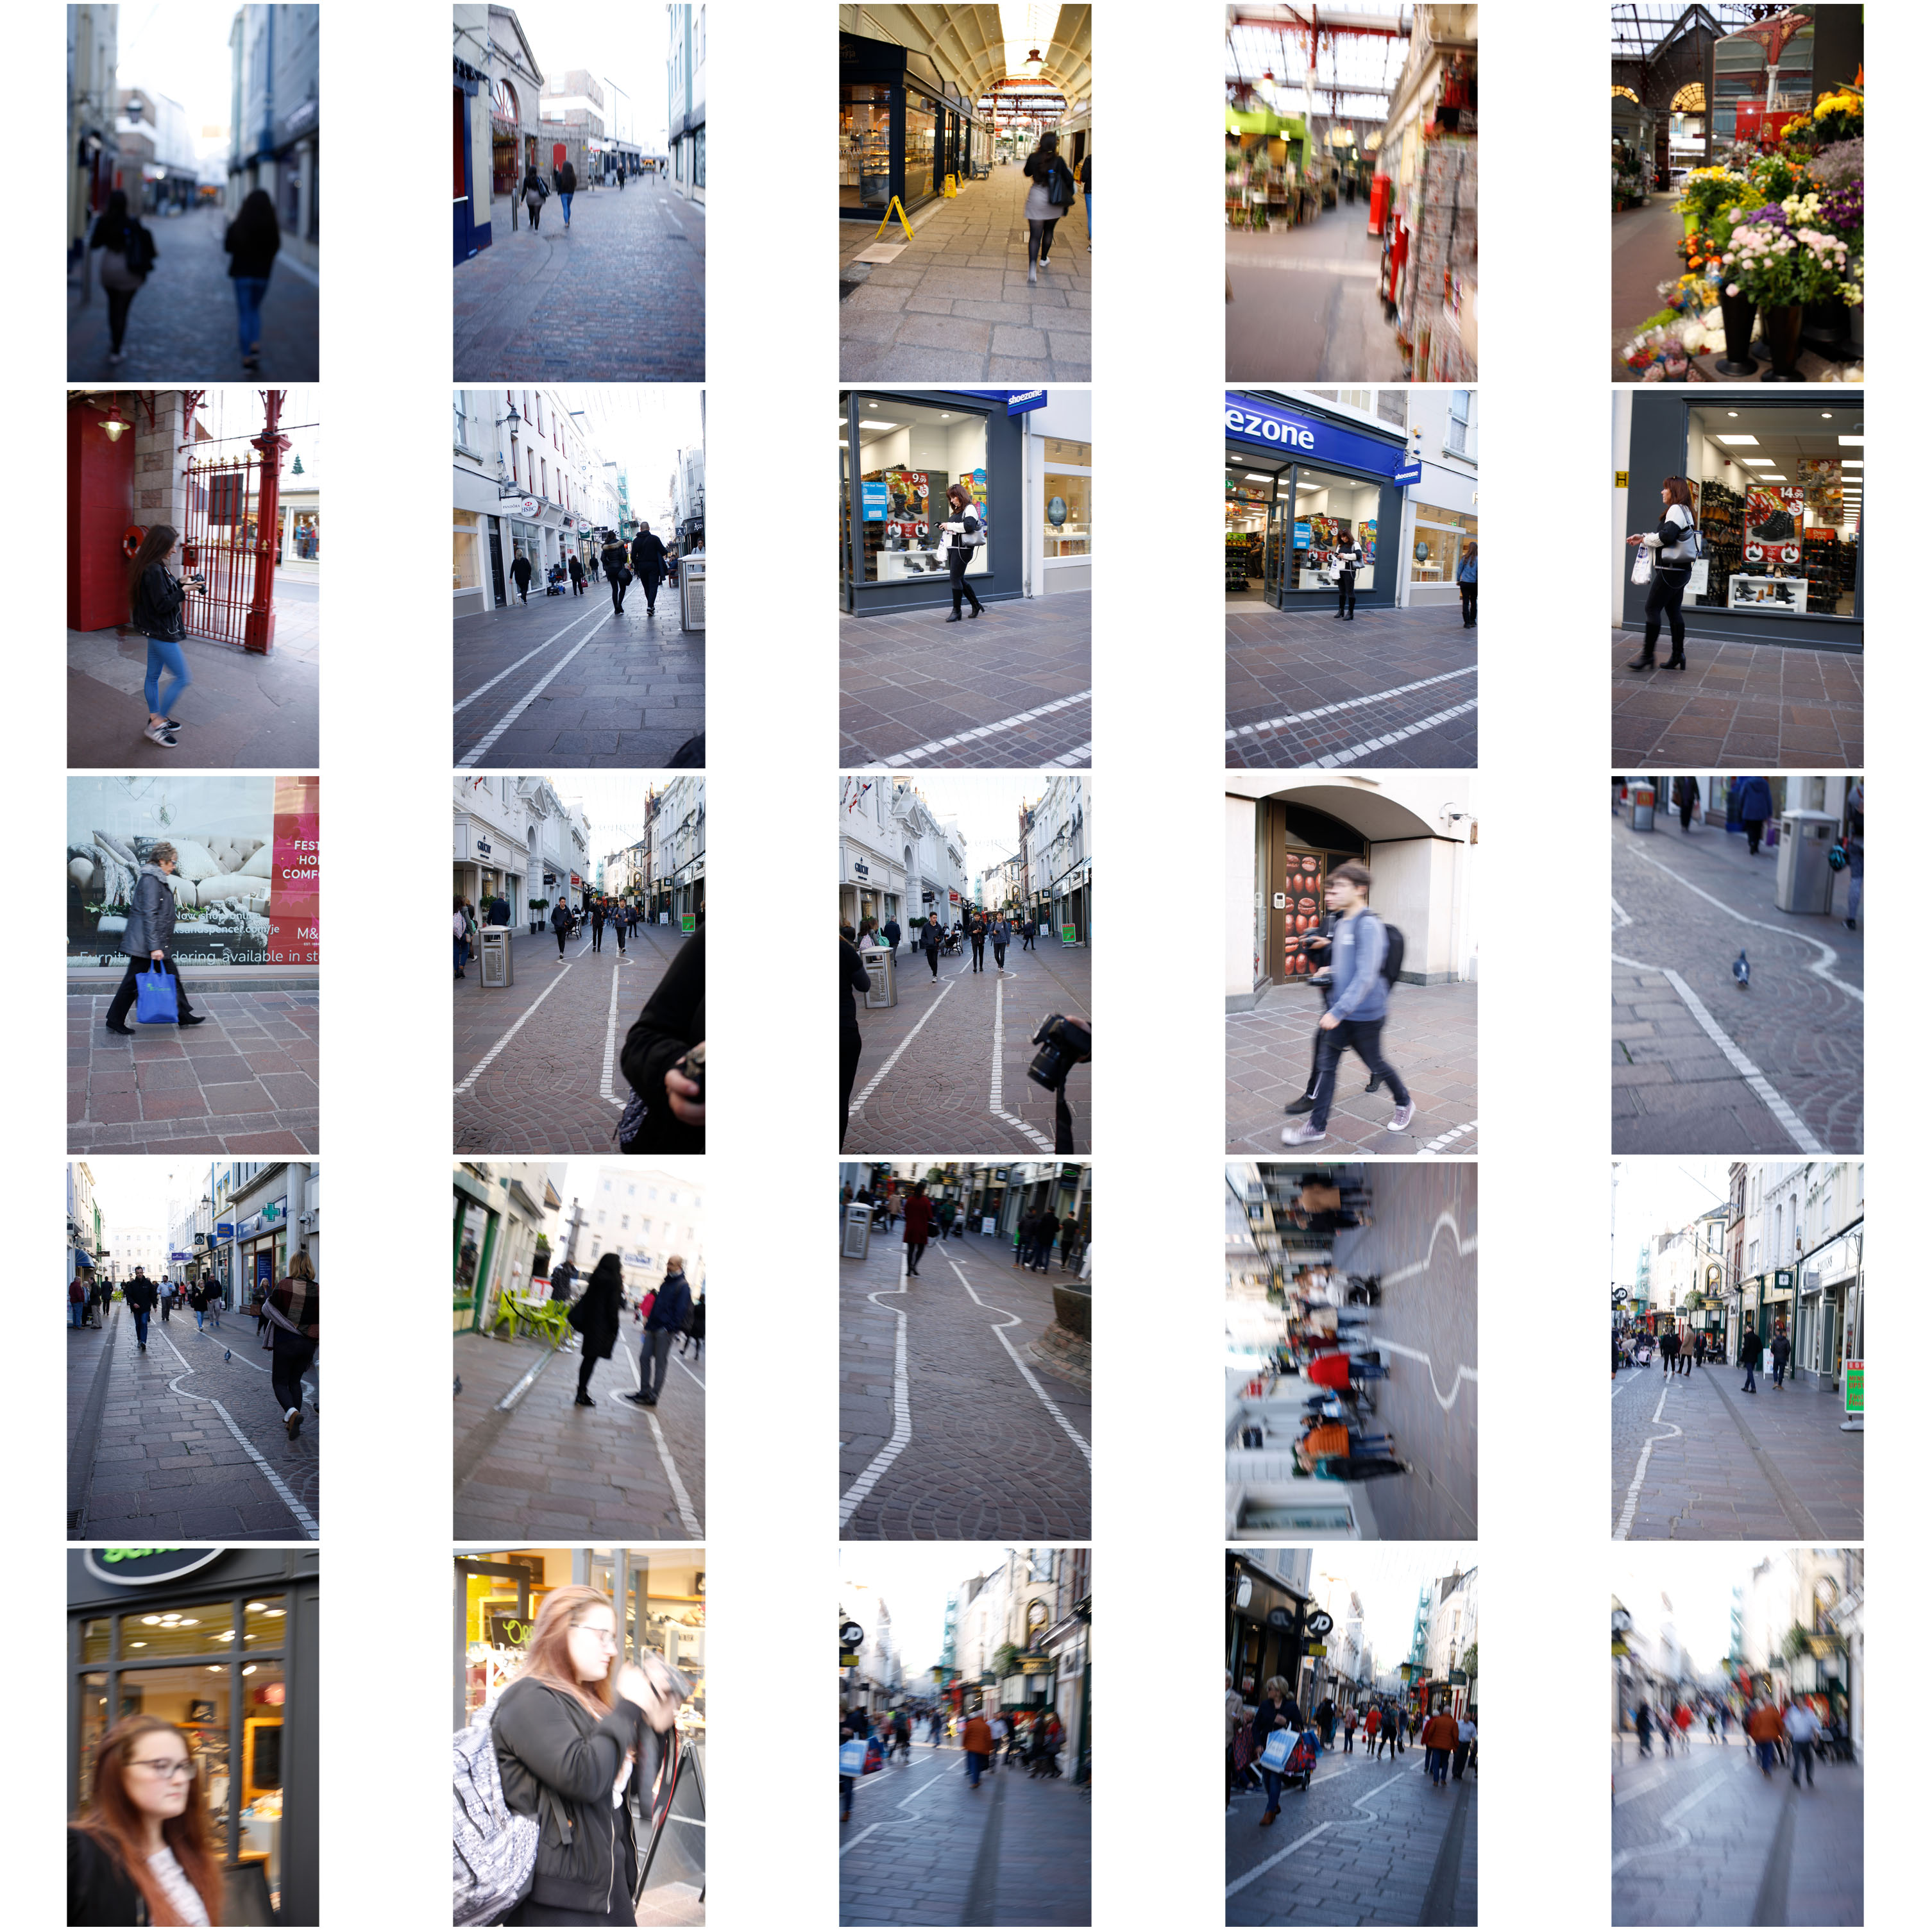
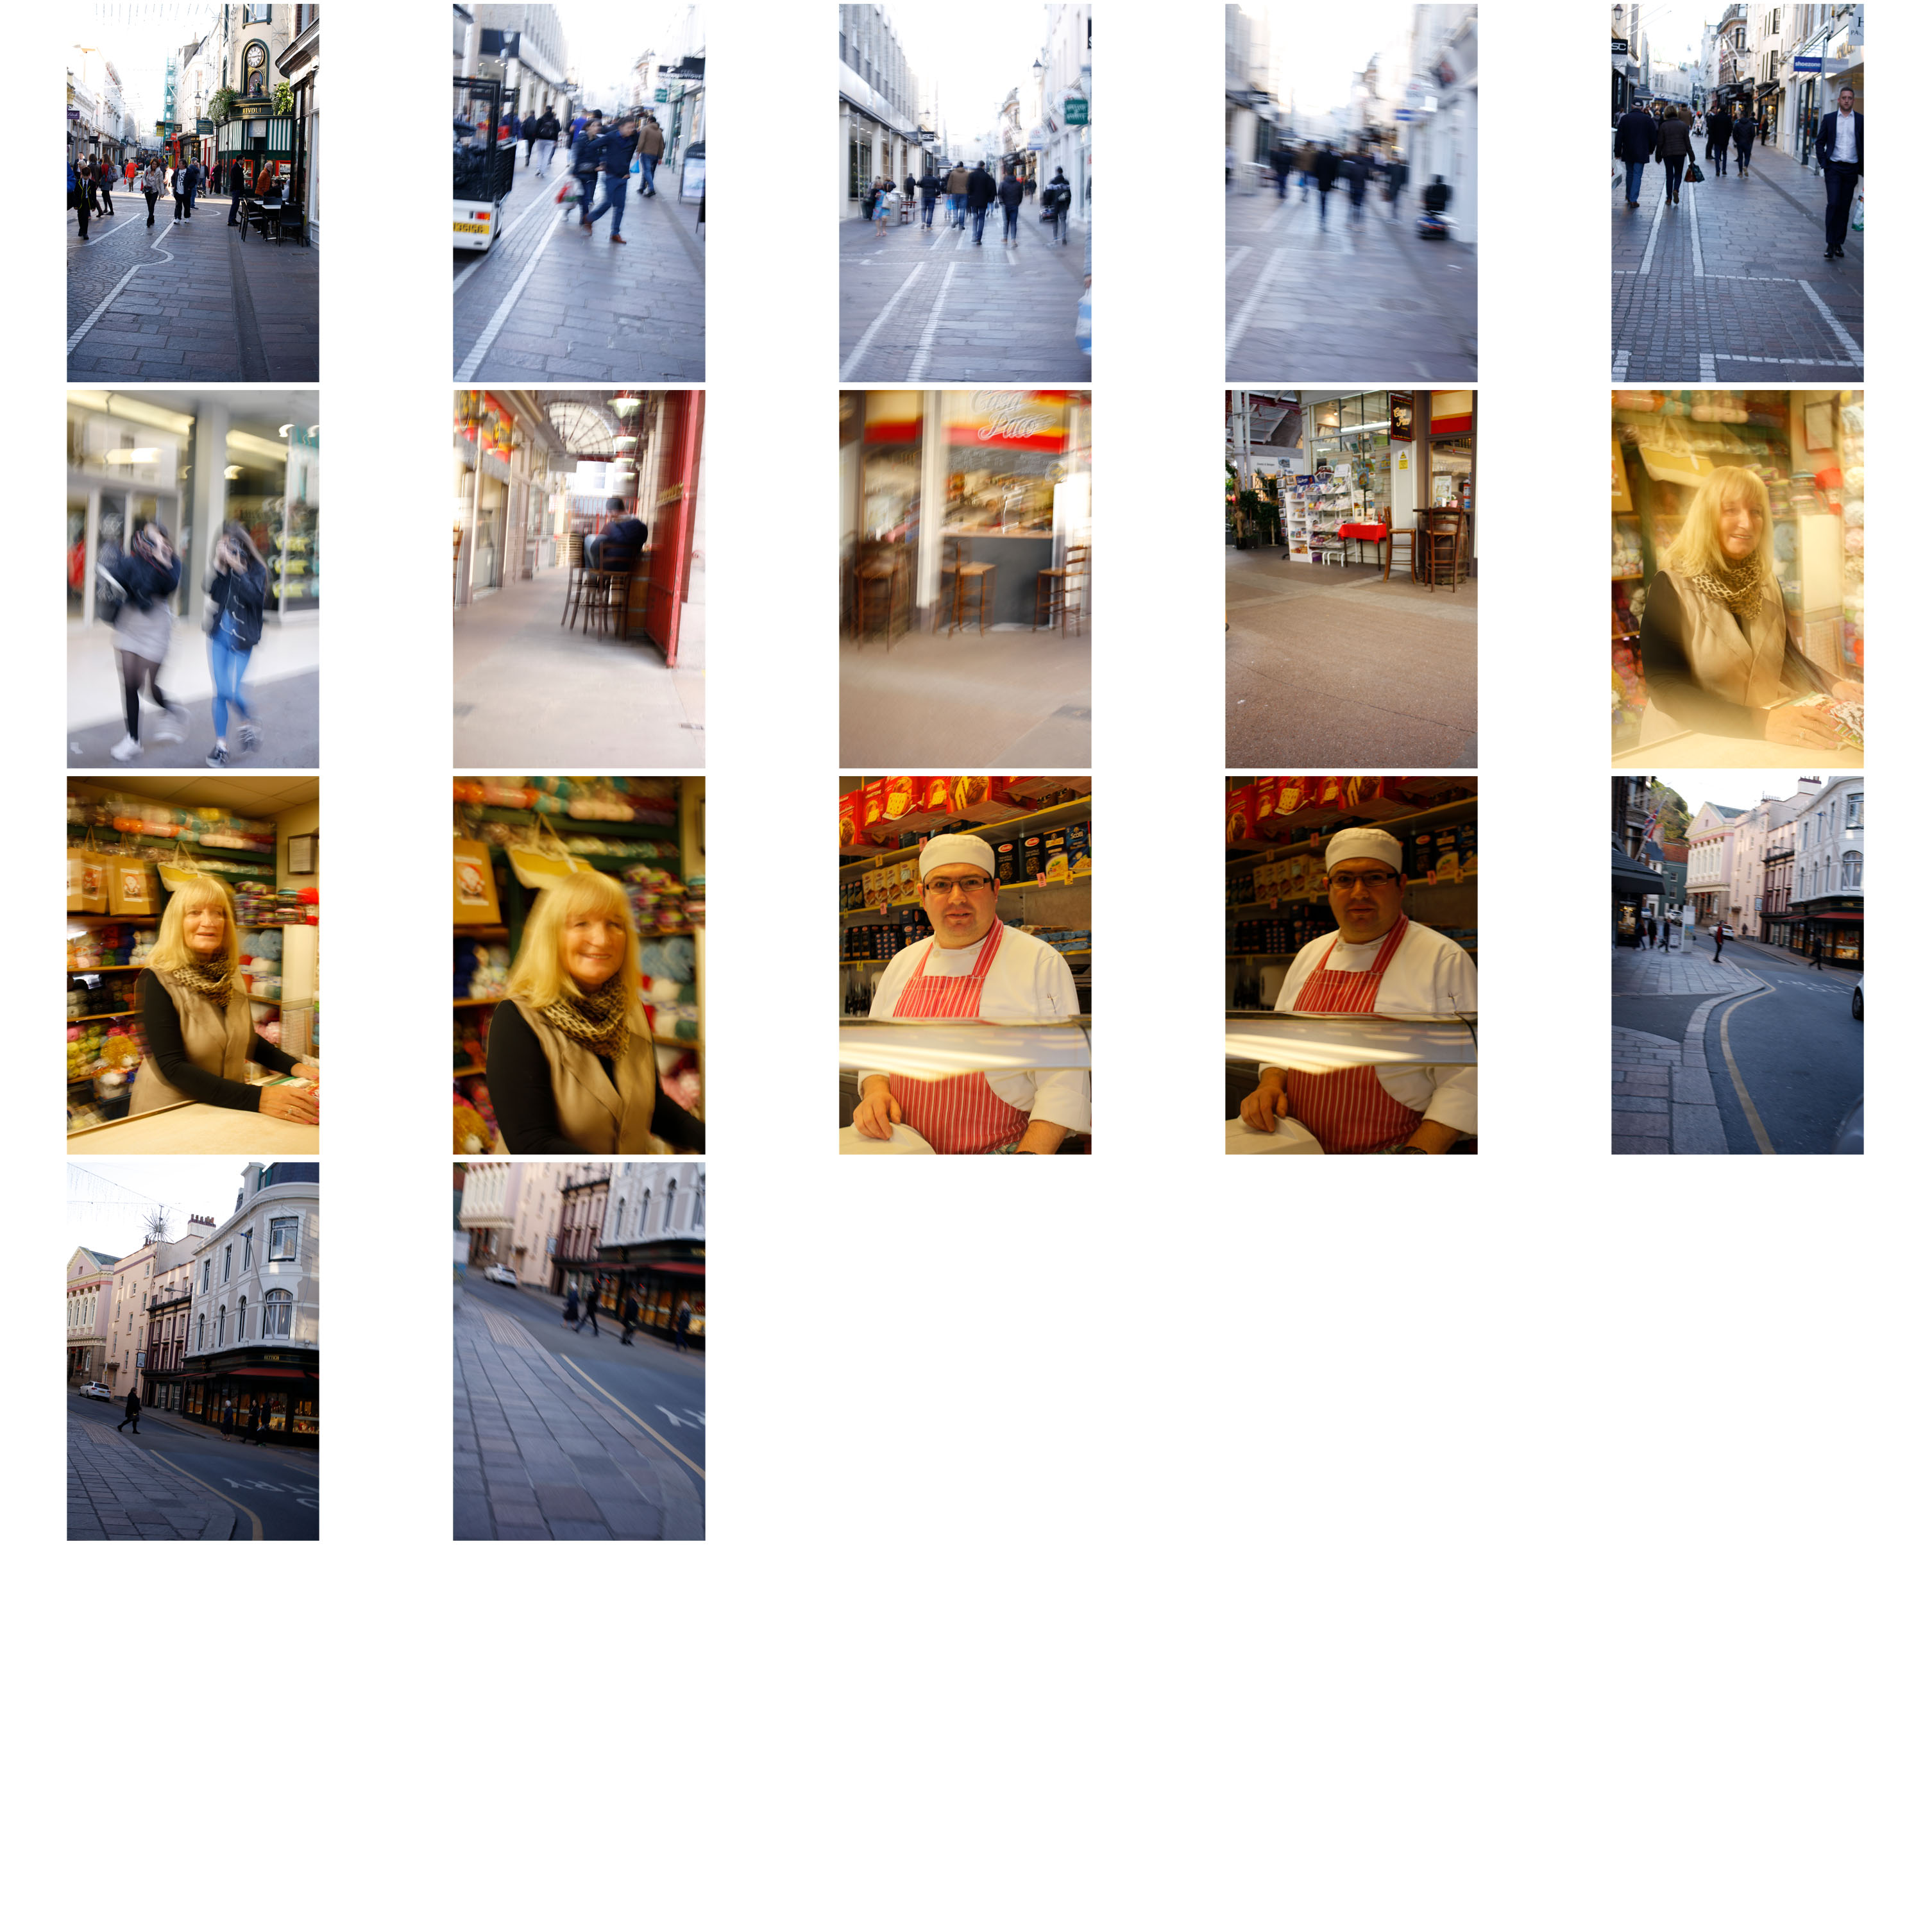
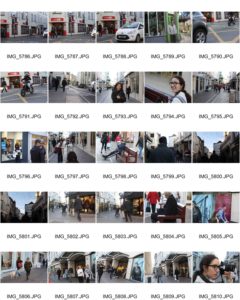
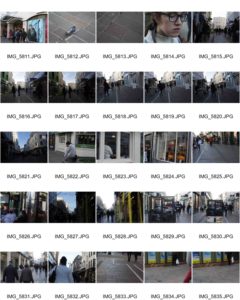
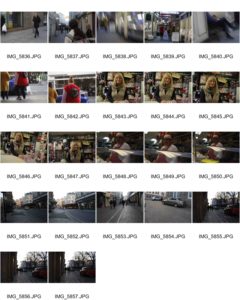
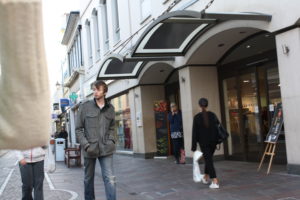
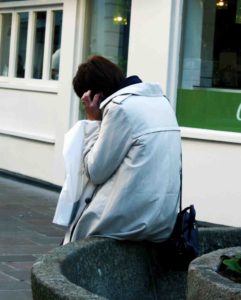
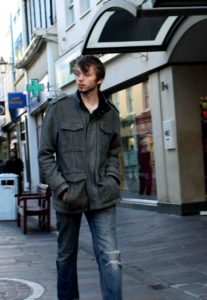
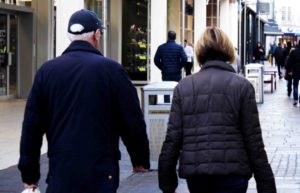
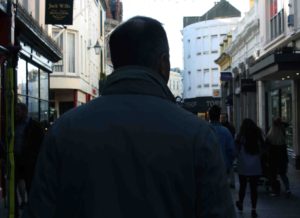
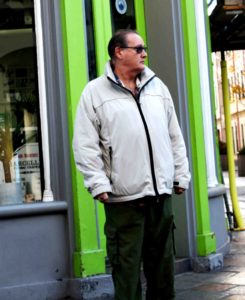
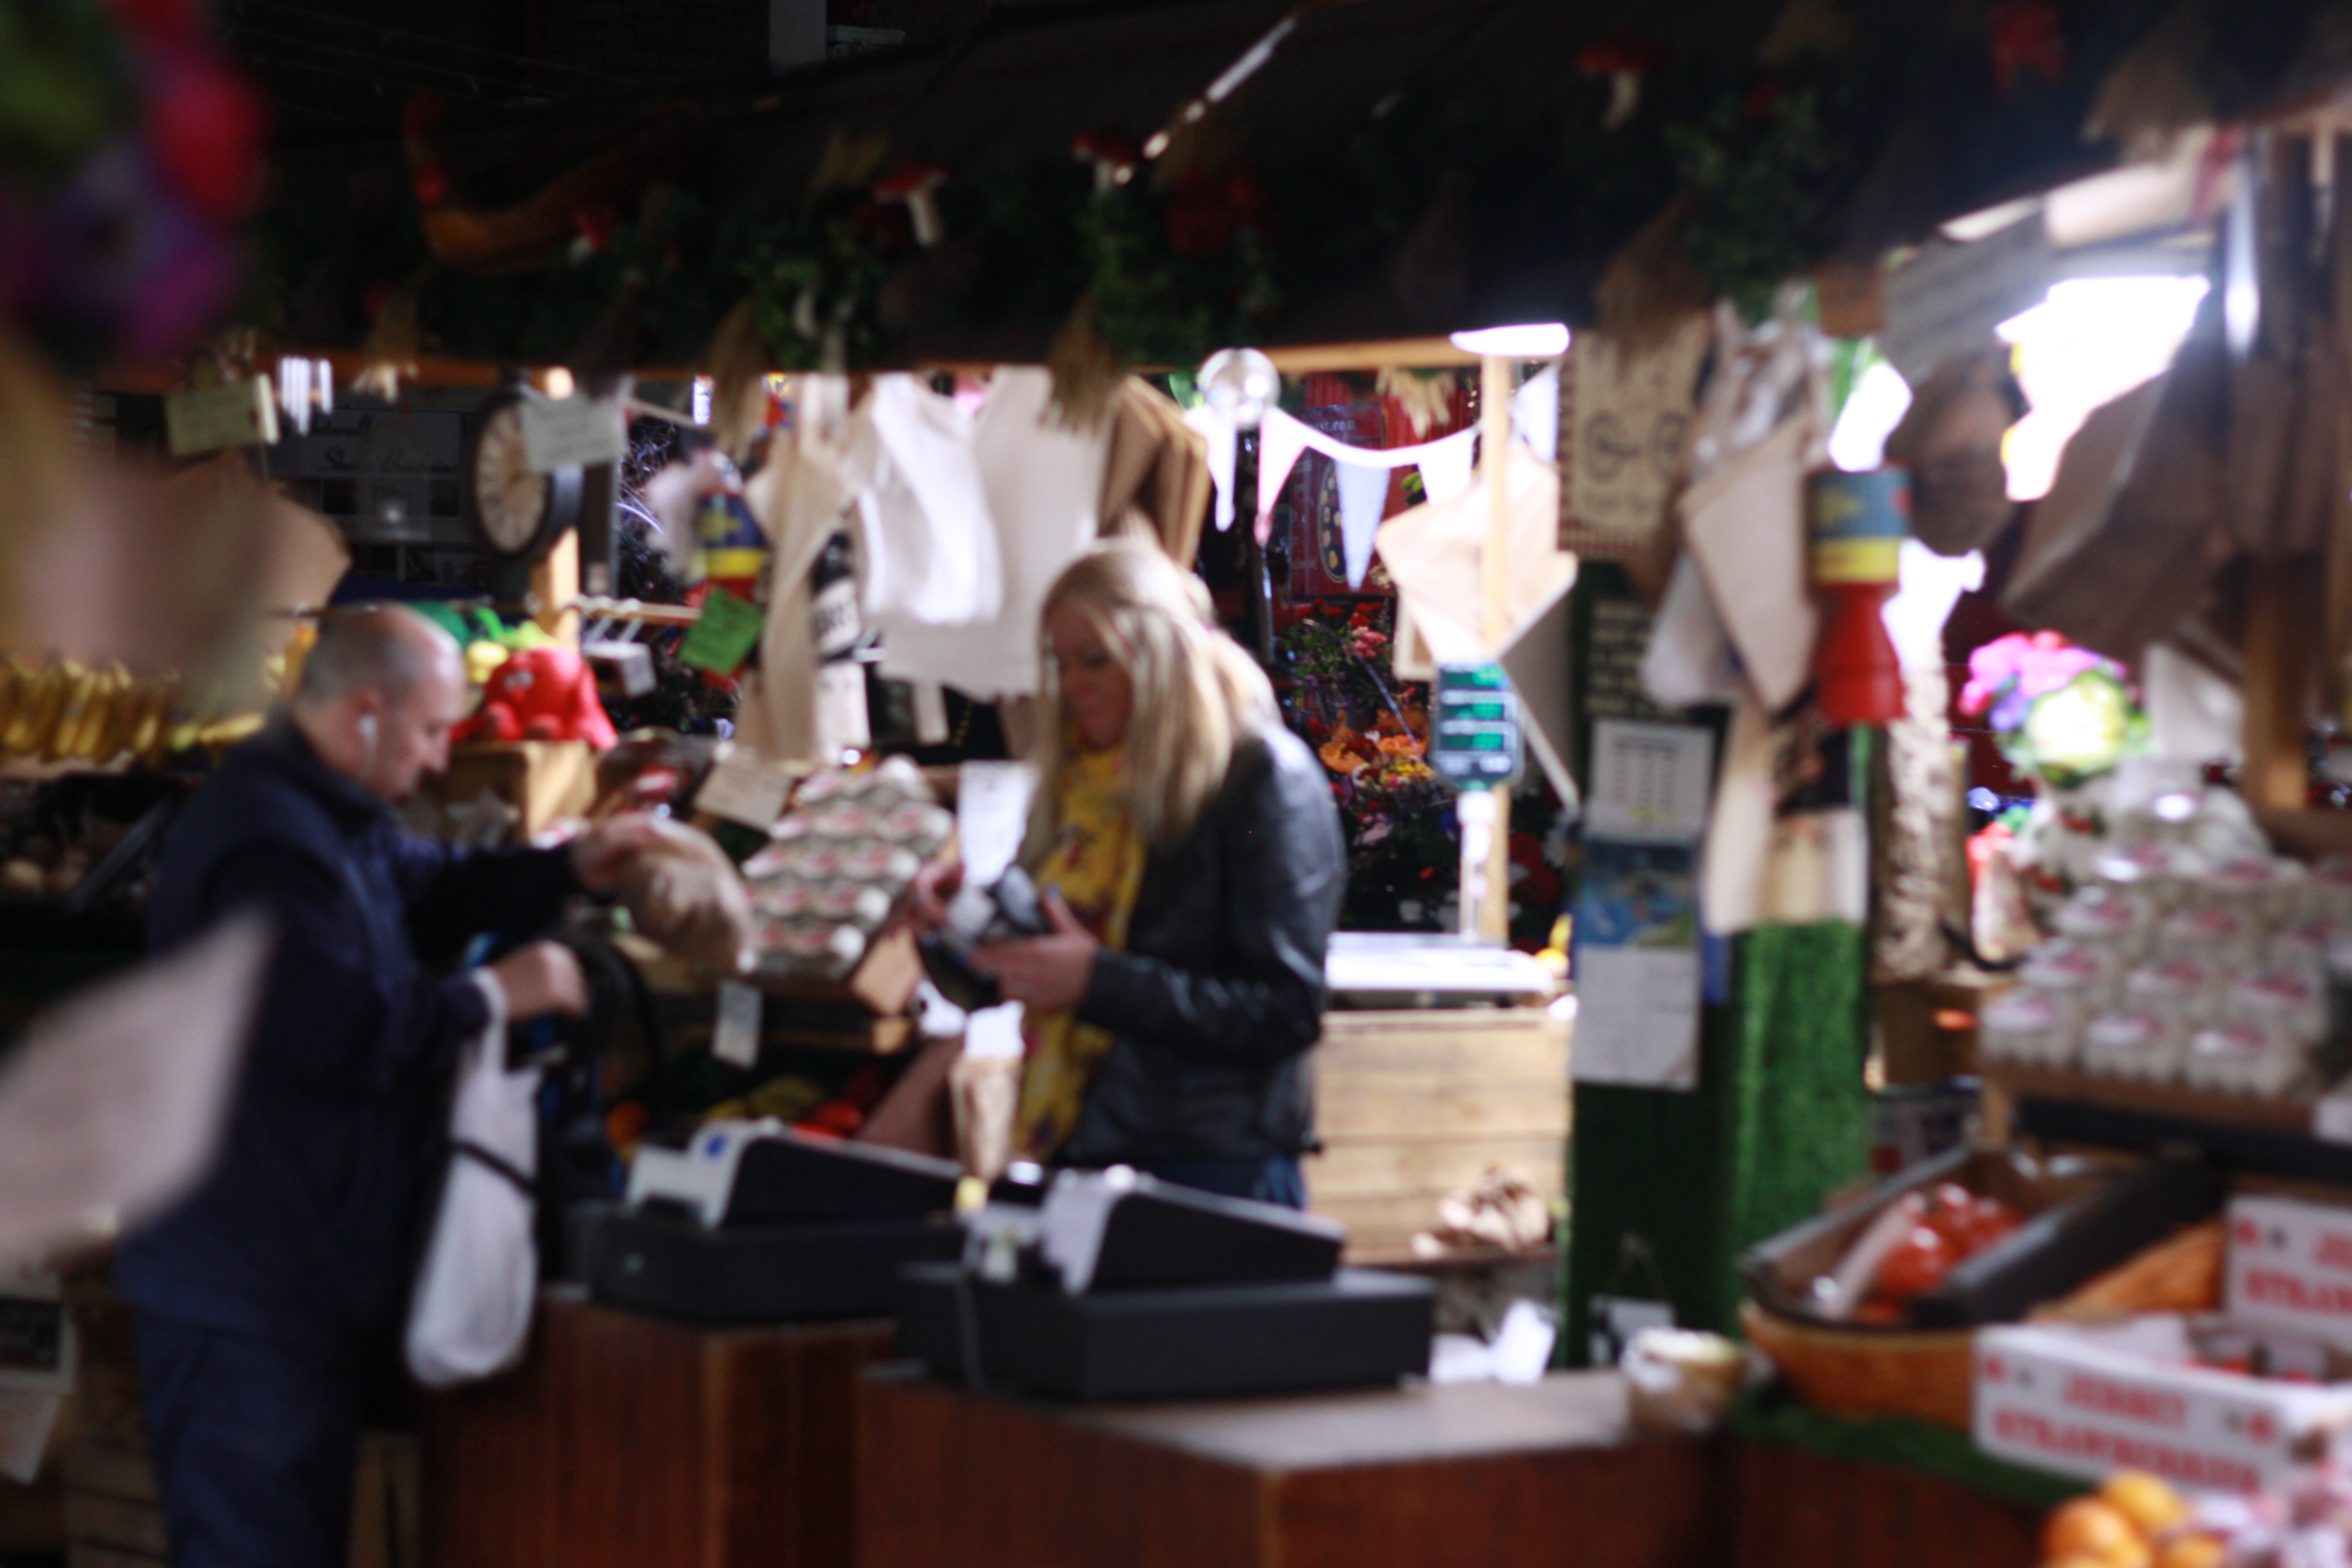
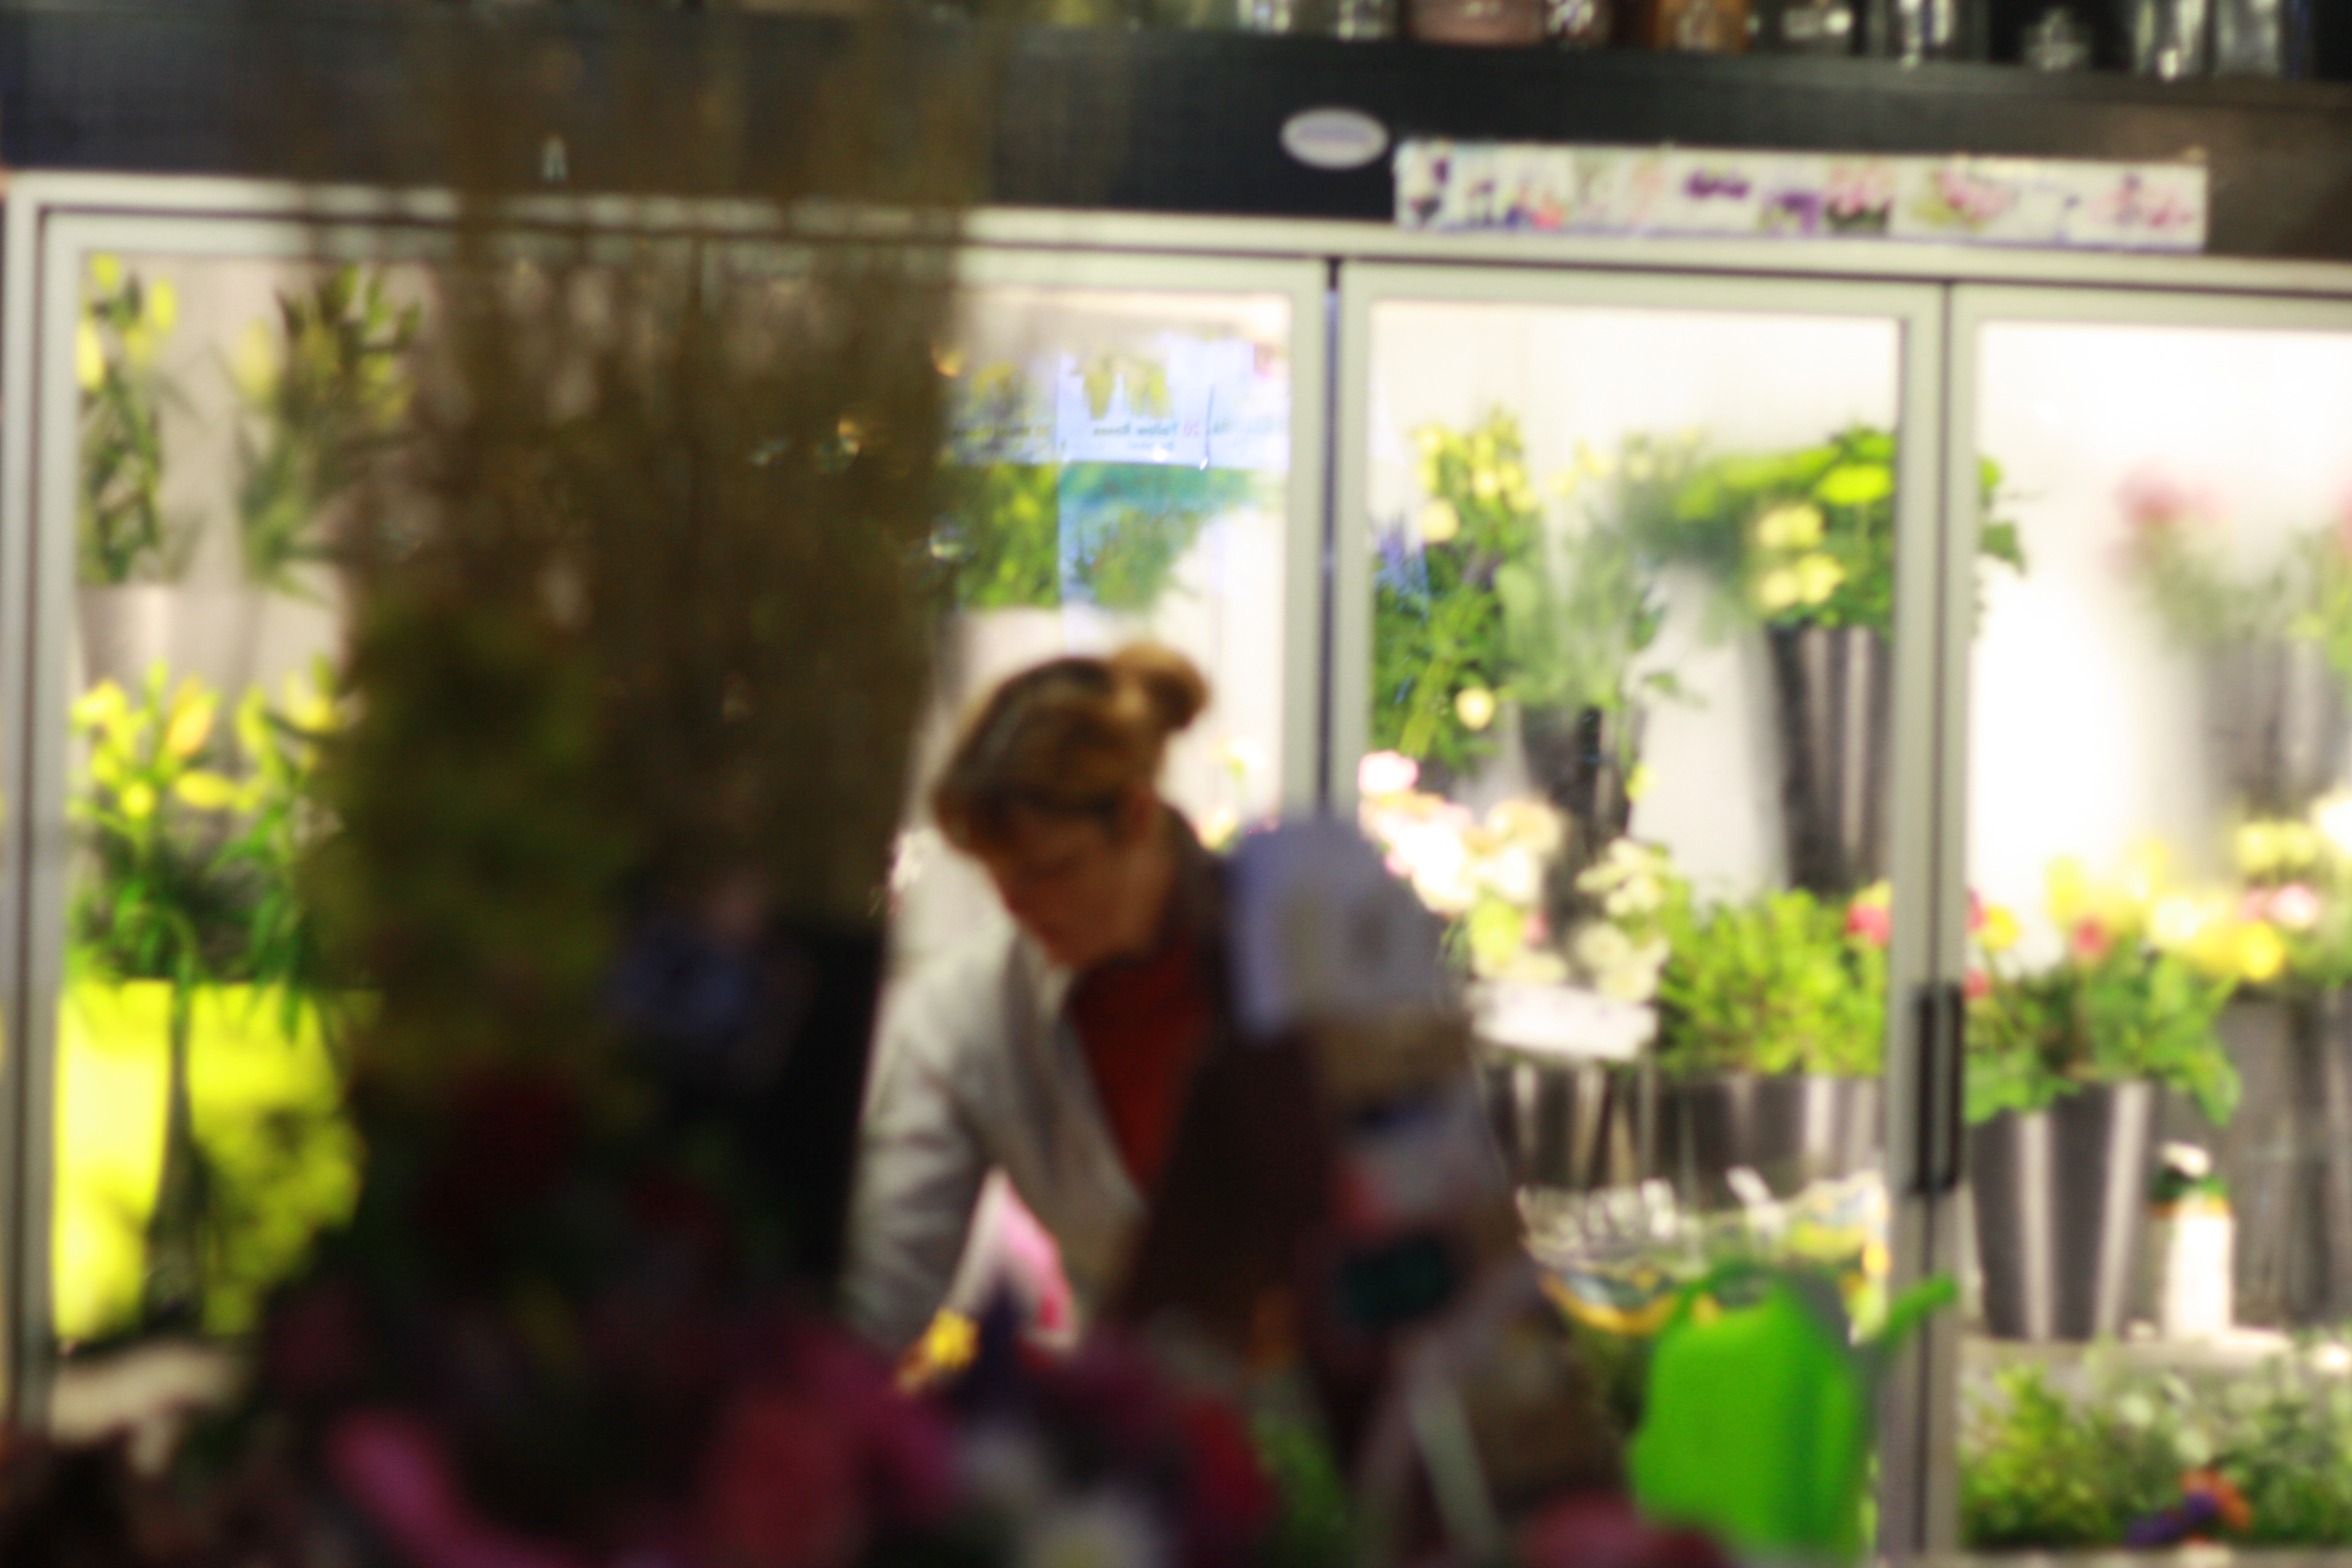
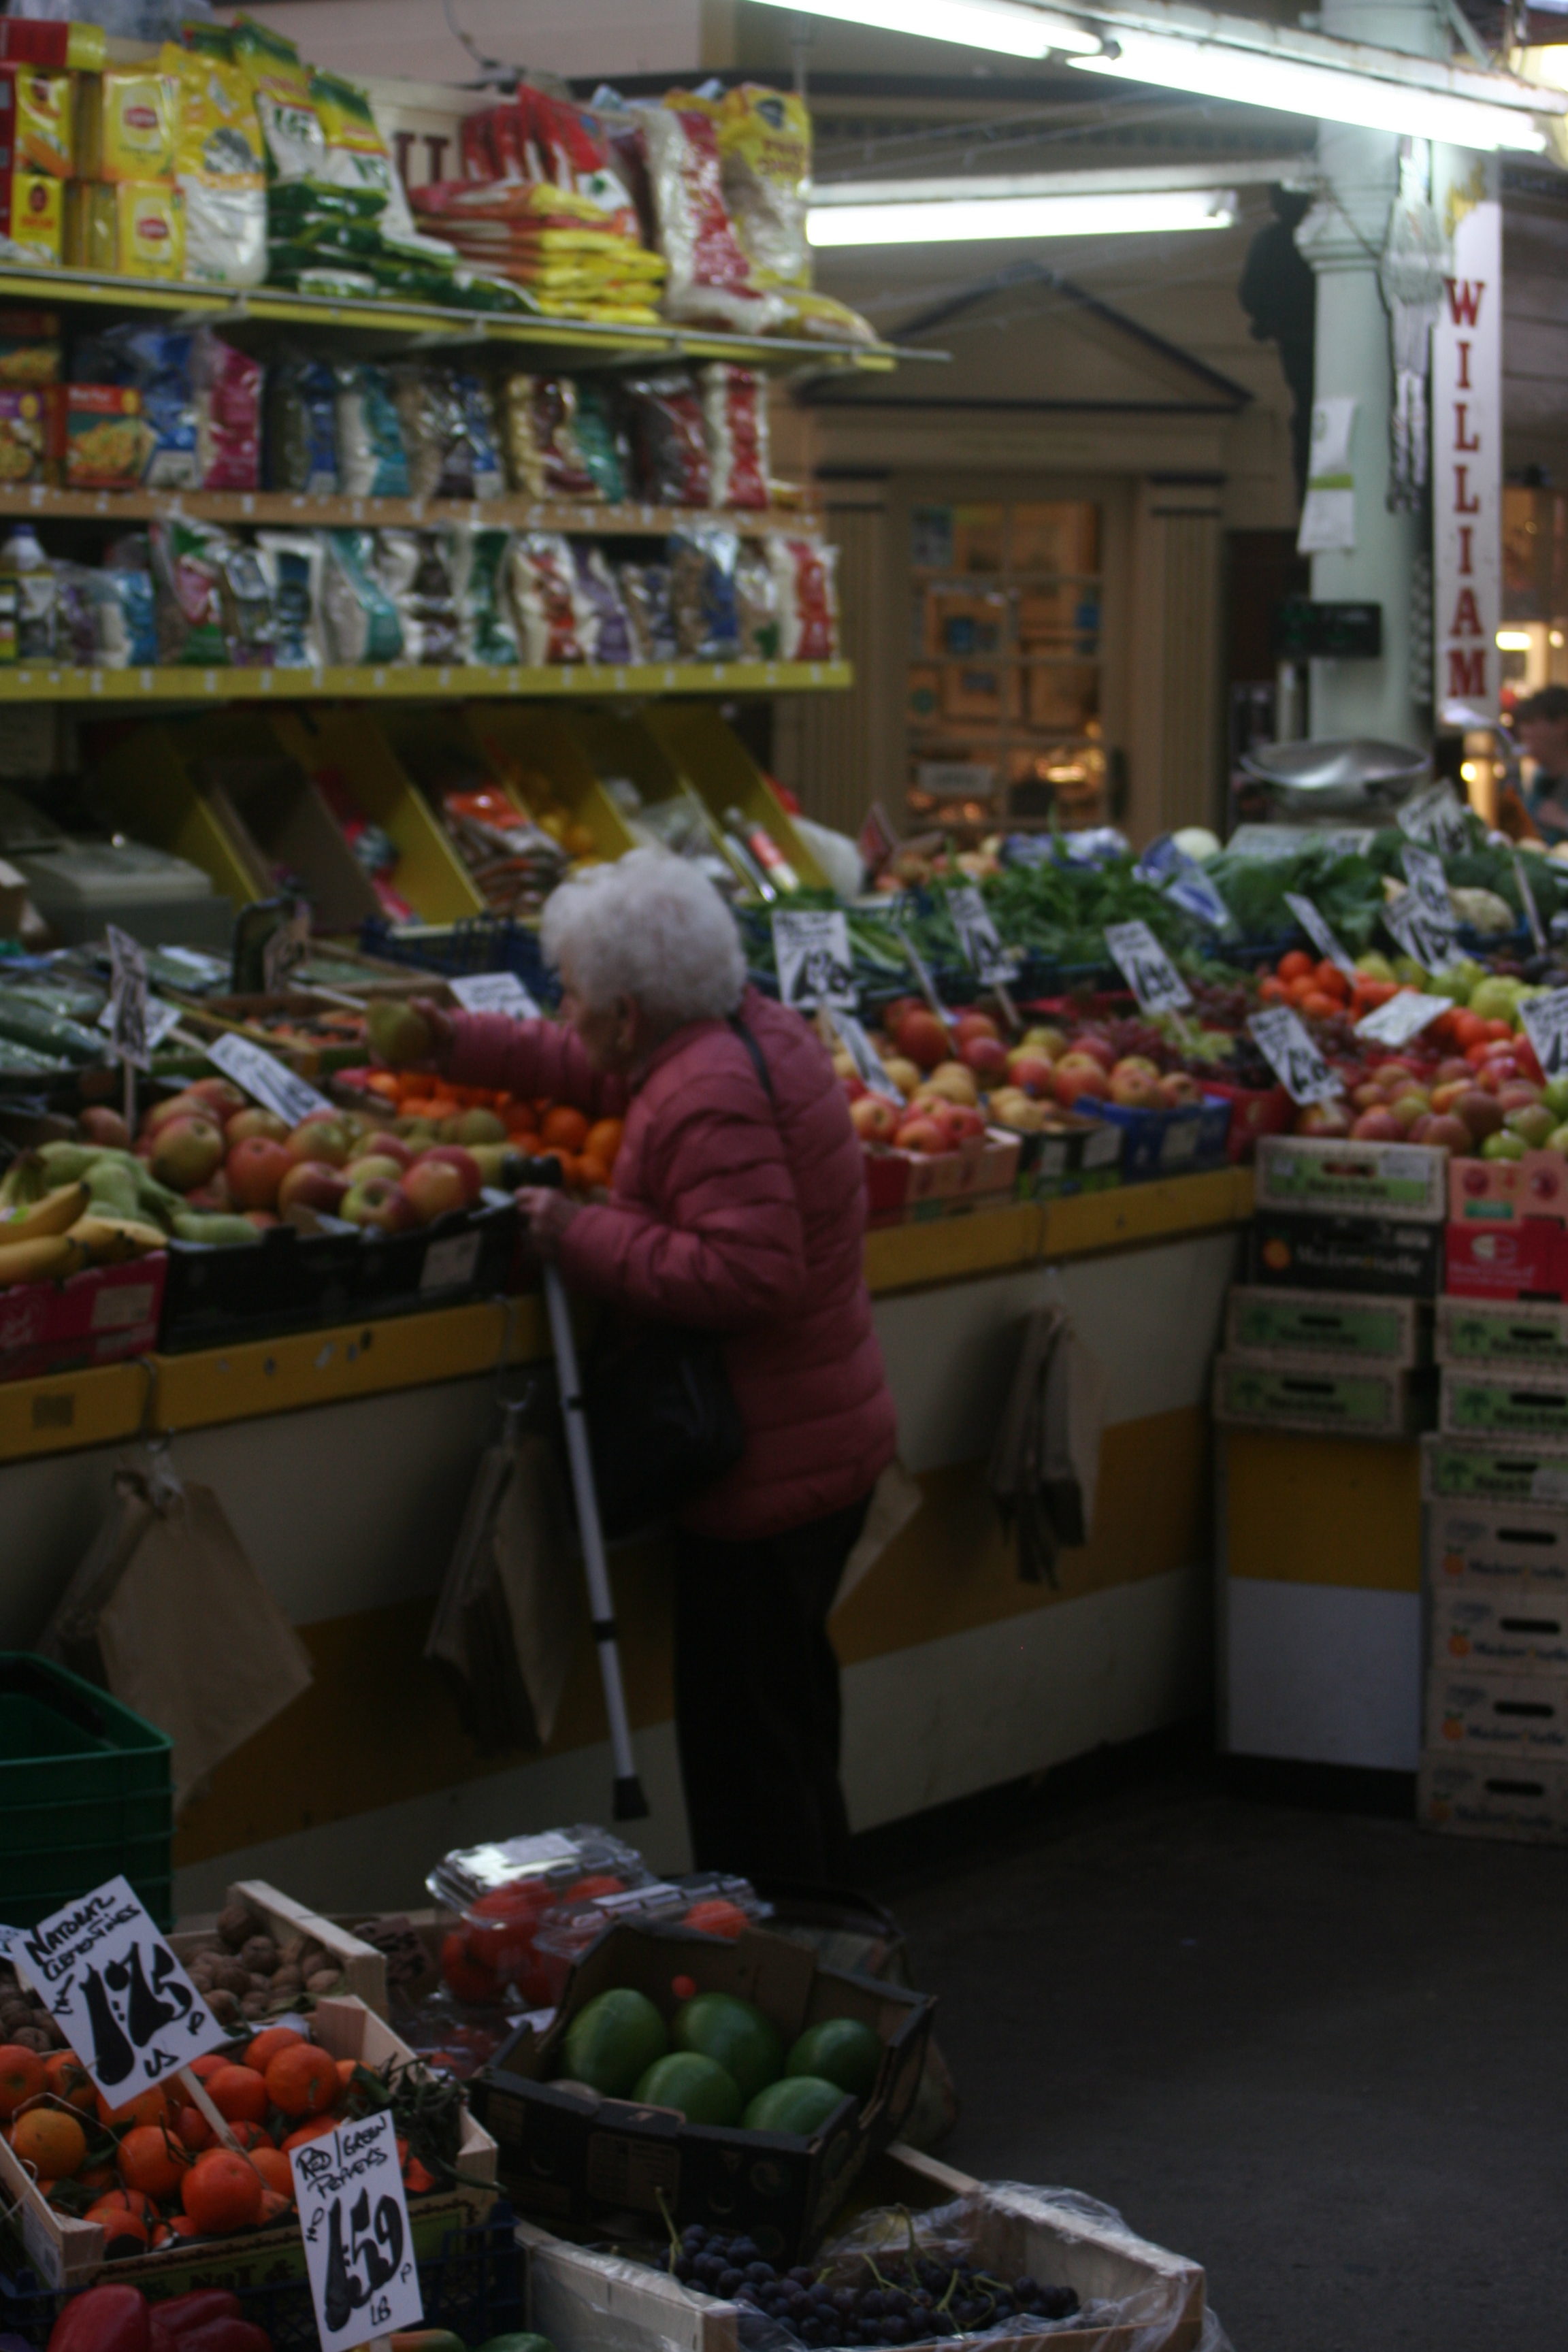
Overall the experience was good for my confidence and it put me out of my comfort zone. The anticipation of this shoot was fairly scary as I don’t feel comfortable taking pictures of people that I don’t personally know. I can know say I have huge amounts of respect for street photographers, you need to be confident in your personality and camera skills, because everything is happening so fast and to be able to take a sharp photo which is in focus takes skill. Although I did get some good final outcomes from this shoot there are many photos which were a large part of trial and error. Due to the changing of location from the bright sunny street to the dark dingy market, it made it hard for me to adjust the camera to get the right exposure, so in some of my photos it’s either too dark you can’t see detail on people faces or the light in the background is over exposed and the background becomes too bright. 
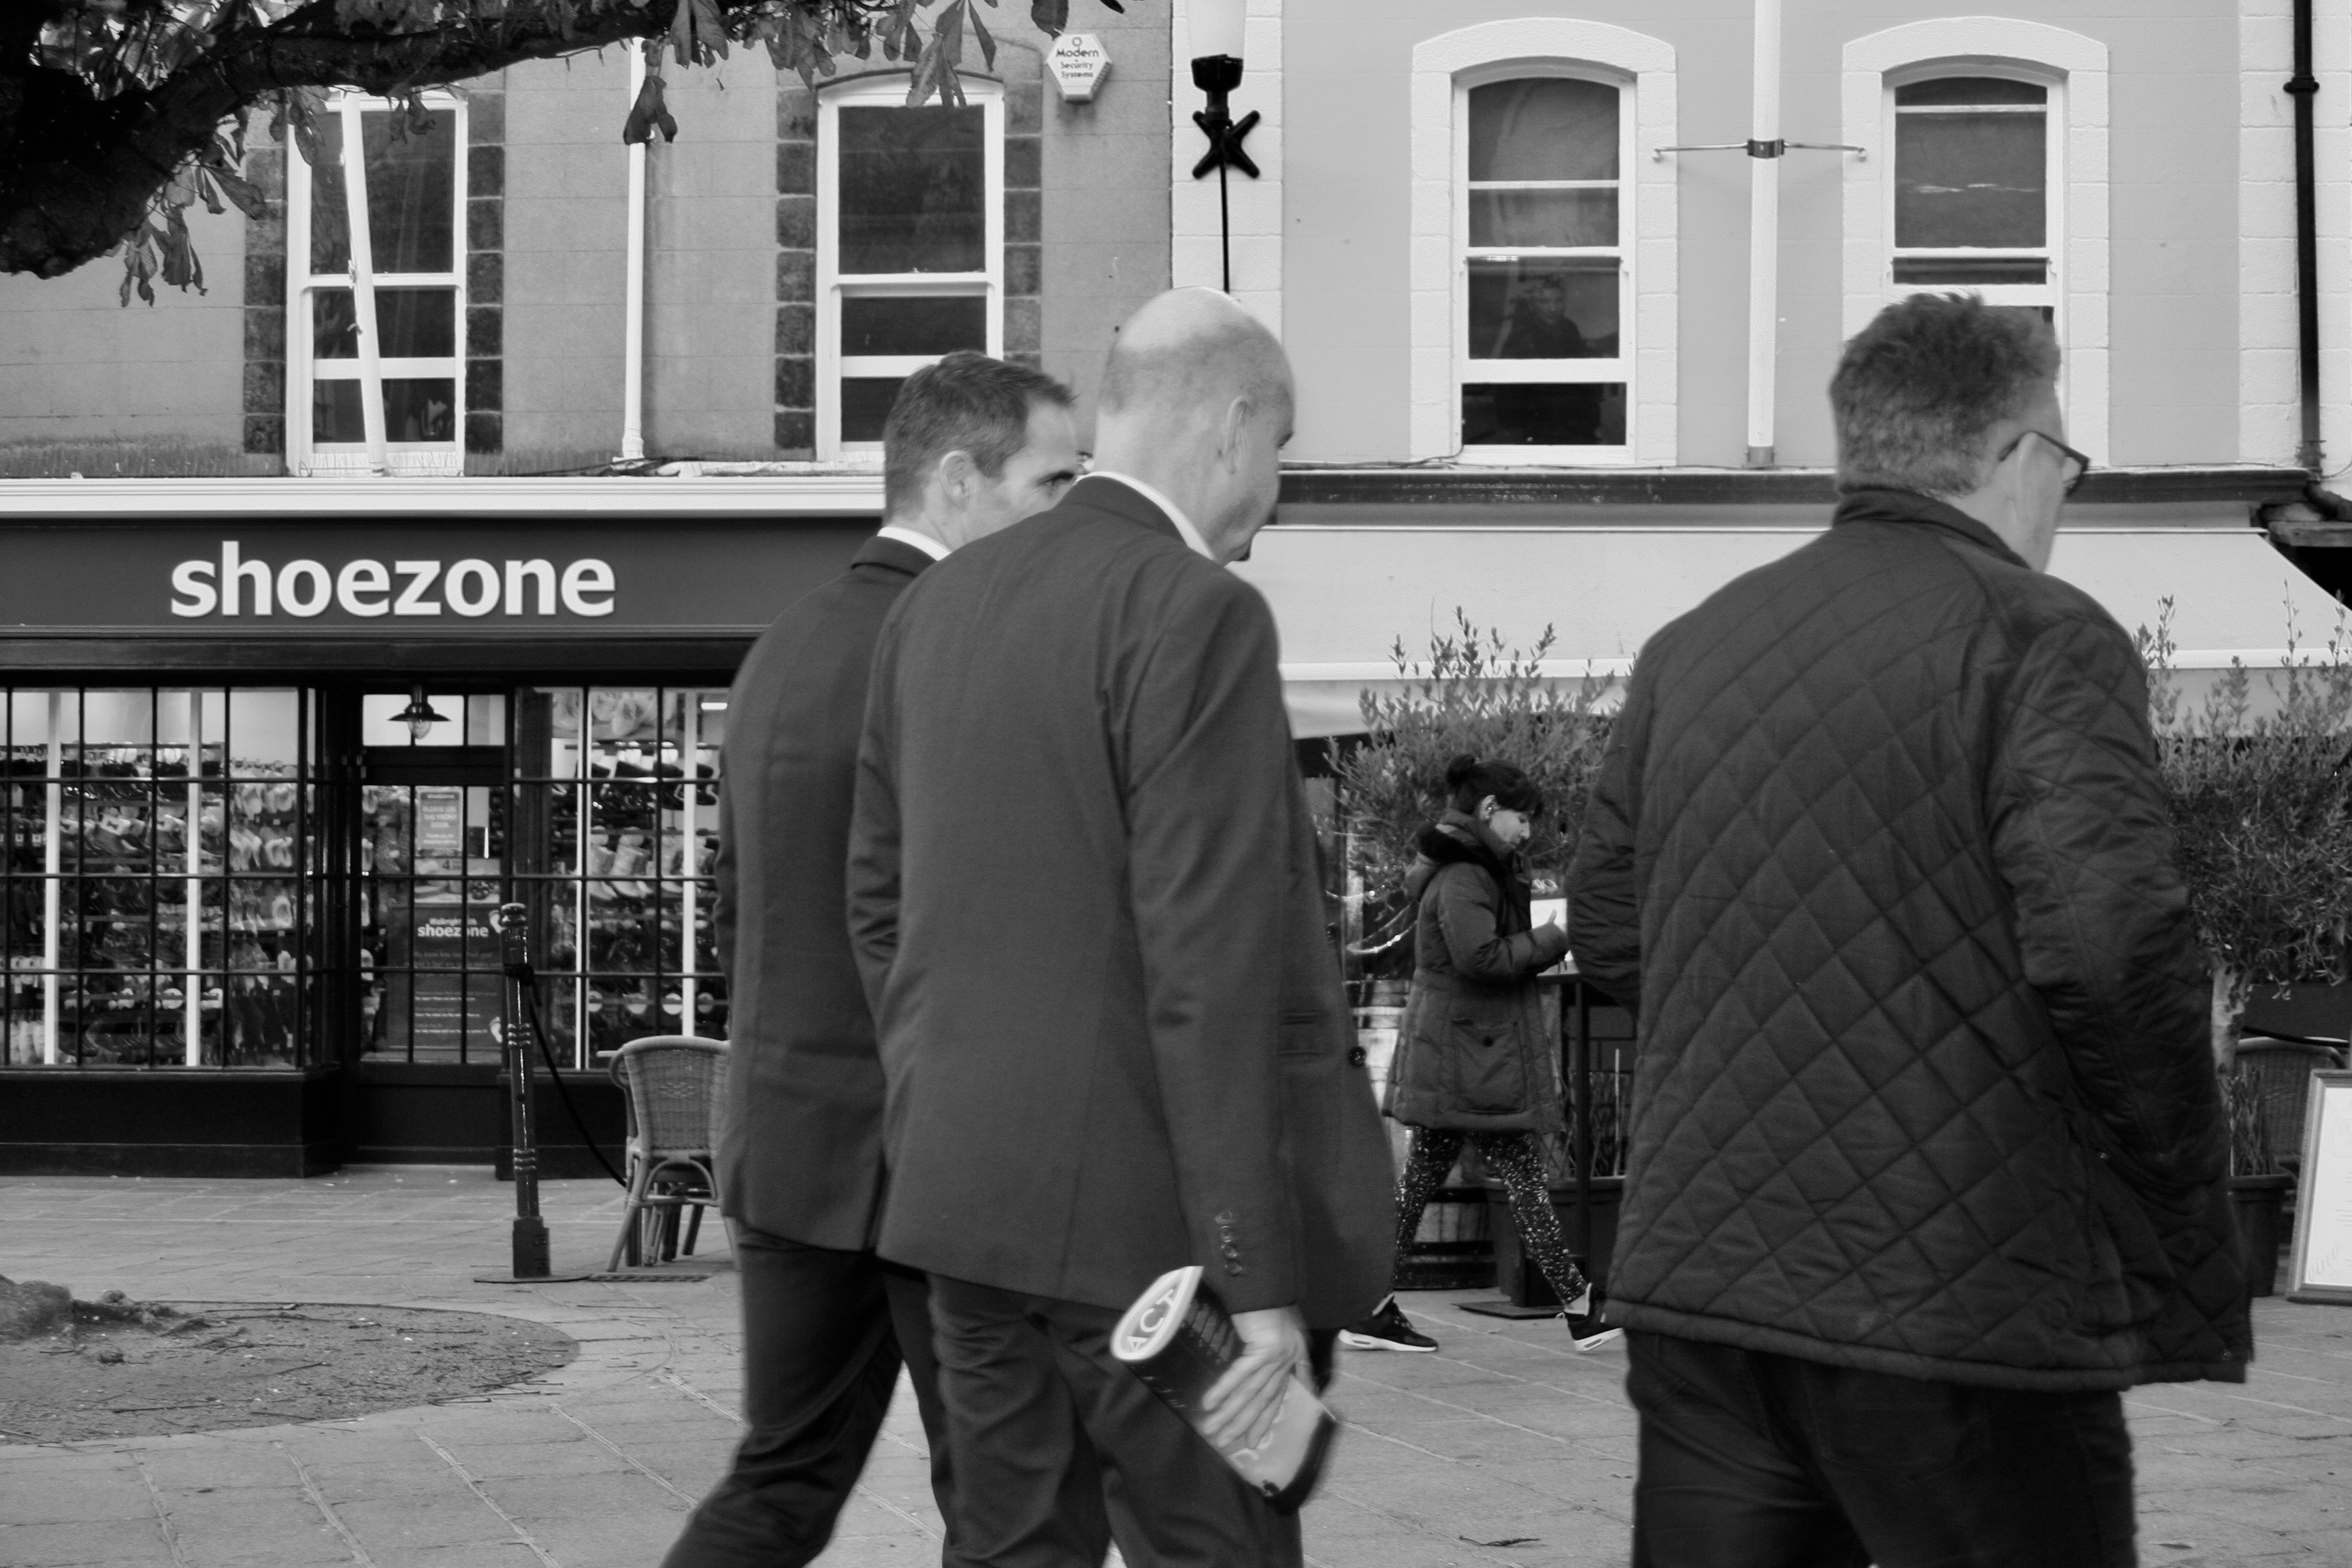
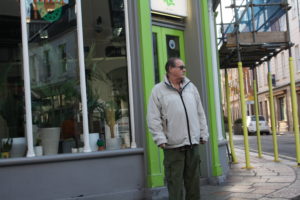
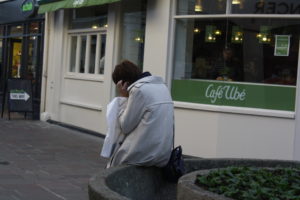
In this particular photo it was under-exposed, so i had to lighten the picture in Photoshop in order for the taxi-drivers face to become clear.
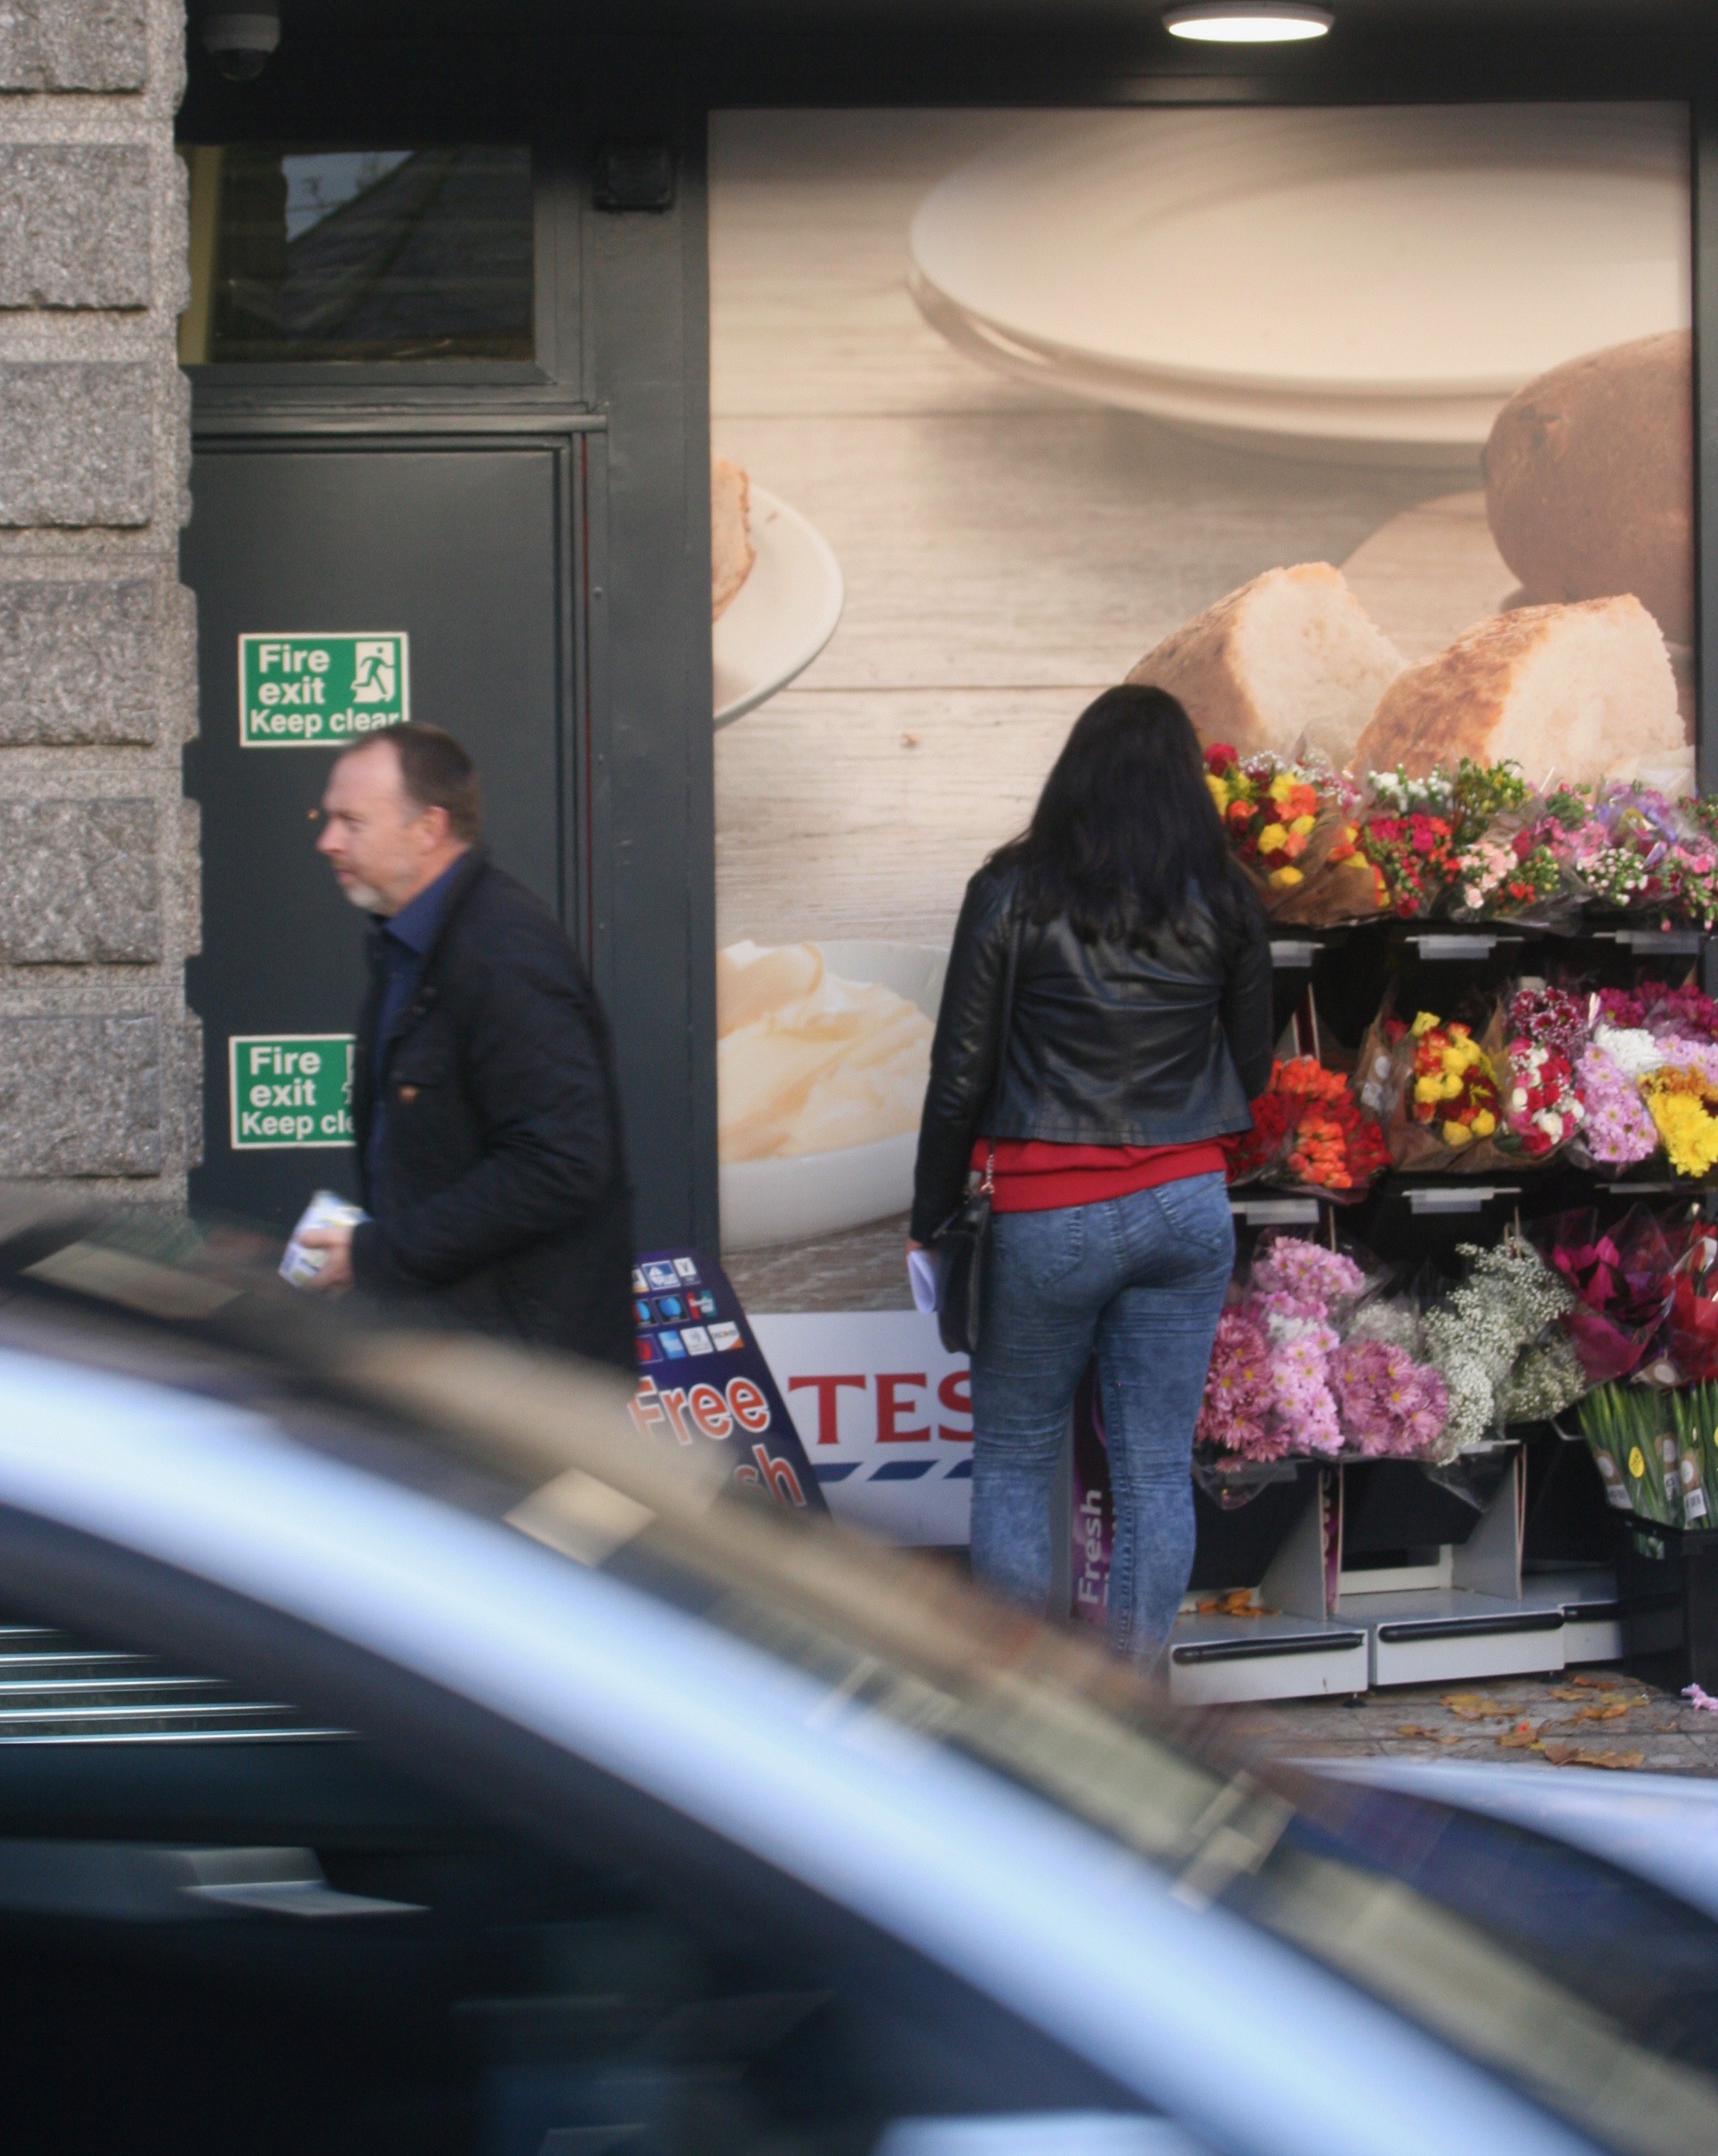
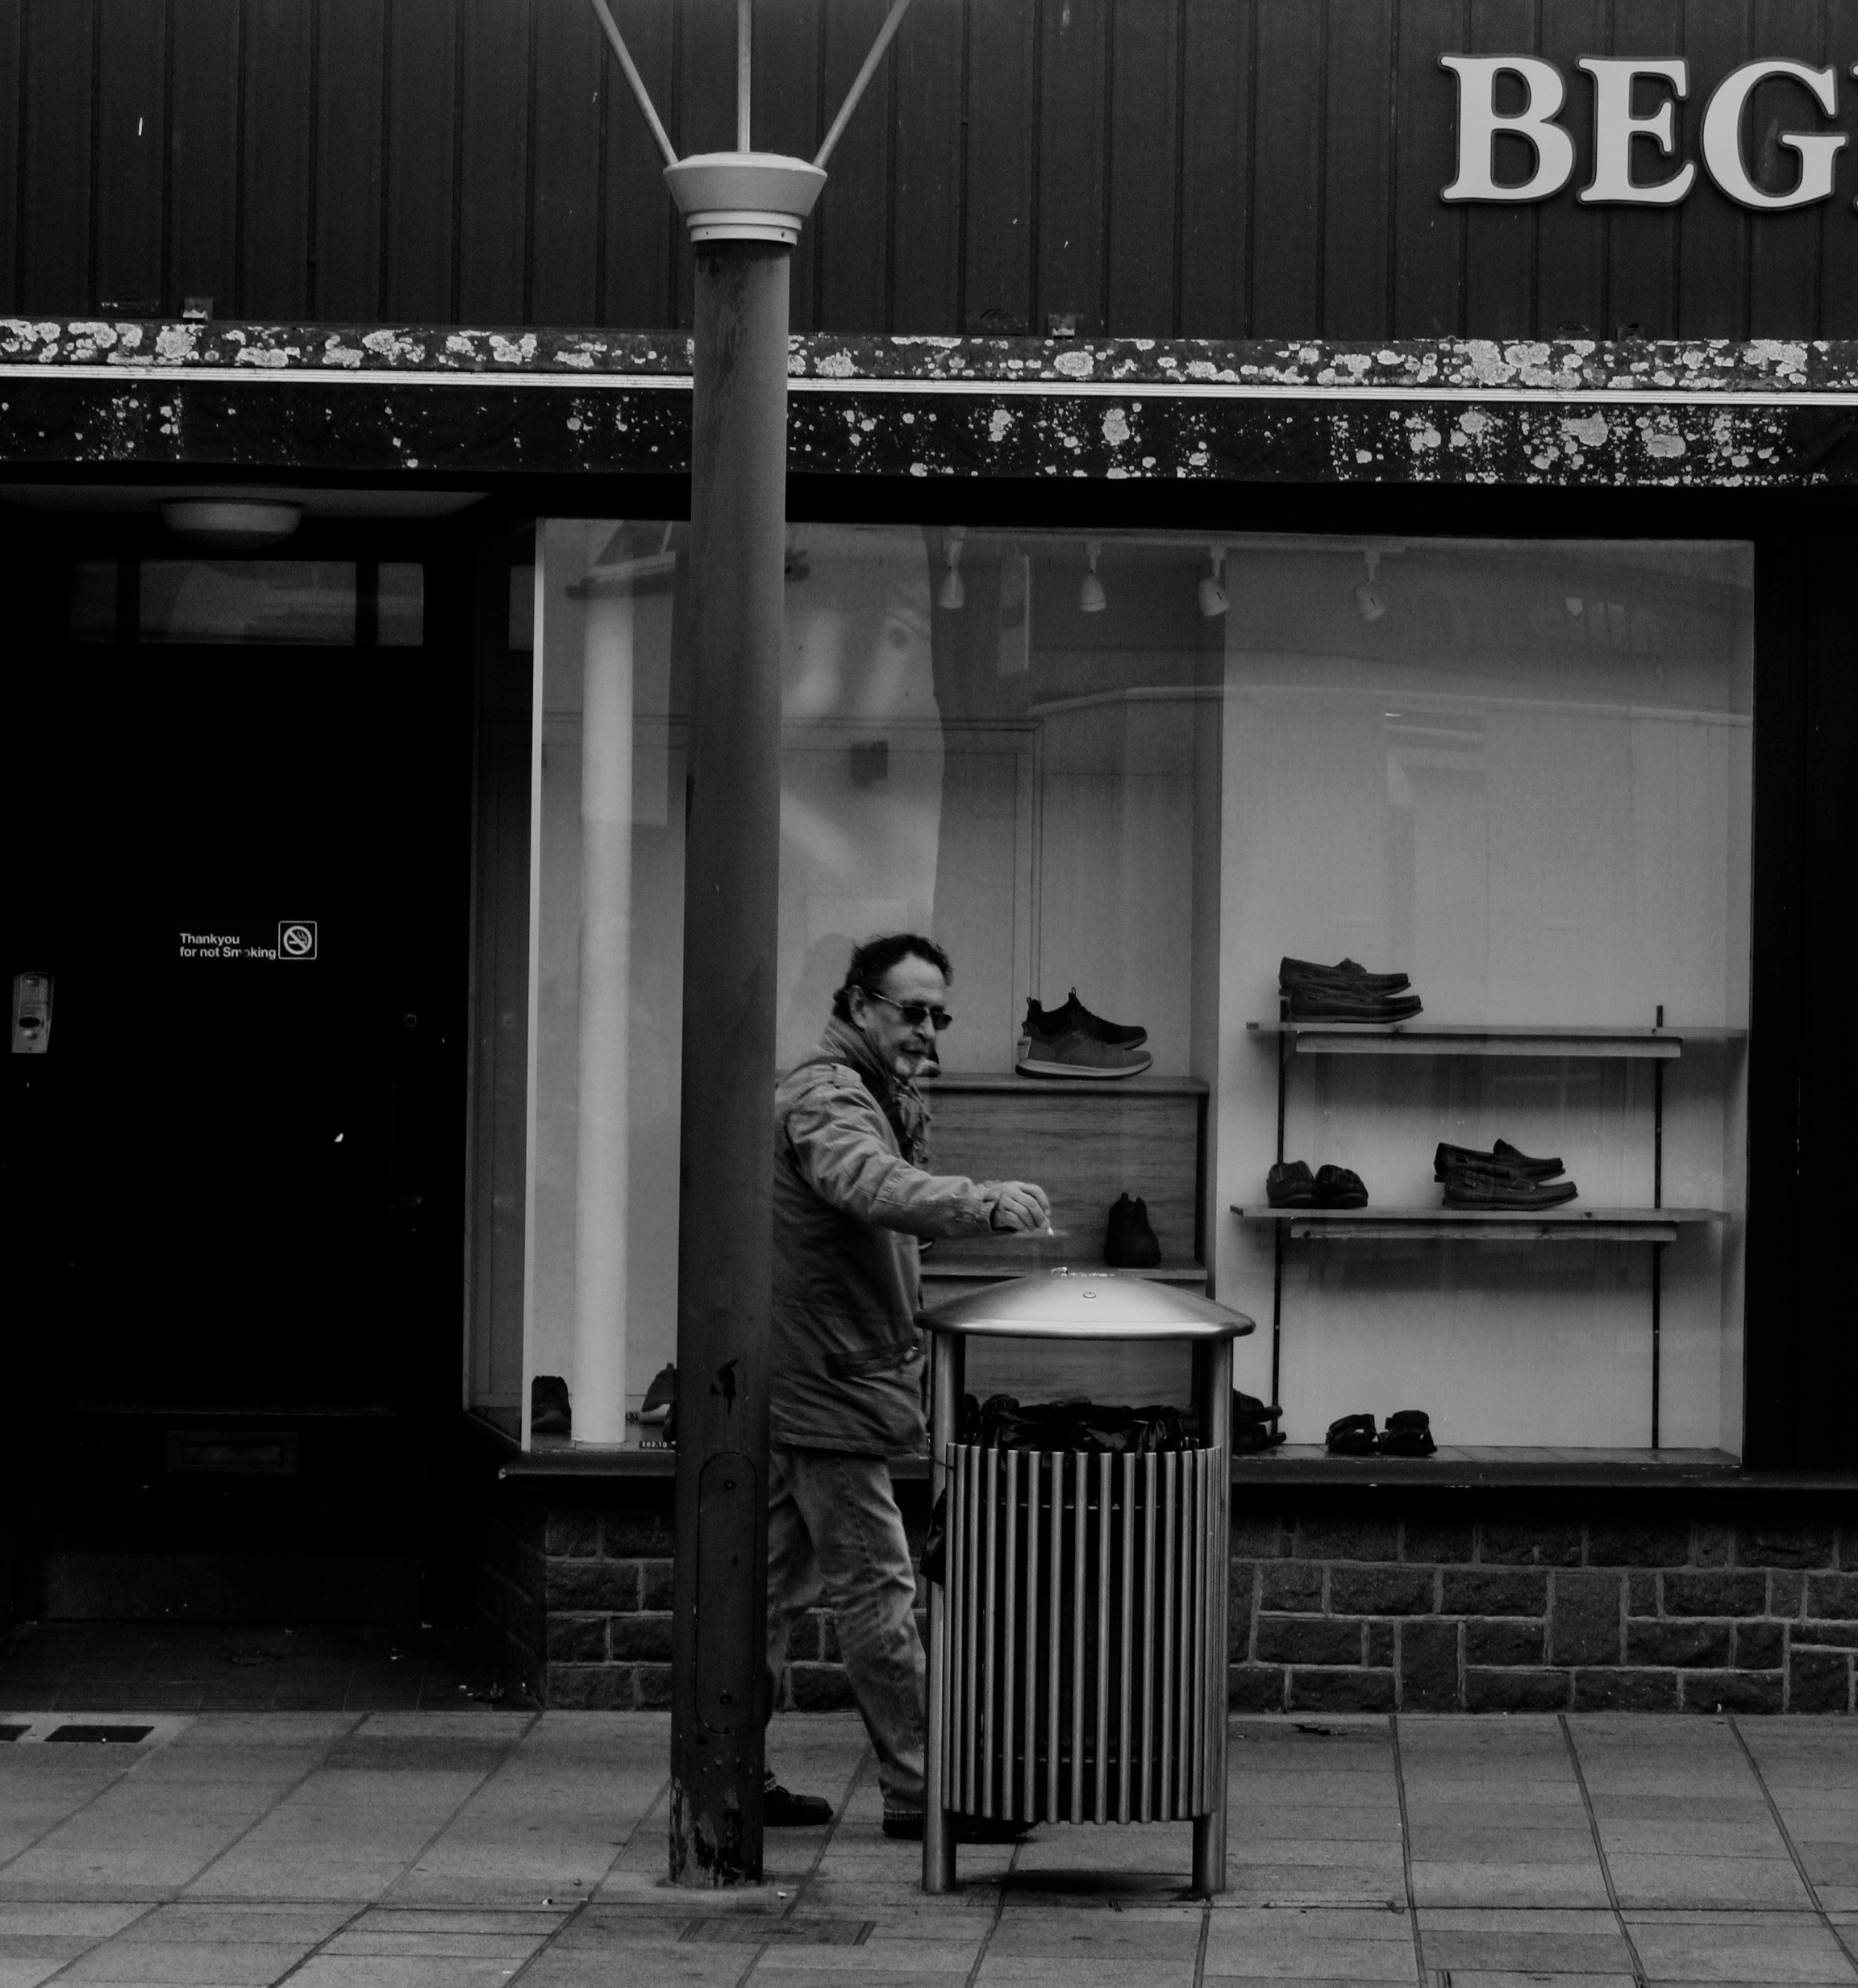
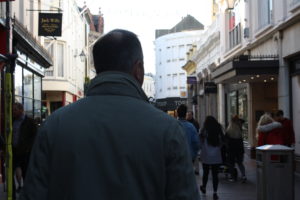
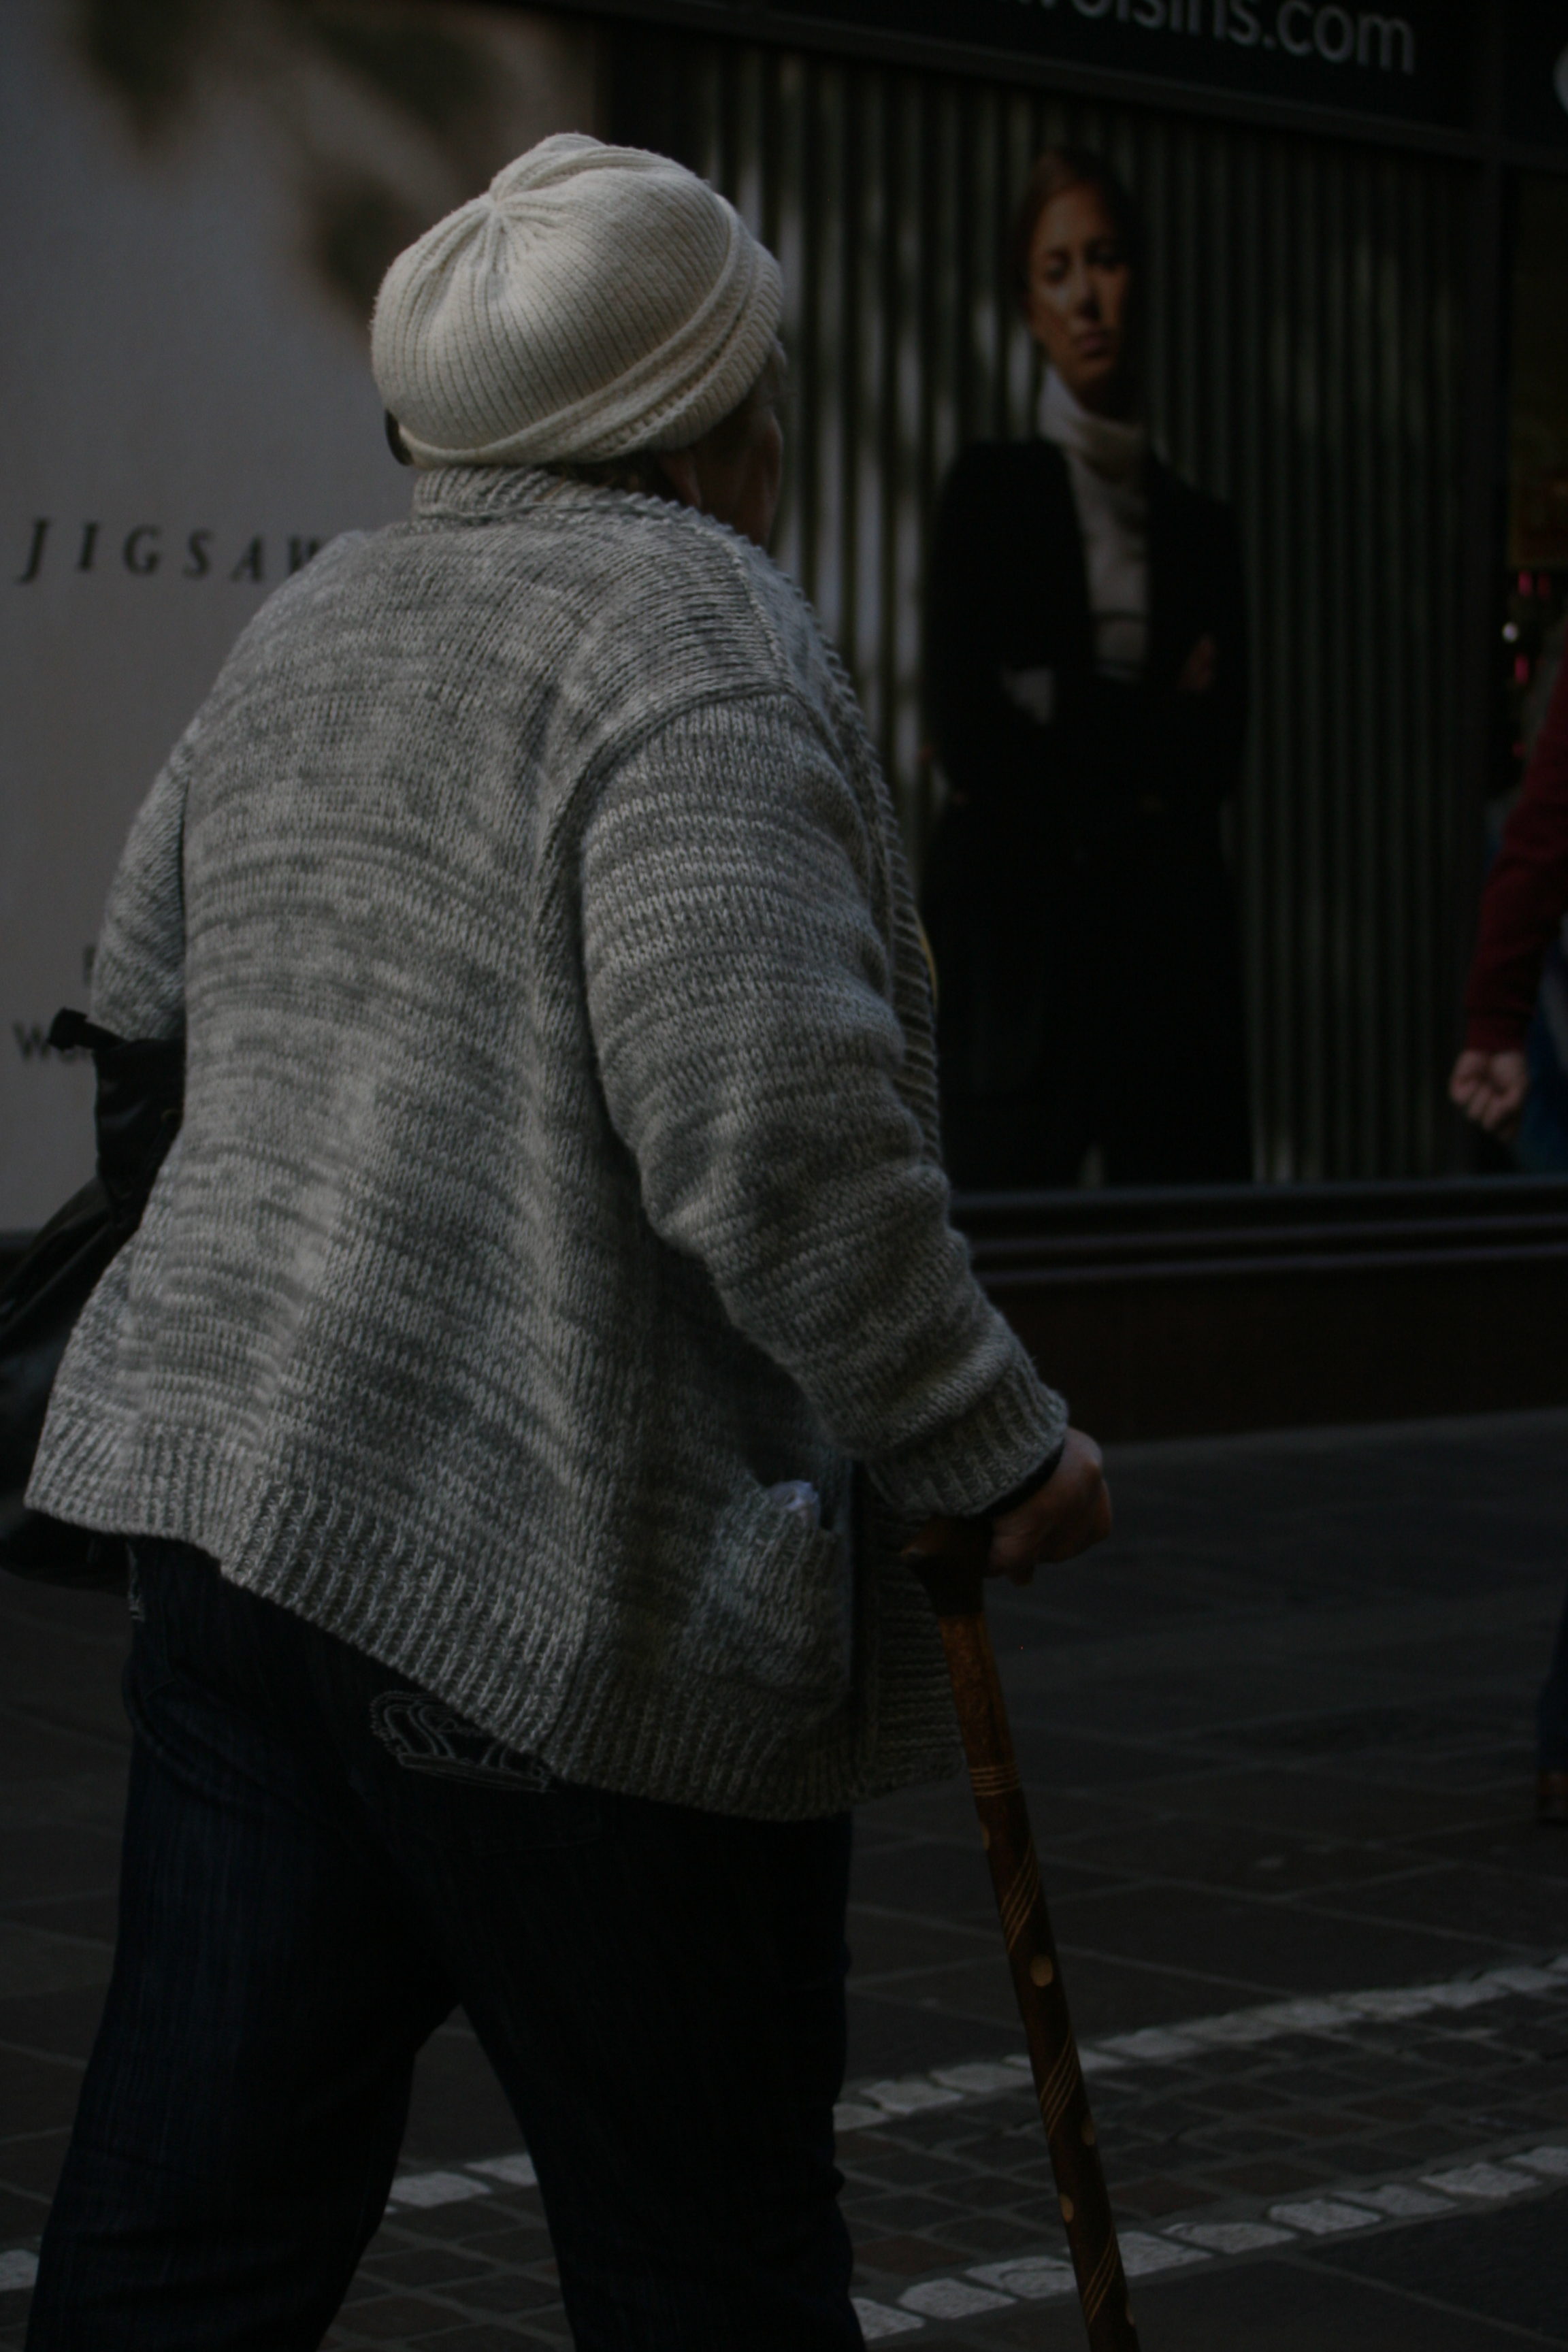
This was one of my favourite photos from from the shoot because of the sharpness of the women, but yet again my exposure was faulty and the sky was over-exposed, lucky cropping easily solved the problem.
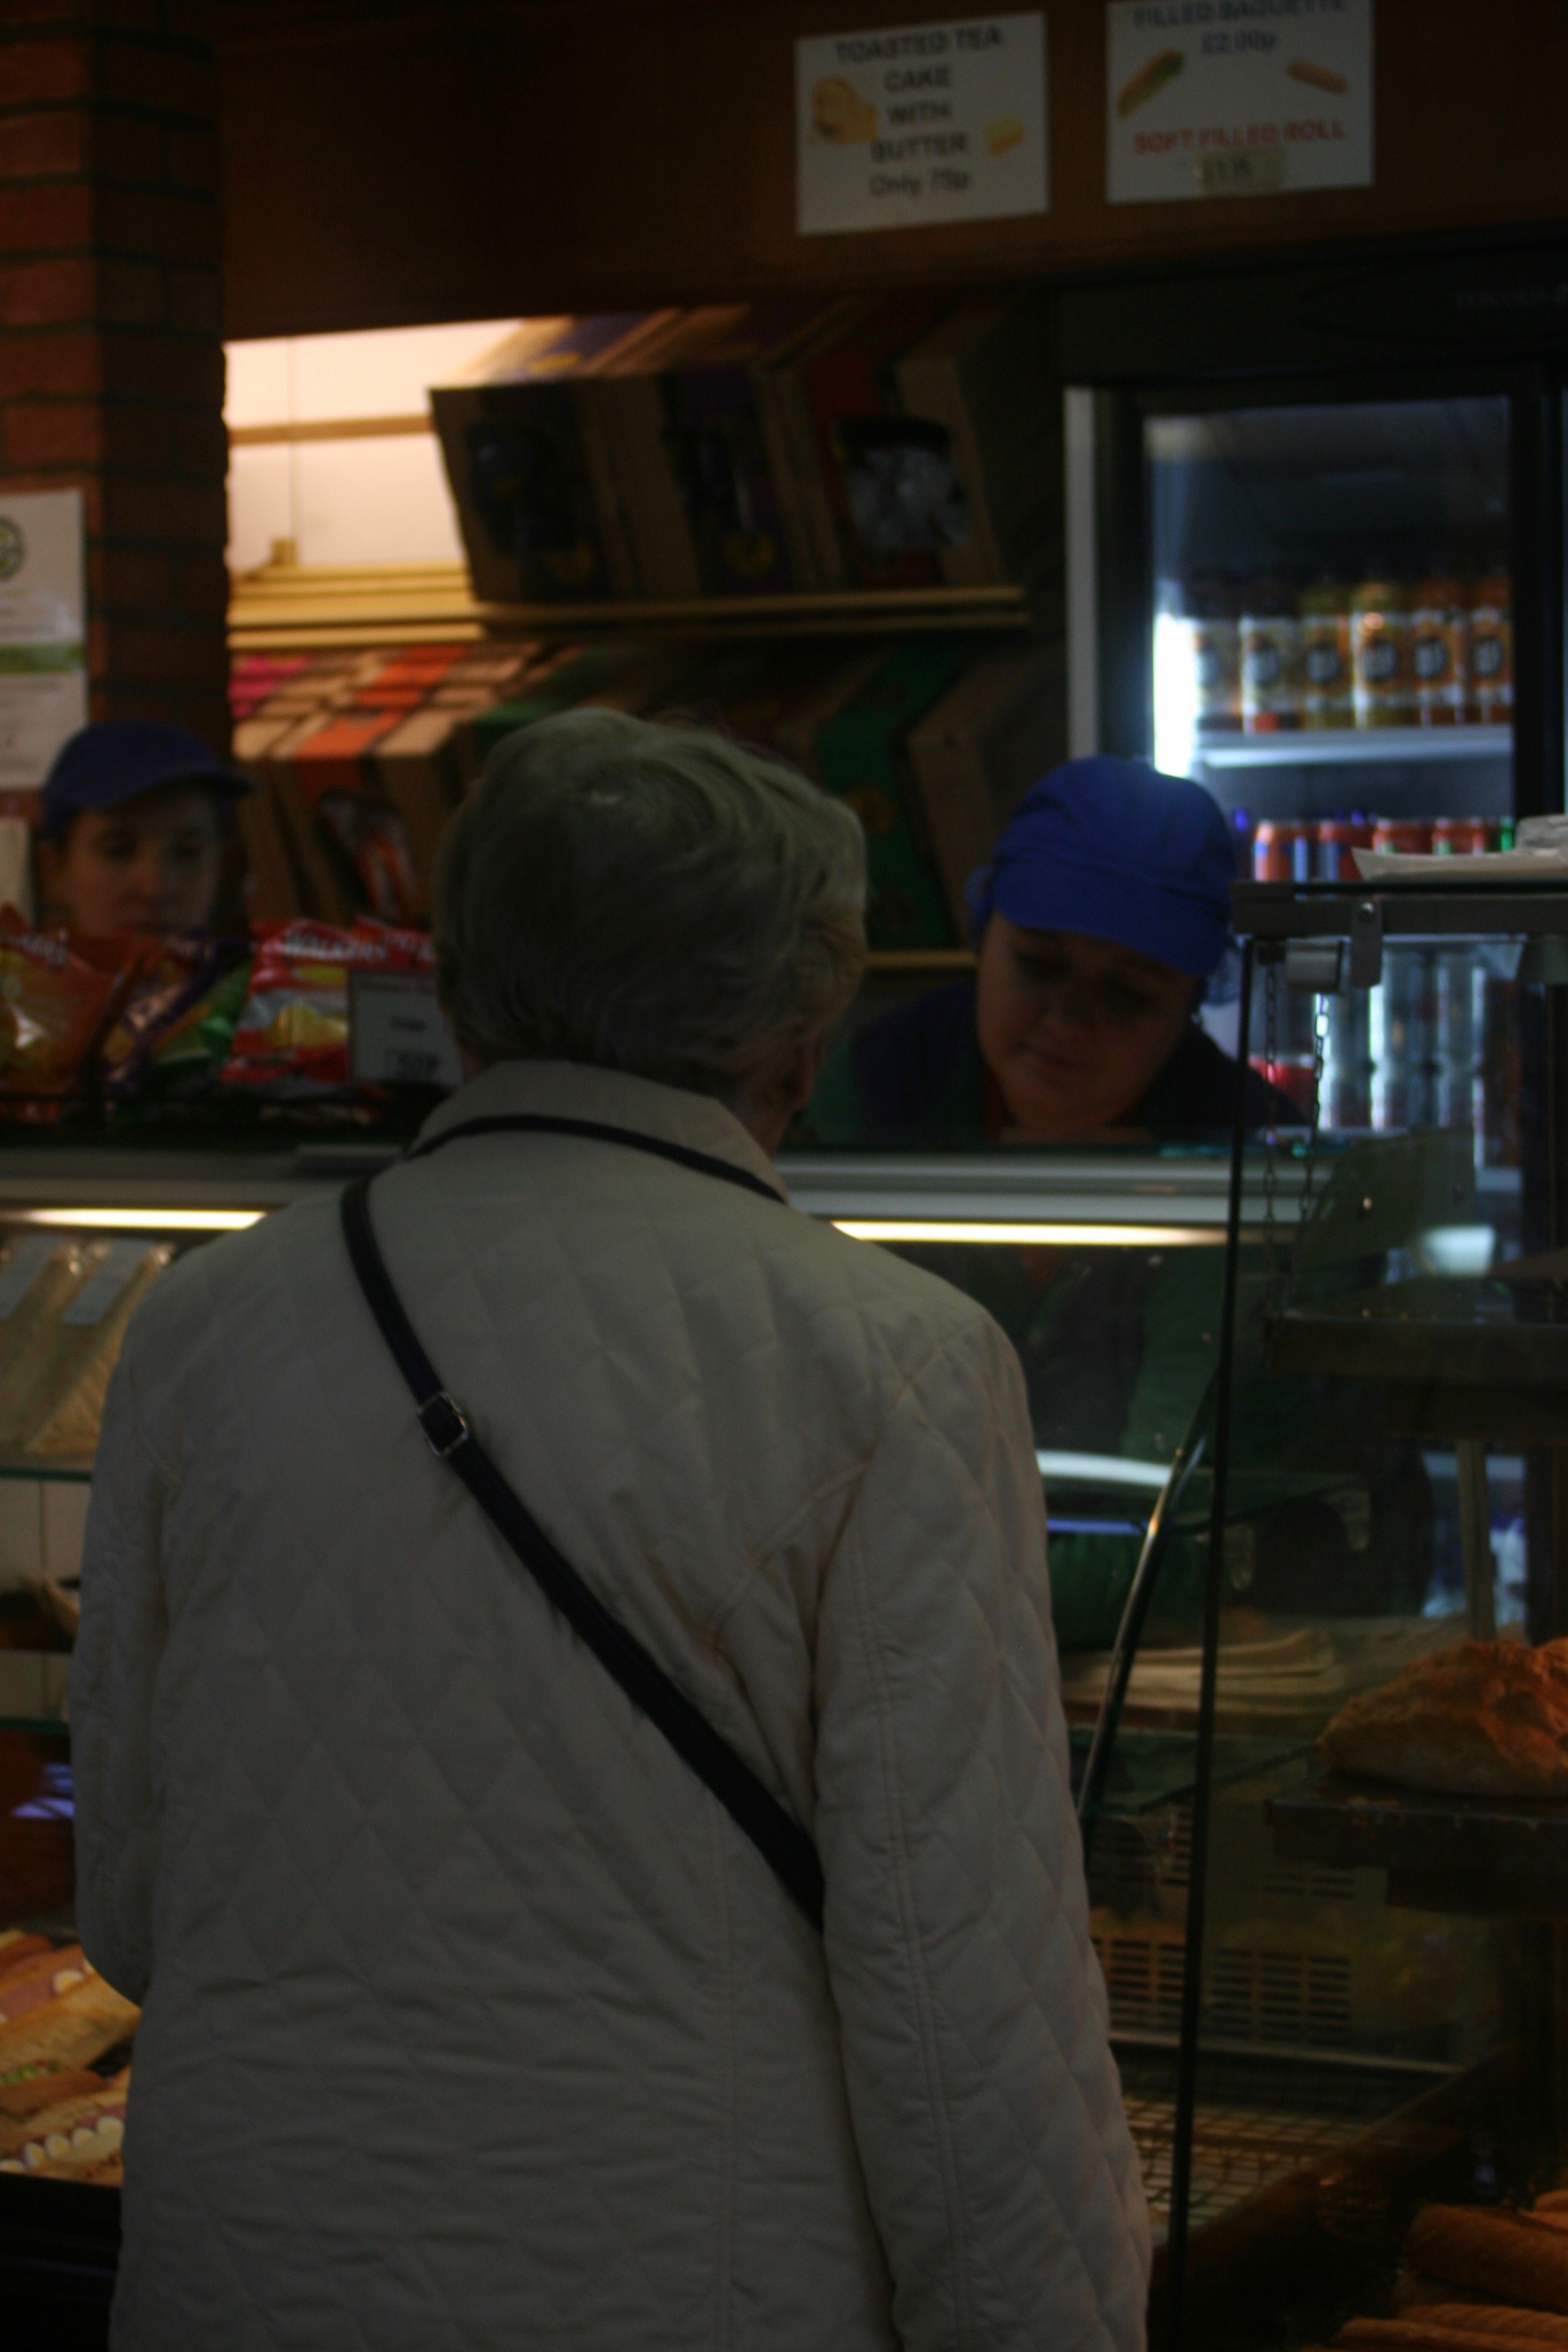
Final Piece

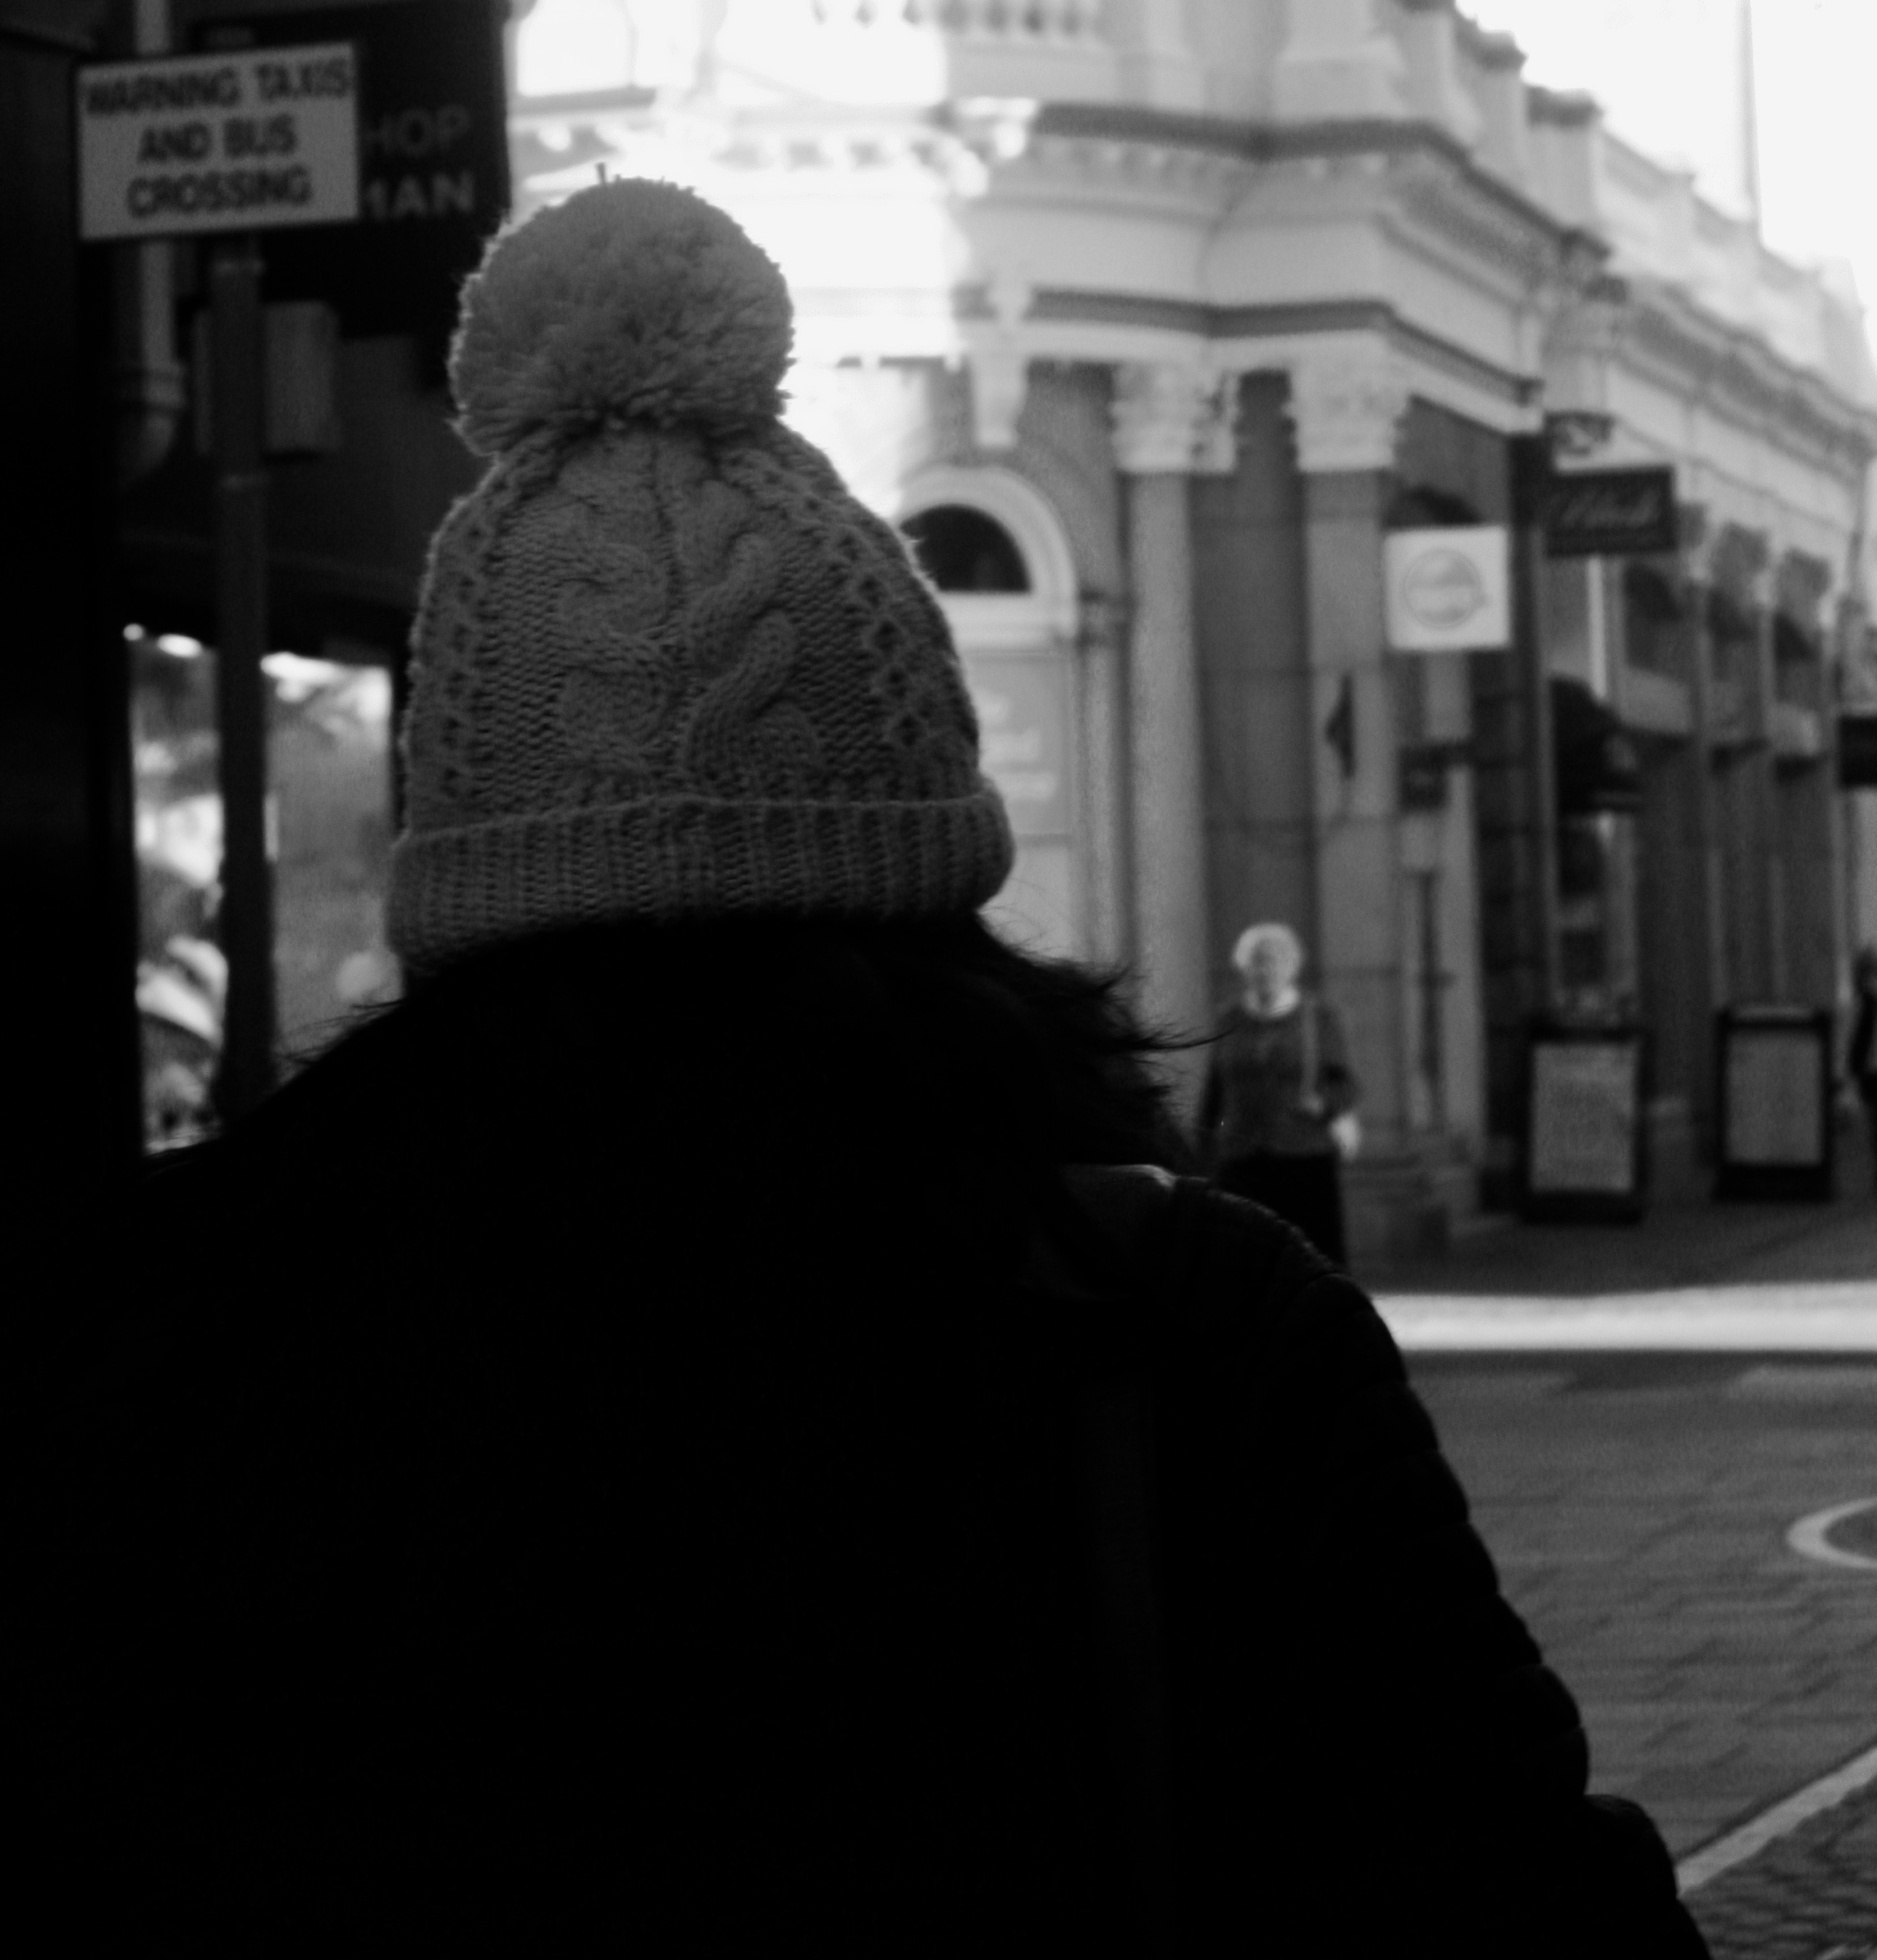
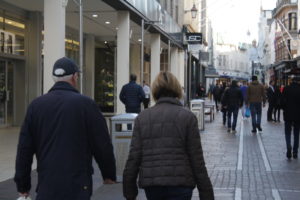
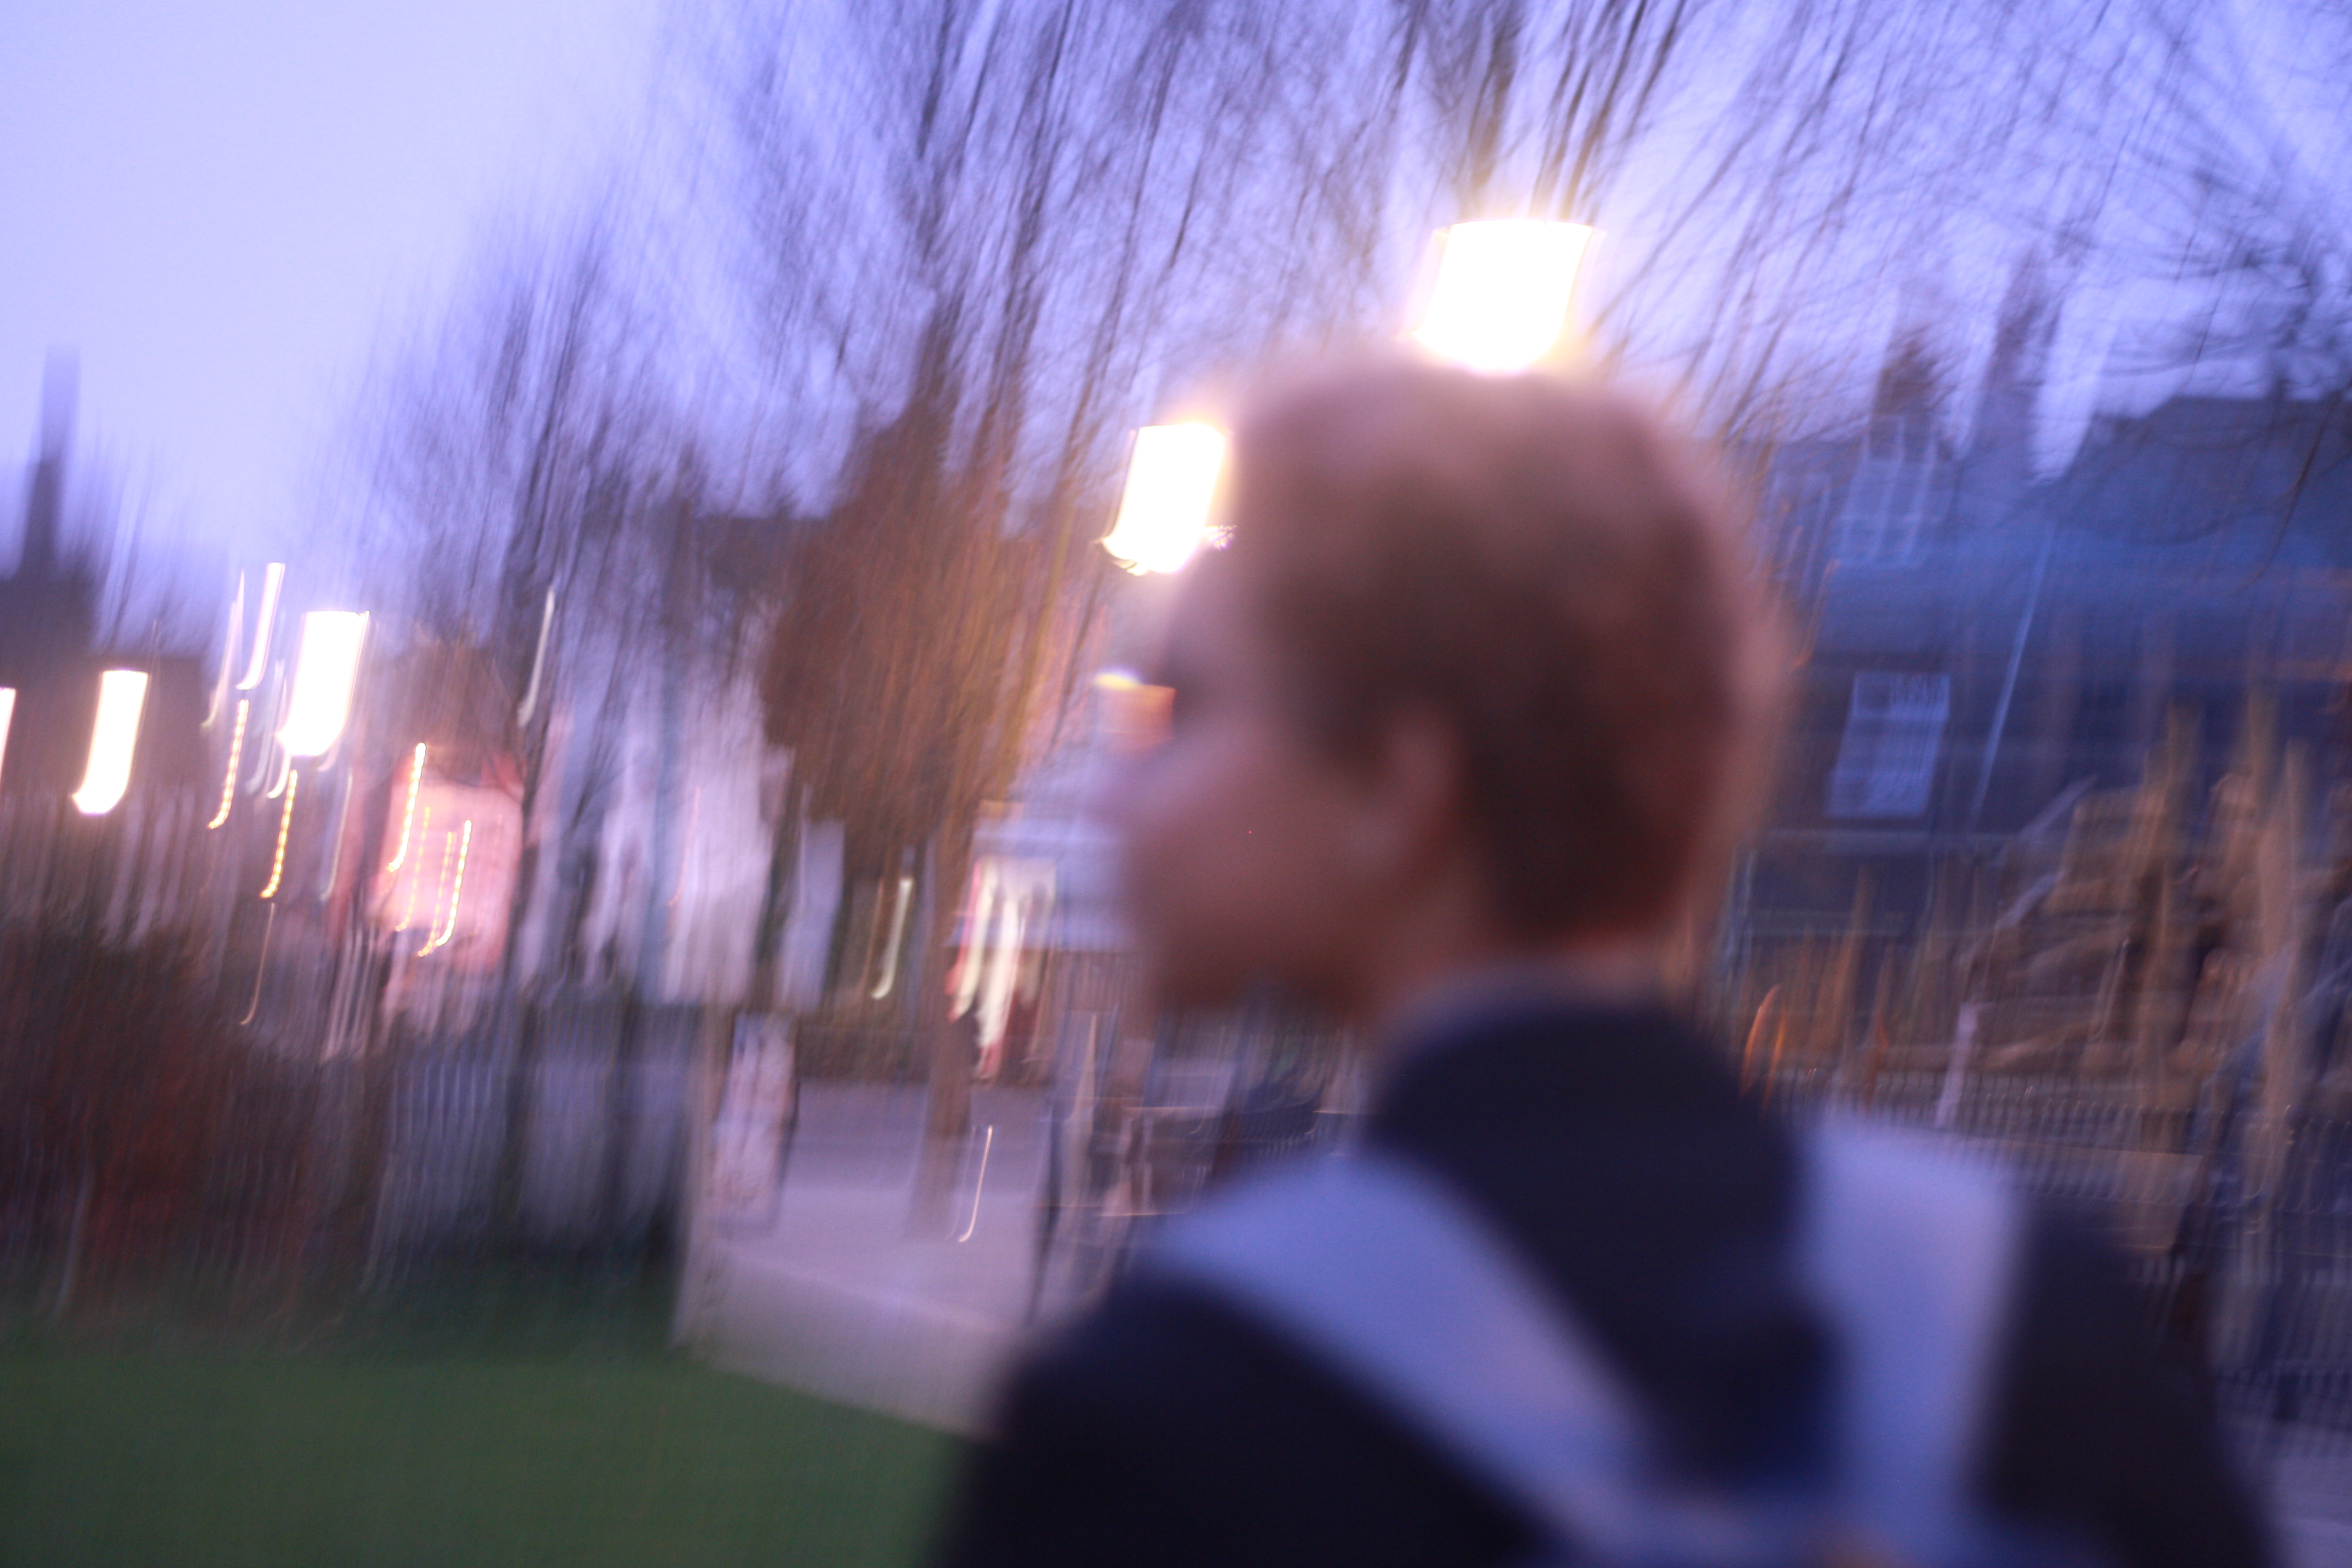
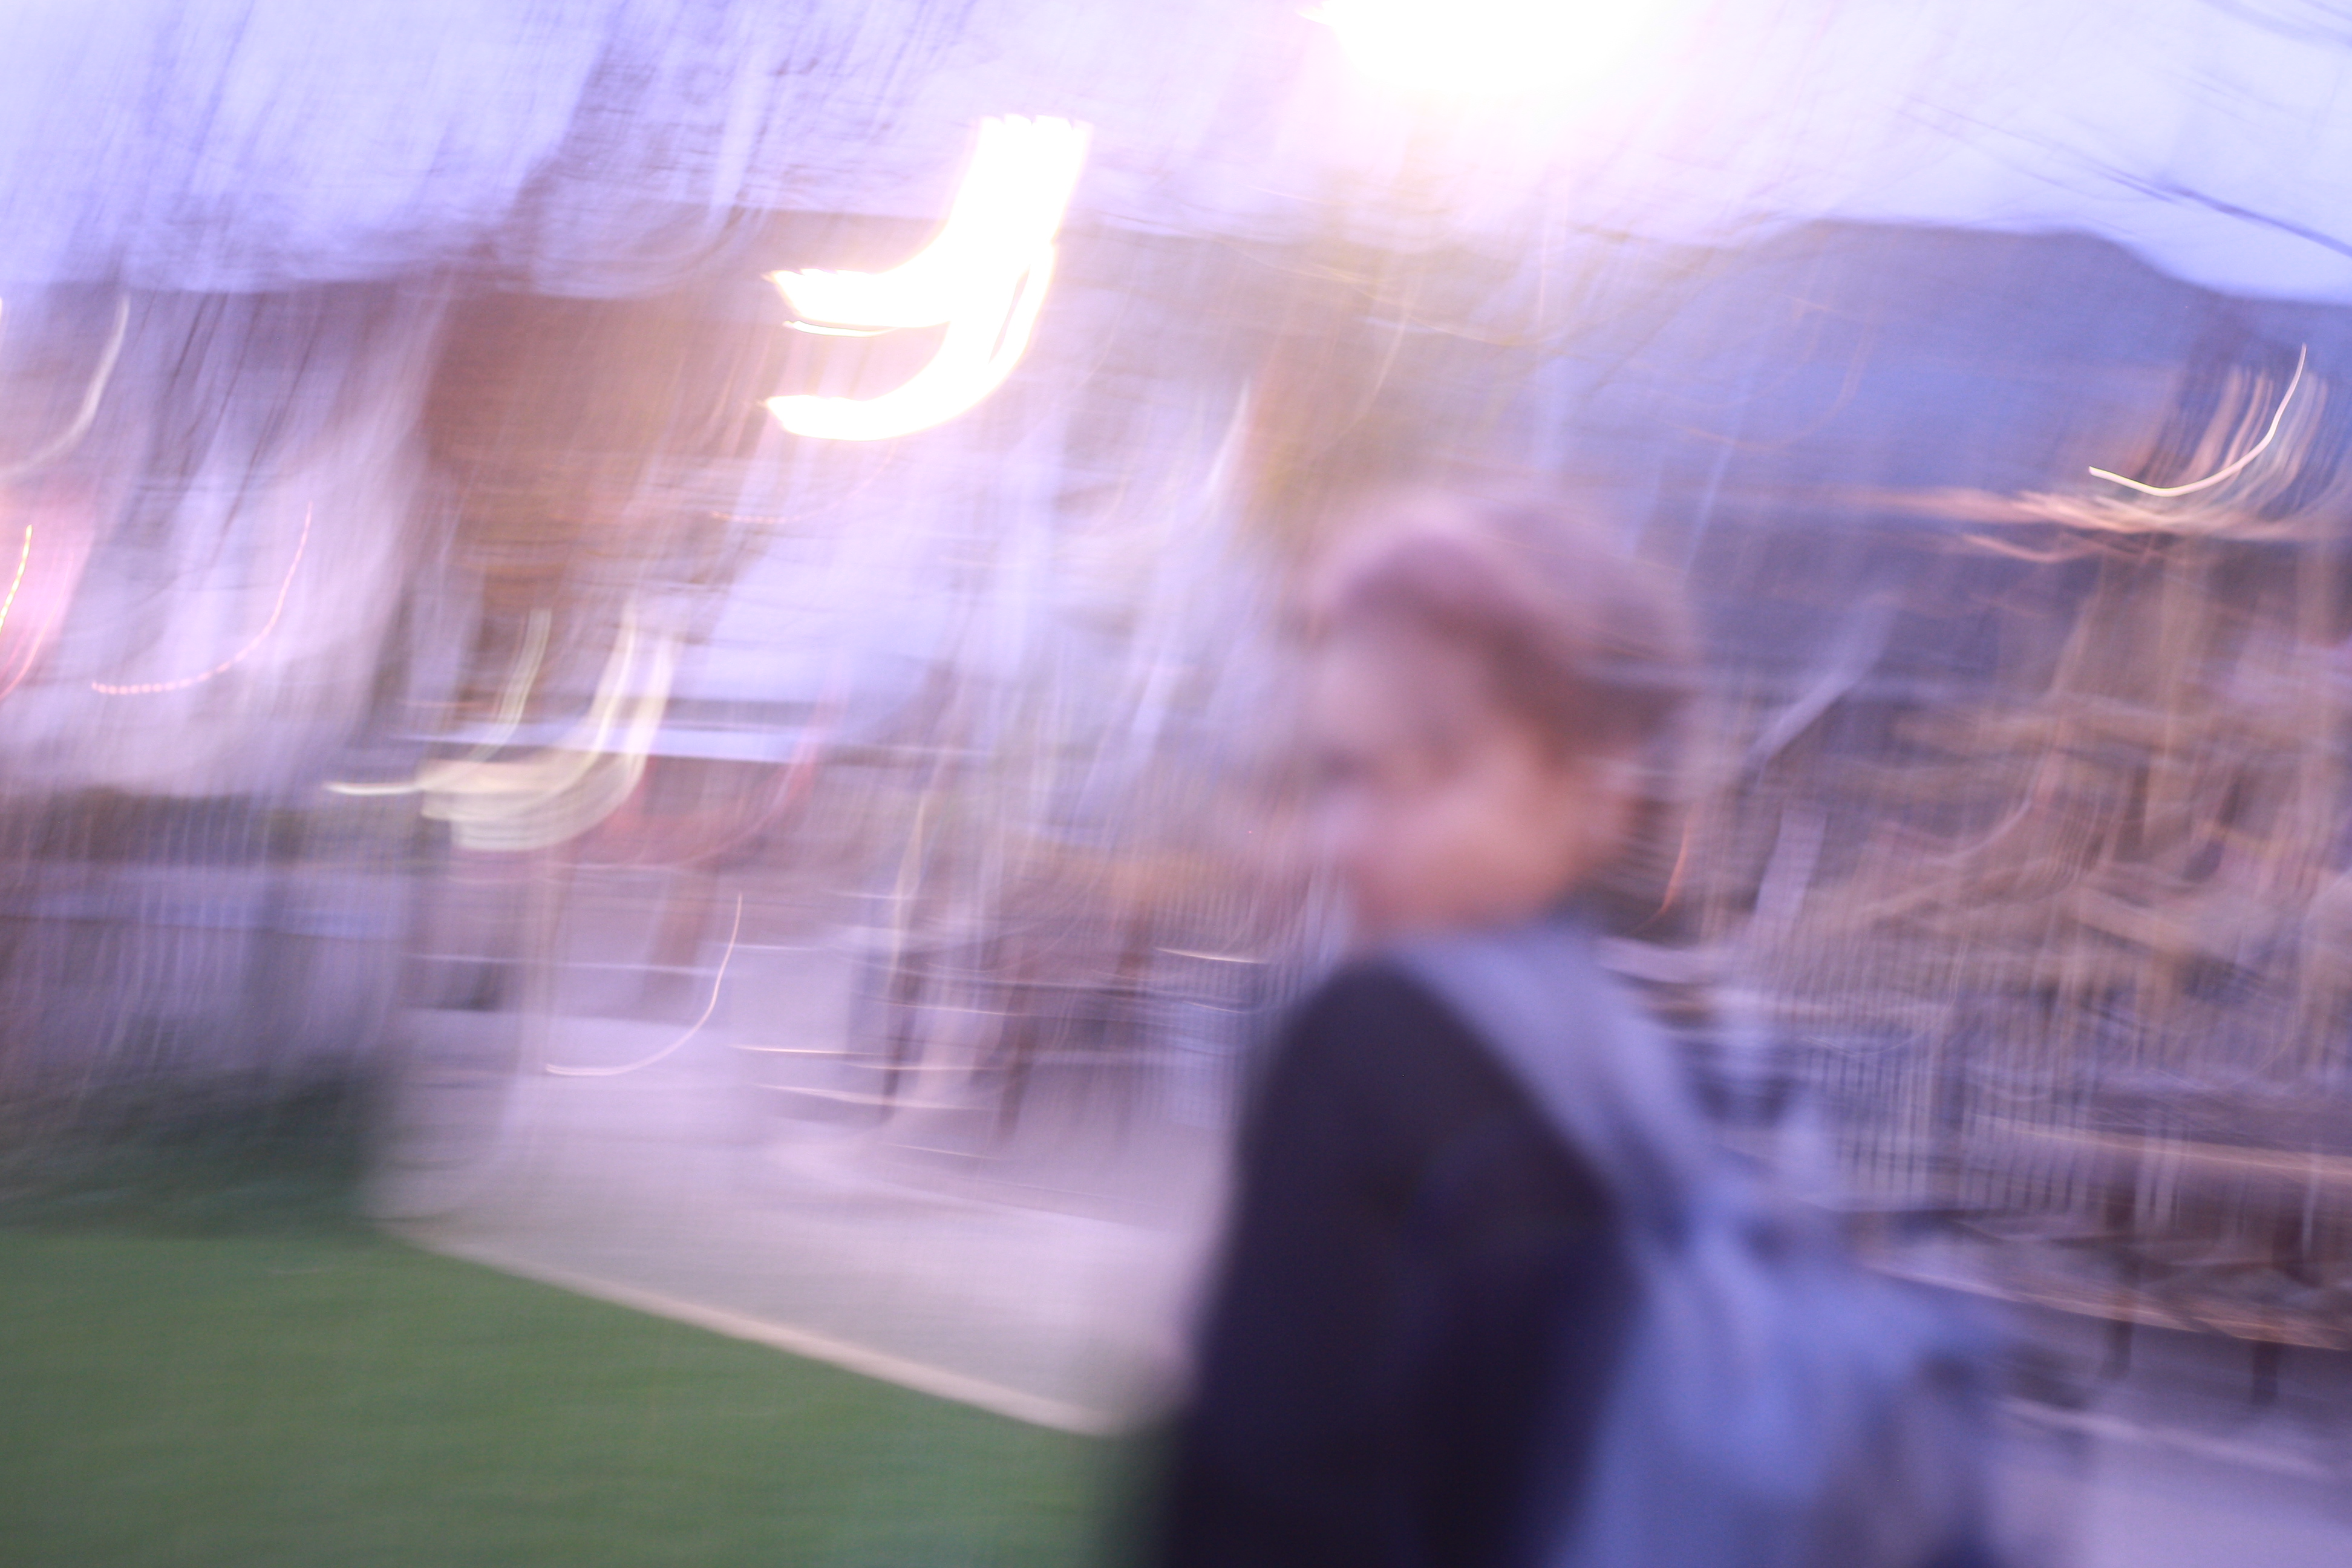
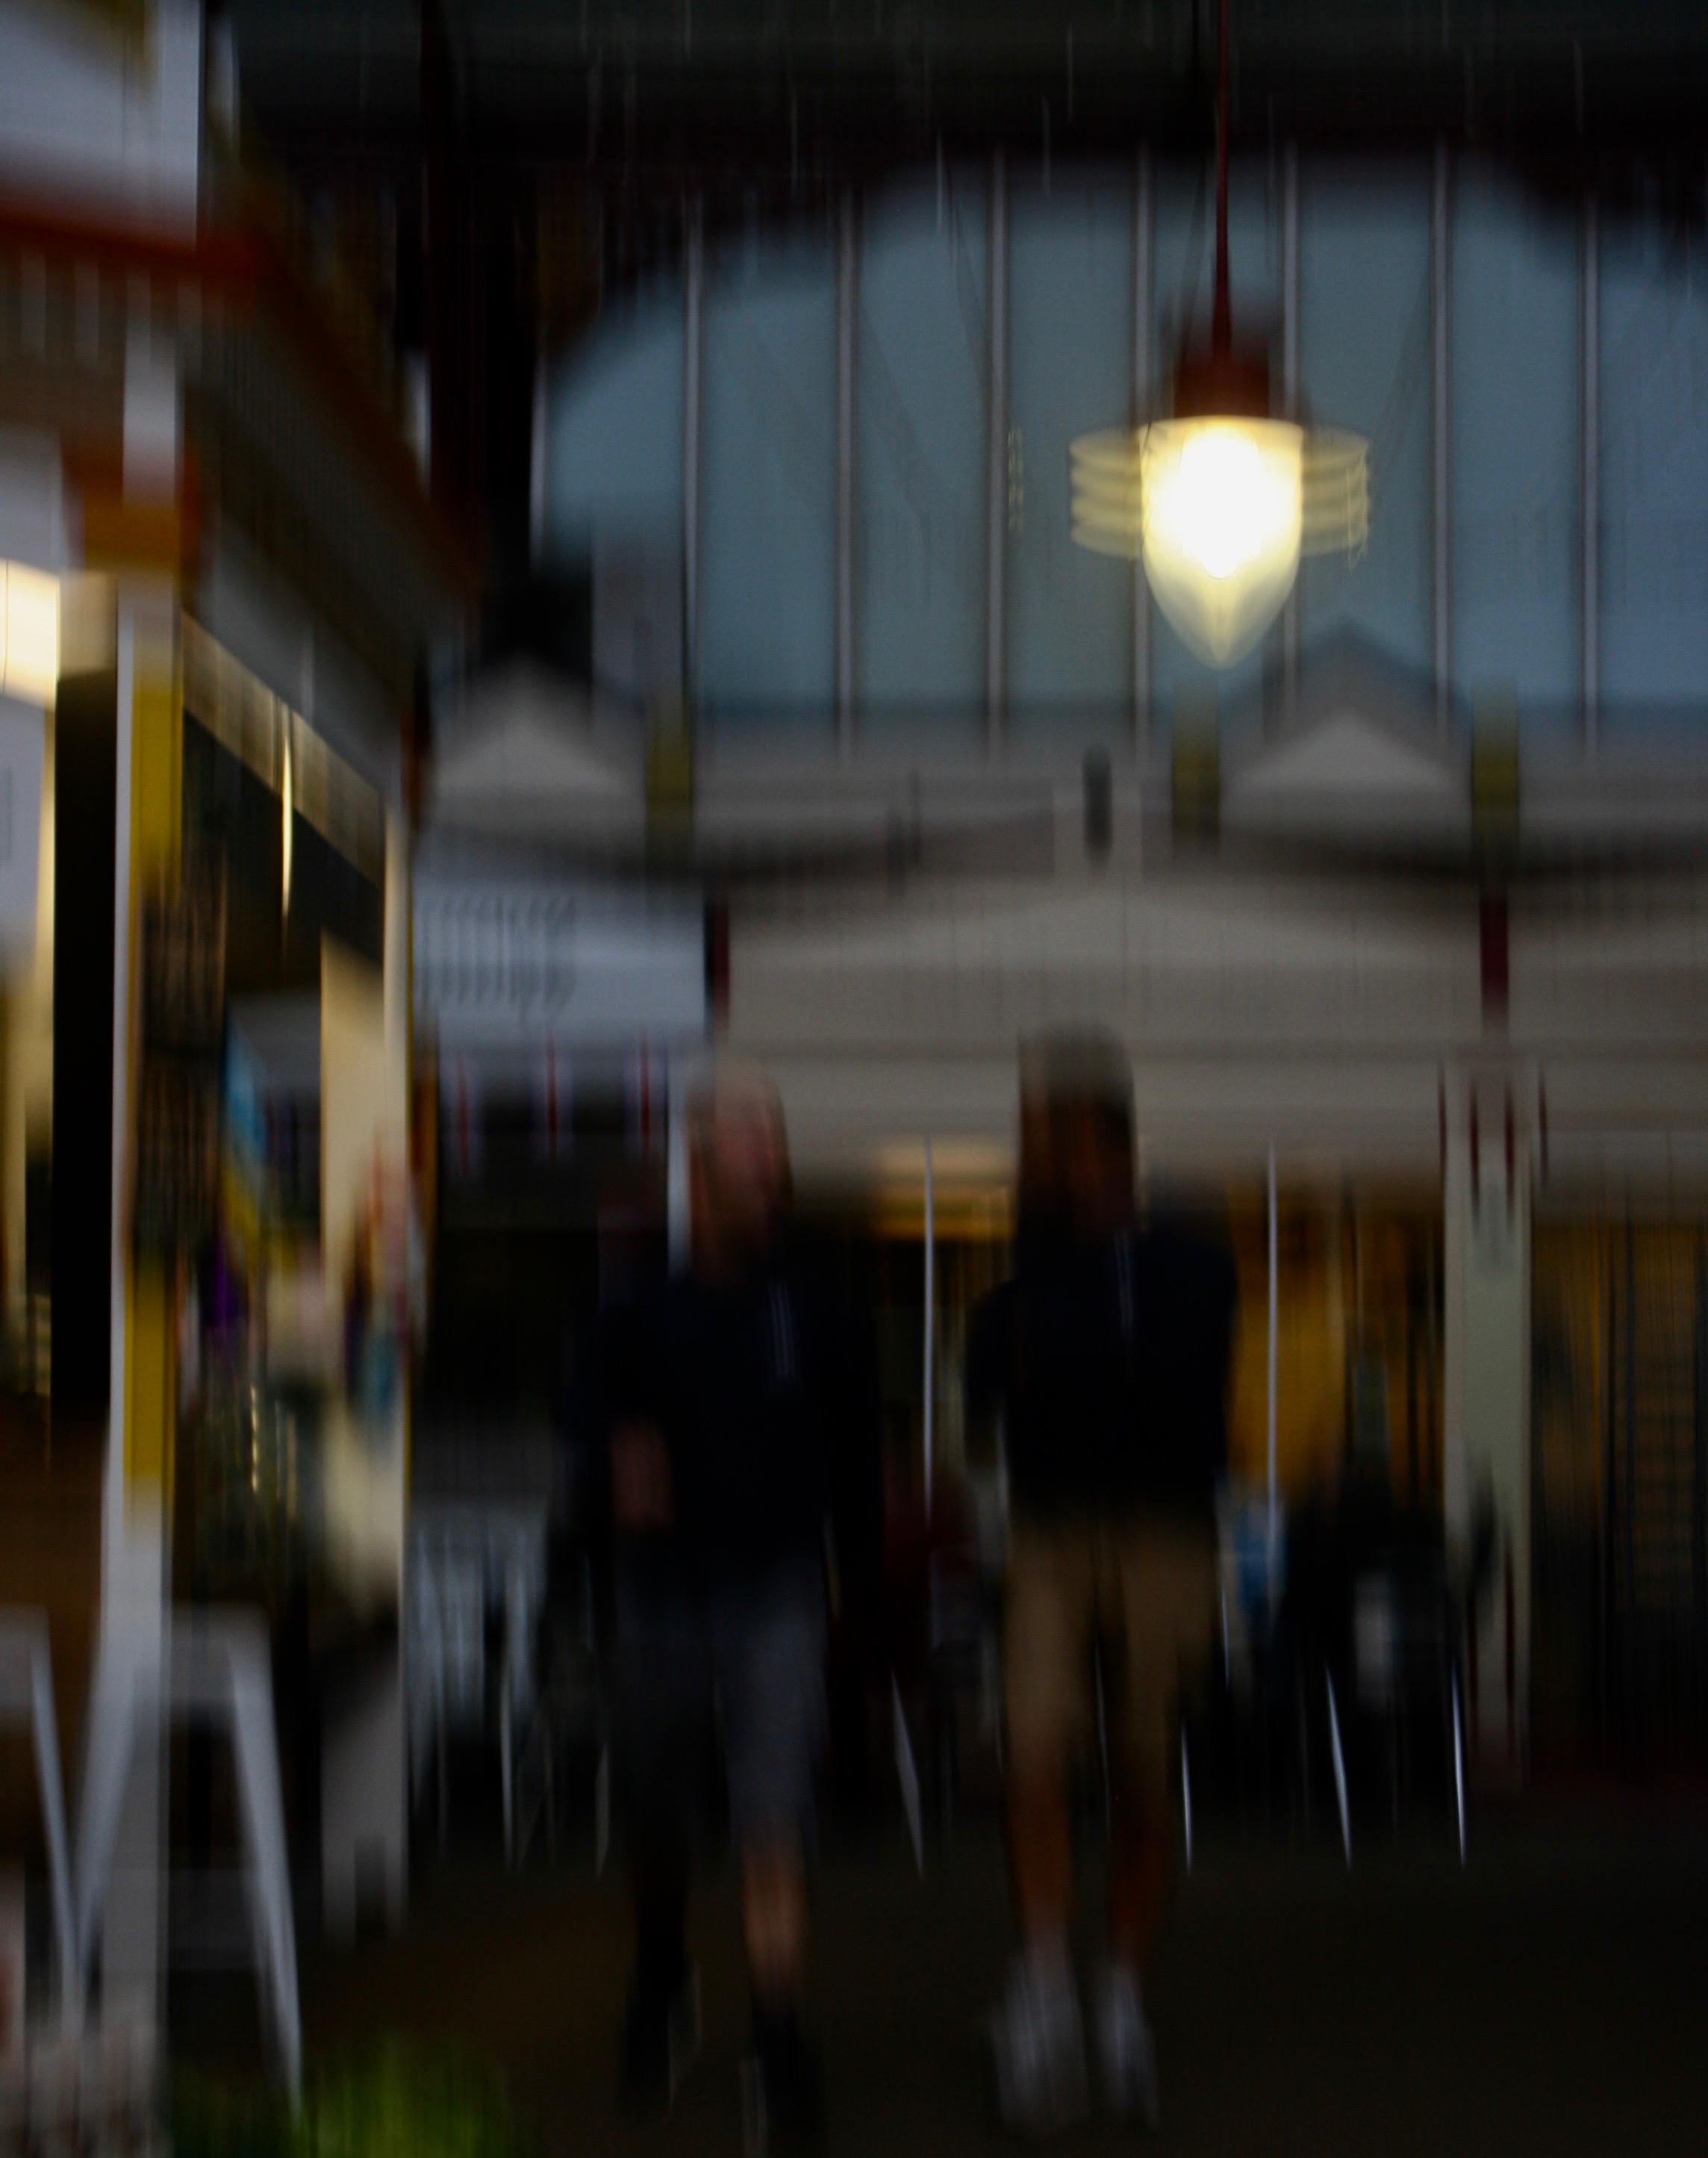
Although this picture was blurred, unfocused and lacked sharpness, i still liked it. I cropped it to get rid of the negative space on the floor and provide more focus towards the light and men. I liked how the blurriness of the photo represents the constant movement in the street and how everything moves like clockwork in town on the week days with everyone as work.
Final Outcome

Studio lighting techniques

There are many possible techniques that can be used in a studio setup, these can be used to achieve various effects, such as minimising shadows, exaggerating shapes or highlighting certain areas of the frame.

One-point lighting:

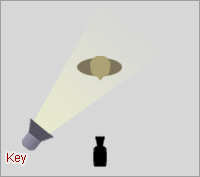
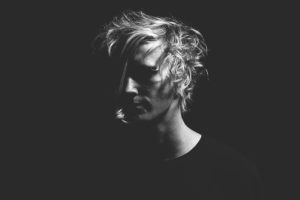
We are used to seeing this type of lighting every day in nature, in the form of sunshine. A single source of light creates a very natural, sometimes dramatic look that will draw people’s attention to the single lighted person or surface. And if it’s good enough for nature, there will be times is will easily bee good enough for taking photos. As anyone can see with a walk around the park, a single source looks two dimensional or flat, and rarely hits people straight on, so it creates shadows.

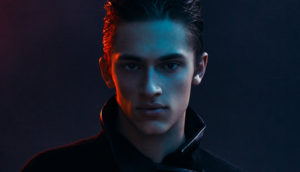
This is an example of an image taken using one-point lighting.

Two-point lighting:

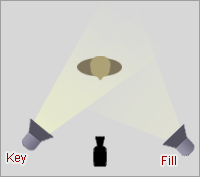
This lighting method is used when you want the subtleness of a single light source but you want the person/object to stand out, and appear more 3D. Its a great way to add depth to photos without going overboard. There is still quite a potential for shadowing if a person turns their head either direction, but where a little shadowing is okay, this can be an effective way to bring focus.

This is an example of an image taken using two-point lighting.

Three-point lighting:

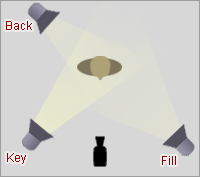
Not everyone is happy with the shadows that two-point lighting can produce, so the obvious solution is to have two lighting points at the front with a back light to try get rid of the shadow.

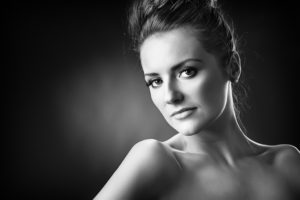
This is an example of an image taken using three-point lighting.

Environmental portrait – Explained

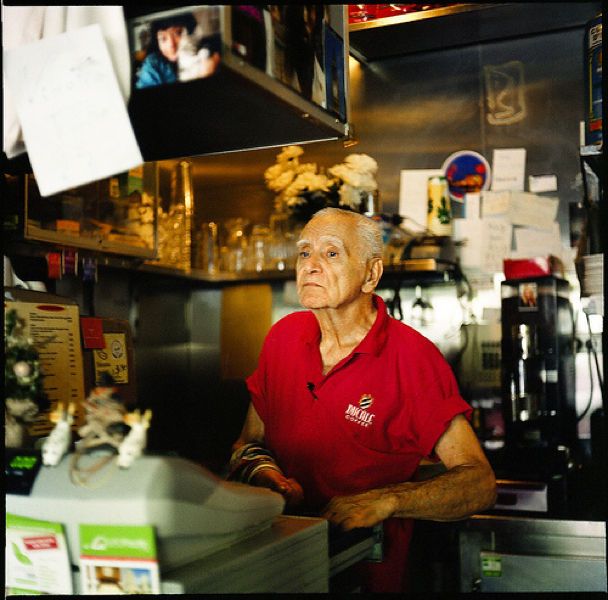
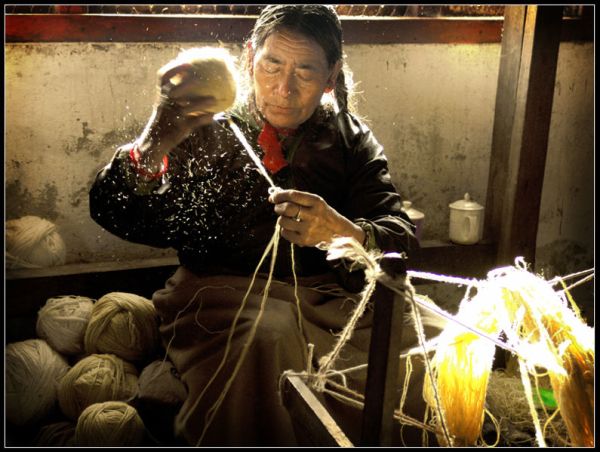
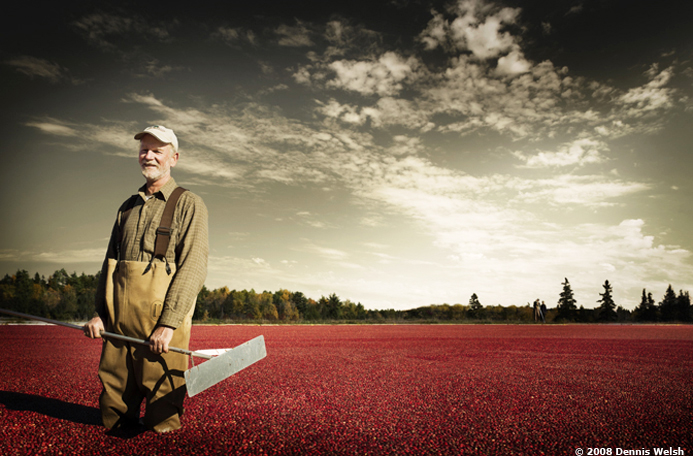
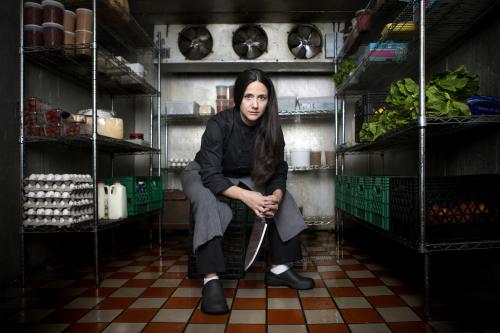
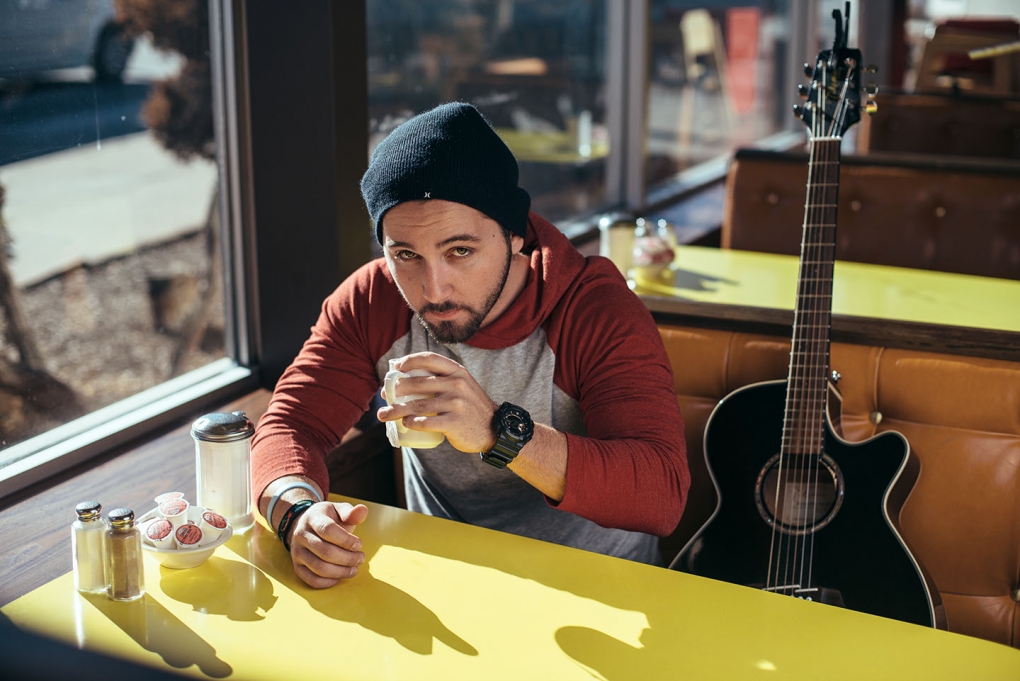
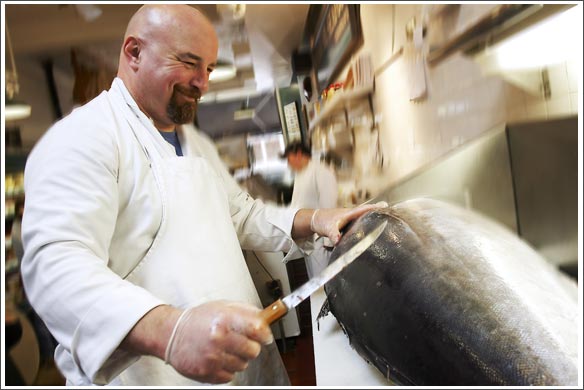
An environmental portrait is a portrait executed in the subject’s usual environment, such as in their home or workplace, and typically illuminates the subject’s life and surroundings. The term is most frequently used of a genre of photography.

By photographing a person in their natural surroundings, it is thought that you will be able to better illuminate their character, and therefore portray the essence of their personality, rather than merely a likeness of their physical features. It is also thought that by photographing a person in their natural surroundings, the subject will be more at ease, and so be more conducive to expressing themselves, as opposed to in a studio, which can be a rather intimidating and artificial experience.

The surroundings or background is a key element in environmental portraiture, and is used to convey further information about the person being photographed.                                                                            Where it is common in studio portraiture and even in location candid photography to shoot using a shallow depth of field, thereby throwing the background out of focus, the background in environmental portraiture is an integral part of the image. Indeed, small apertures and great depth of field are commonly used in this type of photography.

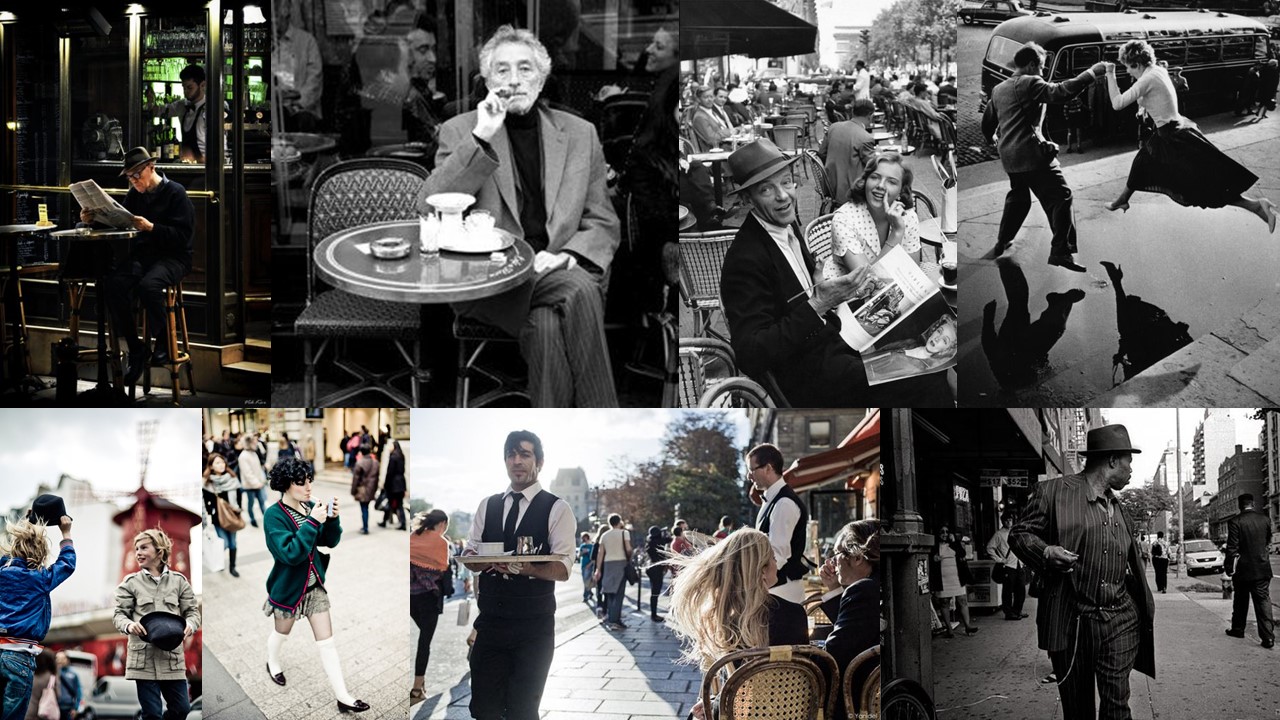
Here are some examples of environmental portraits.


Street photography introduction

Street photography is when you capture interesting photographs of regular, everyday people outside in public. Street photography is very interesting because you are ale to capture so many different types of people, that all look unique in their own way.

To be a successful street photographer I think that you have to have an eye for detail but also an interest in different types of people, in order to notice them and be able to photograph them. I also think that it takes a lot of confidence. After experimenting with street photography myself, I realized that it is not as easy as it seems, and that’s its actually a lot harder than I though to be able to take successful images, as standing in the street taking images of people passing by requires you to be a lot bolder than you think.

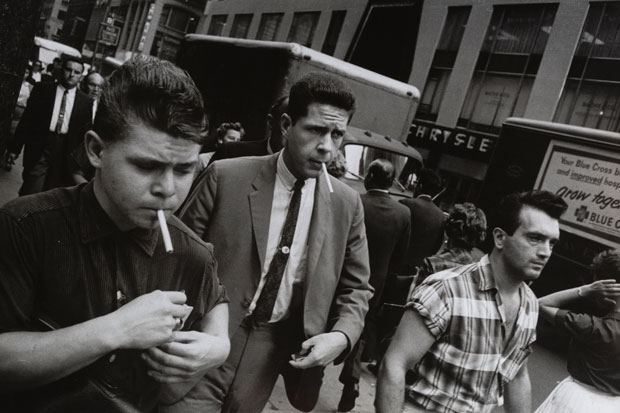
There are many different approaches that you can take to street photography. Some photographers prefer to take more candid images where the people they’re photographing don’t really notice they’re there, while other photographers like Dougie Wallace and Bruce Gilden prefer to surprisingly picture people very up close with bright flashes. Each of these 2 approaches give you different outcomes:


Garry Winogrand, New York, ca. 1960.

As you can see, this outcome shows that if you take a more subtle approach to capturing people. you get a more candid outcome which makes the image look a lot more natural and realistic.

Image by Dougie Wallace, “Harrodsburg”

On the other hand, Wallace’s more loud, and surprising approach to photographing people means that in his images all the subjects react with the camera, as you can see in his image above where all the women he pictured are looking at the camera.

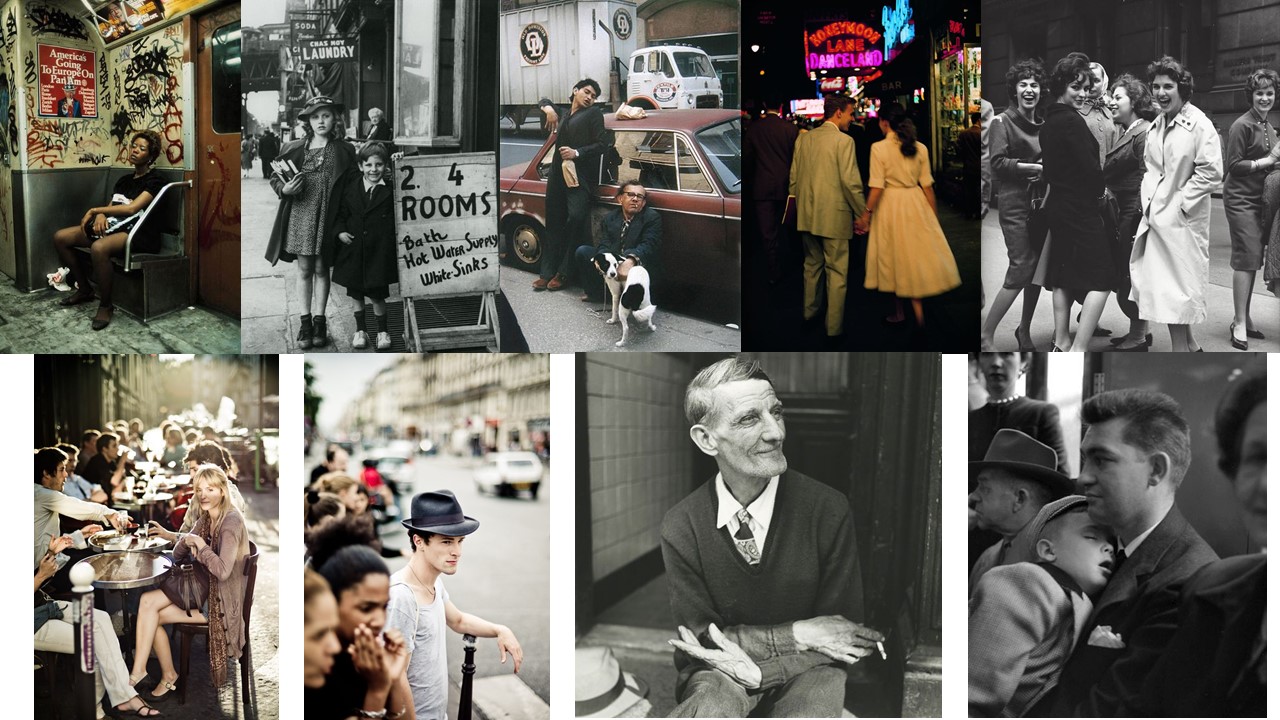
Street photography mood board

Video

https://www.youtube.com/watch?v=gGX_hb8NfVY


WEEK 3- FLASH PHOTOGRAPHY

Flash Photography

Flash is a very good technique to use when taking portraits as it helps to add more light to the picture and it can be used in both light and dark locations.

Types of flash

Bounce flash– This is when you point the flash in a different direction, rather than directly at your subject, in order for the light to soften before it hits your subject.  It’s typically bounced at an angle, at something like a wall or a ceiling.

Fill-in flash– This is a technique that’s used to brighten up shadowed areas. This is usually used when the background is a lot brighter that the actual subject, and using this will make your subject appear well lit and not underexposed compared to the background.

Speed light flash -This is also known as a hot shoe flash. This is a flash that is inserted onto the top part of the camera and is triggered then the cameras shutter takes an image.

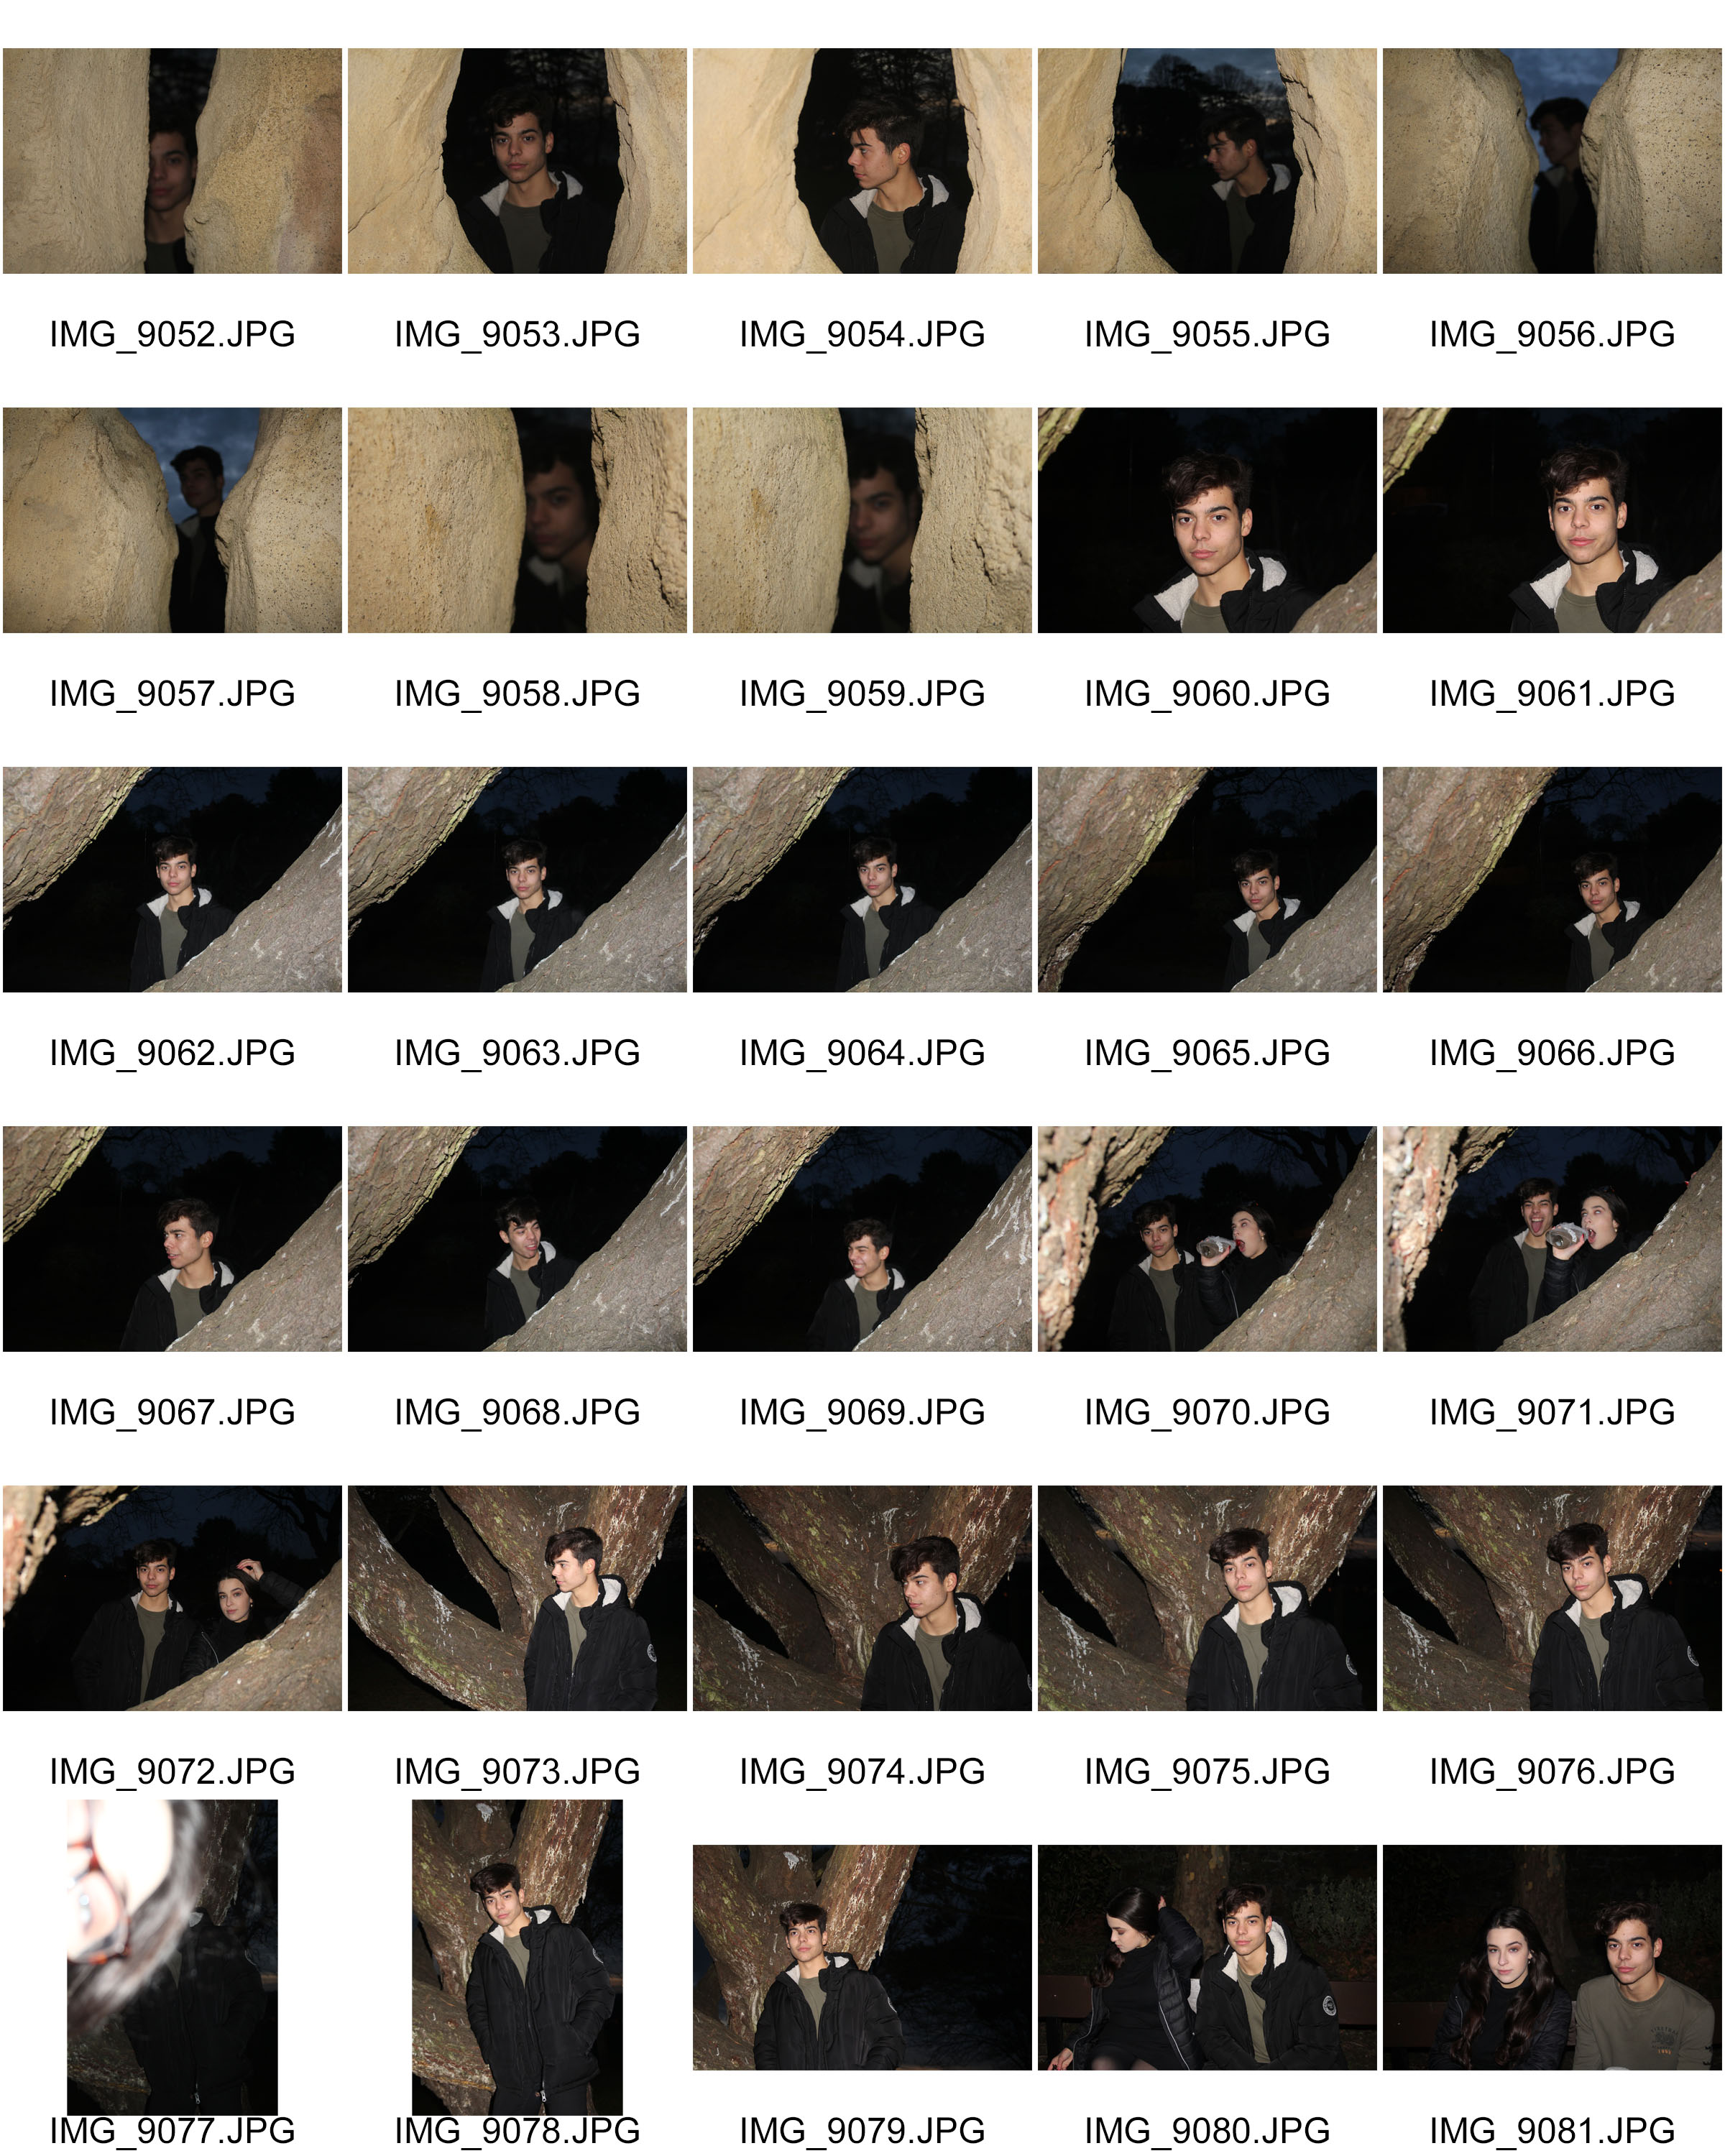
Contact sheets

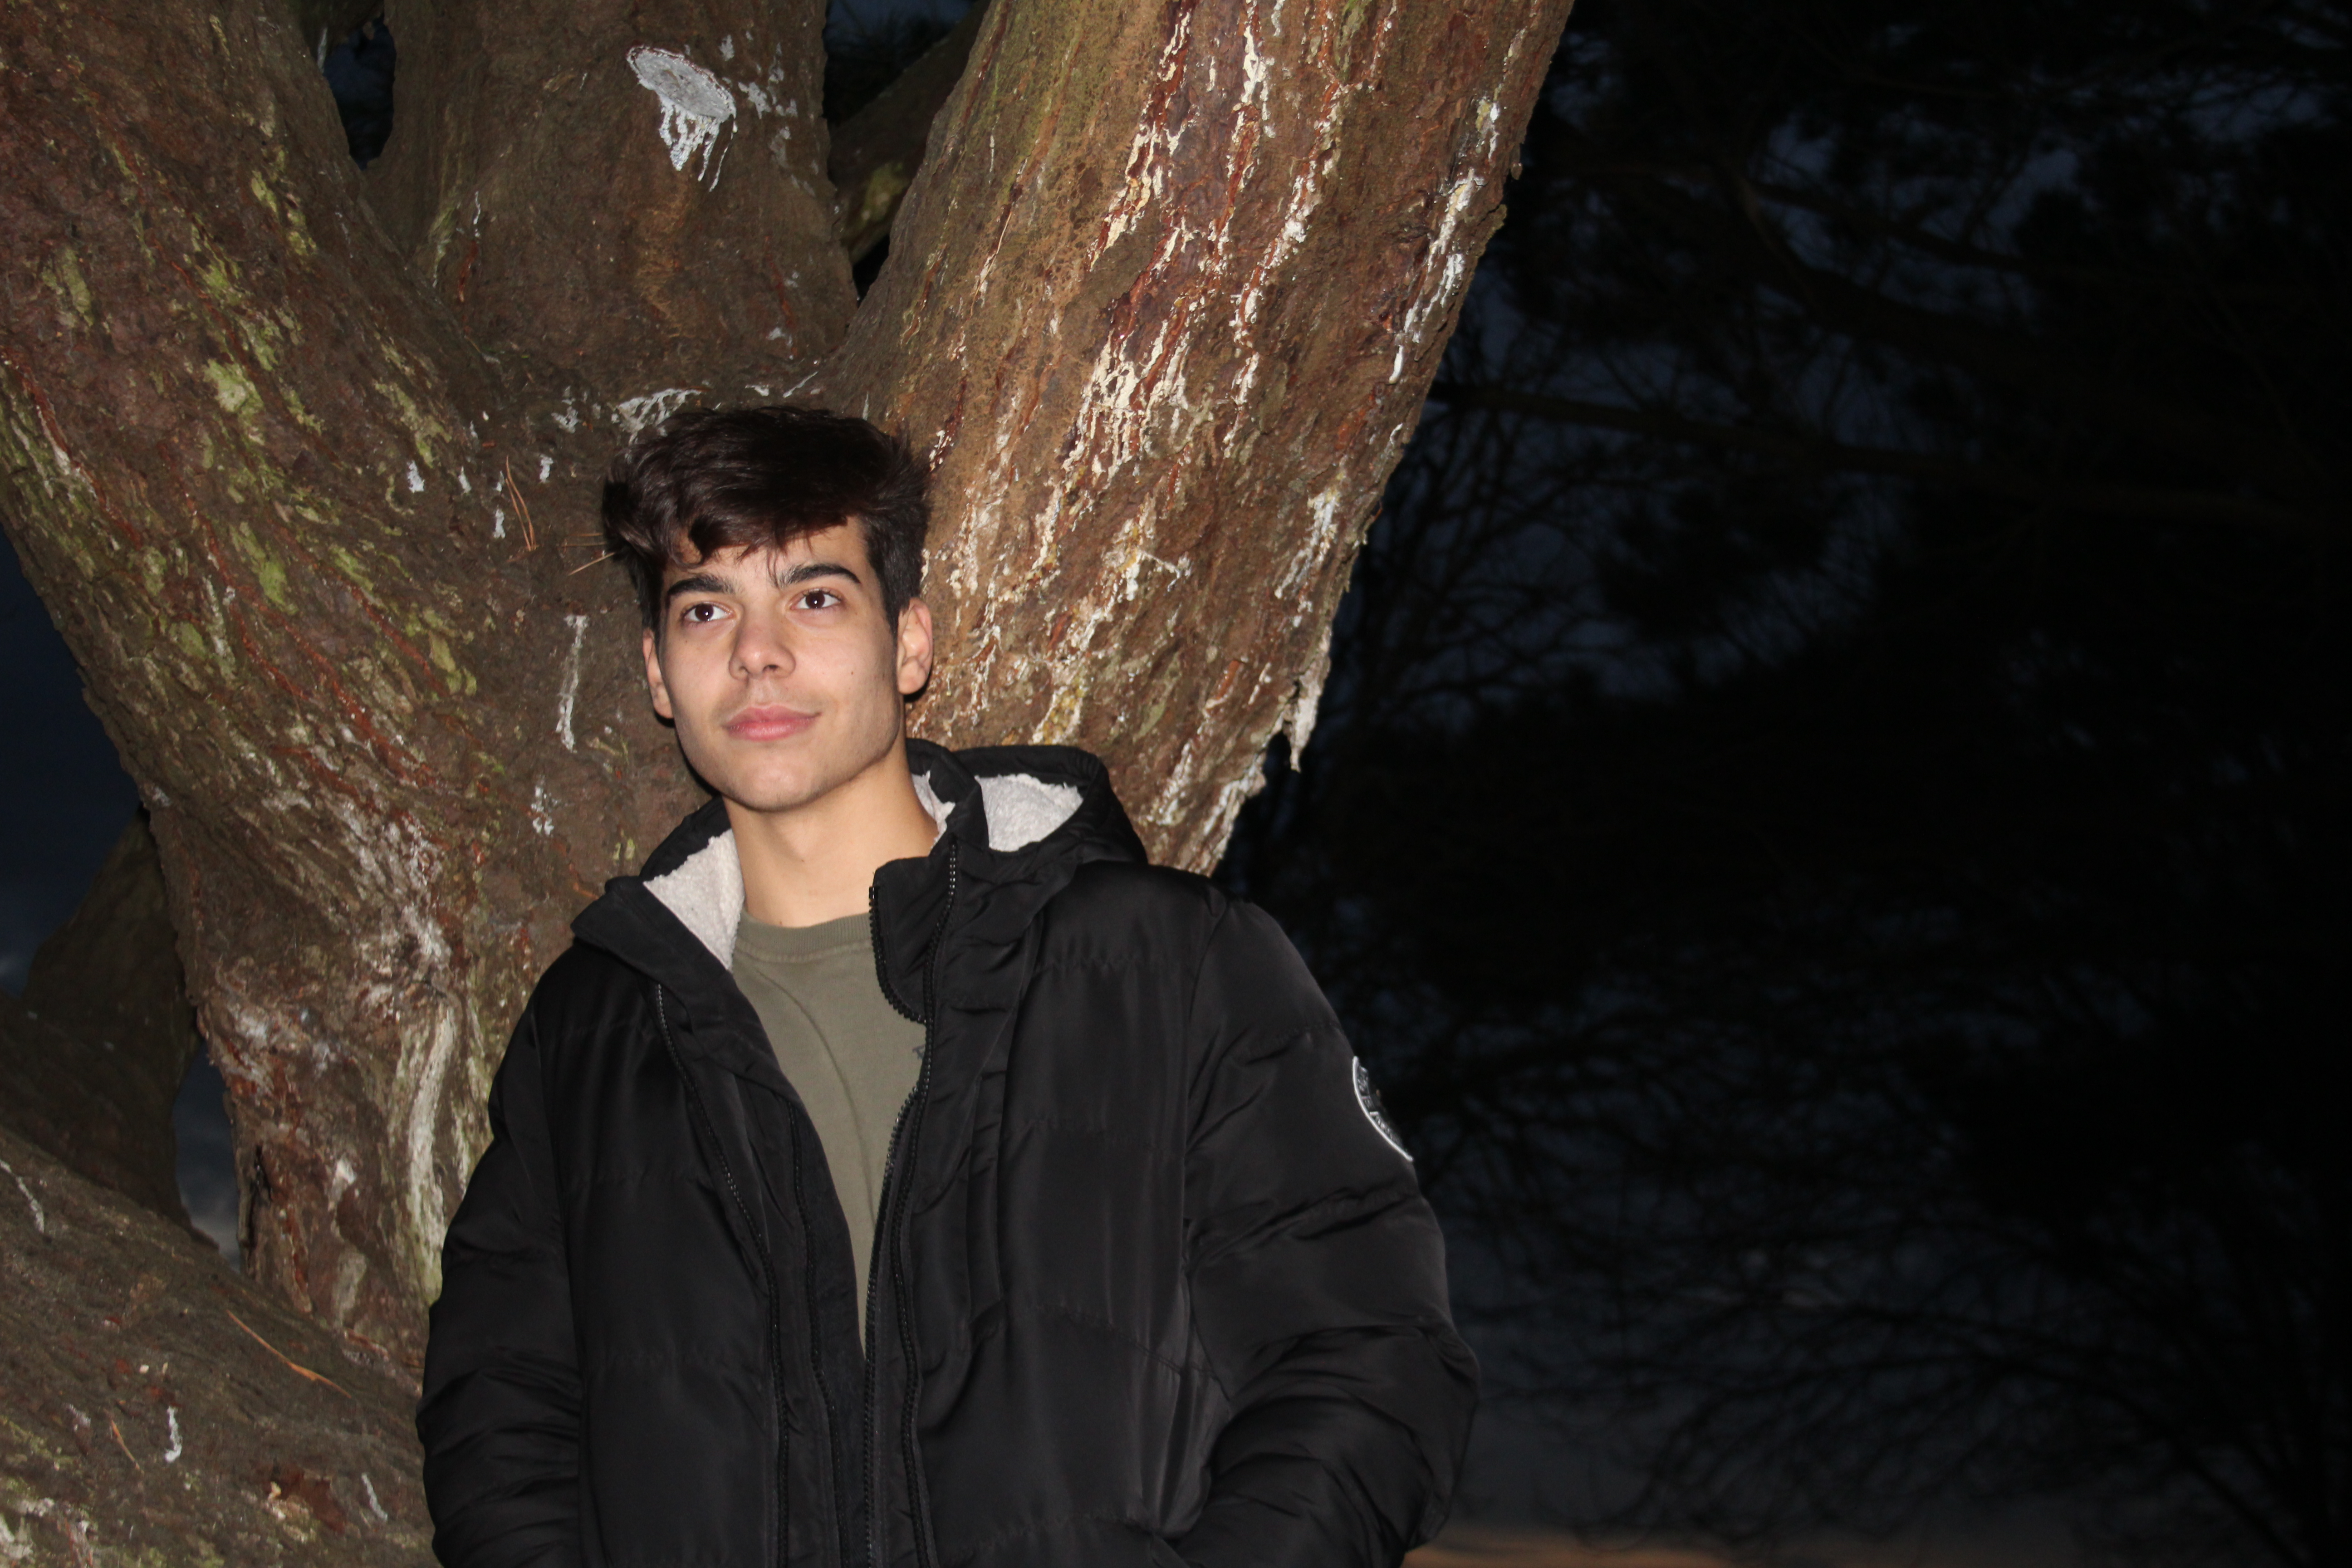
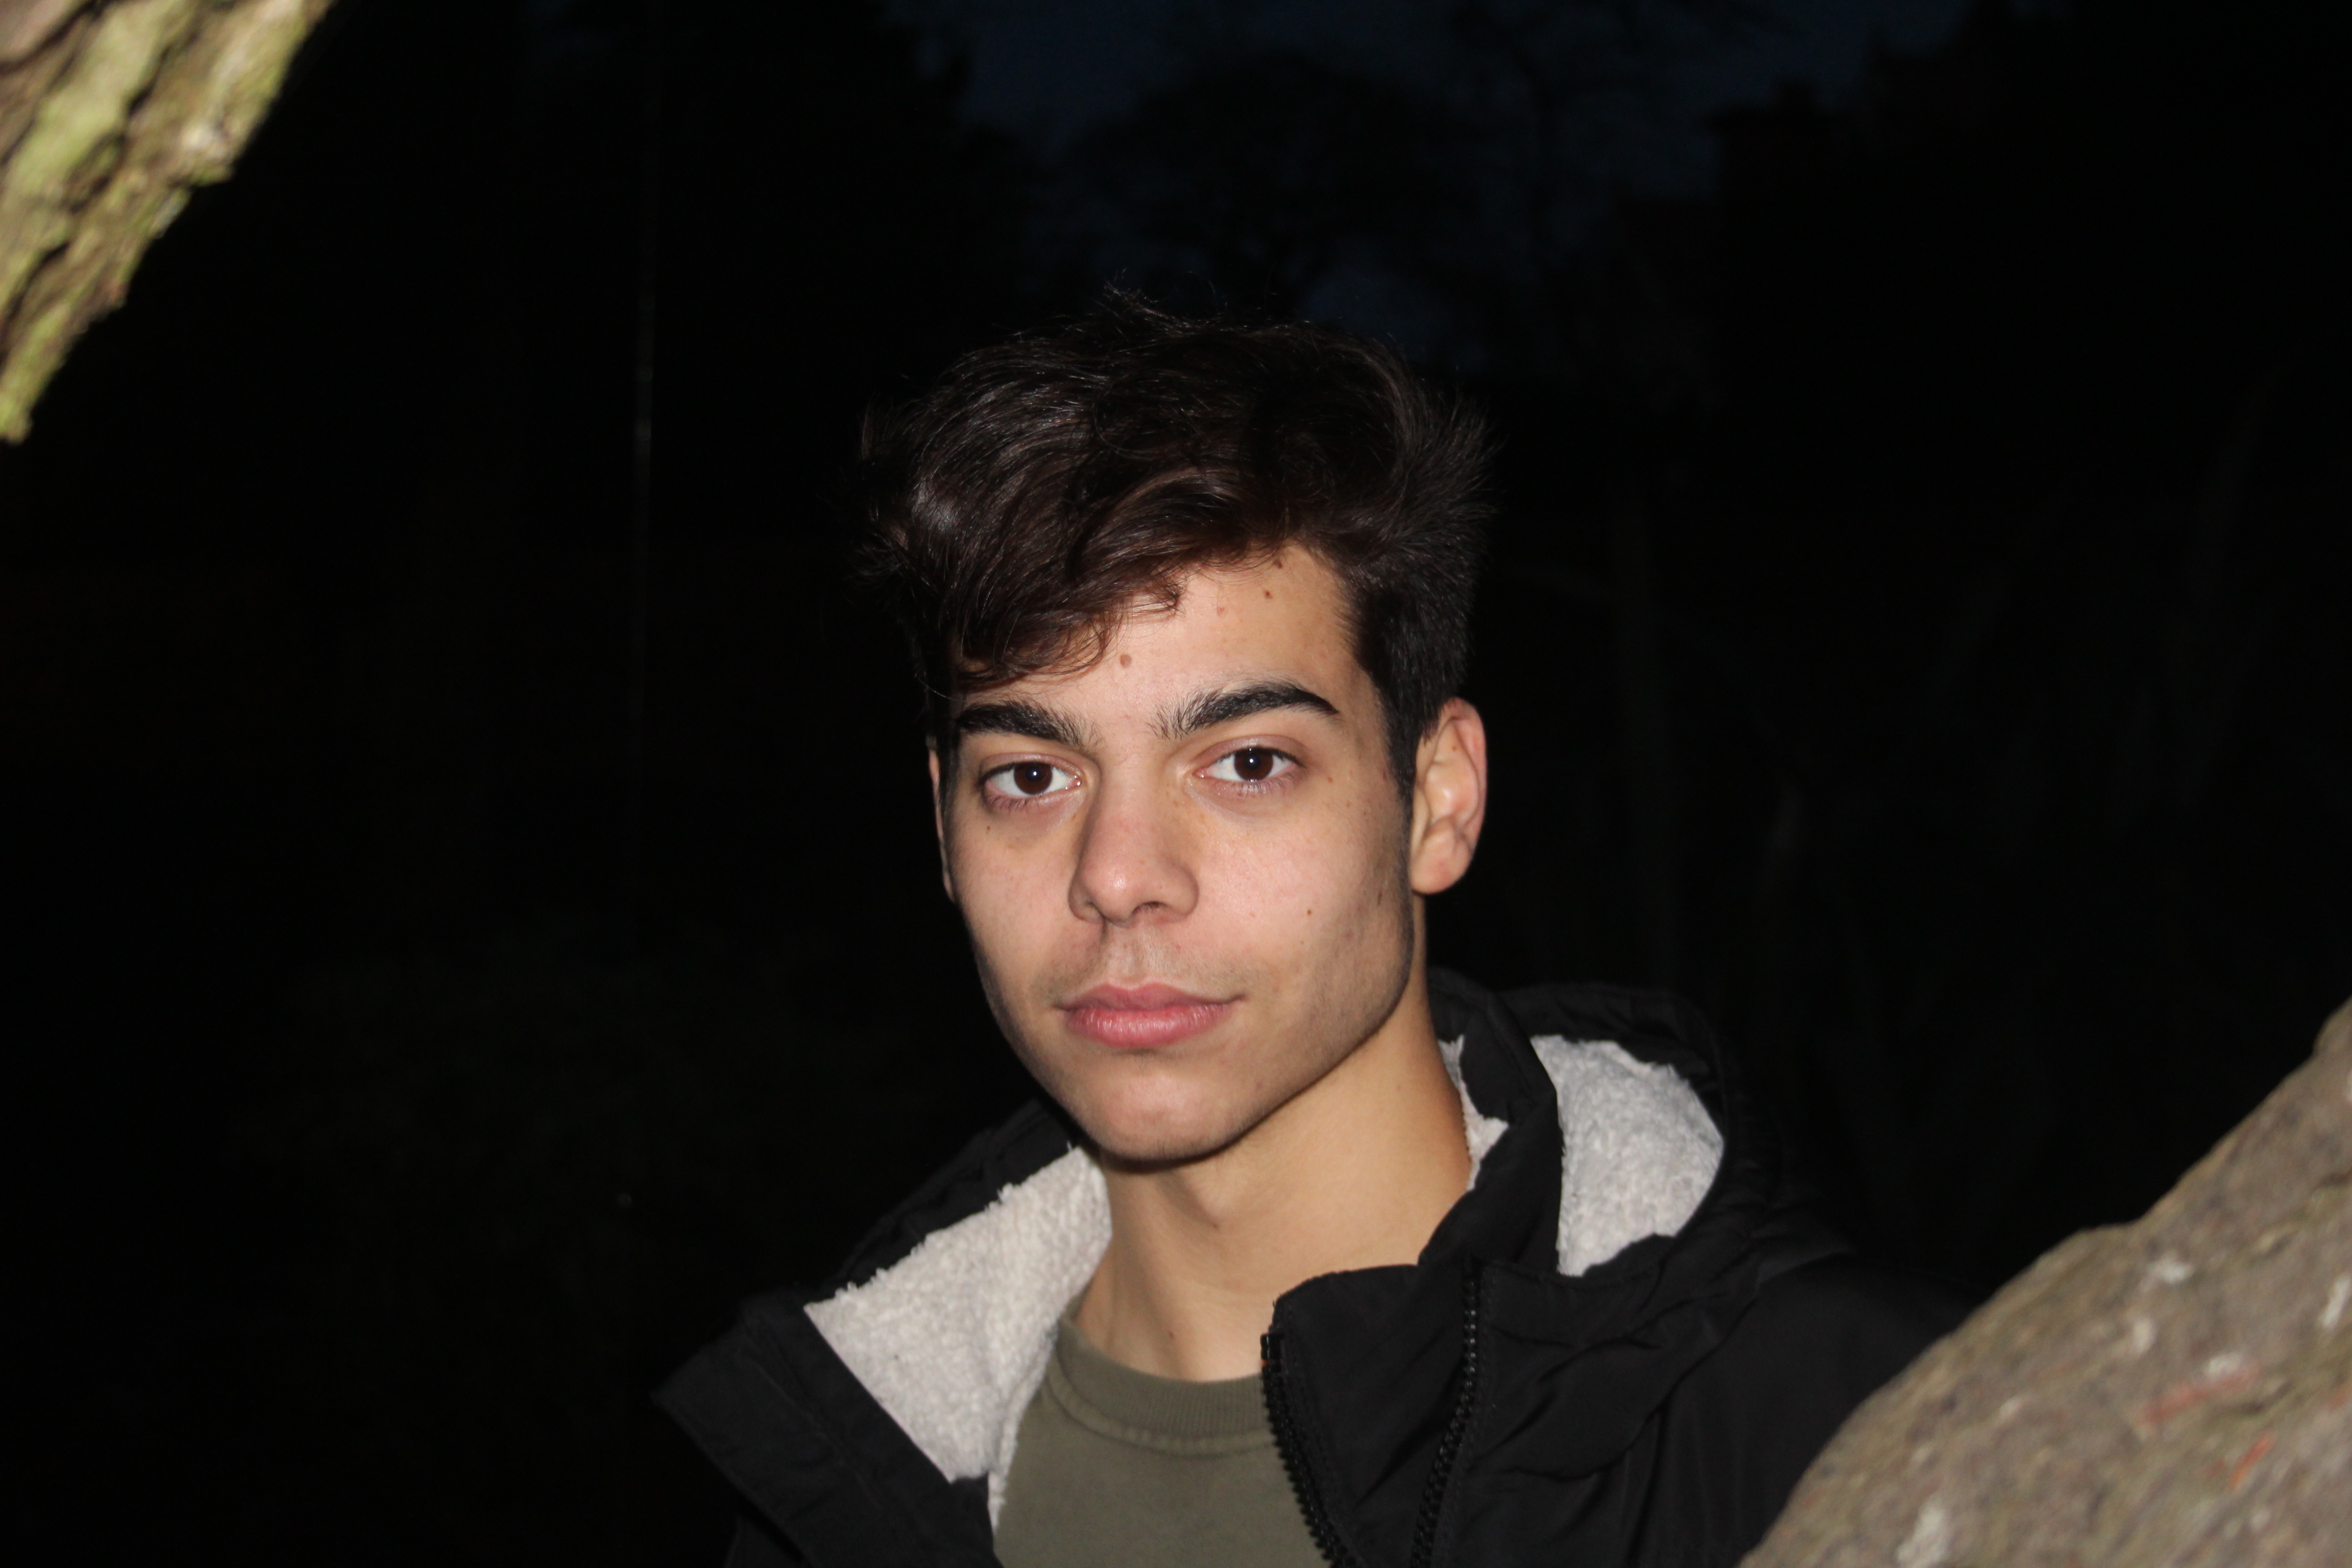
Best Outcomes

Technical analysis 

This image was taken on a Canon EOS 1300 D with a standard lens. The camera setting was on portrait mode with a white balance of ‘flash’. The shutter speed for this image was on 1/250.

Visual analysis 

We can see that this image has been taken at night due to the dark backgrounds. The flash has allowed for the models face to be lit up as well as the surrounding of the trees.


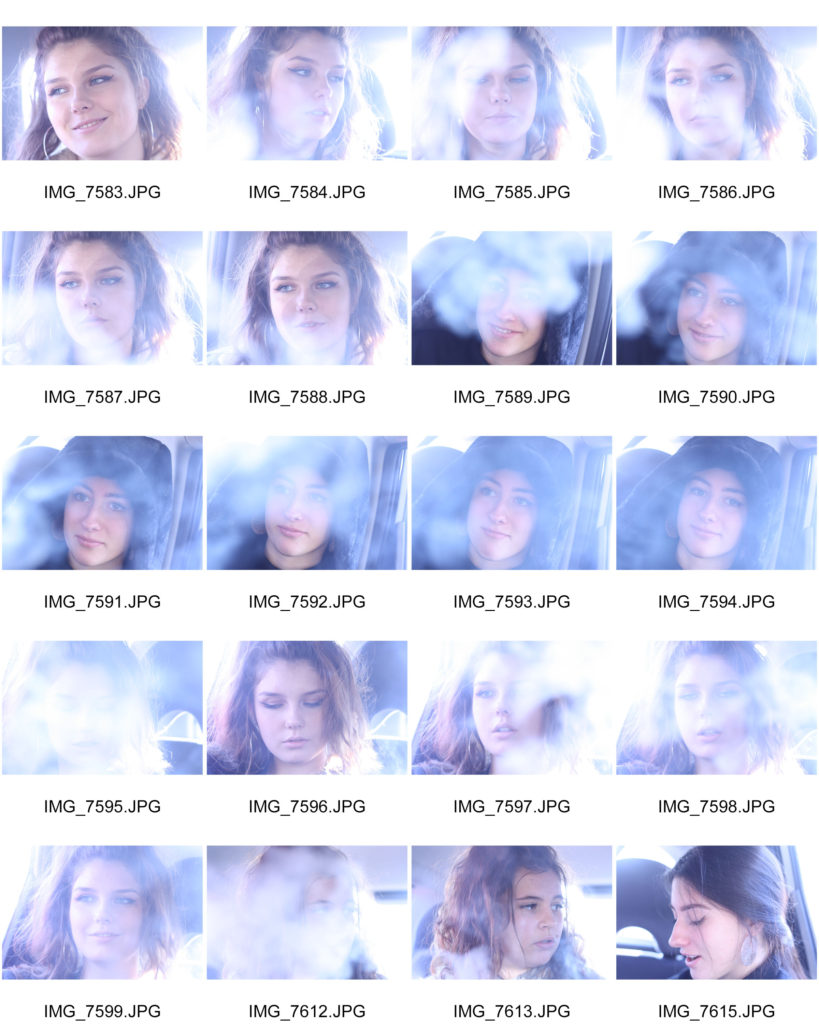
Experiment – High Key Lighting In Portraiture

High Key Lighting:

High key lighting is a method often used in beauty and makeup commercials and modeling. A high key look gives the subject fewer shadows and makes them look flawless and elegant. It produces an even amount of light that spreads across an entire scene. I

A high key lighting style often involves a soft key light directly above the camera — and not too close to the subject. Positioning the light directly in front of the talent creates less shadow, making the skin look softer and smoother. Usually, these lights will be large and bright. High key lighting can also produce a catch light in the subject’s eyes.

My Response:

Best Images:

Environmental Portraits – Blurred Identity

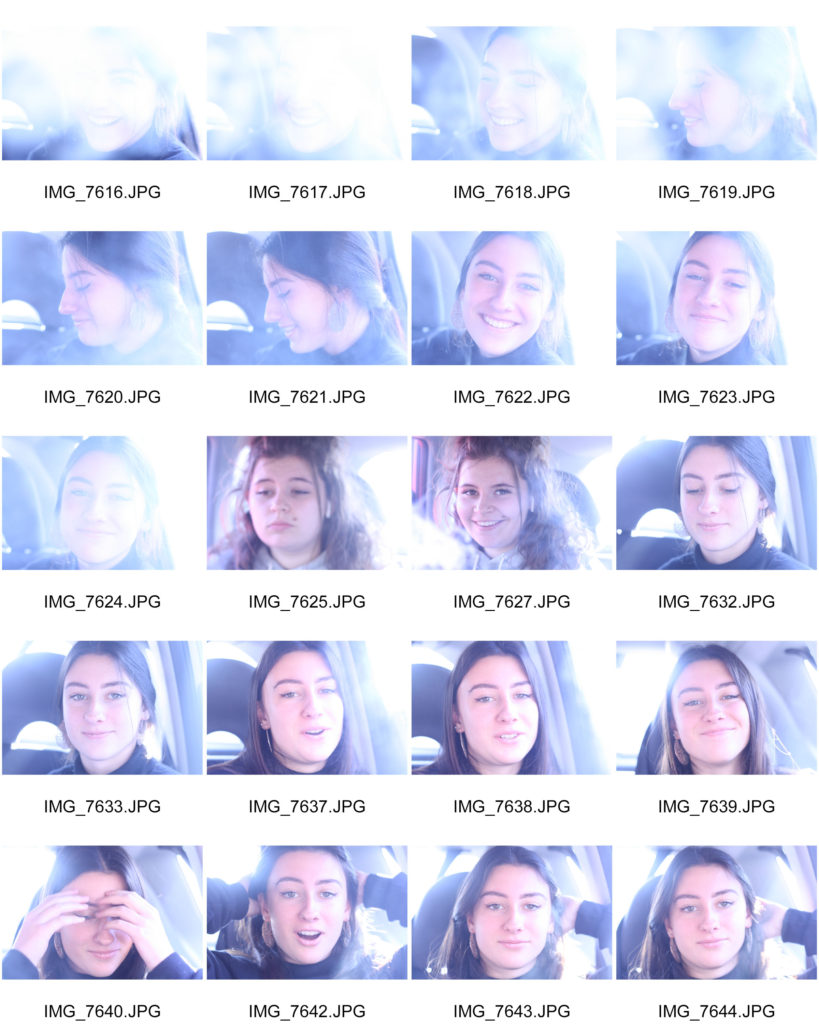
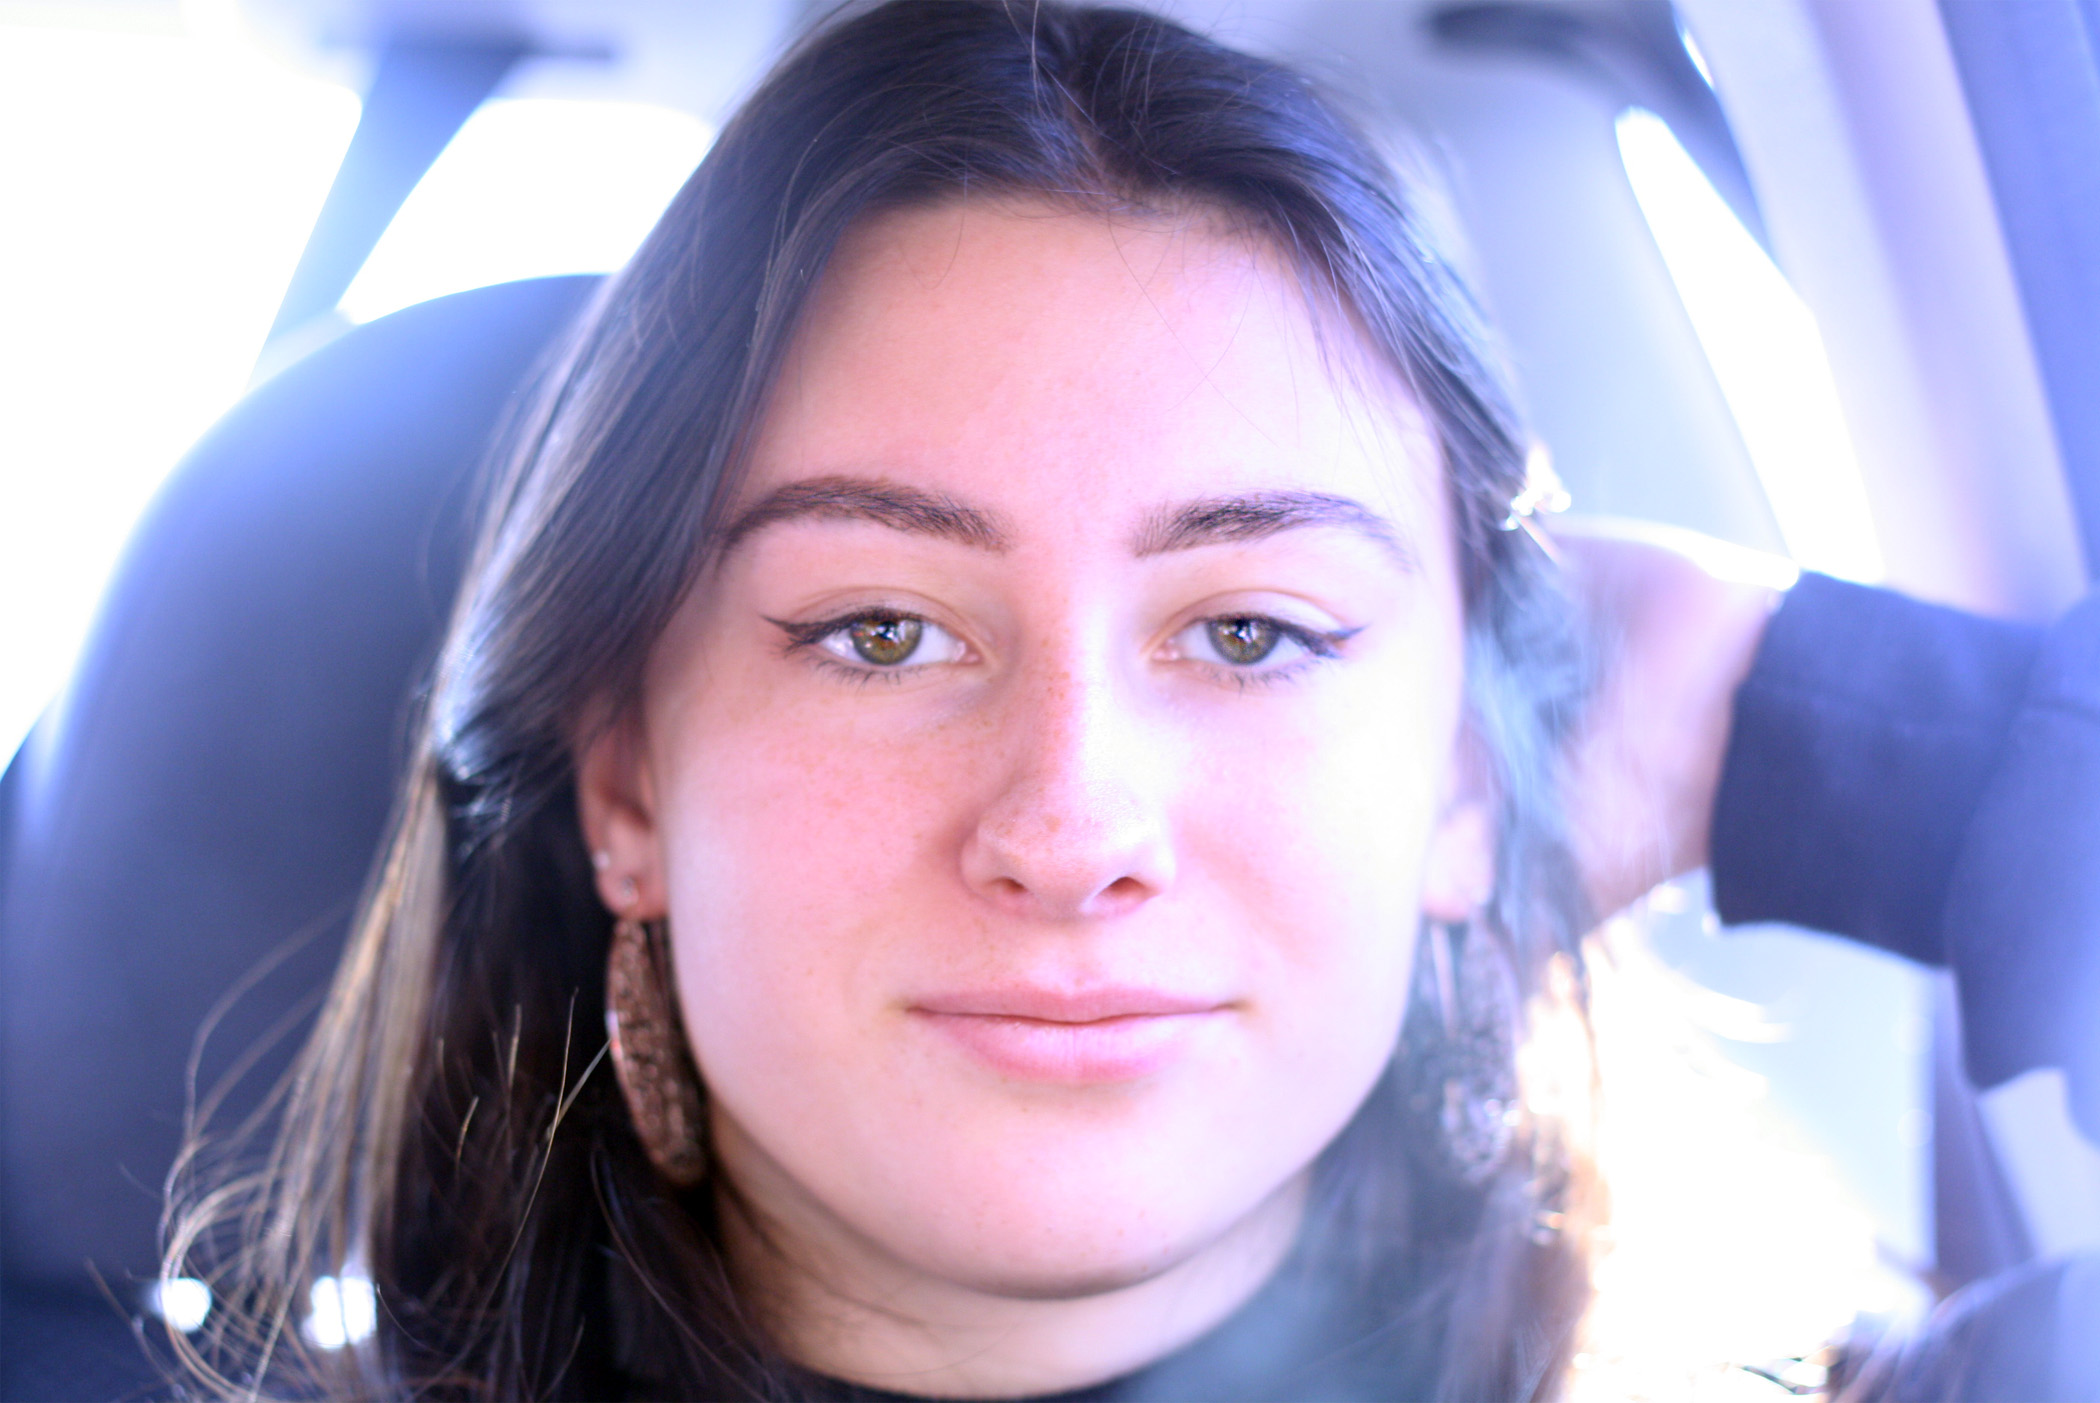
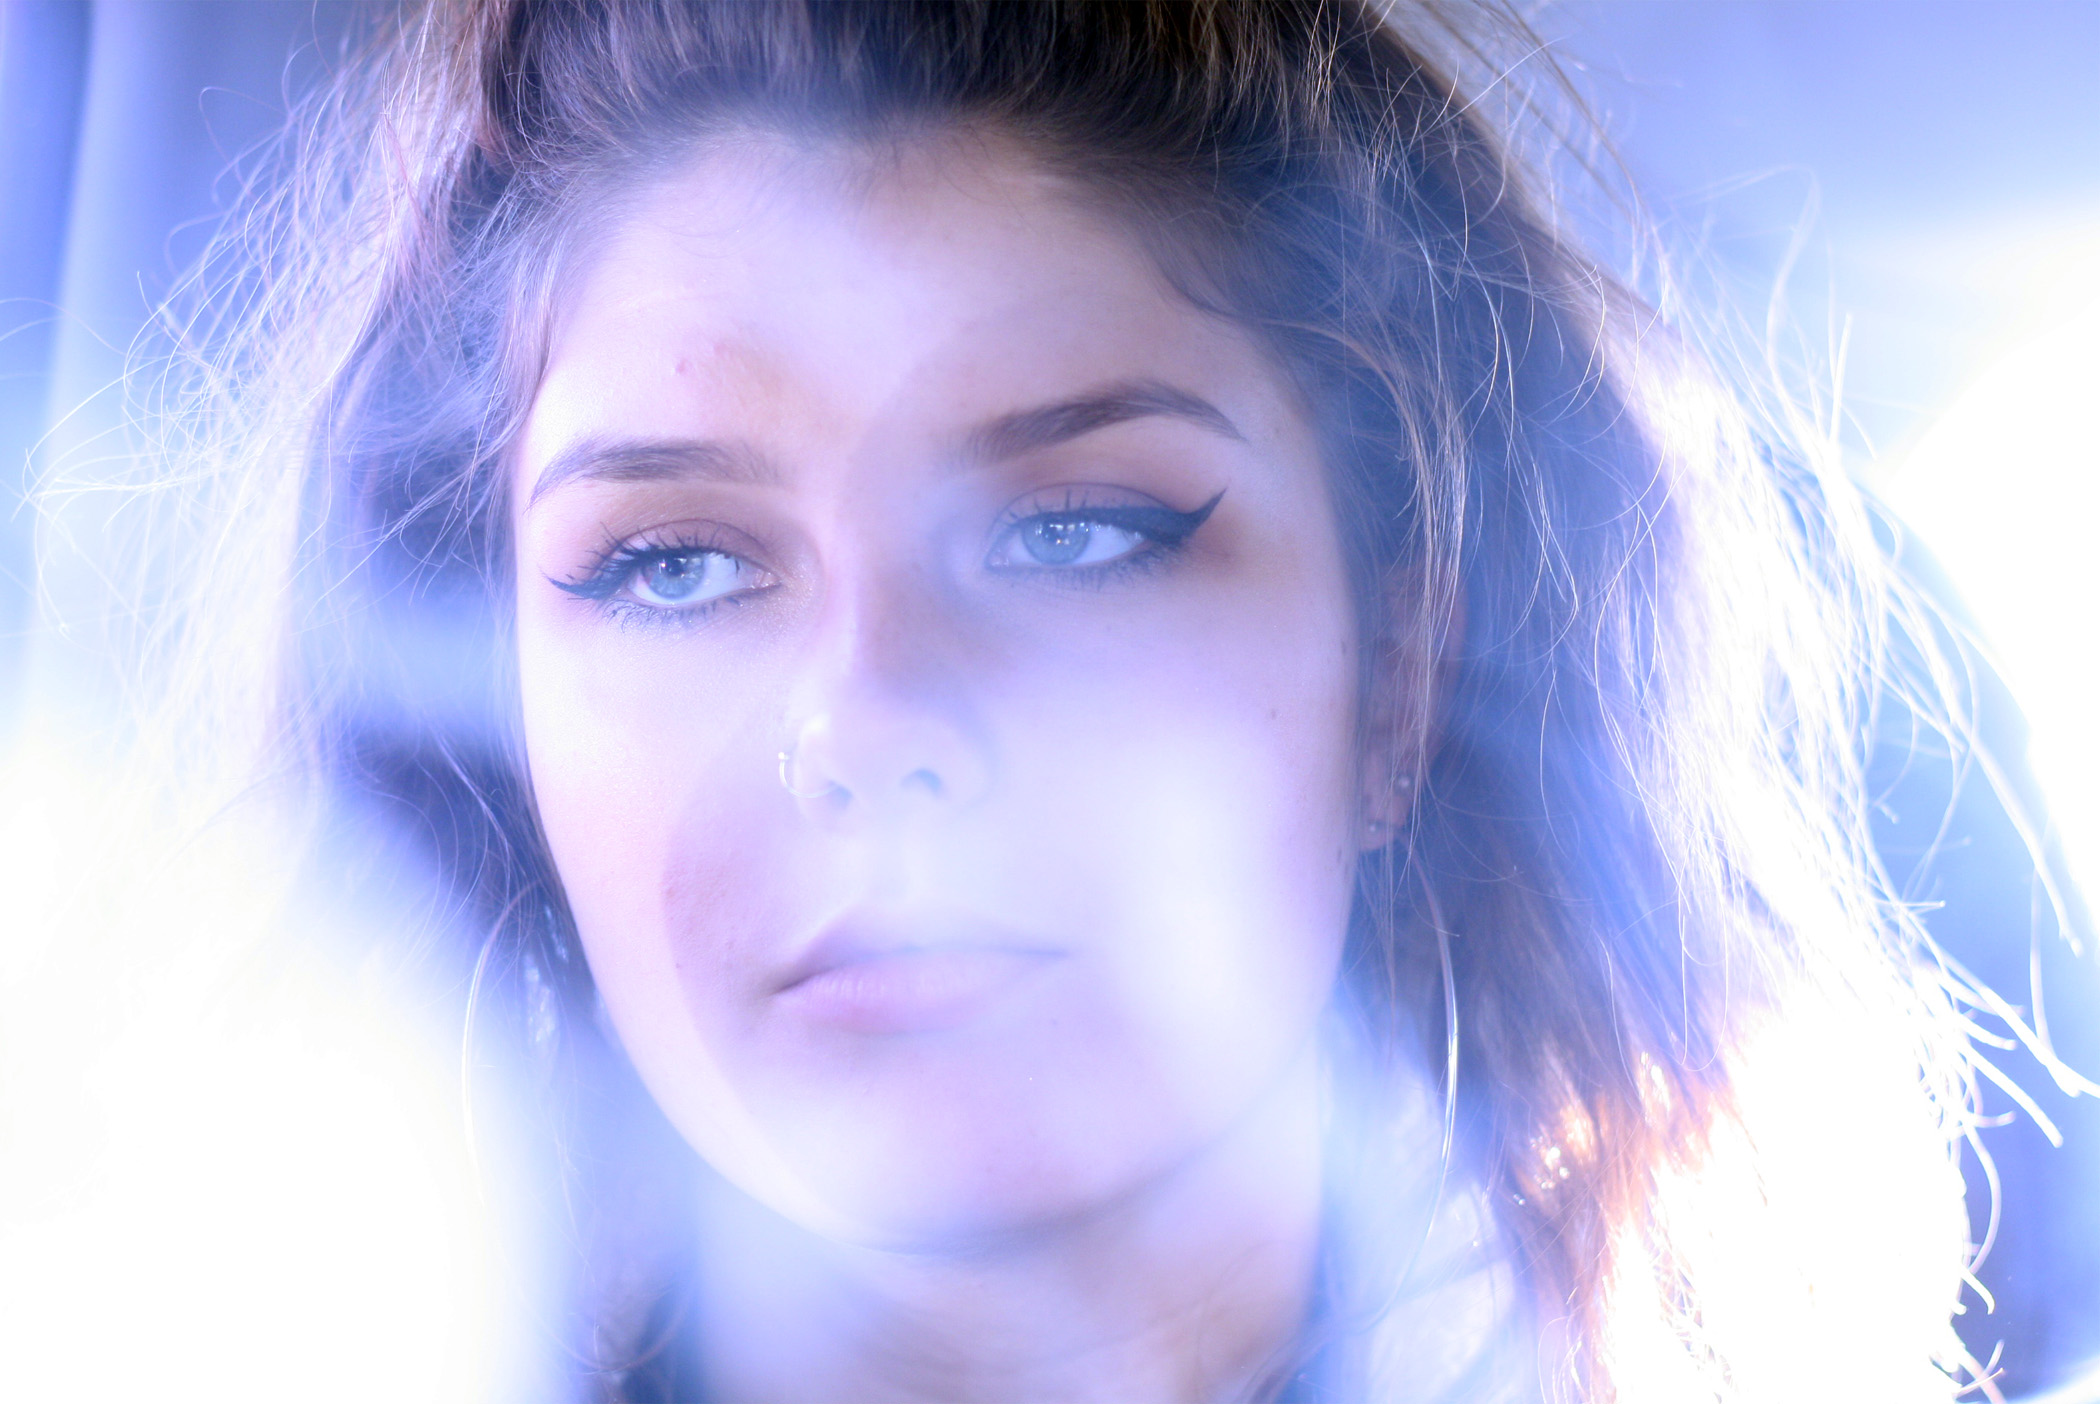
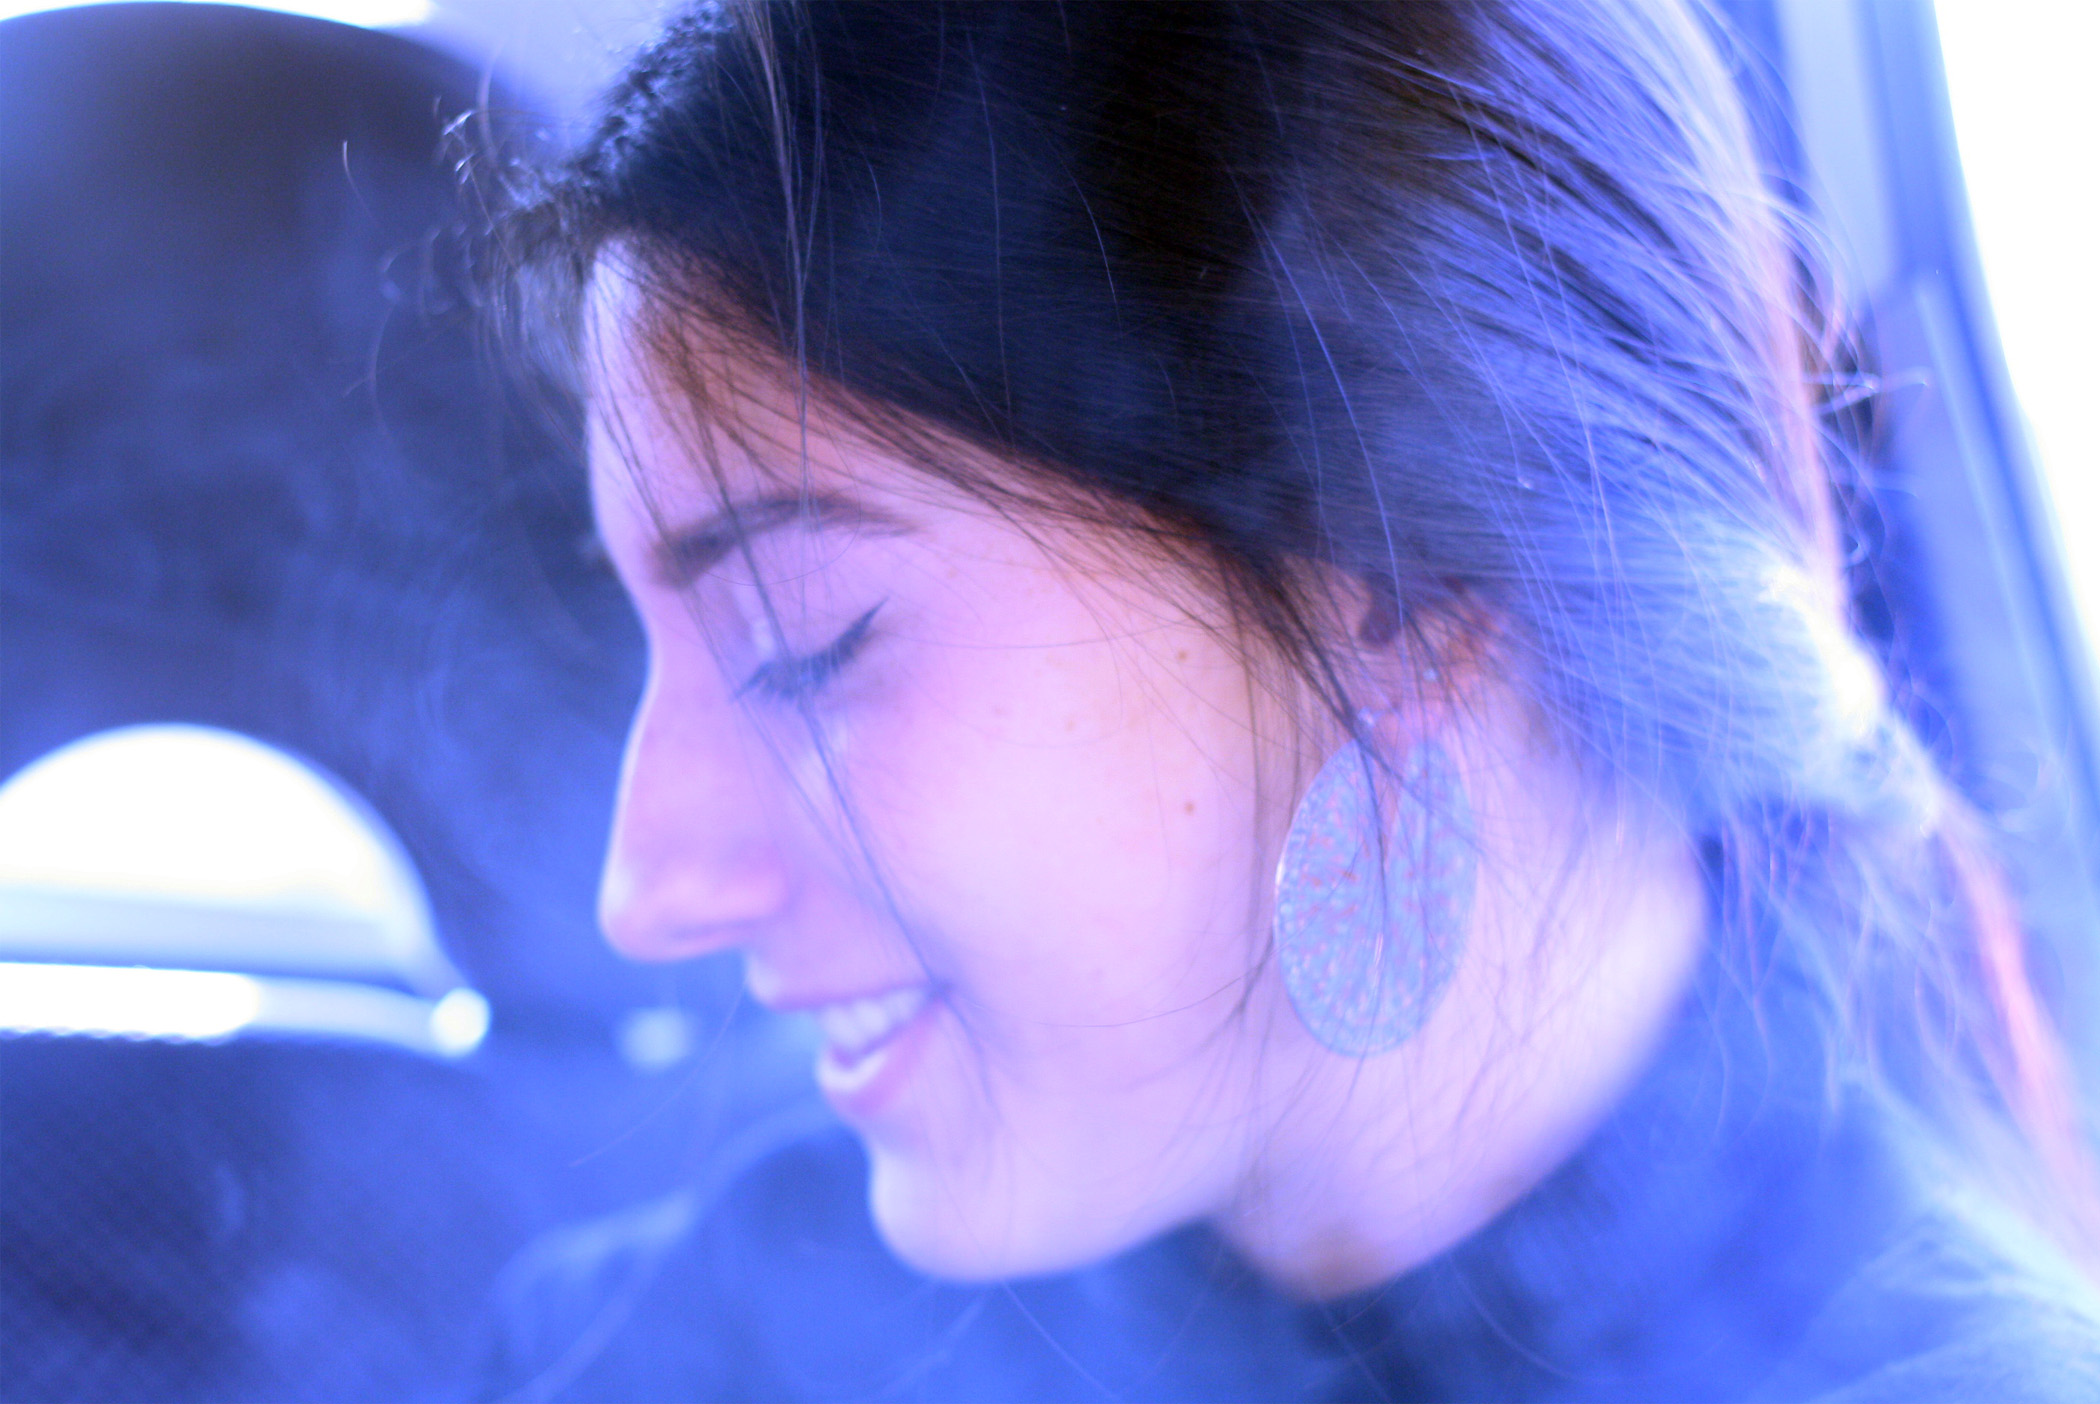
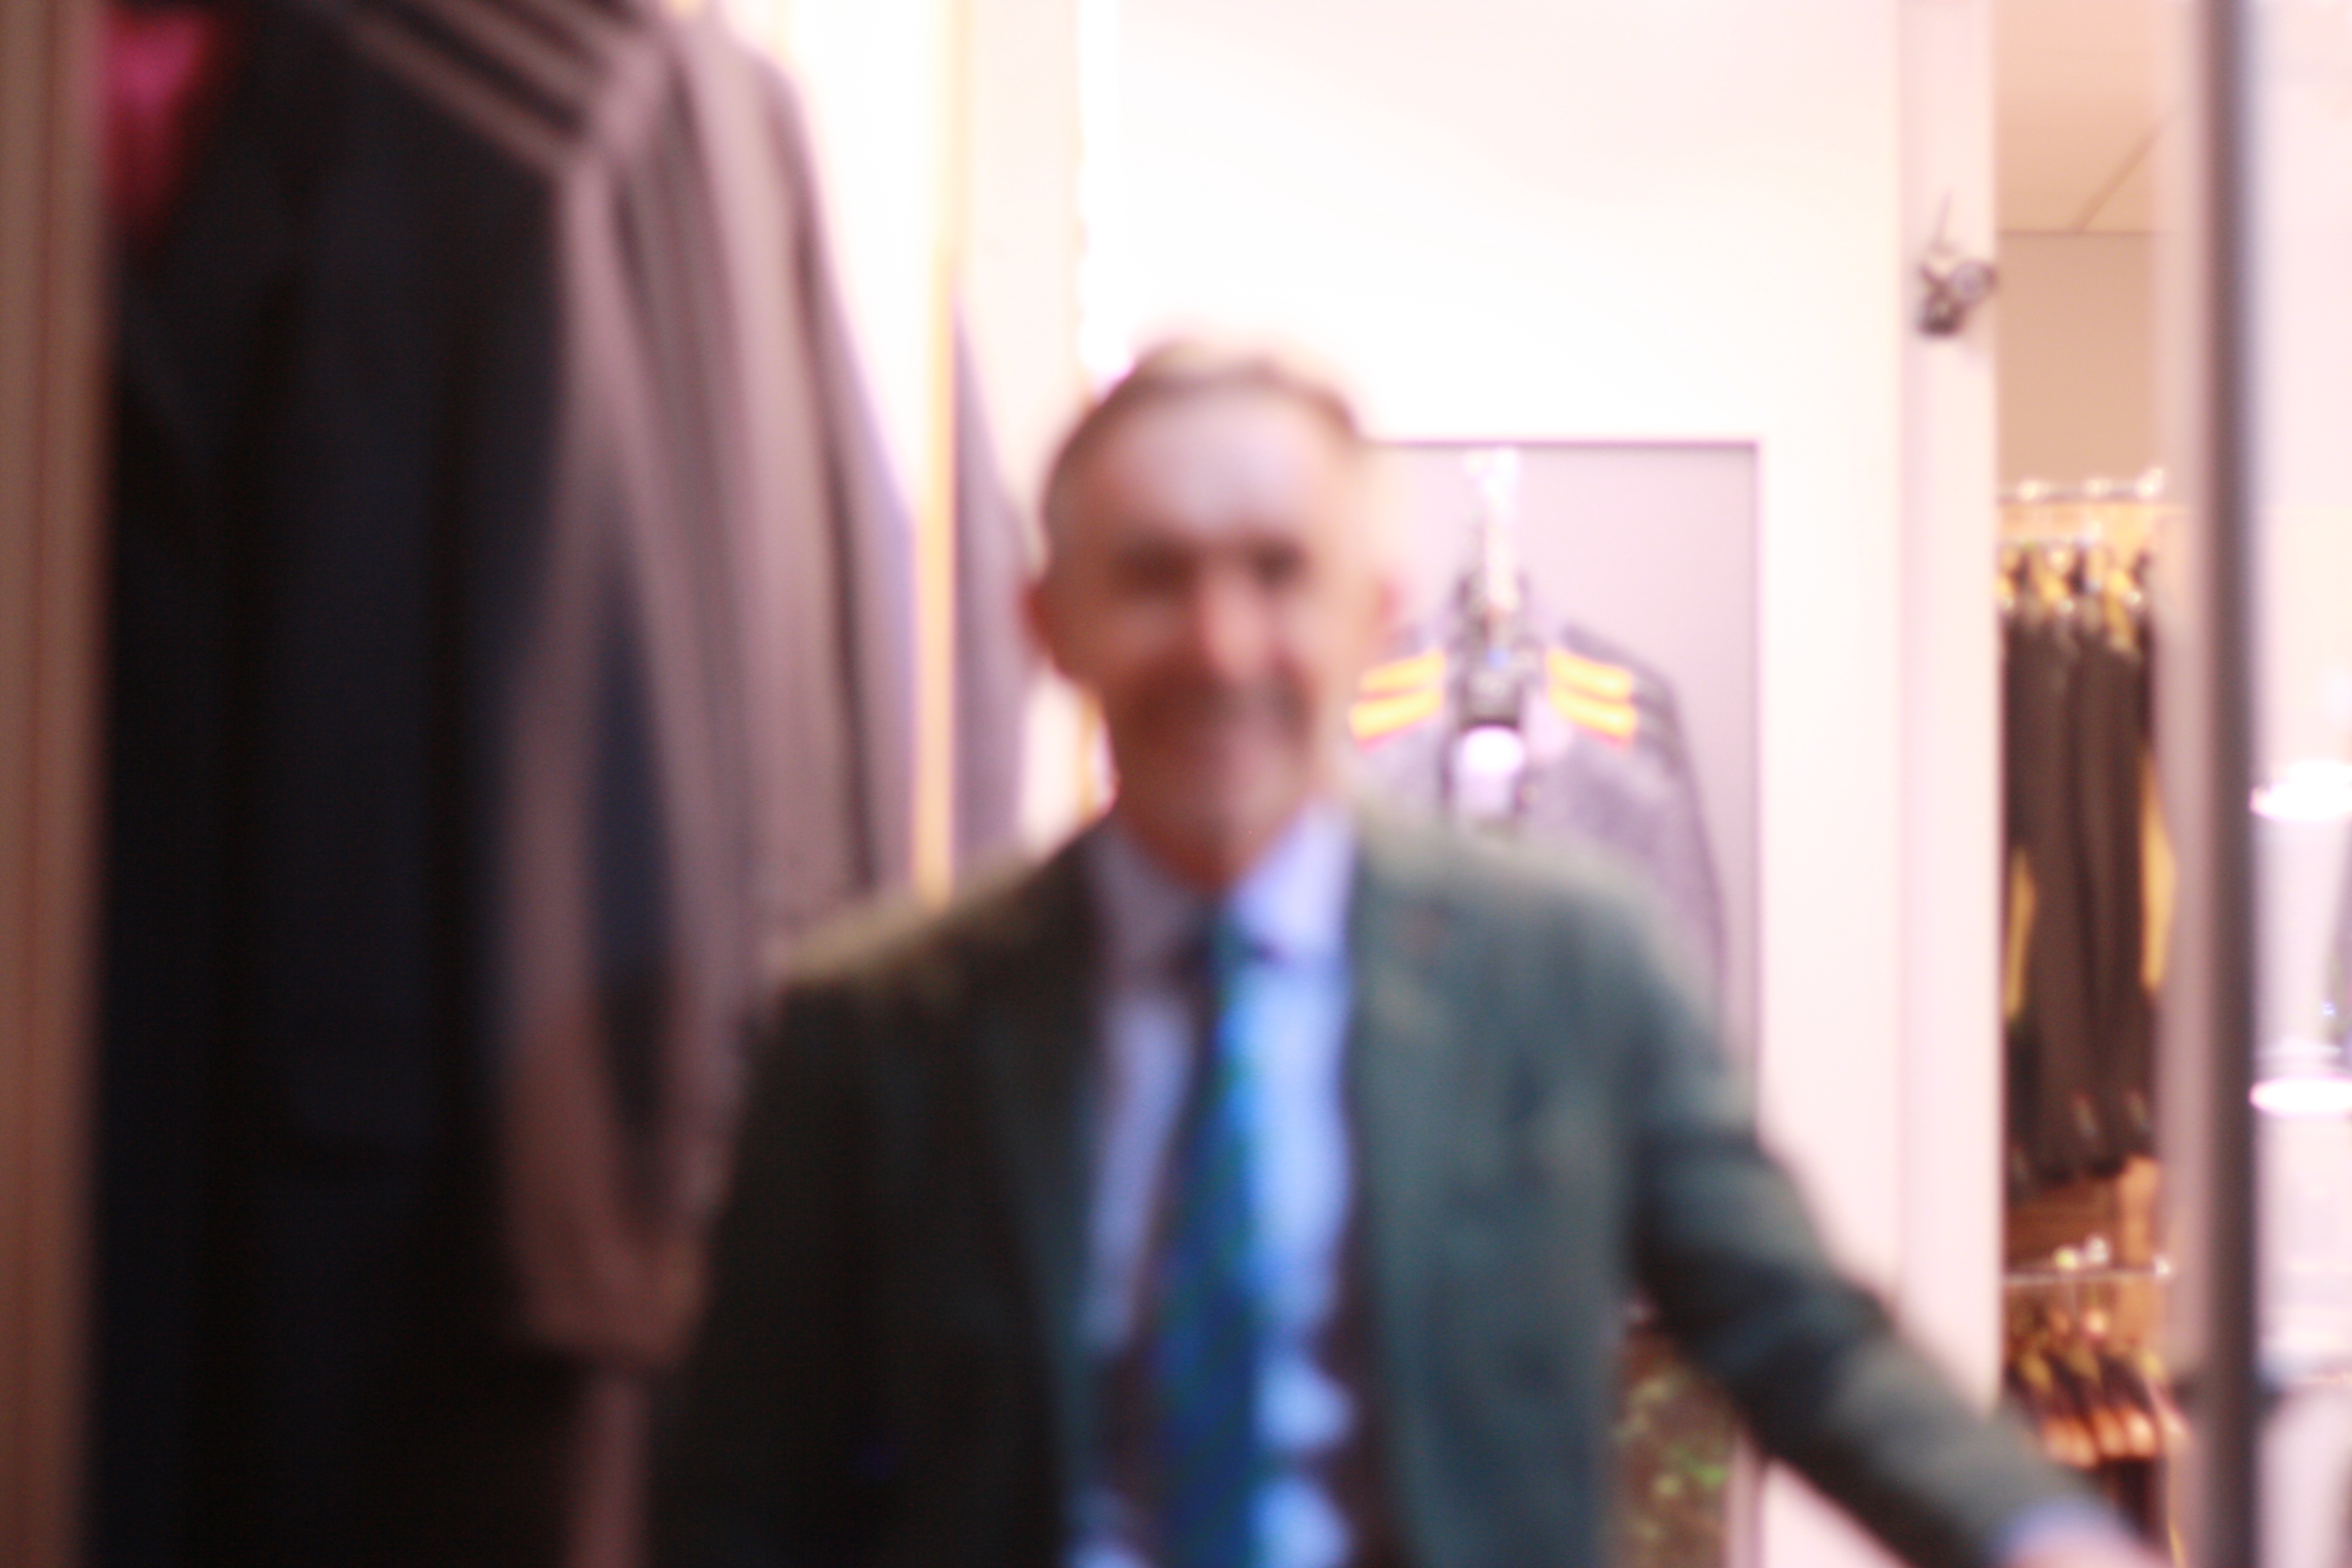
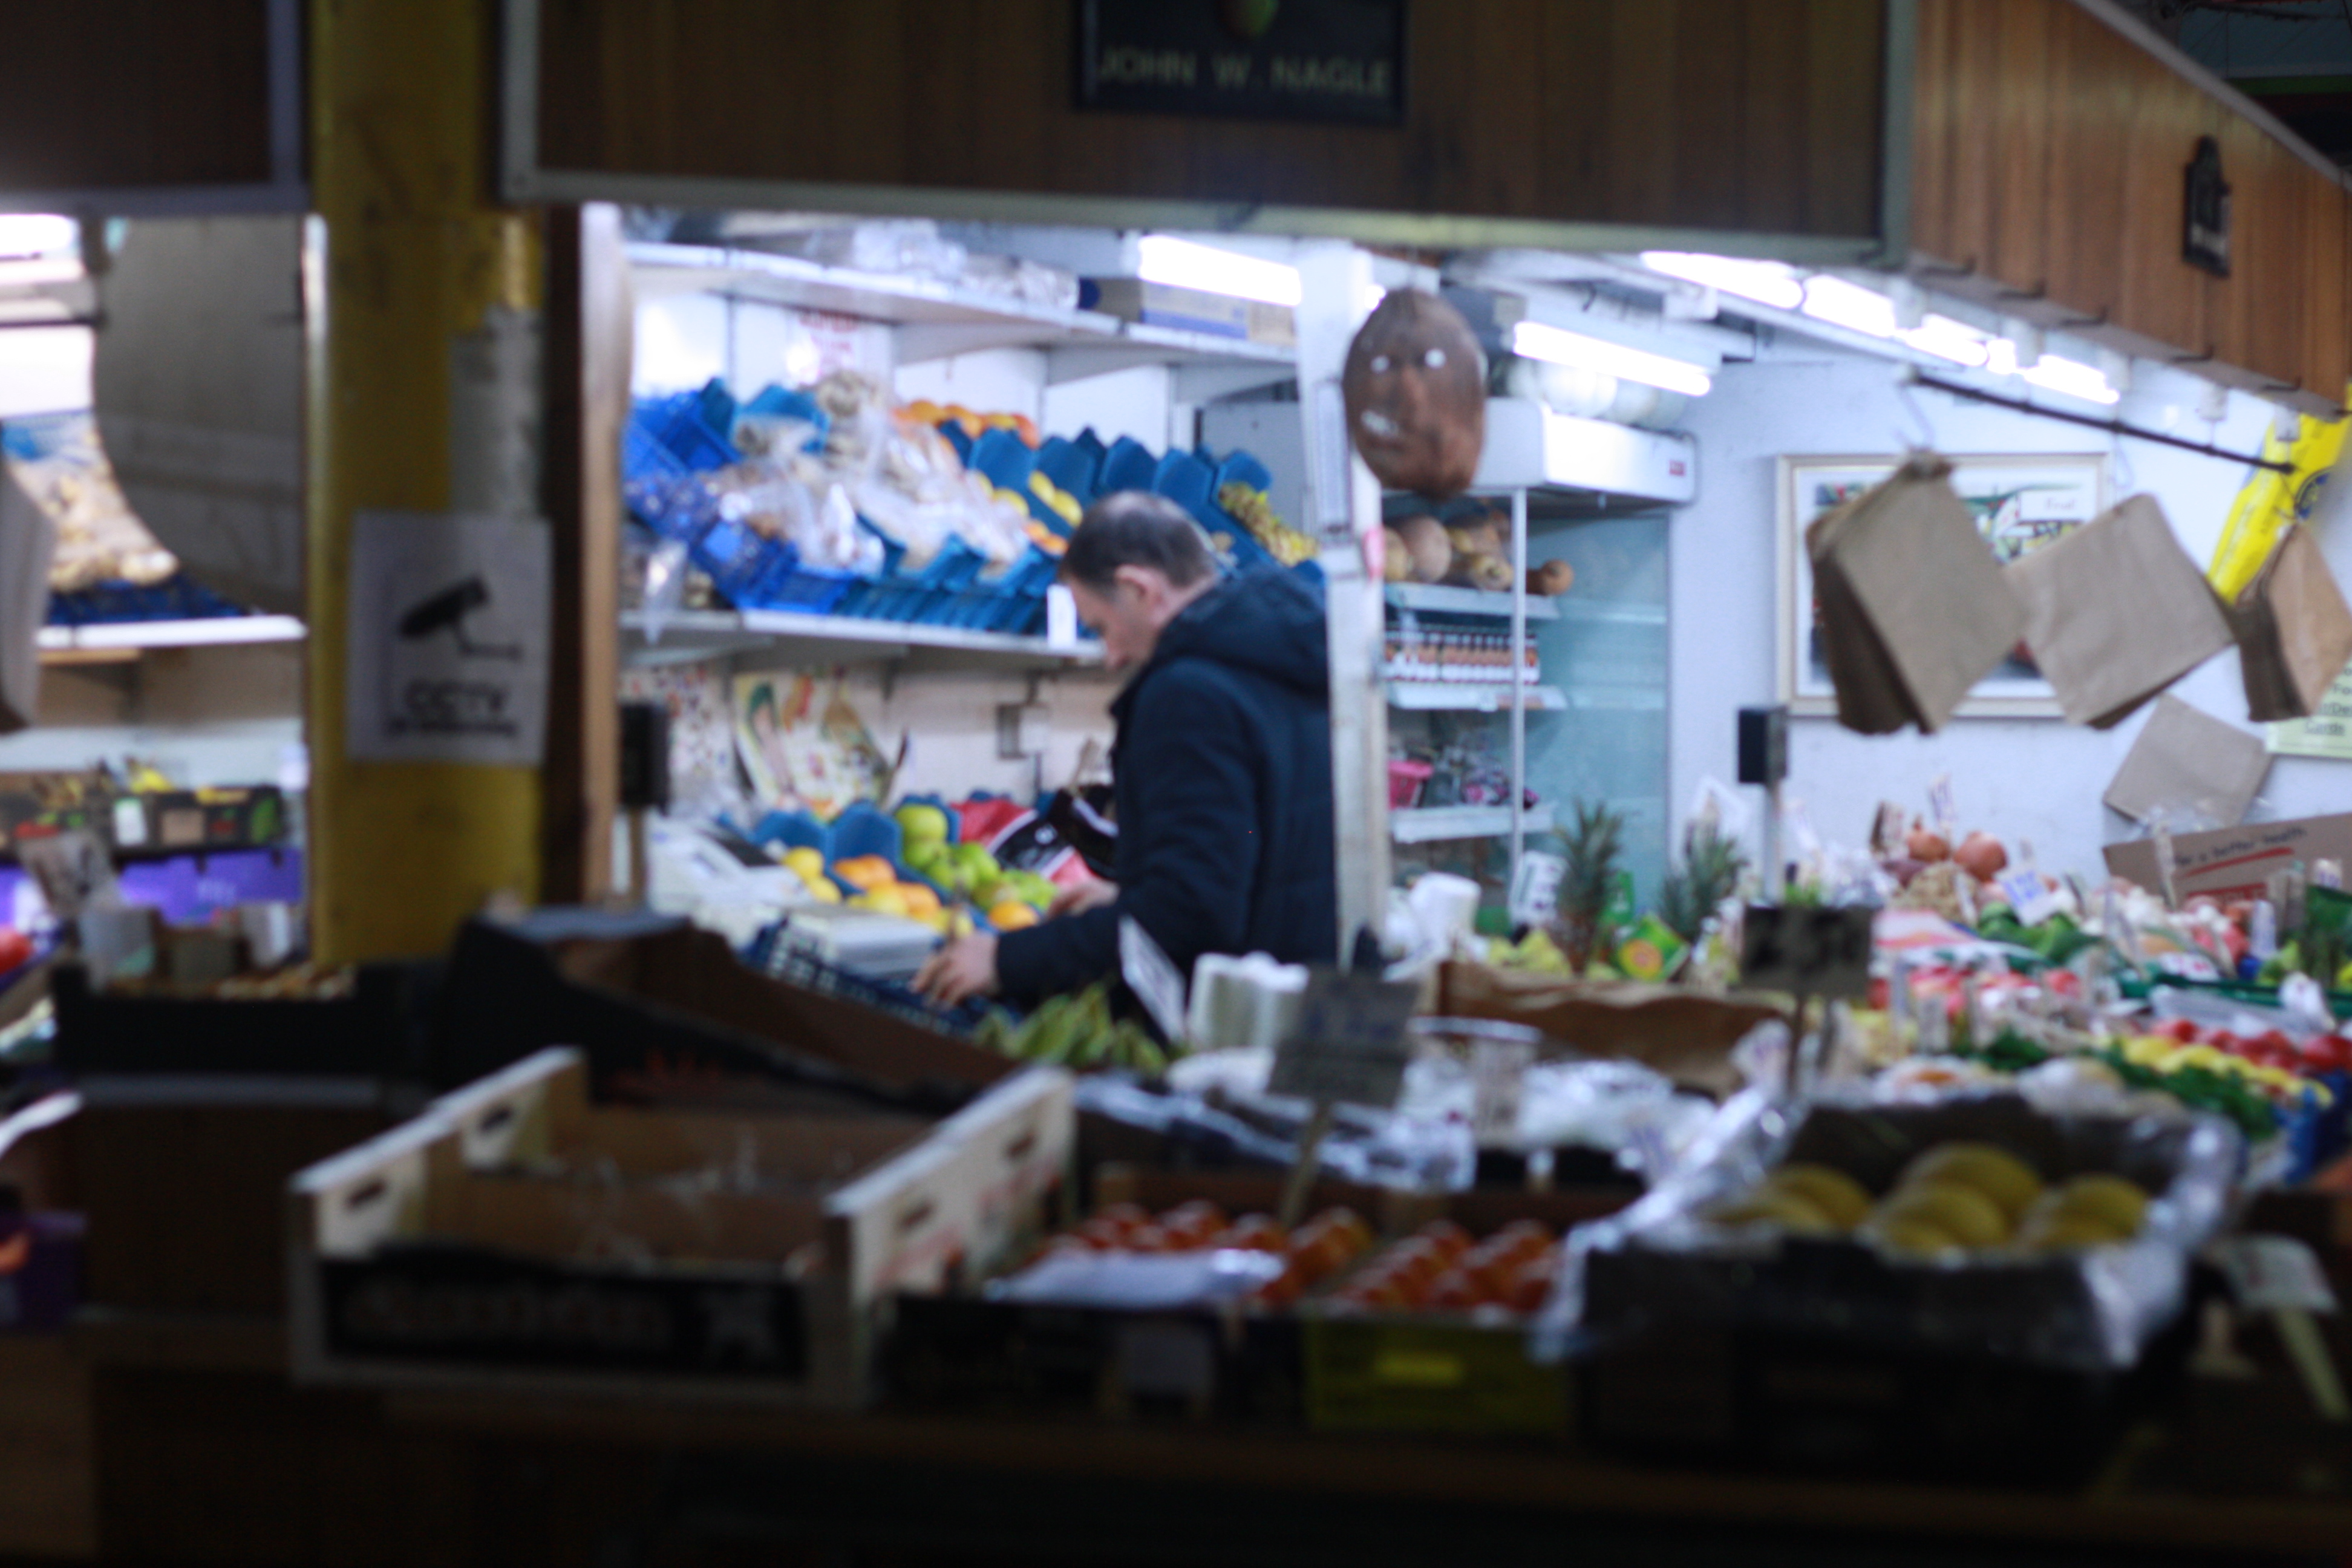
For this experimentation I purposely wanted all of my compositions to be blurry. I wanted to do this because we are all keeping a hold of the idea of not necessarily beauty but self identification. By making my portraits blurry I’m exposing the viewer to assume and suggest a lifestyle, age, occupation and confidence. This is exposing the viewer on their opinions on others around them and how quick everyone is to assume everything.  We all think we have it all figured out from looking at a person but there is more to a person than meets the eye.

Examples

Justin Lincoln – self portrait ‘by the pain of fleeting joy’
Ilkka Uimone for Newsweek

Blurred street photography

Final images

Edits