
Here I will be editing the best outcomes from my previous photo shoot. Although these were my best images, I think that some are slightly over and under exposed so I plan to attempt to fix this by editing them on Photoshop.
Original image

Final outcome
 To edit this photo I adjusted the curves so that it was slightly more saturated, as I thought this would make the overexposed white part at the bottom a little less noticeable, as the background colours would stand out a lot more. Doing that also brought down the brightness slightly, meaning that it also contributed to making sure the whiteness was less prominent. Lastly I also turned the hue and saturation right down so I was able to make the image black and white. I decided to make the image black and white instead of highly saturated for 2 reasons. Firstly, because I thought that if the image was in black and white, the overexposed part wouldn’t be as visible, and secondly, because I wanted to add an element into my image that shows I was slightly inspired by Sander as all his images were in black and white. I think this was a really good idea as it meant that I added a vintage touch into my modern day inspired environmental photography.
Original image
Final outcome
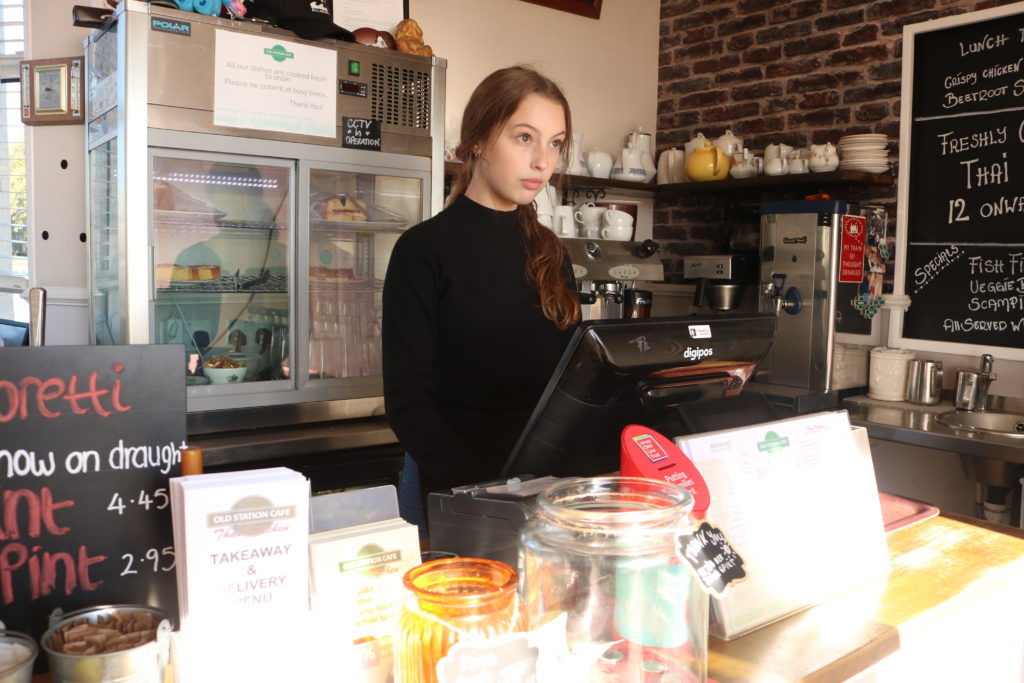
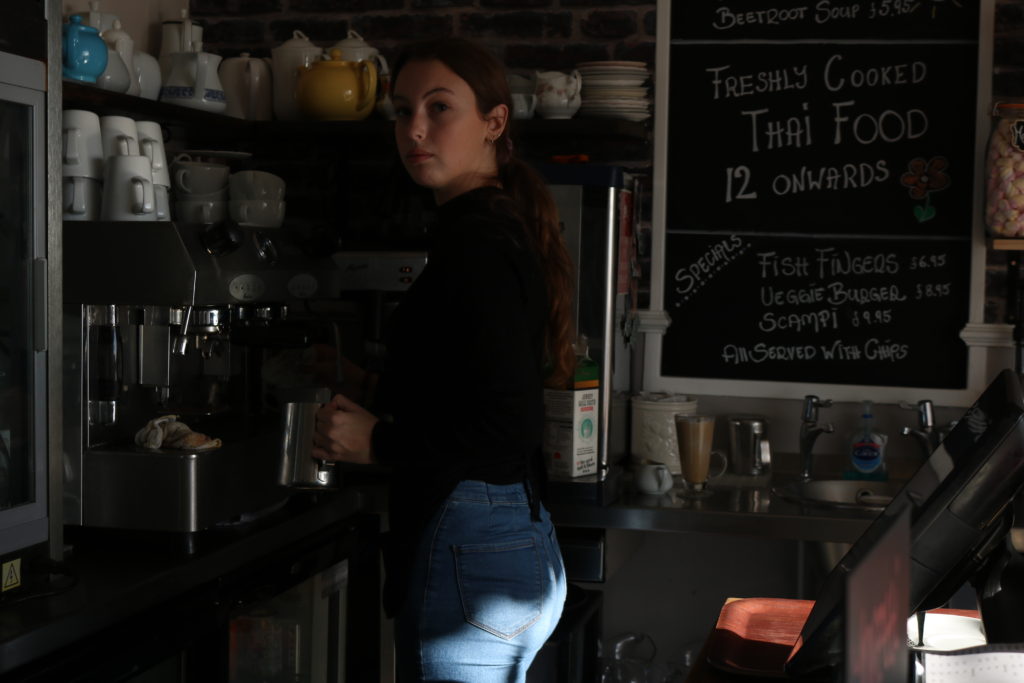
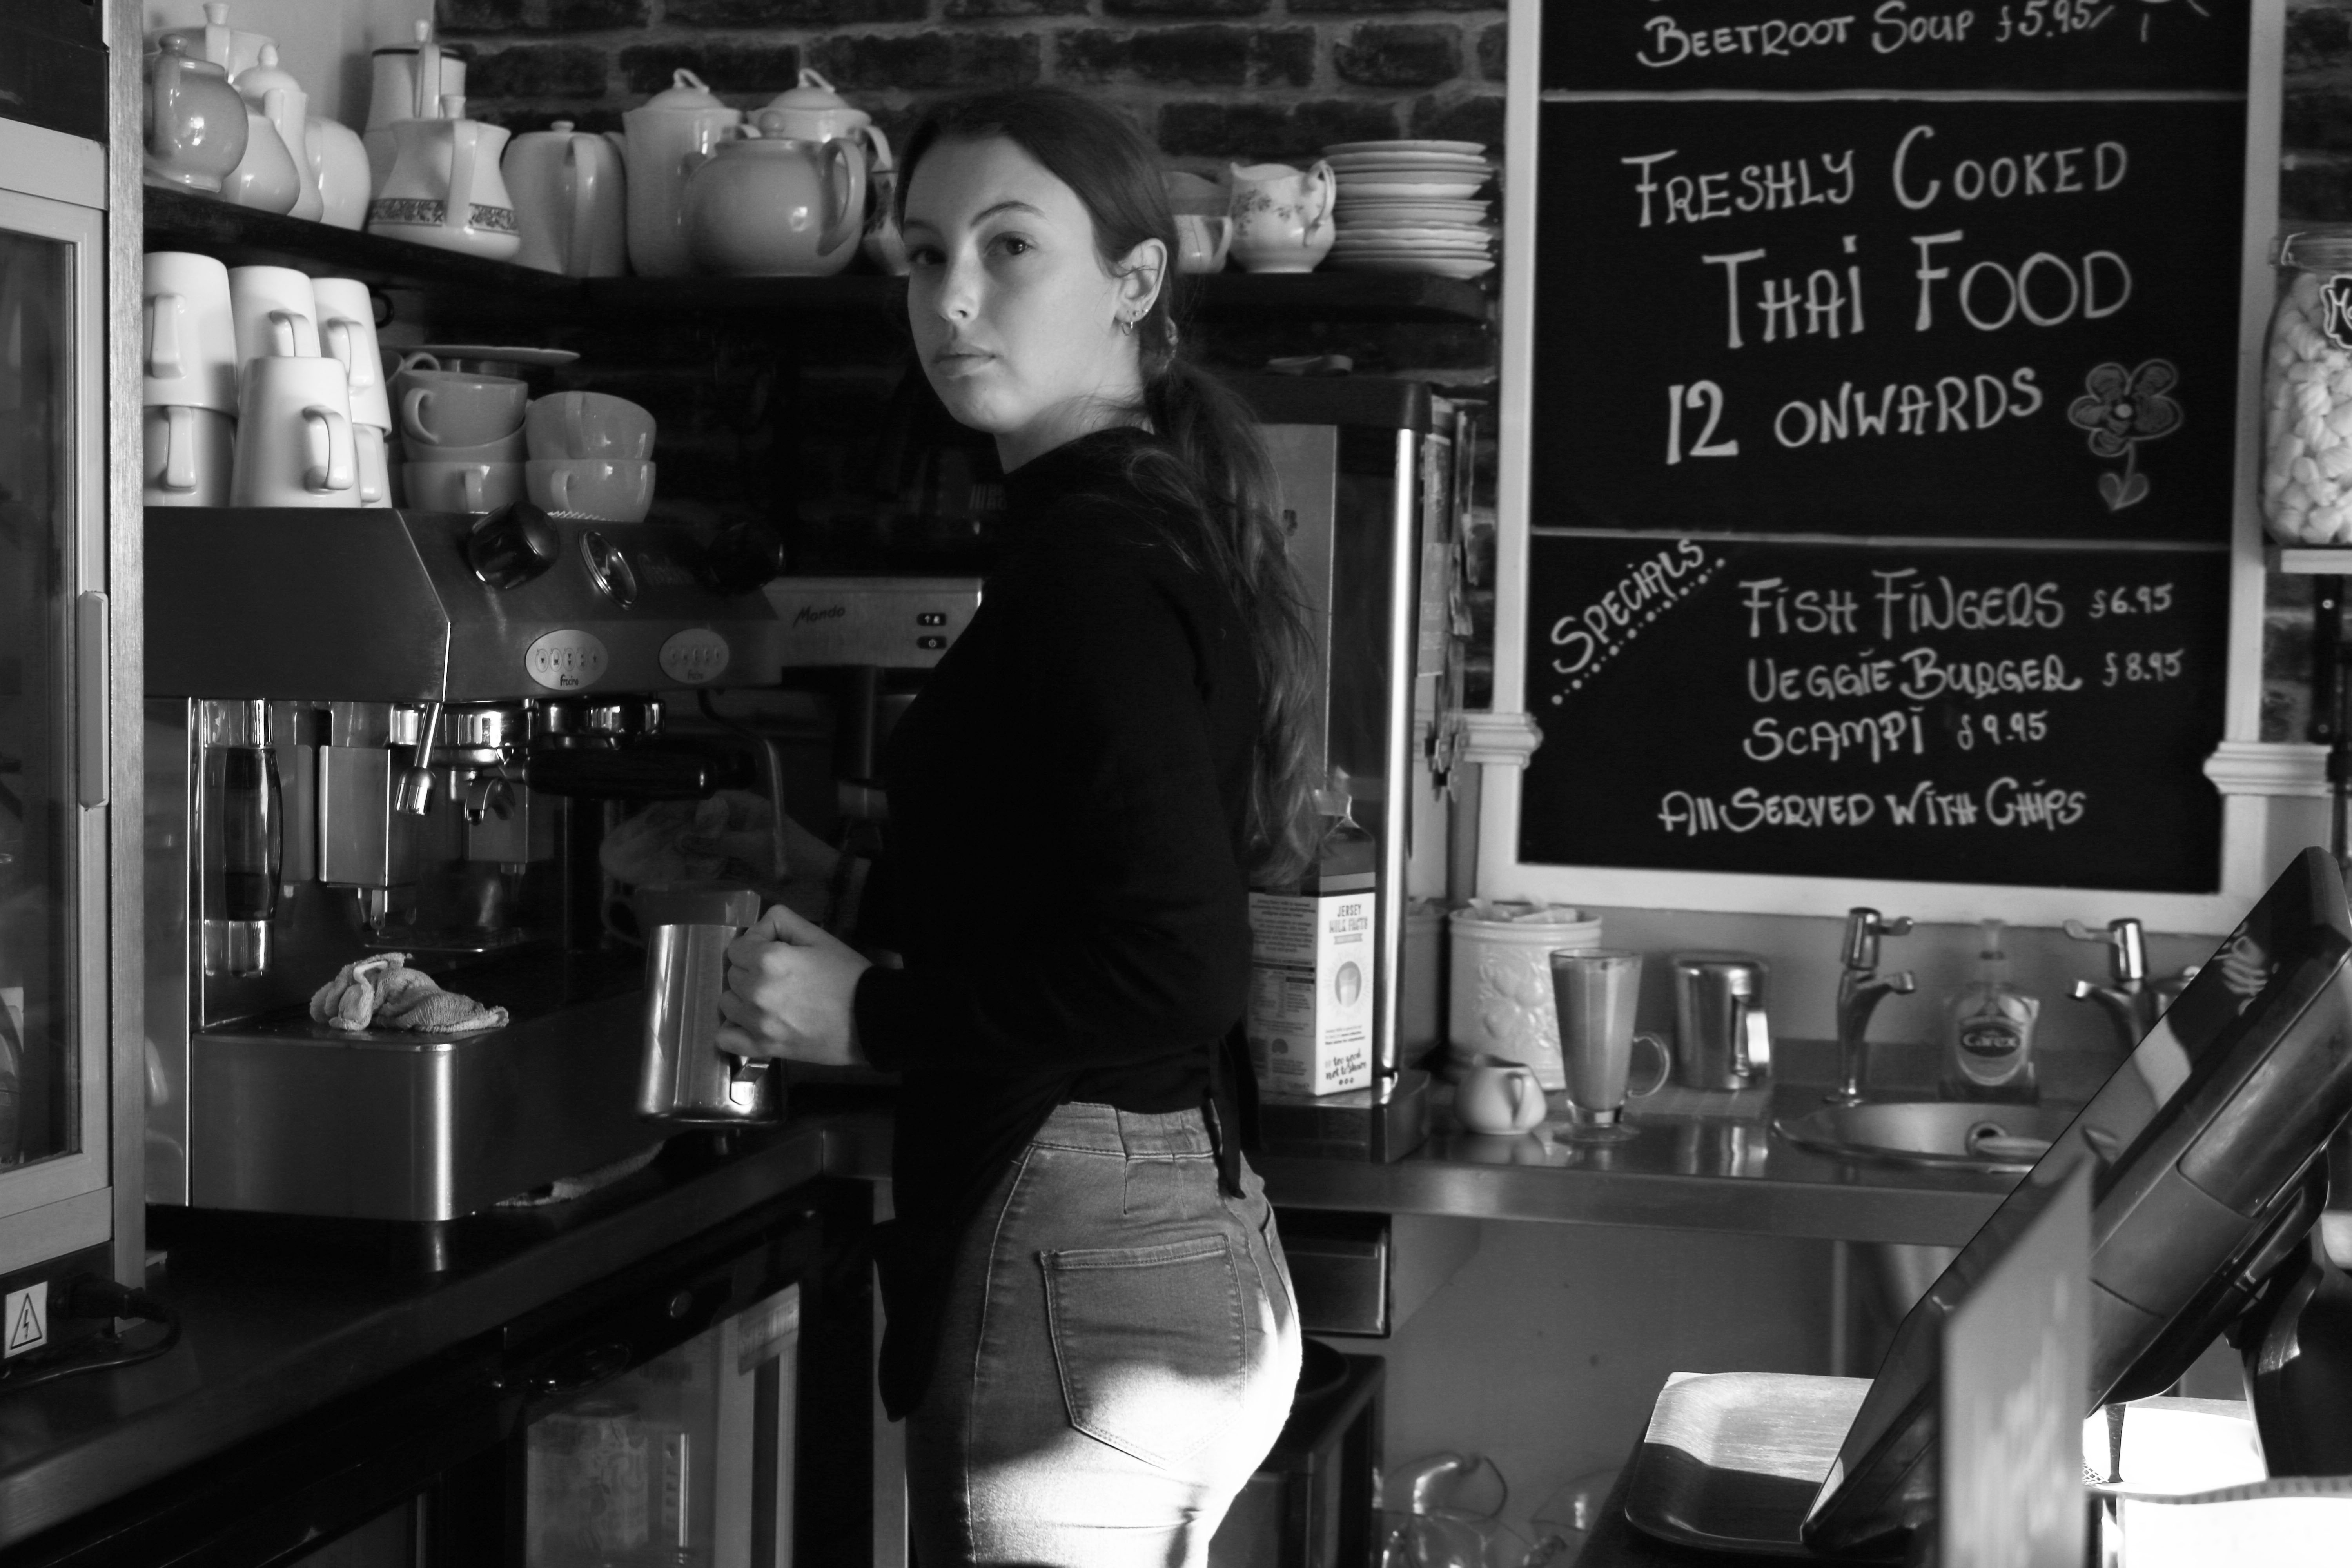 When looking at this photo, although it was far too underexposed I thought that it was an image with potential because of how the model was making intense eye contact with the camera. To edit it, I turned the brightness all the way up, so that the image wasn’t so dark. To make it fit in with my other image, and did the same technique that I mentioned previously and turned the hue and saturation all the way down to make the photo black and white.. I think that the intense stare that the model is giving, combined with a black and white filter makes the image far more successful as it makes it more dramatic and mysterious.