Abstract Photography – Experimenting with Photoshop

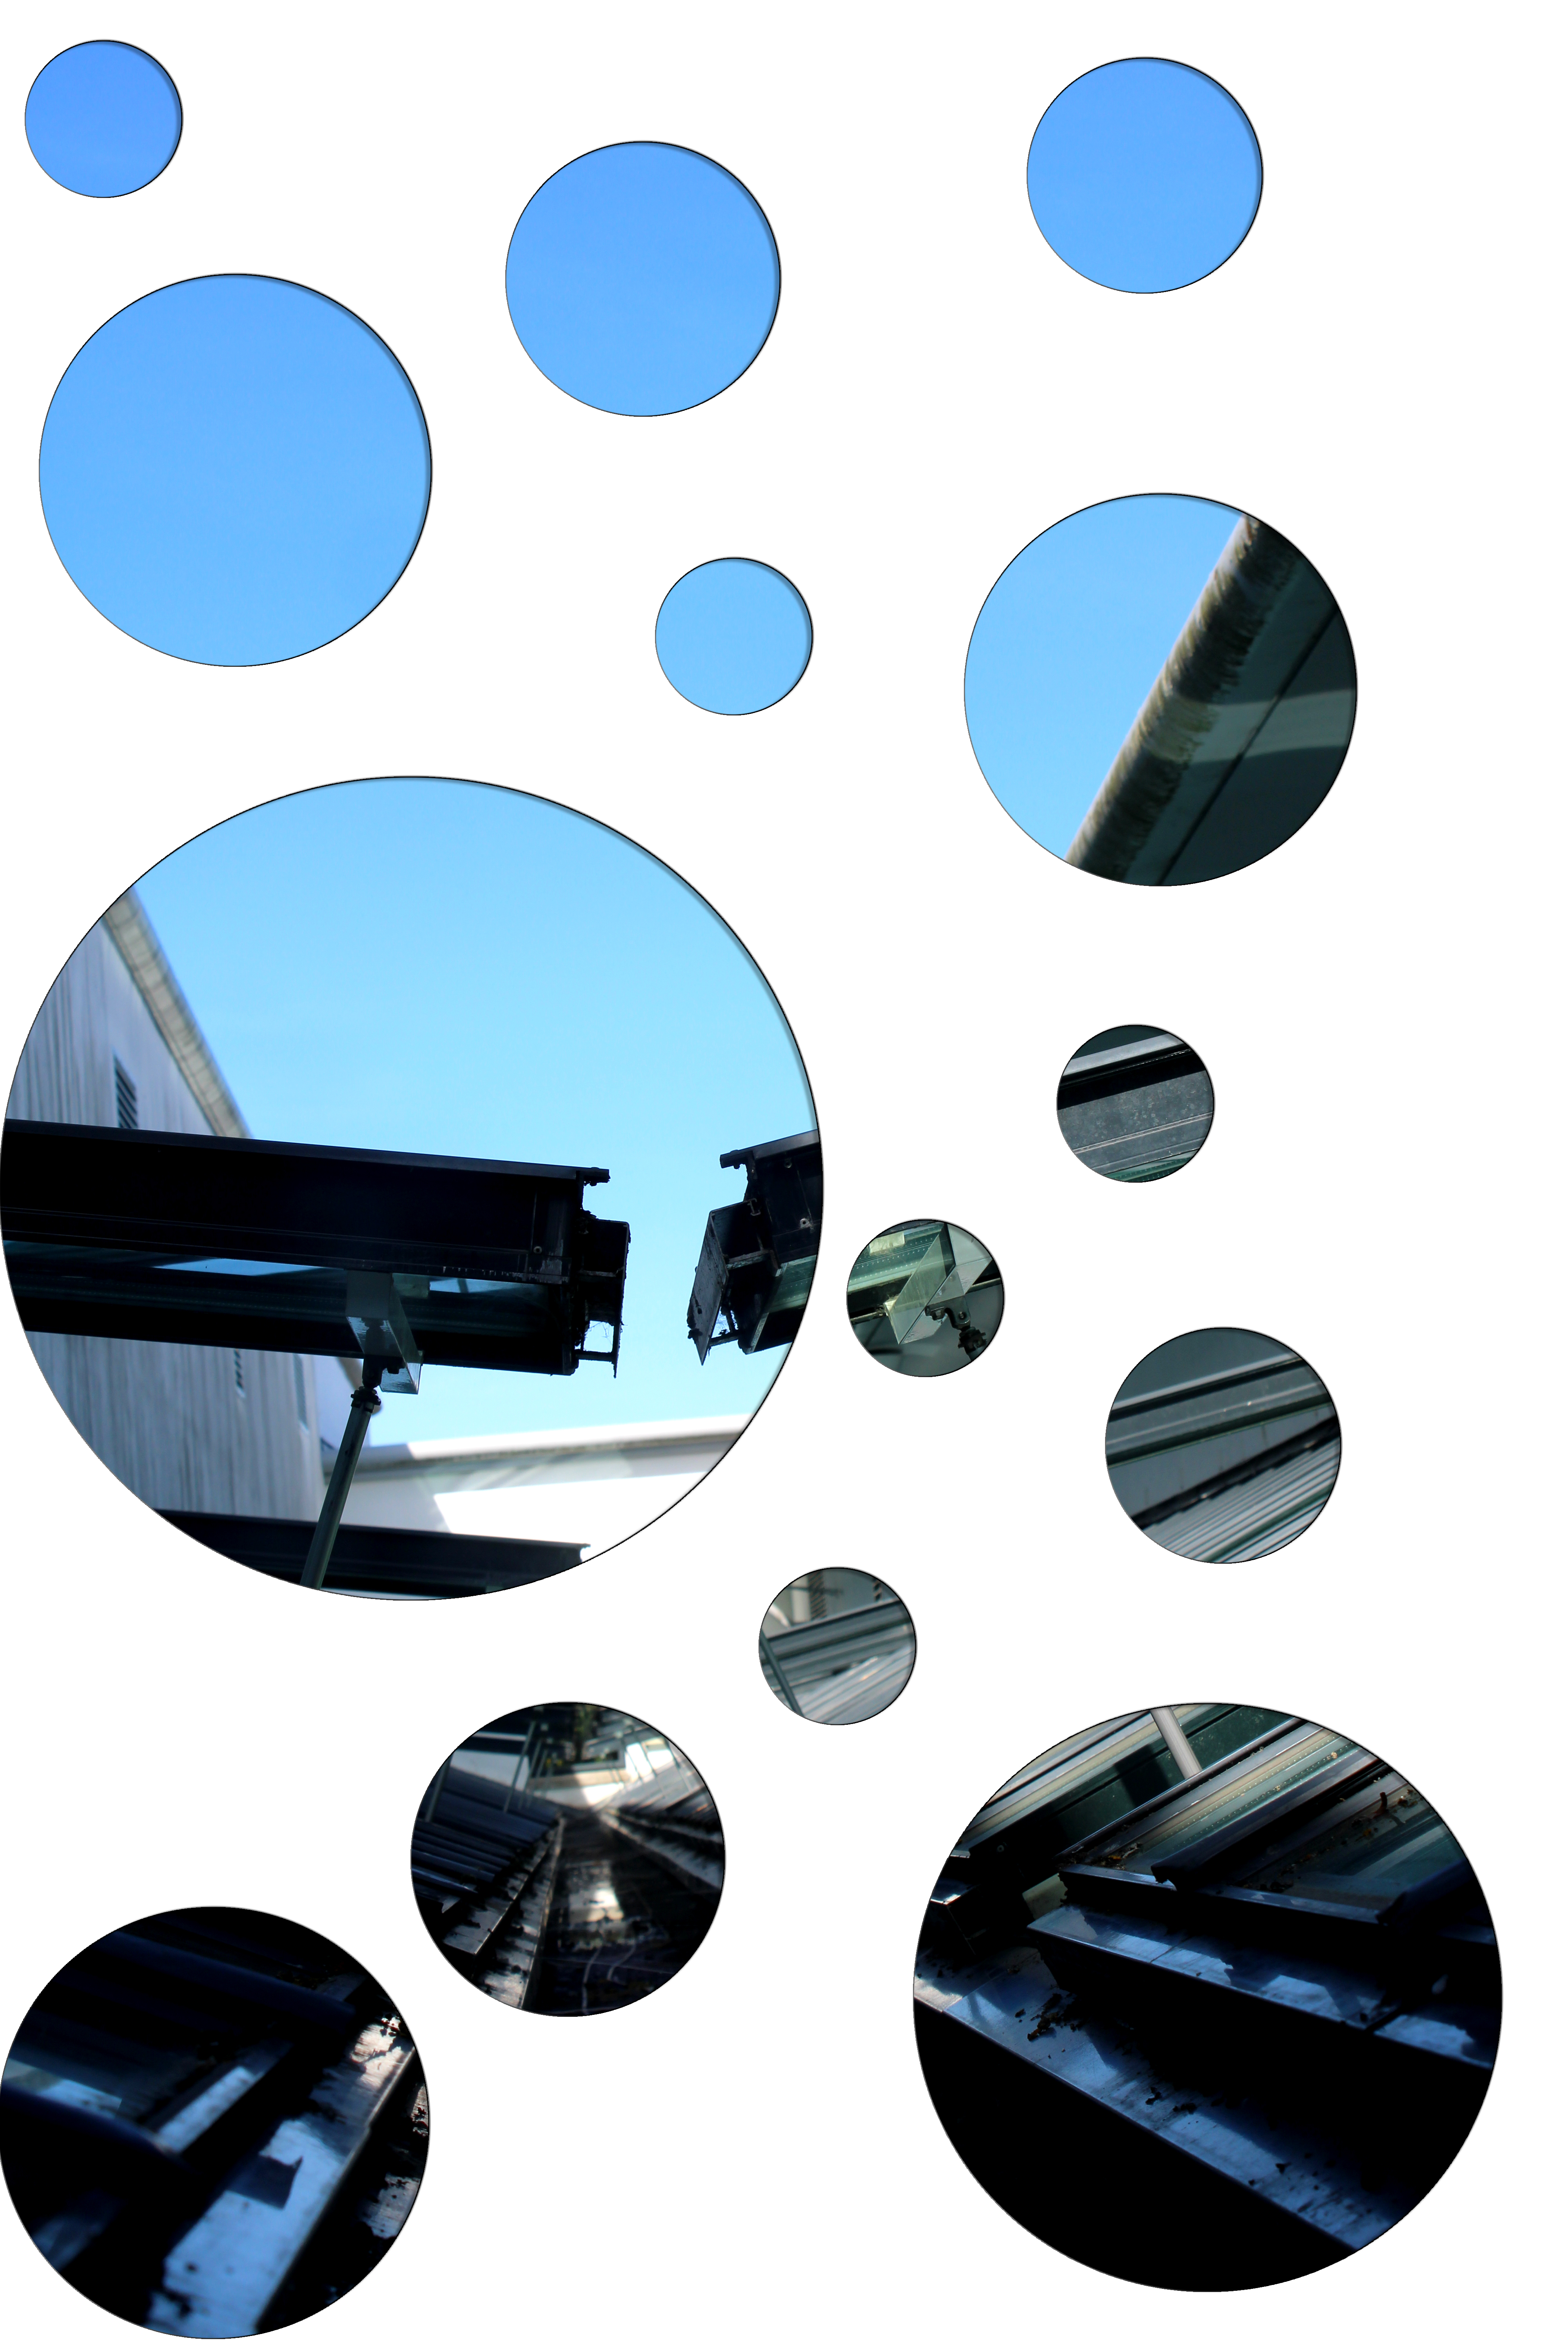
For this experimenting process I wanted to show abstract photography in a unique way. I looked at only revealing certain parts of the photograph using different shapes, in order to present key elements and present the formal element of space and shape.

For this first edit I decided to use circles to reveal certain parts of the image. To start off with I opened up an image, which I liked and have already pre edited. I then added a clipping mask above this layer and turned the background of it white. I then turned down the opacity of this layer allowing me to see the background, which allowed me to  see what will be shown by ‘cutting out’ a circle there. Then using the paint brush tool, I selected a circular brush and black paint, I then increased and decreased the brush size and pressed where I wanted the image to be revealed. I then turned the opacity of the layer back to full and added a drop shadow and a stroke which allowed the circles to stand out, adding an element of 3D.


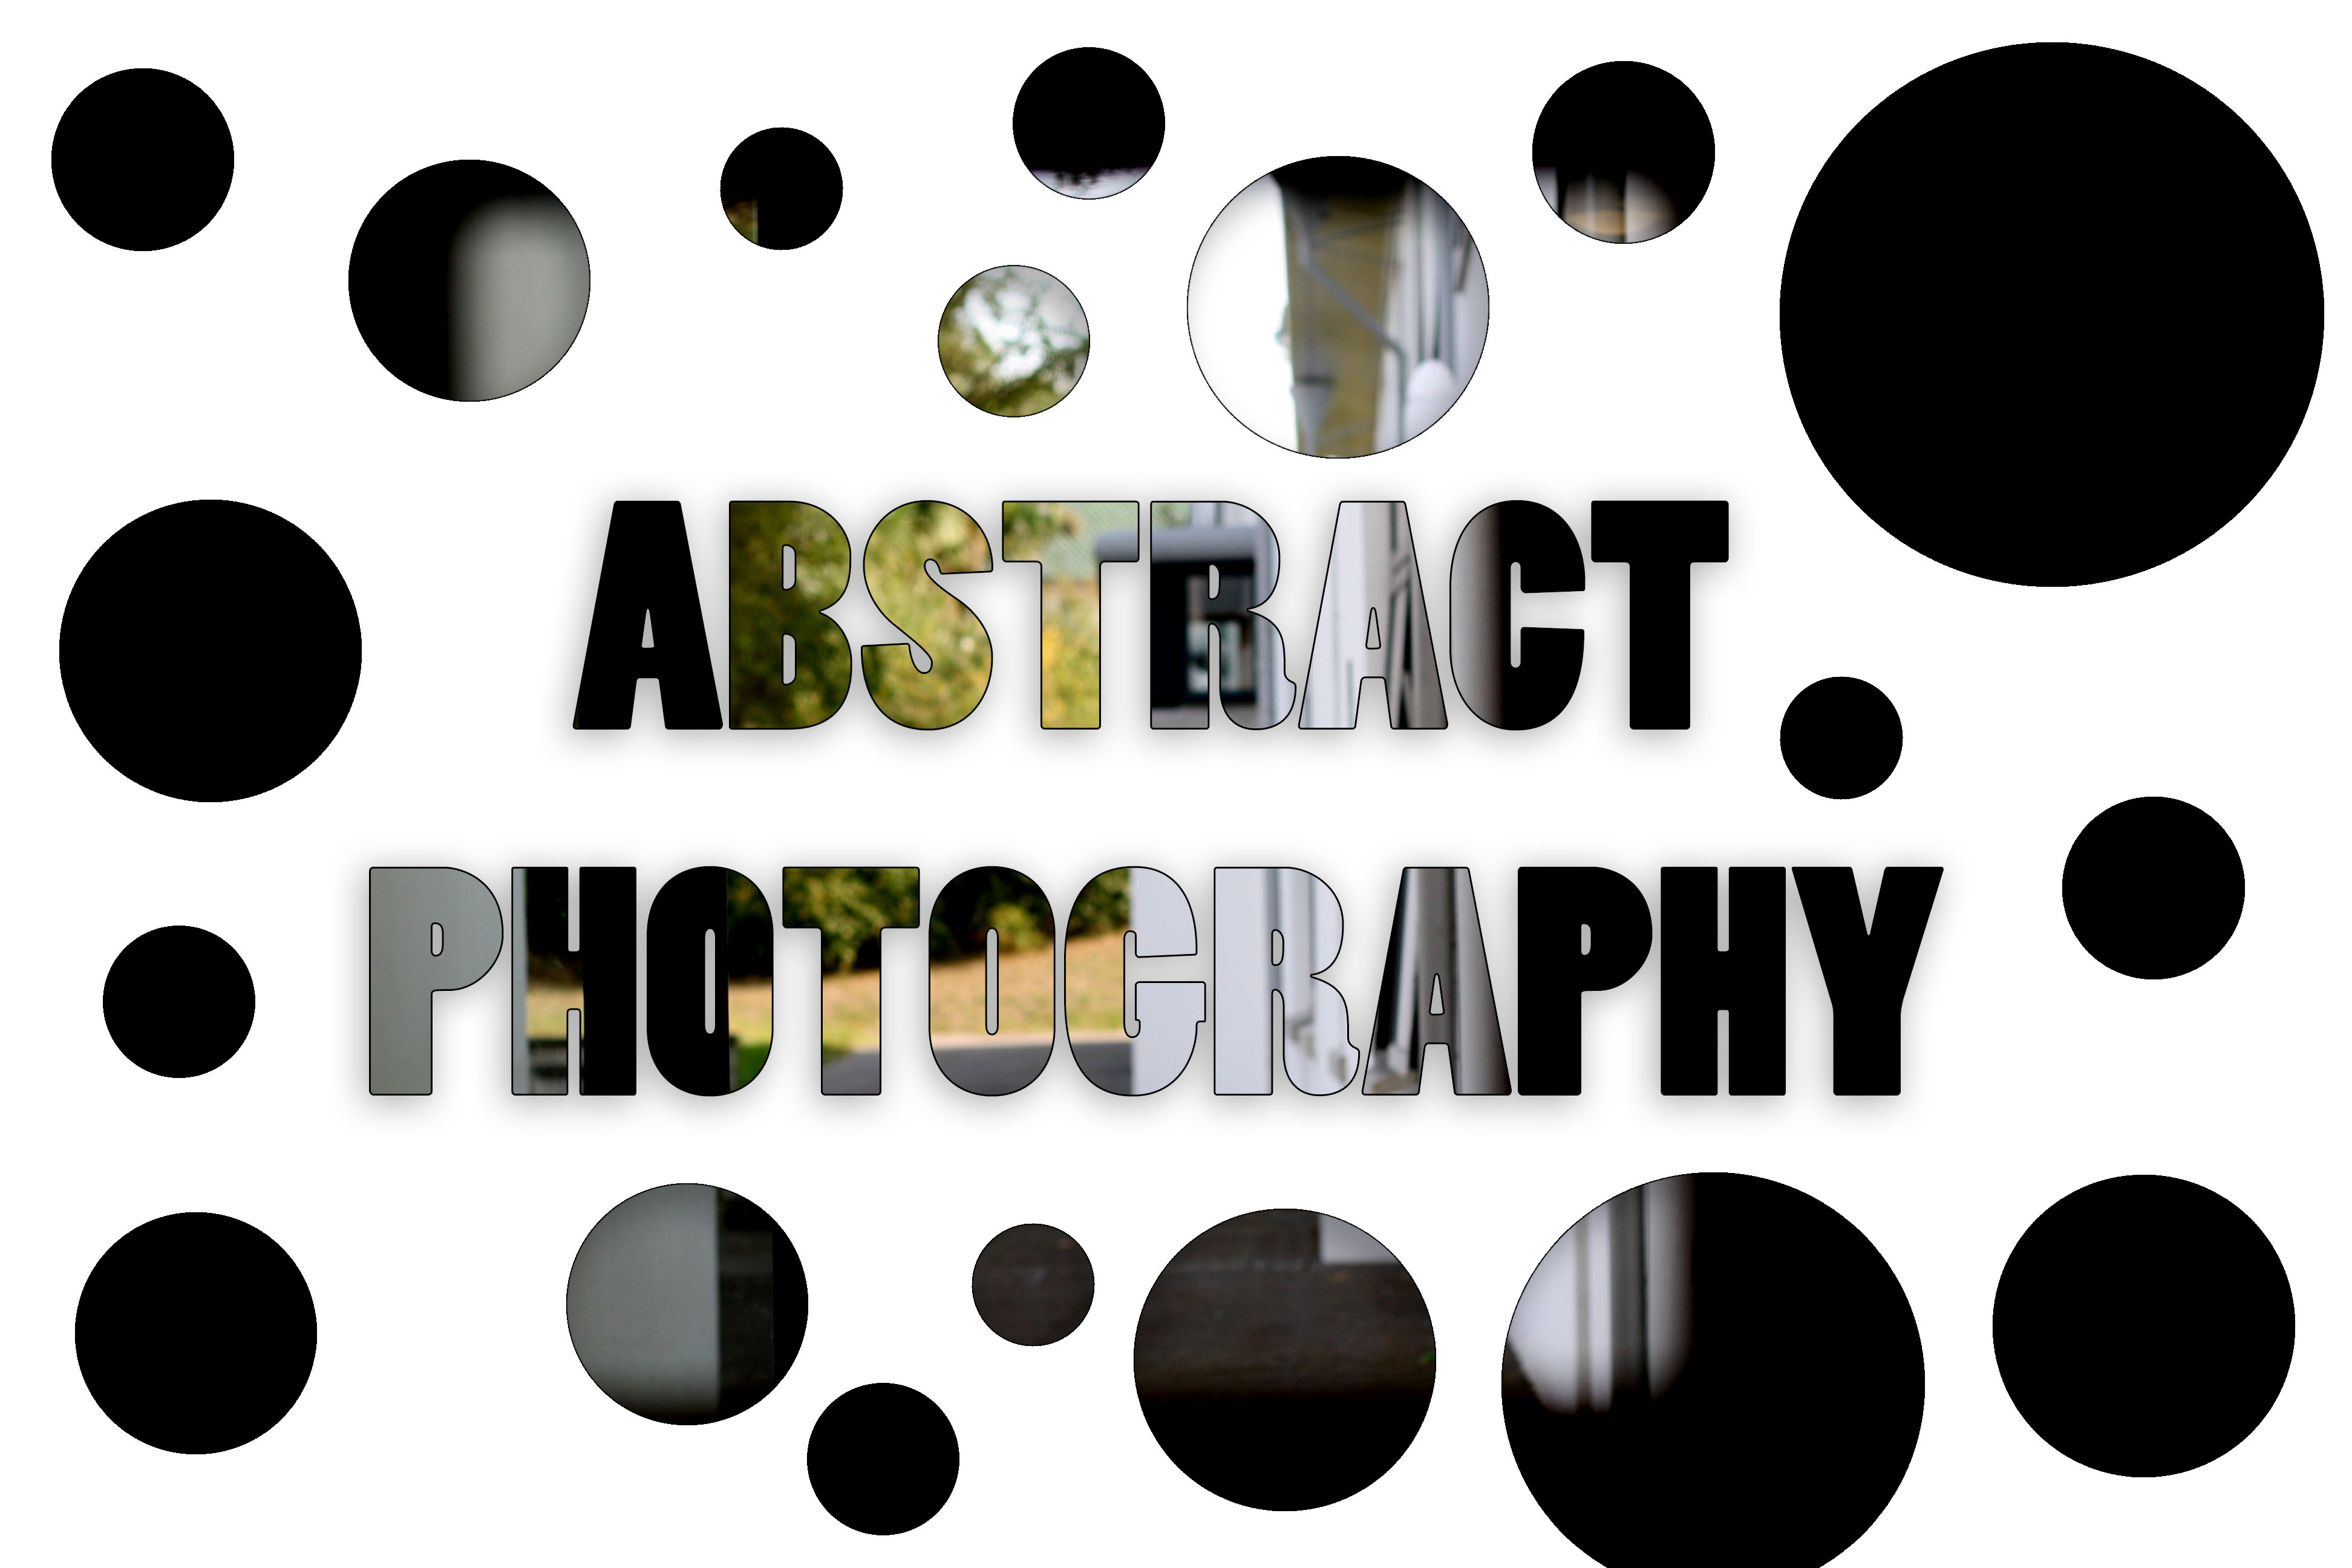
For my second edit I used a similar idea of only revealing certain parts of the image using shapes. However, this time I used text and circles to complete this effect. To do this I opened up an image from my projection photoshoot. I then pressed ctrl + J which copied the background layer. I then clicked the create new fill button located at the bottom of the screen.  I then clicked solid colour. Once clicked I set the R, G and B boxes to 255 so I had a white background. I then dragged that layer below my Image 1 layer. I then added text saying the word ‘Abstract Photography’. Next I dragged the text layer below my image 1 layer to allow this idea to work. Now I made sure I was on the image 1 layer, then I right clicked the layer and pressed create new clipping mask. Once I did this put the text on the white background with the picture showing. I then pressed ctrl + t and shift to enlarge the text to fit my page. I then centred the text. I then clicked the fx and clicked drop shadow. I then adjusted the distance, speed and size sliders to allow the text to stand out more with a 3D effect. To complete this idea I repeated the steps from the first edit in order for the circles to be added.
 

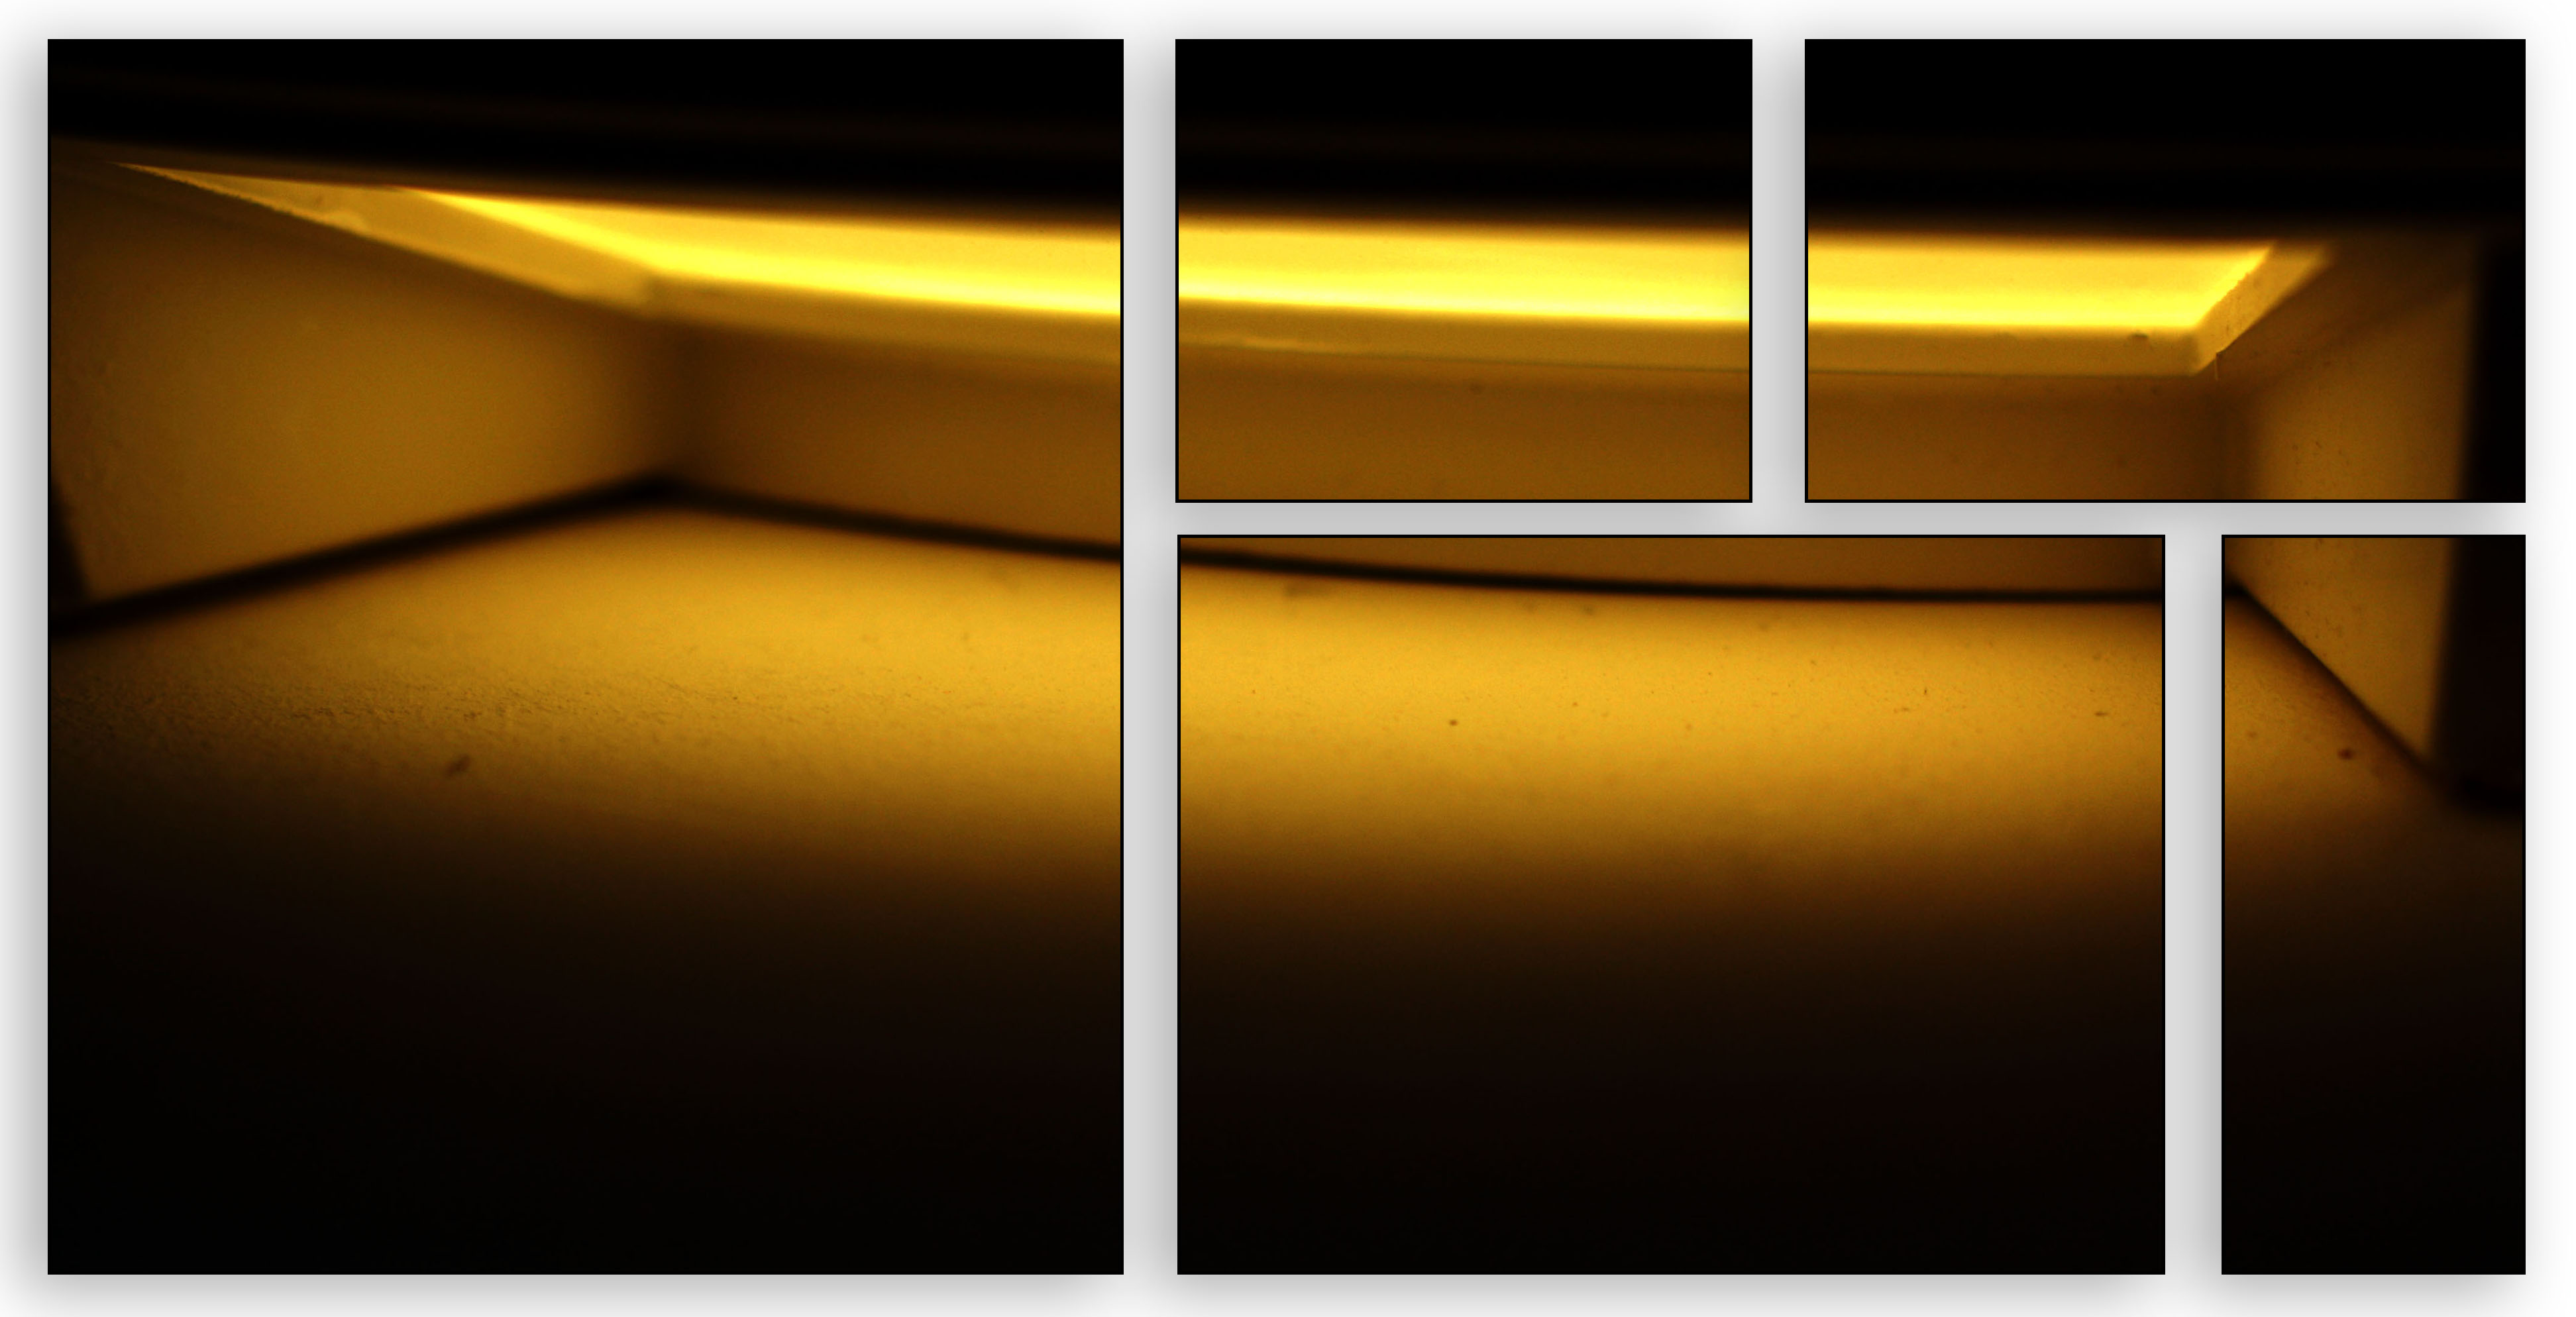
For my final edit I decided I wanted to use shapes again to present the photograph . This time I used squares. Using the rectangular marquee tool I cut out this image into five separate sections. Then I decreased the size of each layer using the transformation tool (ctrl + t). I then added a drop shadow and a stroke to each layer, square, and arranged them accordingly.
Evaluating The Ideas

Overall I believe that all these ideas have been successful at presenting the theme of abstraction. Each idea has used shapes in a unique way, in order to reveal certain aspects of the image. Doing this has allowed the viewers to look at certain parts of the image which they may not have originally noticed. It also allows the main focus point of each edit be more visible and easier to identify. Due to the edits being the way they are there is a sense of negative space which is presented, making all the edits seem more ‘spacious’ which makes it seem much more inviting. I think that the drop shadows and strokes which where added at the end, helps the shapes stand out and creates a 3D effect. I am very happy with the way these edits have come out as they clearly show development of my understanding of abstraction. Moreover, these edits have helped improve my knowledge of photoshop, which has allowed me to experiment more confidently.

Depth of Field/Aperture/Shutter Speed

I have decide to experiment With shutter speed and Aperture and depth of field. I have included some examples to show my response to the task.


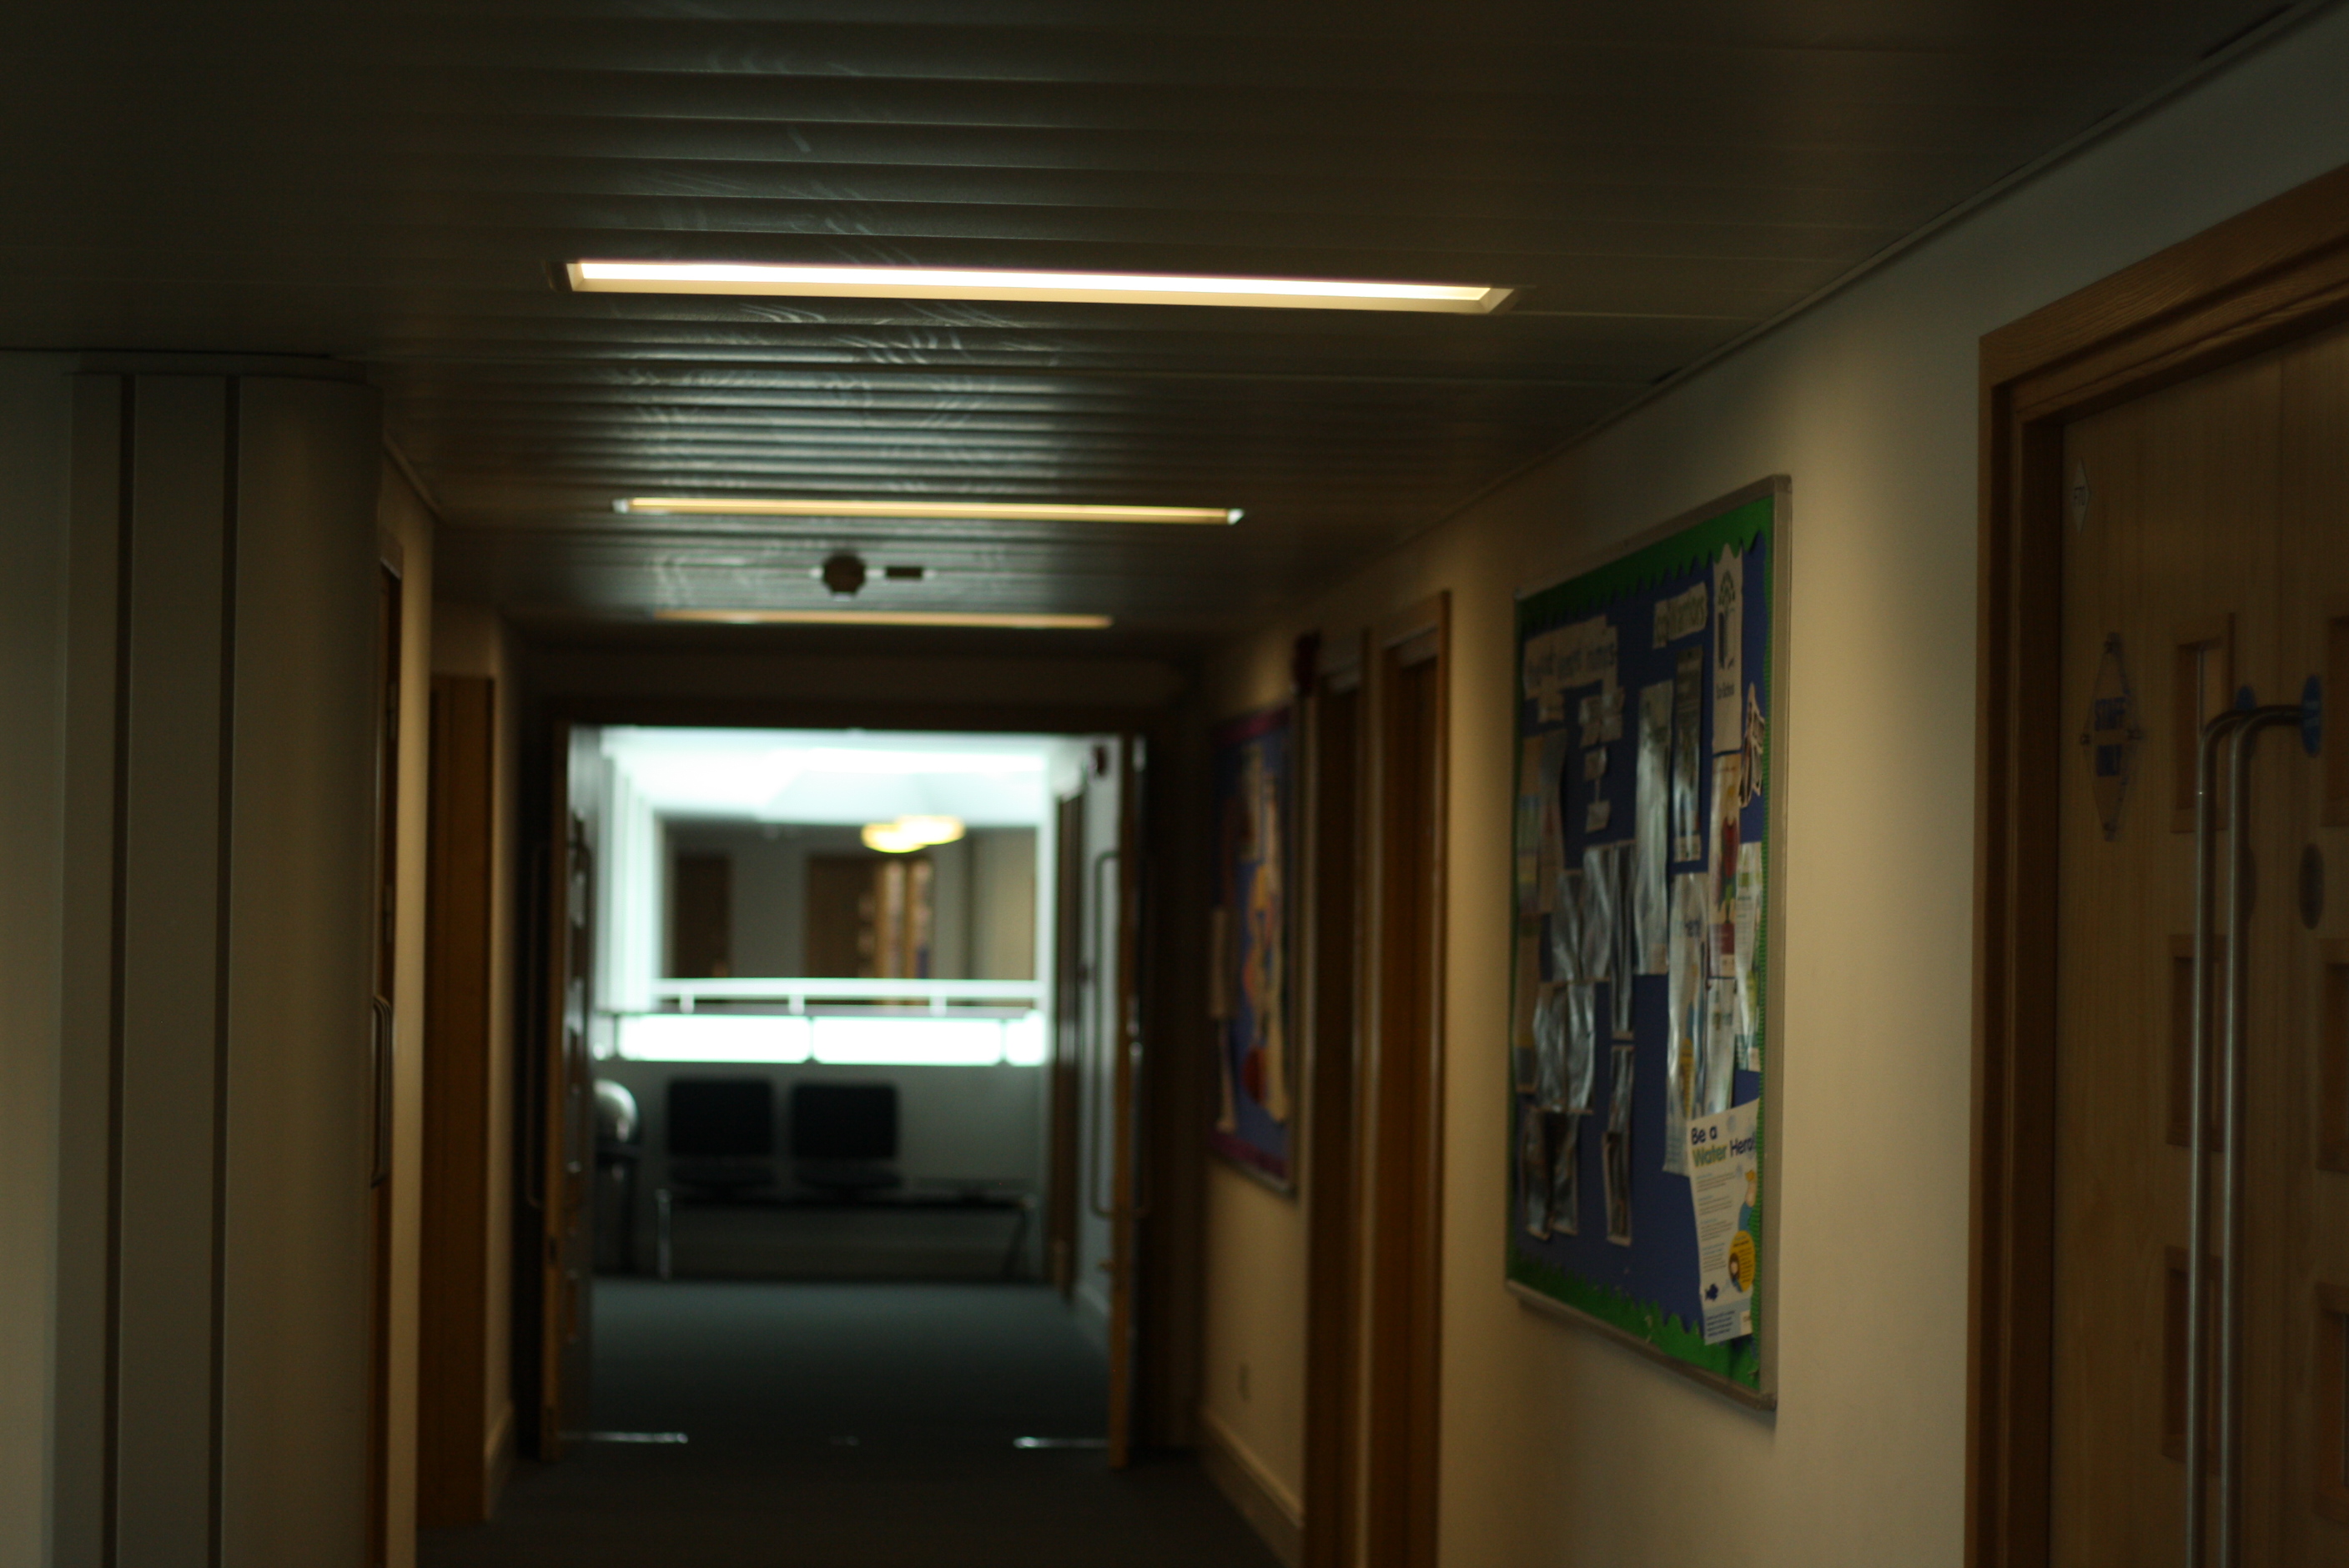
The Image above is a picture I took with the objectives above however I decided to edit it as it was too dark and you couldn’t see what was in the picture so below I decided to change the brightness and contrast so you can see what is in the picture. Personally I think that the outcome is better than the original photo however I don’t think it would be classed as abstract photography as their is to much to focus on in the image.


Here is another example of shutter speed and aperture


I like this image as you can see that it gets out of focus at the back of the image. For example you can see that the board closest is in focus however after that point it is out focus I am happy with the outcome of this photo so I haven’t decided to edit this photo as I think that the lighting is alright for this picture.


Saul Leiter and Uta Barth

Saul Leiter

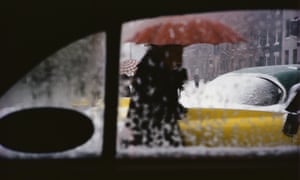
Saul Leiter was born in 1923 in Pittsburgh, Pennsylvania, where his father was a well-known Talmud Scholar. Leiter first started falling I love with art in his late teens, presides being pushed to become a Rabbi like his father. At the age of 23 he decided to pack his bags and leave is life style at theology school and move to New York where he could pursue his love for art. When in New York, Leiter became close friends with the Abstract Expressionist painter Richard Pousette-Dart, who also had some experience with photography. This is where Leister began to develop his love for art and started to look toward photography. Leister’s earliest work was black and white photography and proved to be a bit success in the photography world. By the 1950s, leister had begun looking at colour photography as well and had continued to put together an extensive body of work. Leister had a unique style and the way he went about producing black, white and colour photo were like non other at the time, this proved to be a huge advantage as it made him stand out from the crowd. Leiter was overall was and enormous contribution to street art and bought a very unique feel to it.
His abstracted forms and very innovative pieces, that stands out among the work of his New York School contemporaries. Perhaps this is because Leiter has continued through the years to work as both a photographer and painter.

Leiter’s work is features prominently in Jane Livingston’s The New York School and in Martin Harrison’s Appearances; Fashion Photography Since 1945. His work is in the collections of the Museum of Fine Arts, Houston; the Art Institute of Chicago and many more.

Some of his work:

Image result for Saul LeiterImage result for Saul LeiterImage result for Saul Leiter

Uta Barth

Uta Barth was born in 1958 in Berlin, Germany and has grown up to be a fine contemporary photographer who now currently lives in Los Angles, California. Barth received a bachelor arts degree from the University of California Davis and a Master of Fine Arts from the University of California. Uta Barth was a professor in the Art Department of the University of California, Riverside, between 1990 to 2008. This is where she is still currently a professor of art emeritus. Uta Barth is famous for the way she goes about looking at her images and her visual perspective- the idea of how the human eyes sees everything differently to the way the lens on your camera perceives everything . That is to say, she is perhaps less interested in where the camera is pointing than the act of looking through the lens in the first place.

Some of Uta Barth’s work:


Image result for Uta BarthImage result for Uta BarthImage result for Uta Barth

After looking closely at both Saul Leiter and Uta Barth’s it was event the blurring images and allowing different shadows and shapes to been seen in the ‘background’ were key. when next looking at takingmy own photos inspired by both Barth and Leister I had  to keep these key idea in mind. These were my favorite three out of my overall photo shoot. I selected these as my favorite because in all of these images there is not a specific focus point due to the fact the whole imaged is blurred and its like the petals in the flowers have merged together causing the shadows to interchange through each other. As well as the shadows being undistinctive the lines are also unclear which allows the view to concentrate more on the colours and shades of the picture. i think this is  important as it help the image stand out from others. linking into the tone of image which varies due to the levels of the light,, with the ends of the petals being and light and slowly decreasing in colour as you get closer to the centre this helps portray a smooth feeling texture of the petals.
For these image I used my micro lens to enable  me to get close up to the flower, when using a micro lens it is essential to make sure you are completly still to allow full quality and sharpness of the image.

These are my photographs that took inspired by Barth and Leister:


Albert Renger-Patzsch

Albert Renger-Patzsch was a German photographer born in 1897, he first started make his photographs by the age of twelve. In the  first world war Albert Renger-Patzsch was a solider fighting for Germany. After his time doing military he then went to study chemistry  at Dresden Technical College. Later on he

associated with the new objectivity, a book which explores photographs in their natural forms, industrial subjects or mass produced objects which are then clarified by his scientific knowledge.


This is one of his example of photography, I like this image as it is abstract as it is a close up of a dandelion and it is printed in black and white which I think is very effective. In this image there is still a lot of detail which I liked also he has managed to have bits of the picture blurred out and the other bits in focus I think that this is really effective as It show how the perspective is changed when one changes your mind.


Layers


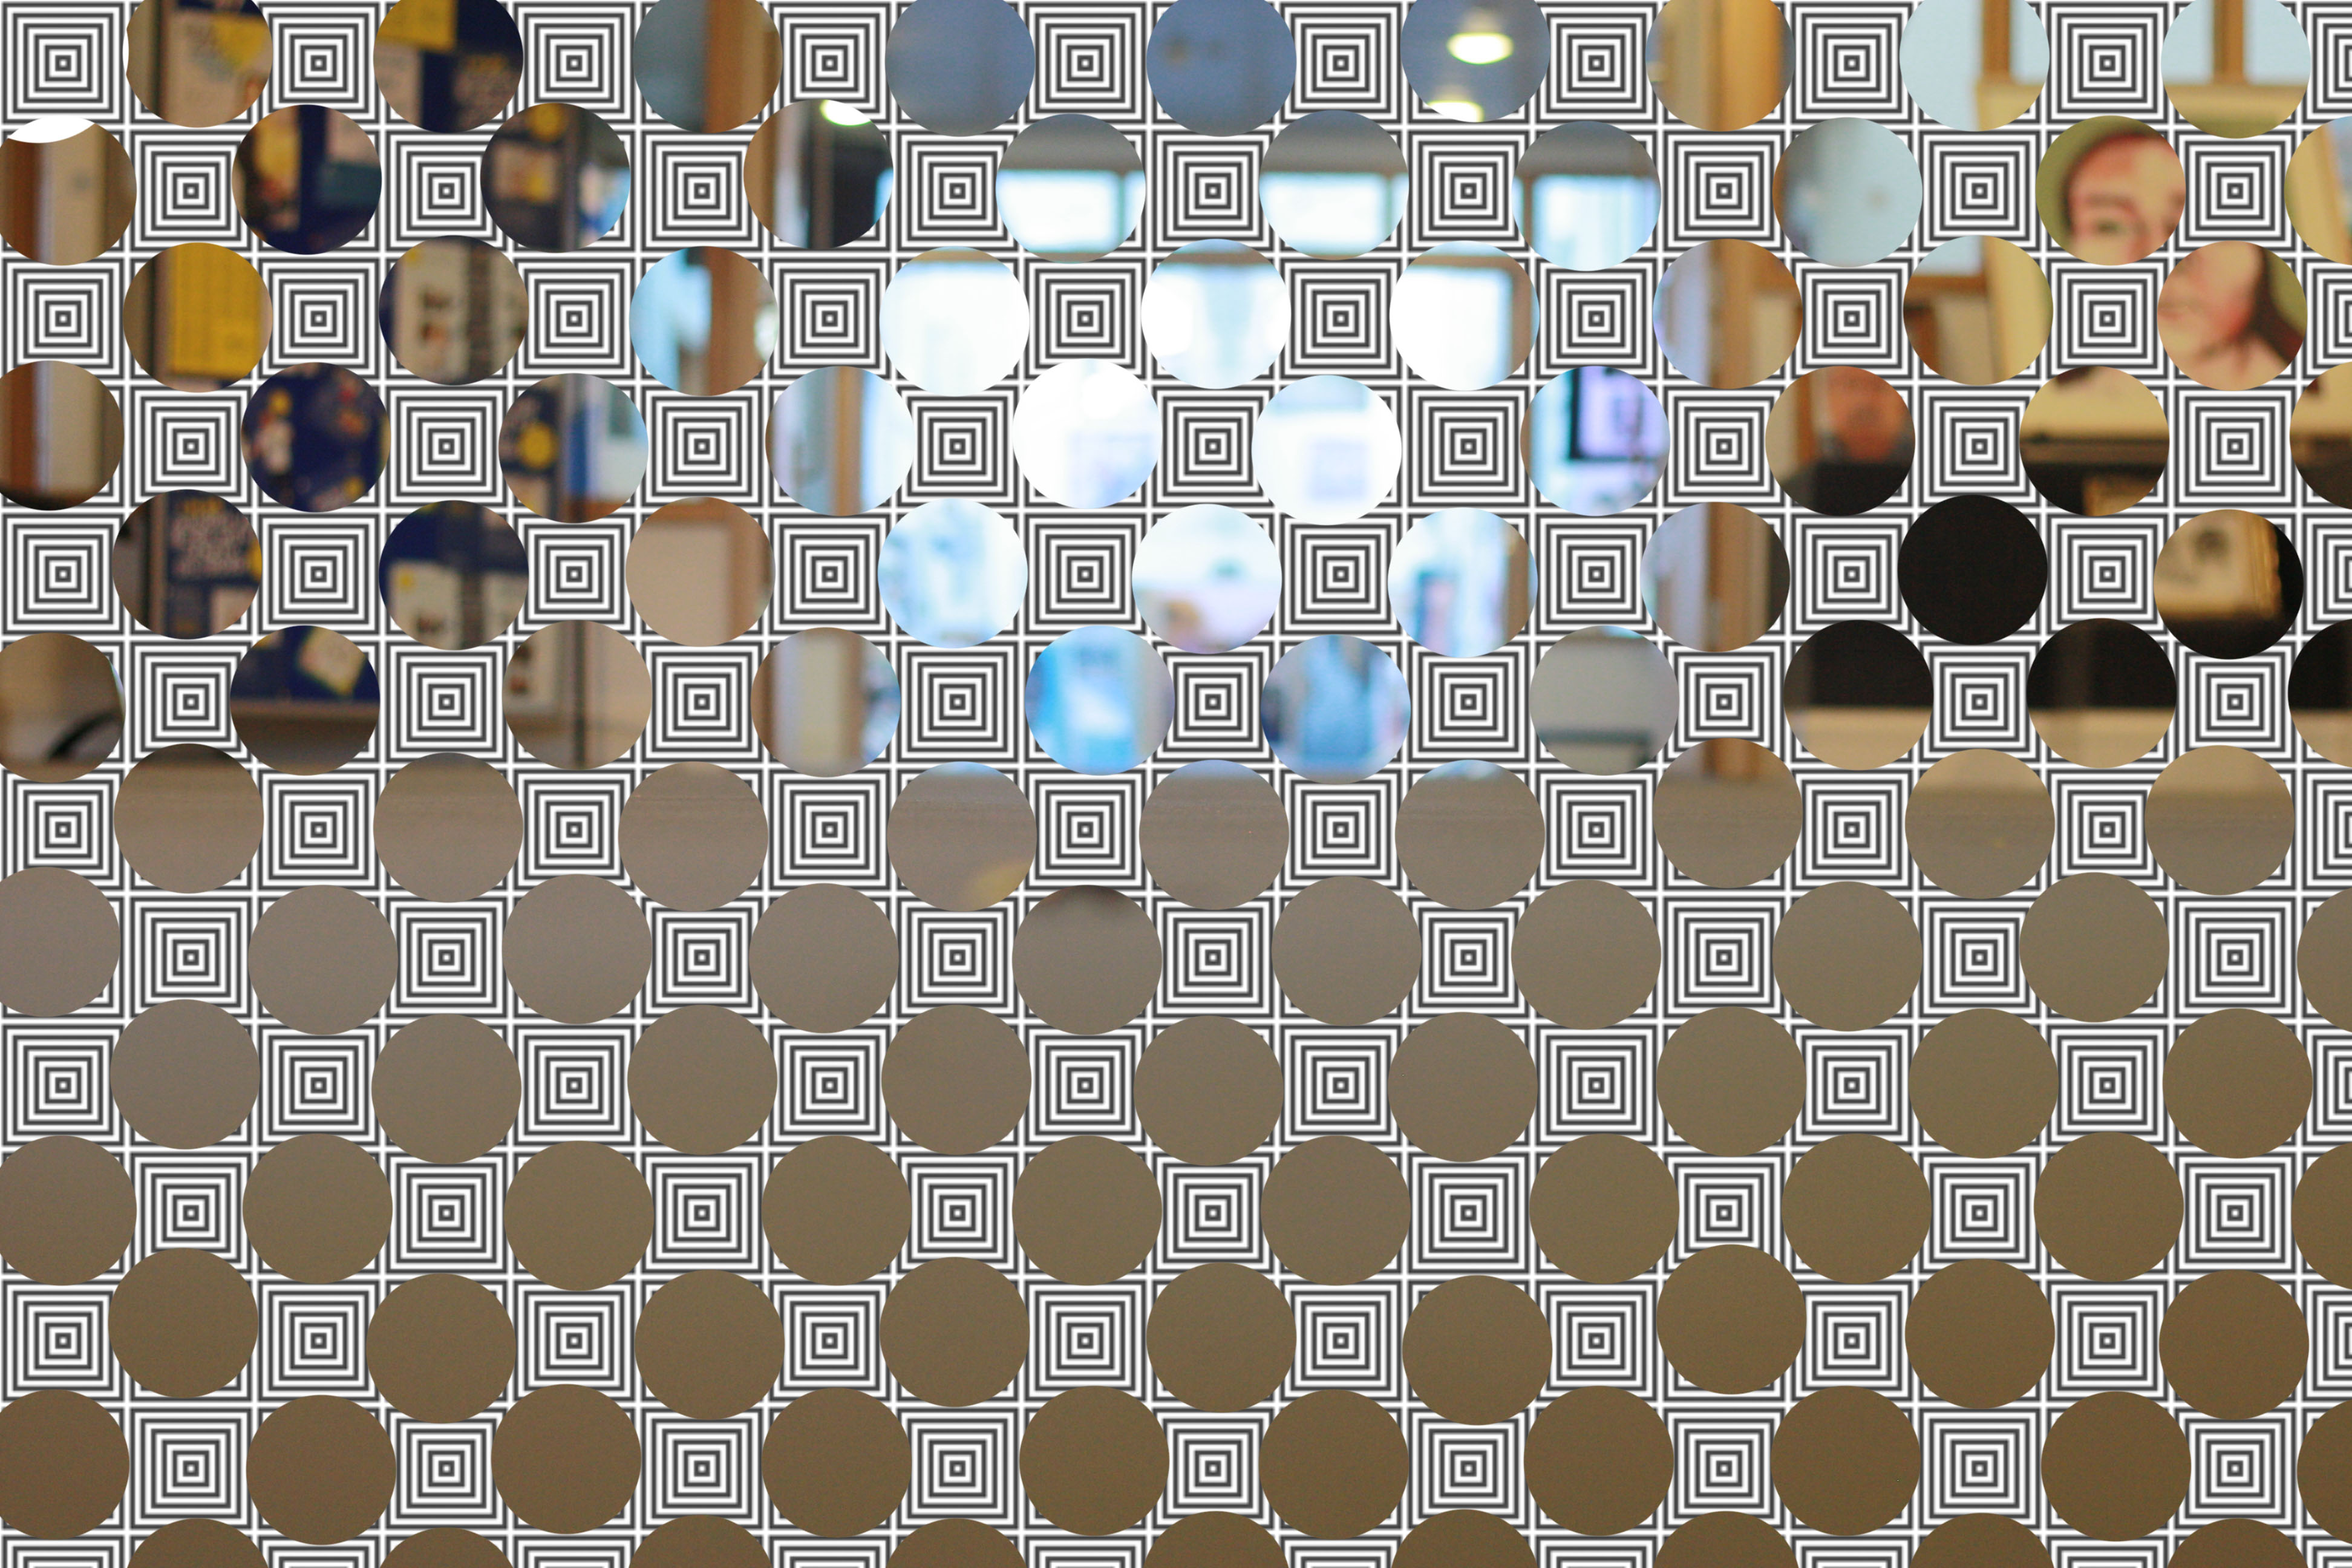
For the layers experiments I decided to experiment with different ideas, for example I tried the gradient solid back ground and then I tried a patterned background for one of the pictures and then I included a inverted picture on a patterned background.


For this picture above I have experimented with layers and I tried using the patterned background instead of using a plain one, In my opinion I would say that I prefer the patterned version gives a contrast and just having a solid colour for the background.


This Image I first used the invert tool to create the image a different colour and then I decided to use the patterned background to shift the focus on the image and the background.


This Picture is my favorite as the picture behind is very simple and it is abstract, then for the layers I decided to use the gradient version instead of one colour in my opinion I think this is very effective solution as the darker shadows of the picture contrast with the colours.


Week 5 Homework – Abstract Colour

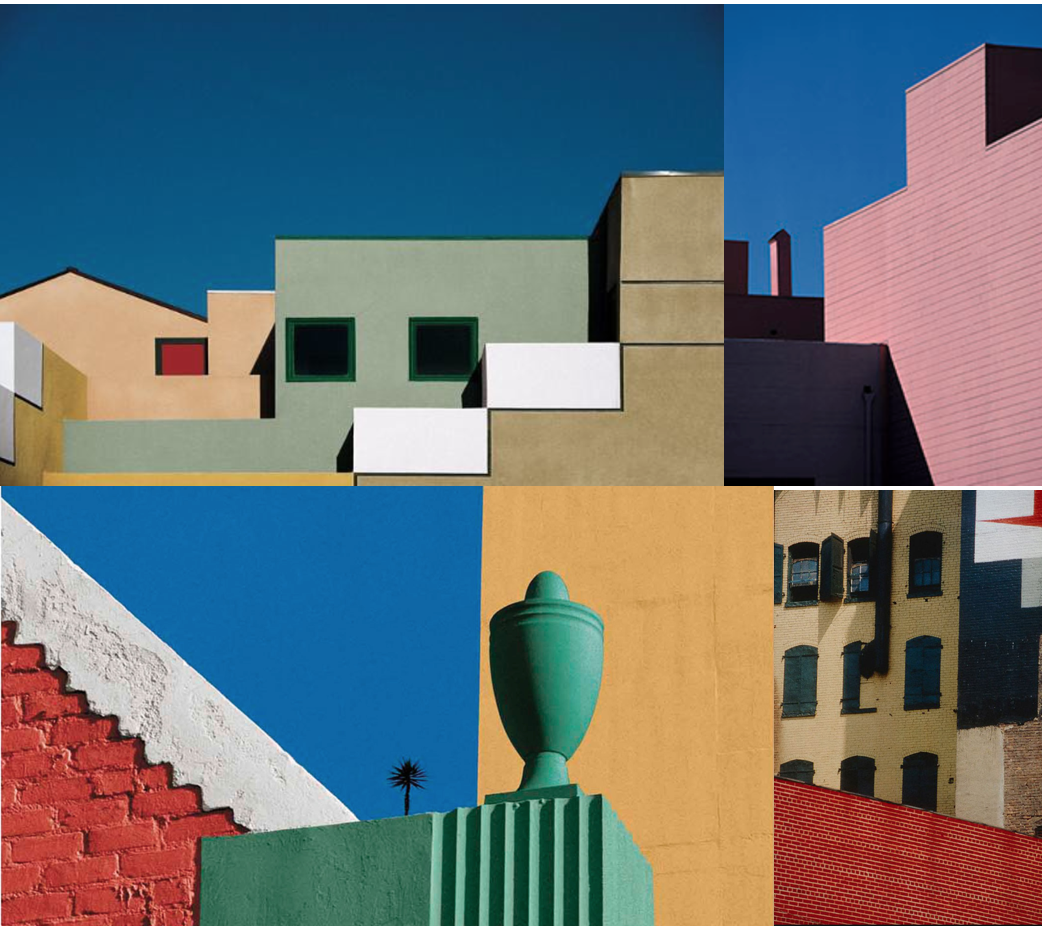
Frank Hallam-Day

Washington, DC-based photographer Frank Day is a versatile artist shooting in both black and white and color film. Traveling the world to remote destinations, Day is able to capture the rich beauty of pattern, color and texture of the open-air markets, isolated landscapes, busy harbors and everyday lives of diverse cultures. Day has also mastered the landscapes and cityscapes of the world, shooting the angular architecture of cities such as Berlin, New York, and Baltimore, as well as the beautiful softness of Washington, DC’s cherry blossoms.

https://addisonripleyfineart.com/artist/frank-hallam-day/

Franco Fontana

Franco Fontana is above all interested in the interplay of colours and he had based his own vibrant and original language on that. The later critics had labeled it as Photographic Trans-avantgarde. He explored different subjects: urban landscape, portraiture, fashion, still-life and the nude. He worked with 35 mm cameras, mostly on location claiming that his studio was the world.

https://en.wikipedia.org/wiki/Franco_Fontana

My Inspiration

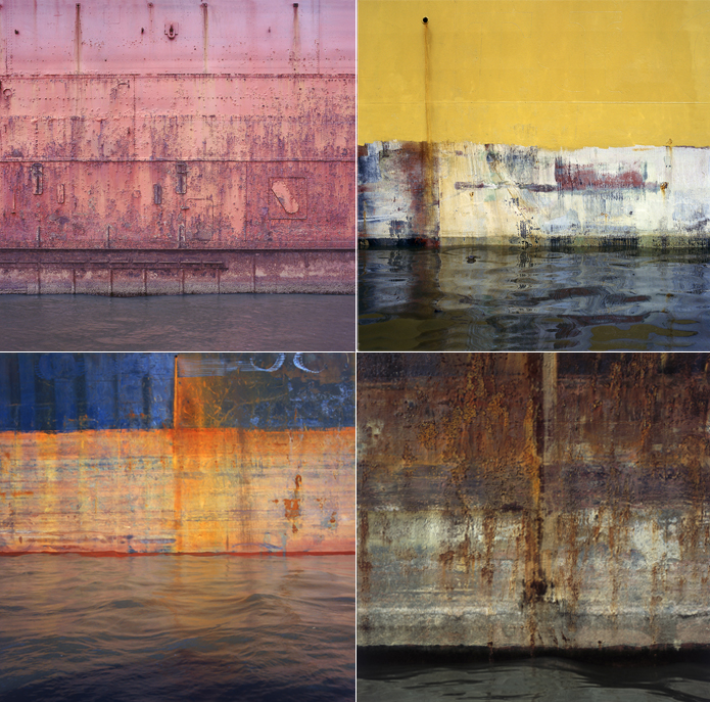
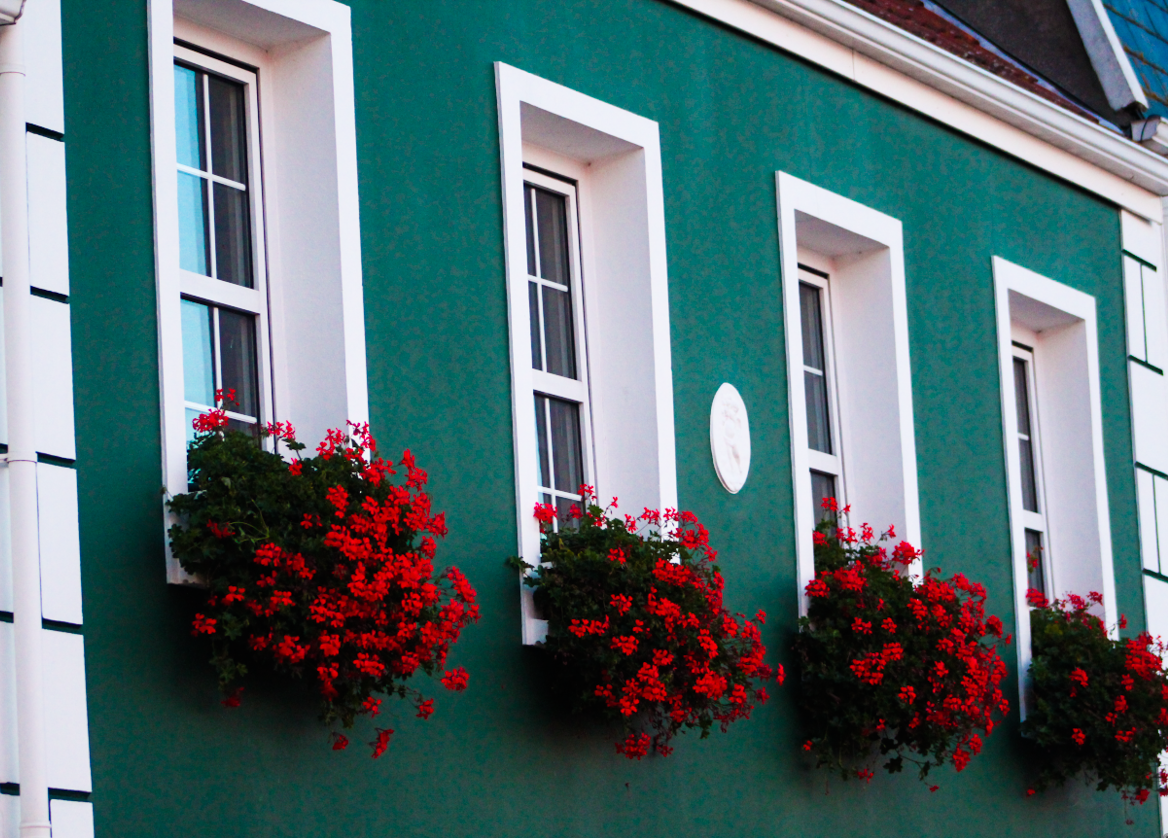
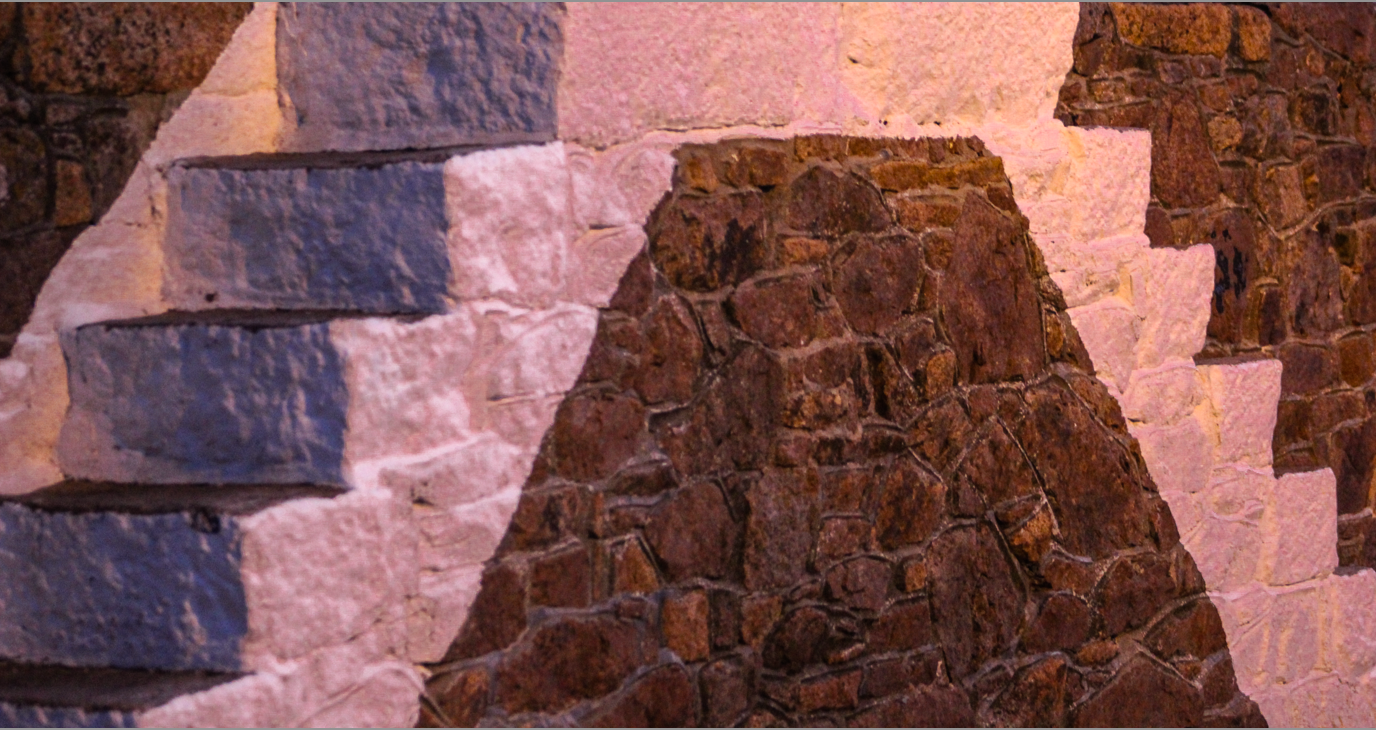
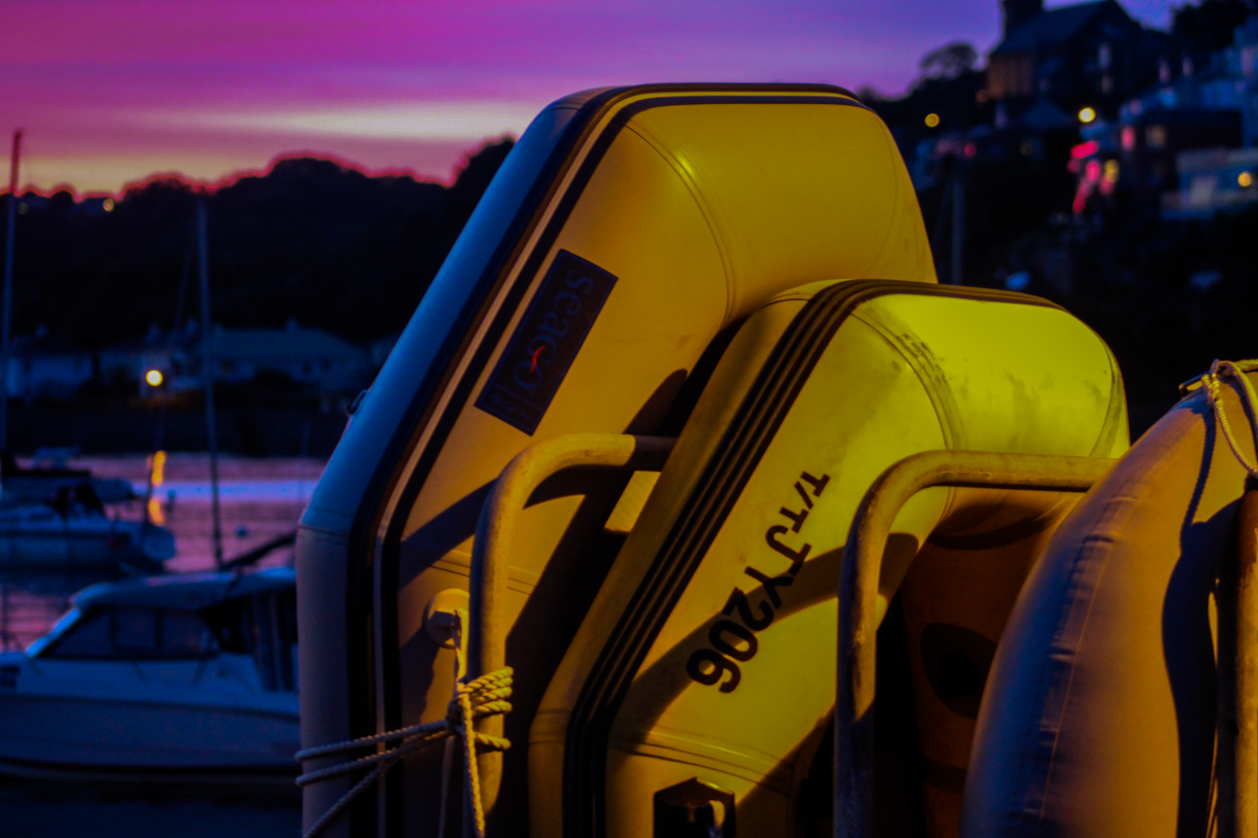
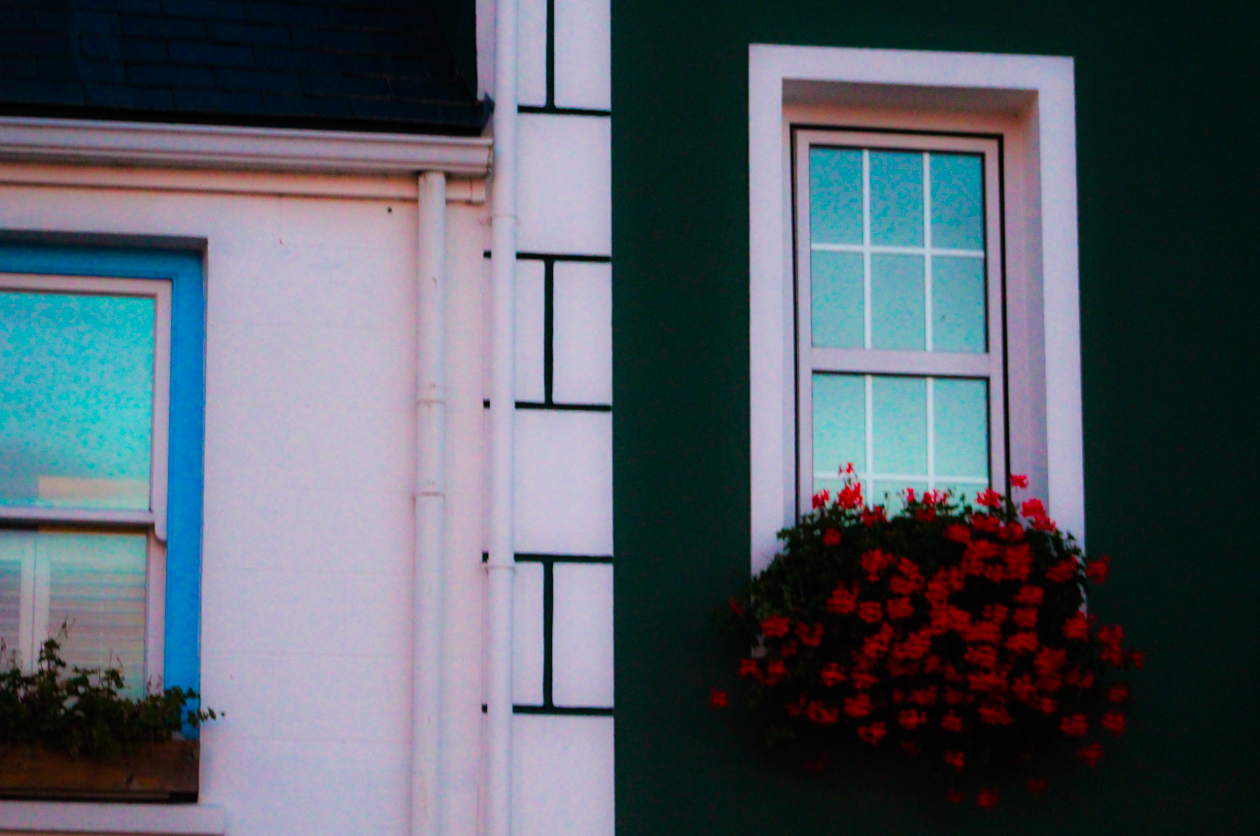
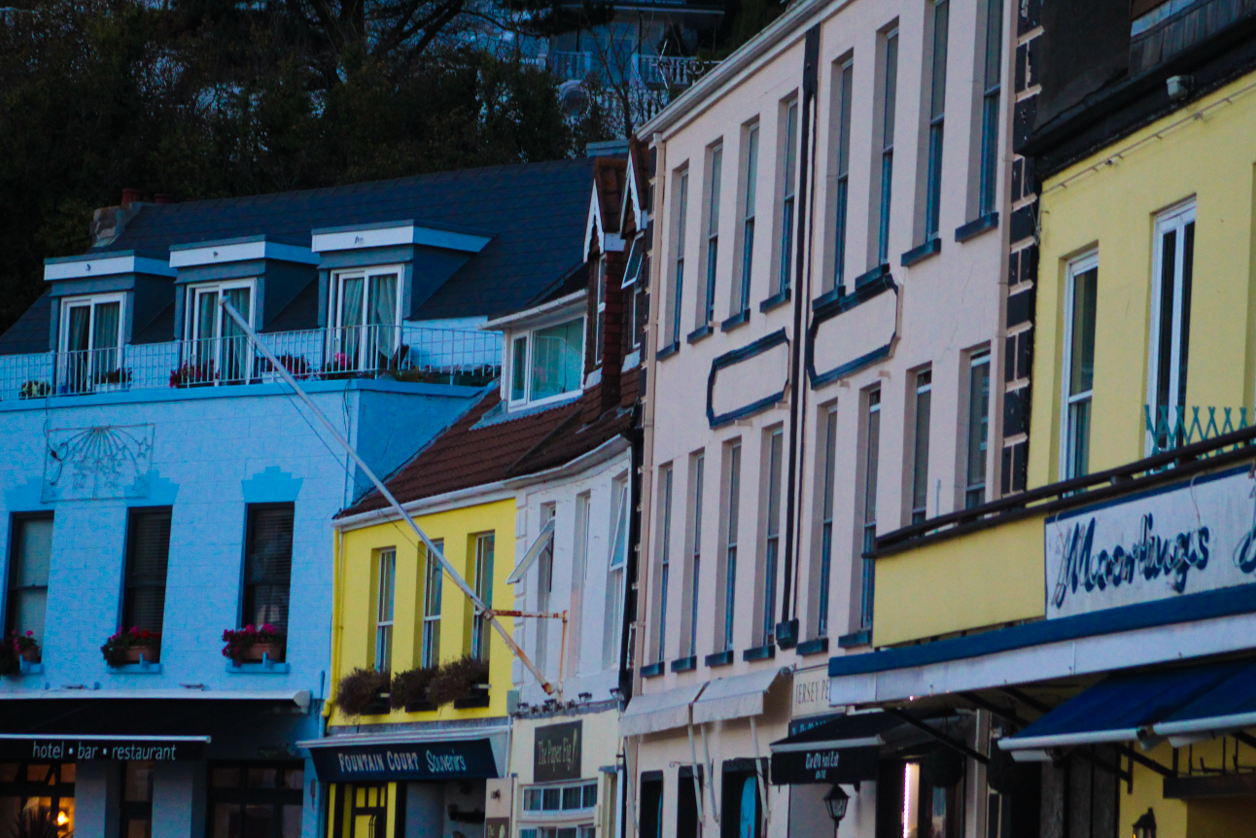
In this photoshoot I went to gorey because I wanted to focus on the different colours of the buildings. Therefore Franco Fontana was a god artist to take inspiration from. However, because I was also going to the pier, Frank Hallam-Day is a great artist to take inspiration from, especially his photographic series of the rusty multi-coloured boats.

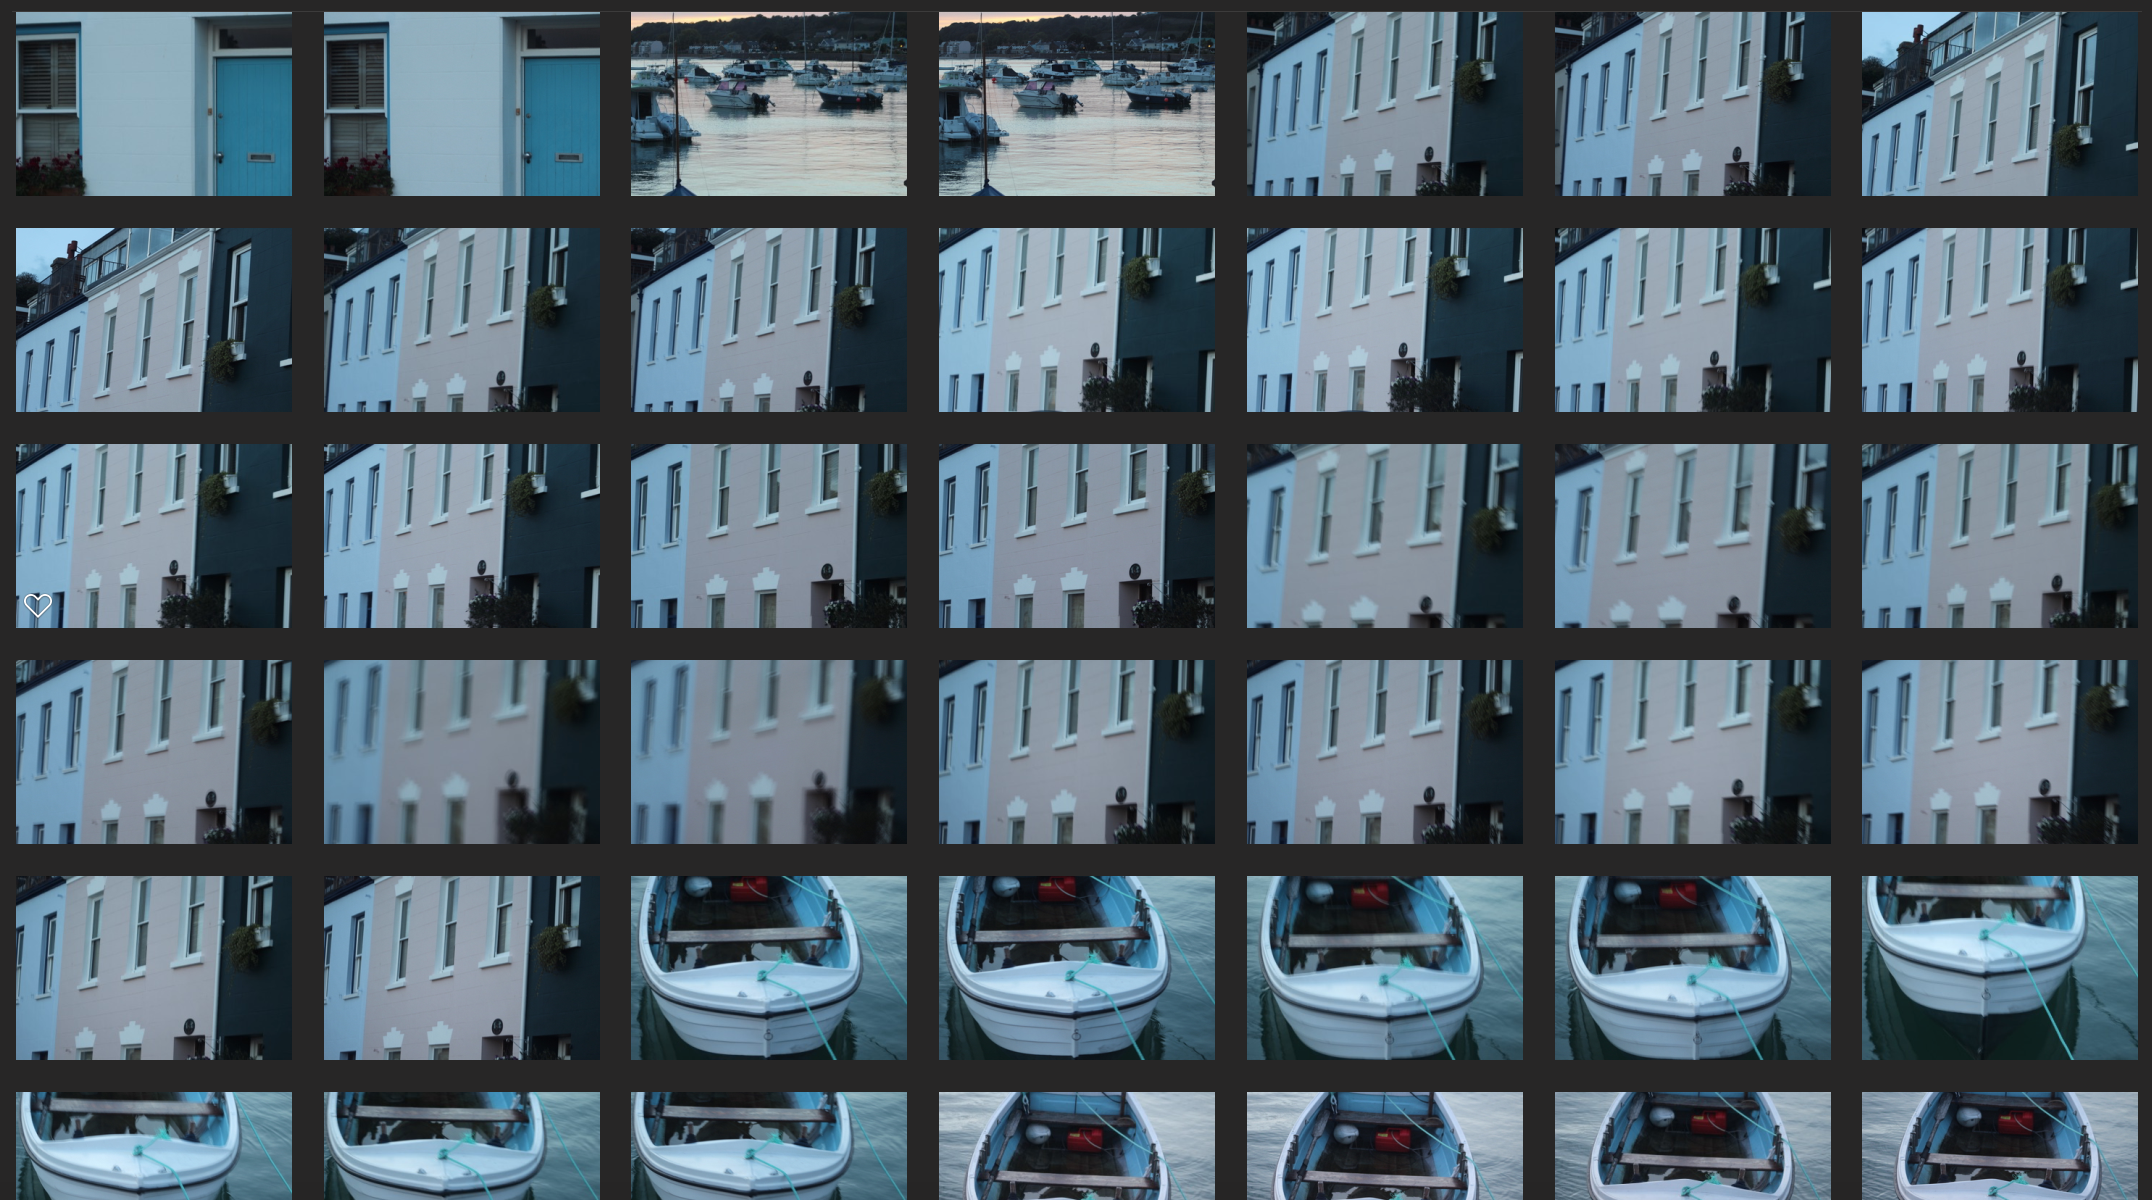
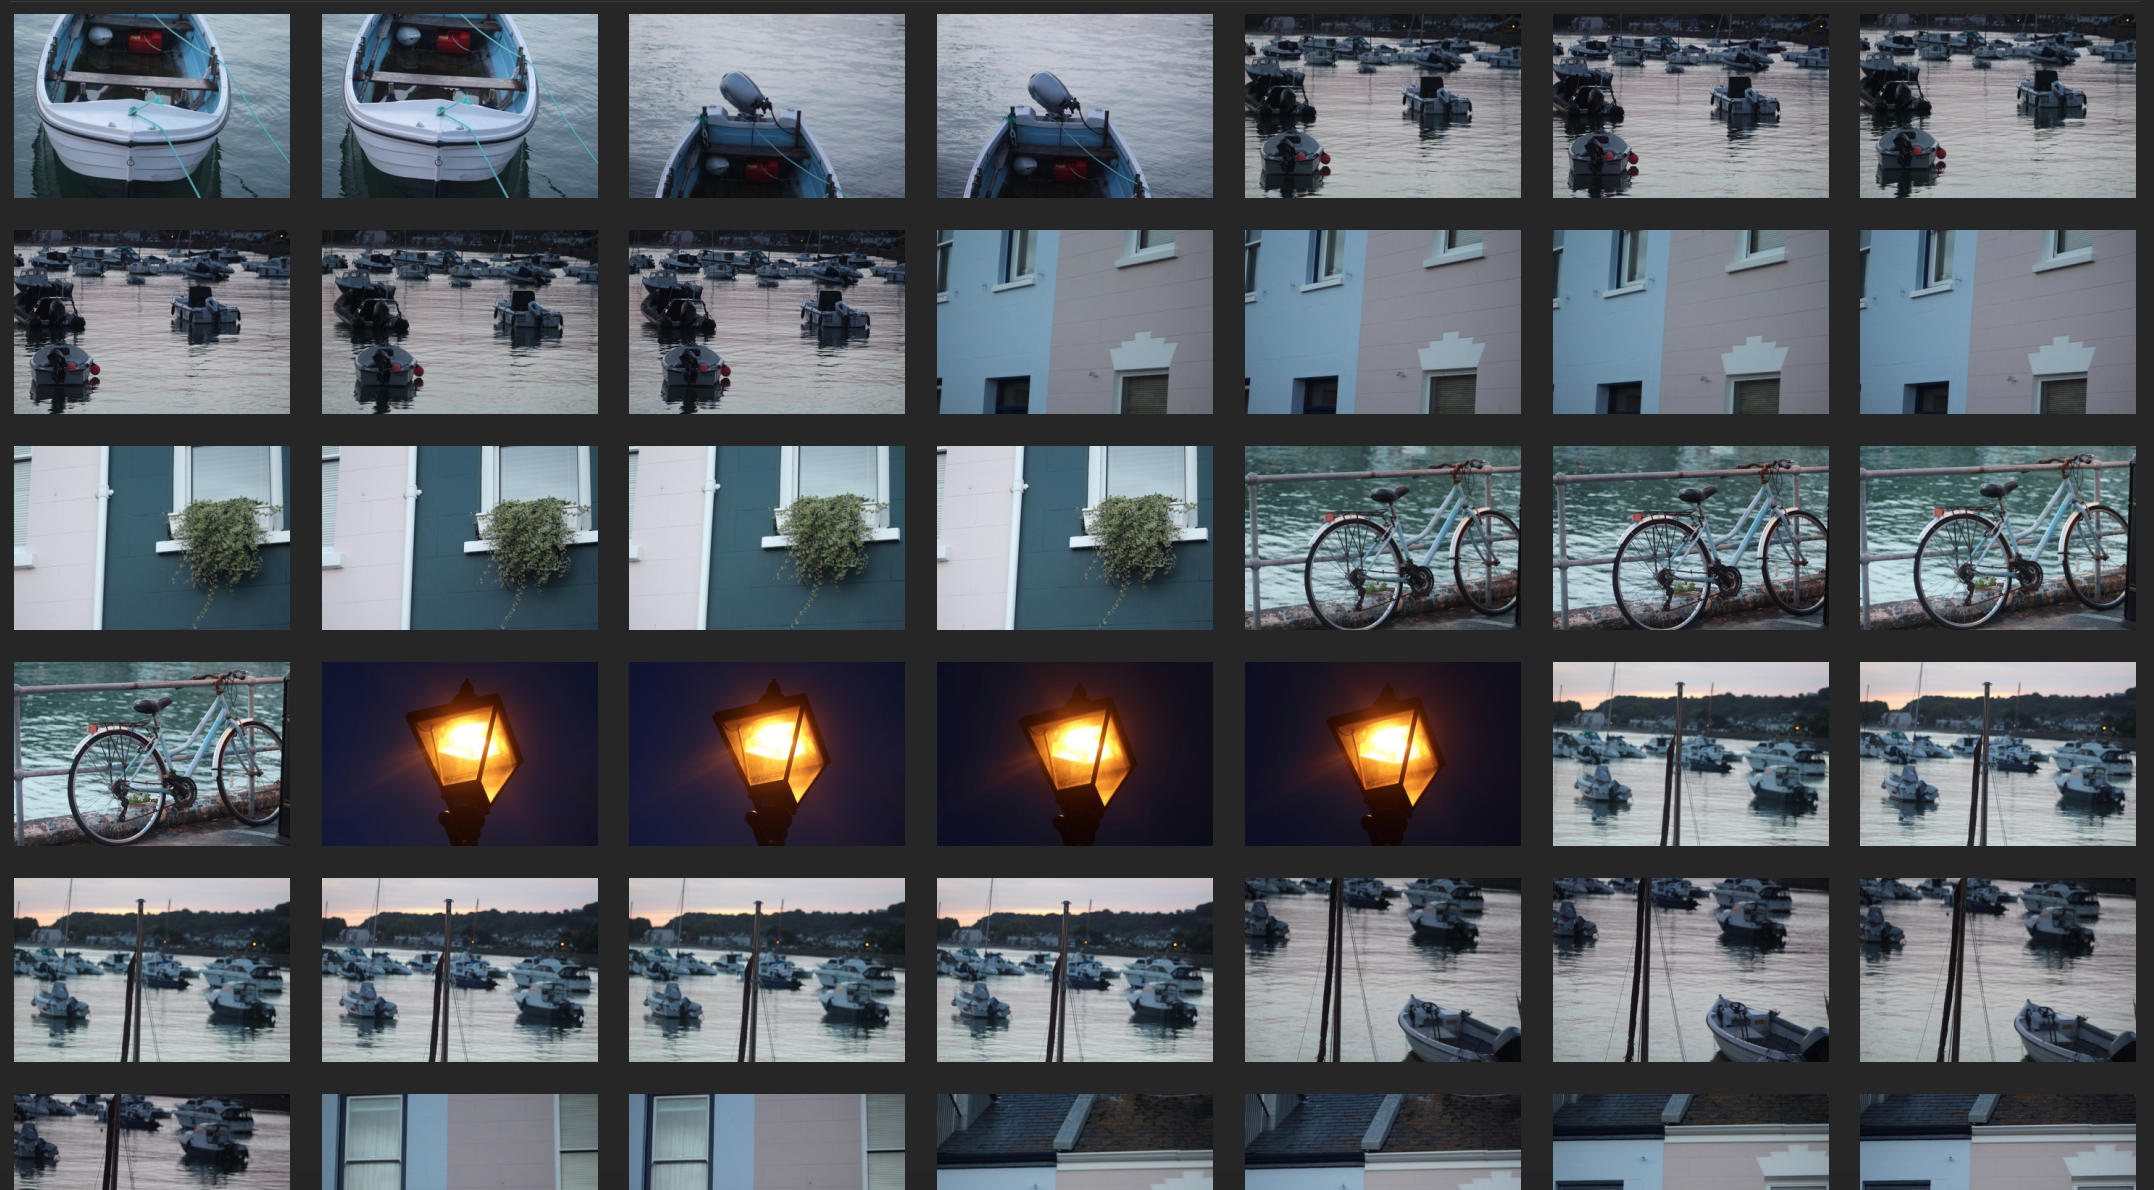
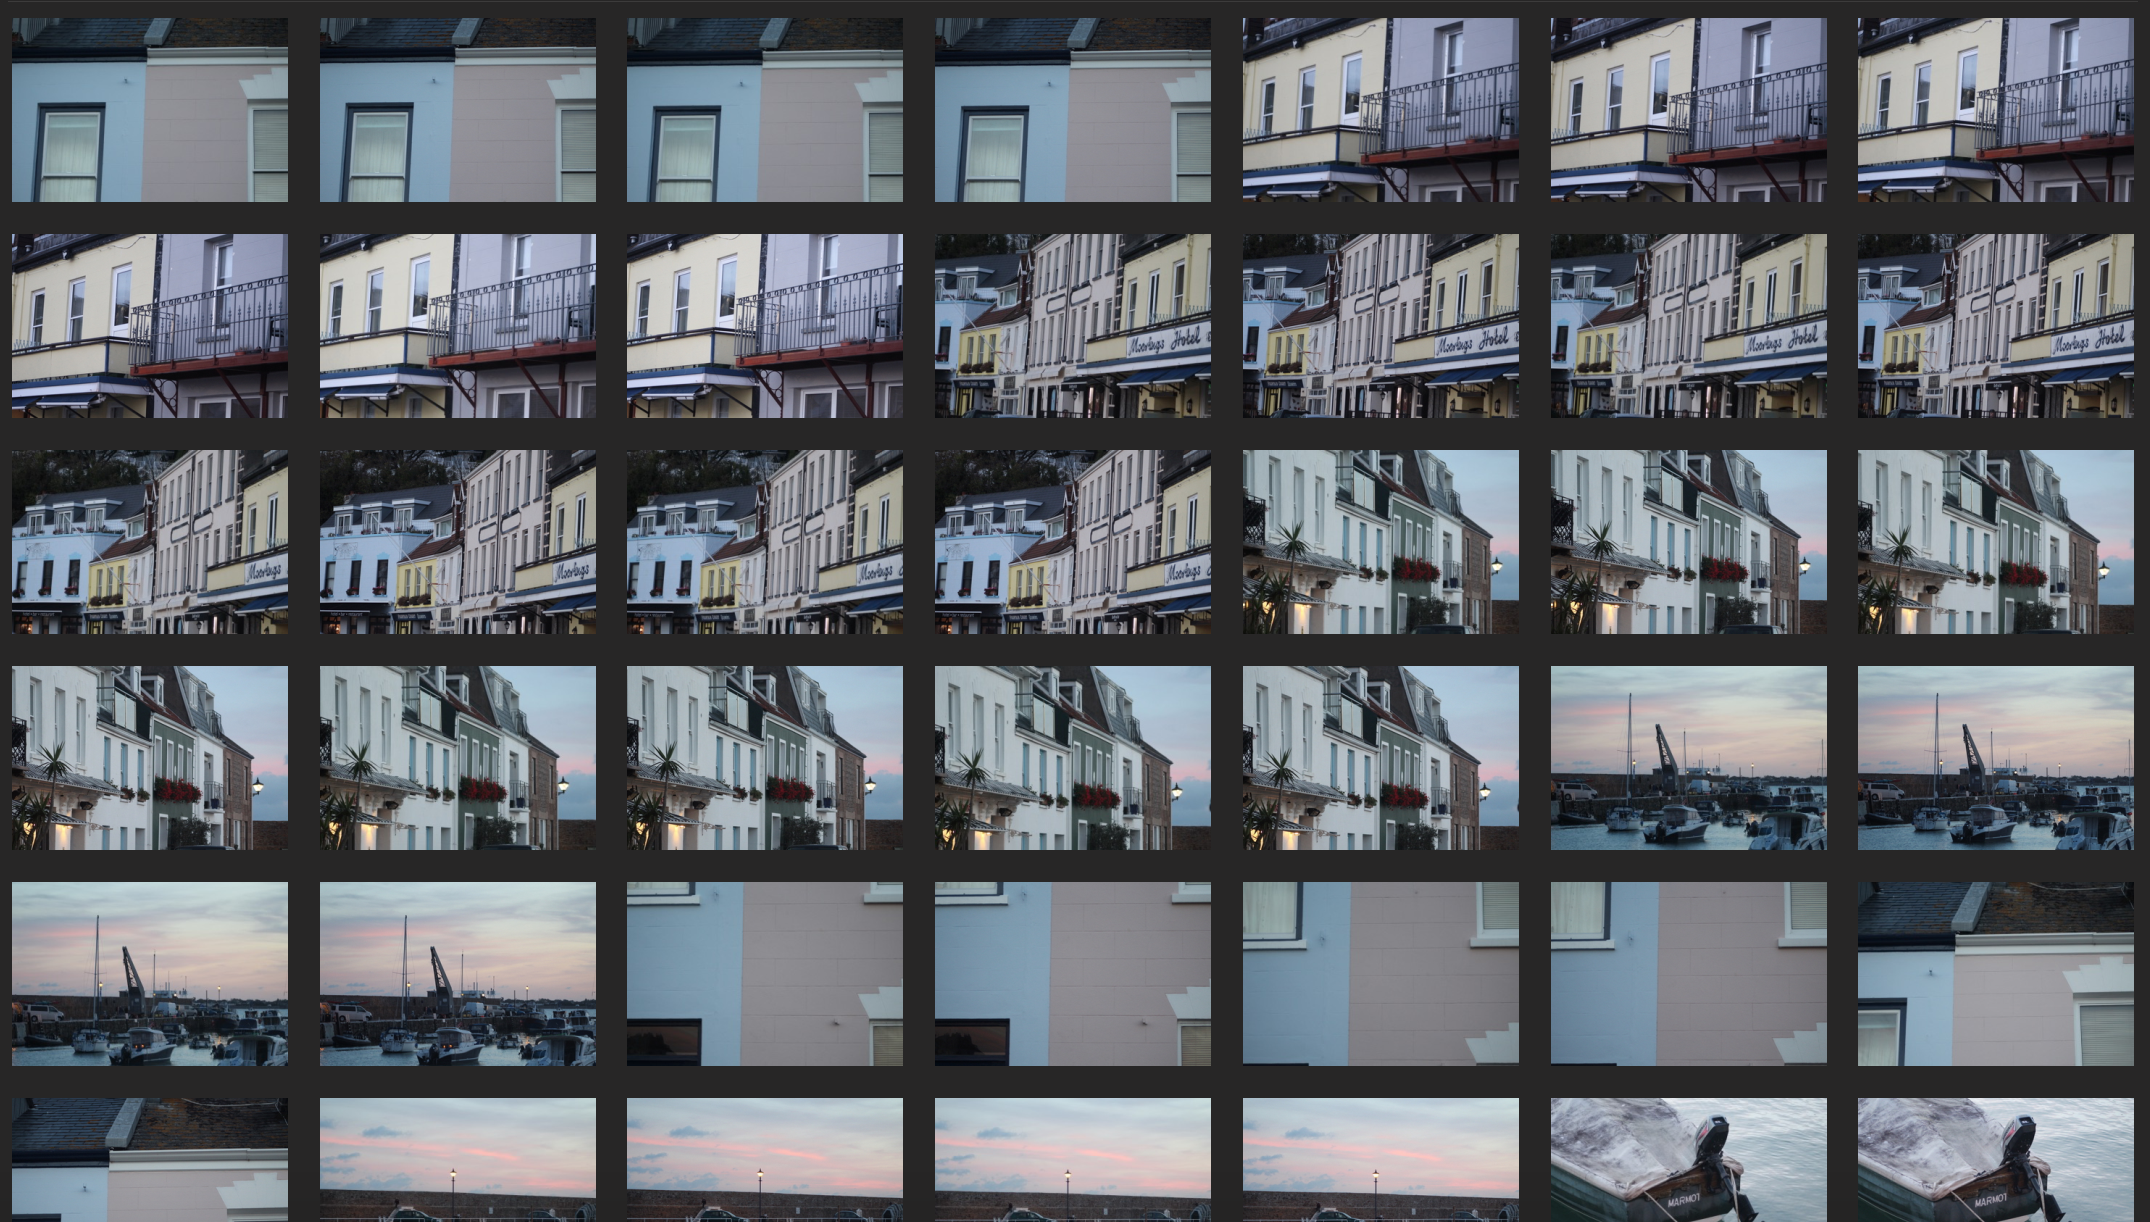
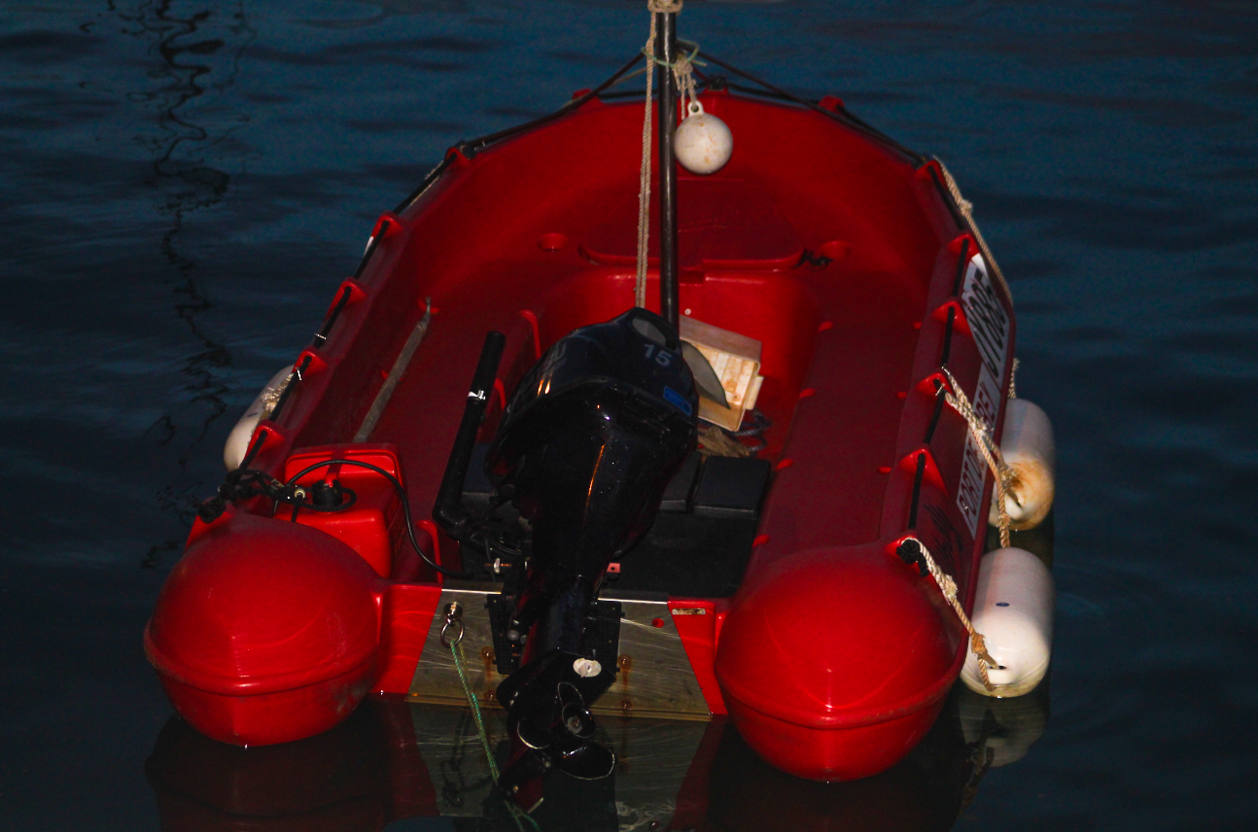
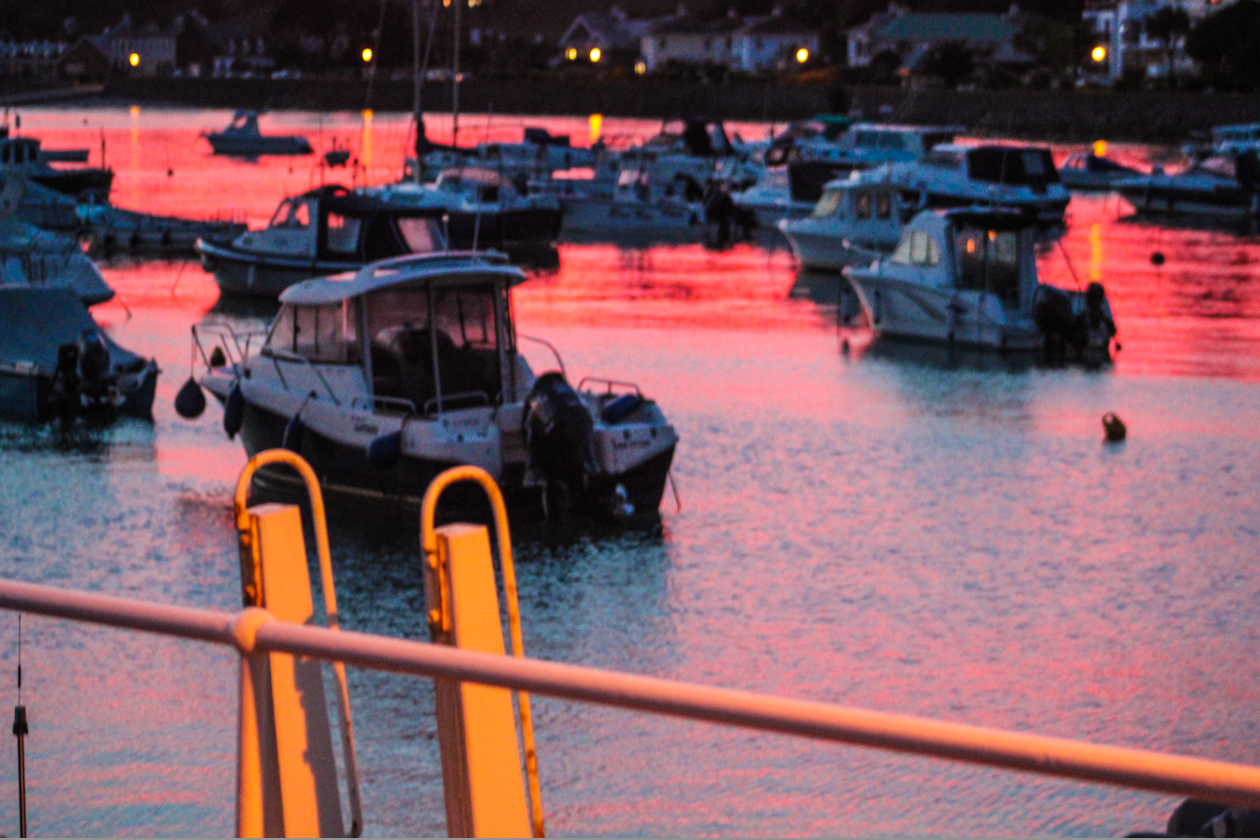
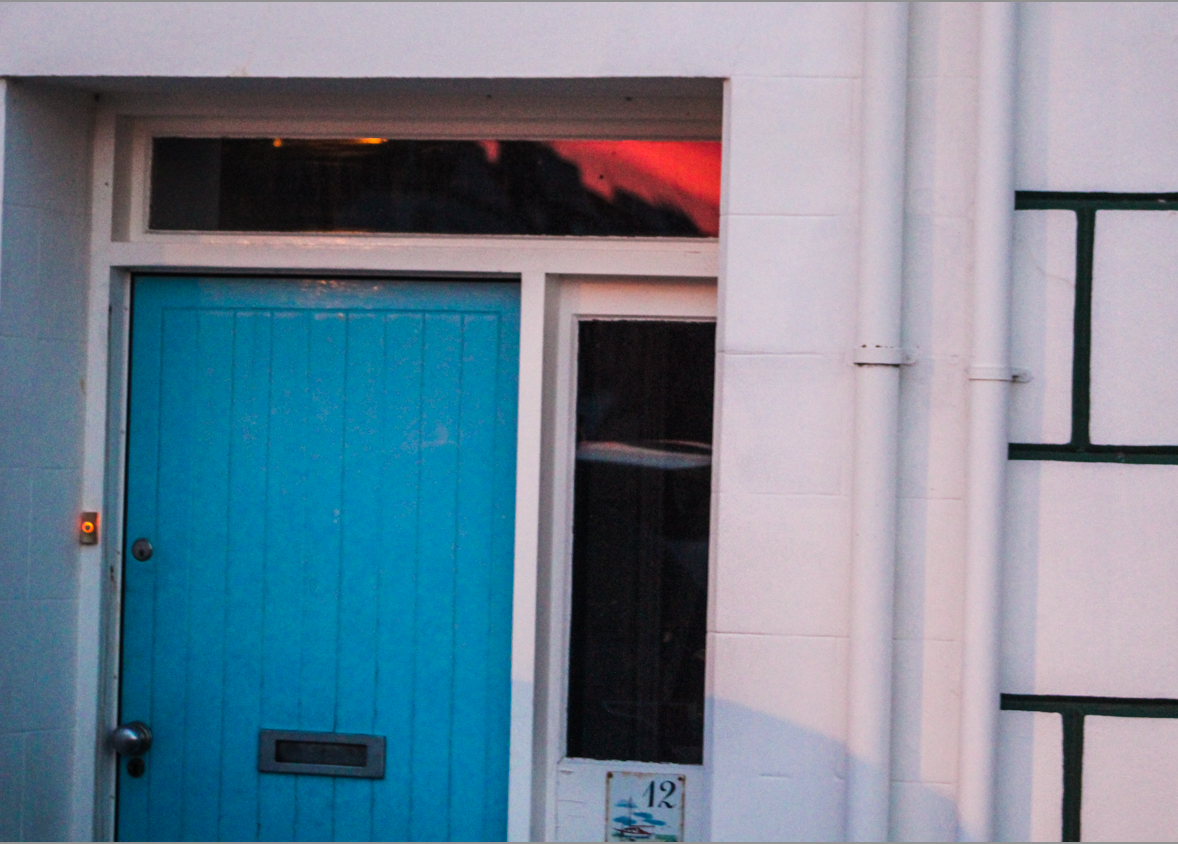
Here are examples of my photos:
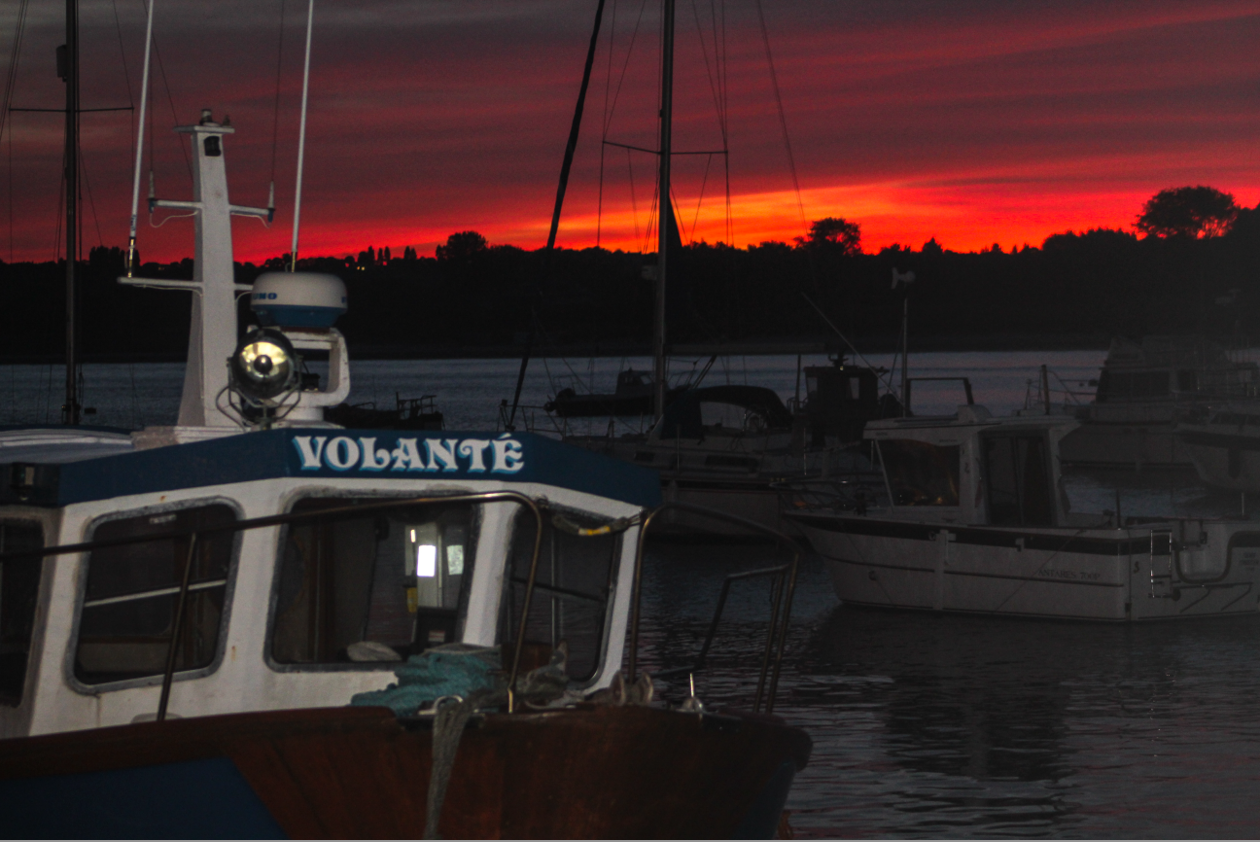
With my shoot, I was lucky enough to have a vibrant sunset which affected all of my photos. I especially liked it when it was dark, and my photos of the boats feature a dark red sunset.

To manipulate my images I used adobe lightroom. With my images I adjusted the vibrance, clarity, contrast, exposure, highlights, shadows and I cropped the images until I got the result I wanted. I adjusted the vibrance to emphasize the sunset, however for some of the photos I didn't need to adjust the vibrance because the sunset was so predominant. 

In some of my images I was struggling with the shutter speed so some of my images turned out blurry because it captured too much of the image. With the lighting I used both natural light, however I also used flash when it became really dark. Most of the images have a very warm temperature, however some of the photos that include the buildings also feature cold colours because of the buildings colour. The darker the night because, the darker the tone of the image. There are some elements of line introduced in my images, from the colours of the buildings, or the wires of the boats. However, there are also softer elements of the images, from the roundness of the boats to the curvature of the flowers.


Shutter Speed

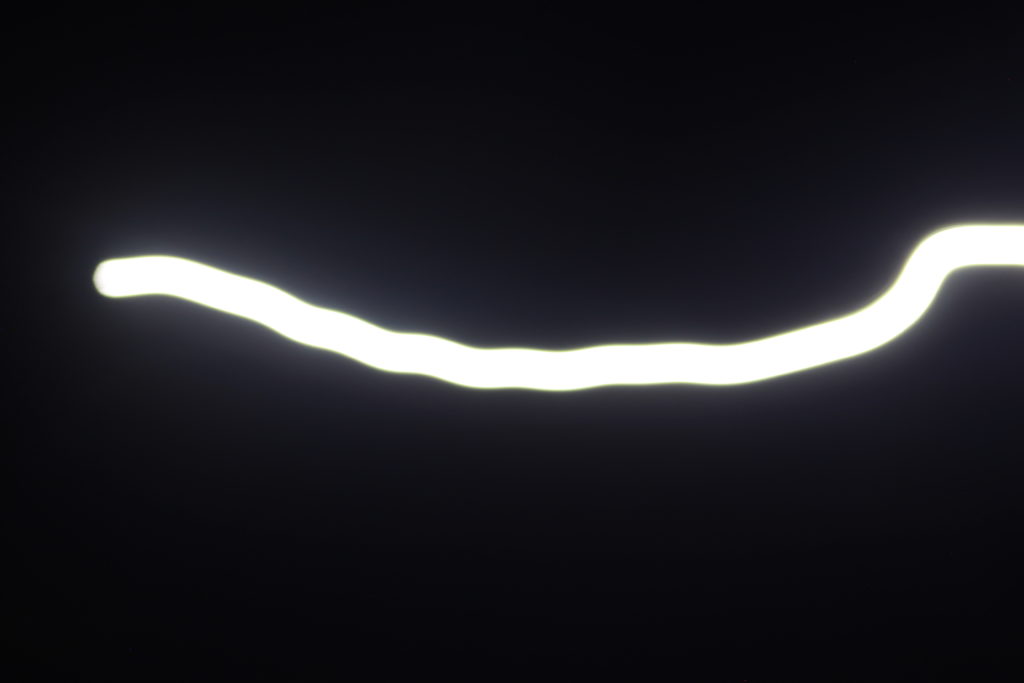
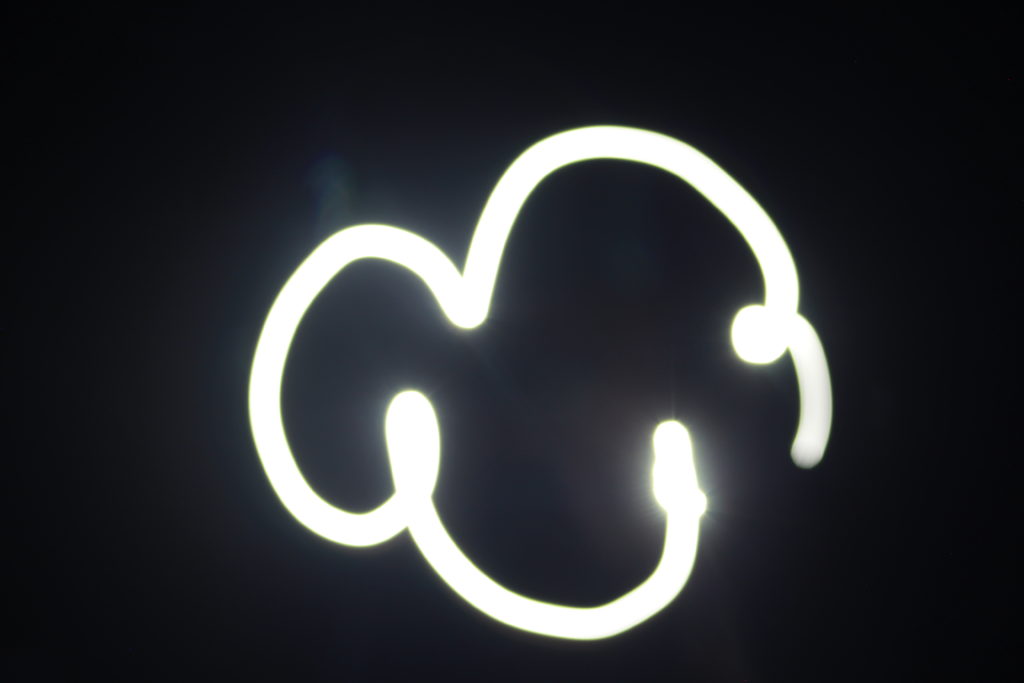
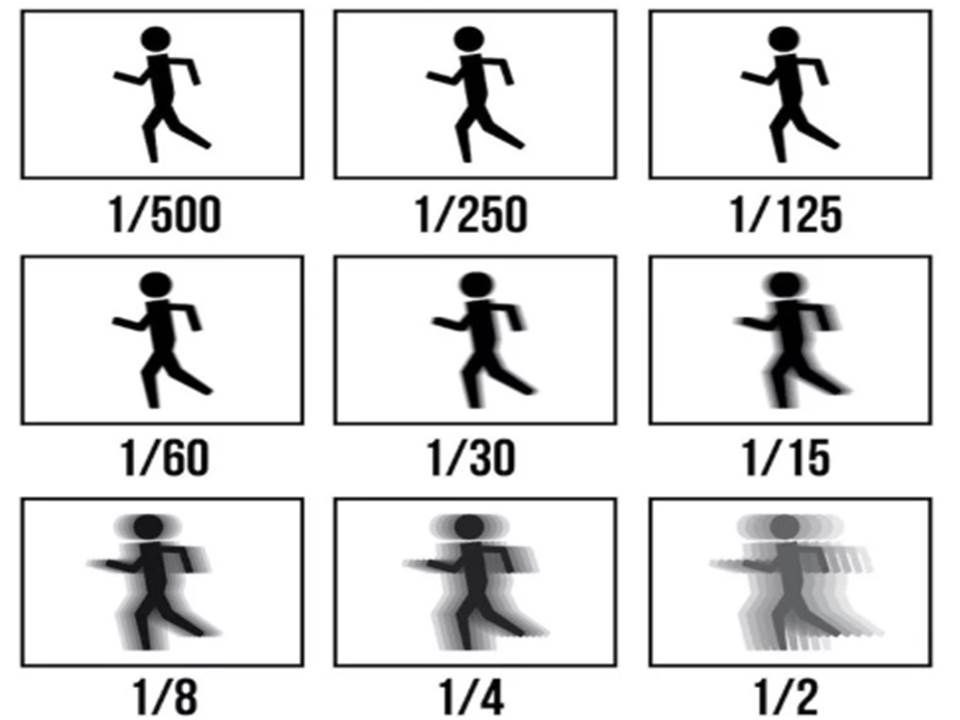
Shutter speed is the nominal time for which a shutter is open at a given setting. If the shutter speed it set to a faster fraction it means it’ll let less light into the photo, but if the shutter speed is slow, more light will be let in because the shutter is open for a longer period of time and can collect in more light and detail.

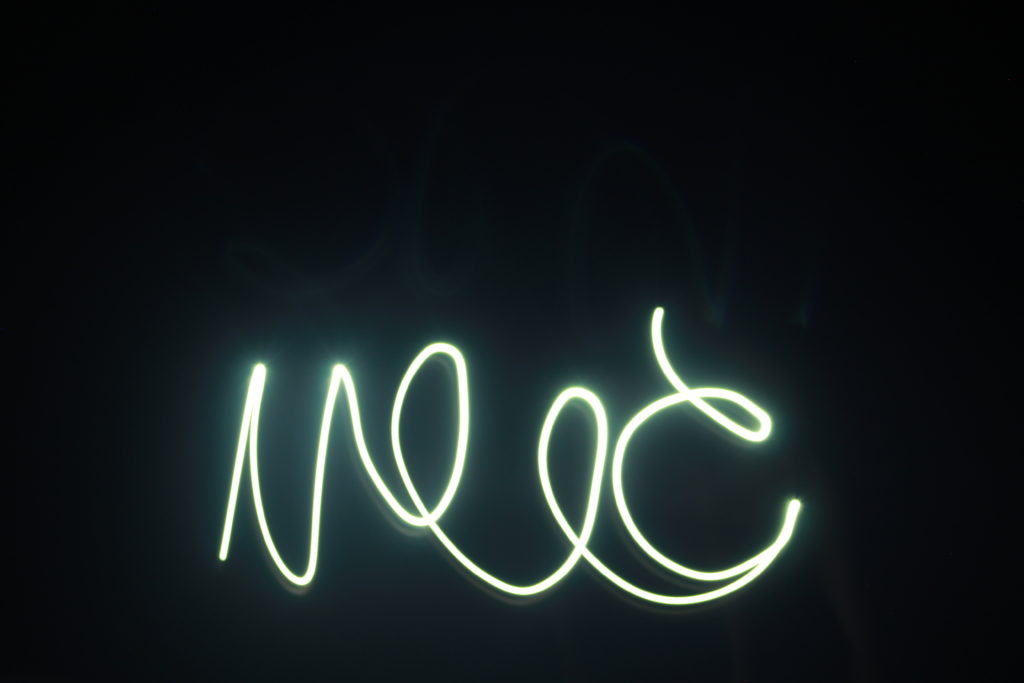
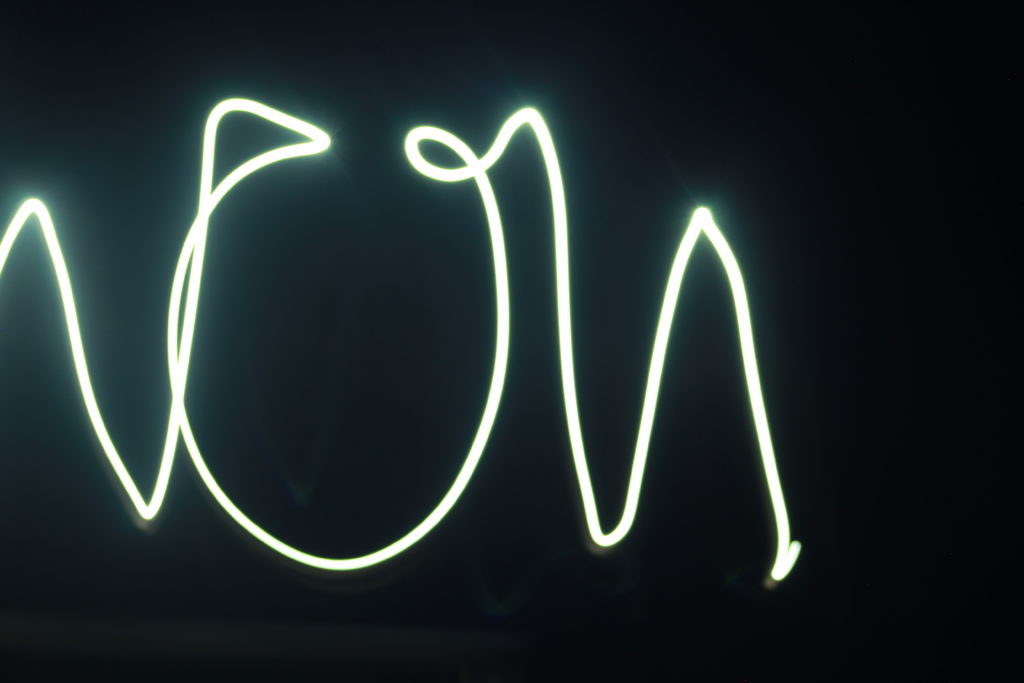
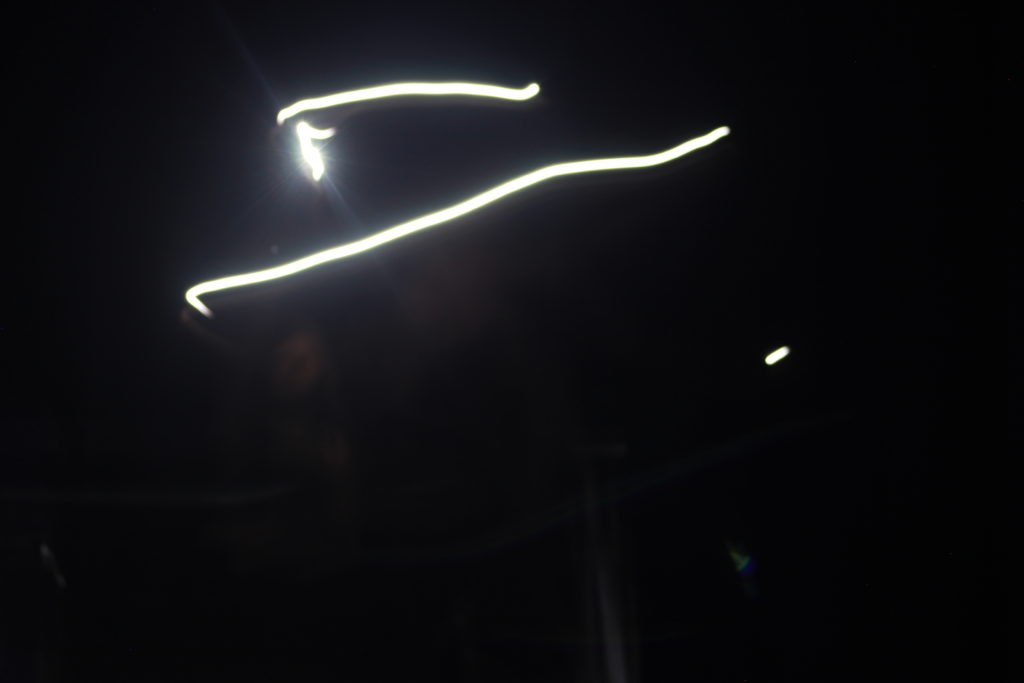
I experimented with a slow shutter speed and these are my results. In these photos I photographed a moving light which enabled the camera to photograph the whole image the light was drawing.


This image was also taken in a dark room along with a moving light, which created the lines in the image. I used a 4 second shutter speed this is so the image could capture more light of the light moving in the room. If i had used a fast shutter speed the image would have been blurry and it wouldn’t of captured the pattern of the light.

Ralph Eugene Meatyard

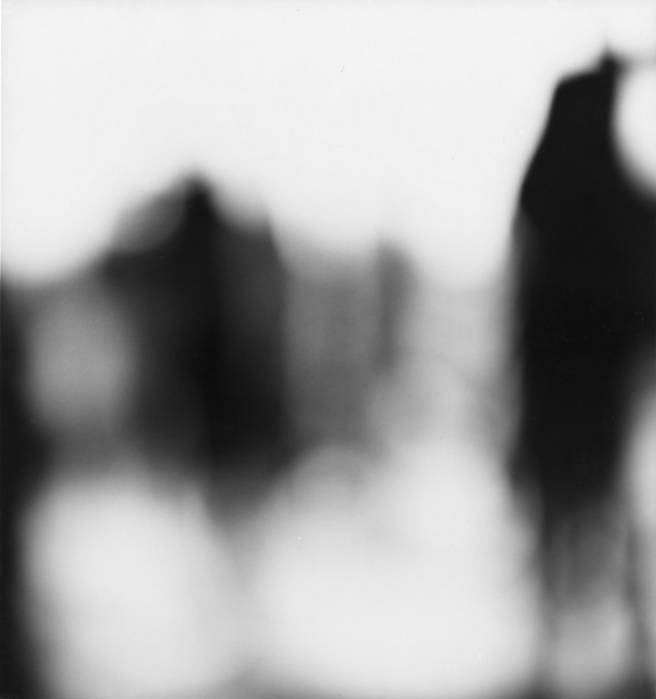
Ralph Eugene Meatyard was an american Photographer and optician. He bought a camera in 1950 after the birth of his first child and 4 years later, he had joined the Lexington camera club where photographer Van Deren Coke encouraged him to explore abstract elements of photography. Many of Meatyard’s early photographs  focused on his family wearing masks, but personally I find his abstract work more appealing. Many of these pictures involved using a very shallow focus, to the extent where some of the people he photographed were so distorted that they no longer looked human. The Picture Below is From his exhibition called ‘No-Focus’.

Ralph Eugene Meatyard’s ‘No-Focus’

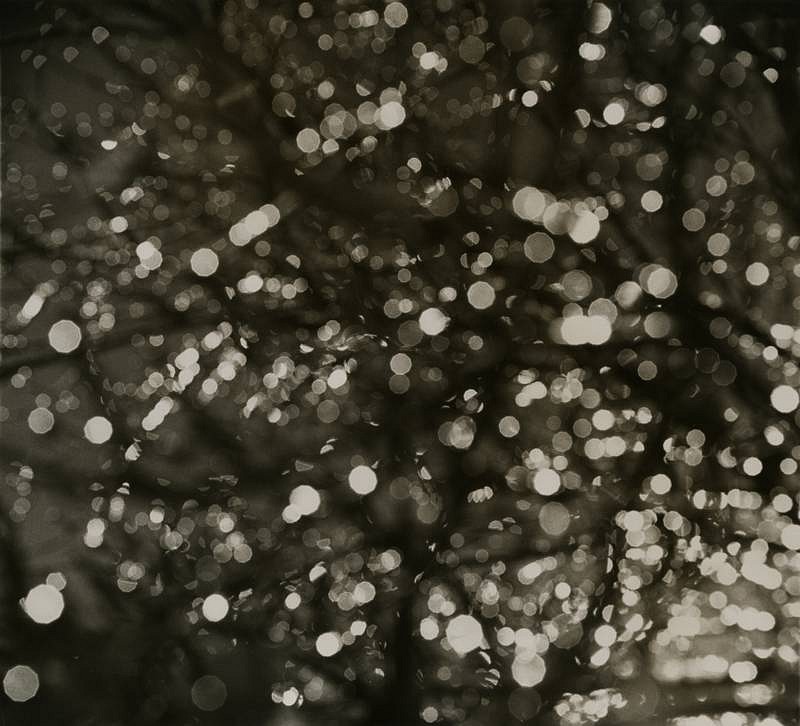
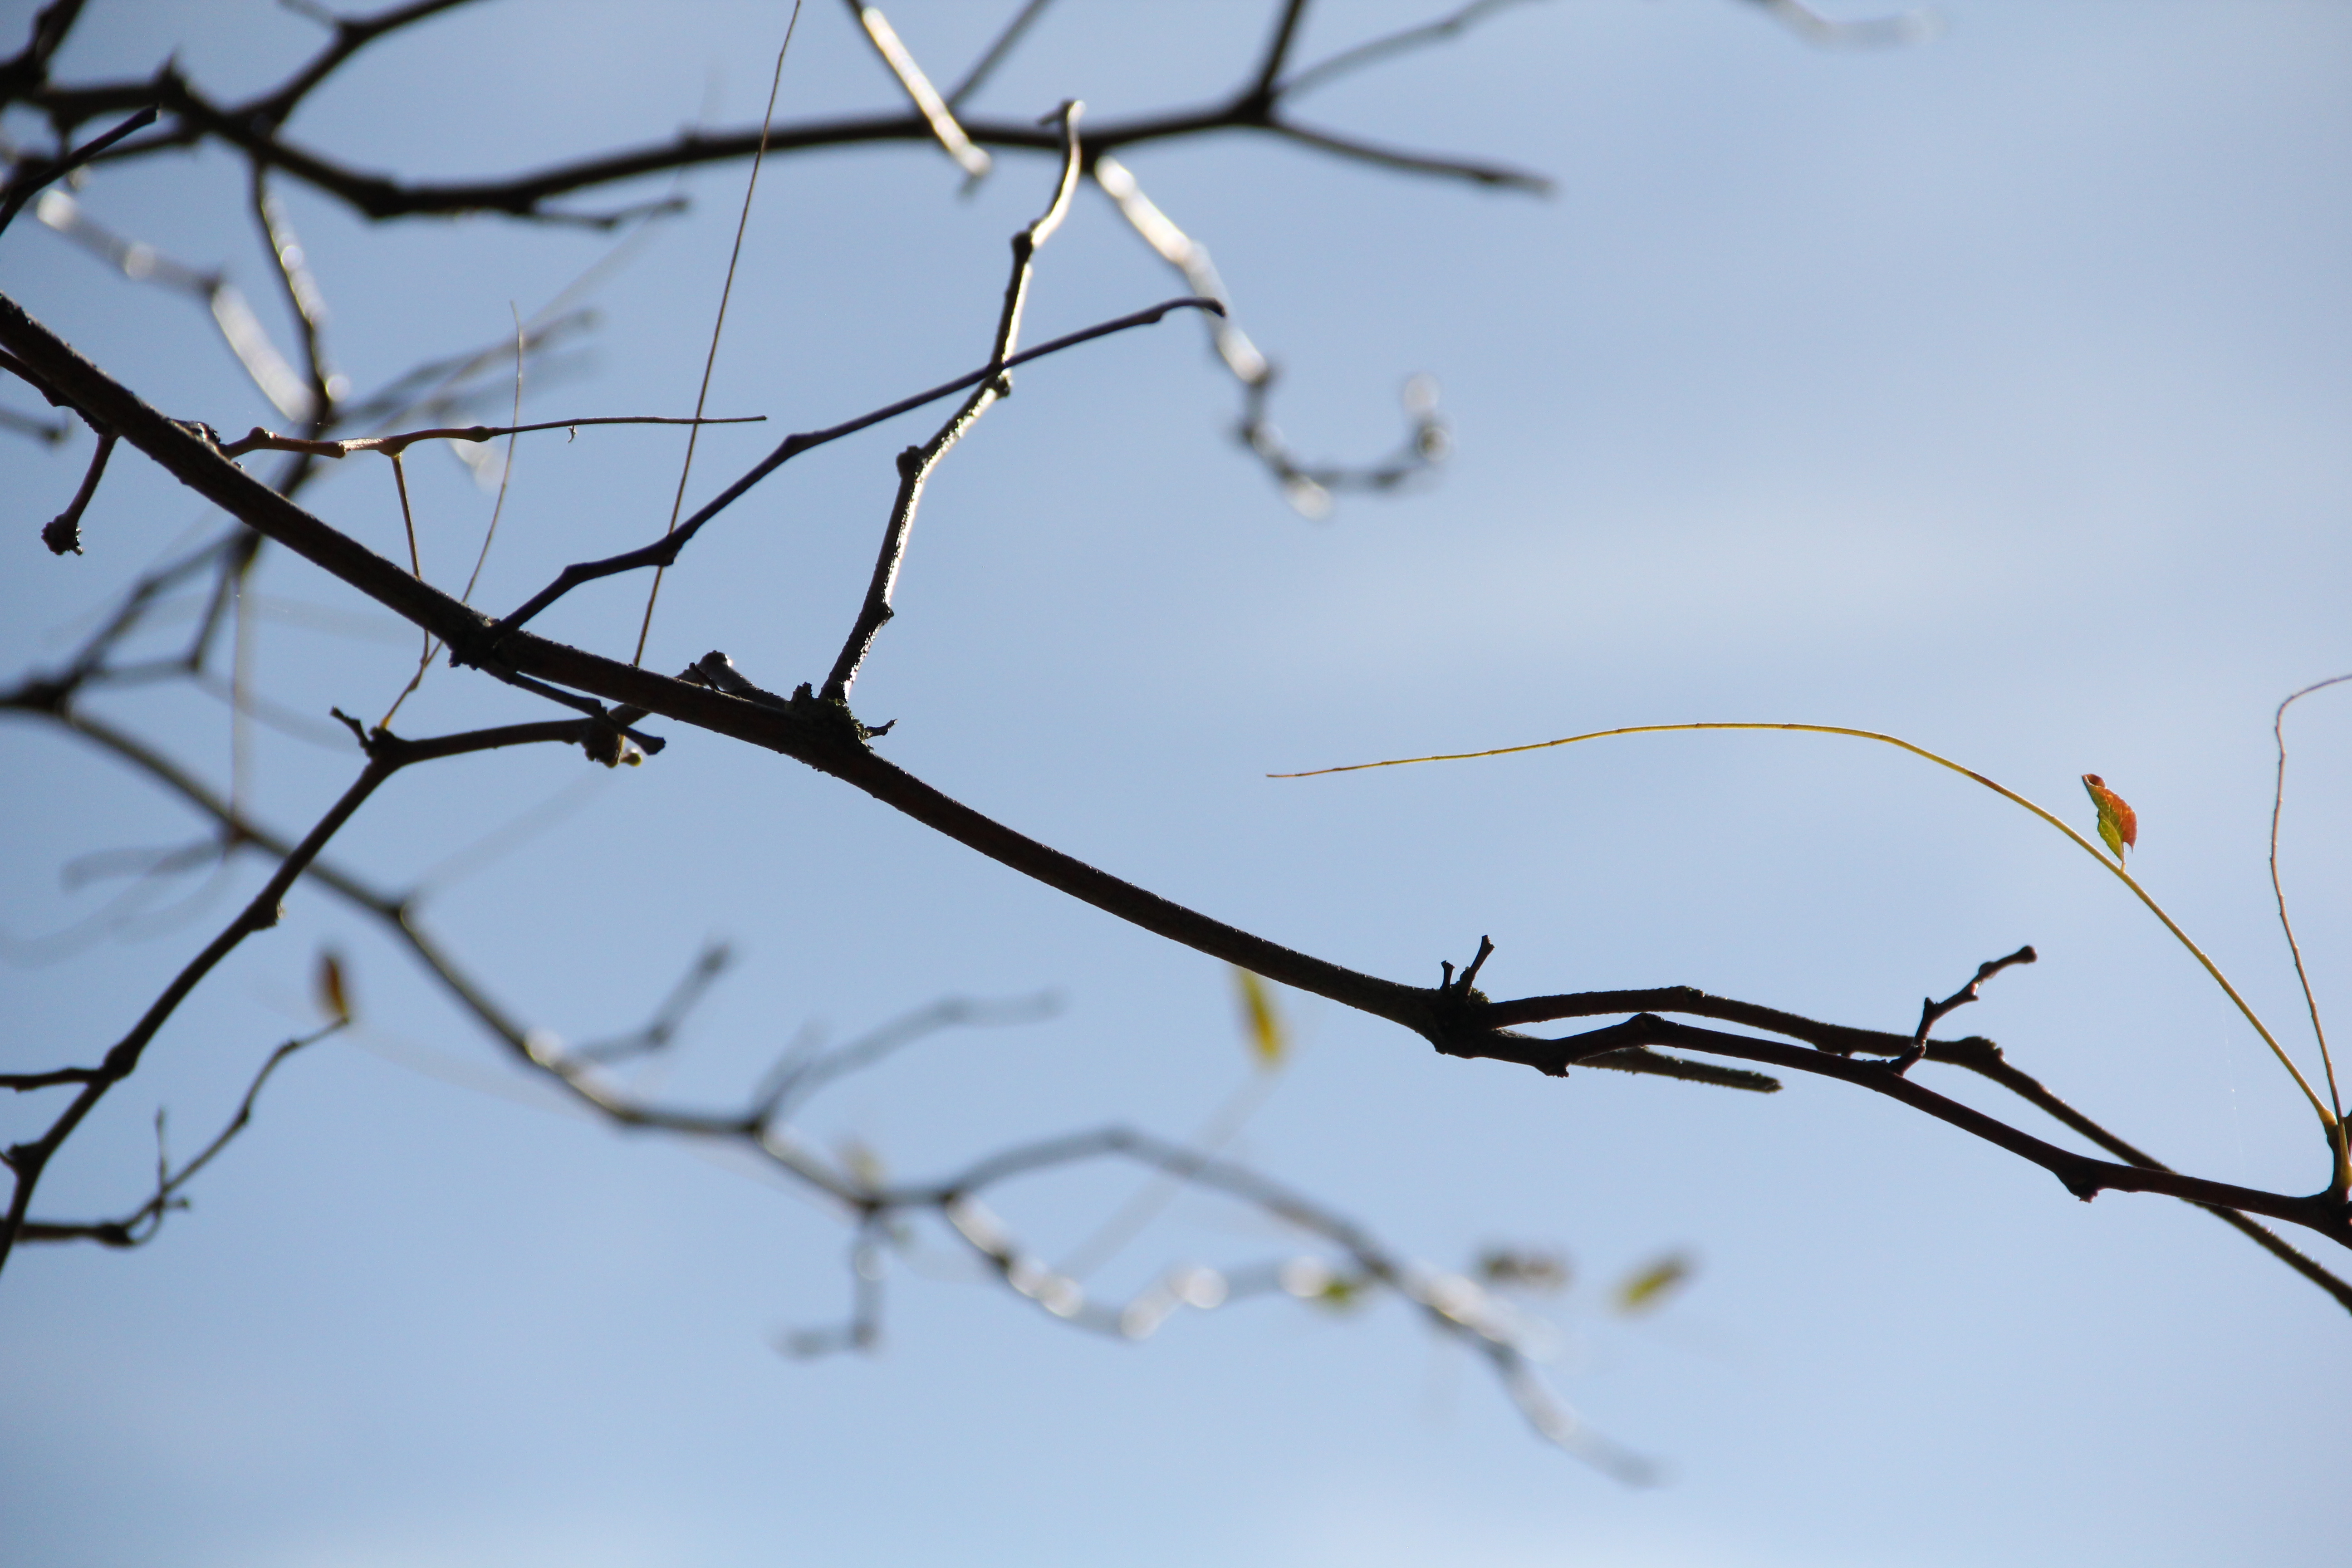
He also photographed nature with a shallow focus, with some pictures showing the detail on twig branches, while others contain blurred images of sunlight piercing through tree leaves, creating several circles of light. even though both of these images contain similar content in terms of subject matter, the outcome is very different. The images Below are from another of Meatyard’s exhibitions called ‘Zen Twigs’. 

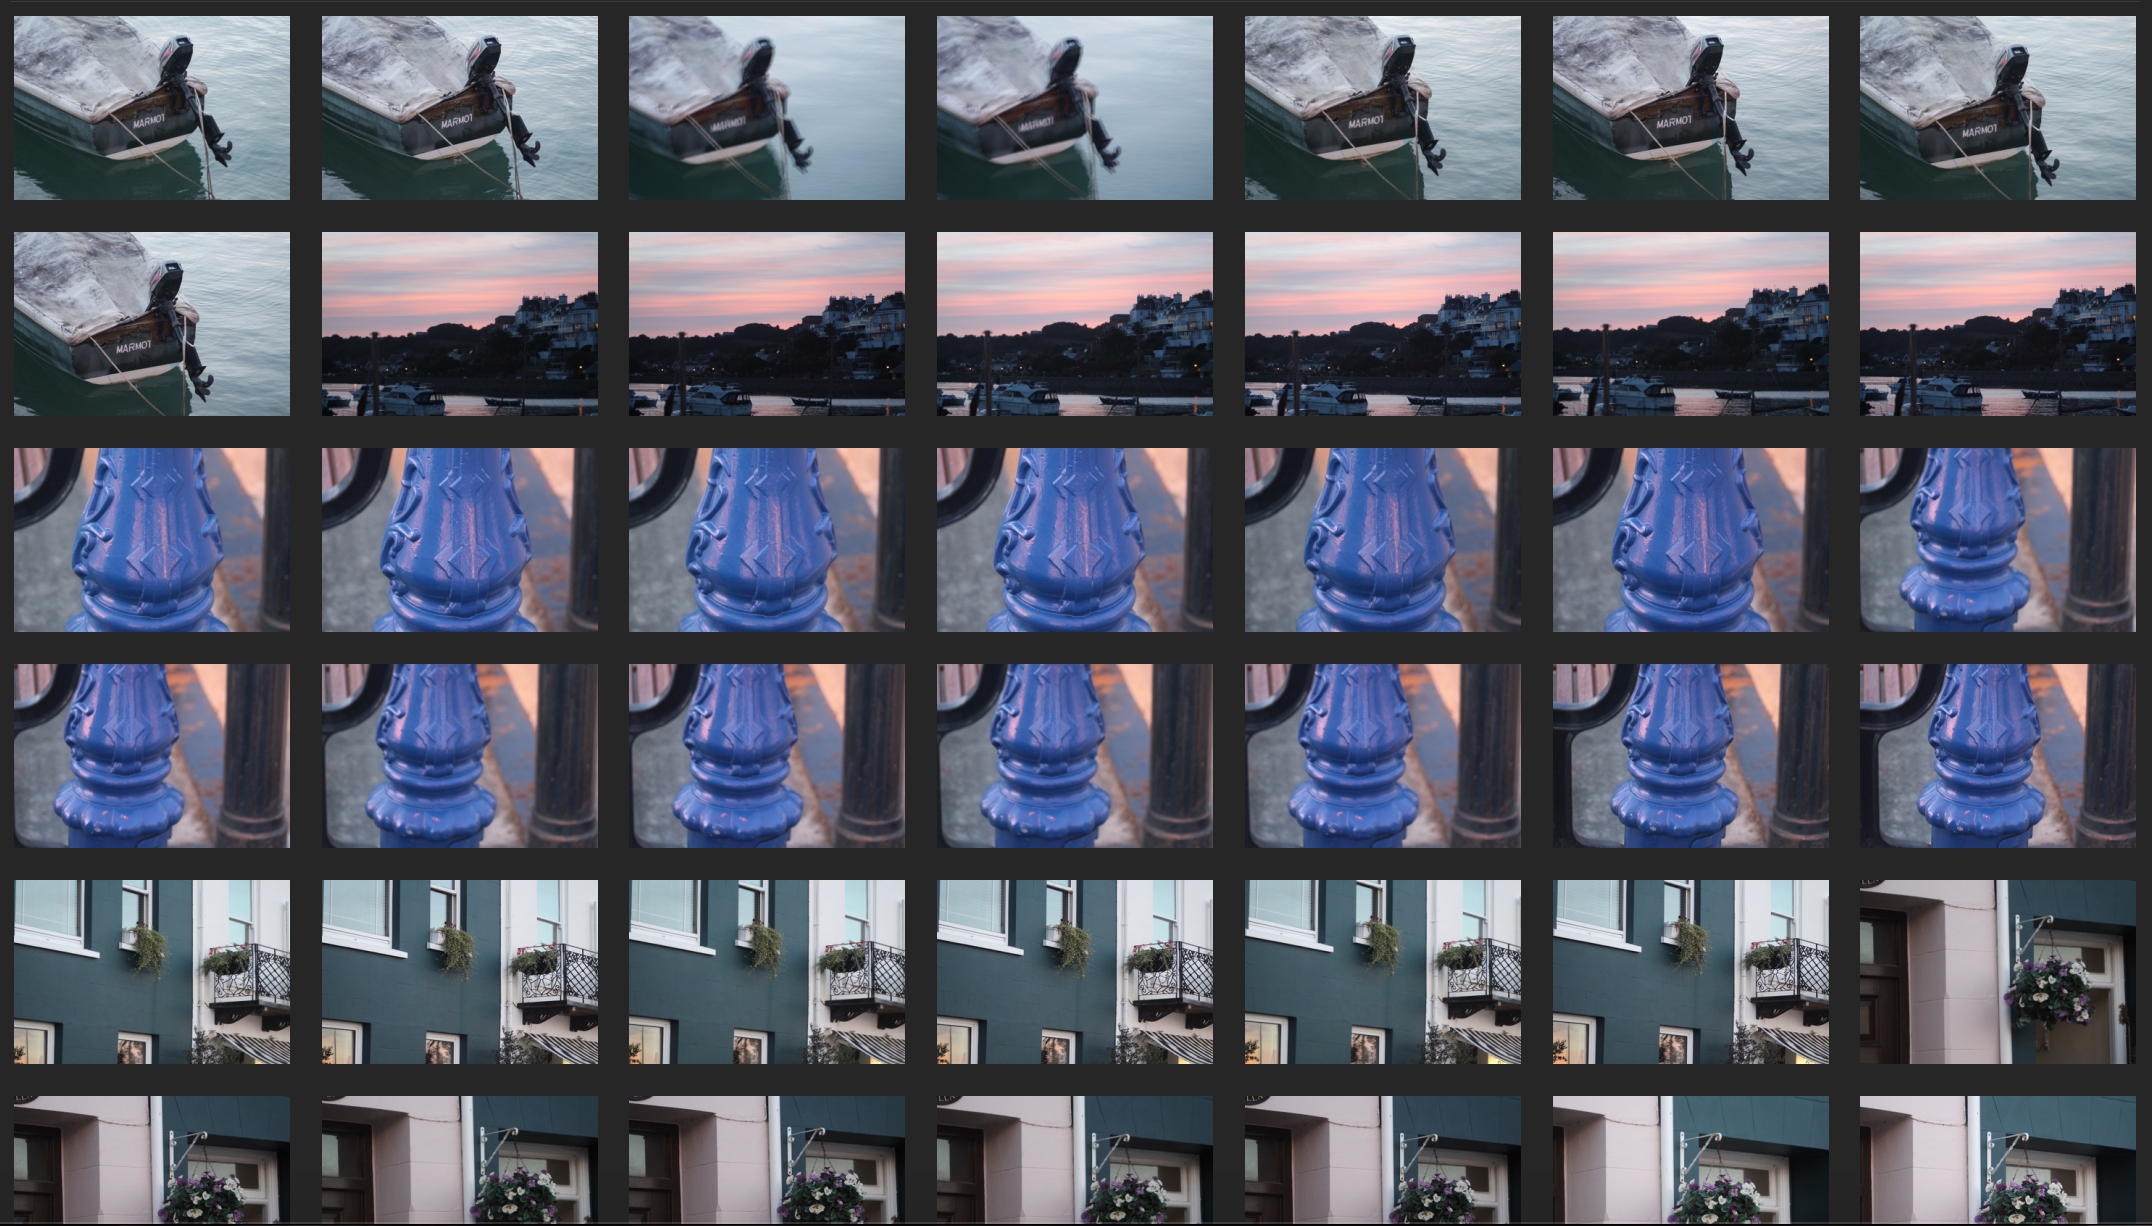
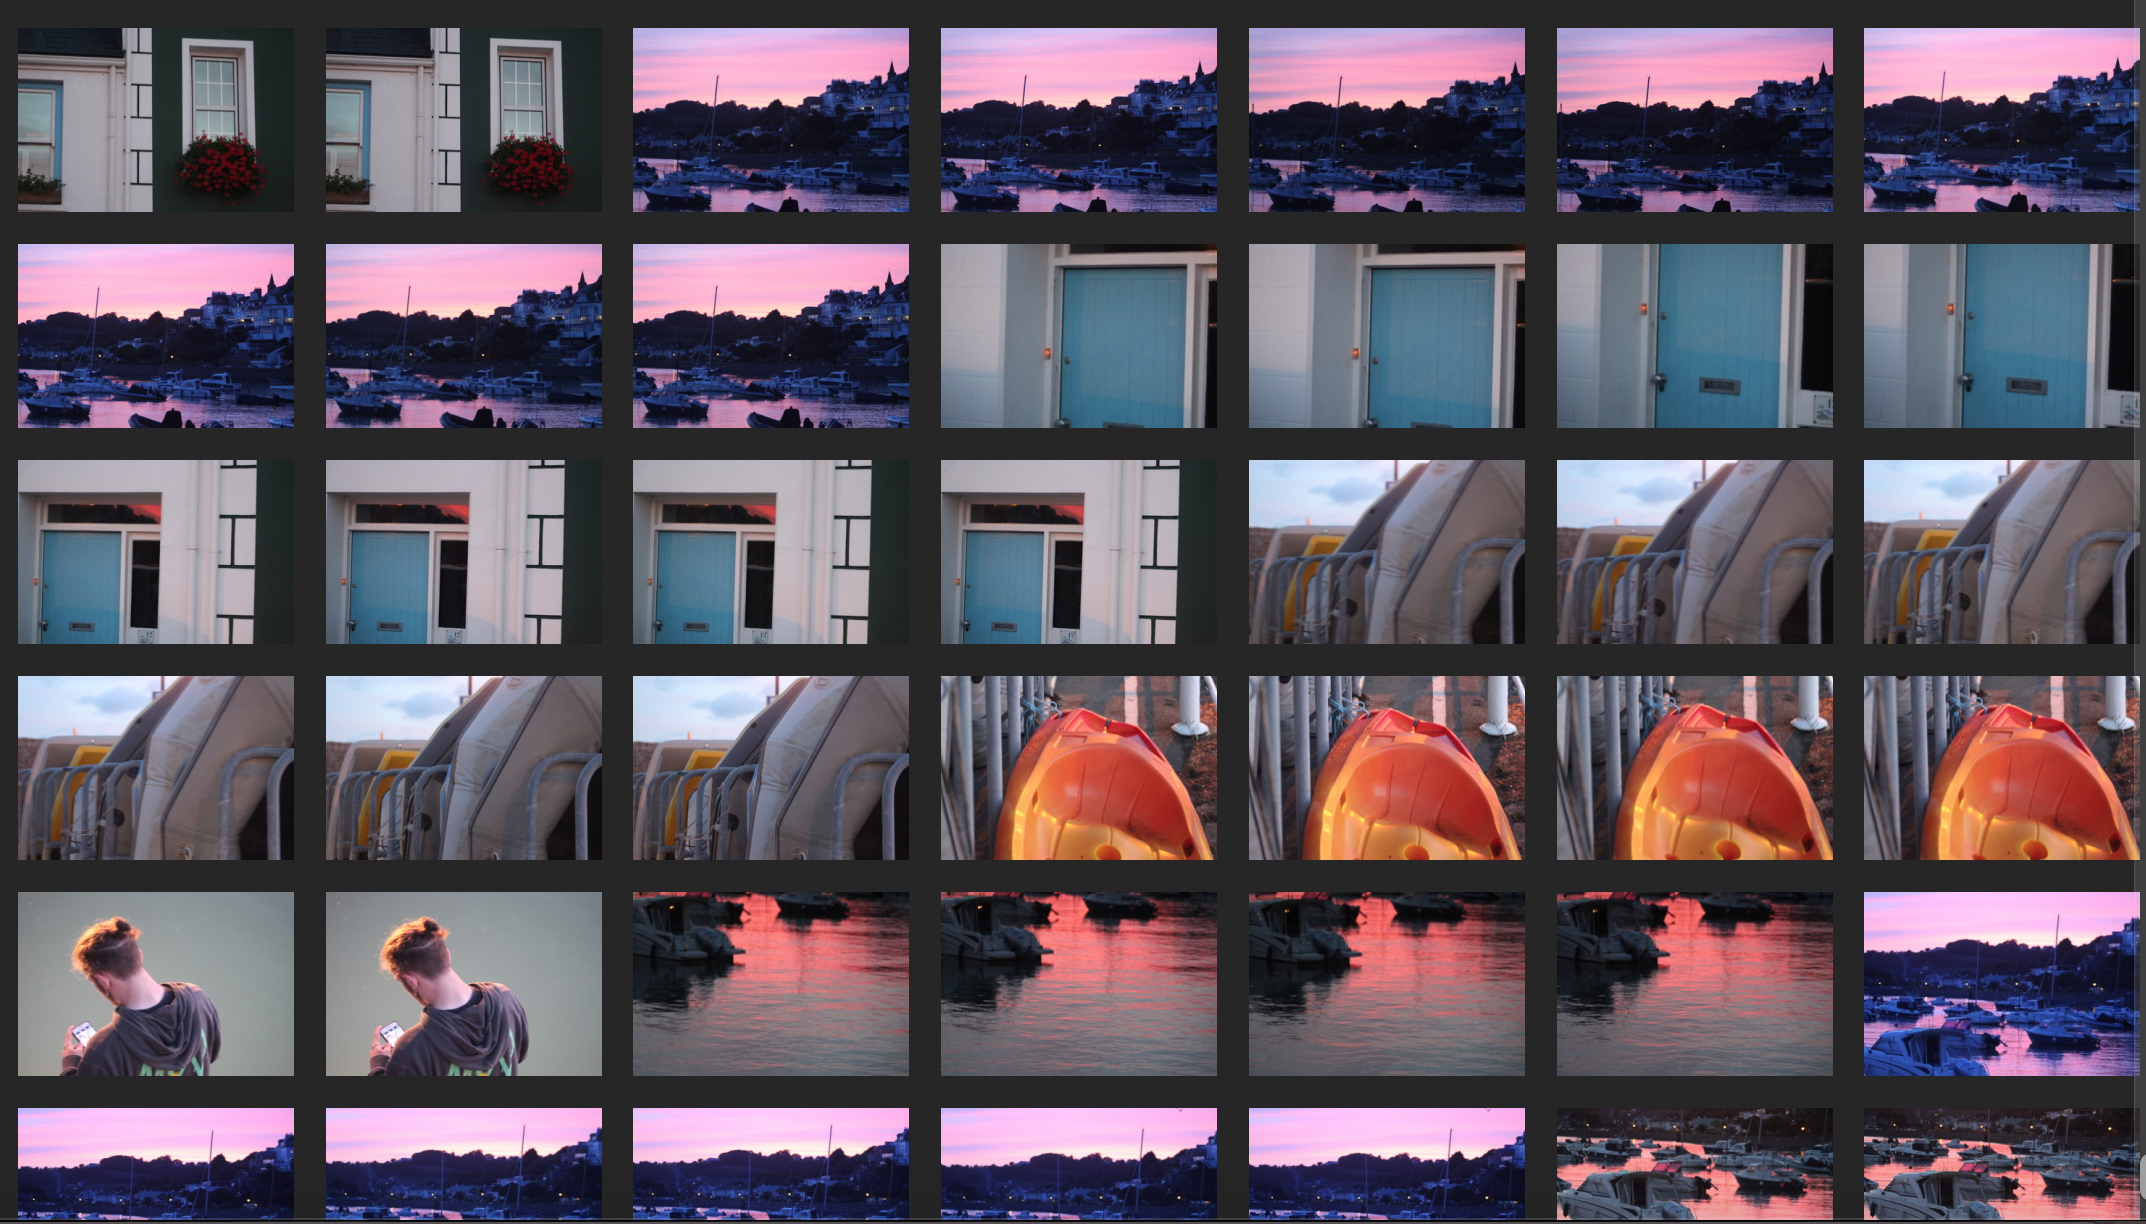
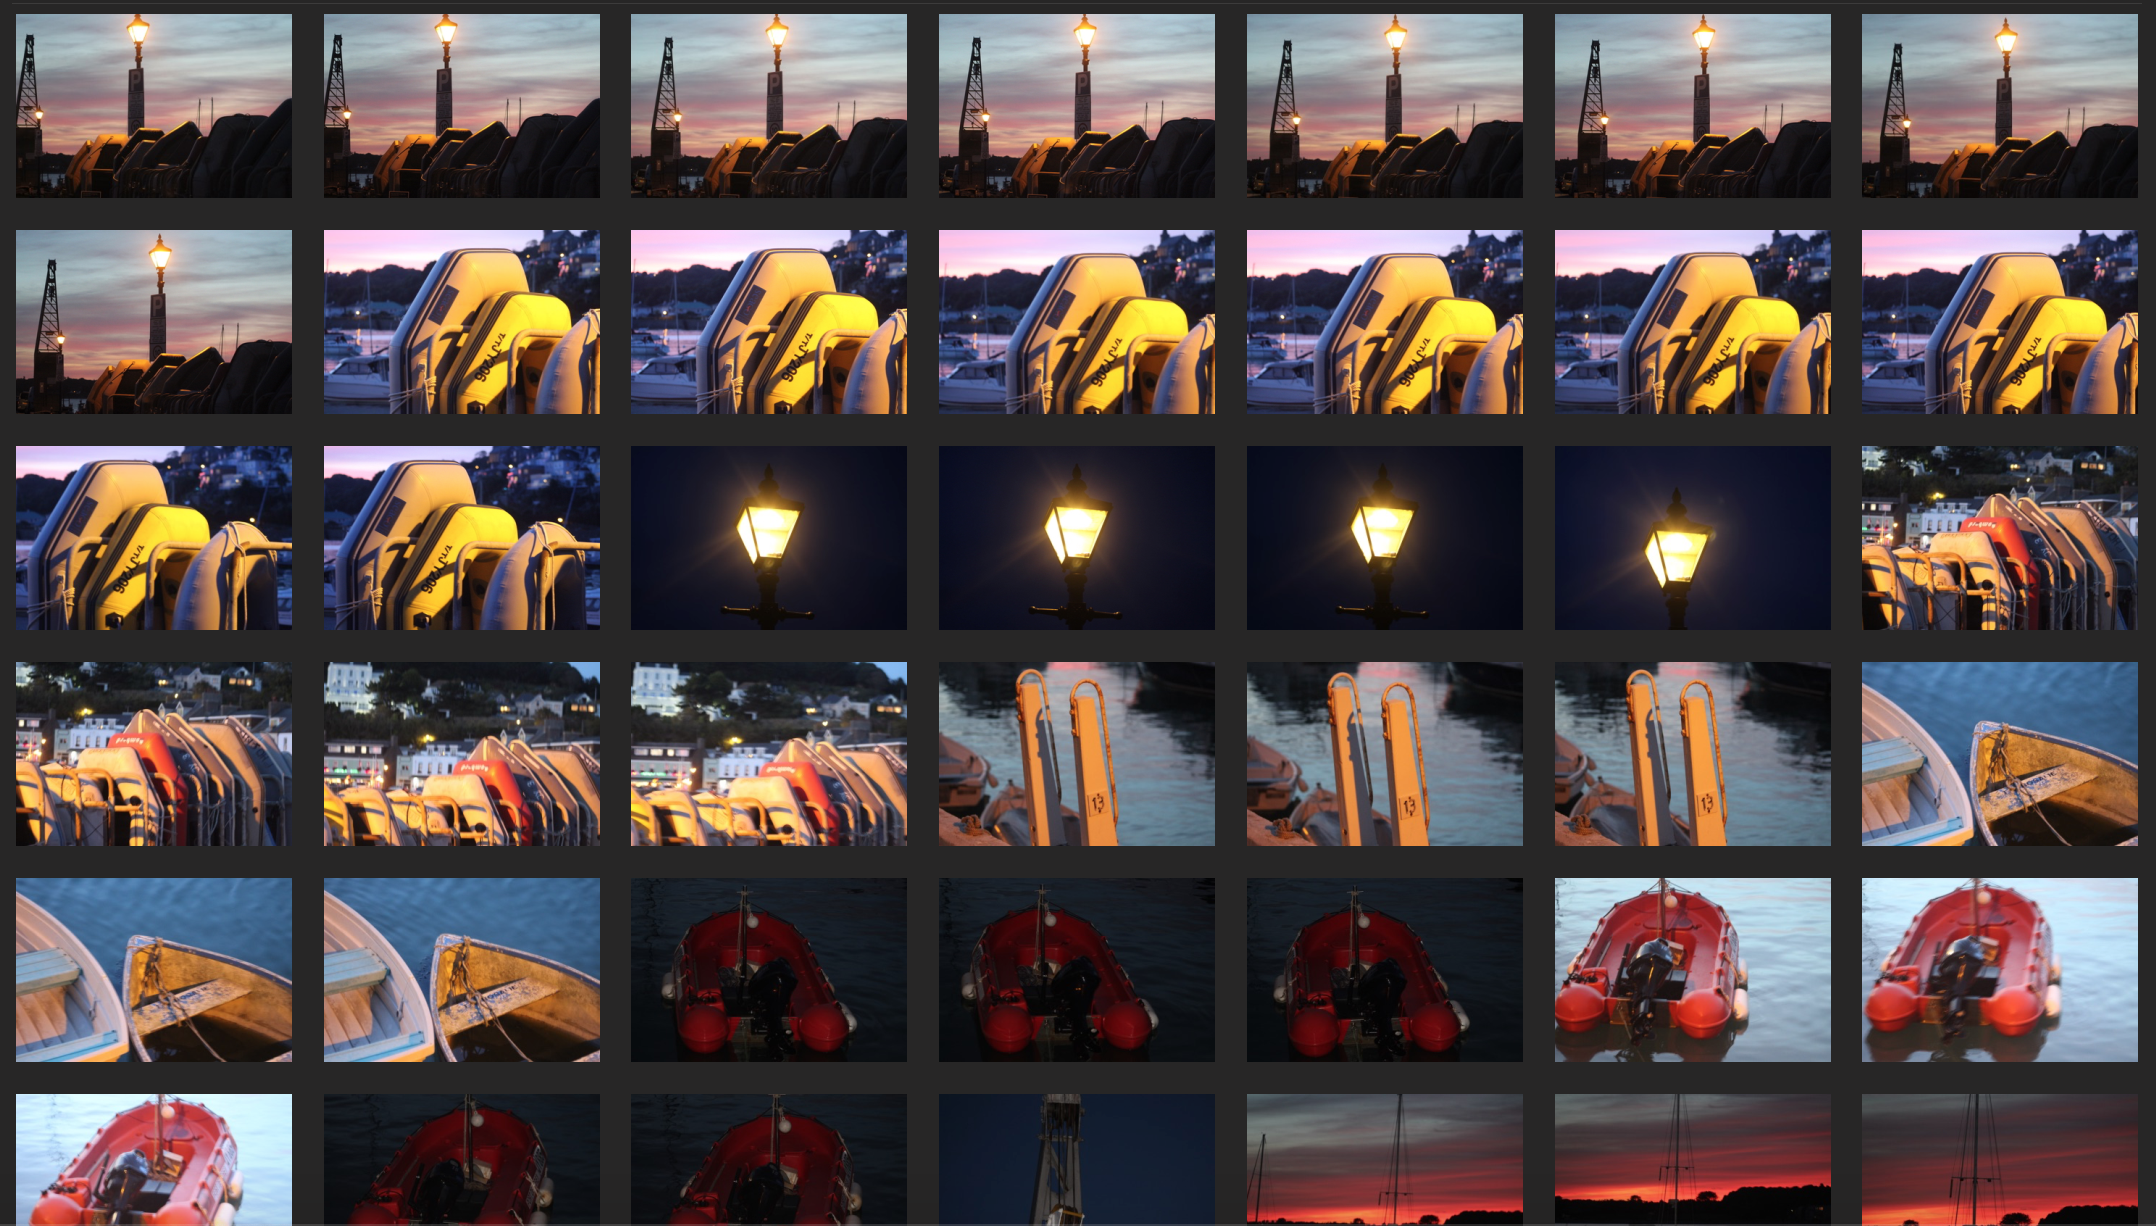
Contact Sheets:

Red Dot : edit or use for final image

Red Line: do not use/edit

Final Images

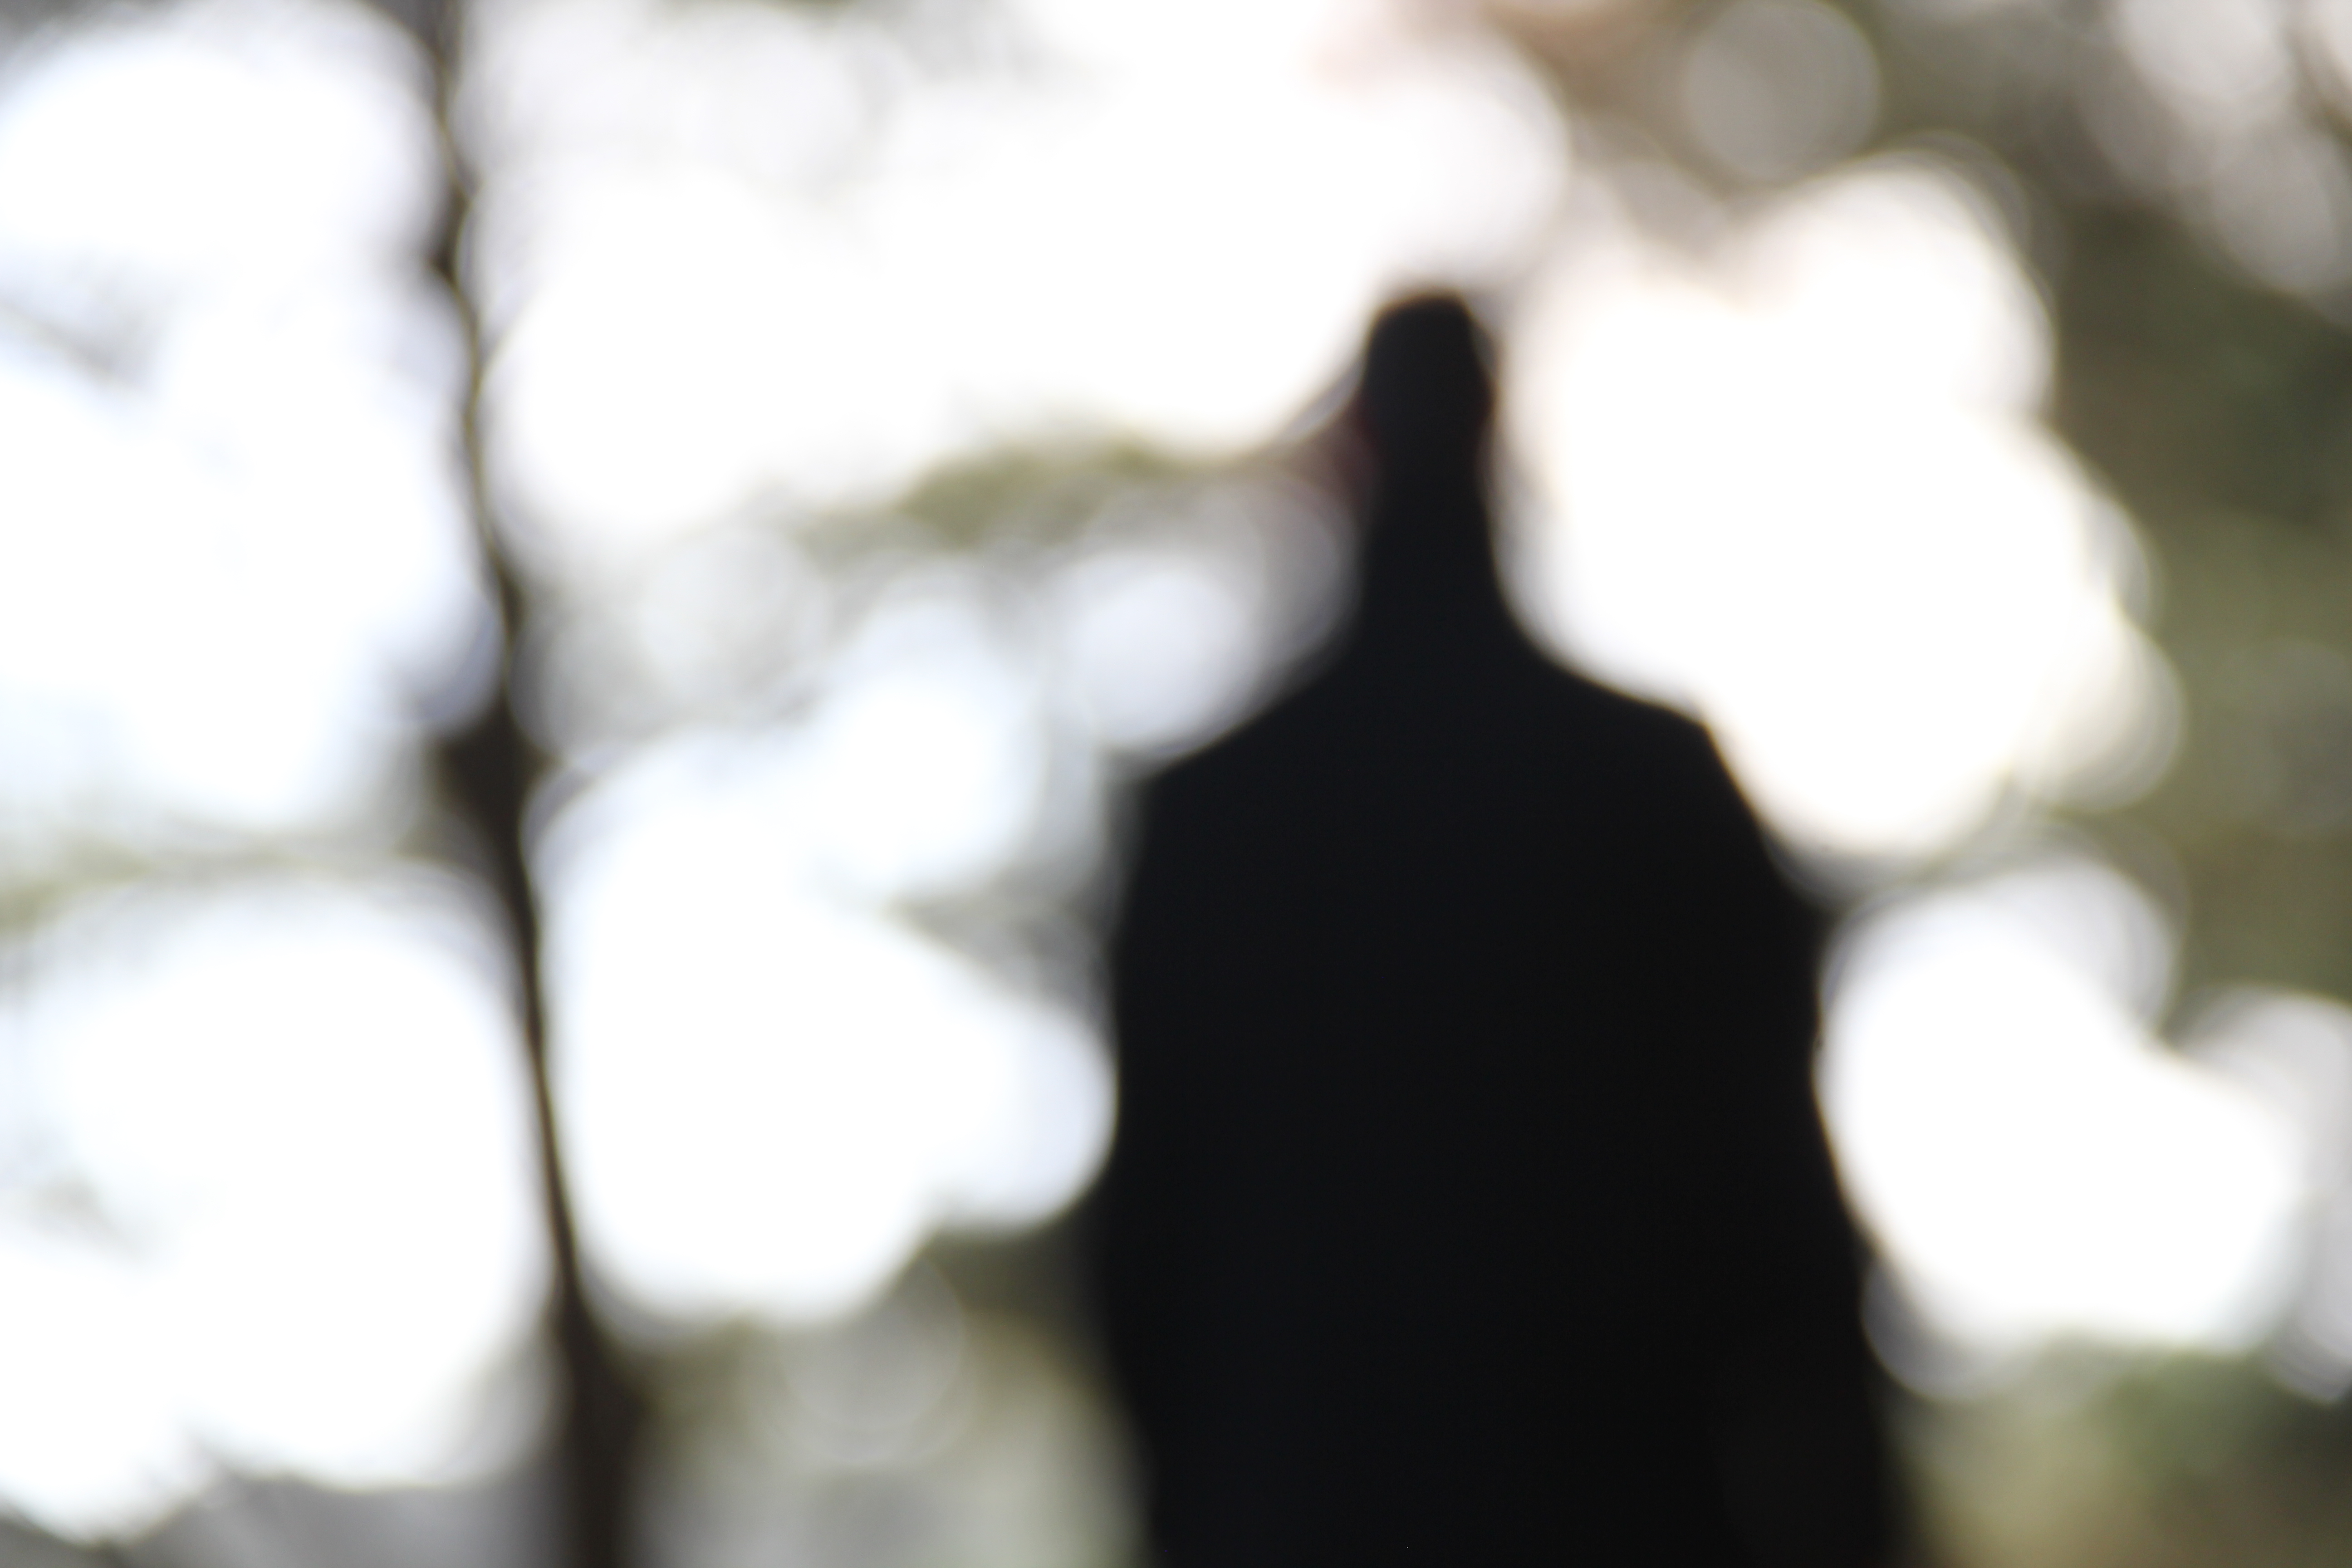
A lot of my images were especially inspired by Meatyard’s No-Focus.  I wanted to create the same distorted images of people that Meatyard explored, and I achieved this with varying degrees of success. I also wanted to put an emphasis on the person in the shot, so for the most part, i have only chosen to have one subject in the center of the photograph. This helps achieve a symmetrical style to the photo, drawing the viewers eye to the center. This is especially true in the final image I have chosen below.

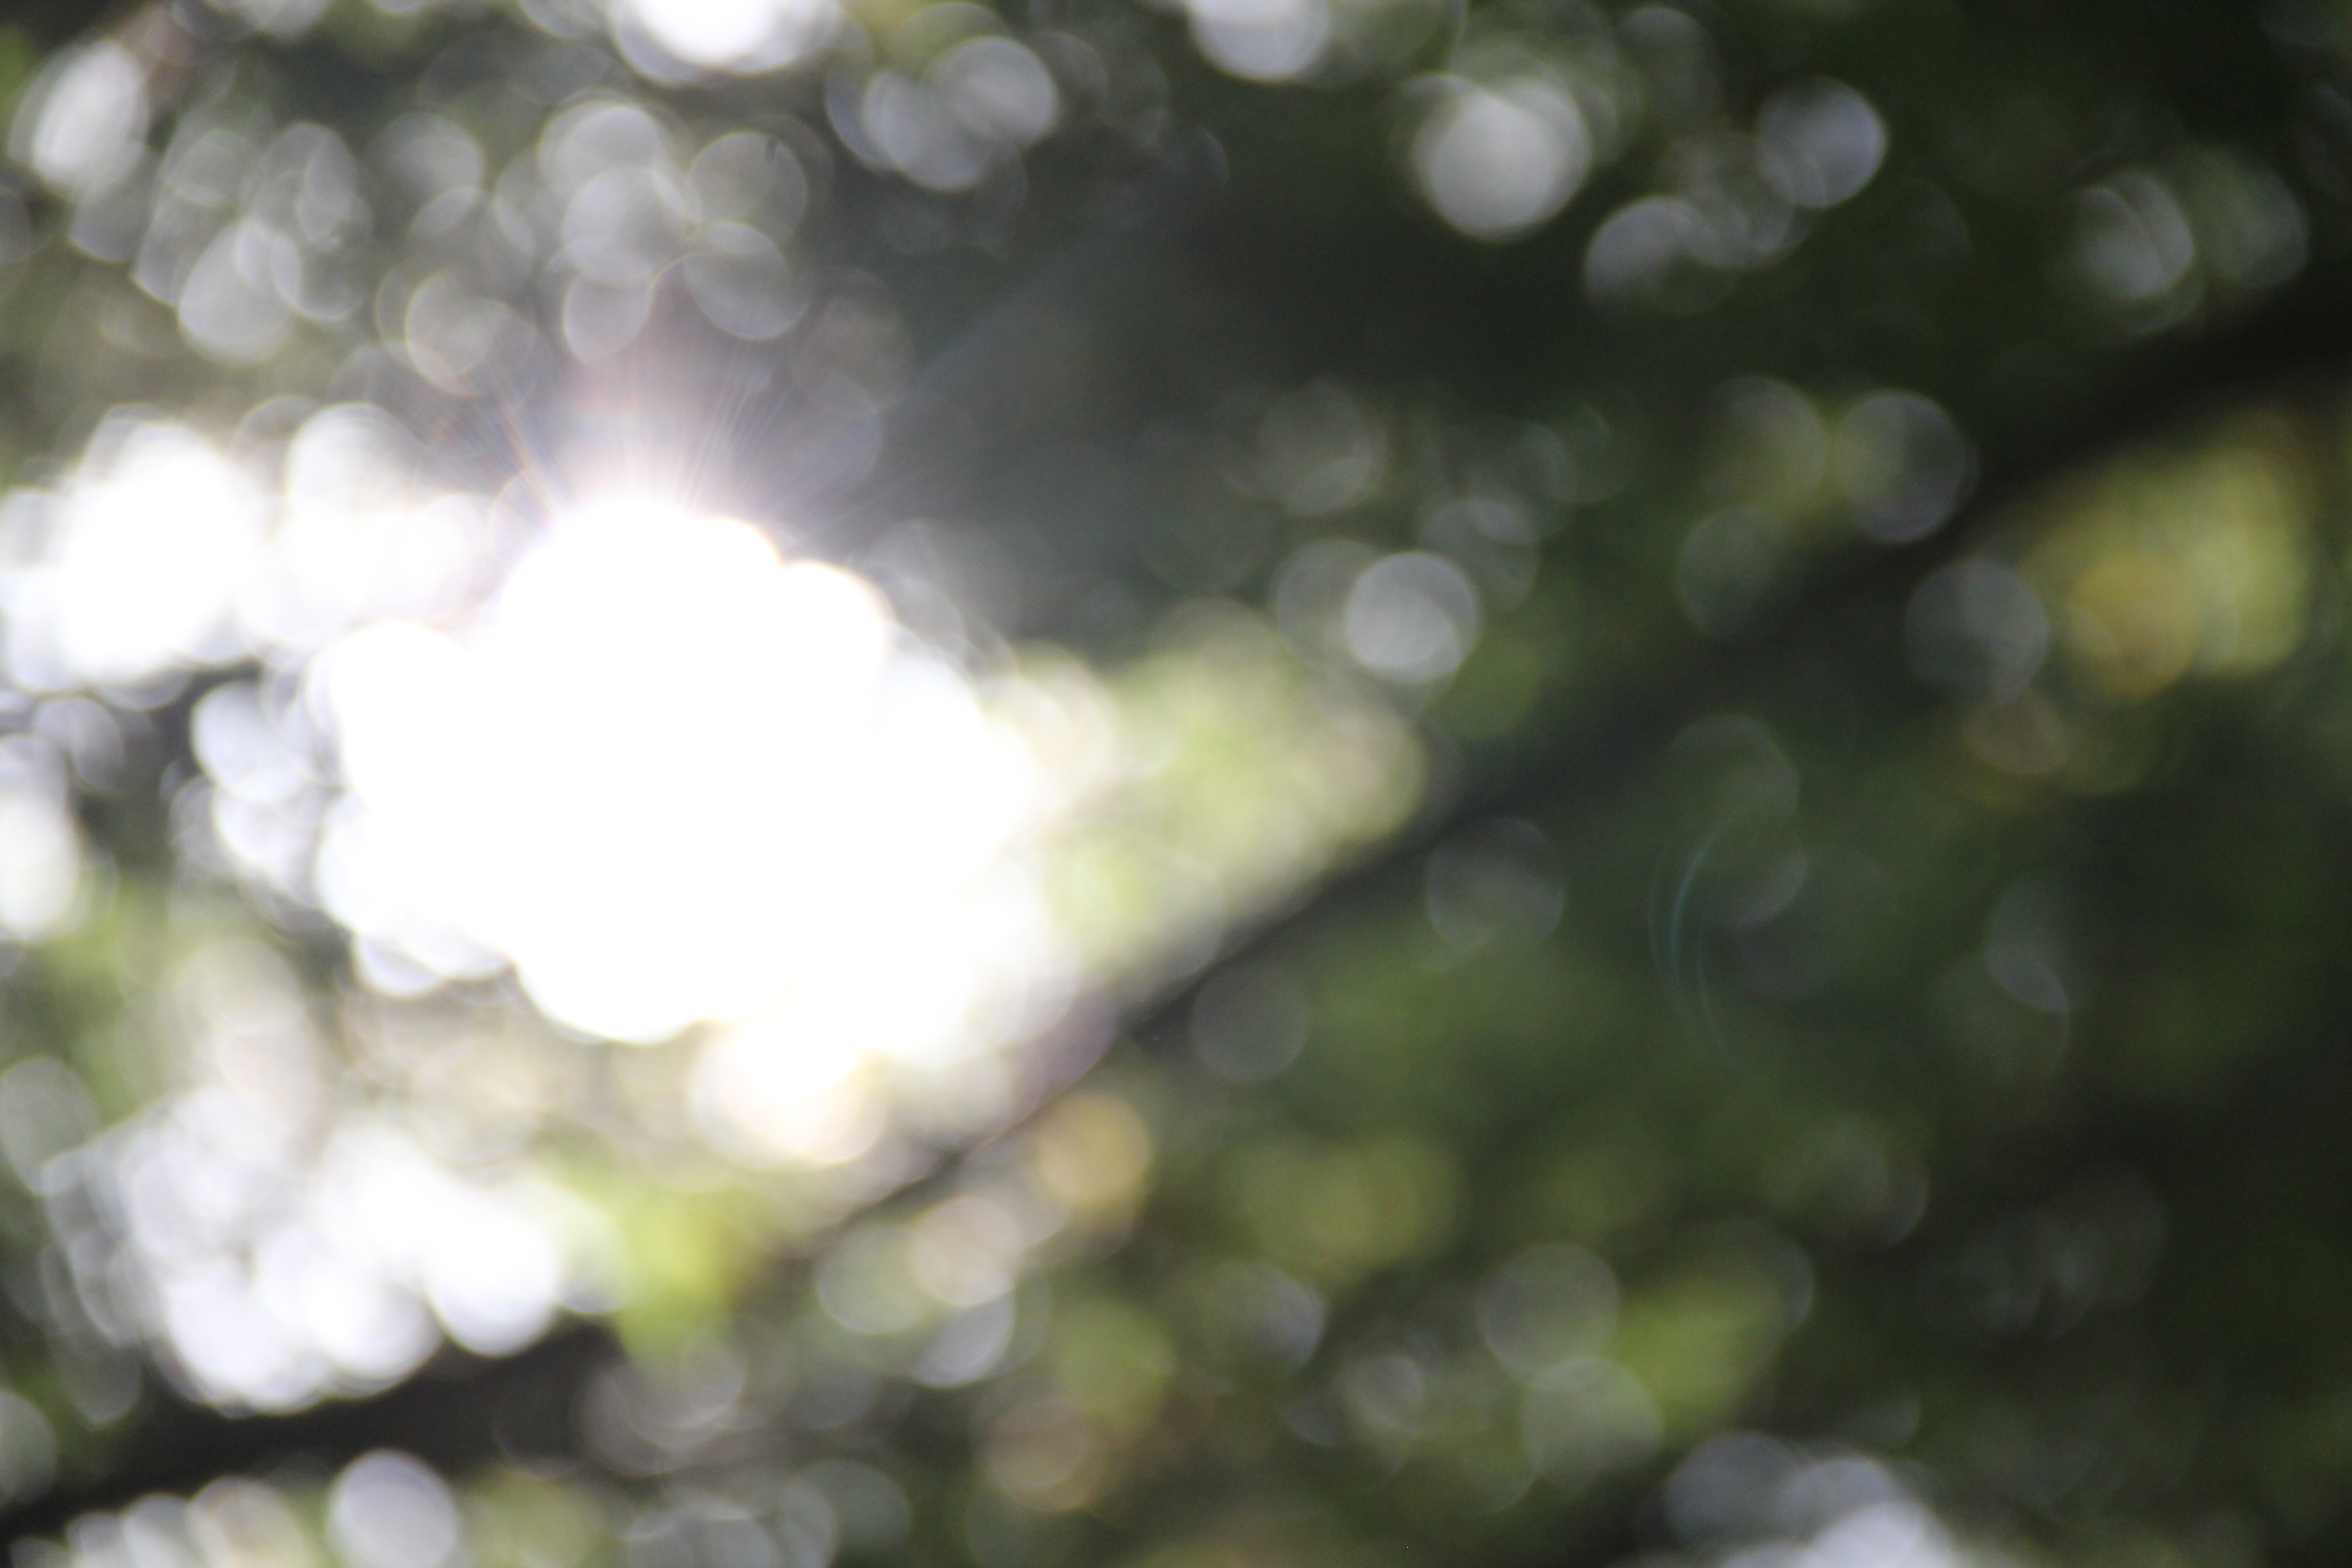
I also wanted to focus on Meatyard’s Outdoor images of nature. I wanted to emphasize the circles of light that Meatyard shows in his picture. As well as leaves and sunlight, i also wanted to make sure i could encapsulate Meatyard’s pictures of ‘Zen Twigs’  By using a shallow focus to blur the background behind the images. The images I have chosen below, represent these two different styles.

Week 6 | Working towards Final Images

This week your emphasis must be on selecting final images for Unit 1 Abstract Photography.

You must demonstrate in your choice of images

  • a range of camera skills that you have learnt recently
  • influence and inspiration from a key photographer(s)
  • editing, enhancing and manipulation skills
  • a sound understanding of abstract photography
  • application of The Formal Elements in your images
  1. Line (horizontal, vertical, diagonal, thick, thin etc)
  2. Shape
  3. Form
  4. Texture
  5. Pattern
  6. Colour

Your final images will be uploaded to our commercial printers (printing is not normally done in school) on Monday 15th October by 11.00 am

1 x A3 print + 1 x A4 print + 1 x A5 print

To do  this you must add High Resolution JPEG files (4000 pixels on the long edge / check in Photoshop > Image Size) to the folder:

M:\Departments\Photography\Students\Image Transfer\PRINTING\AS Mon 15 October Abstract Final Images


IN YOUR OWN AREA YOU MUST CREATE A FOLDER TITLED “ABSTRACT PROJECT FINAL OUTCOME” WITH YOUR CHOICE OF IMAGES IN FOR CHECKING


Display : You must look at a range of possibilities for grouping, sequencing and arranging your images before you make your final decision…

Single Image Examples :

Image result for single image abstract photography

Image result for single image abstract photography

Double Image / Two Frame / Juxtaposition / Diptych Examples :

Image result for diptych dual image photography

Image result for diptych dual image photography

Triple Image / Triptych Examples :

Image result for triple image triptych abstract photography

Image result for triple image triptych abstract photography

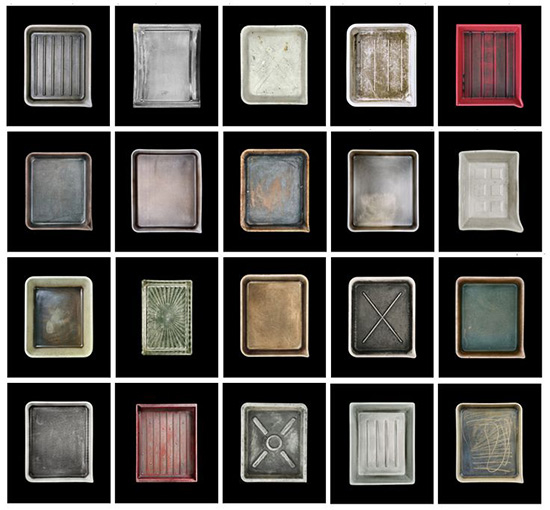
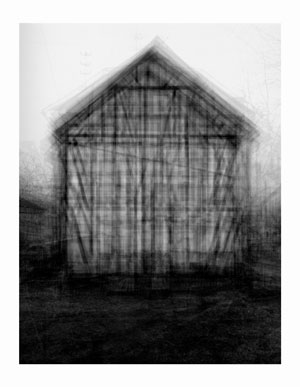
Typologies / Multi-image / Grid / Row / Column Examples :

Image result for presenting photographs in a grid

Image result for typologies


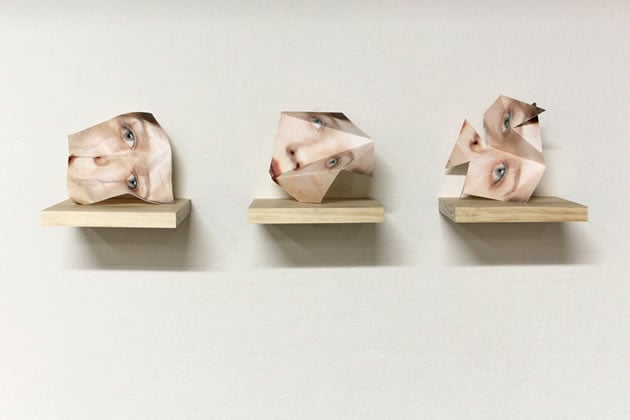
Alternative Image Display Examples :

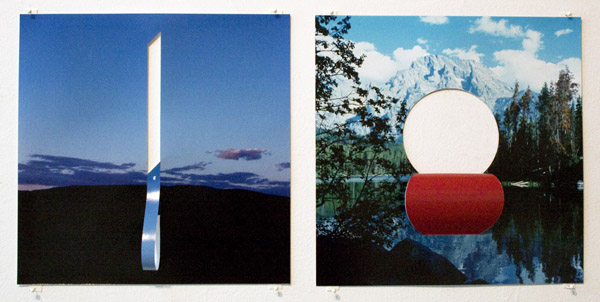
Image result for sculptural photographs


Image result for sculptural photographs


Image result for letha wilson
Letha Wilson

Complete this week (by the end of Friday 12th October 2018)

Blog Post 1  create a visual blog post(s) that includes your initial choices of final outcomes. Analyse and justify your choices and then  evaluate your decisions. Be critical and purposeful. Show examples of what you are intending with your choice of image and how they relate to what you have LEARNED ie : camera skills, artist references 

Blog Post 2 create a visual blog post that demonstrates an understanding of various sequences of image, display techniques and your FINAL IMAGE SELECTION once you have completed a range of editing / manipulation. Show your process thoroughly and edit recent images so that ypour camera skills are clearly demonstrated. Do not mask your camera skills with “over-editing”

Blog Post 3 create a range of responses to the creative prompts below and demonstrate clearly your ability to convert original images into something creative. These could then be considered for final outcomes and printing too.


  1. Mirror image / kaleidoscope techniques : symmetry and repetition
  • Image Size > Canvas Size
  • Copy Via Layer (CTRL J)
  • Transform Tool (CTRL T)
  • Selecting and positioning / re-arranging layers

Image result for multi image abstract photography

Image result for kaleidoscope images photography

Image result for kaleidoscopic images photoshop


2. Double exposures : multiple viewpoints / meanings

  • Opacity control
  • Blending Options
  • Area selection
  • Layer Mask

Image result for in camera double exposure


Image result for idris khan photography
Idris Khan


Image result for double exposure in camera


Extension Task : Creative Ideas

100+ Creative Photography Ideas: Techniques, Compositions & Mixed Media Approaches

  • Choose 1 x example from the link above and respond with your own images, experiments and outcomes
  • Include artist reference
  • image
  • process
  • evaluation

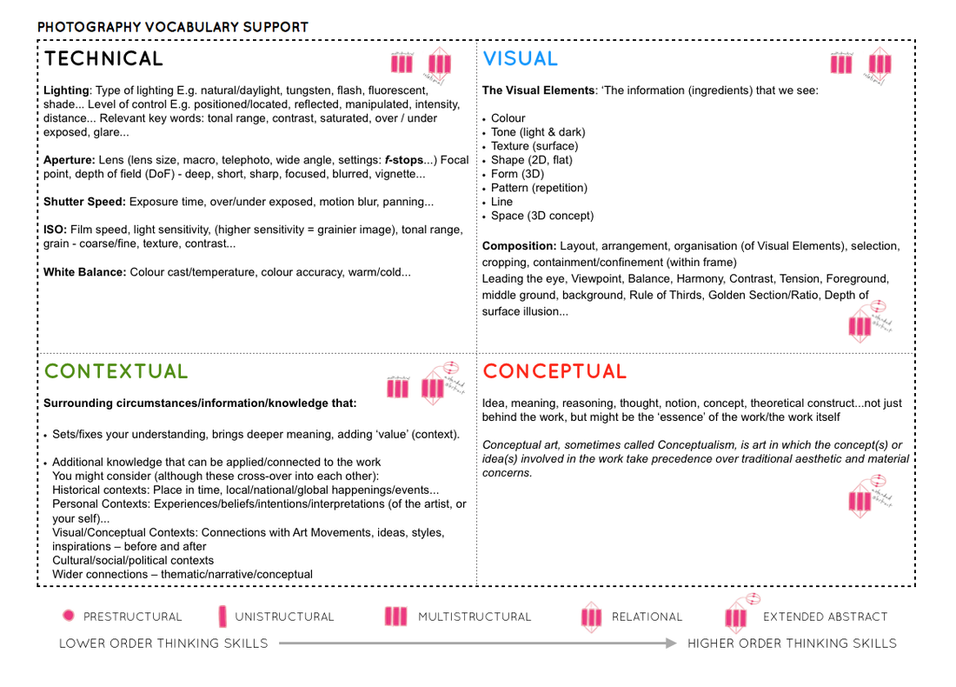
Remember to use this model when discussing and analysing photographs :

TECHNICAL -VISUAL-CONCEPTUAL-CONTEXTUAL

Picture

ALWAYS choose 1 x key image of your own to discuss in detail

ALWAYS choose 1 x key image of an influential photographer to discuss in detail


Follow the 10 Step Process for each unit to ensure you tackle all Assessment Objectives thoroughly :

  1. Moodboard (AO1)
  2. Mindmap of ideas (AO1)
  3. Artist Reference / Case Study (AO1)
  4. Action Plan (AO3)
  5. Photoshoots + contact sheets (AO3)
  6. Image Selection (AO2)
  7. Image Editing/ manipulation (AO2)
  8. Presentation of final outcomes (AO4)
  9. Compare and contrast (AO1)
  10. Evaluate and Critique (AO1+AO4


Shutter Speed

Shutter Speed
Shutter speeds are measured in seconds, or fractions of a second. For example, a shutter speed of 1/100 means 1/100th of a second, or 0.01 seconds. This is also known as the “exposure time”, because it’s the amount of time the sensor is exposed to light.
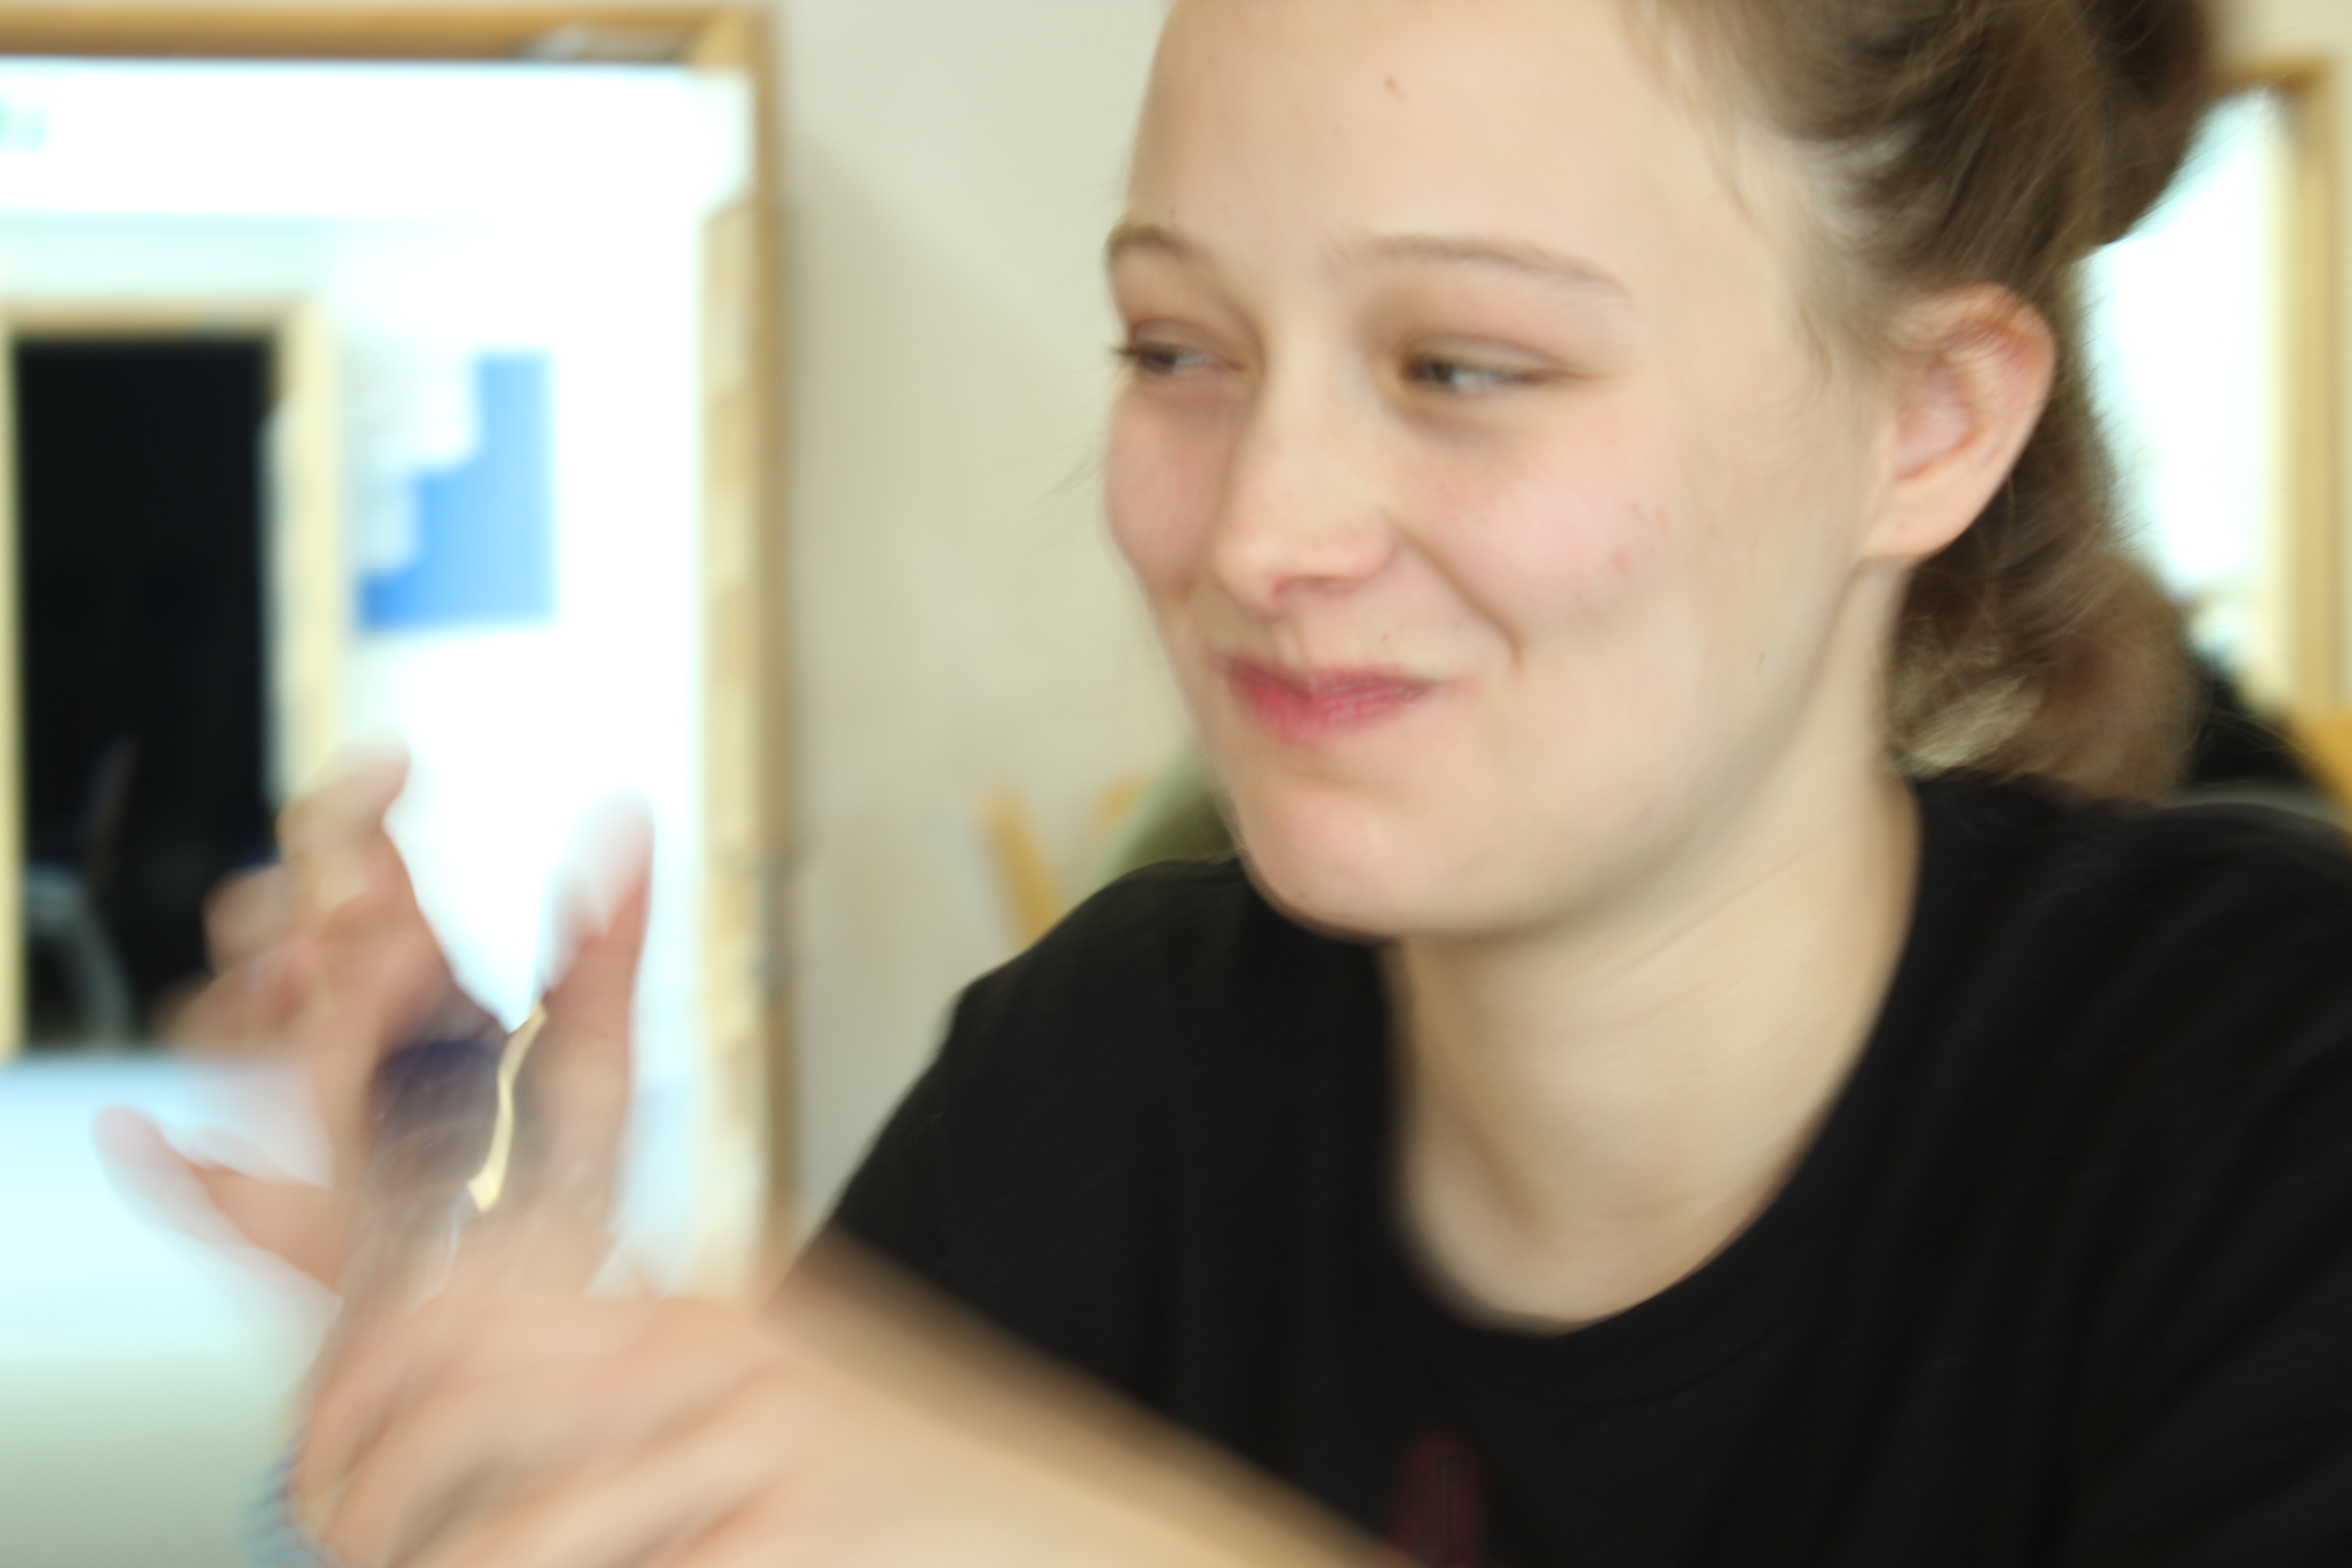
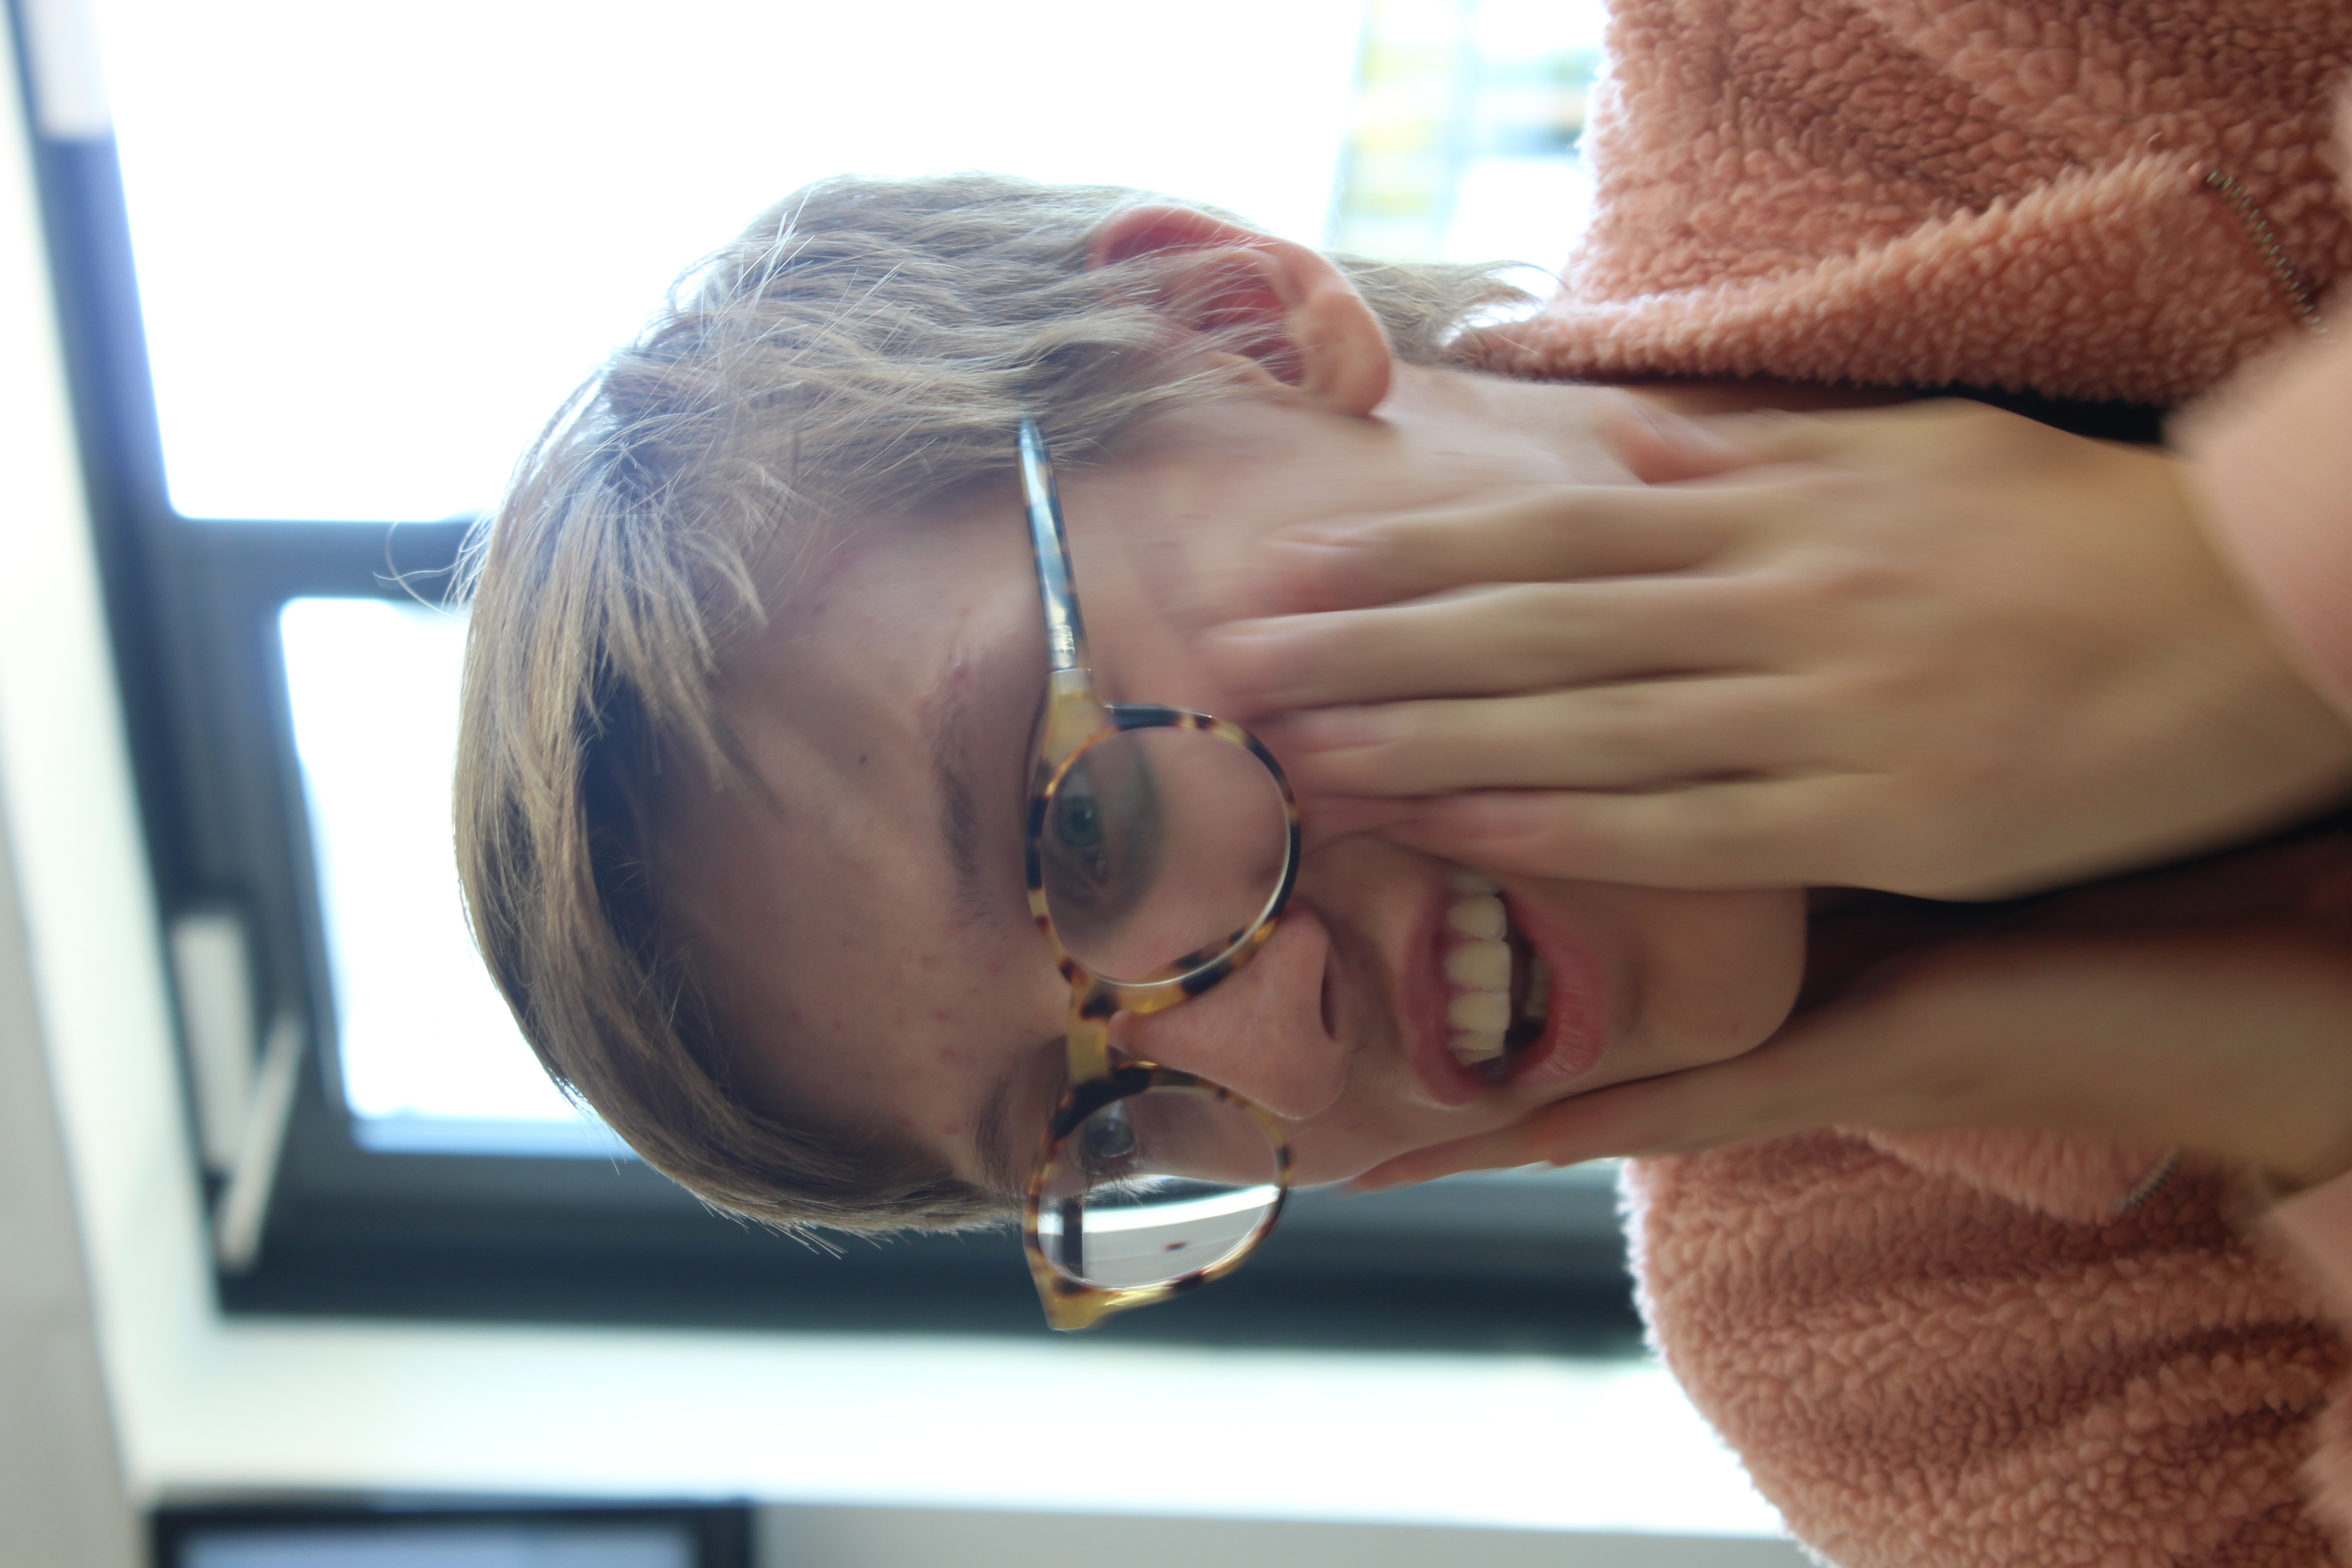
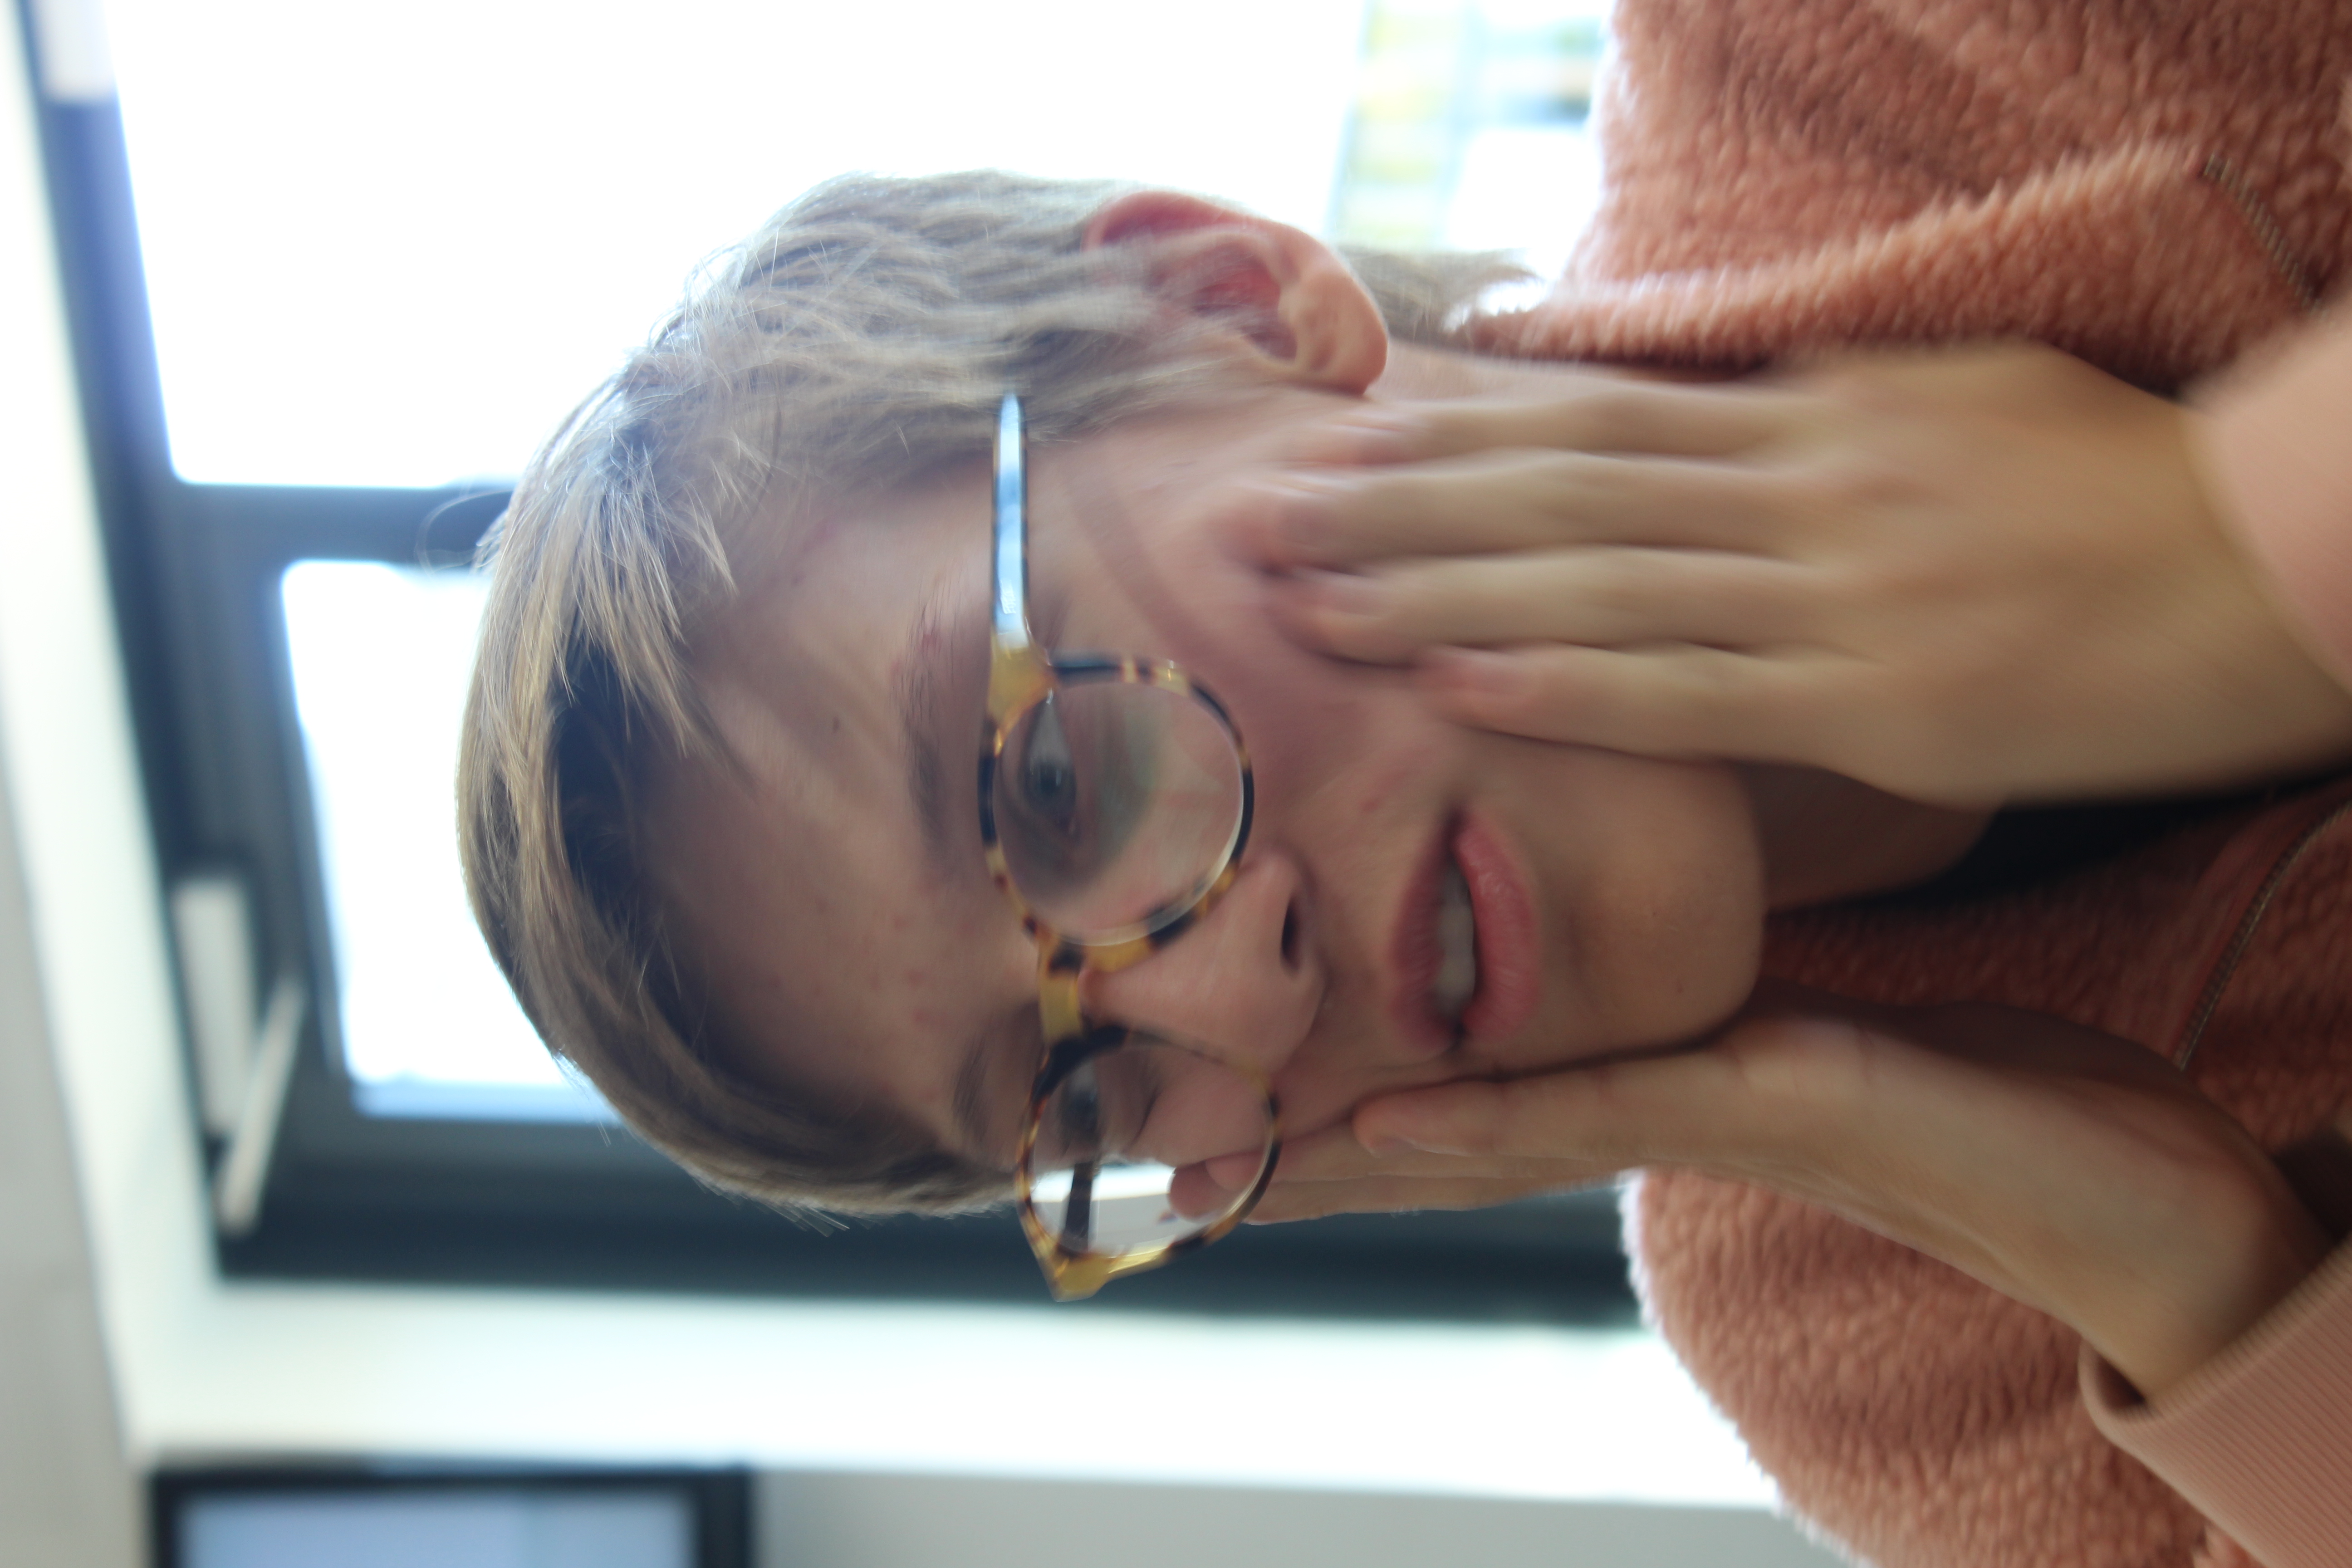
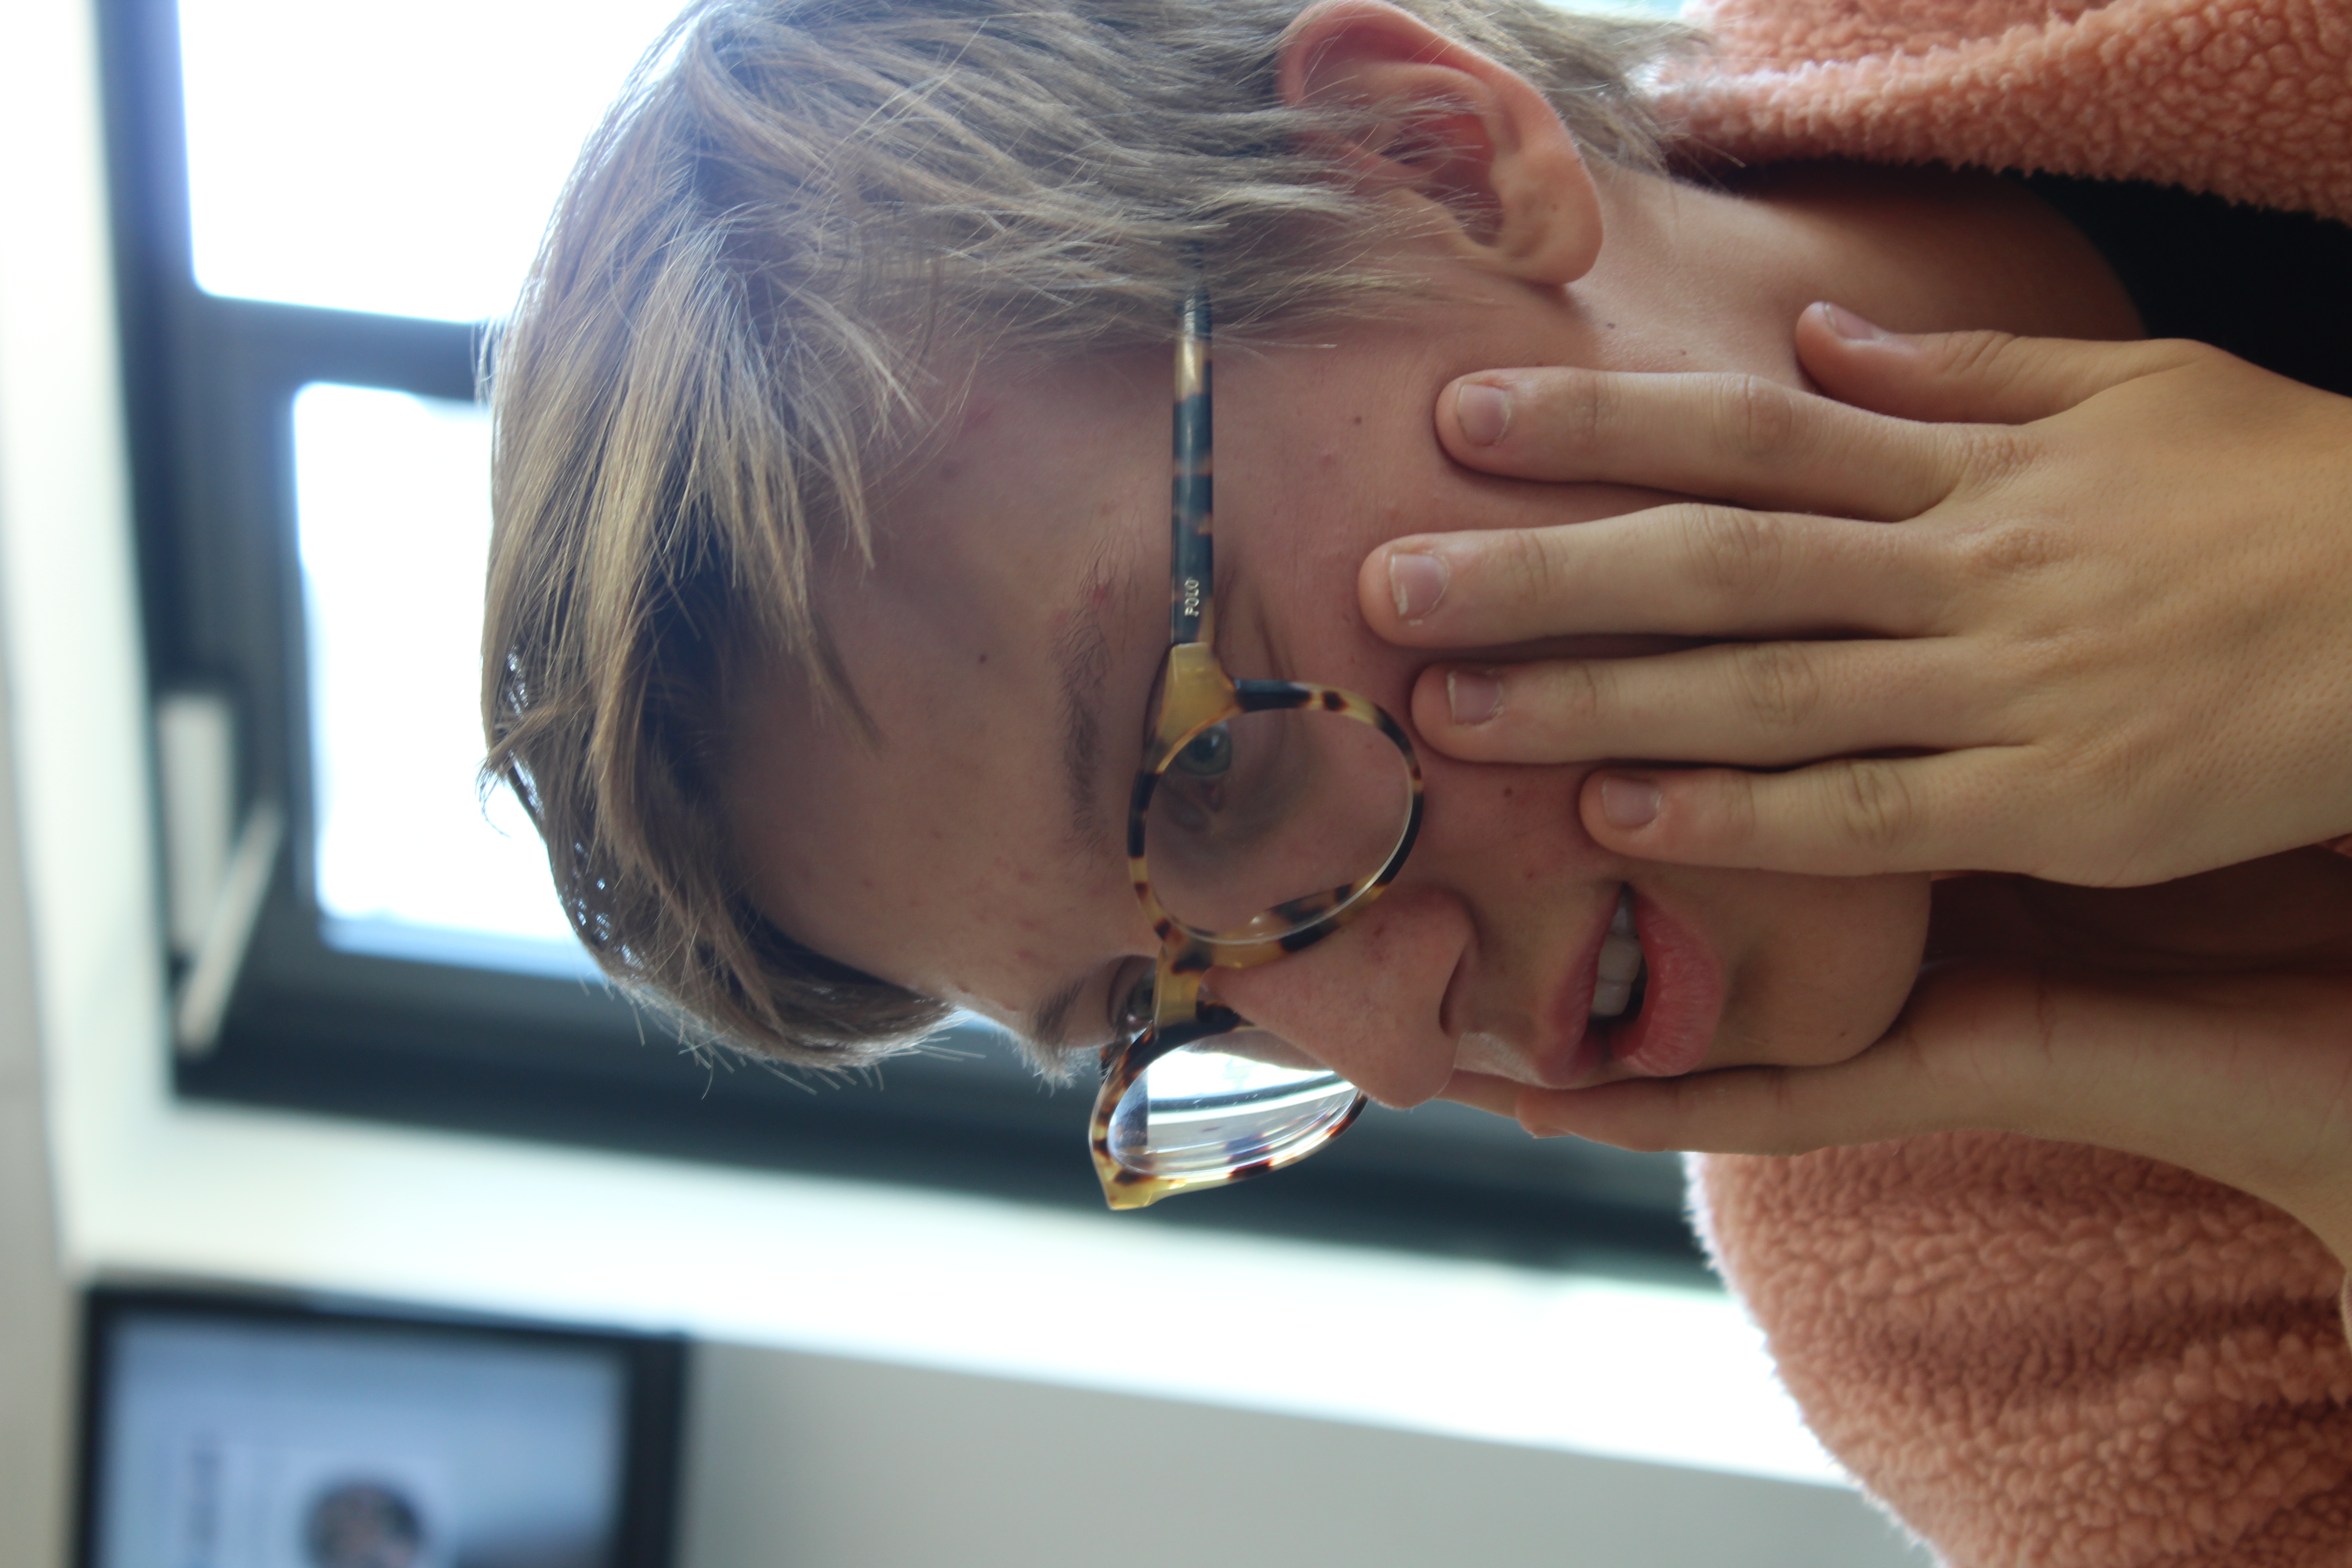
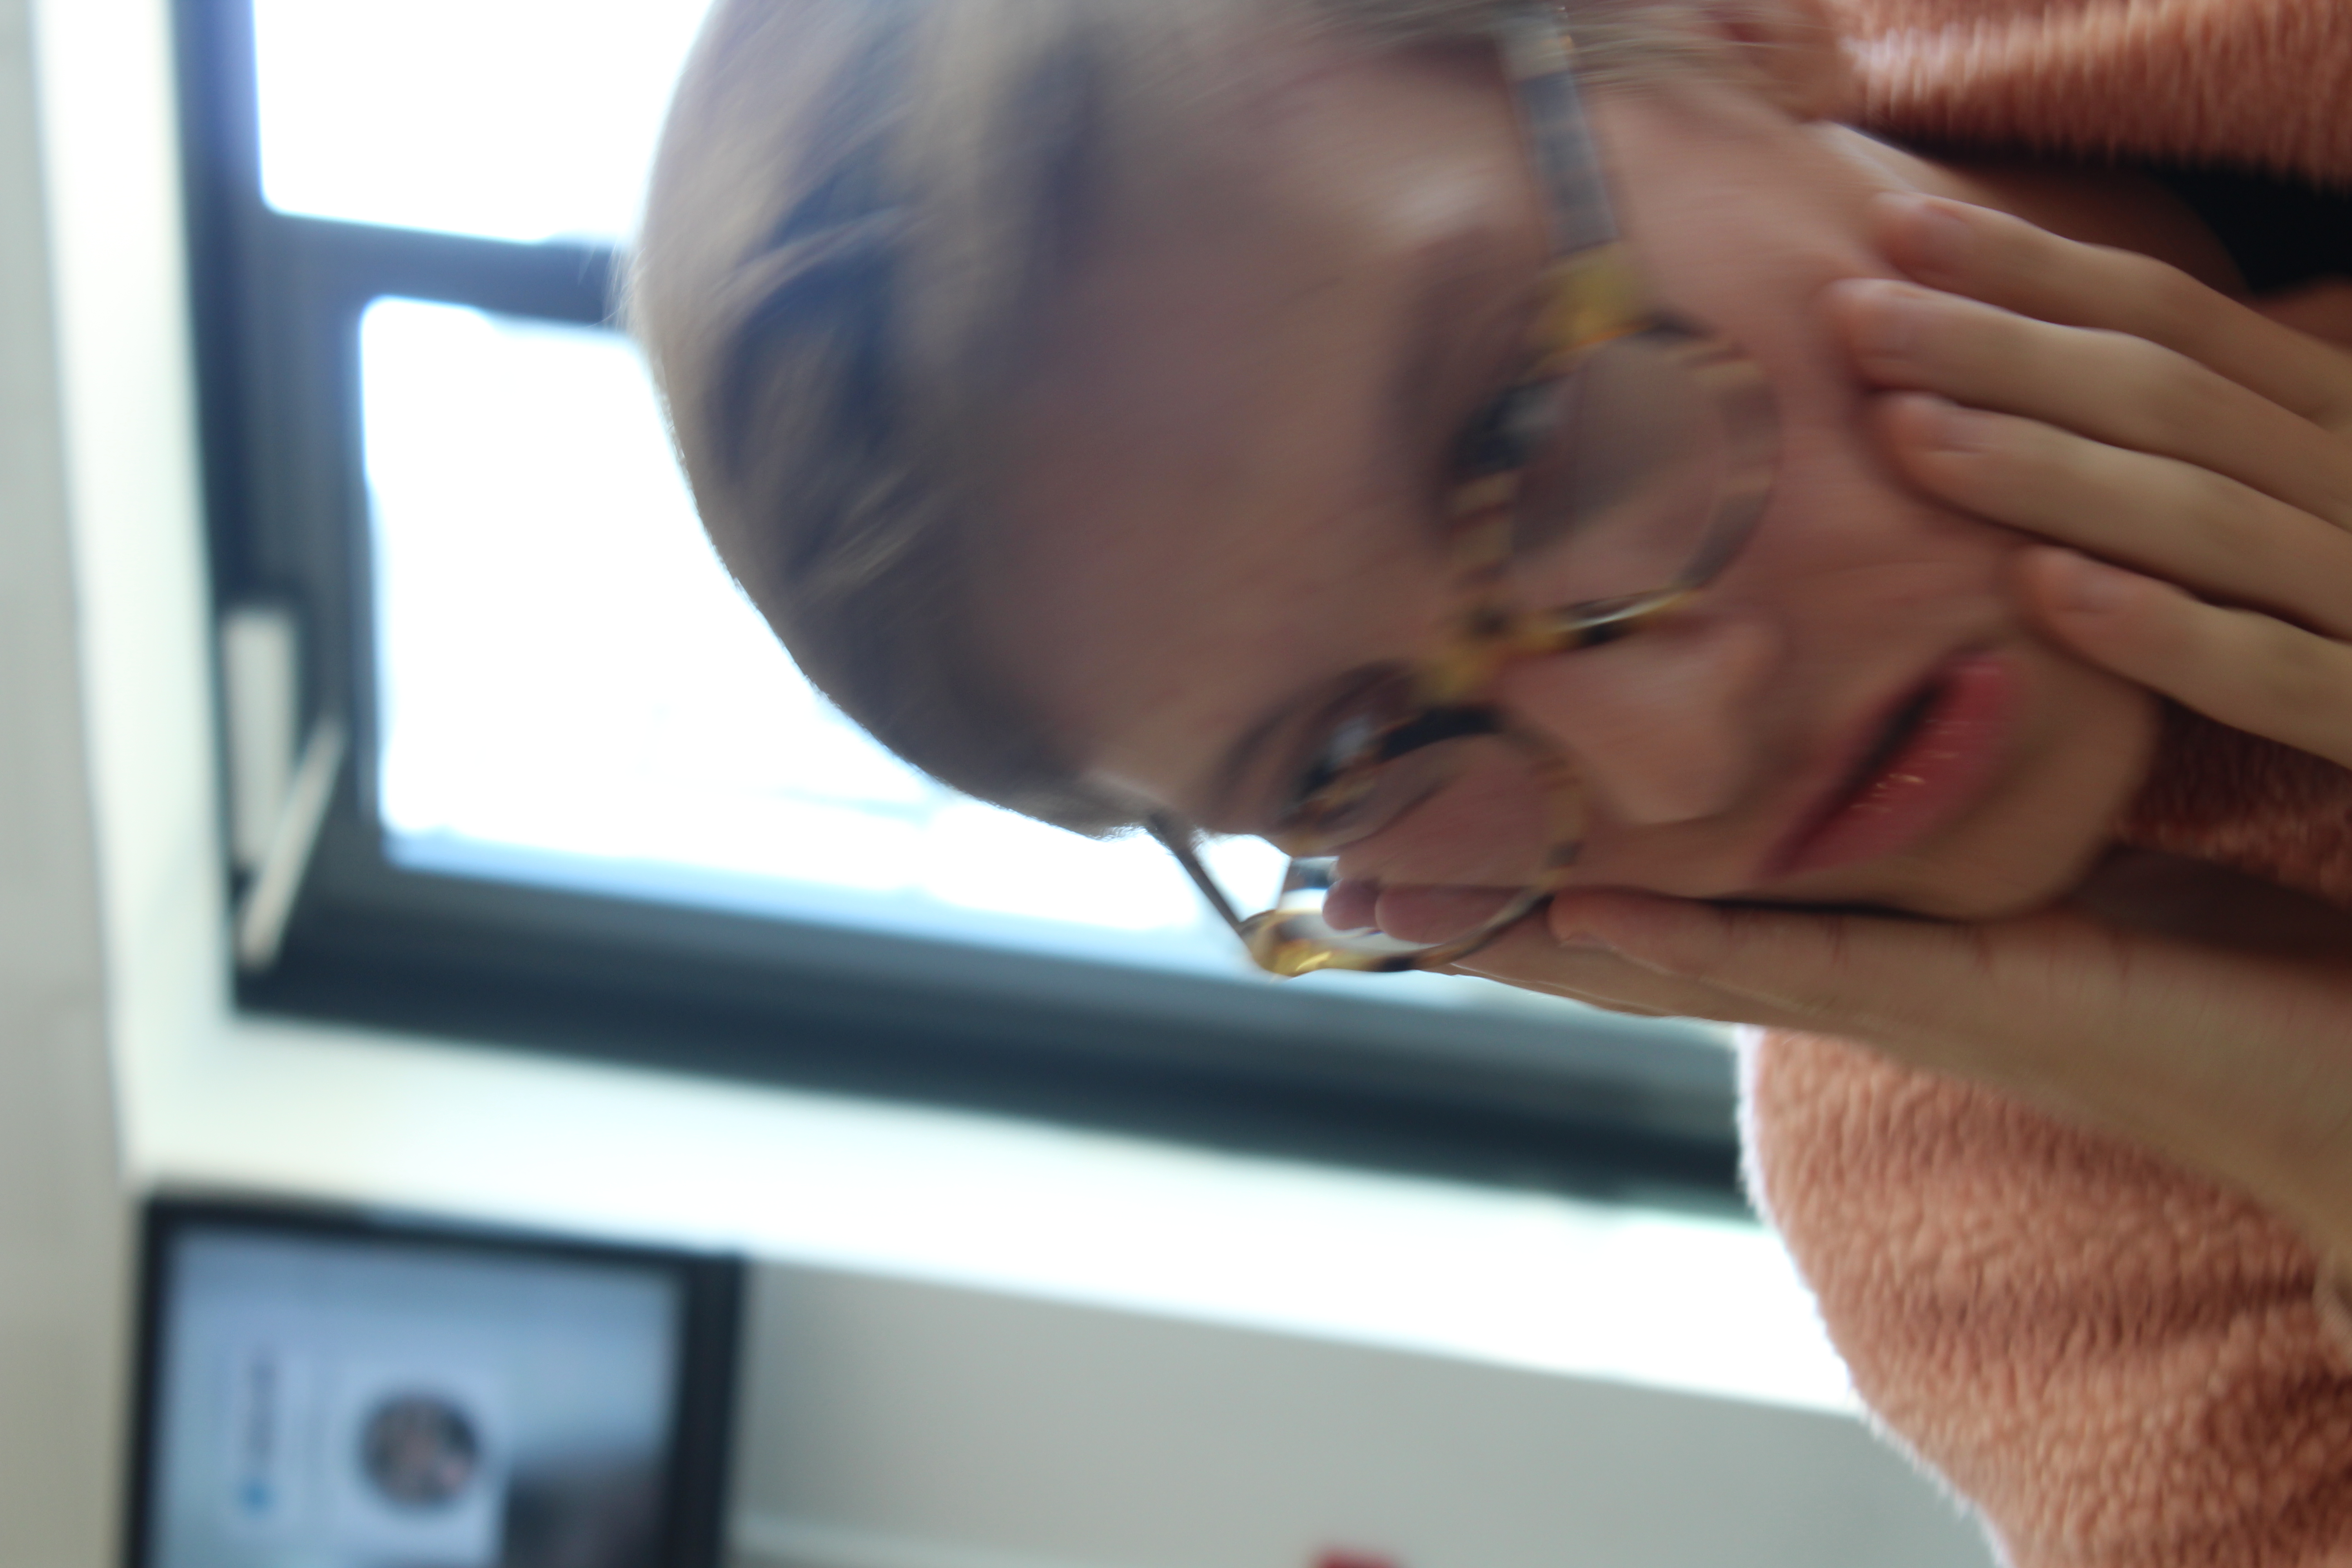
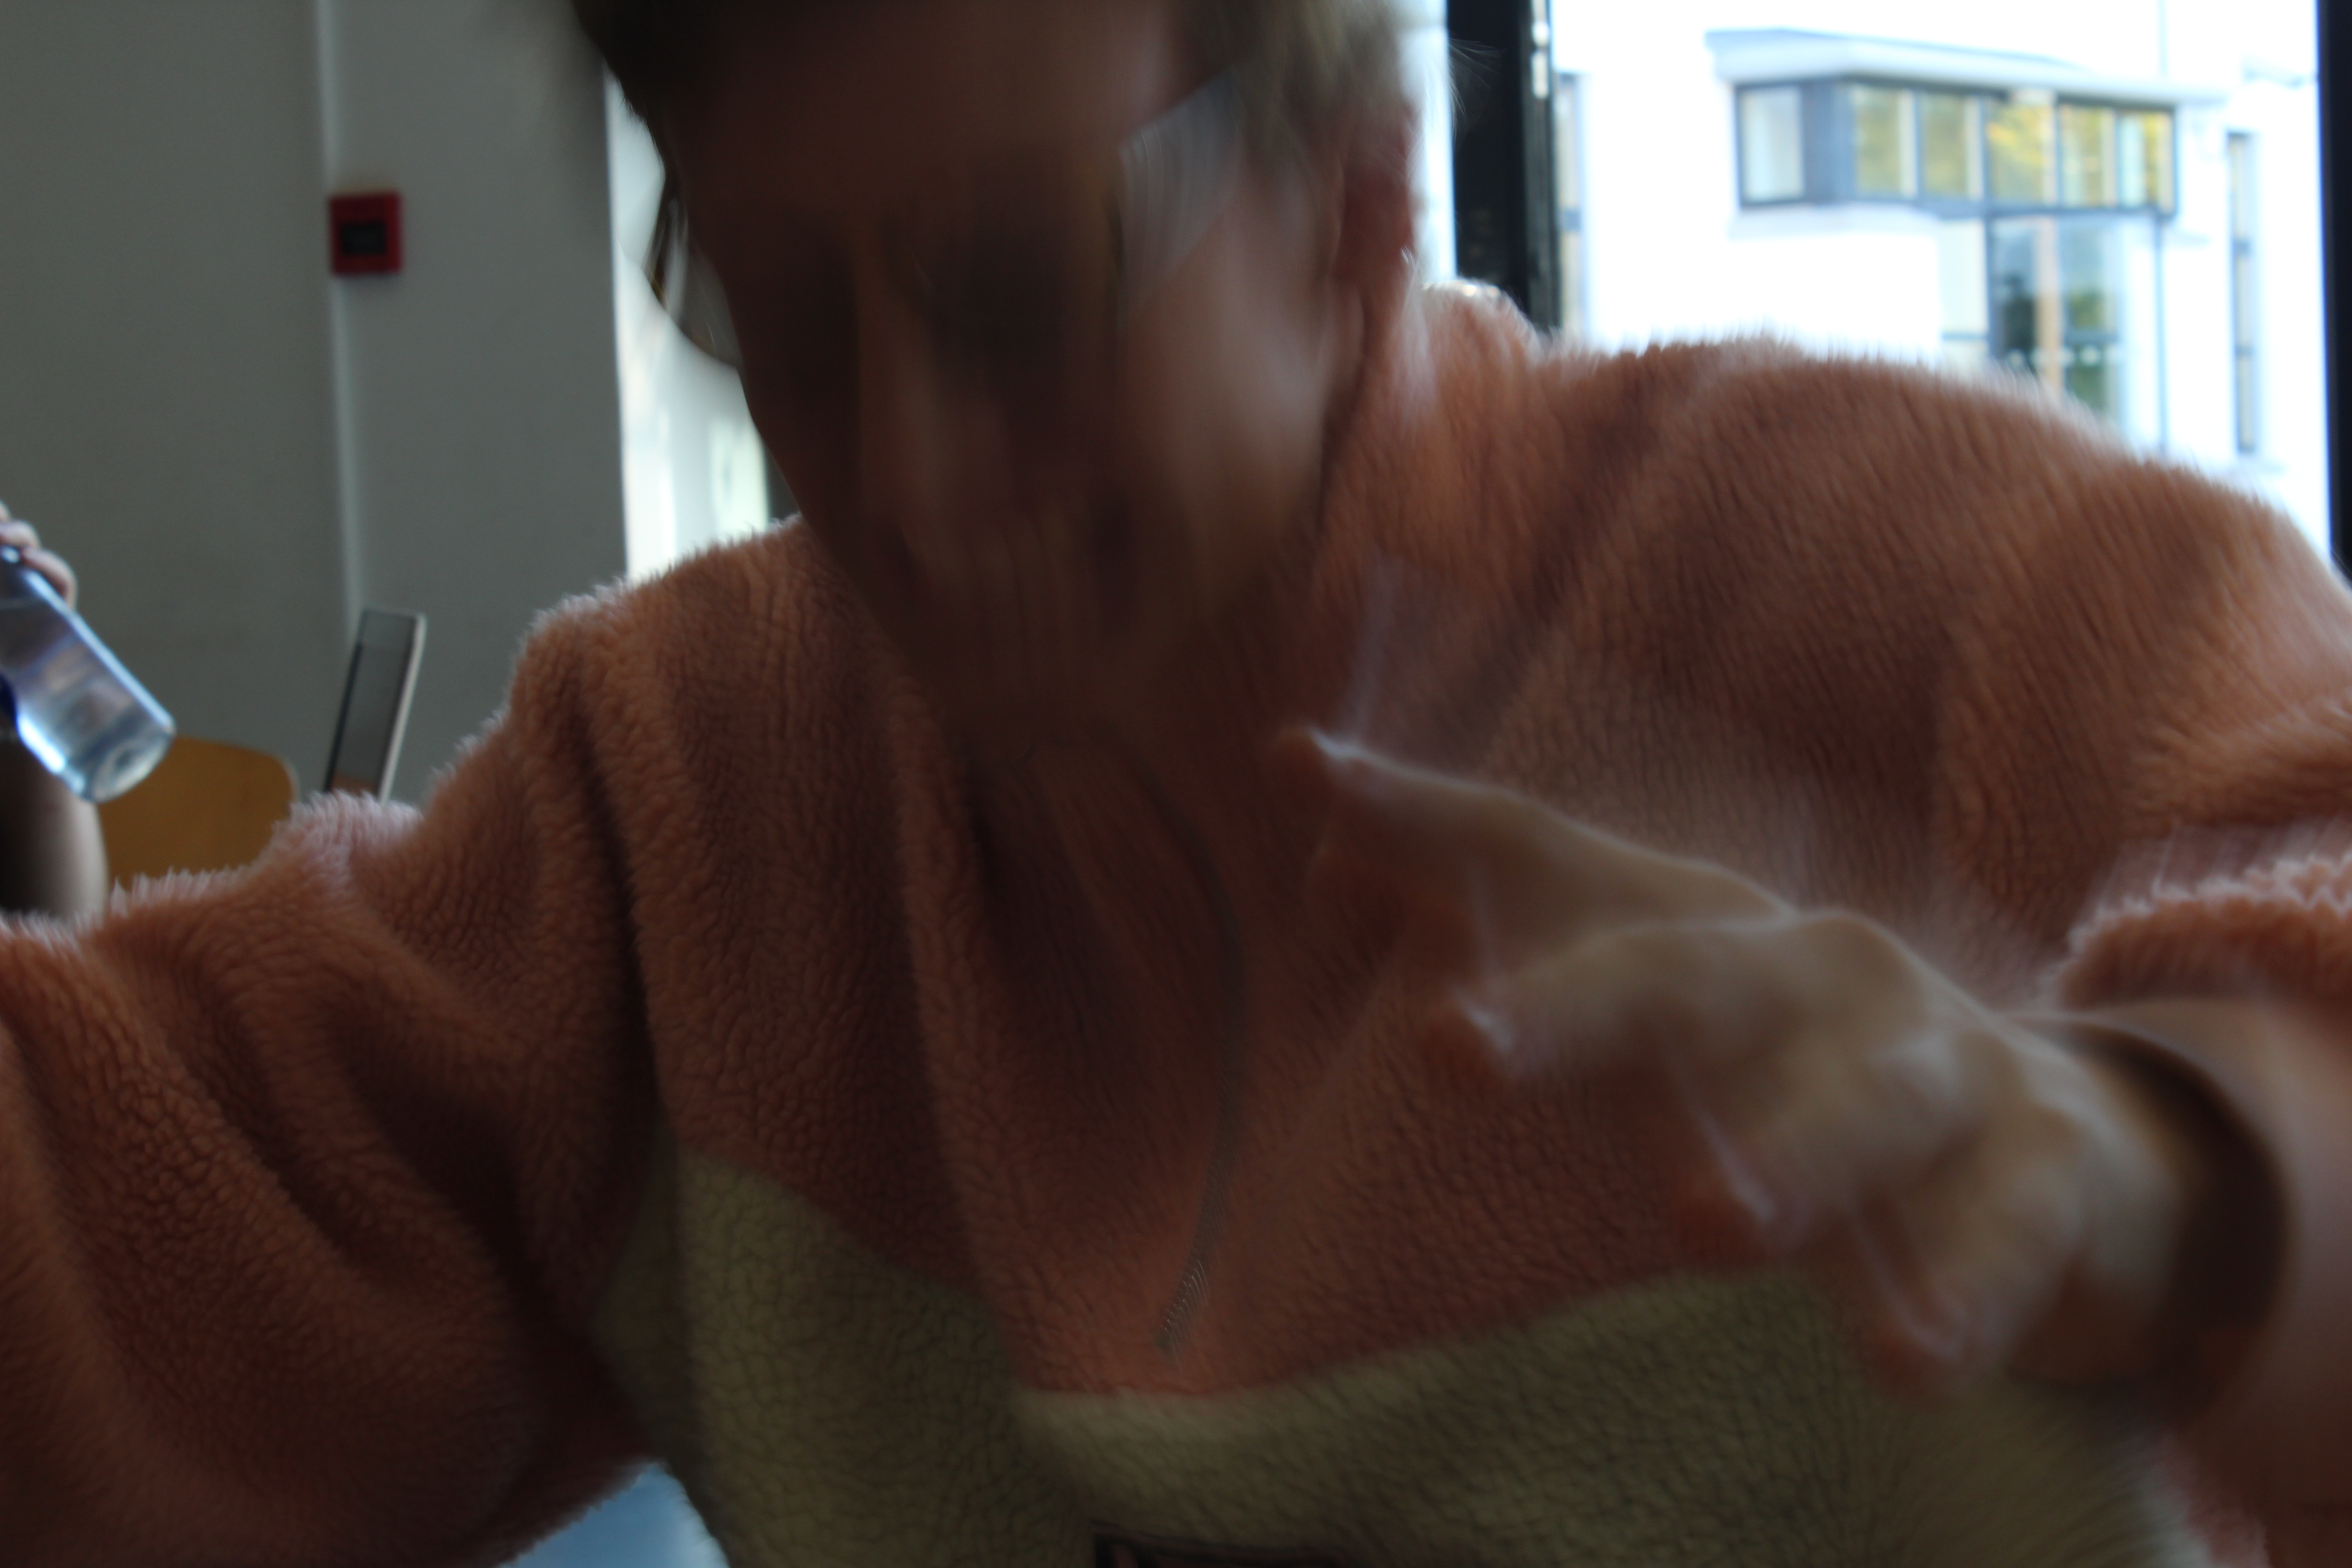
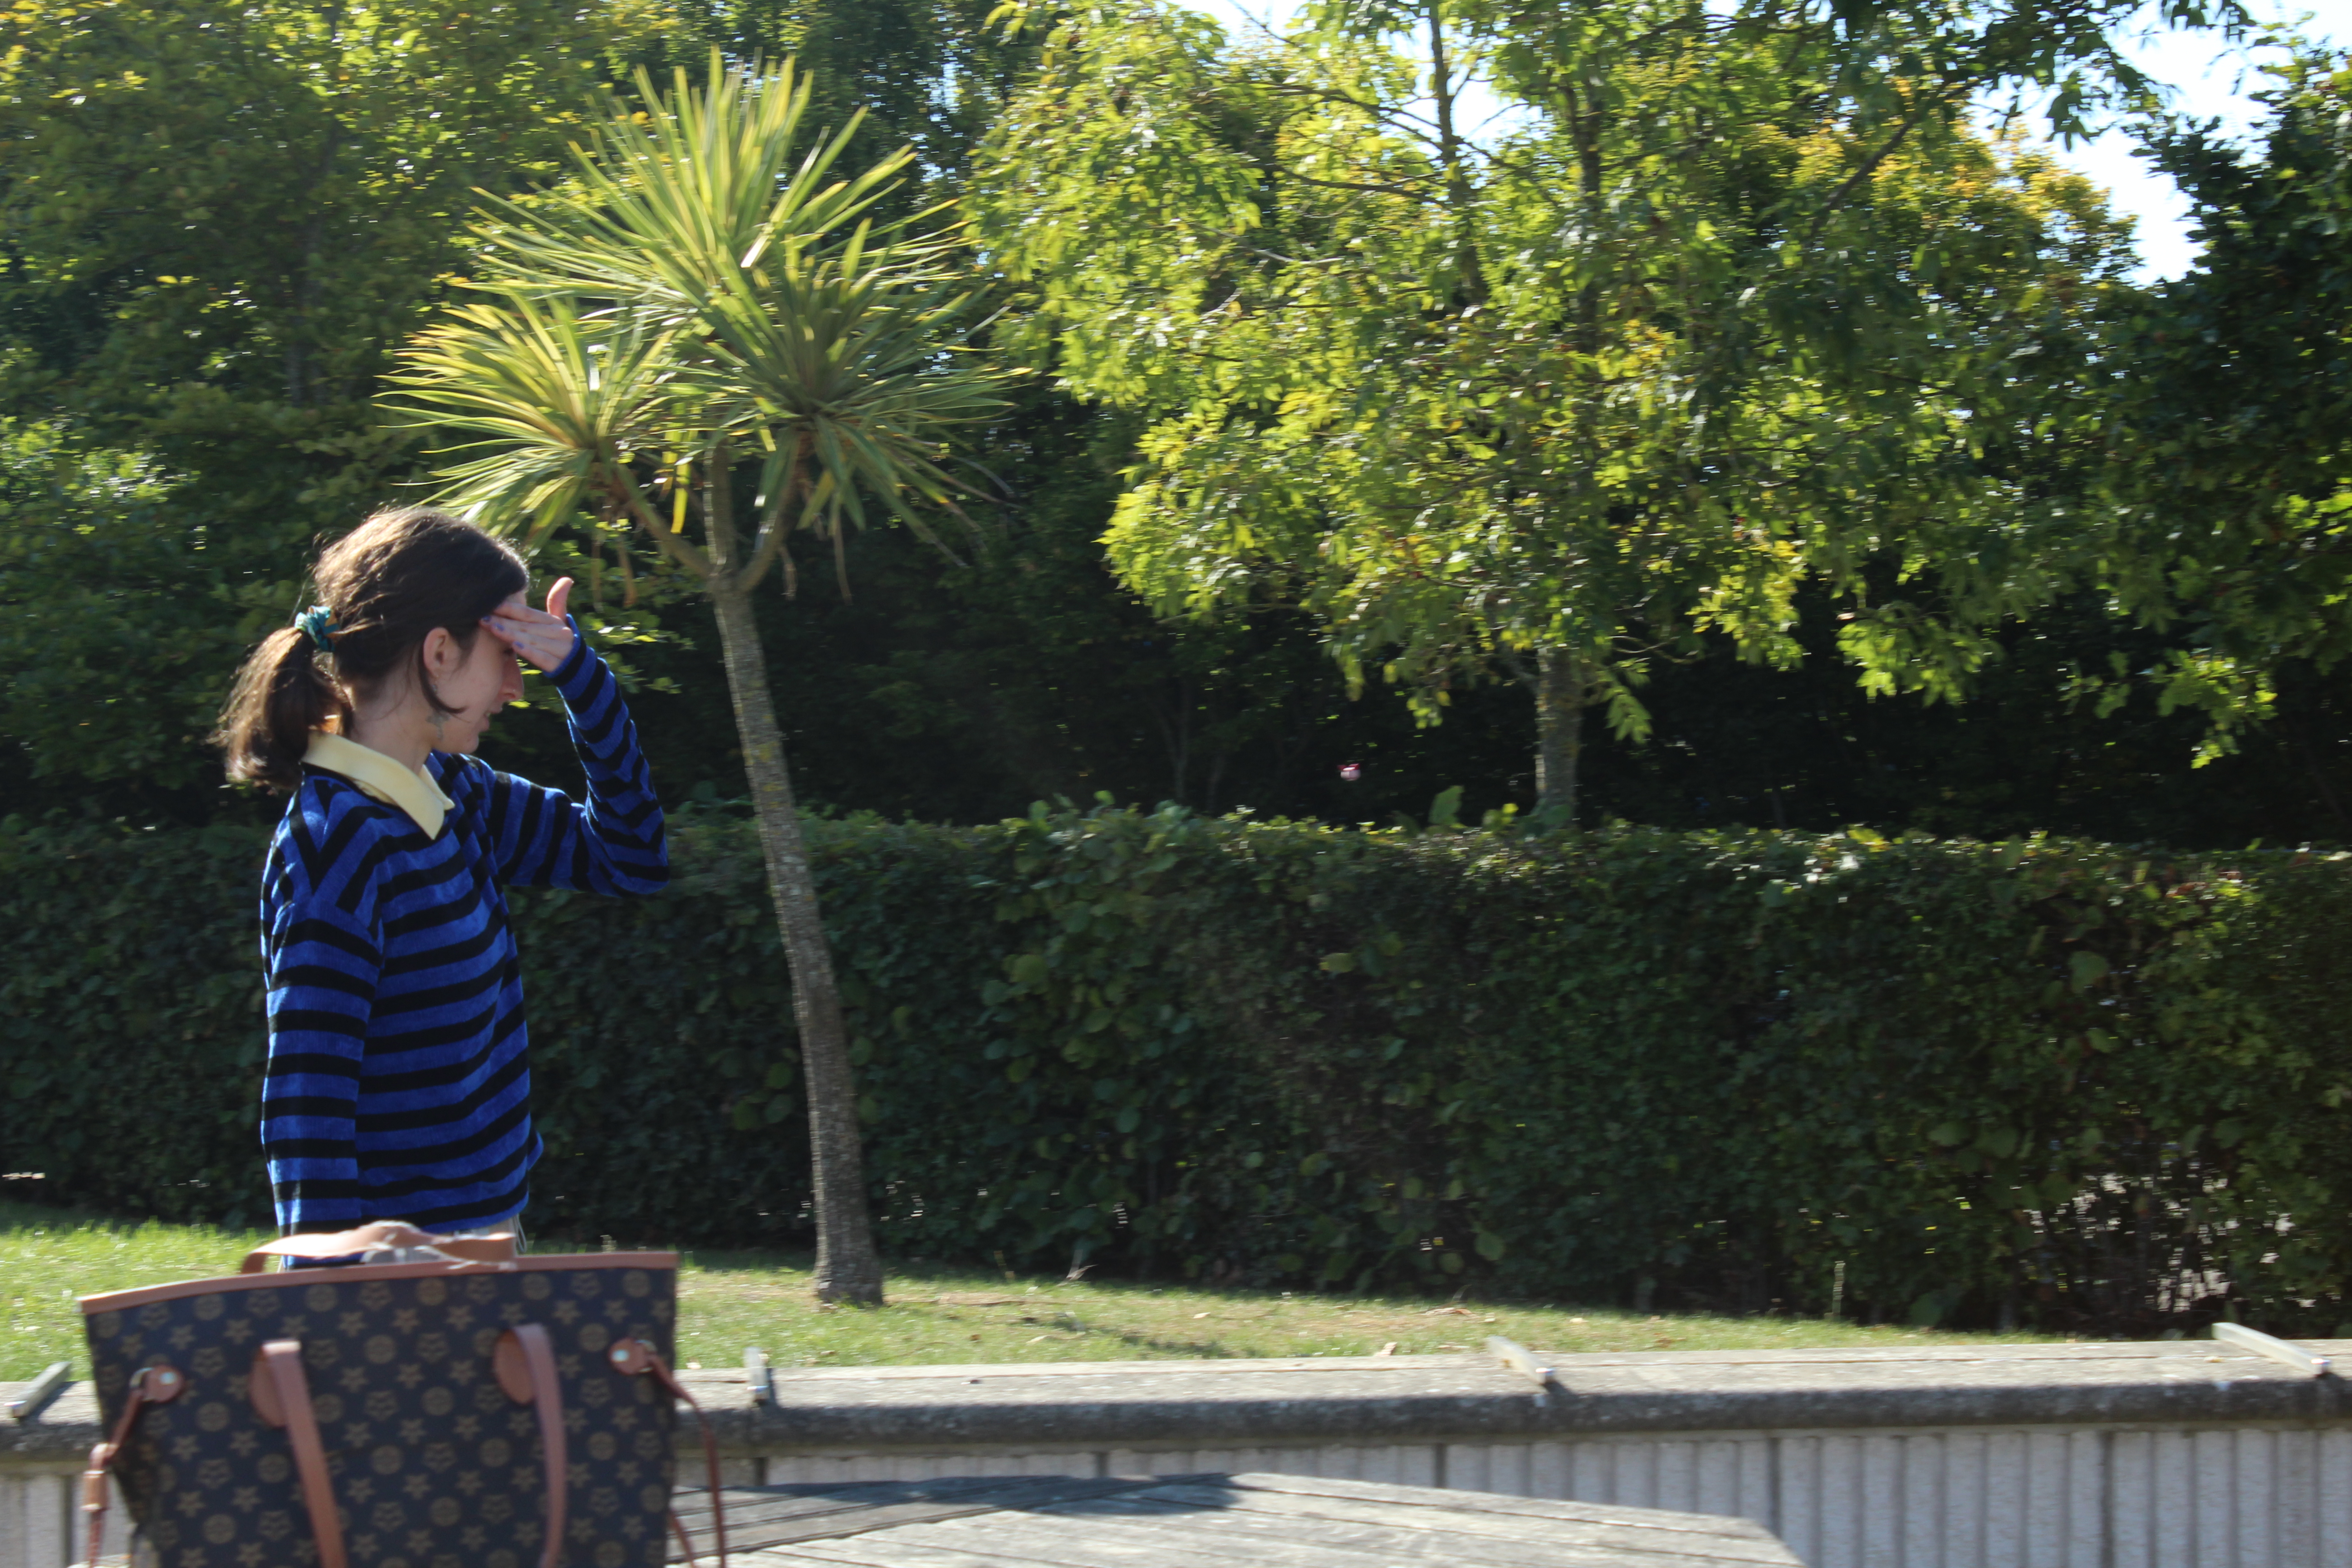
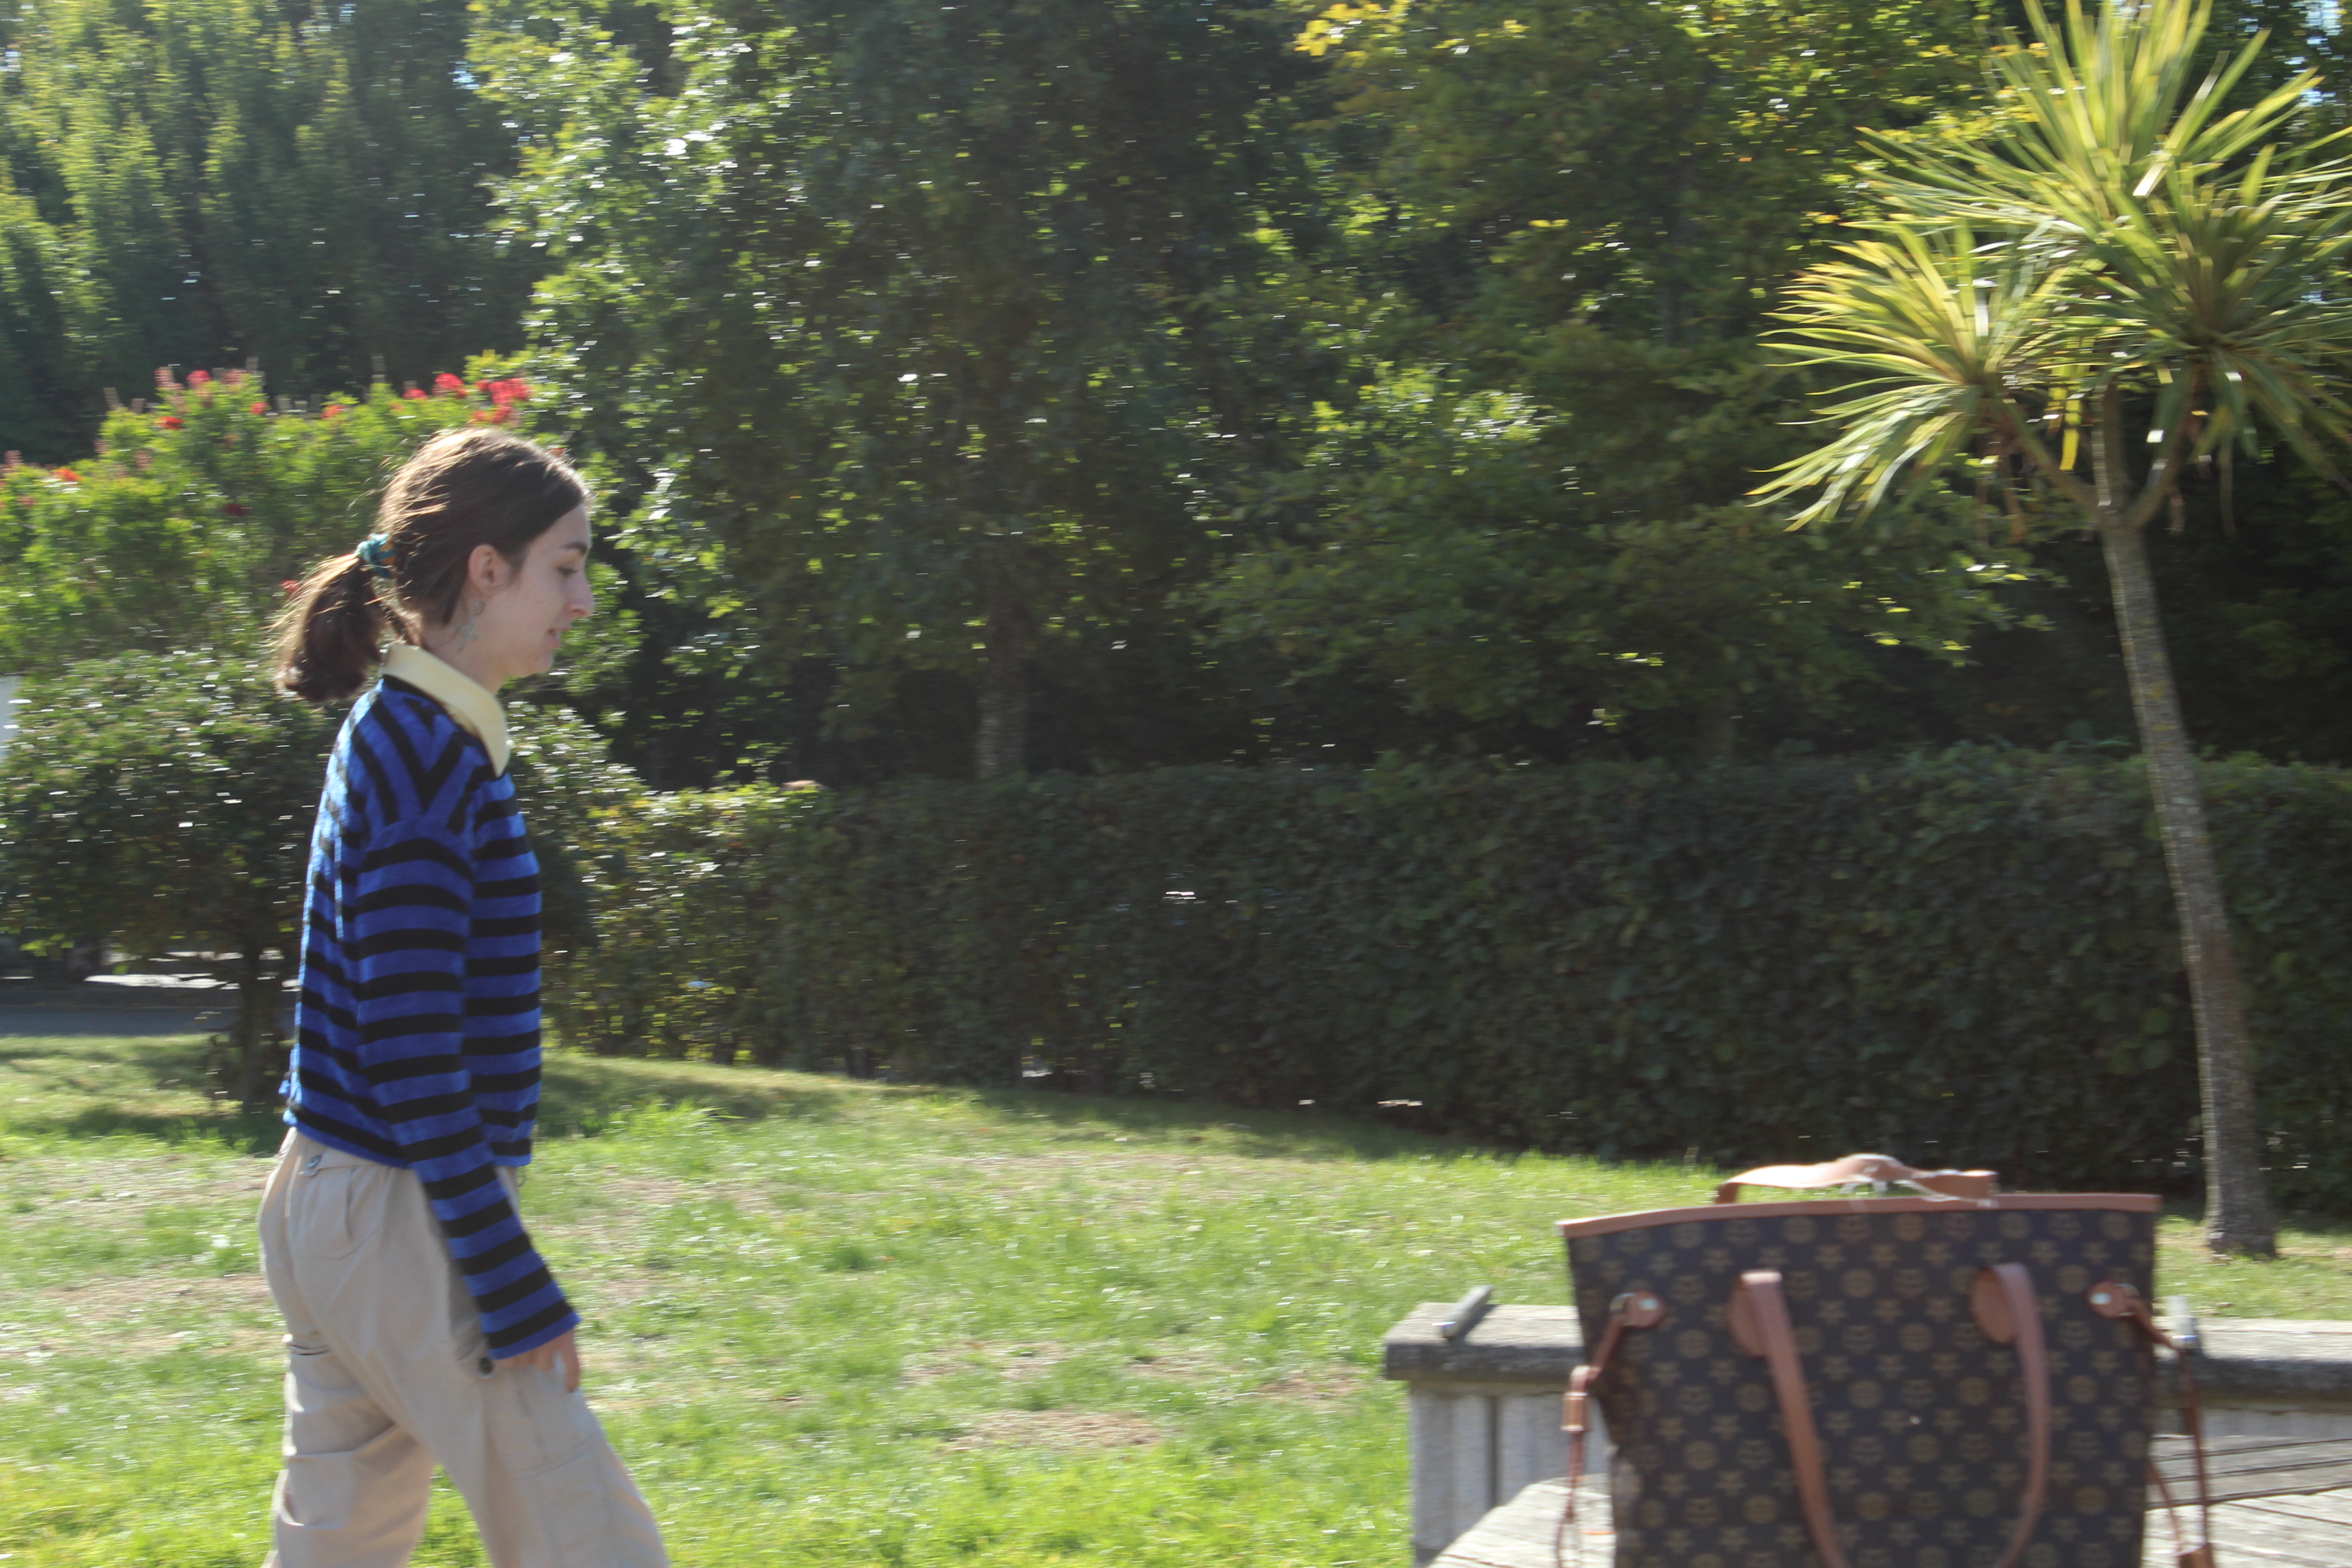
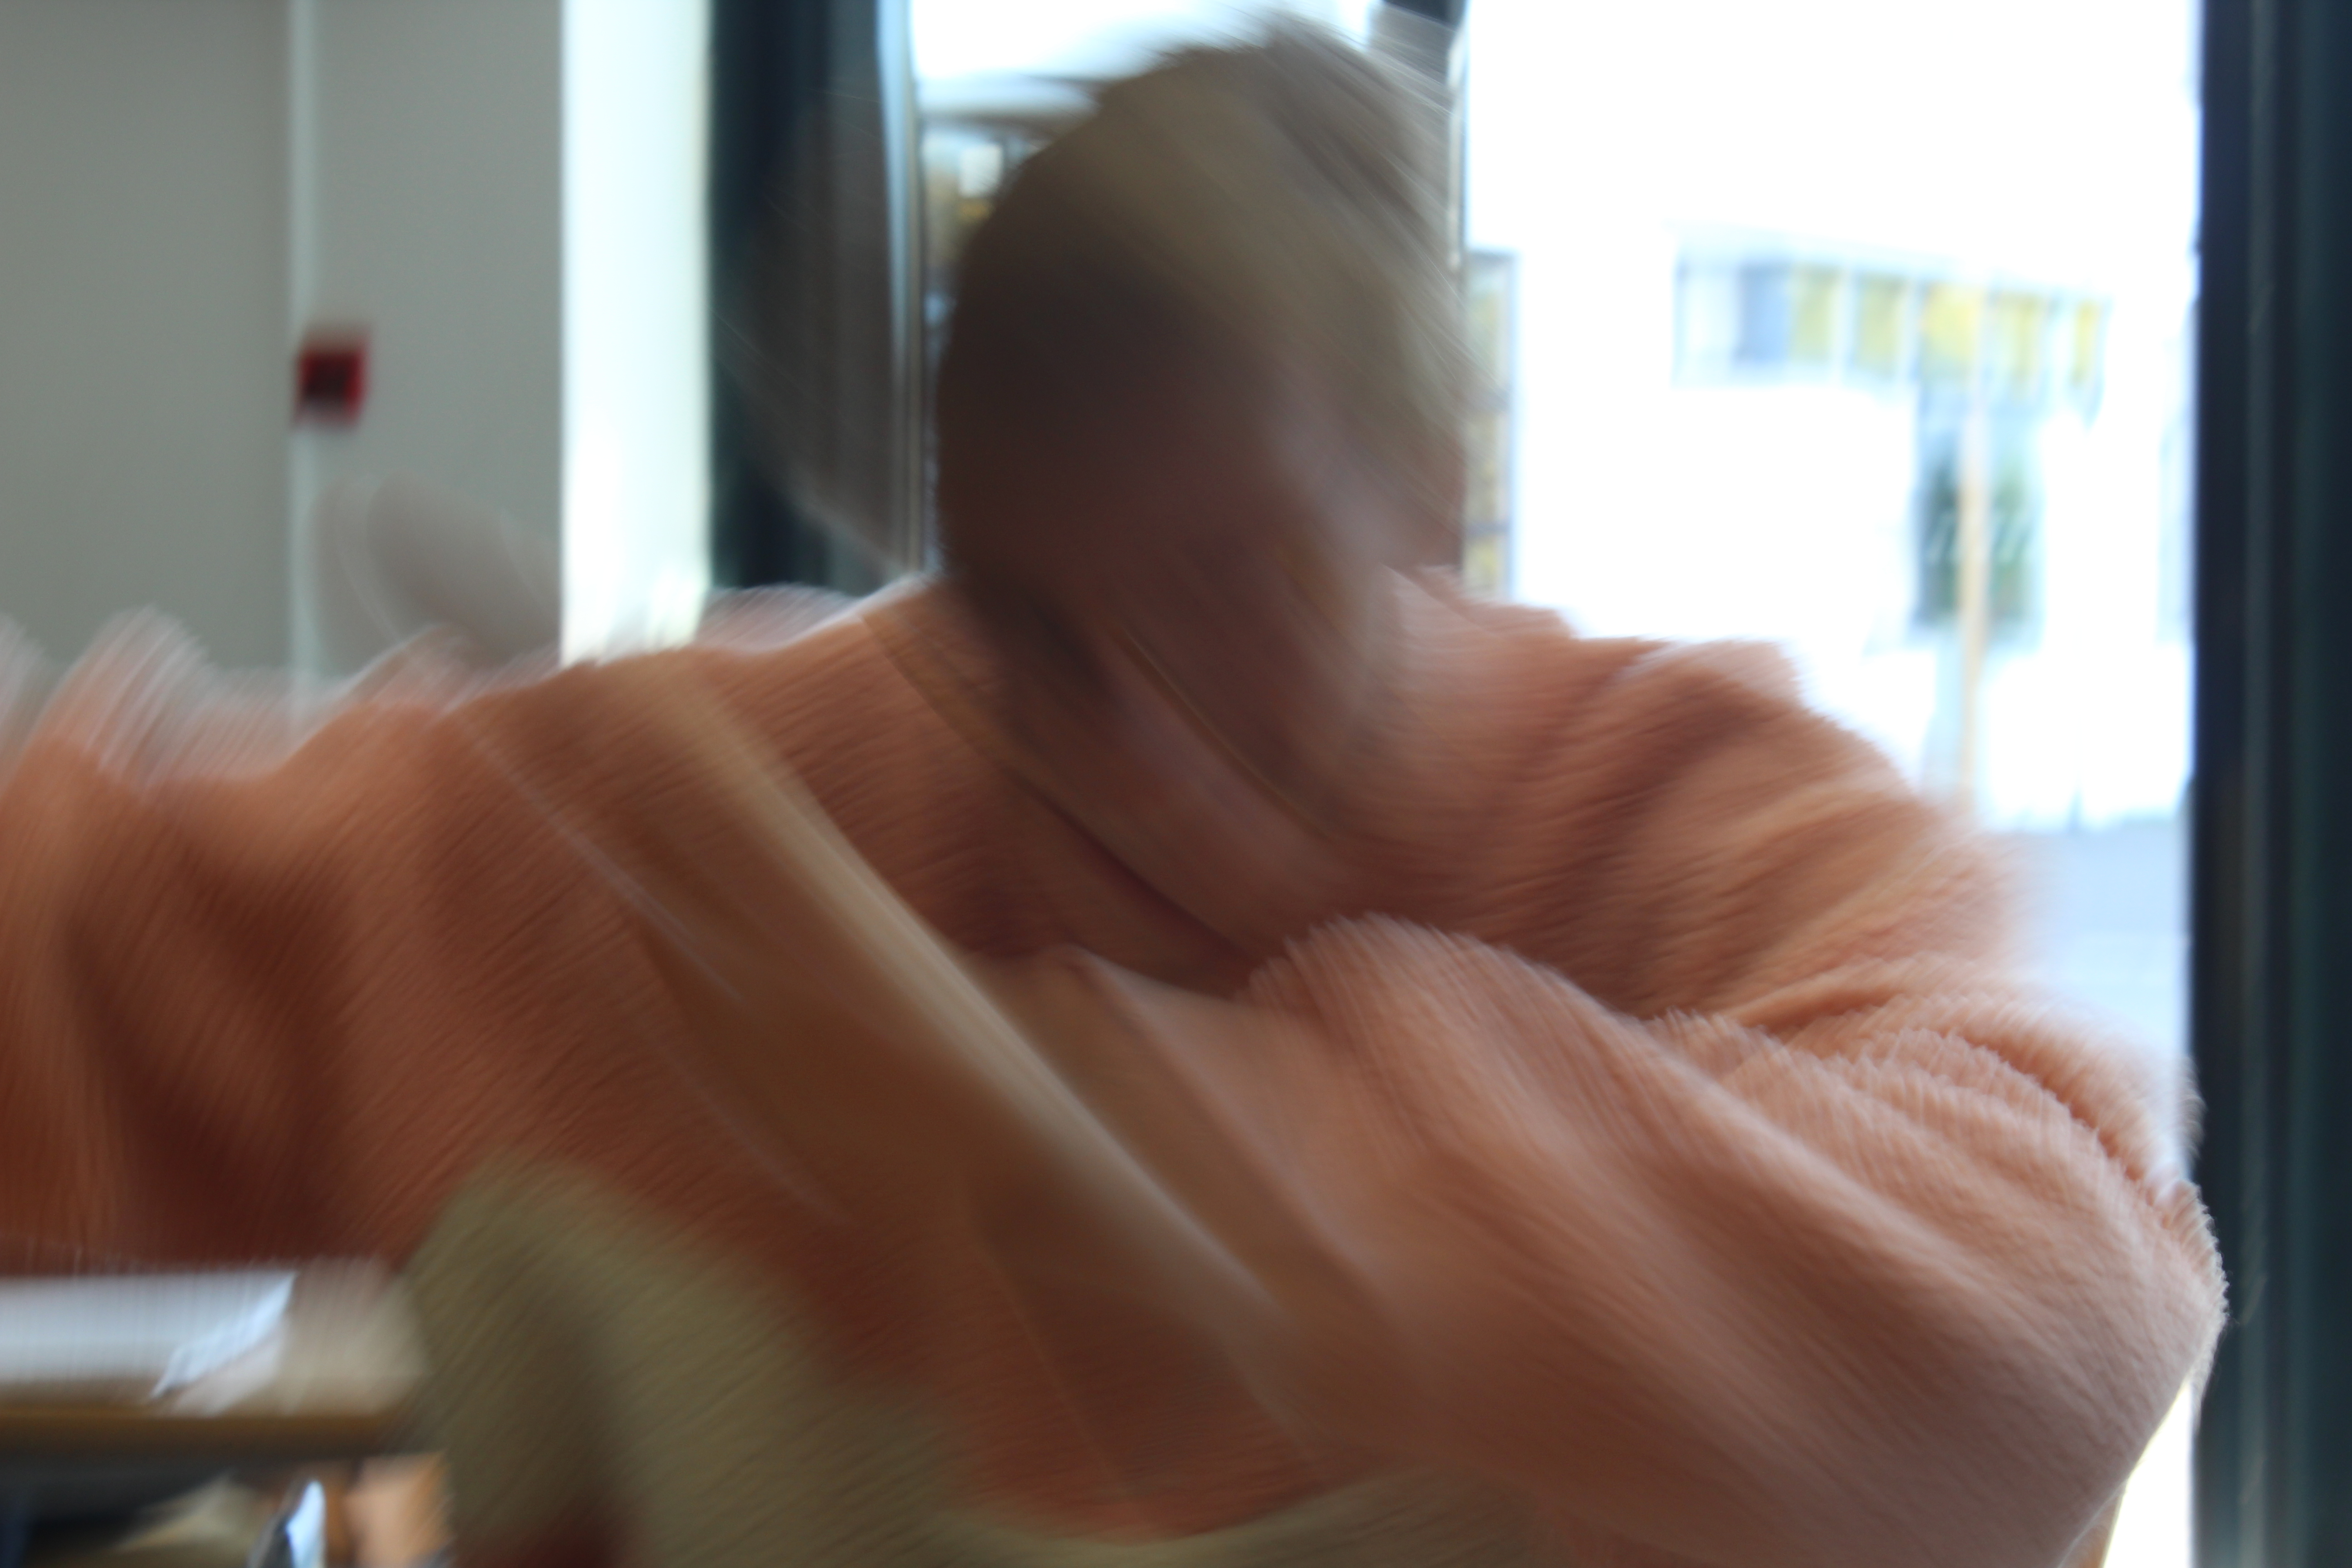
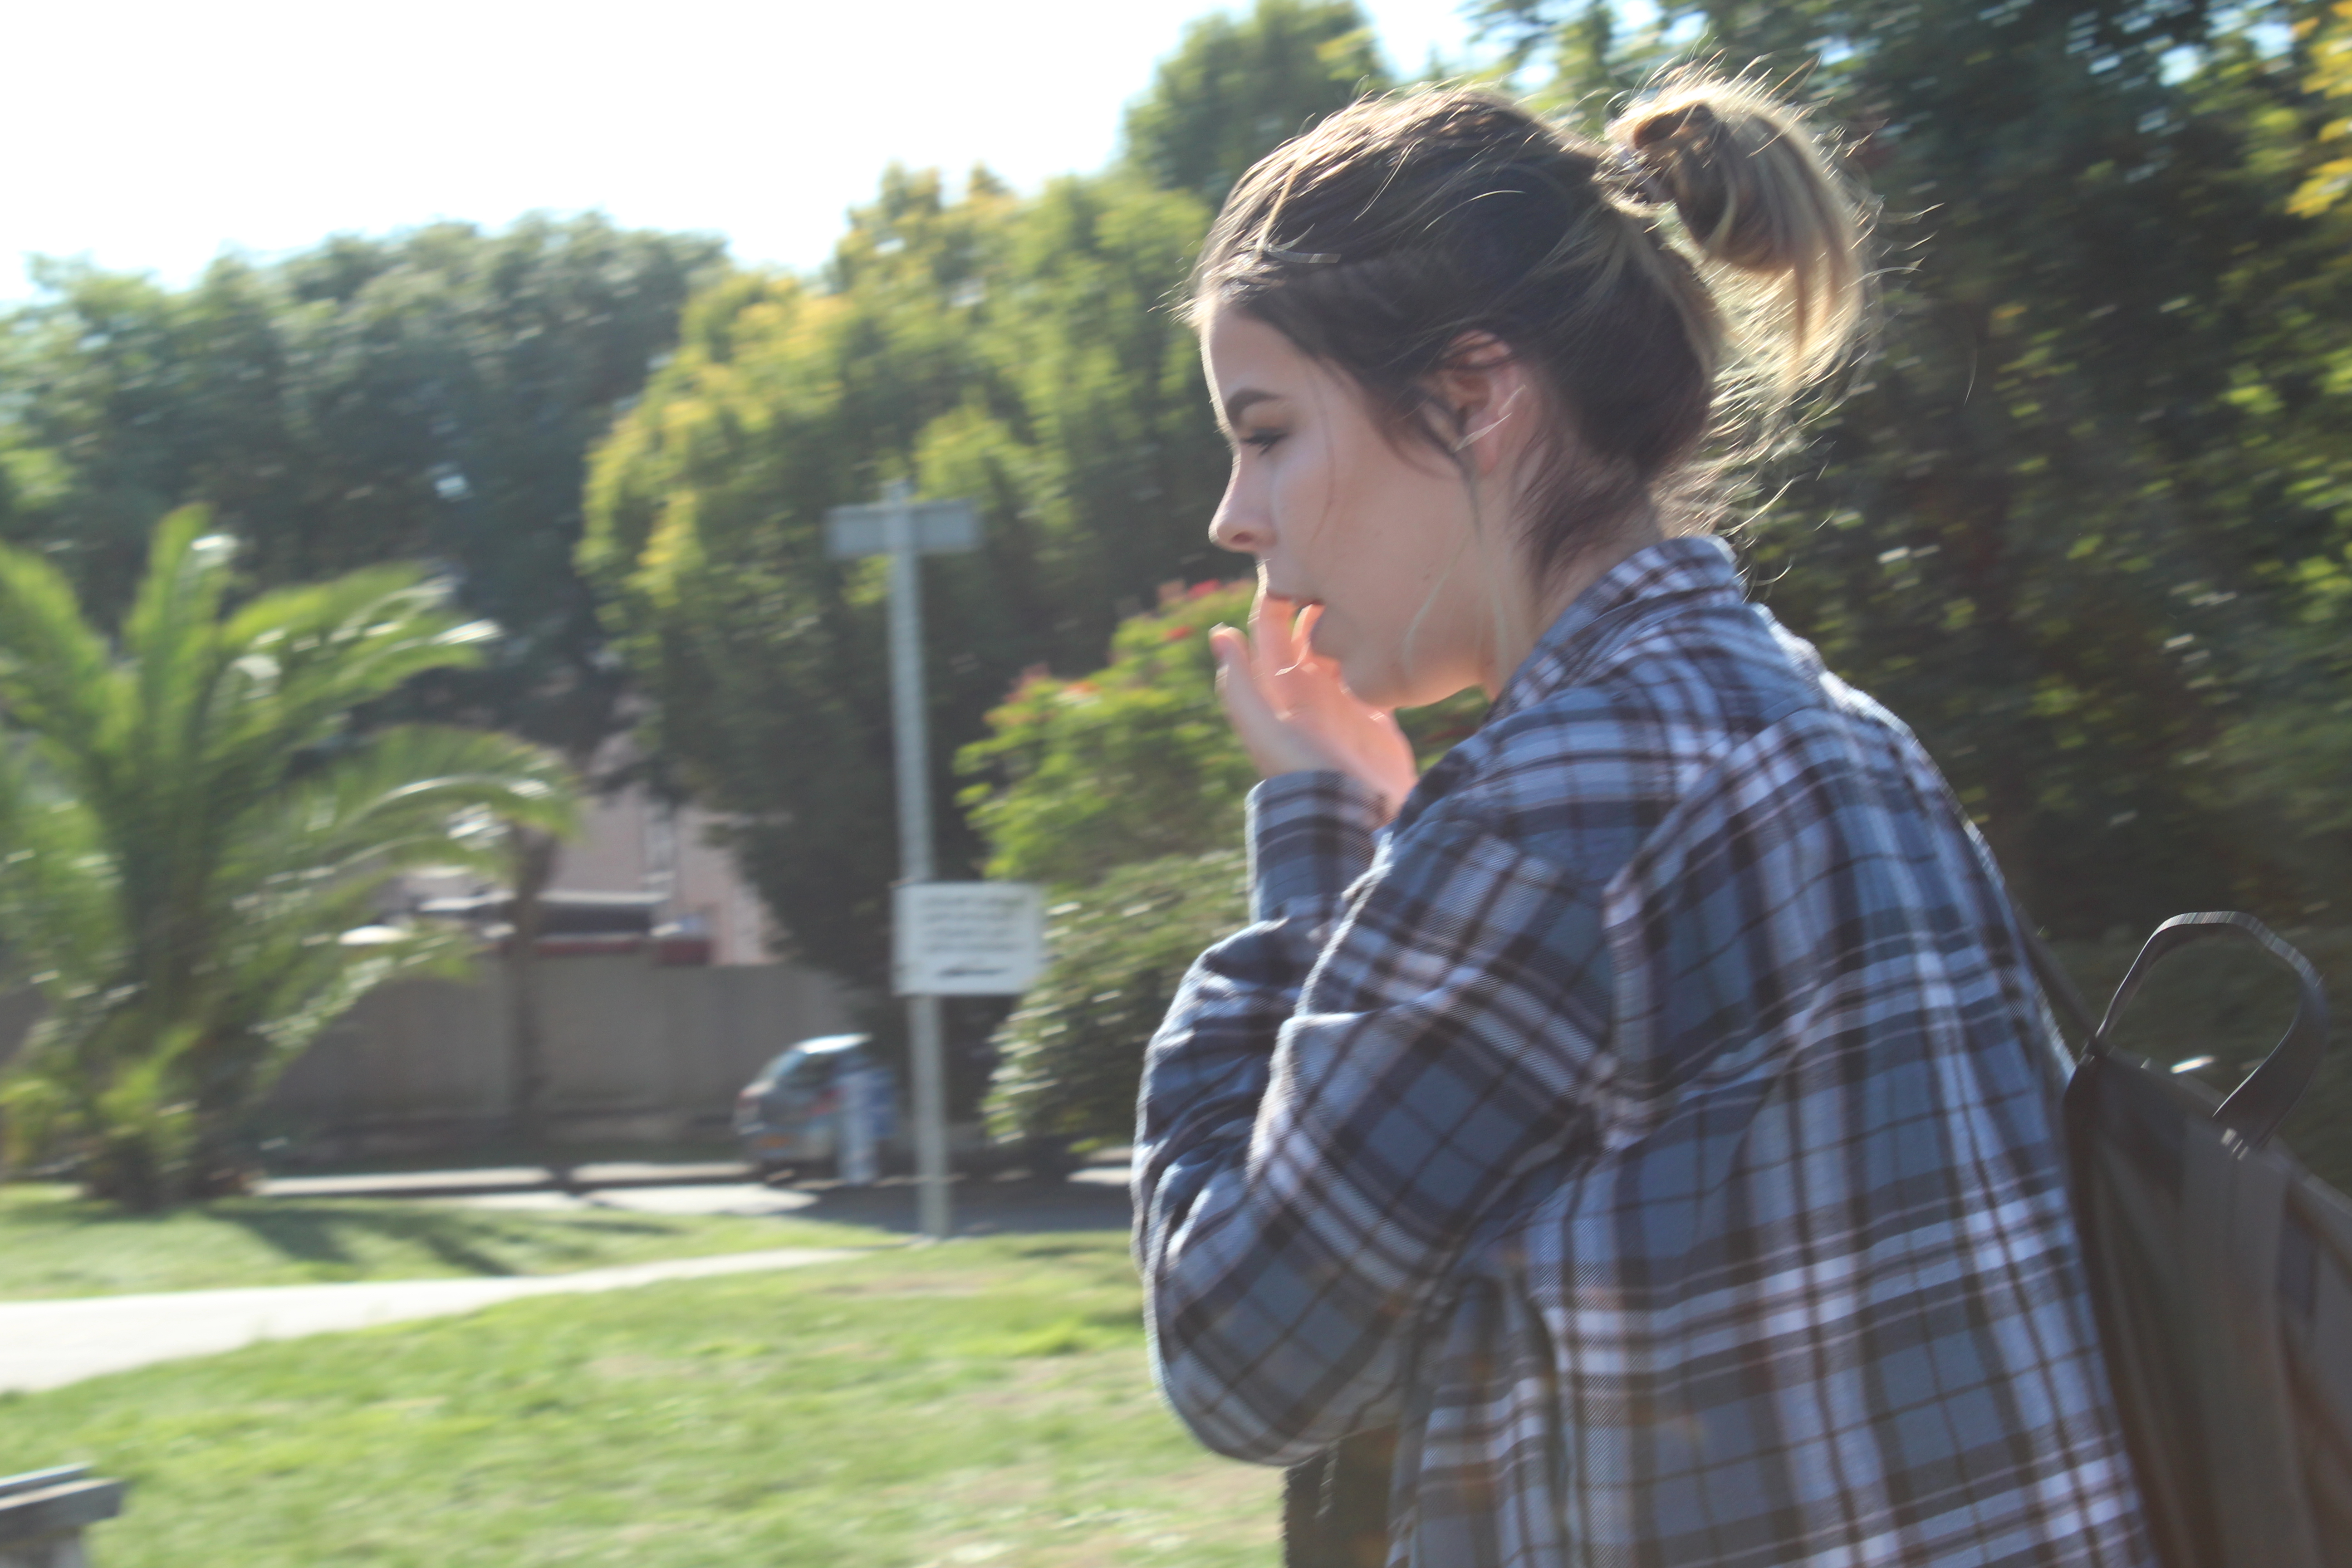
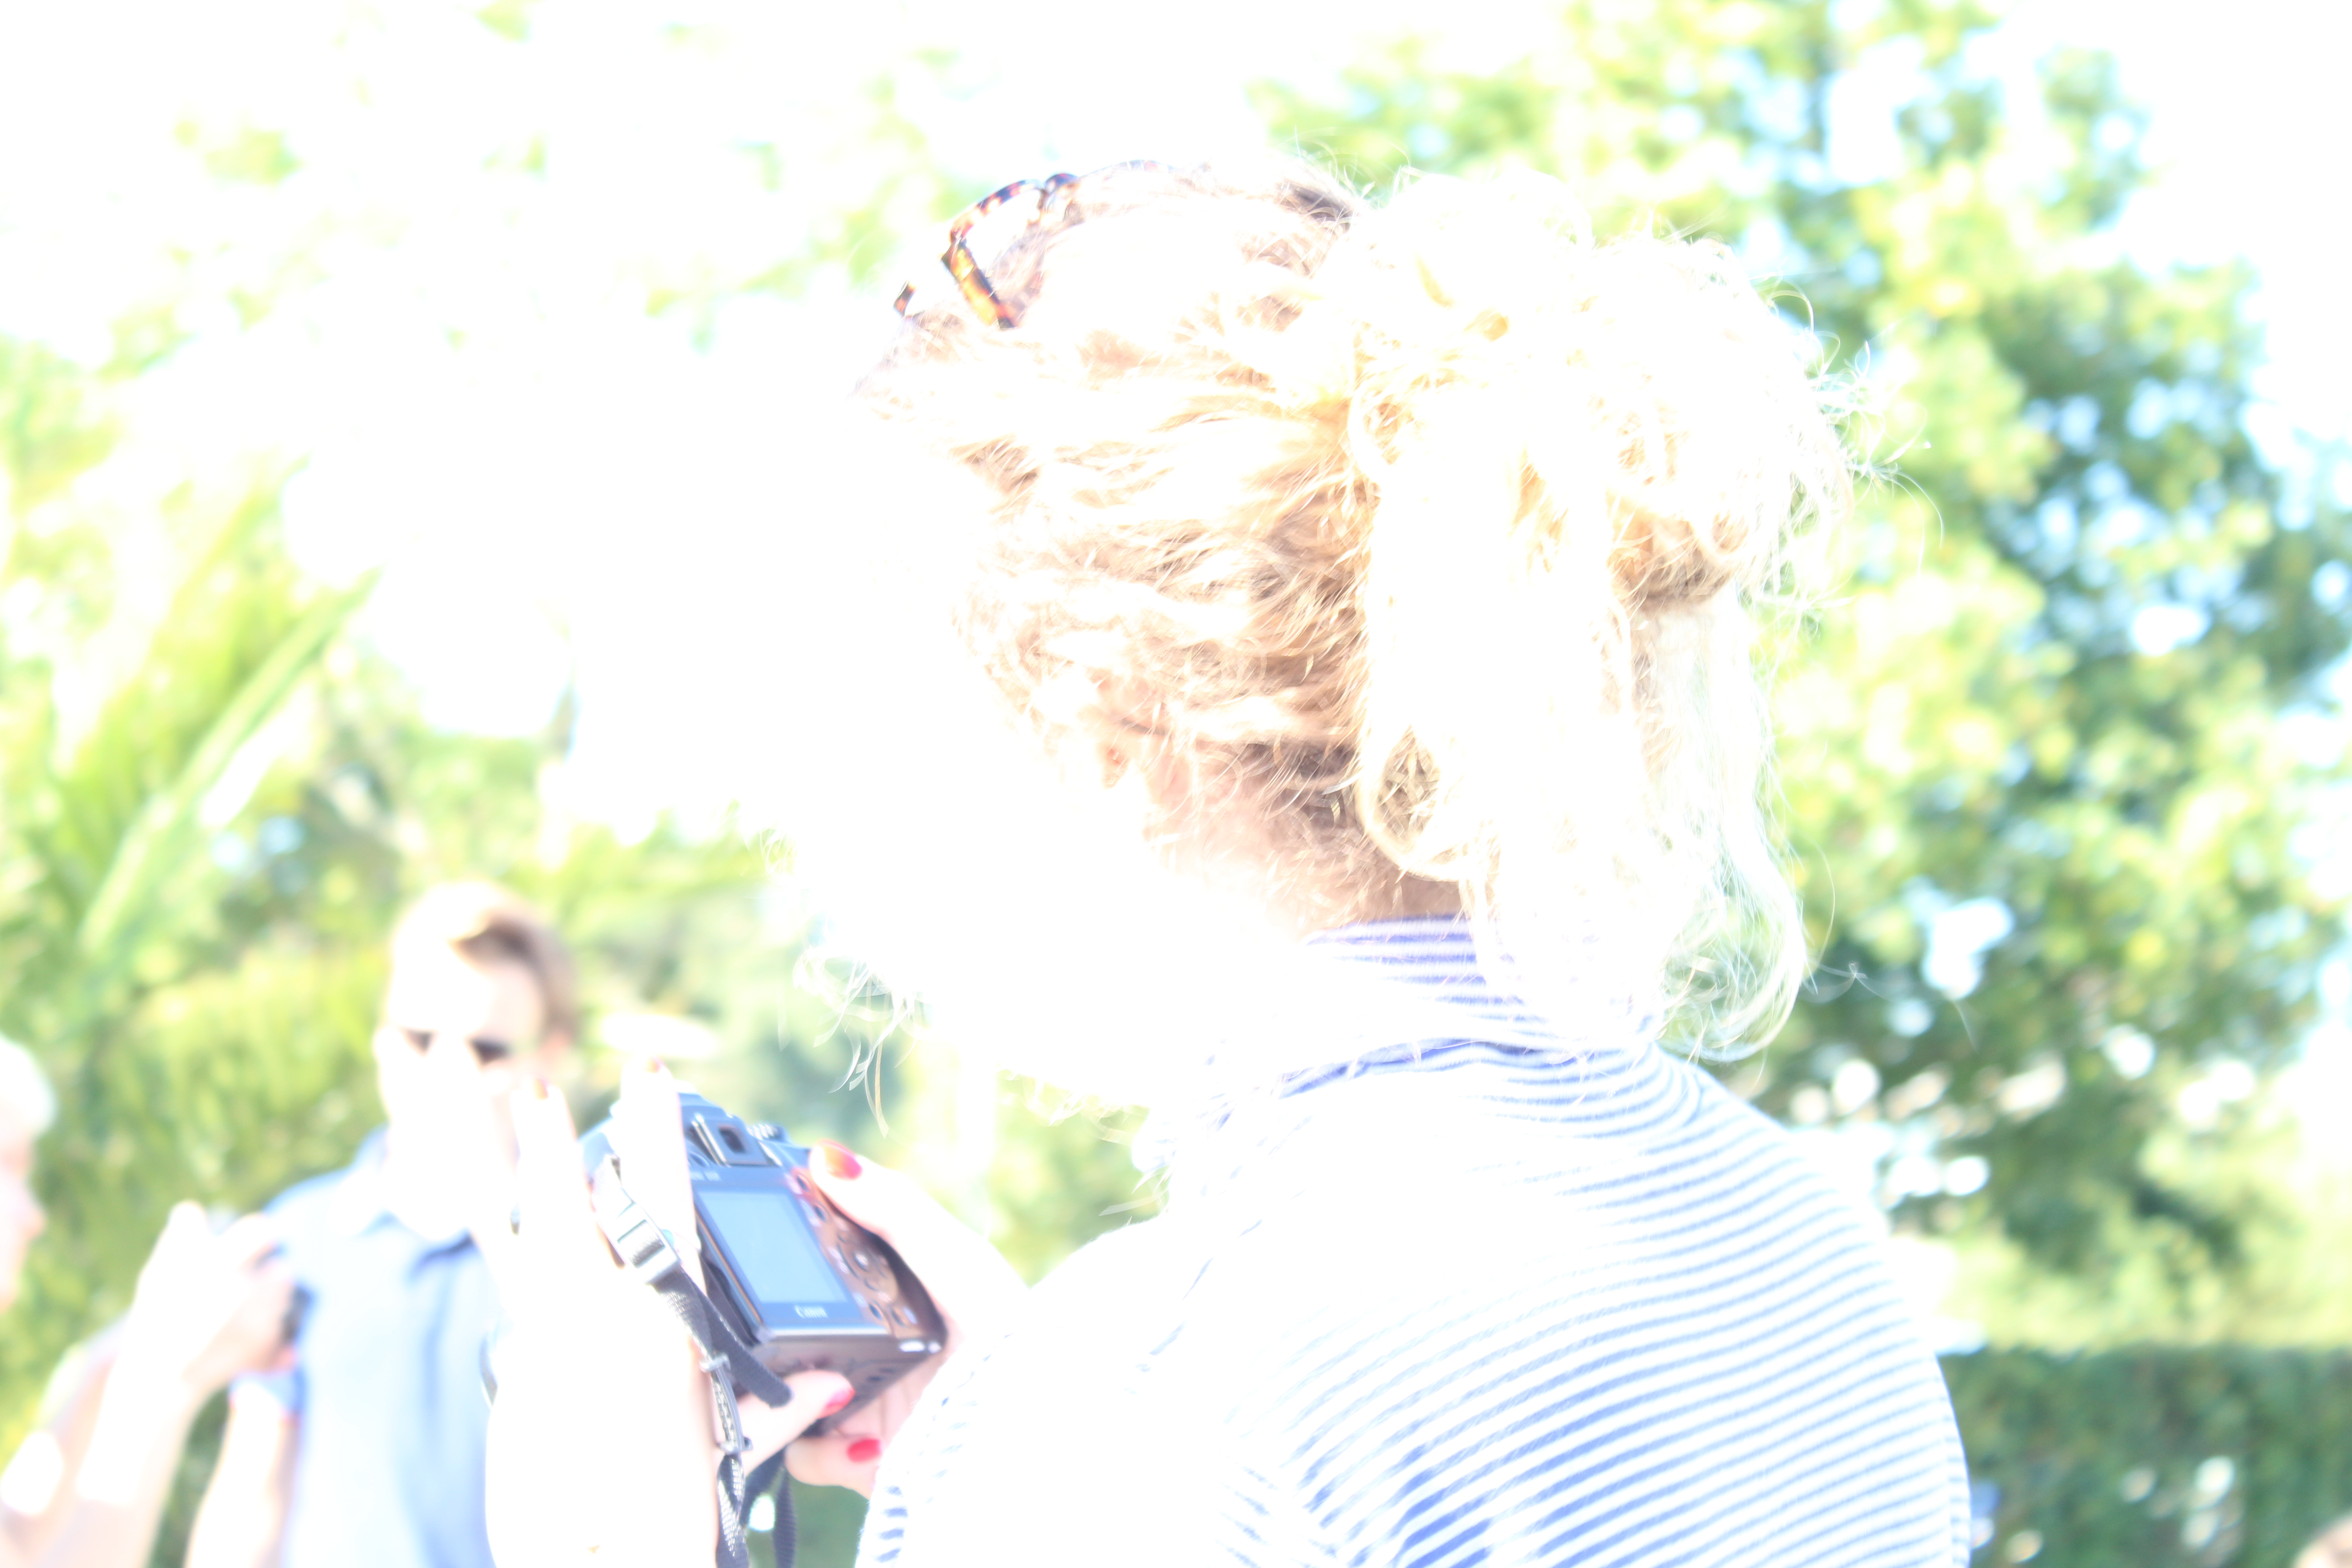
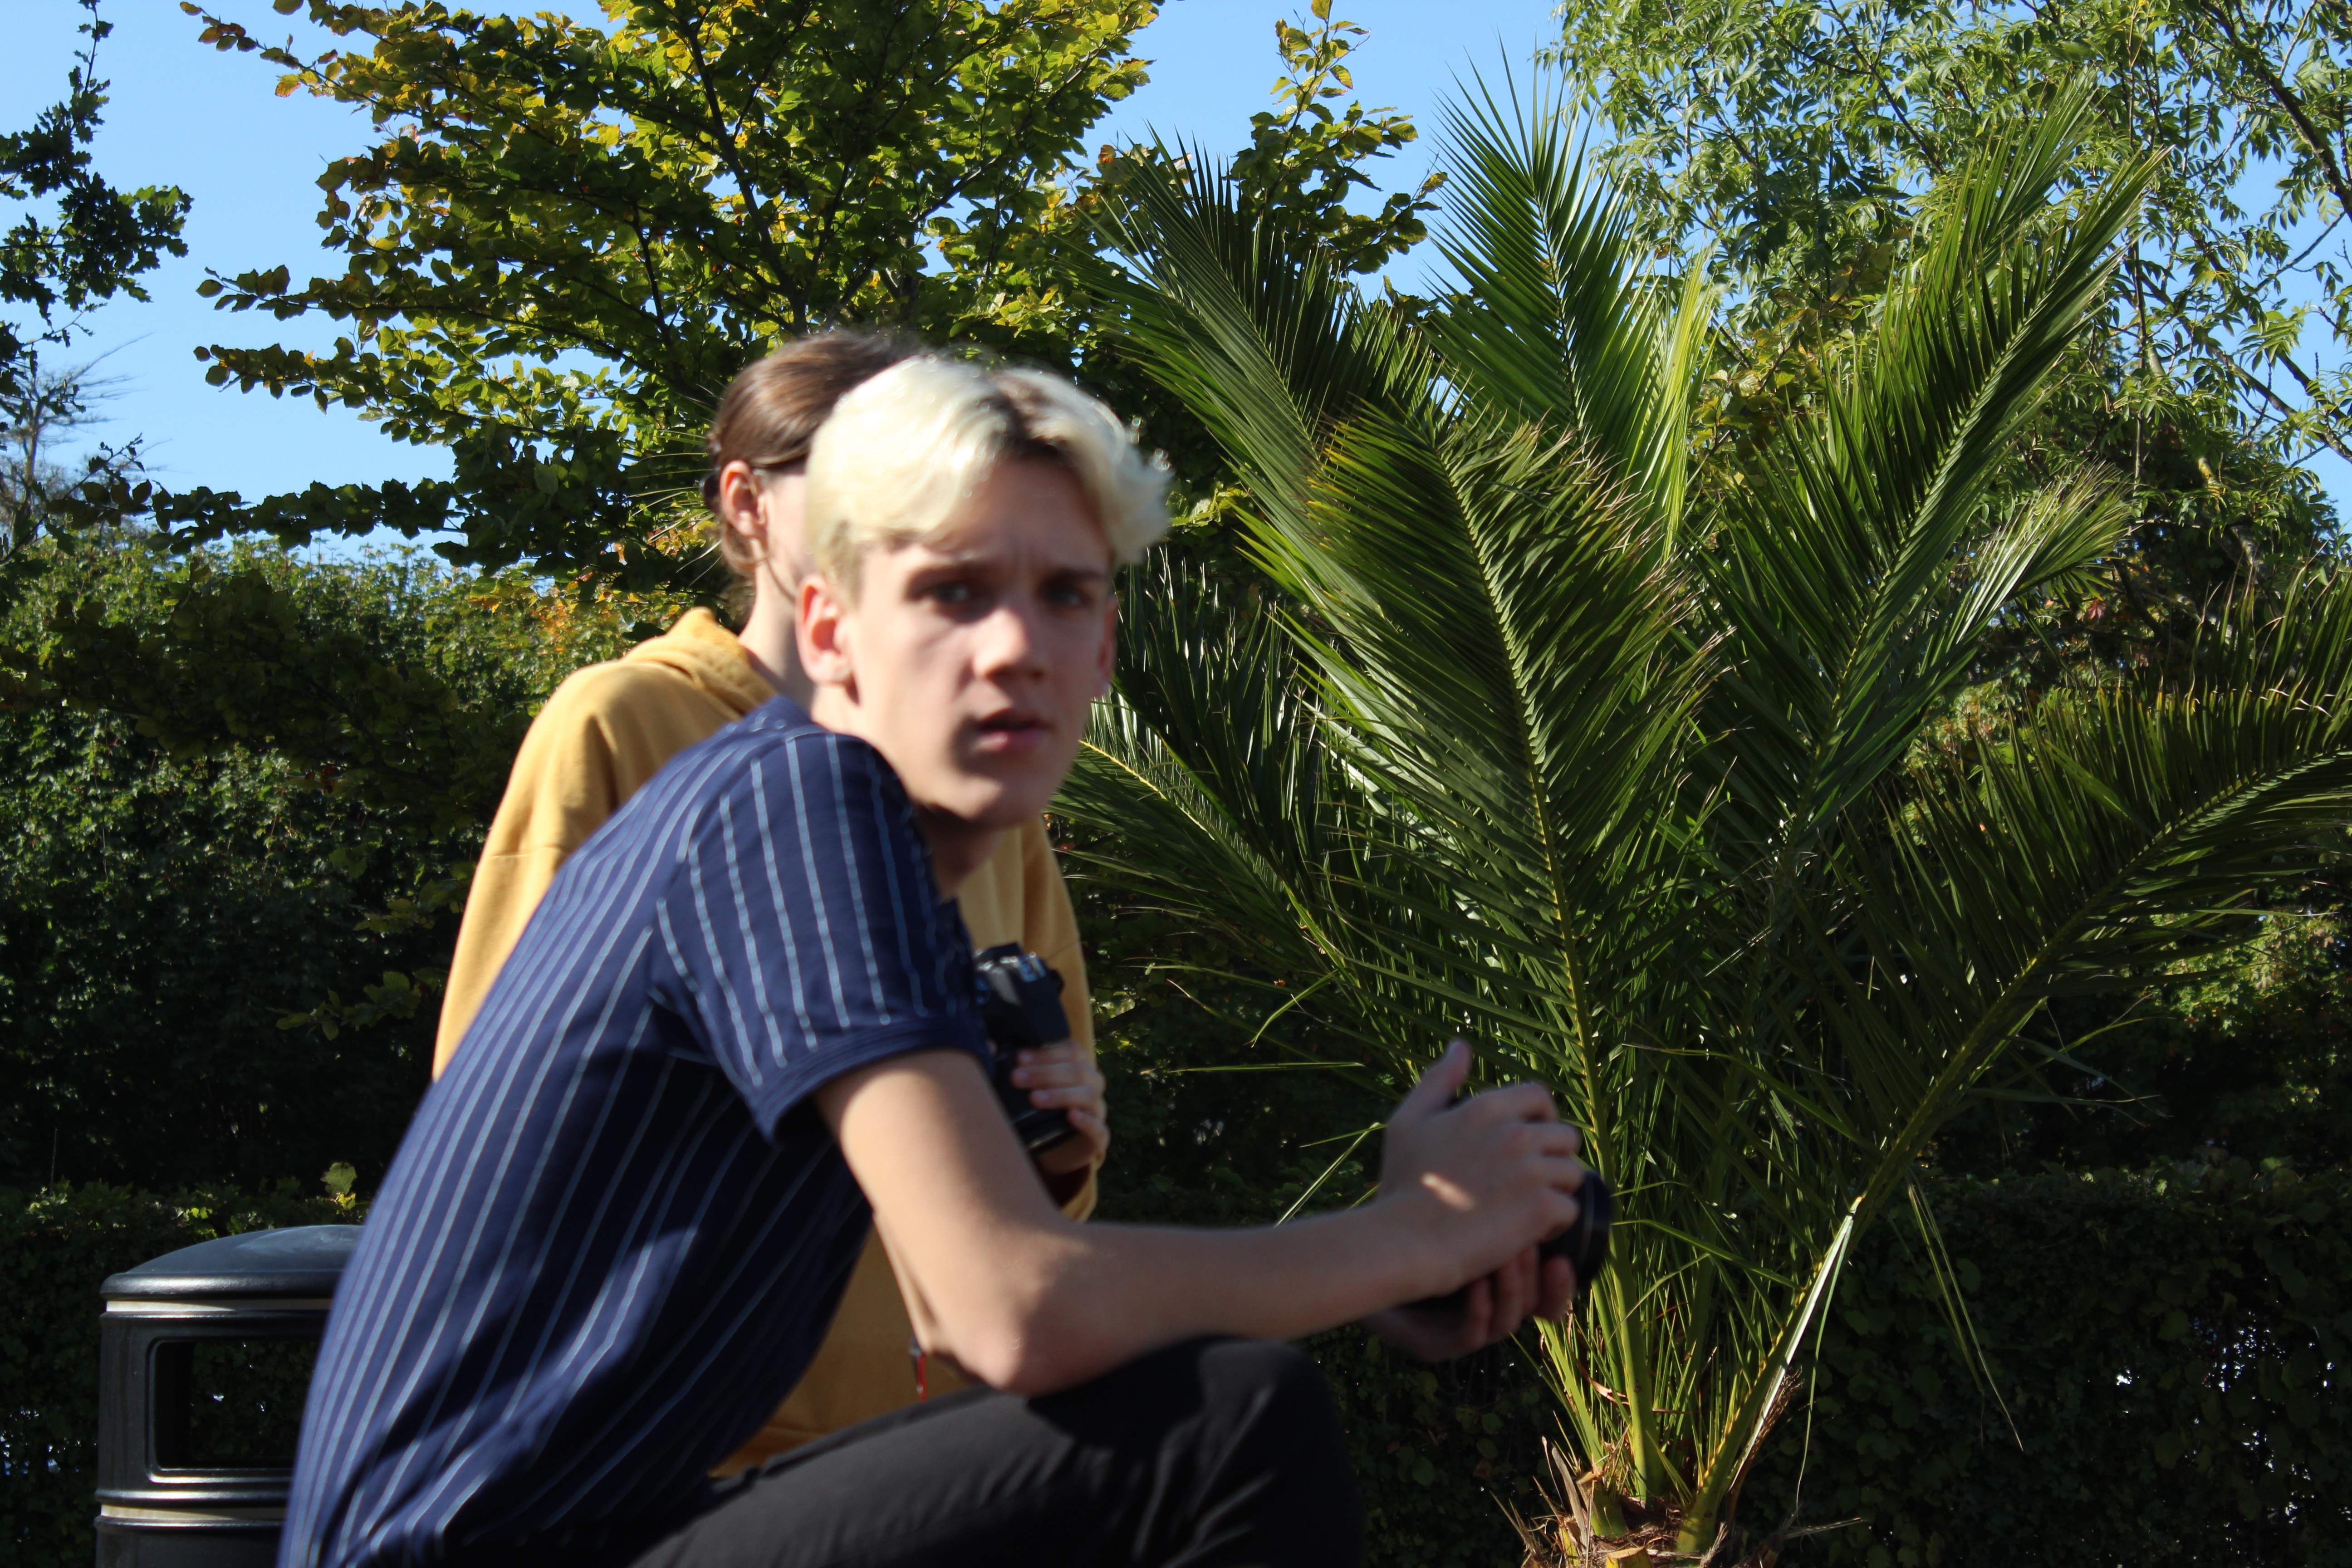
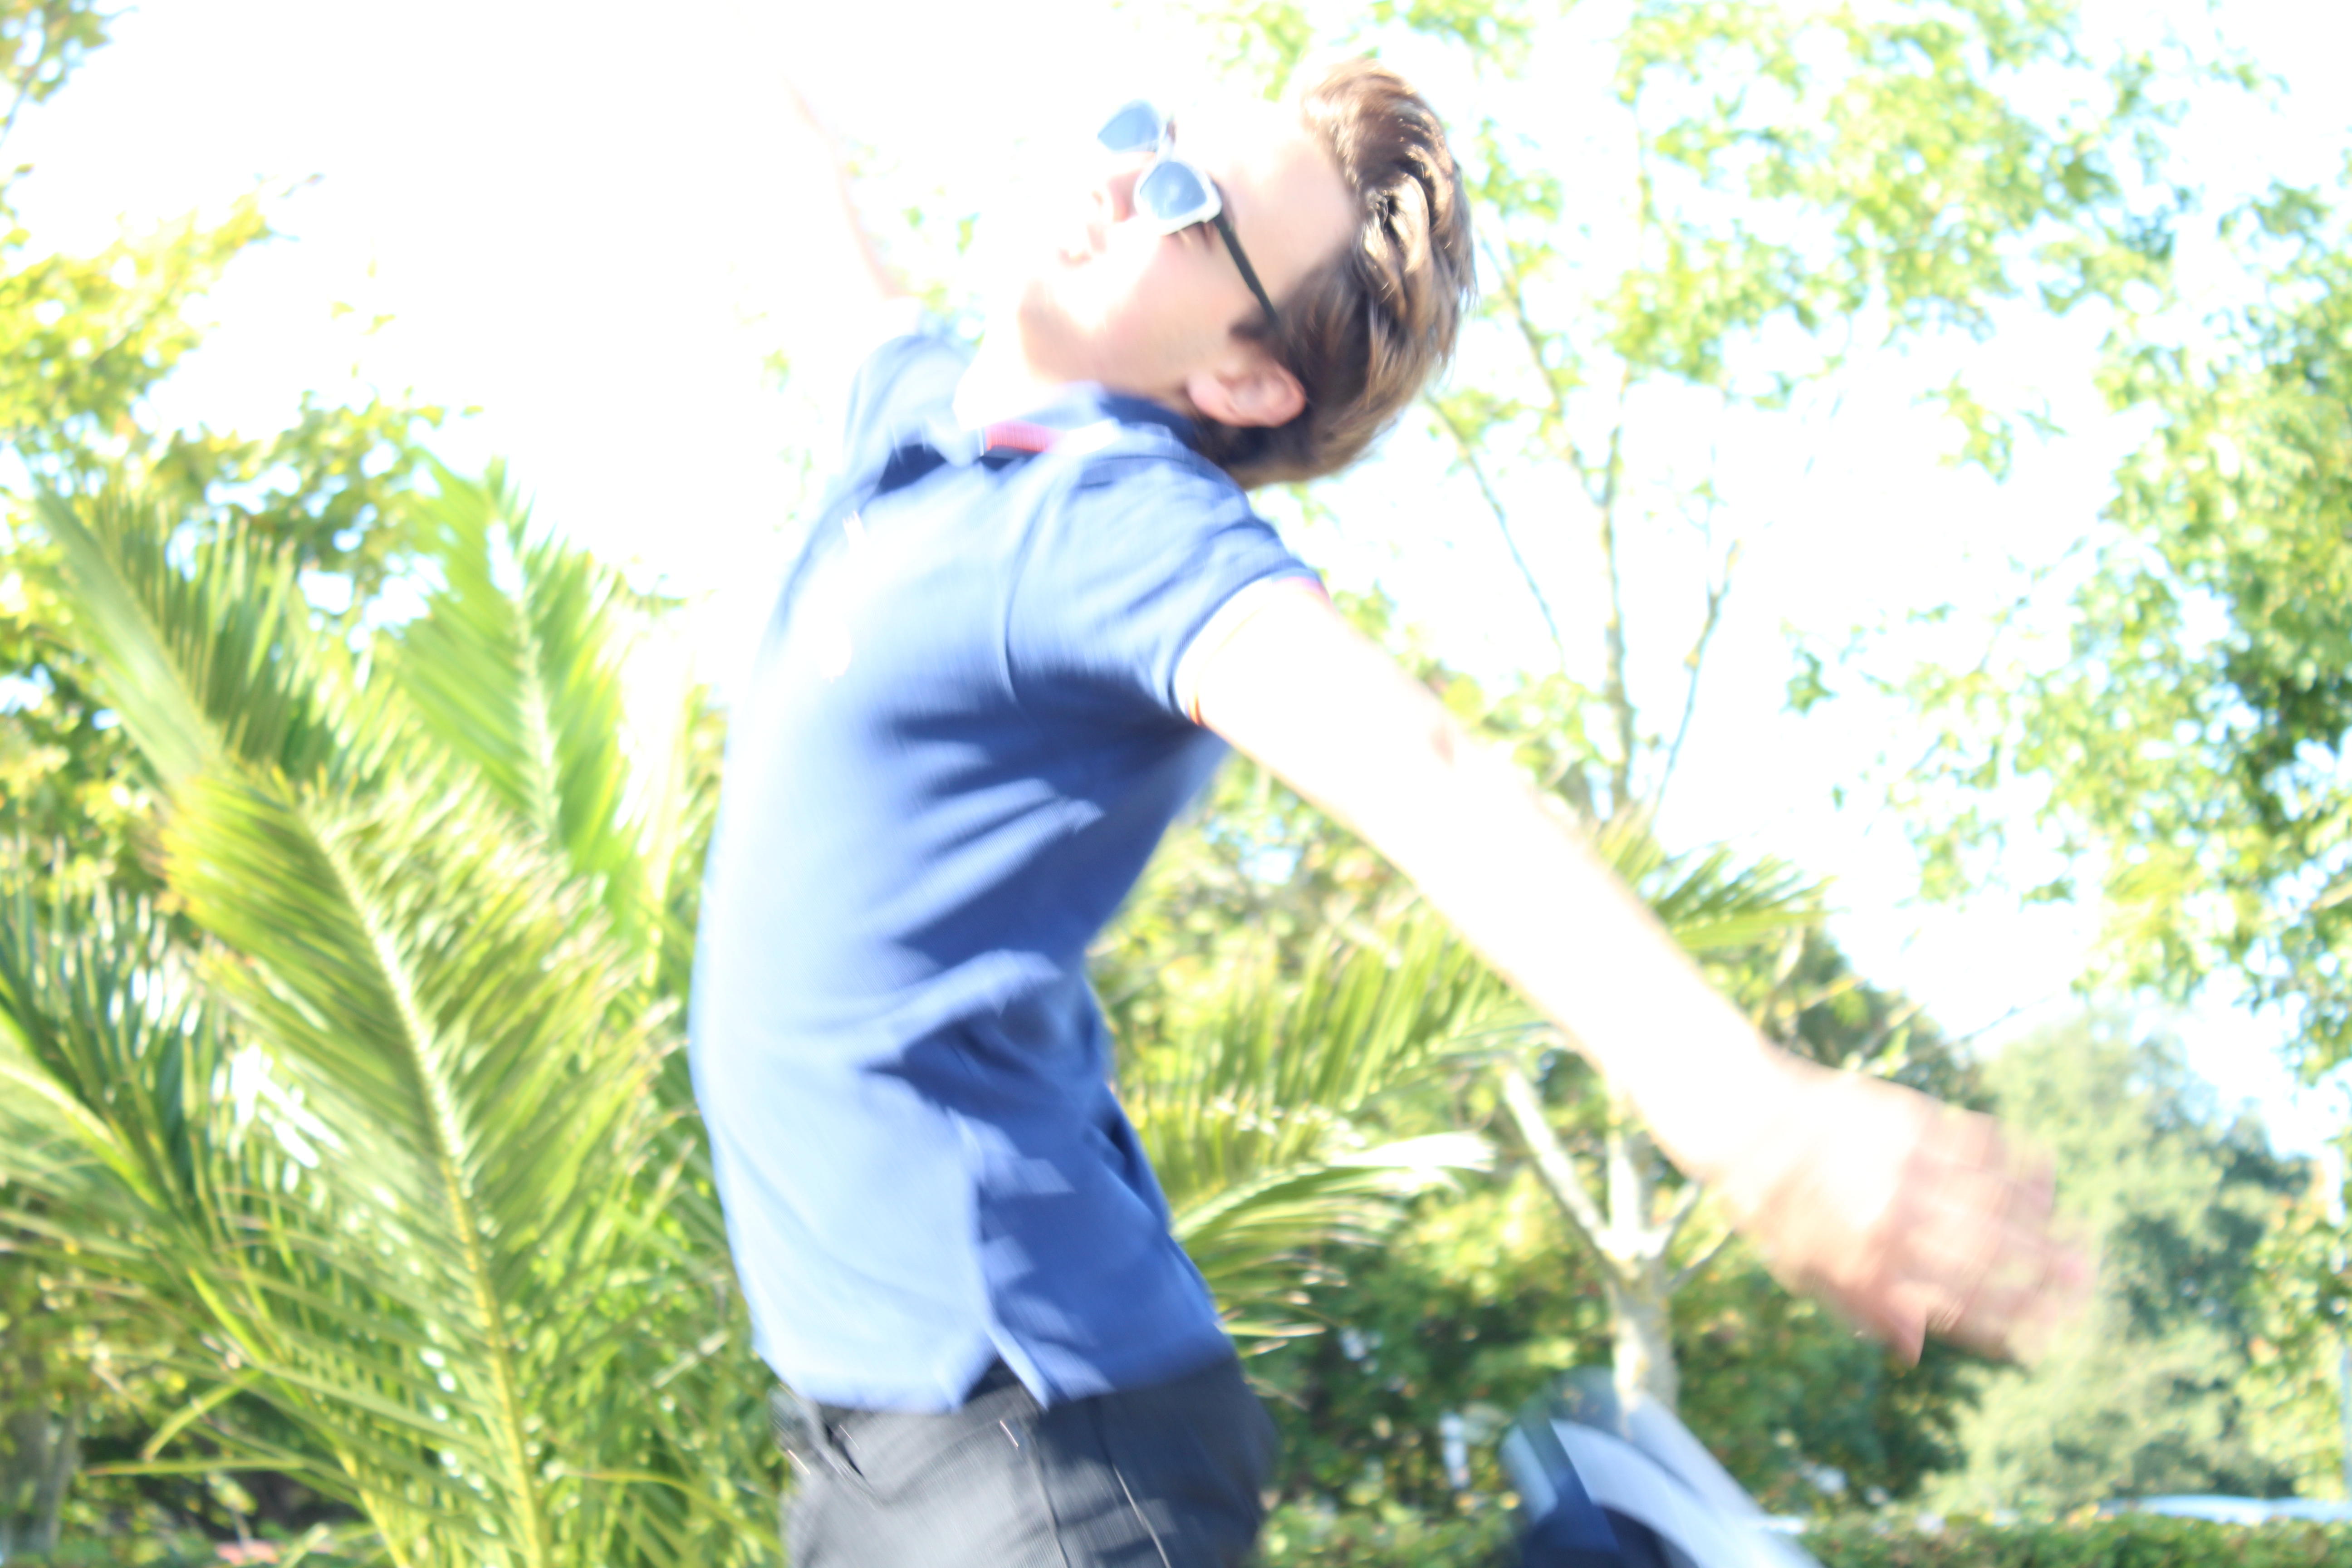
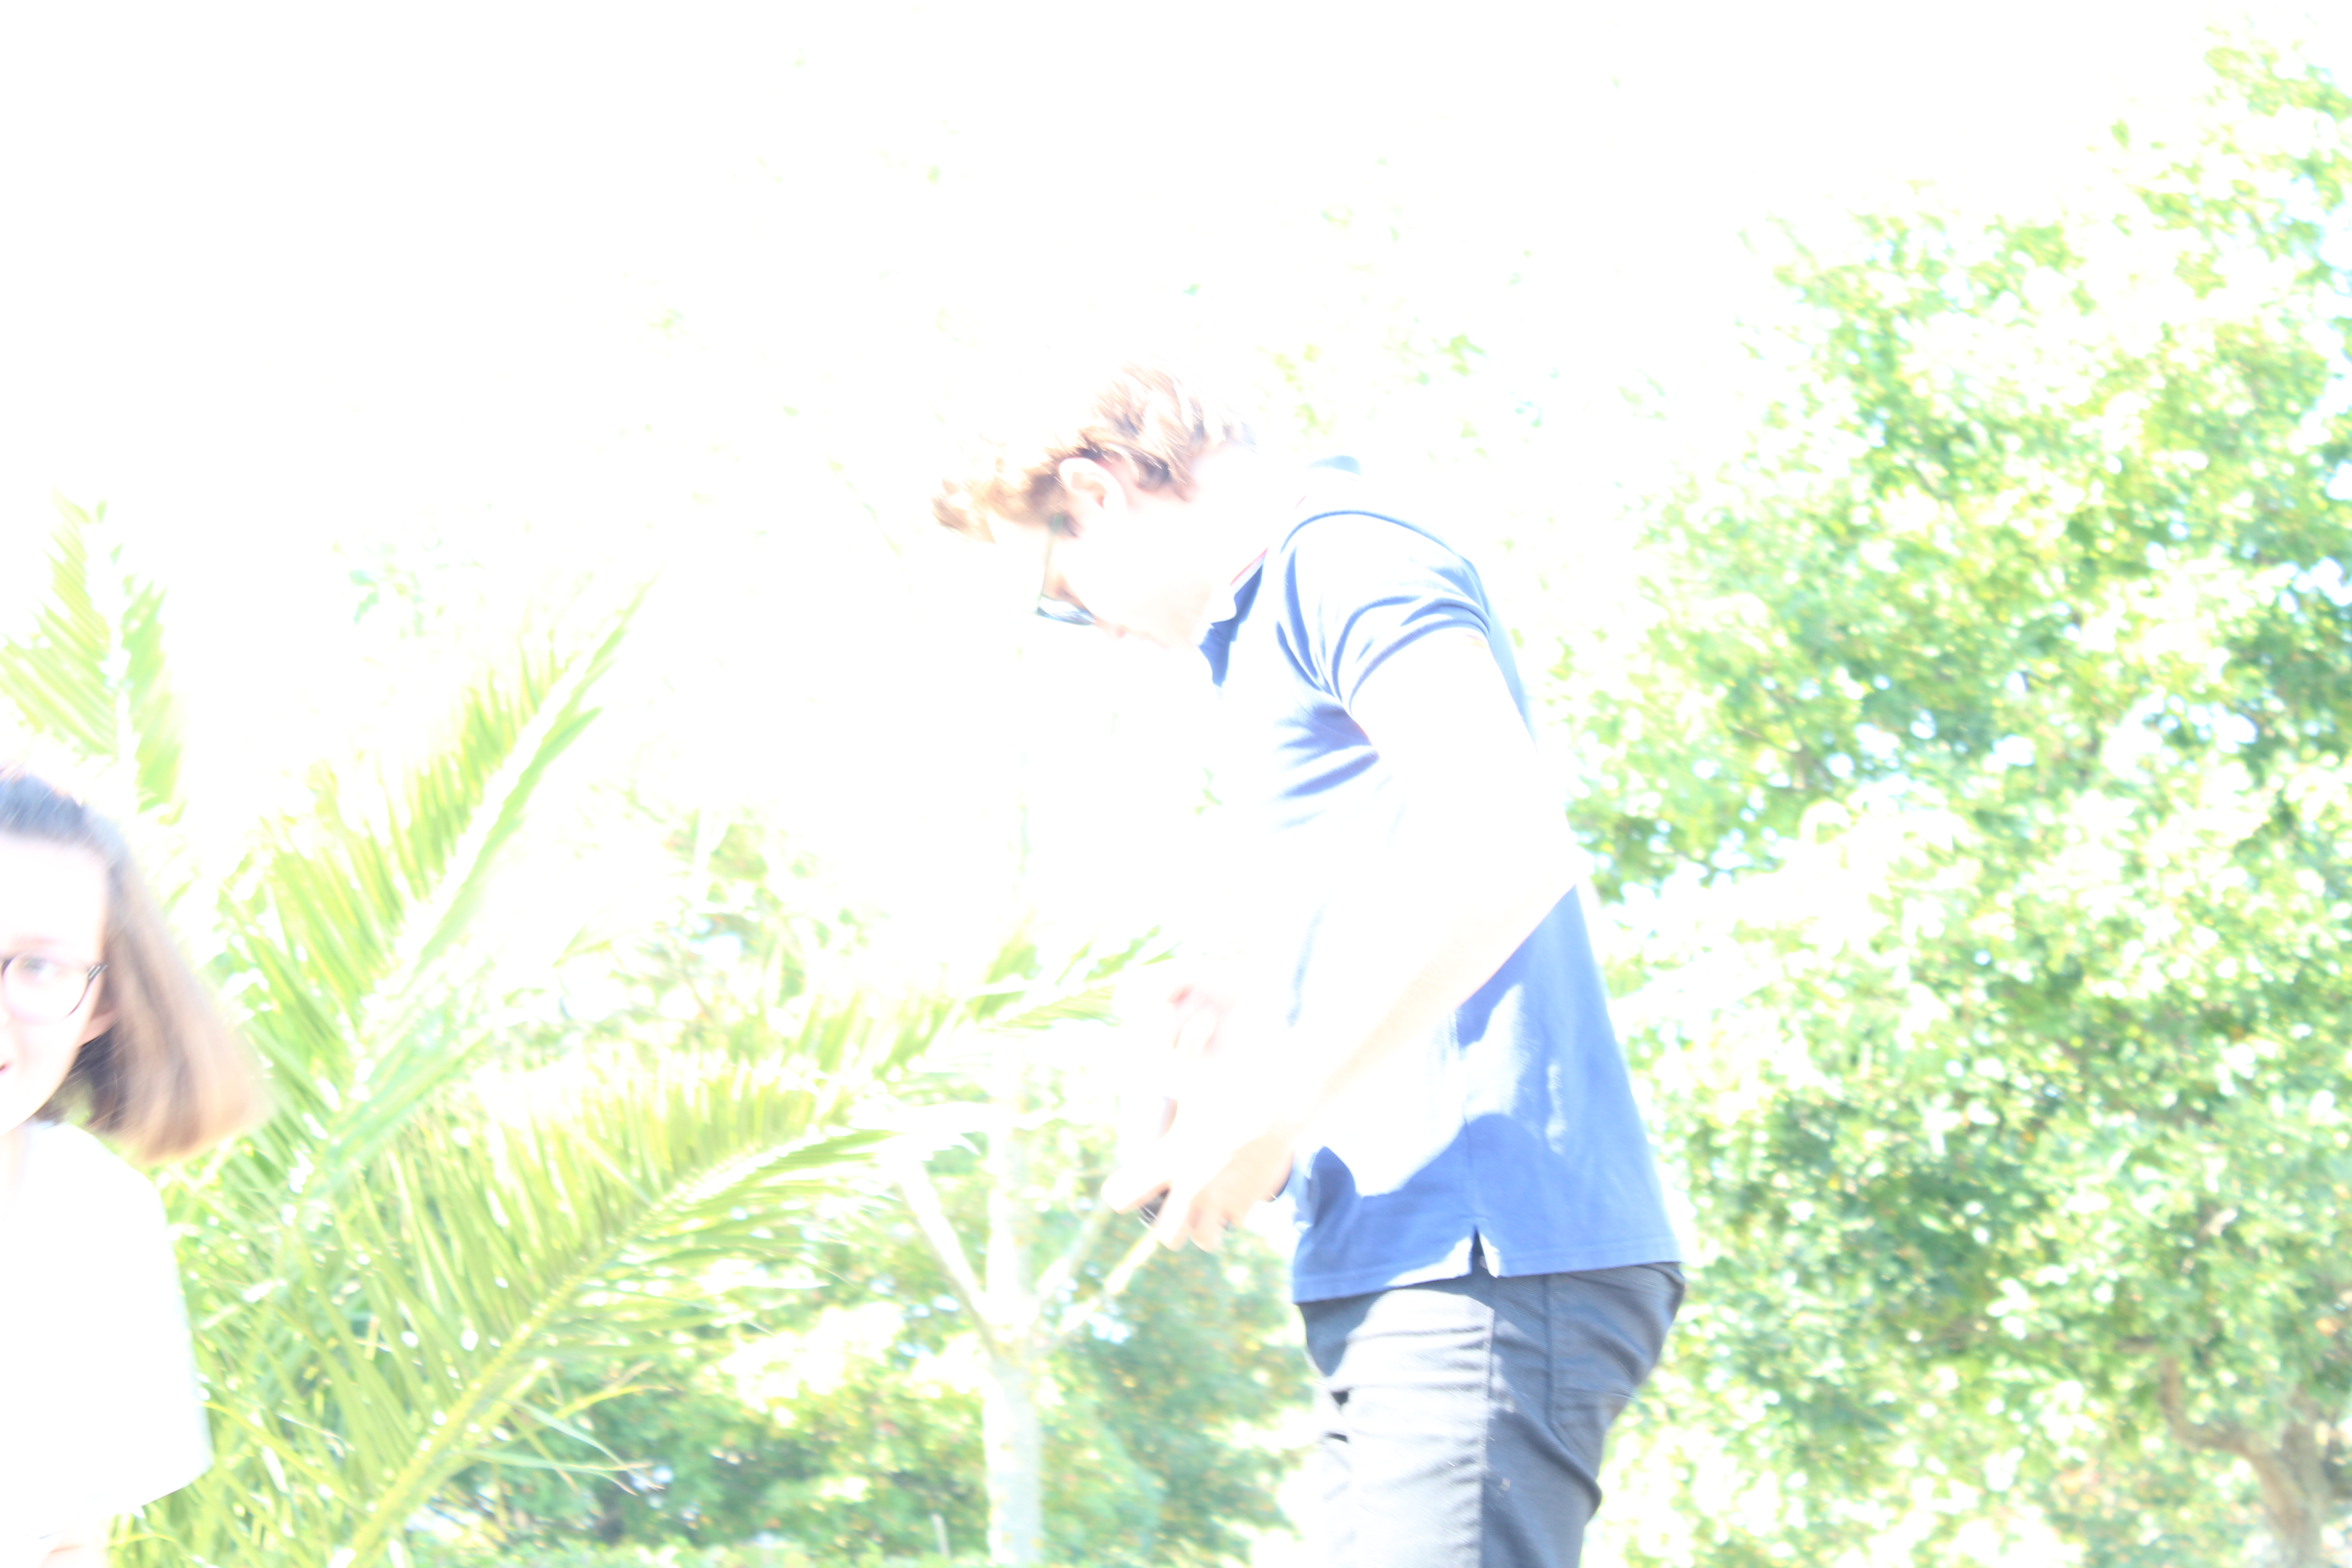
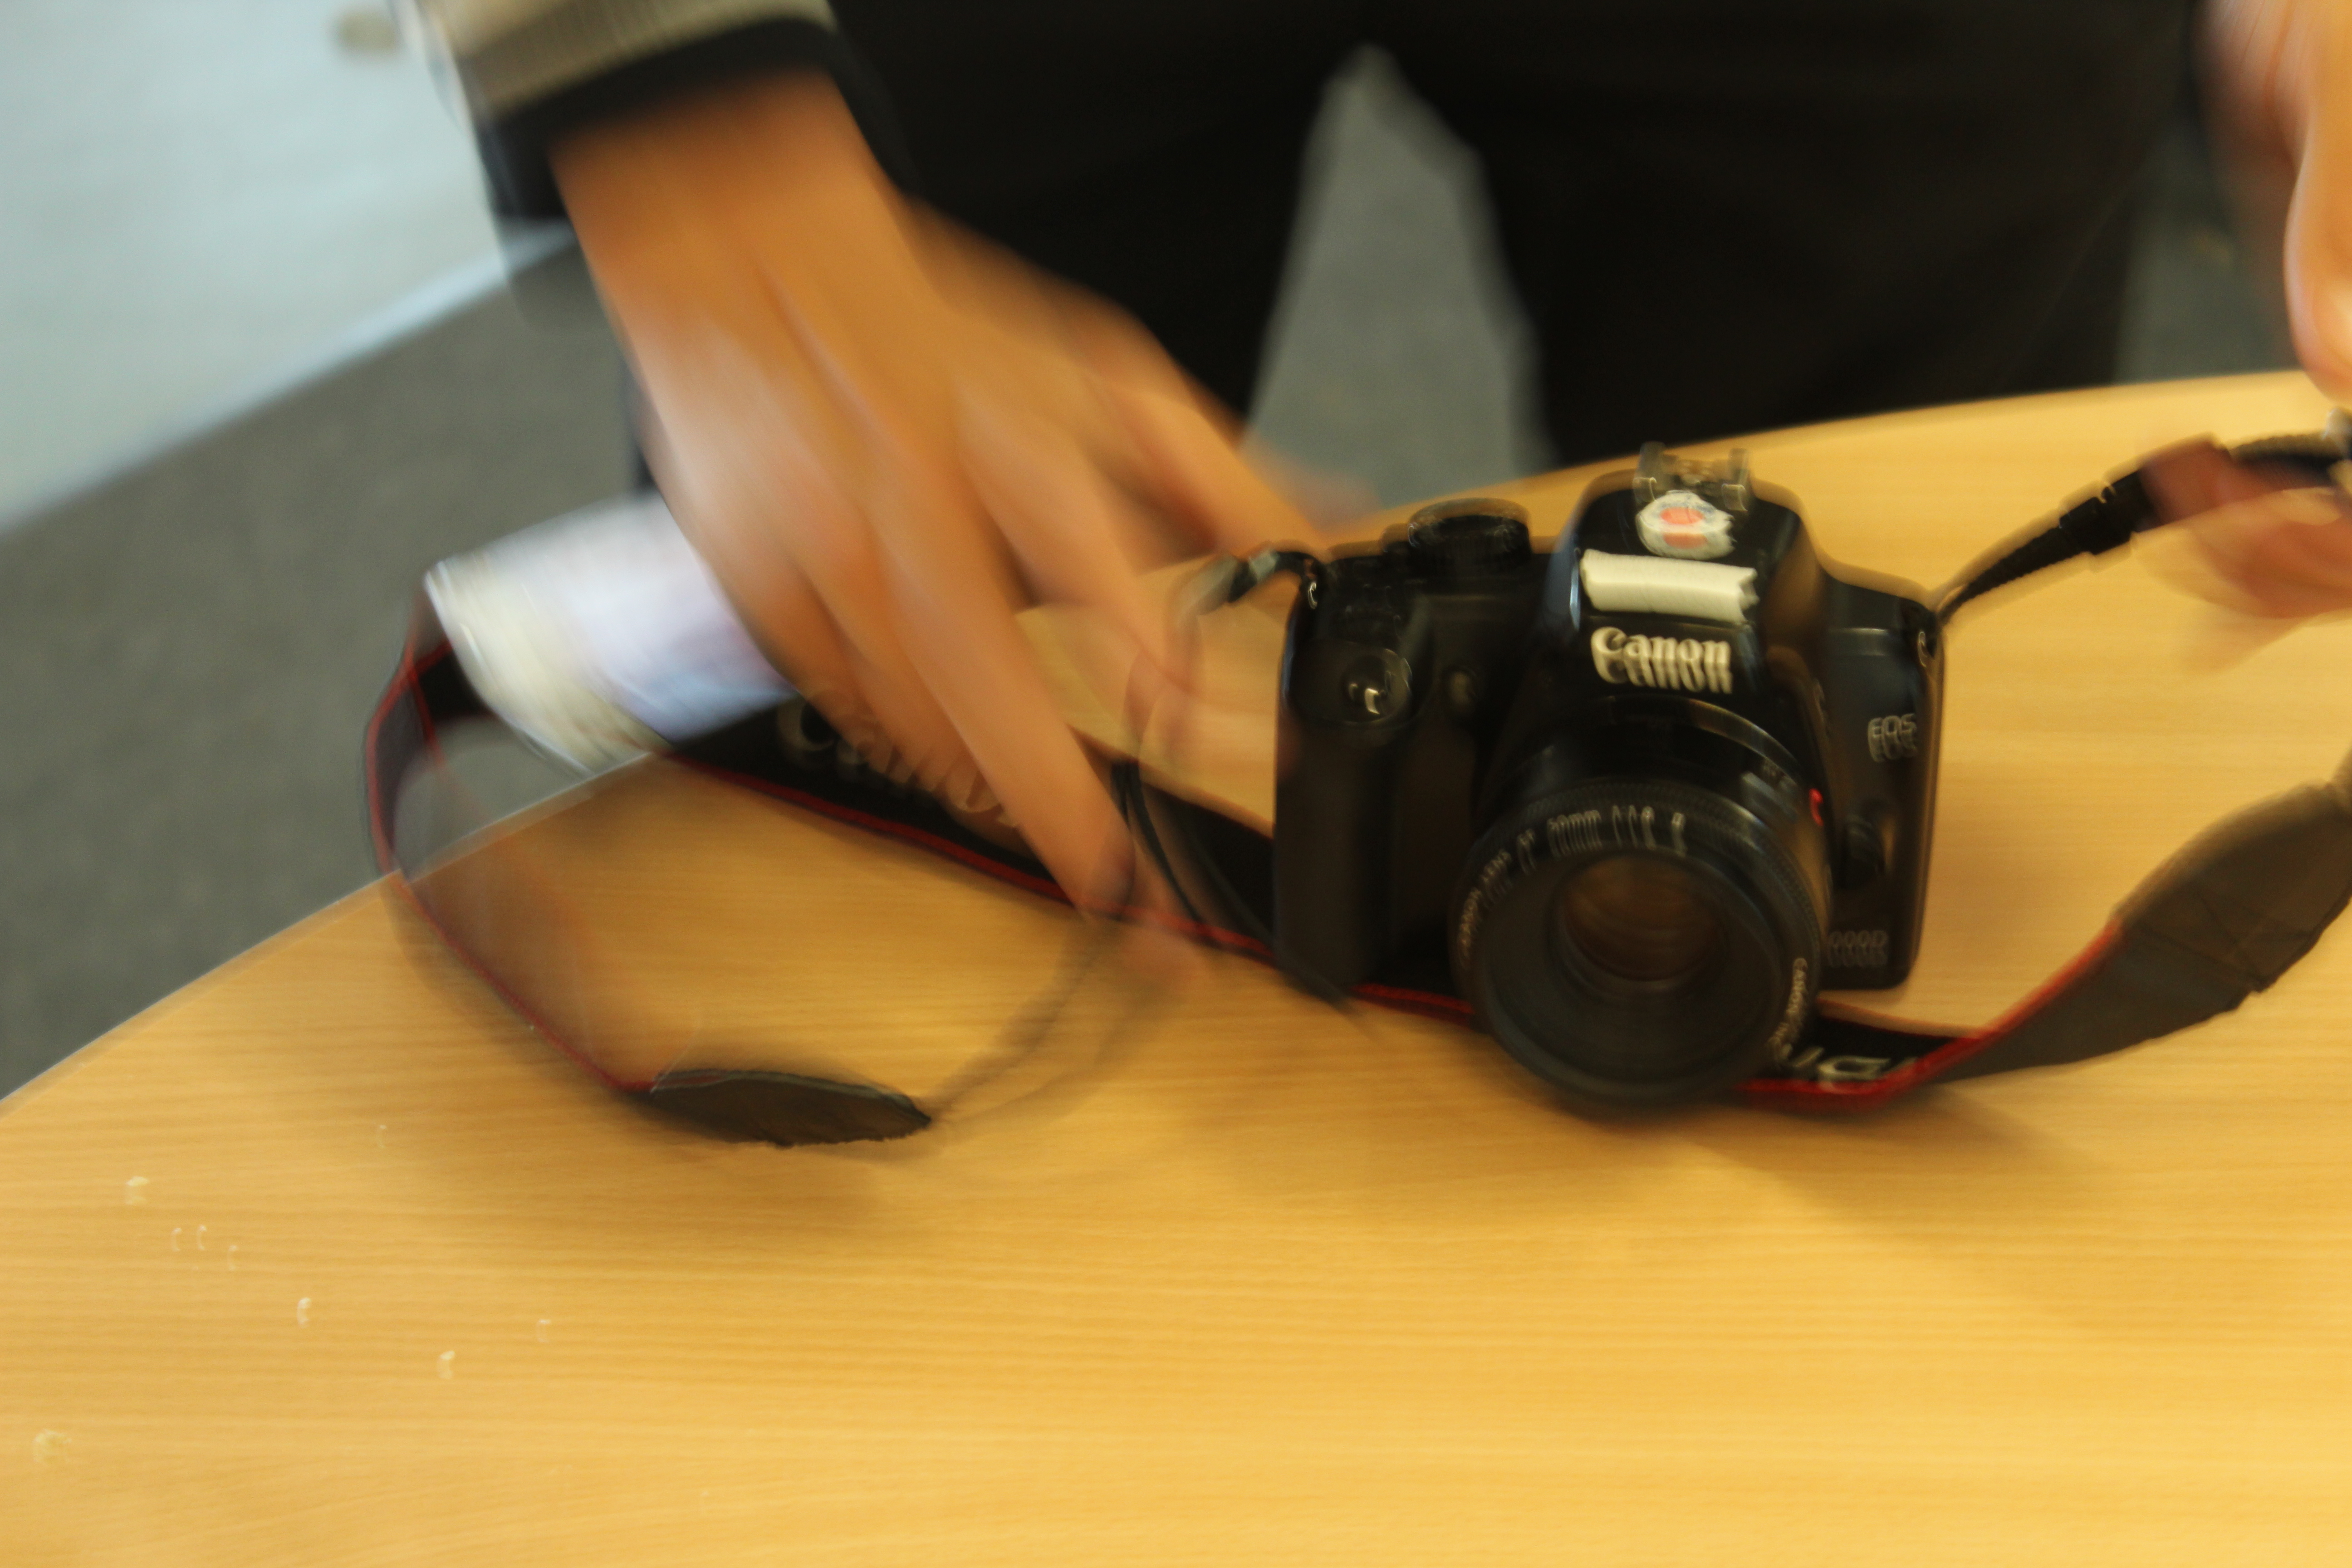
This is a gallery of the photos I took whilst experimenting with different shutter speeds.  Most photos didn’t work very well as I was still getting used to manually changing the shutter speed and other camera techniques. Some of my photos are very over exposed and also blurry, due to the fact I was using the wrong shutter speed. However some of the blurry photographs actually look quite interesting at times.

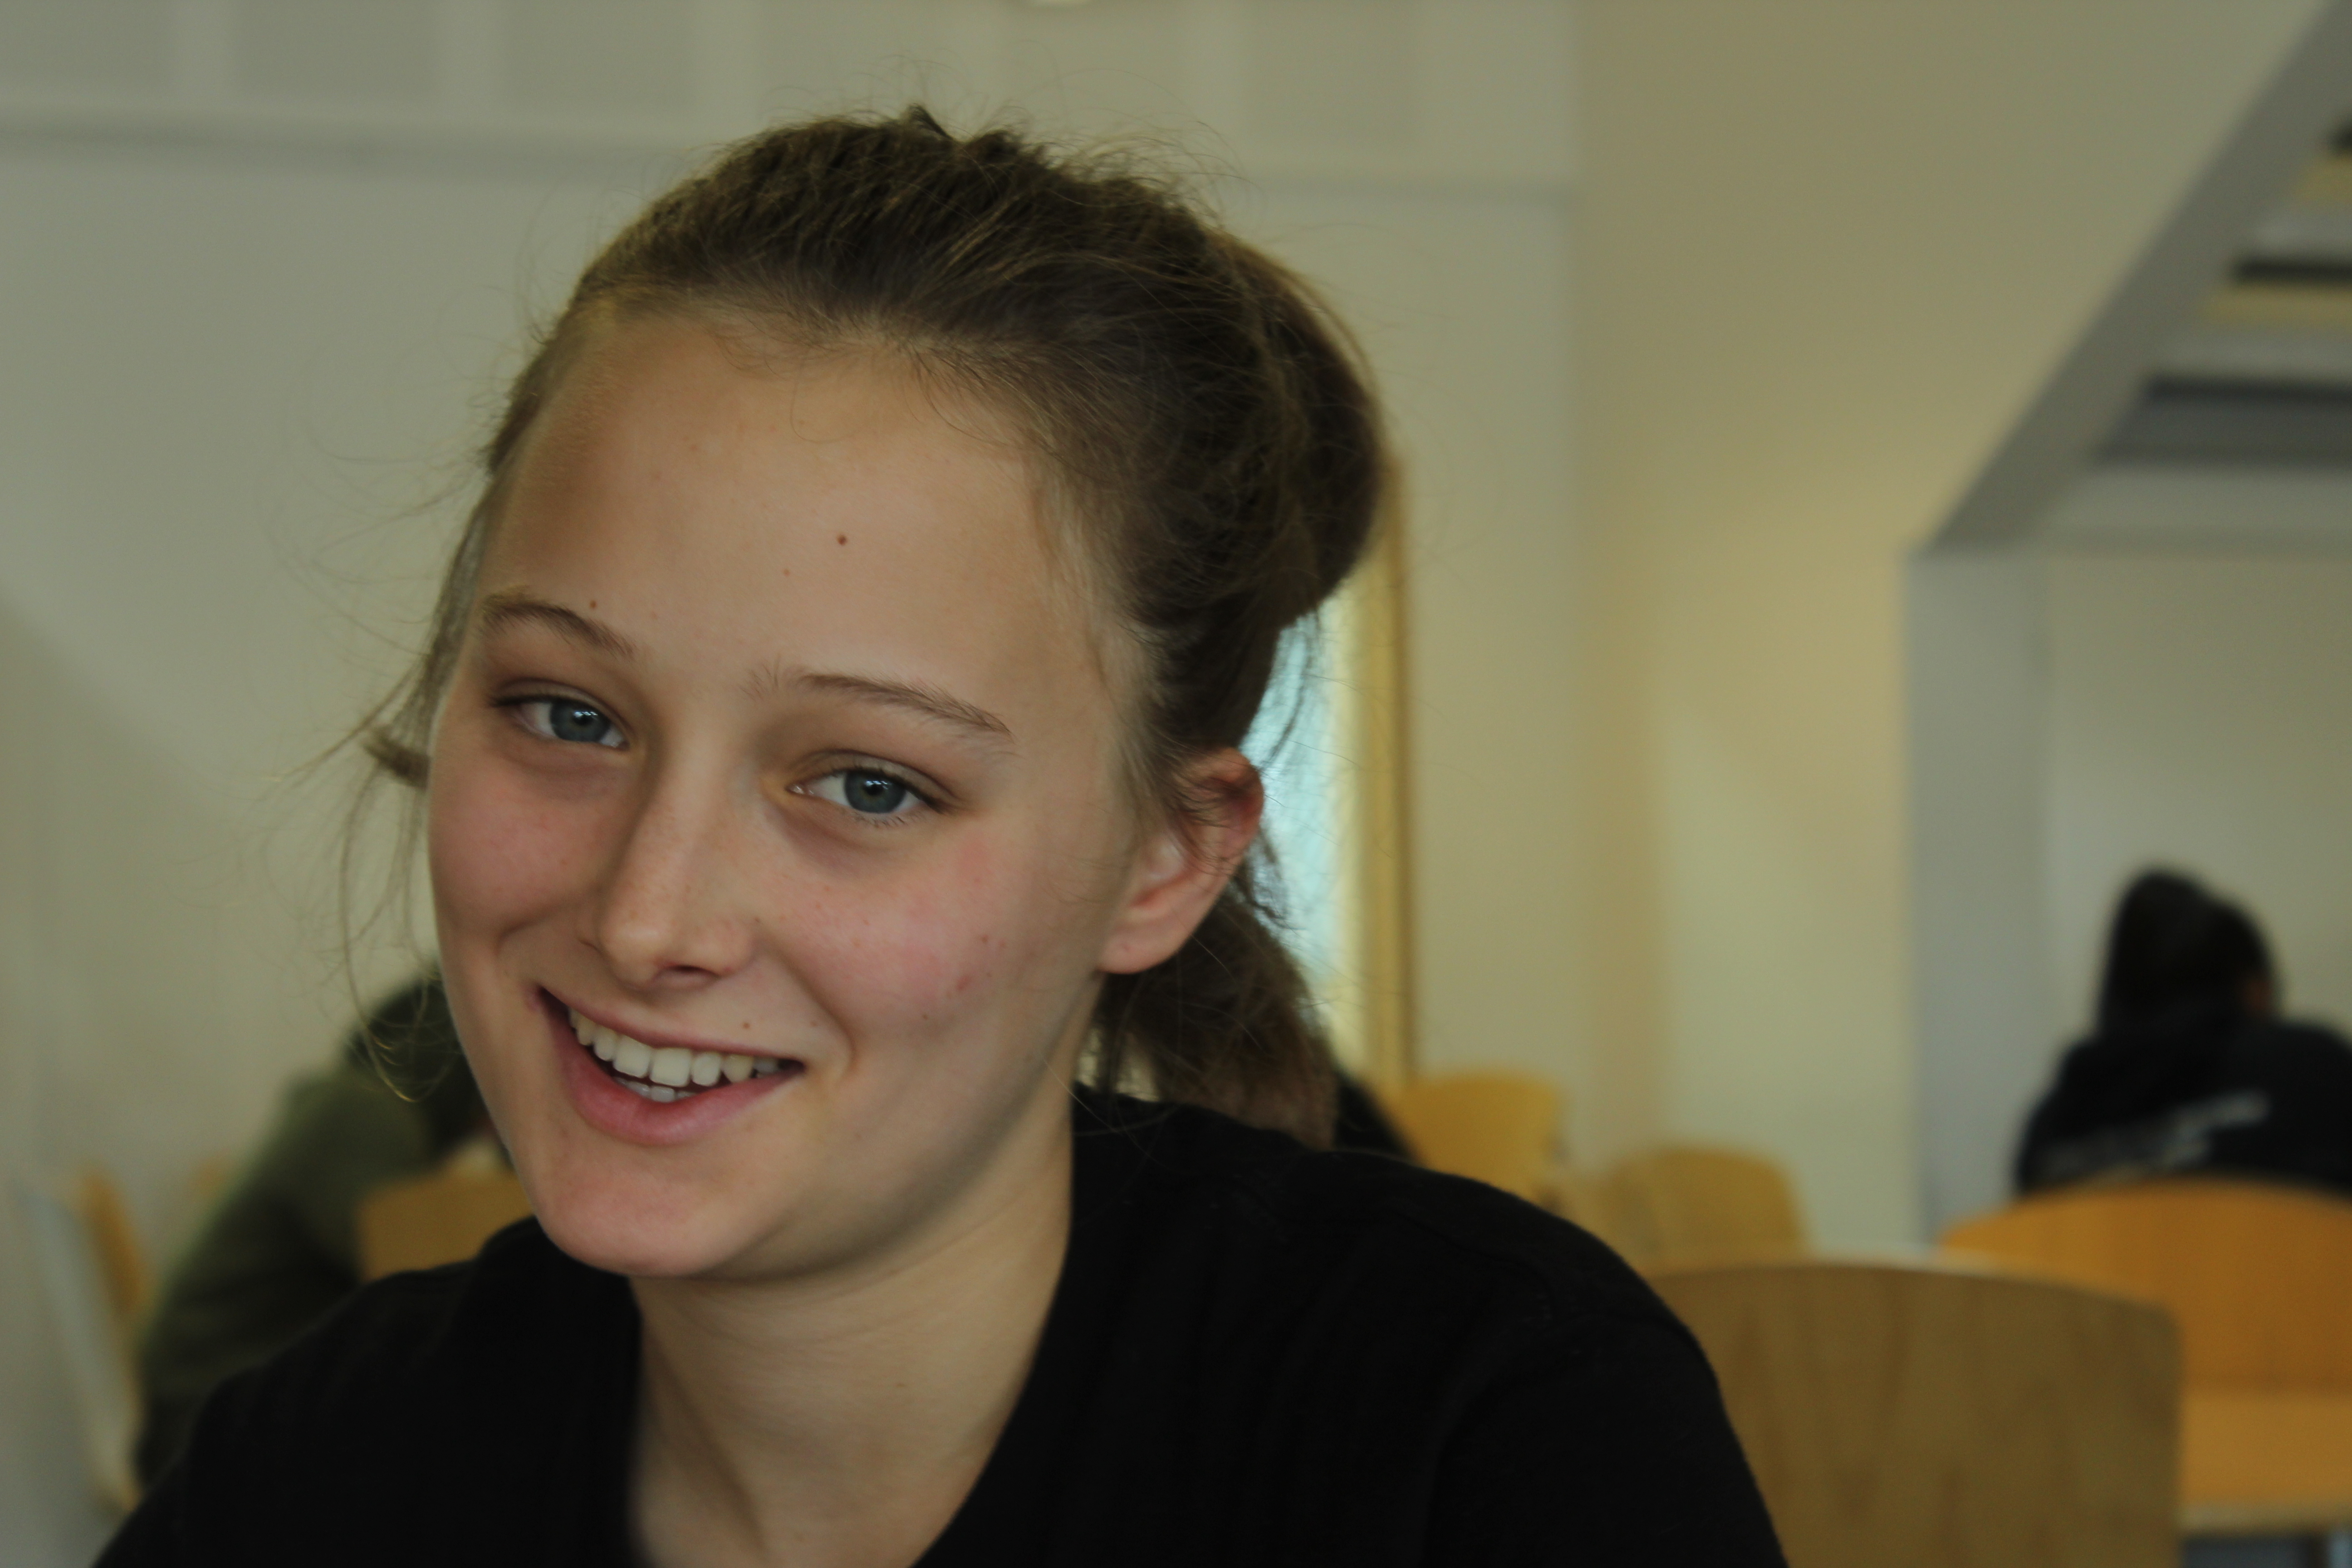
These are some of the photos which I think worked out decently well but not perfect. I like the way some parts of the objects in frame are blurry whilst others aren’t, I think it makes the photos more interesting. I also edited the last photo because I think the black and white filter suits portraits the best.