Now that I have narrowed down my favorite images for printing, I will do the lasts bits of editing and present how I want them to be displayed.
A4 Image
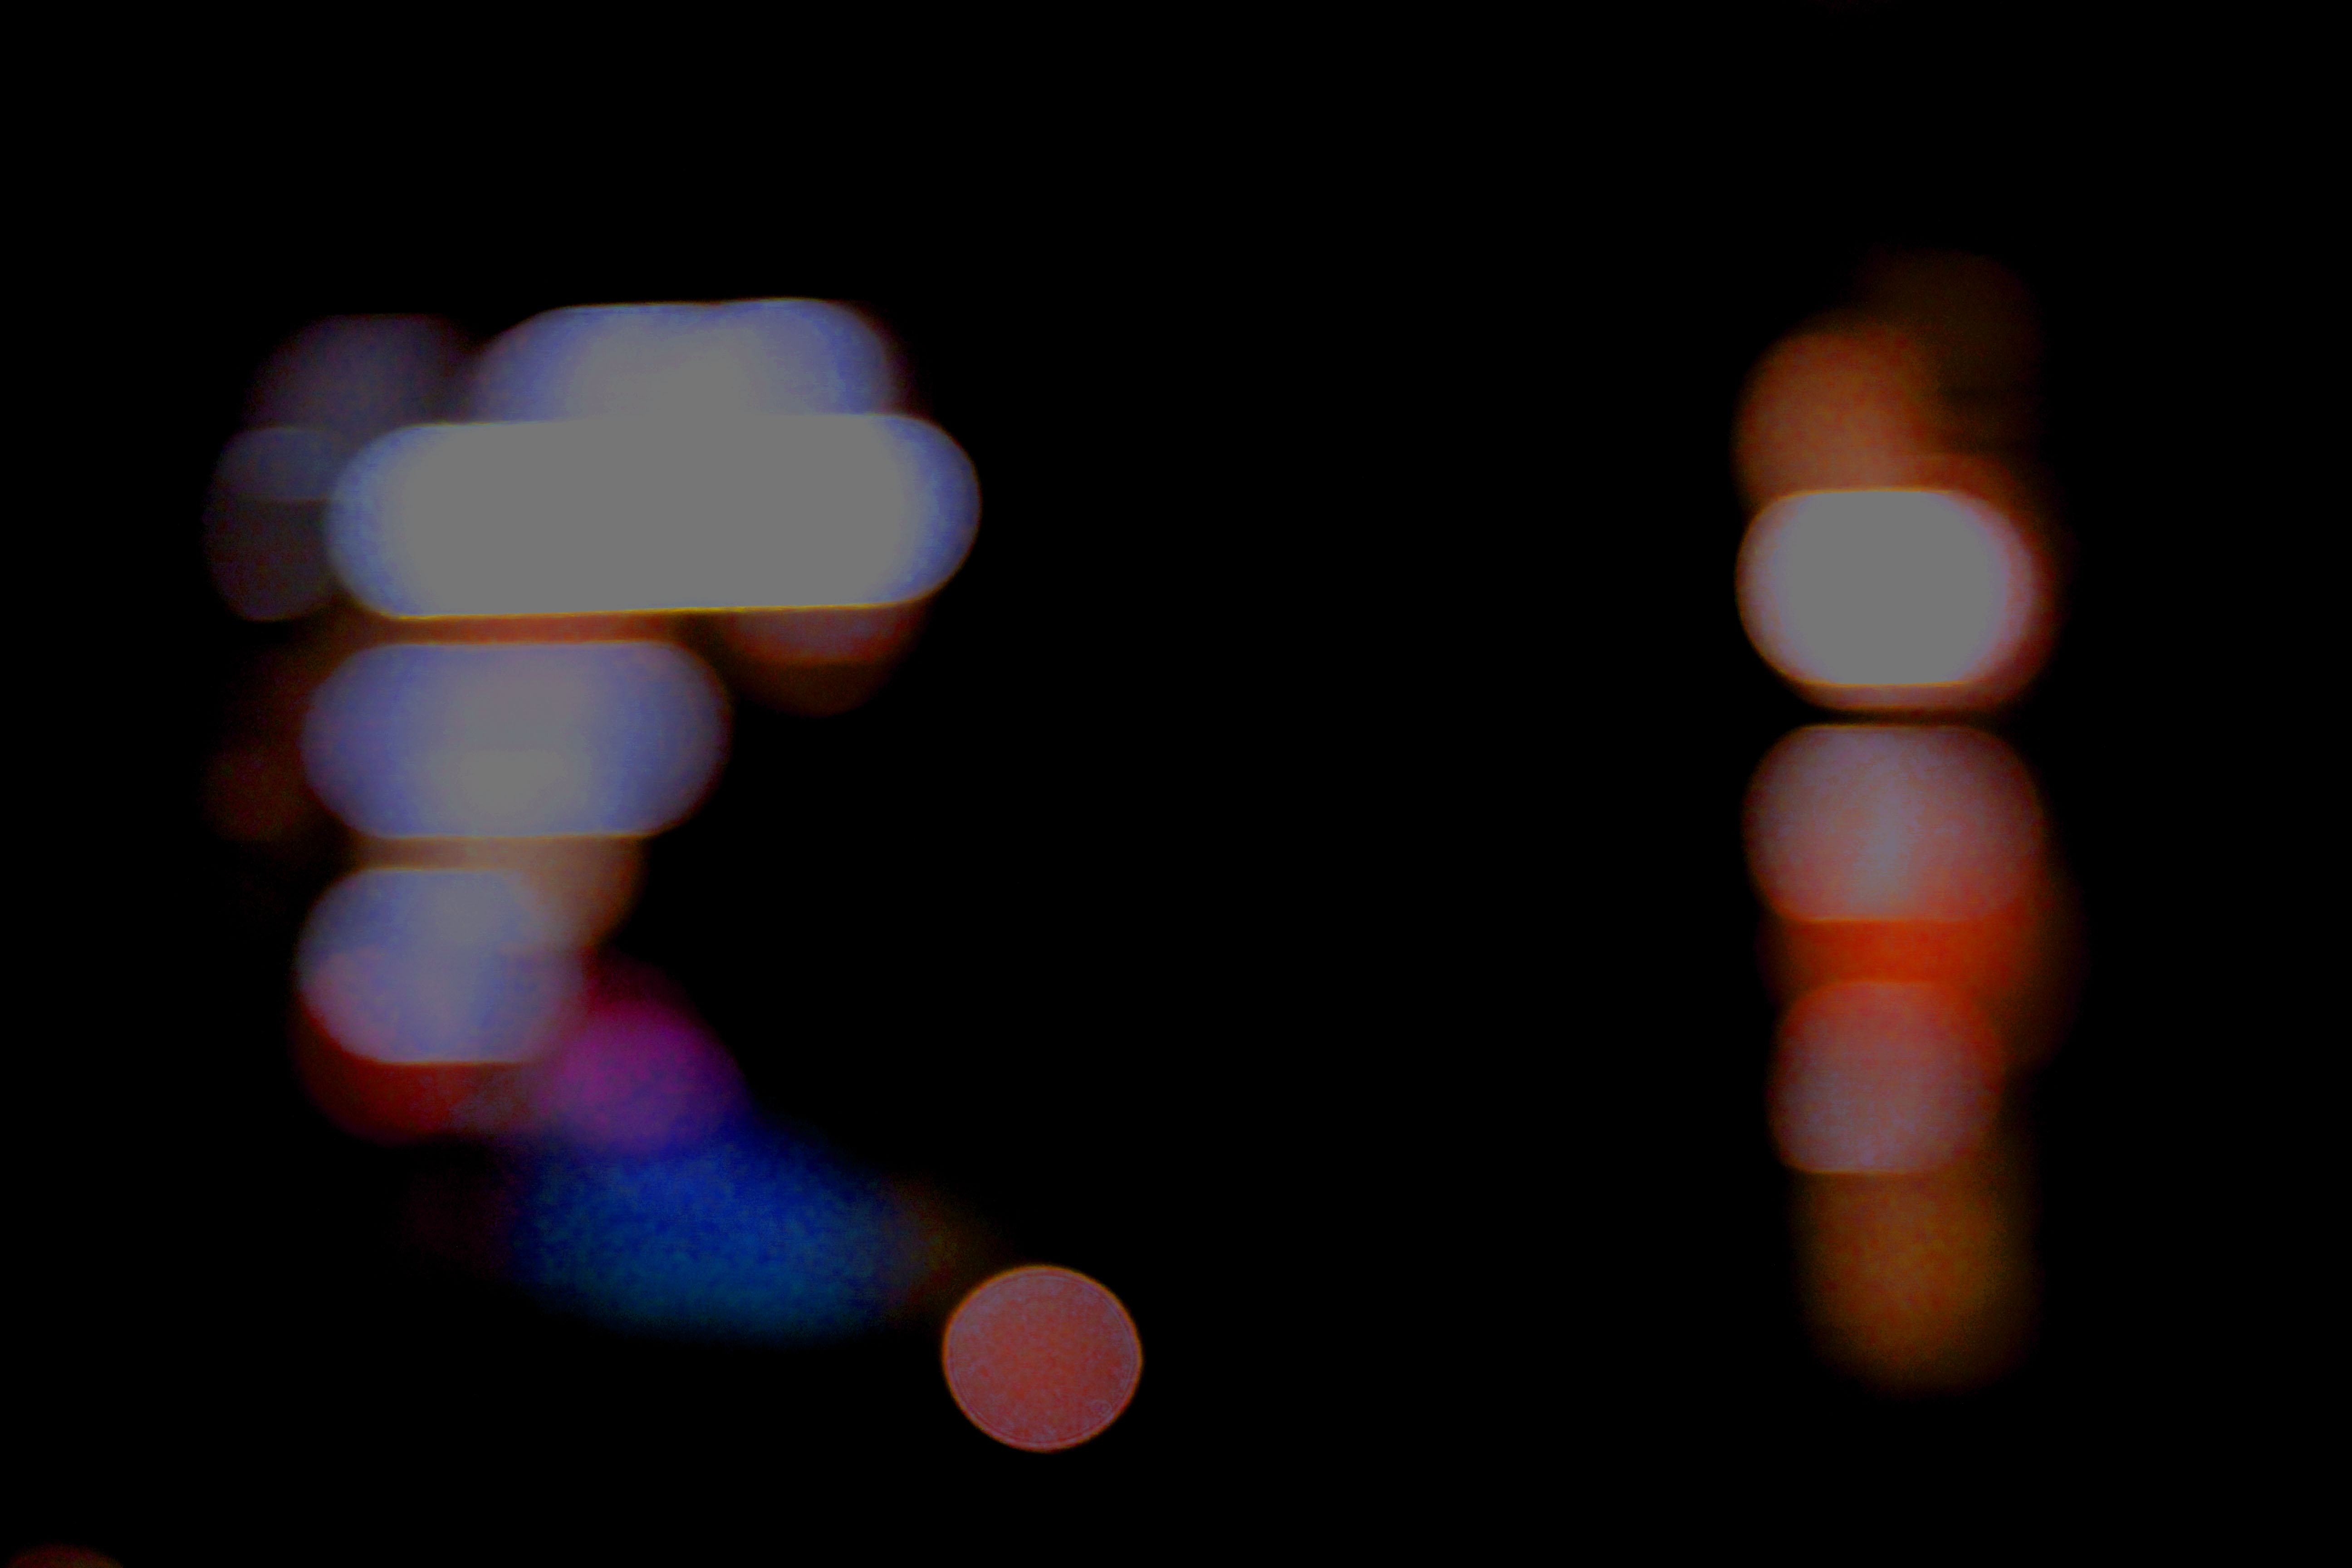
The image i had chosen from my Bokha project had been previously edited and i ended up chosing the edited verison of the image.
The image was taken on a Canon EOS 1300 D and was taken in Manual Focus which helped to purposly make the scenery blurred and achieve the ‘ Bokha’ effect. A quick shutter speed was also taken to help under expose the image and emphasis the darker elements in the photo. The image was also taken with no flash which helped to make the colours in the picture stand out in contrast to the darkness of the sky.
When editing the image i firstly changed the brightness down to emphasise the darkness in the background, as well as changing the contrast so that the original golden white with coloured undertones contrasted with the night sky. The exposure of the image was then turned down in order to make the image more underexposed. The colour balance of the image was then changed. This was the step which had the most effect on the image and made it into its final image. This was because when changing the colour balance to a green colour meant that the undertones of the street lights were then enhanced.
When deciding how this picture was going to be displayed i had experimented with mirroring the image, as well as layering it. Even though this would show more technique, i decided to come back to the original and slightly edited picture as i think that it looks good as a singular A4 image as it is and doesn’t need to be overly edited.
A4 Image
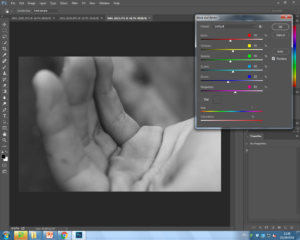
This was originally an experimental image which i was very fond of and decided to bring into my final prints as it had lots of potential.
The image was taken on a Canon EOS 1300 D and was taken in Manual Focus which made sure my ‘ F stop’ was low which created the narrow depth of field effect that i was aiming for in the image. No flash was used to take this picture as the image was taken under natural lighting which emphasized every detail on the hand, as well as my shutter speed of 1/200 which allowed light into the lens.
I did not do any editing to this image.

A4 Image
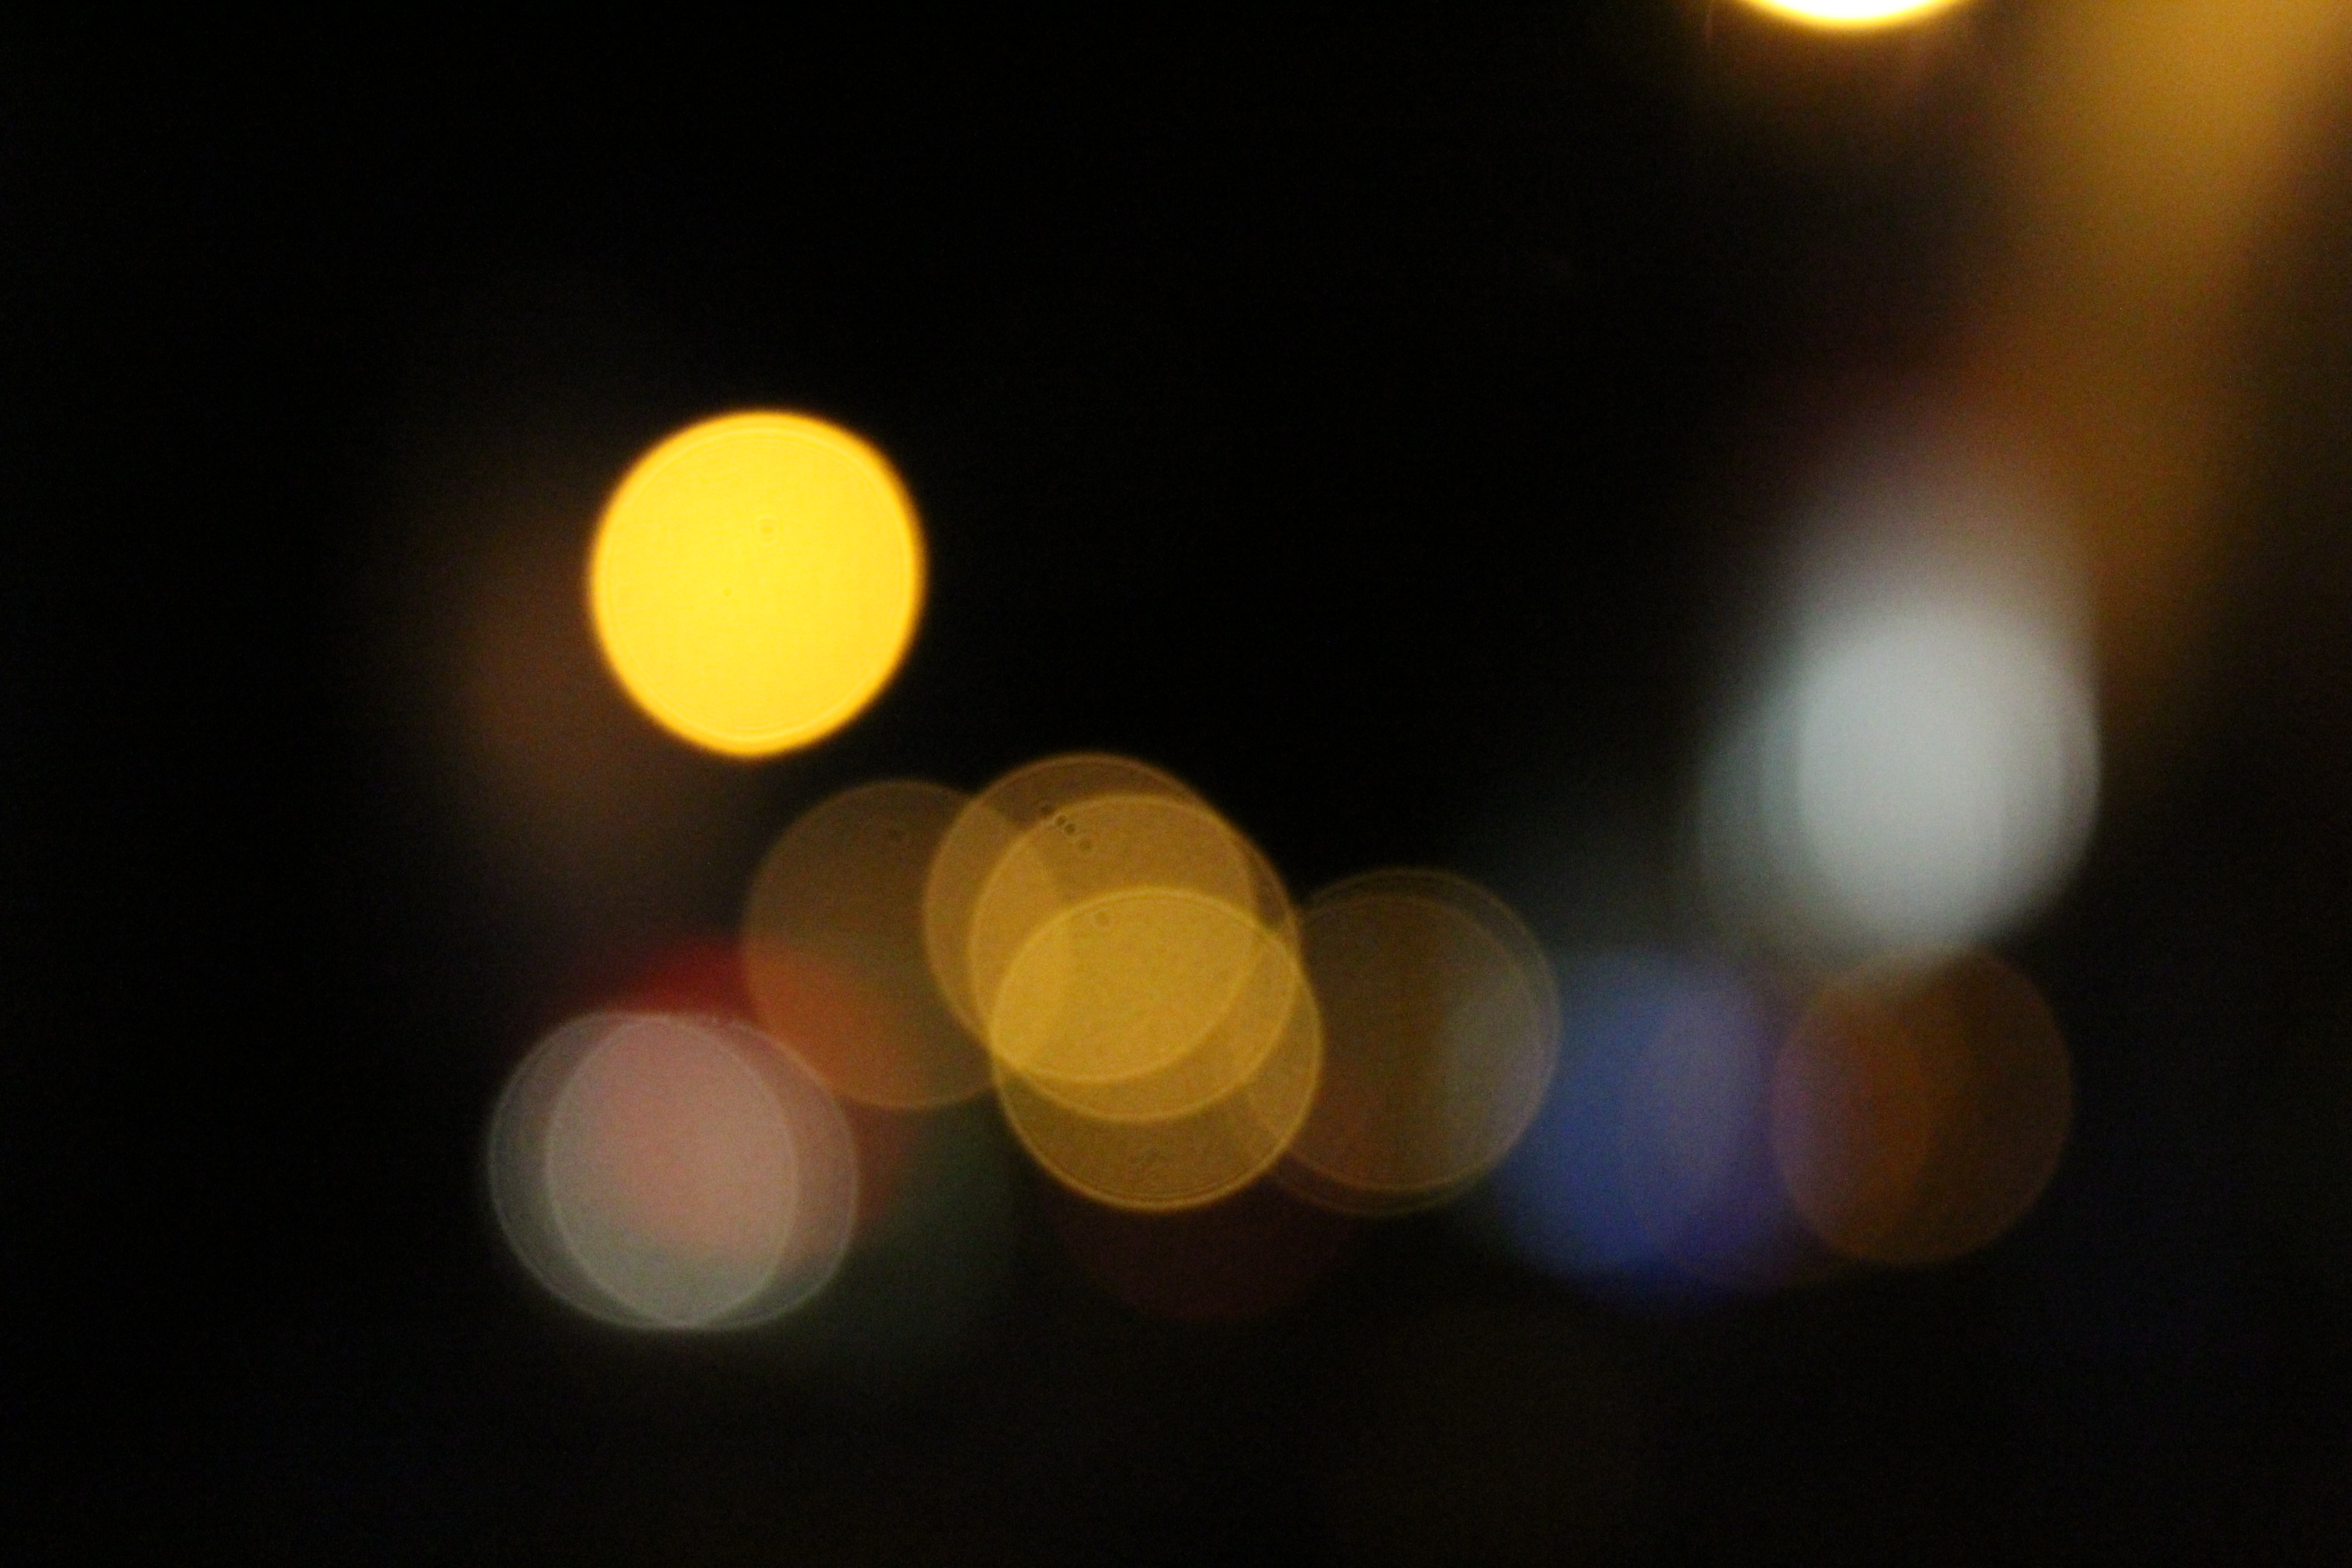
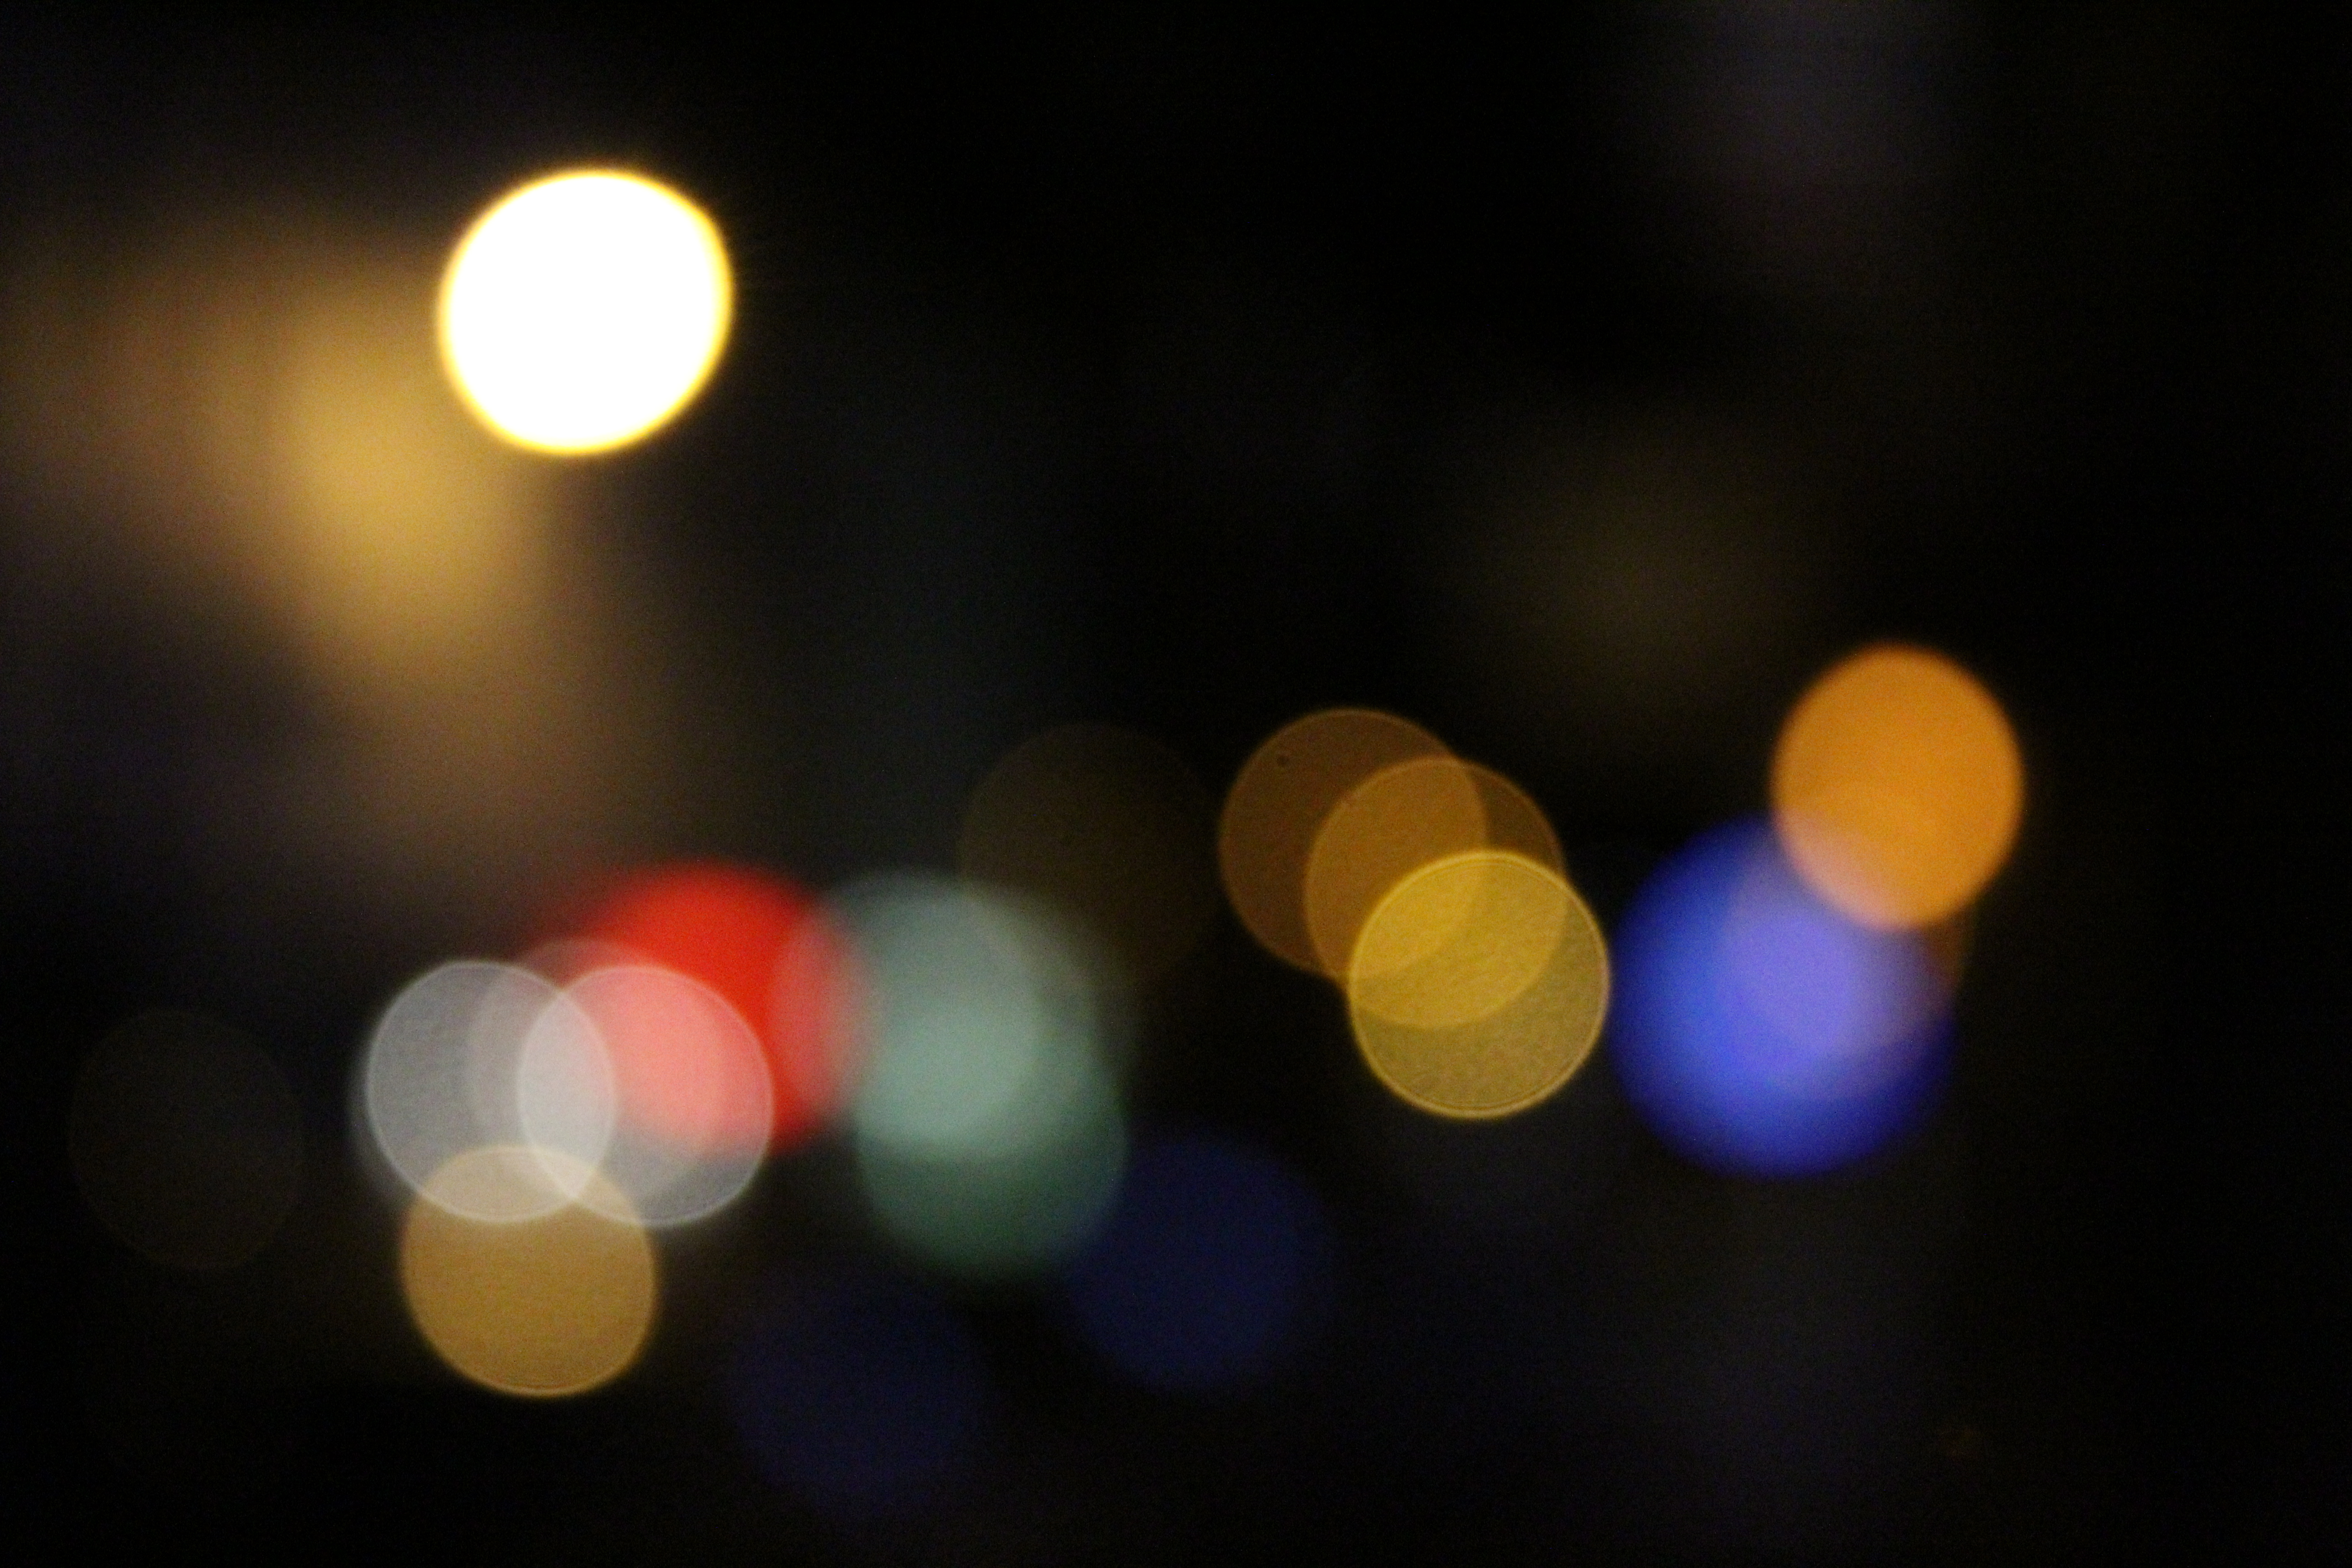
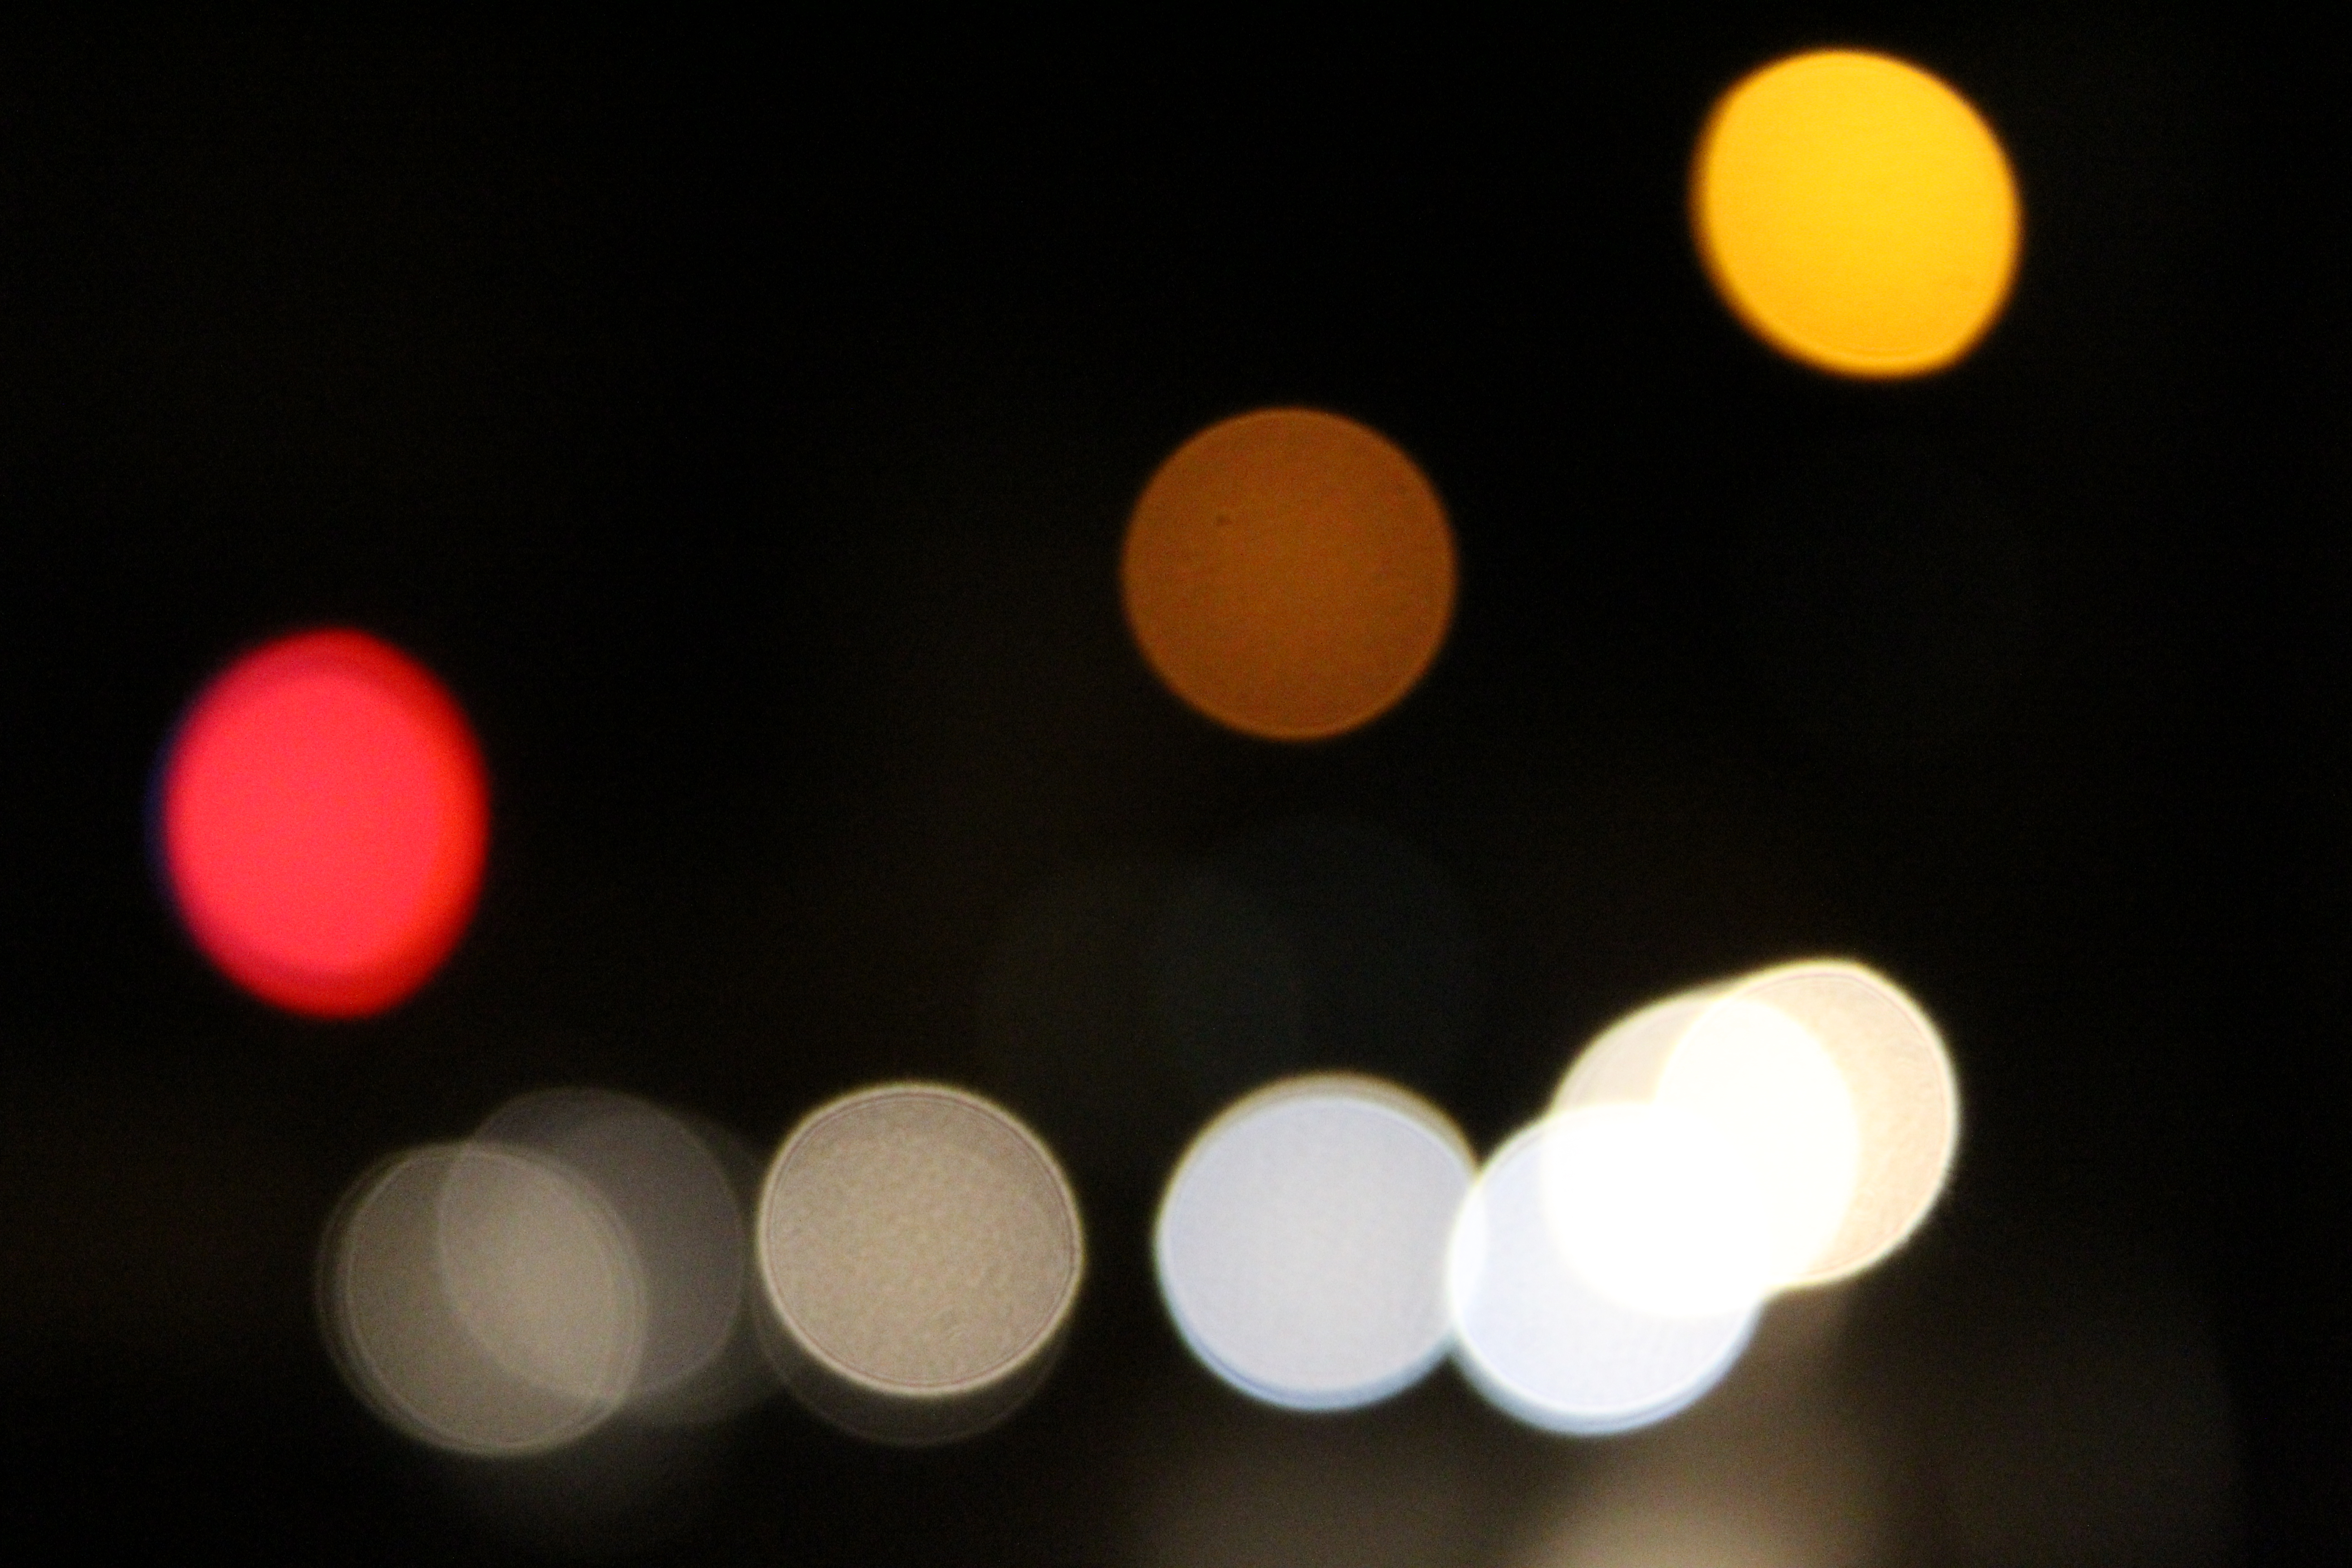
The image i had chosen from my Bokha project.
The image was taken on a Canon EOS 1300 D and was taken in Manual Focus which helped to purposly make the scenery blurred and achieve the ‘ Bokha’ effect. A quick shutter speed was also taken to help under expose the image and emphasis the darker elements in the photo. The image was also taken with no flash which helped to make the colours in the picture stand out in contrast to the darkness of the sky.
There was no editing done to these images.
A5 Image
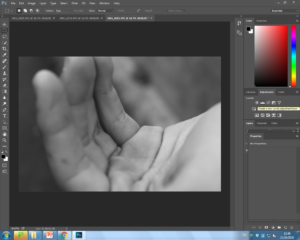
This was originally an experimental image which i was very fond of and decided to bring into my final prints as it had lots of potential after being slightly edited.
The image was taken on a Canon EOS 1300 D and was taken in Manual Focus which made sure my ‘ F stop’ was low which created the narrow depth of field effect that i was aiming for in the image. No flash was used to take this picture as the image was taken under natural lighting which emphasized every detail on the hand, as well as my quick shutter speed that i used to under expose the image for a darker background.
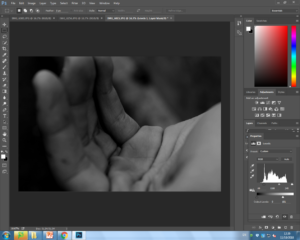
When editing this image i firstly edited the image to black and white as i thought using a black and white filter would help to emphasise the details of the hand. I then created ‘levels’ and lowered the level scale until i found that the background was dark enough to my liking in contrast to the main subject ( hand) being lighter. For my final editing stage i edited the brightness of the overall picture up in order to brighten up the hand.
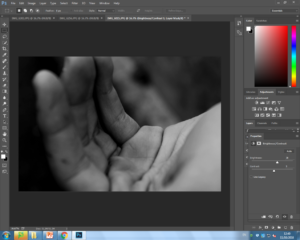
I never had any intentions of changing the the display of the overall image and think the image is too simplistic to be mirrored etc.. I have decided to leave the image as it is and have the whole image on the A5 print.

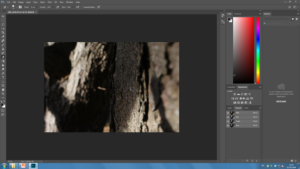
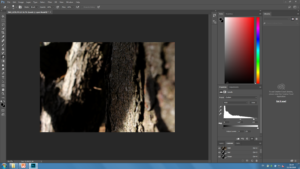
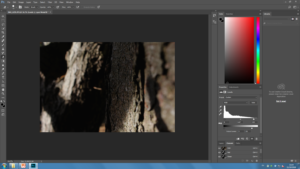
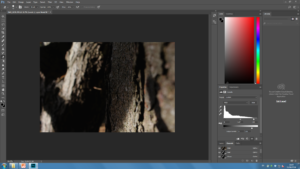
A3 Image
This was an image which deliberately taken for one of my final images as i was disappointed that i didn’t get a chance in the overall Abstract project to take an image like this.
The image was taken on a Canon EOS 1300 D and was taken in Manual Focus which made sure my ‘ F stop’ was low which created the narrow depth of field effect that i was aiming for in the image. My aim with the image was to have a lot of shadowing being shown and i therefore took the image on a cloudy day which helped emphasise the shadowing. The image was also taken on a quick shutter speed which like i have mentioned in my other images, helps to under expose the image and add emphasise on the textural parts ie the bark on the image and make the shadows darker than they actually are.
I only took two steps in editing this picture as i really liked it before hand. The first step was decreasing the ‘ Levels’ on my image which added more depth to the shadowing. I then took it a step further and decreased the brightness of the output levels which then added more darkness. I was then left with my ideal final image.
Having this image displayed on A3 was ideal for me as i really wanted the texture of the image to be very noticeable and by putting this image on the larger card is the better idea. I think that because the image is so simple it didn’t need lots of editing done to it and i therefore plan to leave the image how it is.