WEEK 6- INITIAL IMAGES

Initial Choices for final images

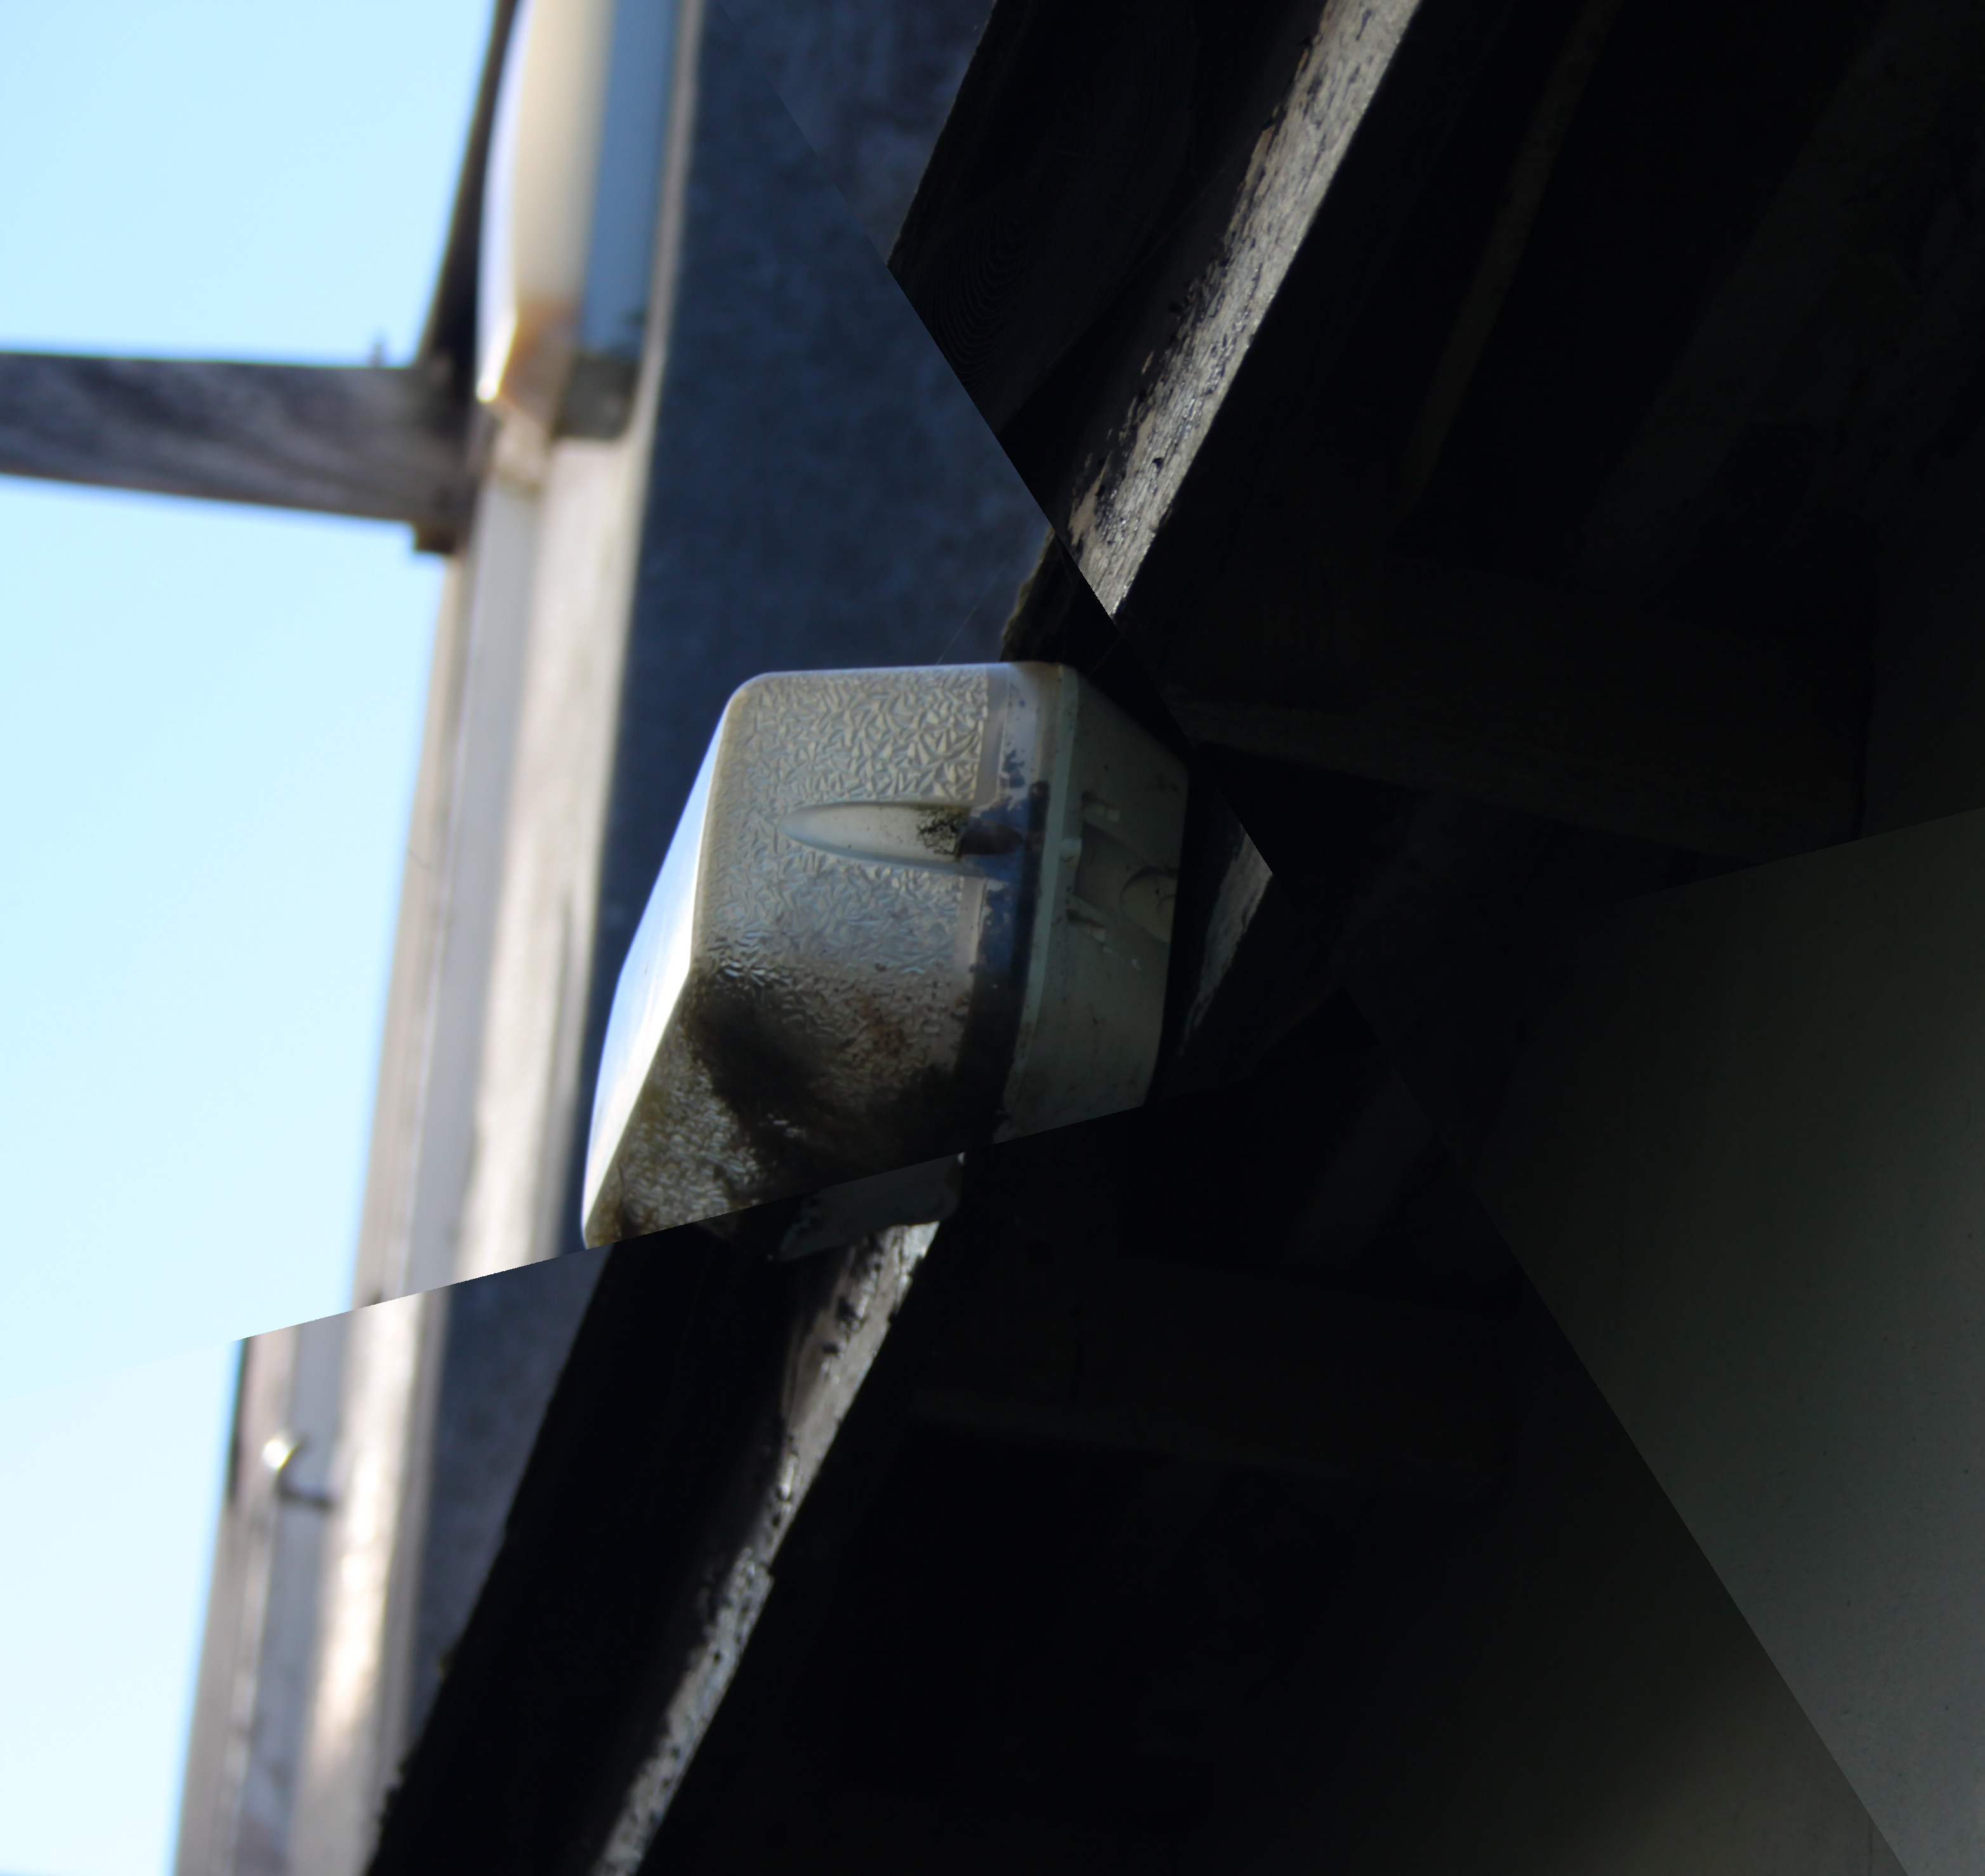
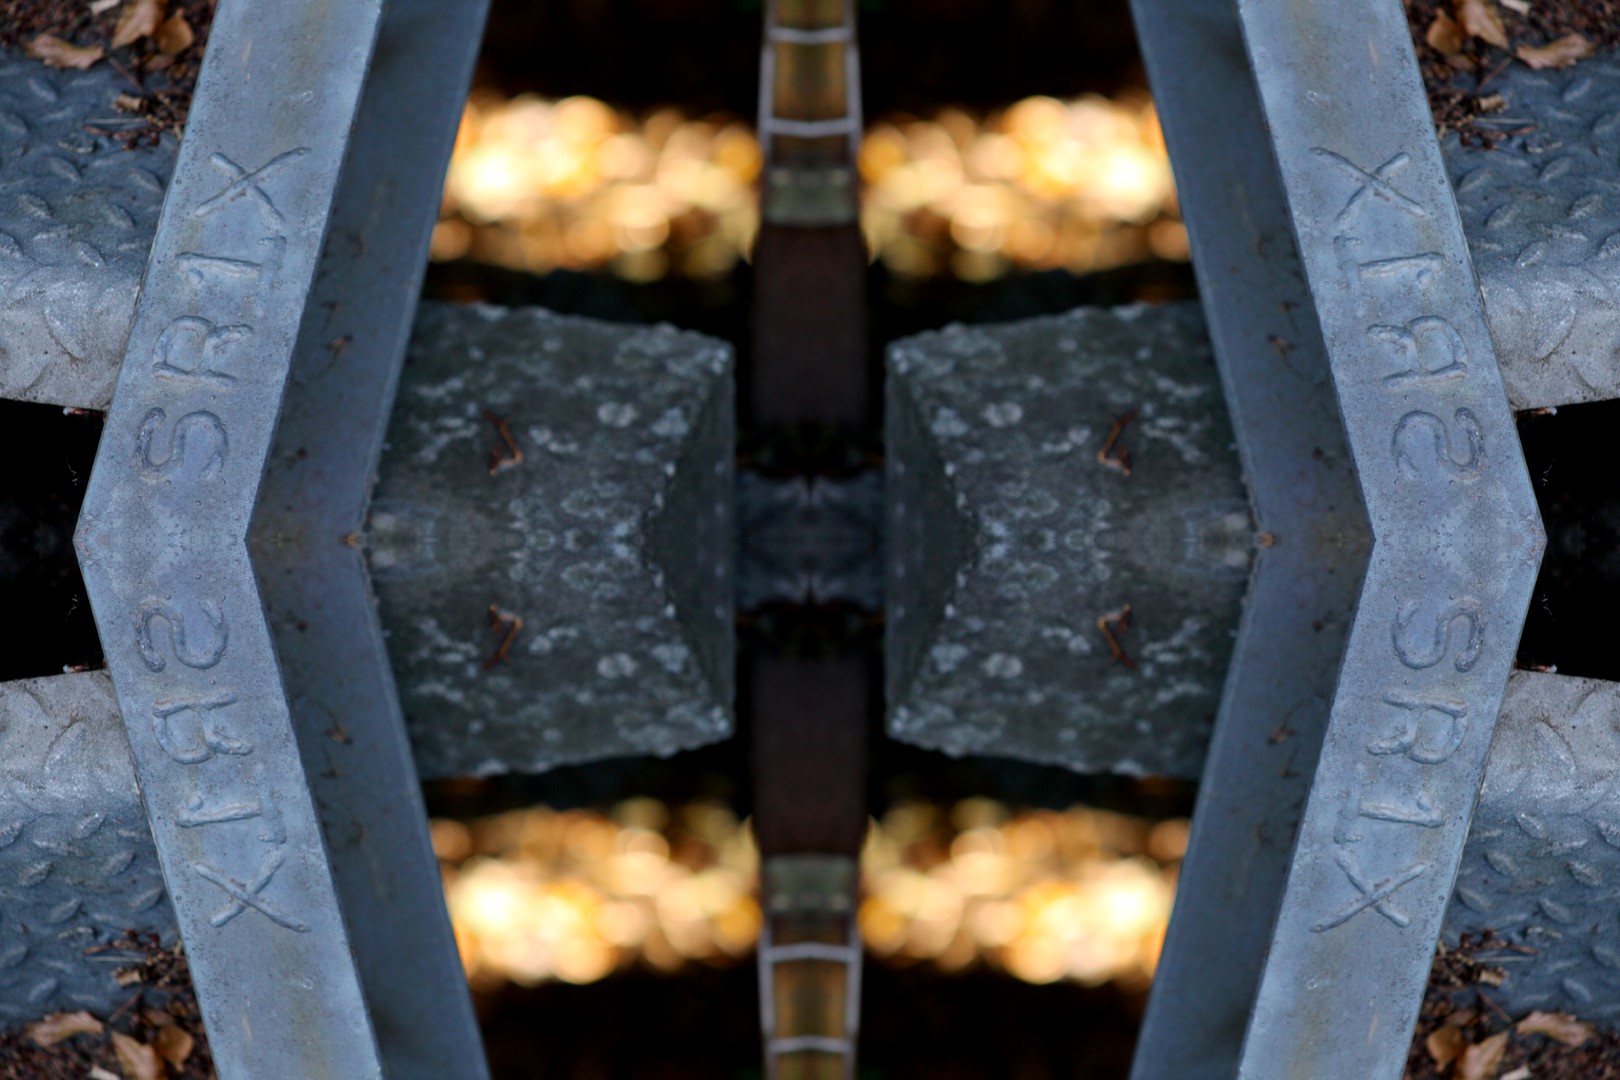
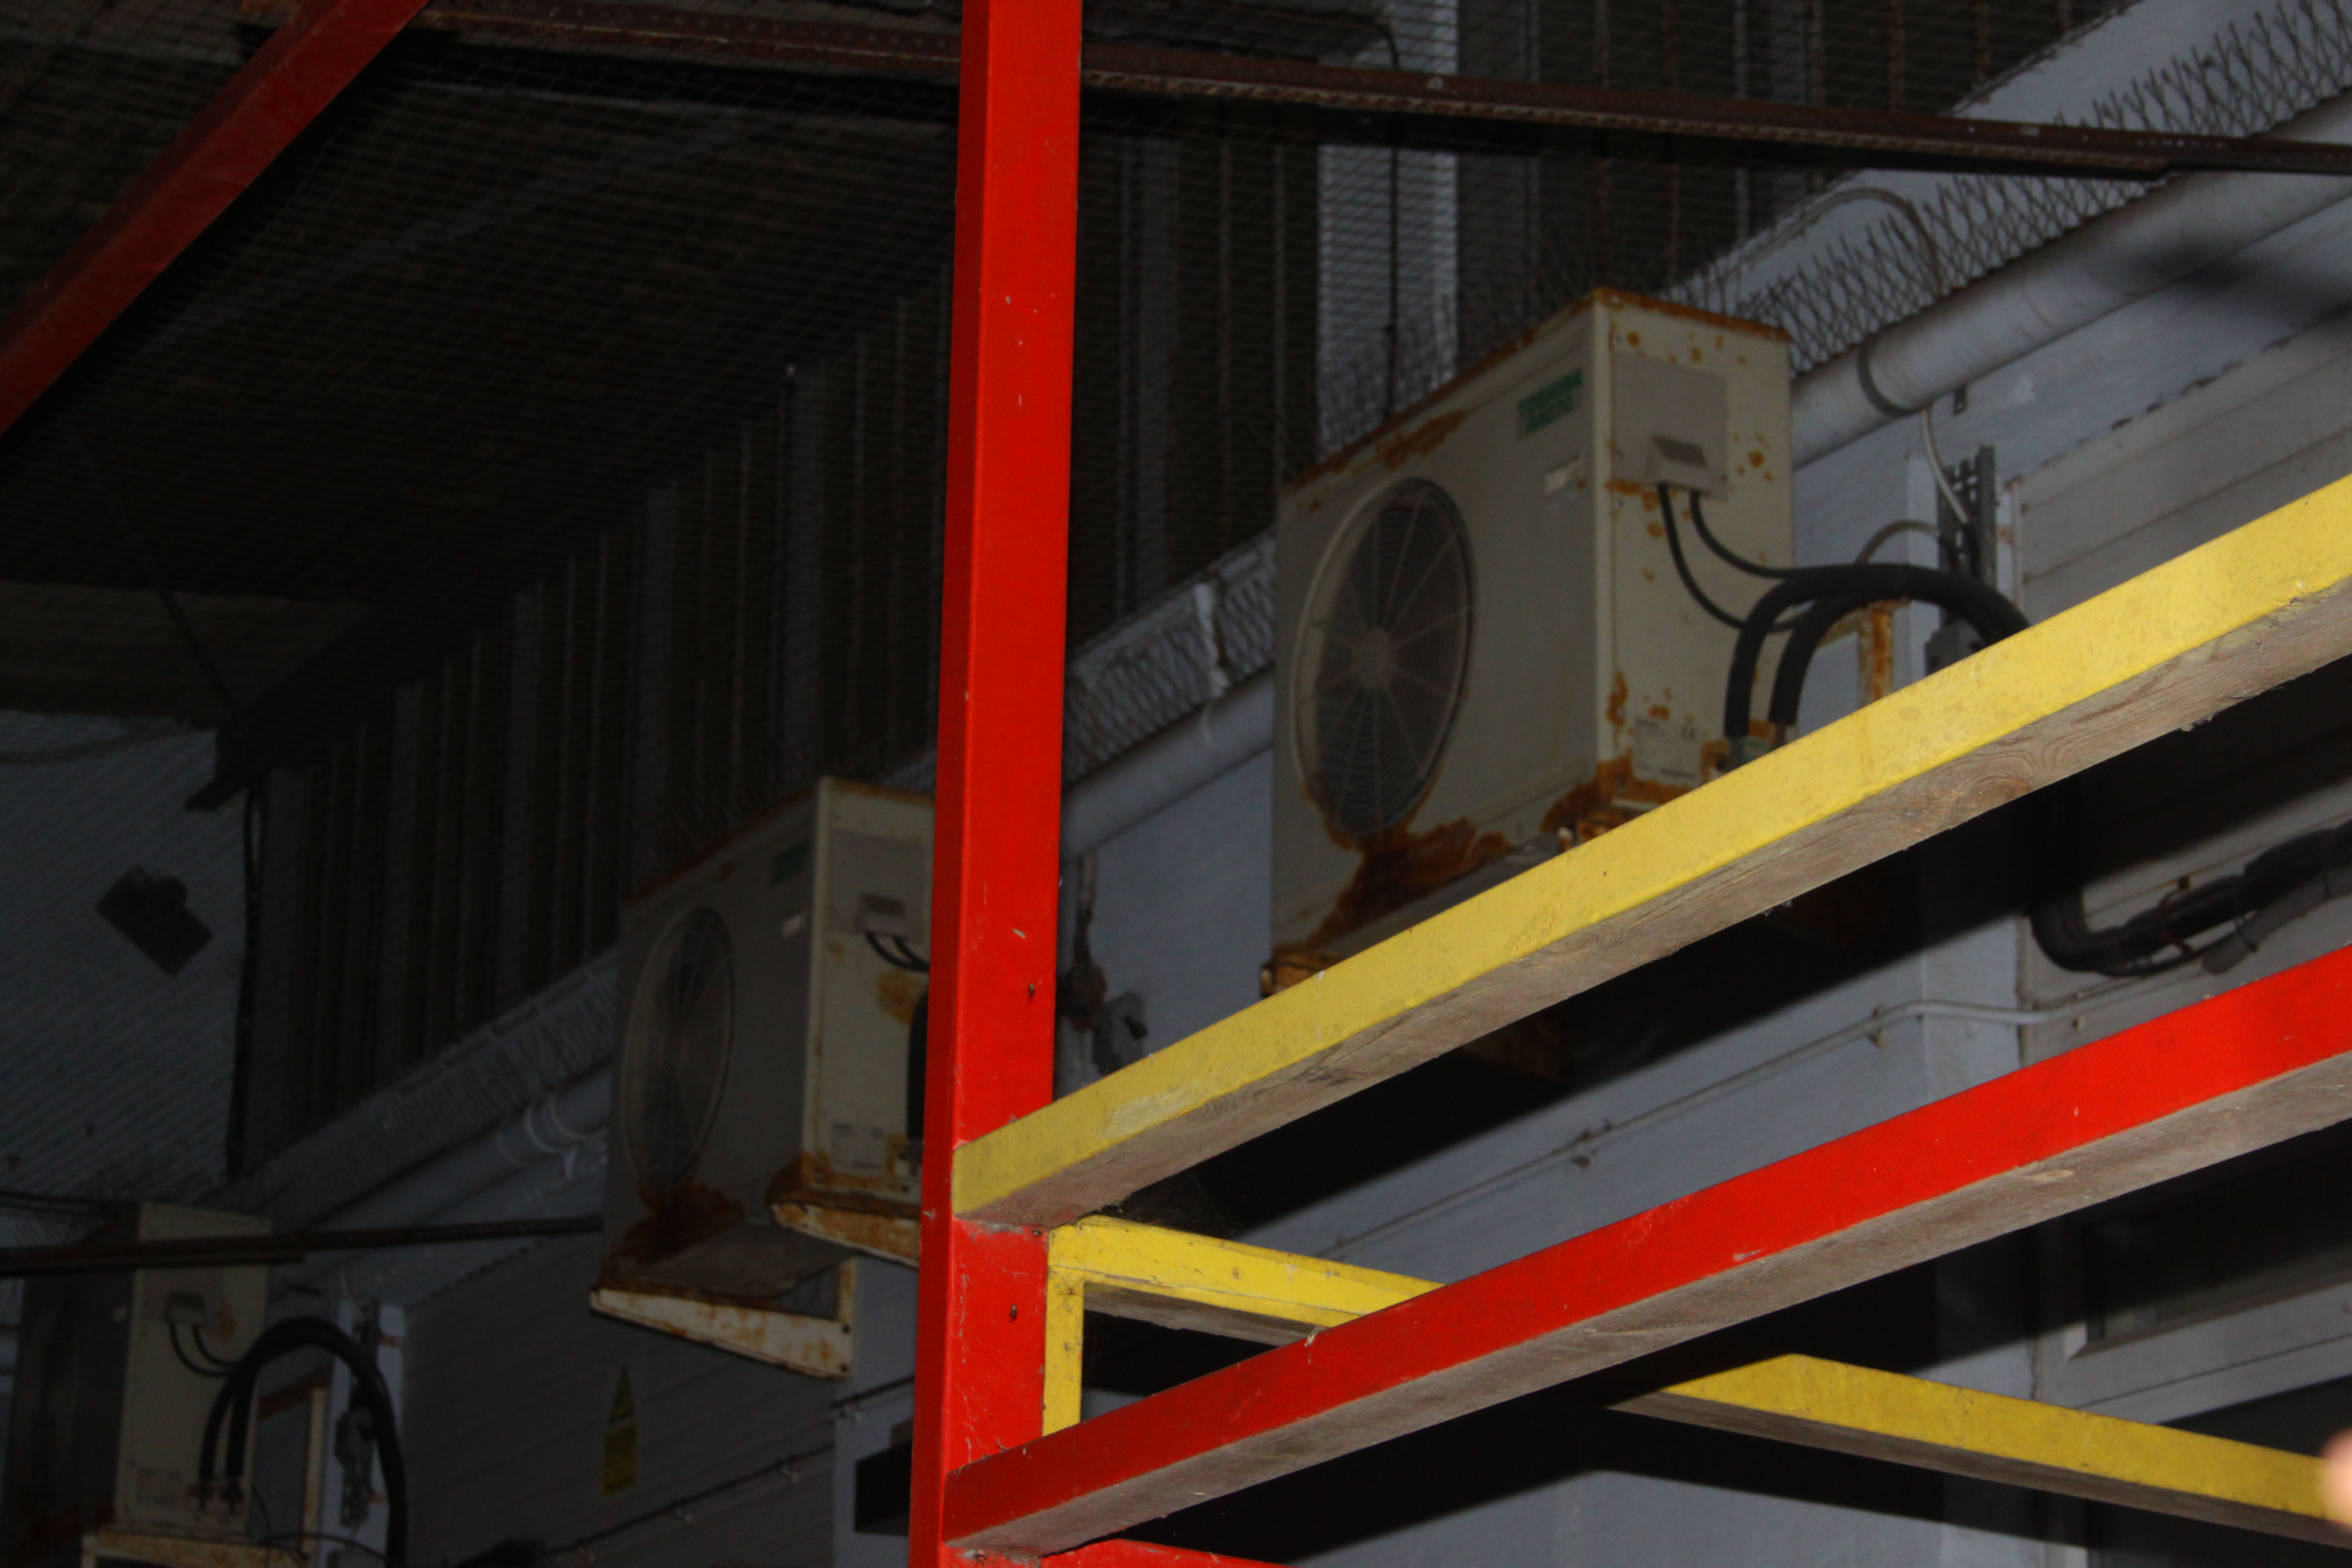
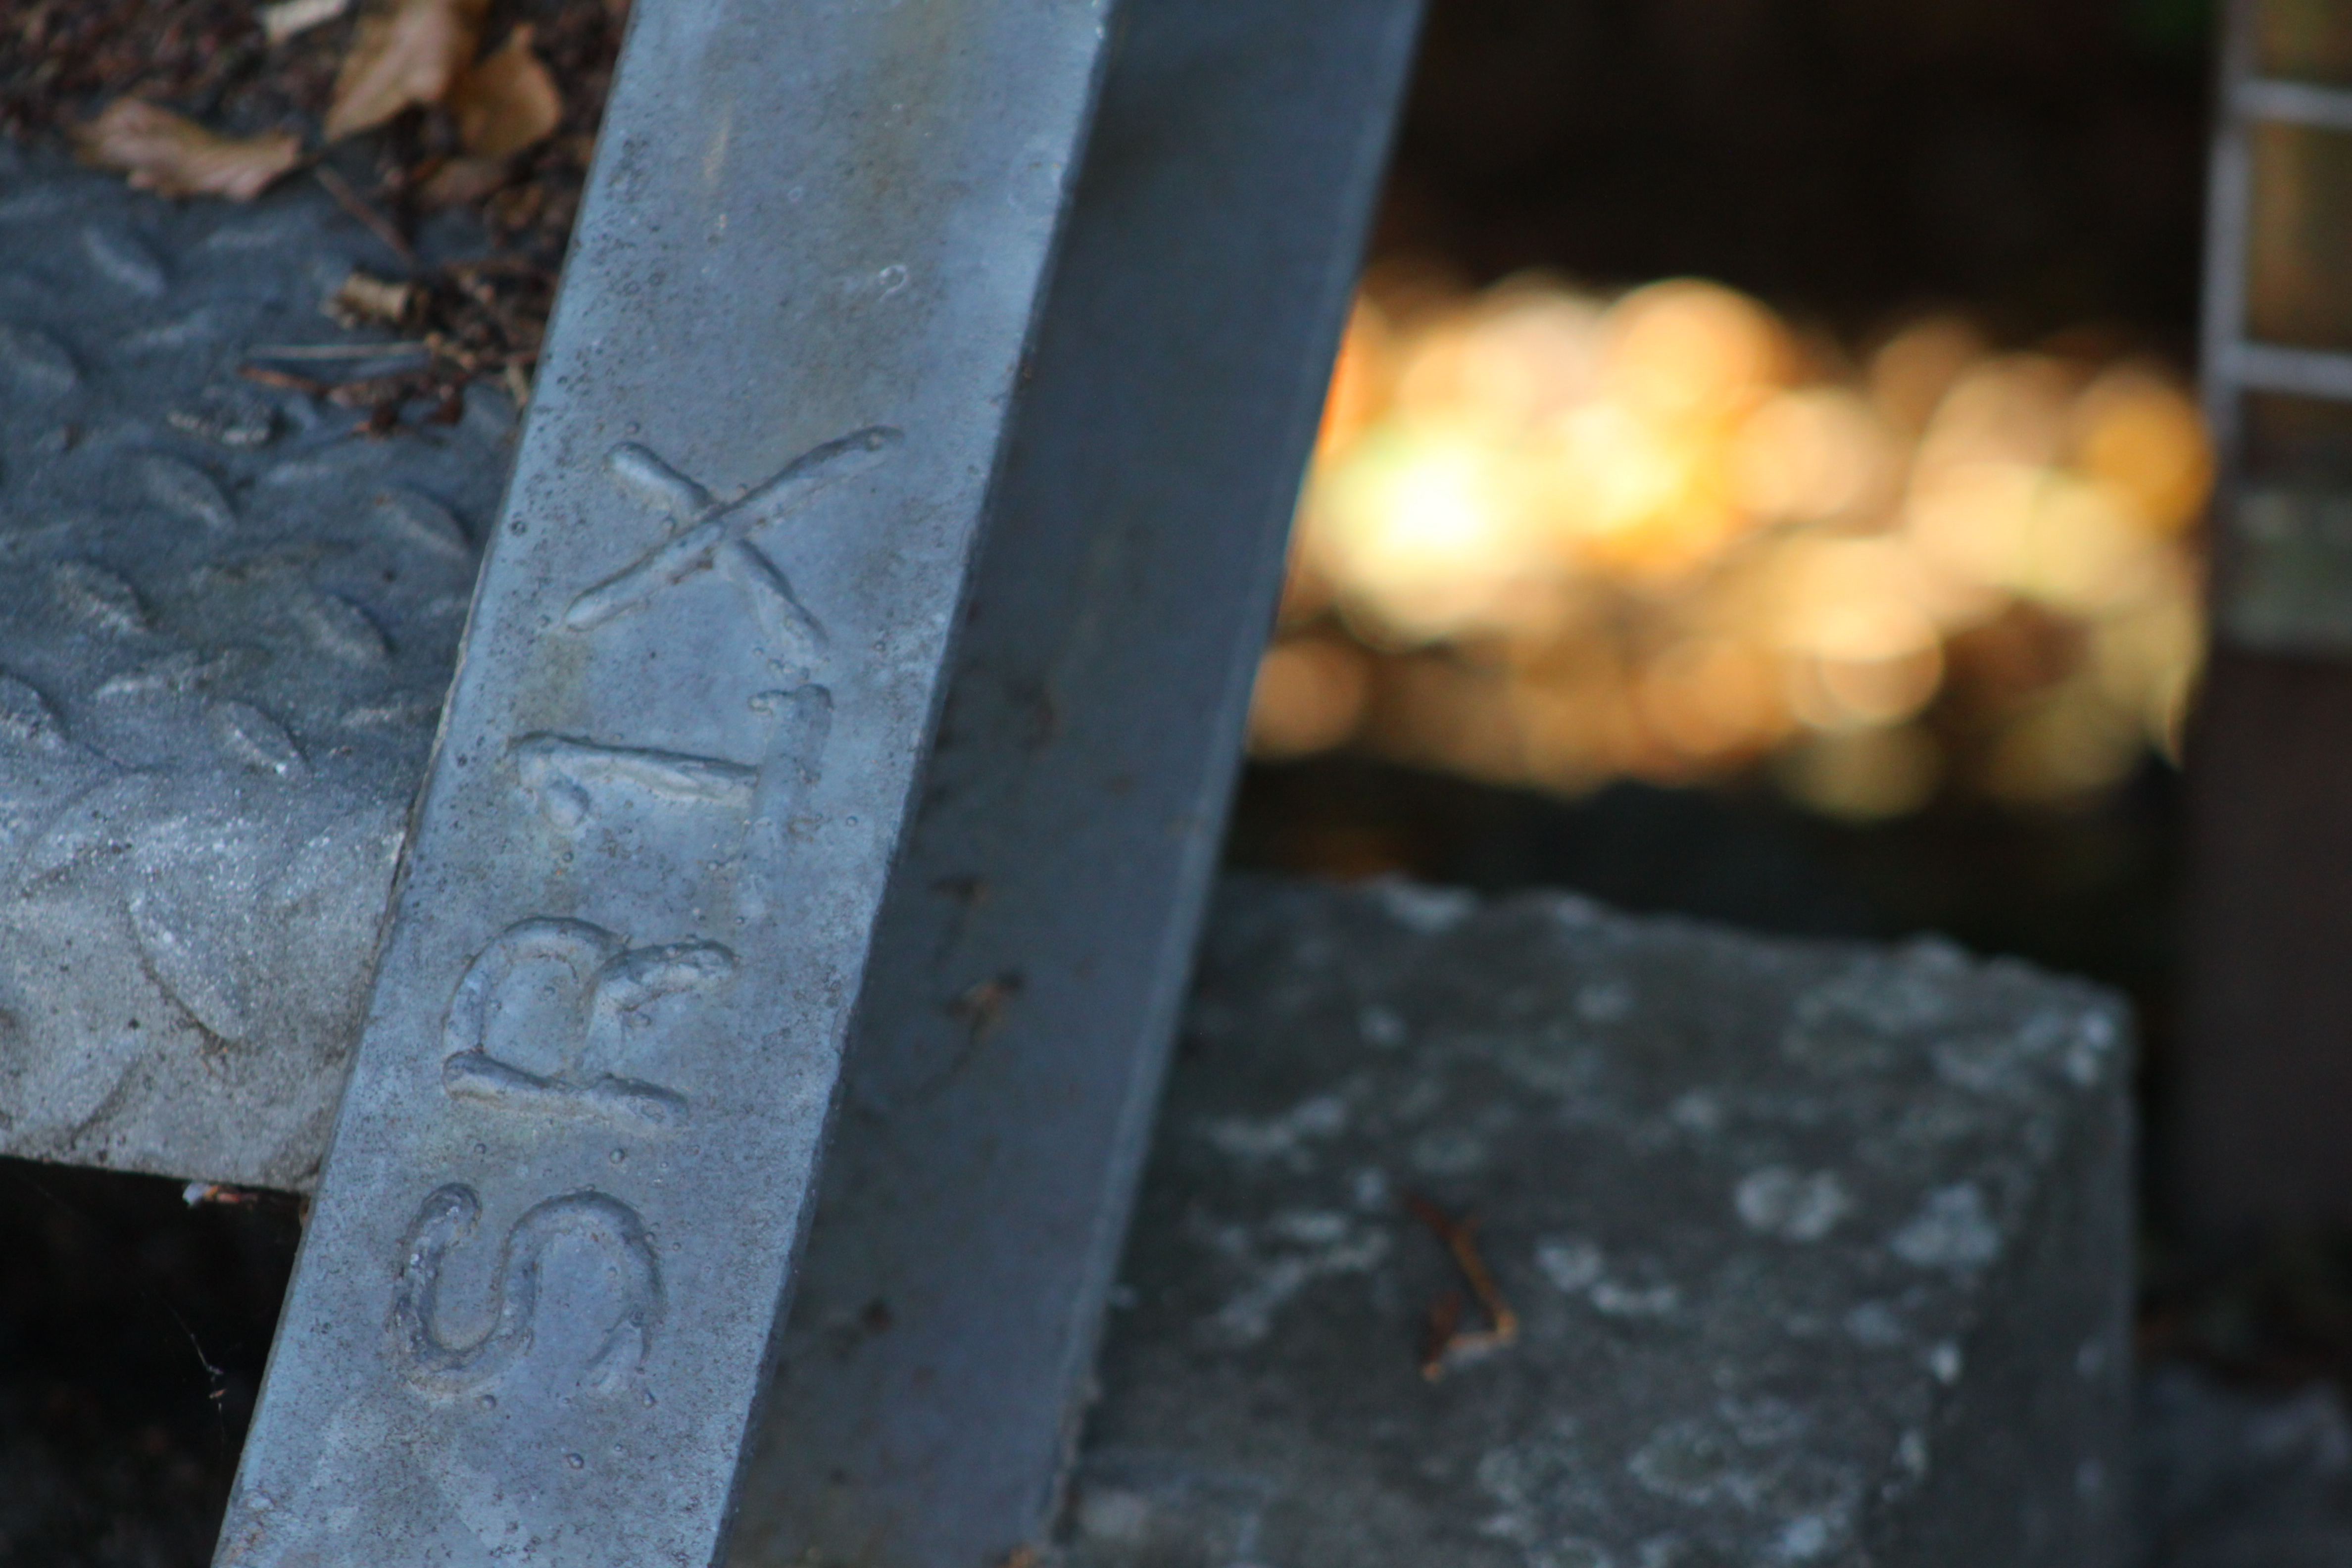
After looking through my whole ‘ Abstract’ project, i have used Adobe Photoshop to play around with 5 possible images which i can choose from to be a final image of mine. 

Reasoning for my choices 
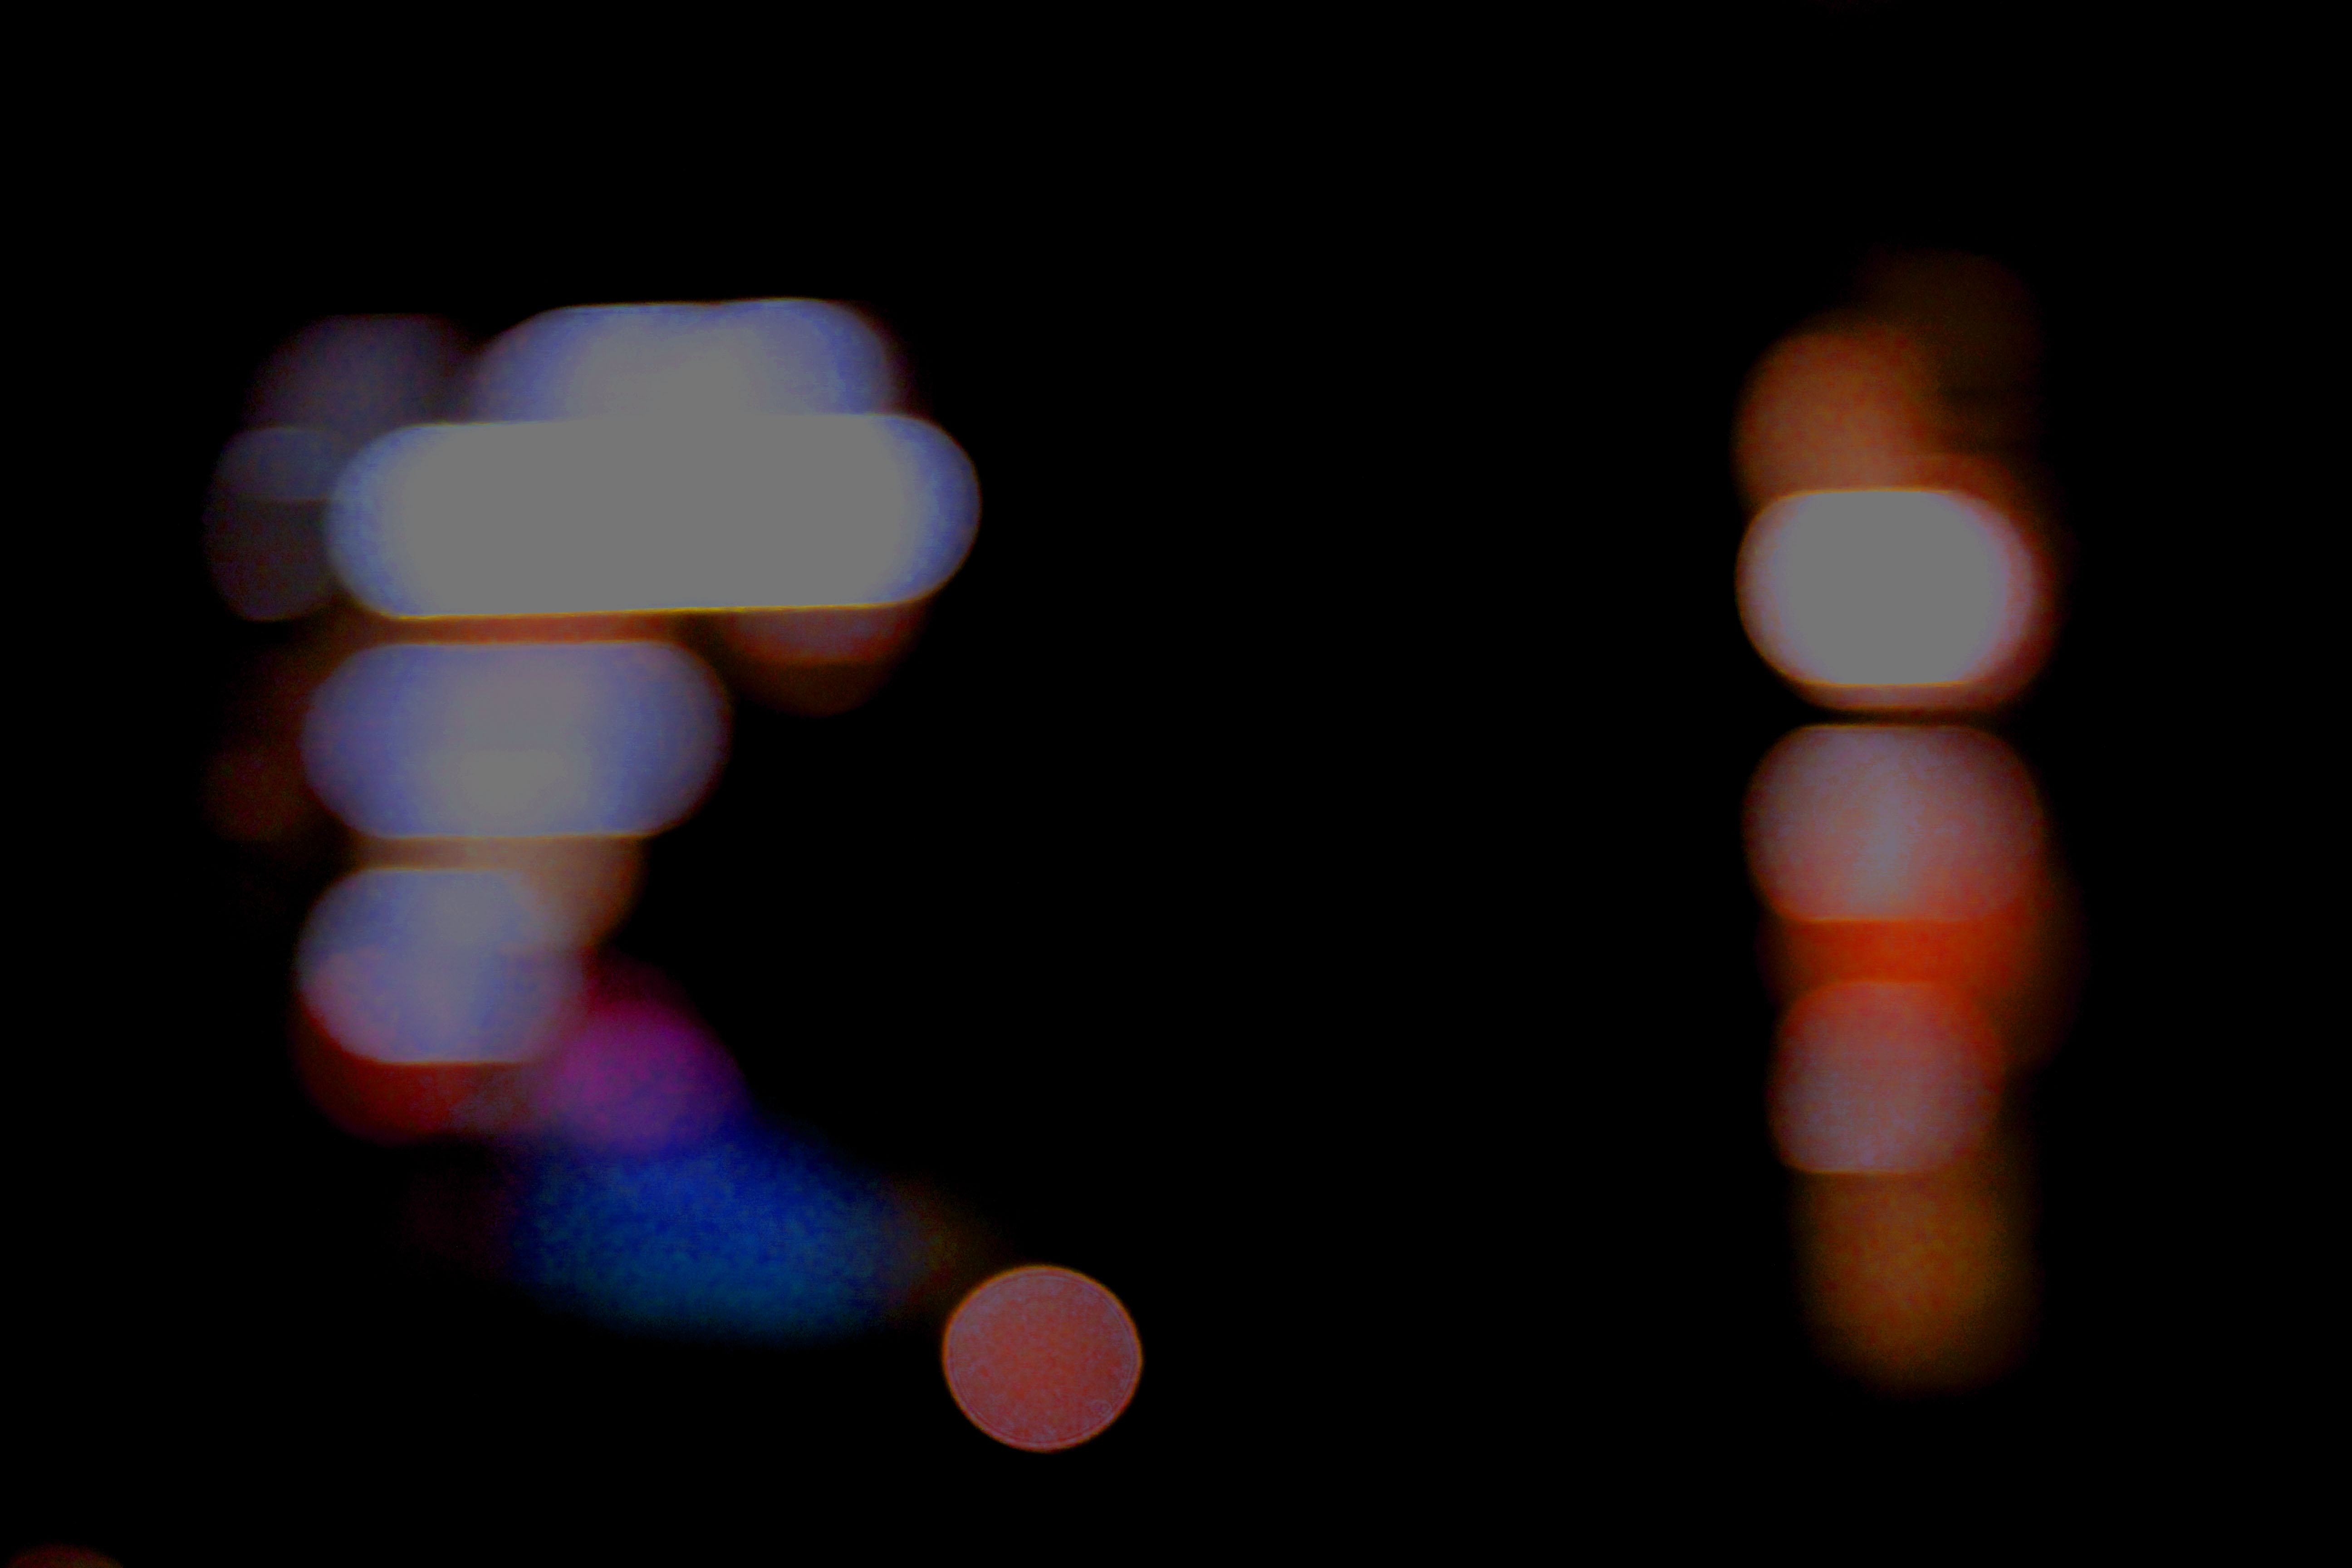
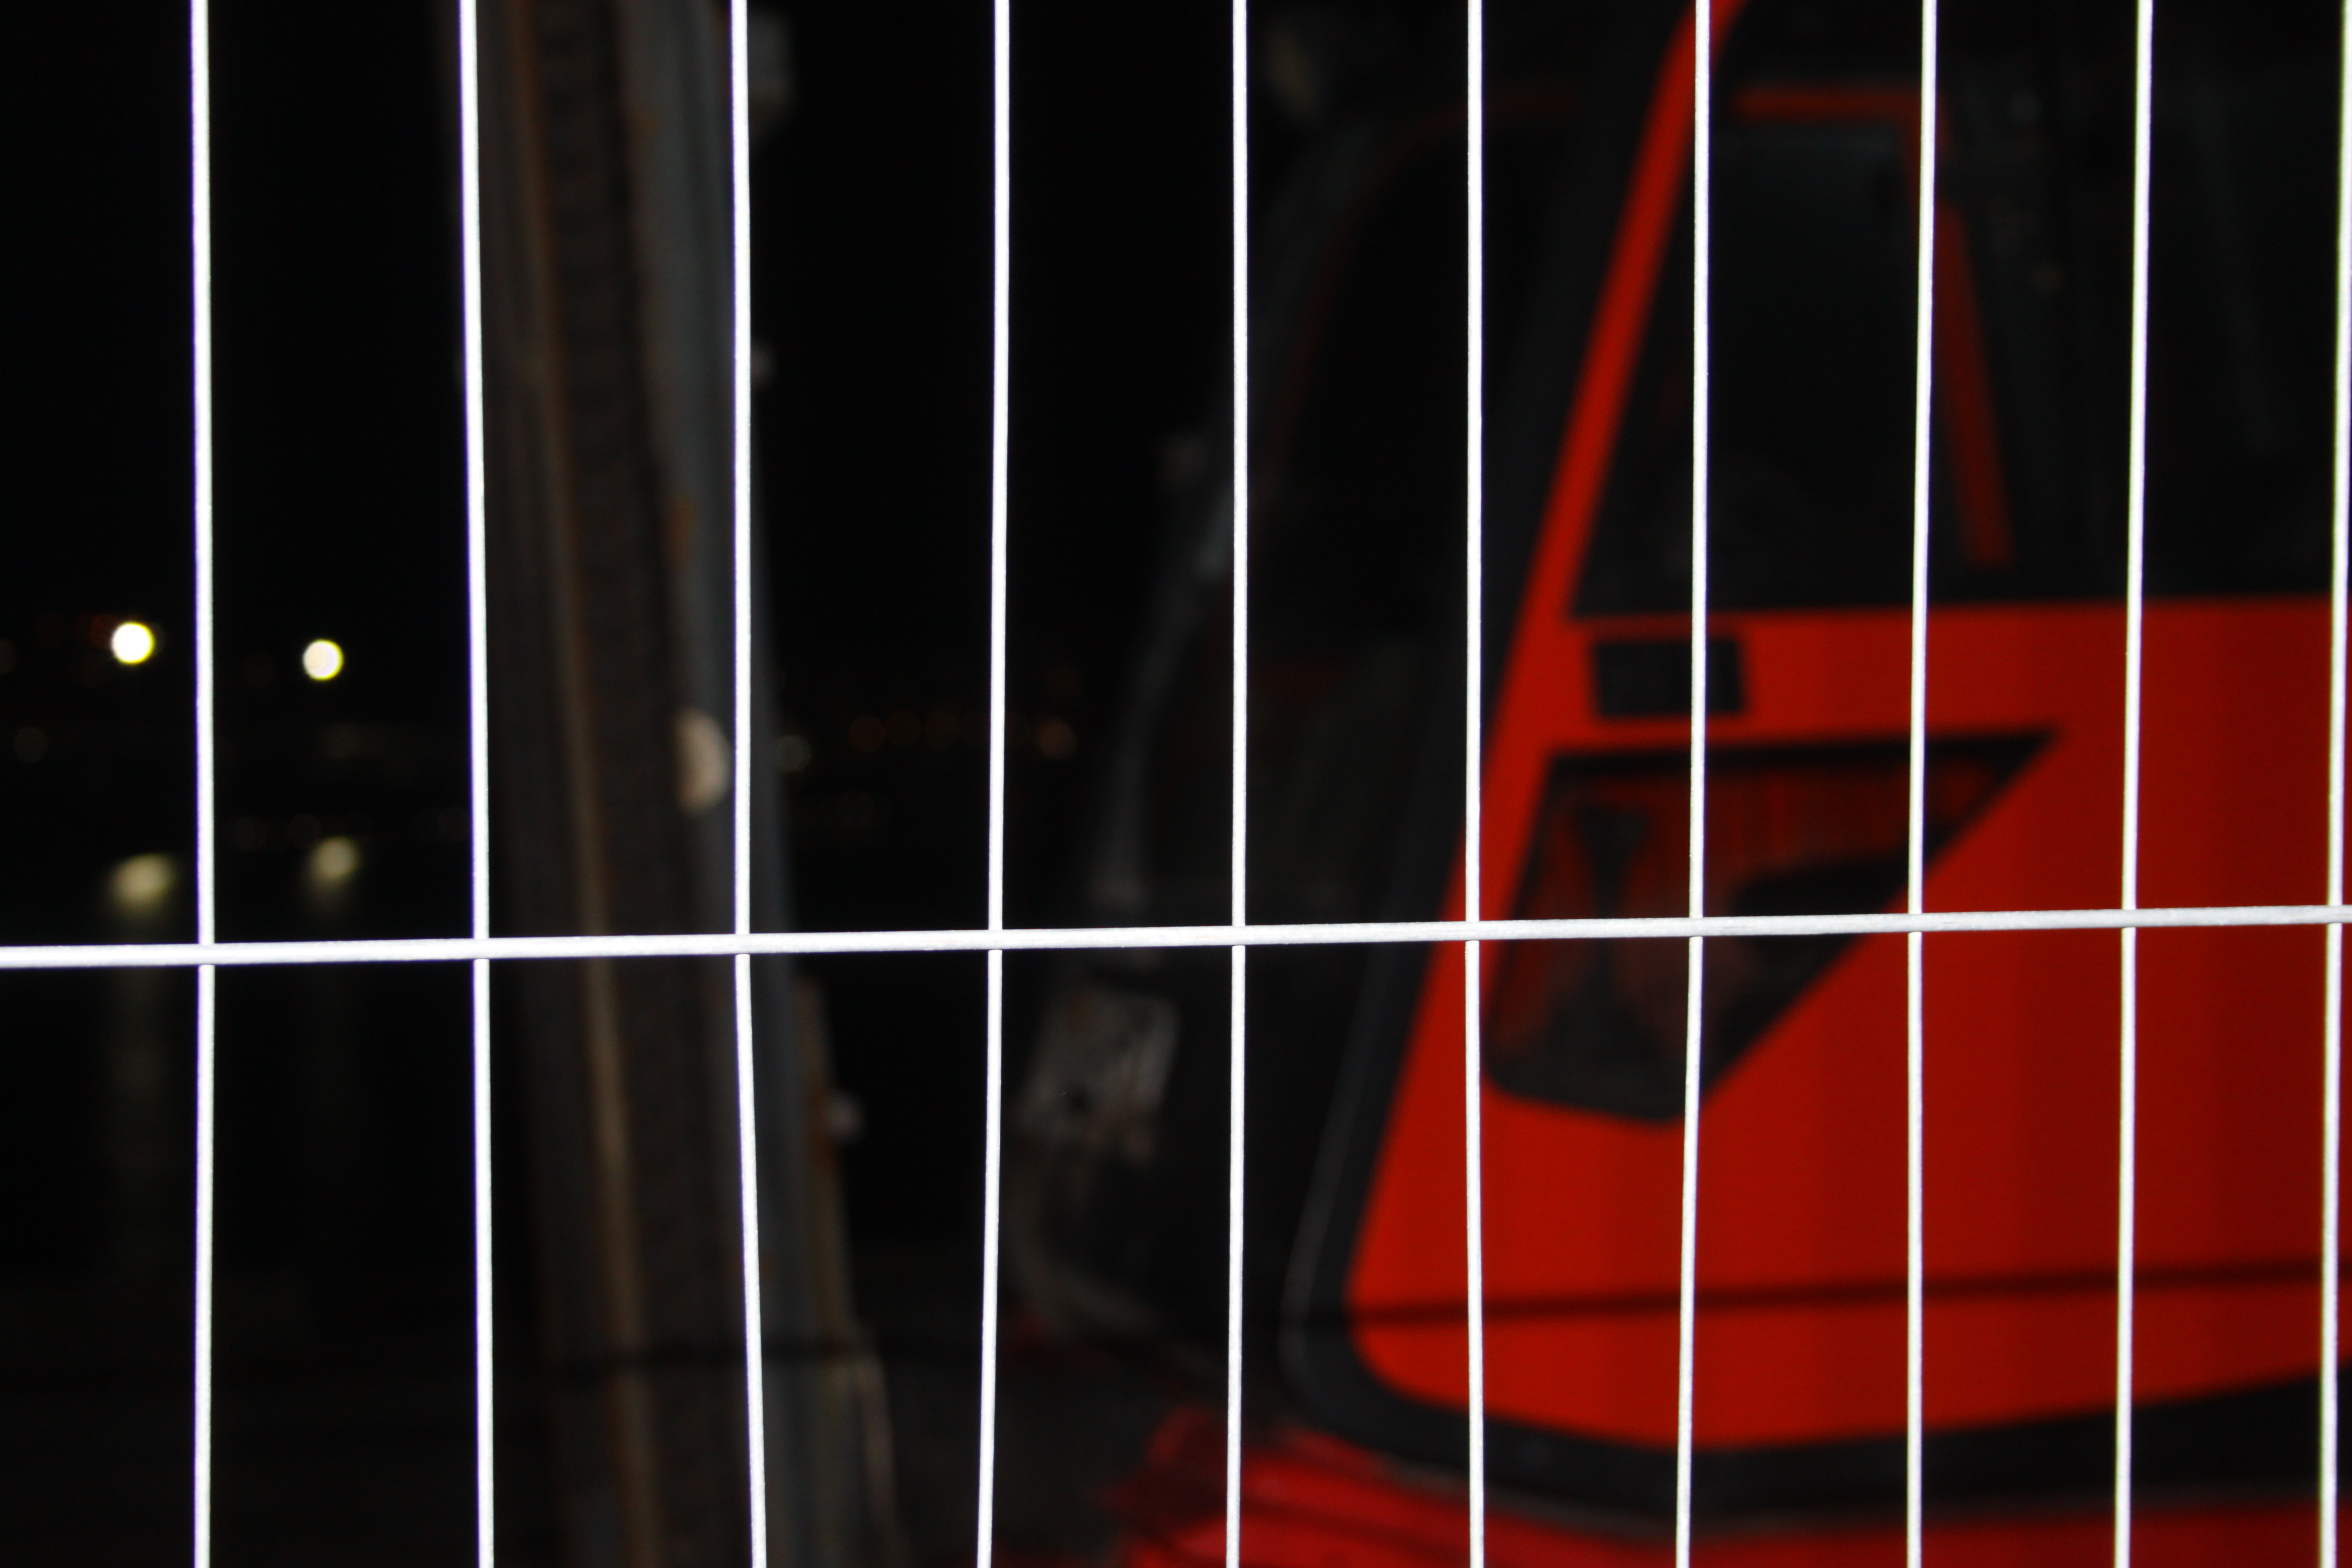
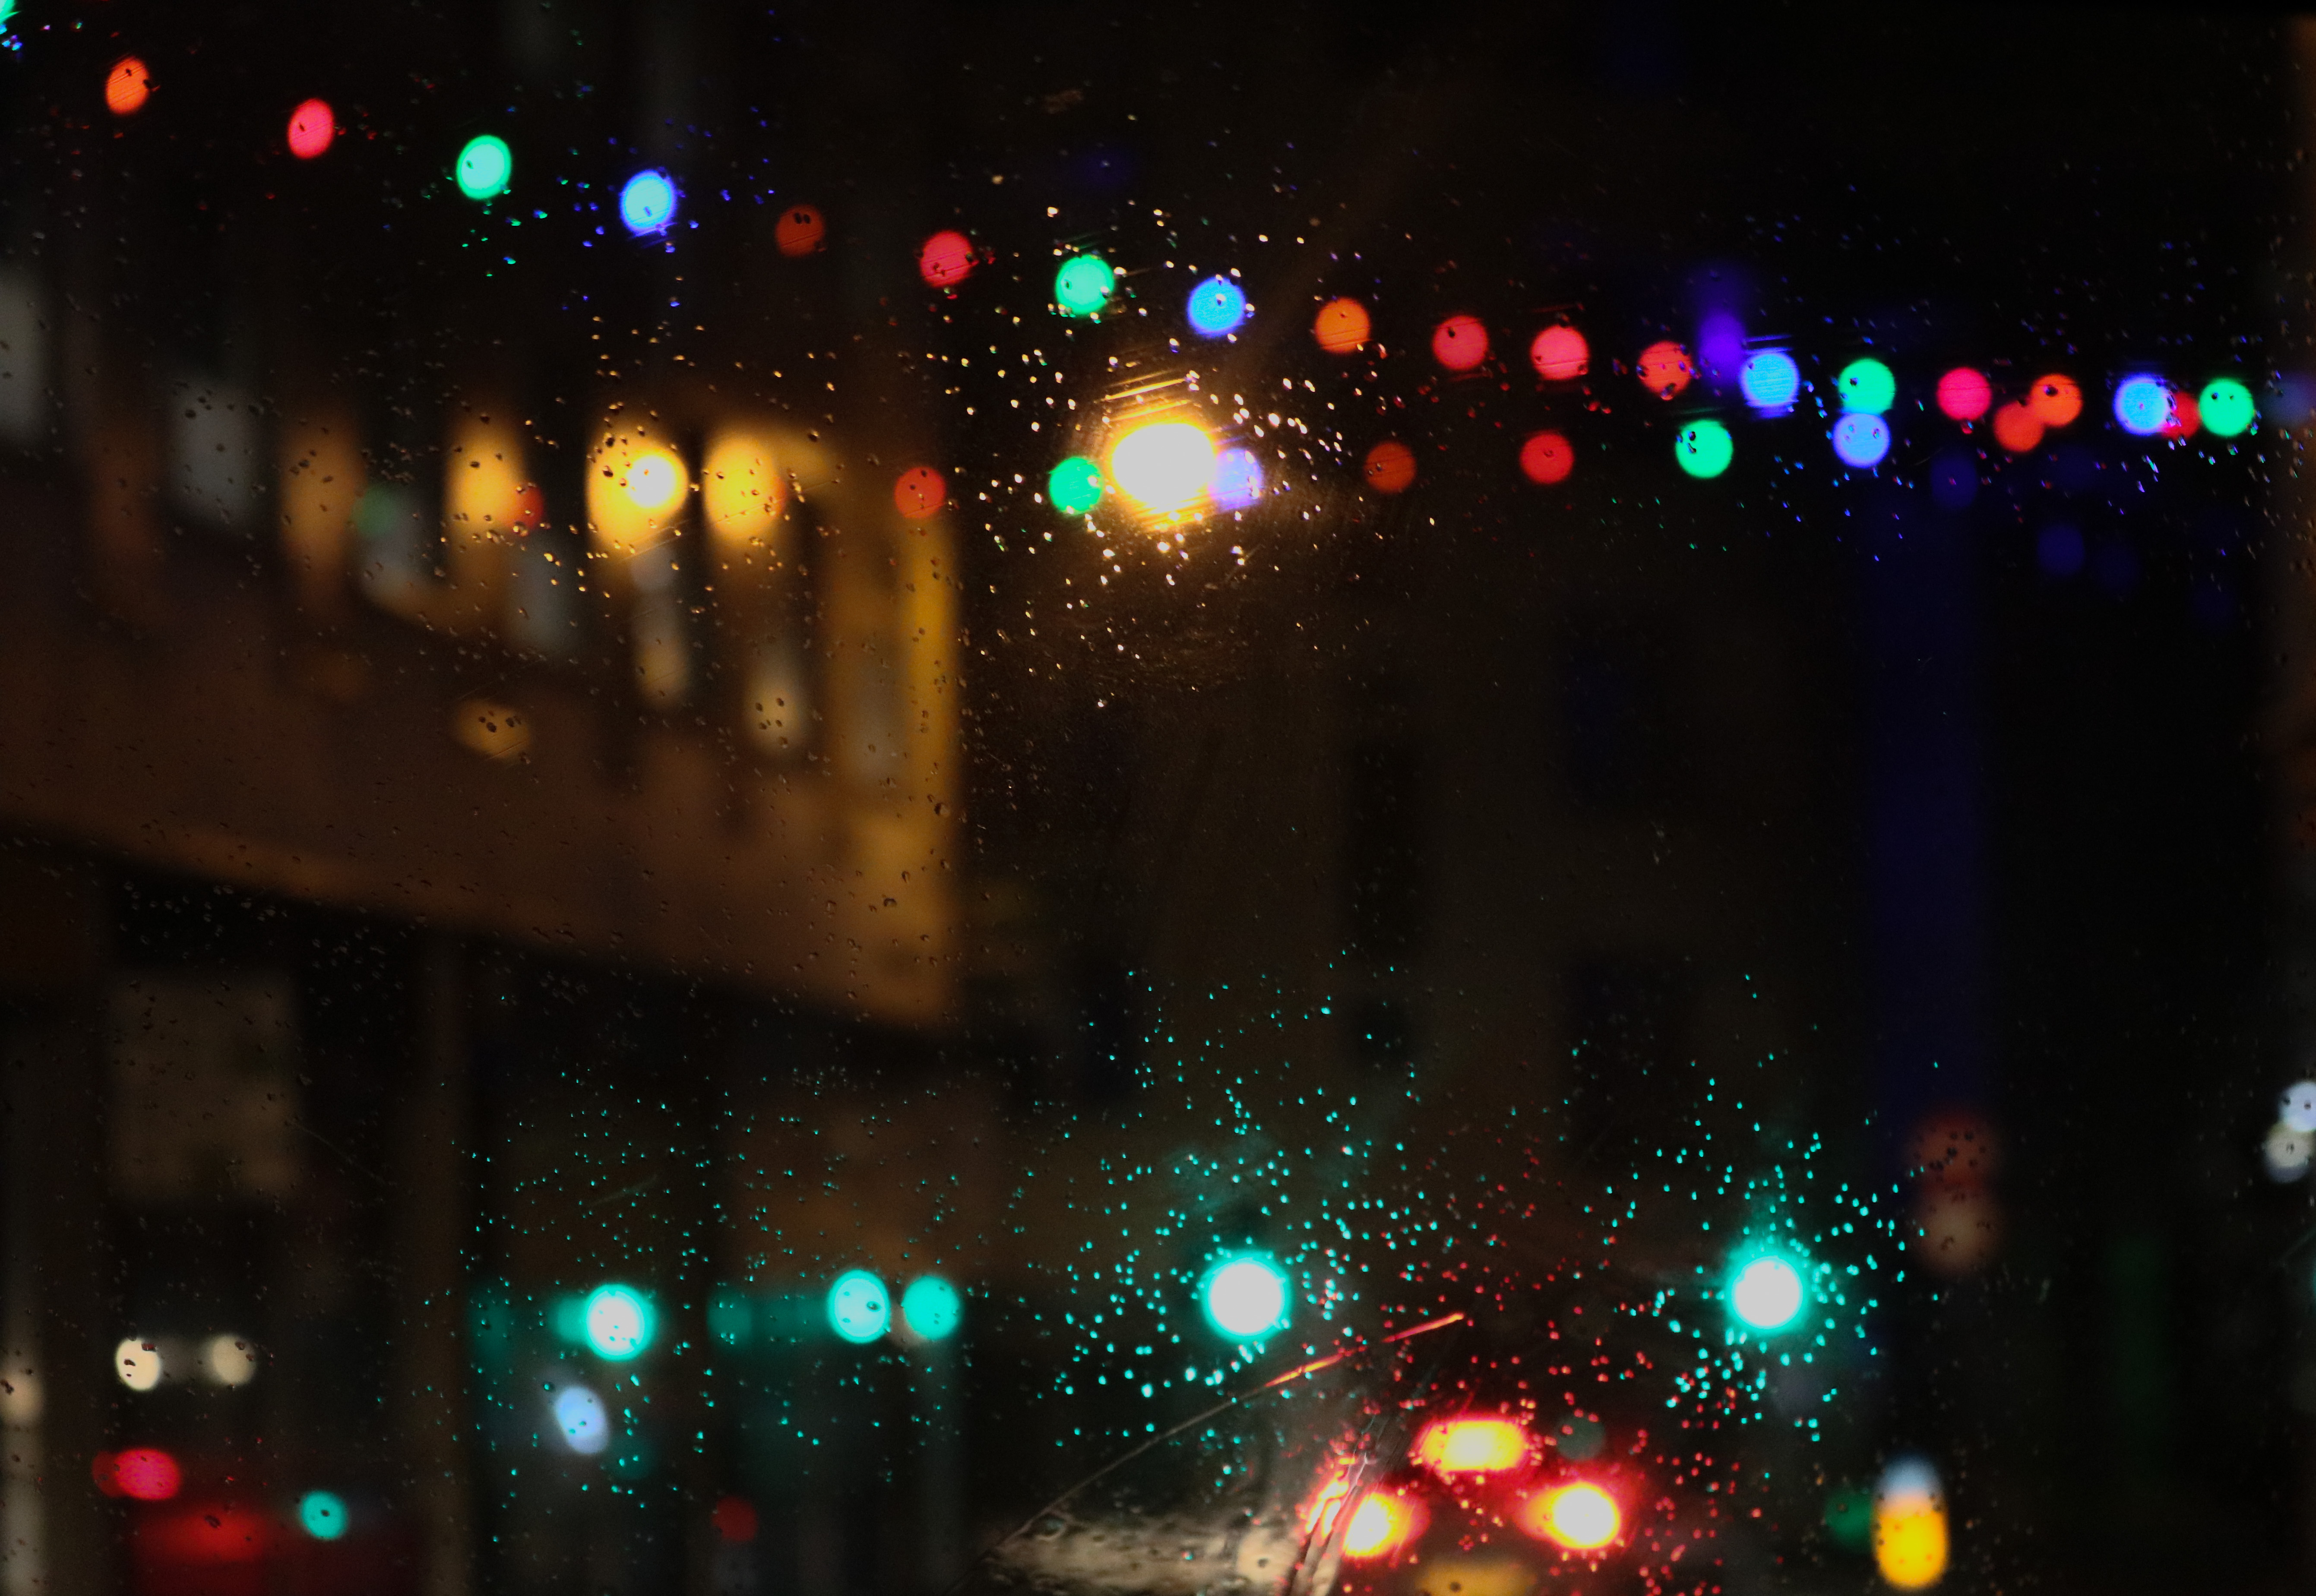
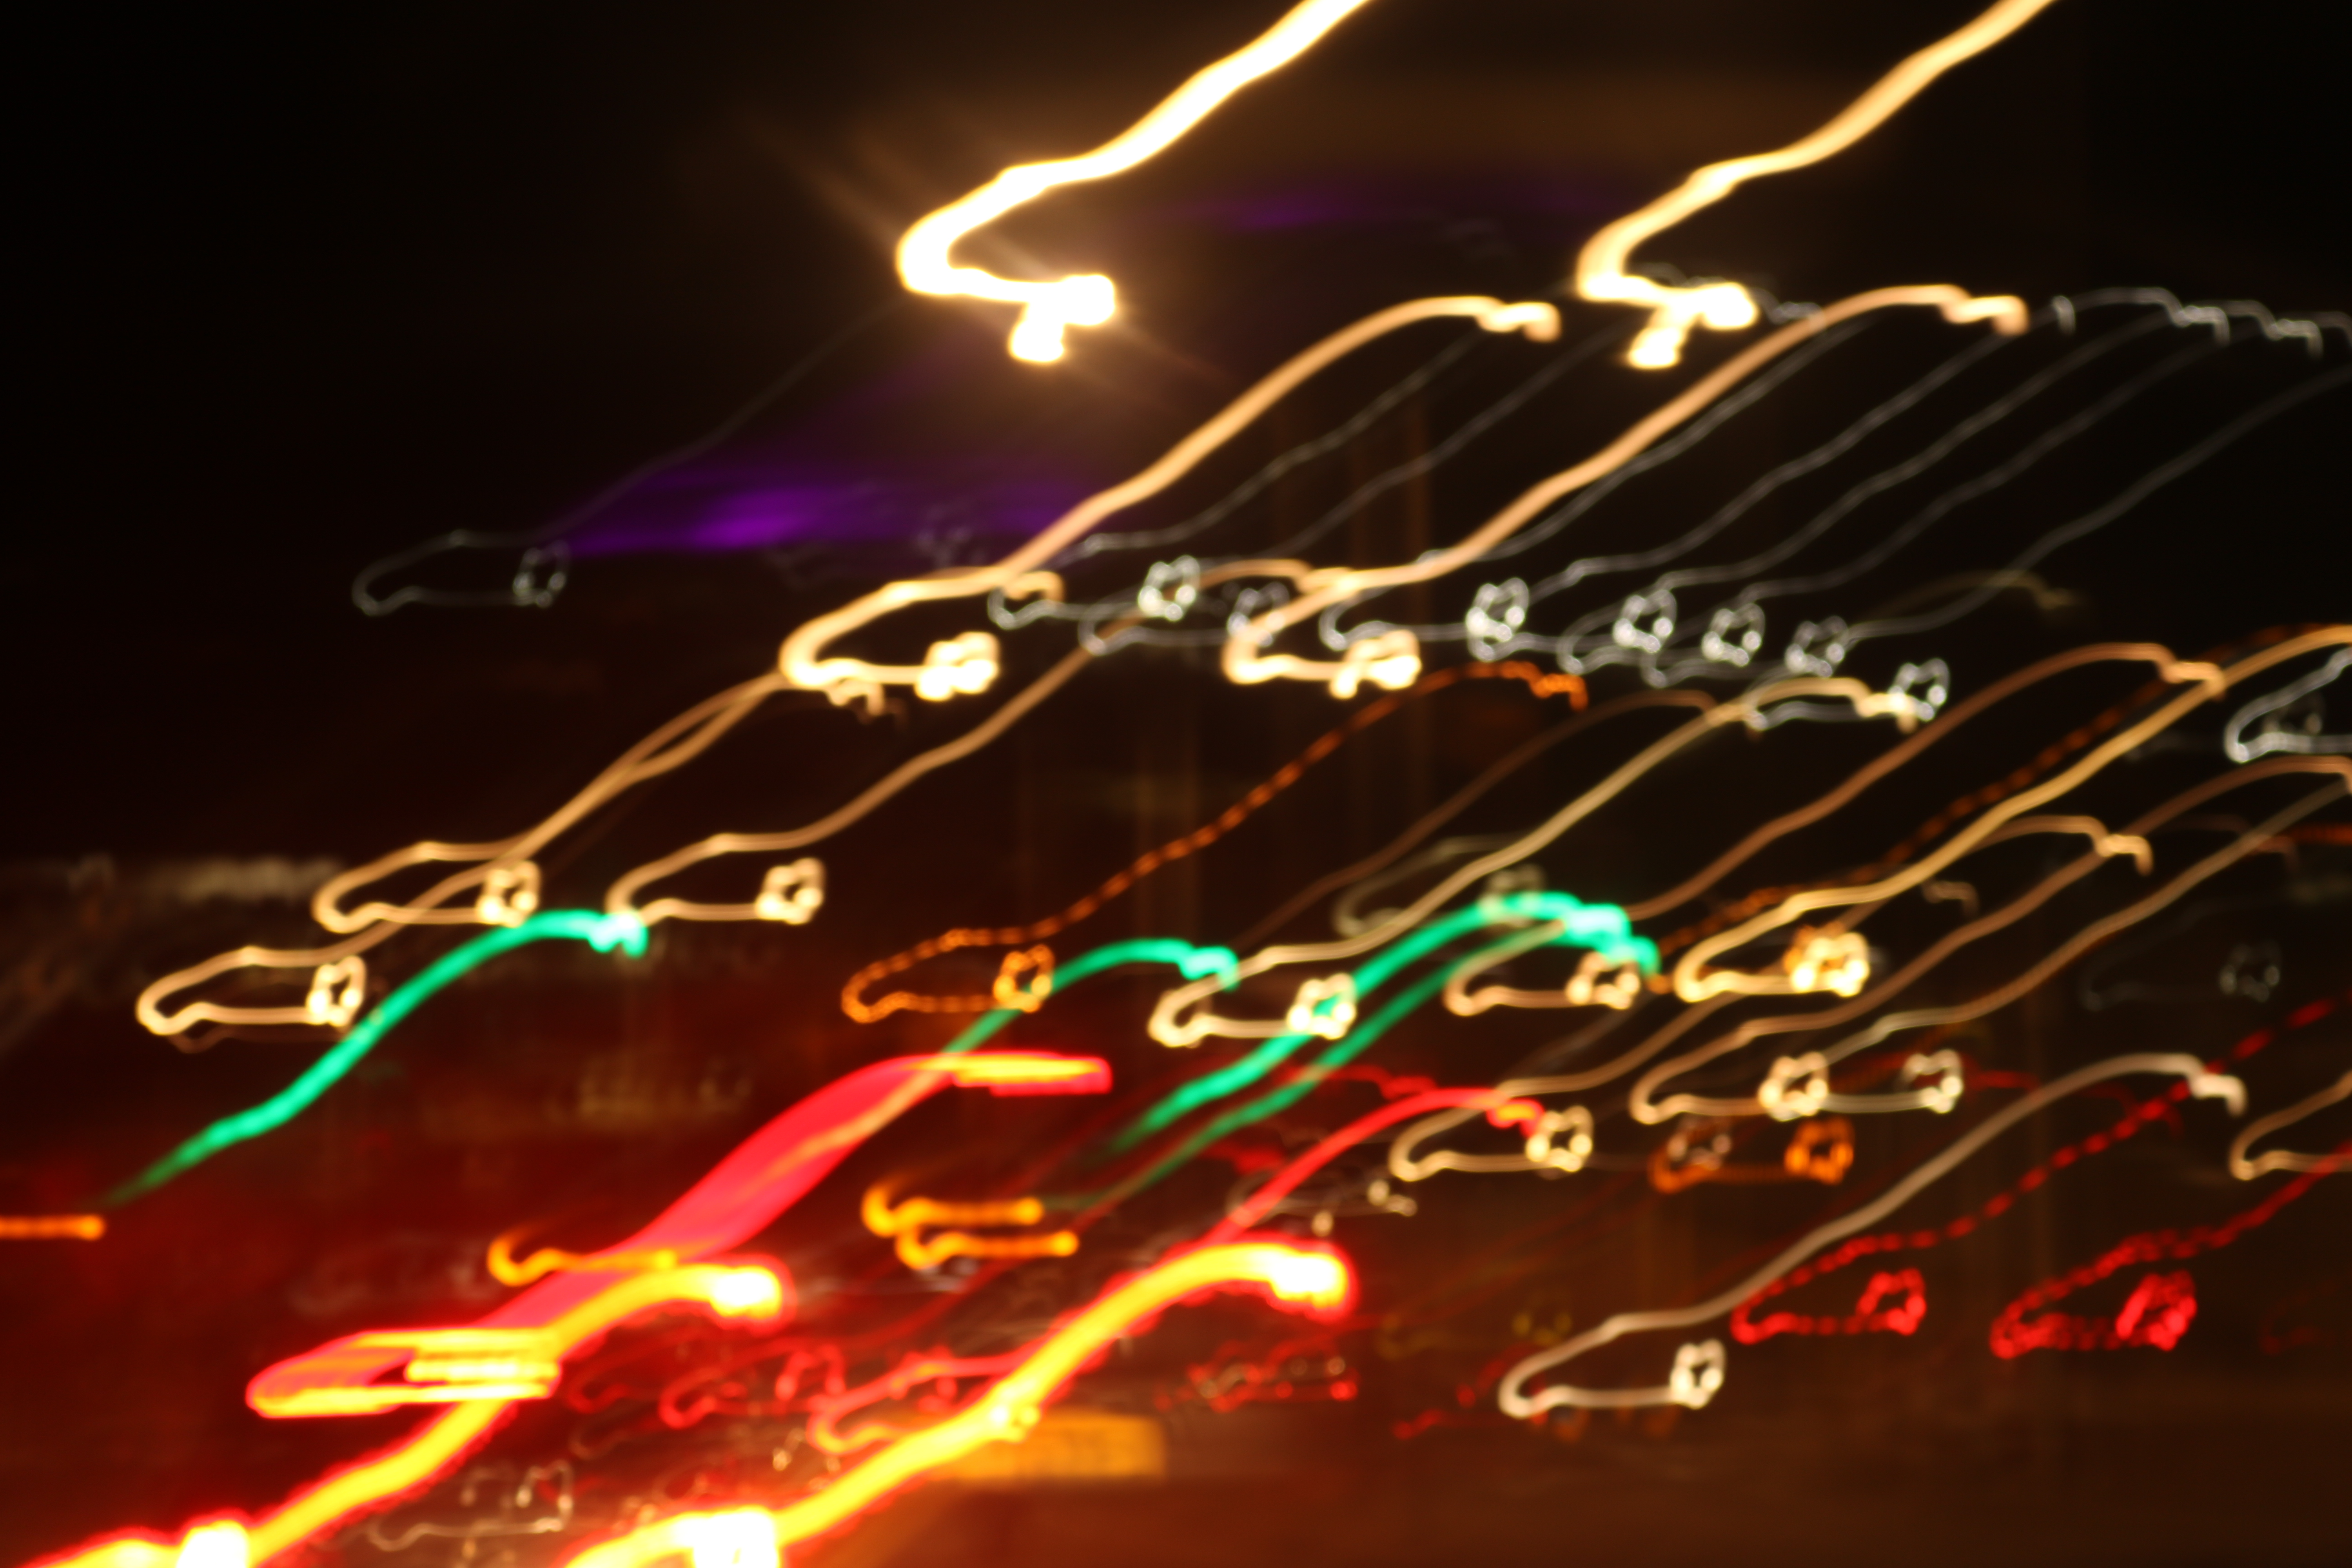
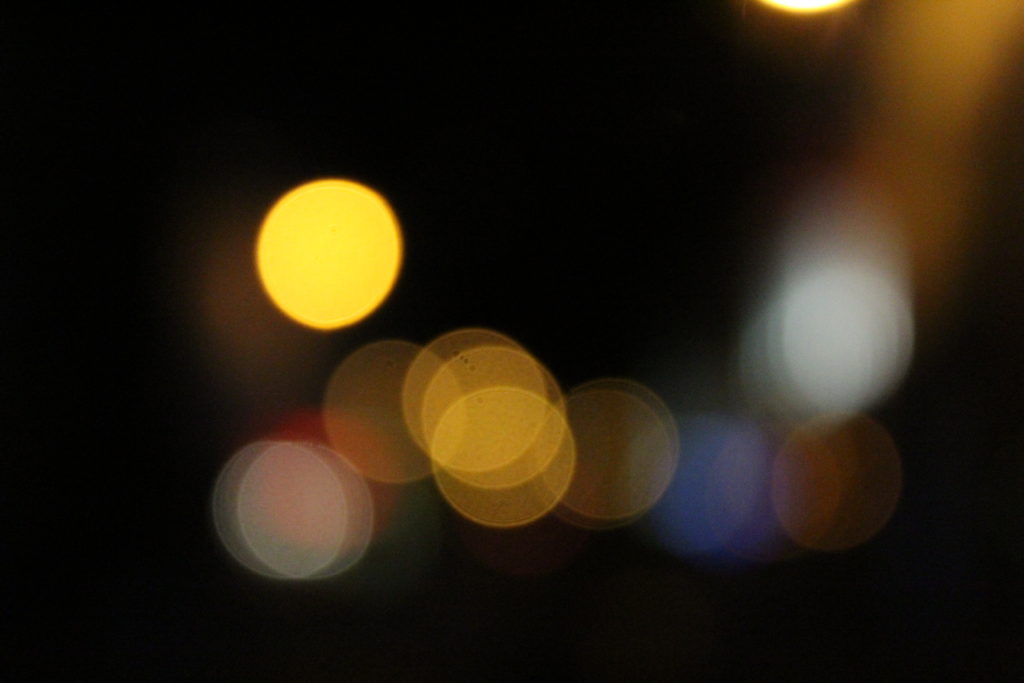
I think using my ‘ Bokha’ inspired image for A4 print out is a good choice. This is because this was my most successful image from a previous Bokha project when studying the photographer Saul Leiter. I think this was one of my most successful pictures from that project as it includes a lot of contrast in the picture due to the high saturated colours, the bright white and the overall darkness.

This image also shows a range of techniques that was used to get this end picture. I took this picture in Manual Focus as which helped to purposely make the scenery blurred while as using a quick shutter speed to take pictures of the lights not in focus as well as it helping to under expose the image and contrast the colours with the overall darkness a lot more which was one of my main goals.
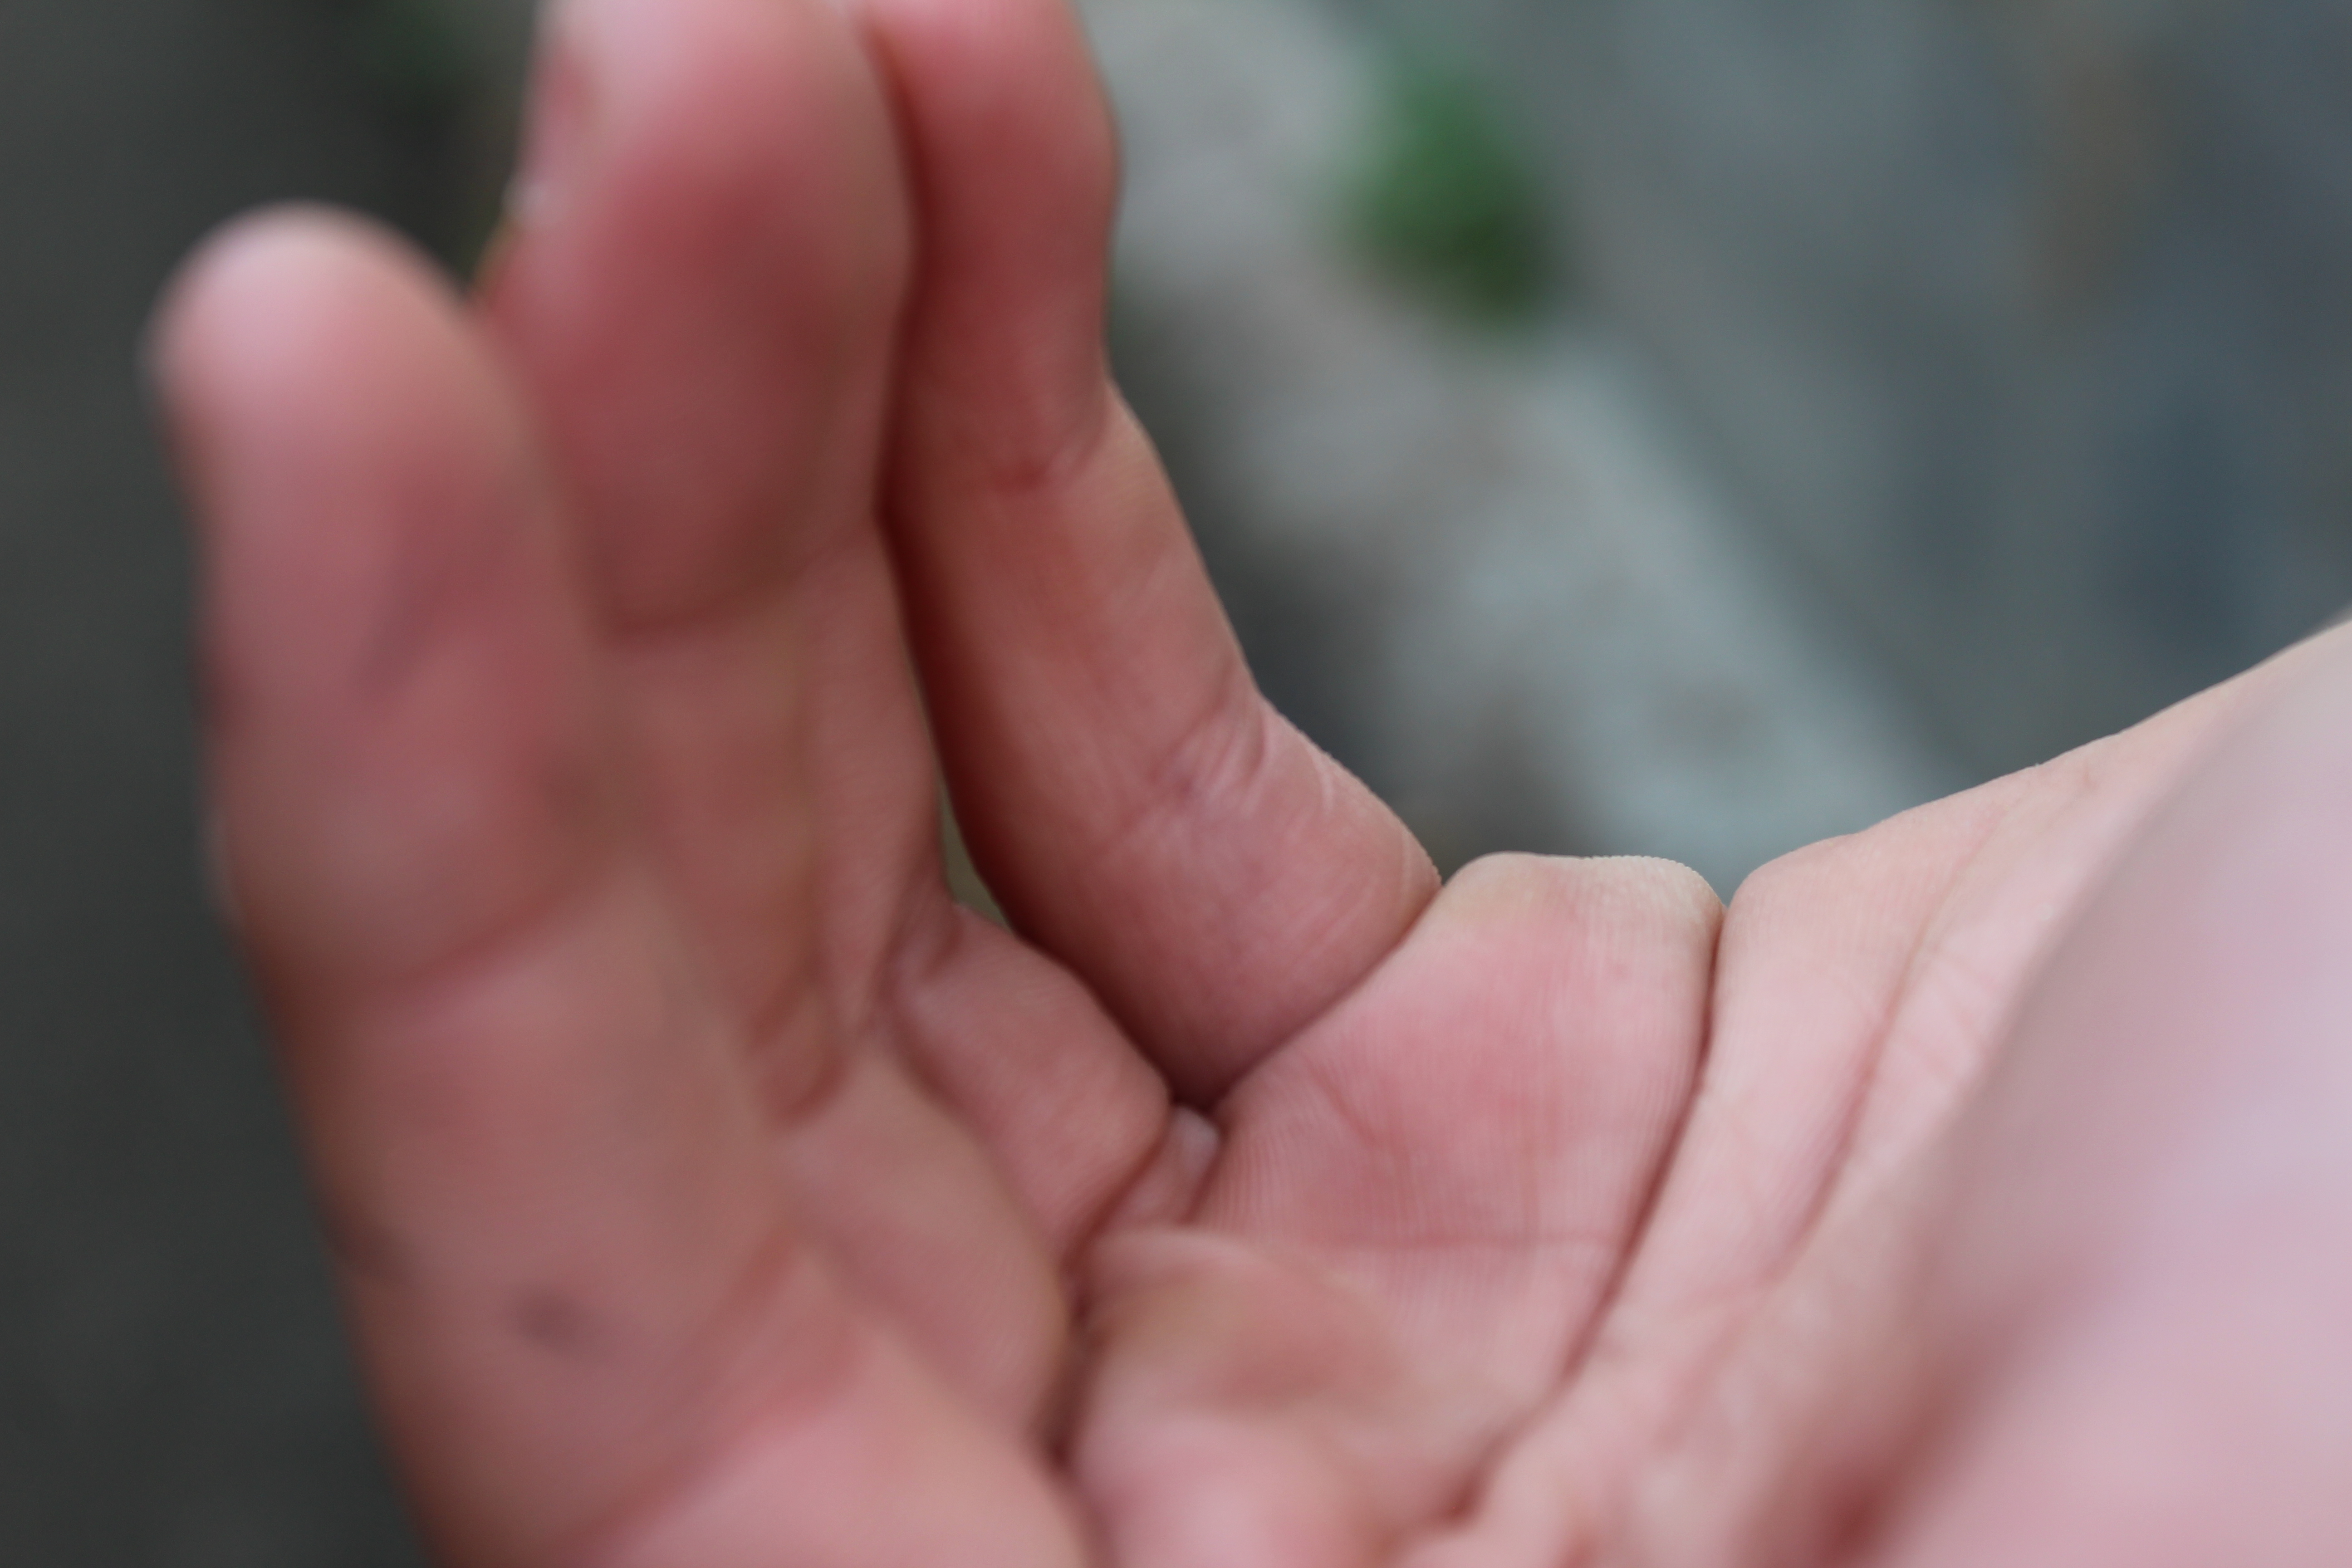
I think using this very toned picture of a hand for my A5 print out is a good decision as this image includes a range of technical elements and taking this picture on this photo shoot taught me a range of things.

This image was taken in Manual Focus so that my ‘ F stop’ was low which made a narrow depth of field which was an affect that i was aiming for. This image was also taken under natural lighting and therefore when using the quick shutter speed on my camera, this allowed for every detail of the hand to be emphasized which added a lot of tone for when edit the into black and white. Using the quick shutter speed taught me that i can use it to help under expose the image to create a darker effect for the non- subject parts of the image which helps to contrast between the light and dark in the picture.

Using this very natural abstract image as my A3 print out is a good choice as the image contains a lot of interesting textures which are very pleasing to the eye. As well as my editing being used to contrast more between the light and dark in the picture and i overall really like the picture and this it will be a great choice for an A3 print out.

This image was taken in Manual Focus which helped me learn what an ‘ F Stop’ is as i had used a low F stop in order to create a shallow depth of field. This image was also taken on a very cloudy day which created a lot of shadowing on the tree bark adding a lot of texture to the image.
 

Using these three images for a final piece is a good idea as the images will look nice displayed as a three piece of art. I like the range of different colors in the images and think that i can creatively display these images.

These images also shows a range of techniques that was used to get this end picture. I took these images in Manual Focus as which helped to purposely make the scenery blurred while as using a quick shutter speed to take pictures of the lights not in focus as well as it helping to under expose the images and contrast the colors with the overall darkness a lot more which was one of my main goals.

This is a great image as it is showing a clear use of depth of field. This image has not been edited at all and therefore shows the quality of the camera skills used.

The image was taken in Manual Focus with a shutter speed of 1/250 which helped to let in light to the lens of the camera. I also had a  ‘daylight’ white balance.

Abstract Project – Letha Wilson – Case Study (Abstract)

Letha Wilson is an artist that is well known for combining her photography with various industrial materials. She makes cuts and tears into her work giving it a strong geometric look, pushing and pulling various components of the images into place. she also occasionally encases parts of her photography in concrete. She often incorporates elements of architecture and 3 dimensional elements.Image result for letha wilsonThis piece is a personal favorite of mine due to the strong geometric elements and good balance of different tones and colors.
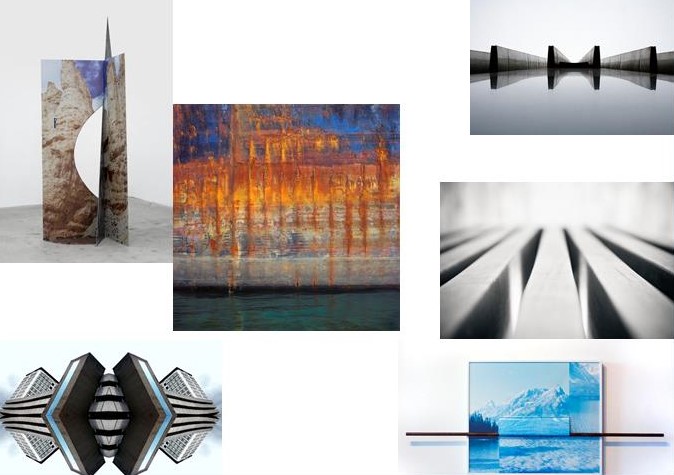
Despite this i’m not too big a fan of the images she uses for her works as personally i find them rather boring in composition, however it can be argued that these types of images would work best with her style of work.

Finalizing my final images

Now that I have narrowed down my favorite images for printing, I will do the lasts bits of editing and present how I want them to be displayed.

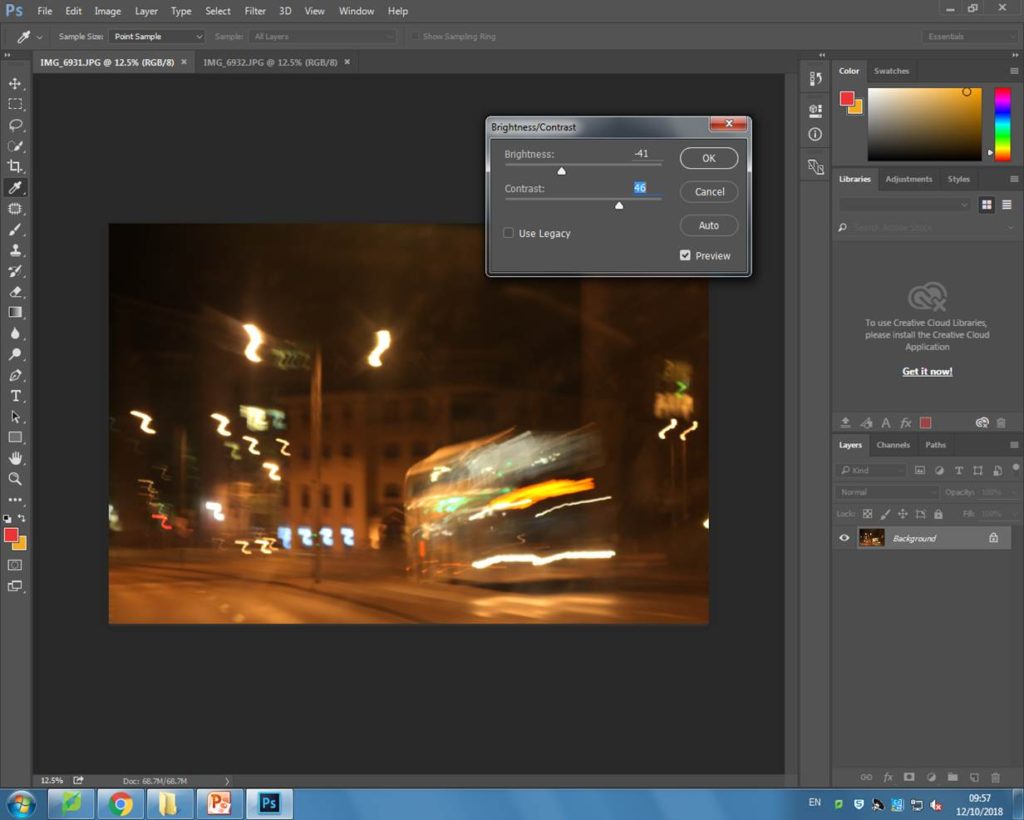
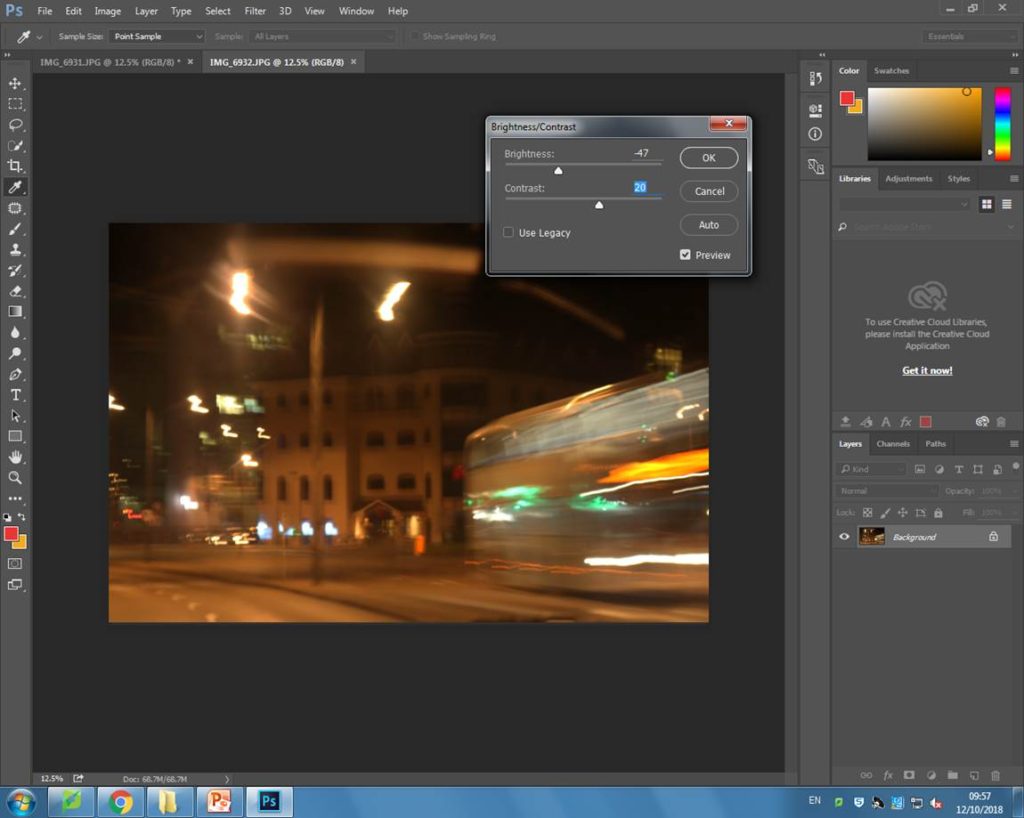
These are the two images from my last post that I want to adjust slightly to try and tone down the over exposure of the images.

For both of the images, I just turned the brightness down and increased the contrast so the coloured lights could stand out better.

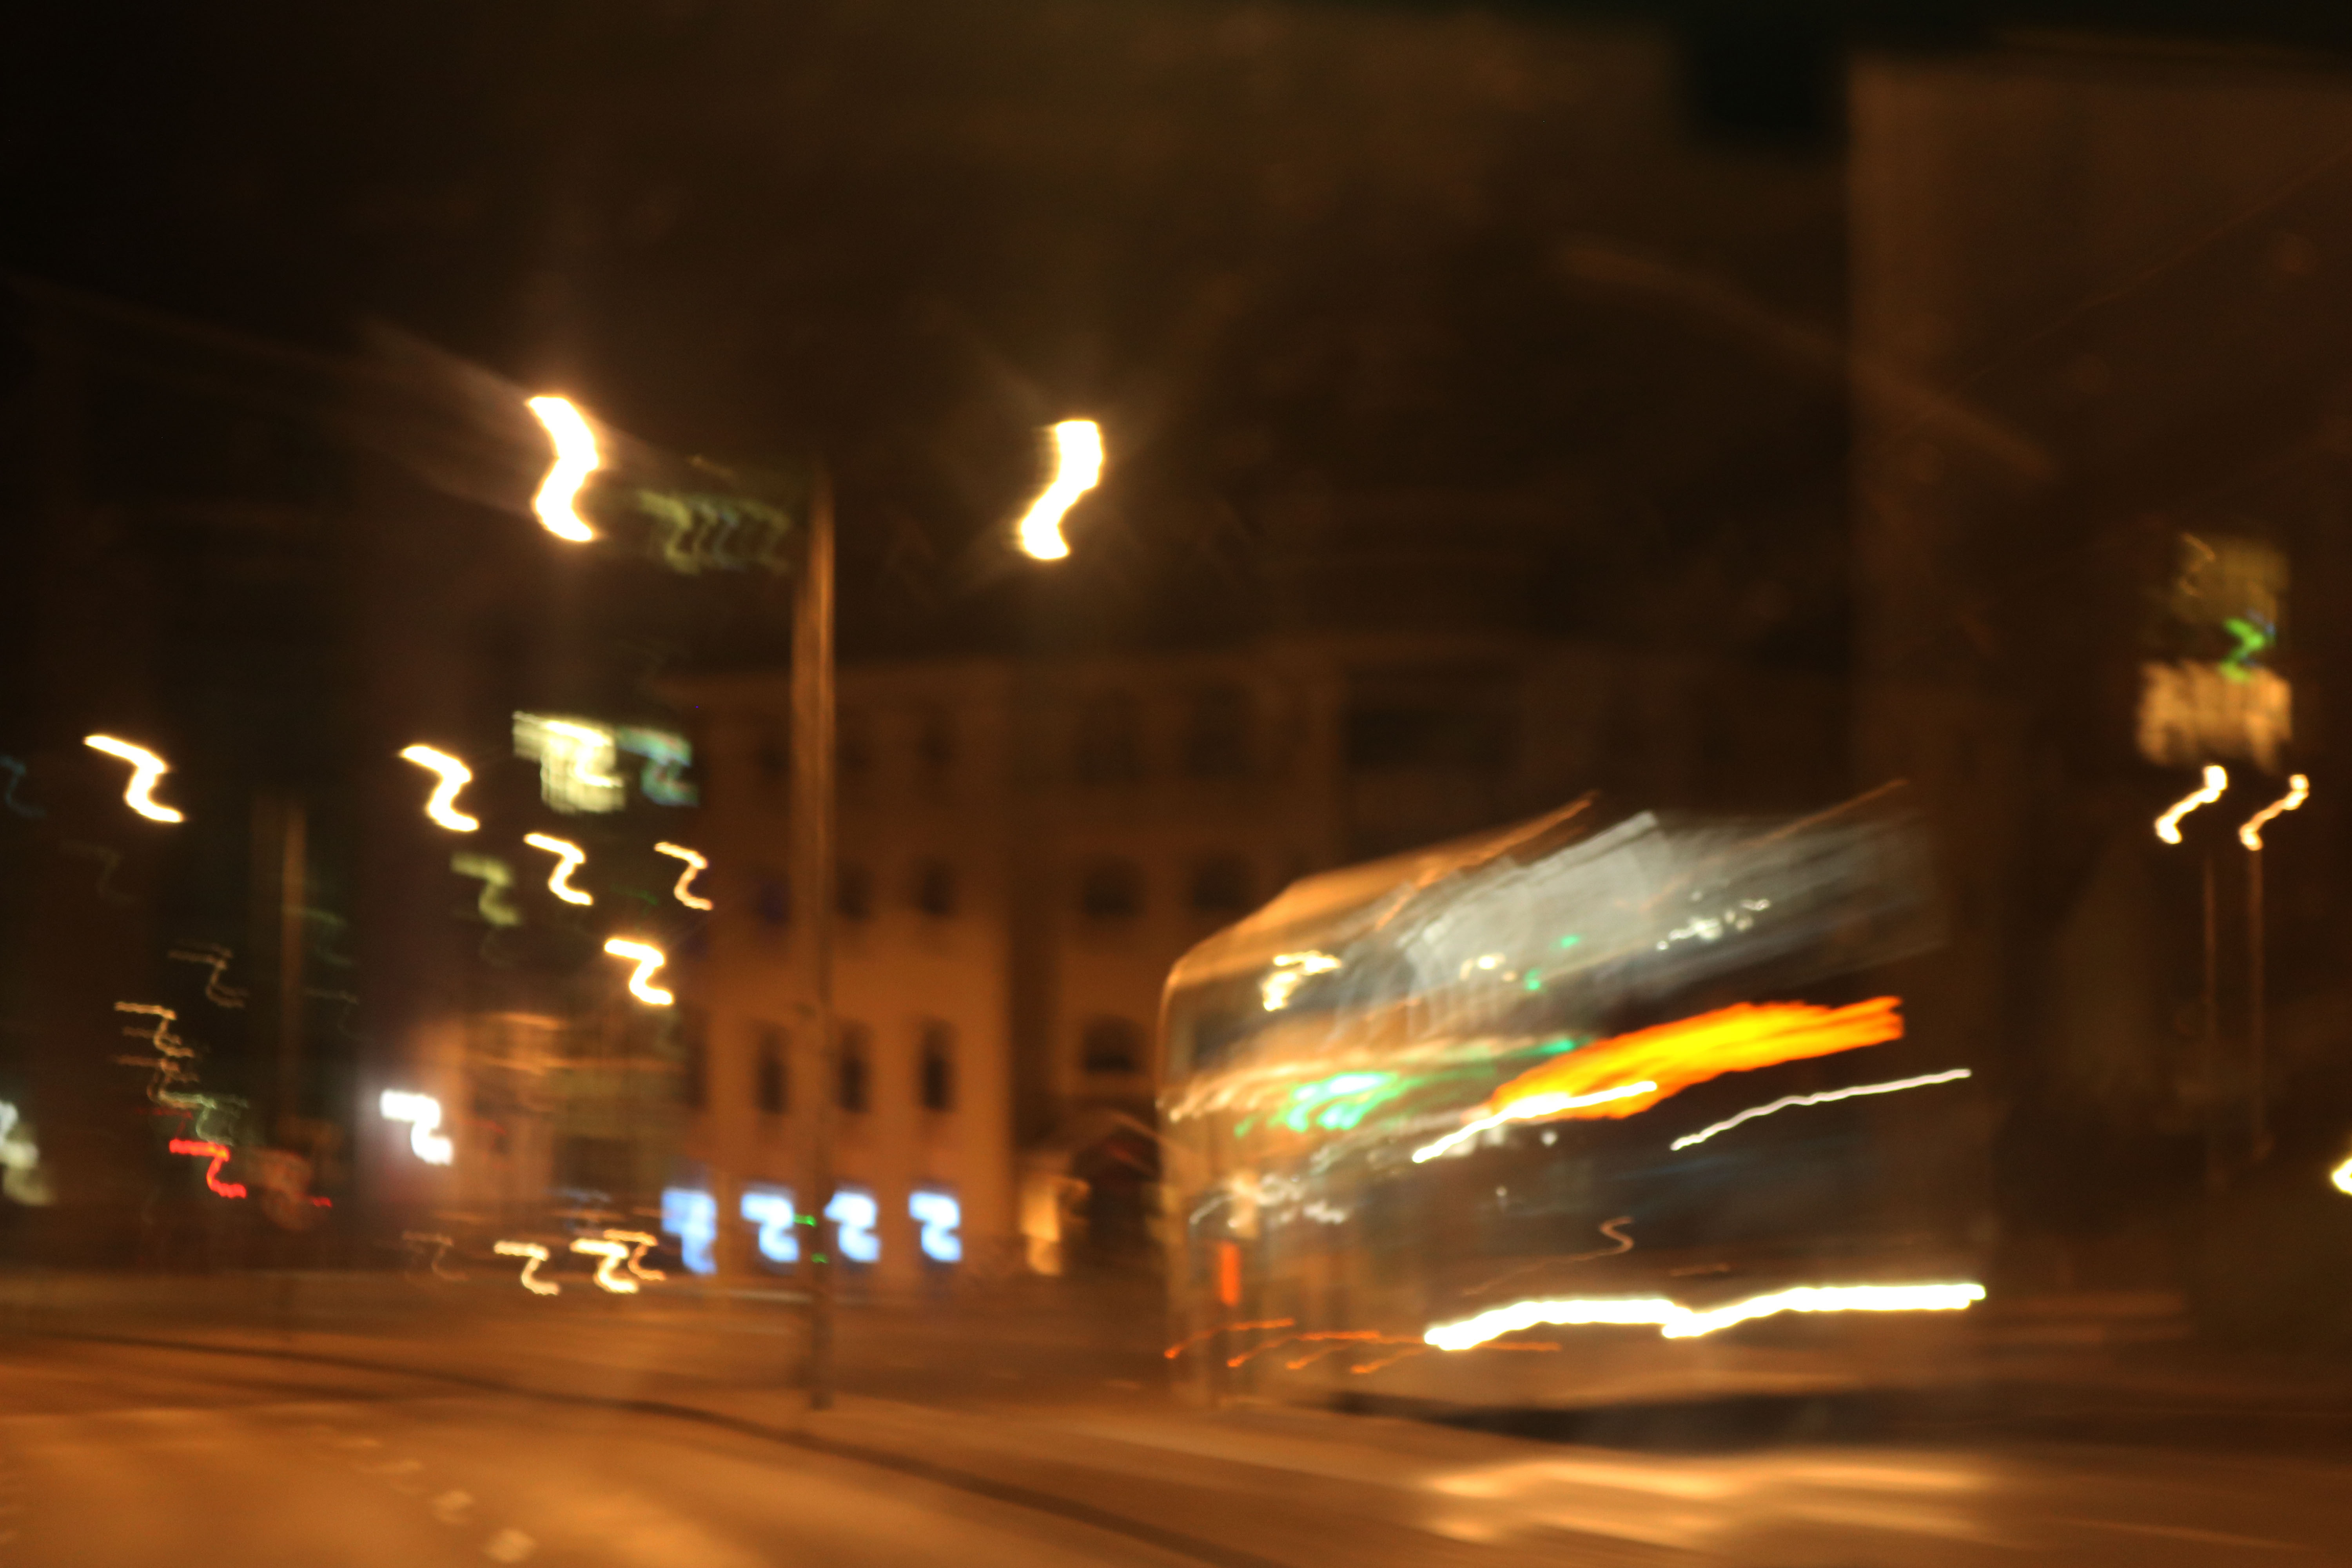
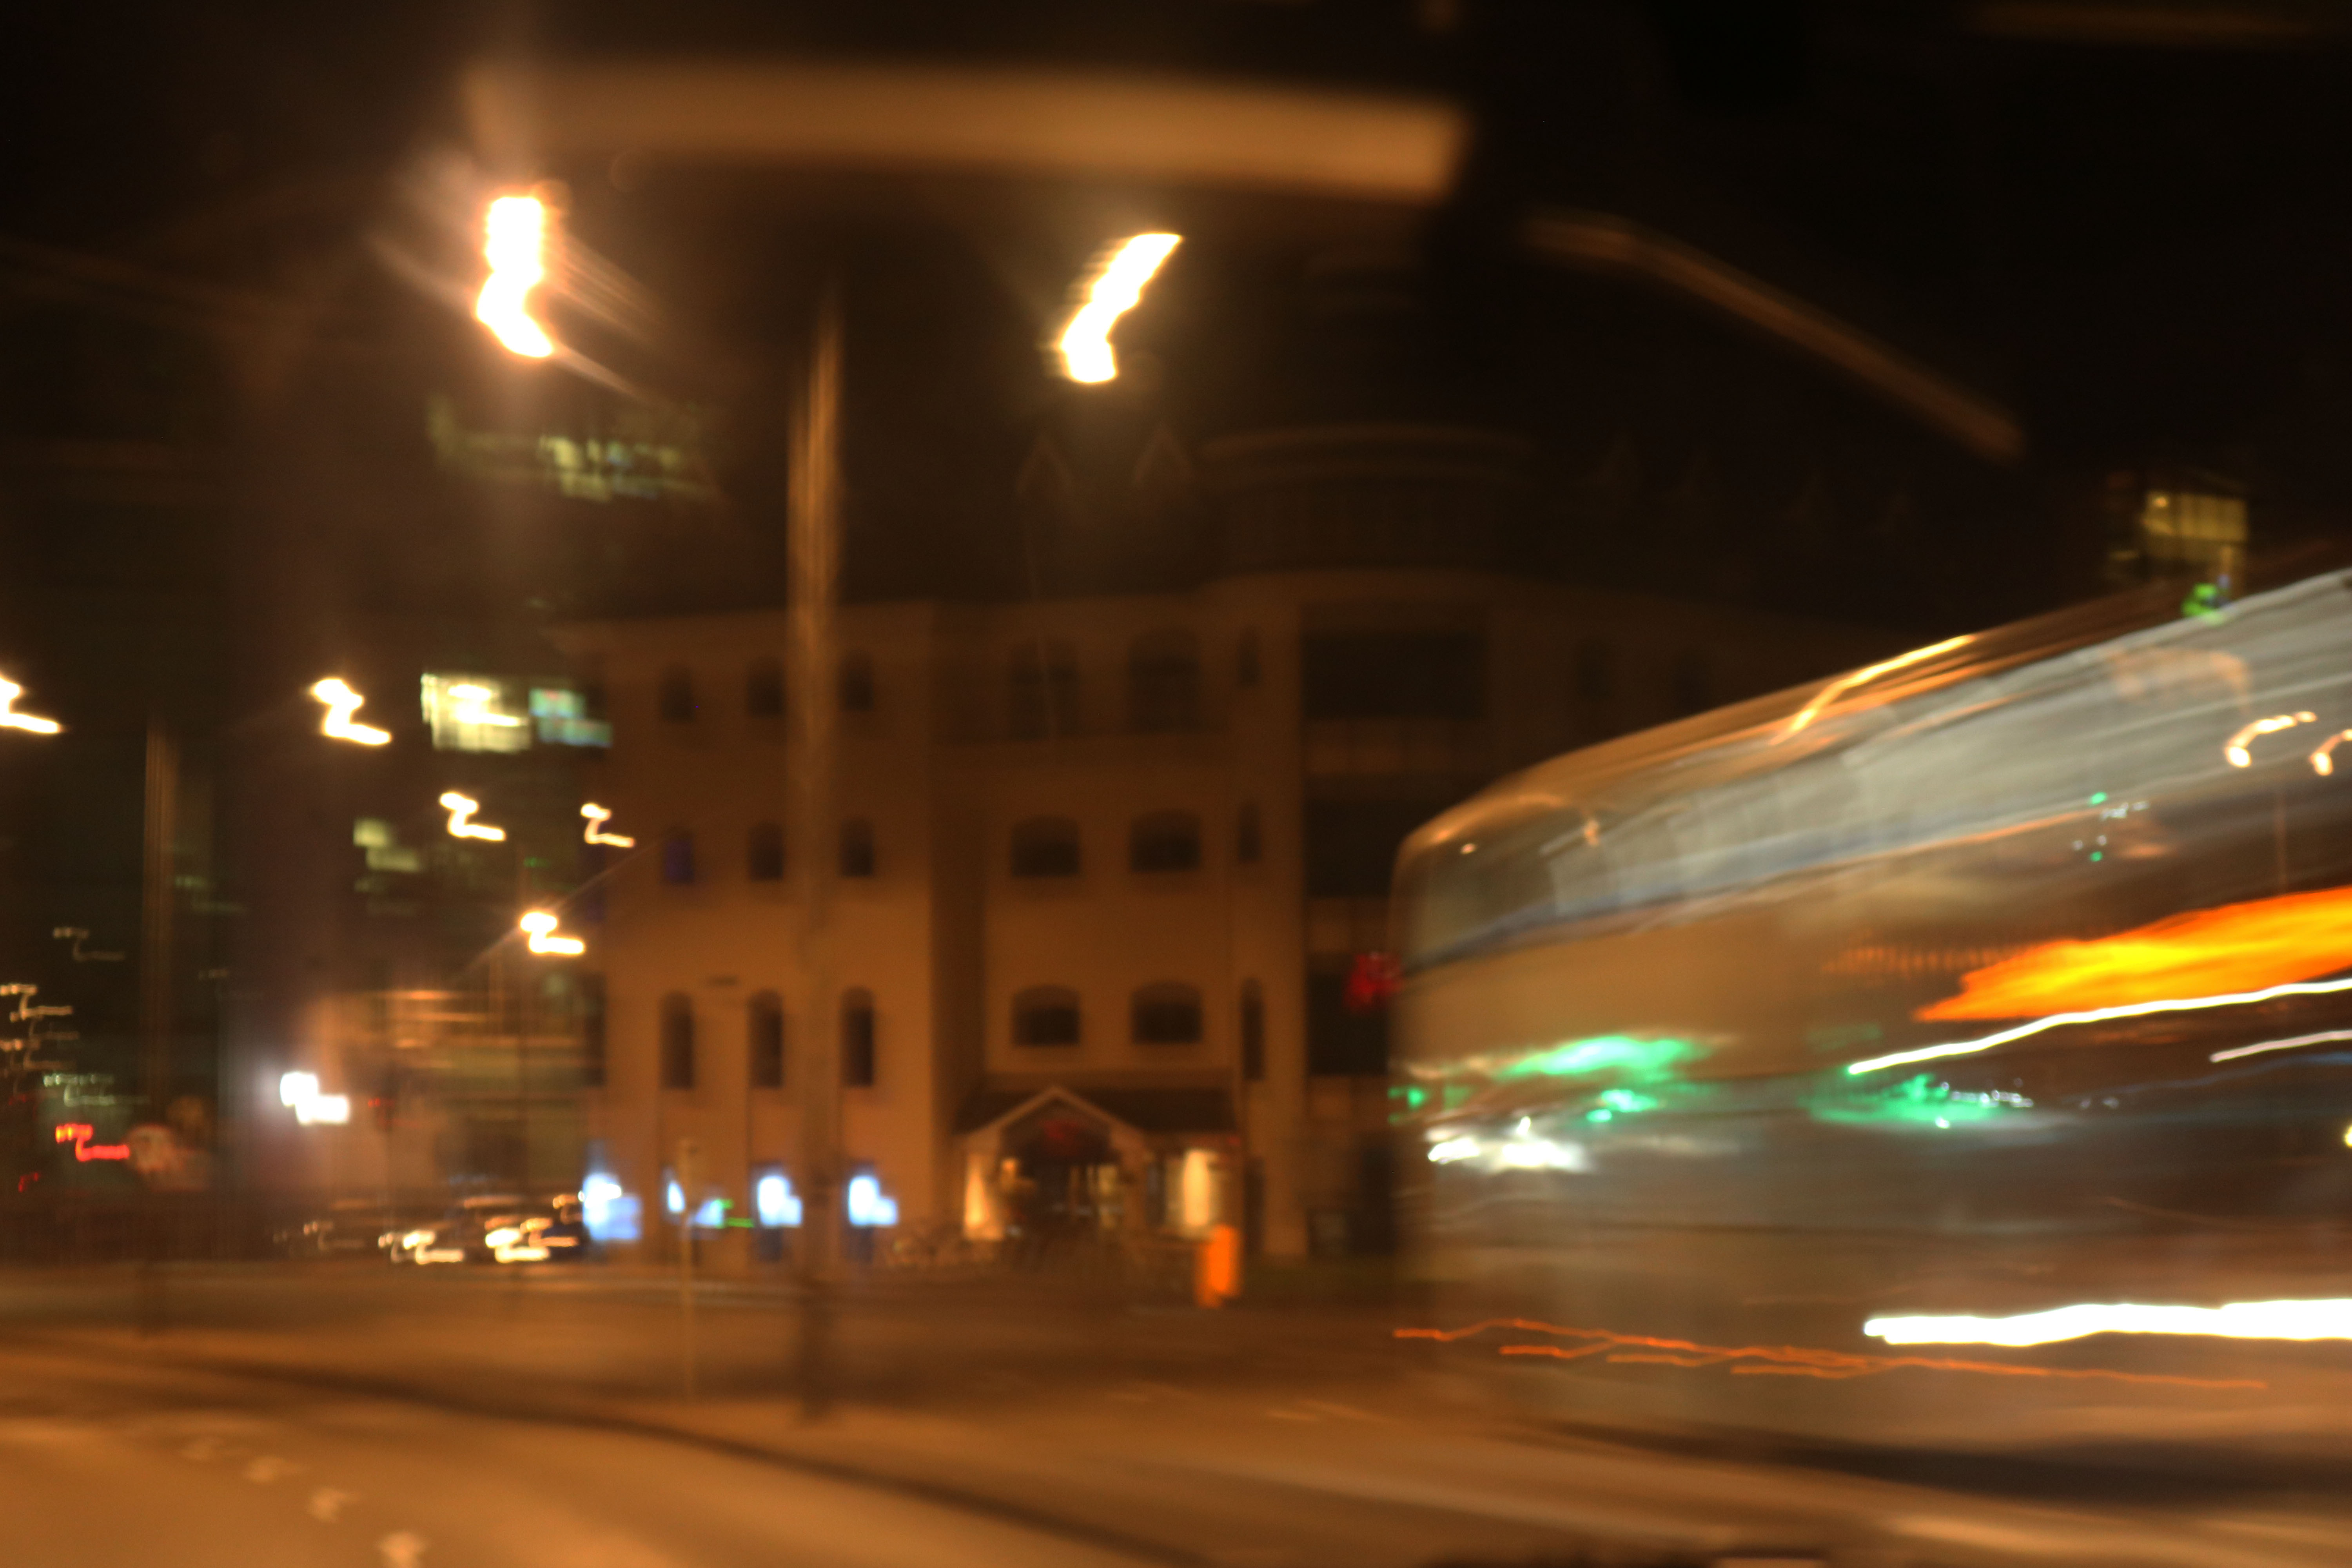
This image, and the one below, are the outcomes that I will be using to print.


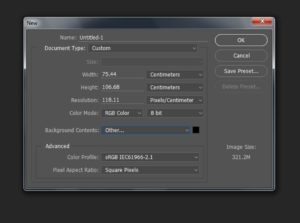
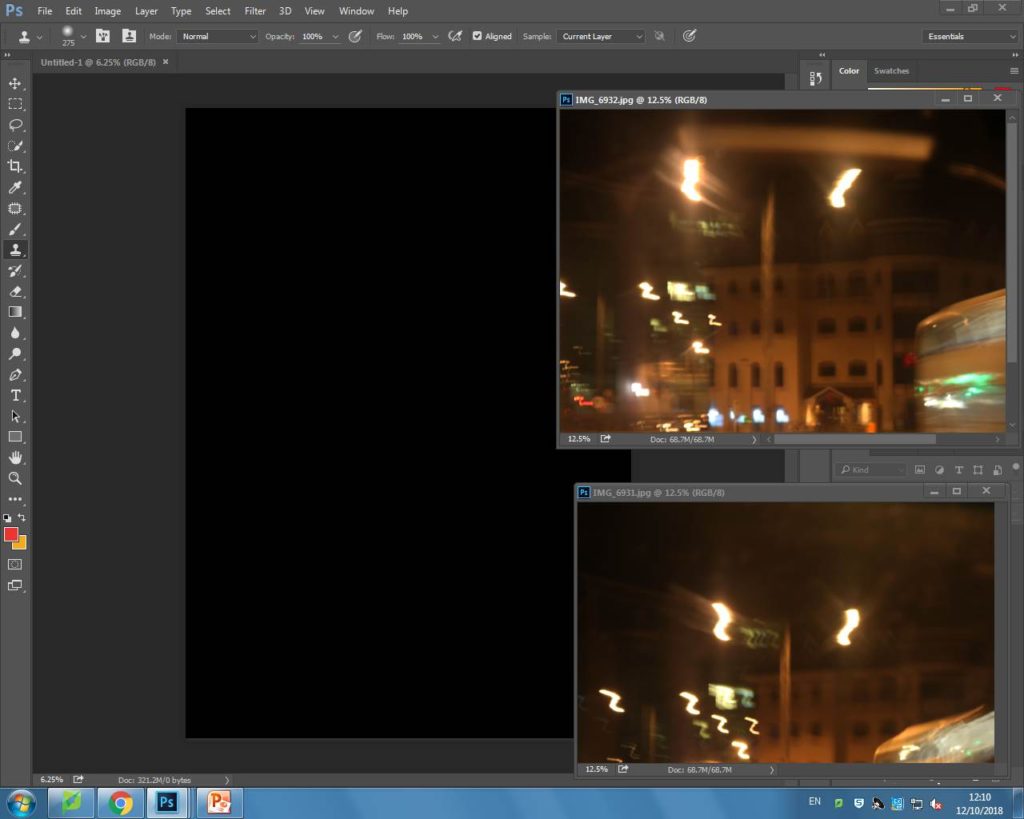
Next, I opened a blank document and set the width and length to make the page A3 size. I also set the background as black instead of white because I wanted the lights on the images to stand out more and this would only work on a dark background.


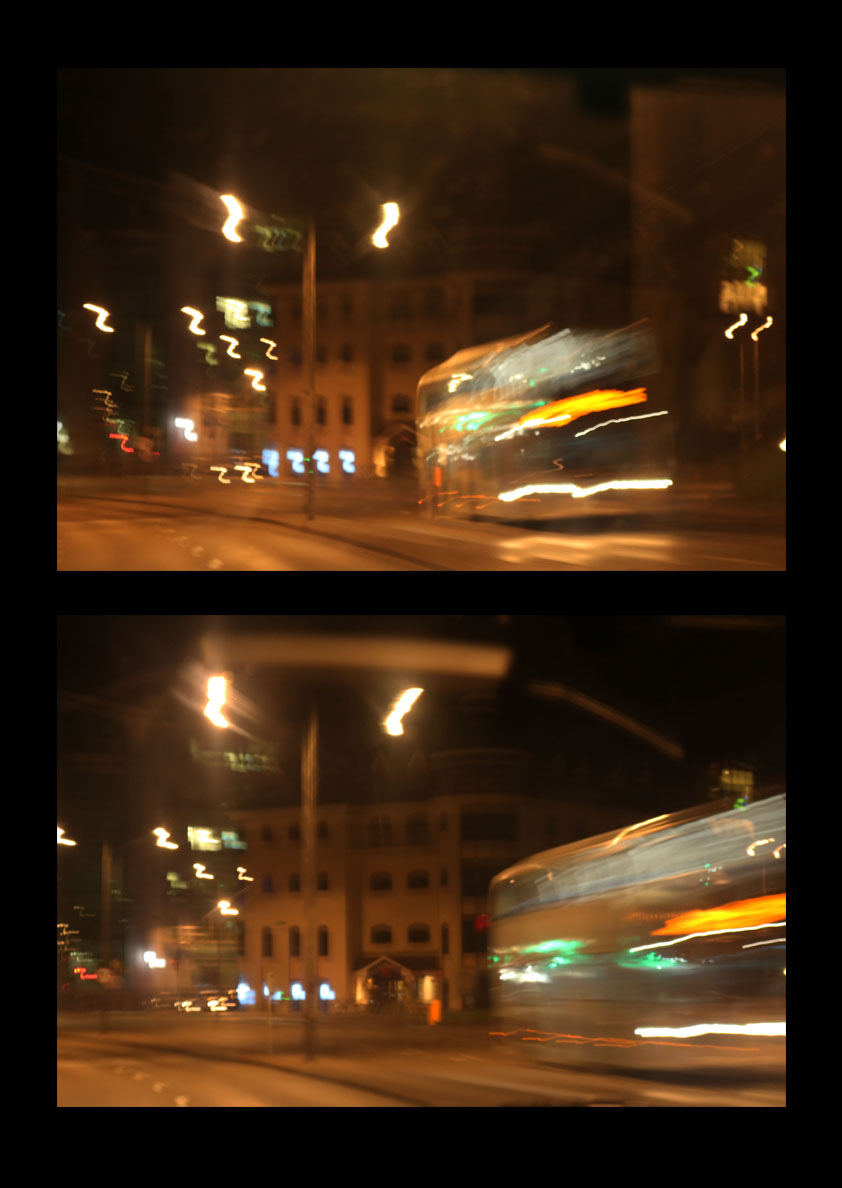
After, I opened up both the images I wanted to display together and I positioned one above the other on the black background in the order that I took them in. Below is my outcome:


My A3 image

My A4 image


My A5 image


I felt that my other two images would work well by themselves and they didn’t need any more editing to be done. The reason I chose these particular images together, was because they all incorporated some sort of light in the frame, either captured using a bokeh effect or with slow shutter speed.


Initial final pieces

In this post I will be presenting my potential final outcomes for the whole abstract unit.

Potential outcomes


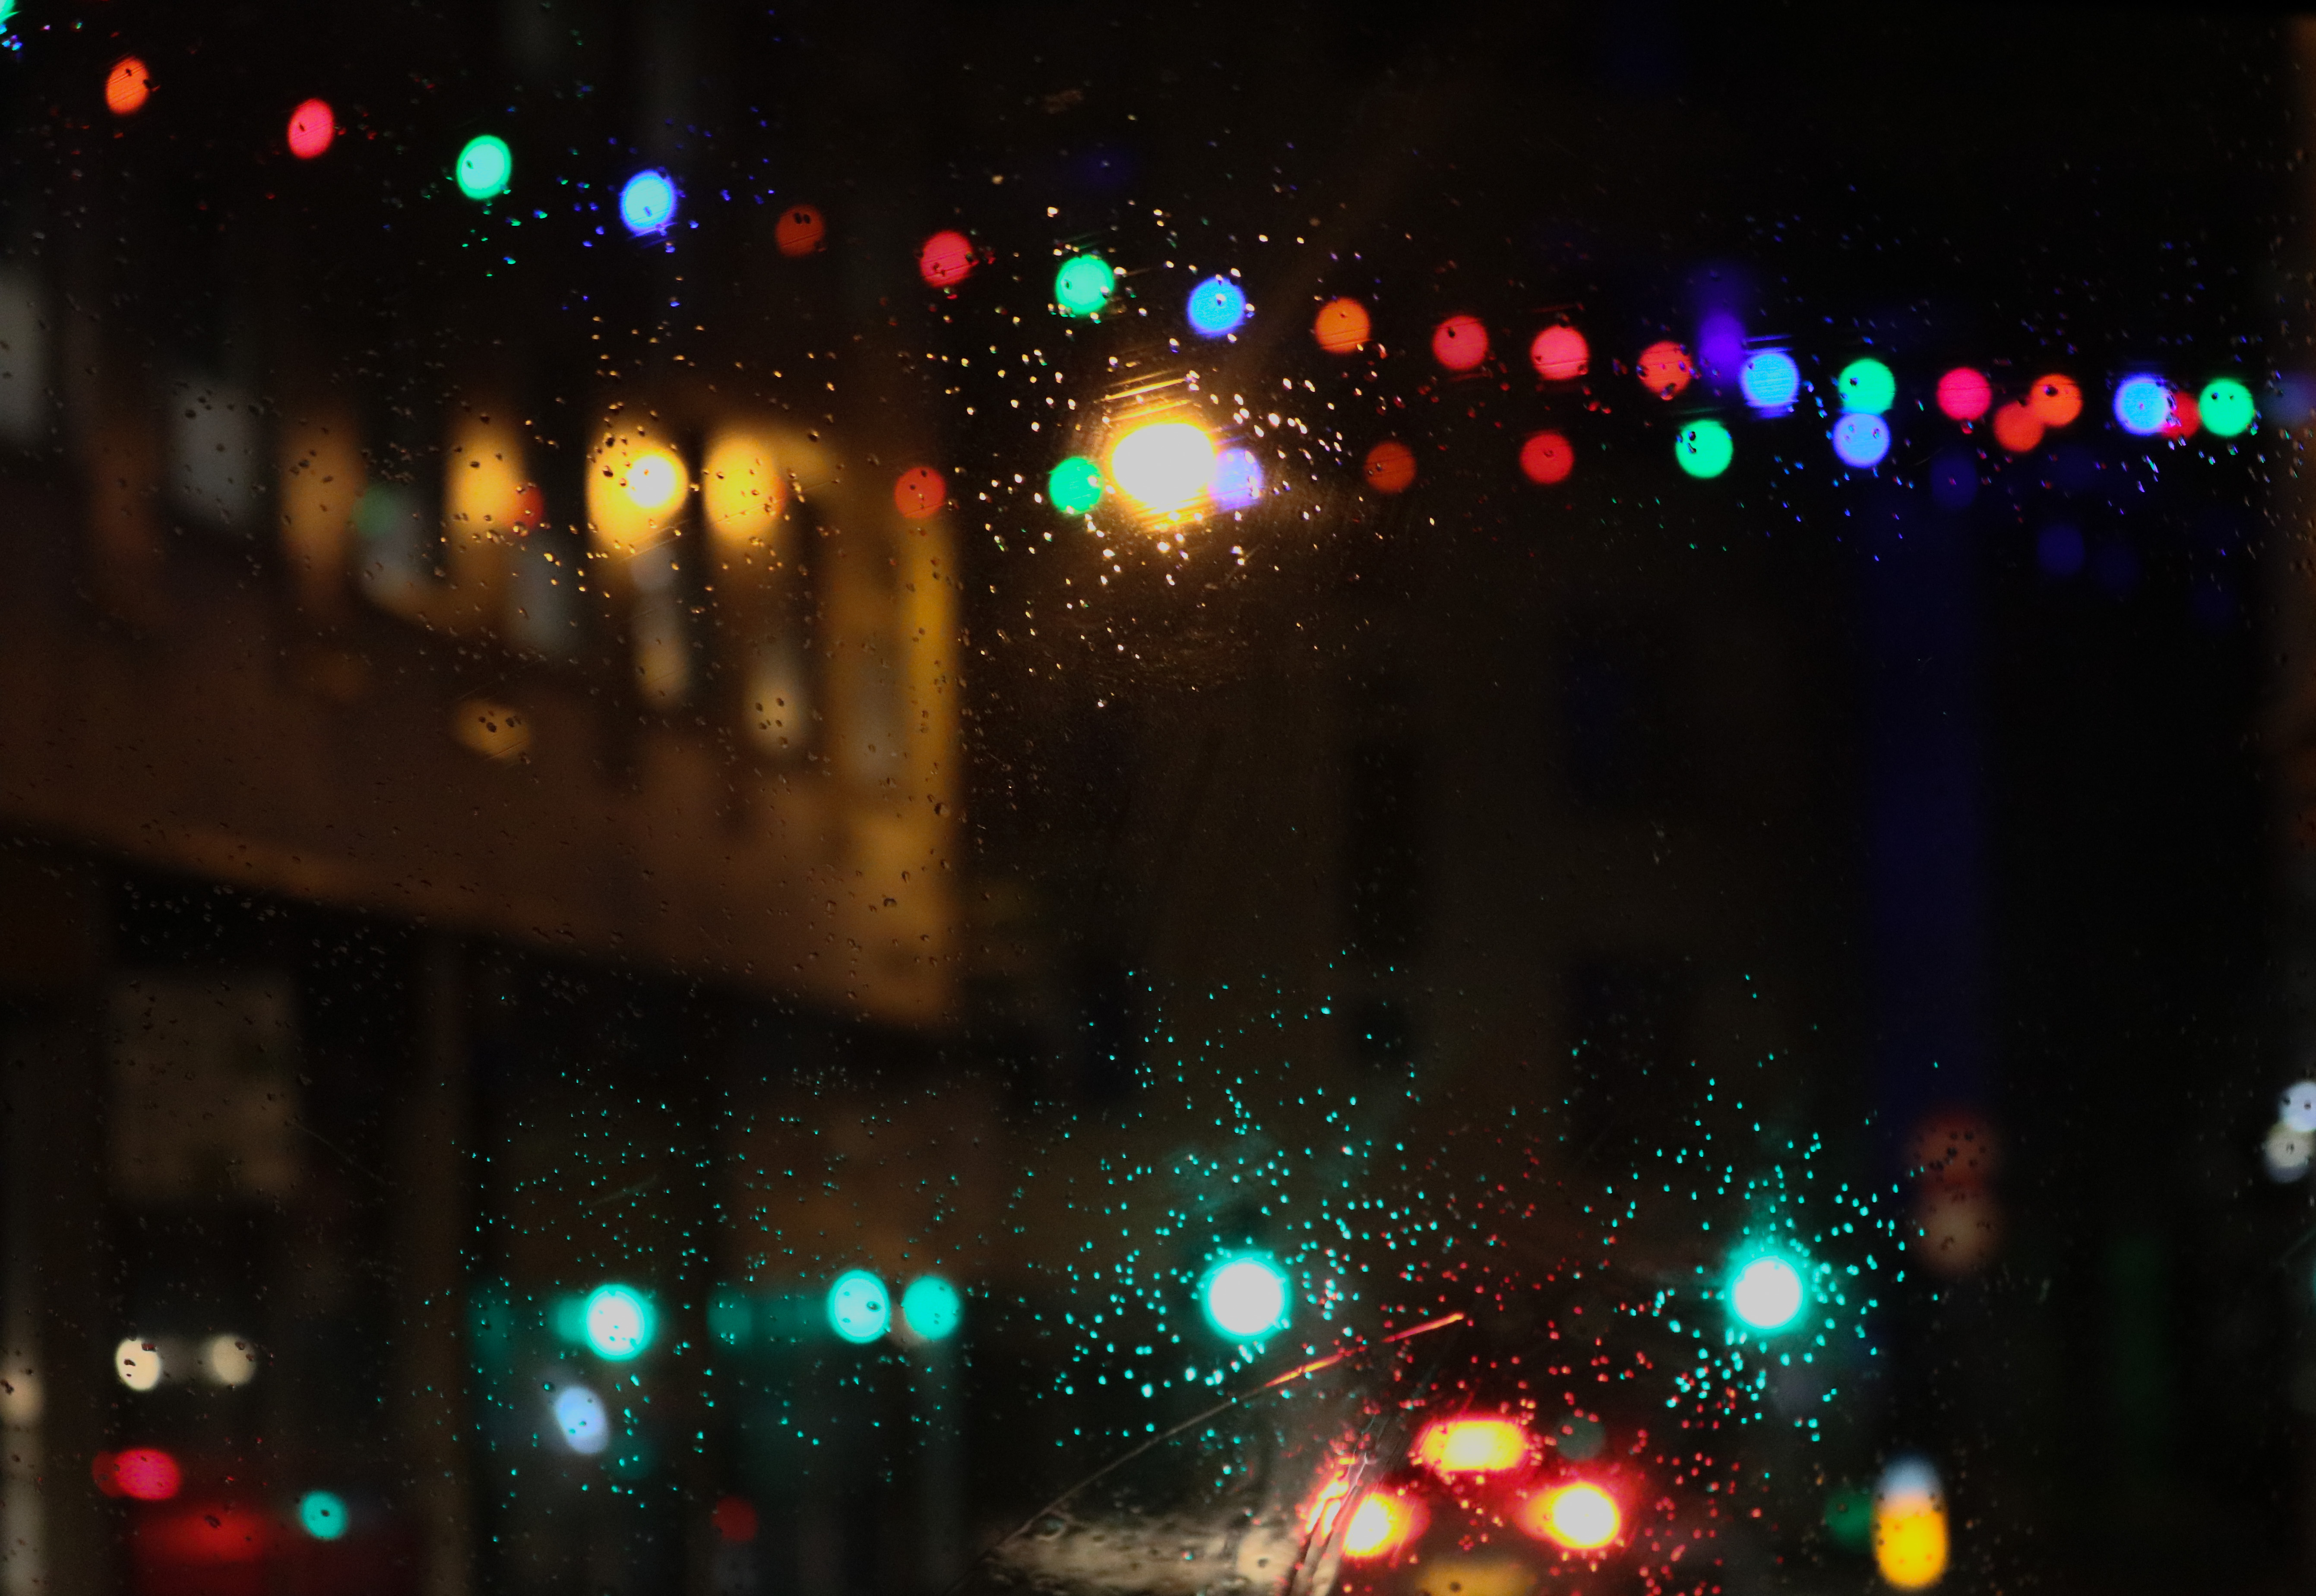
This is the image that I will most probably be choosing for my A4 print out. The reason why I have decided to use this image is because I think it my most successful image from my Uta Barth inspired photo shoot. I think this is My the most successful bokeh image I took because the scenery around me was filled with a lot of light, and the rain helped to enhance the colour in the image helping make the colour a more prominent image.

Another reason why I picked this image is because it displays some camera techniques that i have learnt through the abstract theme. In this image I used manual focus so I was able to purposely make the scenery blurred. In this image I also adjusted the settings to a quick shutter speed so I was able to capture the lights in place, and not shaking, as this image was taken in a moving car. I also made sure that the ISO wasn’t too high as I wanted most of the background to be dark, so the blurred lights would stand out.

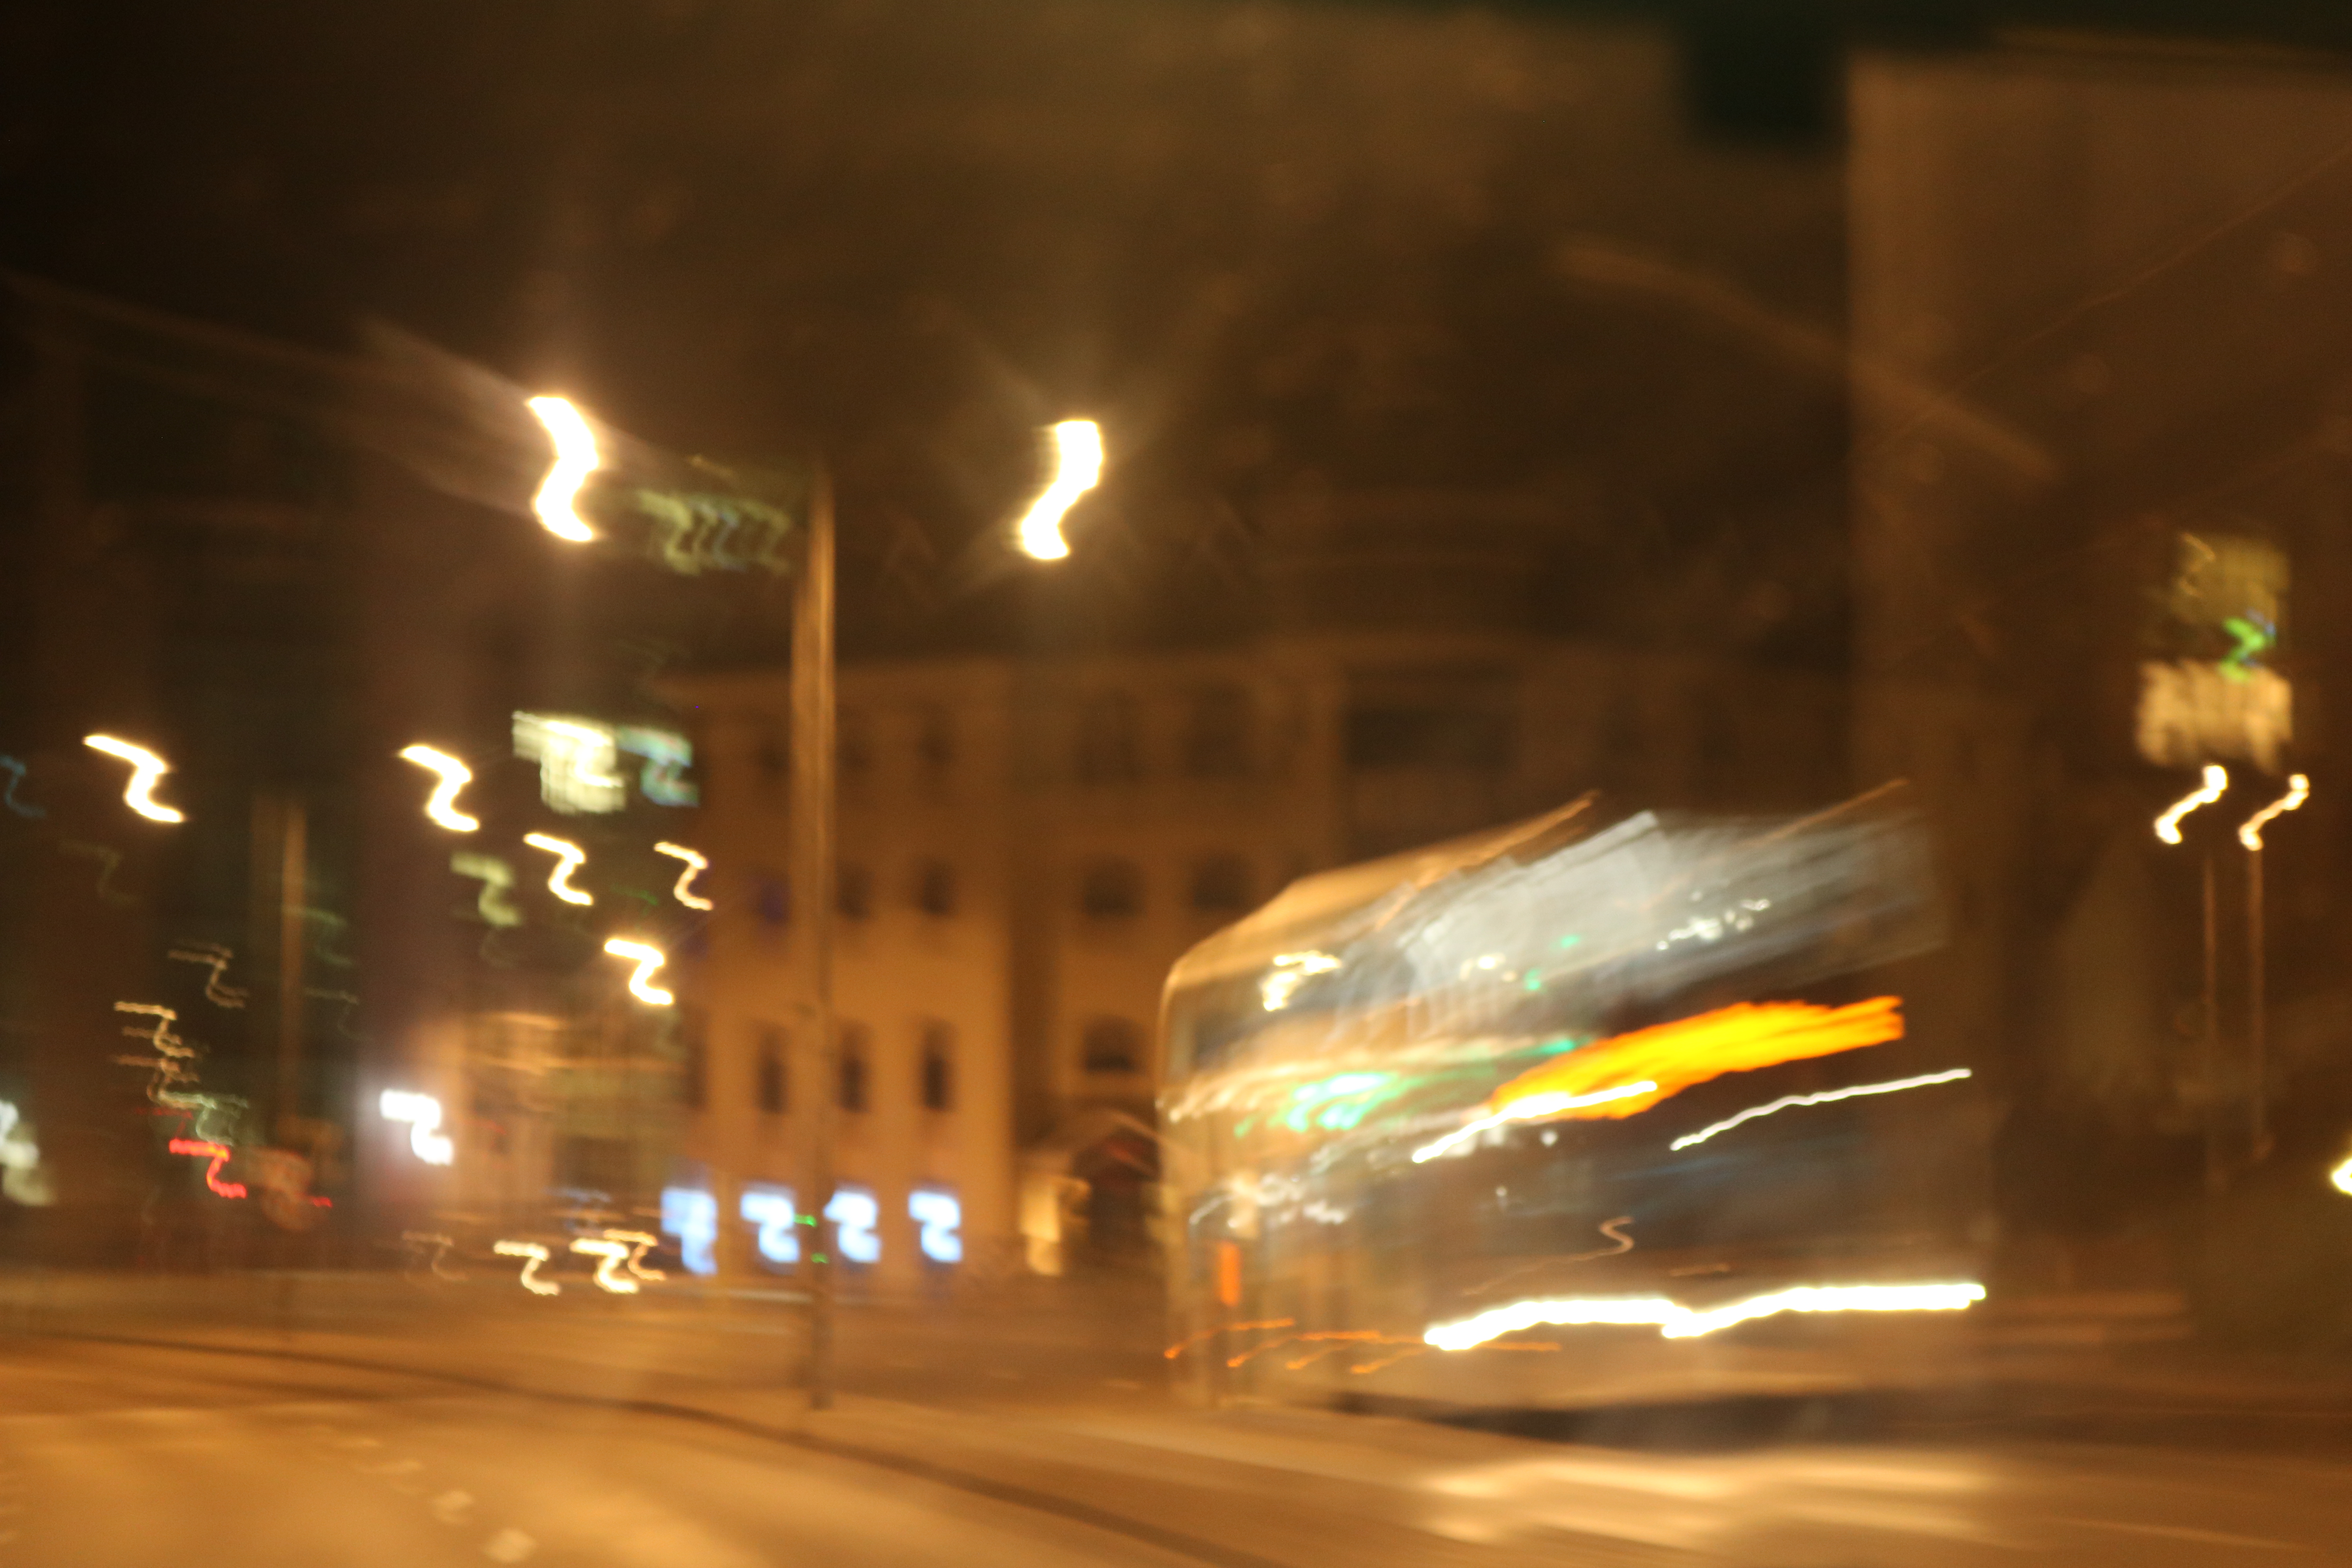
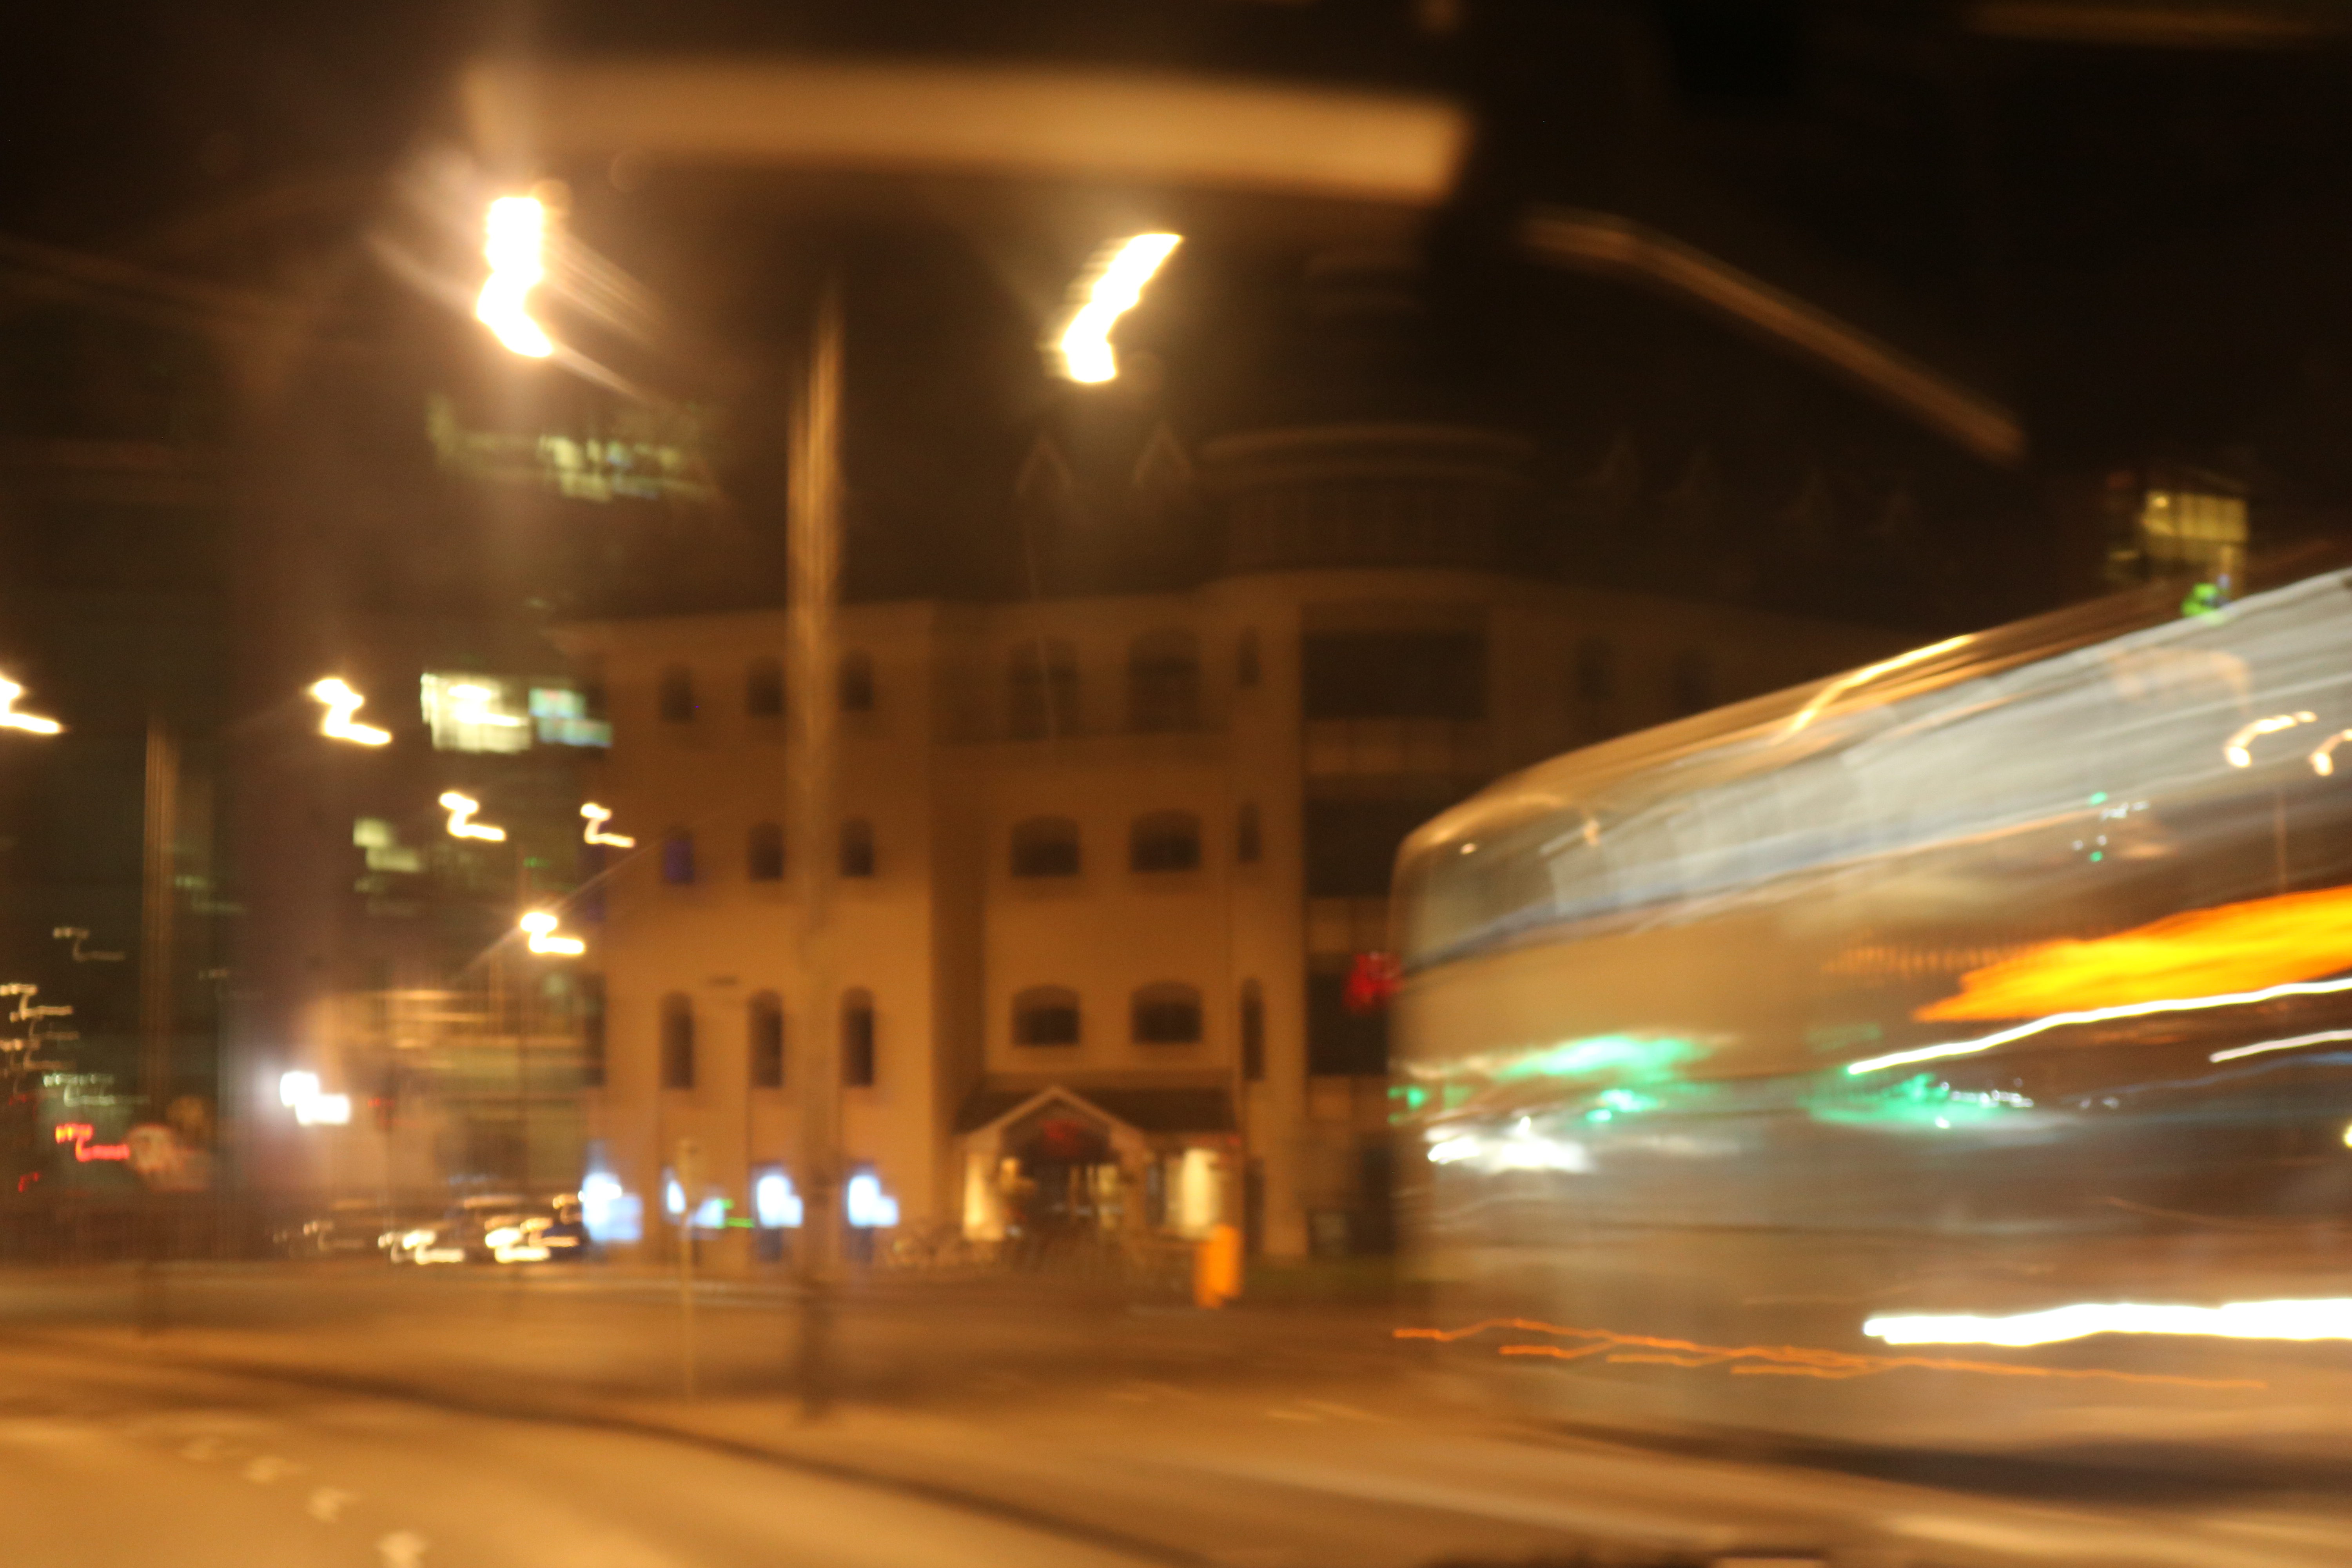
This is one of my best images from my experimentation with slow shutter speed. I think this image is very visually successful as the slow shutter speed meant that when I moved the camera, I created a very interesting pattern with the light, making the image very abstract.

This image also demonstrates a range of camera skills that I learnt, which is another reason why I chose it as a final outcome. In this image I used manual focus again to be able to focus primarily on the lighting, and not on anything in the background. The camera was also on a very slow shutter speed, which meant that the exposure time was longer than normal, meaning that when the camera moved, the final outcome ended up as it did.


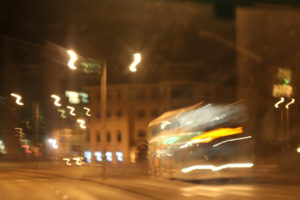
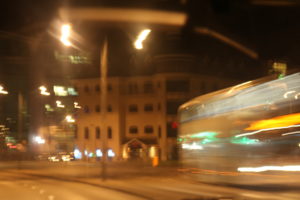
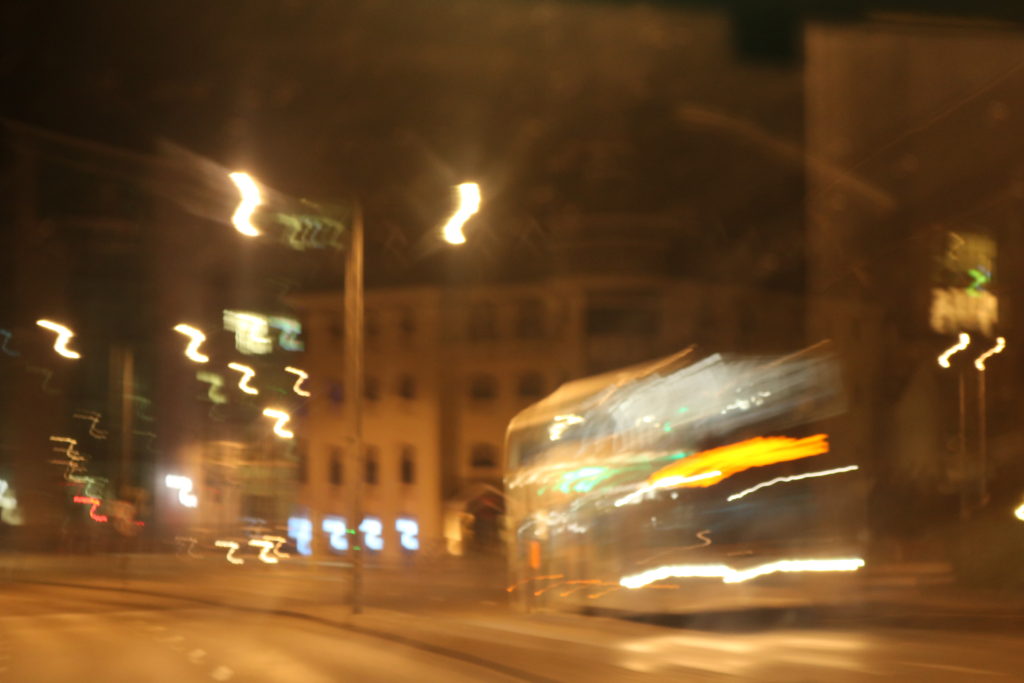
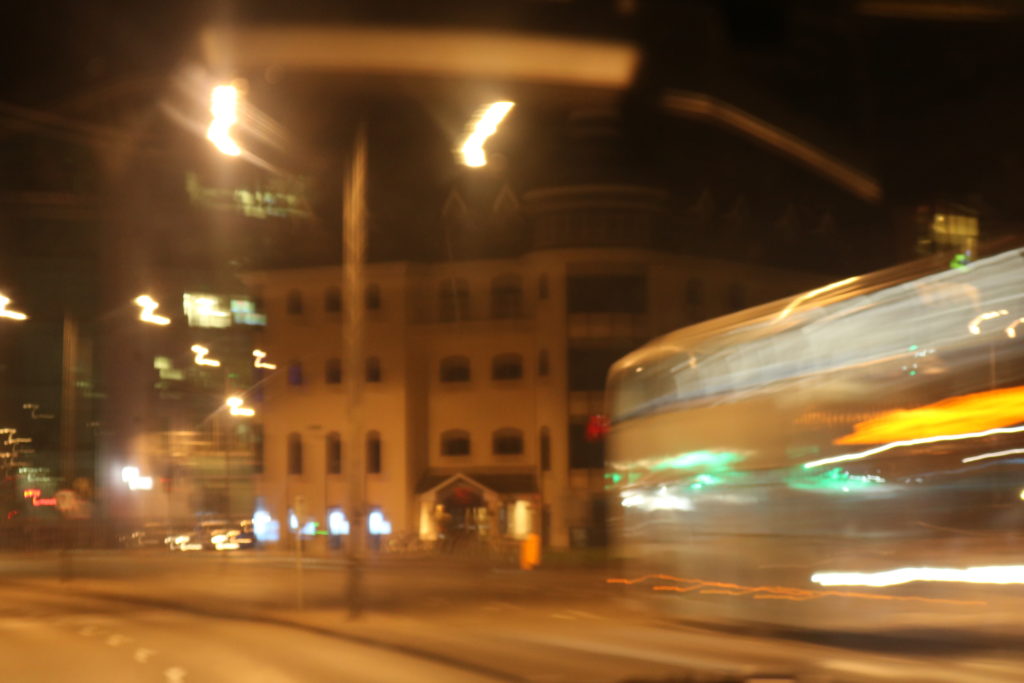
For my last outcome, I am considering these two images. These pictures were also taken while I was using a slow shutter speed, and also continuous shooting. As it was on slow shutter speed I was able to capture the movement of the bus, and the continuous shoot meant that I was able to take one image straight after the other. I chose these two images because i think they would look very well, side by side when displaying them. For my final A3 print, I am going to find a way to display both of these images together in one frame as having the second image together with the first gives the images some context. However, I think that before I find a way to display them both in one image I will slightly Photoshop the images as they are both slightly overexposed due to the slow shutter increasing the exposure time.