Presentation and Evaluation
This blog post features my final 5 abstract pictures which I have edited and it explains some of the features and techniques used to capture the images along with bits on how I edited them.
Image number 1.
This is perhaps my first image of the project that I properly edited and manipulated. It was taken with a quick shutter speed so the background was dark as I was using black paper to create it which could have been exposed easily with more light being let into the camera. I took this image from a straight on/portrait viewpoint to give the paper a look as if it was floating.
Technical:
Lighting – The built in camera flash was used for taking this photograph so that the objects outline was enhanced, whilst the room lighting was dimmed so the background was not very bright.
Aperture and Shutter Speed – The aperture in this photo was quite small and the shutter speed was fairly fast, therefore the background stayed dim. It didn’t affect the white colour as the white balance was turned up and the ISO was also quite high around 800 so the white still stood out.
Visual:
The visual elements of this photo include: Black and White colour, a-lot of tone and texture within the details of the paper, a 3D effect due to the shadows inside the paper and finally a very sharp outline of the crumpled paper.
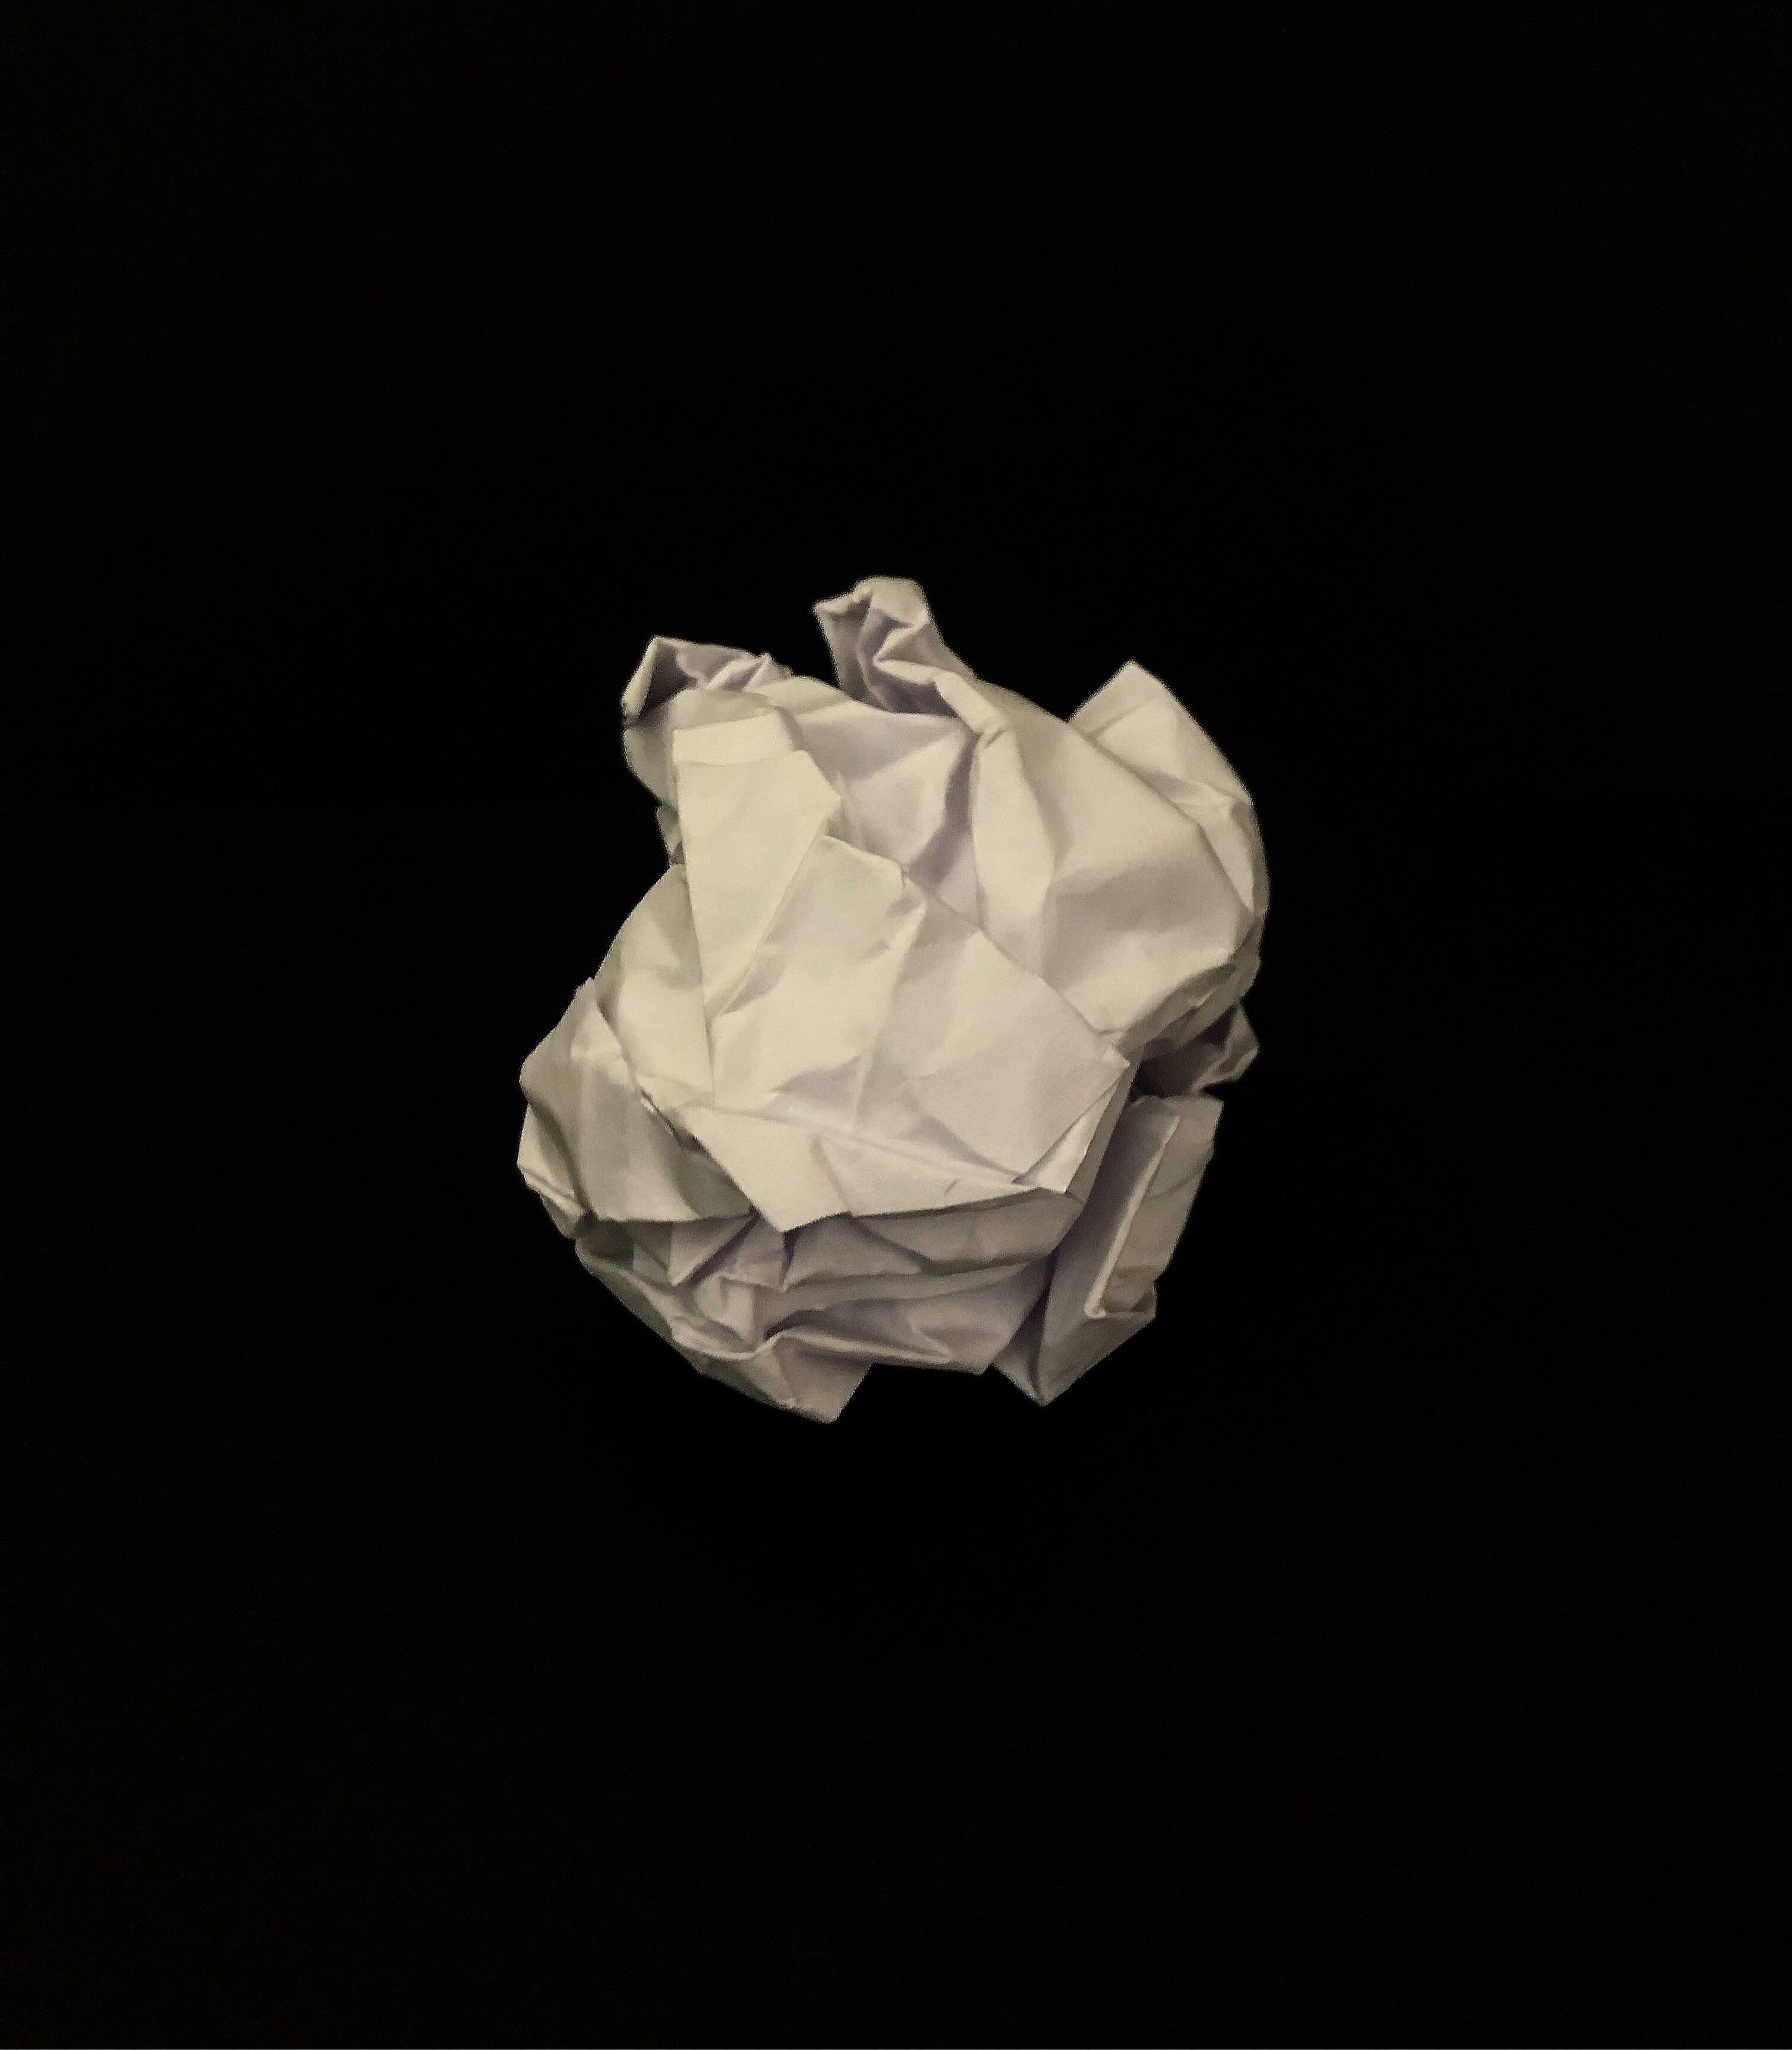
Image number 2.
Technical:
Lighting – Camera Flash and background classroom light.
Aperture – Larger aperture to increase brightness.
Shutter Speed – Fast shutter speed to keep the image sharp and clear.
ISO and White Balance – The ISO is turned up to increase the colours in the image and the white balance was not changed.
Visual:
The visual elements of this photo include a high contrast in colour, tone and texture between the disco ball object and the blurred out background and a strong depth of field due to the sharp foreground and blurred background.
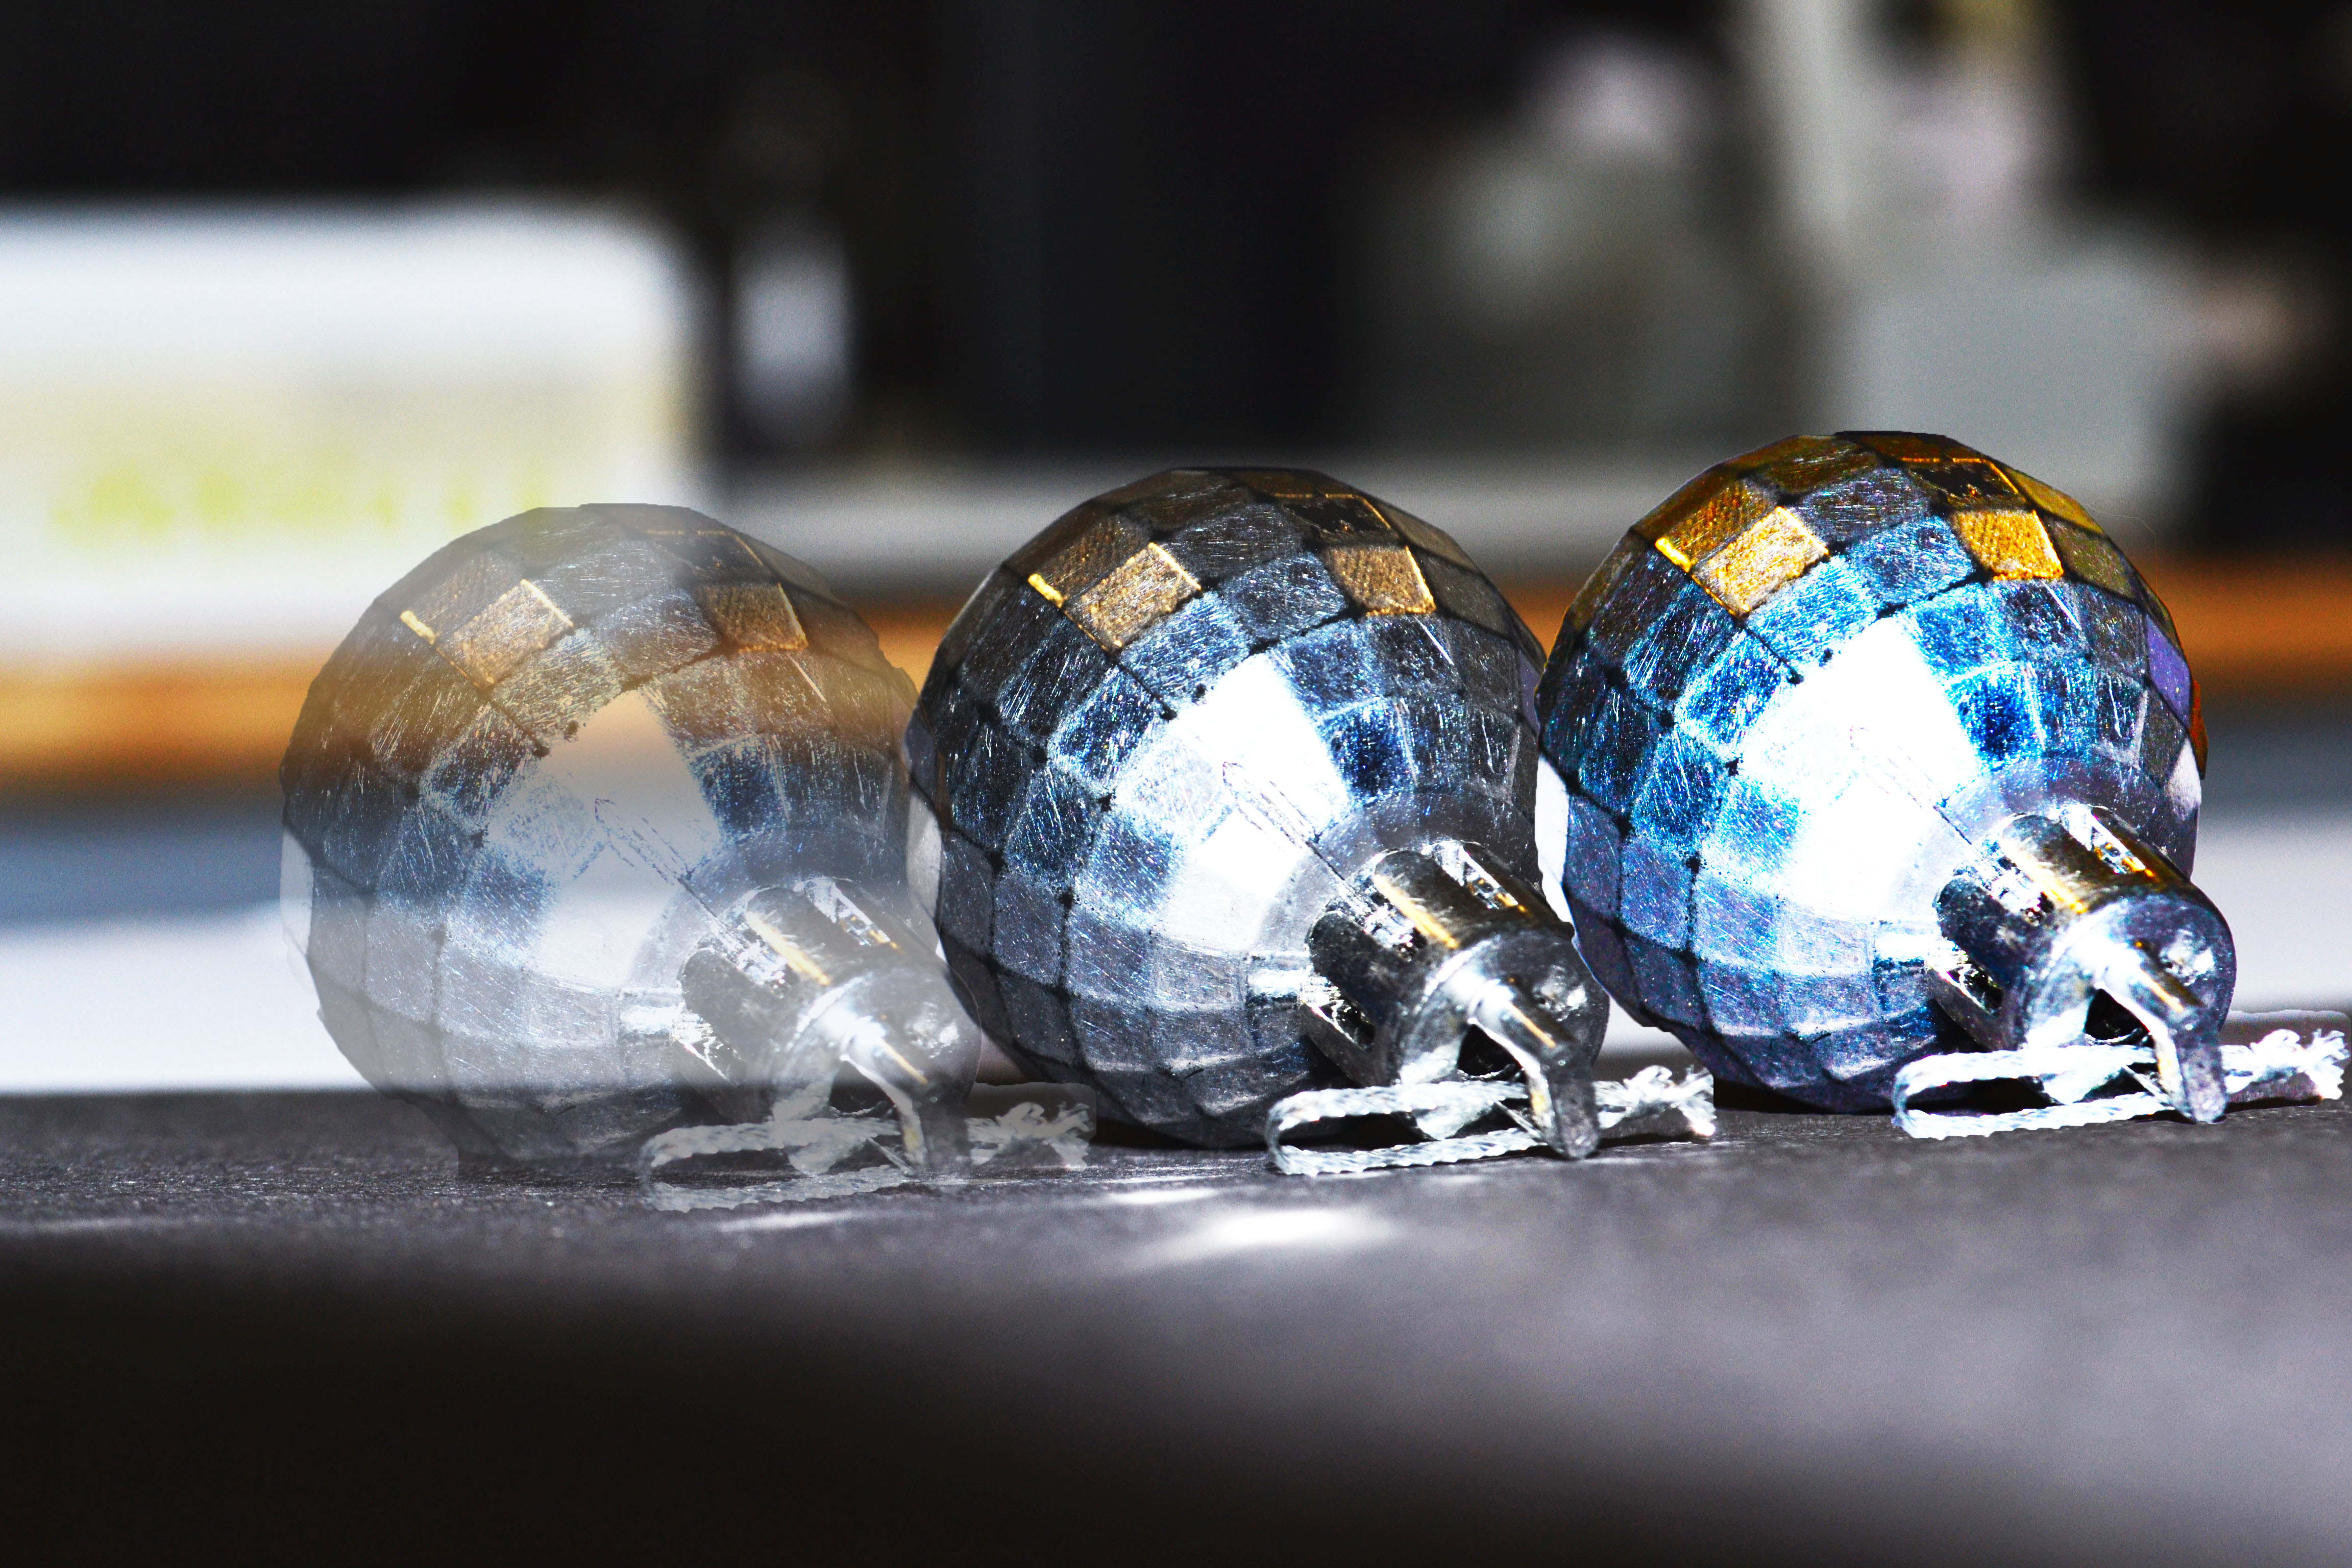
Image number 3.
Technical:
Lighting – The lighting in this was artifical in the background with the built in camera flash providing the main source of brightness
Aperture – The aperture in this photo was
Shutter Speed –
ISO and White Balance – The ISO in this photo wouldn’t really play a large influence because the image is in black and white. The white balance was turned up so that the contrast makes the patterns more prominent.
Visual:
The visual elements of this image include a dual colouring of black and whites along with slight hints of yellow in the middle of the circle. There is quite a touch texture around the surface of the circle and a slight pattern created by the light shinning through the lamp. The original unedited version of this photo has a 3D effect due to the shadows created by the flash but with the dark black and white contrast present it has a 2D look.
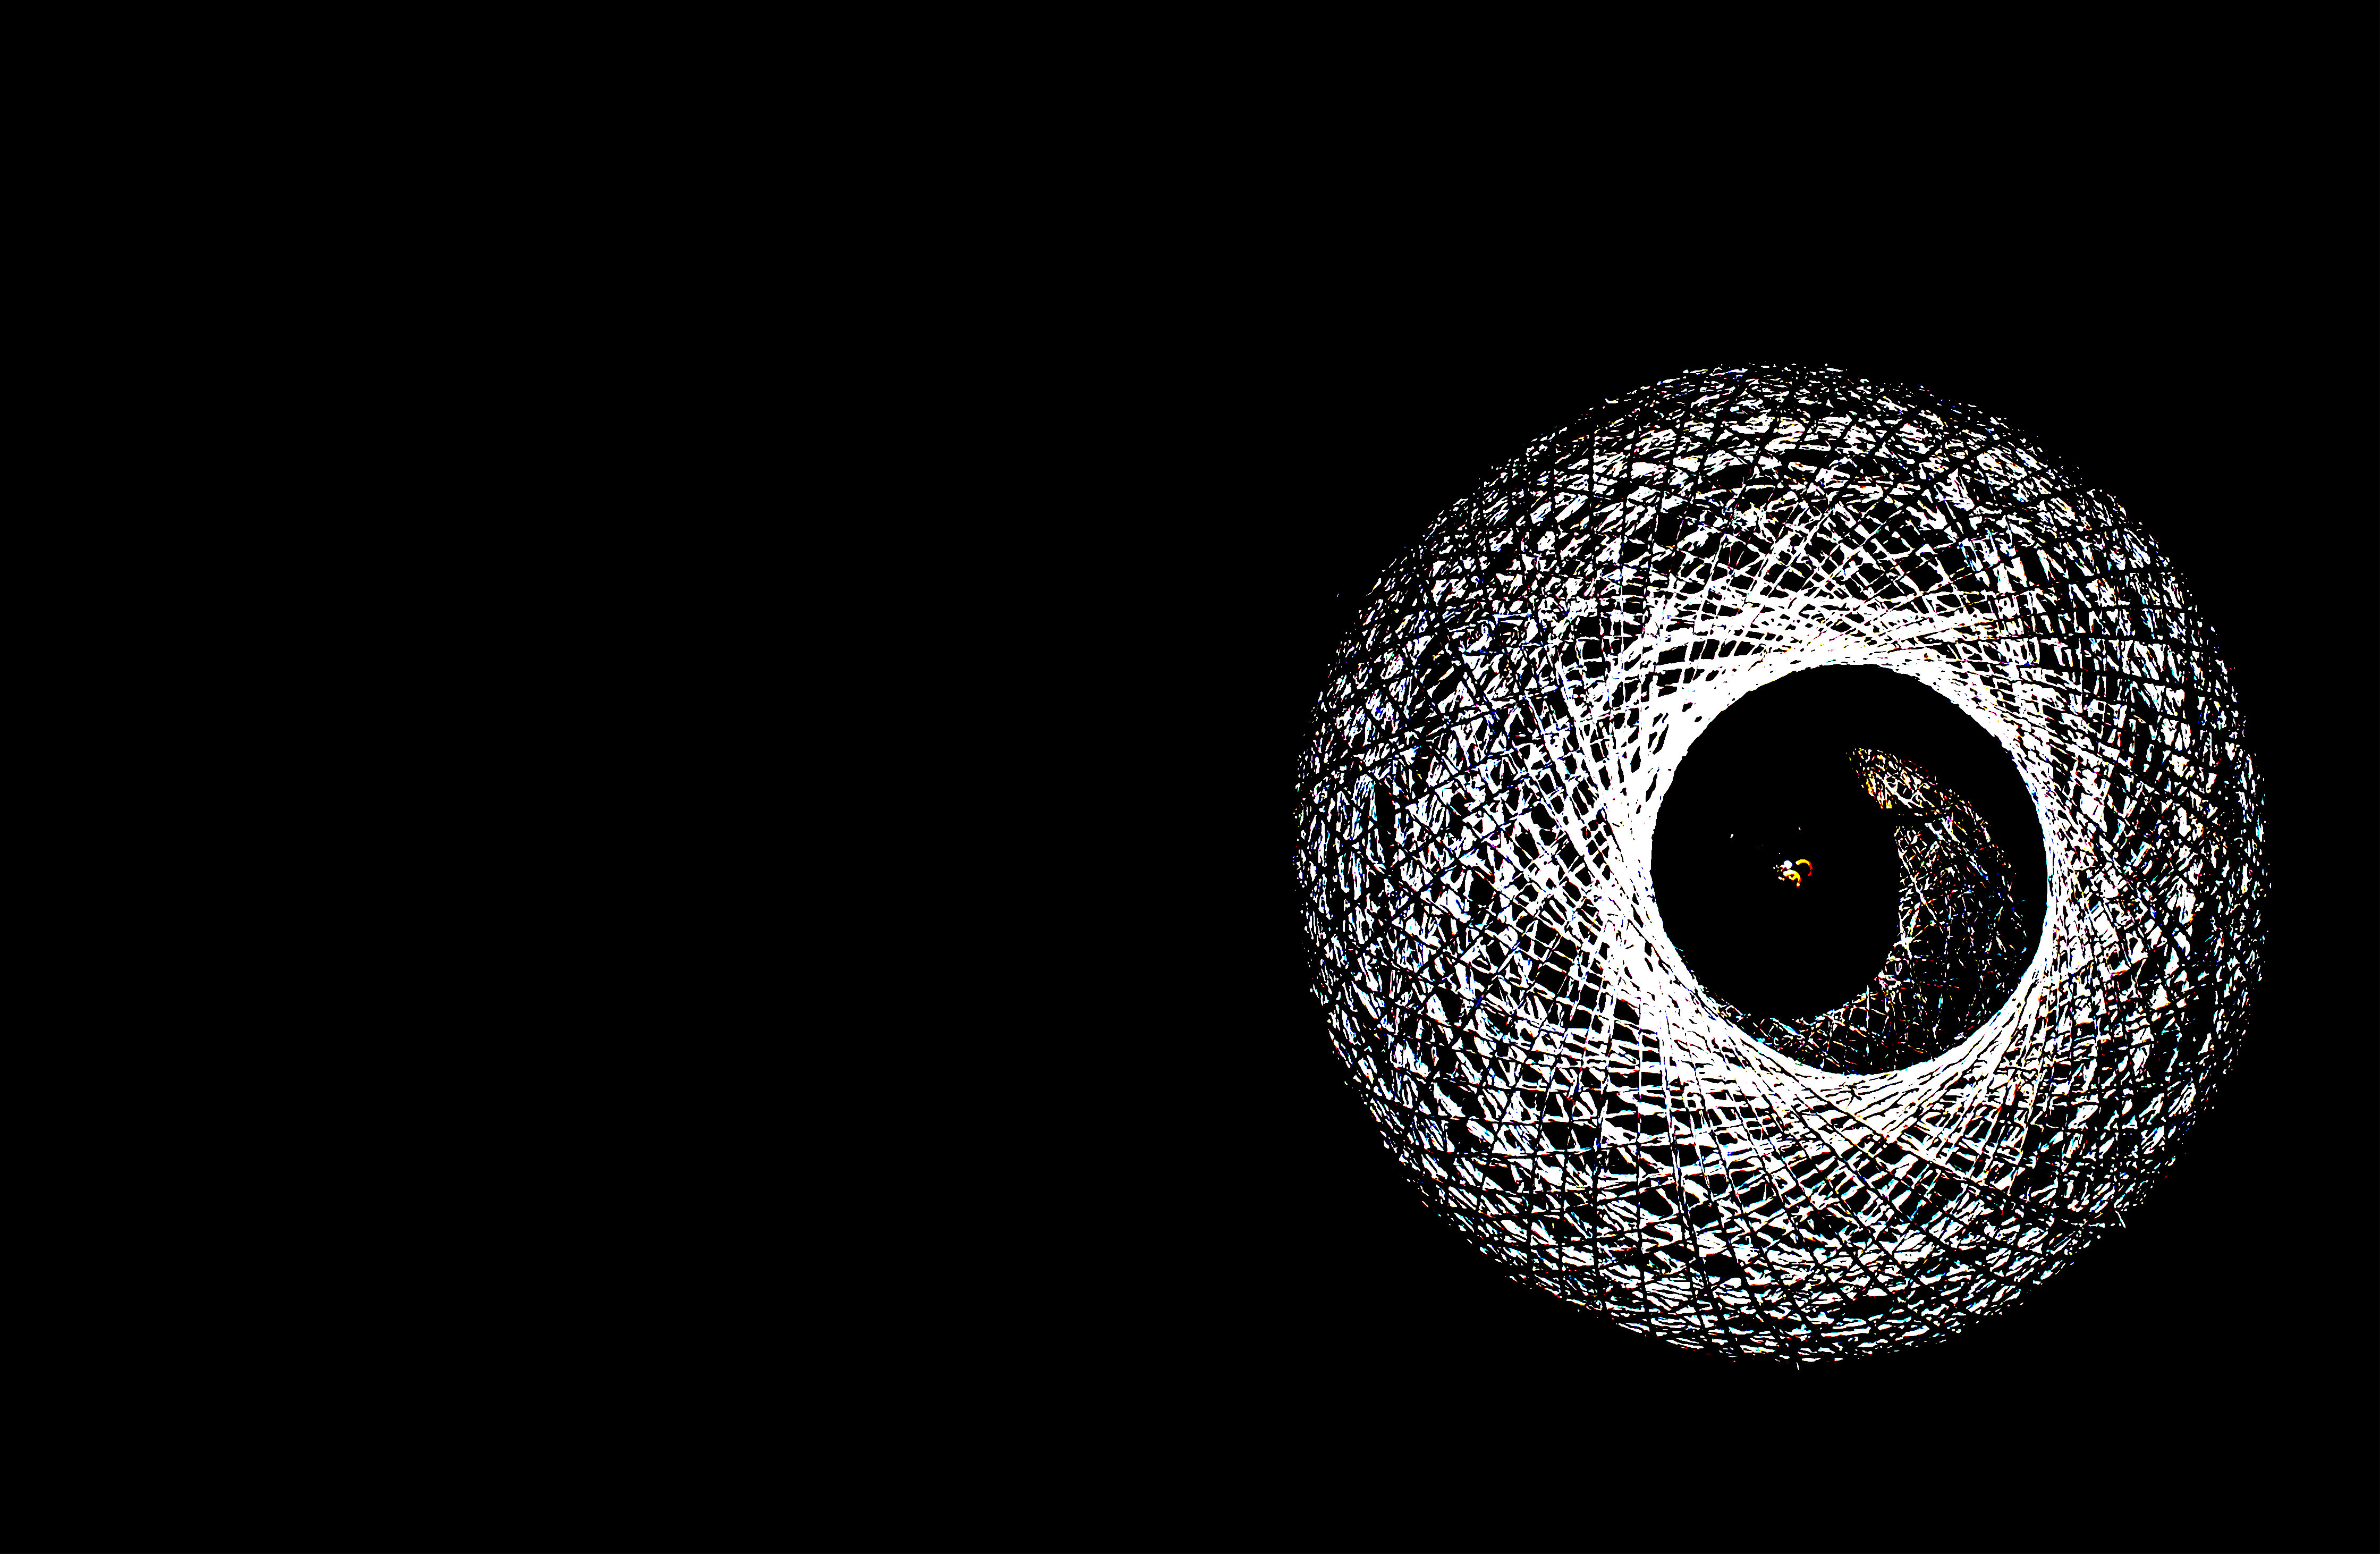
Image number 4.
Technical:
Lighting – All natural lighting that is coming through a large nearby window.
Aperture – The aperture was higher than usual so the image would be a lot brighter due to more light going into the lens.
Shutter Speed – The shutter speed in this was around 1/10 of a second so that a fair amount of light could enter the camera.
ISO and White Balance – The ISO and white Balance were turned up so the colours were bright and the differences in colour were also prominant.
Visual:
The visual elements of this photo include an almost singular colour look with the different shades of white and the high tone that makes the difference in colours noticeable. There is quite a smooth and 3D texture to this photo created by the brilliance of colour in the mirror frame and the shadows in the corner giving the photograph some depth of field.
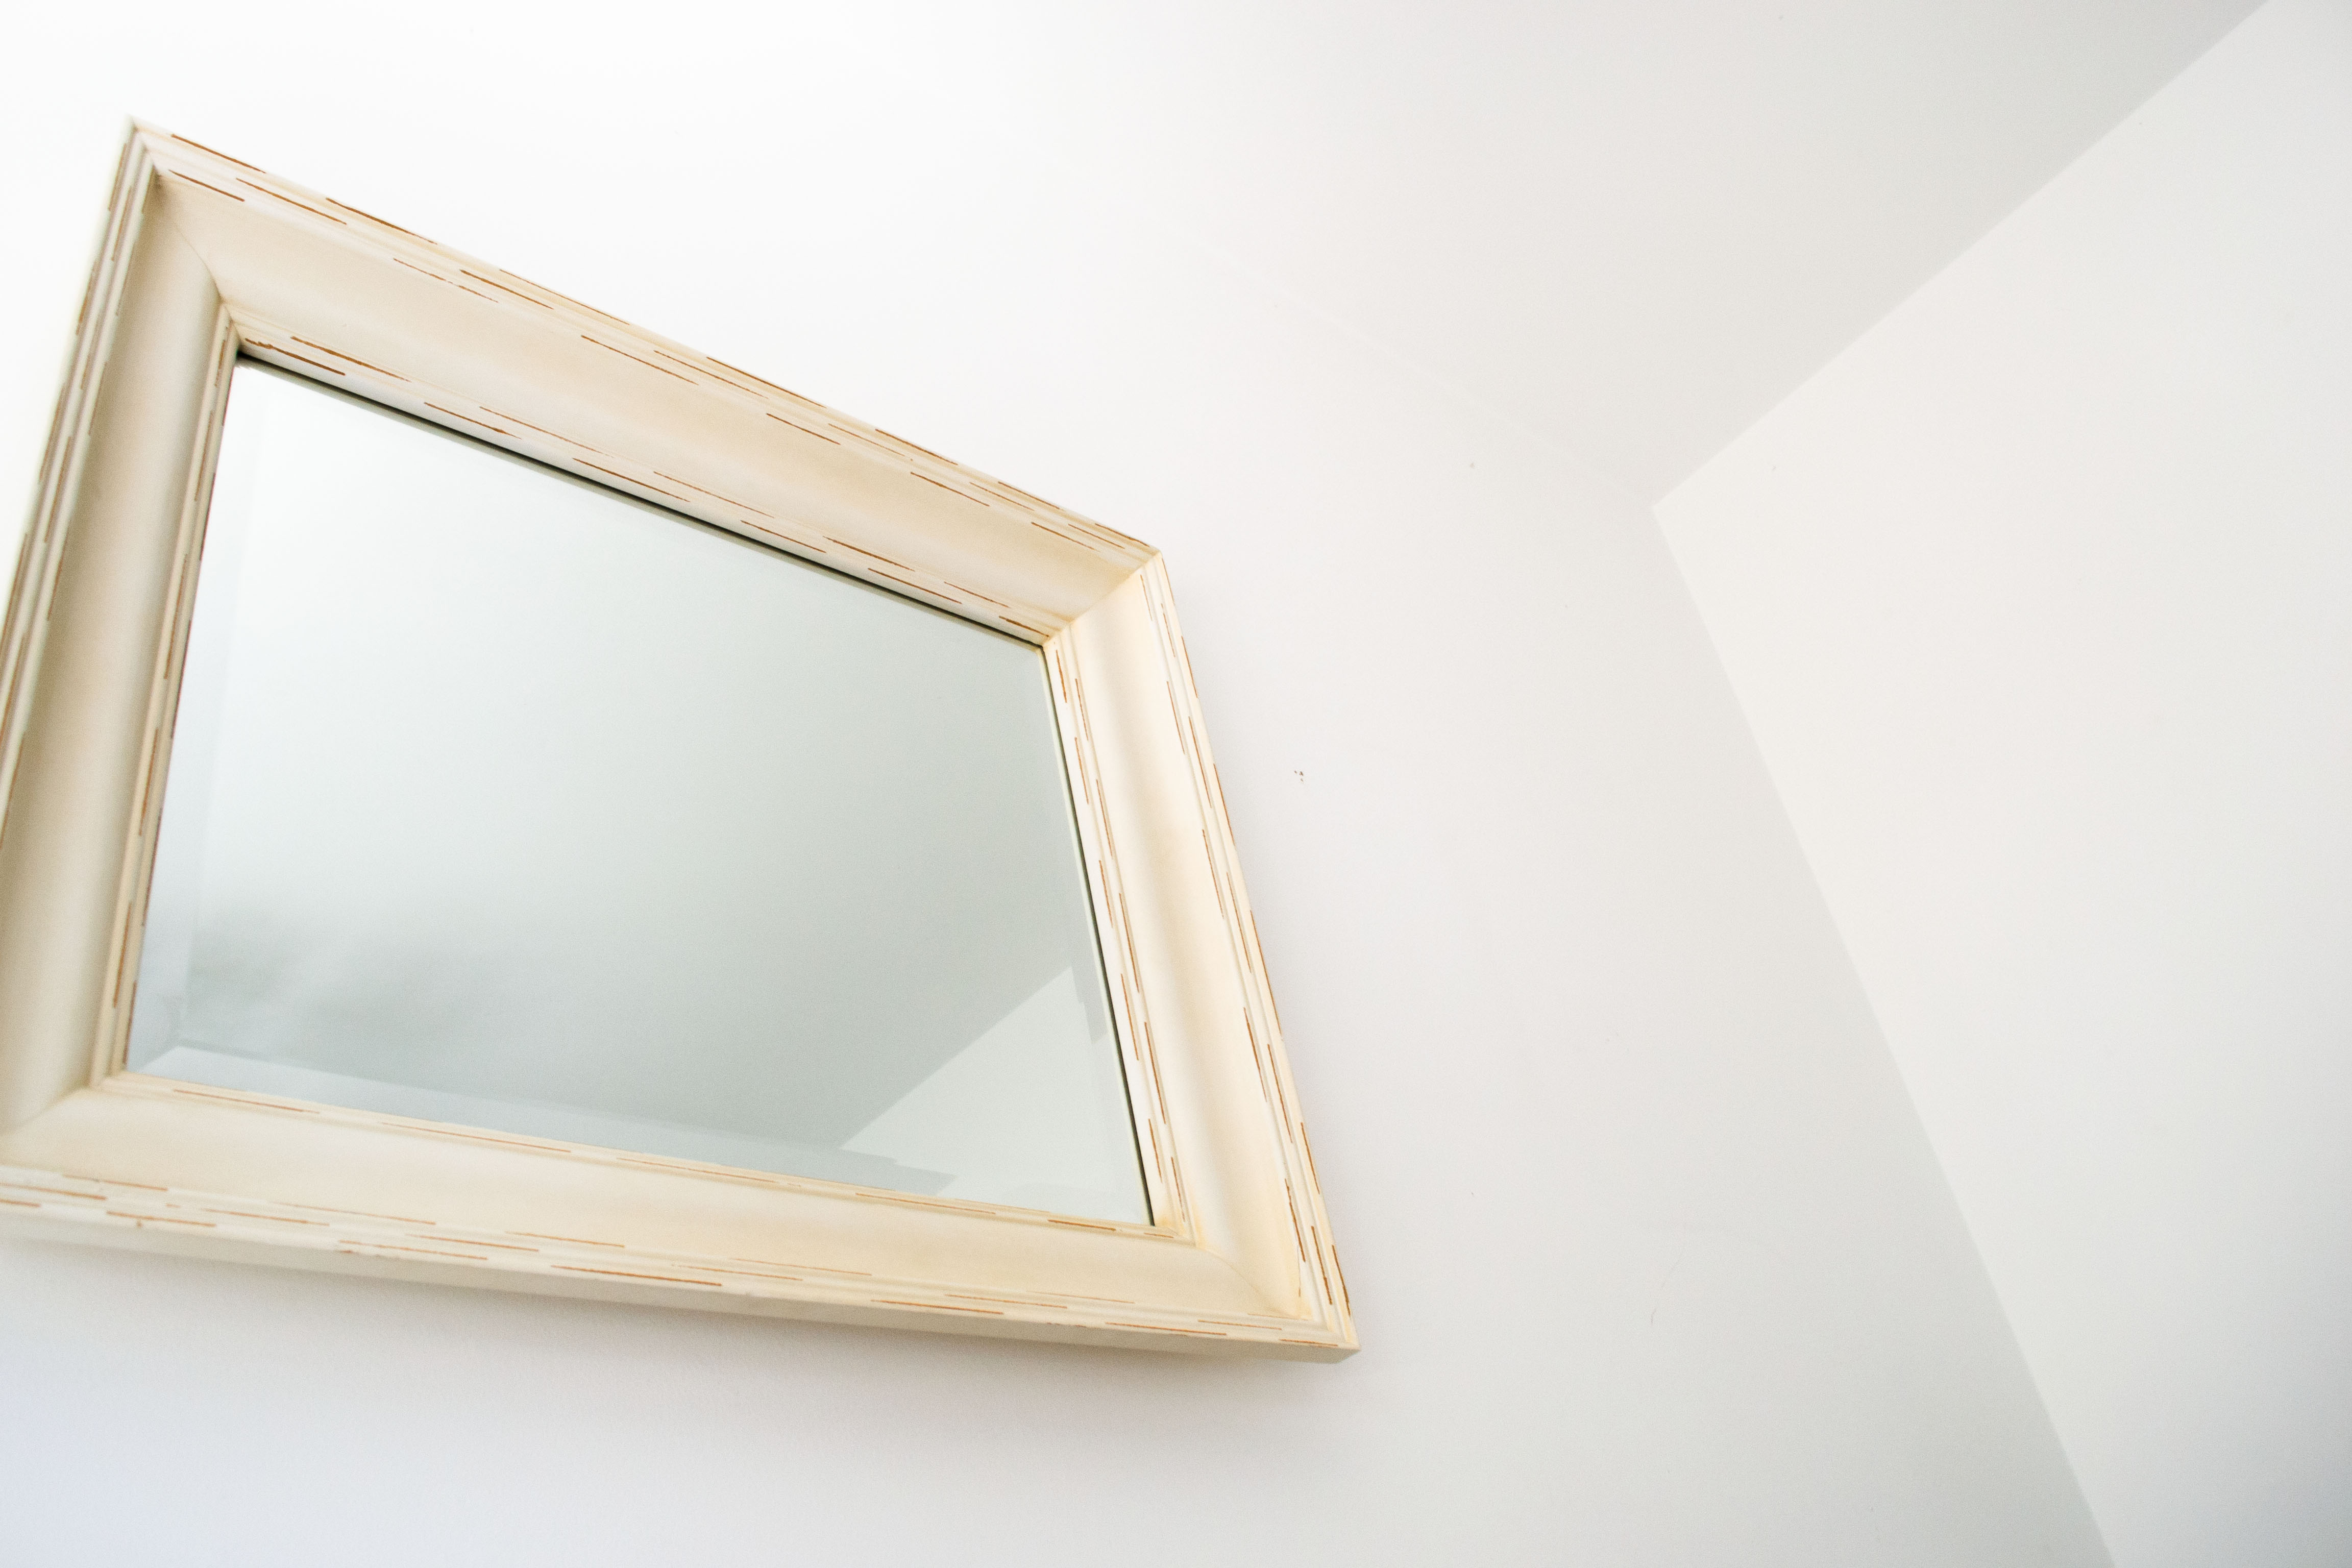
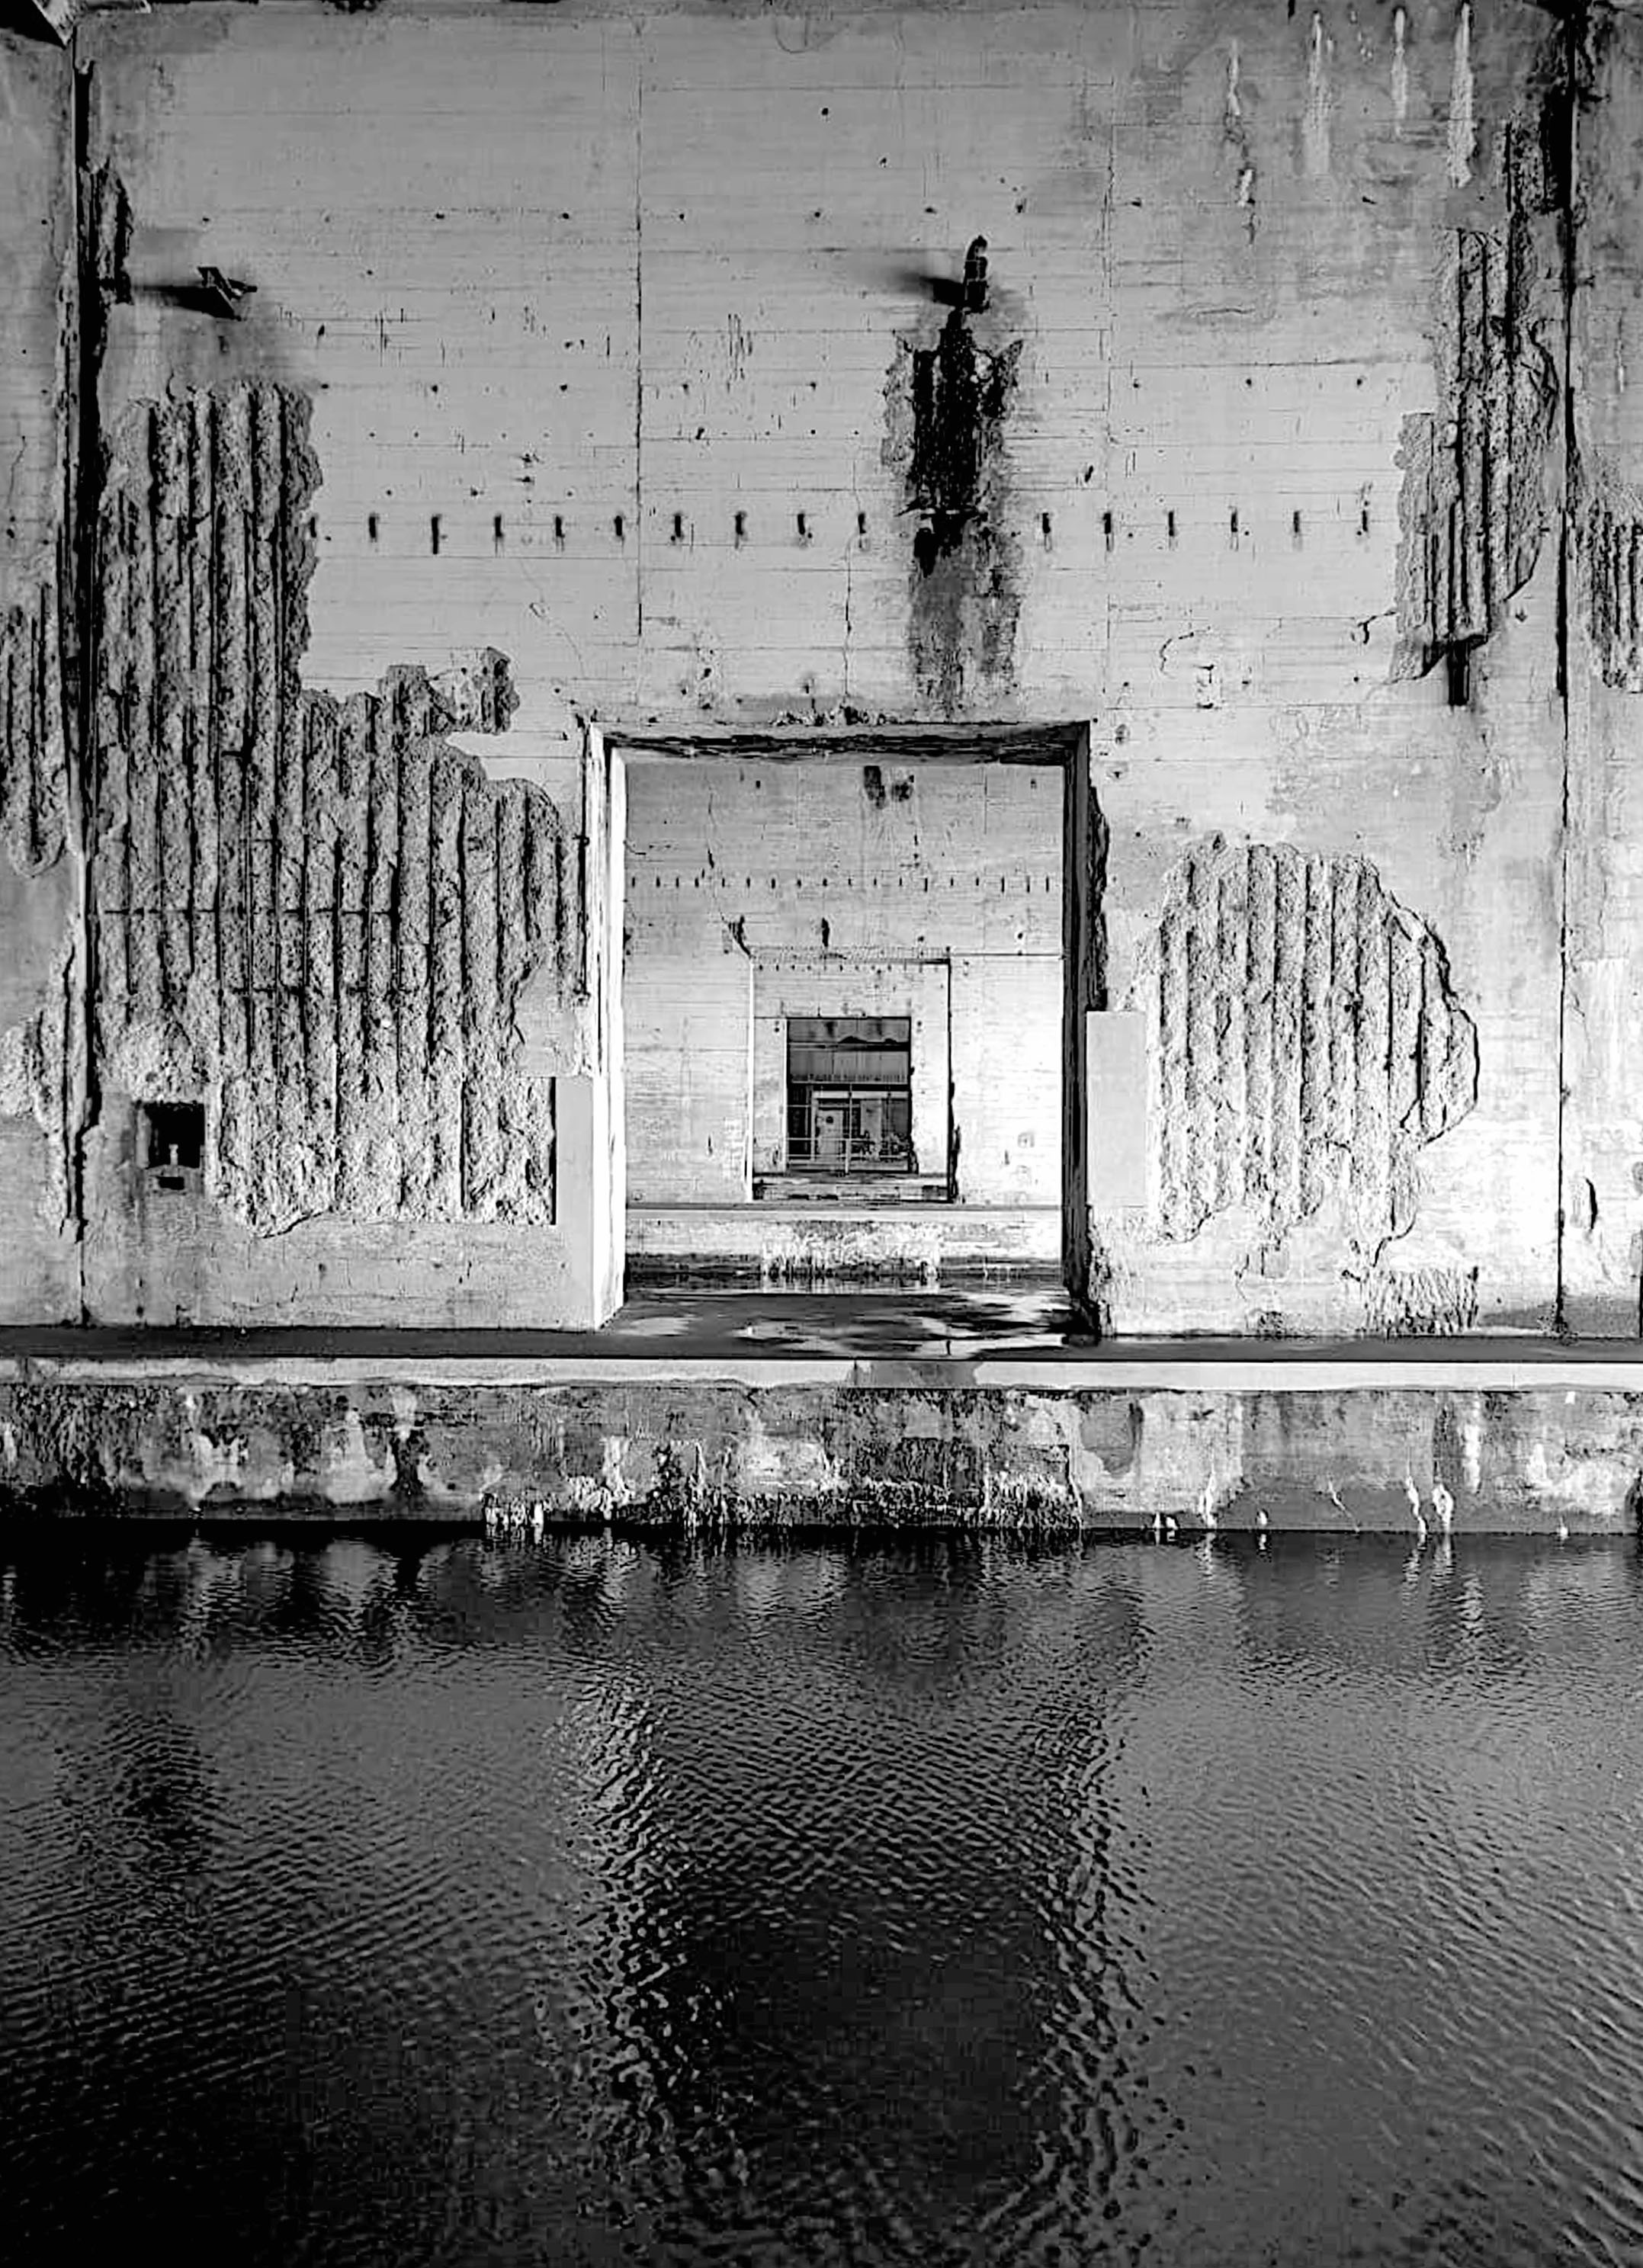
Image number 5.
Technical:
Lighting – All dim natural lighting with no artificial lighting.
Aperture – The aperture for this photo was slightly higher so that the dim areas of the photograph were a little brighter.
Shutter Speed – The shutter speed was fairly fast so that the image was sharp.
ISO and White Balance – The ISO and white balence are turned up slightly to increase the contrast in colours in the image.
Visual:
The visual elements of this image include black and white colour, a light tone, with dark spots here and there which give a 3D shape and depth of field to this image. The is also quite a rugged texture on the walls due to all the shadows in the marks in the walls.
The purpose of all of these images was to reflect my findings in case studies and previous blog posts about the world of abstract photography, experimenting with camera techniques and themes that can create “abstract images”.
