
This week your emphasis must be on selecting final images for Unit 1 Abstract Photography.
You must demonstrate in your choice of images
- a range of camera skills that you have learnt recently
- influence and inspiration from a key photographer(s)
- editing, enhancing and manipulation skills
- a sound understanding of abstract photography
- application of The Formal Elements in your images
- Line (horizontal, vertical, diagonal, thick, thin etc)
- Shape
- Form
- Texture
- Pattern
- Colour
Your final images will be uploaded to our commercial printers (printing is not normally done in school) on Monday 15th October by 11.00 am
1 x A3 print + 1 x A4 print + 1 x A5 print
To do this you must add High Resolution JPEG files (4000 pixels on the long edge / check in Photoshop > Image Size) to the folder:
M:\Departments\Photography\Students\Image Transfer\PRINTING\AS Mon 15 October Abstract Final Images
IN YOUR OWN AREA YOU MUST CREATE A FOLDER TITLED “ABSTRACT PROJECT FINAL OUTCOME” WITH YOUR CHOICE OF IMAGES IN FOR CHECKING
Display : You must look at a range of possibilities for grouping, sequencing and arranging your images before you make your final decision…
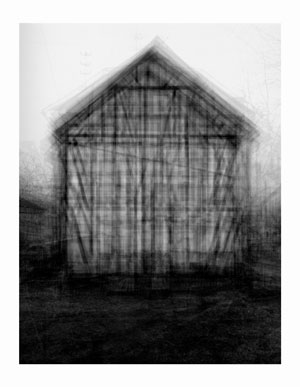
Single Image Examples :


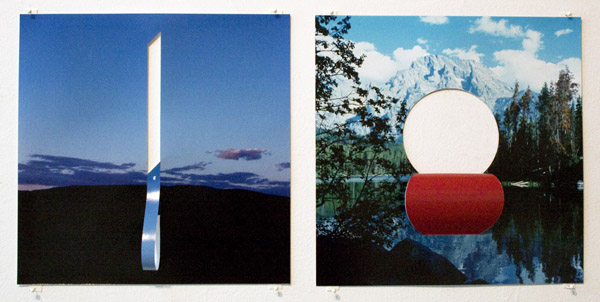
Double Image / Two Frame / Juxtaposition / Diptych Examples :


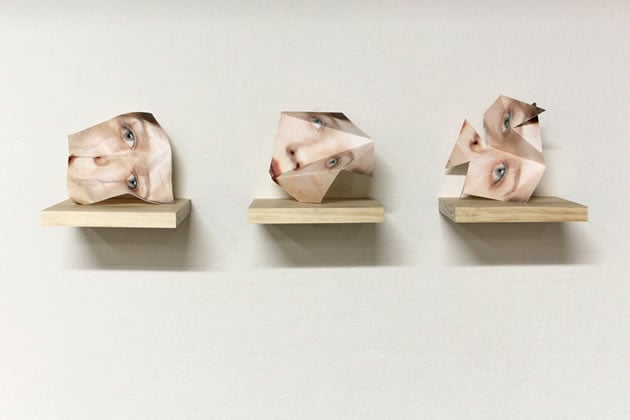
Triple Image / Triptych Examples :


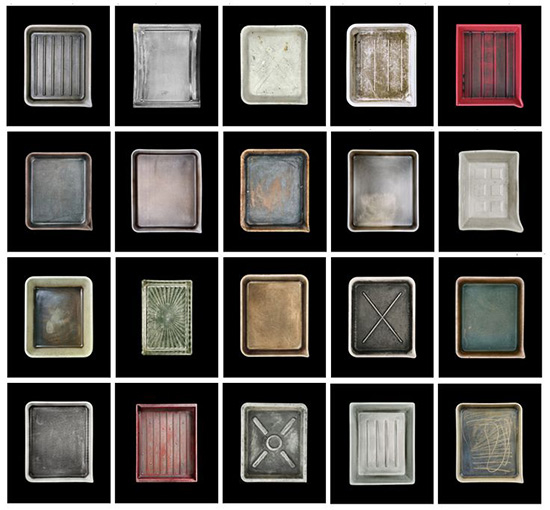
Typologies / Multi-image / Grid / Row / Column Examples :

Alternative Image Display Examples :

Complete this week (by the end of Friday 12th October 2018)
Blog Post 1 create a visual blog post(s) that includes your initial choices of final outcomes. Analyse and justify your choices and then evaluate your decisions. Be critical and purposeful. Show examples of what you are intending with your choice of image and how they relate to what you have LEARNED ie : camera skills, artist references
Blog Post 2 create a visual blog post that demonstrates an understanding of various sequences of image, display techniques and your FINAL IMAGE SELECTION once you have completed a range of editing / manipulation. Show your process thoroughly and edit recent images so that ypour camera skills are clearly demonstrated. Do not mask your camera skills with “over-editing”
Blog Post 3 create a range of responses to the creative prompts below and demonstrate clearly your ability to convert original images into something creative. These could then be considered for final outcomes and printing too.
- Mirror image / kaleidoscope techniques : symmetry and repetition
- Image Size > Canvas Size
- Copy Via Layer (CTRL J)
- Transform Tool (CTRL T)
- Selecting and positioning / re-arranging layers


2. Double exposures : multiple viewpoints / meanings
- Opacity control
- Blending Options
- Area selection
- Layer Mask


Extension Task : Creative Ideas
100+ Creative Photography Ideas: Techniques, Compositions & Mixed Media Approaches
- Choose 1 x example from the link above and respond with your own images, experiments and outcomes
- Include artist reference
- image
- process
- evaluation
Remember to use this model when discussing and analysing photographs :
TECHNICAL -VISUAL-CONCEPTUAL-CONTEXTUAL

ALWAYS choose 1 x key image of your own to discuss in detail
ALWAYS choose 1 x key image of an influential photographer to discuss in detail
Follow the 10 Step Process for each unit to ensure you tackle all Assessment Objectives thoroughly :
- Moodboard (AO1)
- Mindmap of ideas (AO1)
- Artist Reference / Case Study (AO1)
- Action Plan (AO3)
- Photoshoots + contact sheets (AO3)
- Image Selection (AO2)
- Image Editing/ manipulation (AO2)
- Presentation of final outcomes (AO4)
- Compare and contrast (AO1)
- Evaluate and Critique (AO1+AO4