colour and texture

For this task I took inspiration from Aaron Siskind. He focuses on aged and peeling surfaces, for example: old posters left to rot or old wall paint.

Aaron Siskind’s work

From the stimuli given from Siskind’s work, I focused on the ‘decay’ of walls and buildings which all fitted into our urban lifestyles. My first shoot was based in the old Jersey Brewery, which is now being slowly nocked down and being turned into apartments. However this means there’s more parts of the old building being revealed. I mainly focused on the decay of the building’s crumbling walls and peeling paint.

My response

My second response involved focusing more the textures and lines that came naturally either from natural or decaying objects.

My Second Response

Experiment – Depth of Field

Depth of Field:

In photography, depth of field determines the closest and farthest objects in an image. This can involve the entire image being focus or something in the foreground or background being sharp while the rest of the image appears unfocused. This is useful in highlighting a certain aspect of a frame and can enhance the importance and effect of an object.

Three main factors that affect a photographer’s control over depth of field are the aperture, proximity to the image being photographed and the focal length of the camera lens.

Large aperture = shallow DOF

Small aperture = deep DOF

My Examples:

As visible in the frames above the depth of field greatly affects the appearance of an image. The first two images are focused on the furthest away section of the plant in relation to the position of the camera and create a relatively bland image while the bottom two images are focused on the section of plant in the foreground highlighting the stem in the centre of the image, giving the composition much more life and dimension with different colours and shapes making the image more interesting.

Further Examples:

This is another example of how depth of field reveals different layers of an image, creating different focal areas. This creates a more dramatic image as aspects of the frame are much sharper and bolder.

Shutter speed and exposure

In this photo I had to use a very quick shutter speed so that I could take a sharp photo despite my dog moving around. To keep the image bright (and to show details in the hair) I also used flash.
In this photo I used a short exposure and a longer shutter speed to capture a little movement of the clouds and to keep the photo dark in order to capture the colours in the sky properly.
In this photo I used a very fast shutter speed to capture the waves created by the ducks swimming around. In this photo I also selected the ducks and inverted their colours to make them blend in with the water more. This stops the focus of attention being the ducks and brings more attention to the waves.


Shutter-speed Experimentation

Shutter-speed allows for a camera to pick up on movement, and record the movement in a single photograph. Shutter-speed is the length of time that the sensor of the camera is exposed to light, and so the longer the shutter-speed, the more movement and light the camera can track.

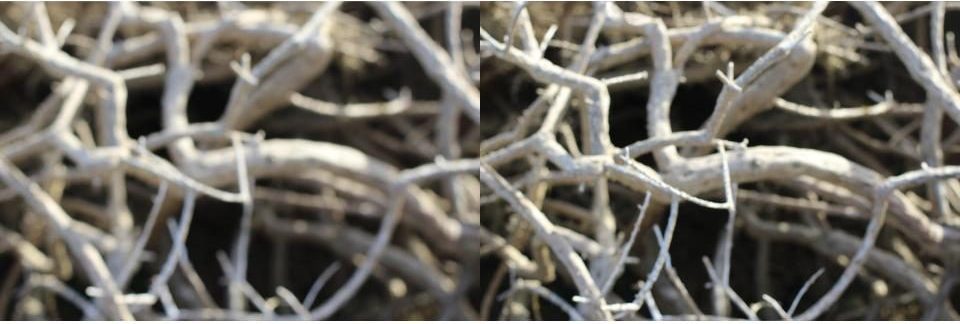
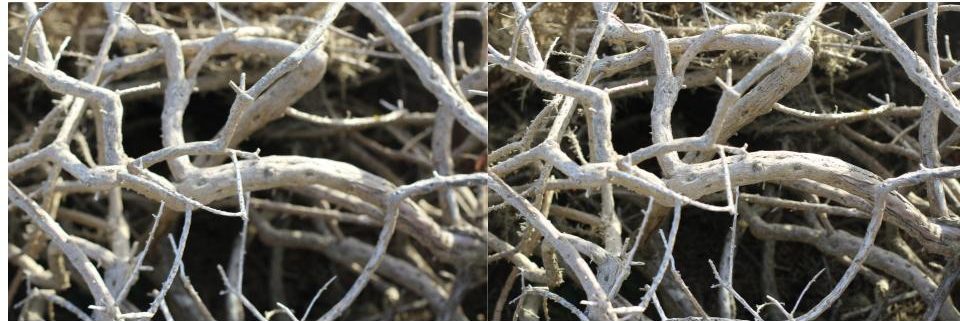
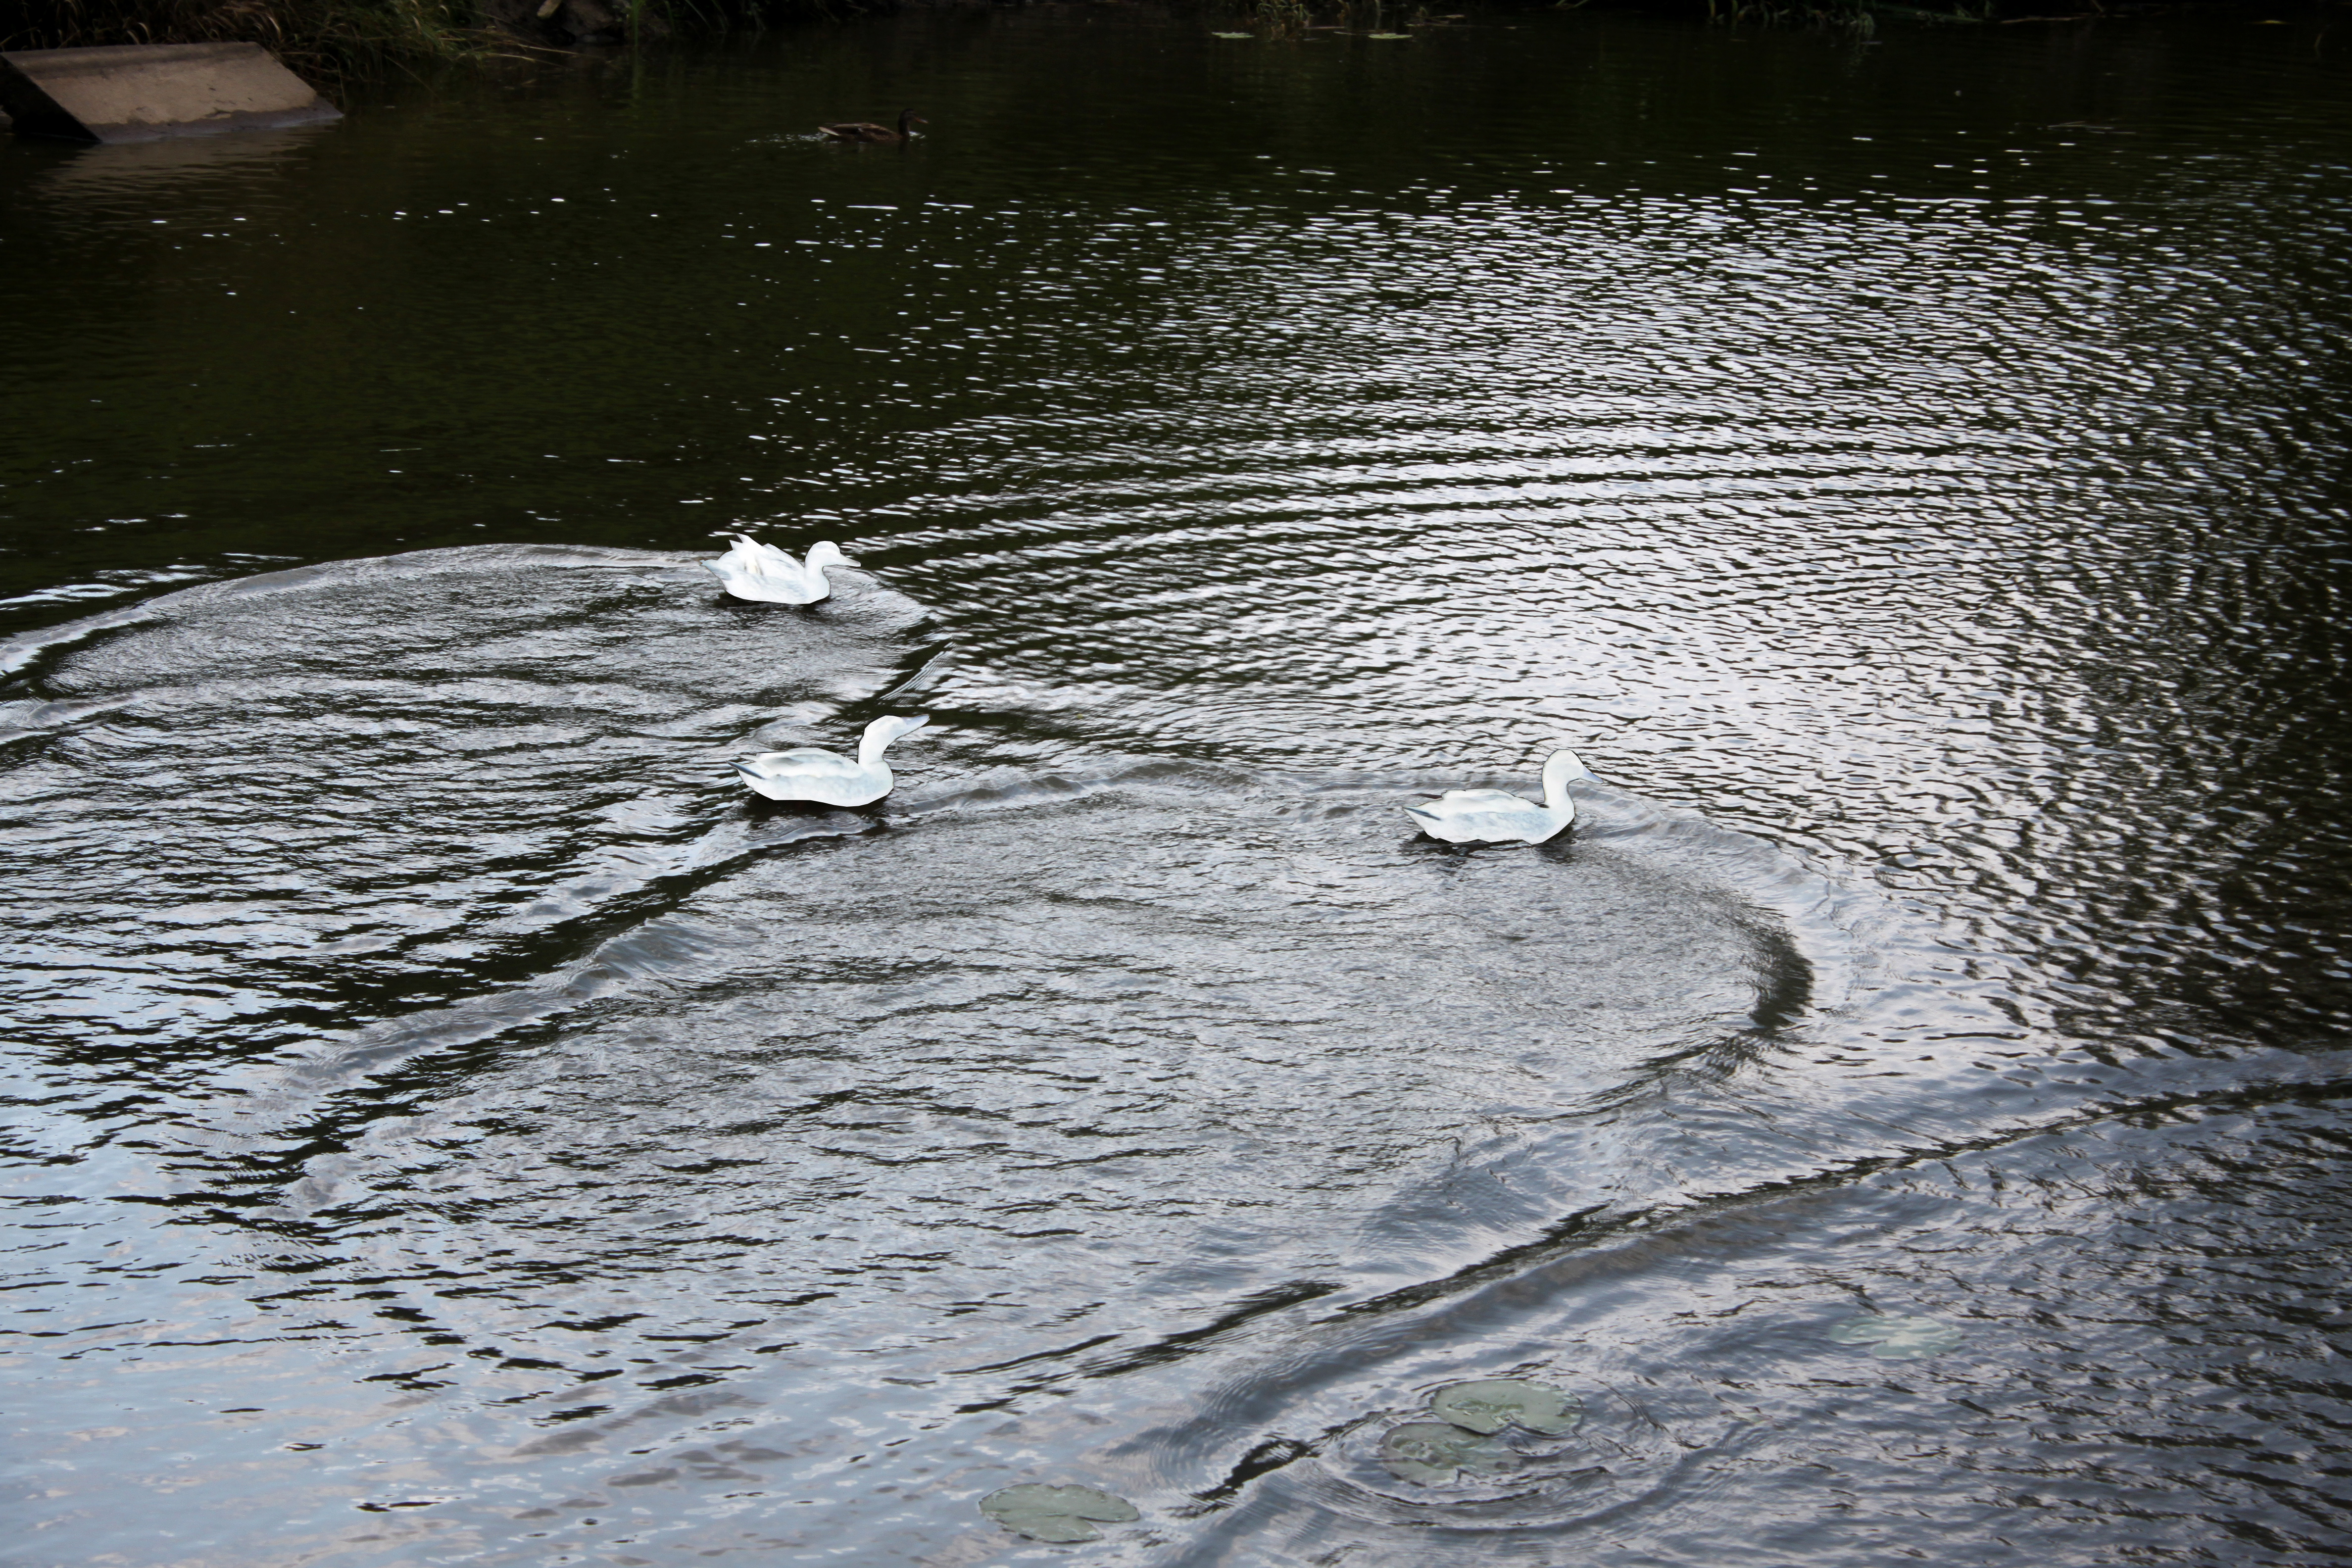
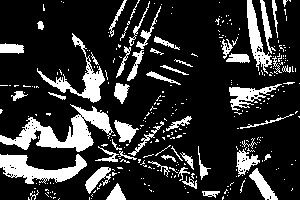
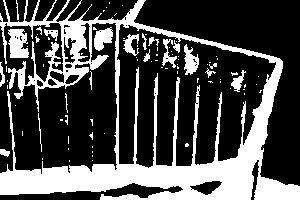
Shutter-speed is useful when attempting to give the sense of movement, and can allow for an image to seem like it has captured a subject moving from one place to another. Examples of images taken with slow shutter-speeds can be seen below:

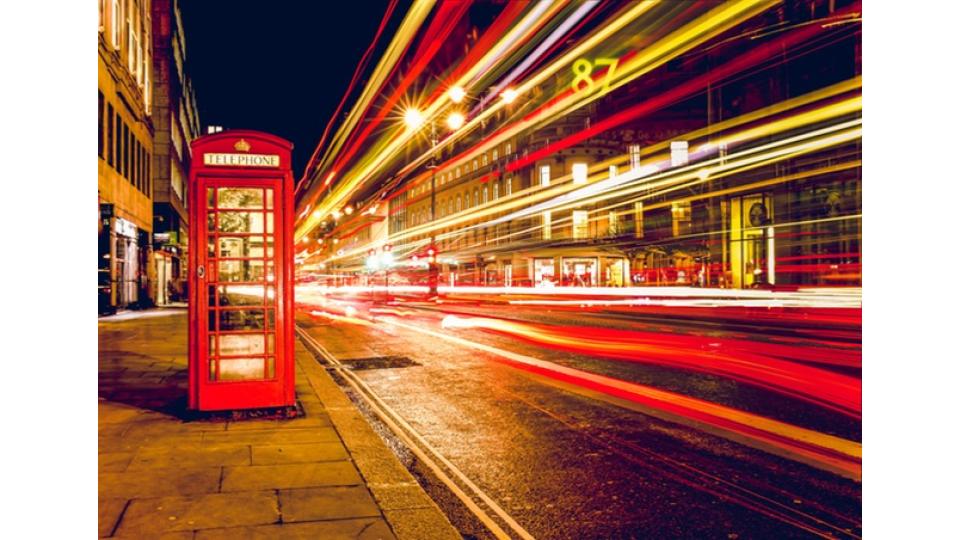
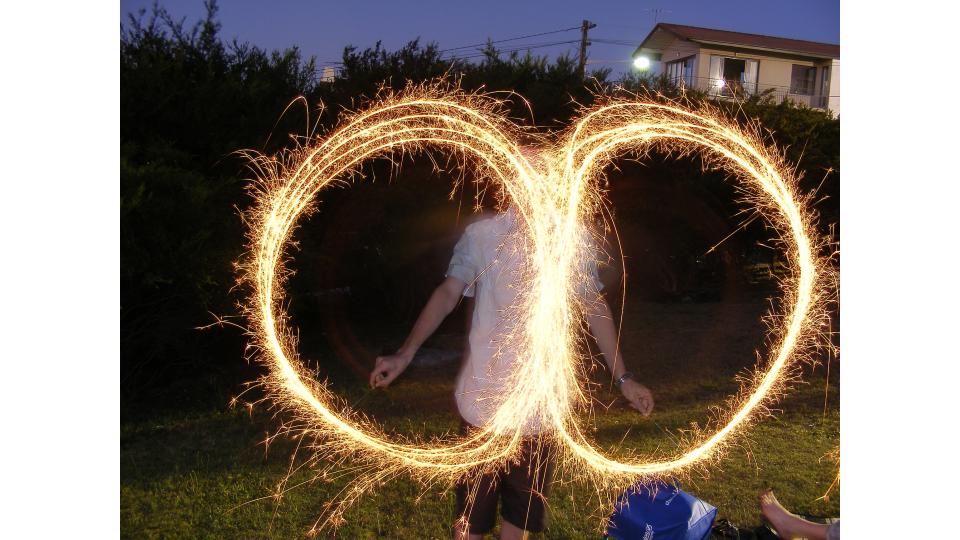
As using a slow shutter-speed tracks movement, this setting is useful for sports adverts, travel adverts, and any photograph used to show a busy area or the speed of an object.

Shutter-speed can be adjusted by turning the main control dial. Doing this makes the shutter-speed wither faster or slower, and so the shutter-speed can be adjusted easily depending on what kind of photograph is being taken.

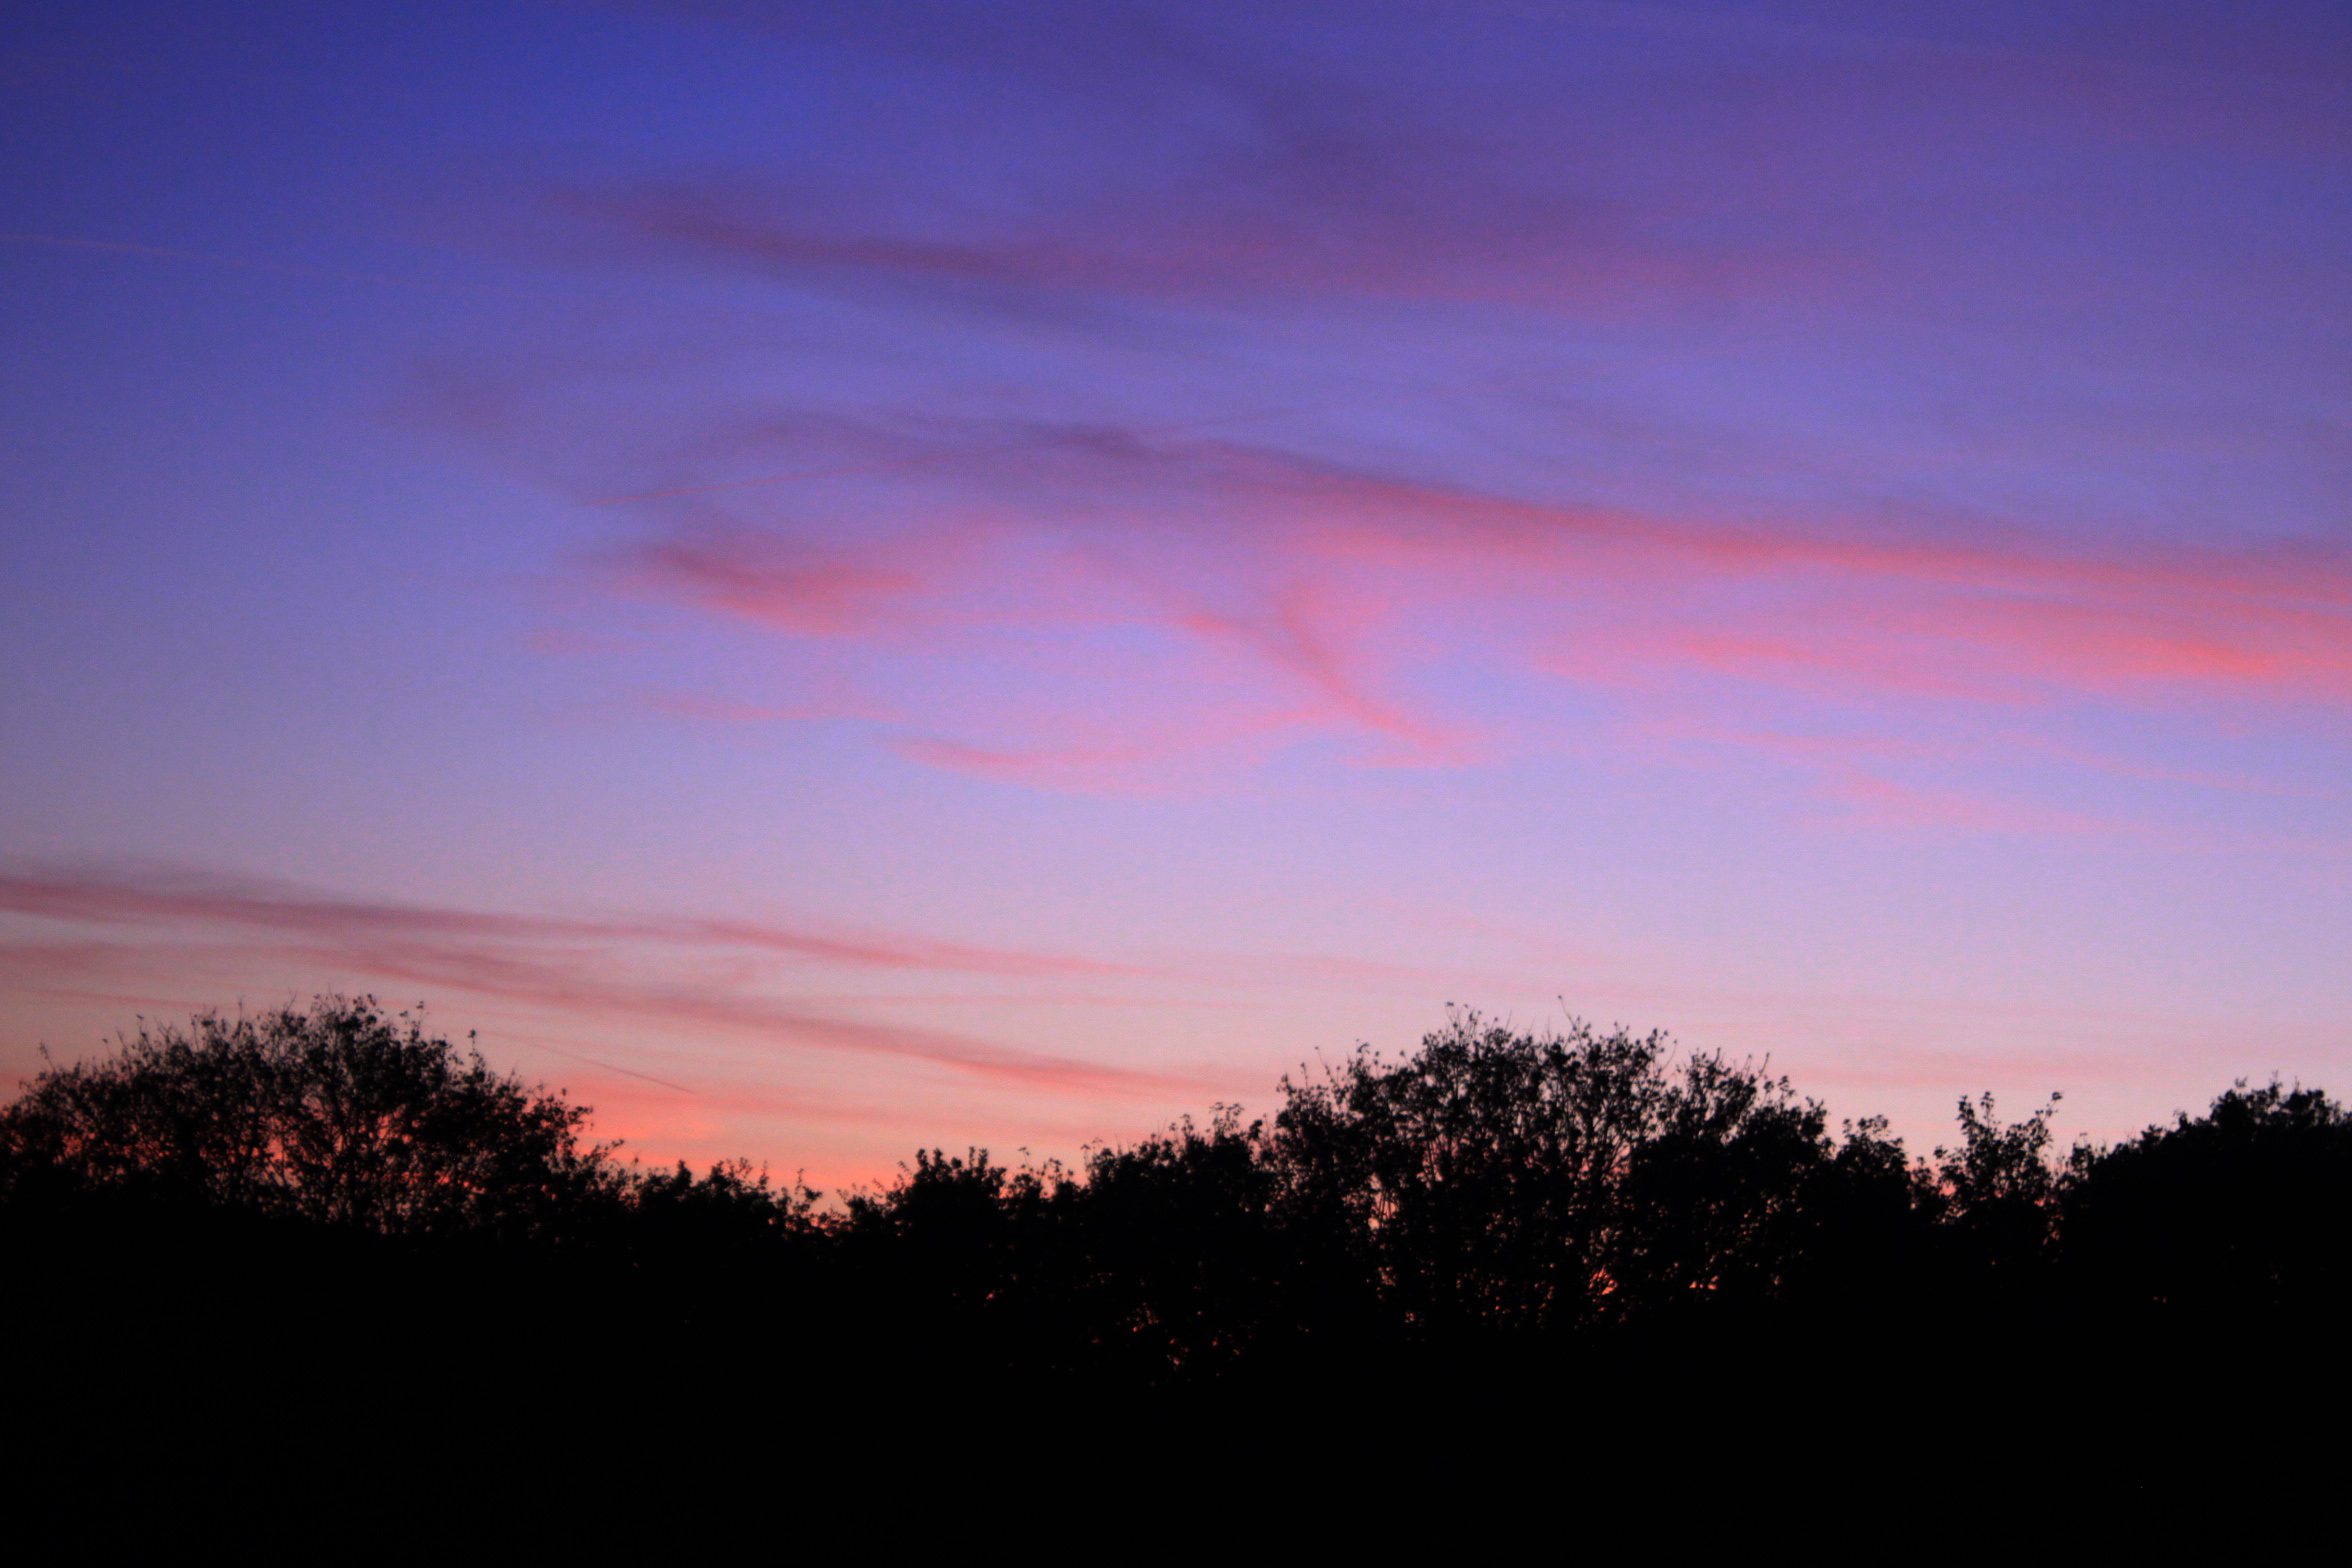
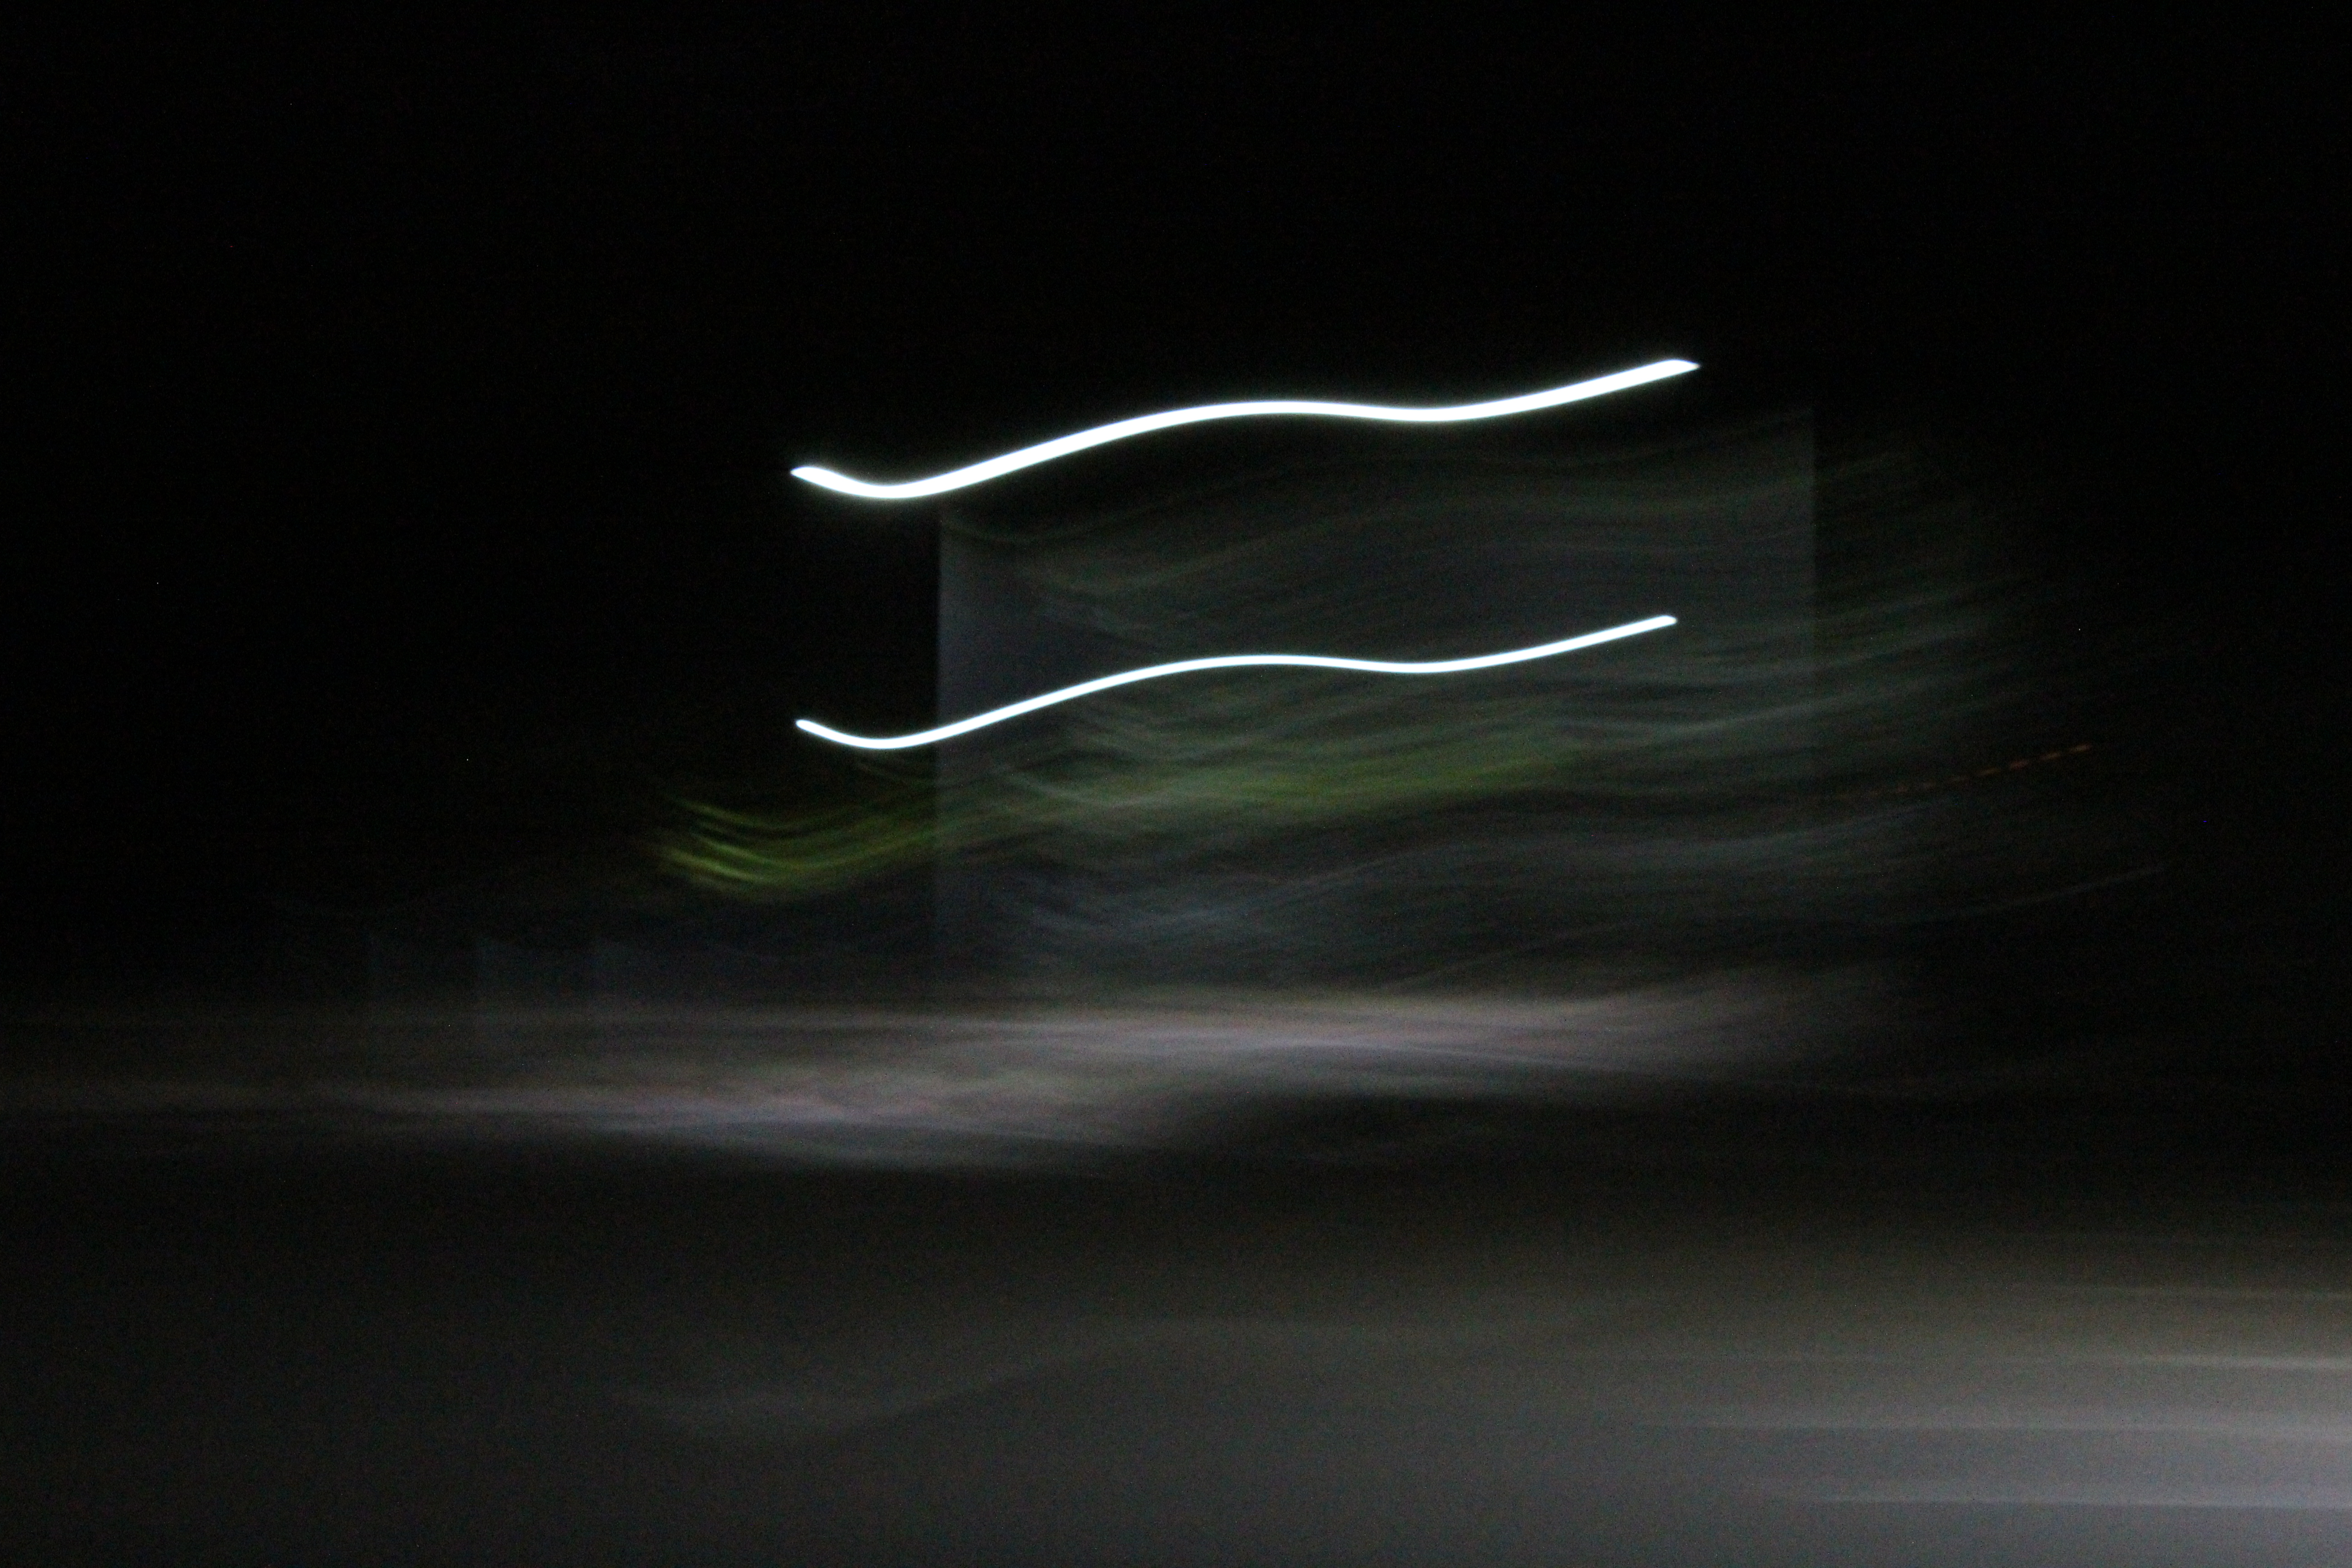
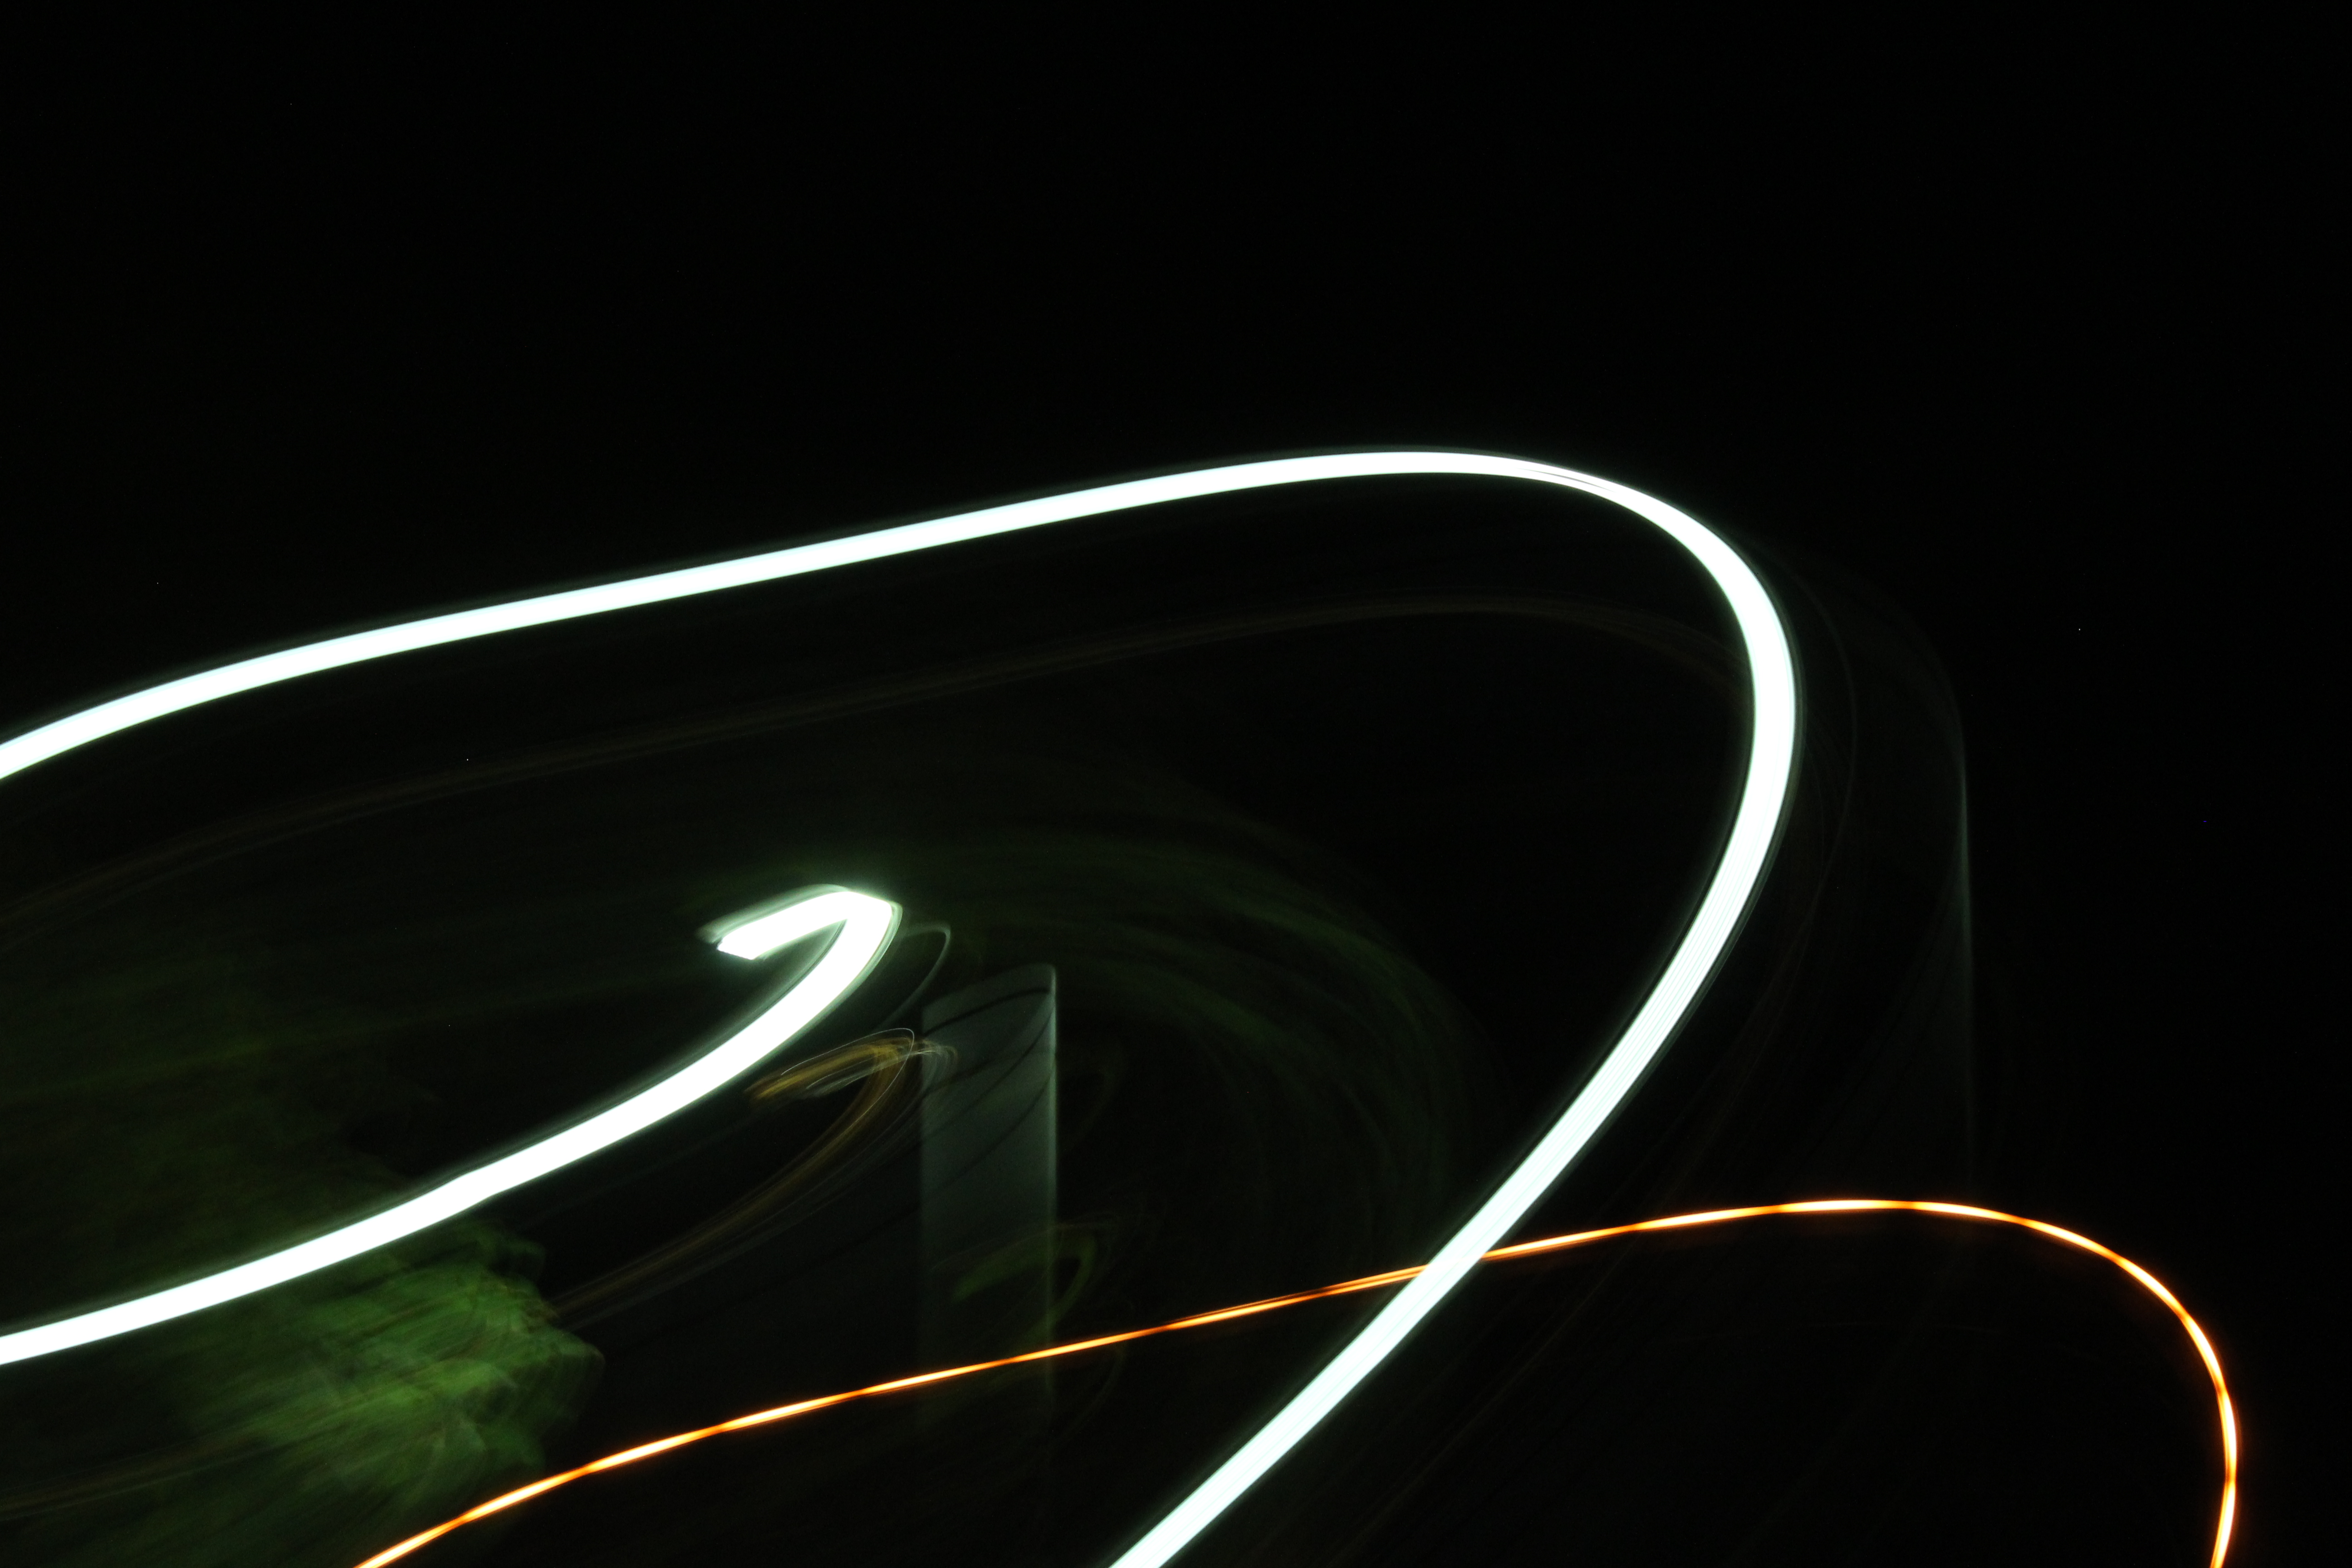
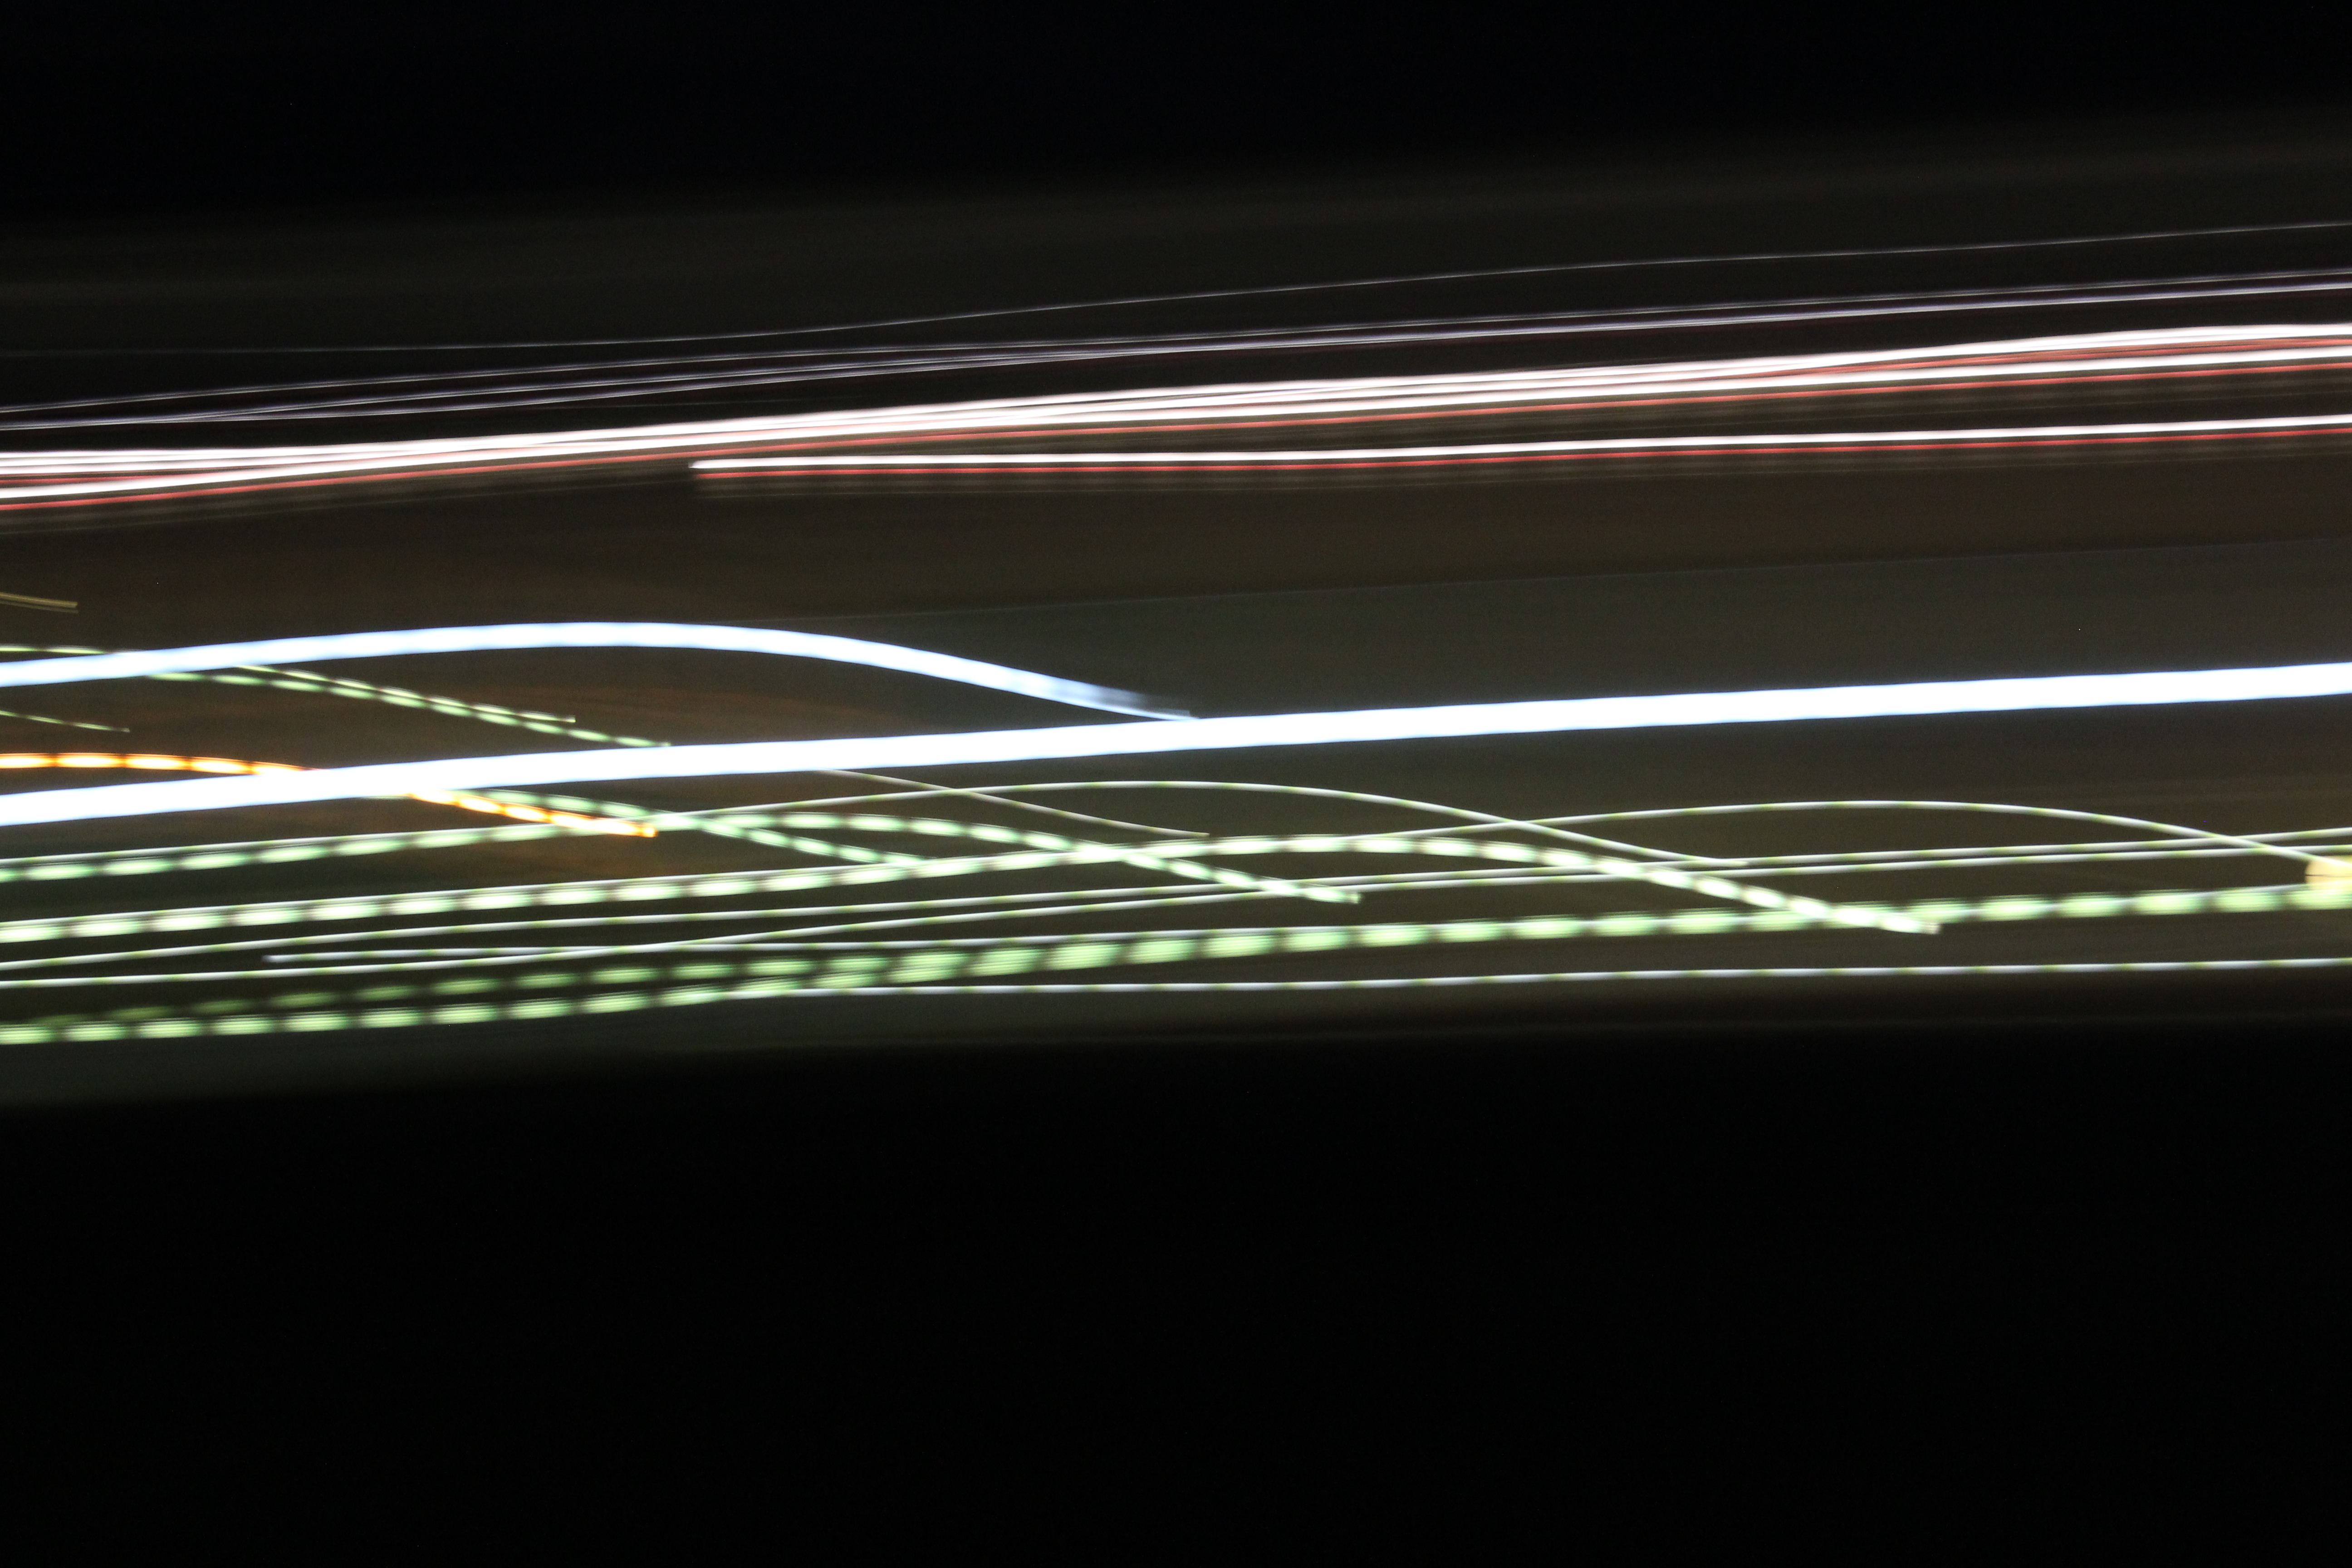
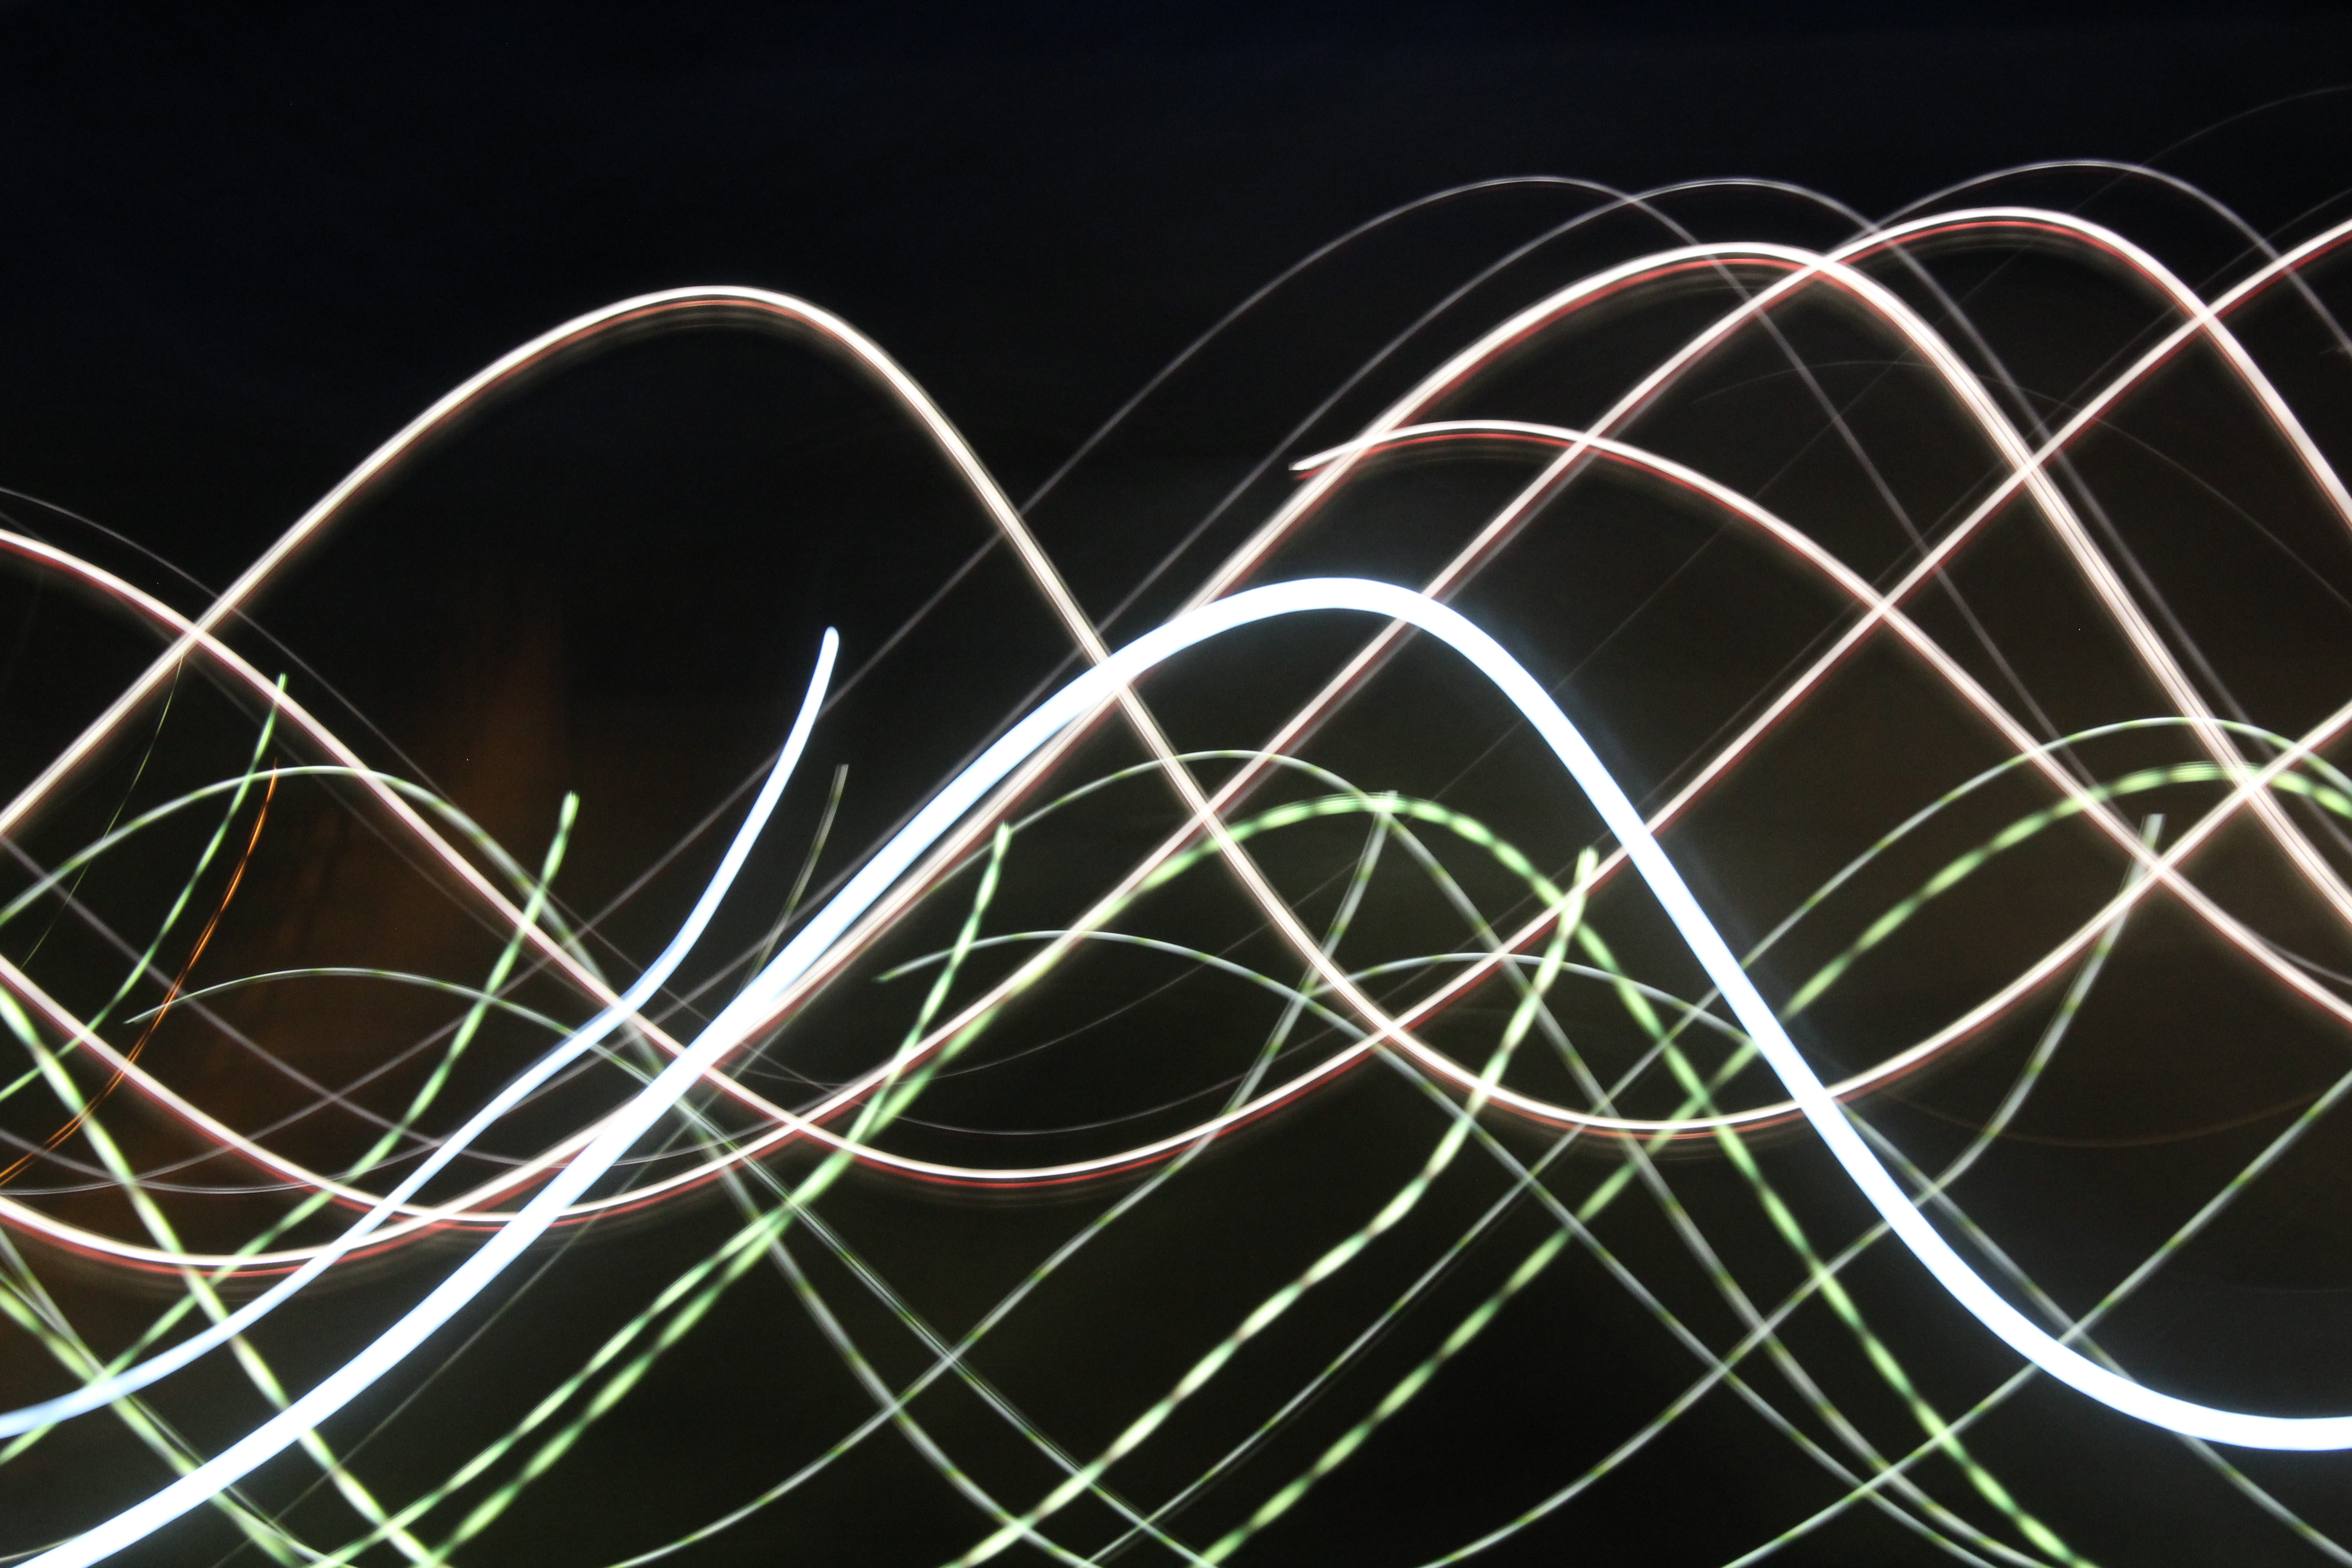
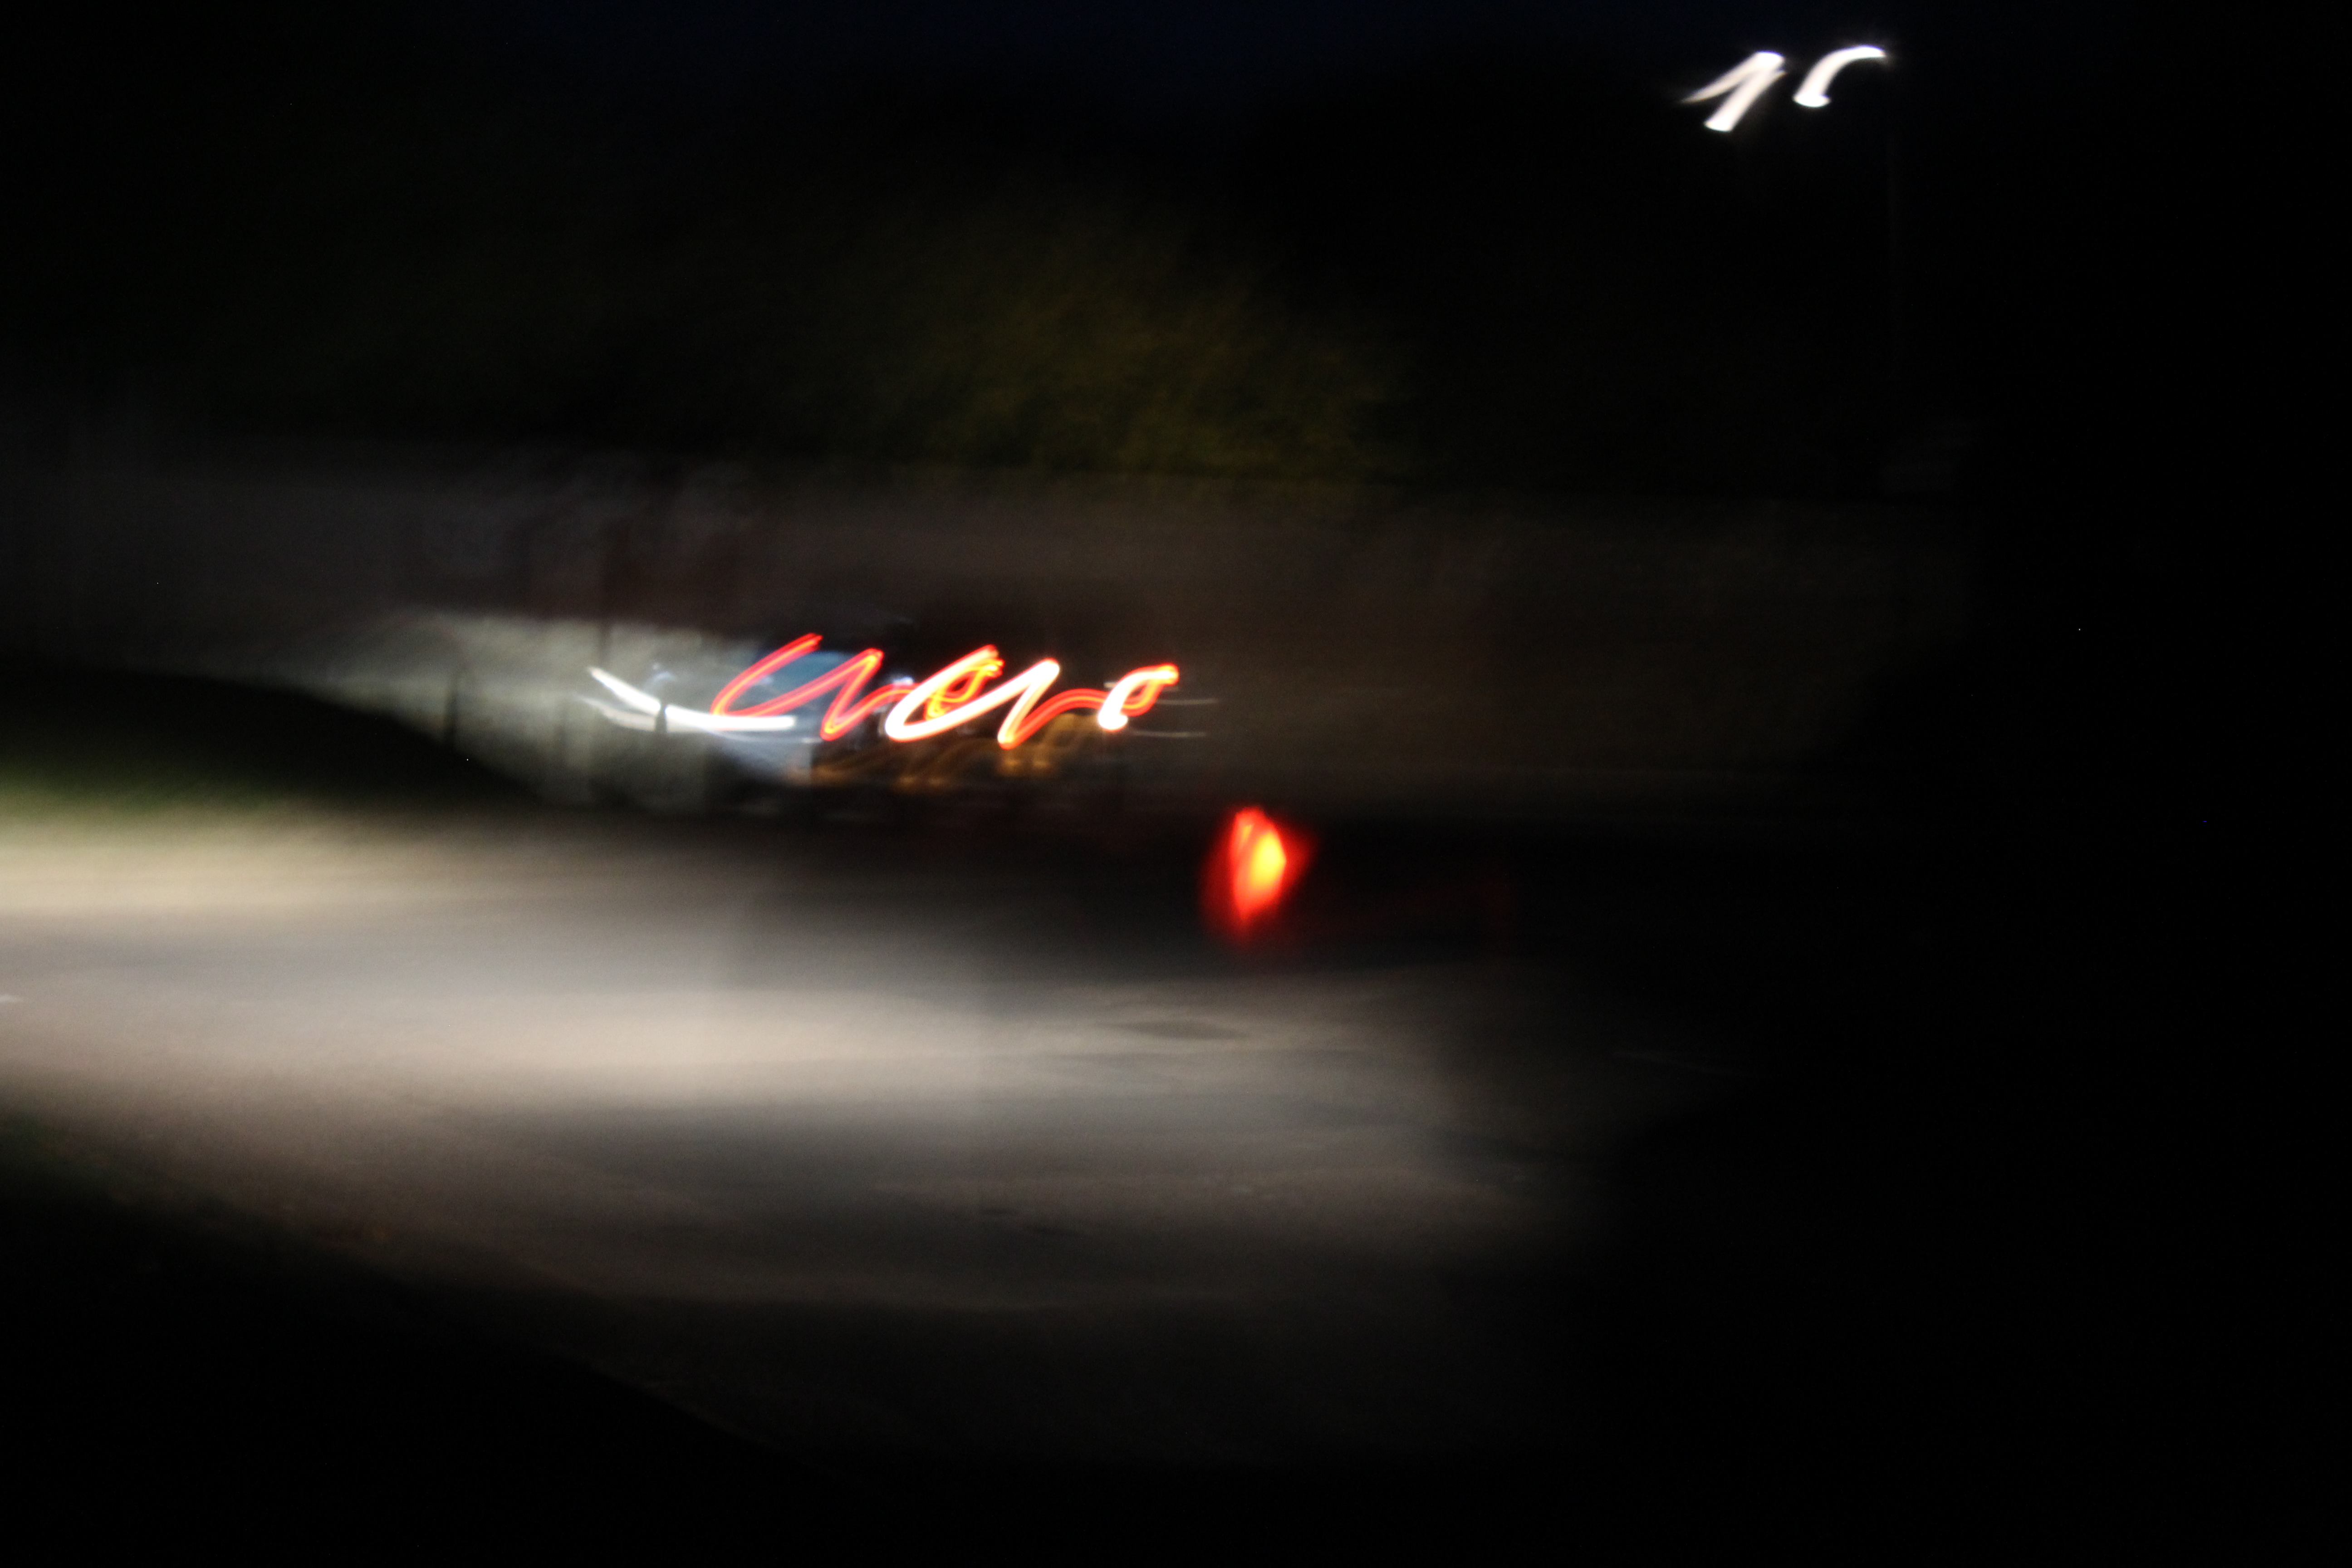
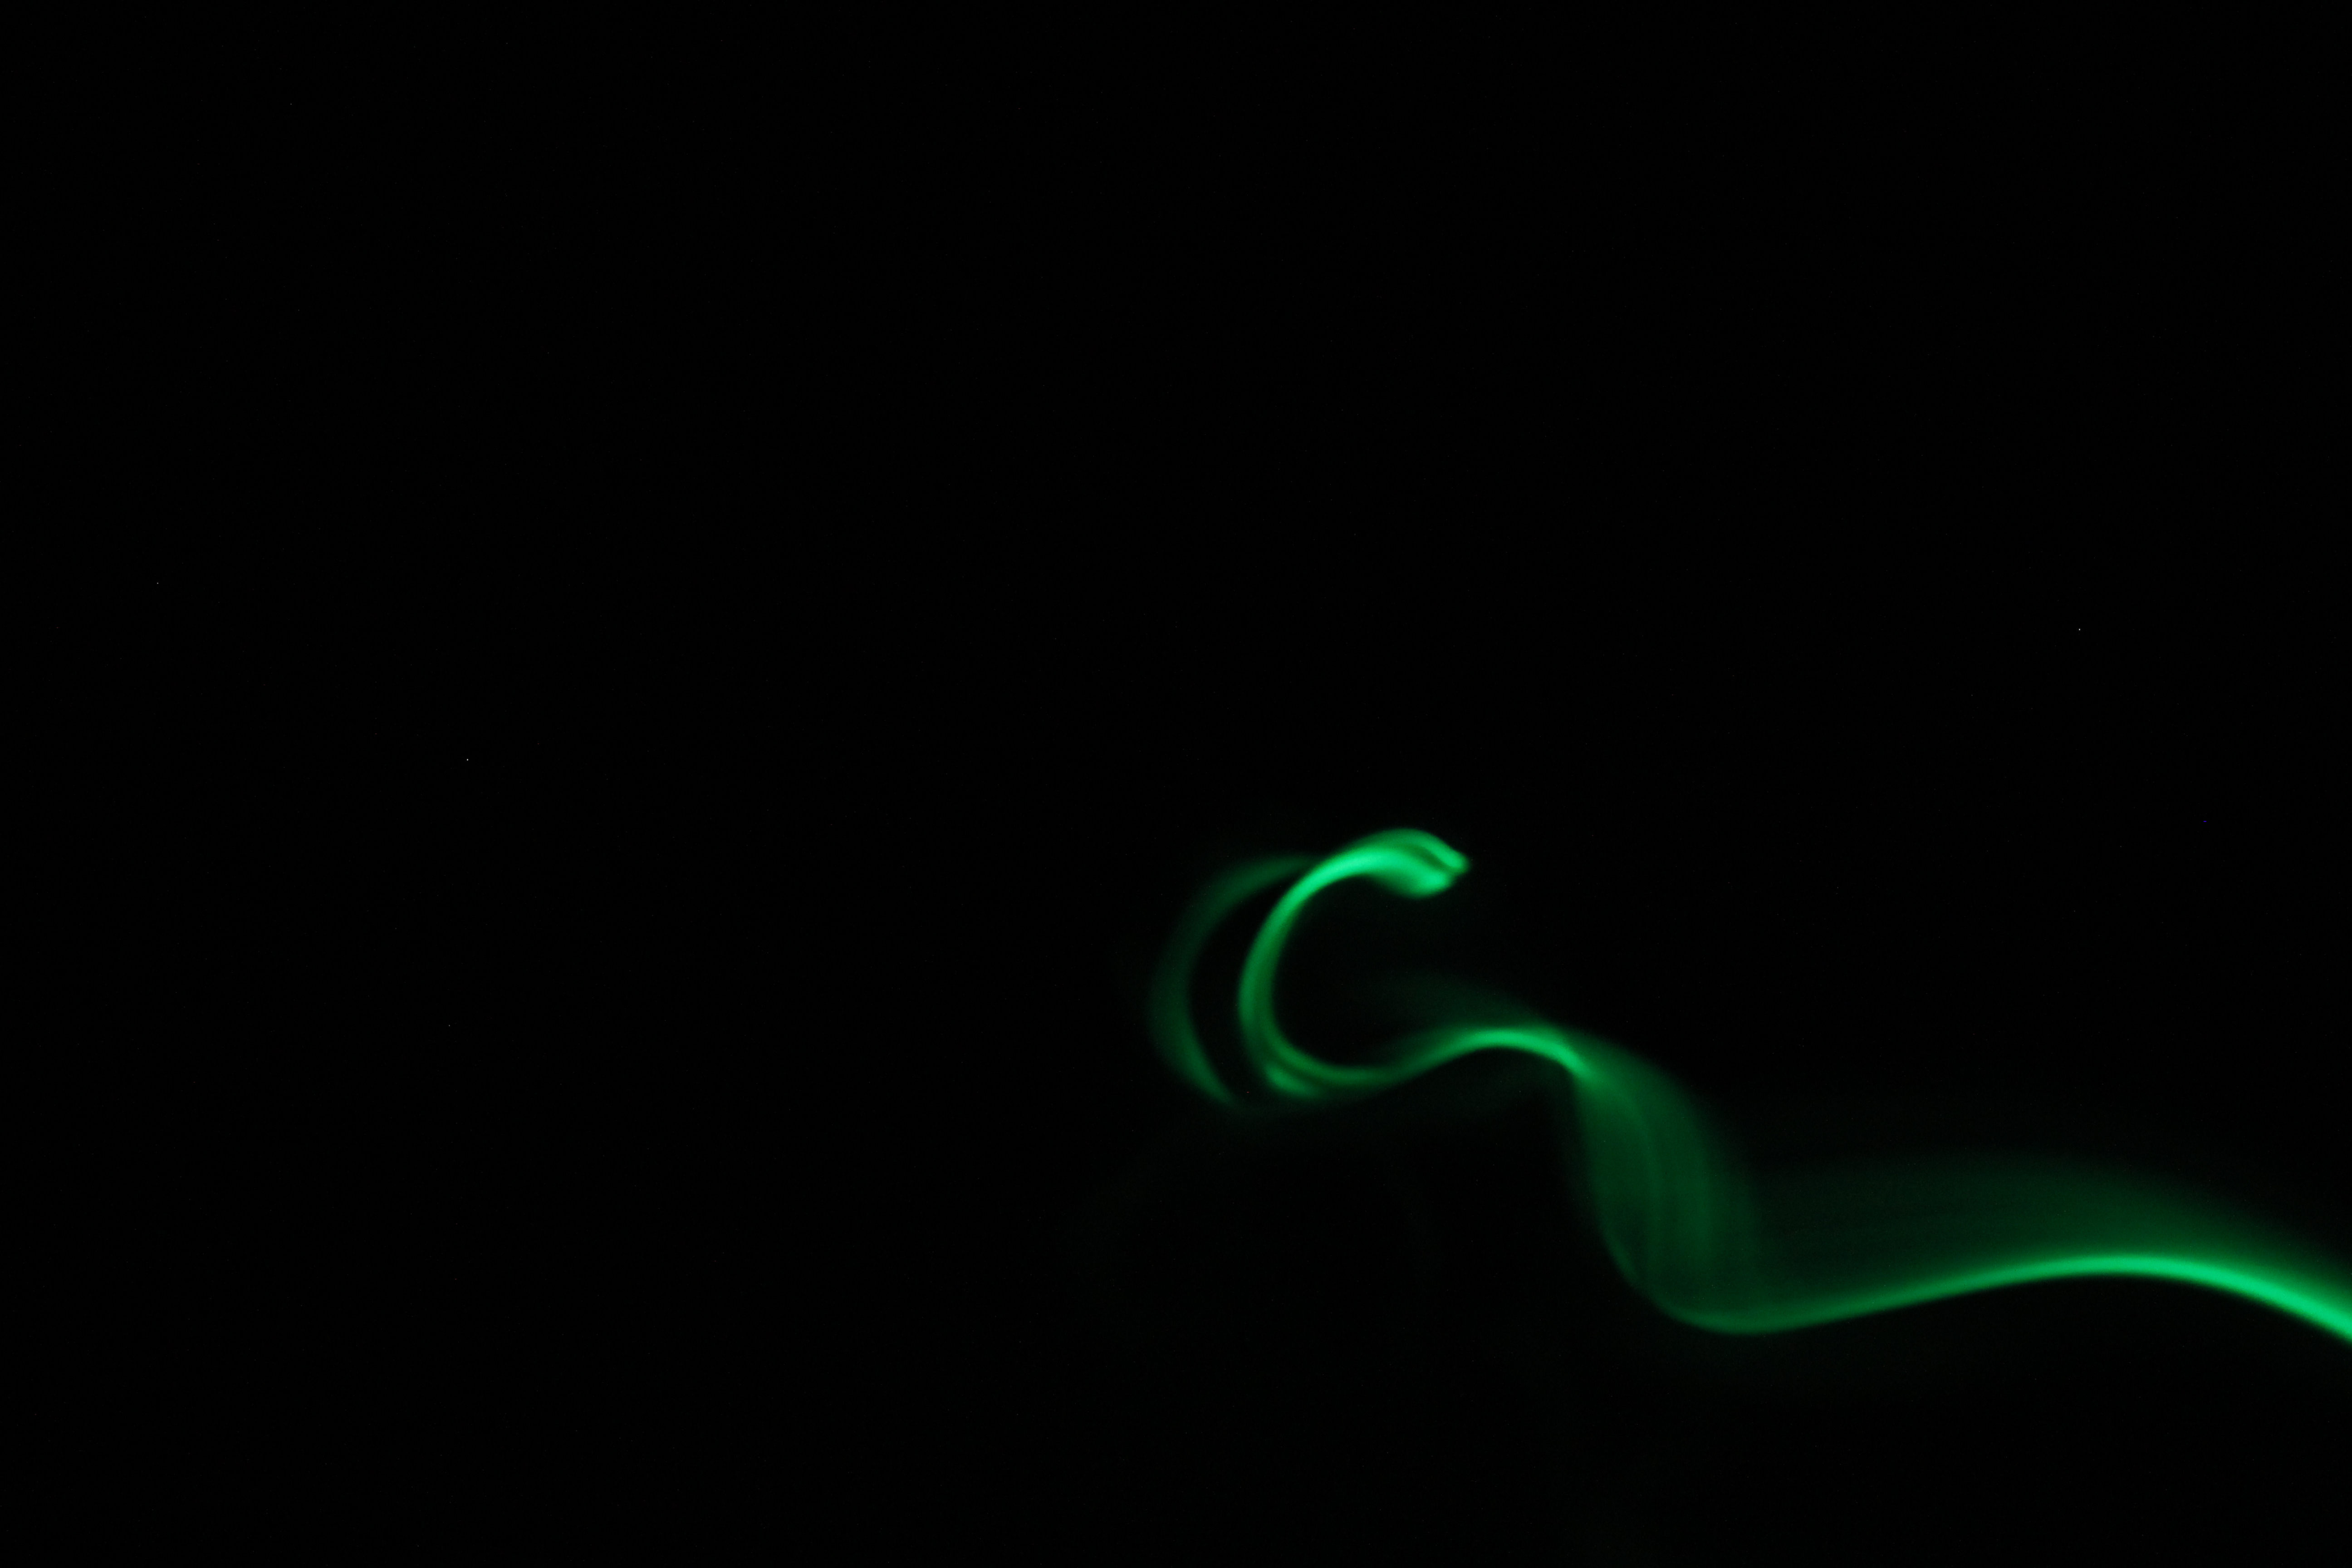
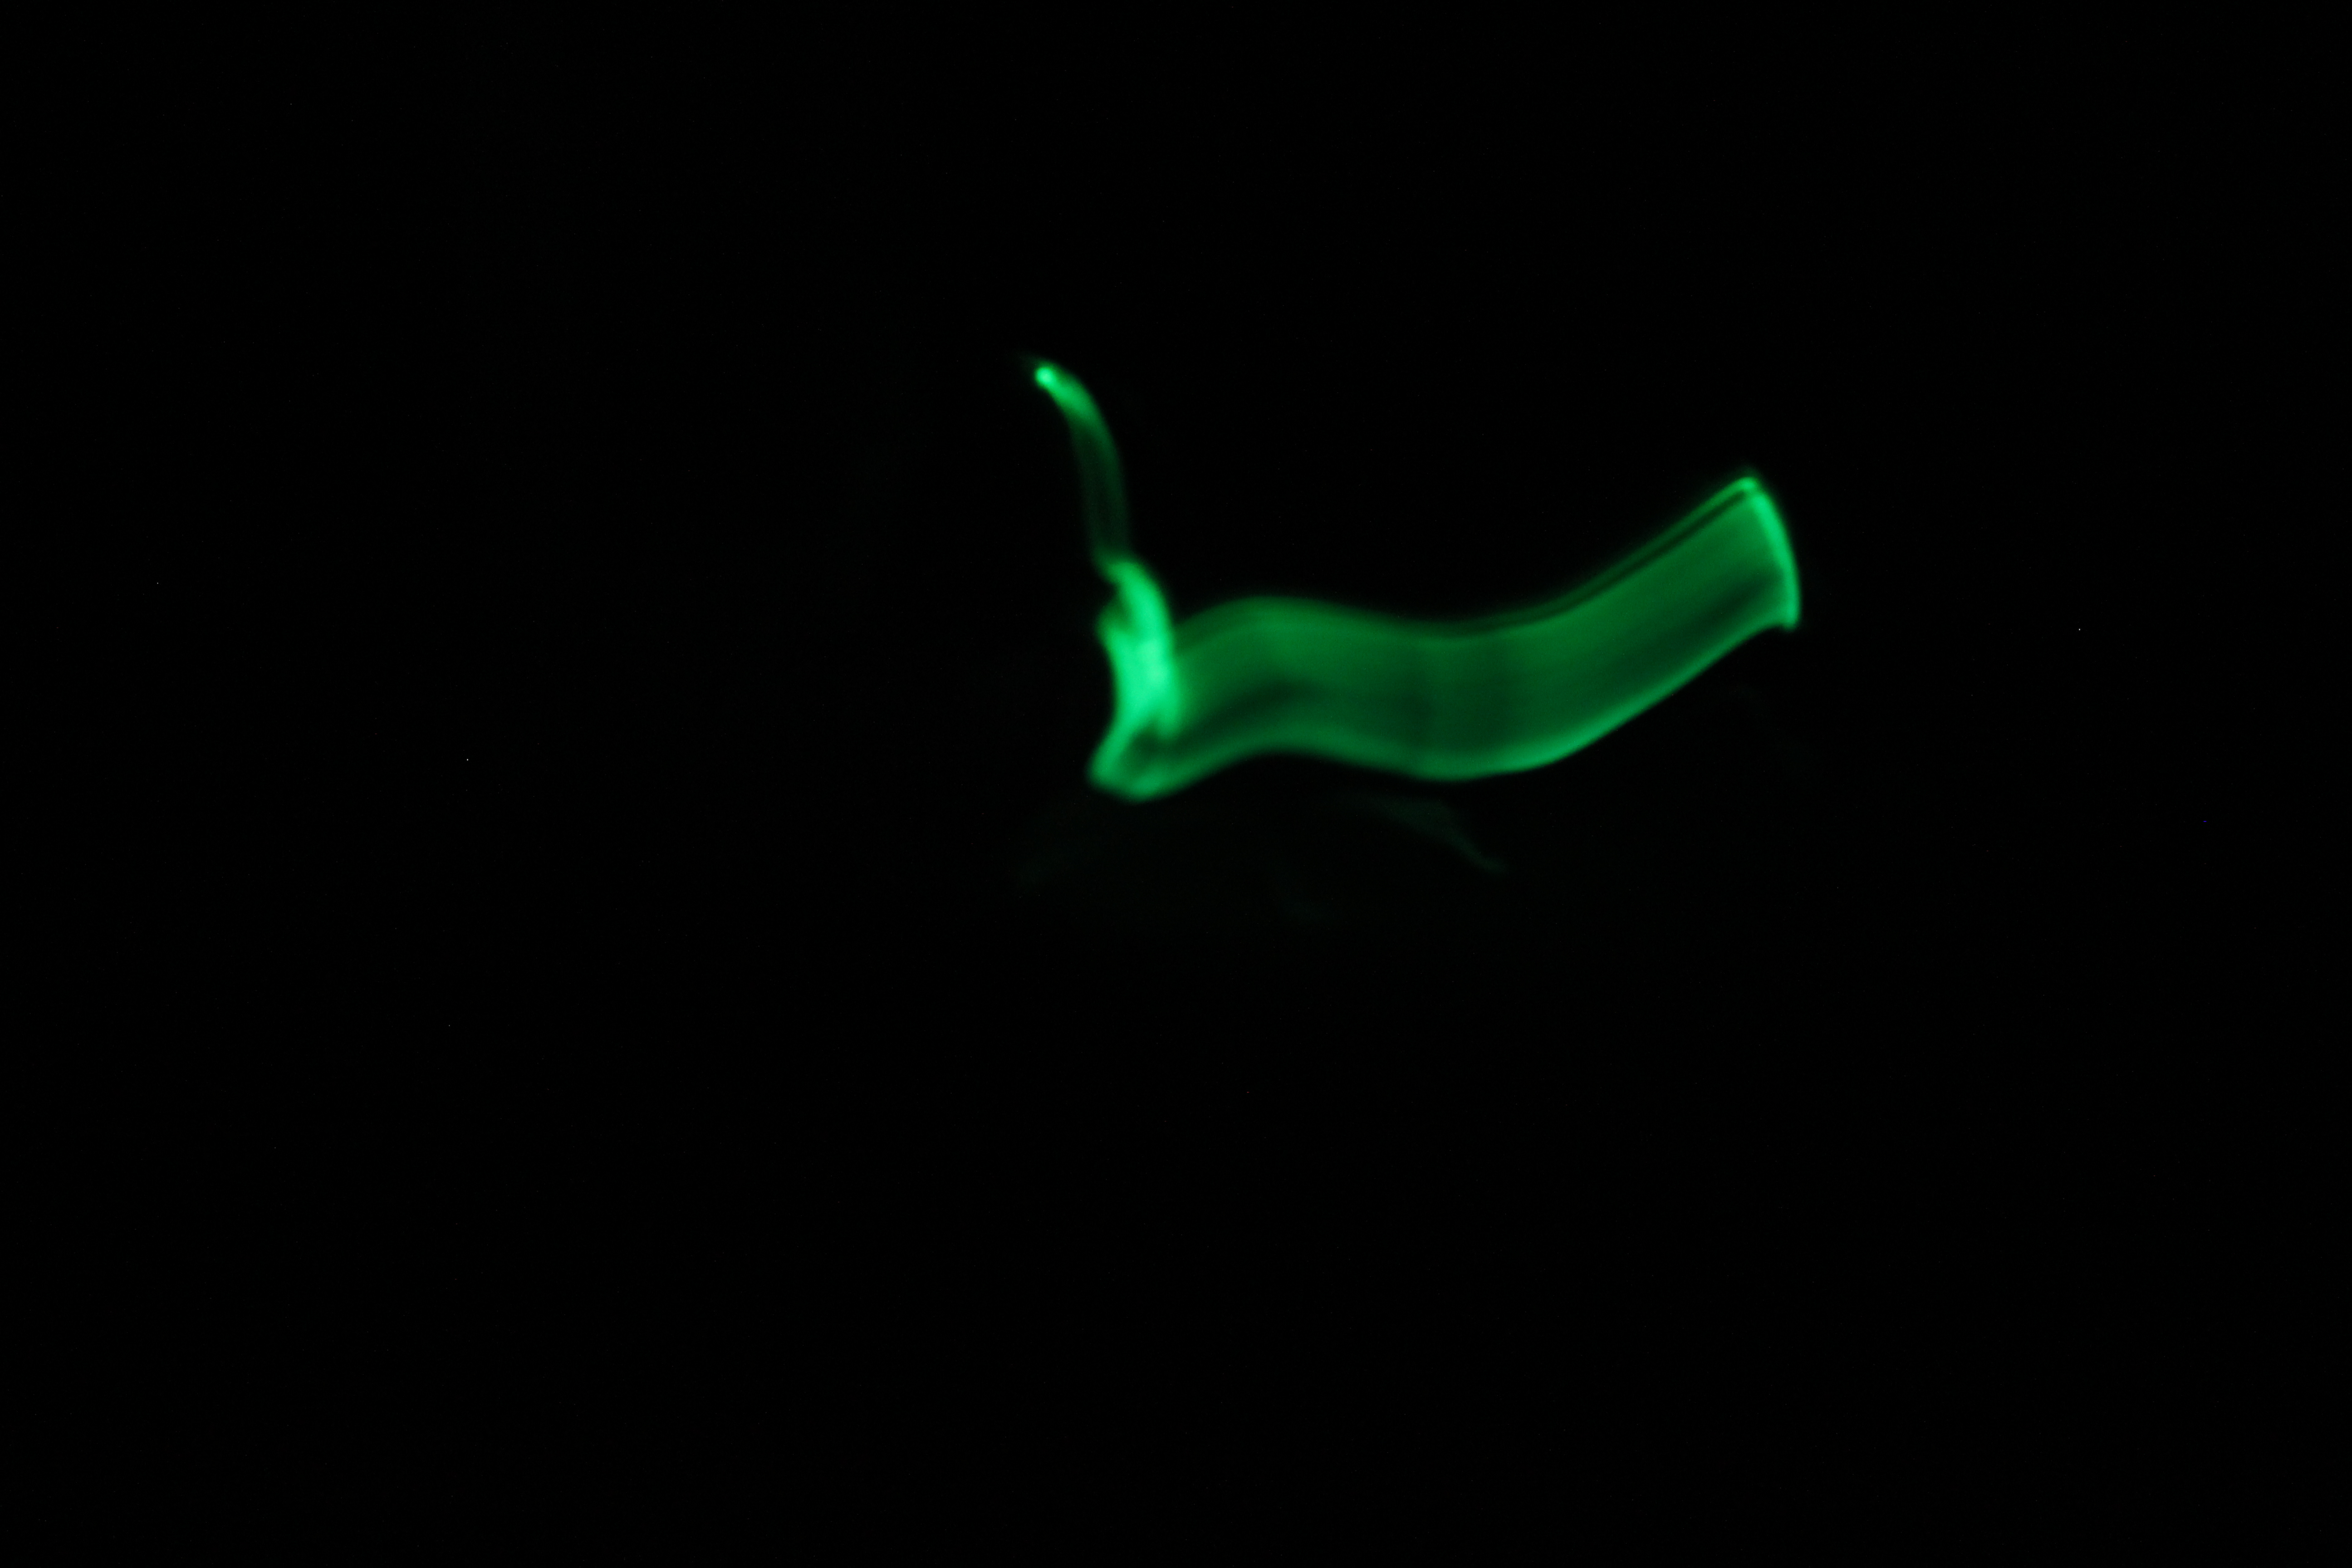
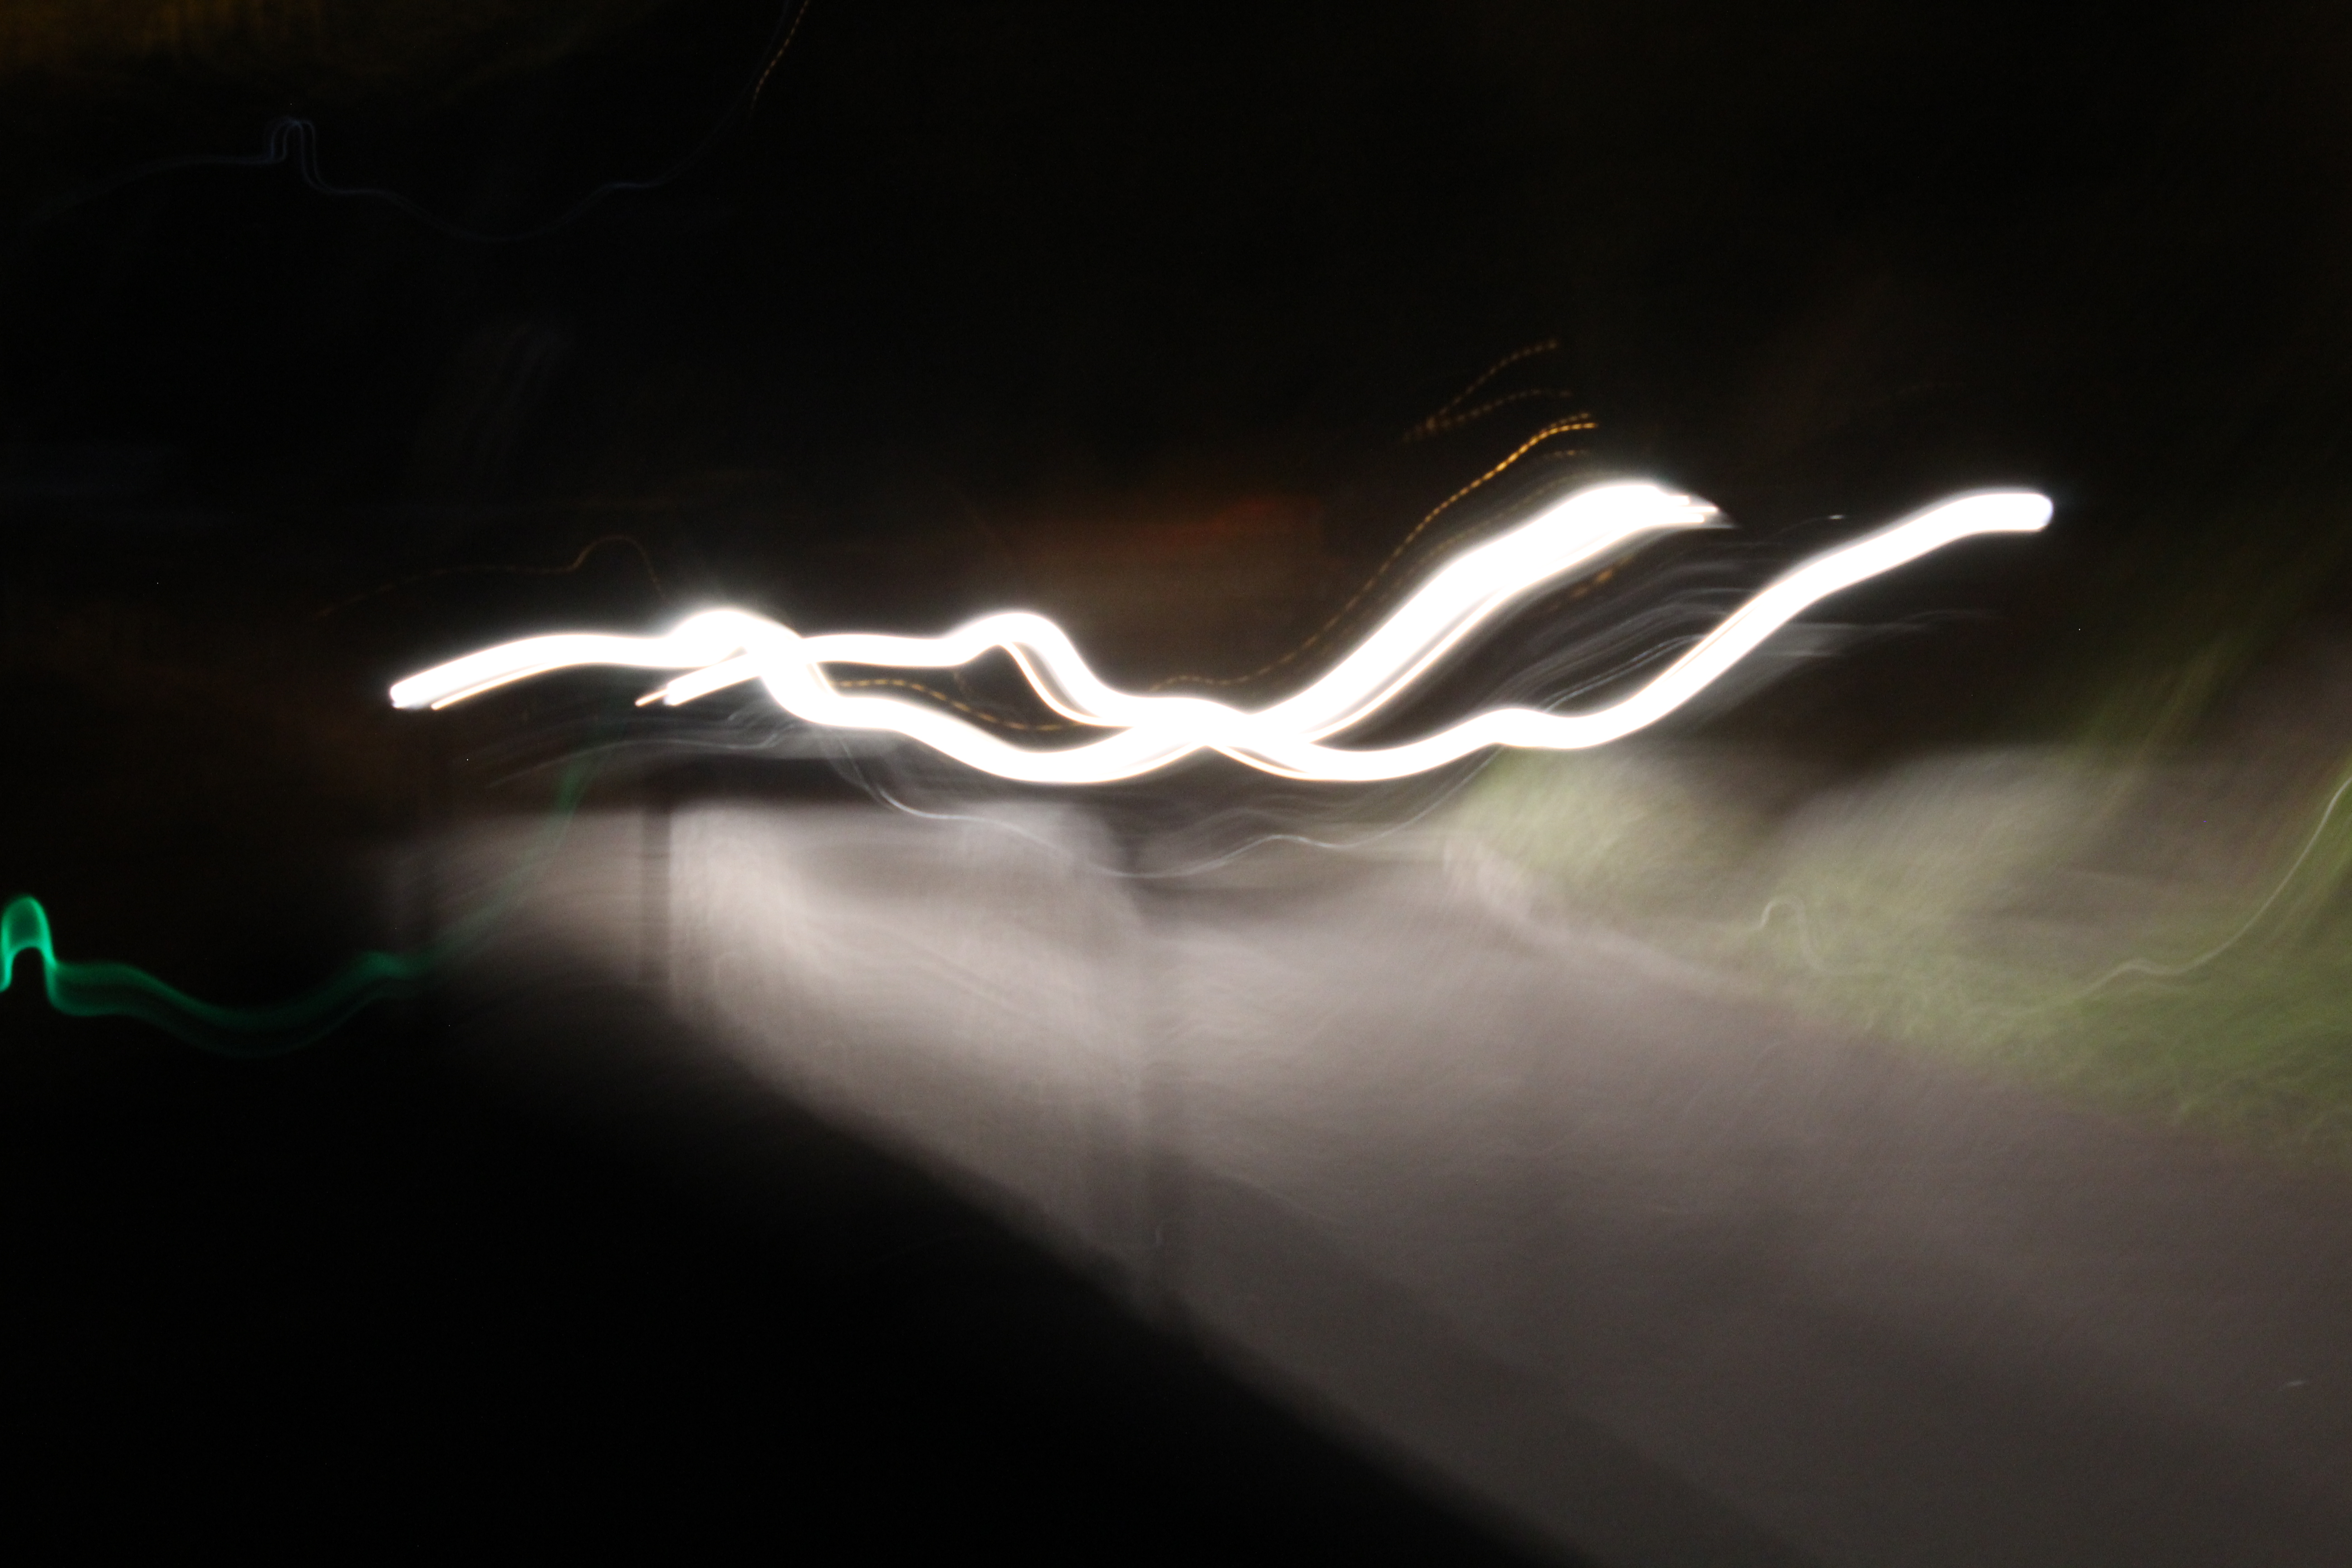
The following are examples of photographs I have taken using a slow shutter-speed (of 0 “4 or 0 “6):

These images are taken of light, late at night, as this best shows the movement in a clear and obvious way. In some of the photos the source of the light itself was moving (e.g a cars break lights), and in others I manually moved the camera. The movement of the light was tracked due to the slow shutter-speed, and an be seen in the images.

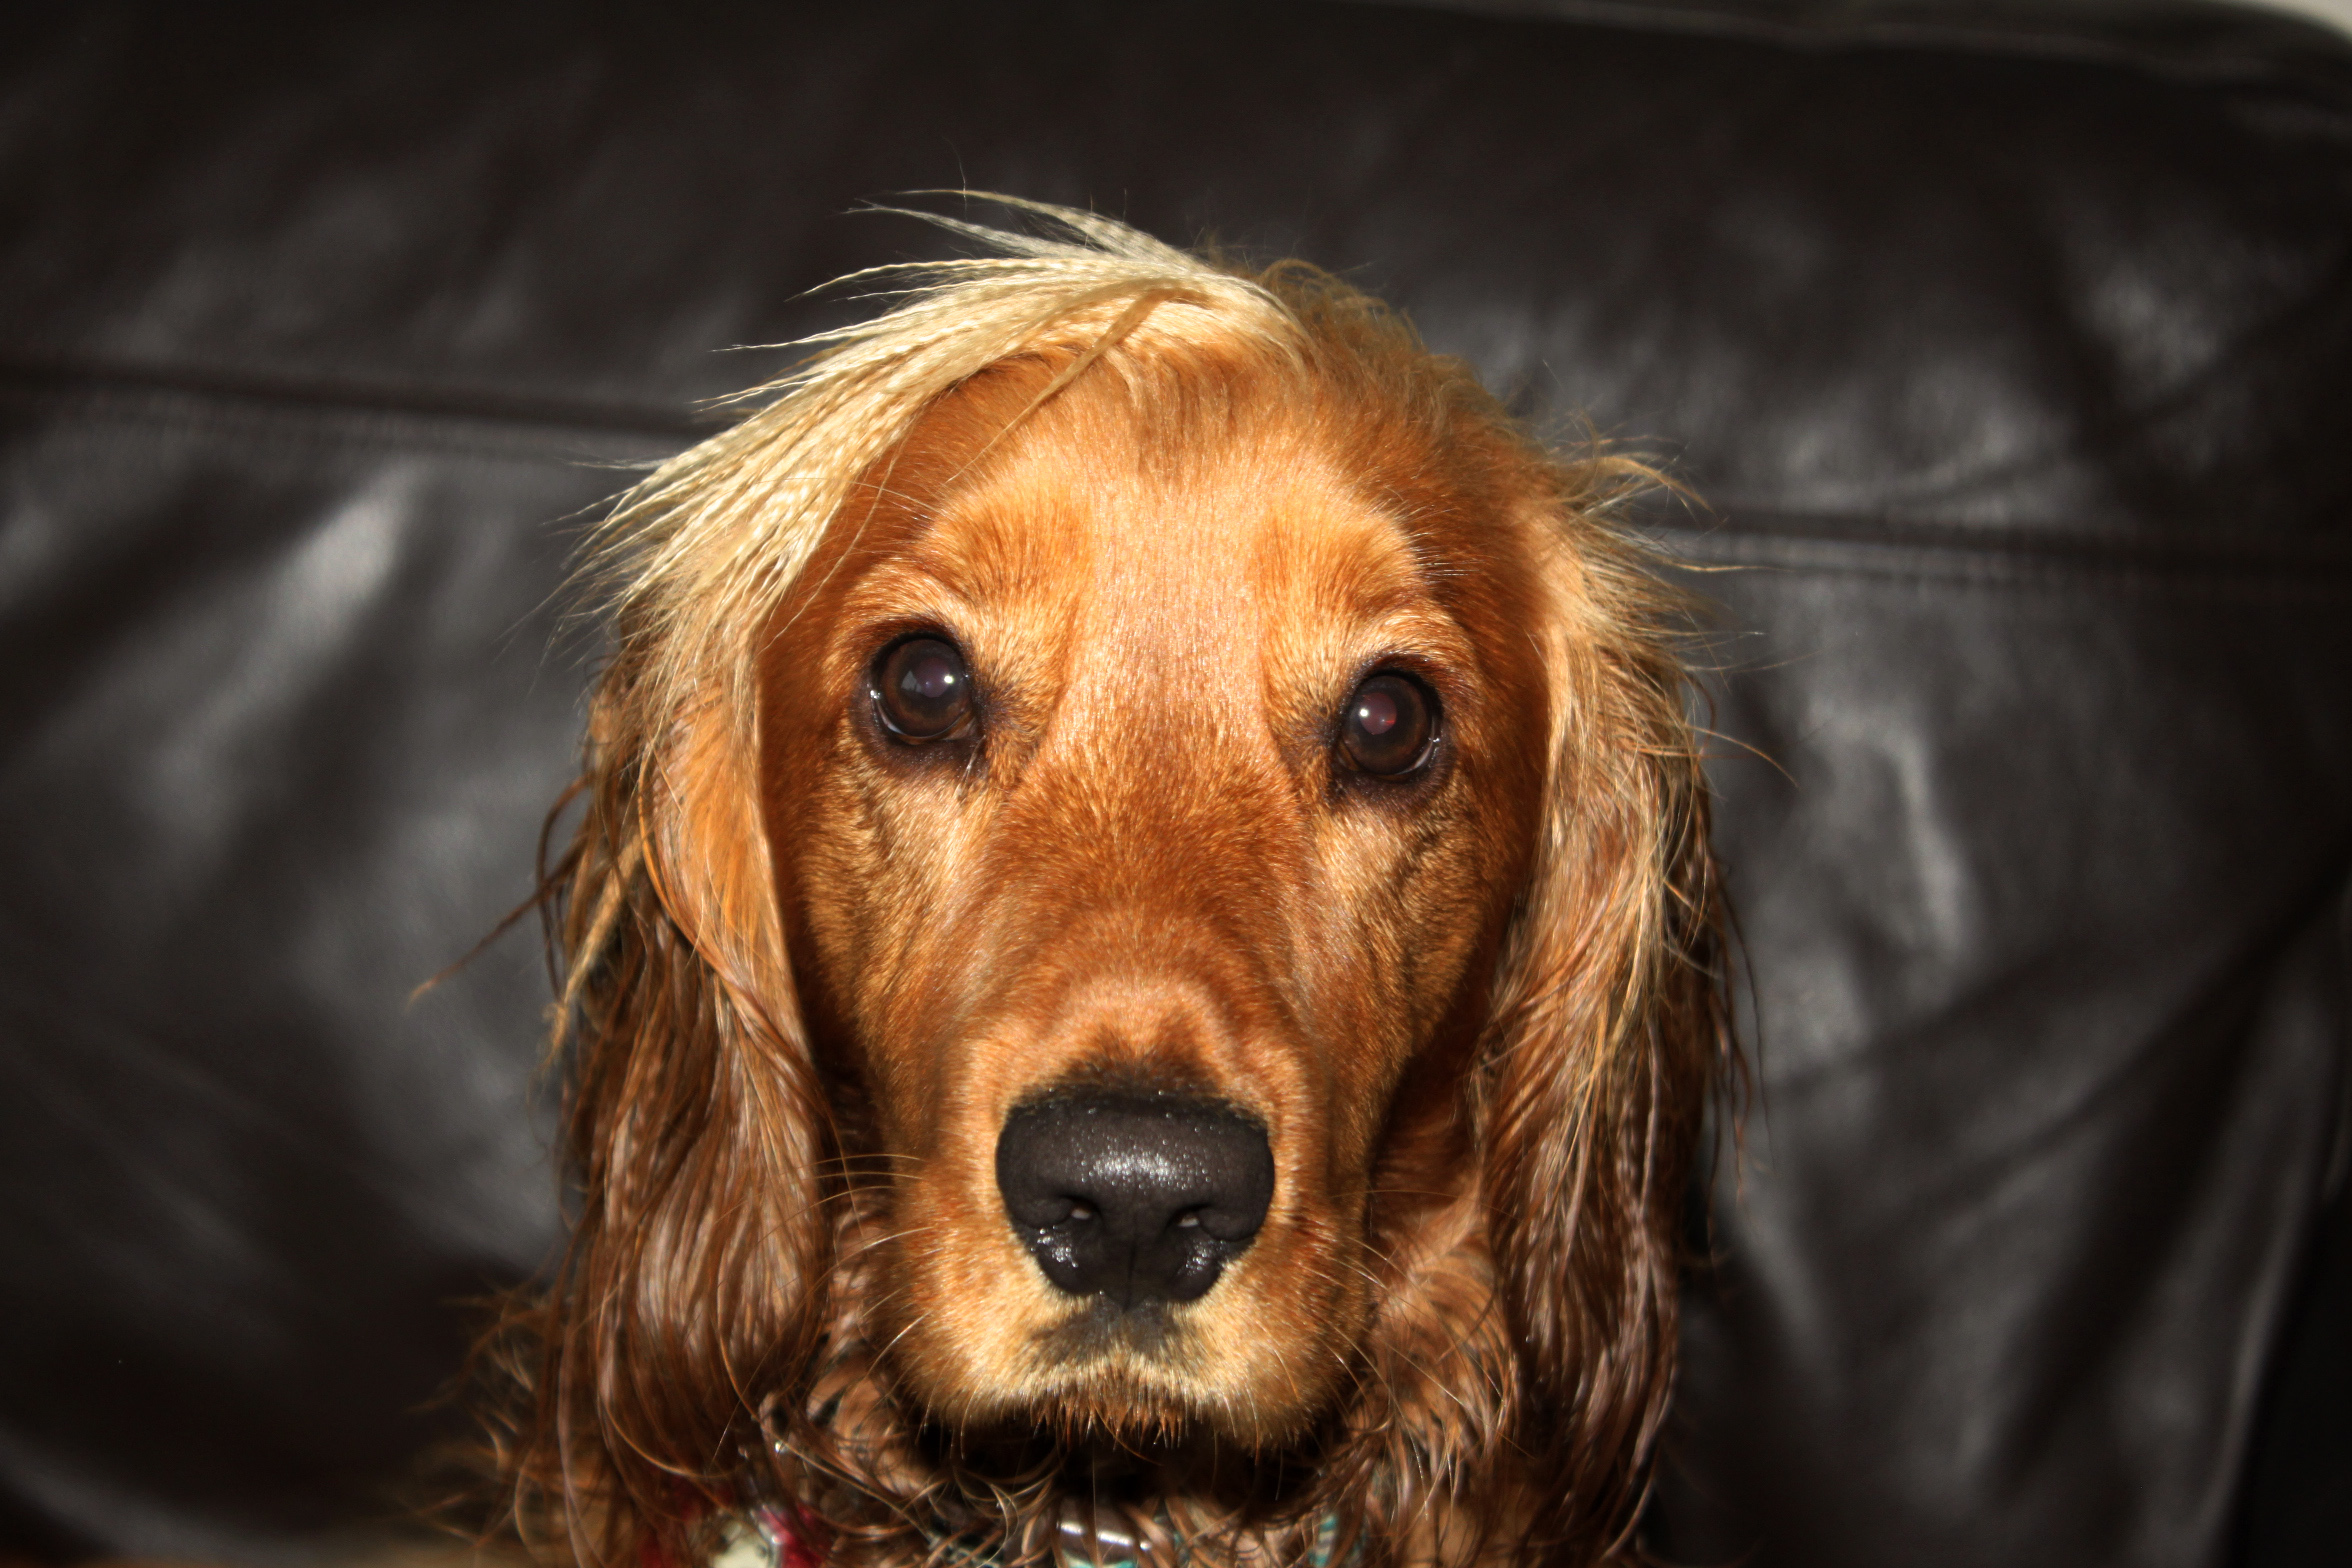
Shutter-speed can also be adjusted to become faster than normal, meaning that clear images of objects that are moving fast can be captured, showing a freeze-frame of the object without showing it’s movement. Examples of images using a fast shutter-speed can be seen below:

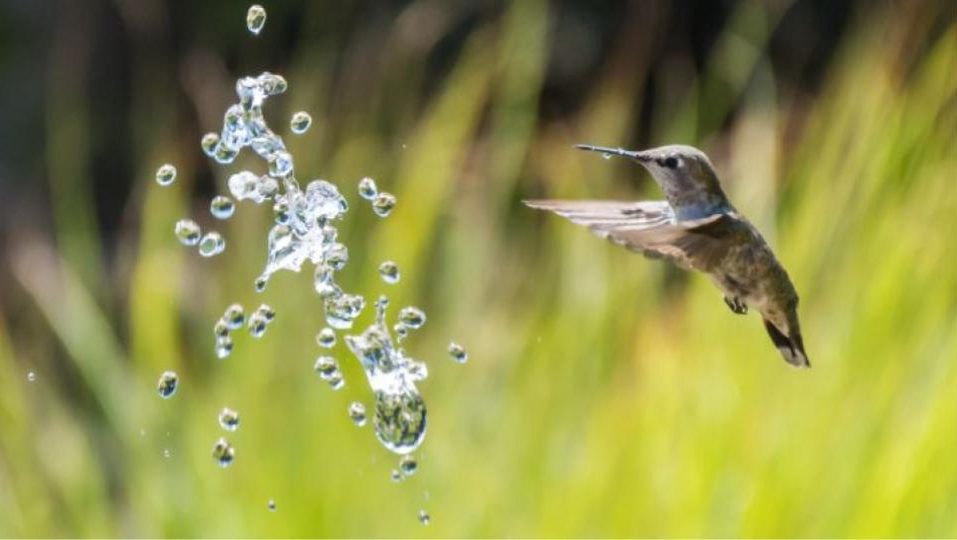
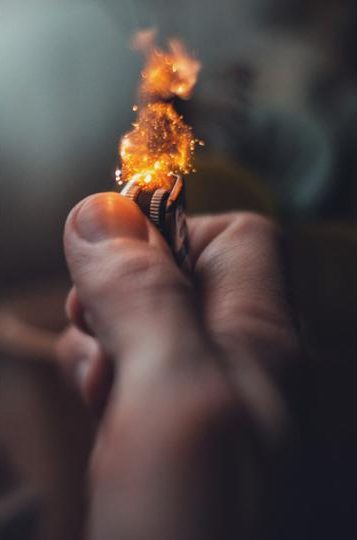
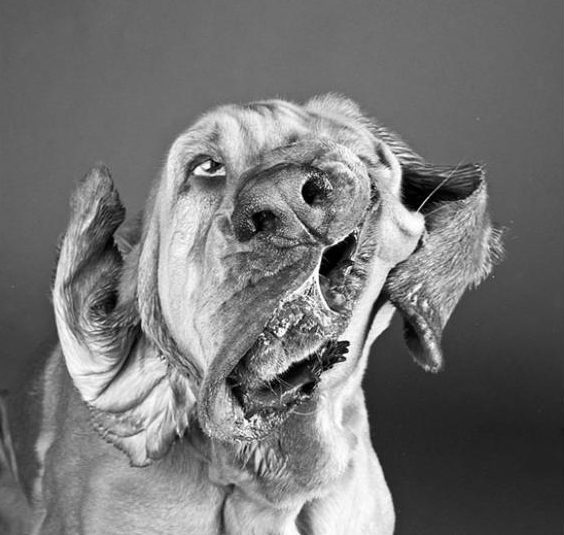
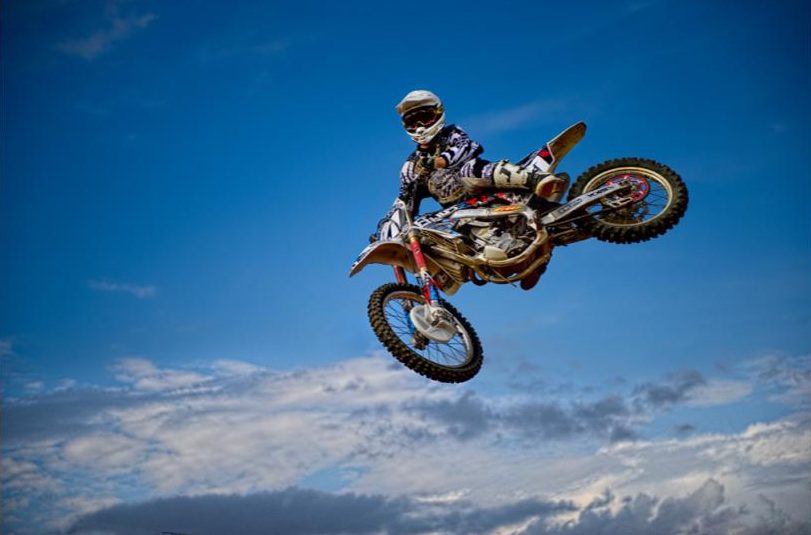
Images like these can be taken and used to show a different perspective of a familiar situation, freezing what is normally a fast action (like a dog shaking). This gives the viewer an interesting look at a situation, and can be used to draw the eye and increase interest.

KELD HELMER- PETERSEN

Keld Helmer- Petersen

Keld Helmer- Petersen was a Danish photographer who took abstract photos for his career. He was inspired by Albert Renger- Patzsch and achieved fame for his colour photographs. He typically took his photographs in daylight. His images had strong tone with light and dark contrasting each other. Peterson was thought to be very fond of line as it is the majority of his work. He also used a lot of patterns.

My interpretation..

After researching about Helmer- Petersen and taking influence from his photography pieces i have chosen four abstract images i have previously taken to edit on Photoshop. In order to edit my images to make them look similar to Helmer- Petersen’s, i have adjusted the threshold, by selecting ‘ adjustments’ after uploading my previous image to Photoshop. I then adjusted the threshold until i was happy with the contrasted image.


My final pieceĀ 

For my final pieces, i have made my images heavily contrasted using Photoshop as well as removing all the mid tones and i think they have turned out very successful. Because of the bird cage i have used for two of the pics has the cage effect, this has created the ‘line effect’ that Helmer- Petersen was known to be fond of. I also think that because there was an original reflection of the spoons in the first image it has helped to add more shadowing to the image as well as adding more depth.