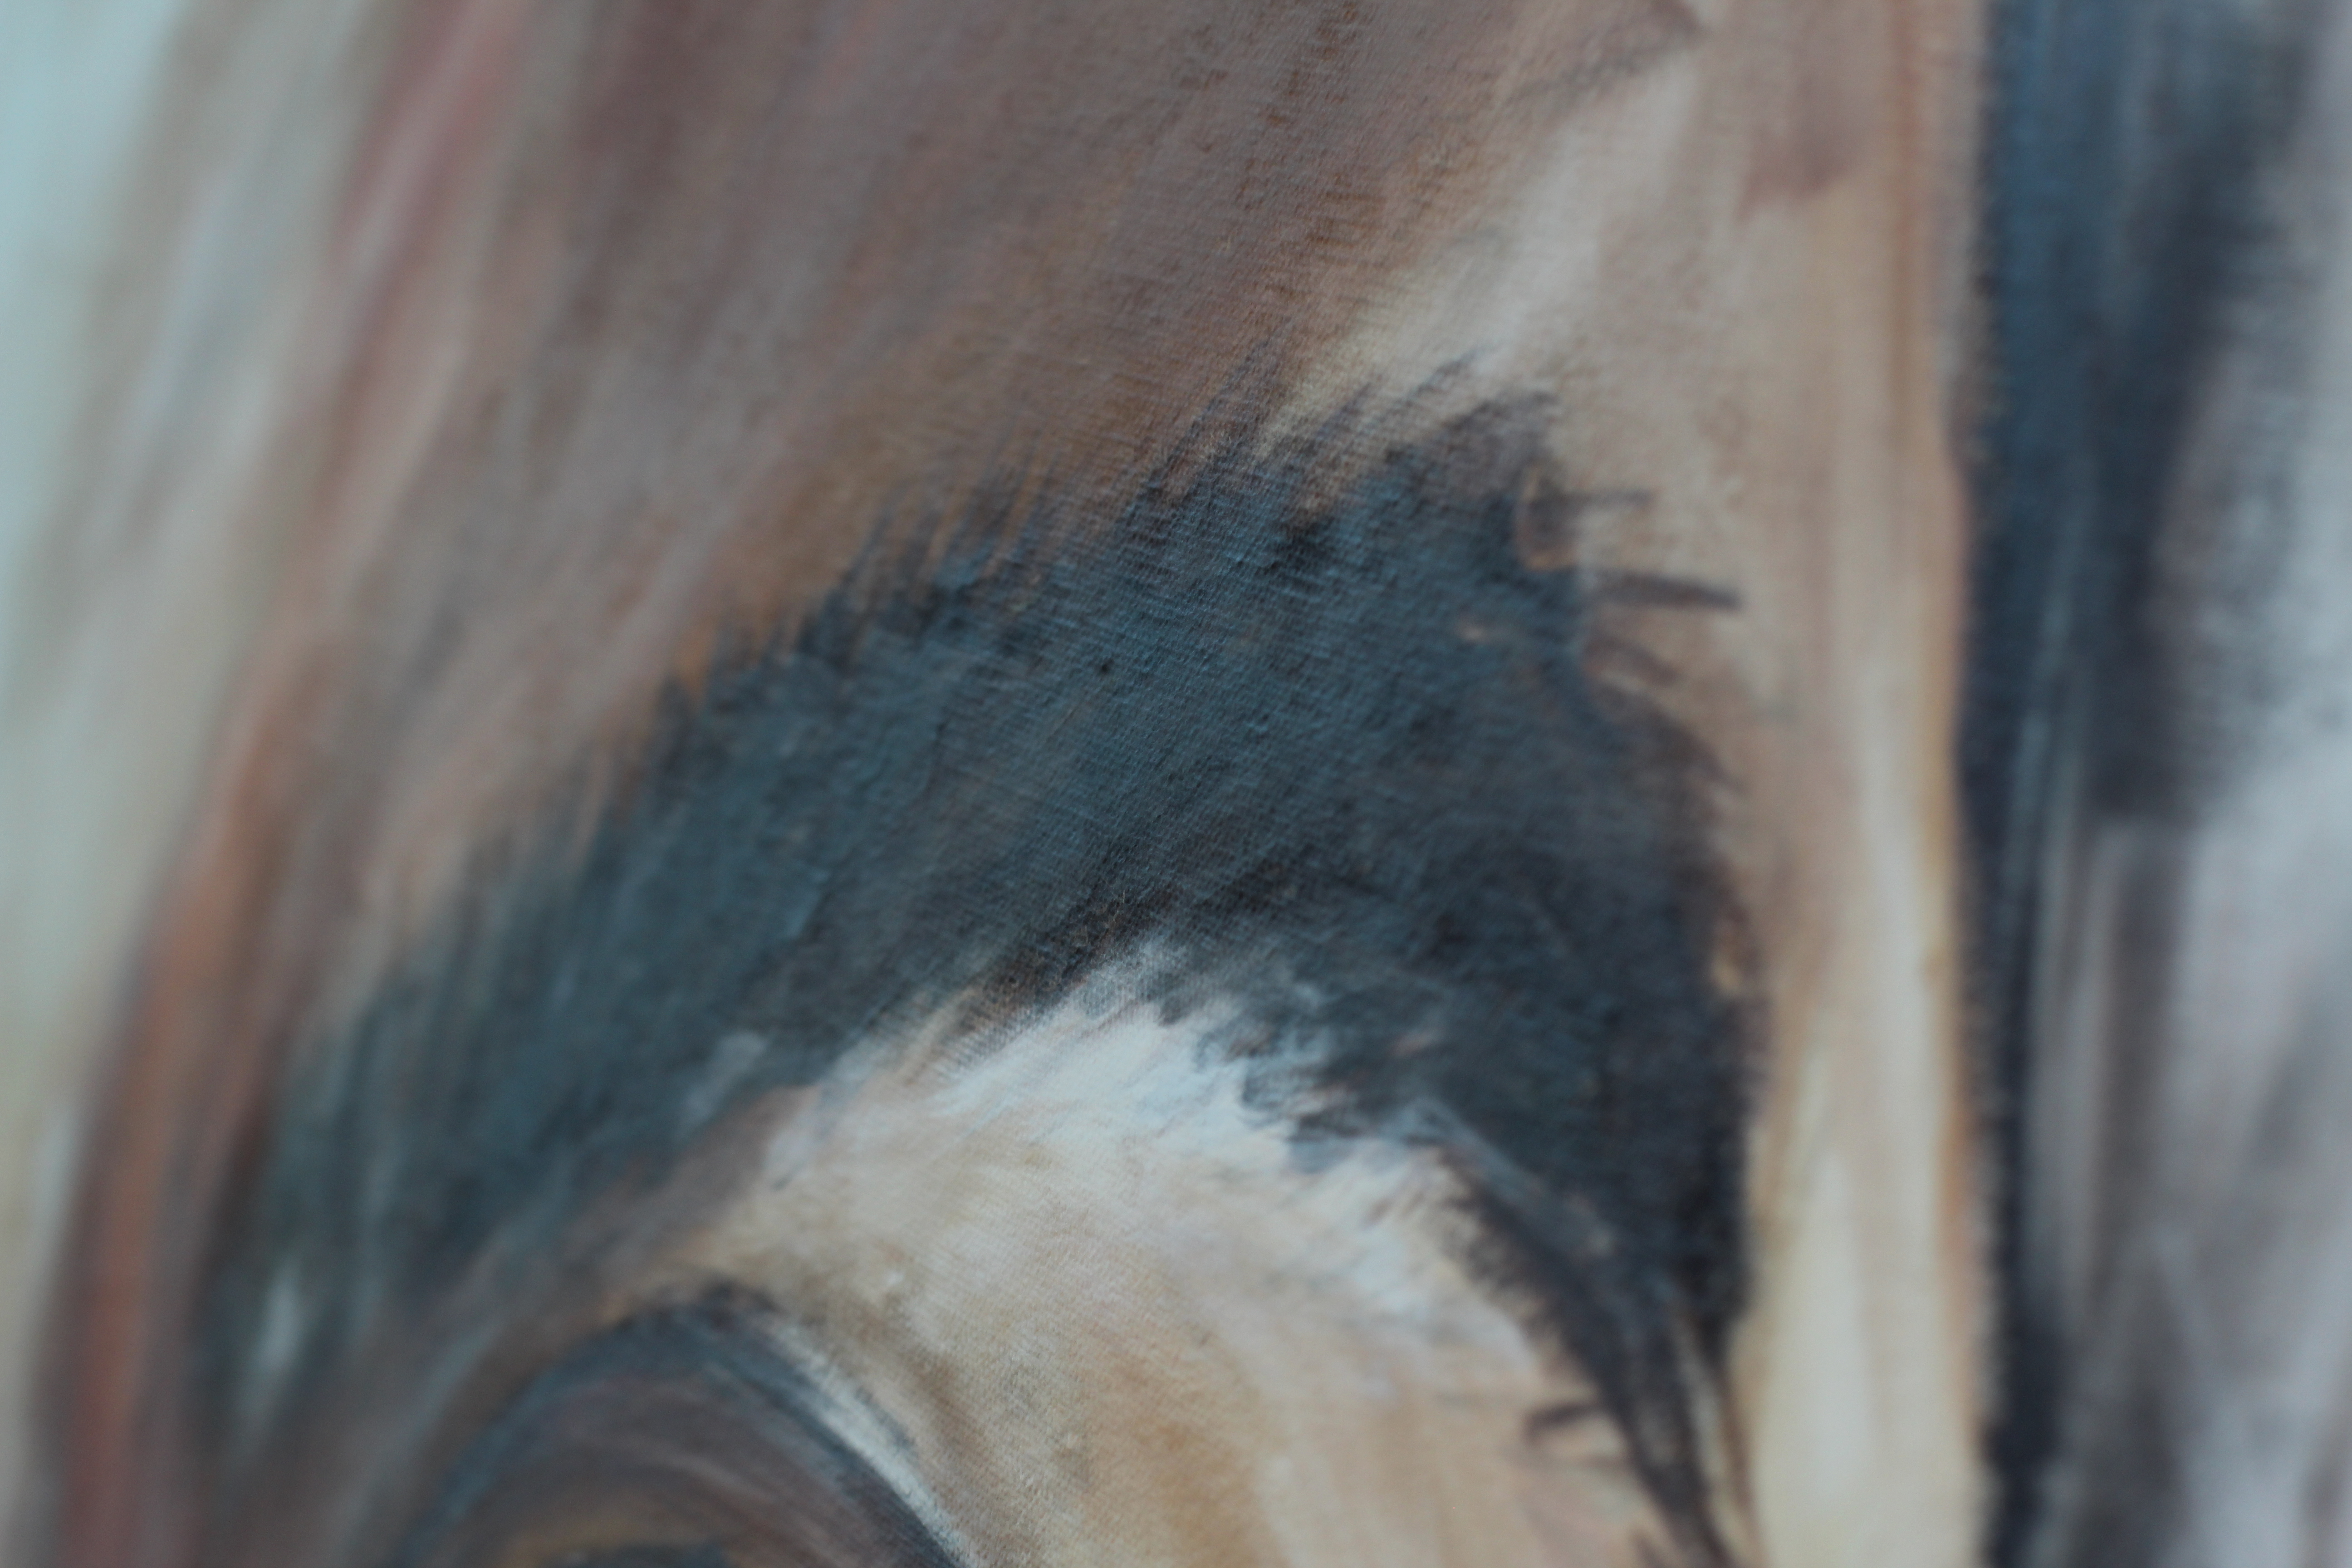
For my experimentation into aperture and how it effects the depth of field of my photographs, I took multiple photographs of the same subject in order to compare the differences.
Changing the aperture allowed for the depth of field of my image to change. Lowering the aperture meant that the parts of the subject that were in focus were much smaller and more specific, and more of the image was thrown out of focus, whereas raising the aperture allowed for more of the image to stay in focus, and less of the image was thrown out of focus.
Using a lower aperture allows for more emphasis to be placed on the subject still in focus, and draws more attention to specific parts of the subject that are in focus. The following images are the result of my photo shoot, each using different apertures.
For many of the photos, I used the same subject, but either lowered or raised the aperture. Adjusting the aperture also meant that I had to adjust the ISO, depending on how much light was being let into the image. For example, a higher aperture would make the image darker, and so I raised the aperture to allow more light, which makes the image more visible.
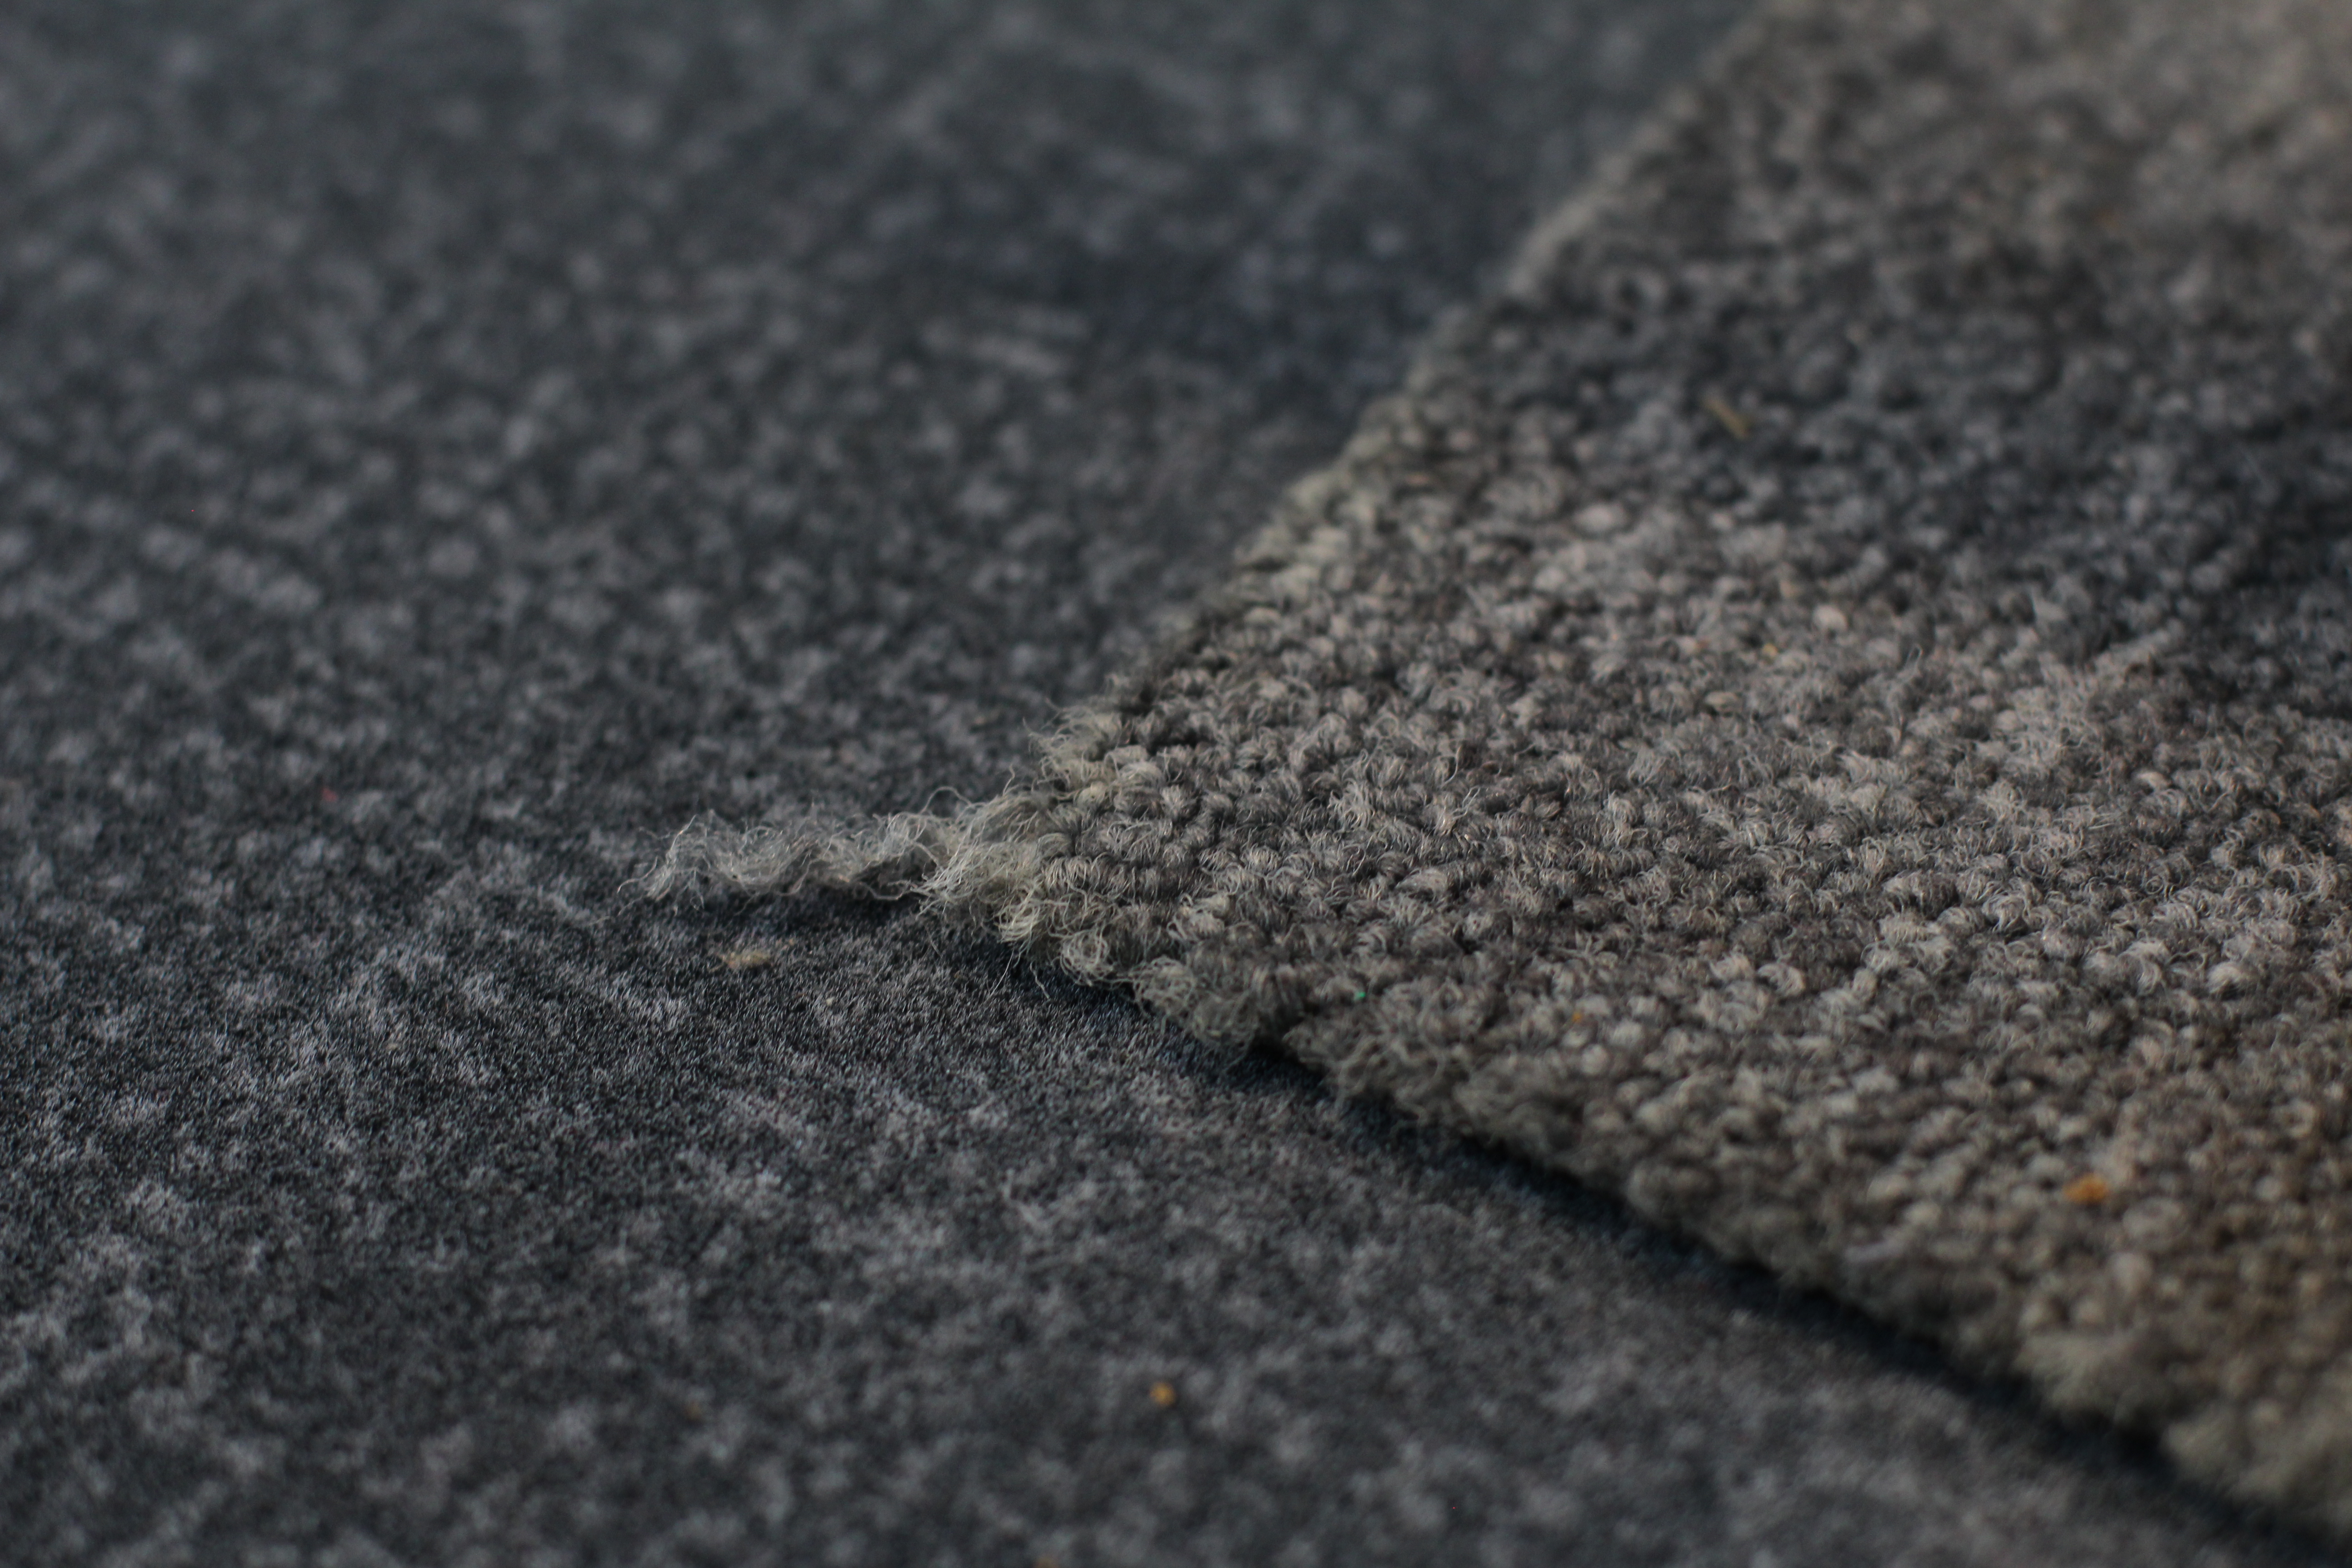
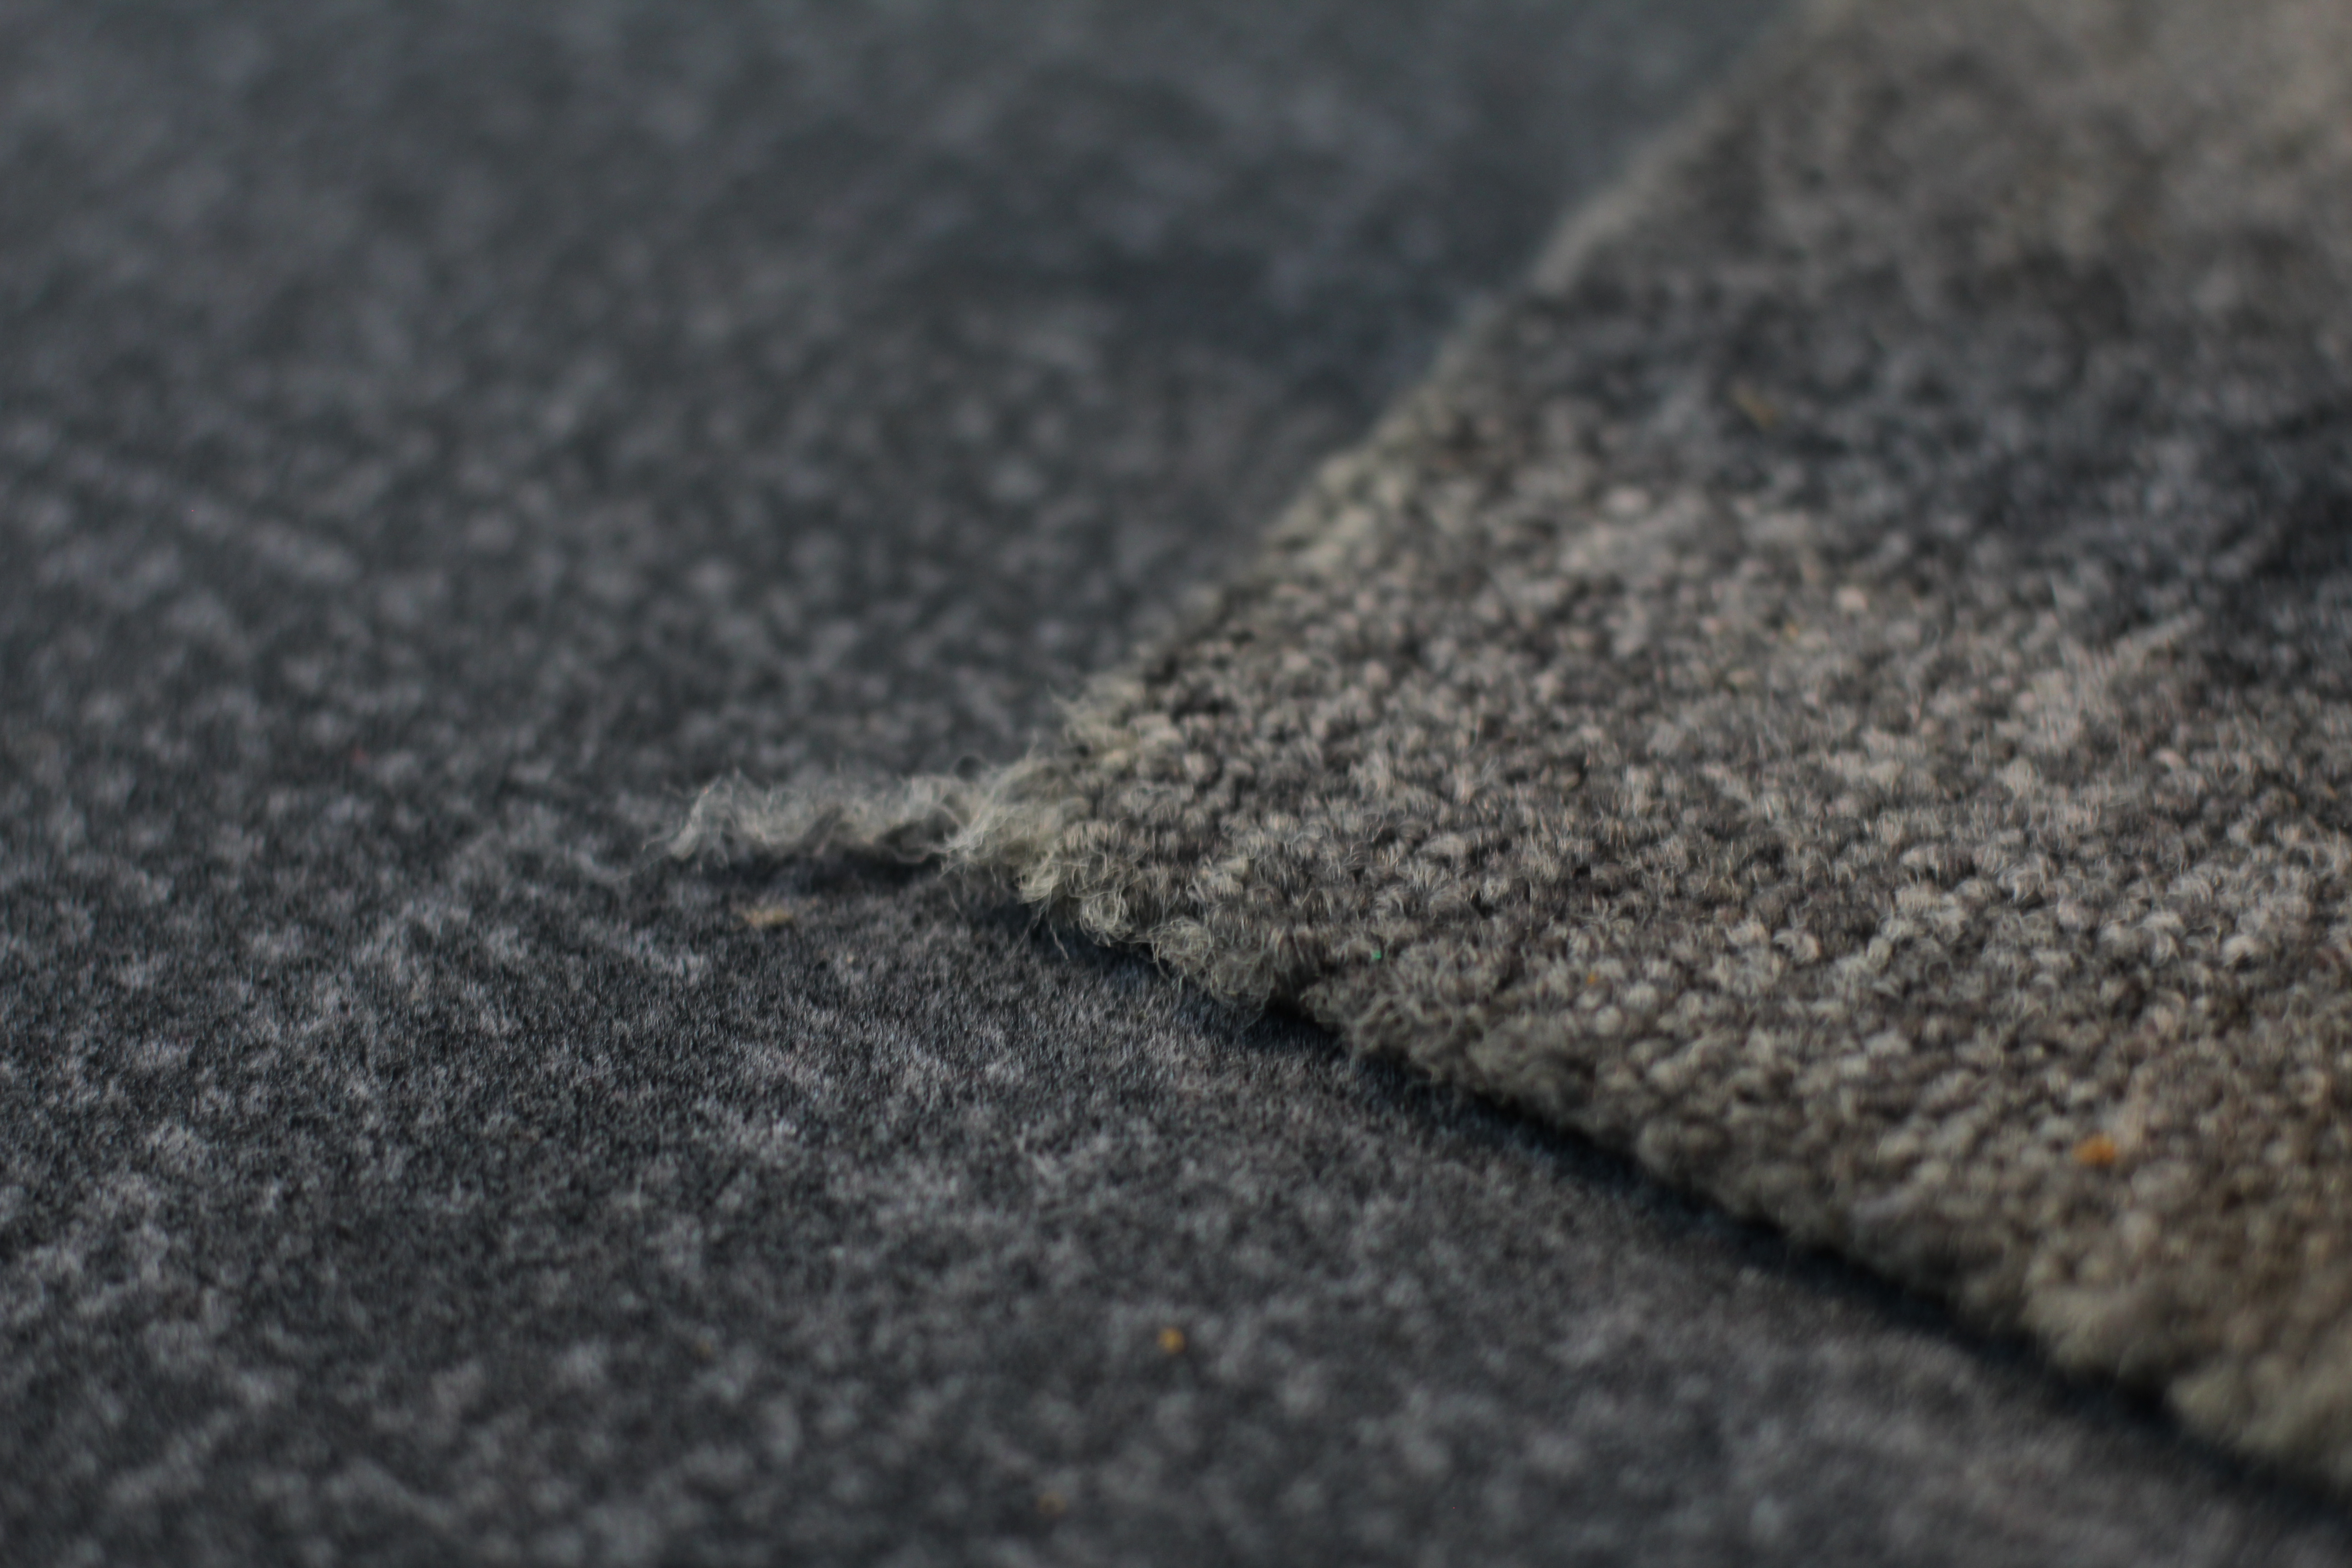
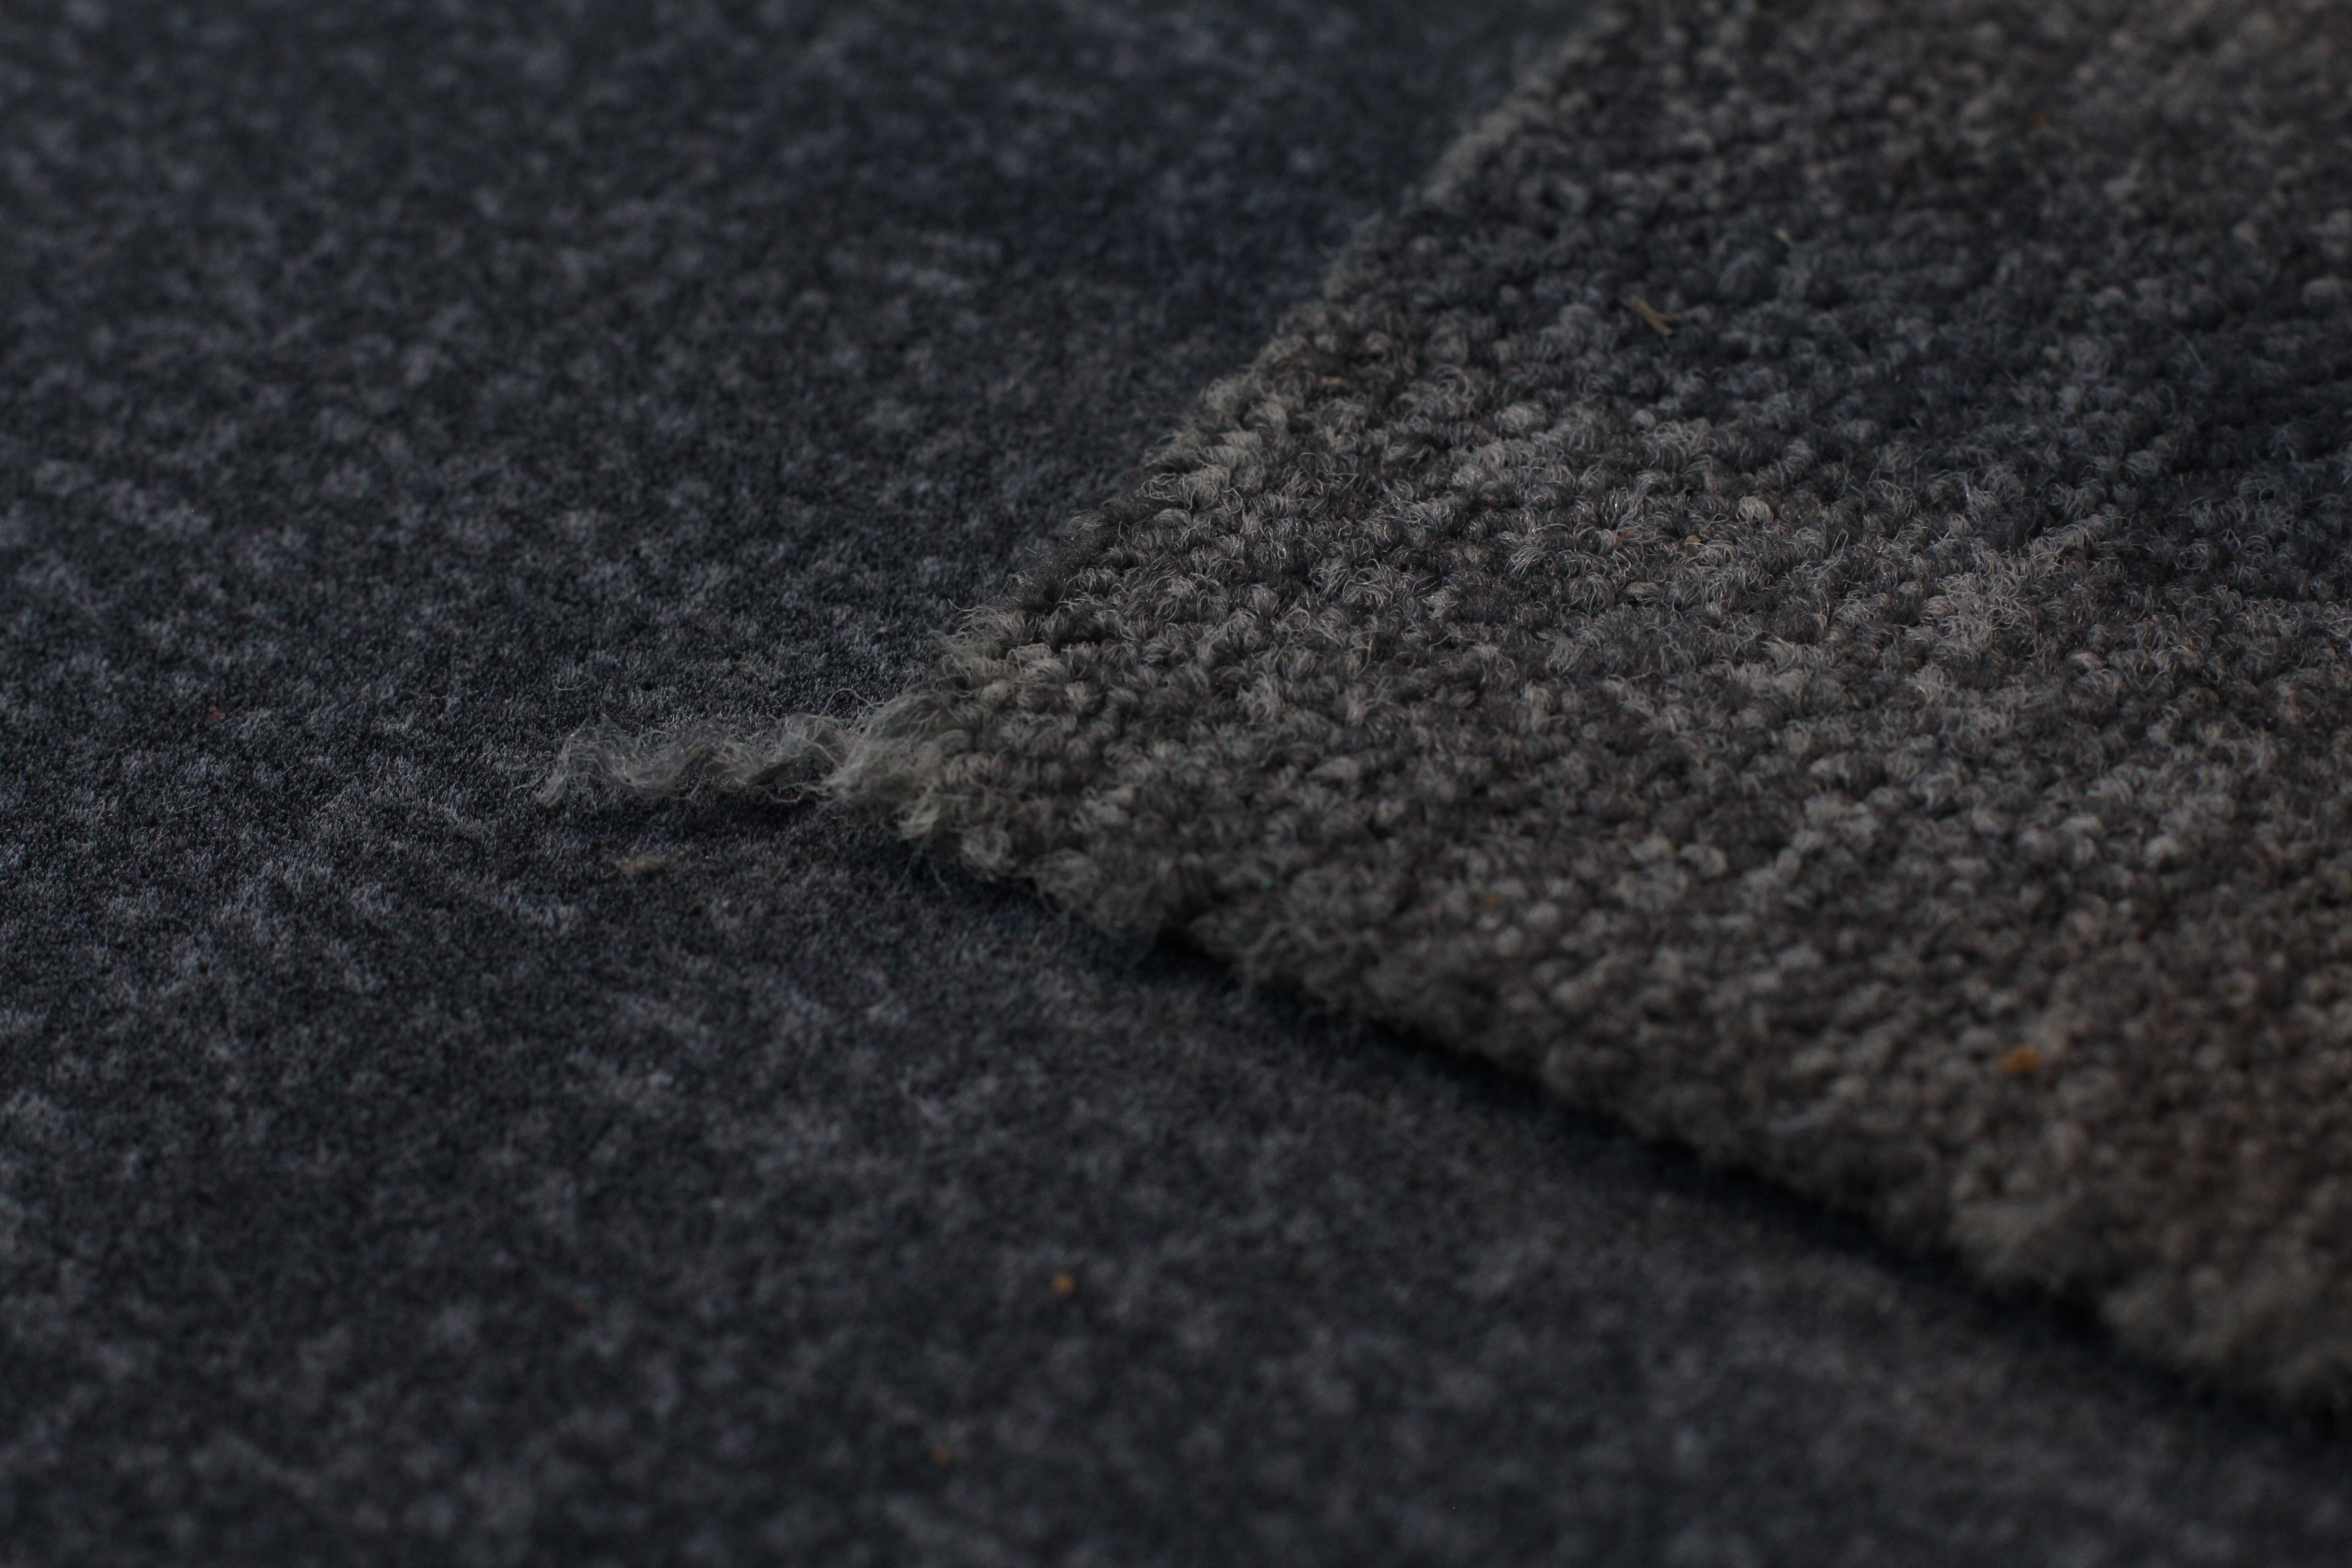
Below is an example of where I took 3 images of the same subject, but adjusted the aperture and the ISO, meaning the the depths of field and focus points vary from image to image:
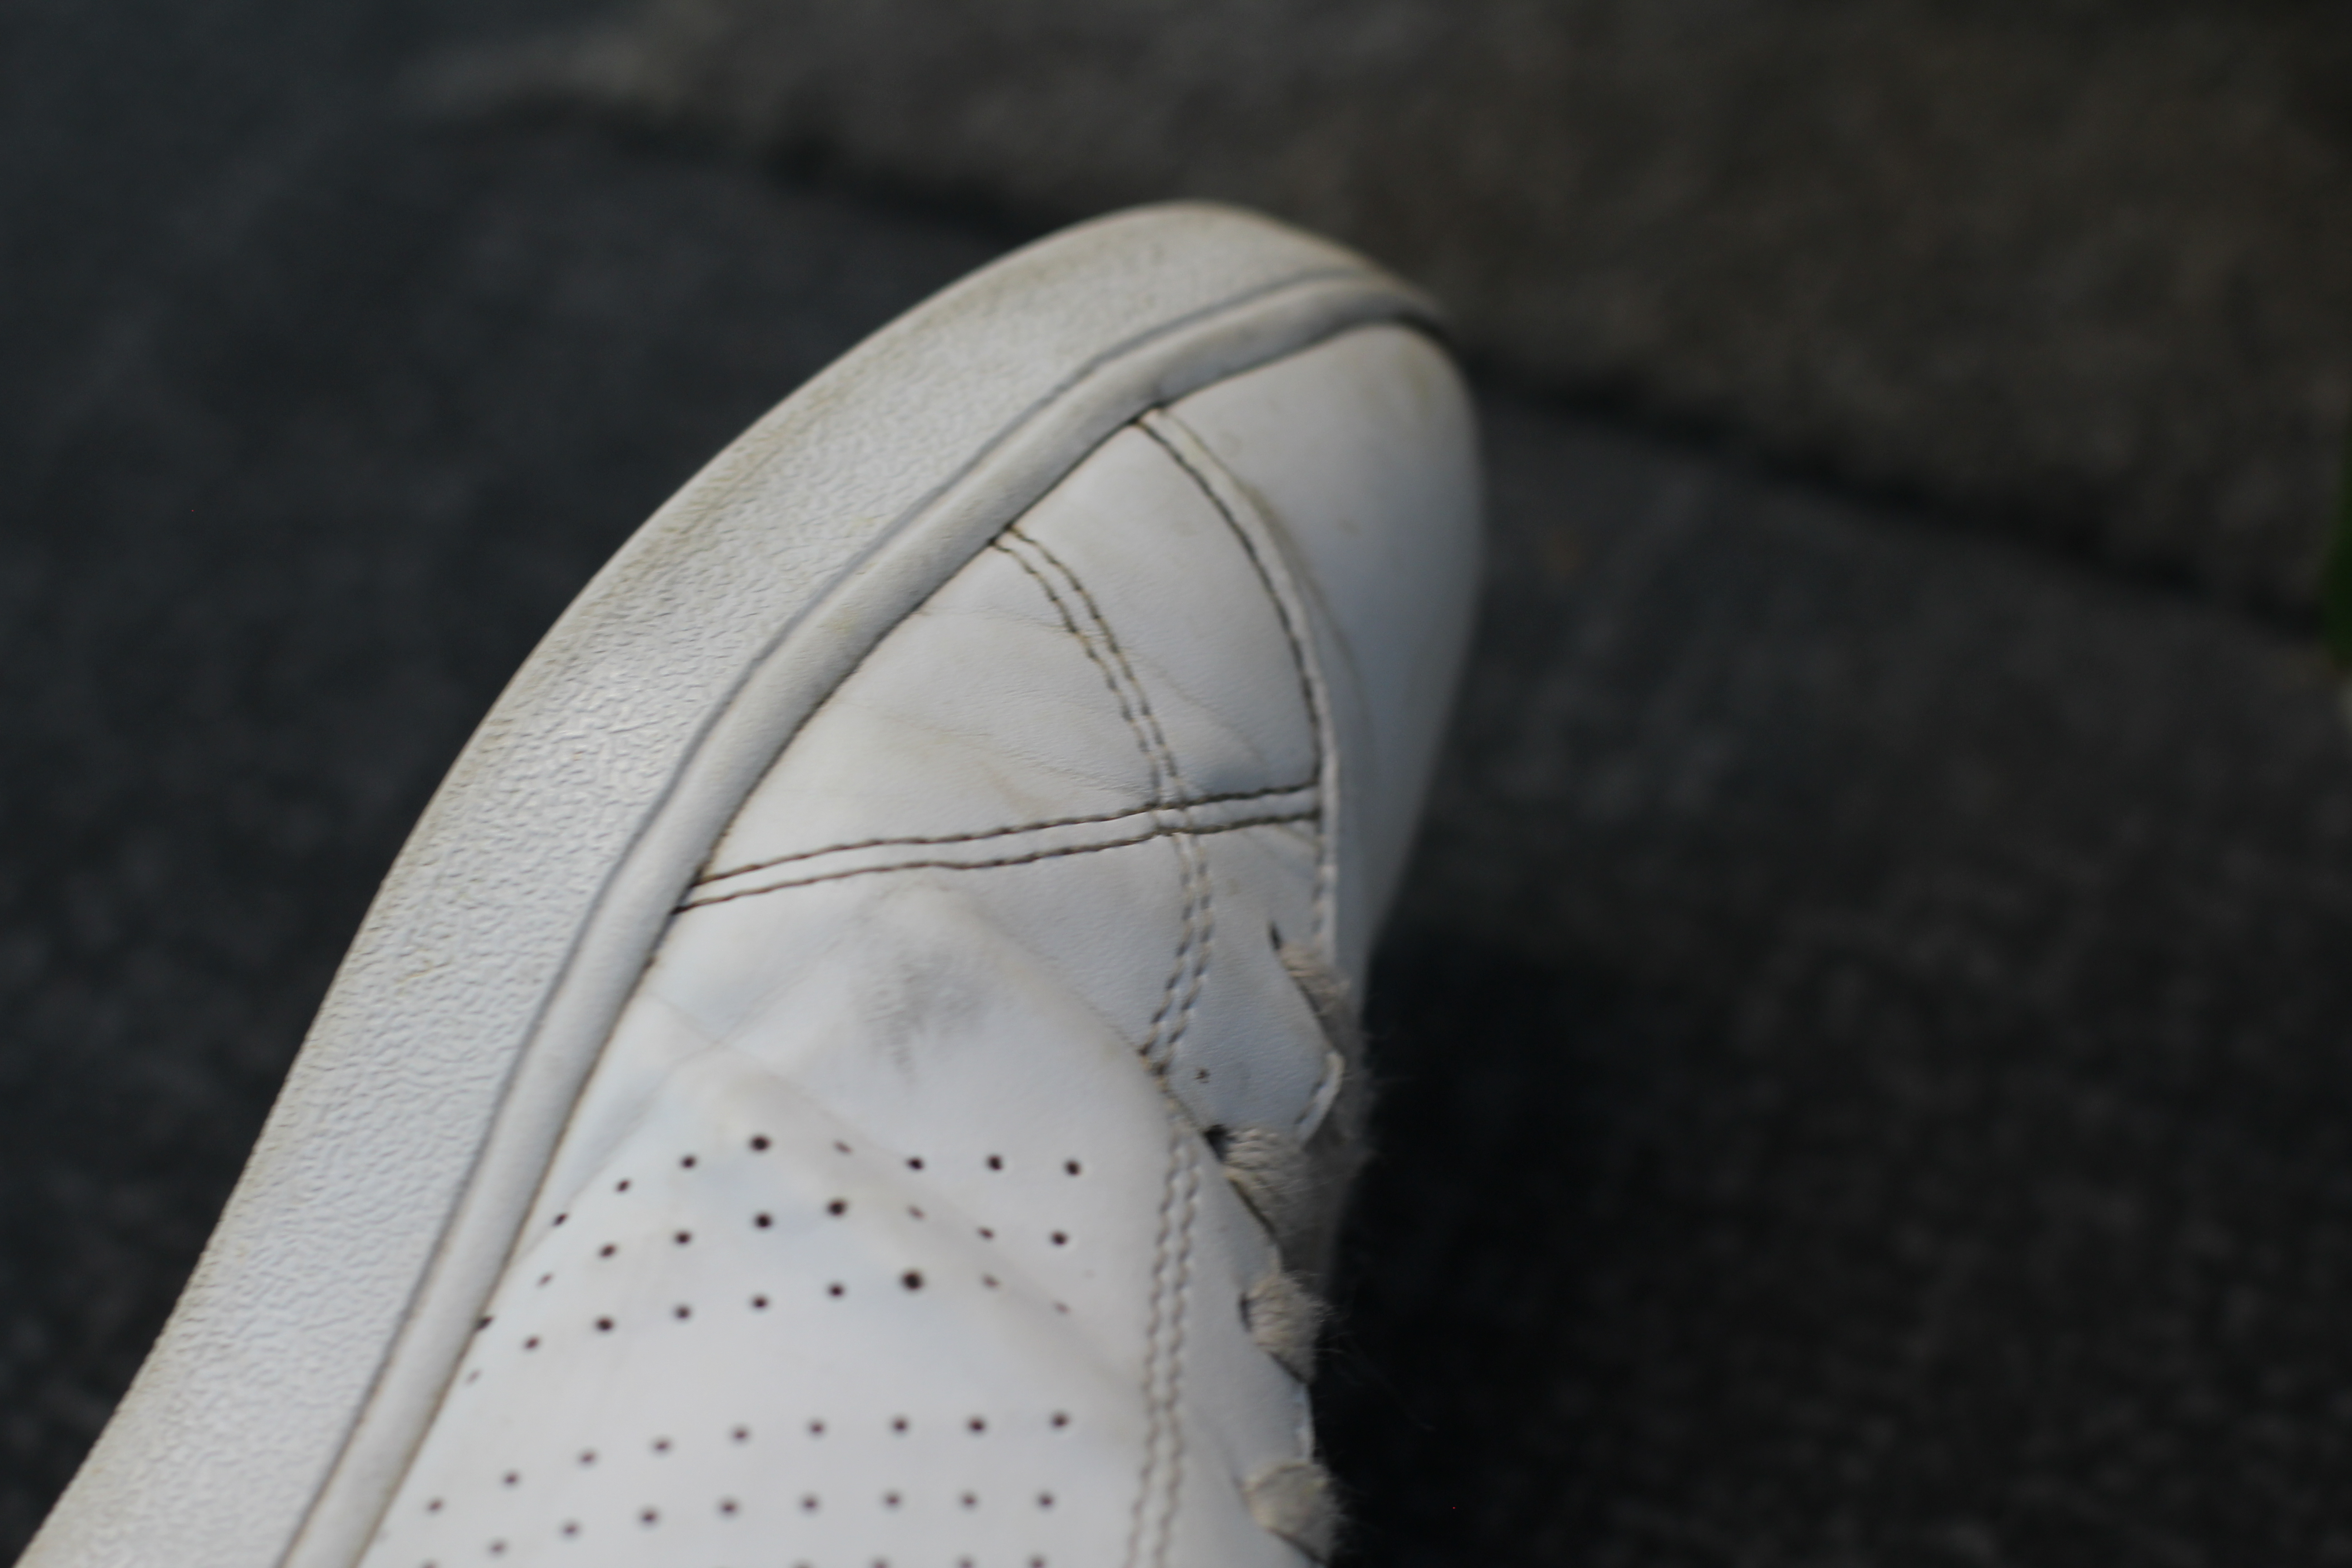
The above image was taken using high aperture (f/10). This high aperture allows for the whole shoe to remain in focus, and all of the detail of the shoe is displayed clearly. Using a higher aperture allows for more of the image to remain in focus, and so the subject (the shoe) can be very clearly seen.
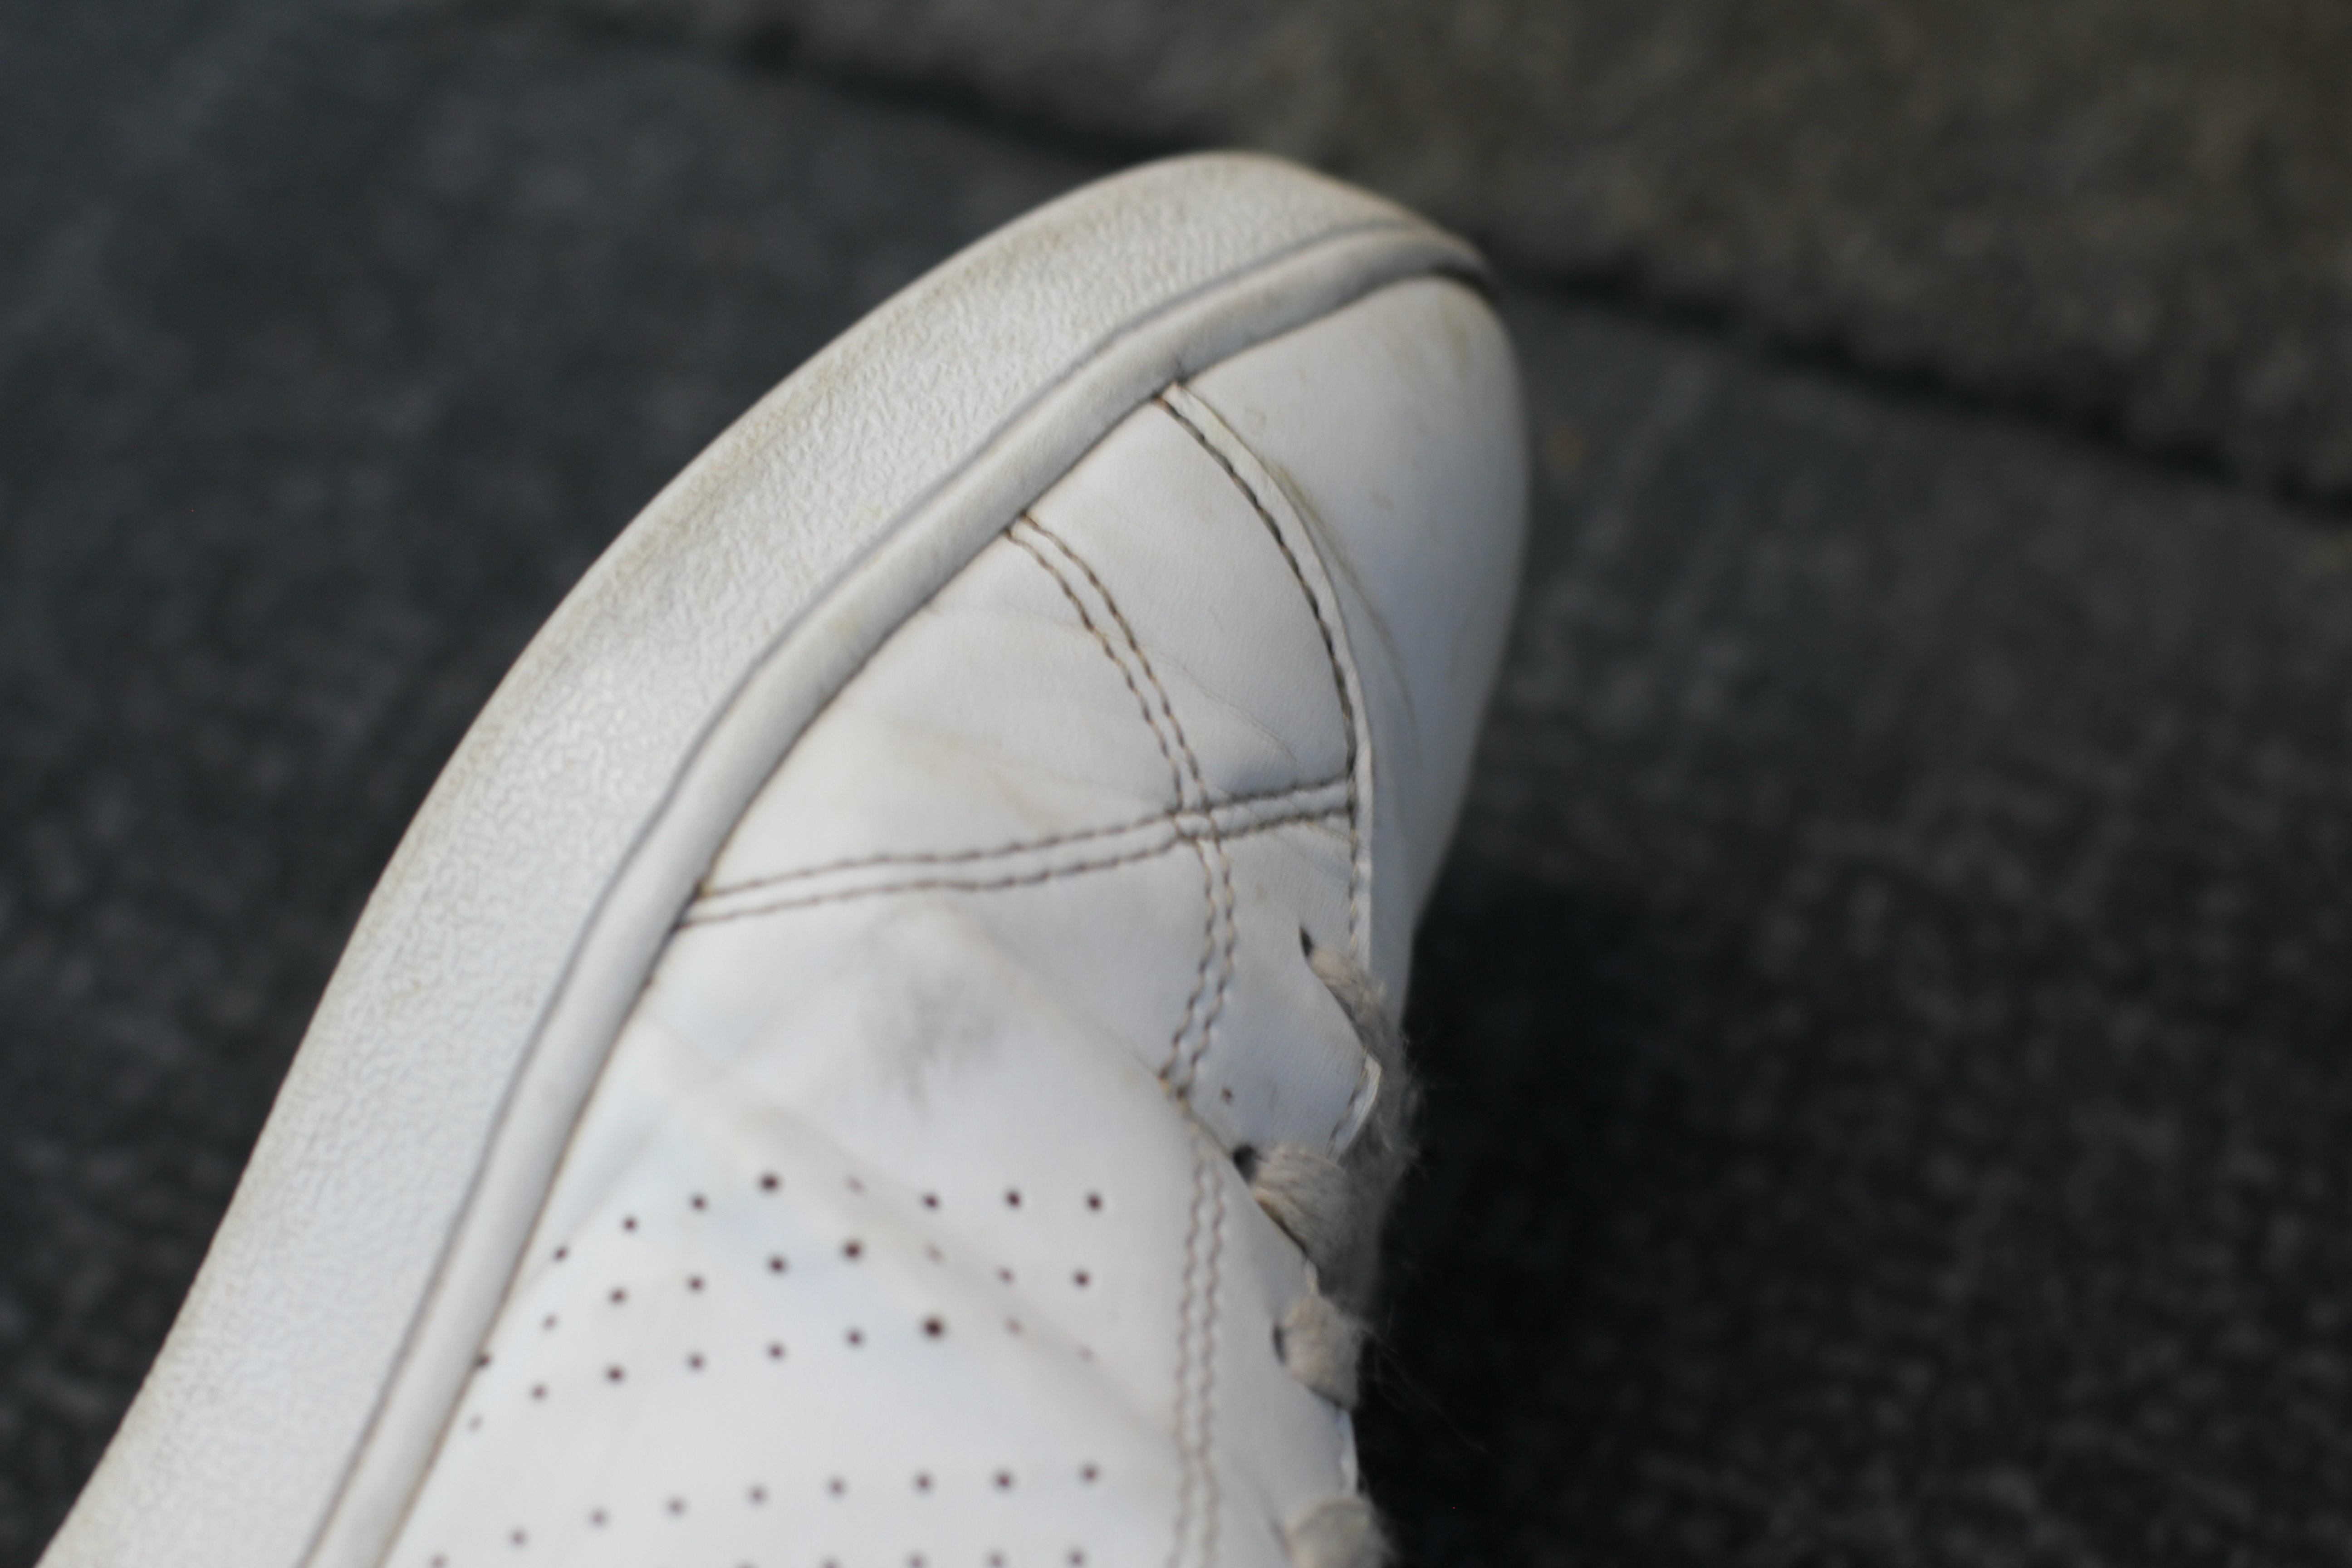
The above image was taken using a slightly lower aperture (f/5). Due to the lower aperture the image became lighter, as more light was allowed into the image. To counteract this, I adjusted the ISO to a lower number in order to give the image a normal amount of light. As I used an aperture of f/5, I adjusted the ISO setting to 200. As shown, the amount of the shoe that is still in focus has reduced. The main focal point is towards the top of the shoe, and just centimetres away the subject begins to fall out of focus. This allows for the focal point to become more obvious, and the attention of the viewer is drawn more to the specific focal point.

The above image was taken with the lowest aperture (f/2.8). Due to this low aperture, I again adjusted the ISO to a lower number (100). This adjustment is ISO means that all of the images allowed in a different amount of light, but still look clear and bright. For this image, the main focus point was towards the bottom of the photograph, and now it is just millimetres away that the subject begins to fall more out of focus. This image has a much more narrow depth of field than the above 2, due to the small amount of the subject that is in focus. This draws maximum attention to the focus point, and is useful when a photographer wants to draw all of the viewers attention to a very specific area, while blurring out the rest of the image. Due to the narrow depth of field, the carpet (background) of the image is completely out of focus, regardless of it only being a short distance away.
Altering aperture and ISO settings of a camera allows for the image taken to either keep the majority of the subject in focus, or just a small fraction in focus. These differences can draw more attention to specific parts of an image, or draw attention to the whole image depending on which way they are used. Adjusting aperture is a useful technique depending on what the goal of the photographer is.


