
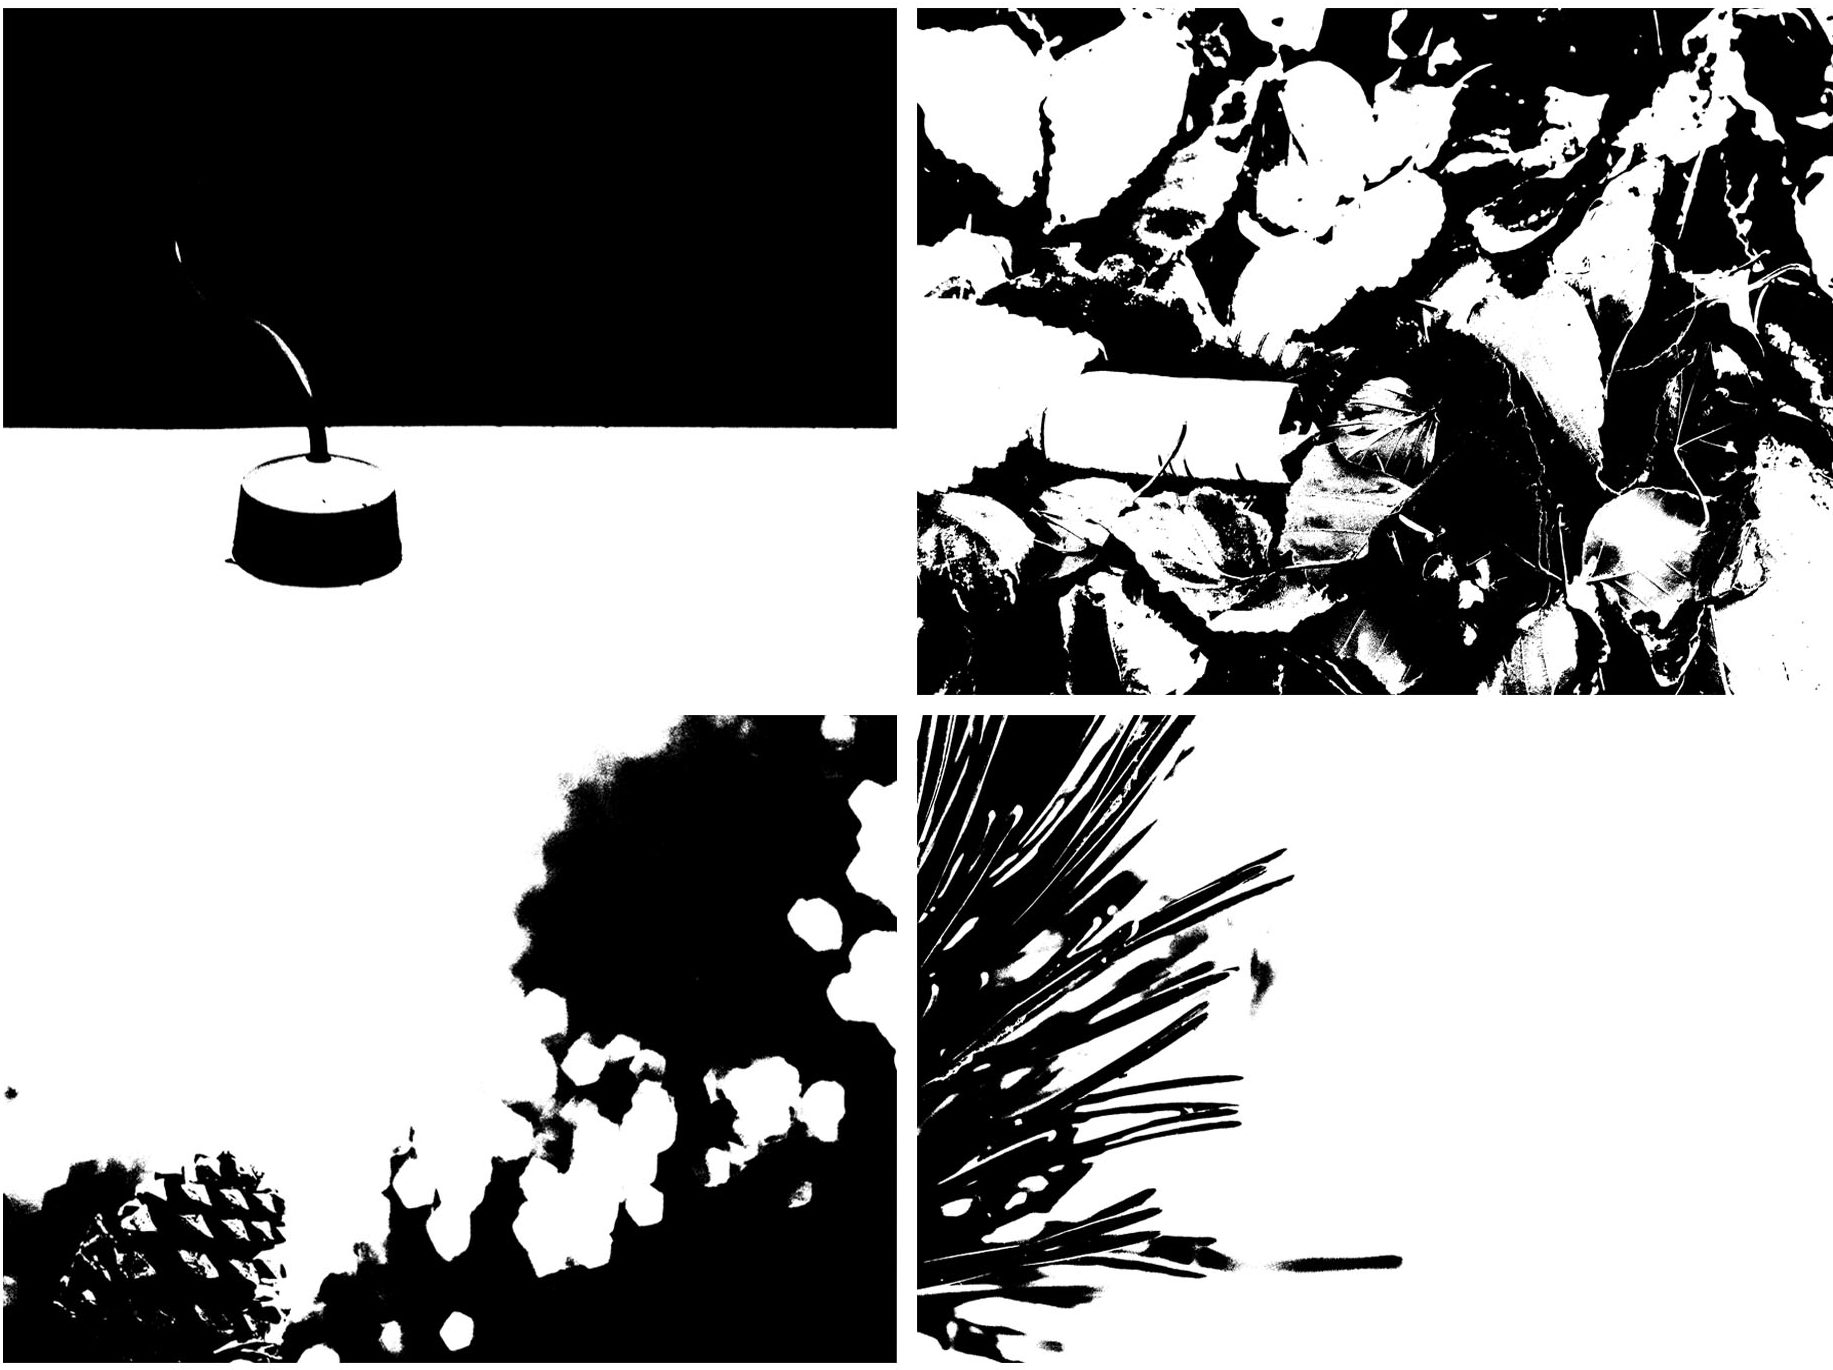
After observing and analyzing the work of Keld Helmer-Petersen, I took 4 images that I think best suit the style of his work, and used Photoshop to mimic the silhouette-effect that he produces in his work, in order to respond to his work successfully.
The following images are the images that I decided were most like the work of Helmer-Petersen:
In order to give my images the silhouette effect, I used the Threshold option on Photoshop. The following images explain the process I used to achieve the image above:
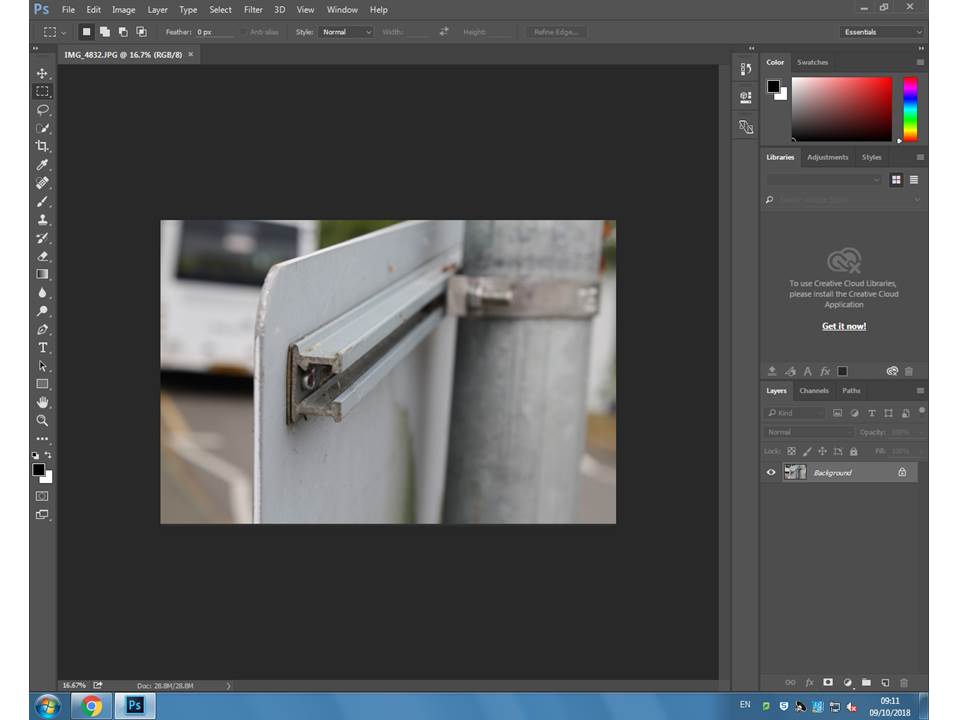
Step 1) First, I opened the image that I wanted to use for the project. I decided on photographs that had clear boarders and contrasting colours, that way when i edit the image with Threshold, the boarders will remain more obvious.
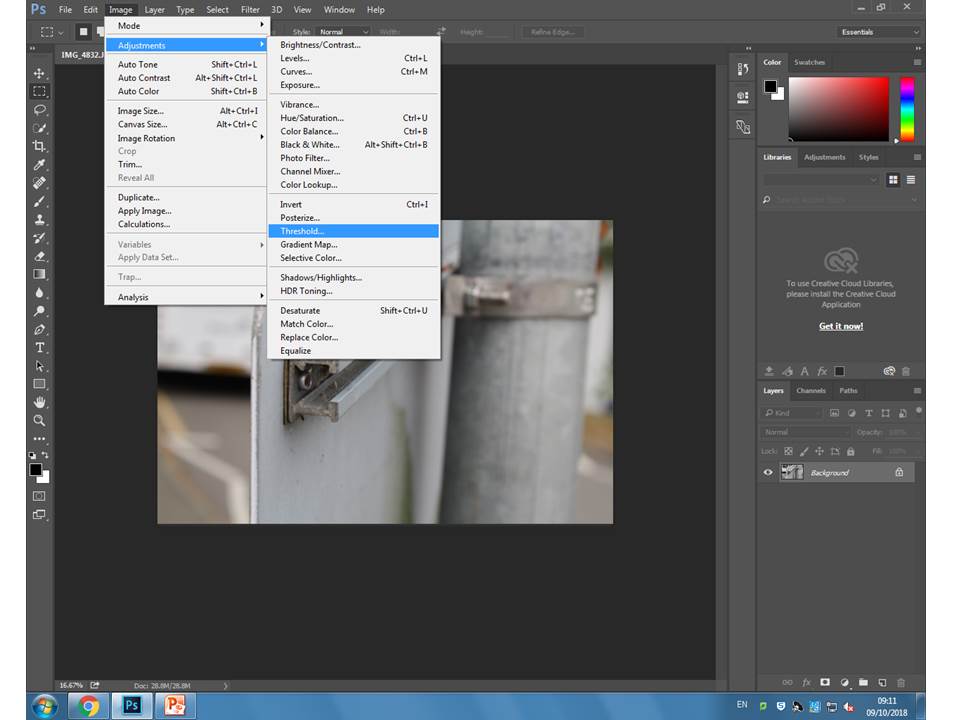
Step 2) Next, in order to edit the image, I chose the image option on the top toolbar, and then selected Adjustments, and then Threshold. Clicking this option immediately opens the threshold level adjuster.
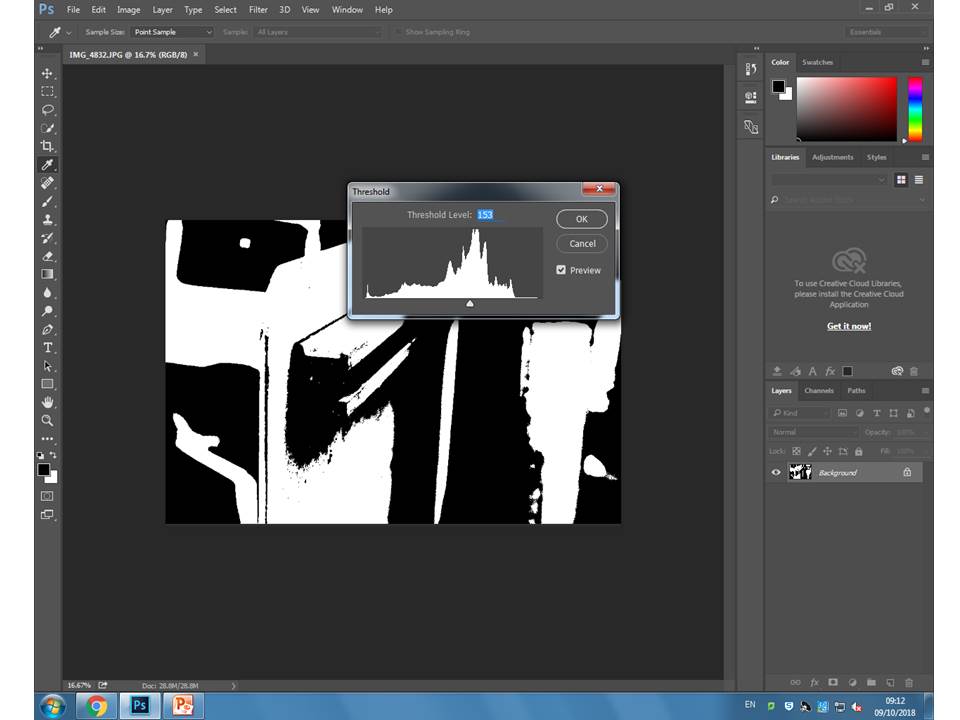
Step 3) After clicking threshold, the option to adjust the threshold is made available. By sliding the arrow left and right, the image changes from containing more black, to containing more white. I adjusted the image so that the outlines of the subjects were clear, but there wasn’t too much black in the image.
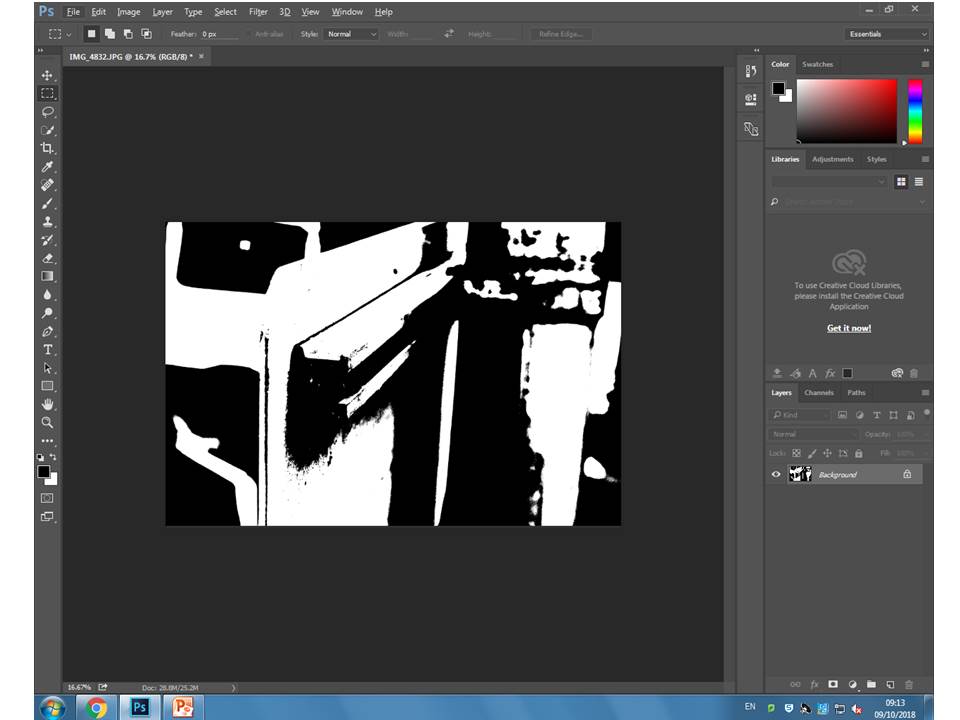
The image above is an example of how an image looks after the threshold has been adjusted in Photoshop. This editing tool is very useful when editing images to look like the work of Keld Helmer-Petersen, as it allows for the image to show as simply black and white, and emphasizes the shape and detail of the image due to it’s simplicity.