
Uta Barth
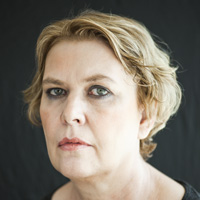 Uta Barth is a contemporary photographer who lives and works in Los Angeles, California. She is a 2012 MacArthur Fellow and a recipient of the John Simon Guggenheim Fellowship in 2004‑05. Barth experiments with blurred backgrounds, cropped frames and the natural qualities of light.
Uta Barth’s work is represented in numerous public and private collections worldwide, including the ‘Museum of Modern Art’, the ‘Metropolitan Museum of Art’, the ‘Solomon R. Guggenheim Museum’, and the ‘Whitney Museum of American Art’ in New York; the ‘Tate Gallery’ in London; the ‘Art Institute of Chicago’ and the ‘Museum of Contemporary Art’ in Chicago; and the ‘Los Angeles County Museum of Art’, the ‘Museum of Contemporary Ar’t, the ‘J. Paul Getty Museum’, and the ‘Hammer Museum’ in Los Angeles; the ‘San Francisco Museum of Modern Art’; the ‘Walker Art Center’ in Minneapolis; and ‘Massachusetts Museum of Contemporary Art’ in North Adams, Massachusetts.
Her work is exhibited regularly and has been shown in one-person and group exhibitions in galleries and museums throughout the United States and Europe, including New York, Los Angeles, San Francisco, London, Stockholm, Sweden, Düsseldorf, Germany, Bilbao, Spain, and Tokyo, Japan.
Example of her Work

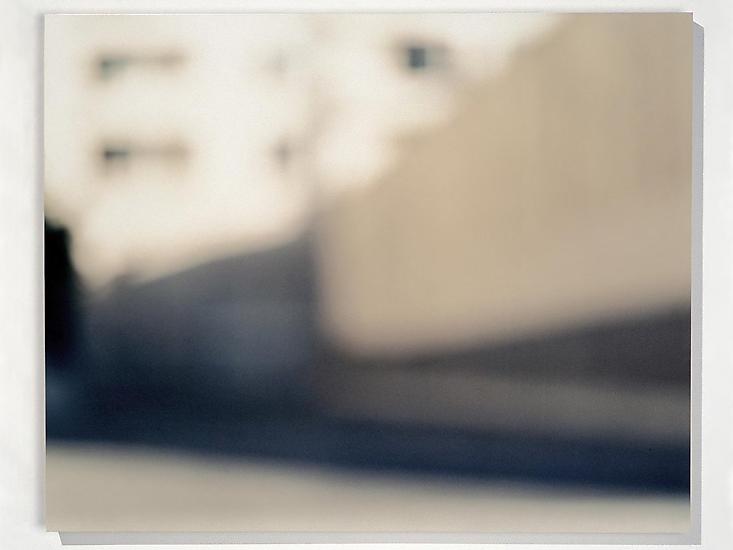 I really like how she takes her photos as it gives a very vintage and retro vibe, which I personally really enjoy
My work in the style of Uta Barth
For this homework I decided to experiment with white balance and manual exposure. I kept the ISO on 400 and I differentiated between different shutter speeds from 1/3-1/80. I also kept it on F5.6.

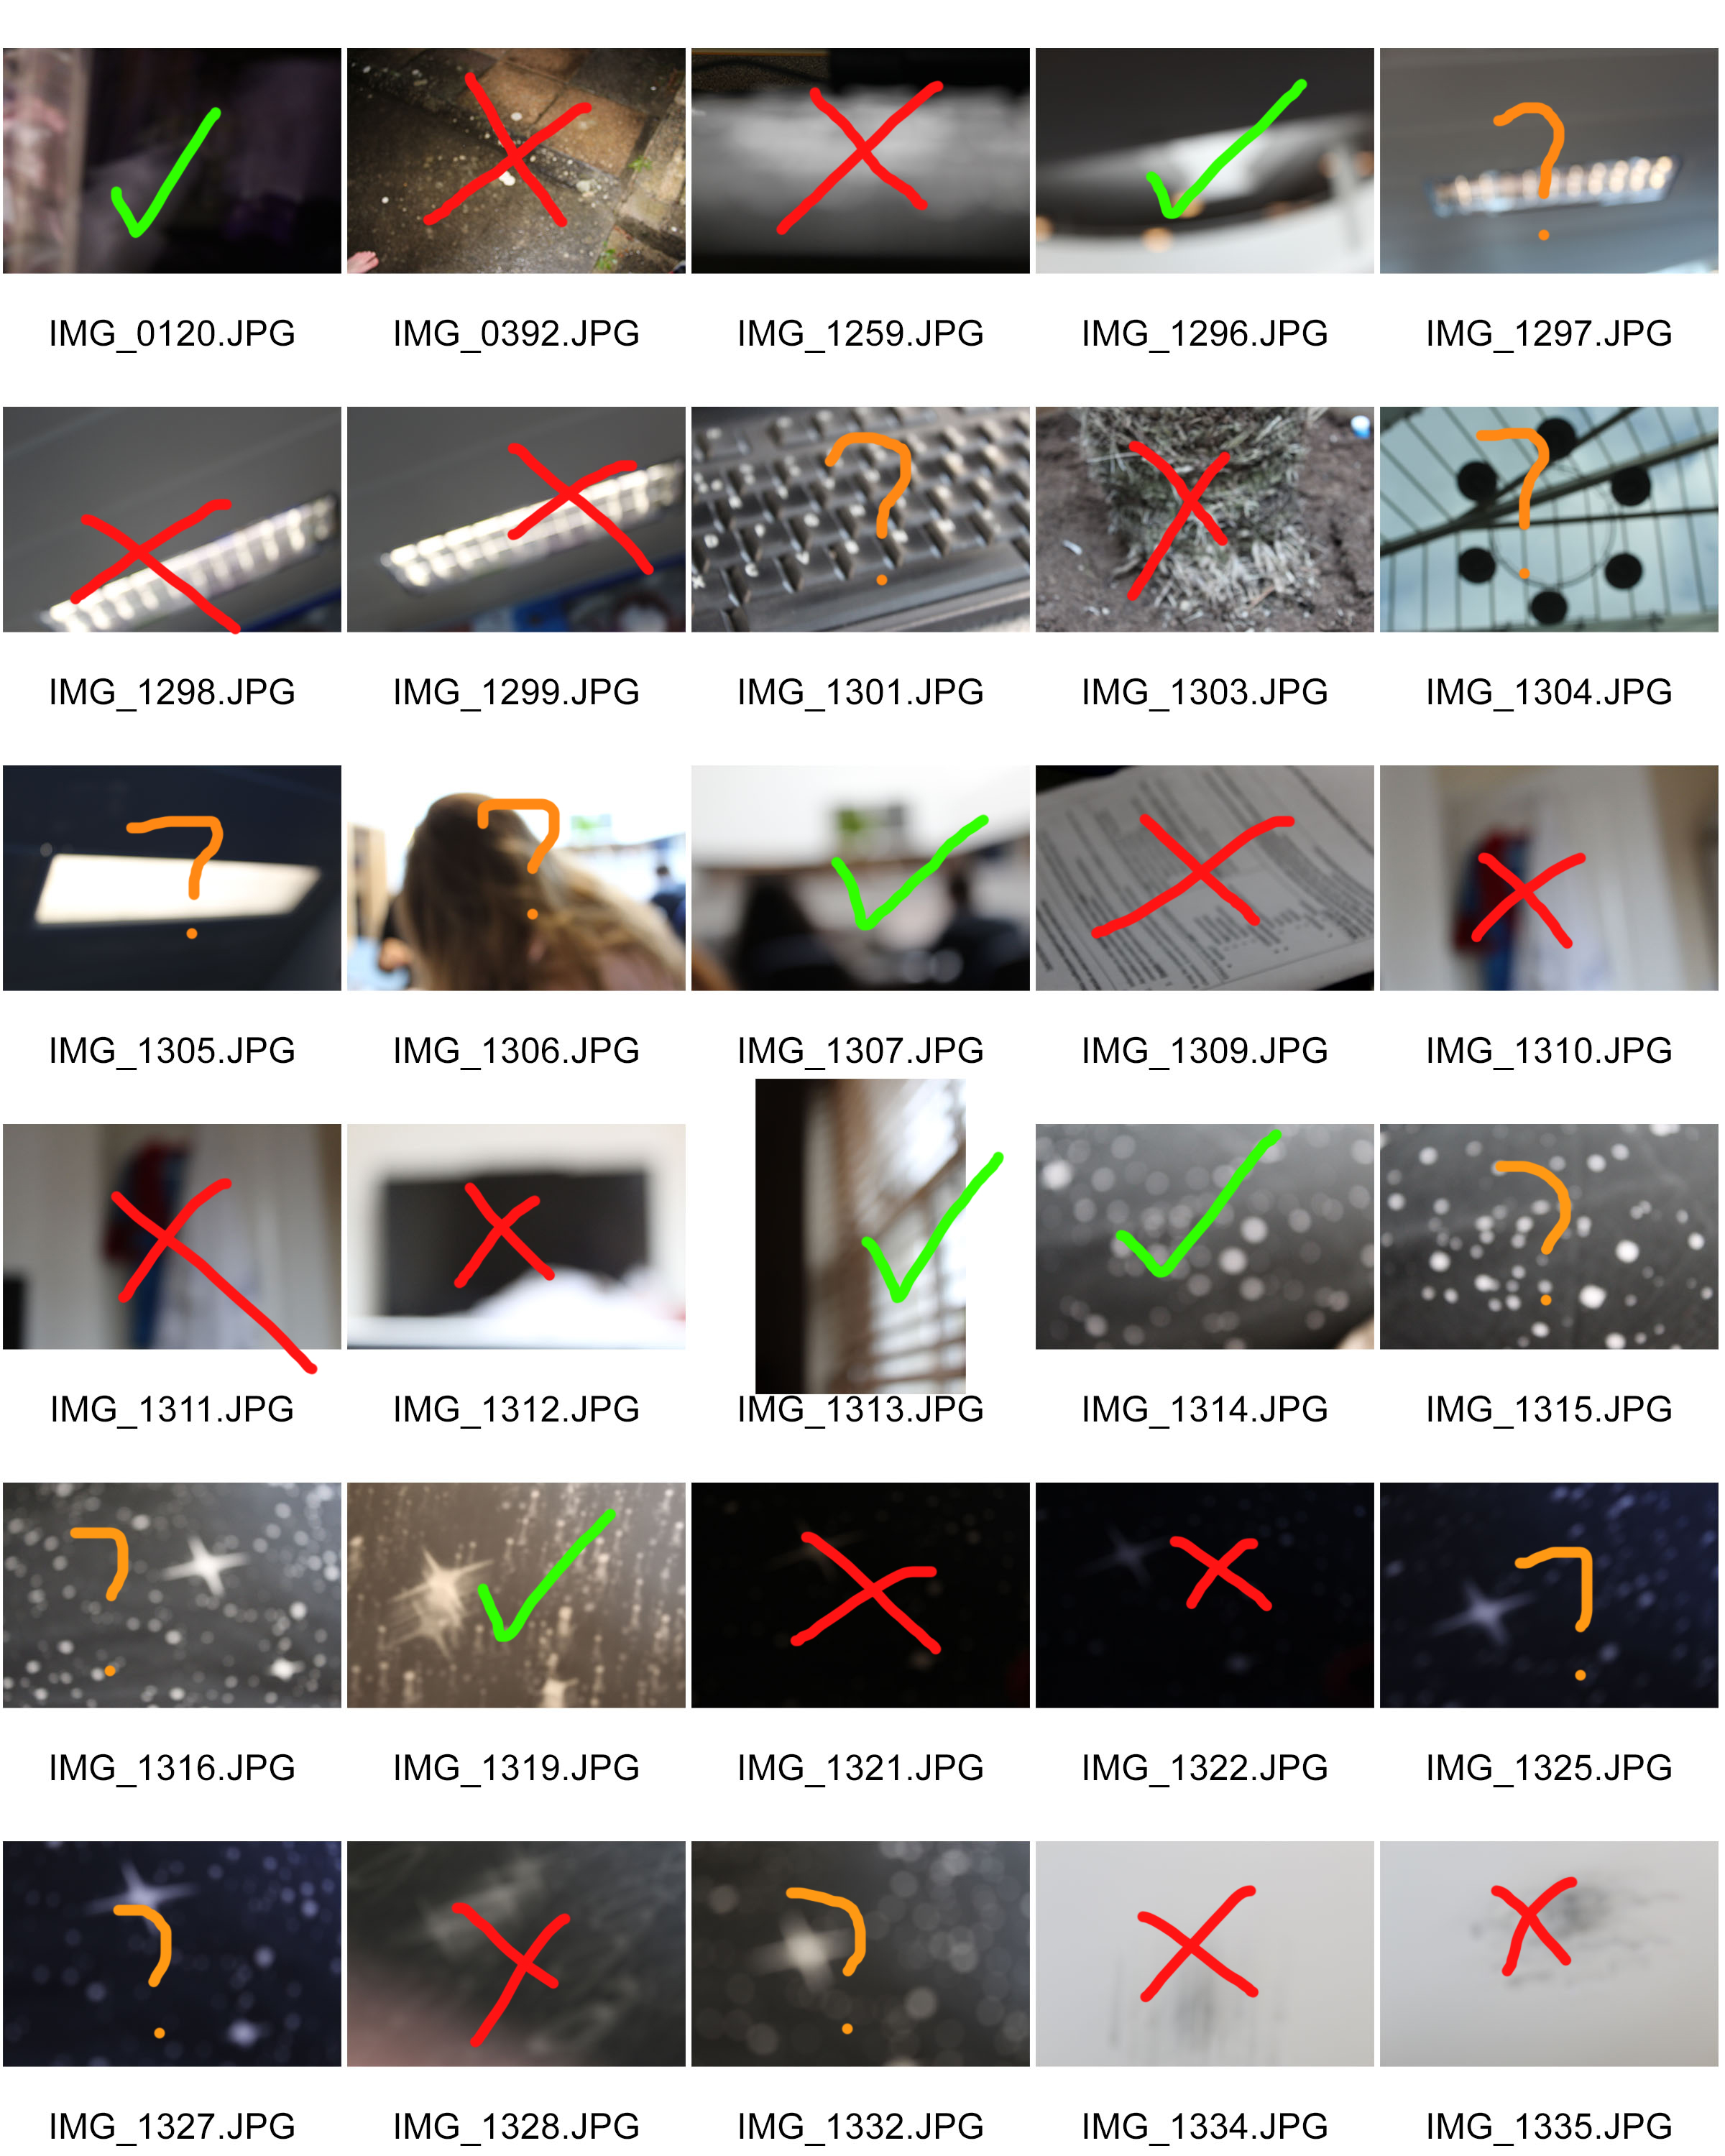
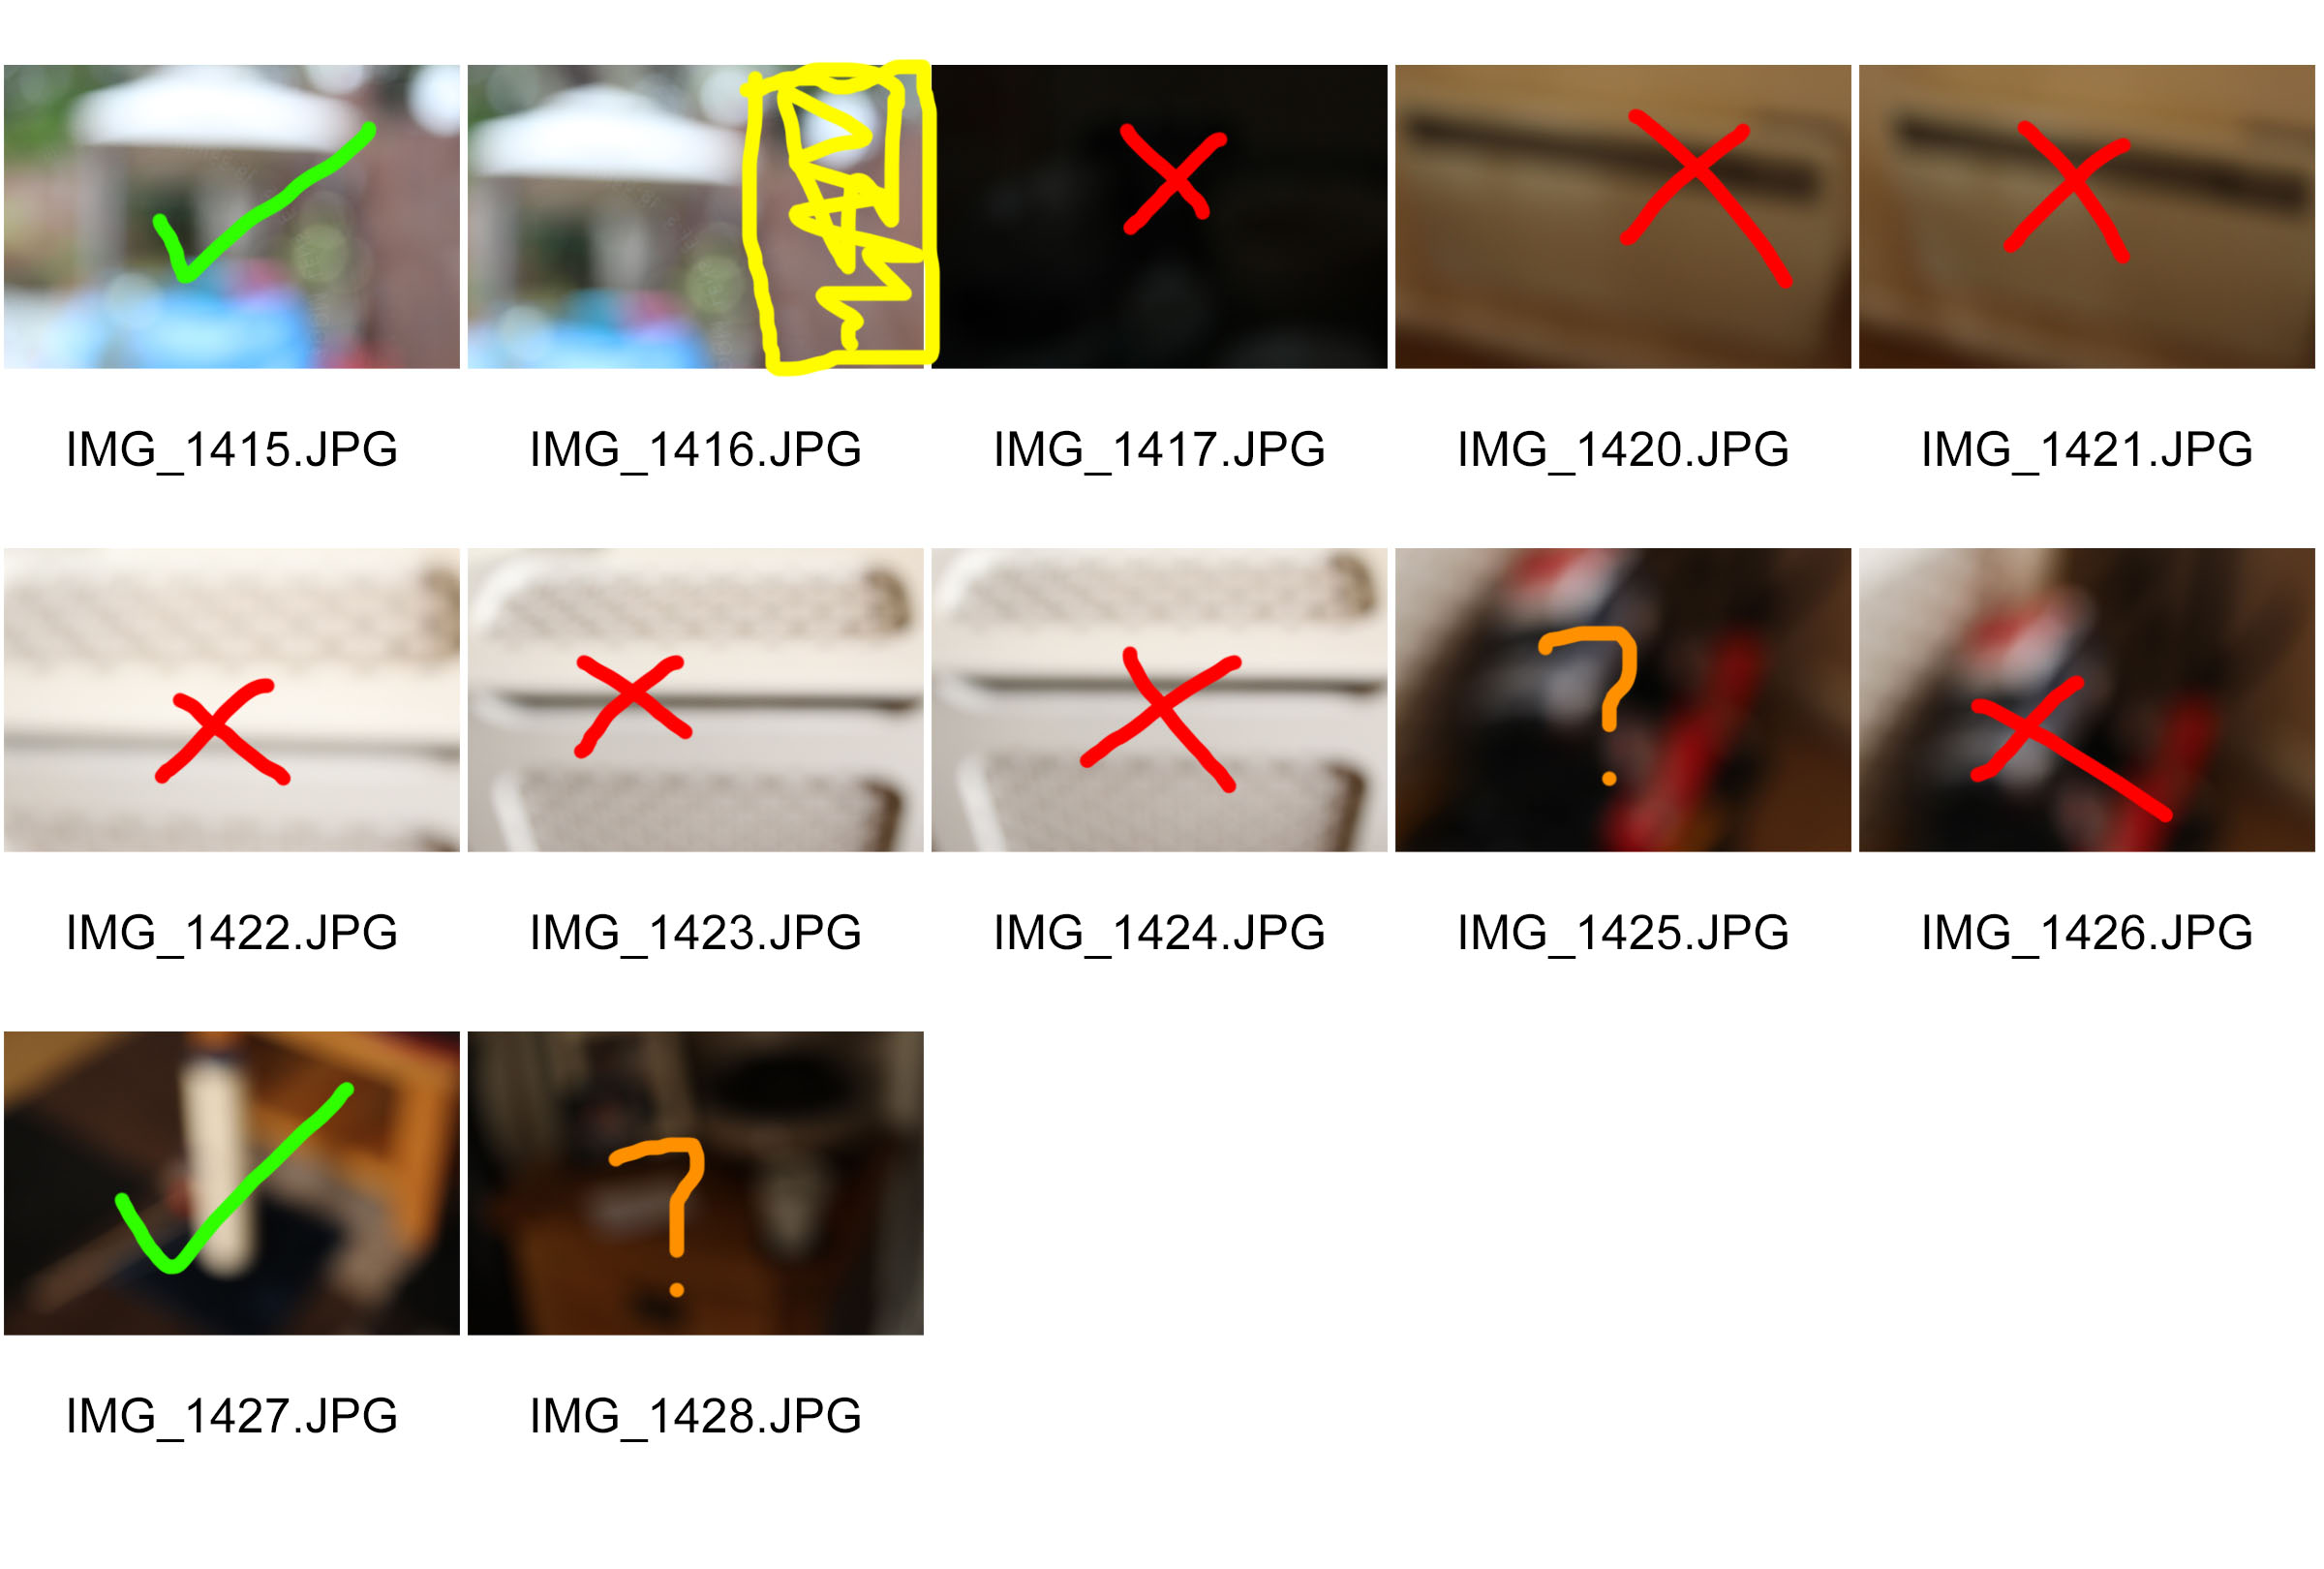
Contact Sheets
Green = Yes
Orange = Maybe
Red = No
Yellow = Edit


My Favourite Photos (Edited)
I edited all of my photos on Photoshop.
I decided to choose these images because I think they were taken very well and produced very good images. On every photo I used the level tool (Ctrl, alt, L) to achieve the look of these images. I also played around with brightness, contrast, vibrancy and saturation.

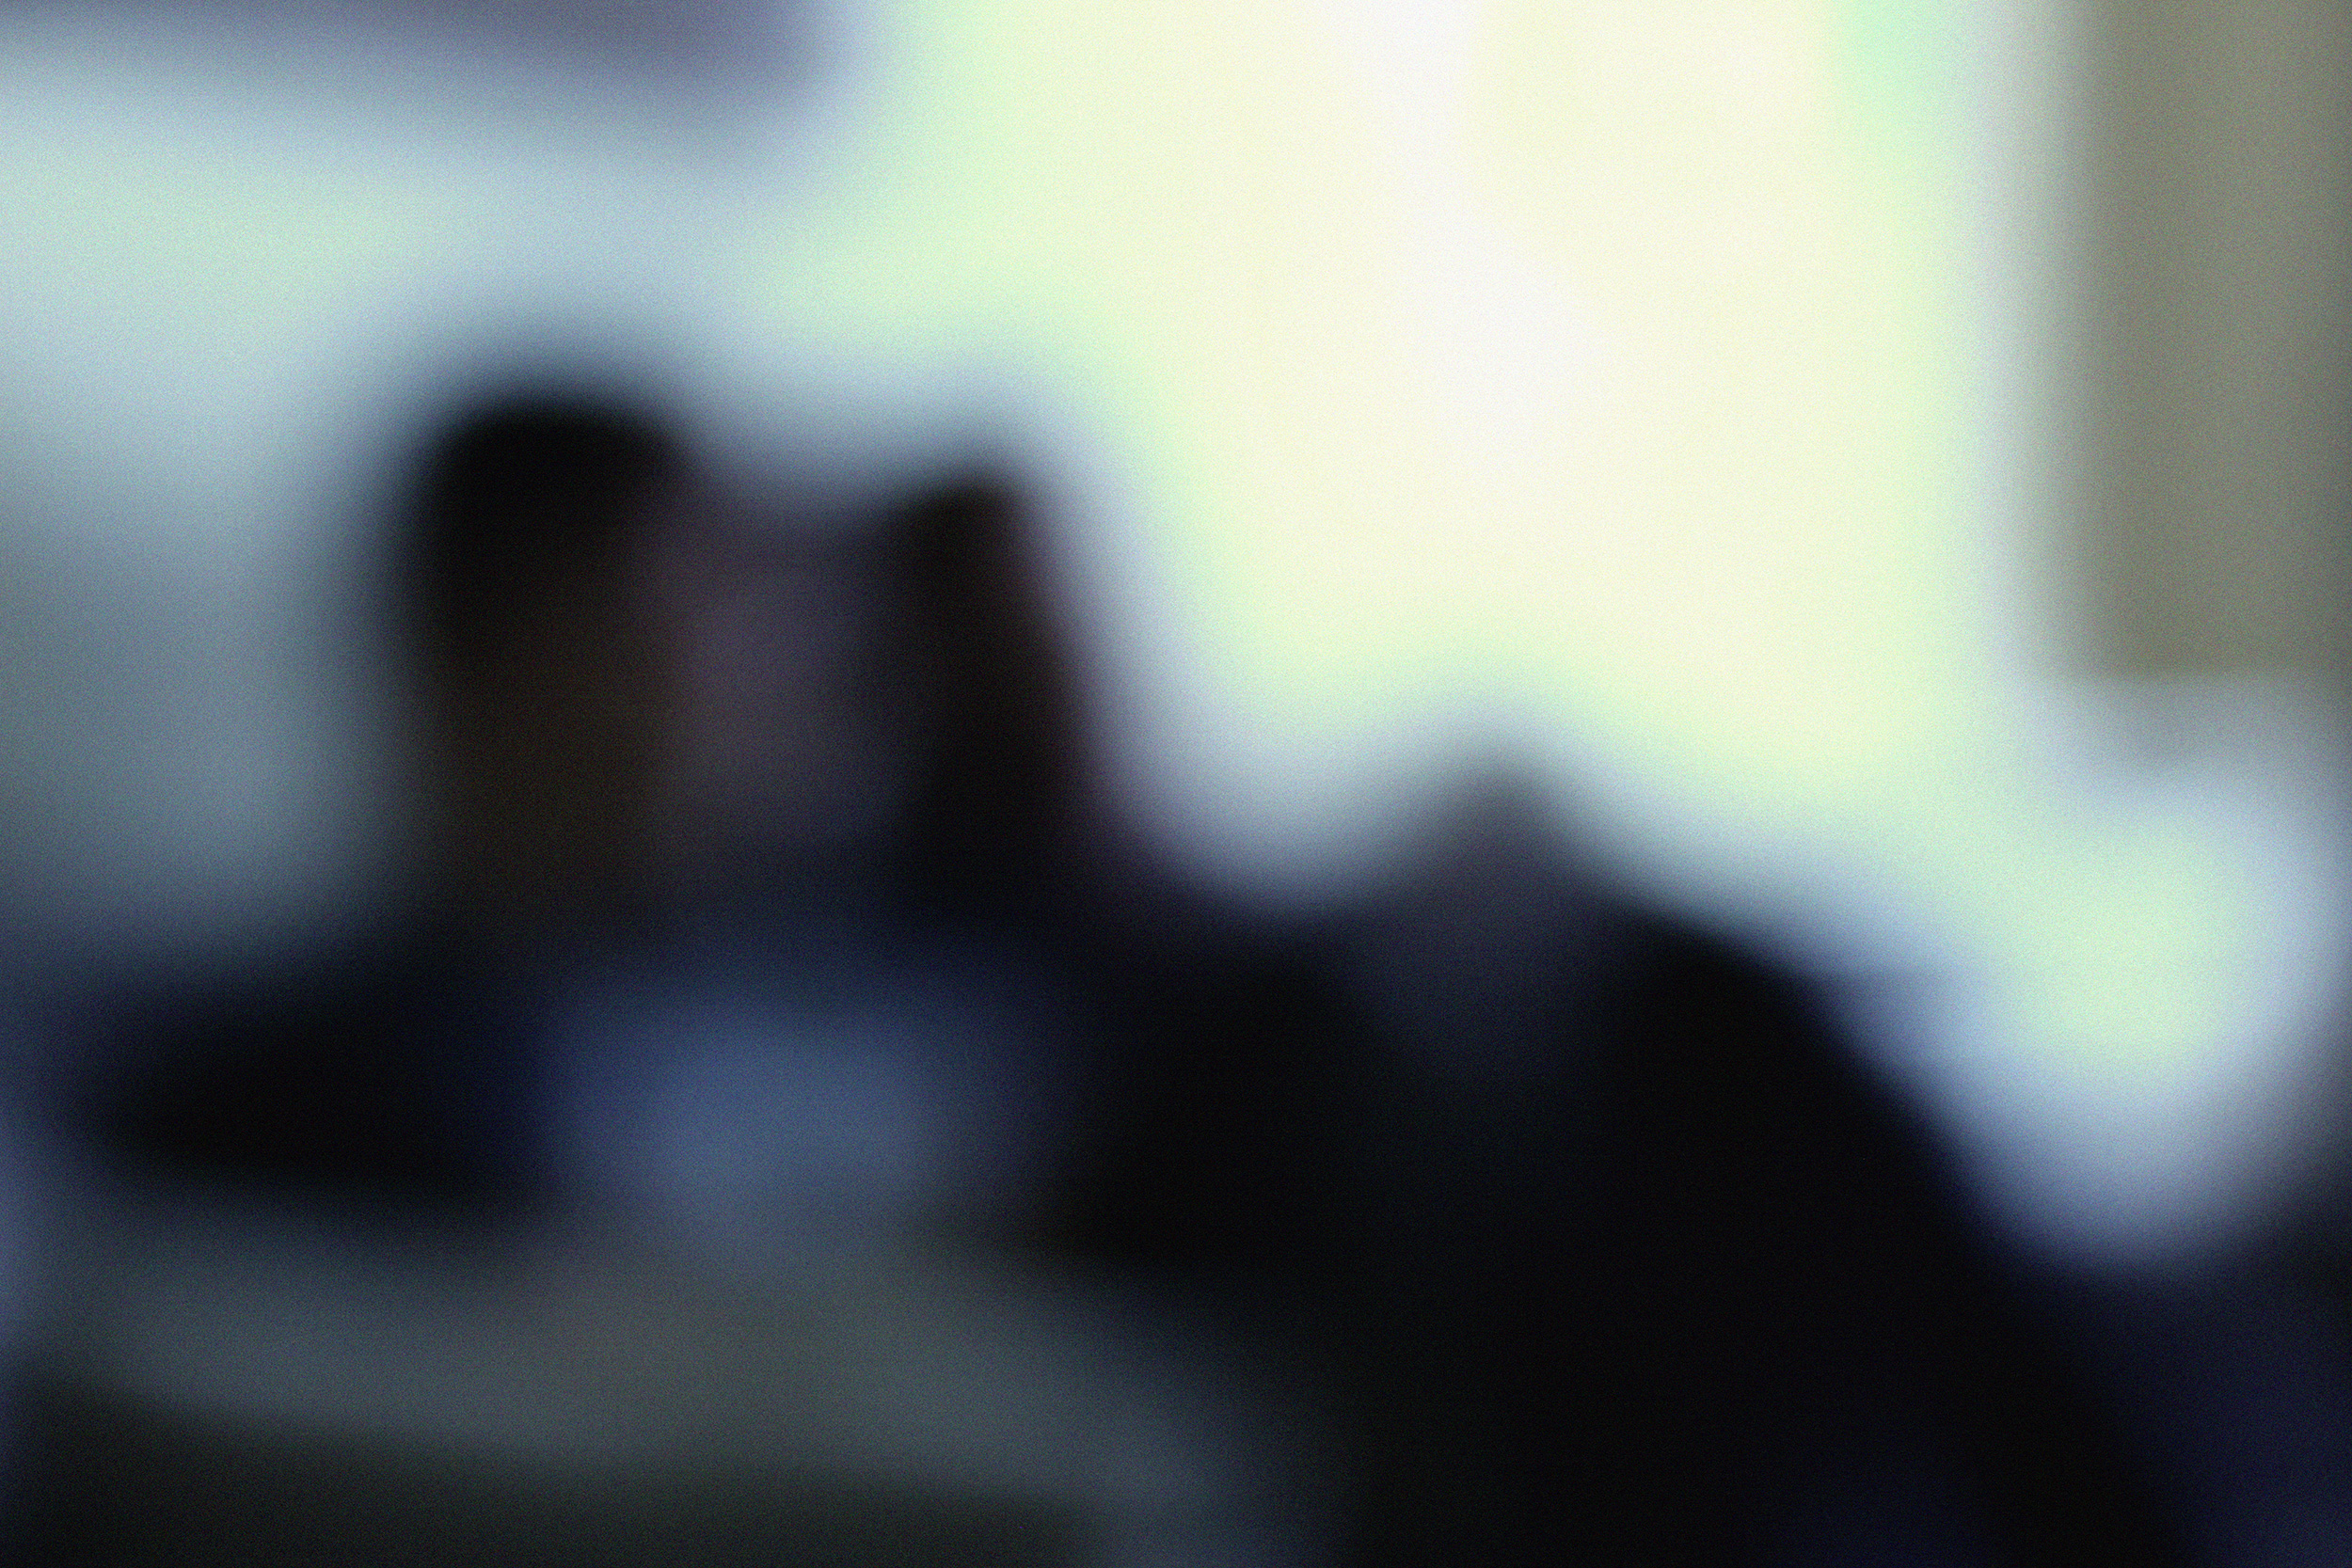
In this photo, I played with the levels tool to achieve this photo. I really like how the darkness of the people contrast with the light from the windows. I think this photo turned out really well and I really like it.

With this next photo, I again played with levels and brightness. I also put a photo filter on to make it look better. I really like the way this photo turned out because you cant really tell what the photo is. I also really like the contrast of the bright white structure against the the neutral colours of the furniture.
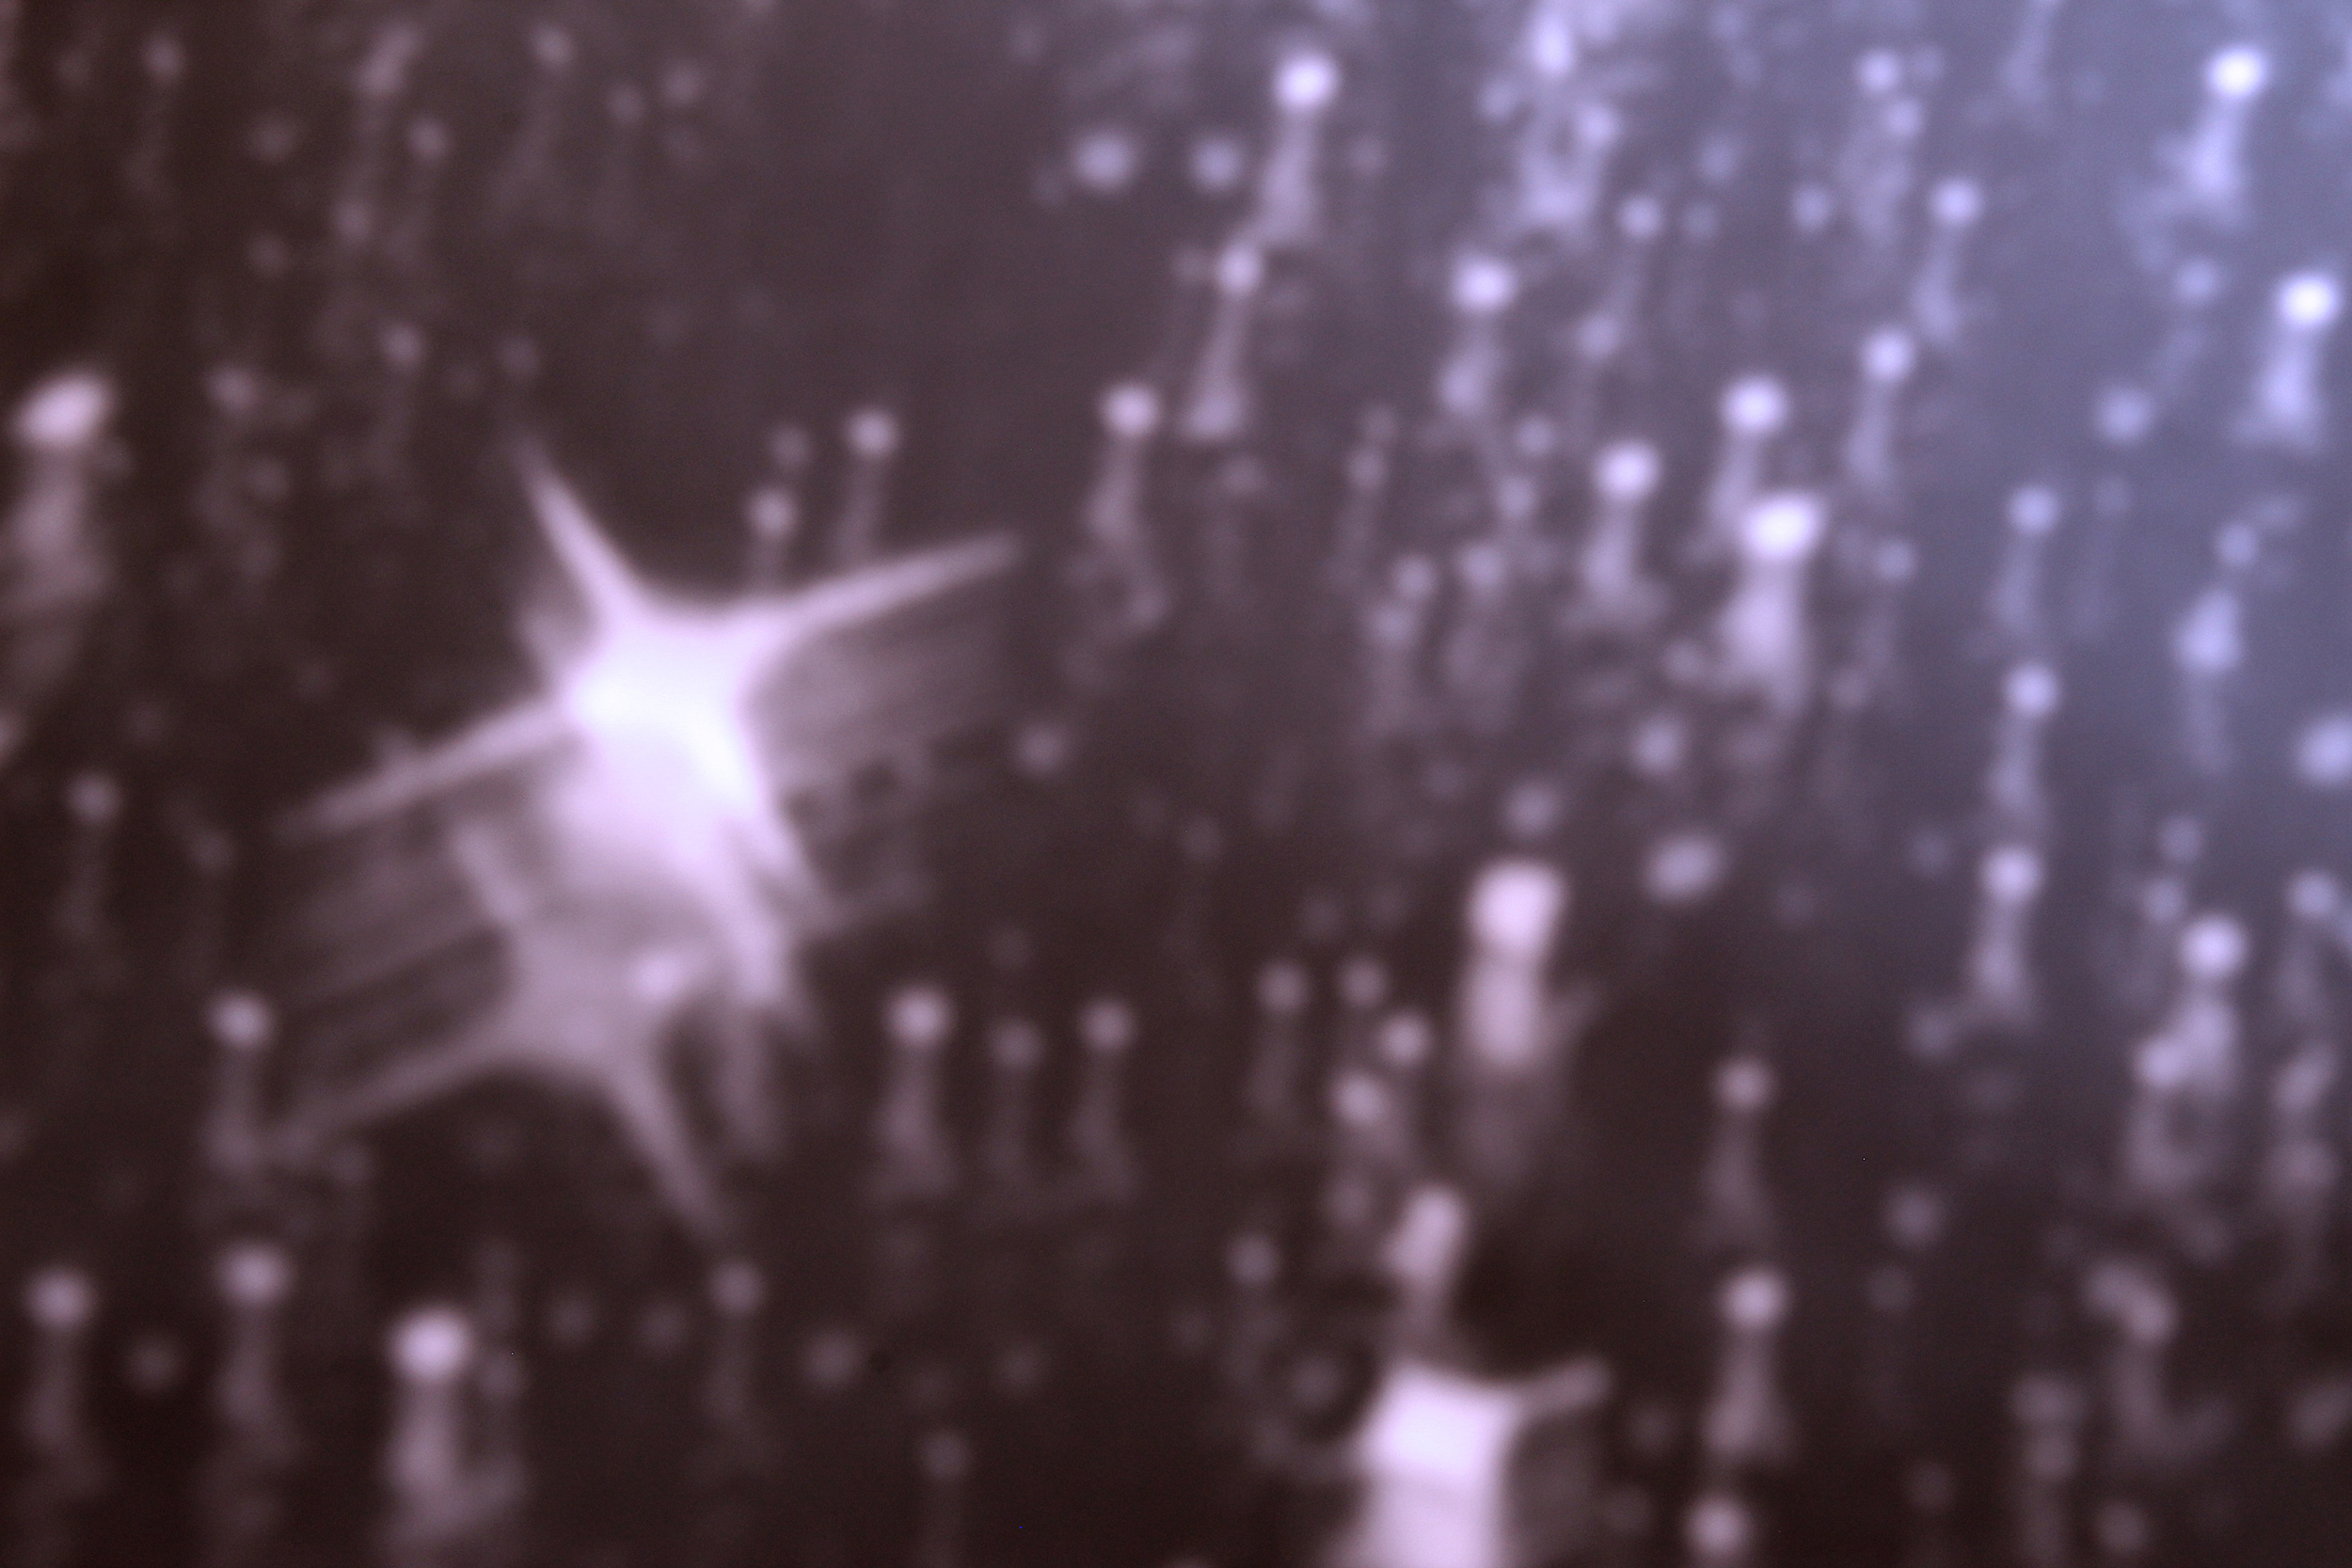
This photo has to be my favourite picture from the photo shoot. It almost looks like the the heads are being peeled apart kind of. I experimented with levels and photo filters. I also decided to add noise to make it look more retro and vintage. I really liked how this photo turned out and I hope to take a photo in this style again.
 I am really pleased with how this photo turned out because it is in the style that I really like. I played around with photo filters, levels and brightness and contrast. This photo has to be my second favourite out of this photo shoot.
Conclusion
In conclusion, I think this photo shoot went very well as I took many great photos. I think to make this better I would’ve taken photos somewhere else, but, I am happy with the results I got from taking it around the house. Next time I think I will try yo use this technique in my photos as I really like the outcome of the photos when you take it this way.