Some Examples: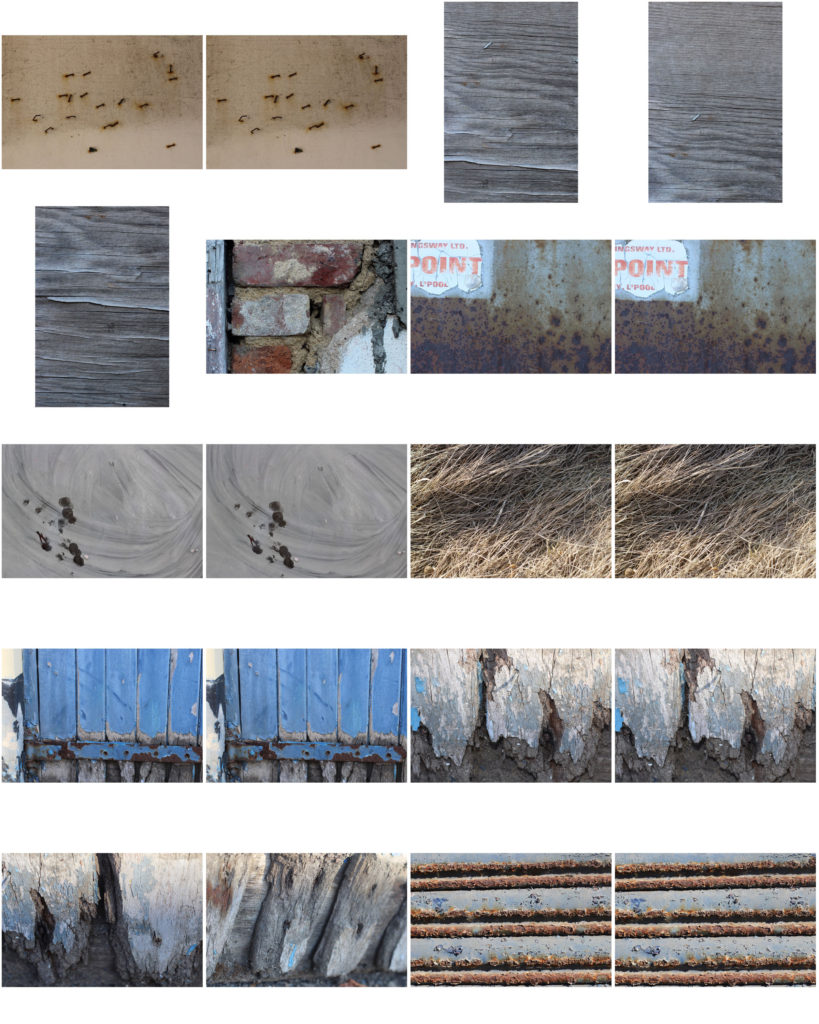
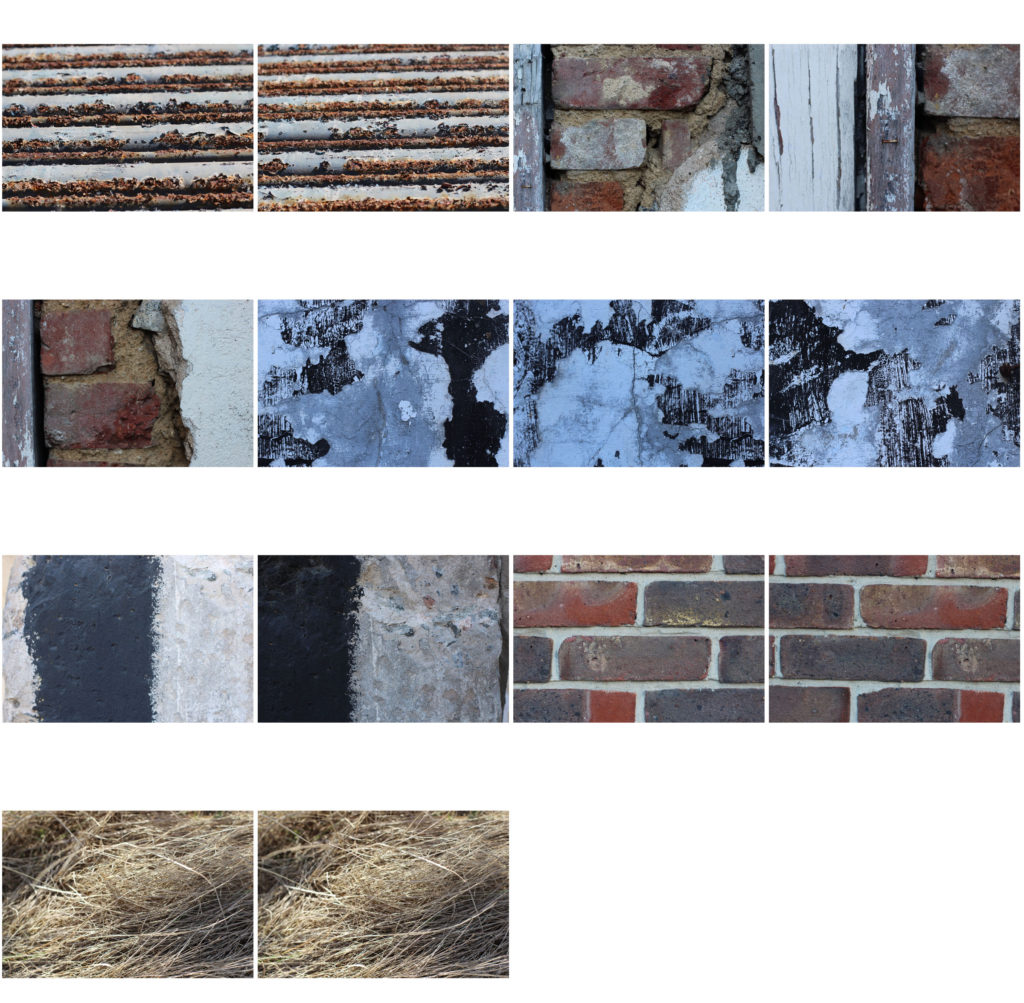
Some Examples:

By changing the ISO setting of a camera, the camera sensitivity to light changes. By increasing the number on the ISO setting, the camera becomes more sensitive to light, and so photographs can be taken in darker areas without the need for flash.
ISO is useful for taking photographs, as rather than using flash, and making the image seem more artificial, ISO makes use of the natural light already in the scene, and so makes the photograph look more natural.
However, using a high ISO setting can also add to the noise of the photograph, lowering the quality of the image overall. That is why it is important to carefully decide how high the ISO is set, depending on the setting that the photograph is being taken in.
For my experimentation, I used the same subject, while changing the ISO setting. In order to allow each photograph the same amount of light, I changed the shutter speed as I increased the ISO. The results of 5 different photographs, ranging from ISO 400-6400 can be seen below.
As I raised the ISO, the photograph became darker, and so to counteract this I also gradually decreased the shutter speed, from 1/10 to 1/100. This allowed for the same amount of light in each image. 
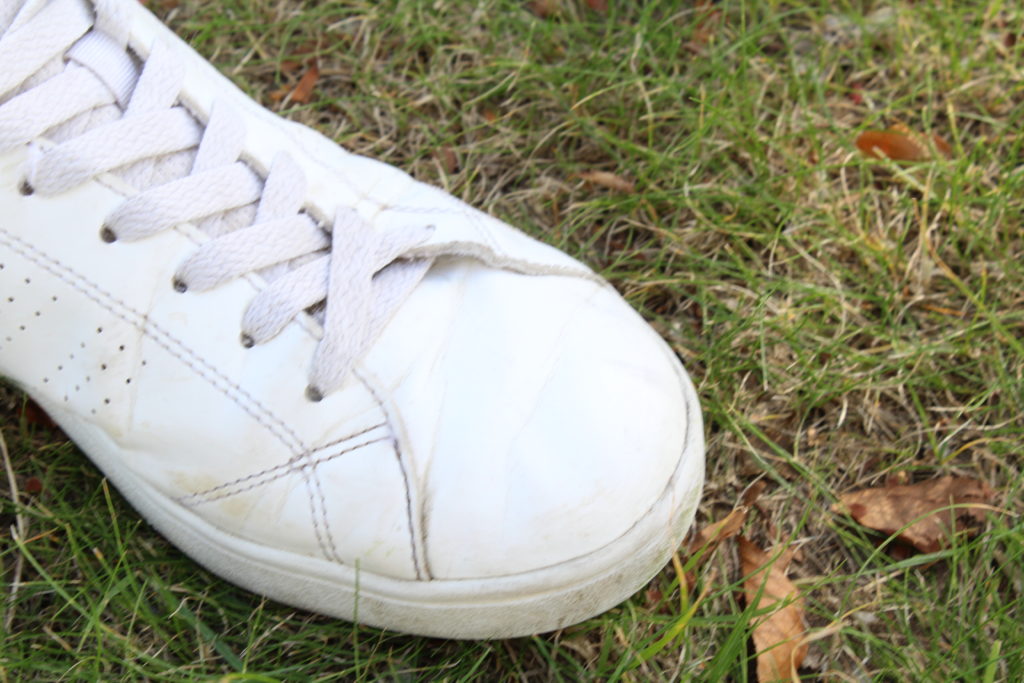
In the above 2 images, the difference between the ISO was large (the first one had an ISO of 400, and the second of ISO 6400). The bottom image is clearly more sensitive to light, as it has made the image brighter without the use of flash, whereas the image above is less sensitive to light, and so the image appears to be darker.
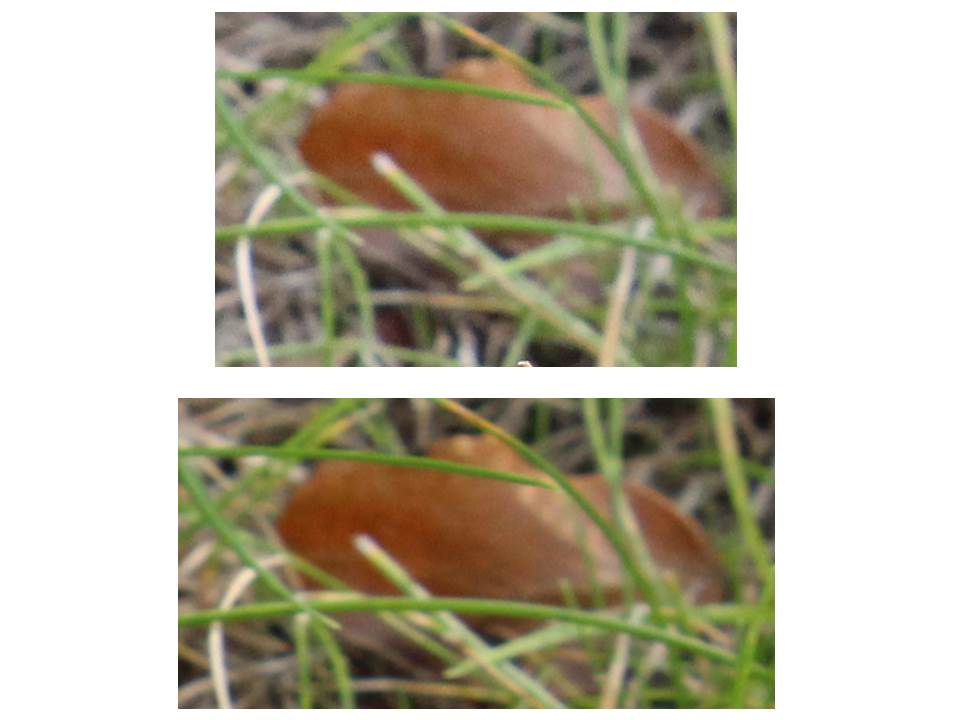
The above images were both taken of the same leaf, yet the first image clearly has more noise than the second. This is because the first image was taken using ISO 6400, and the second taken using ISO 400. Although using a higher ISO allows for for camera to become more light sensitive, the amount of noise in the photographs taken with this higher ISO makes the image seem blurry and low in quality due to the extra noise produced.
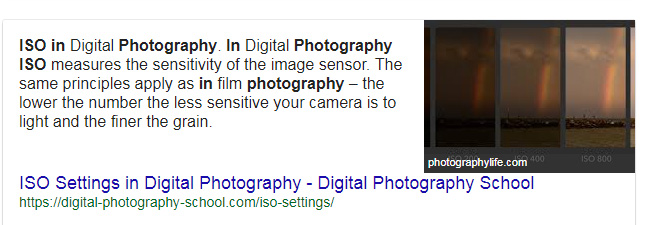
In Digital Photography ISO measures the sensitivity of the image sensor,  the lower the number the less sensitive your camera is to light and the finer the grain.

https://digital-photography-school.com/iso-settings/
These photos are taken in a light area it goes in order: 1600, 800, 400, 200, 100.
These are photos are taken in a really dark light and once again goes in order: 1600, 800, 400, 200, 100.
The ISO on a digital camera allows the user to control how light sensitive the camera is.
The lower the ISO, the less light sensitive the camera is.
The higher the ISO, the more light sensitive the camera is.
The ISO allows the user to take photos in bright areas with a low ISO and in darker areas with an increased ISO.
When the ISO is increased, the quality of the images will be poorer. The images become grainy, less sharp and will have decreased amounts of detail.
ISO 100
ISO 400
ISO 1600

ISO 6400
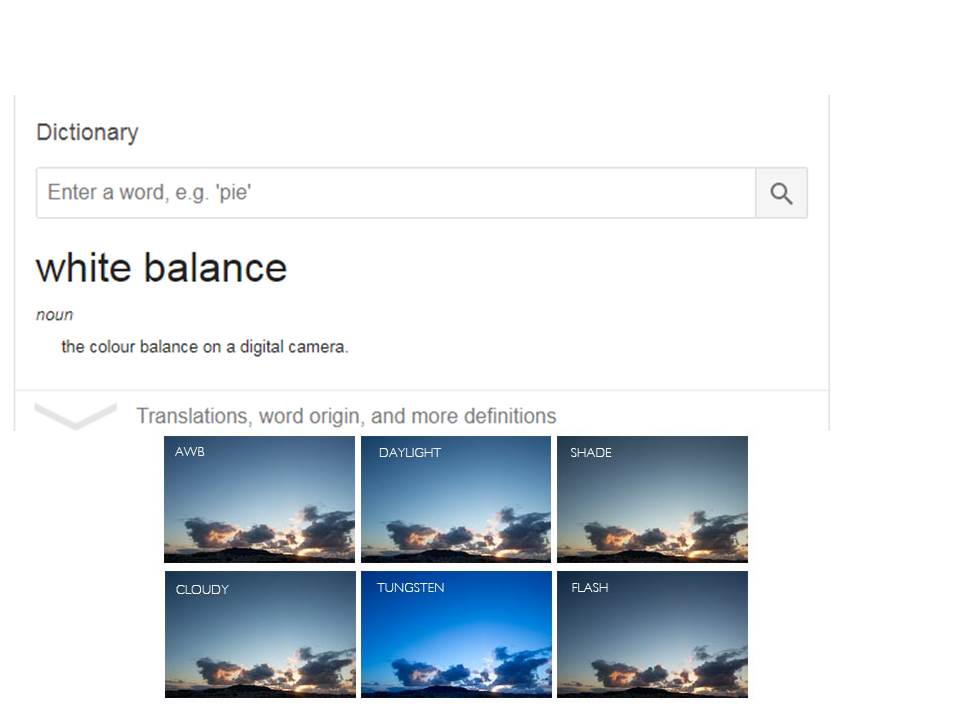
Whilst experimenting with white balance I found that the light changed temperature depending on the white balance setting, the aperture I used and the place I was. I had to change my aperture when I moved outside. I wasn’t looking to get the best photo, I was just trying to see what each setting looked like.
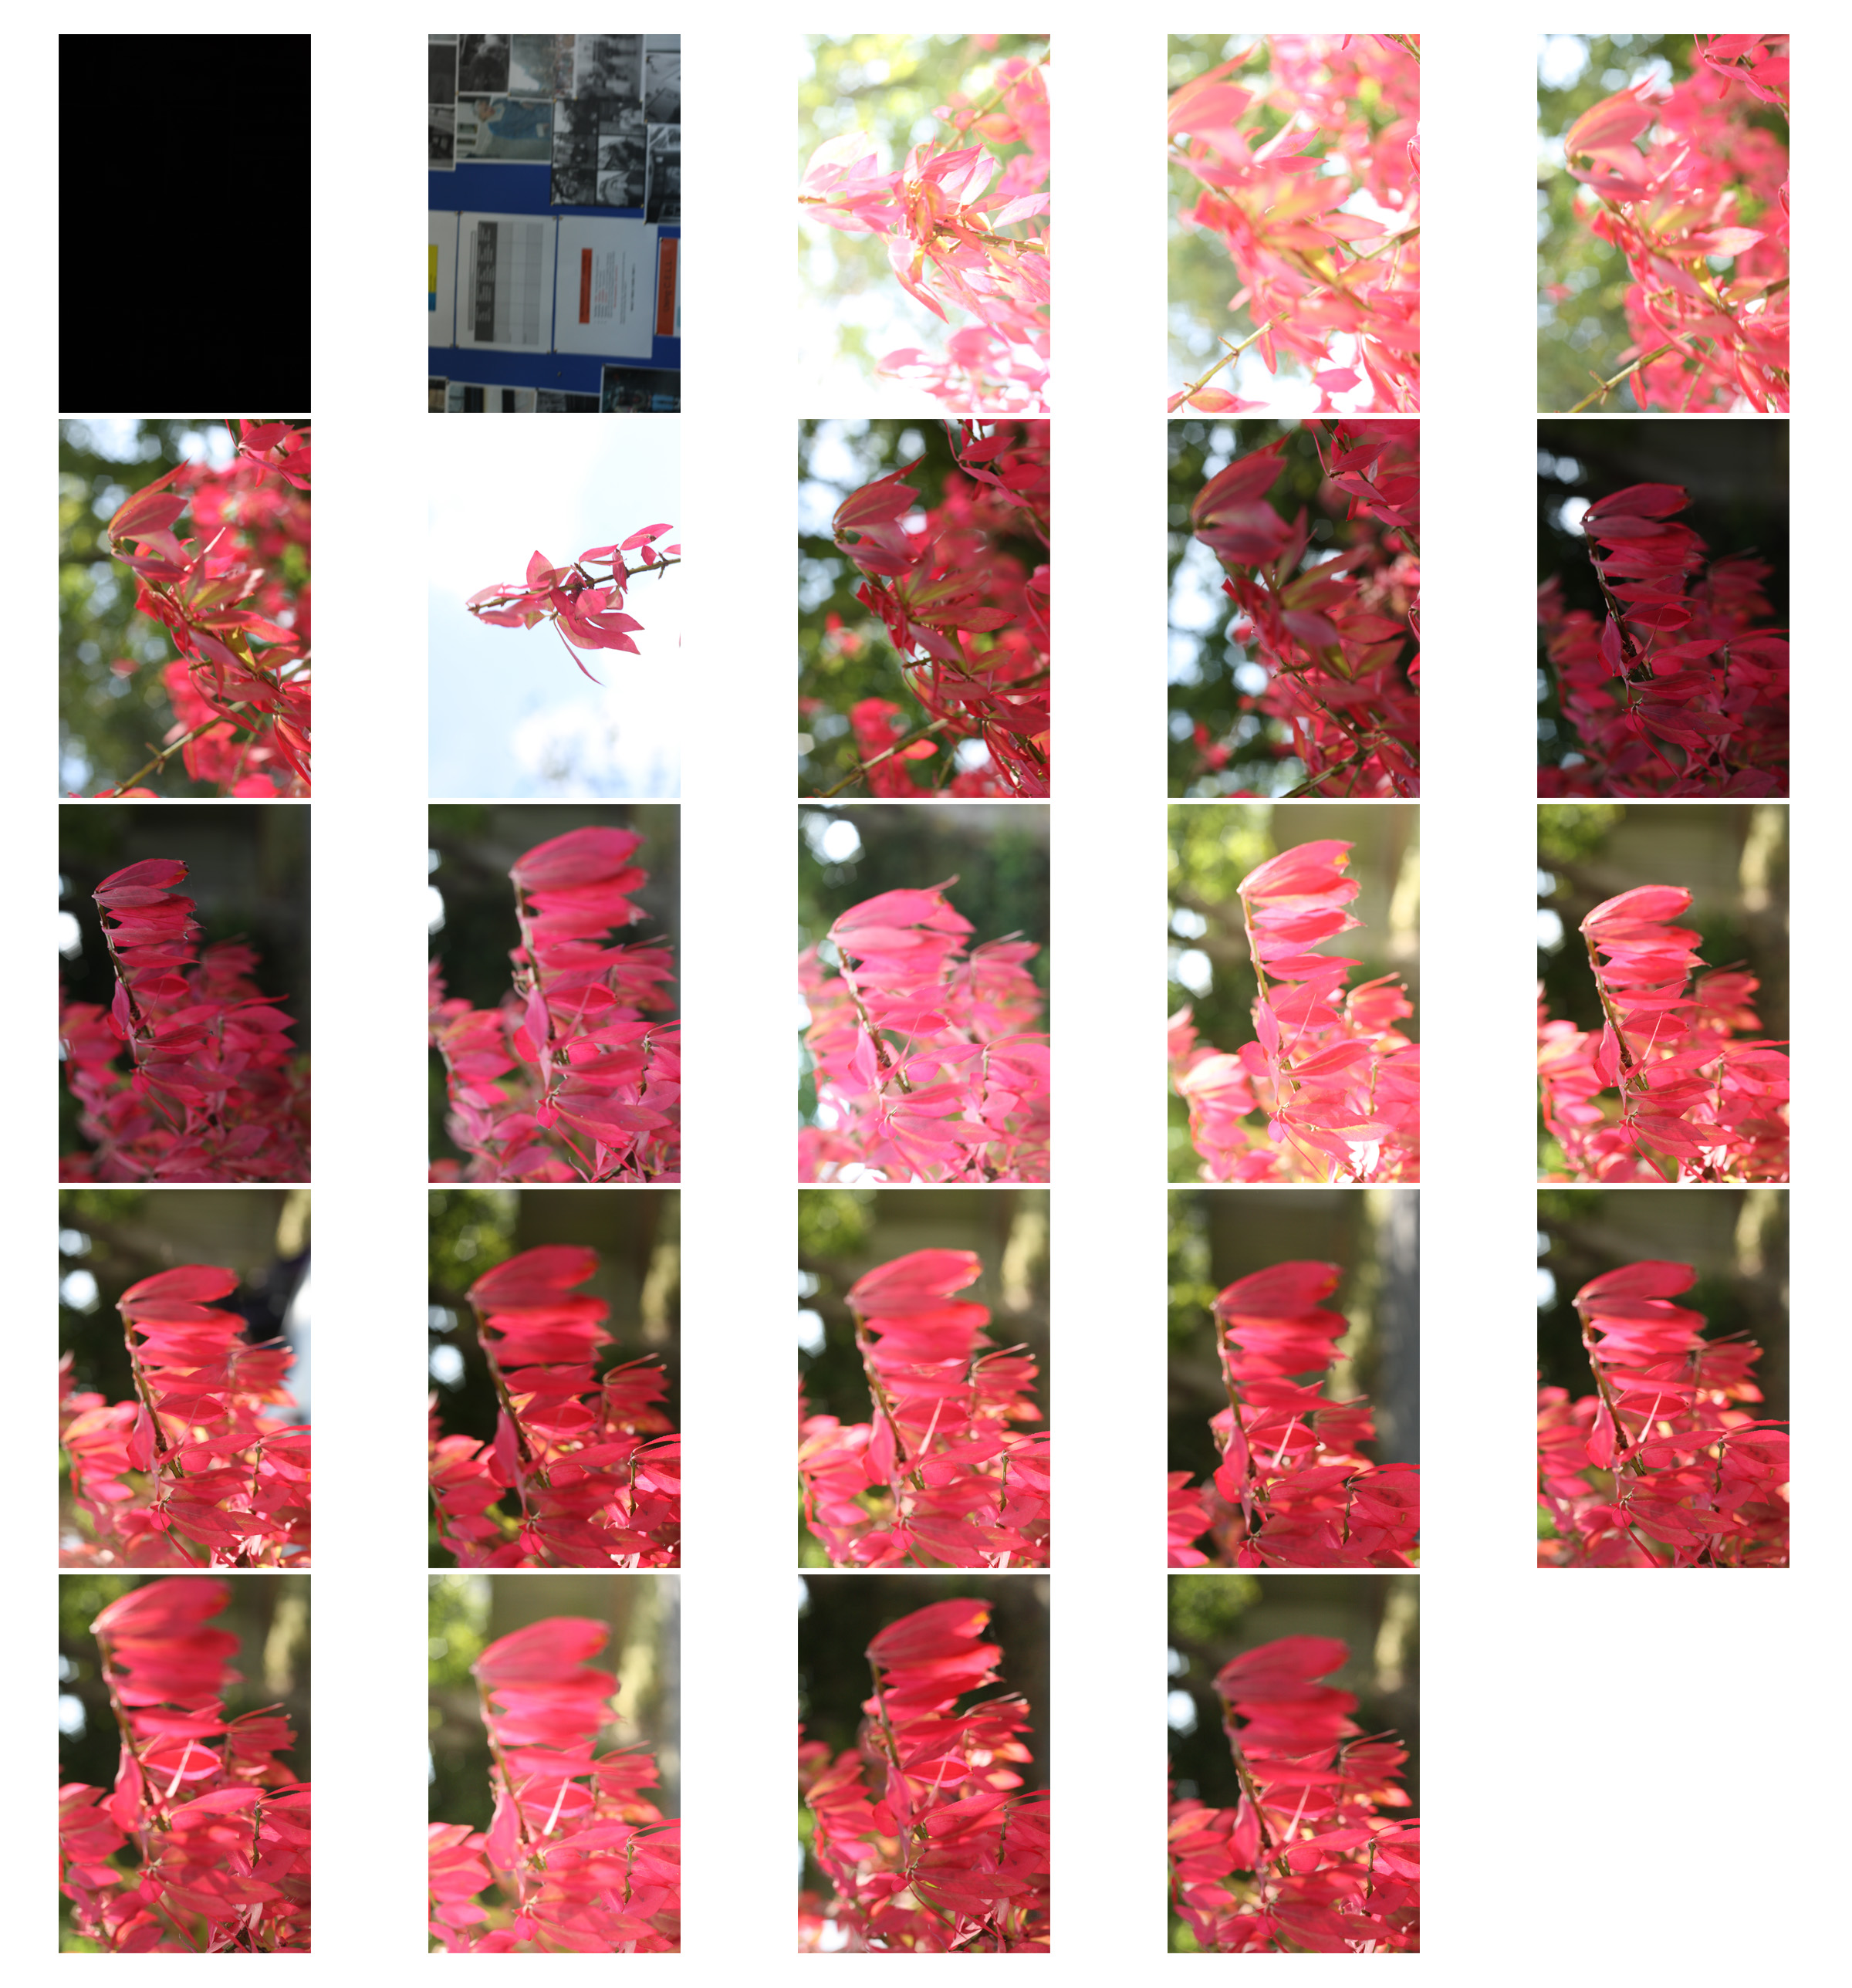
By changing the IOS level I found I had to change my shutter speed so my image wasn’t overwhelmed with light or lacking light. I did notice a change in my images. The ones with the lower IOS were sharper and less grainy and less noisy.
I decided to use the same subject in the majority of my images because I wanted to show the difference between the IOS levels and how it affects the camera.
The rule is as you increase IOS, decrease shutter speed. (eg. From 1/25 to 1/120)




ISO:
ISO simply stand for International Organisation of Standardisation. Changing the ISO of a camera controls its sensitivity to light, helping to manage the exposure of an image and prevent under and over-exposure of frames.
Changing the ISO changes the cameras sensitivity to light and can therefore allow for clean frames in lighter and darker places. The lower the ISO the lower the sensitivity to light, and vice versa to higher the ISO the higher the sensitivity to light will be. One downside to ISO is the higher the ISO the noisier or grainier an image becomes, as displayed below.
http://www.digitaltrends.com/phtotgraphy/what-is-iso/
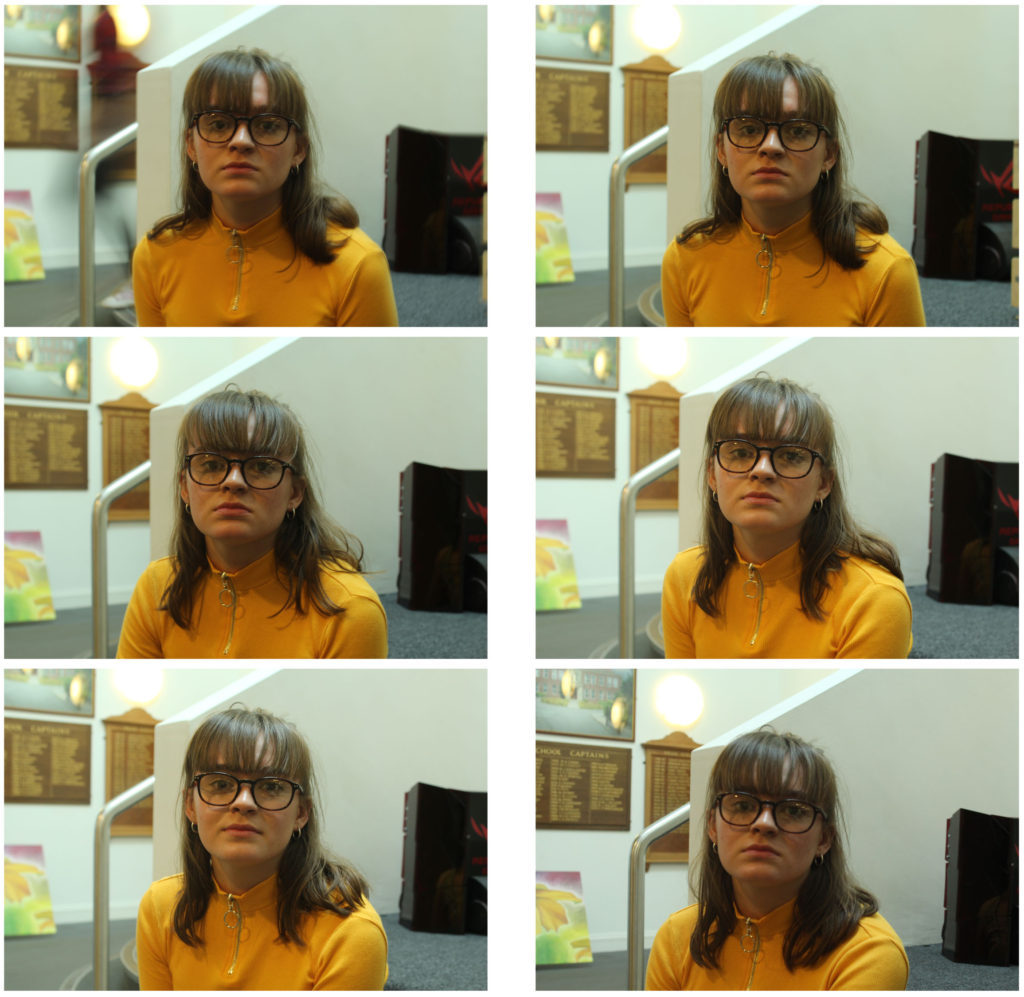
Examples of my experiment in indoor lighting:
Settings: 200, 5.6 ISO 100-6400

Examples of my experiment in outdoor lighting:
Settings: 200, 5.6 ISO 100-6400
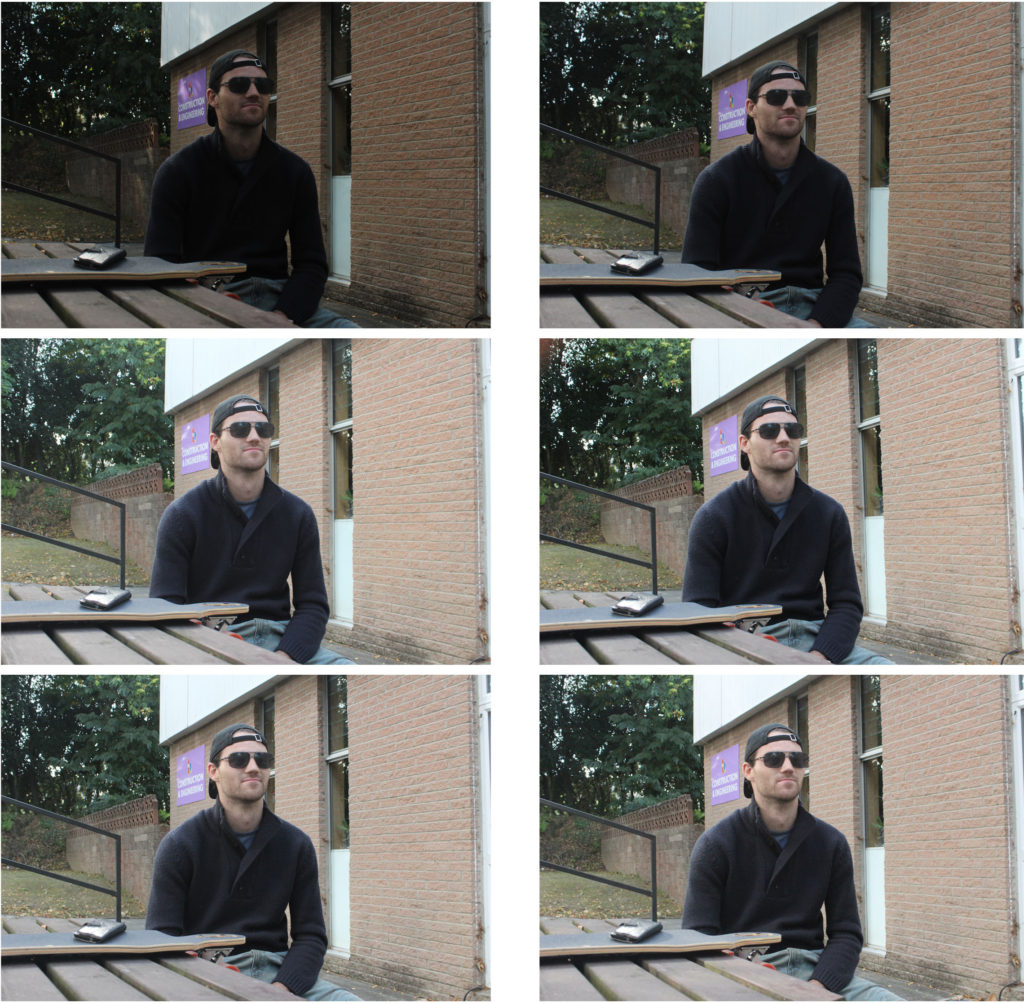

As shown in these frames as the ISO increases with each image the quality of the picture is reduced and seems more pixelated, this is often referred to as ‘noise’. Changes in ISO can allow photos to look more natural and visible, however the negative effect of a high ISO can sometimes defeat the object of changing the ISO.

However many photographers have used a high ISO to their images on purpose, in order to create the grainy effect.
What is White Balance?
‘White Balance means adjusting the colors so that the image looks more natural. We go through the process of adjusting colors to primarily get rid of color casts, in order to match the picture with what we saw when we took it. We do this because most light sources (the sun, light bulbs, flashlights, etc) do not emit purely white color and have a certain “color temperature“. Proper camera white balance has to take into account the “color temperature” of a light source, which refers to the relative warmth or coolness of white light. Our eyes are very good at judging what is white under different light sources, but digital cameras often have great difficulty with auto white balance (AWB) — and can create unsightly blue, orange, or even green color casts.’
Definition taken from: https://www.cambridgeincolour.com/tutorials/white-balance.htm
Video Explaining What White Balance is:
Experimenting with the White Balance, Inside and Outside
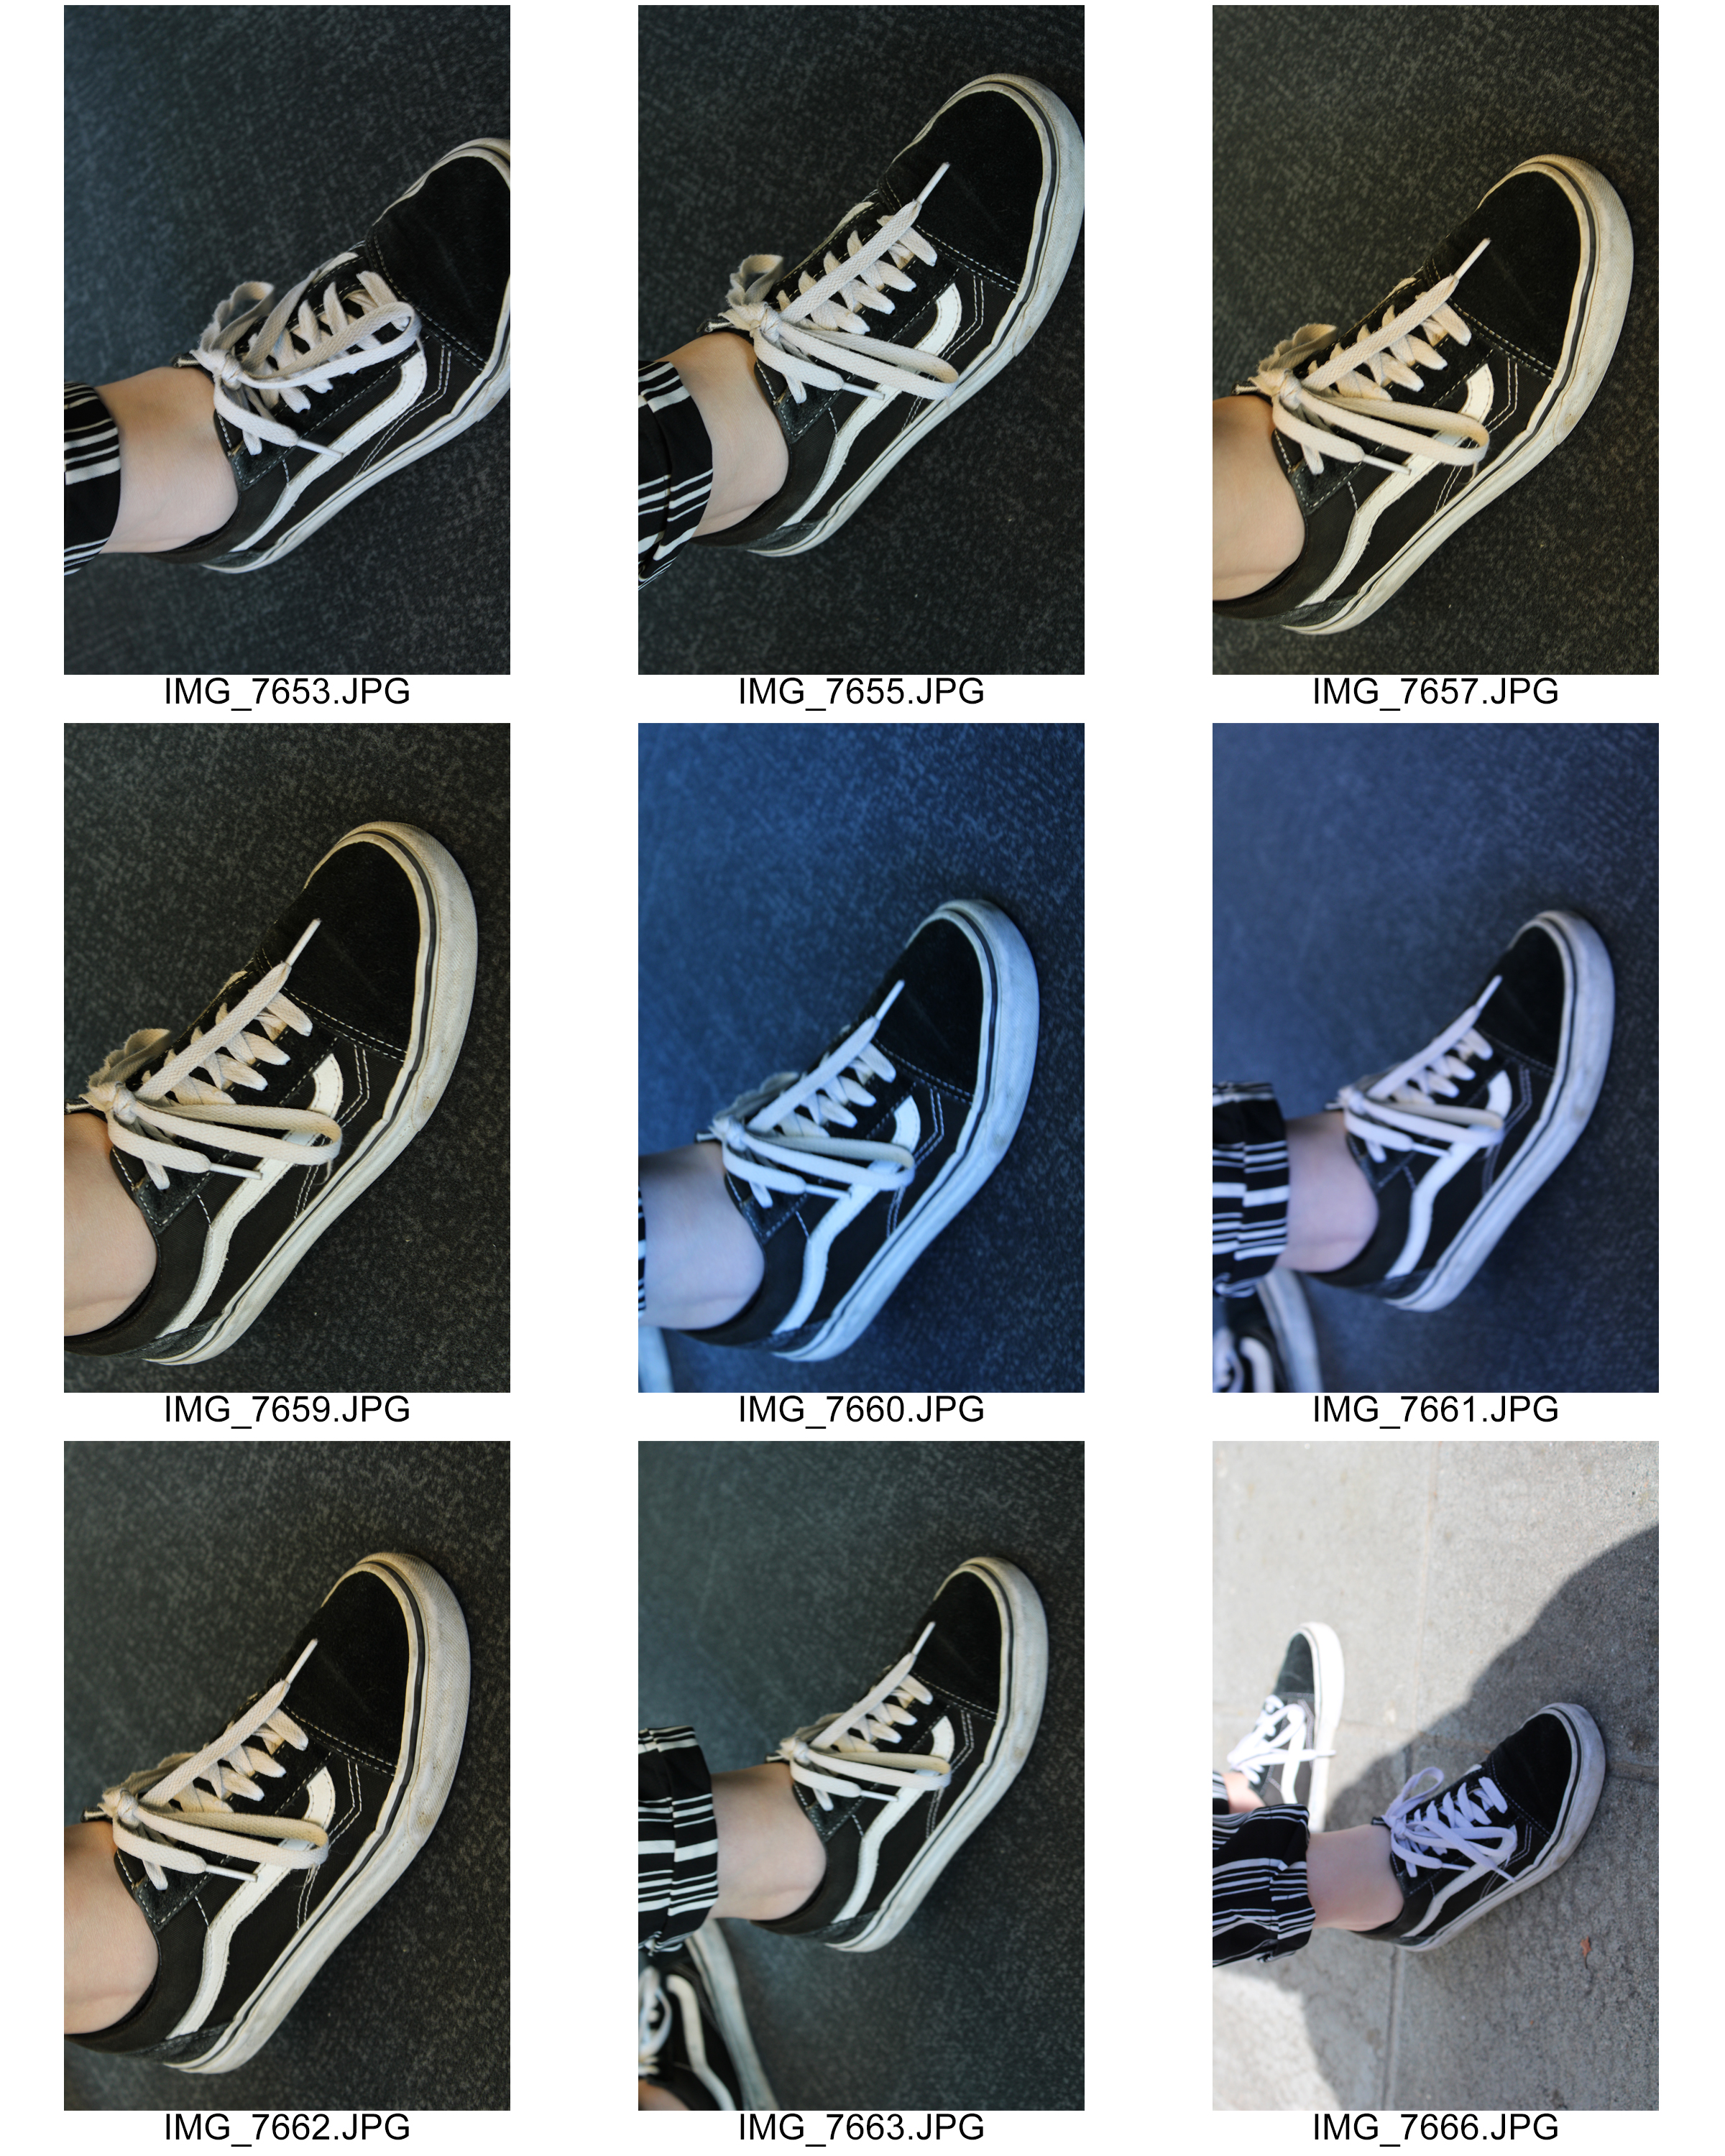
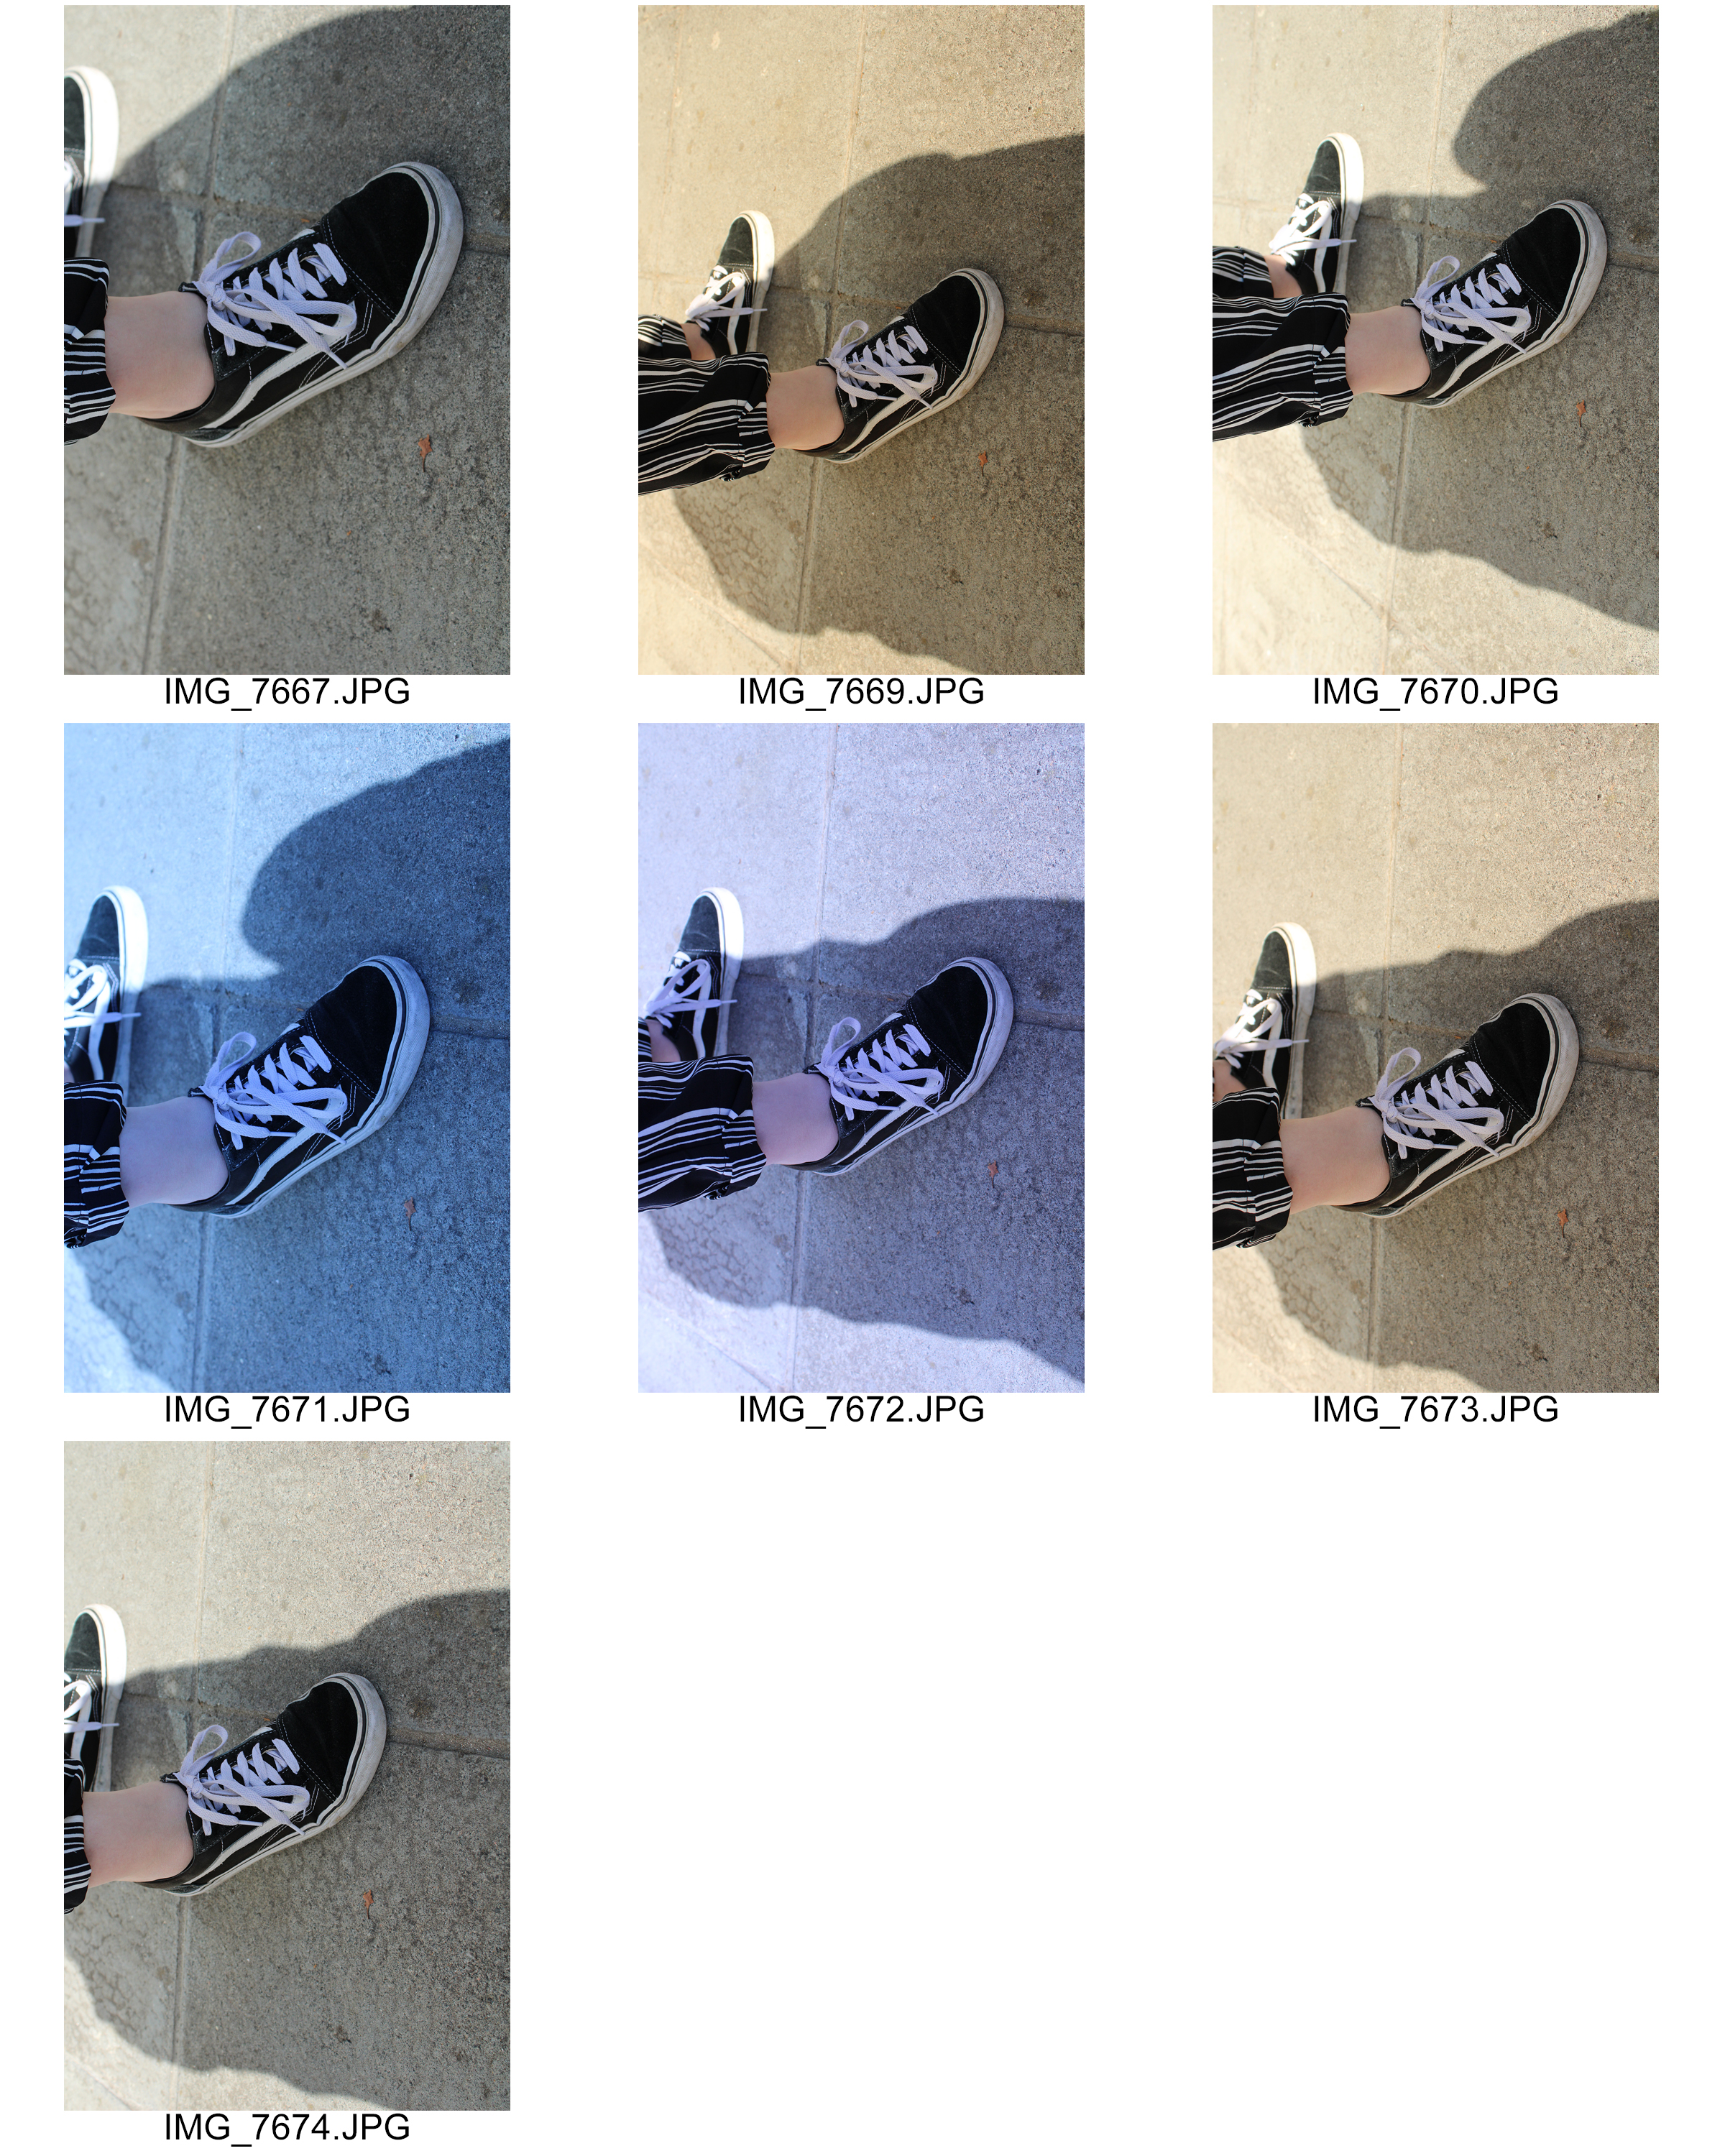
The first eight photographs where taken indoors, where I used every White Balance mode there was on my DSLR. These images consist of artificial lighting, produced from the ceiling lights, due to this it makes the difference in White Balance a lot harder to recognise. However, the last eight photographs have been captured outside using natural lighting. This has allowed the different White Balances to be seen clearly.