The next technique I will be experimenting with is a “kaleidoscope” technique. For this method, I will be duplicating and copping my image to reflect it 4 times to create an unusable visual affect, similar to looking through a kaleidoscope. Below are the steps I took in order to achieve my final image:
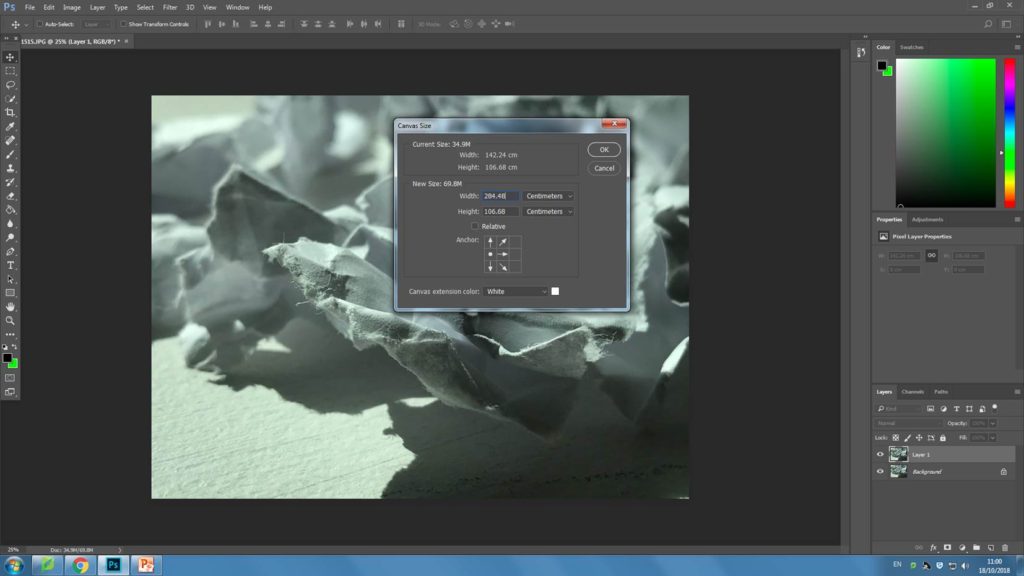
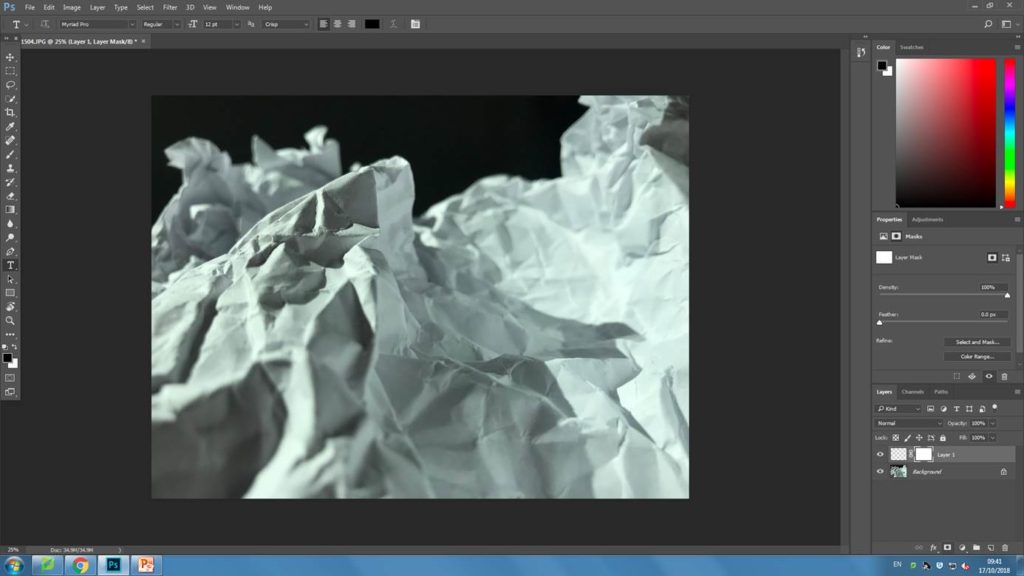
Firstly, I opened up my image so that I was able to modify it. First the changed the canvas size by doubling the width.
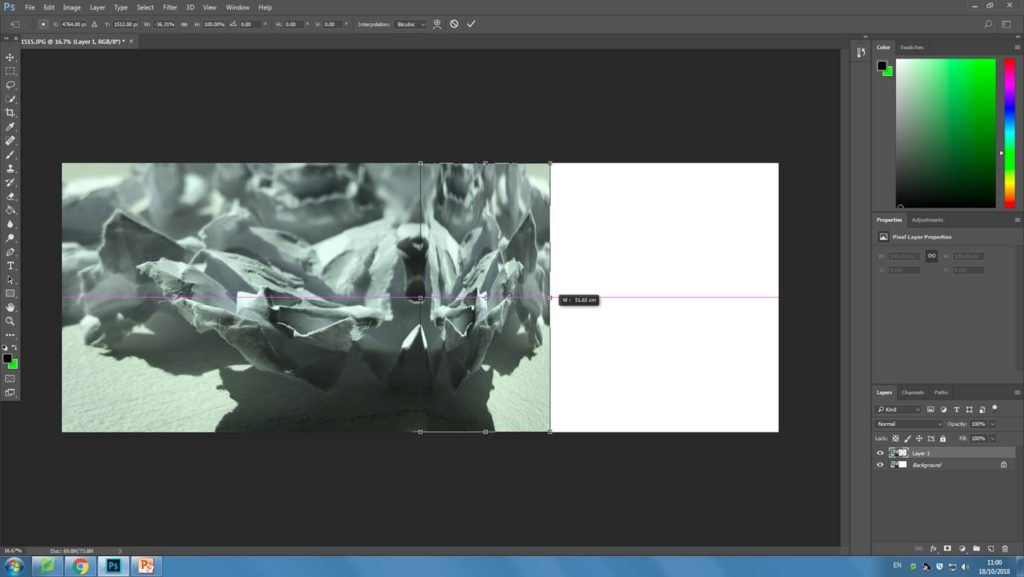
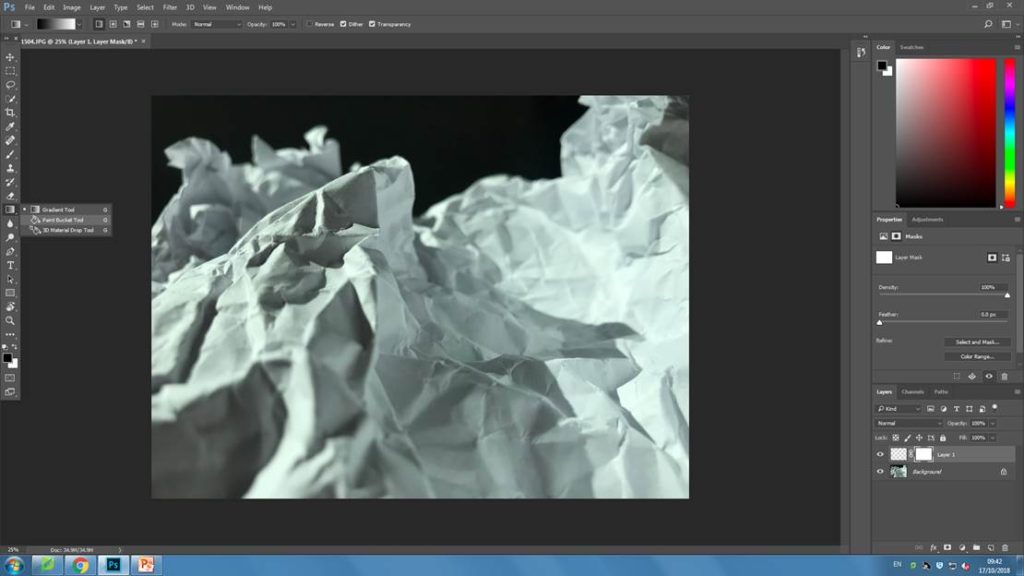
Next, I pressed Ctrl + t to be able to drag out the second layer that I had copied to create the image in the screenshot below:
Next, I also doubled the length of the image above.
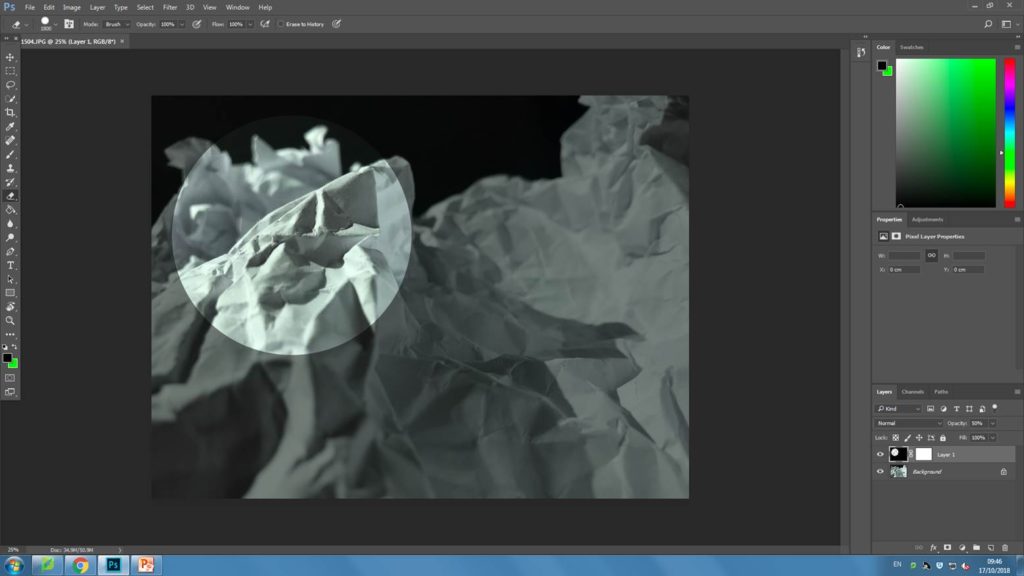
I then repeated the previous steps and added another layer, the dragged it down to complete the picture.
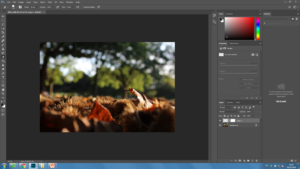
Original image:
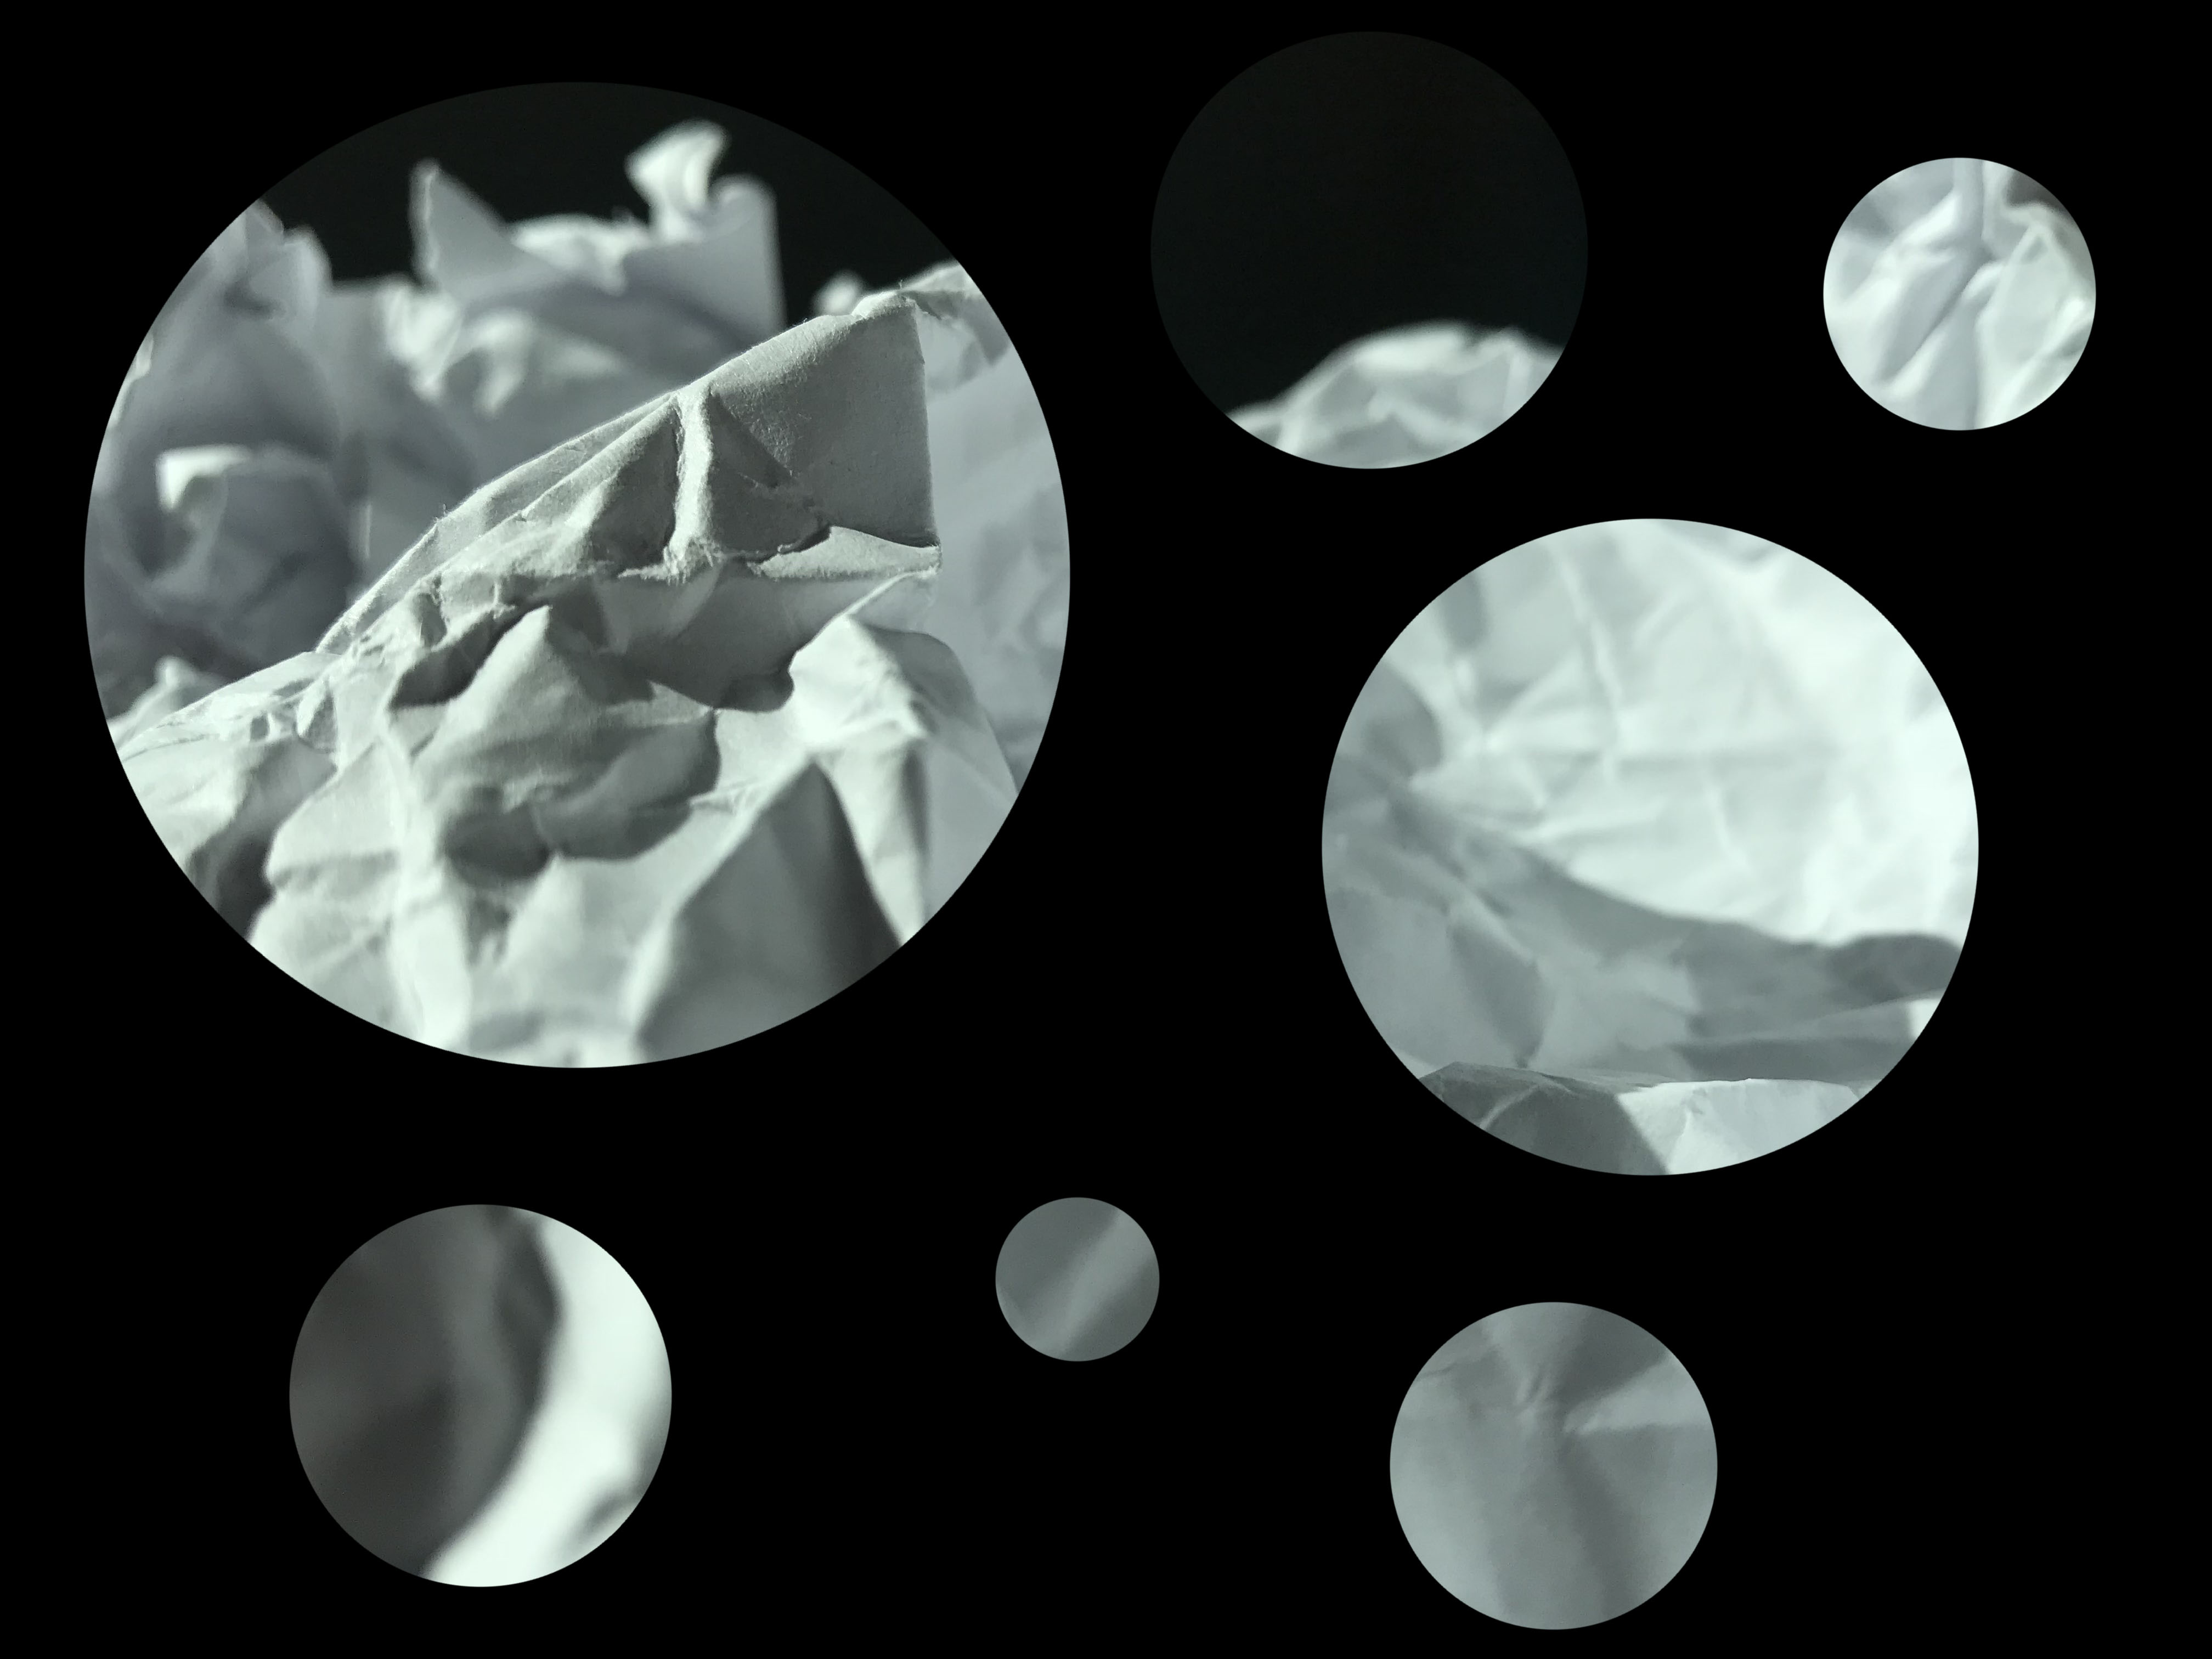
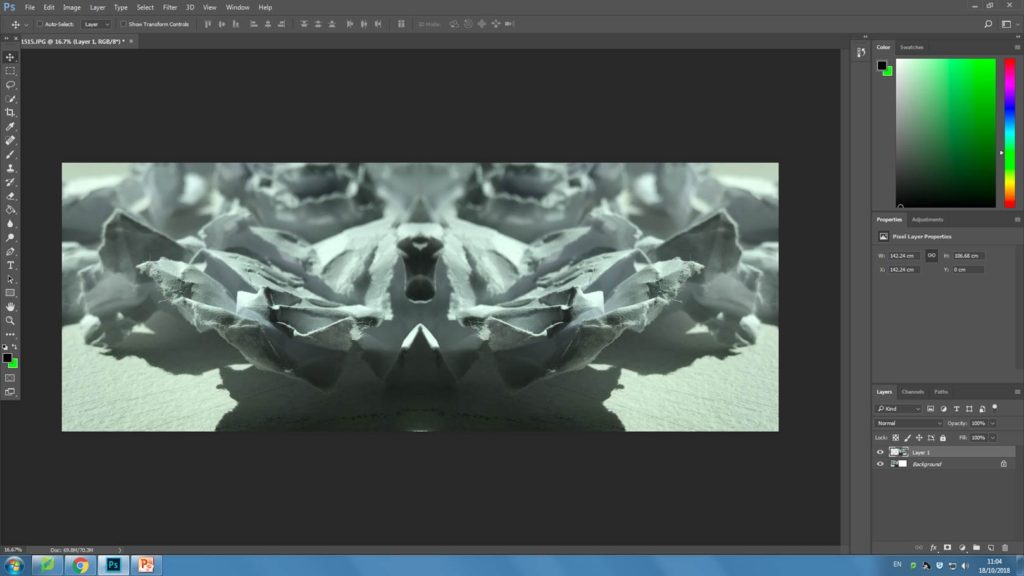
Edited outcome:
I really like the effect I was able to achieve using Photoshop on this particular photo. In my edited outcome the image has been reflected a few times. I think this definitely helps my image fit more into the abstract theme, as now that it has been manipulated it is a lot harder to tell what it is at first. I think this effect definitely helps the image become more pleasing to my audience as the image now has more of a symmetry to it, which perhaps makes it more attractive.