White balance

White balance is a camera setting that automatically adjusts the color balance of light the you’re shooting in so that it appears a neutral white. This setting can also be set to manual which lets you create your desired colour balance for a photo. For example, if you are taking a photo of a white neon sign you might want to set the white balance to tungsten which will give the white a blue/purple shade.

This is just a quick photo shoot experimenting with white balance, so there aren’t many photos. There next 3 photos are my favourite out of the shoot as they have very different colour balances, also because of the in and out of focus areas and the straight line ‘pattern’ running through all of the pictures.

Focusing on Focus

Different types of lenses can give you a different range of zoom and focus. A portrait lens (wide lens) has no zoom only, this means you have to physically move close to what you are capturing, you can then adjust the focus manually. You also have have telephoto lens, which has an extreme zoom on it up to 200mm, from where you are standing, you can also use manual focus on this as well.

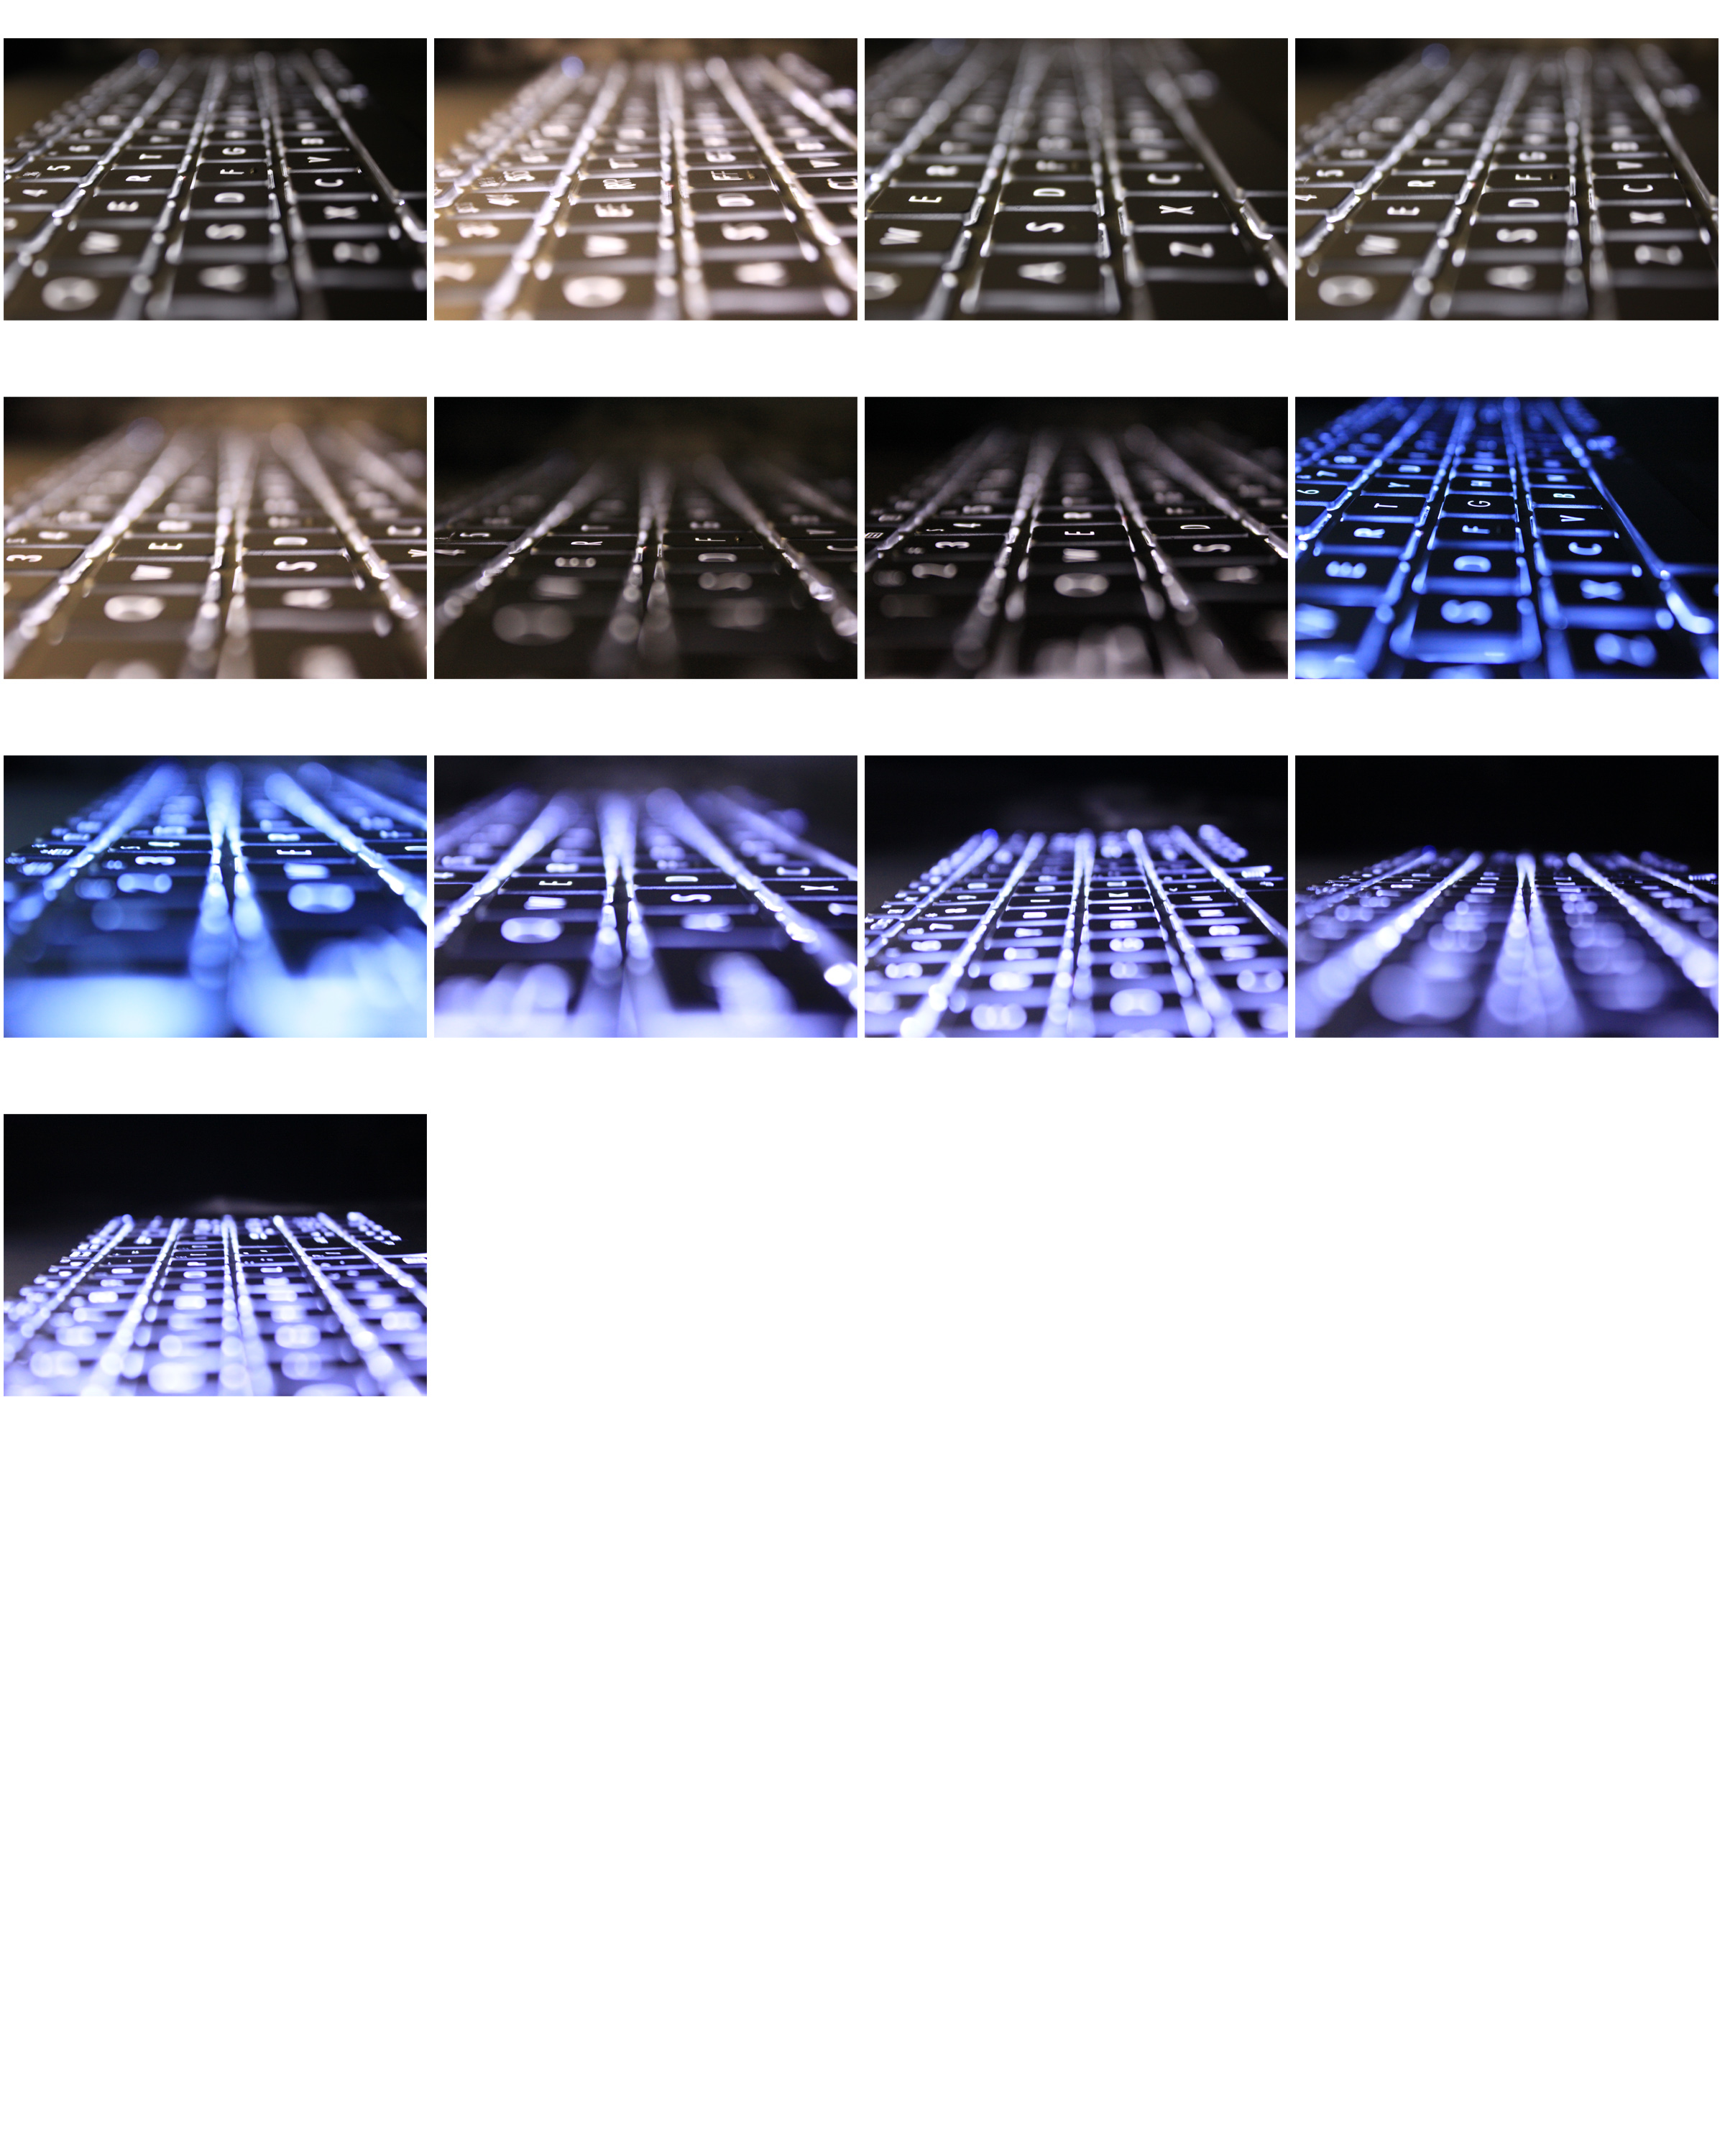
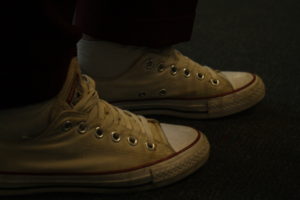
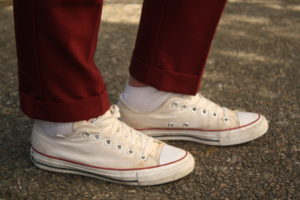
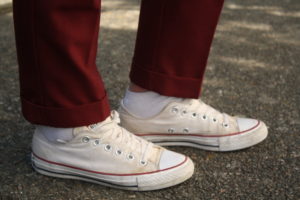
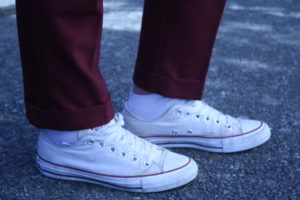
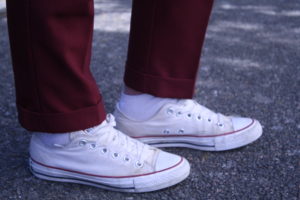
In this experiment these are the 3 types of lenses I used, a portrait lens, a regular lens and a telephoto lens. I used them all on a manual setting, so I could adjust the focus alone, to get certain parts of the photo in focus and sharp and the surrounding blurred out. 

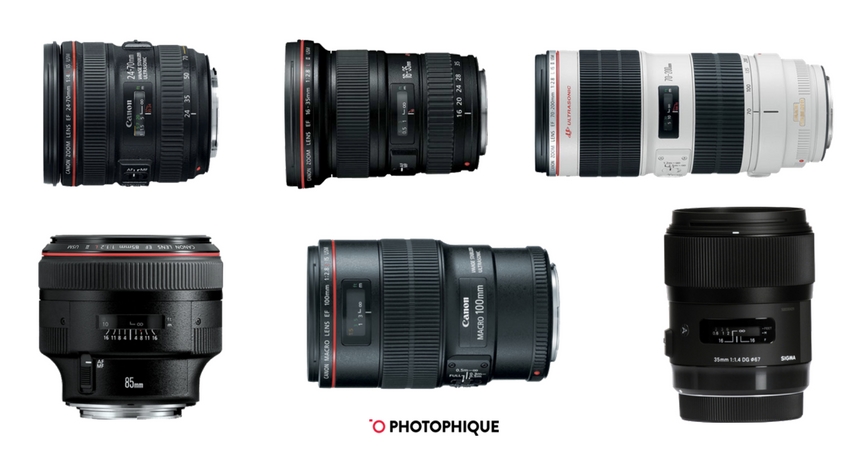
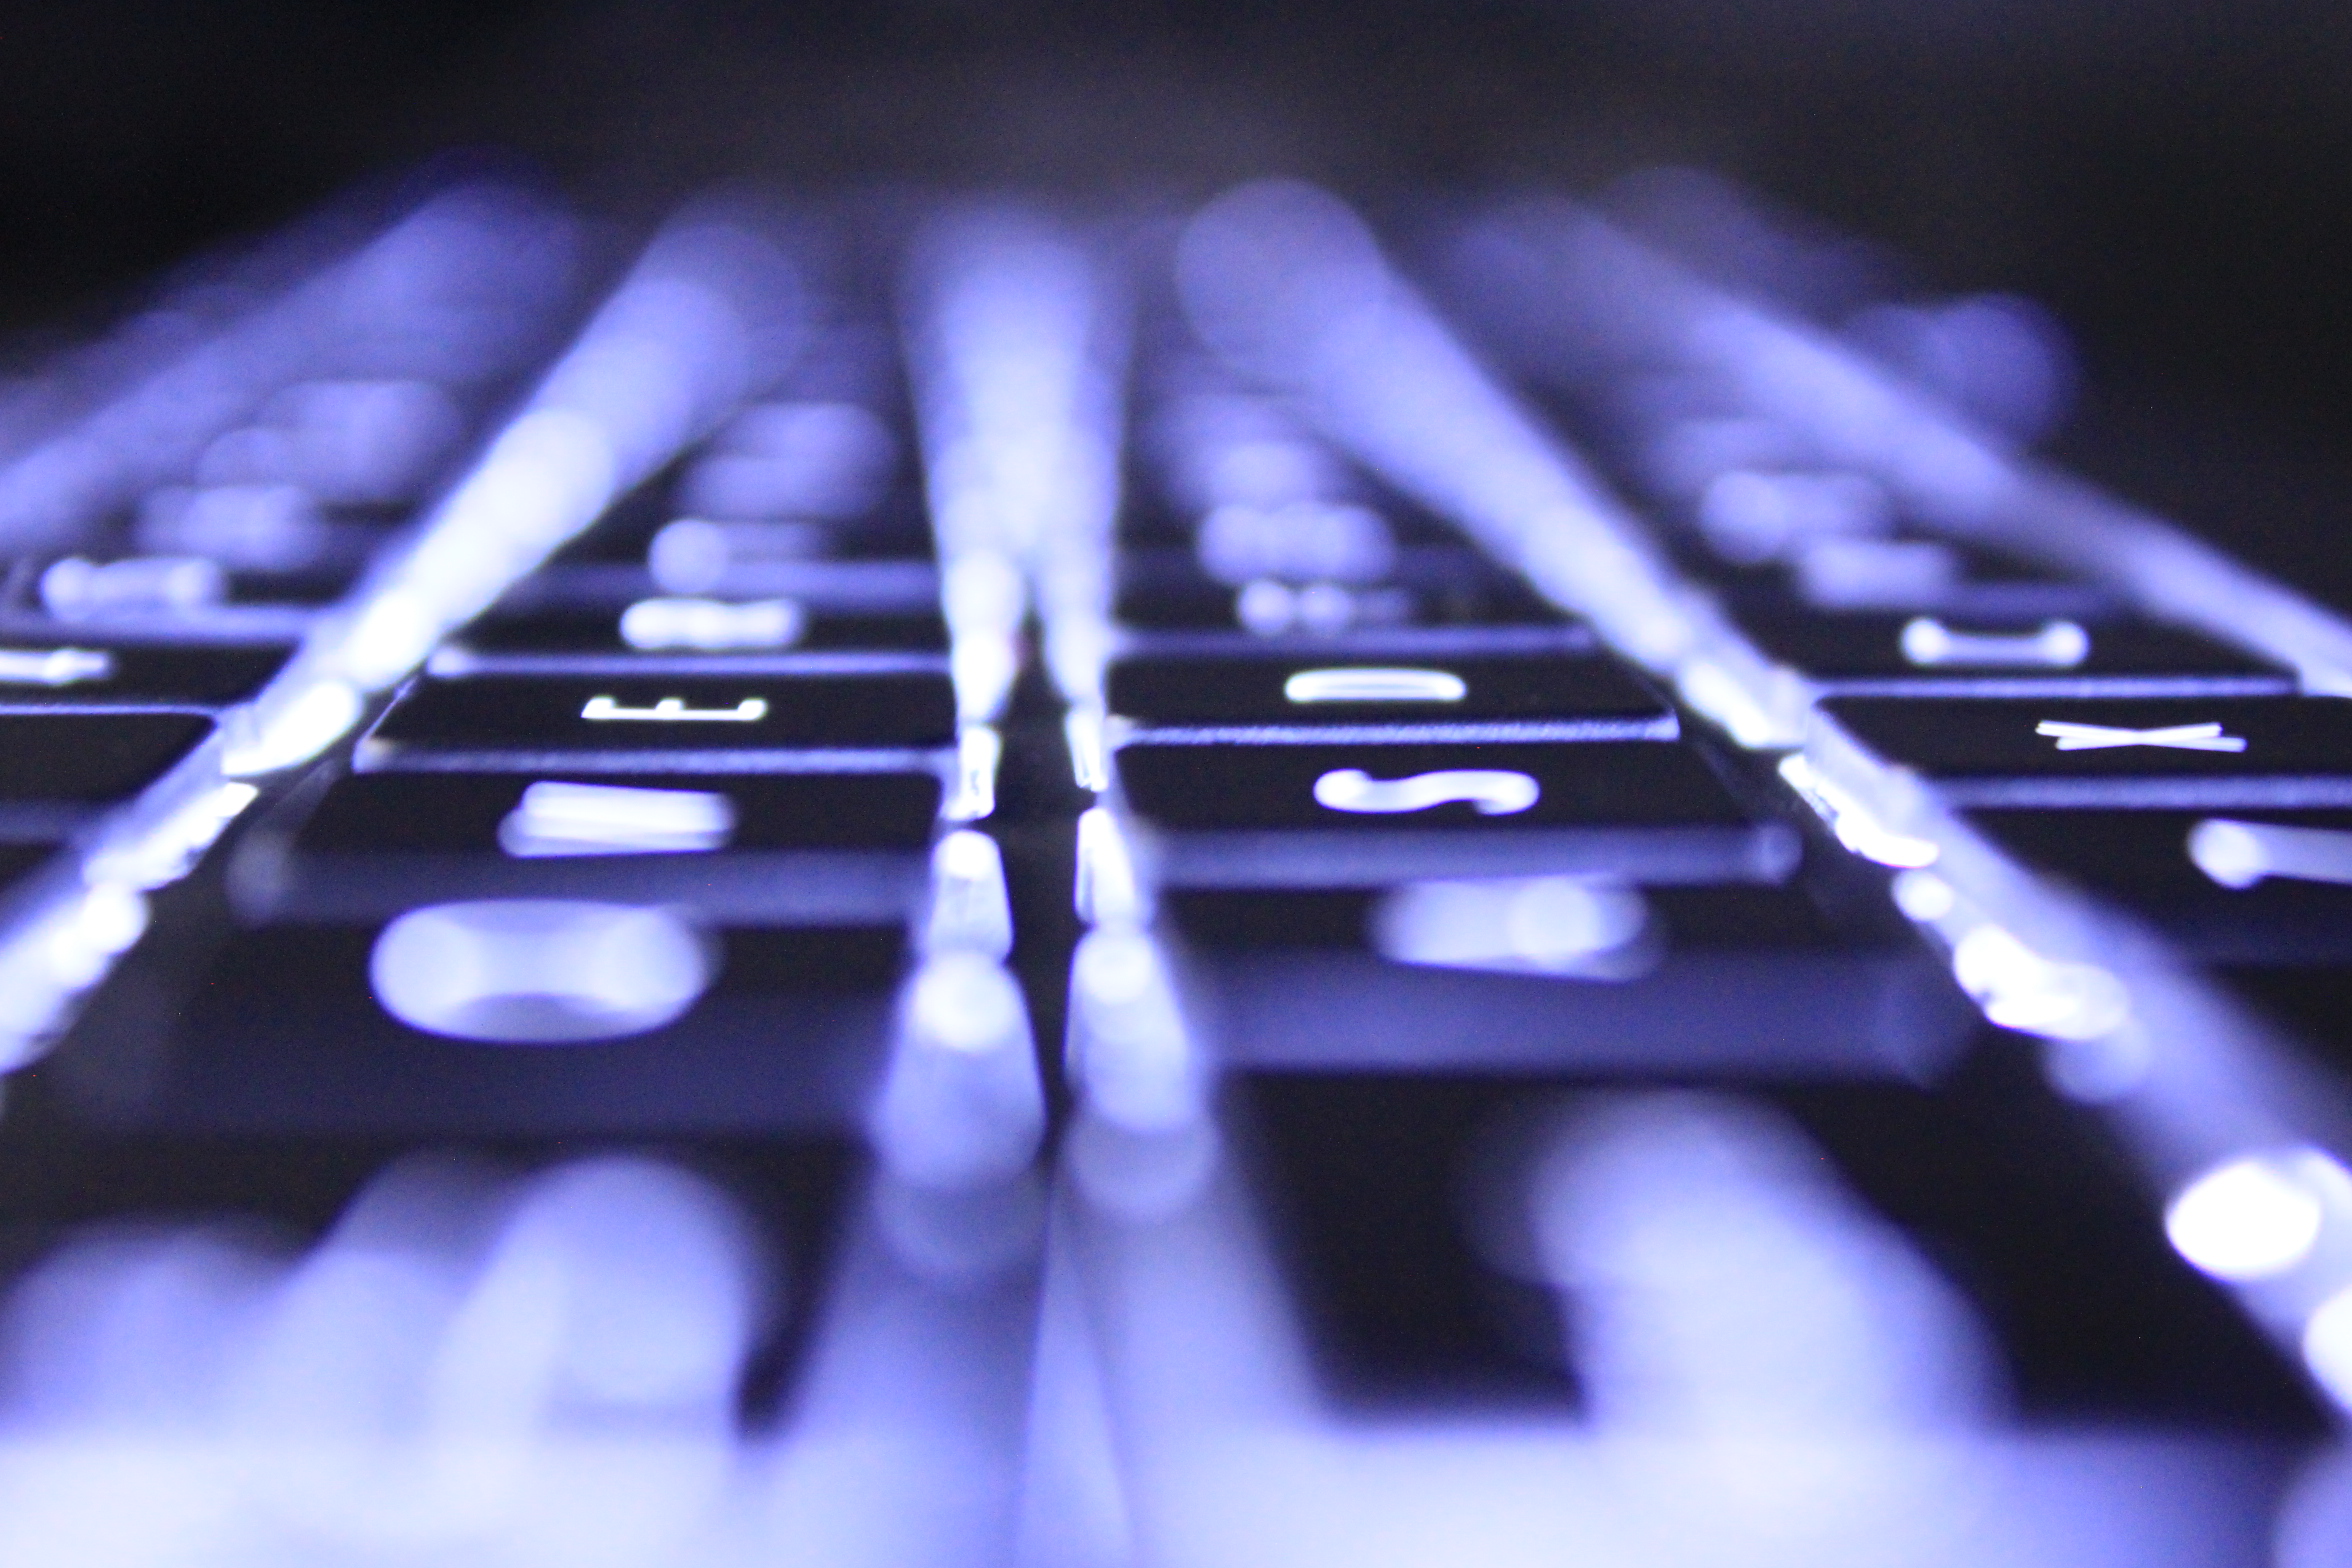
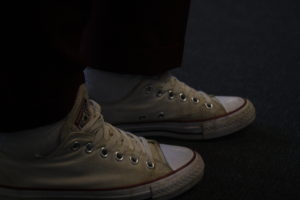
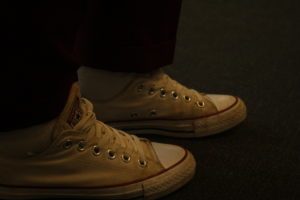
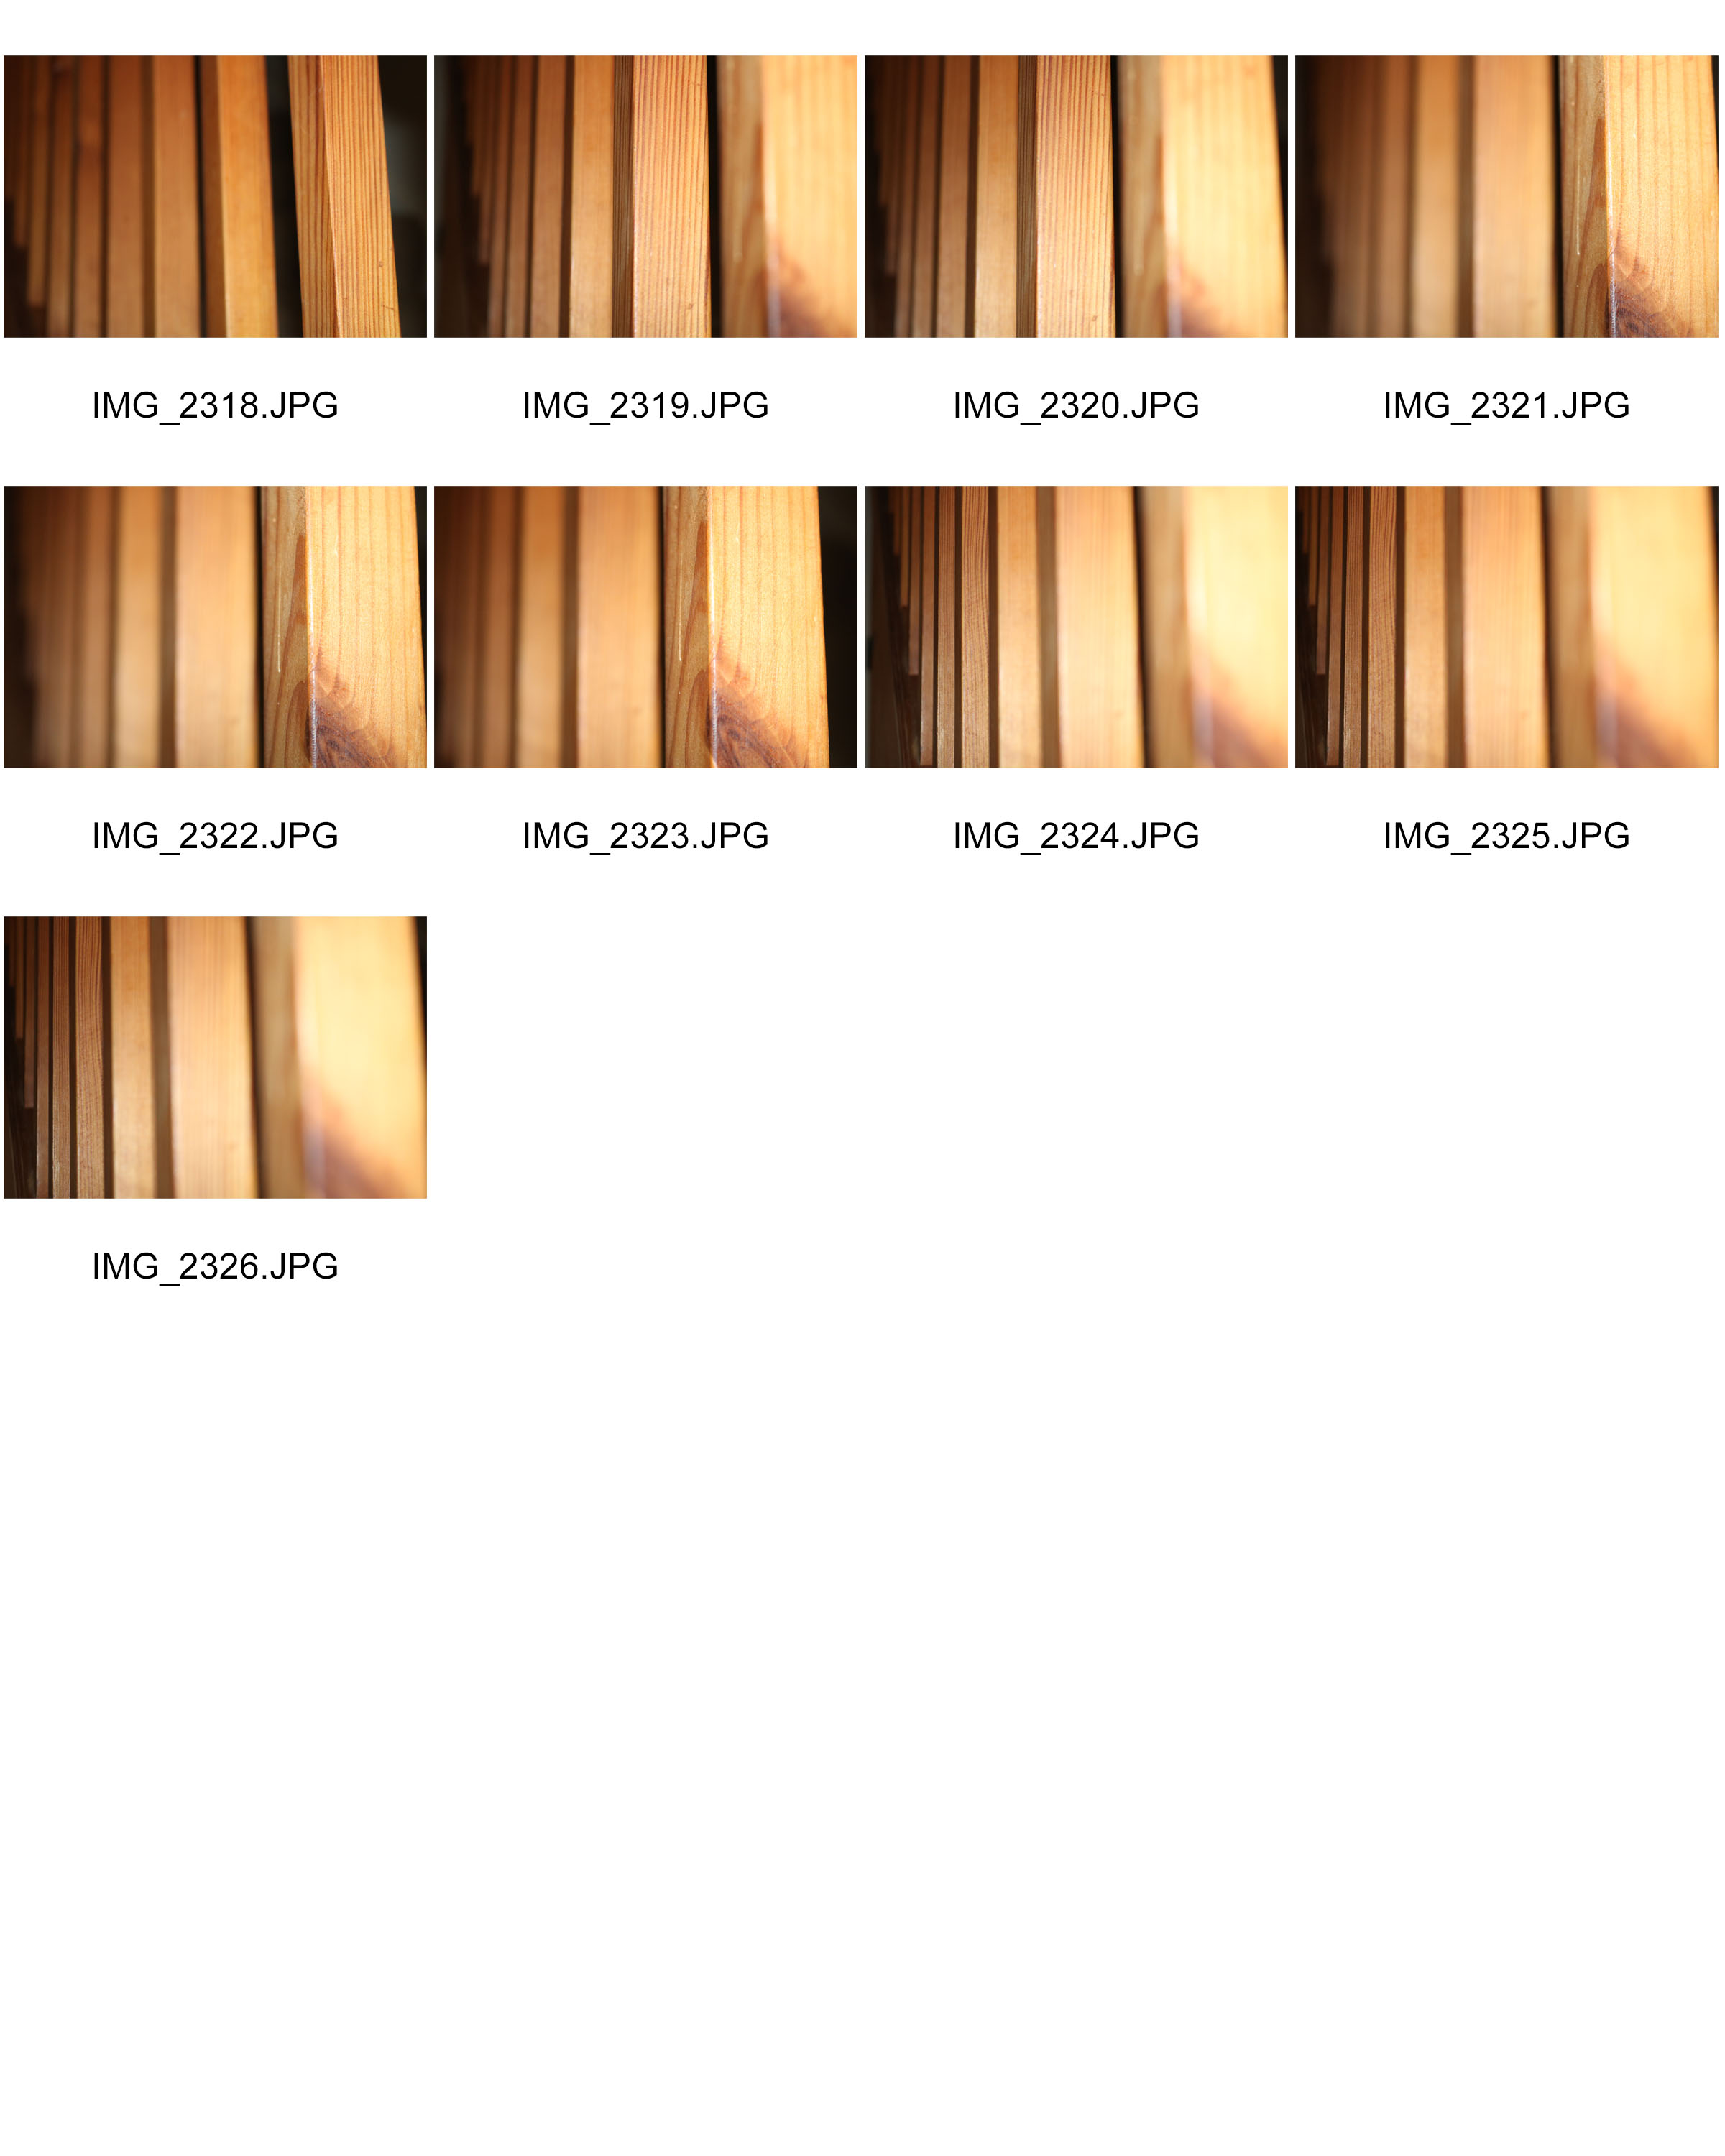
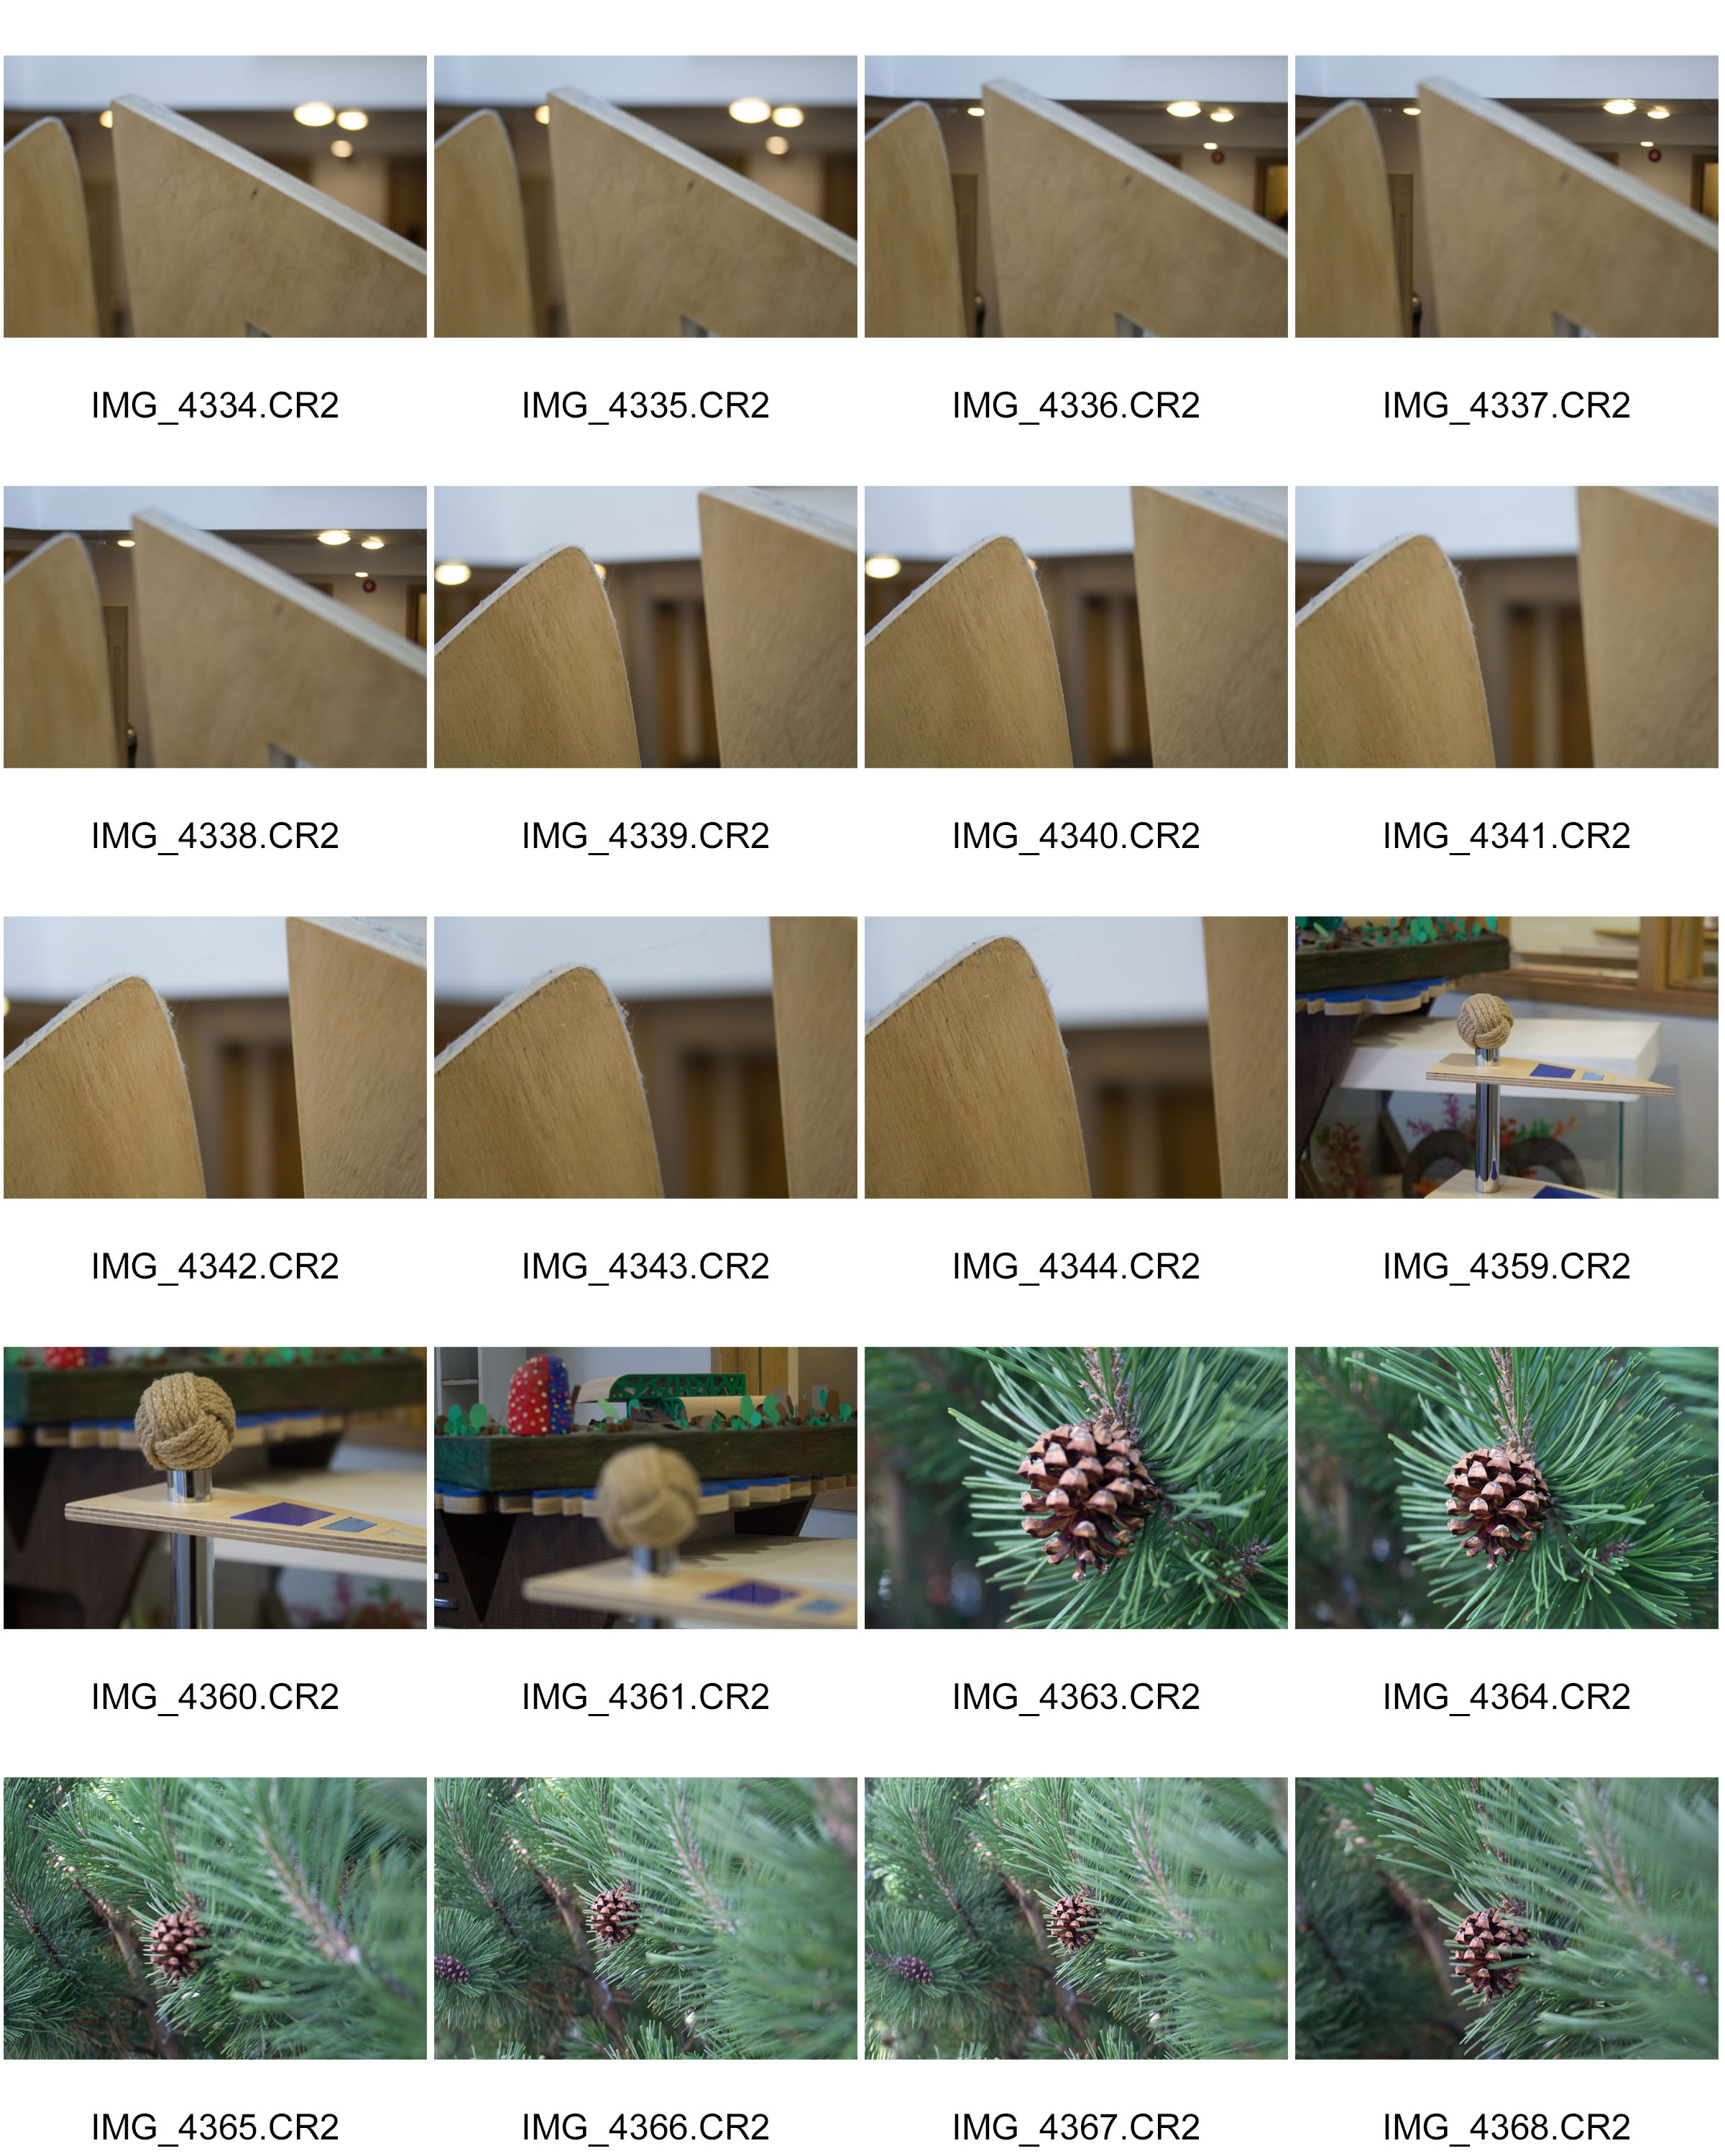
I started with a telephoto lens, in these images I focused on blurring out mainly the background. By using text in an image it really shows the blurred background as the text is sharp and readable. Text just makes the sharpness more obvious.  I also worked on depth of field with this camera, giving the images a deeper look, making it look like there’s more there than there actually is, by blurring out the closer objects are the whole background. By blurring out the background it make sit look like the scenery behind goes on for longer than it actually does.

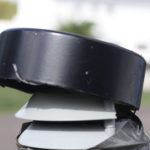
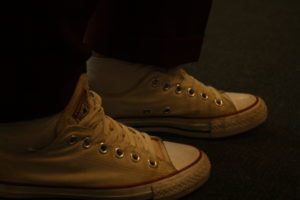
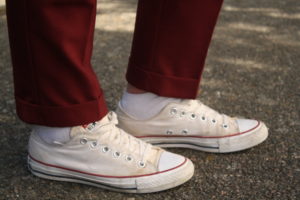
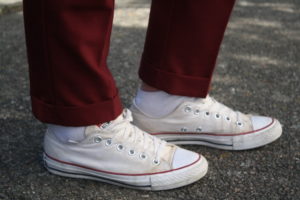
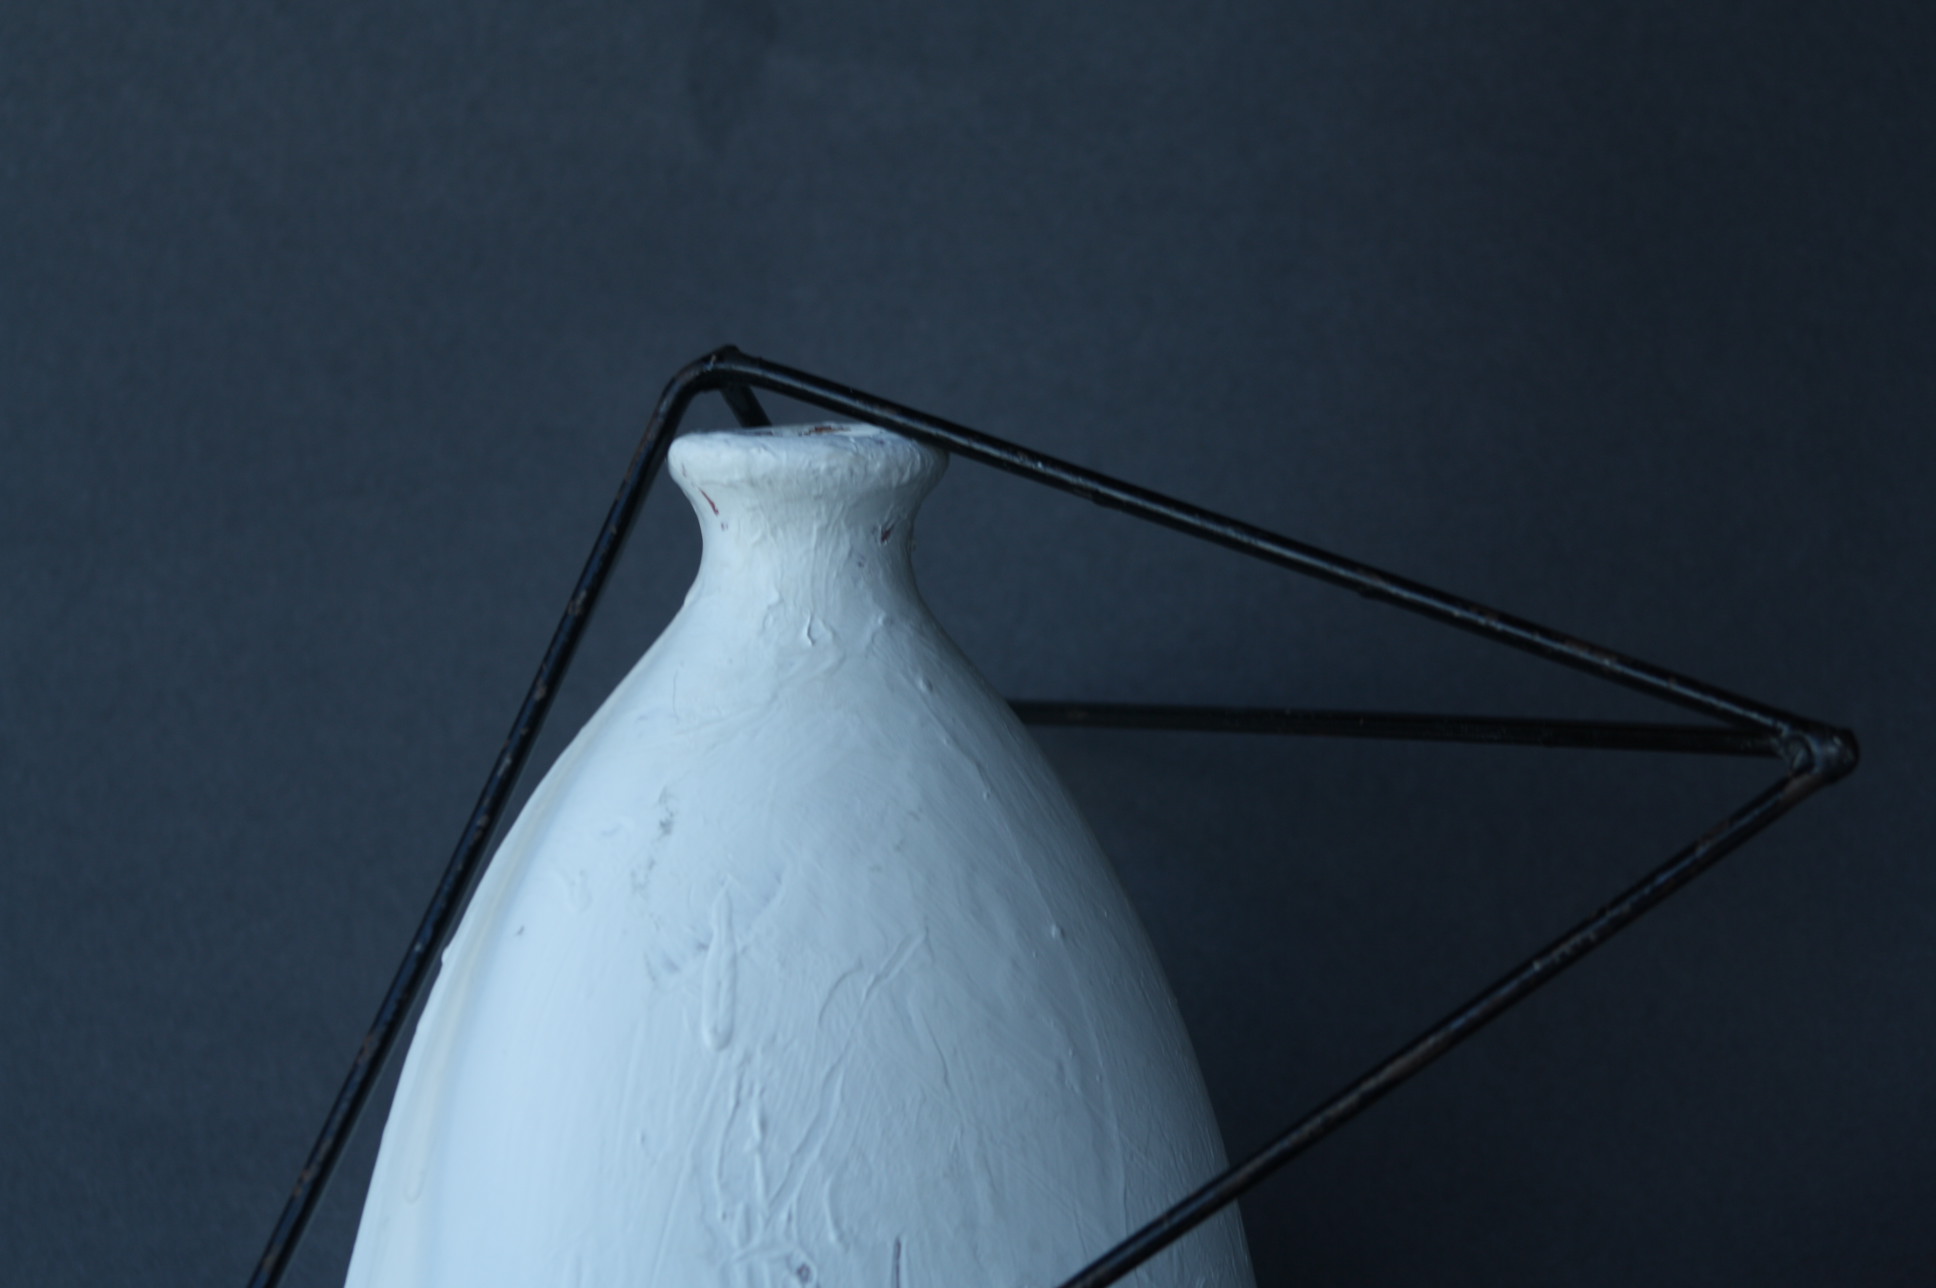
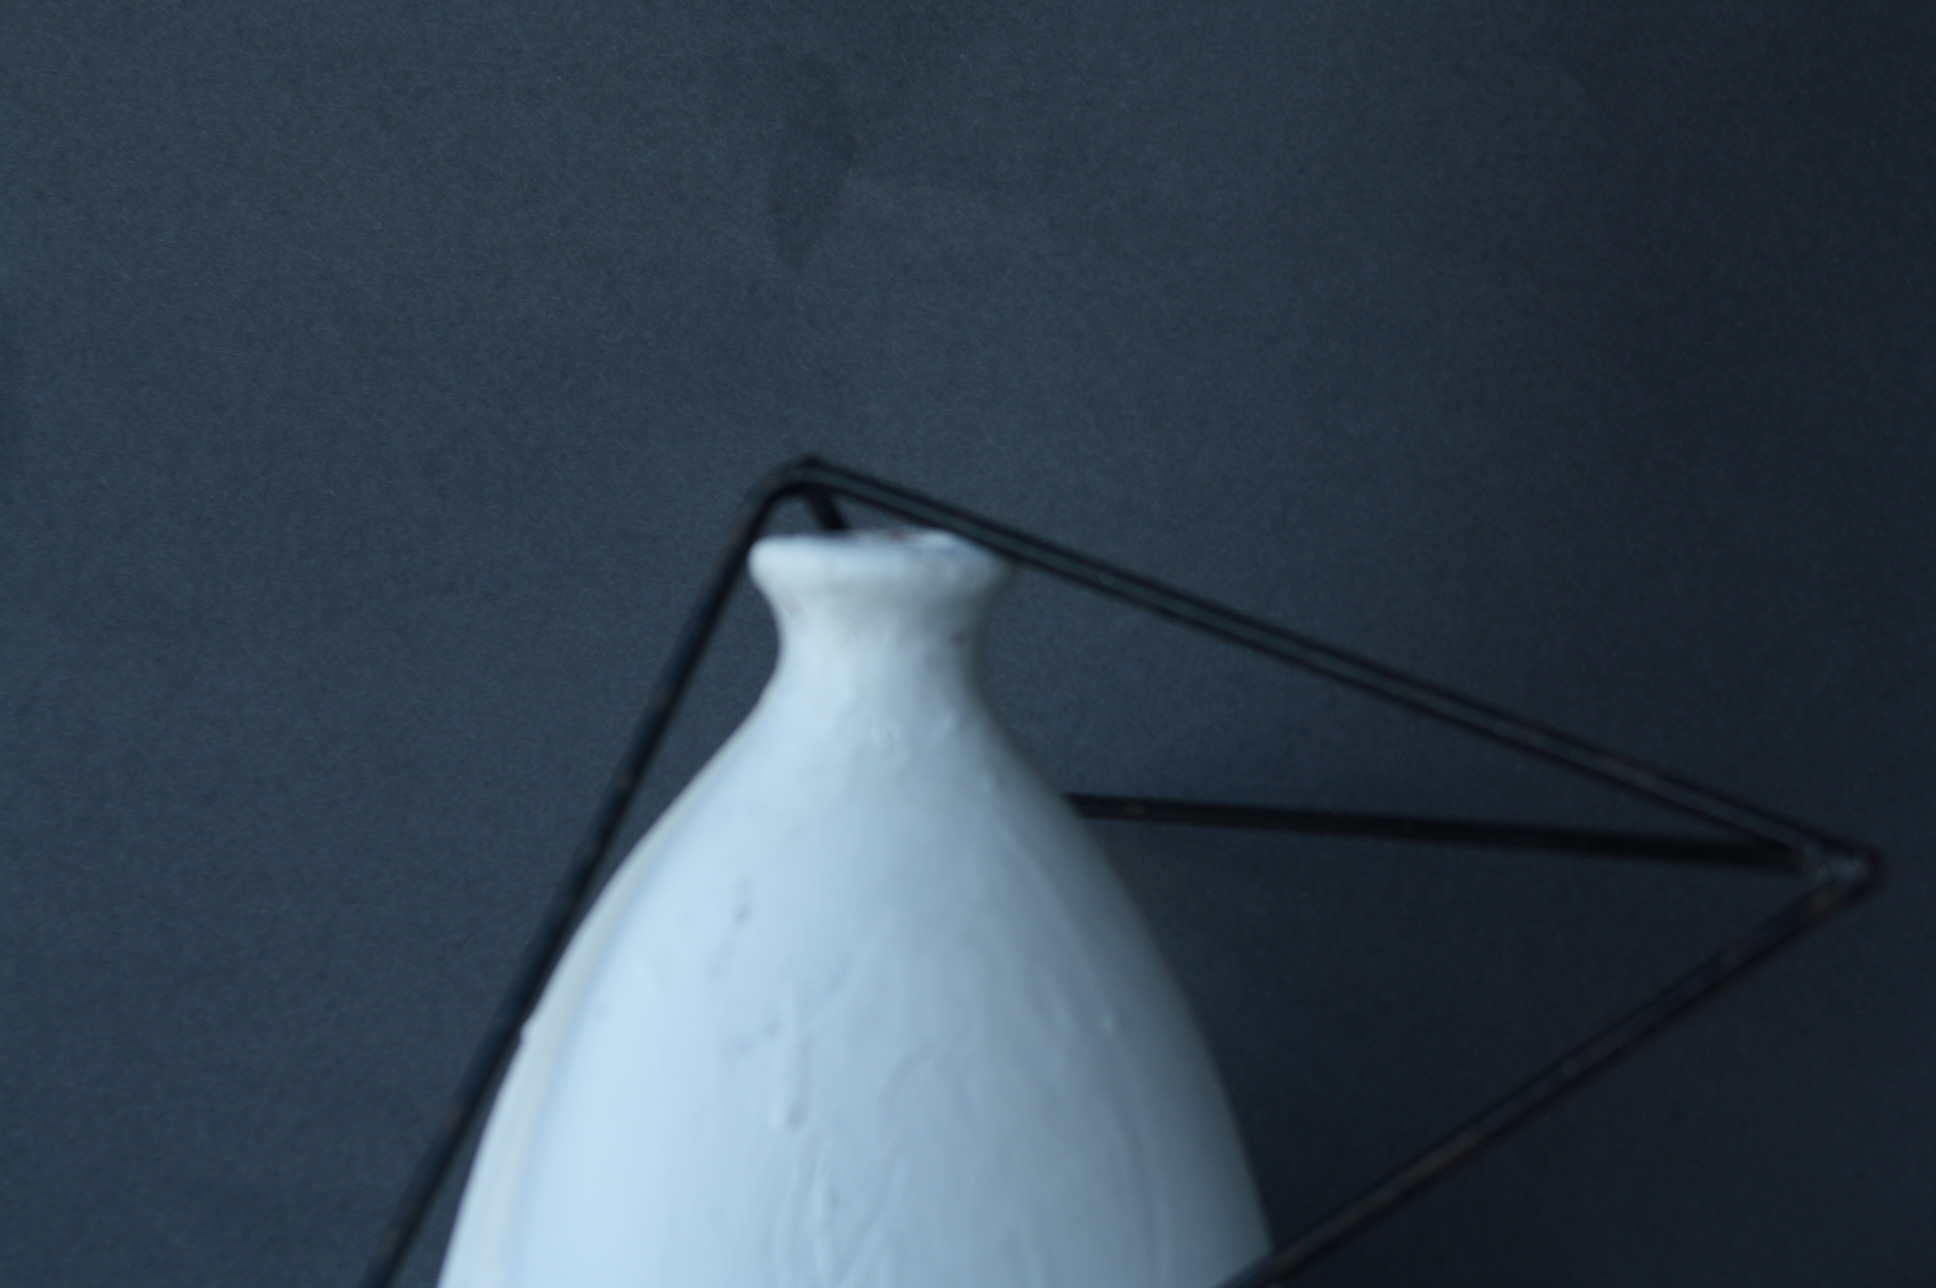
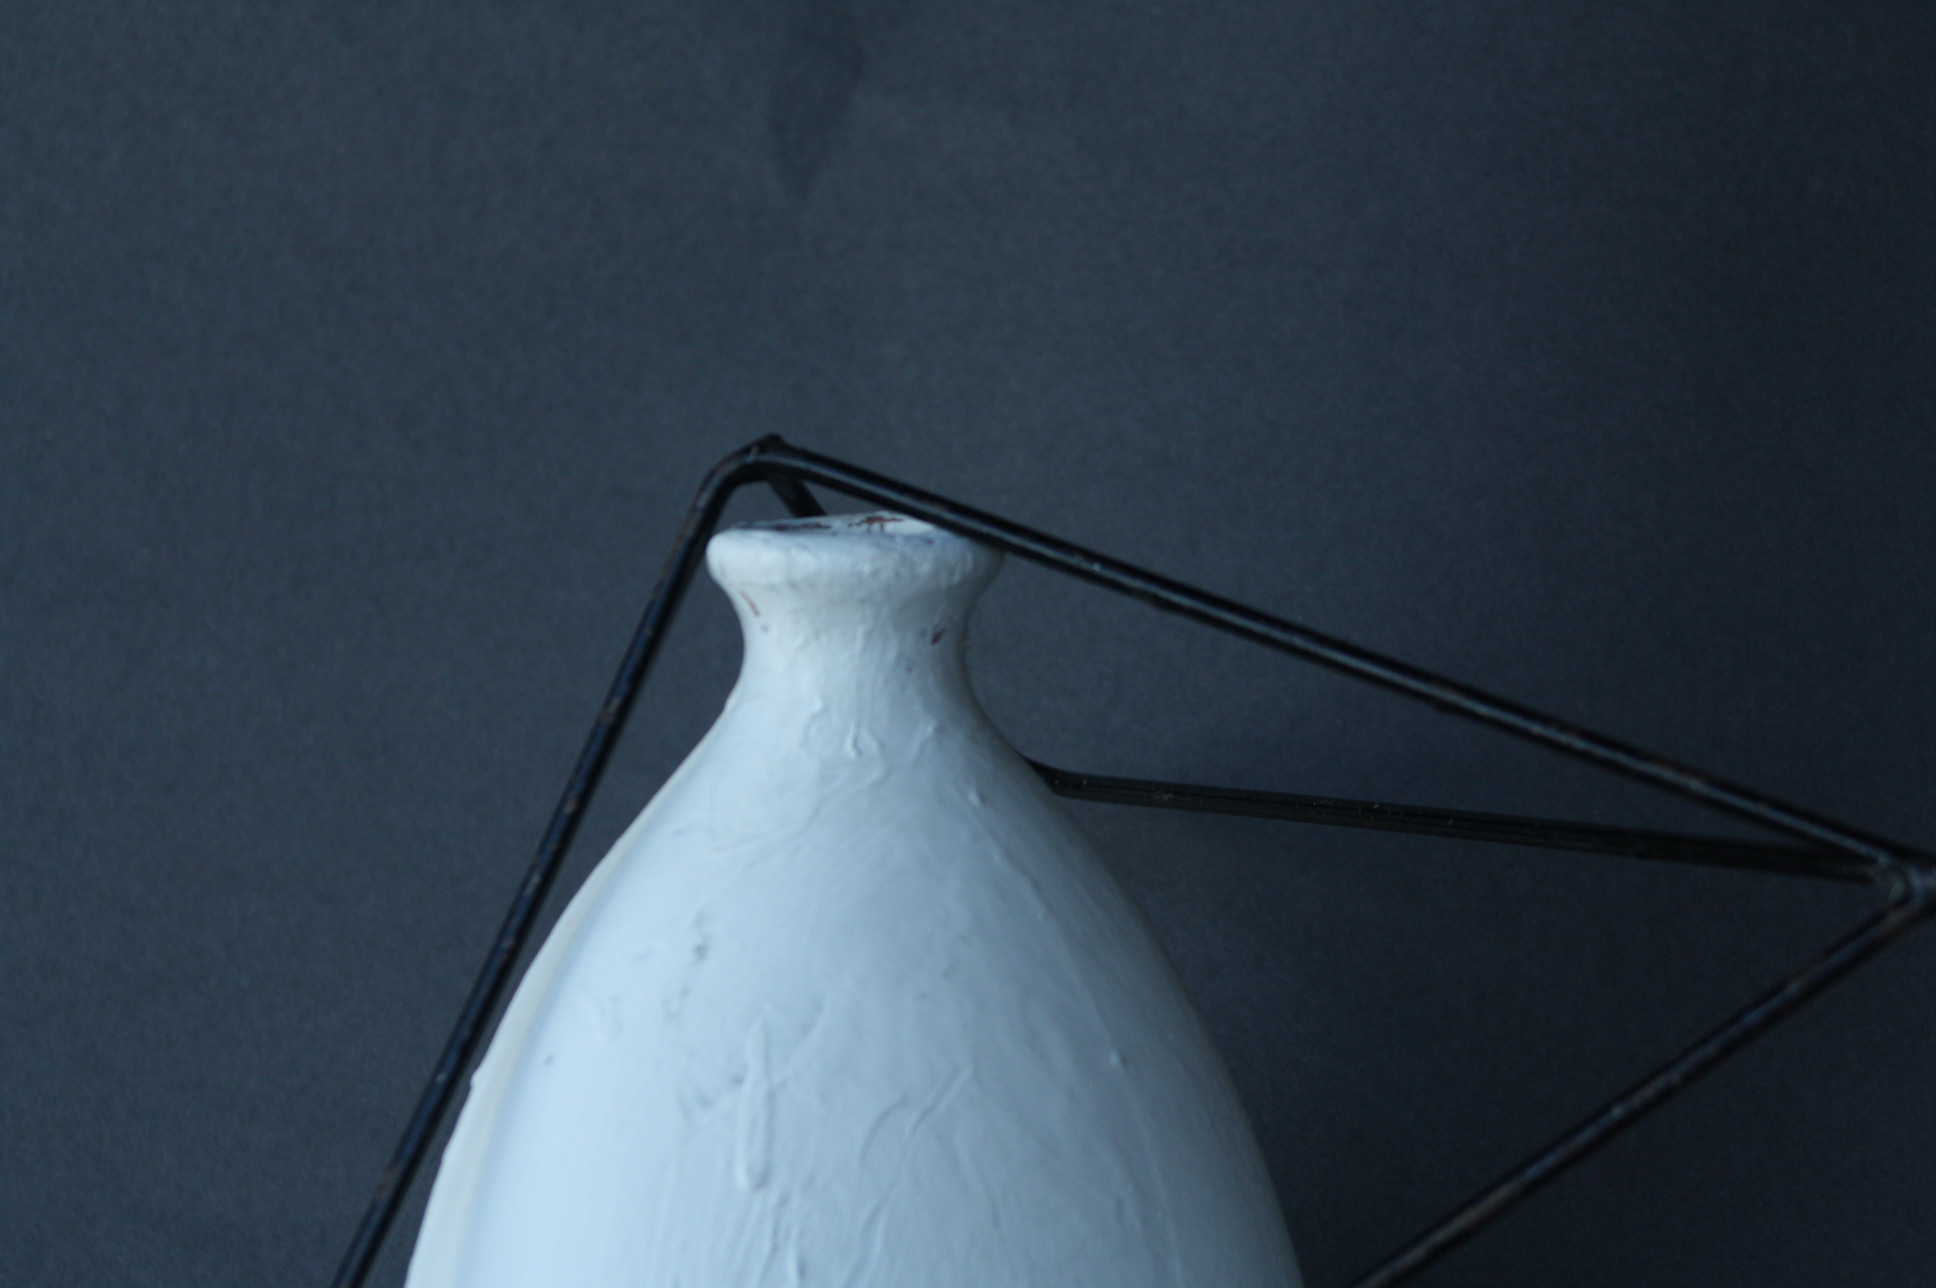
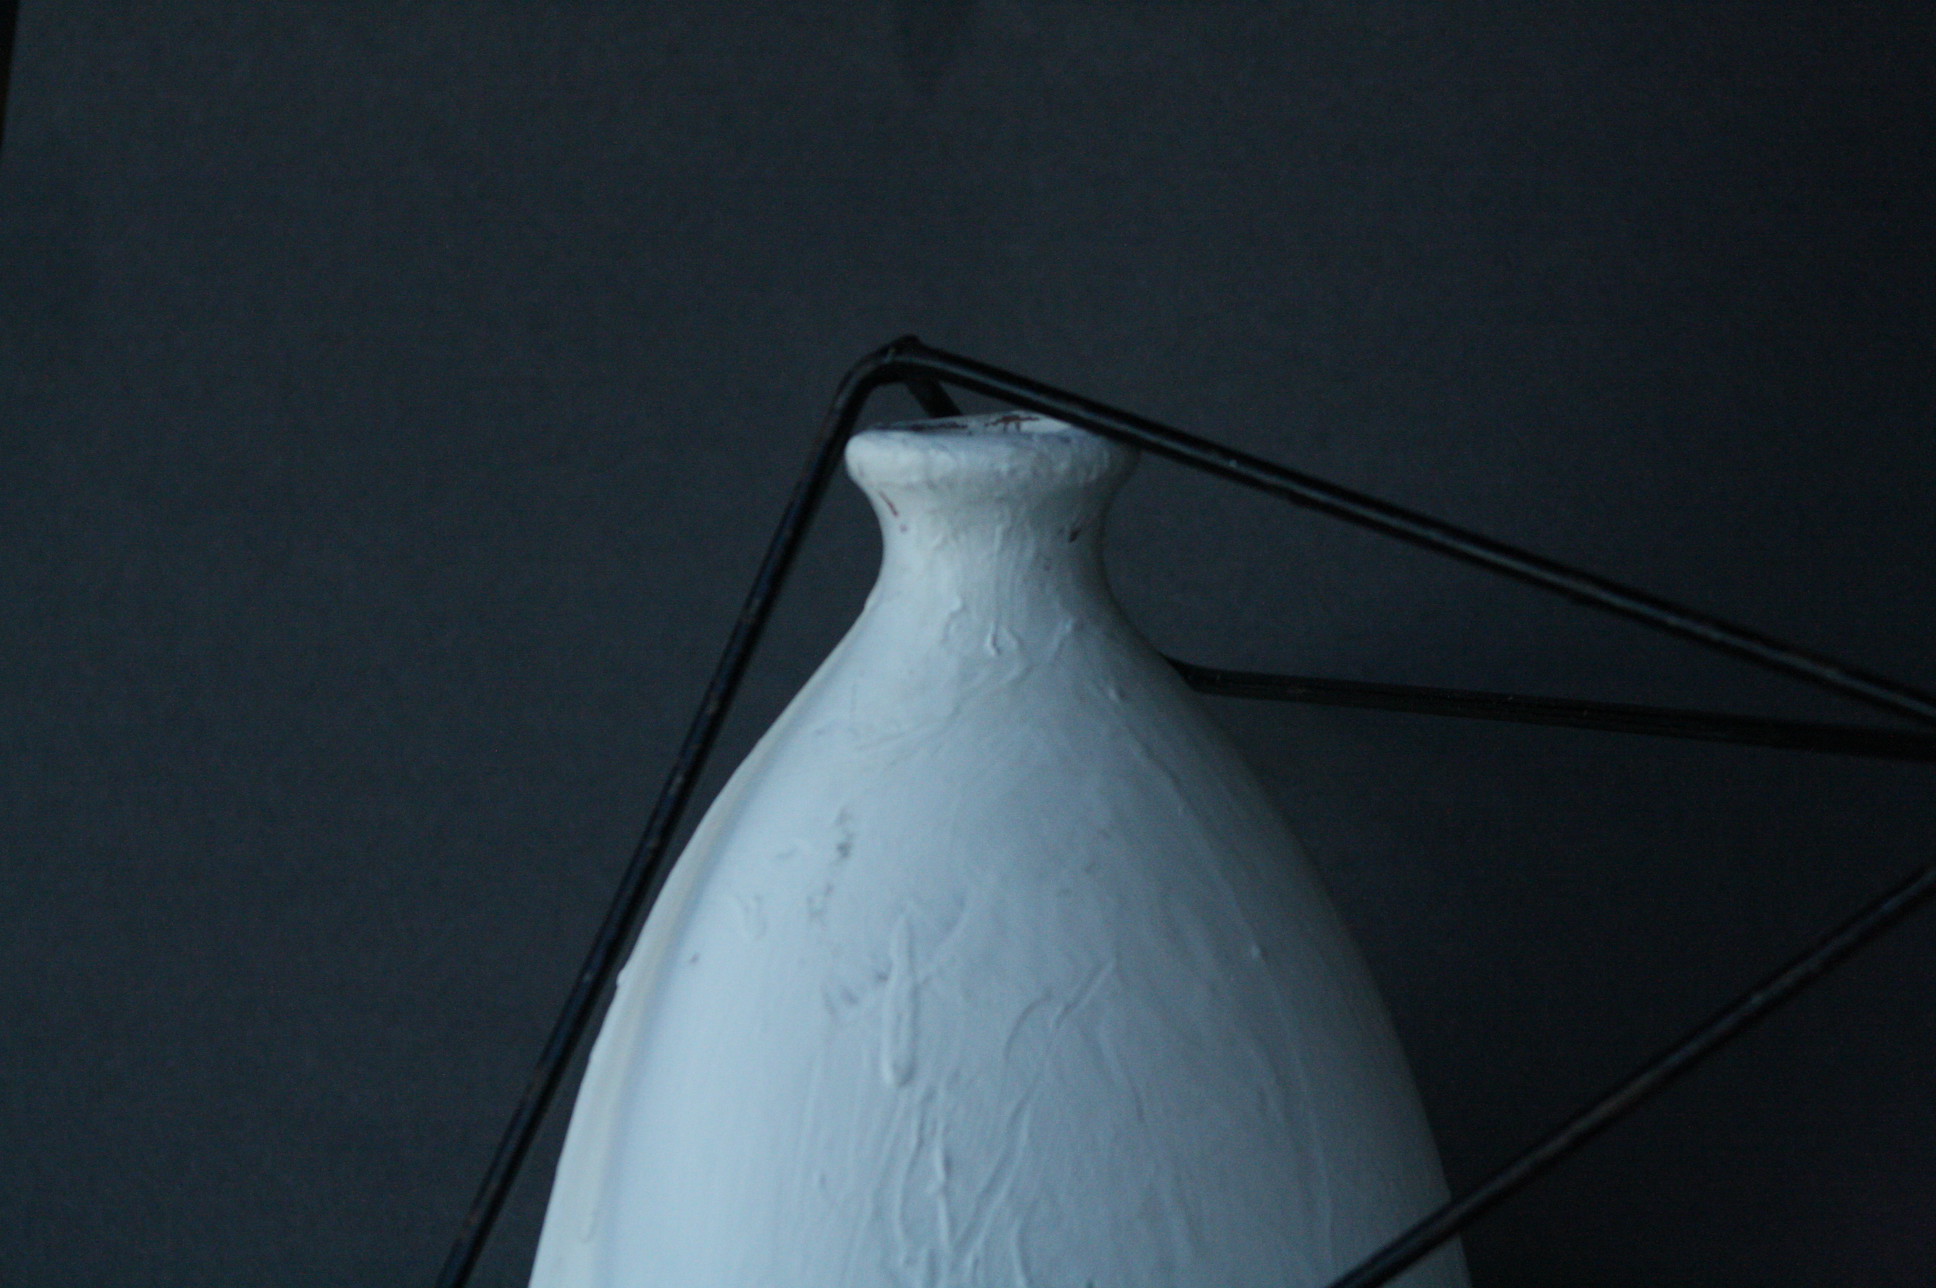
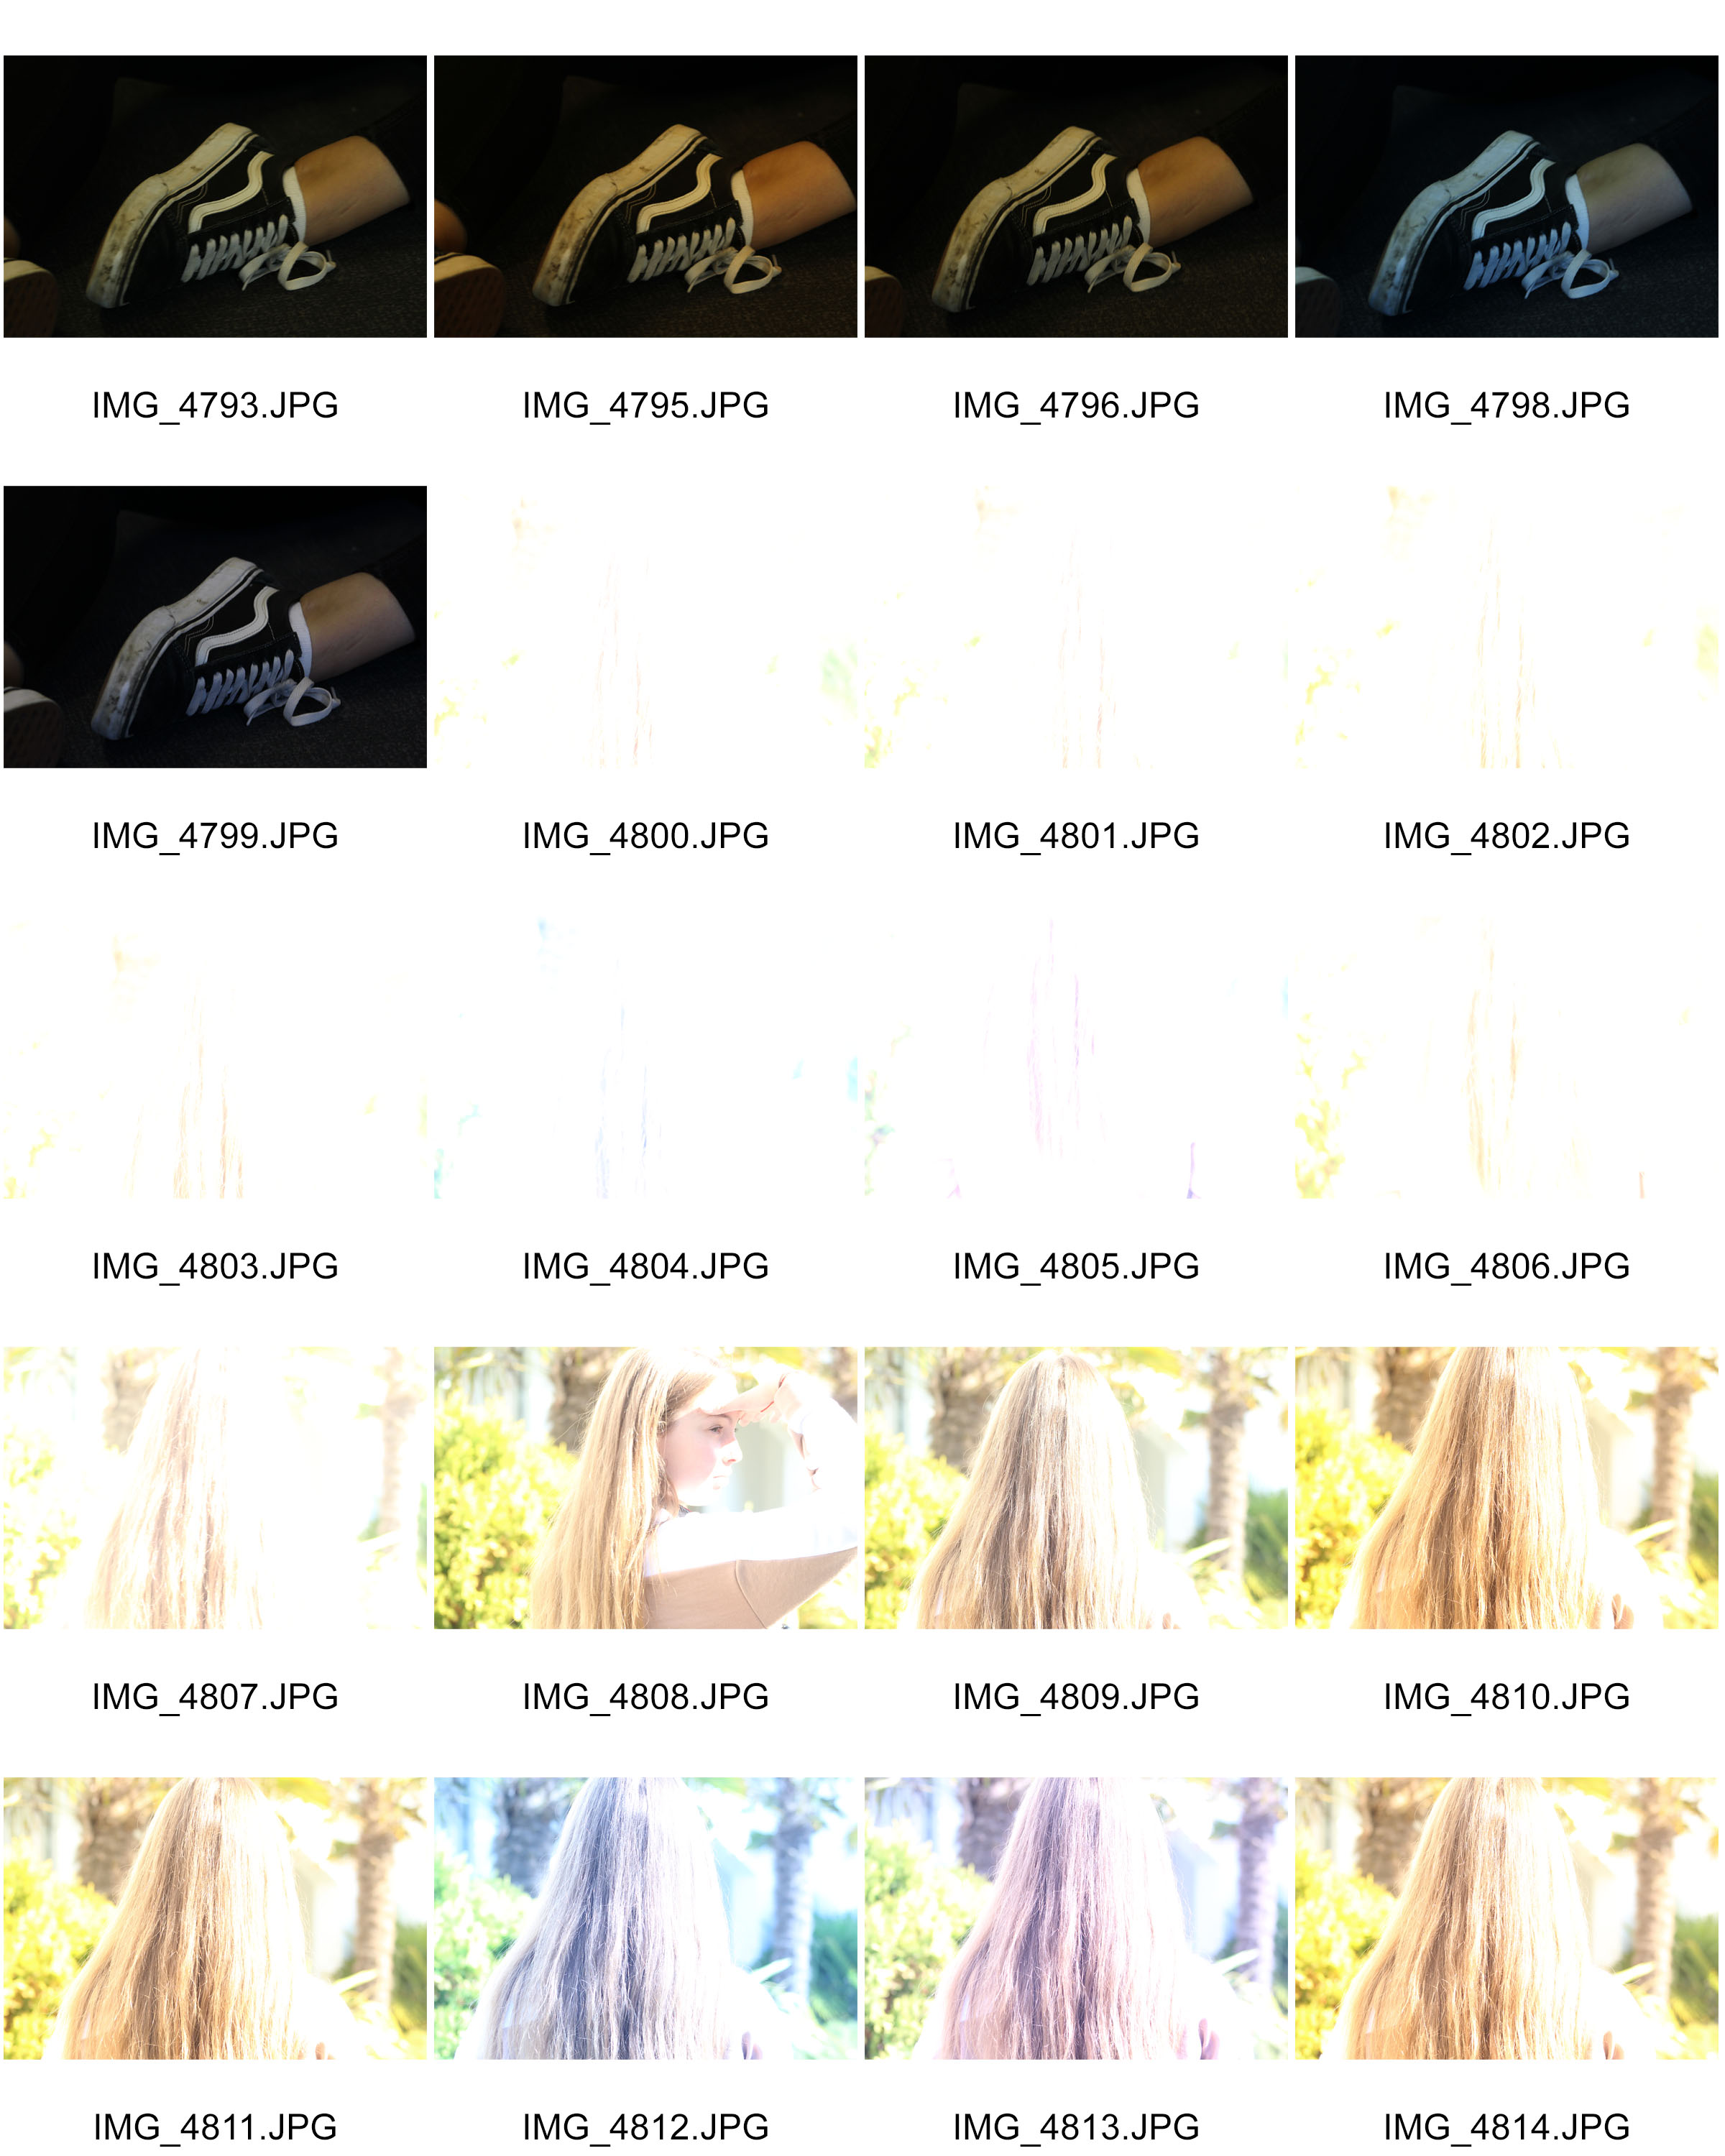
I then moved onto the portrait lens. This lens was difficult to work with, but has become one of my favorite lenses. It was difficult because you had to physically move closer towards what you were capturing, but if you went to close or too far away the whole image would be in focus. This lens produces extremely sharp images, as the blurred surroundings is distinct.

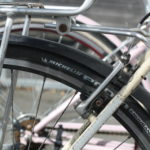
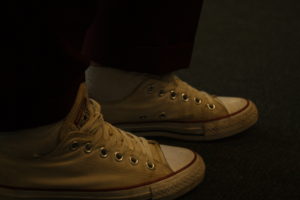
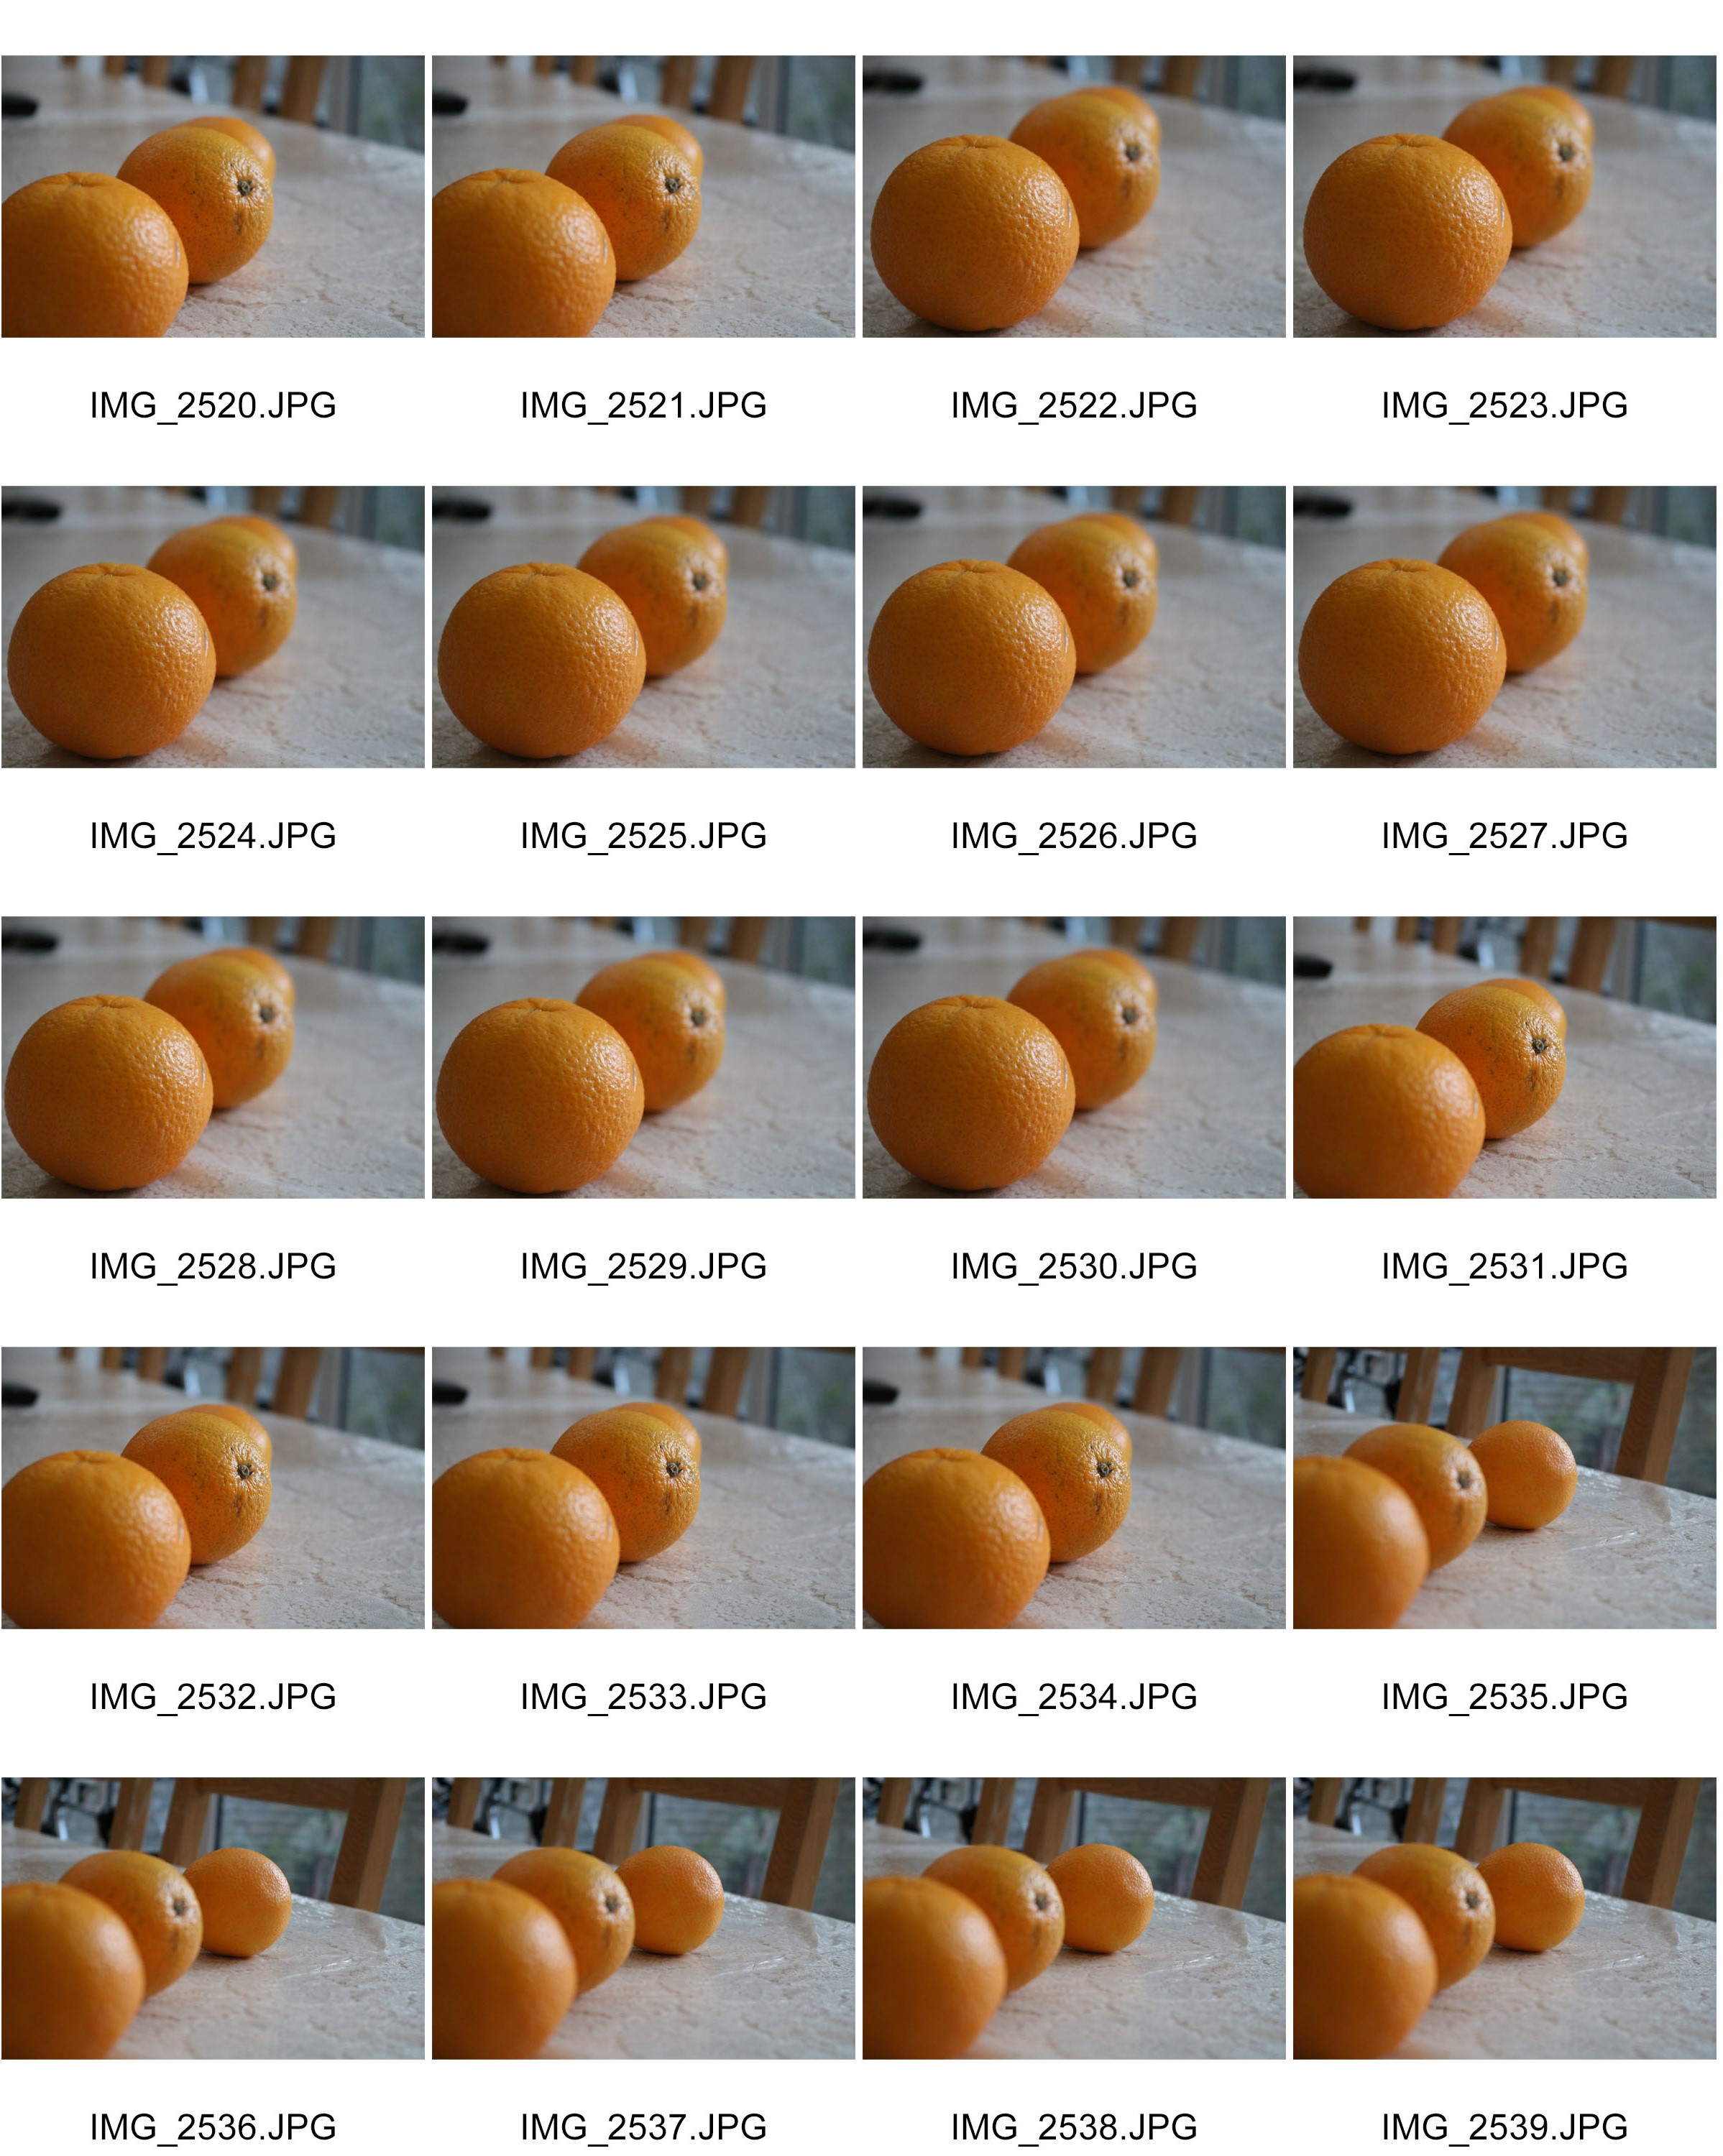
I then experimented with the regular lens, this lens was okay and could easily capture the images I wanted but the focusing wasn’t as sharp as the other lenses could make it. And the sharpness of the focused object is important as it can make the photo.

WHITE BALANCE PROJECT

White balance

What is White Balance?

White balance is when you adjust the colours of your image which helps to make it look more natural. This is done through the process of adjusting colours to get rid of colour casts which helps to match the picture with what we saw when taking it. This is done due to the light ( sun outside and lights inside) giving a pure white colour to out photographs due to the ‘ colour temperature’. The digital camera is not very good at determining when a picture is turning white unlike our human eye. Therefore, the camera can create orange and blue colour casts to help make pictures more visible.

Definition found on- https://photographylife.com/what-is-white-balance 

The different White Balances- AUTO is the automatic mode of White Balance where the camera is the one to decide which mode is best for where you are taking images. The FLASH White Balance helps to warm up your picture to stop the images being very white and washed out. The CLOUDY setting help to warm up your images and stop them coming out very pale like the DAYLIGHT mode does. The TUNGSTEN is used indoors under artificial lighting as it helps to give your image a very ‘cool’ effect which is the opposite to the FLUORESCENT White balance which warms up images.

When taking my images i used a high shutter speed to stop images being overly exposed.

Experimenting with White Balance inside.  

The first six photos i took were inside and were taken with every White Balance mode on the DSLR. The images were taken with artificial lighting which made it very hard to recognize the White Balance.

Experimenting with the White Balance outside.

The next six photos i took were based outside which helped to show the White Balance a lot more due to the natural lighting. The natural lighting also helped to make more of an identification of the different colours that each mode had.


ISO

ISO stands for International Standard Organisation.

ISO is a number that indicates how sensitive your camera is to the available light.  The ISO ratings are auto,100, 200, 400, 800, 1600, 3200, 6400. The ISO setting is directly set up with your shutter speed and aperture setting, to make the photos properly exposed. When the ISO rate is higher less light would be needed to obtain enough exposure. Over all changing the ISO settings on the camera increases or decreases the sensitivity and light gathering ability 

ISO 400

ISO 800

ISO 1600

ISO 200

ISO 100

ISO Auto

WEEK 4- CAMERA SKILLS ( MANUAL FOCUS)

Camera skills- Manual focus

Manual focus is a camera setting which helps you to focus on one object in a picture you are photographing manually. Photographing manually means that the object you are taking a picture of isn’t necessarily focused on your camera at most points like it is using auto focus. Manual focus will take a lot of time, however is a very good setting to use as it is very good at capturing still objects.

Using manual focus i was able to take picture of this old rusted bird cage while focusing on different parts of the cage, as well as the spider web which was inside. Using the different depth of field is helping to manipulate the audience.

EXAMPLE

Most Successful image 

White Balance

White balance is a camera setting where you are able to choose the best colour setting for taking pictures in your location so you are able to get the colour in your pictures as accurate as possible.  On my specific camera there were 5 different options; Auto, Tungsten, florescent, daylight, cloudy and flash.

Auto is the automatic mode where the camera will decide which mode is the best based on where you are shooting. Tungsten is mostly used to shoot indoors under household lighting, as it  usually cools down a picture. I noticed that the florescent mode warmed up my images. Daylight mode makes your images have a fairly normal white type of filter. The cloudy mode made my images look similar, except it warmed it up slightly more.  Usually when you take pictures using flash, it can make your images turn out quite white and washed out. The flash white balance warms your images up a bit more to reverse this.

When taking images using certain WB settings, its important to have the correct shutter speed. If its too slow, your images turn out too overexposed. This happened while i was experimenting with my images, as you are able to see from my contact sheet.


Here is a video which further explains White Balance:

Manual focus

Manual focus is a camera setting where you have to focus on things you’re trying to photograph manually.  This means that objects will not be automatically focused every time you point your camera at it, like they are with auto focus. Although this may be inconvenient at some times, it a good setting to use if you are trying to capture still things where can can afford to spend some extra time trying to focus on it correctly. This setting allows you to be able to focus on different things in your location. As you can see from my contact sheets I firstly photographed fruit. With the manual focus, I was able to individually focus on different pieces of fruit by adjusting the lens. I was even able to focus on the background of my images, Meaning that the objects in front were completely out of focus. With this setting you are able to manipulate your audience’s focus when they look at an image.

As you can see, this contact sheet contains different variations of the same image. I didn’t move my camera but for each one i adjusted the manual focus so that it focused on different parts of the scene.