Experiment – ISO

ISO:

ISO simply stand for International Organisation of Standardisation. Changing the ISO of a camera controls its sensitivity to light, helping to manage the exposure of an image and prevent under and over-exposure of frames.

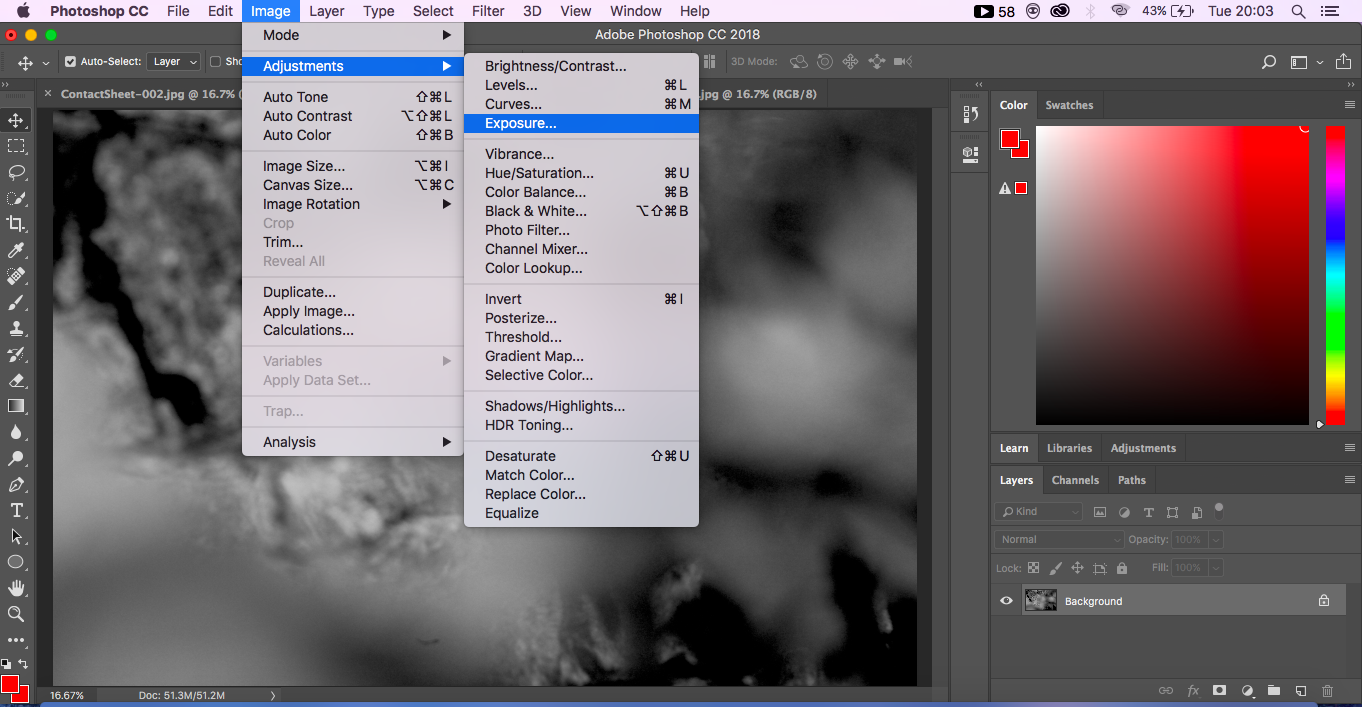
Changing the ISO changes the cameras sensitivity to light and can therefore allow for clean frames in lighter and darker places. The lower the ISO the lower the sensitivity to light, and vice versa to higher the ISO the higher the sensitivity to light will be. One downside to ISO is the higher the ISO the noisier or grainier an image becomes, as displayed below.

http://www.digitaltrends.com/phtotgraphy/what-is-iso/


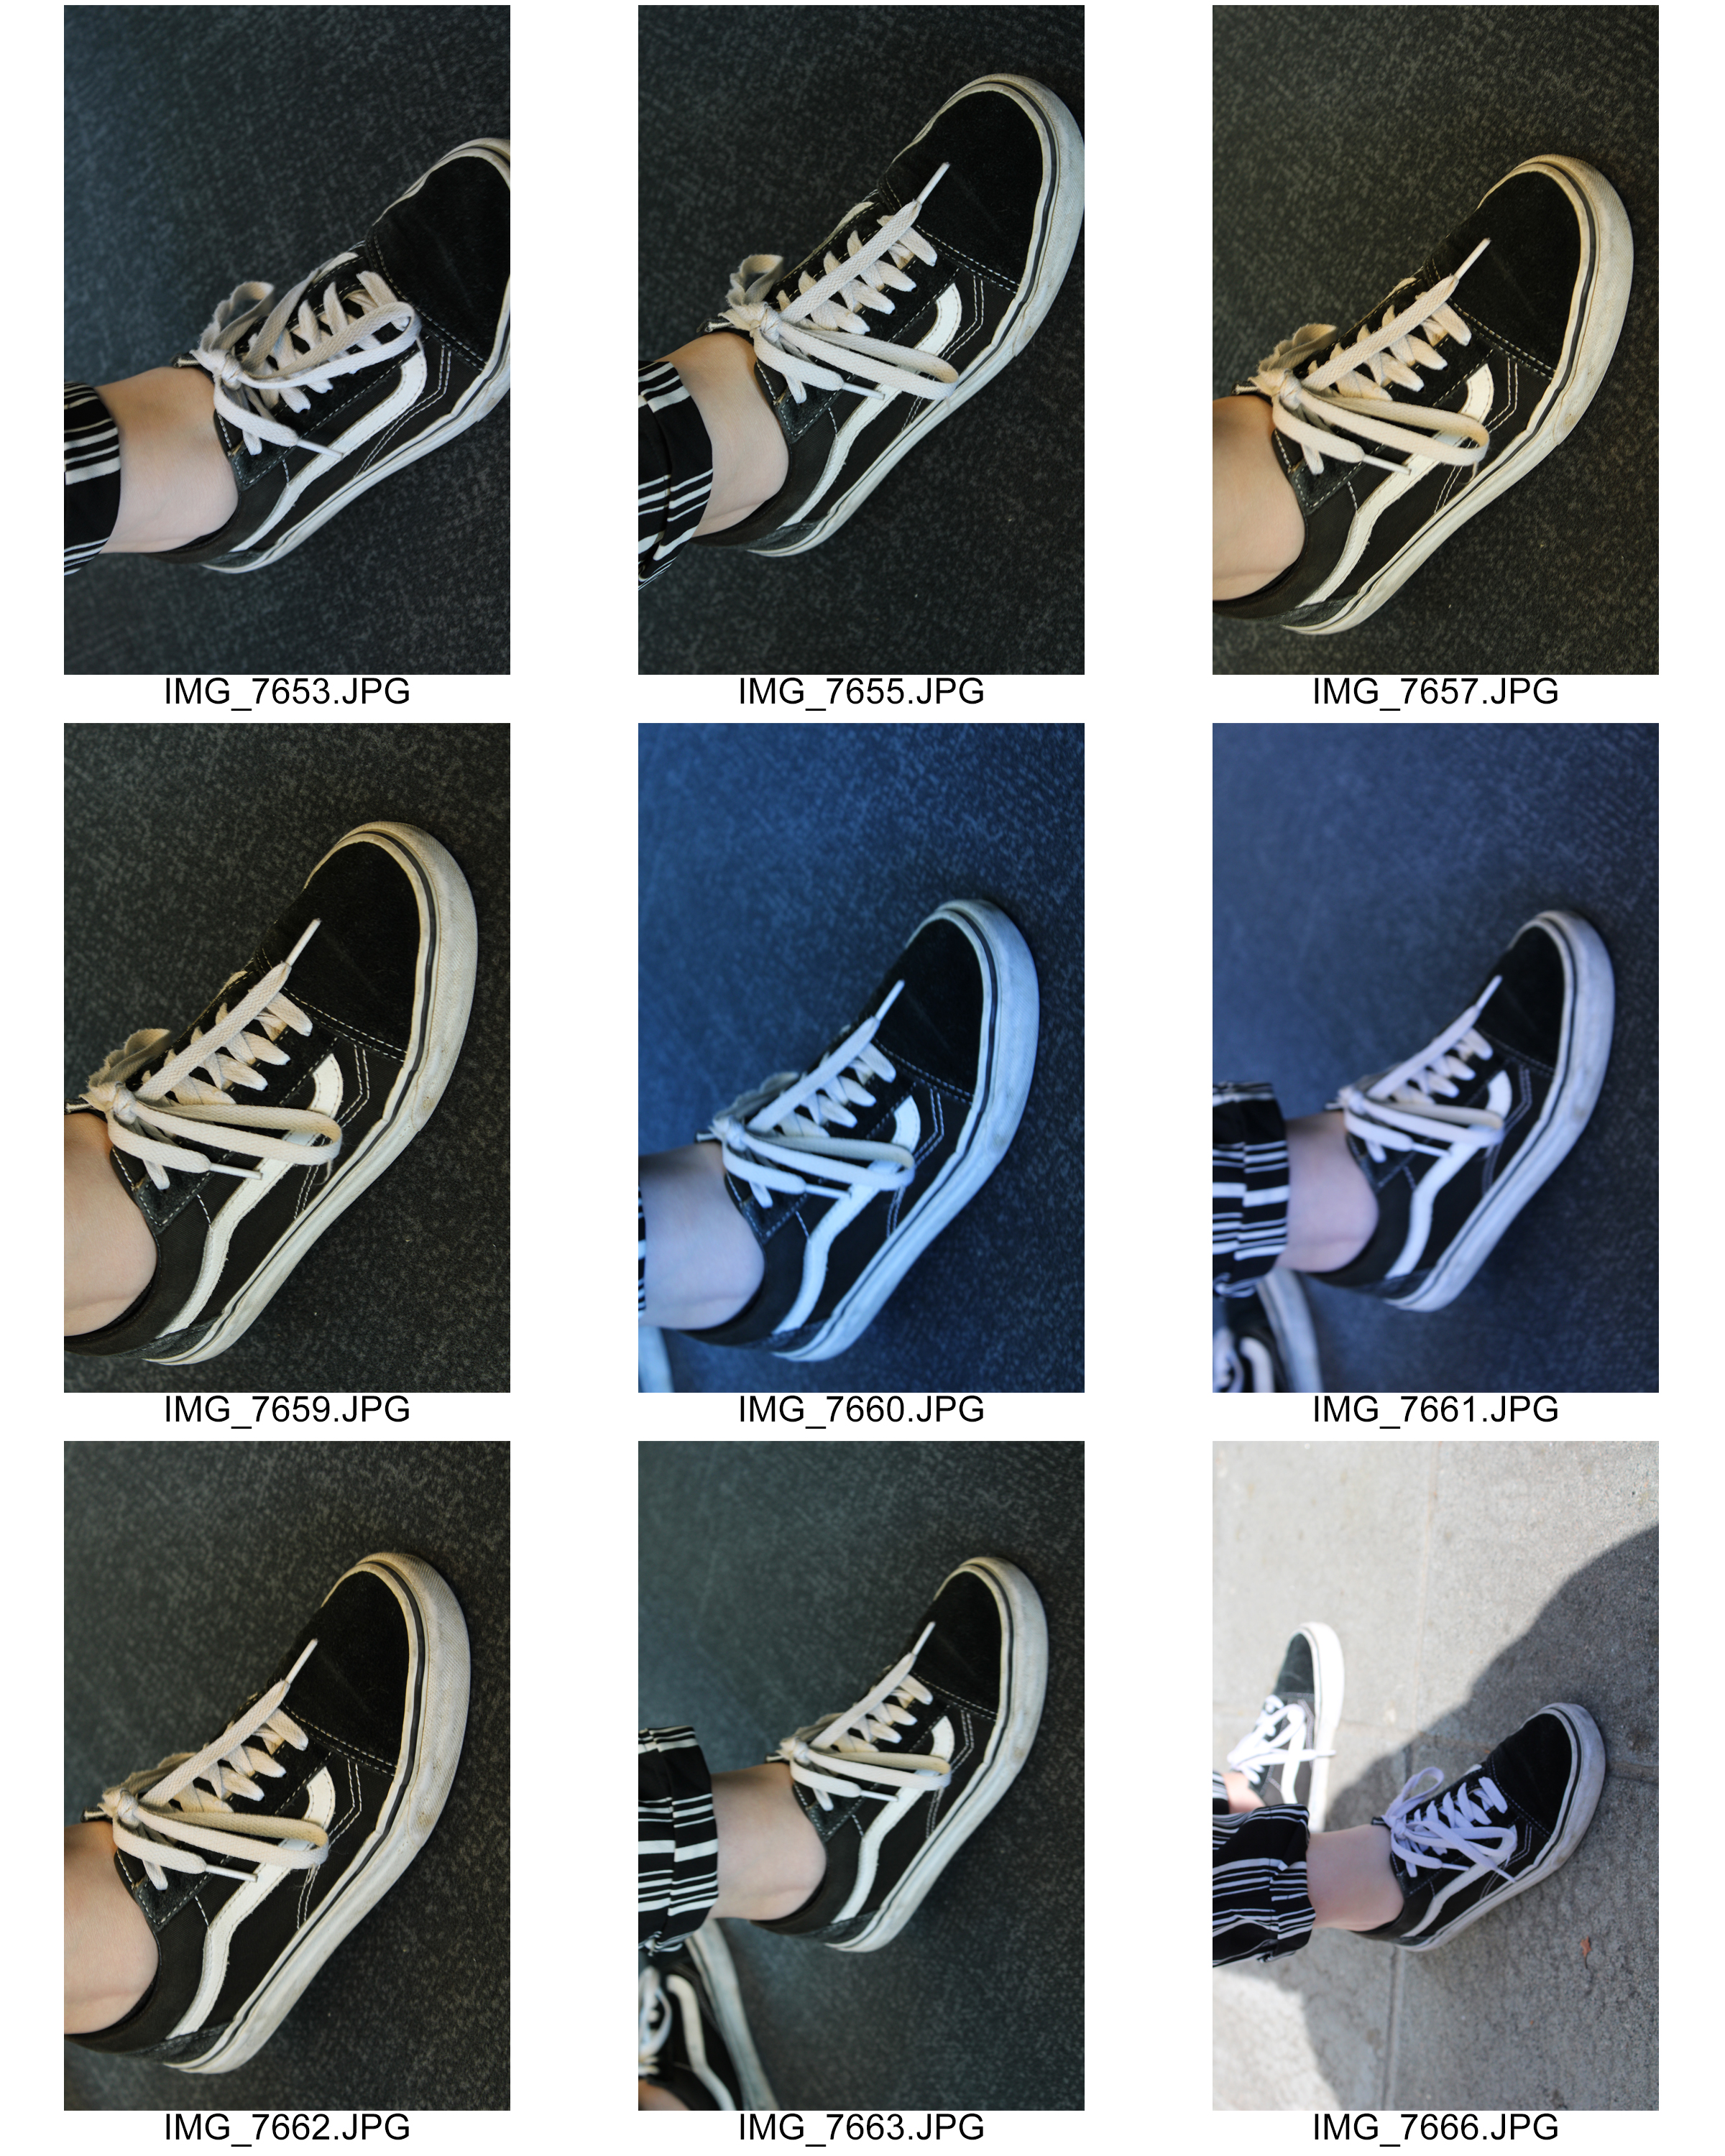
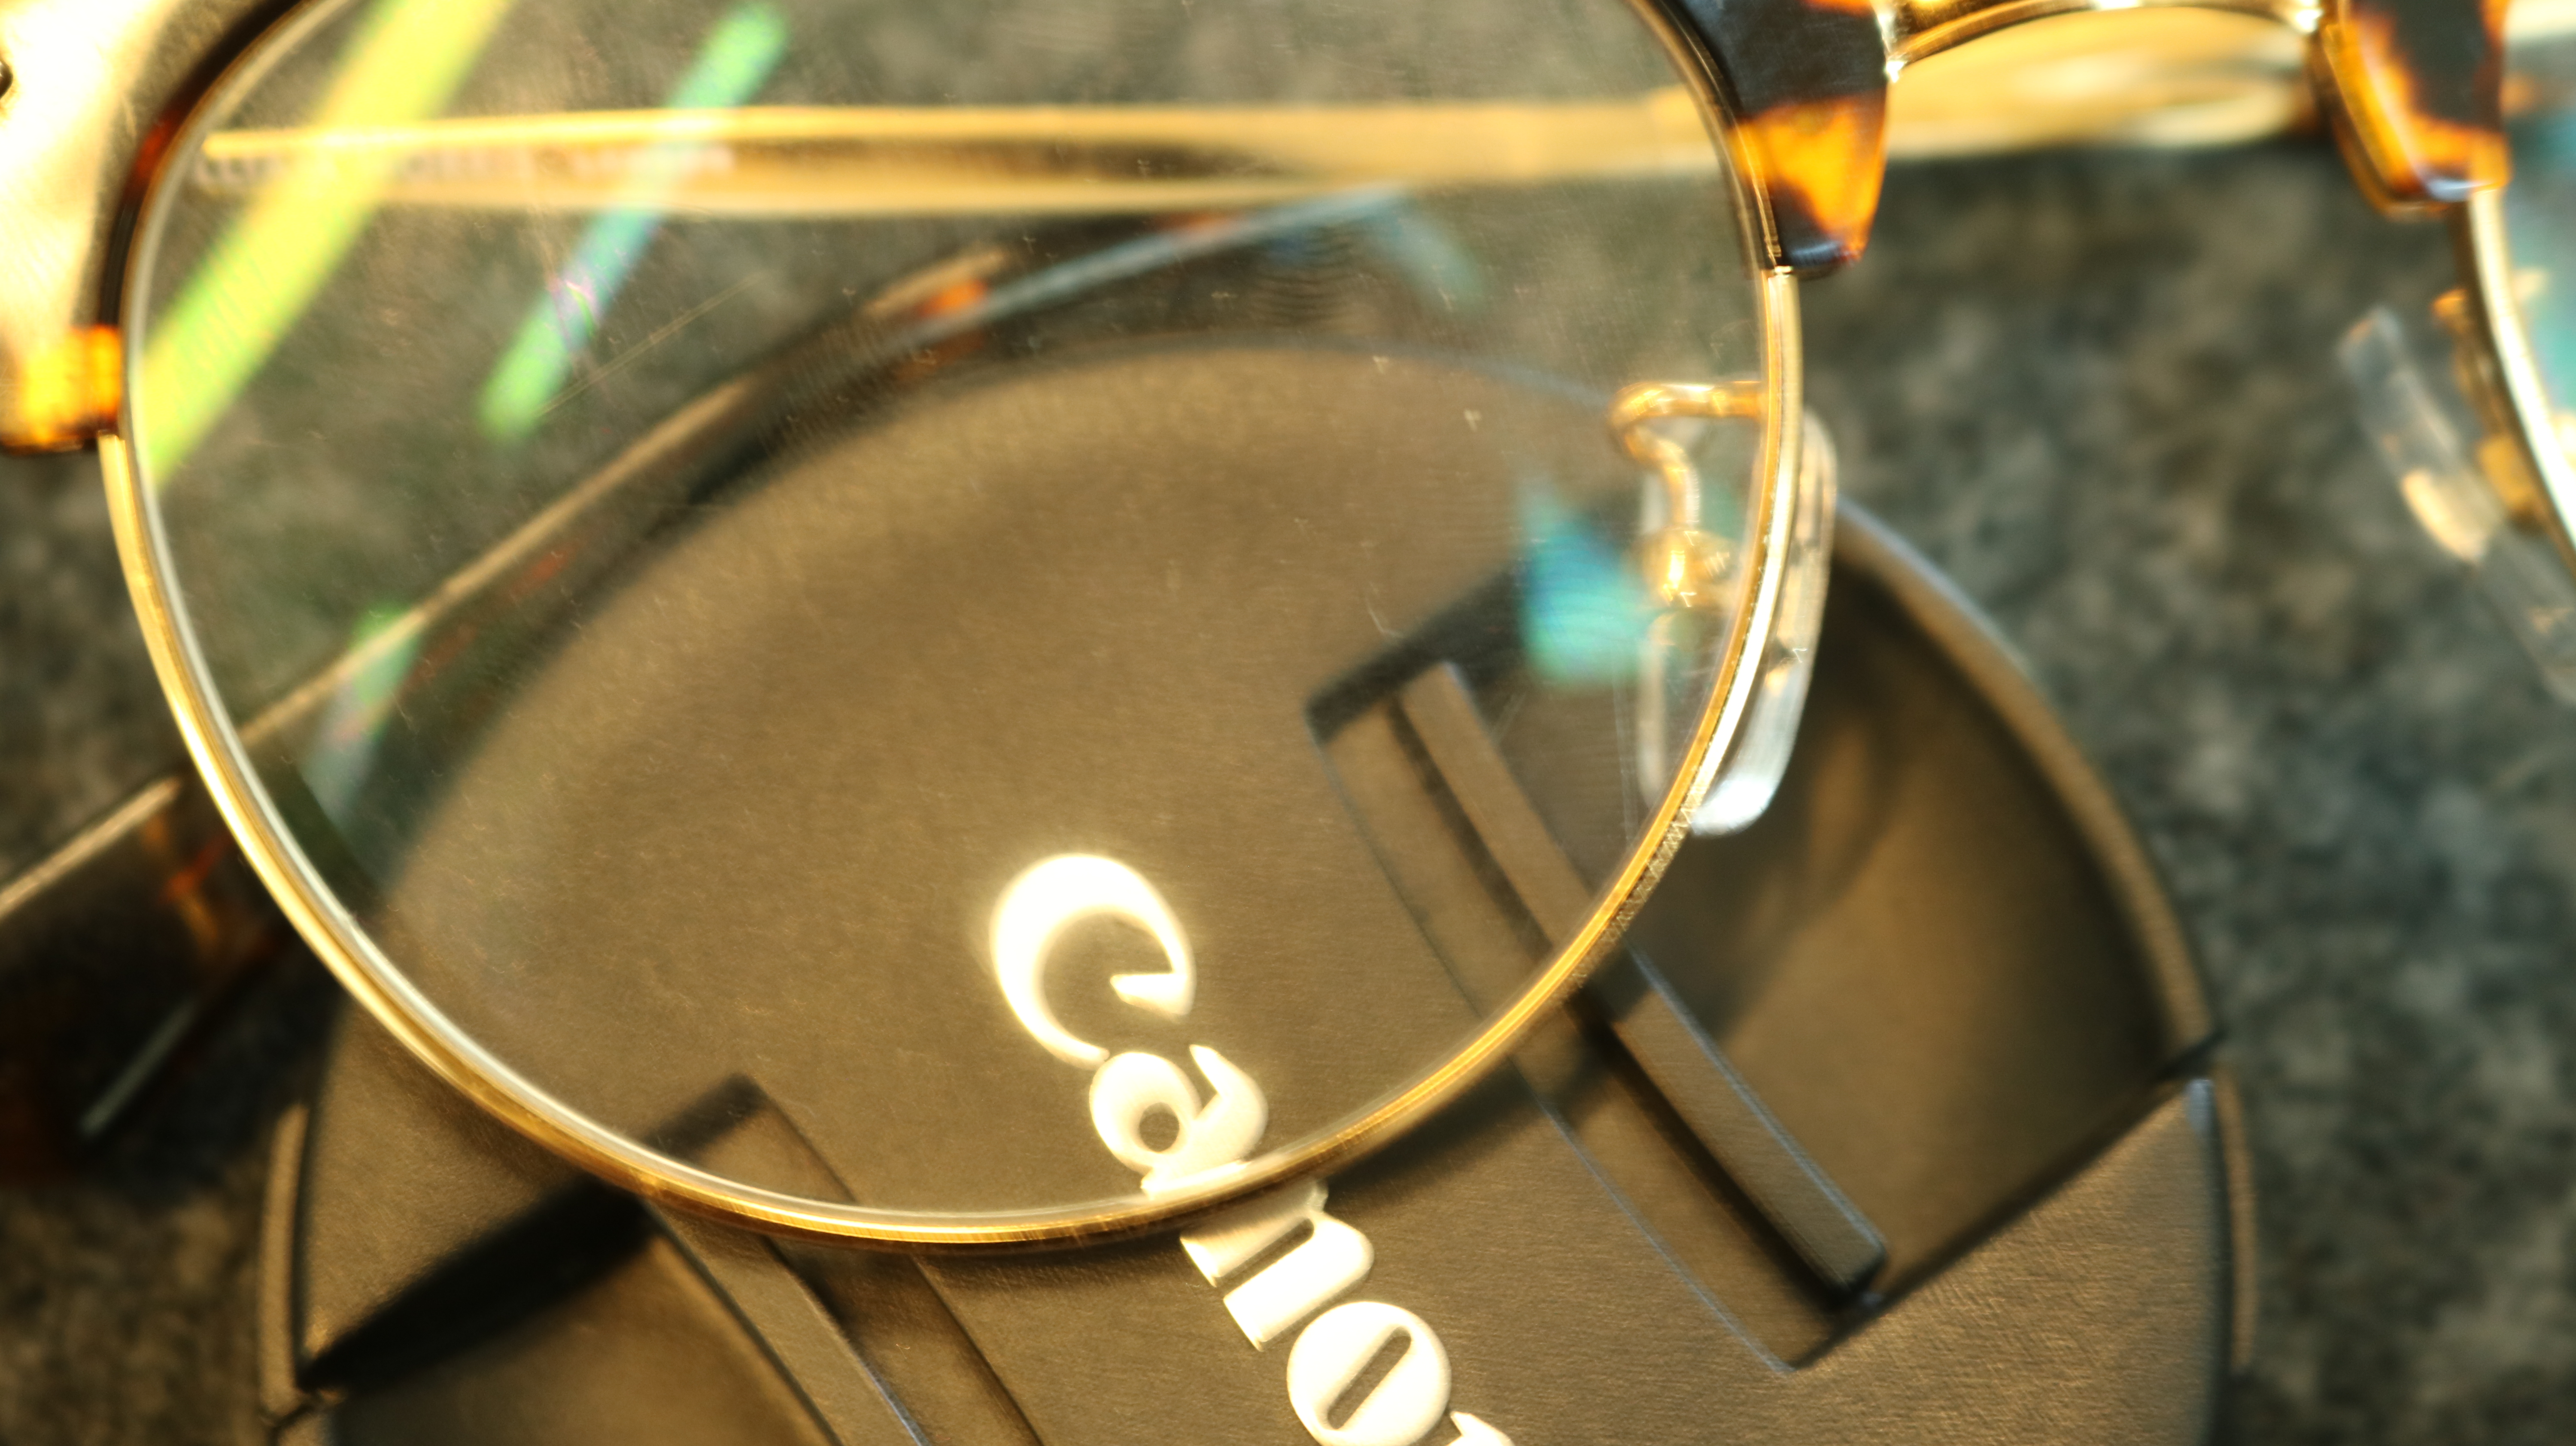
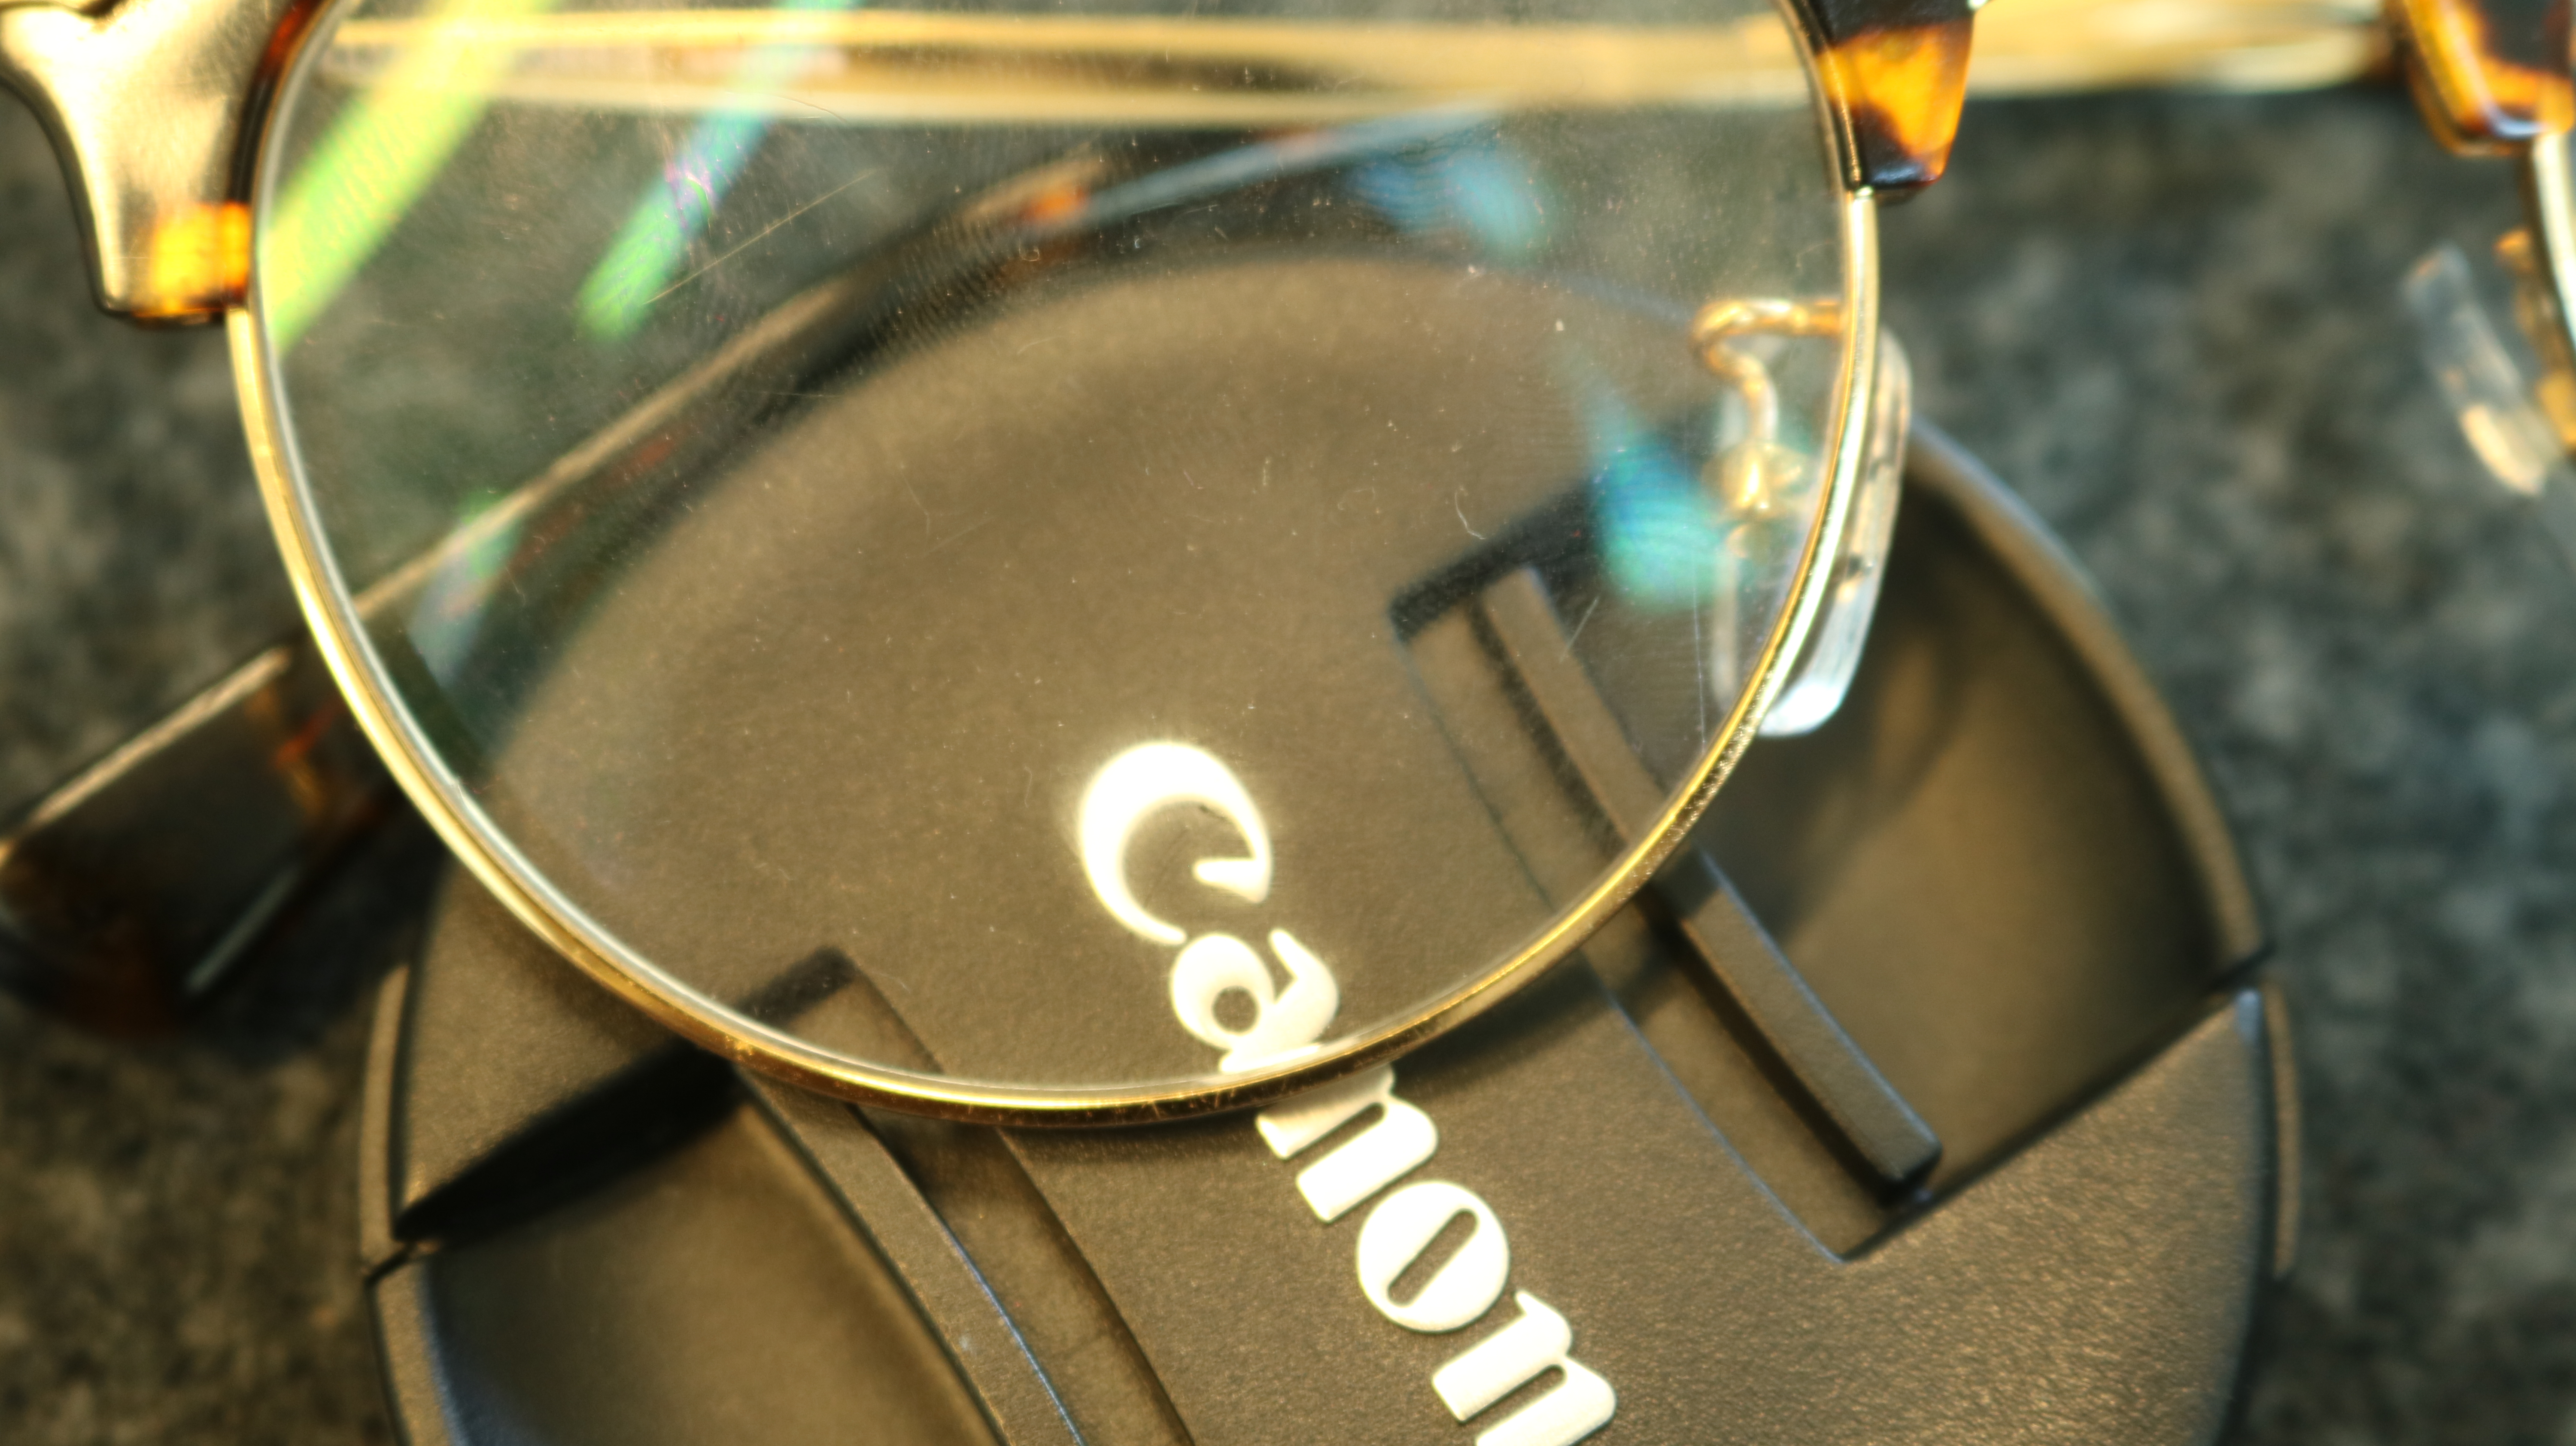
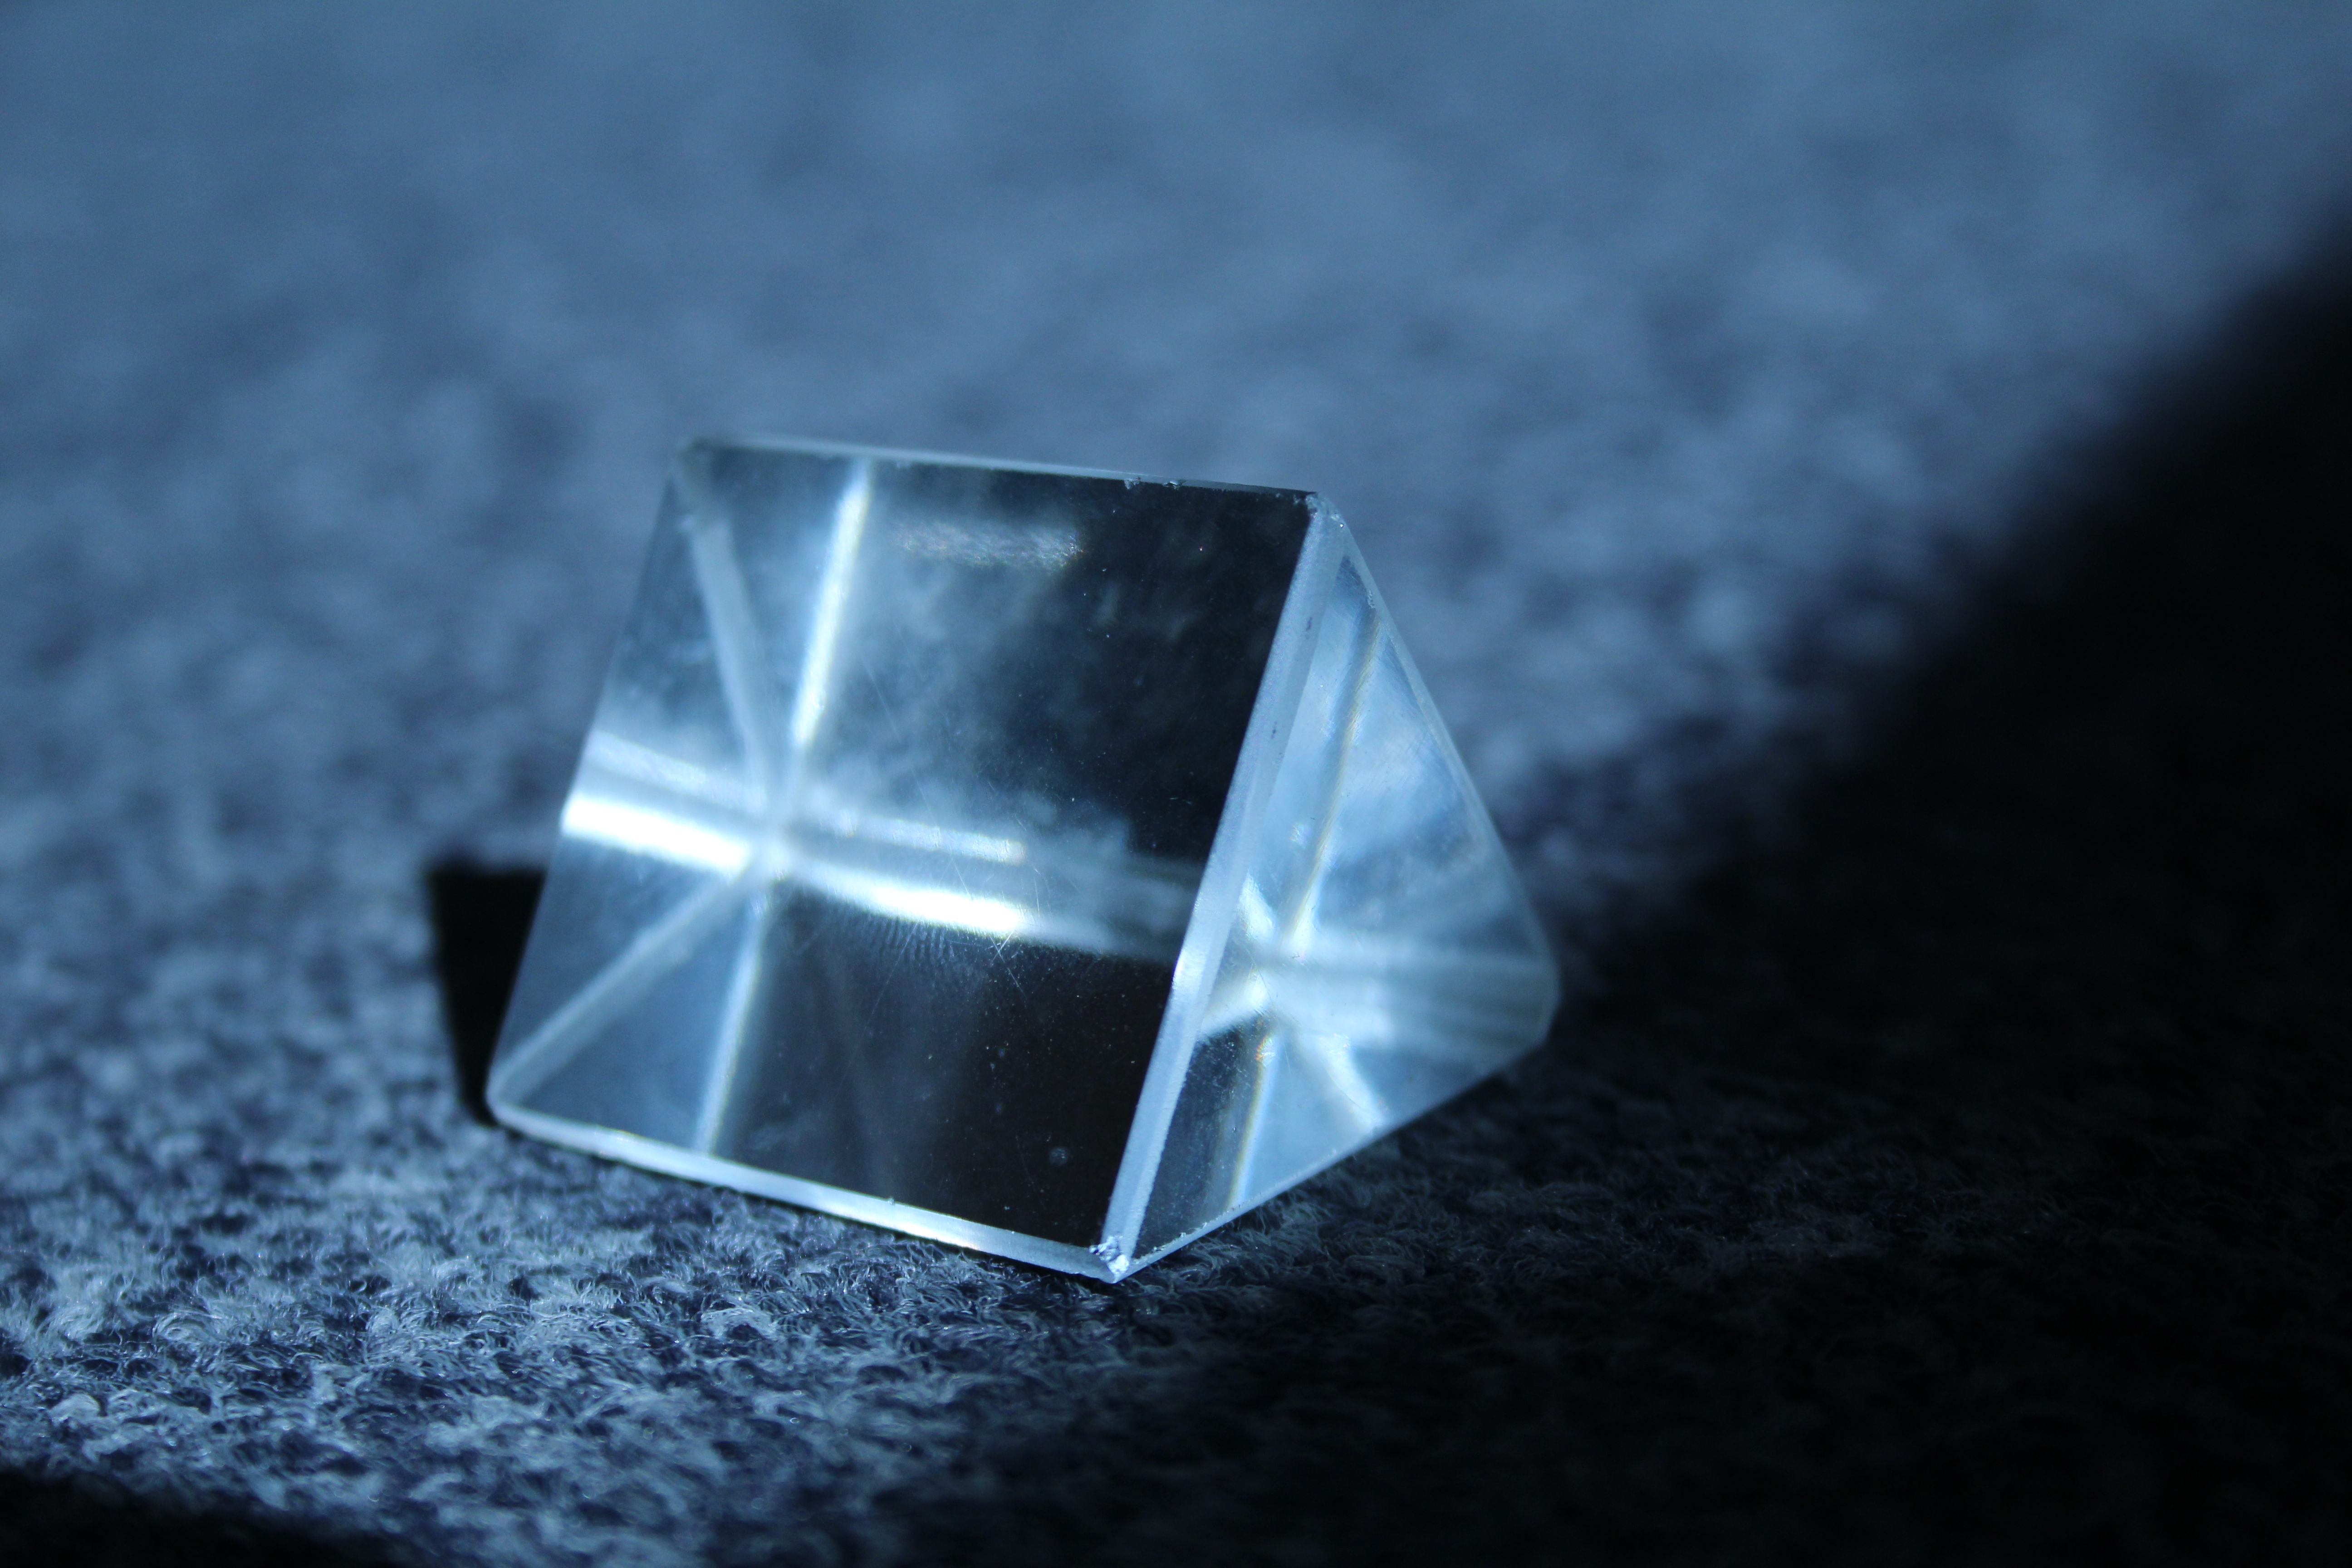
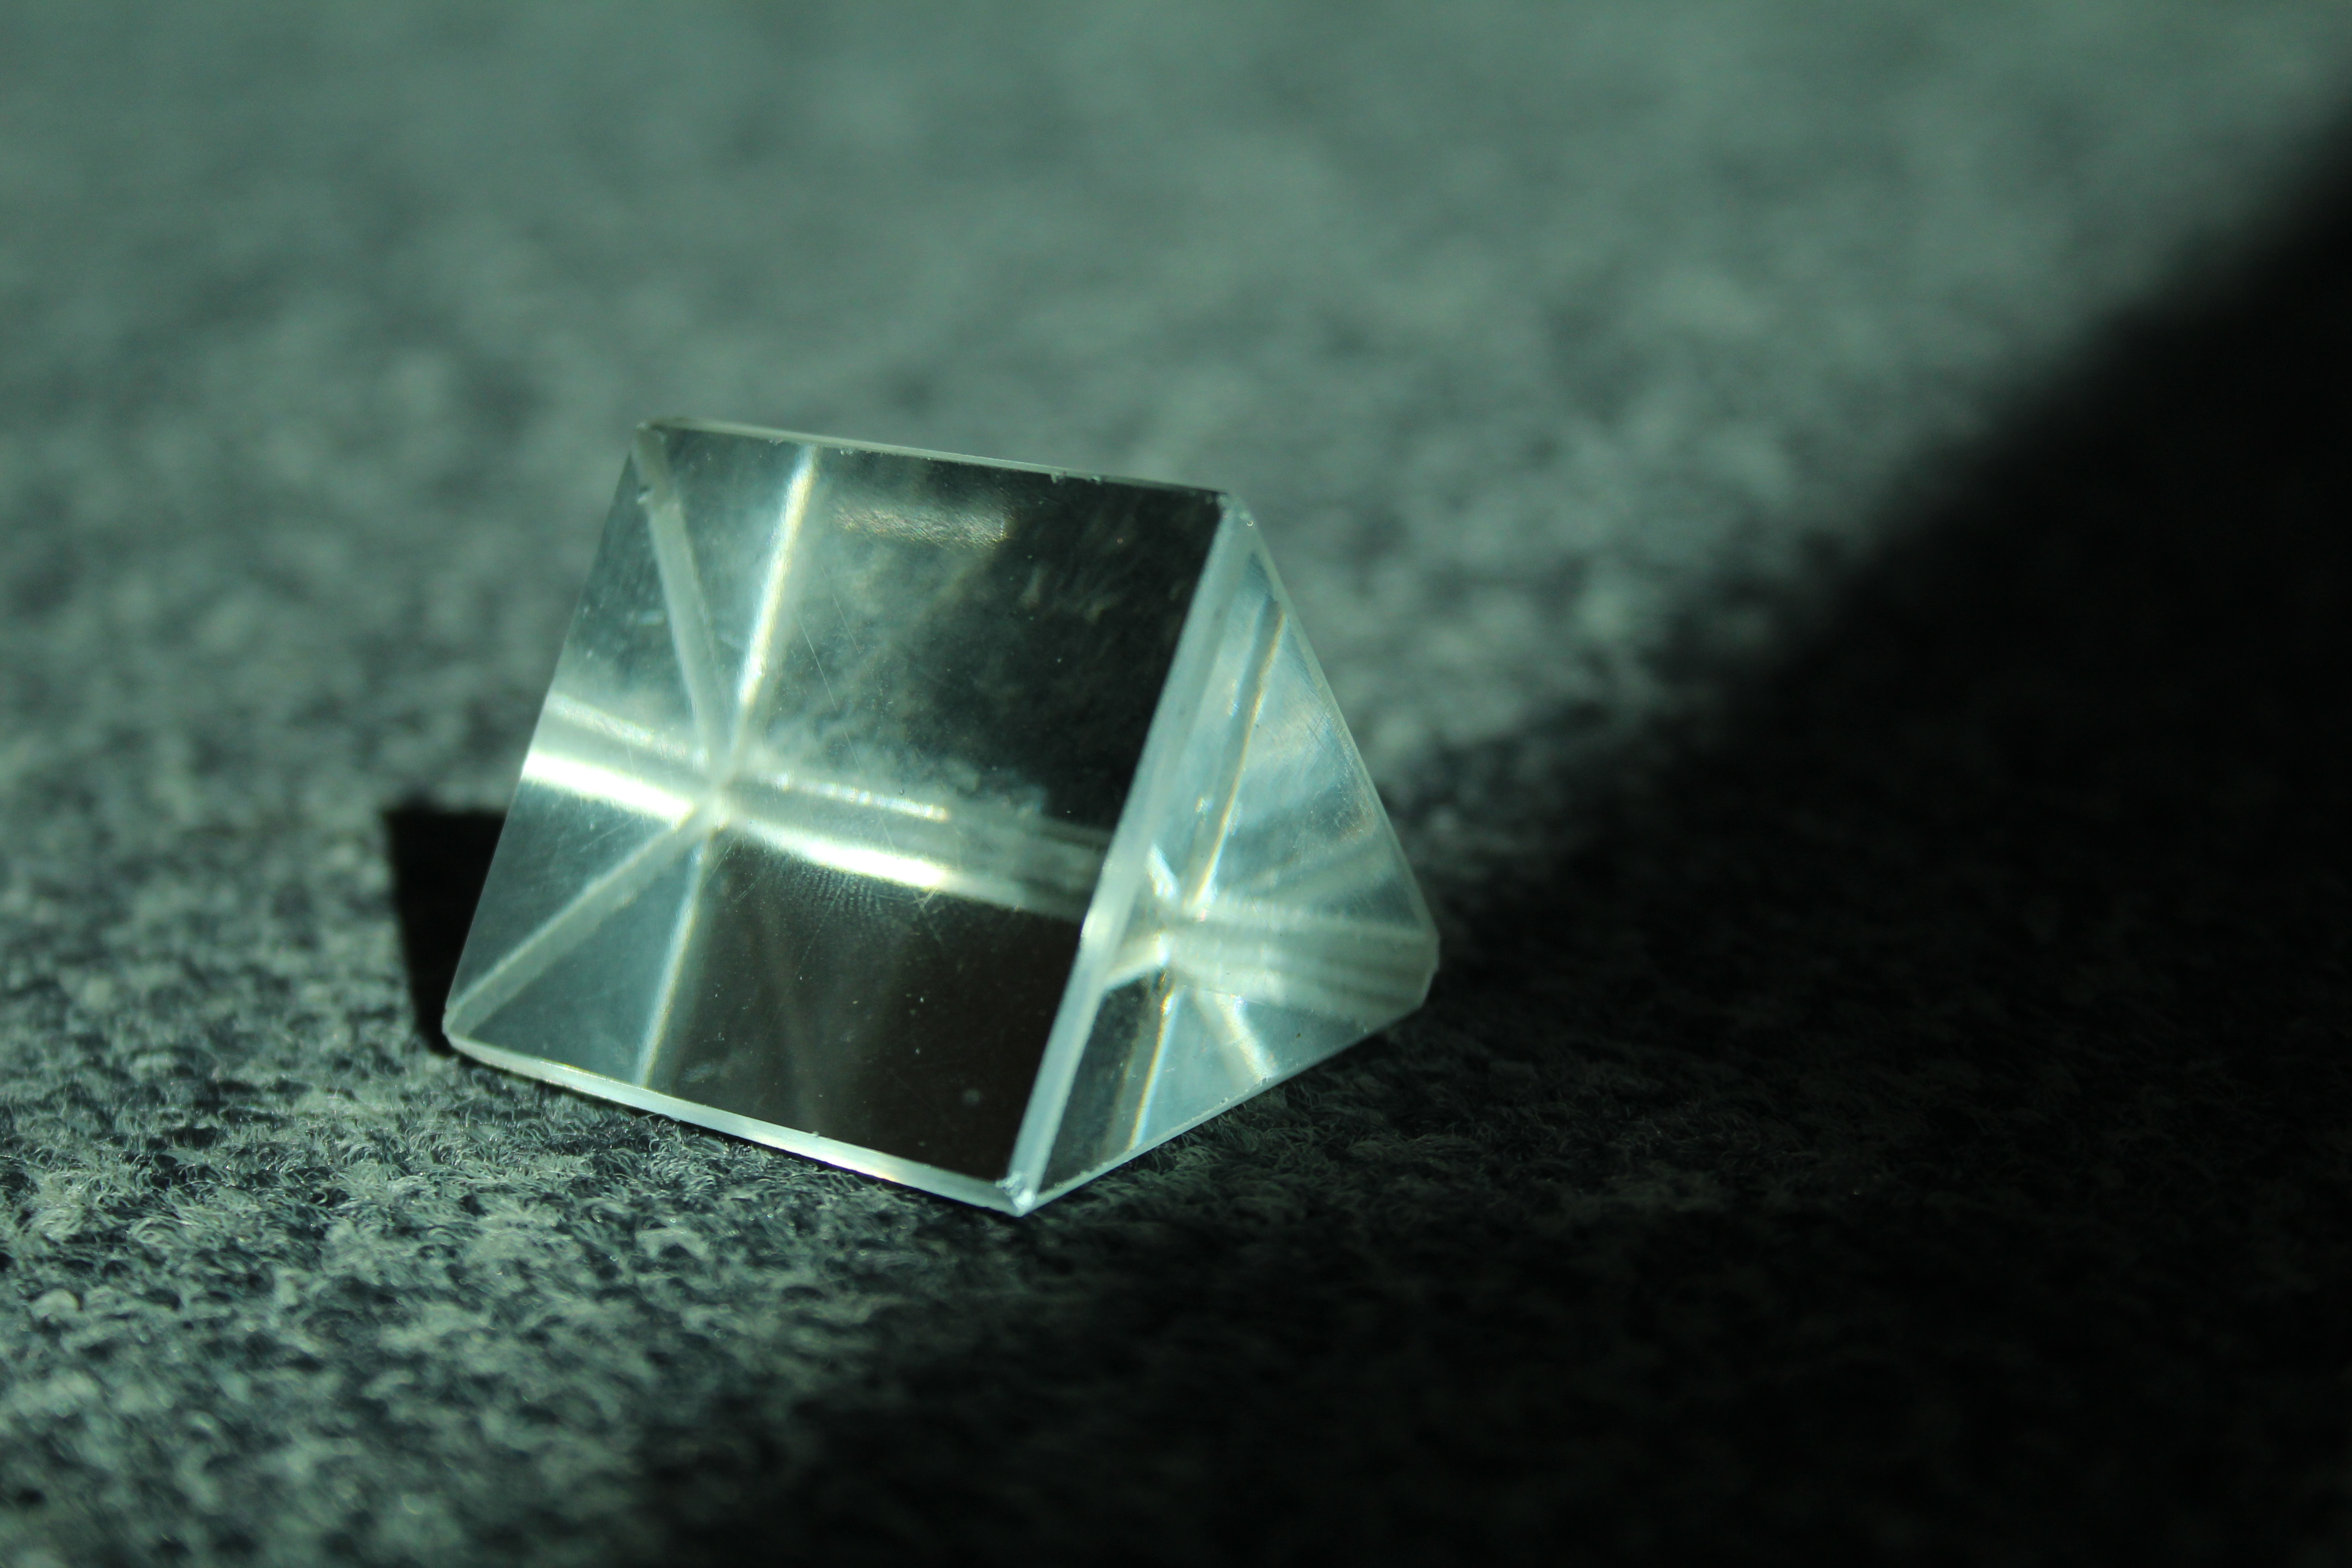
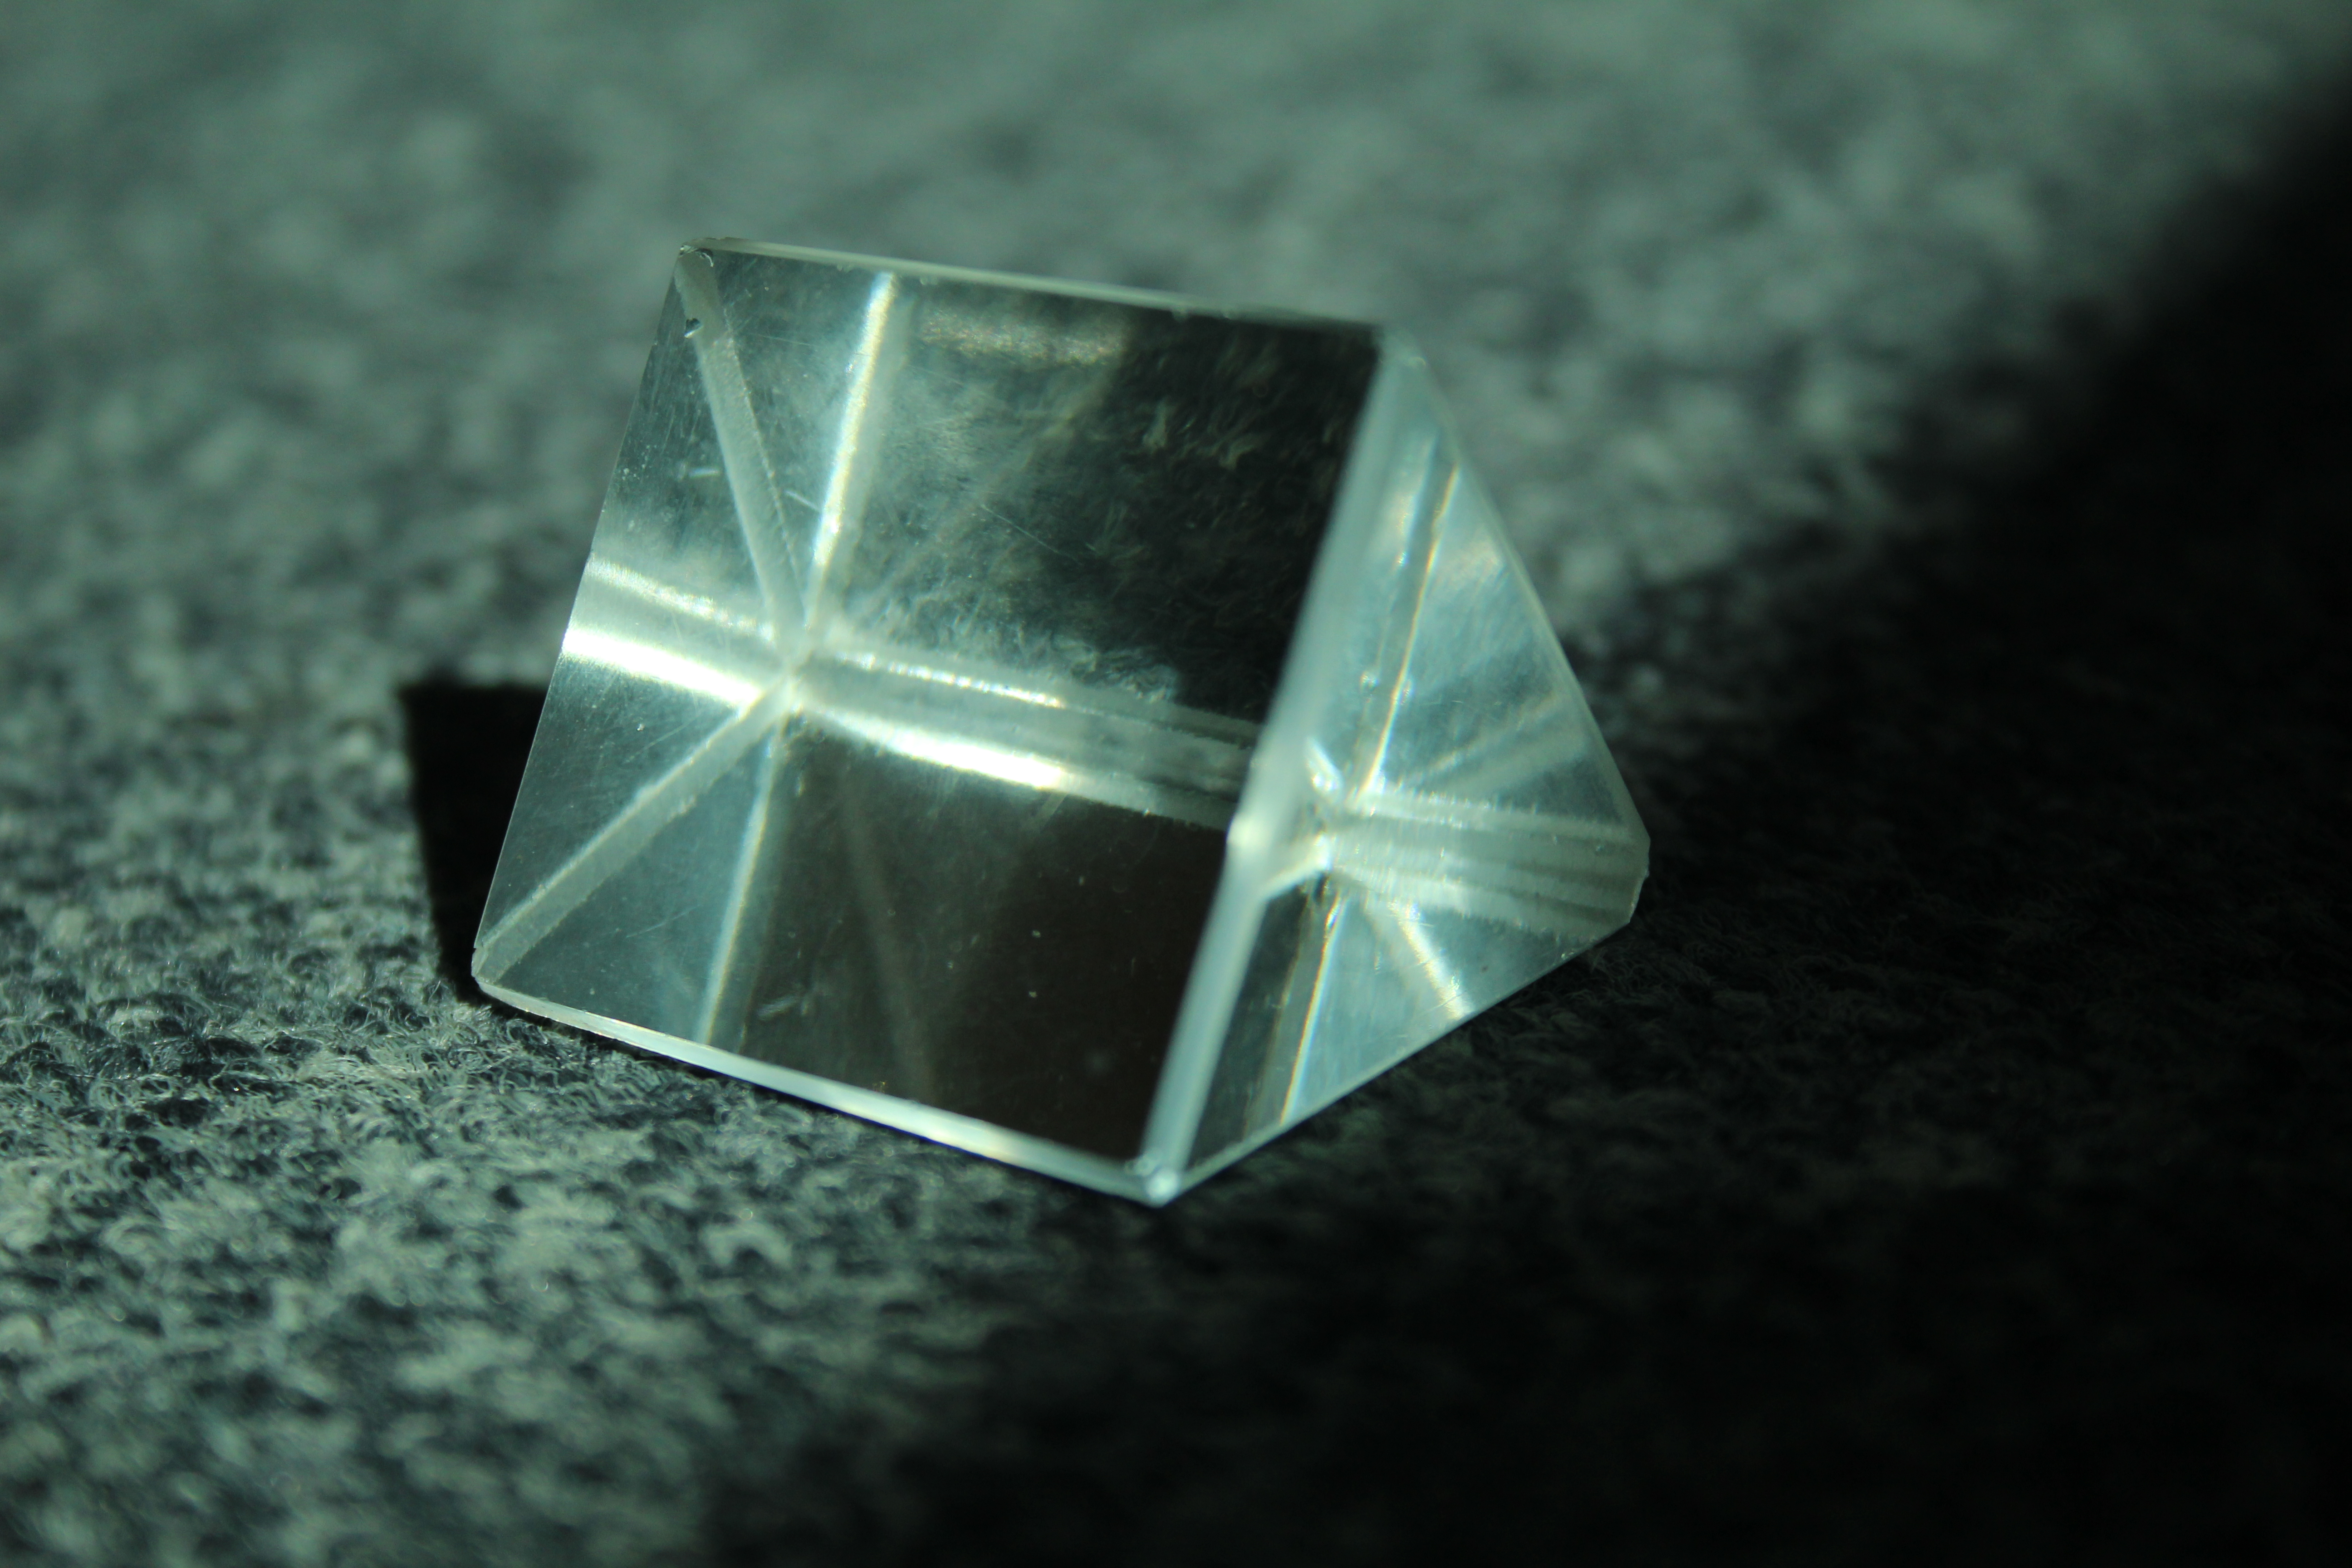
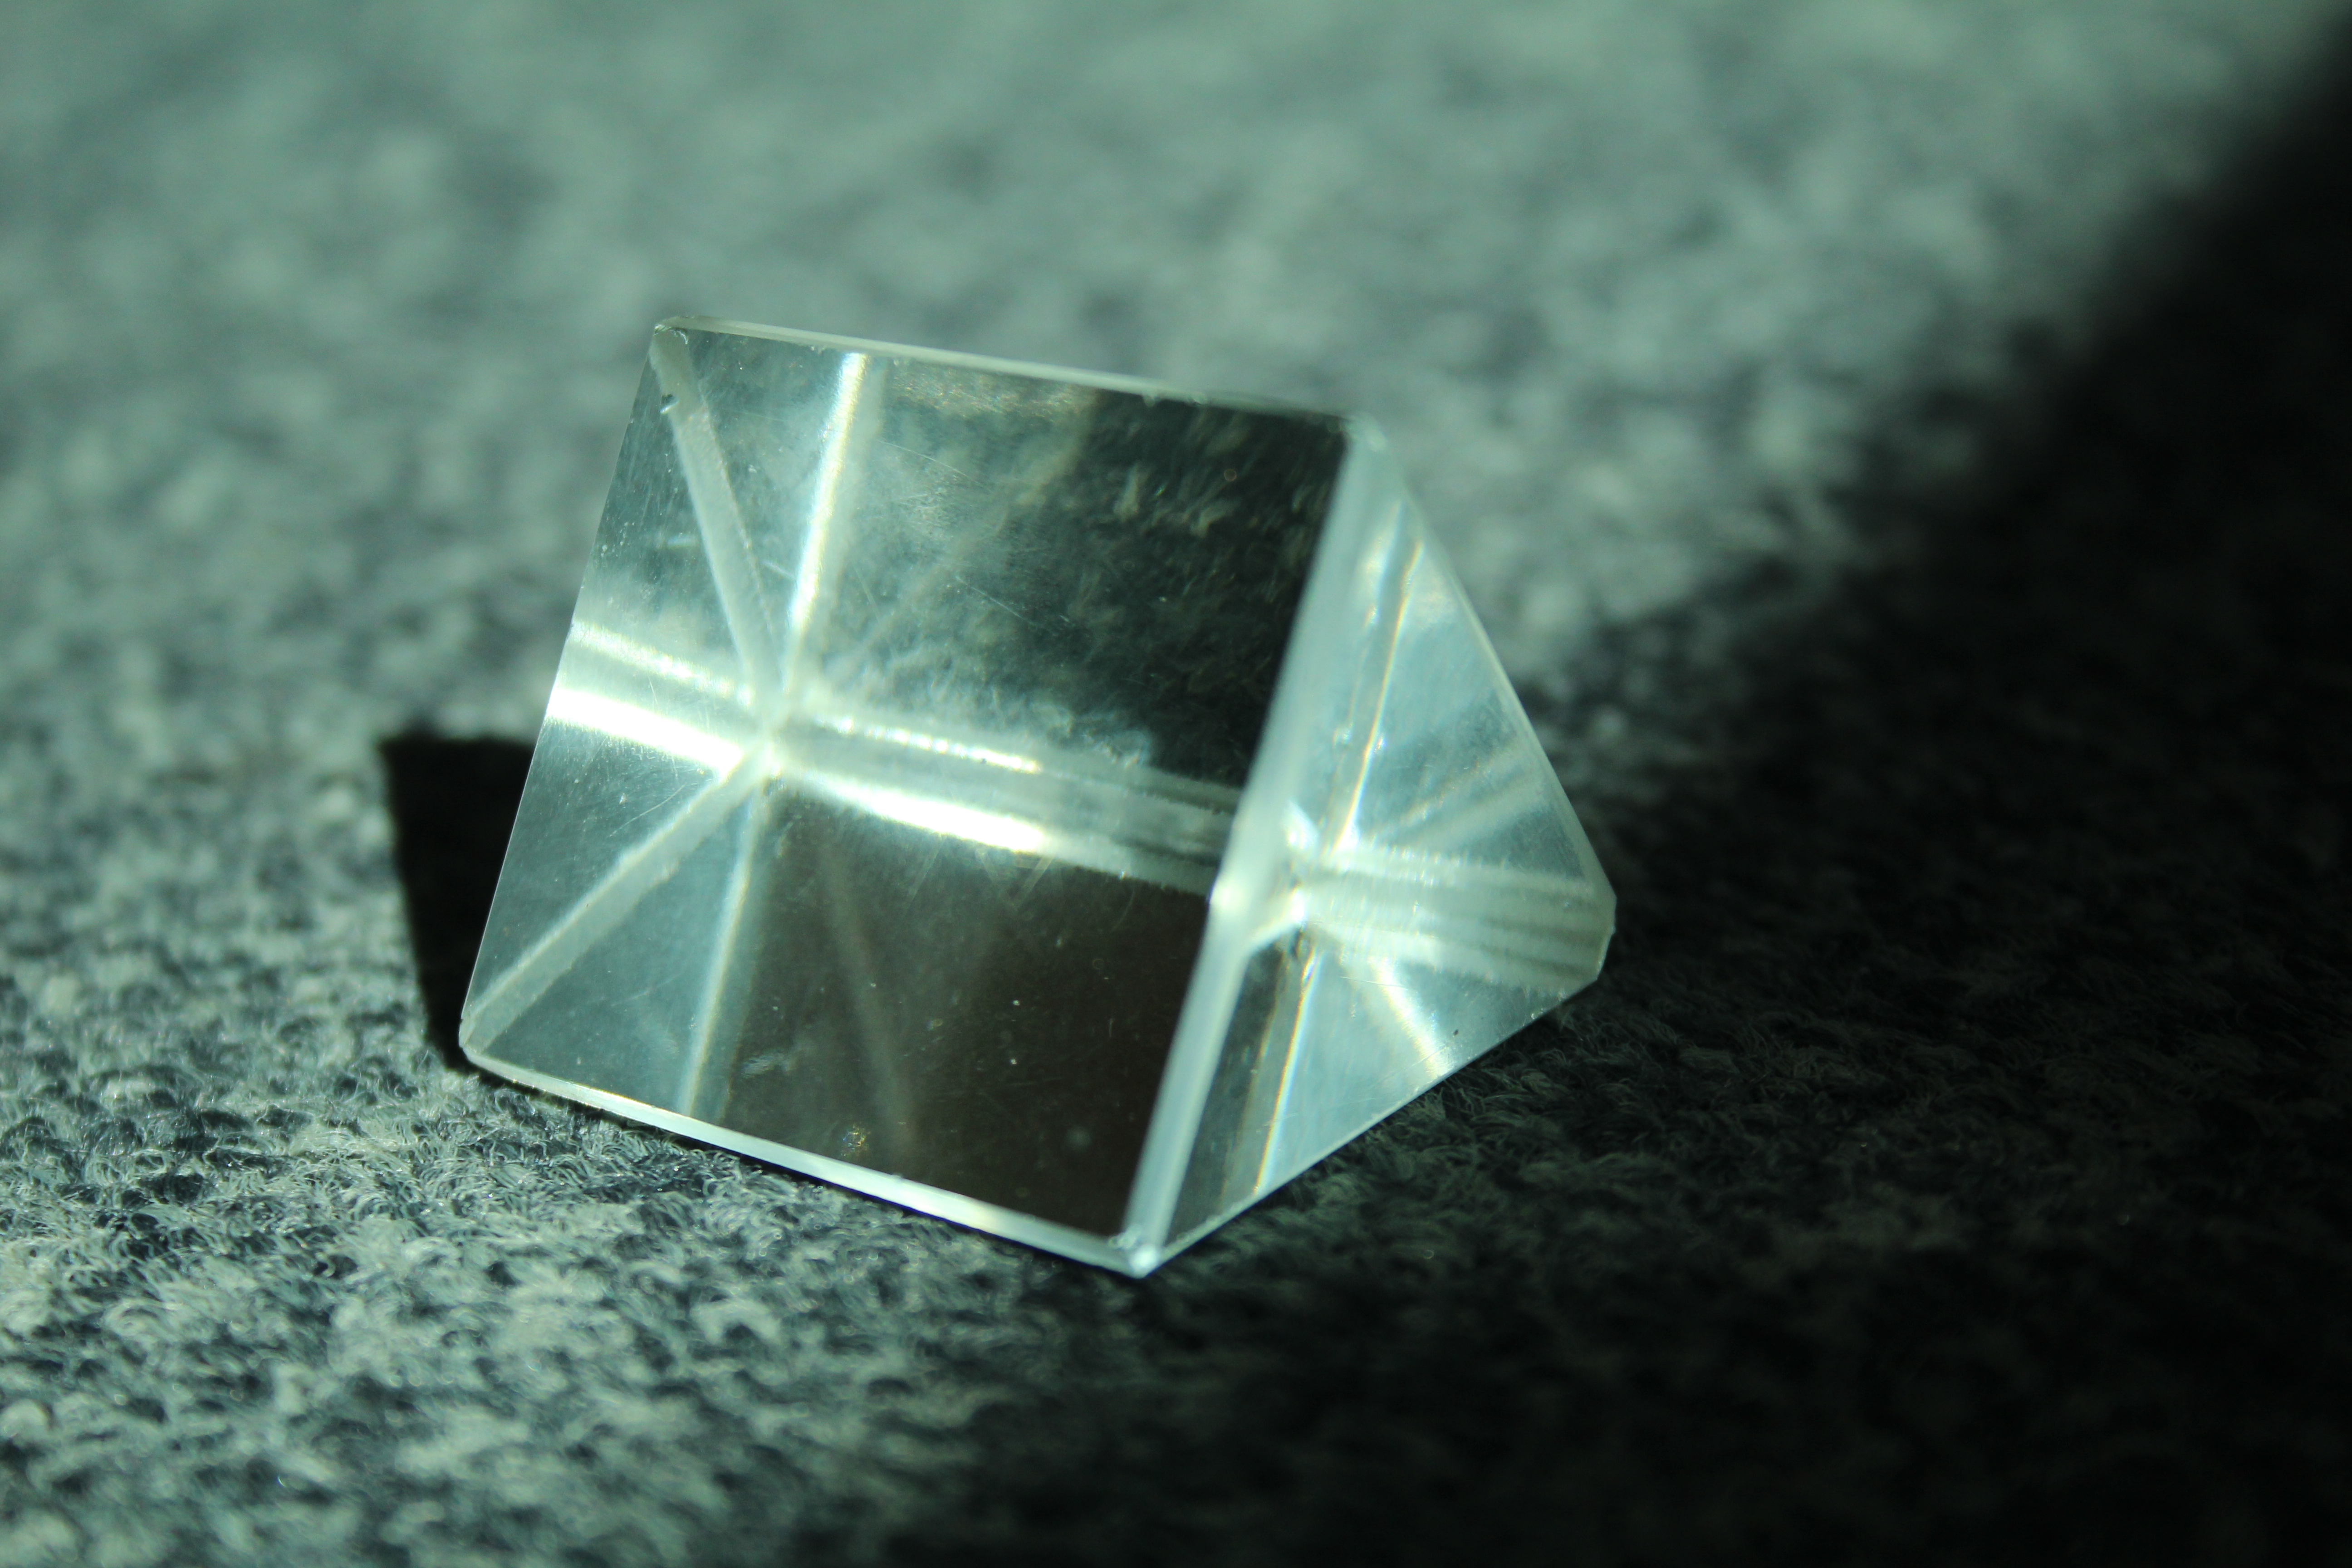
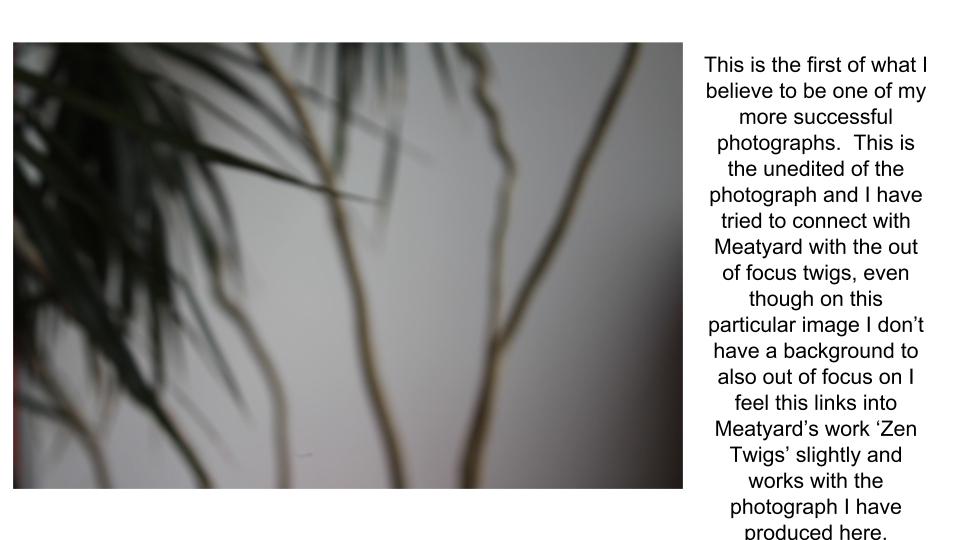
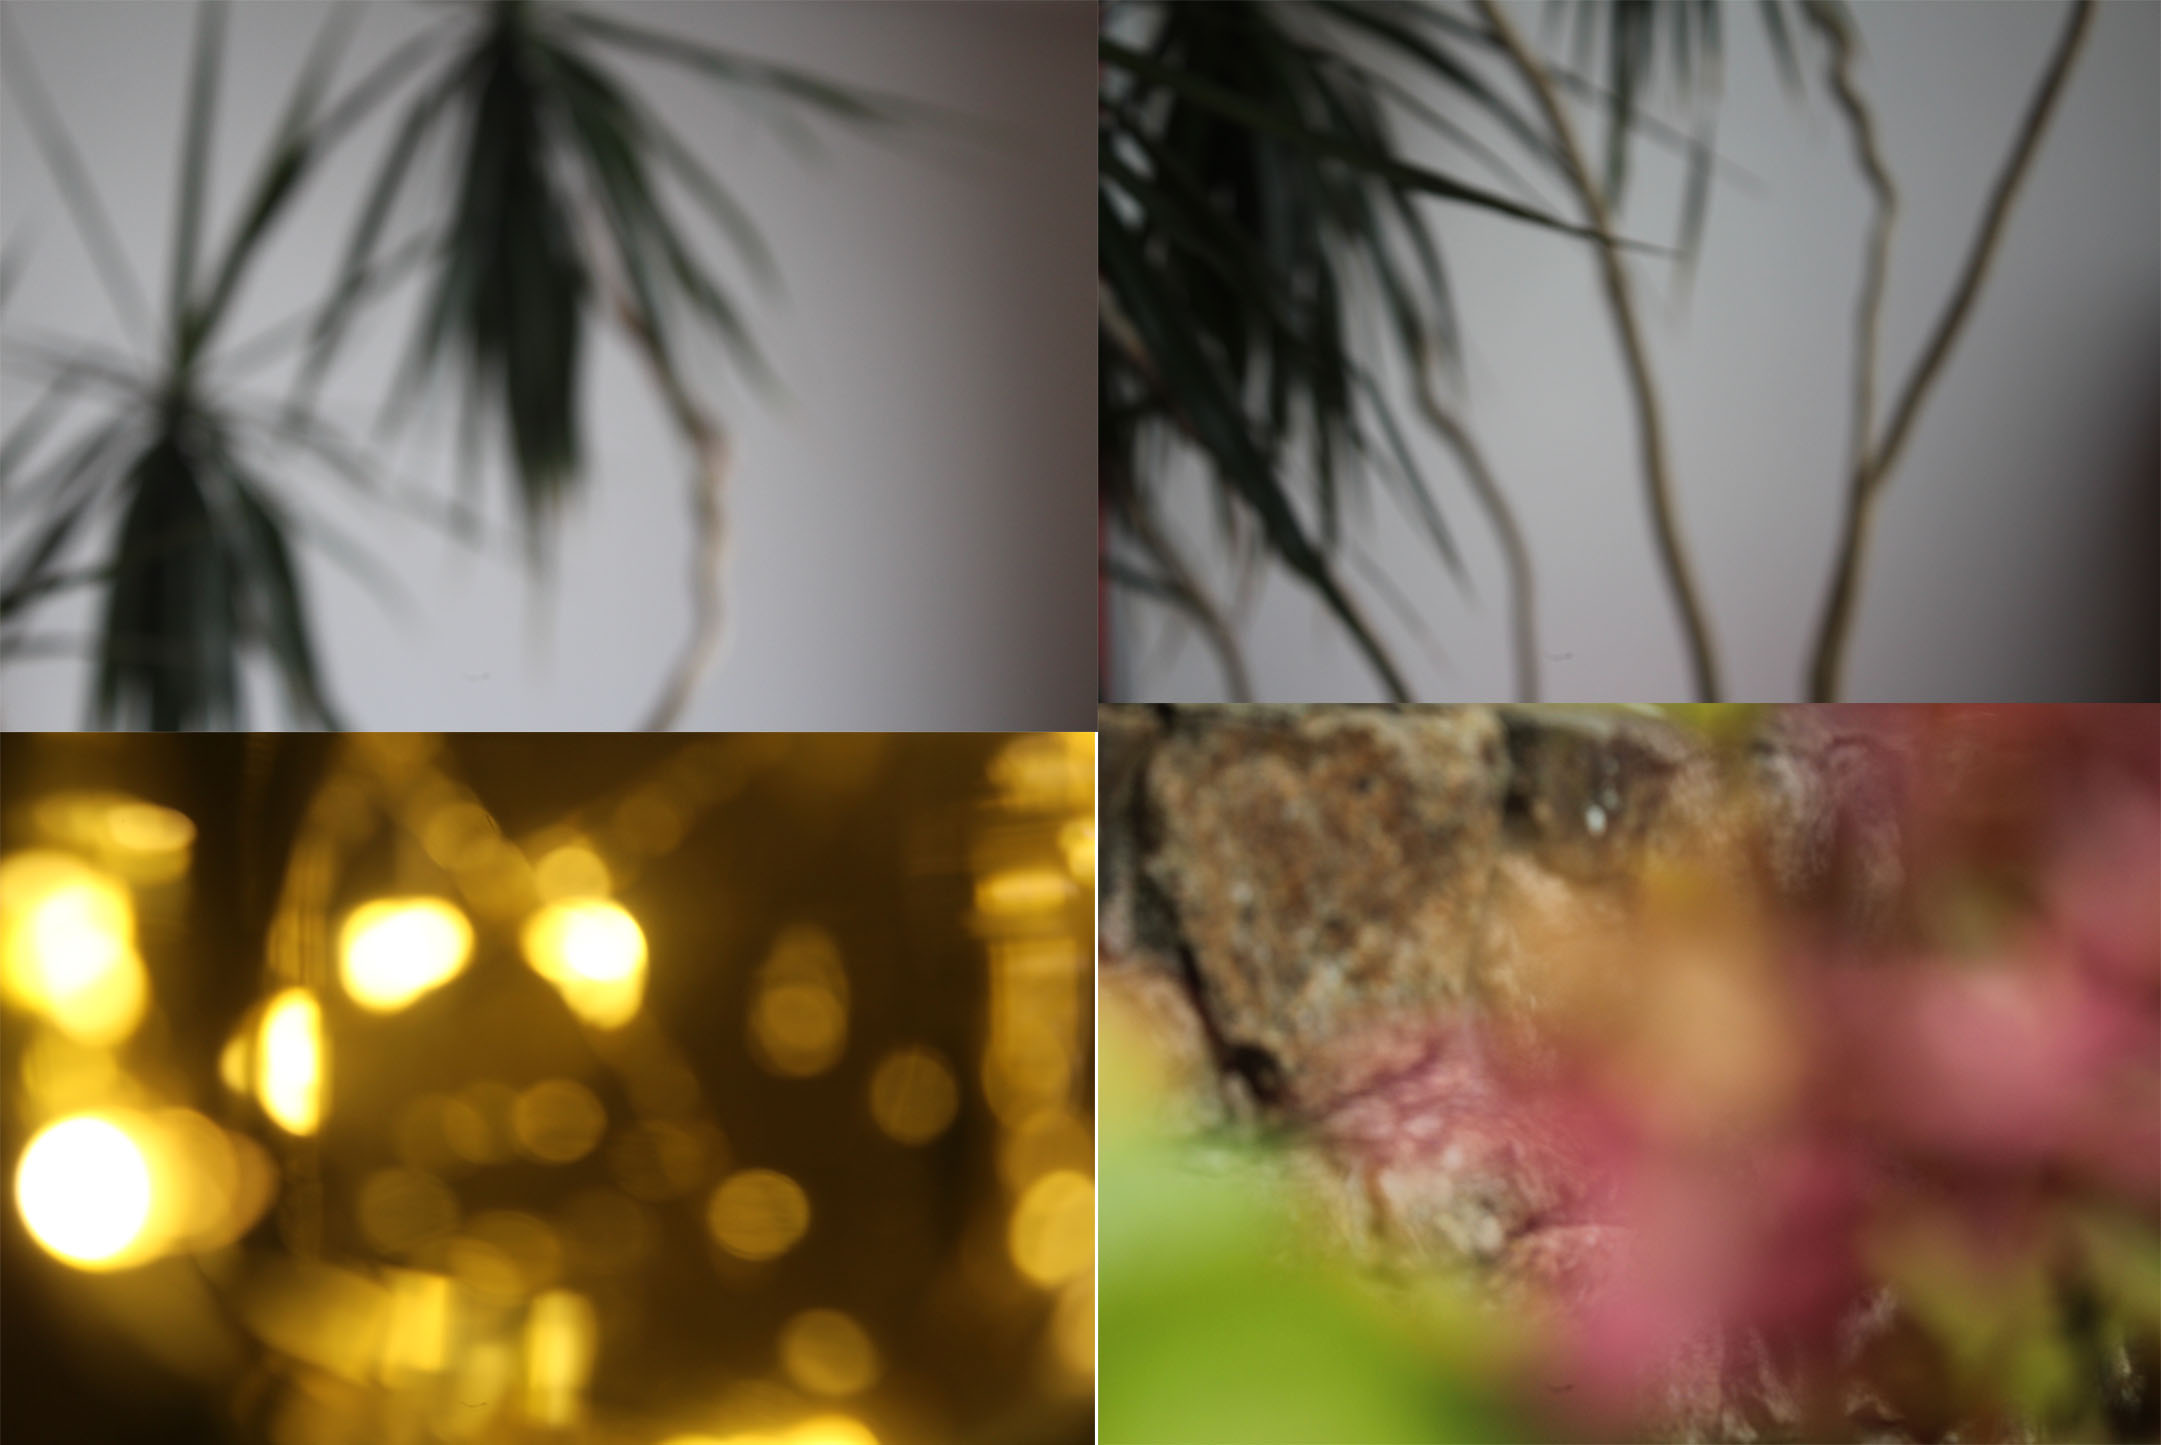
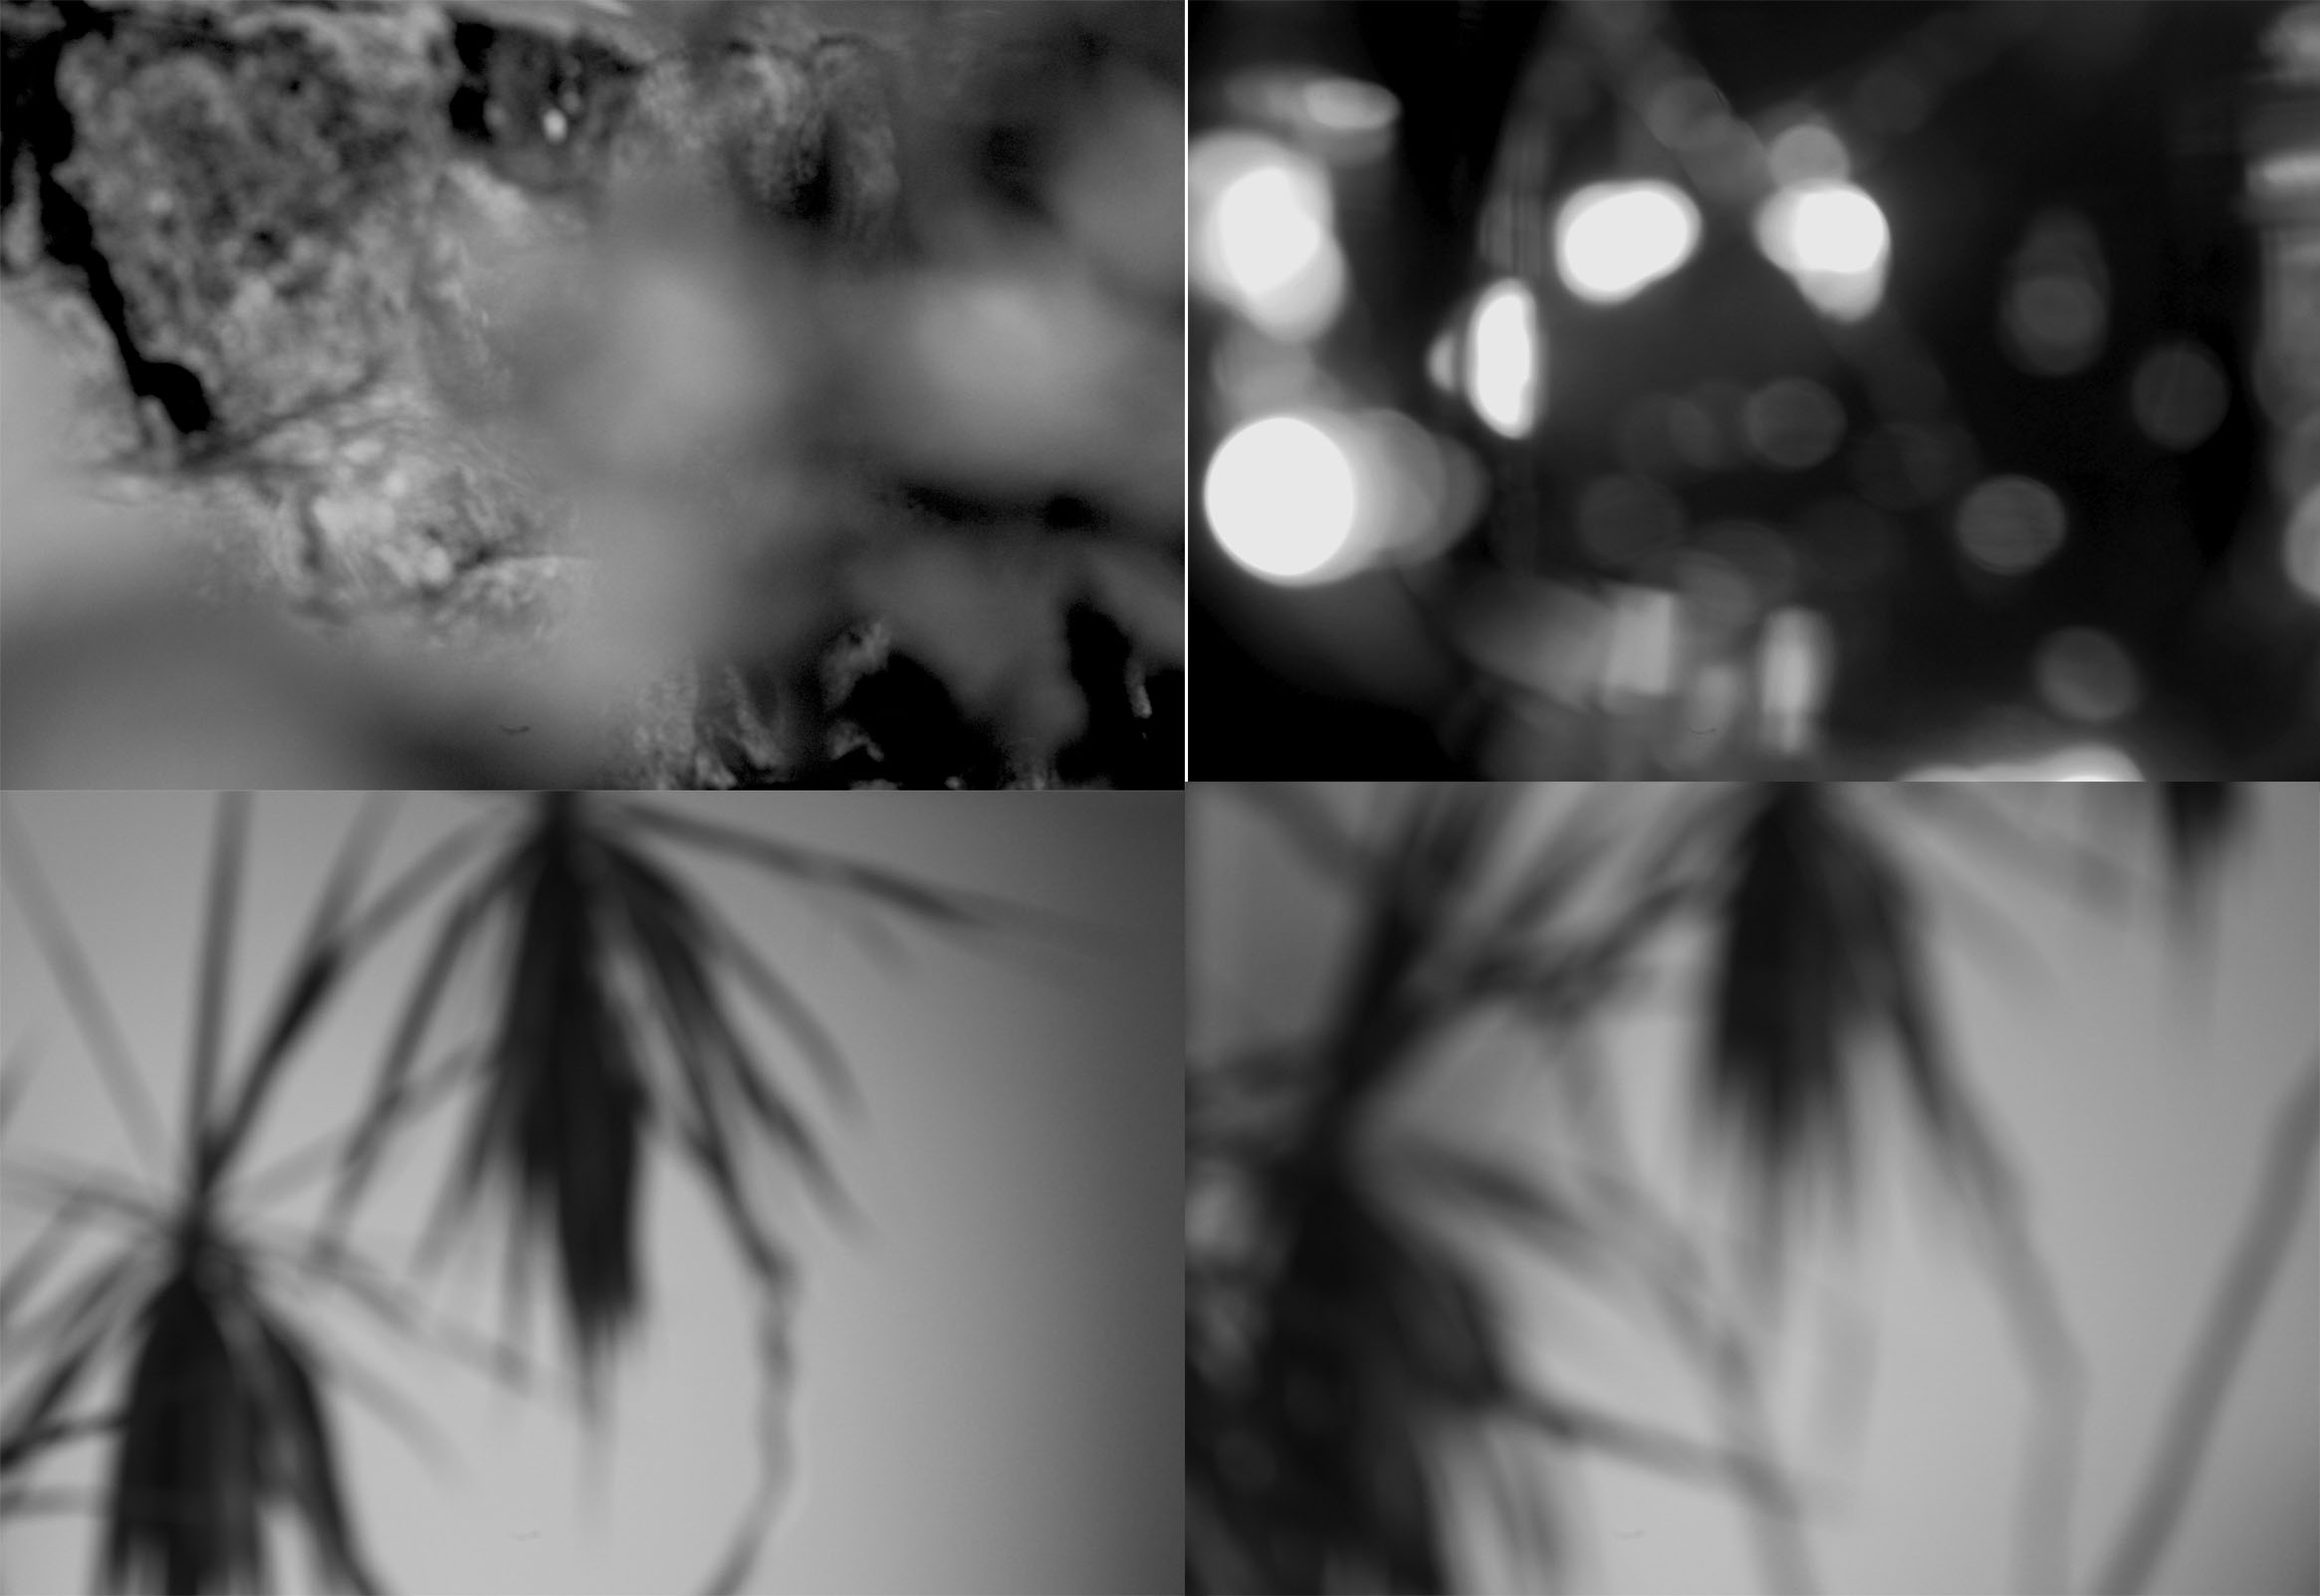
Examples of my experiment in indoor lighting:

Settings: 200, 5.6 ISO 100-6400

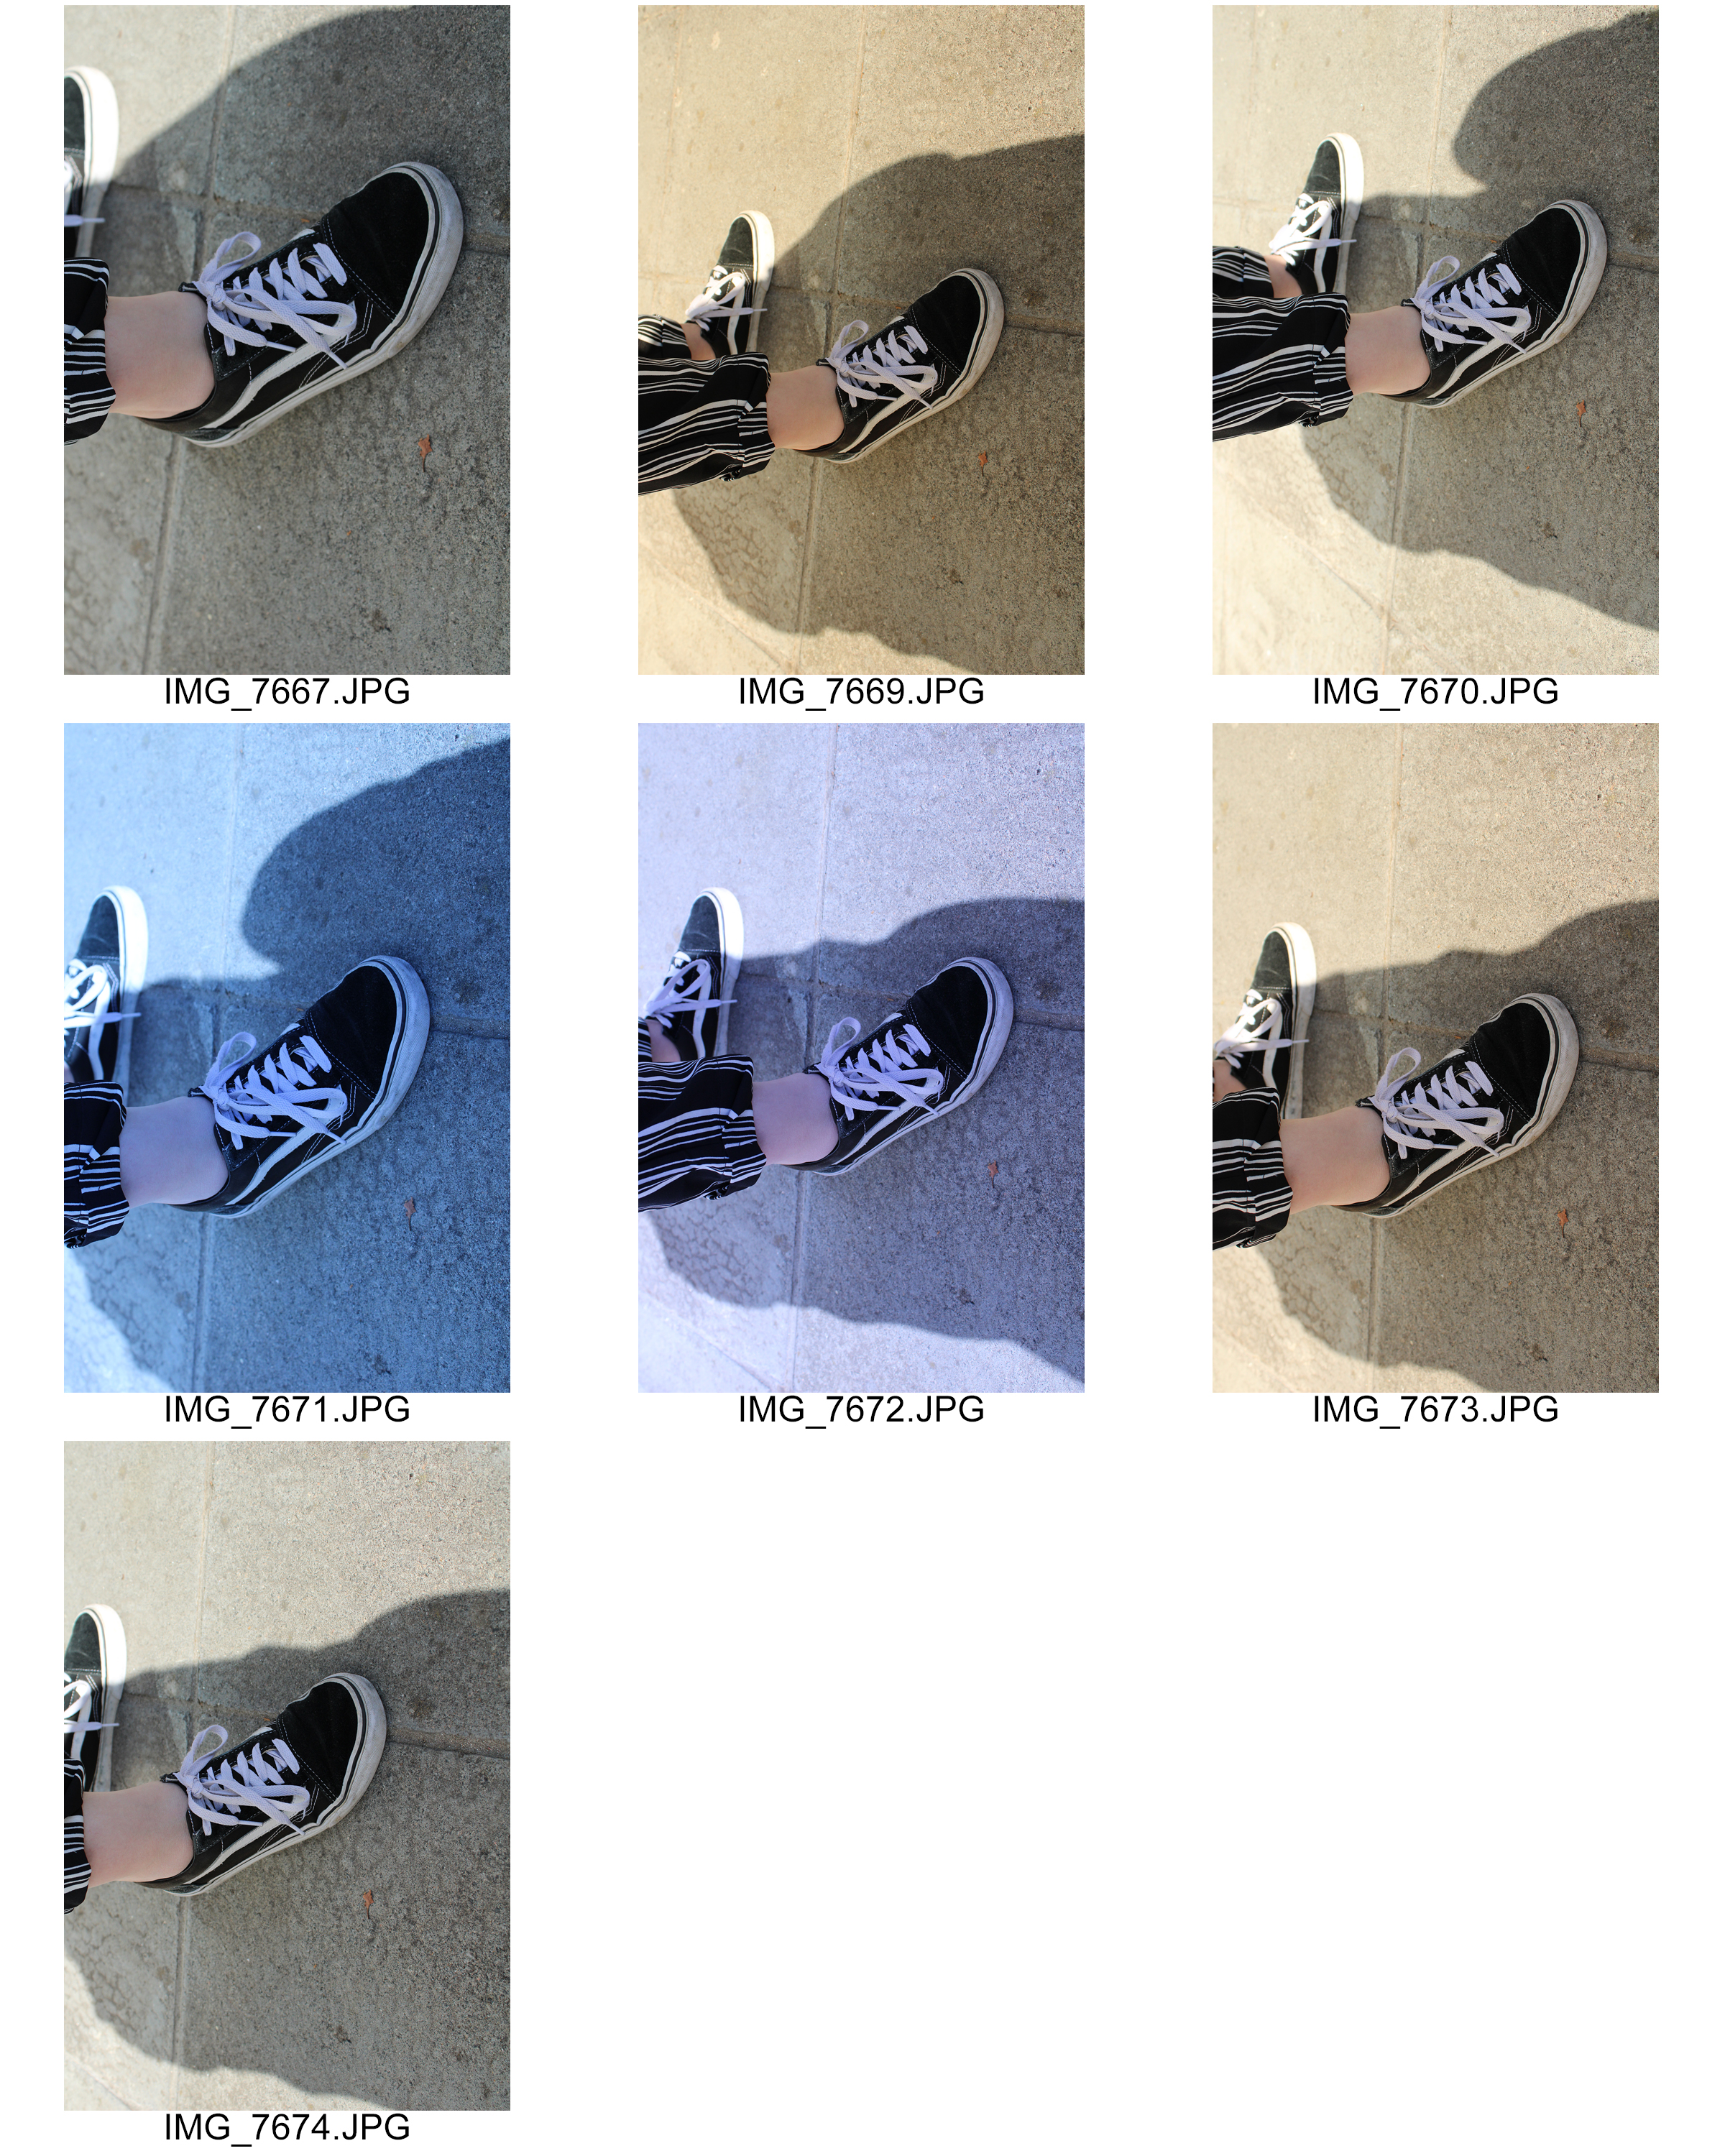
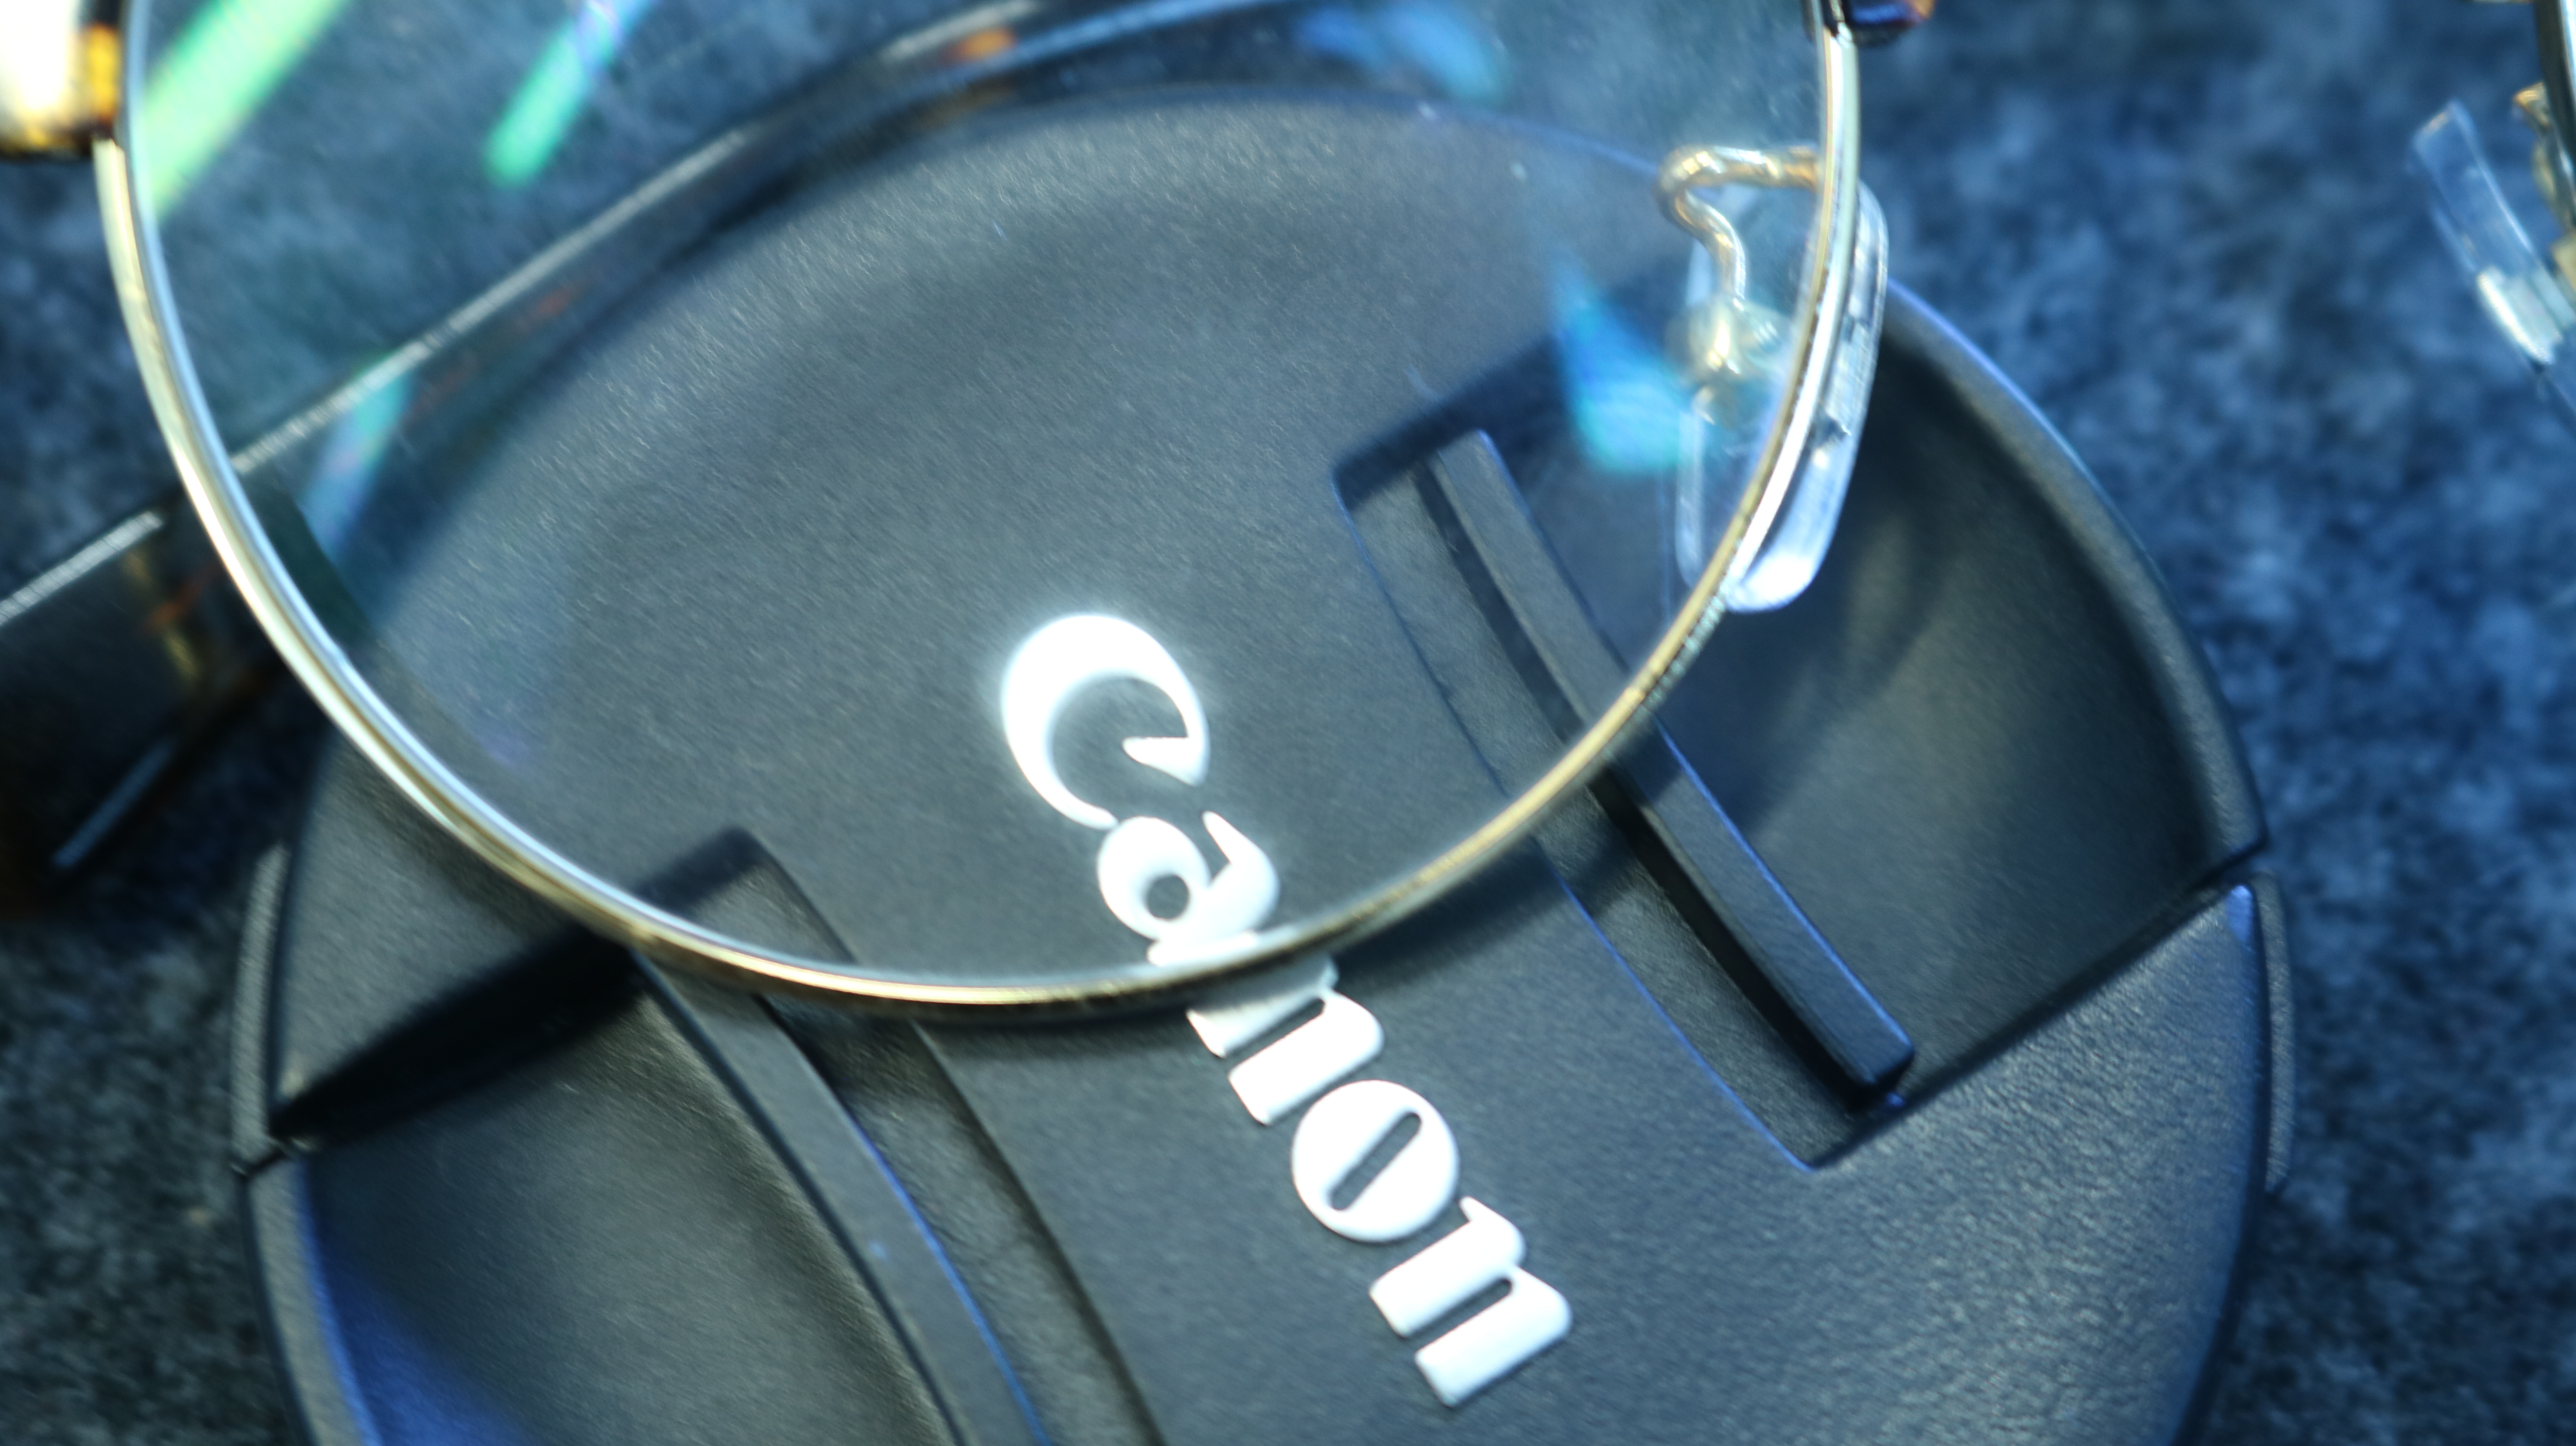
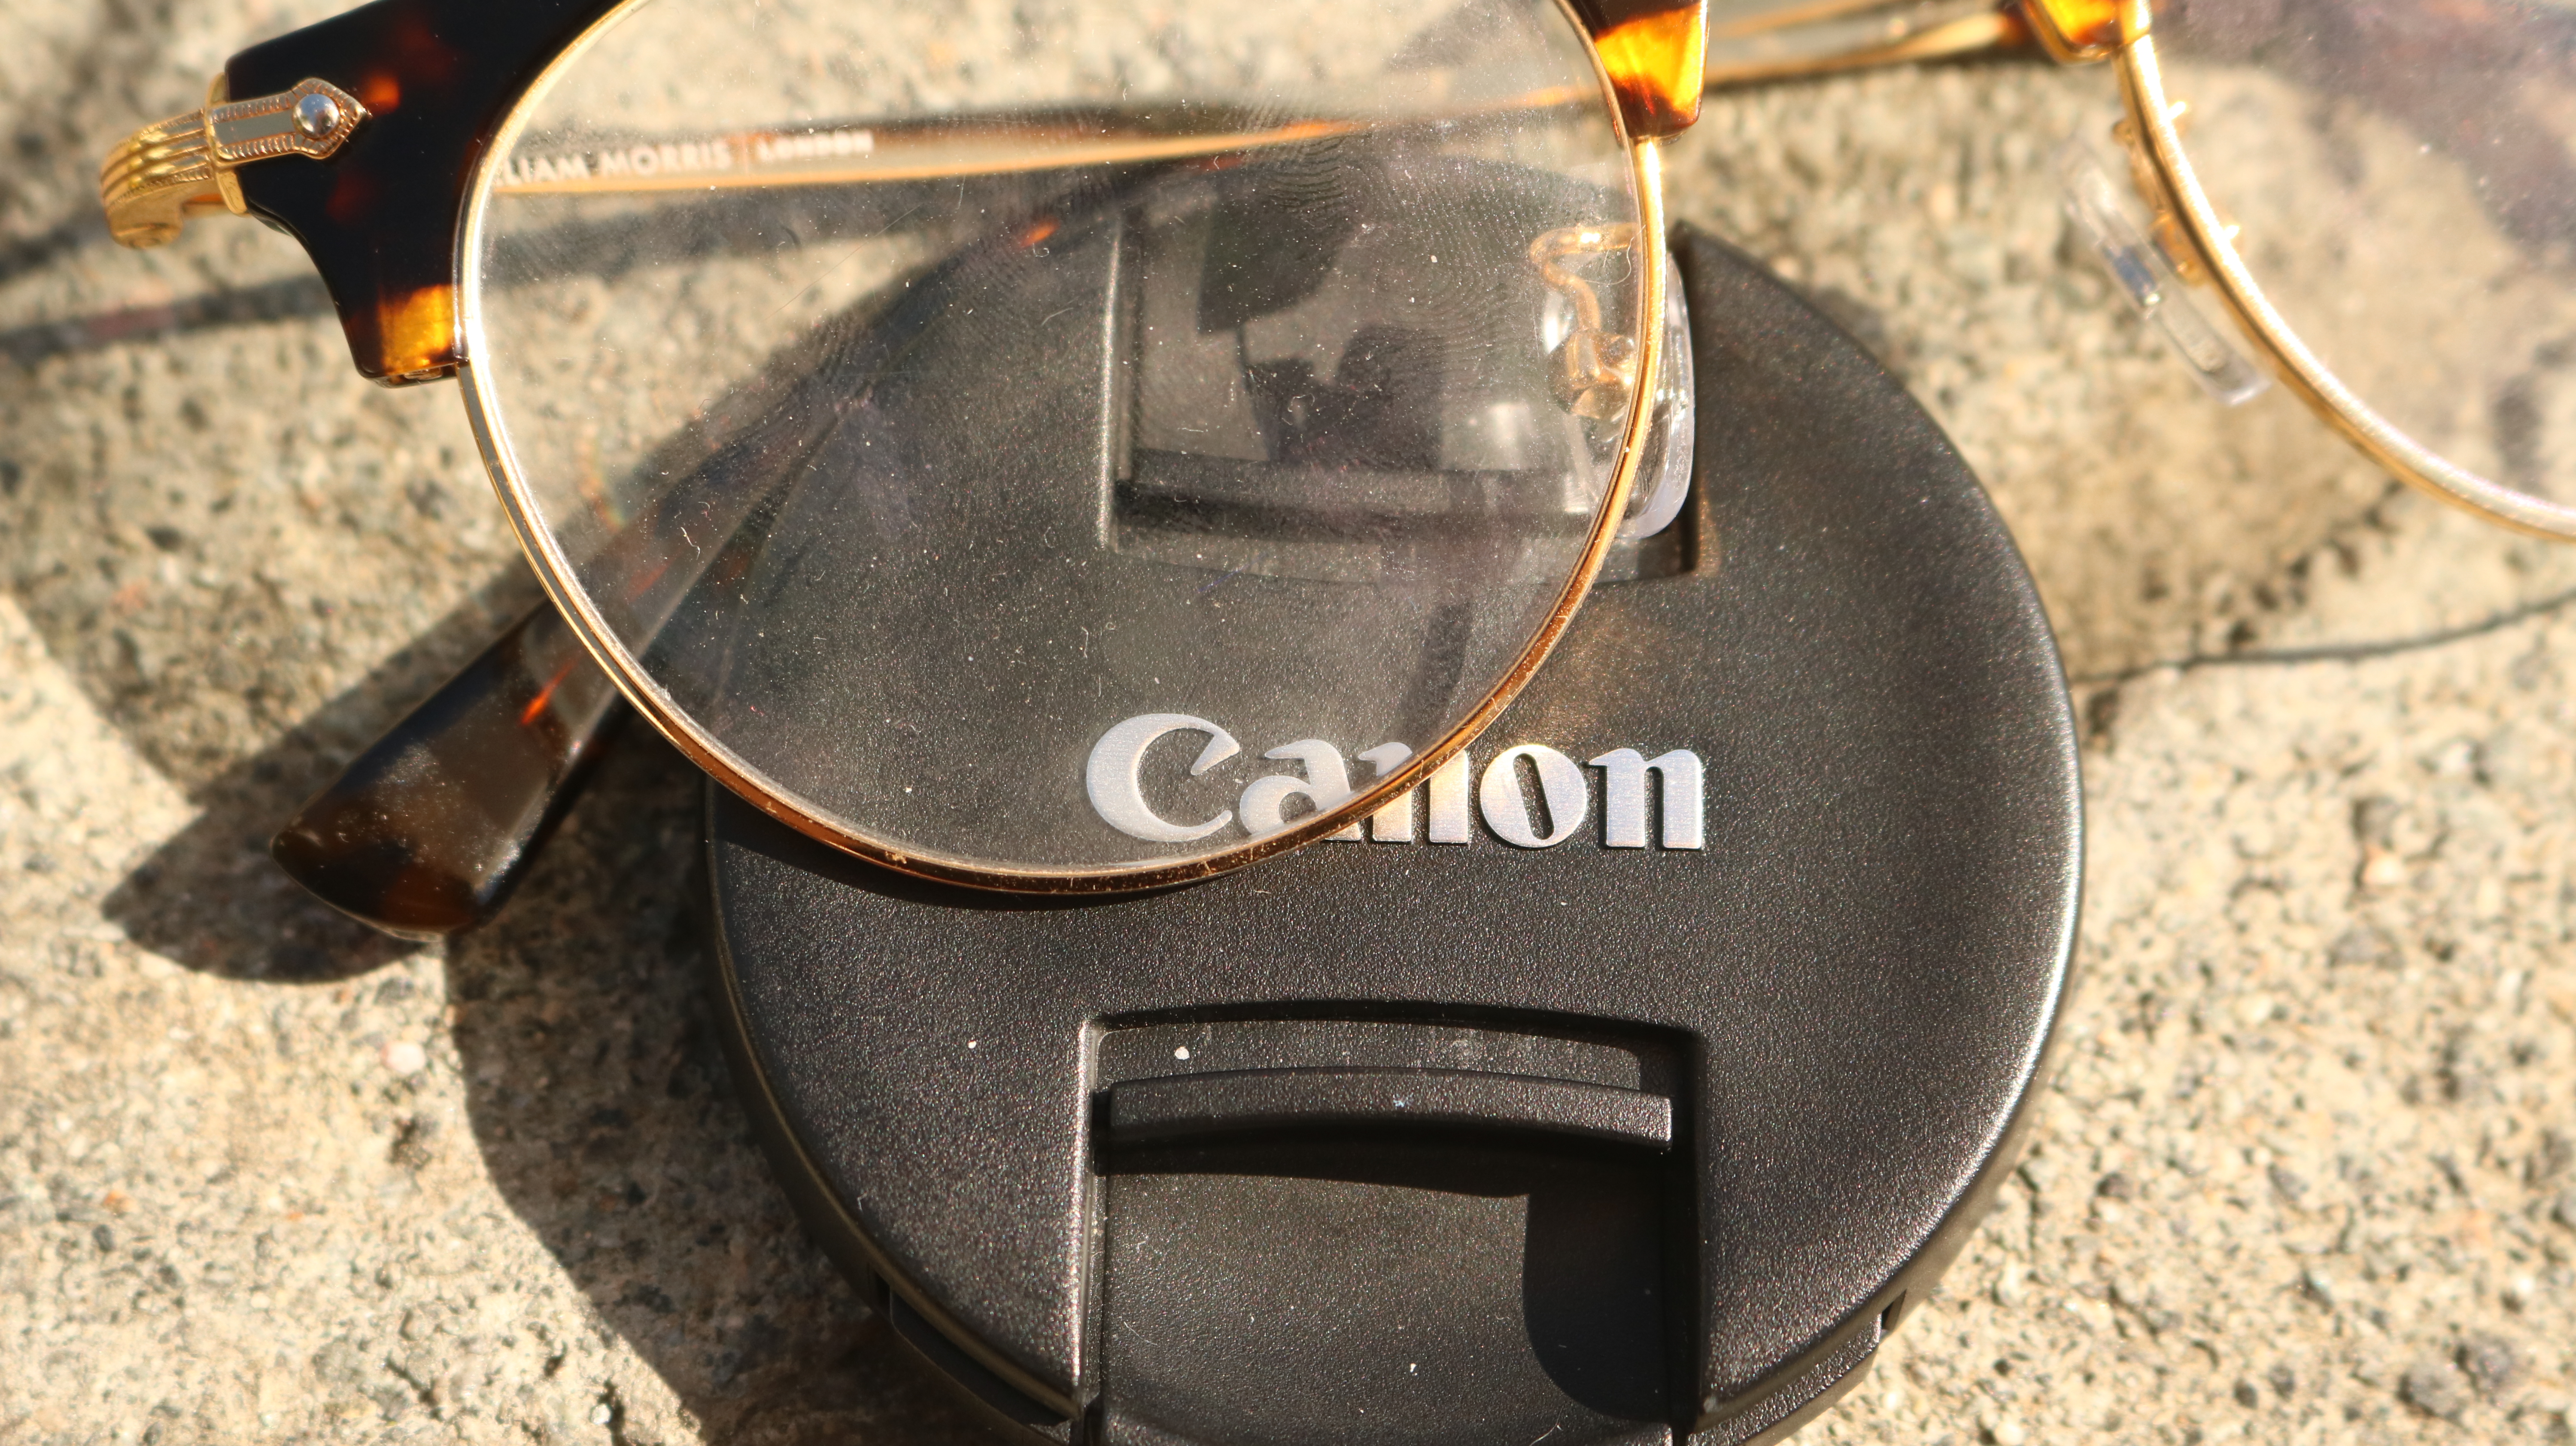
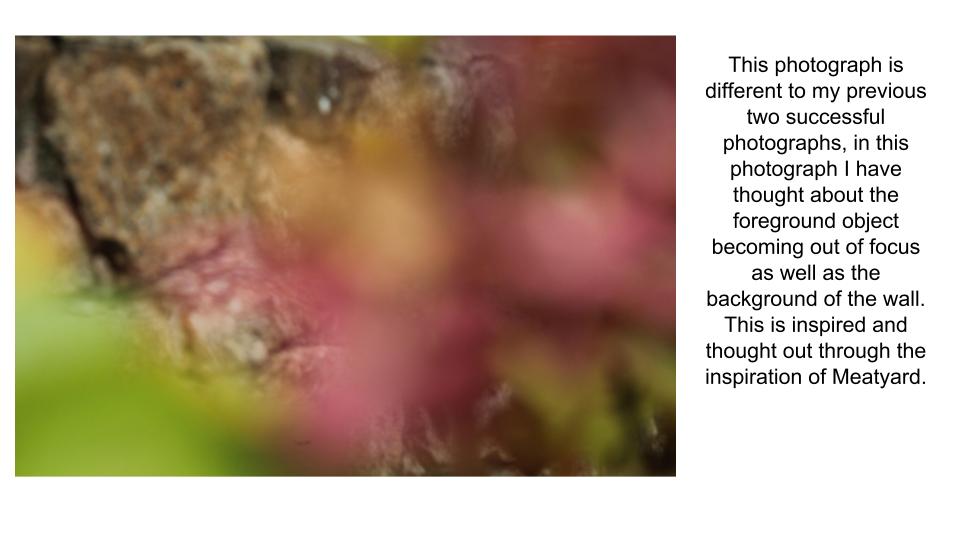
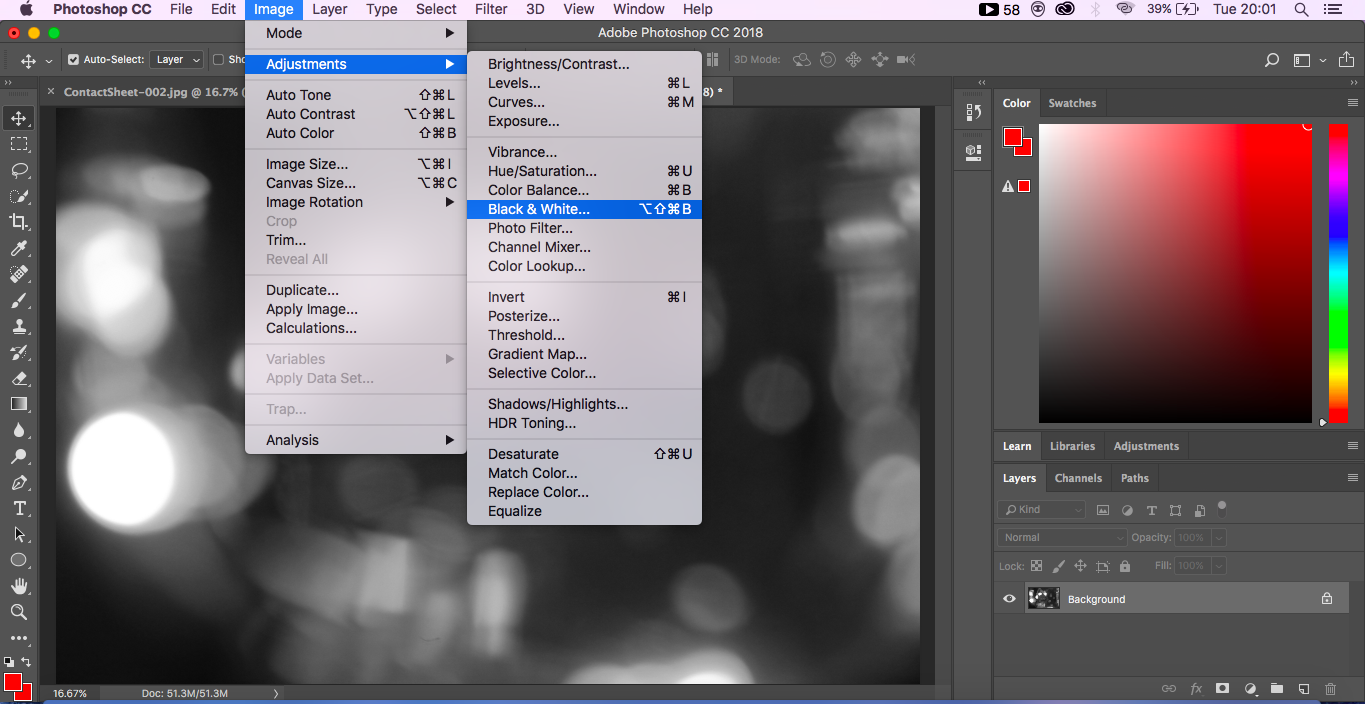
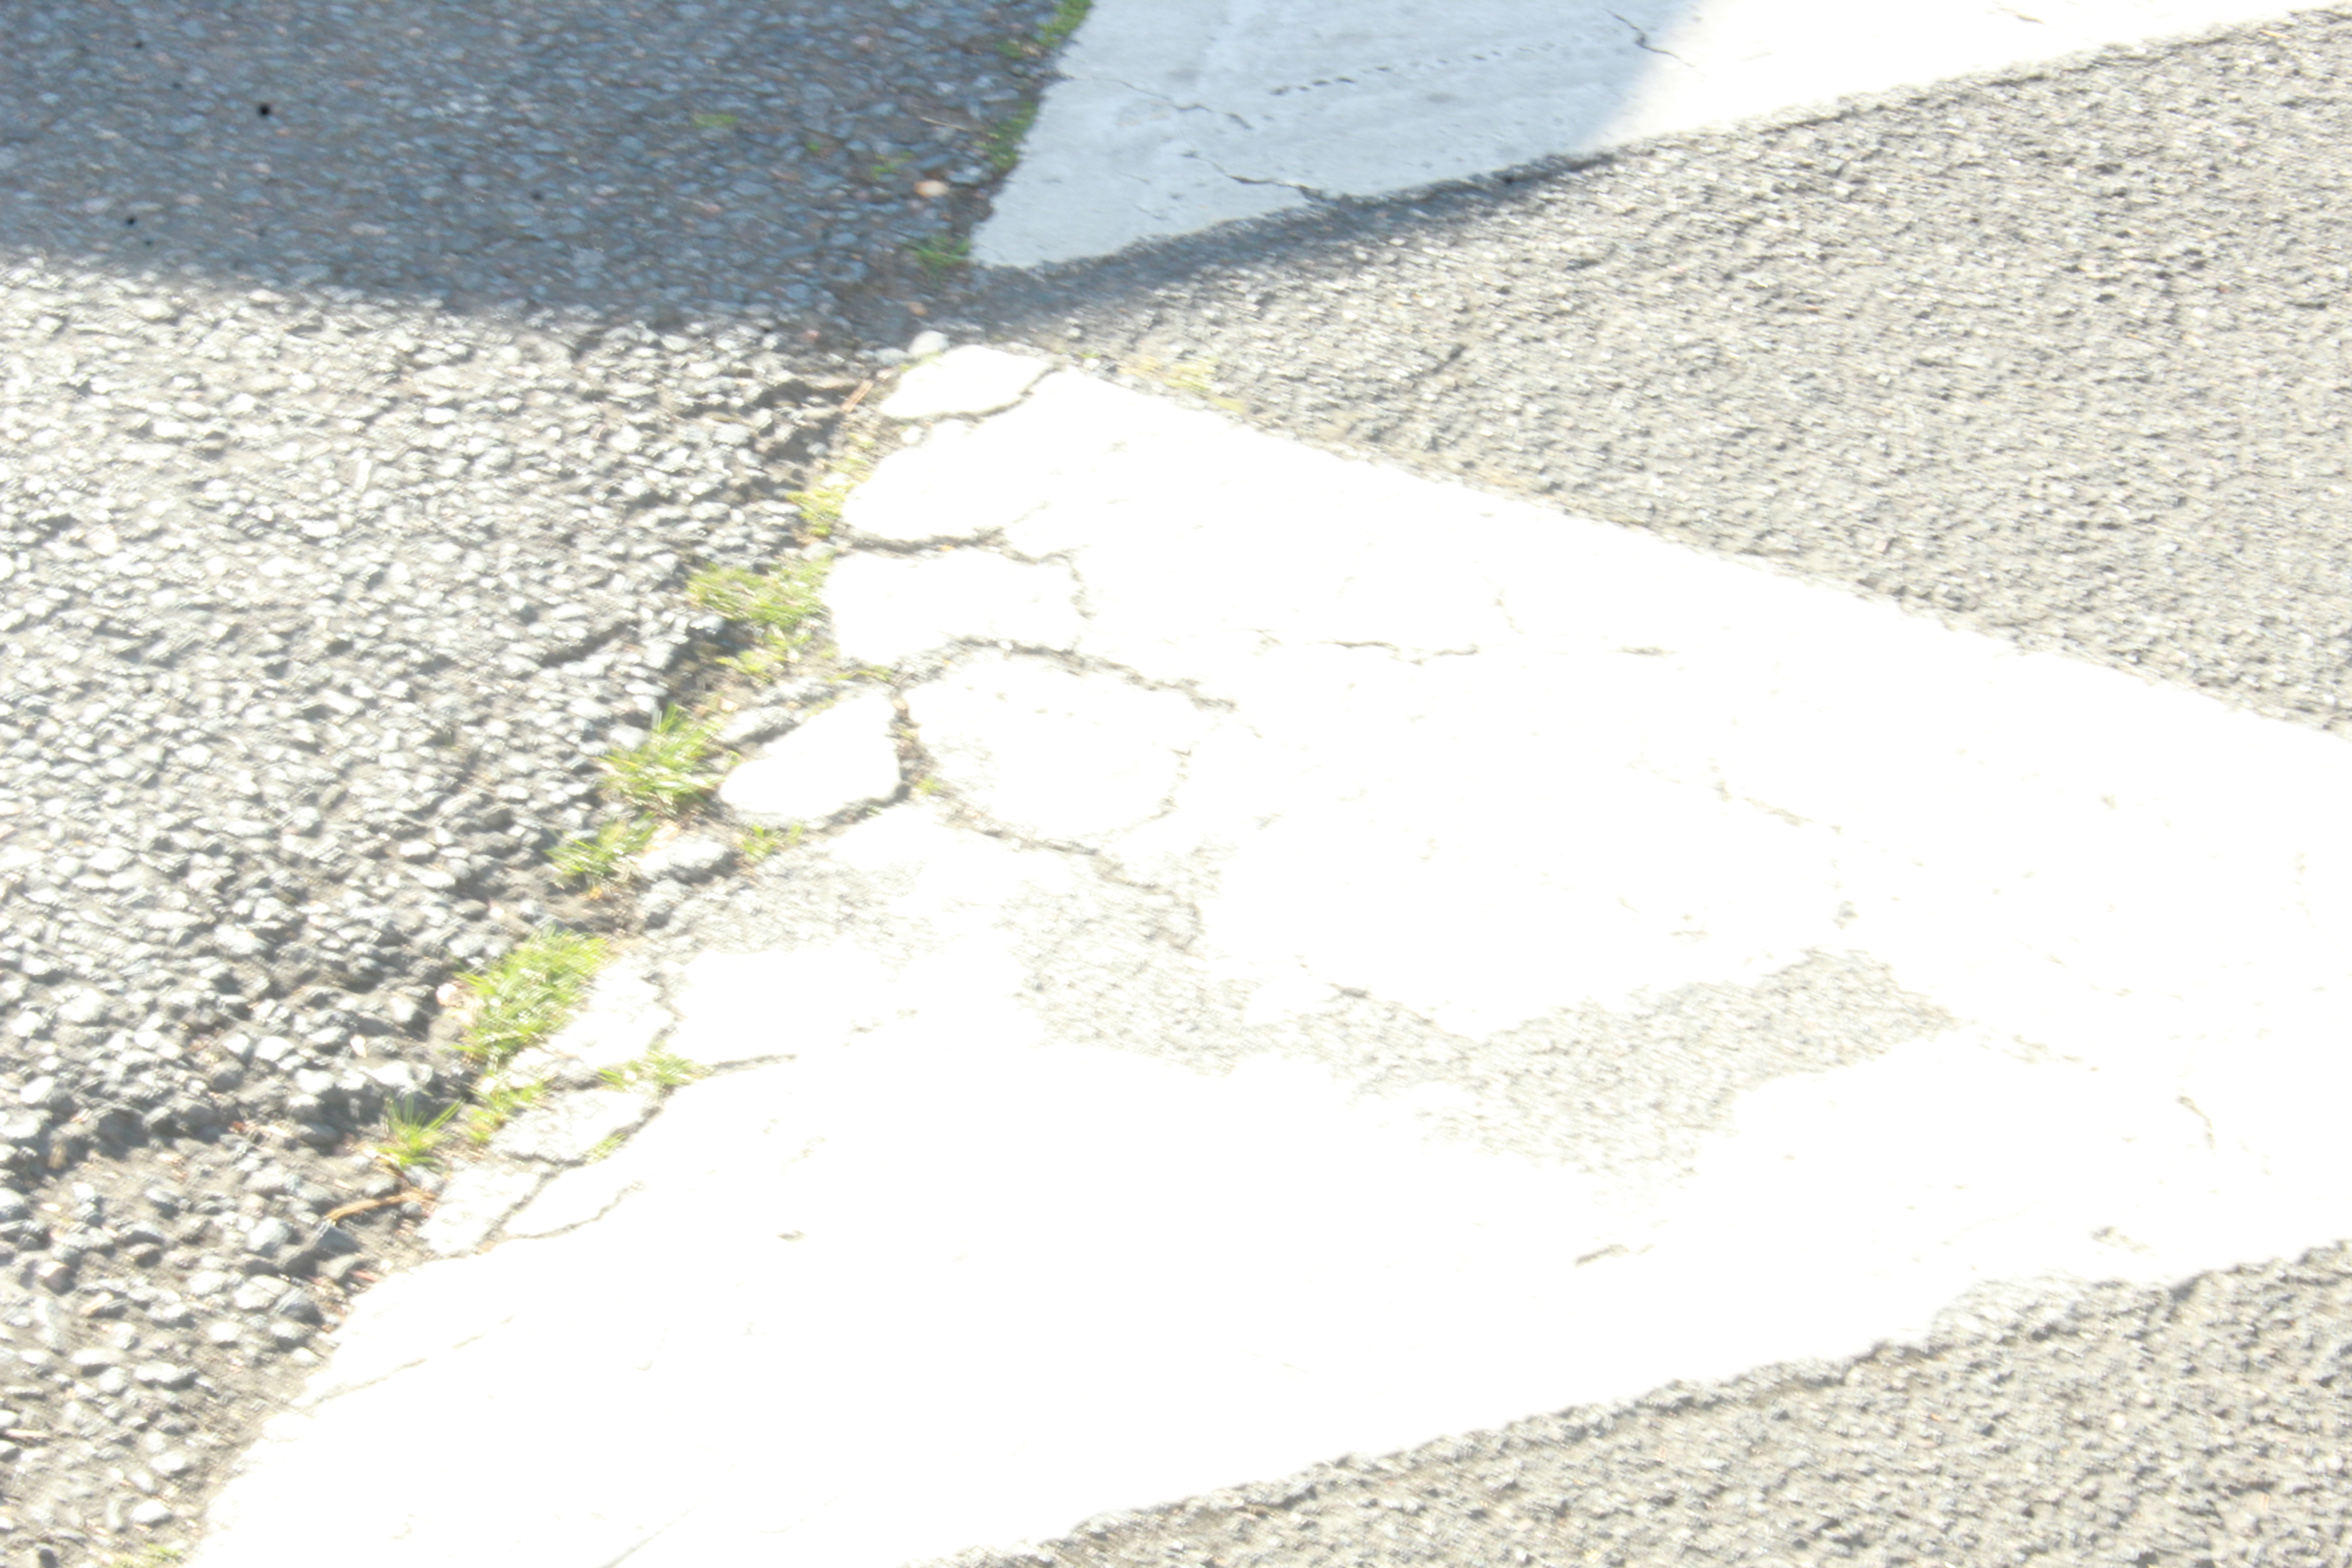
Examples of my experiment in outdoor lighting:

Settings: 200, 5.6 ISO 100-6400

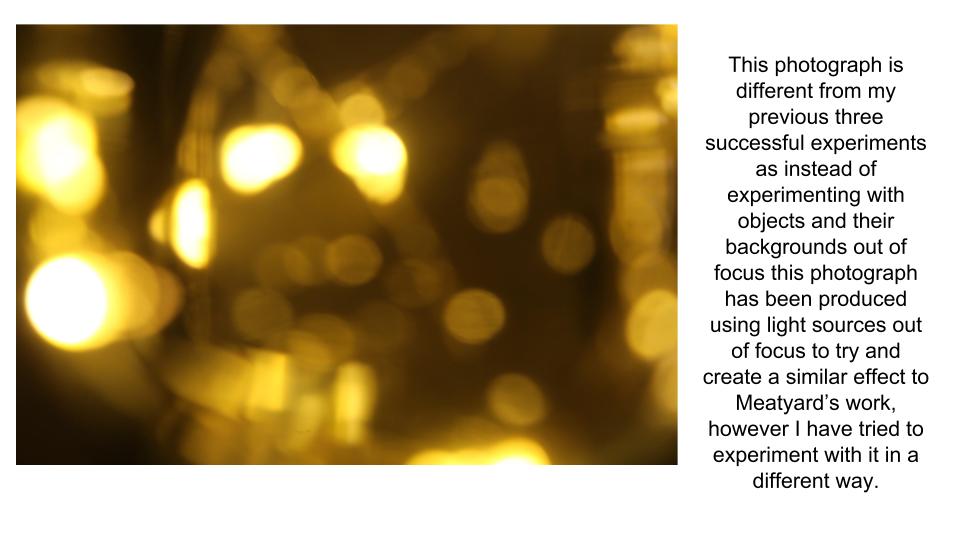
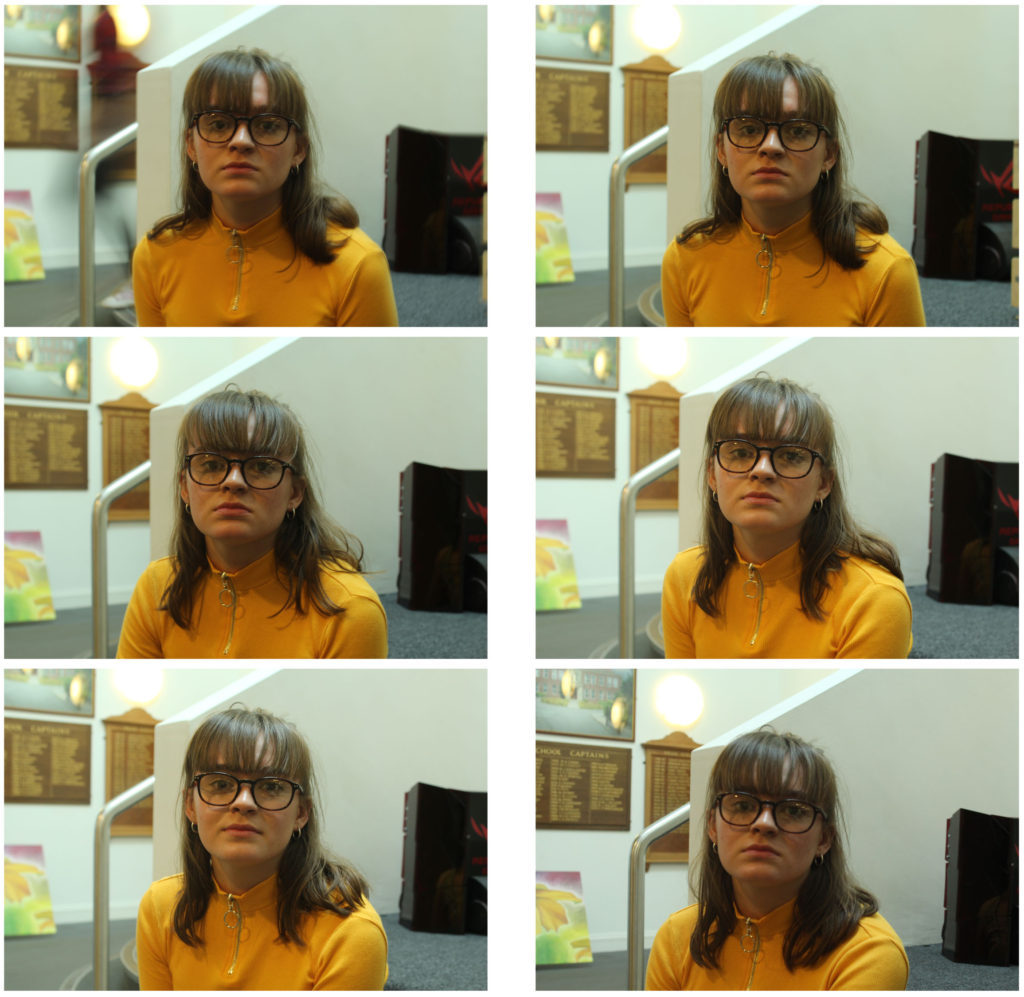
As shown in these frames as the ISO increases with each image the quality of the picture is reduced and seems more pixelated, this is often referred to as ‘noise’.  Changes in ISO can allow photos to look more natural and visible, however the negative effect of a high ISO can sometimes defeat the object of changing the ISO.

However many photographers have used a high ISO  to their images on purpose, in order to create the grainy effect.

White Balance

What is White Balance?

‘White Balance means adjusting the colors so that the image looks more natural. We go through the process of adjusting colors to primarily get rid of color casts, in order to match the picture with what we saw when we took it. We do this because most light sources (the sun, light bulbs, flashlights, etc) do not emit purely white color and have a certain “color temperature“.  Proper camera white balance has to take into account the “color temperature” of a light source, which refers to the relative warmth or coolness of white light. Our eyes are very good at judging what is white under different light sources, but digital cameras often have great difficulty with auto white balance (AWB) — and can create unsightly blue, orange, or even green color casts.’

Definition taken from: https://www.cambridgeincolour.com/tutorials/white-balance.htm

Video Explaining What White Balance is:

Experimenting with the White Balance, Inside and Outside

The first eight photographs where taken indoors, where I used every White Balance mode there was on my DSLR. These images consist of  artificial lighting, produced from the ceiling lights, due to this it makes the difference in White Balance a lot harder to recognise. However, the last eight photographs have been captured outside using natural lighting. This has allowed the different White Balances to be seen clearly.

Homework 3 – Albert Renger Patzsch research and response

Renger-Patzsch was born in Wurzburg on June 22, 1897 and passed away on September 27, 1966. He began making photographs by the age of twelve.  After military service in WW1 he studied chemistry at Dresden Technical College. In the 1920’s he started working for the Chicago Tribune as a press photographer. He  then left, and in 1925 he published his first book ‘The choir stalls of Cappenberg’. He had his first museum exhibition in 1927.

He released a second book in 1928 called ‘Die Welt ist Schon’. This is his best-known book, its a collection of one hundred of his photographs in which natural forms, industrial subjects and mass-produced objects are presented with the clarity of scientific illustrations (a visual approach to a scientific concept in a precise, clear and objective way).  He believed that the value of photography was in its ability to reproduce the texture of reality. His archives were destroyed during WW2, and in 1944 he moved to Wamel, Mohnesee, where he lived the rest of his life.

These are my favourite photos by Albert Renger-Patzsch. I like the photos in particular because they all have strong shapes within them. They’re also not overpowered by objects other than the subject of the photo (e.g. the flasks in the photo don’t have anything inside of them, there also aren’t any other items on the table).

My response:

In these photos I tried to to capture bold shapes like Albert Renger-Patzsch. I made all of them black them black and white to match the style, I also increased the contrast and decreased the brightness on some of the photos to bring out the shadows more which makes the shapes bolder. I also cropped the 1st and 3rd photos a lot as I wasn’t interested in the majority of the frame (e.g. I removed all of the empty sky from the drill photo).


Ralph Eugene Meatyard – Case Study

Ralph was a photographer that pursued photography primarily as a passion as oppose to a source of income. He experimented with a variety of abstract techniques within his photography. One of his more notable photo-shoots ‘zen twigs’ had a strong focus on experimenting with focusing on branches and twigs with a very large aperture leaving all background subjects as simply a blur. His photo-shoot ‘no focus’ is a very expressive shoot with a lot of ambiguity as to what the subjects of the photos are. Most of his work has a very strong contrast as with the lack of focus I believe it is important to focus on tonal work.

In this example, Ralph used a large aperture leaving all subjects in the image entirely out of focus, creating a sense of ambiguity about the image. The image is rather formless with no distinct subject. It is difficult to discuss the technical aspects of the image however due to the large aperture required for such a photo, it is safe to assume that the shutter speed used would have to be rather high.Image result for ralph eugene meatyard no focus

Response:

I took more inspiration from his work with the ‘Zen Twigs’ project as opposed to the ‘No Focus’ project. While I experimented with focus to a degree, I didn’t find much success with the no focus experimentation.

Camera Skills – White Balance

White Balance Experiment – Inside

Camera settings – 1/25, f5.6, ISO 400

WB – Sunlight setting

WB – Shade Setting

WB – Cloud Setting

WB – Tungsten light setting

WB – white fluorescent light

White Balance Experiment – Outside

Camera Settings – 1/1000, f5.6, ISO 400

WB – Auto

WB – Sunlight setting

WB – Shade setting

WB – Tungsten Light setting

White balance Experimentation

For my experimentation into using white balance with a camera, I used the same subject in 2 different scenarios: inside and outside, and then used the white balance setting to change the temperature of each of the images.

The above set of images were taken outside using natural light, and each image has been taken using a different white balance setting, such as daylight and tungsten light. Each of the images has a different temperature because of the different white balance setting I used.

The set of images above are pictures of the same subject (a pen) taken inside, also using 7 different white balance settings. These photographs used artificial lighting, and the contrast between the 2 sets of images can be easily seen.

The white balancing used in the first set of images, along with the use of natural, bright lighting, helped to make the images more clear, whereas the artificial lighting on the second set of images, made the images seem more clinical and staged.

The white balancing gave each image a different temperature, adding to the effect of each image, and giving it a different colour theme.  The different white balancing setting can be used in different situations, to create the best image possible by altering the colour scheme in the image, and I will use the white balancing setting to alter images in the future.

White Balance Experimentation

What is White Balance?

White balance in digital photography means adjusting colors so that the image looks more natural. We go through the process of adjusting colors to primarily get rid of color casts, in order to match the picture with what we saw when we took it.
https://photographylife.com/what-is-white-balance
Here are examples of my experimentation indoors:
These are all images of my experimentation of white balance. I adjusted the exposure so the photo wasn't too light or dark then applied the different settings which changed the temperature of the images.

Here are examples of my outdoor work:

Ralph Meatyard Artists Experiments

Ralph Meatyard

Ralph Meatyard was an american photographer from Illinois.  Meat yard worked as an optician who also practised photography.  One project of Meatyard’s work is looking at photographs out of focus,  and spent months just looking through an out of focus camera to learn how to ‘see no focus’.  Meat yard began the project because of his initial attraction to the out-of-focus backgrounds in some of his images.  Meatyard eliminated the “thing” and looked only for the background, which he would then throw out of focus. Eventually, feeling that the background was still too recognizable, he stopped this practice and began to see his surroundings through an unfocused lens.

Ralph Meatyard

My Own Experiments

Contact Sheet
Edited Contact Sheet


Own Response | Analysis

Chosen Four Together

Final Chosen


Other Experiments: Into Black and White

A lot of Ralph Meatyard’s work is seen in a black and white tone so for my photographs I decided to also experiment with them in black and white as something different to add on to just experimenting with the camera itself with the focus and shutter speeds.

Editing
Editing

While experimenting with the black and white I also adjusted and experimented with the exposure and contrasts of the photographs as to add more tone and different highlights and darks into the photograph.

Editing

For one of my photographs I also experimented with cropping to get rid of unwanted dark space and the side of the photograph to just leave the objects shapes against the light.

Chosen Four: Experimented

Final Four

Final Chosen Photograph

I have chosen this as my most successful photograph as I feel it shows the most connections to Ralph Meatyard’s own work, which was where my inspiration was coming from.  I have chosen my edited version as my favourite as I feel it works the best and has the best contrast as the photograph unedited is as well very dark and doesn’t show much colour so to put it in black and white eventuates this and I feel works next to Meatyard’s work best.

Final One


Shutter Speed Experiments

Shutter Speed :

The shutter speed is the amount of time for the shutter to open and close, the faster the shutter speed the less amount of light will be let in  during the time taken for the image.

Example:

slow shutter speed
faster shutter speed

Above are two examples of the same photograph set up but taken with different shutter speeds.  Both photographs were taken with an aperture with F5.7 so that I could see the full effect of only changing the shutter speed.  The first photograph with a slower shutter speed produced an image that was over exposed and had too much light in it,  this happened because the shutter was open for longer so more light was being let into the image leaving it over exposed.  The second photograph however had the shutter open for less amount of time and produced an image that isn’t over exposed as not as much light was being let in.