Depth of Field Experimentation

In this experimentation shoot we had to focus on the depth of field of our photographs. Depth of field is the distance between the nearest and the furthest objects giving a focused image. Here are some examples of my experimental images:

In the first image contrasts the third image because the focus is on the object closest to the camera. However, in the third image, the focus is on the window which is the object furthest away from the camera.

The second and third image both link because they both focus on the objects/background furthest away from the camera. All of these images are an unedited experimentation of focal length.

Experiment – White Balance

White Balance:

White balance just means adjusting colours so that the image looks more natural. We go through the process of adjusting colours  to get rid of colour casts in order to match the image to what we saw while capturing the frame. Factors such as sunlight, lightbulbs and flashlights do not emit purely white light and have a certain ‘colour temperature’. This can cause parts of images to appear different colours on camera than what the eye sees.

In a non digital way this can be demonstrated with the use of tinted glasses or goggles. For example if you are skiing with yellow tinted goggles on, the snow will look yellowish. However, after you ski for a little bit, your eyes and your brain will adjust for the colour and the snow should look white again. When you take off your ski goggles after skiing, the snow will look bluish in colour rather than pure white for a little bit, until your brain adjusts the colours back to normal again. This is done automatically for us. The white balance setting on a camera is just the manual version of this.

Examples of my experiment in outdoor lighting:

Setting – 1/4000, f5.6, ISO 400

Examples of my experiment in indoor lighting:

Setting – 1/30, f5.6, ISO 400

Camera Skills


Shutter Speed:  the shutter speed changes the way movement appears in photographs. Very short shutter speeds can be used to freeze fast-moving subjects, for example at sporting events. Very long shutter speeds are used to intentionally blur a moving subject for effect.

ISO: 

ISO measures the sensitivity of the image sensor. The lower the number the less sensitive the camera is to light and the finer the grain. Higher numbers mean the sensor becomes more sensitive to light which allows you to use your camera in darker situations. The cost of doing so is more grain/noise within the final outcome.

Depth of Field: The distance between the nearest and the furthest objects giving a focused image. A narrow depth of field means that its main focus point will be the only thing in focus, leaving everything else in a blur. Where as a Large depth of field means that most things in the frame will be in focus. Aperture:  ‘The opening in the lens.’ When we hit the shutter release button of the camera a hole opens up that allows your cameras image sensor to catch a glimpse of the scene you’re wanting to capture. The aperture that you set impacts the size of that hole. The larger the hole the more light that gets in – the smaller the hole the less light.

Experimenting With These Camera Settings:


Camera Skills: Focal Length

MACRO/CLOSE UP:

In this image I experimented with using the macro setting on my camera in order to capture the great deal of detail within the hands. Whilst on this setting, I continued to use auto focus as it allowed me to take many photos at once without the hassle of adjusting the focus every time the hands moved or shifted in position.

DEPTH OF FIELD:

In this photo I experimented with depth of field by using manual focus on my camera. Instead of focusing on the leafs closest to the camera, it is focused on  a different part of the photo. I found that this technique allowed me to create images that were quite different and unique.

FOCAL LENGTH:

In this image, I tried to play around with the focal point and what effects I can achieve with this. The flower, as seen in the photo, was quite far away from me and the camera. I zoomed in and used the macro setting in order to capture the delicate details of the flower and the plant. It was quite difficult to capture this photo as zooming in meant having a very steady hand and using auto focus that the macro setting provided for me.

MF/AF FOCUS:

In this photo I used a conjunction of manual focus and the macro setting on my camera. It was very difficult to get the correct focus on my camera whilst using the macro setting with auto focus therefore i switched over to manual focus to help me correct this issue.

CONTACT SHEETS:

In this photo shoot, I focused a lot on plants and flowers in order to experiment with different settings such as macro and AF and MF focus, resulting in very vibrant, and colourful contact sheets.

Week 3 Homework – The World is Beautiful

Albert Renger-Patzsch

Albert Renger-Patzsch was a German photographer associated with the new objectivity.

In its sharply focused and matter-of-fact style his work exemplifies the esthetic of The New Objectivity that flourished in the arts in Germany during the Weimar Republic. Renger-Patzsch believed that the value of photography was in its ability to reproduce the texture of reality, and to represent the essence of an object. He wrote: "The secret of a good photograph—which, like a work of art, can have aesthetic qualities—is its realism ... Let us therefore leave art to artists and endeavor to create, with the means peculiar to photography and without borrowing from art, photographs which will last because of their photographic qualities.

https://en.wikipedia.org/wiki/Albert_Renger-Patzsch

The New Objectivity:
The New Objectivity (in German: Neue Sachlichkeit) was a movement in German art that arose during the 1920s as a reaction against expressionism.  These artists rejected the self-involvement and romantic longings of the expressionists, Weimar intellectuals in general made a call to arms for public collaboration, engagement, and rejection of romantic idealism.

https://en.wikipedia.org/wiki/New_Objectivity
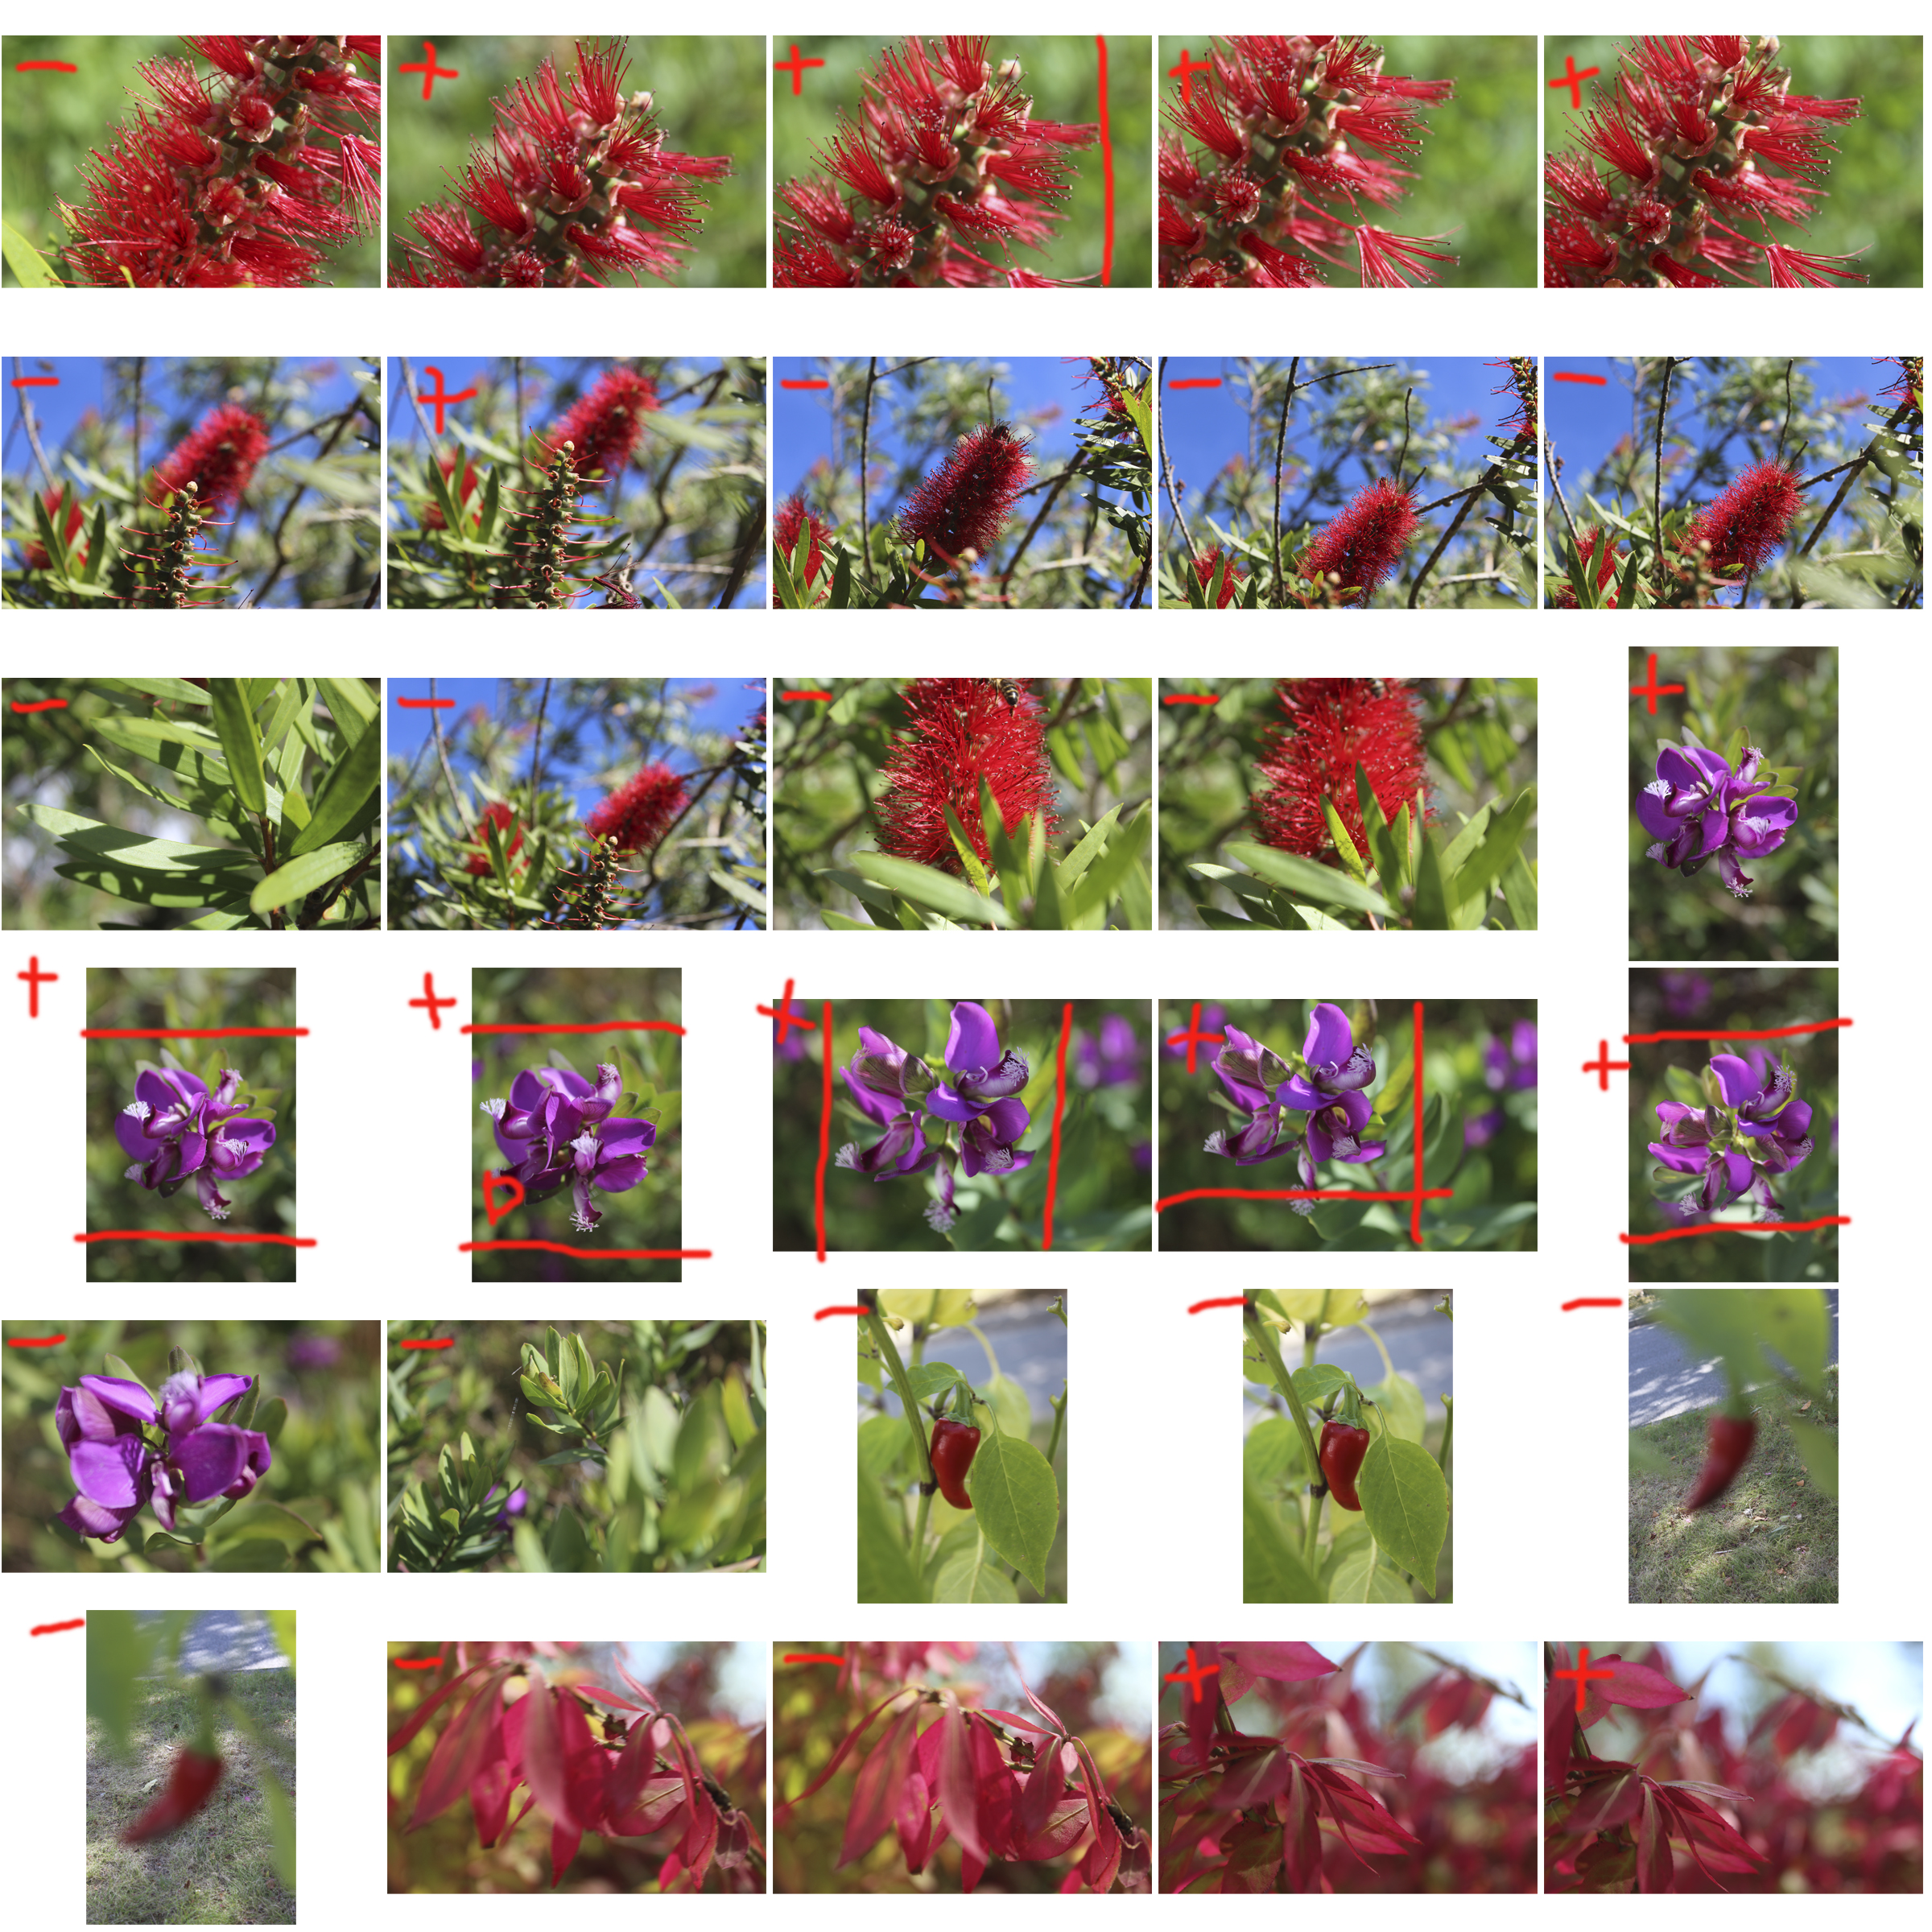
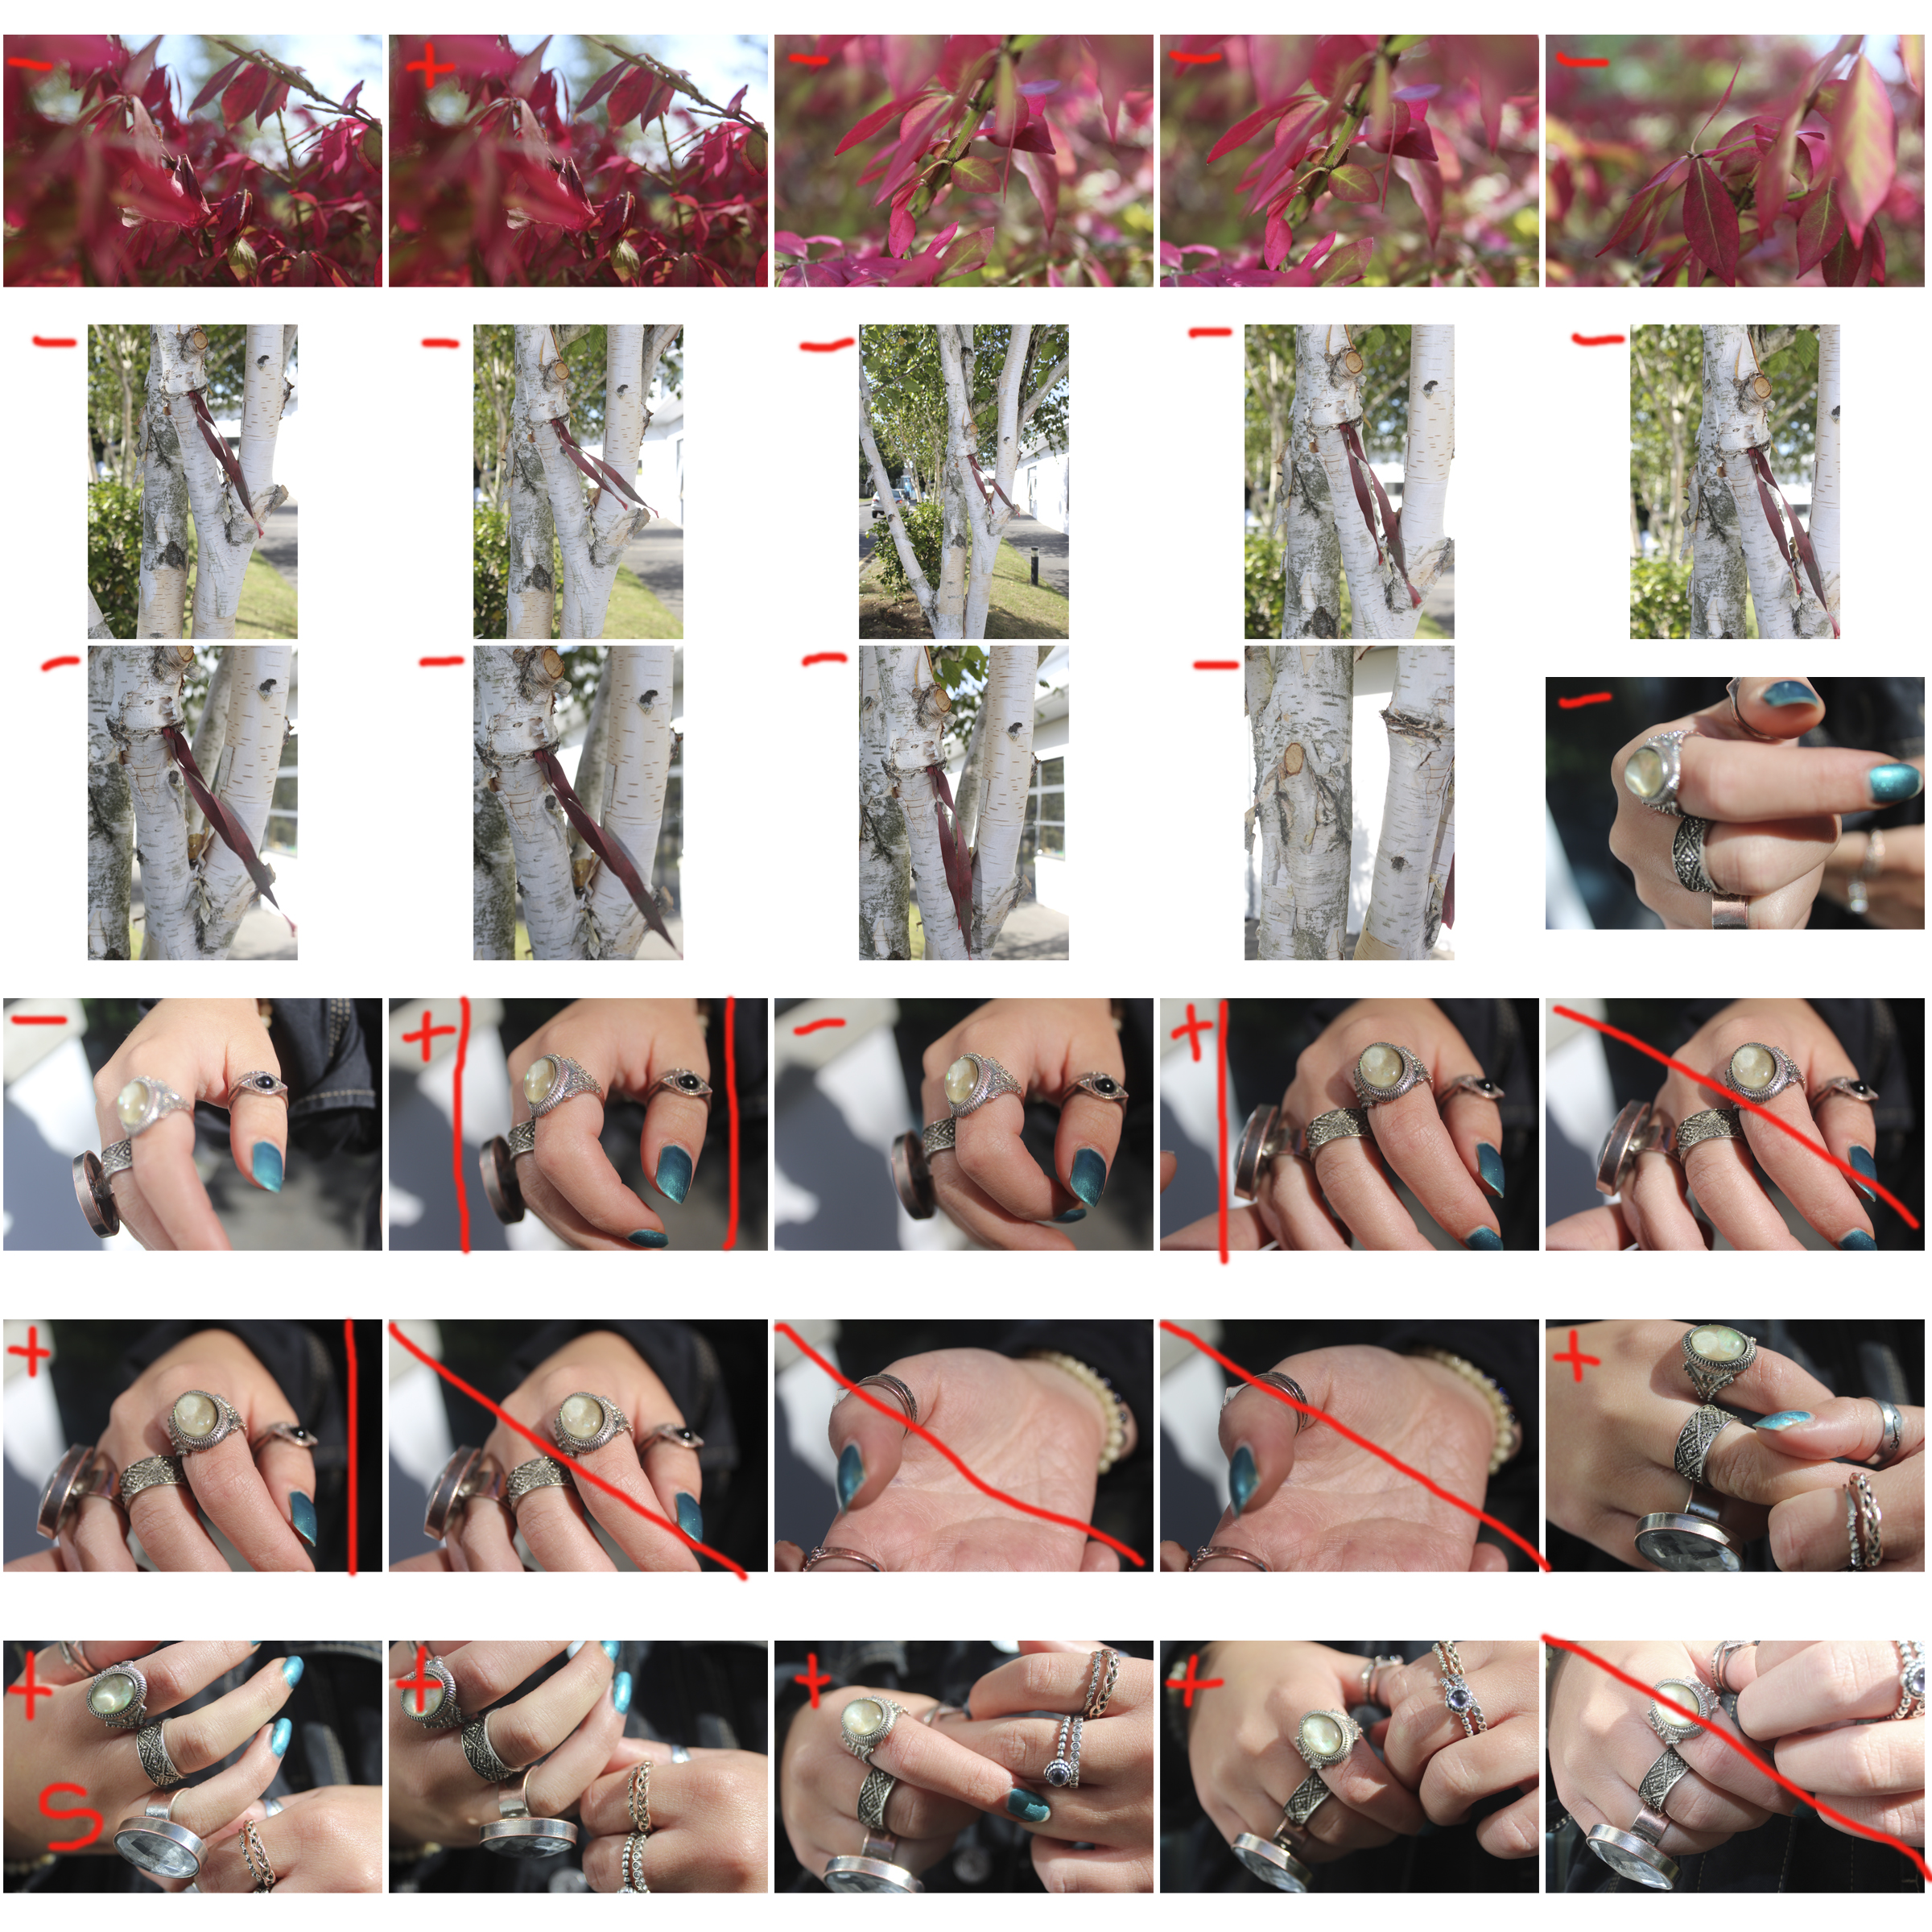
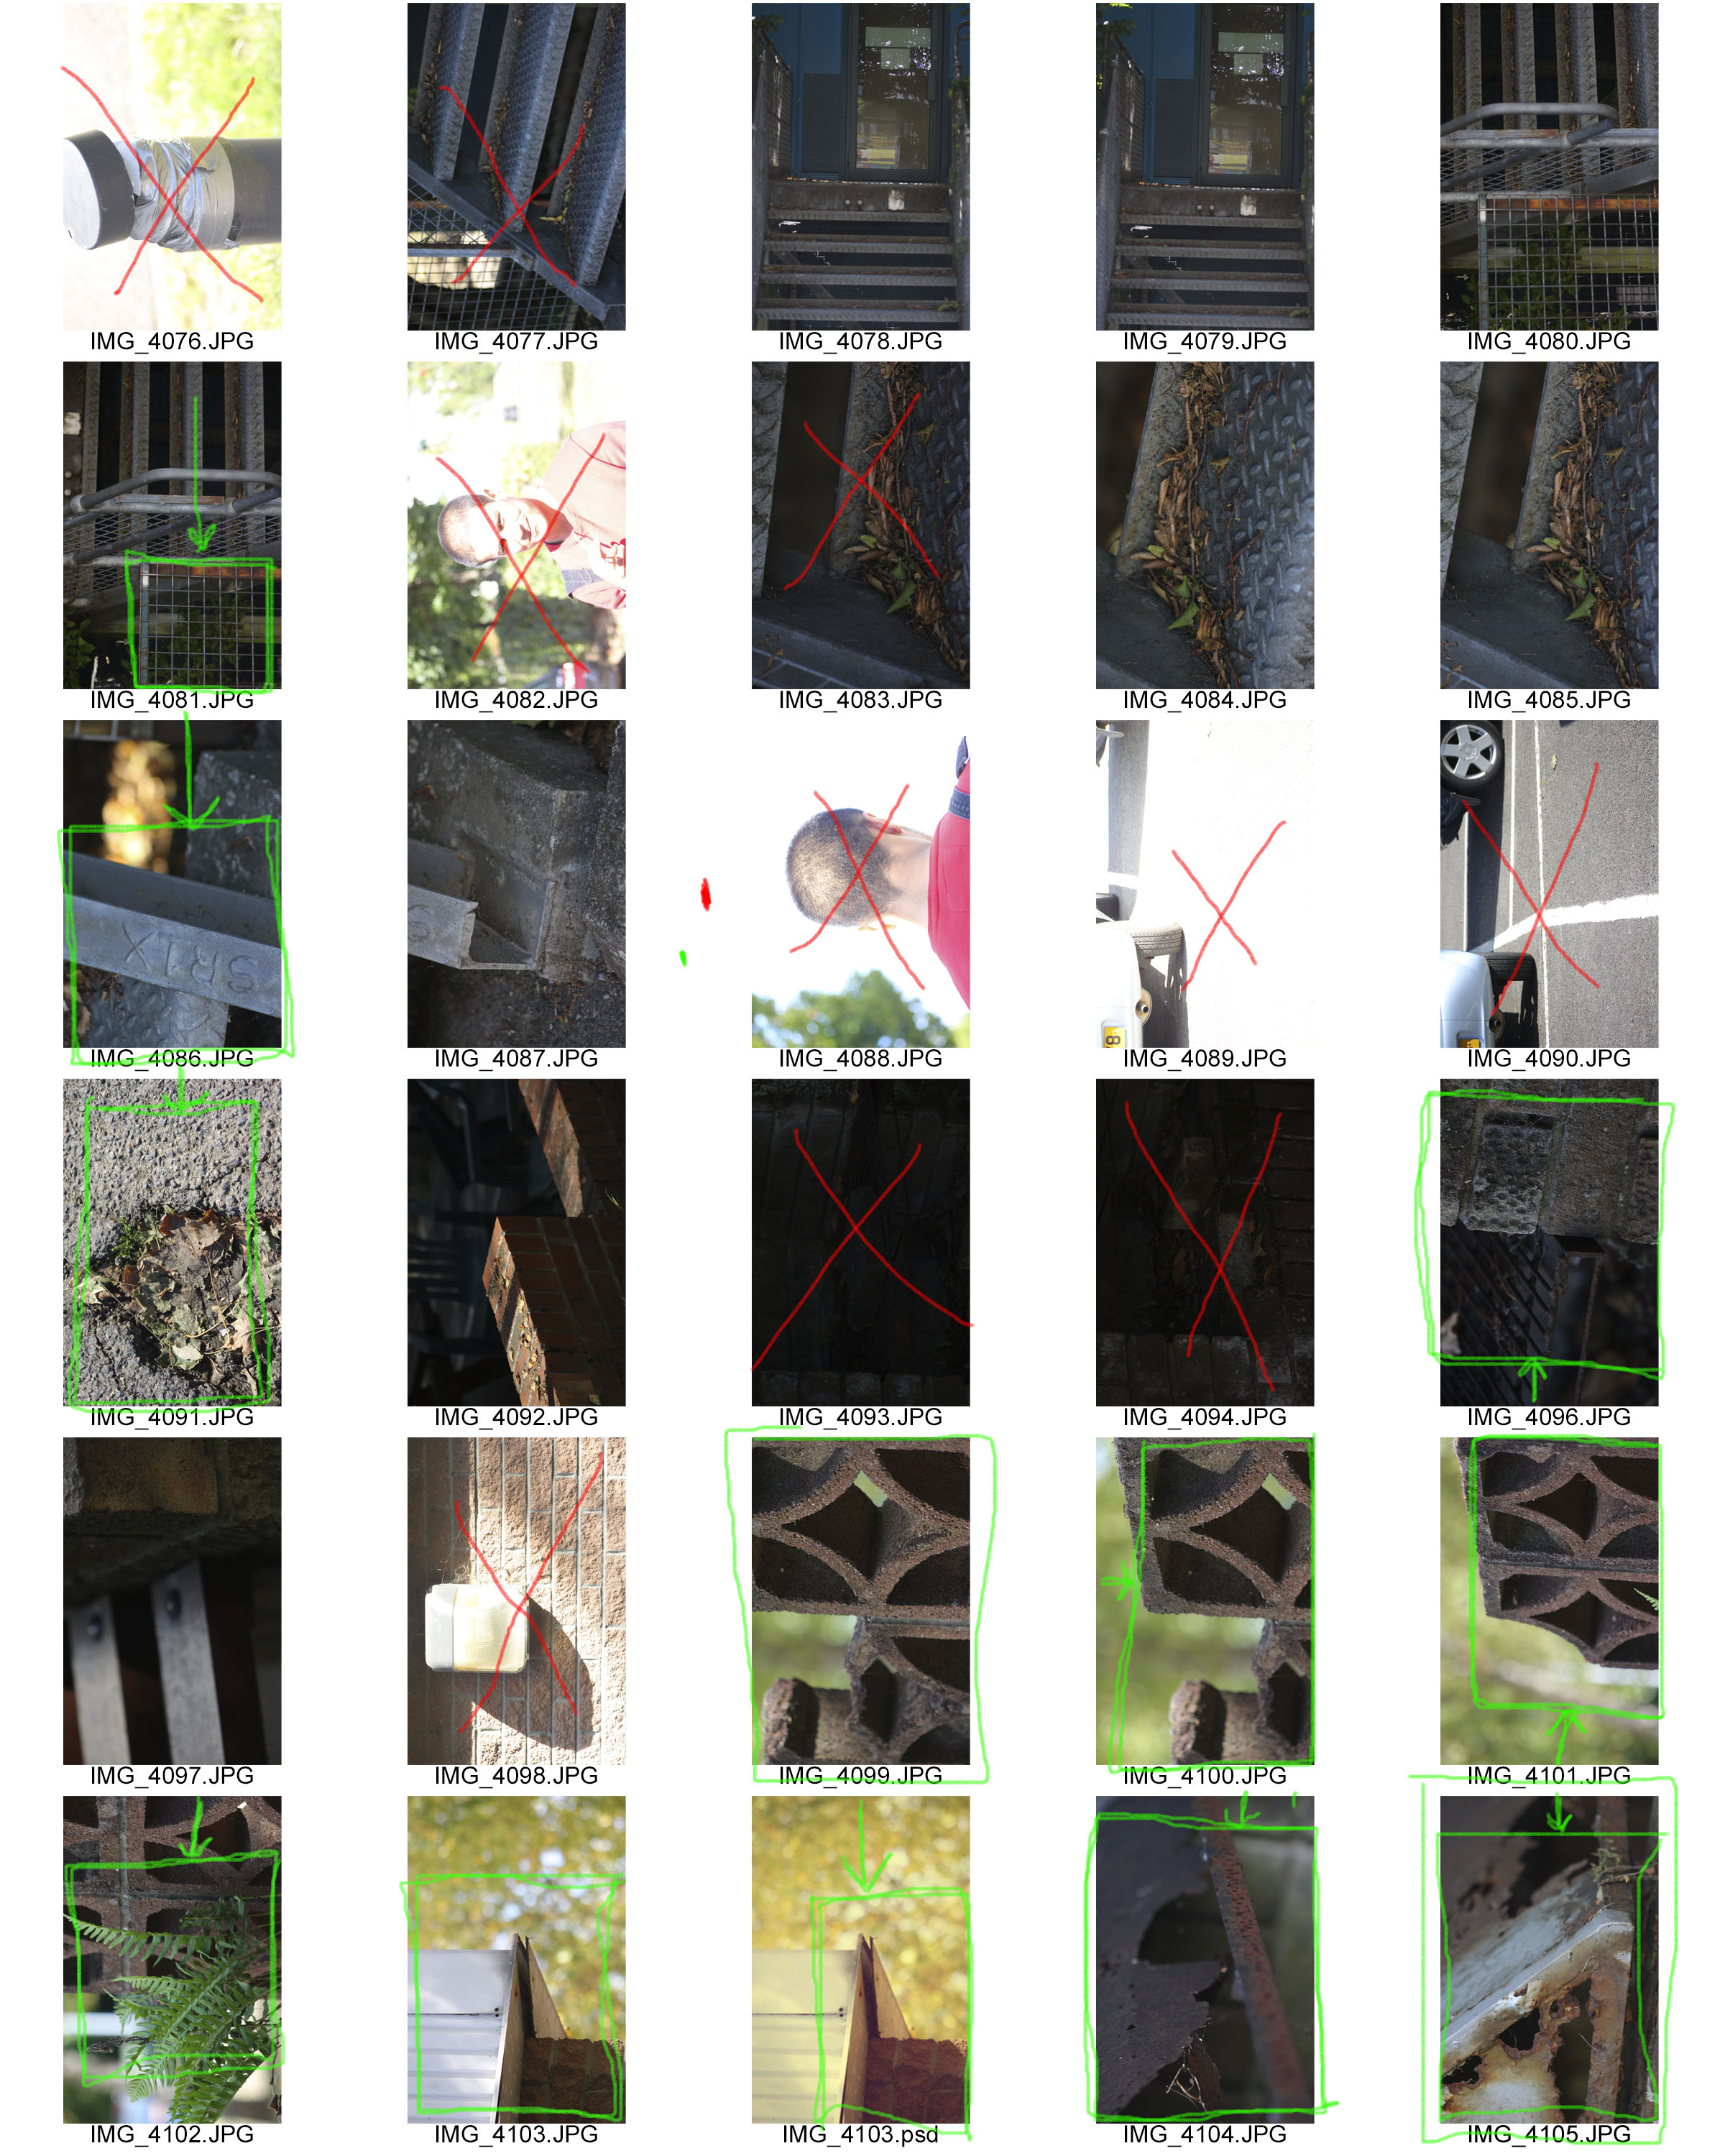
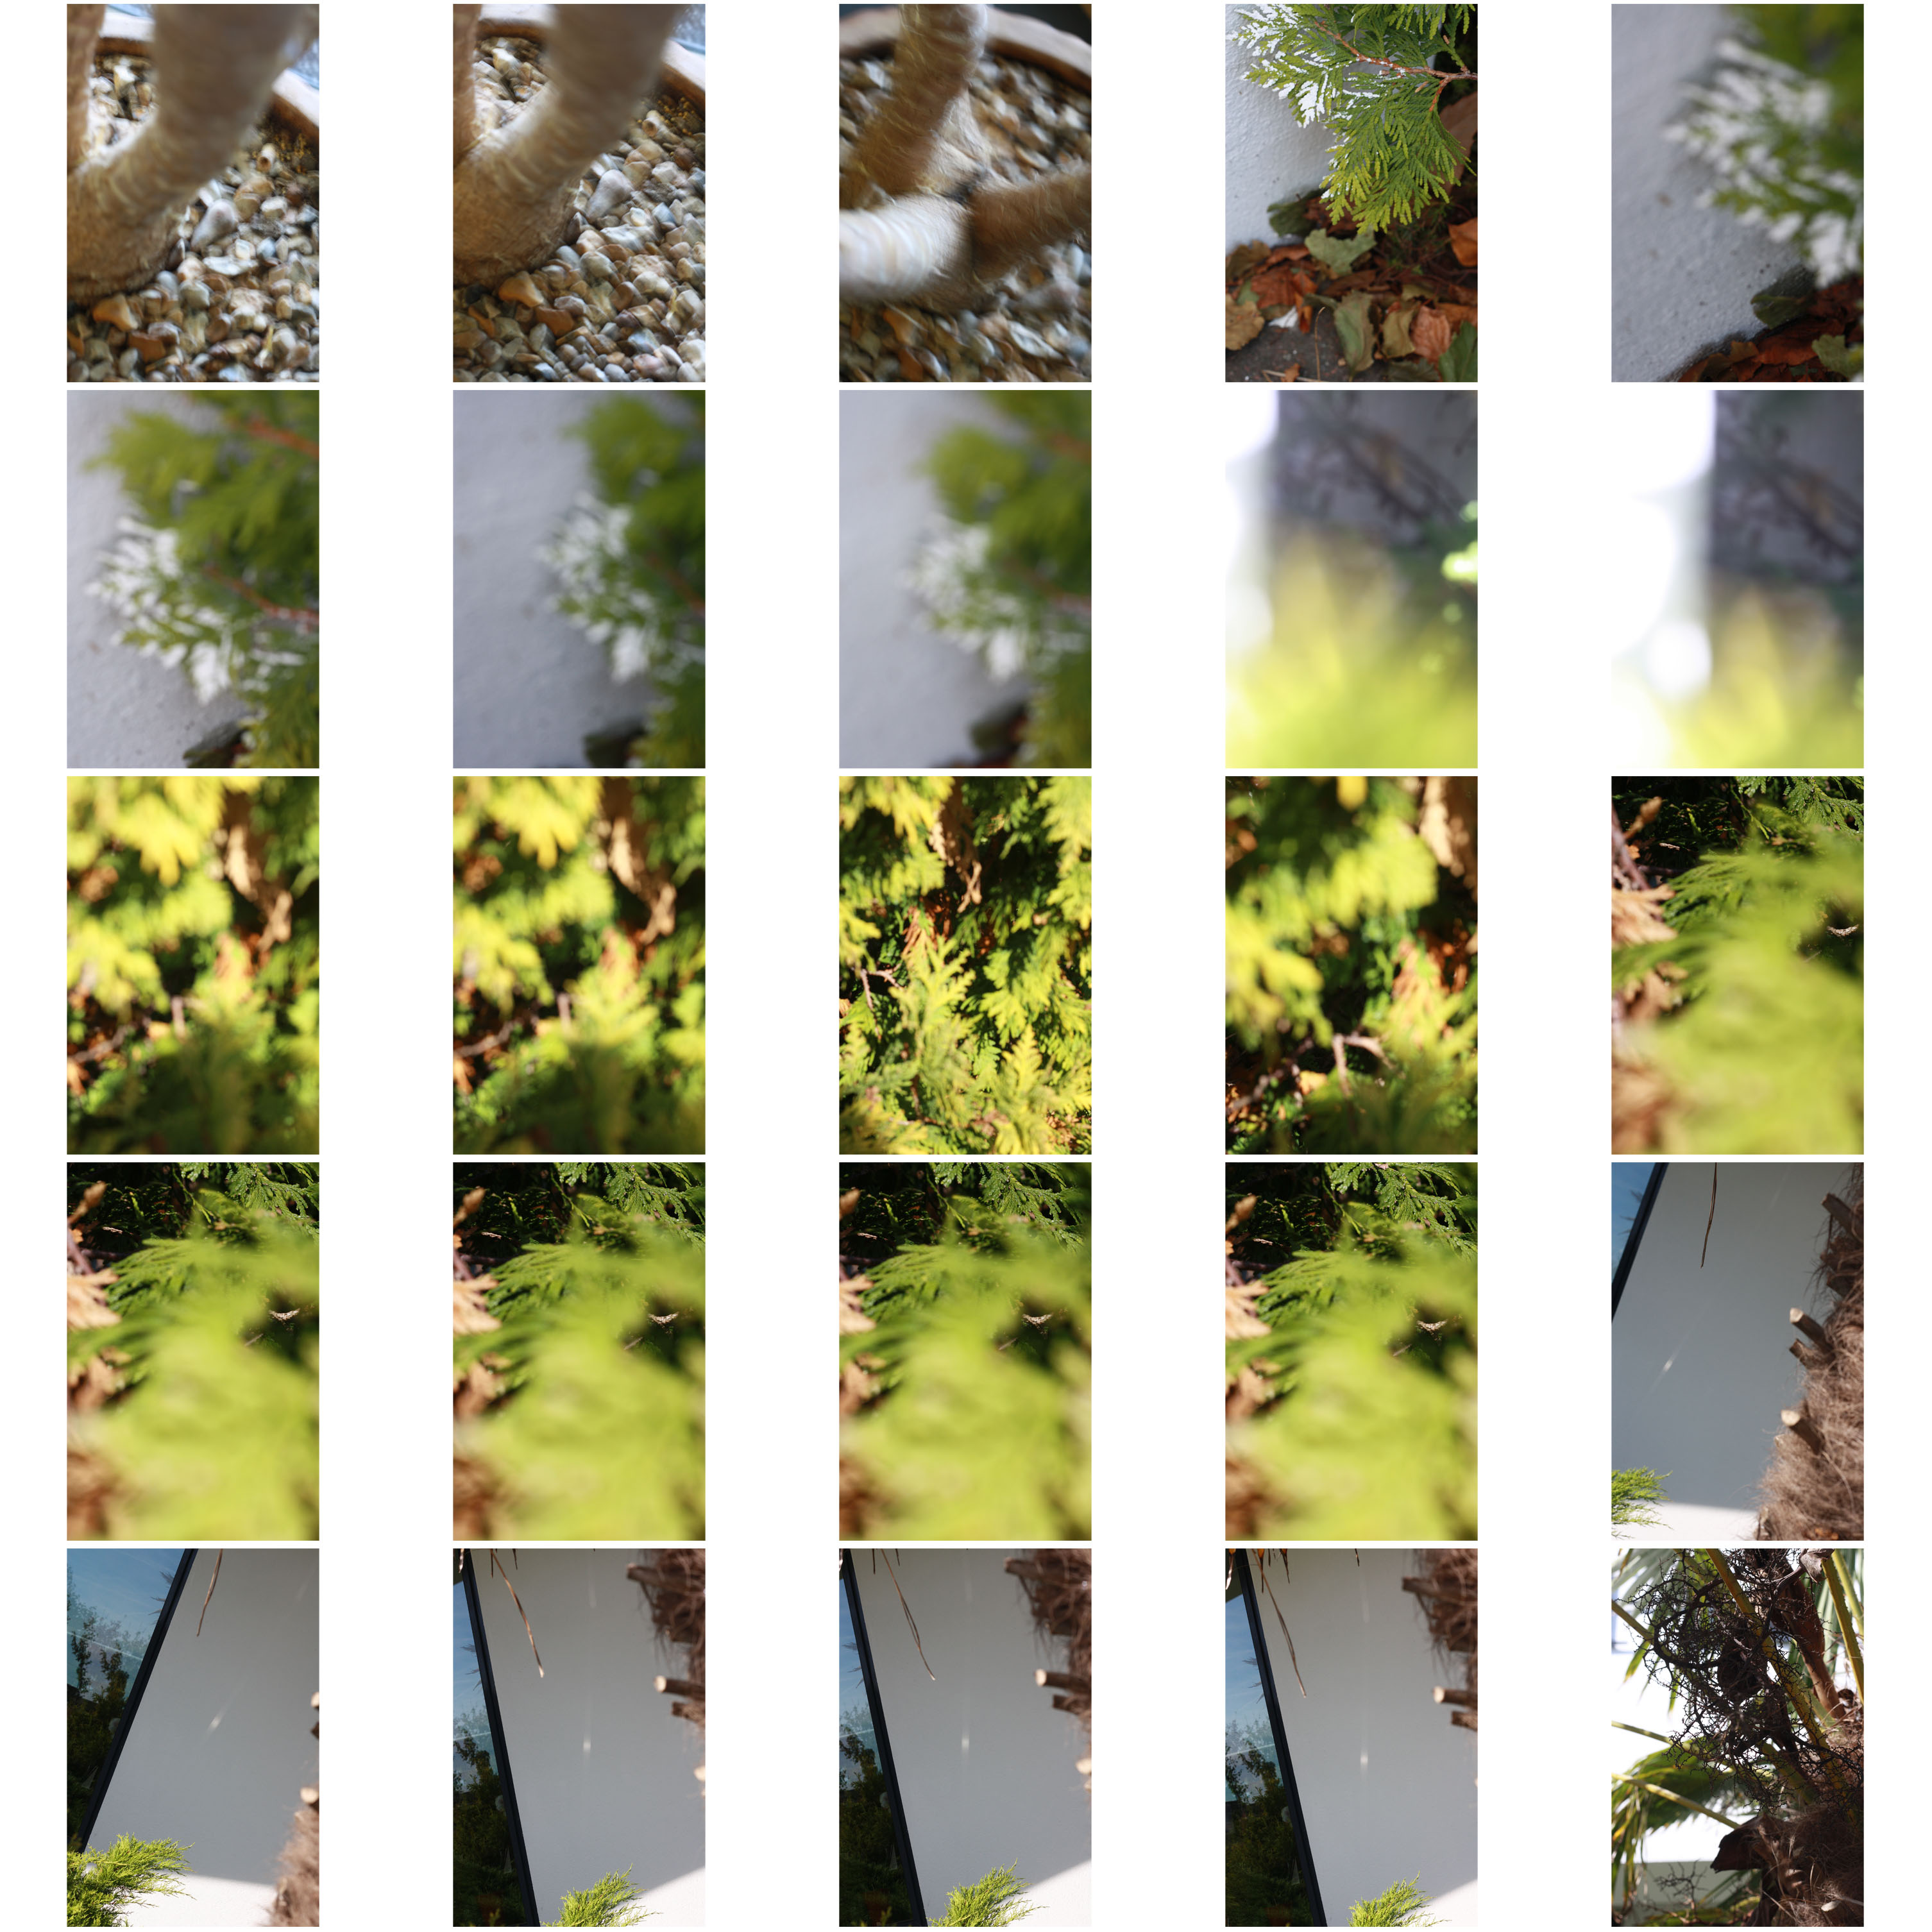
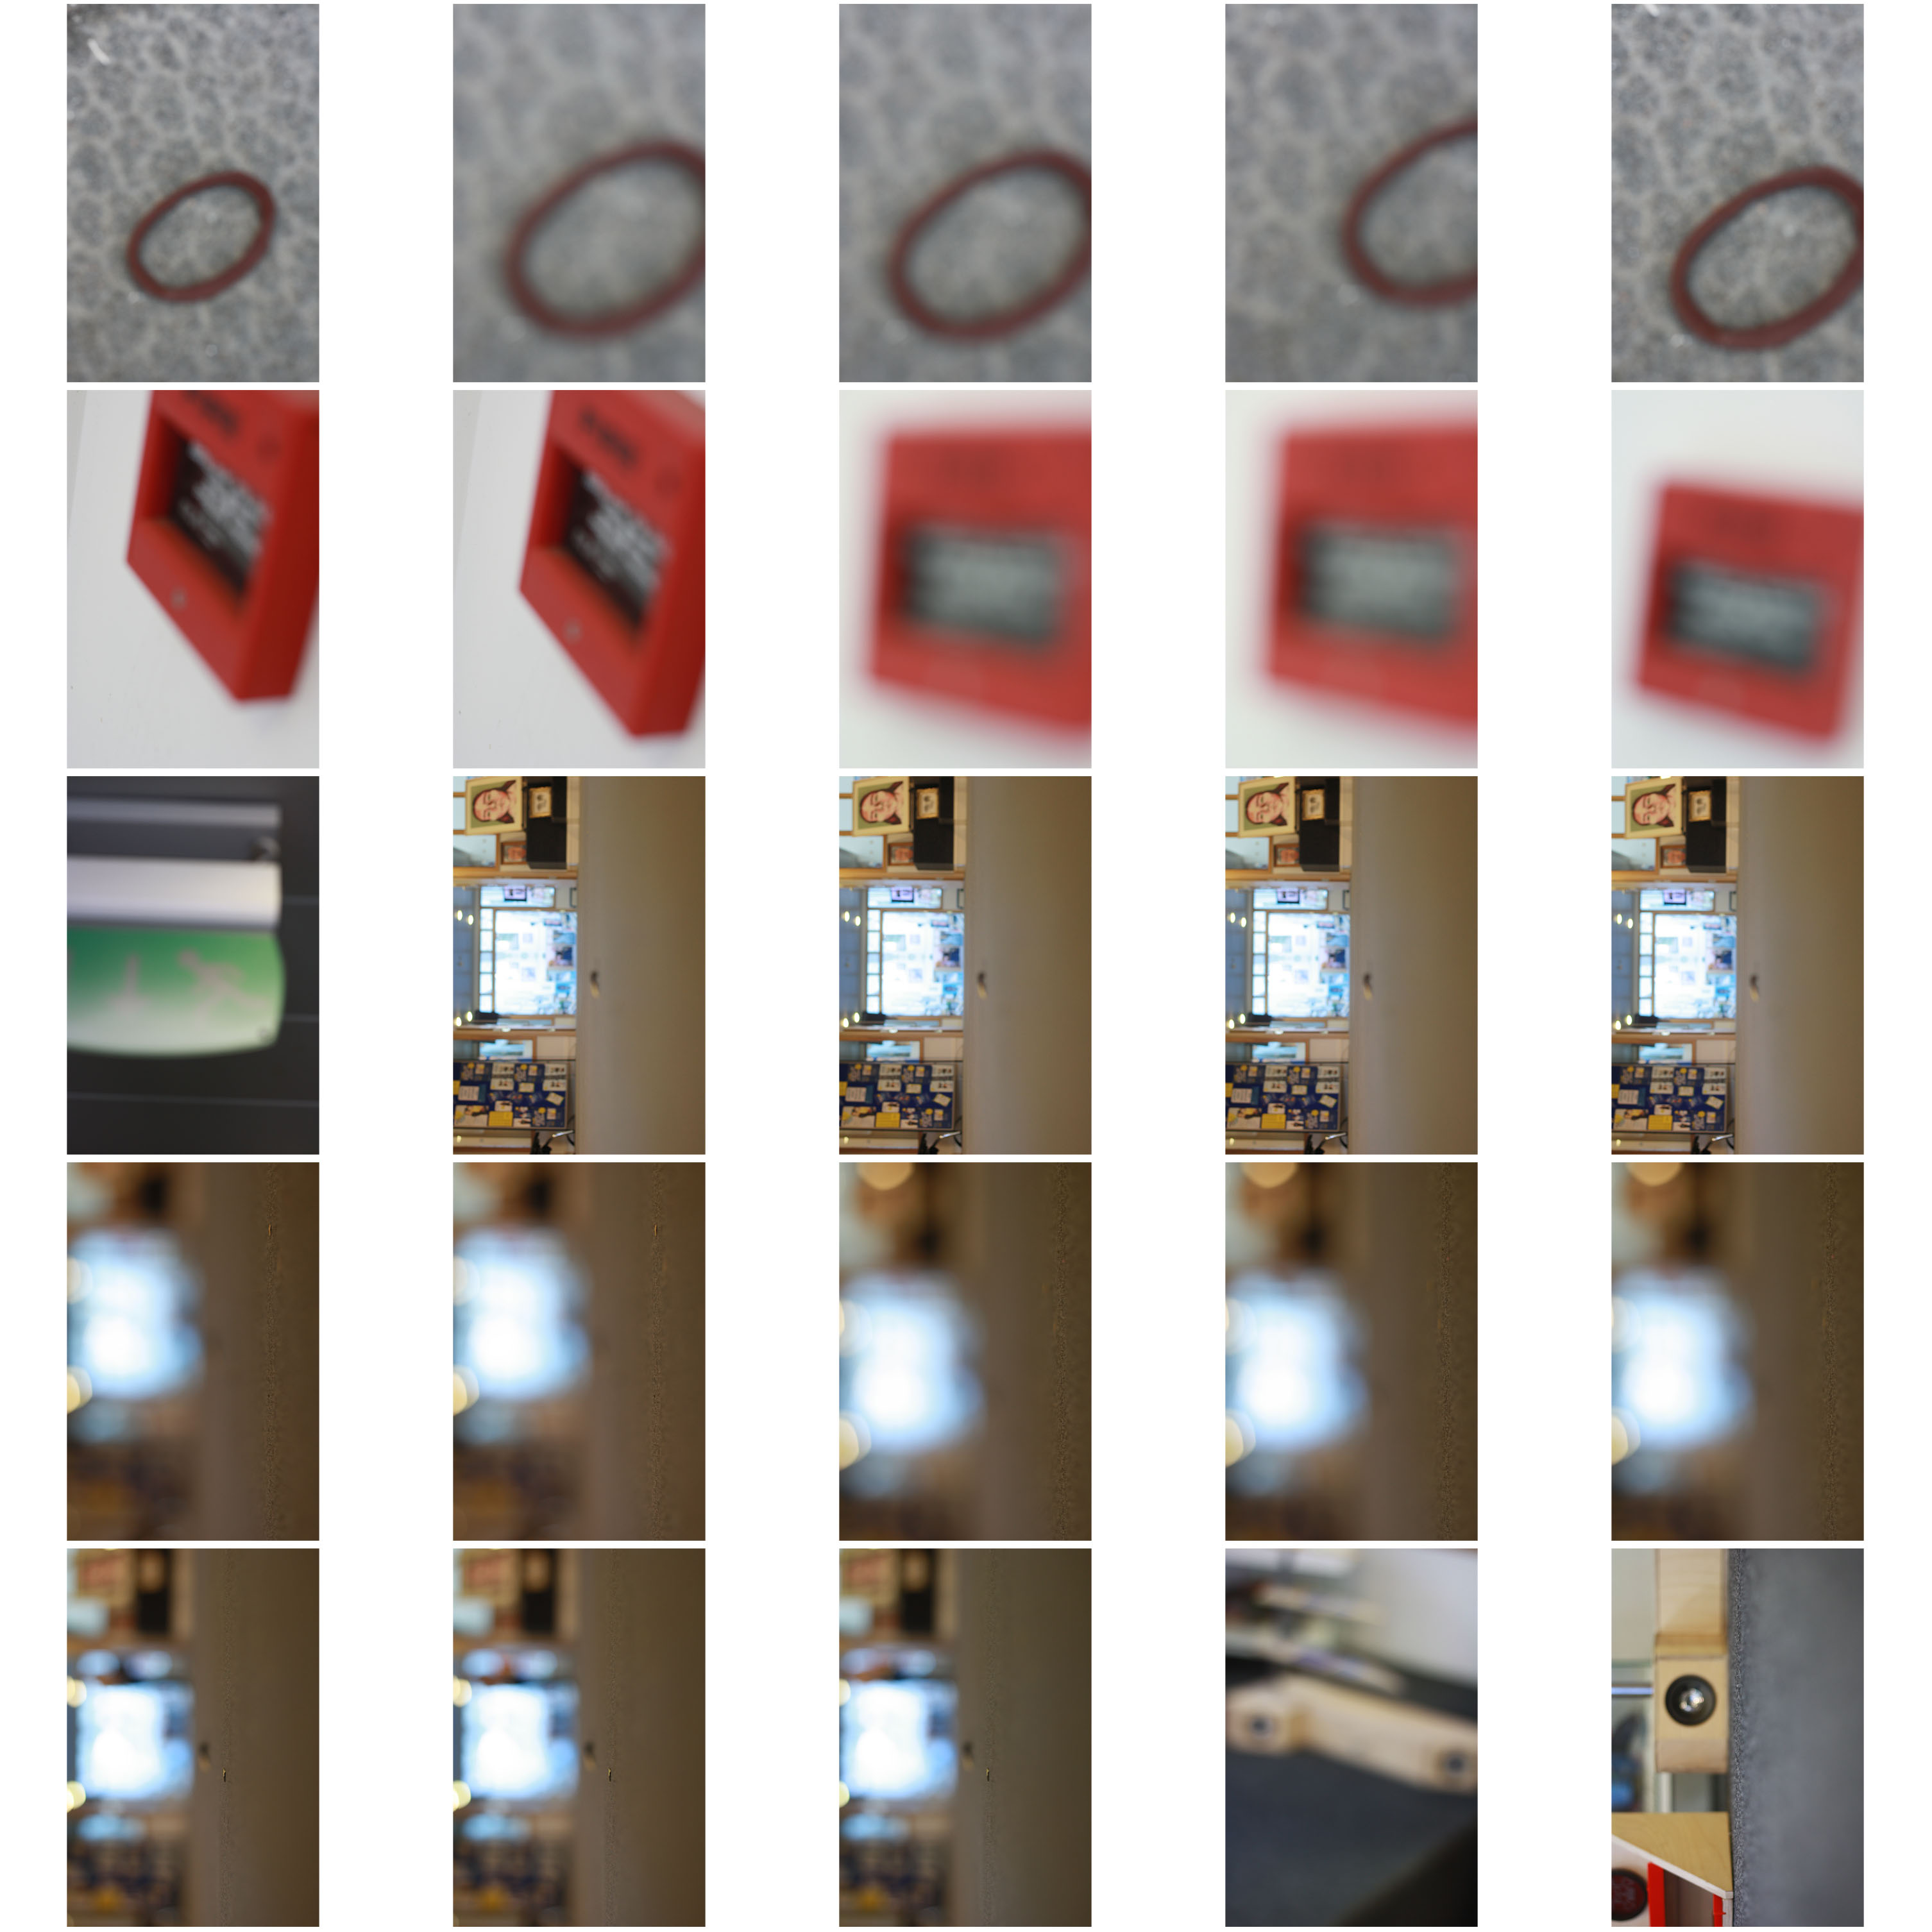
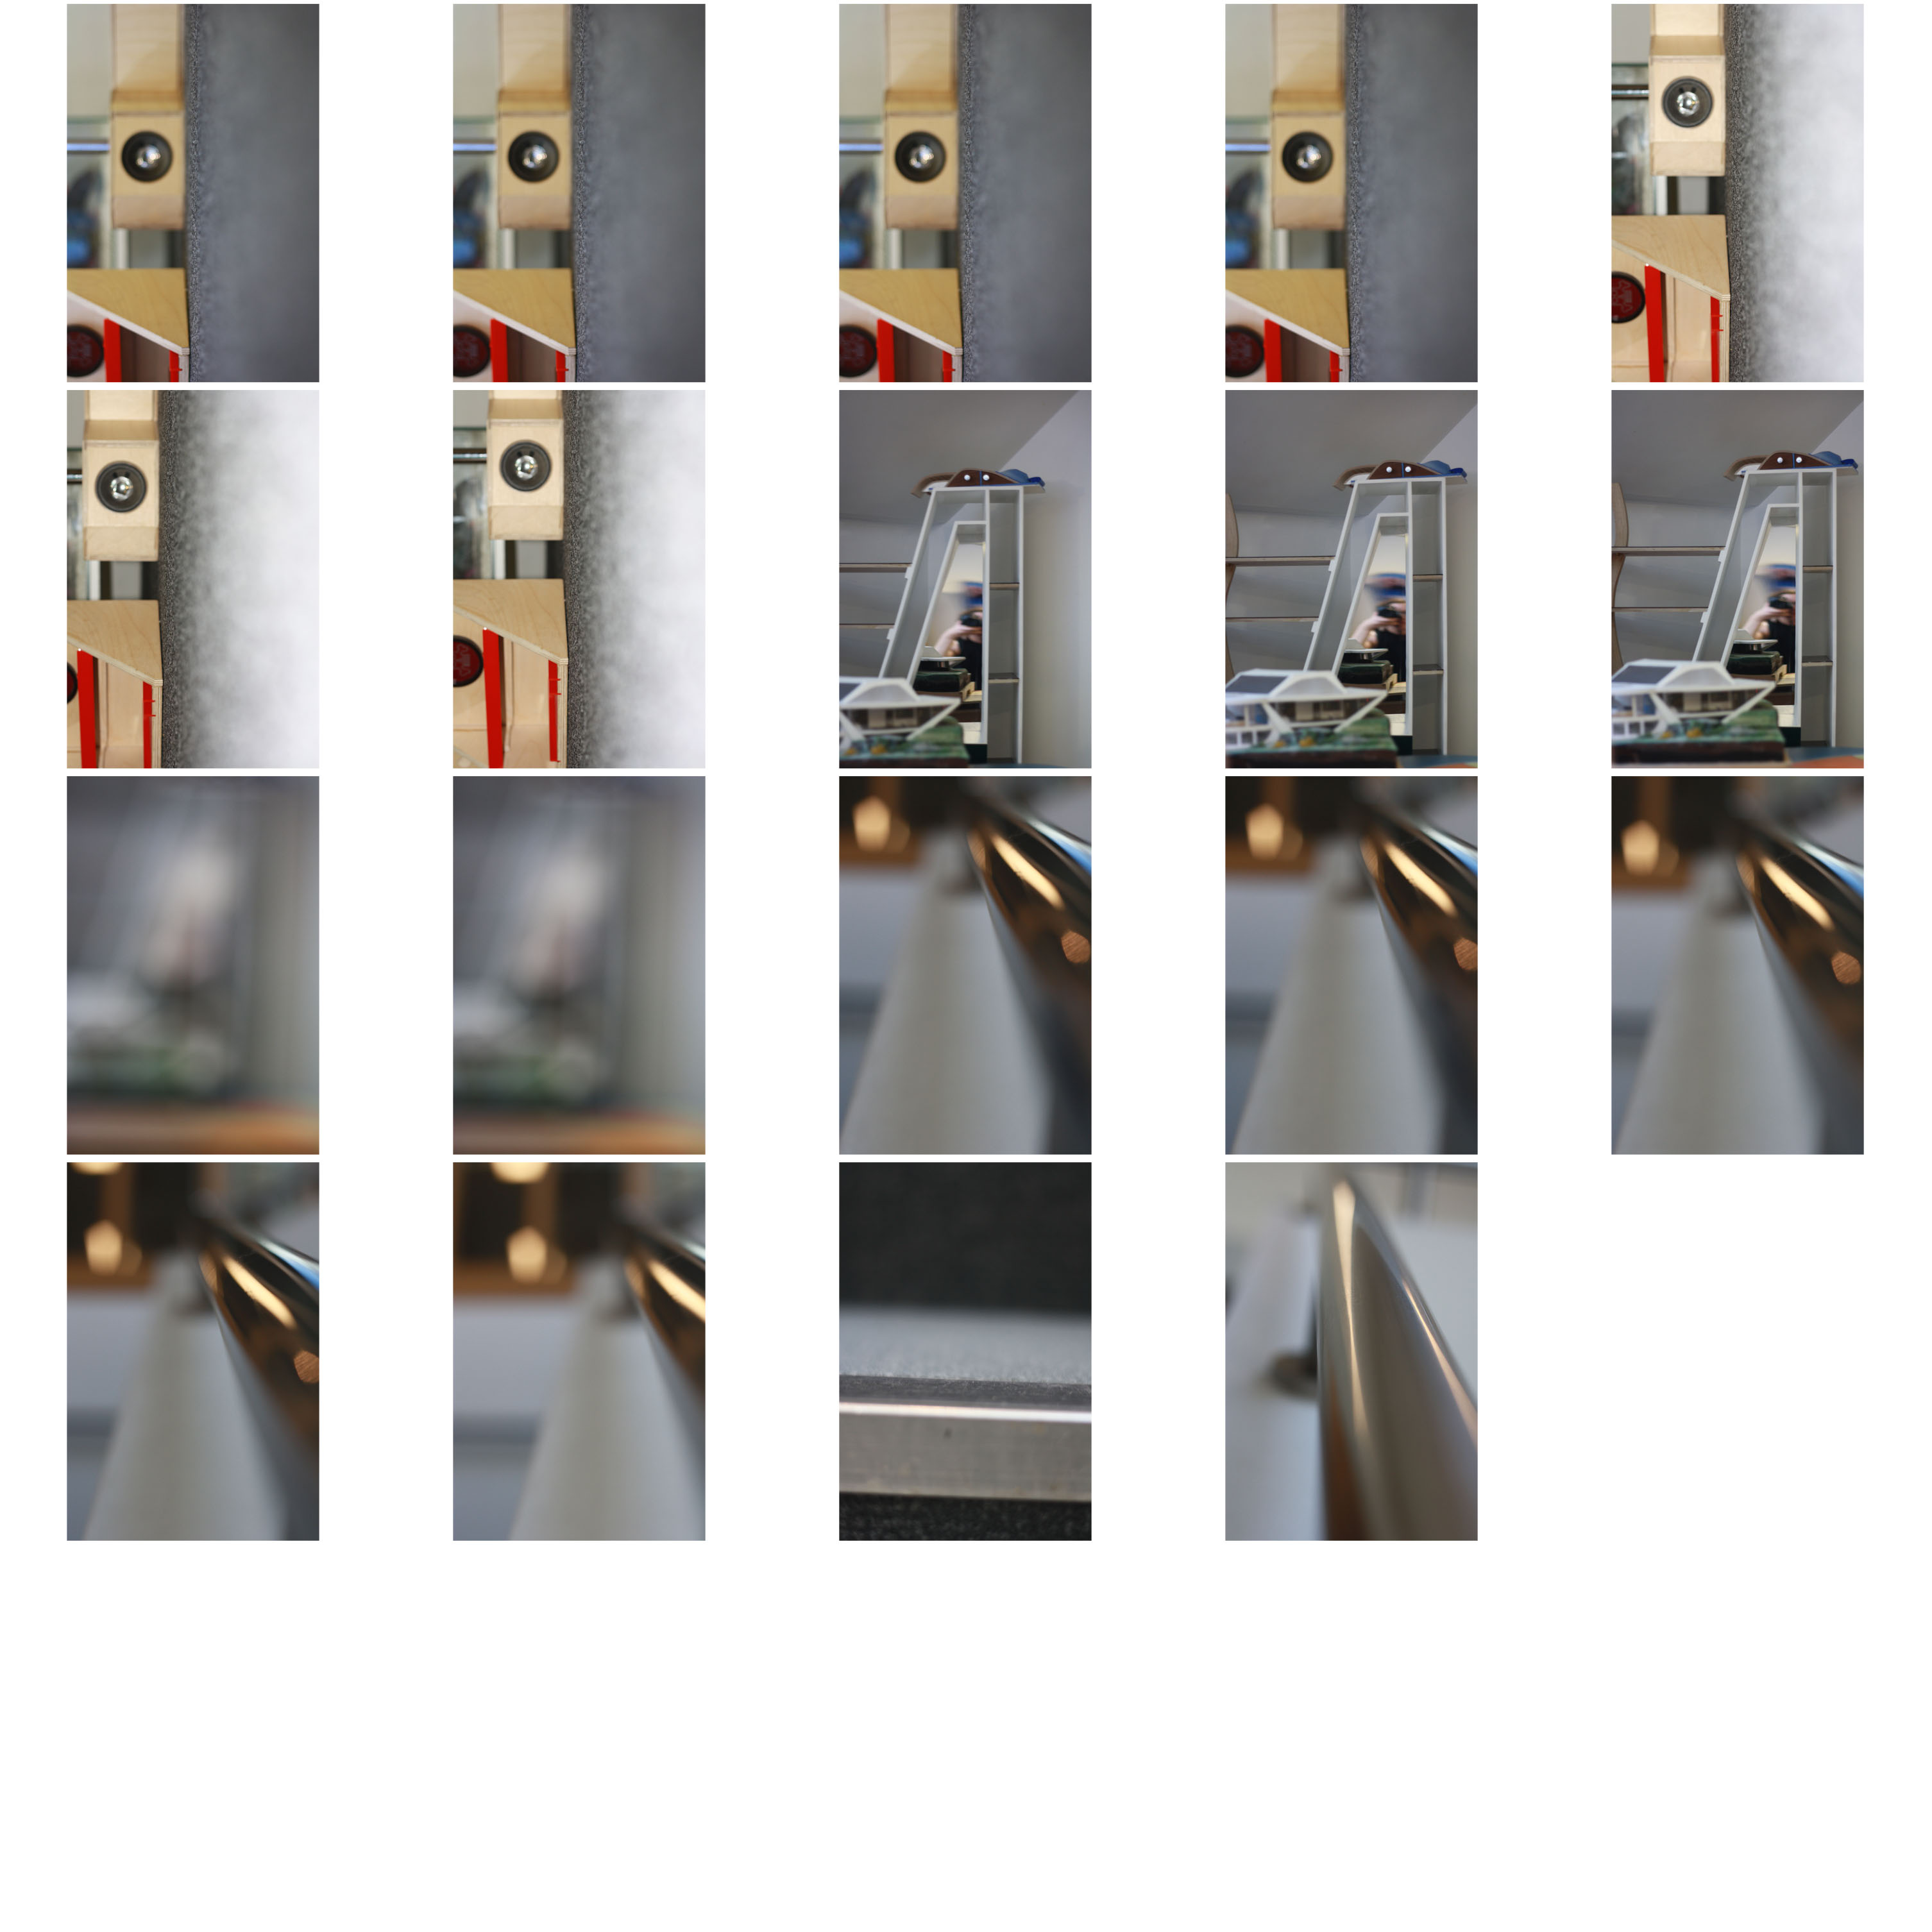
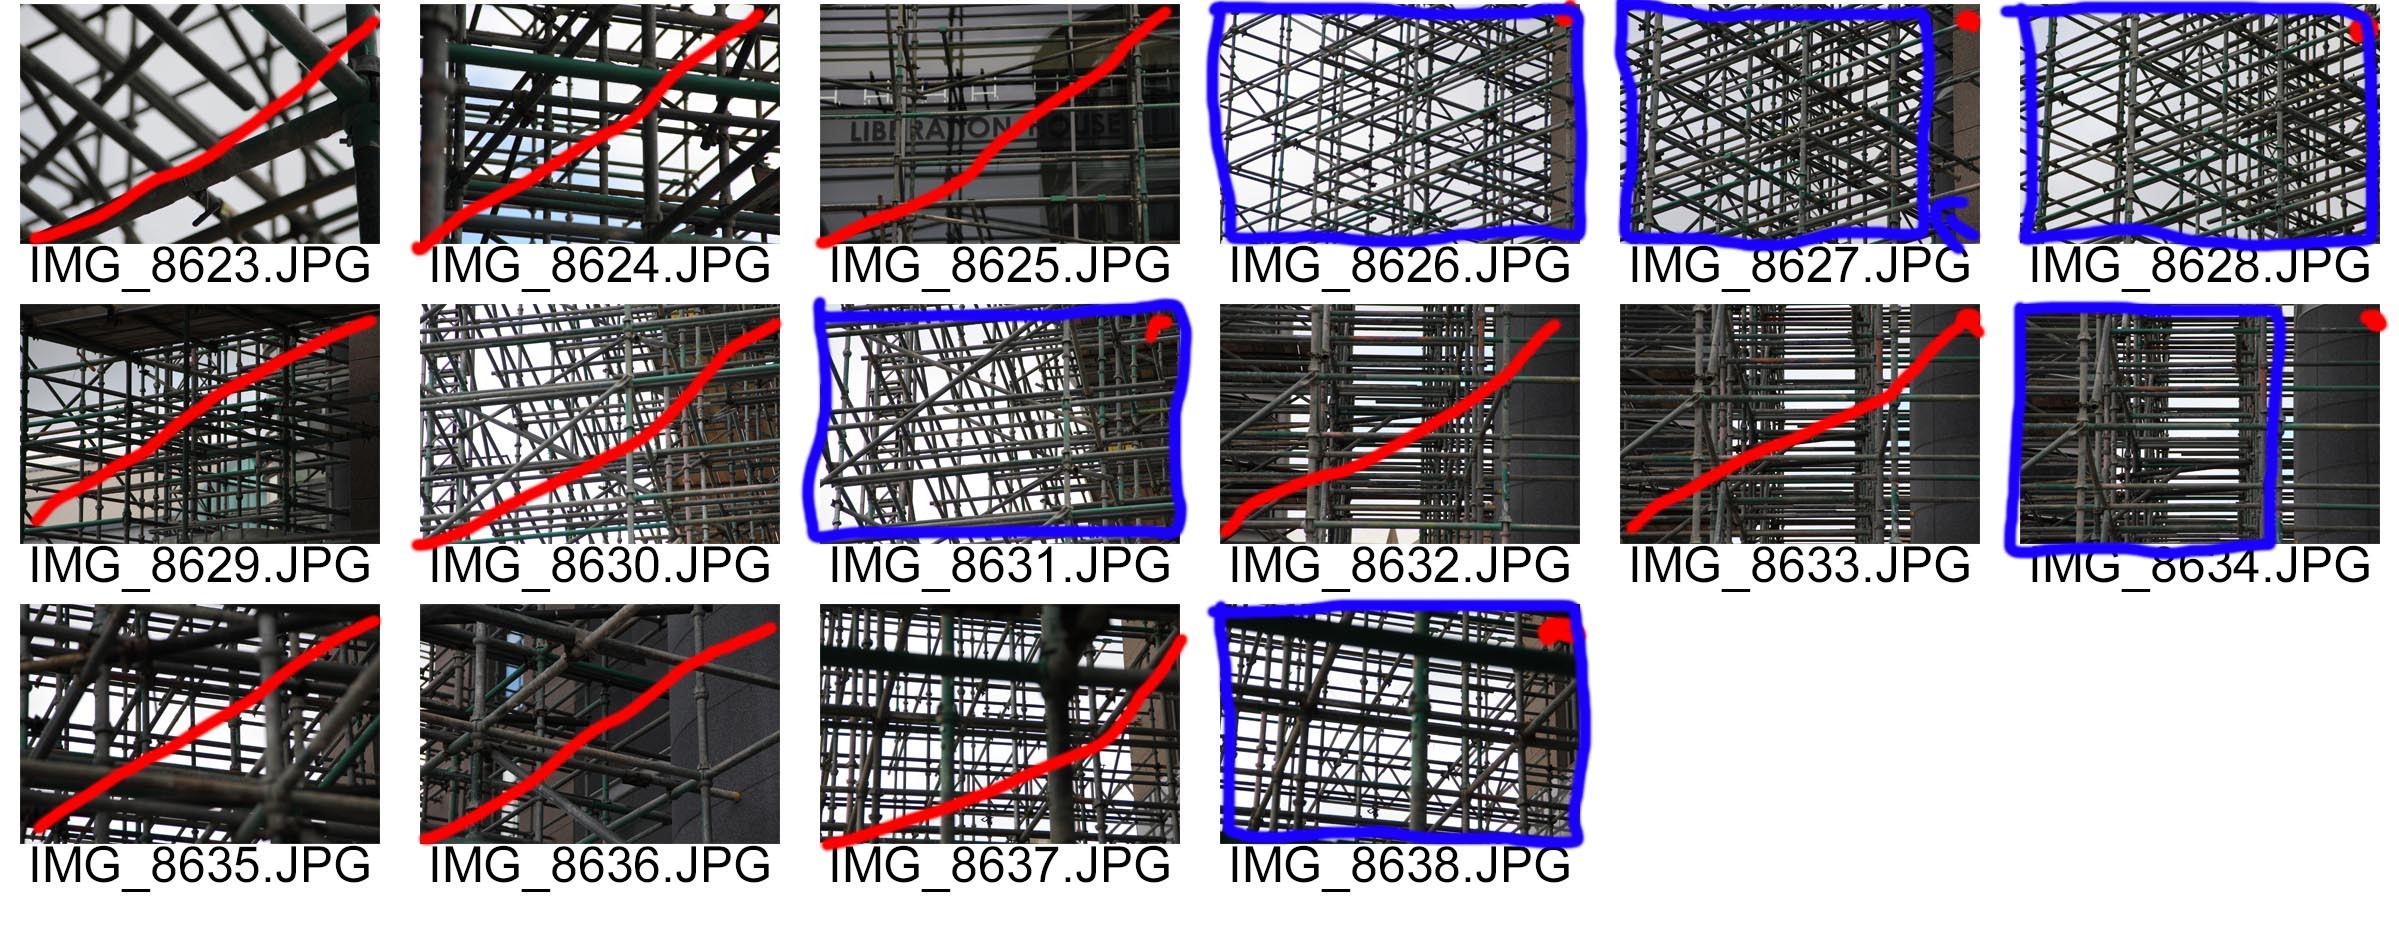
Contact Sheet:

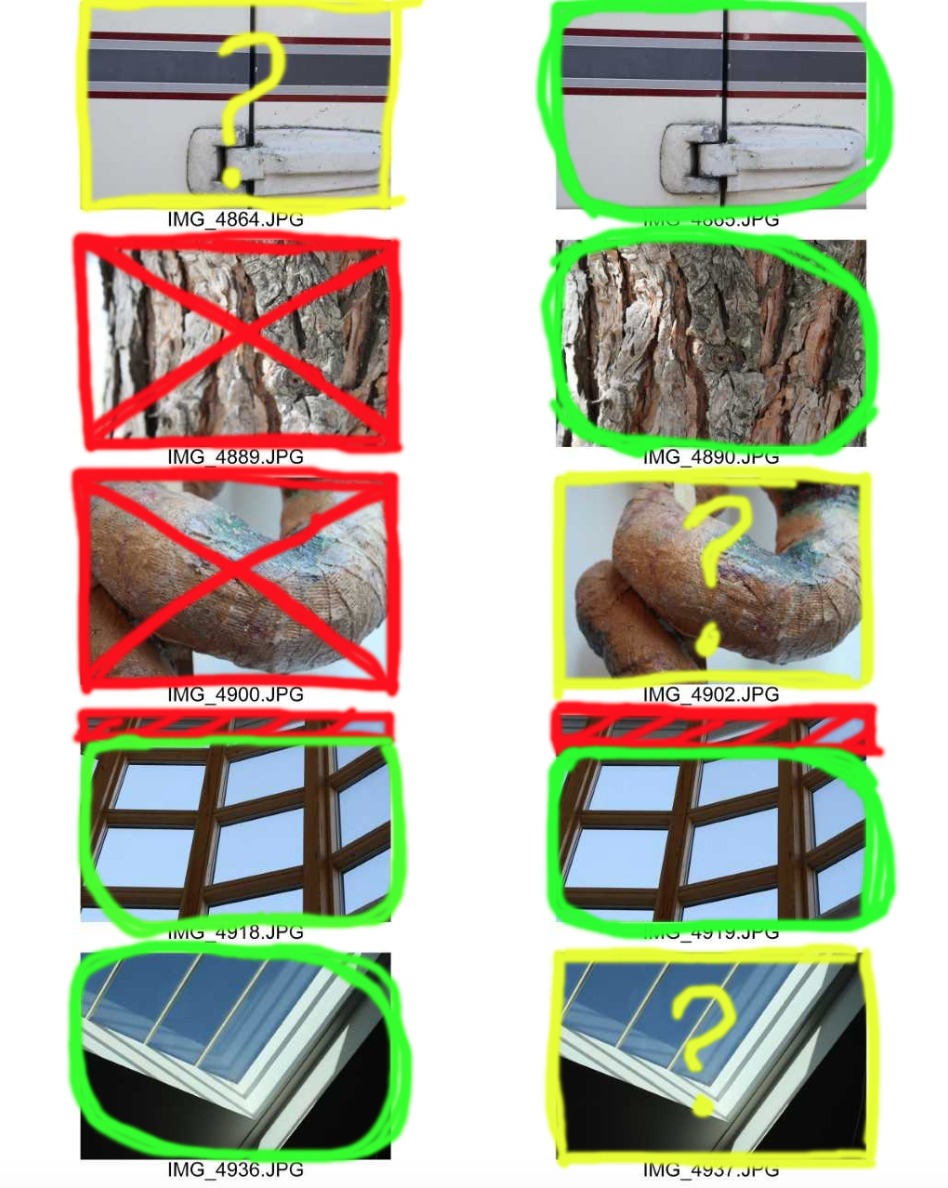
This is my contact sheet with the few images I have selected to edit.

Green circle - An image I would like to further use.

Red cross - An image I would not like to use.

Red F - The image is out of focus.

Red shading - The part of the image I would like to crop out.

Yellow question mark: An image I am unsure whether to edit or not.

Here are my final images:

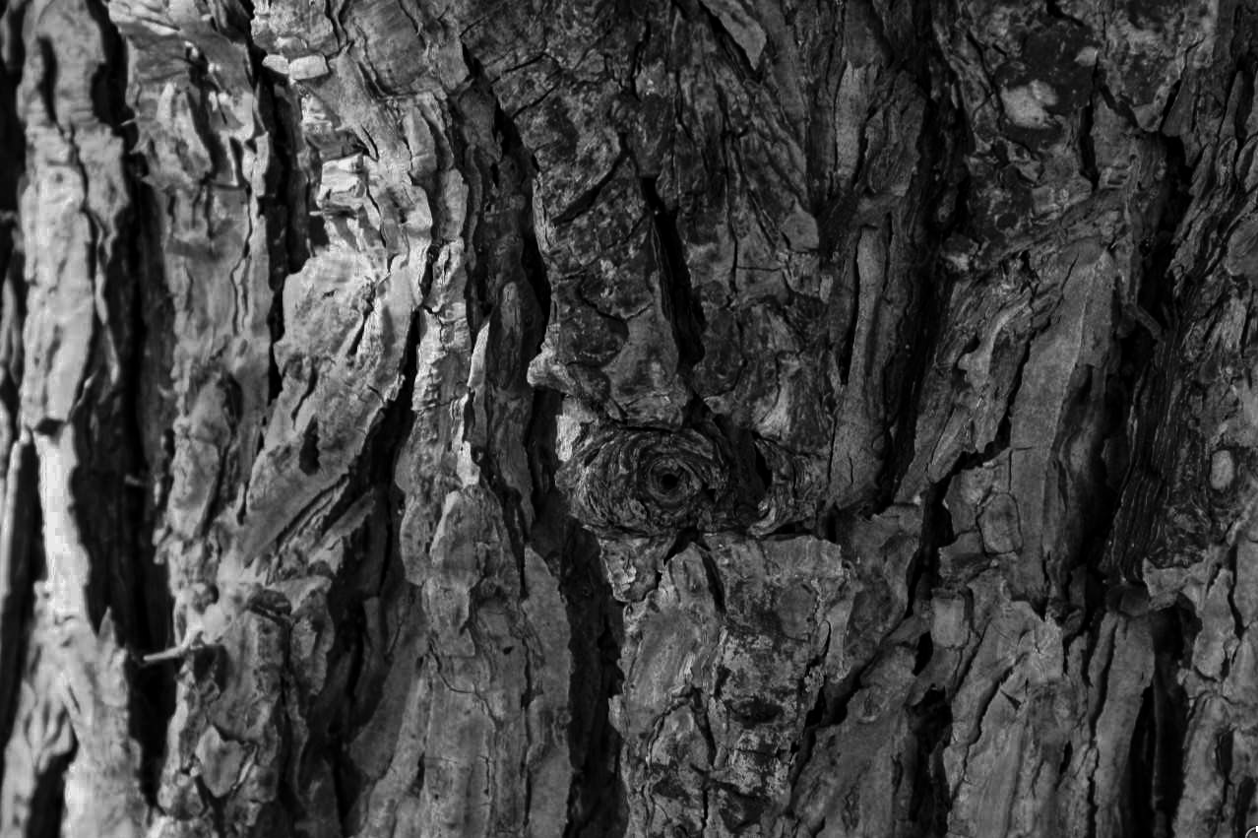
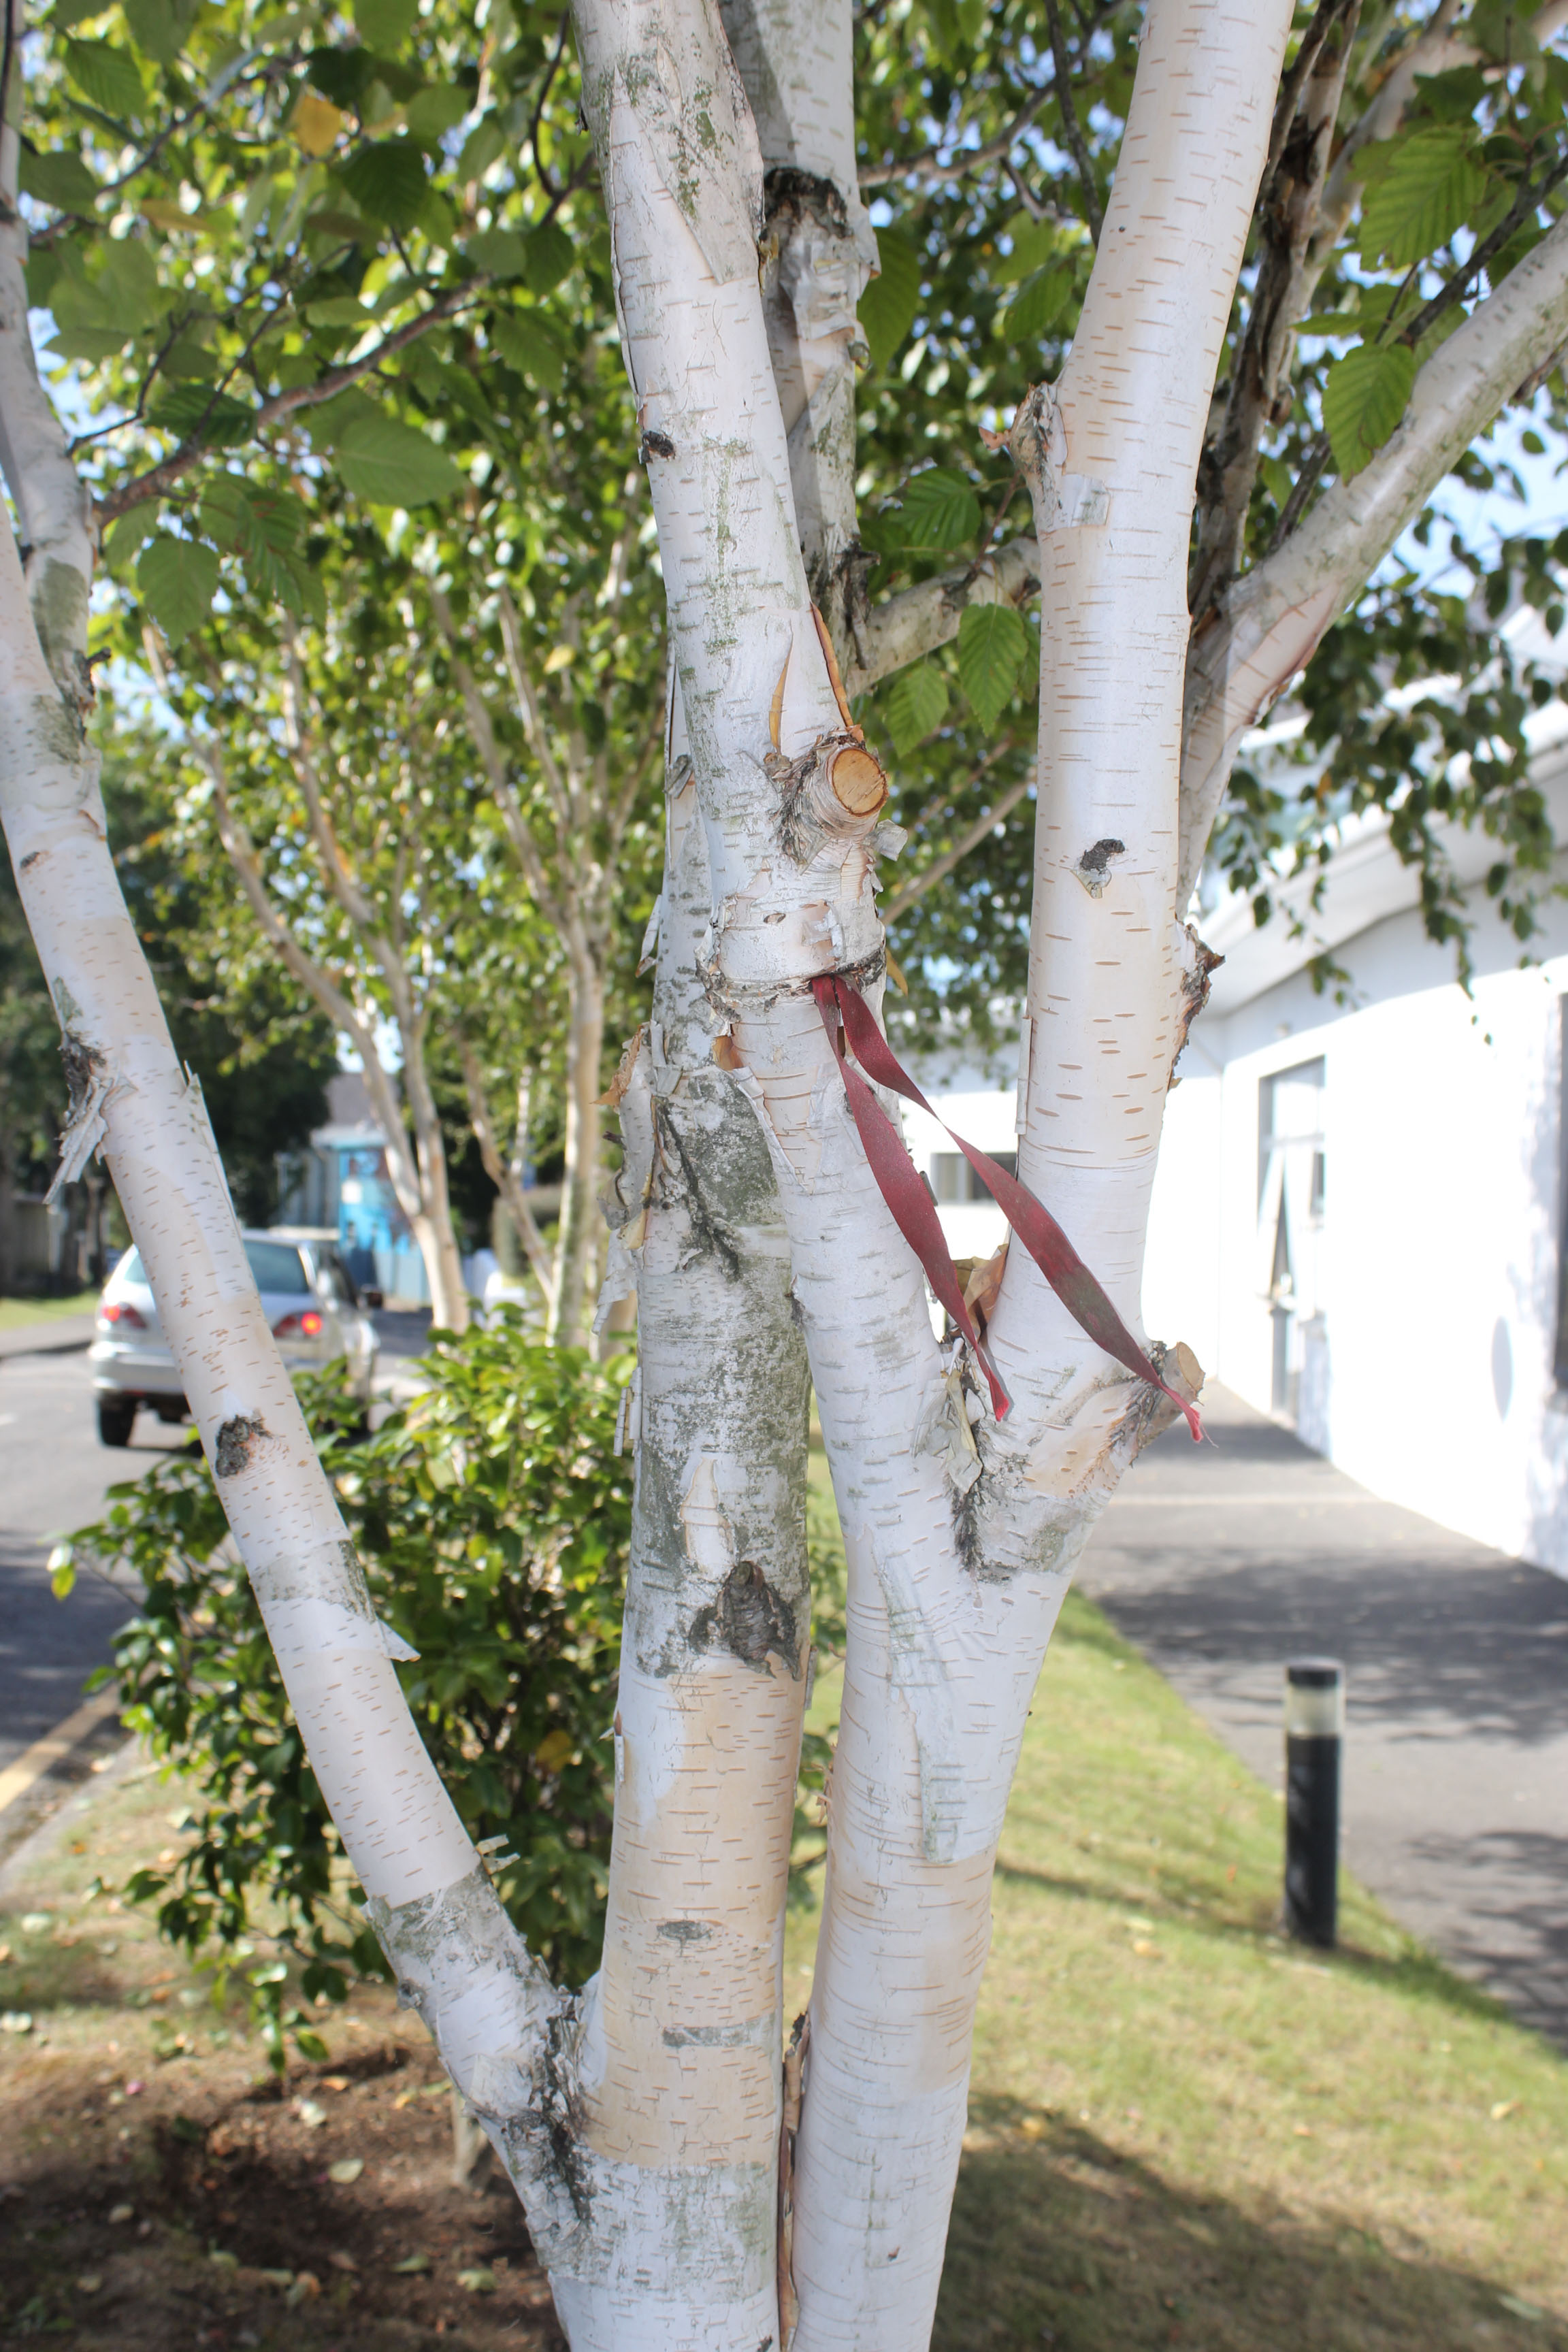
I used adobe lightroom for this image, I applied a black and white preset because Renger-Patzsch's work was mainly in black and white. I then hightened the clarity and lowered the exposure. I then played around with the shadows and highlights until the image looked aesthetically pleasing. I like the depth of field created because the image is focused on the knot in the centre, and particularly towards the right of the photo, the blurryness.

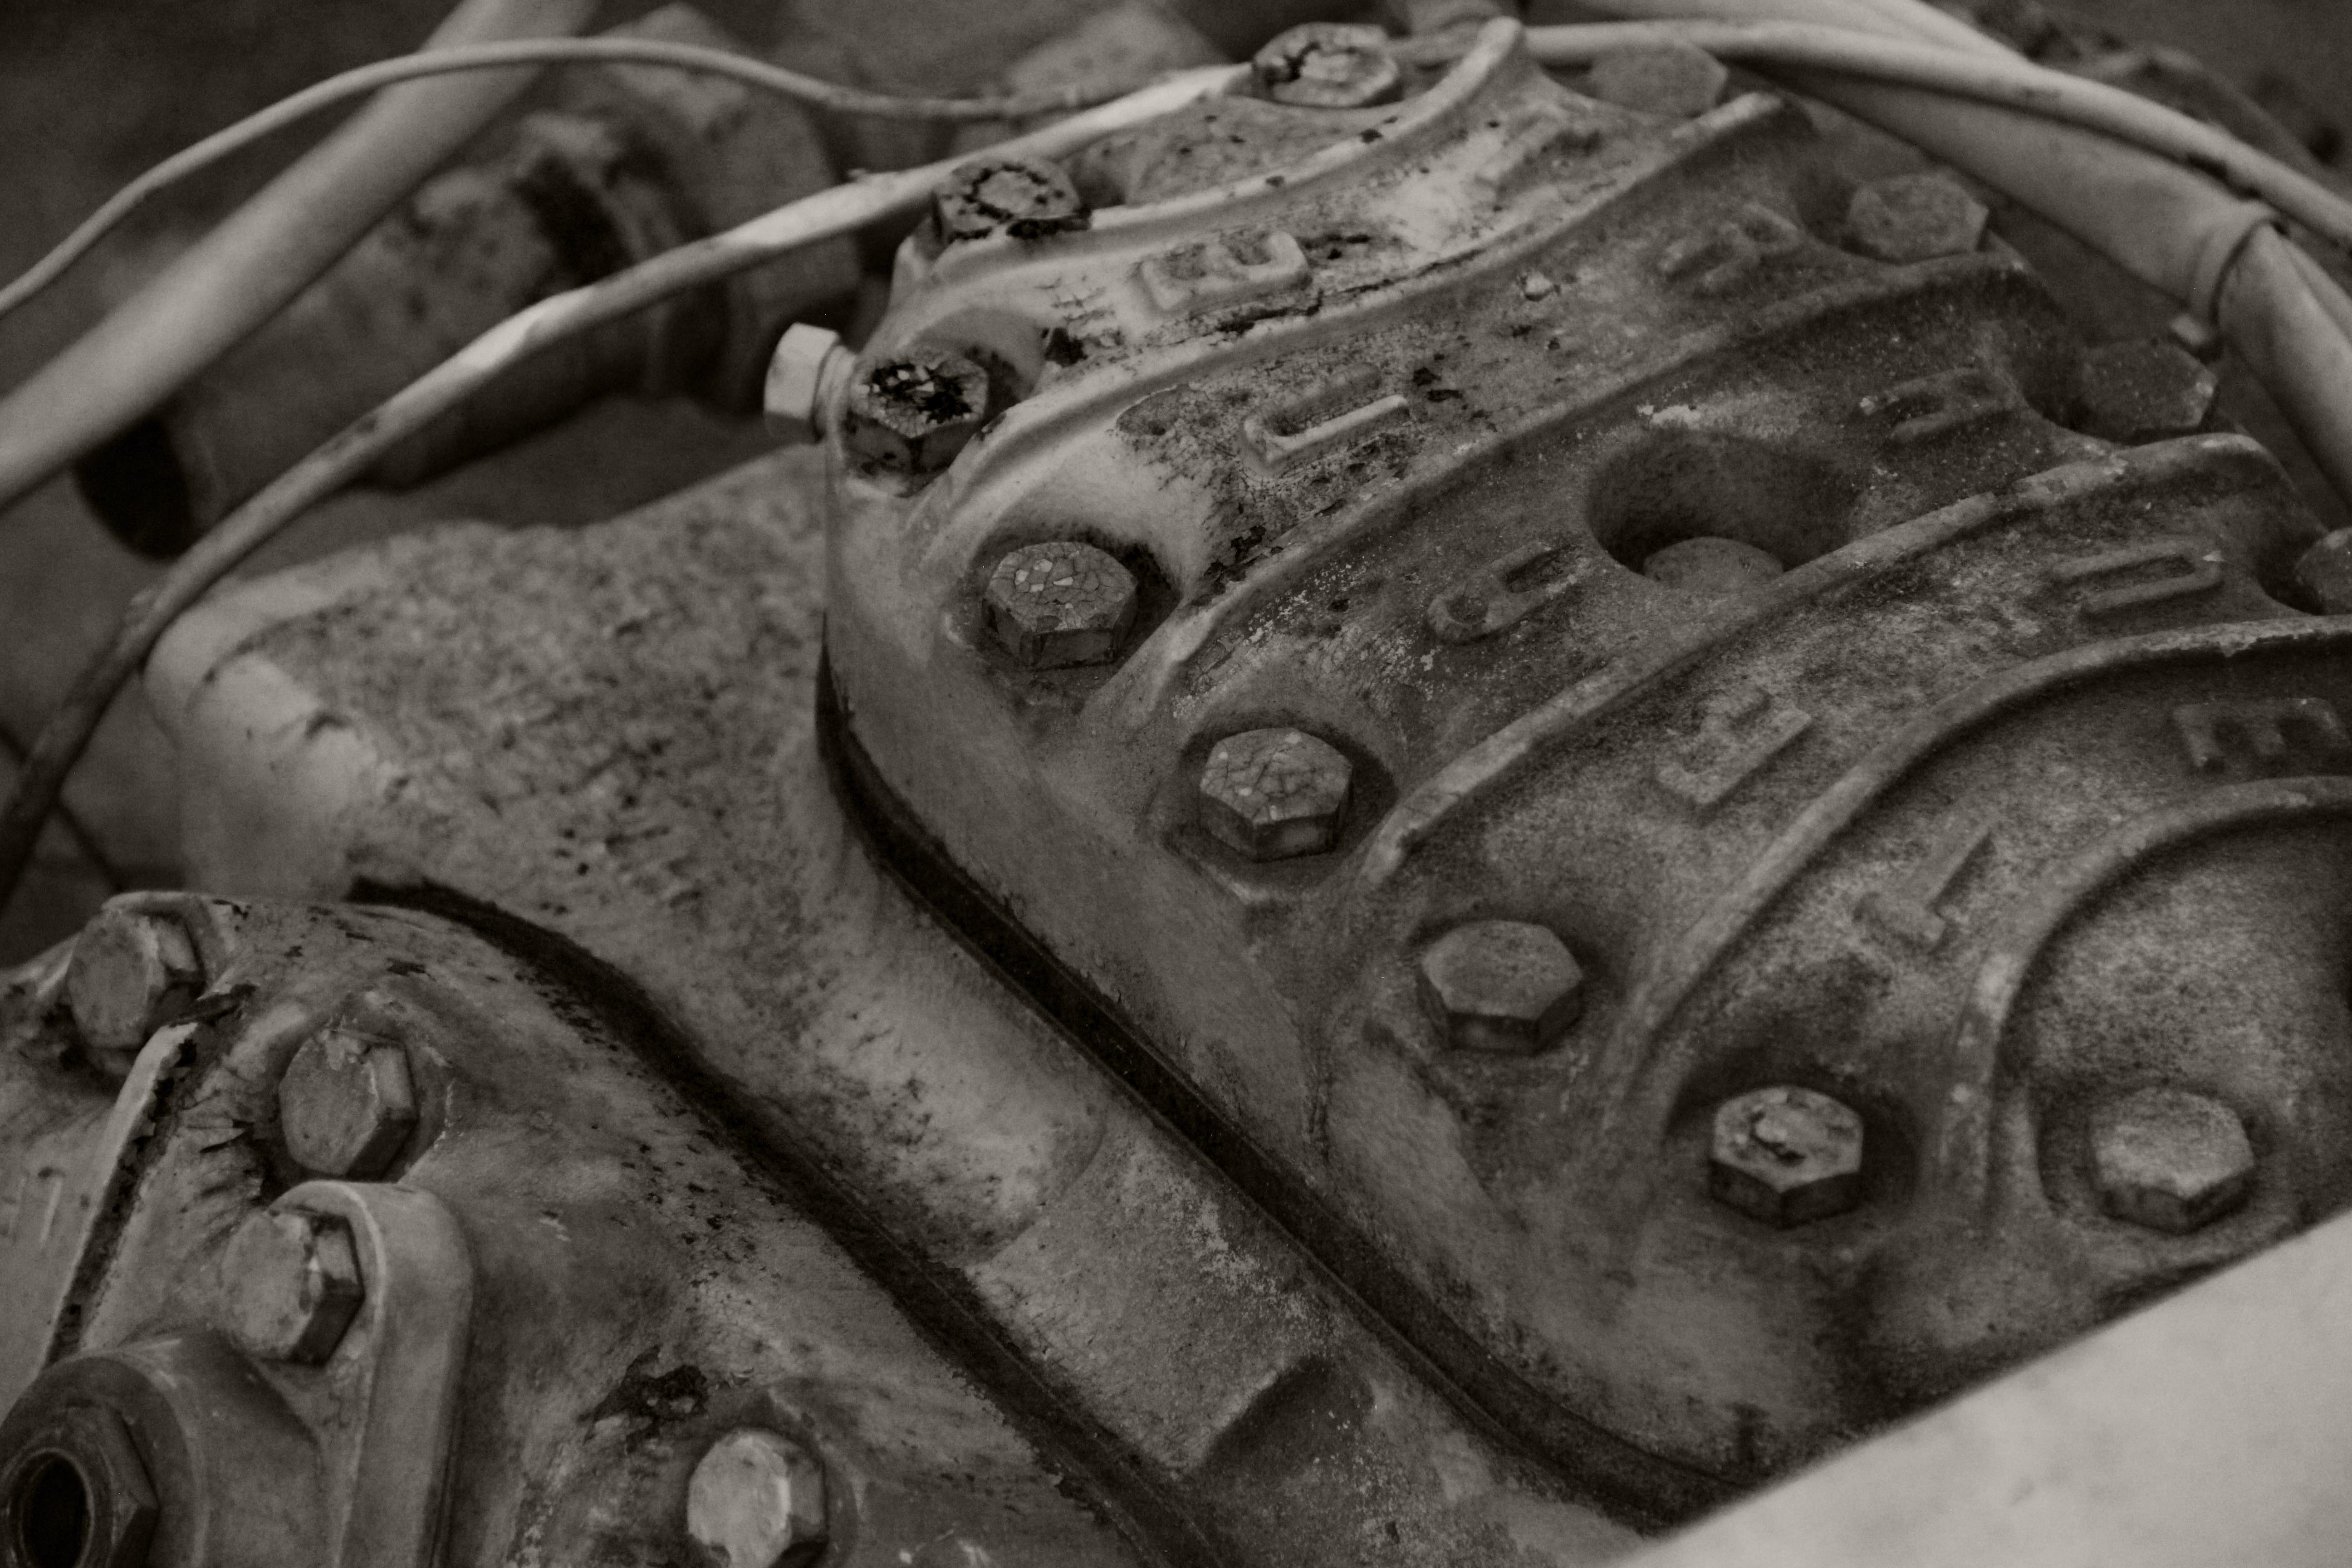
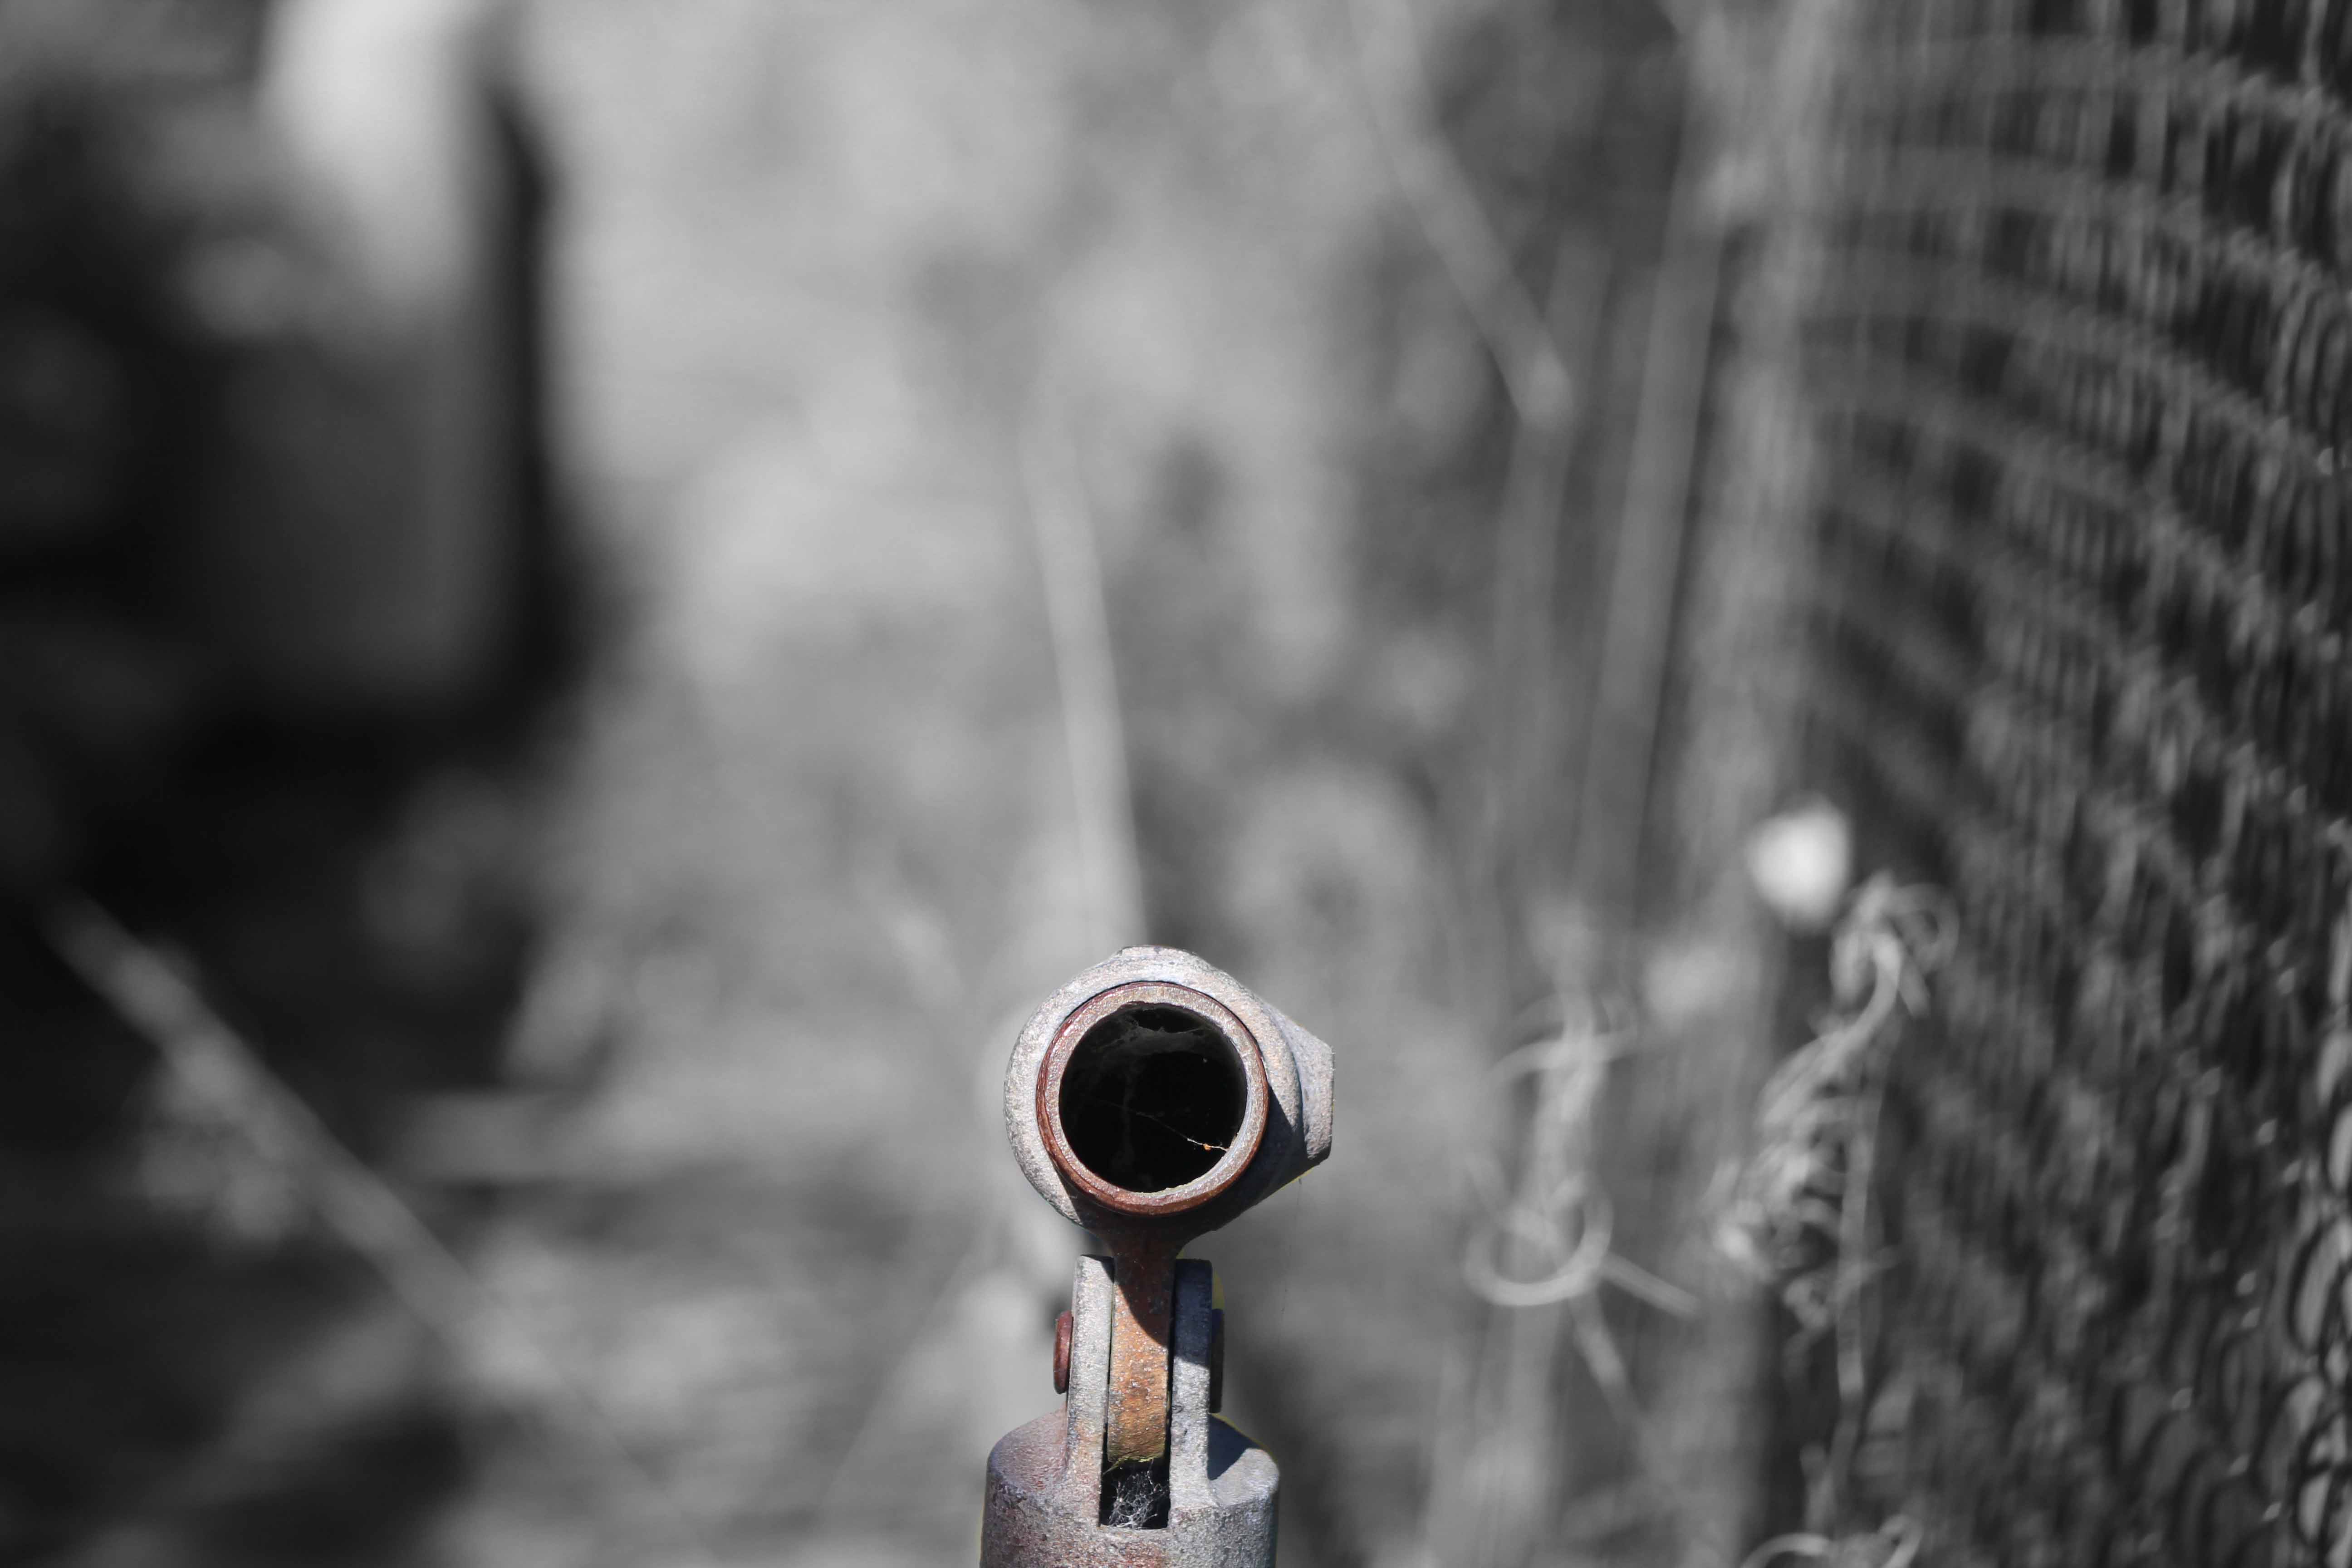
Once again I used adobe lightroom to manipulate this image. I applied a black and white preset, hightened the contrast, clarity and highights, while lowering the shadows. The image has a crisp look to it and there is no depth of field created. I also cropped the image to remove some of the unwanted wall so it focuses on the actual image.

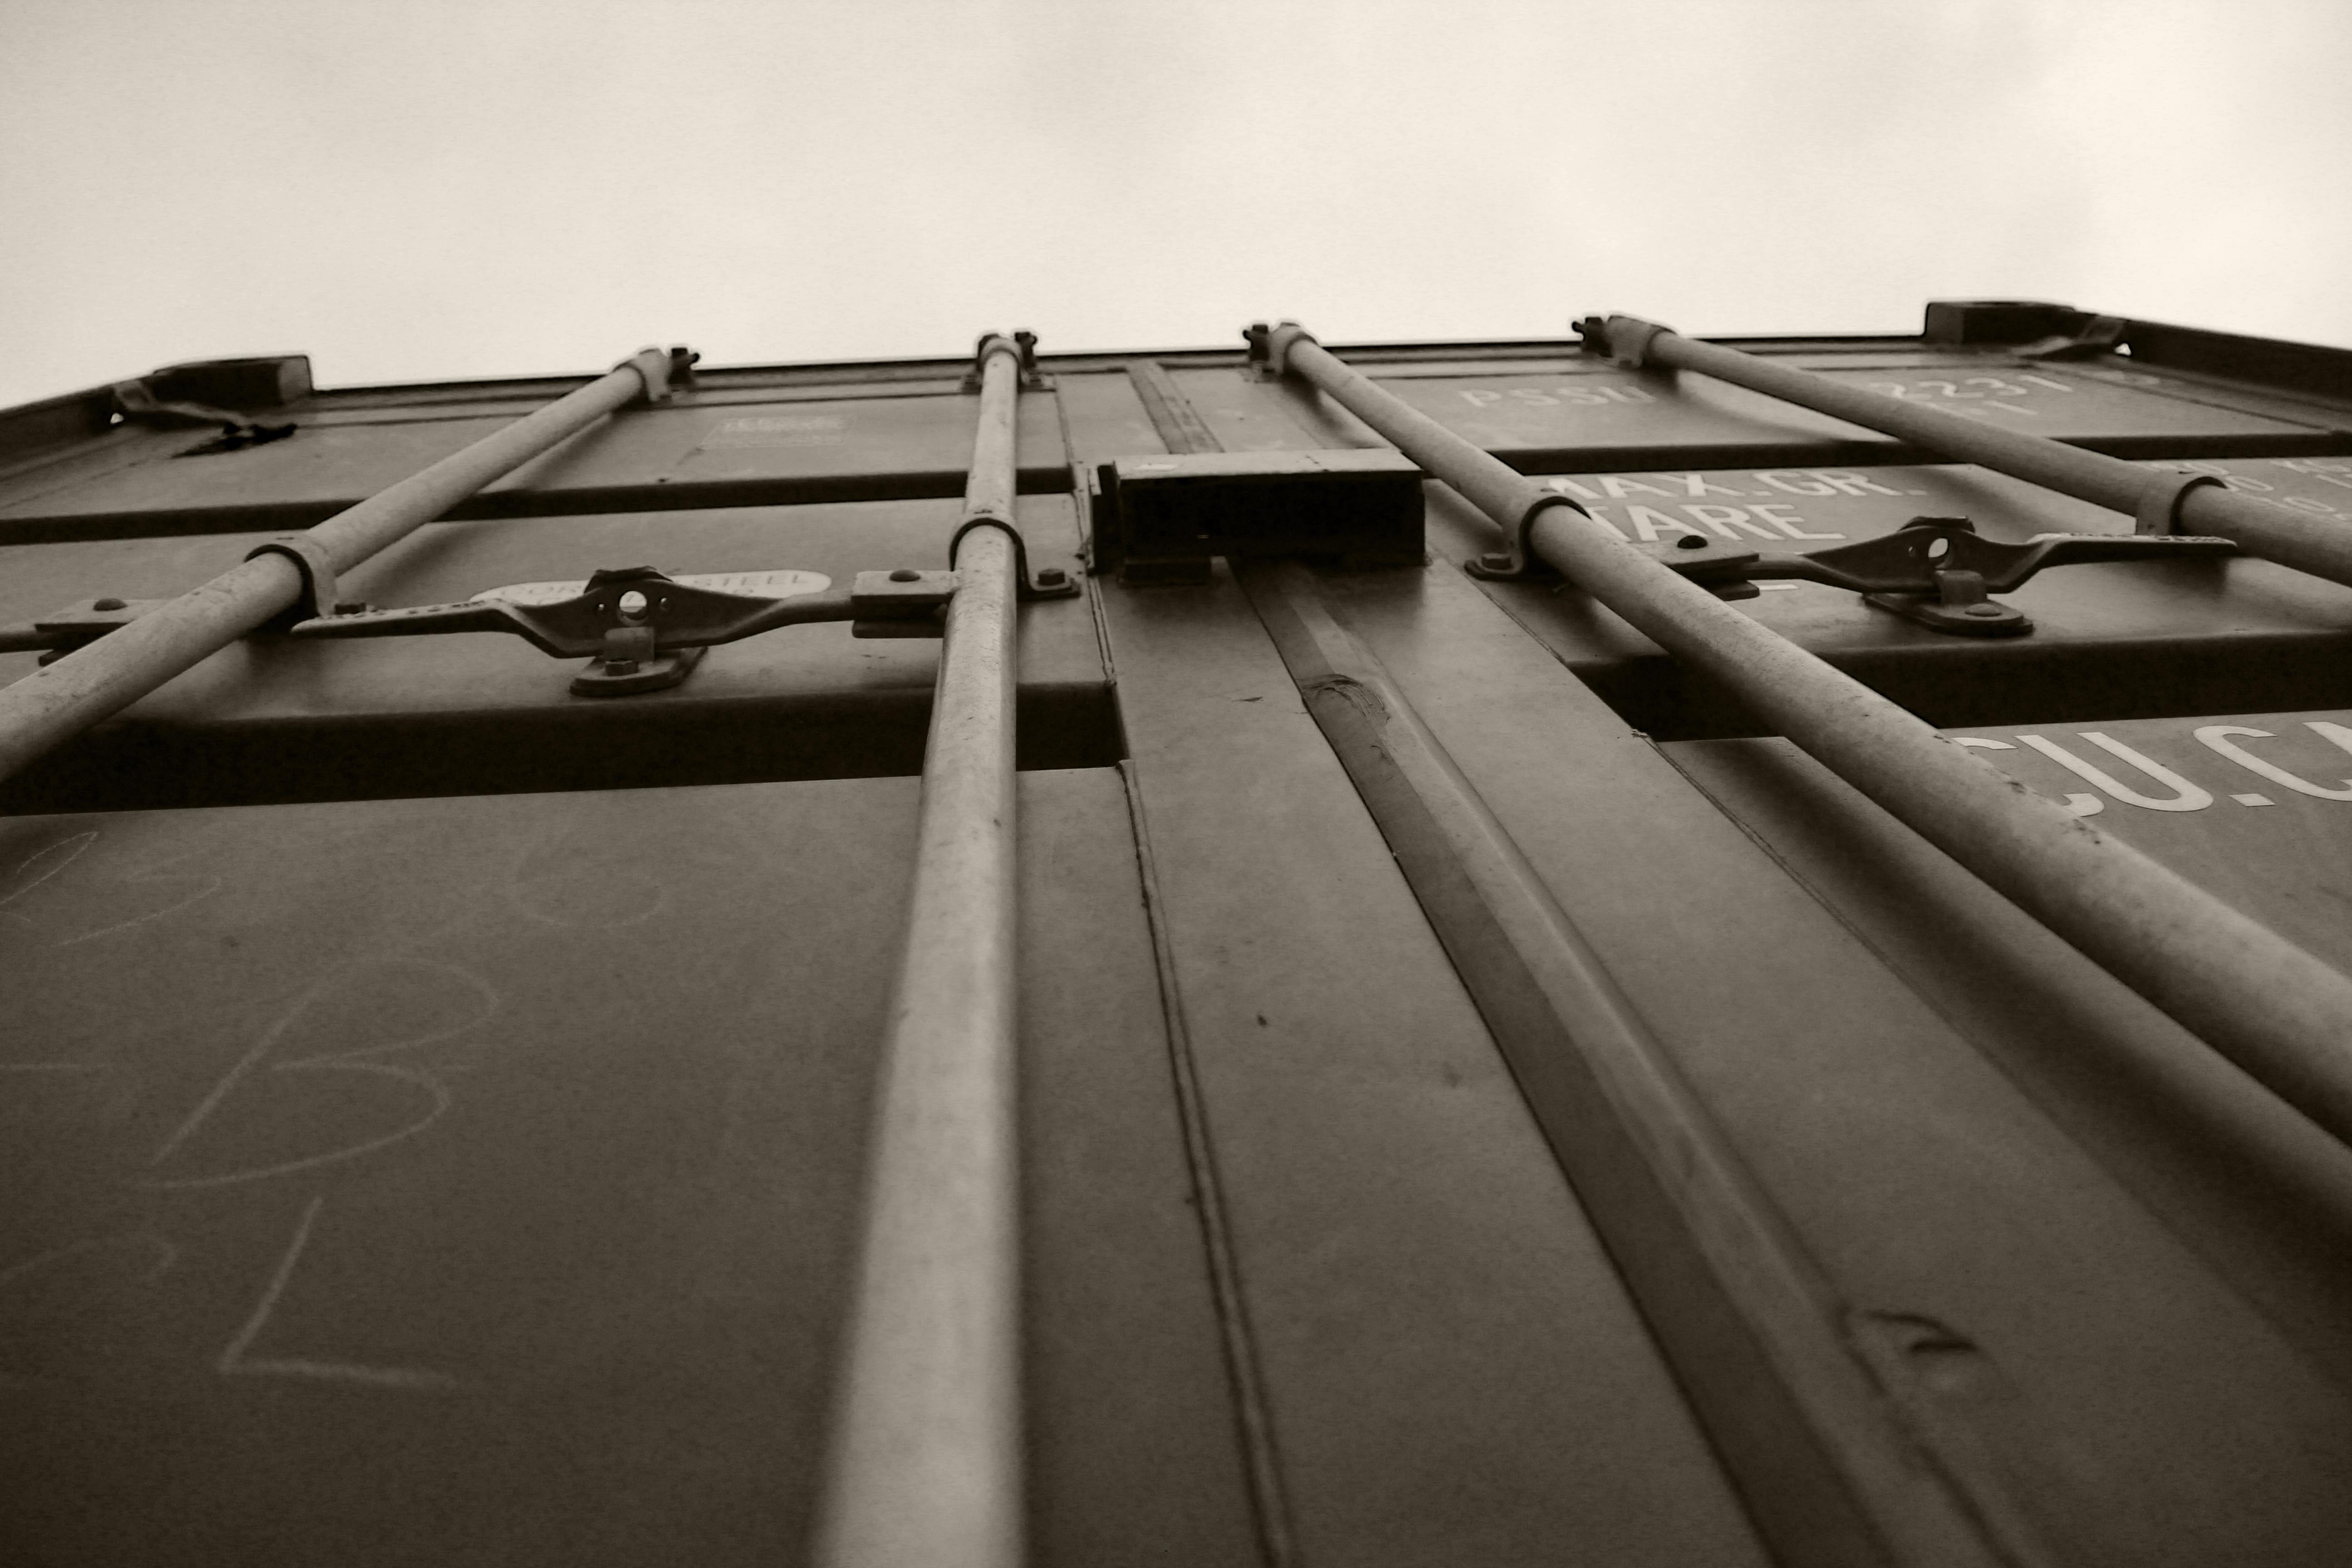
In this photo I used adobe lightroom to edit this image. I liked the contrast of light in the photo, especially the light reflected on the left which juxtaposes the dark shadow of the wall. I applied a black and white preset, then lowered the exposure and shadows. However, then I hightened the clarity, highlights and contrast. I then slightly cropped the image.

My final image is of a hinge on a caravan door. I applied a black and white preset on adobe lightroom, then hightened the contrast, clarity and shadows. I then lowered the highlights and exposure. I also slightly cropped the image to create more focus on the actual door hinge than the door.
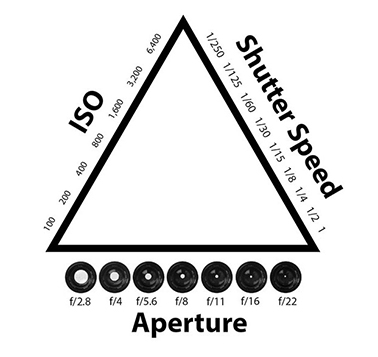
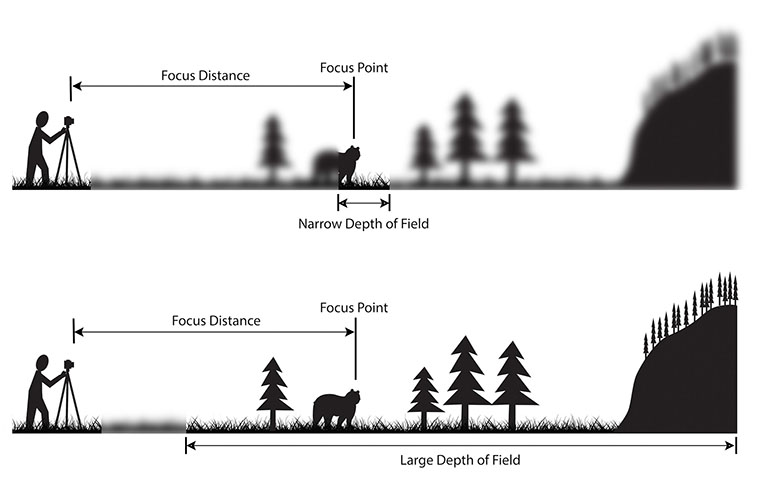
 

Camera Skills

Focal Length

In order to take this photo I used the macro setting on the camera. The flower was a good focal point for focal length experimentation as the detail could be captured clearly in addition to the bright natural lighting.  I tried to zoom in as far as the camera possibly could to create as much definition to the flower and capture all the shades of purple.

AF/MF and Focus Points

In the first photo I used auto focus to take the photo of the plant, it  focused on the pepper, why was what i intended to do. Whereas in the second photo I used manual focus which focused on the background resulting in an unsuccessful photo. Personally in this particular shoot auto focus worked better for me, as i couldn’t get the camera to focus in on the pepper with manual focus, but this can be improved with practice.

Depth Of Field

In this photo the tree is the sharpest point, the more you move away from the tree the more out of focus everything else becomes. I ensured that the camera had a small aperture in order to create a deep depth of field.


Focal point and Depth of field photoshoot

The aim of this photo shoot was to use manual focus to try and use the different levels of focal views. In a few of these the back of the photo is focused on more than the front, but in most of them it is the front that is more focused.

You will notice I have added a new key, with half yellow and half green. I have done this because I really like the photos, but as a final step I will edit them. Have shown this with the photo below.

After shortening my list of photos using my colour scheme, I picked my final one to edit. In the photo I have changed the background to black and white and using Photoshop I removed the top layer to bring out the colour underneath.

Because I did use an old metal railing the final product has only a minor and subtle change, but I feel that it changes the photo just enough, and it stands out from the background.

The first photo shows the original photo, it is not edited and focuses down the hole within the railing, blurring everything else out.

The next shows the edited and final version, as you can see it is very subtle but you a drawn to the bland and near invisible colours at the bottom center of the photo.

photo shoot week 4

Here I have some of my contact sheets of all the pictures I took  and the different types of photos but also how the focus was different in every picture.

Final Edited Photo 2


here I have messed around playing with the inverted adjustment on the picture. I like it as there is a mixture of light and shadows and also it compares the original to the picture. I also messed around with the contrast making it brighter and darker so the tones of the metal becomes lighter and the background becomes darker so that you will only focus on the metal pole. I like this picture as it focus on the focus on the pole which I wanted. The light in the picture brings out the pole from the dark so it doesn’t get mixed up.

Edited Photo 1

For this picture I messed around with several adjustments for example: I tried out changing the brightness and contrast however I didn’t like how that turned out so I went back to the original photo and started again this time I adjusted  the colour levels within the picture and the saturation. This time I like the outcome as it has a variant of colours including bright pinks, blues, greens, browns, blacks, whites and red. It is also a good comparison to the original as I found that the original was blurry and it lacked detail however when I started editing the detail started to become better and it didn’t get more blurry. My favourite bit of the picture is the bright pink on the wood as it makes you focus on the pink and not on the background. This is the attention I wanted, I am really pleased with the outcome.

Albert Renger-Patzsch

Contact Sheet

Red Line – do not use

Red Dot – possible candidate for editing

Red Square with Arrow – Crop

Blue Outline – Select for Editing


Contact sheet for my first attempt at New Objectivity Photography.

Albert Renger-Patzsch

Albert Renger-Patzsch was a German photographer in the 1920s that was key in pioneering the New Objectivity movement. He worked as a press photographer in the early 1920s, then became a freelancer and published his first book (The choir stalls of Cappenberg) in 1925. His first museum exhibition was in 1927. His more well-known book (The World Is Beautiful) was released in 1928.


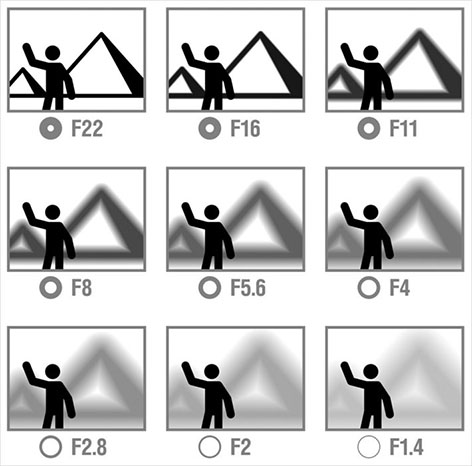
Patzsch was known for taking pictures that faithfully recorded his view on the world. This was especially relevant in Germany (where he was working) at the time, as they had just lost the war. He wrote “There must be an increase in the joy one takes in an object, and the photographer should be fully conscious of the splendid fidelity of reproduction made possible by his technique”


In his early work, Patzsch took pictures of wildlife, mechanical equipment and landscapes as well as architecture. His 2nd Book, The World Is Beautiful, was a collection of 100 of his photographs that focused on man-made and natural beauty, ranging from trees and animals to houses and machines. This embodied a new and modern way of looking at the world, and it is because of this distinctly unique style, that he has sculpted modern Photography, and is known for being one of the most influential photographers of the 20th Century.


My Final Photos

Beams on the neck of a crane
Image of a shipping container from a low angle
Picture of the top of a crane
Picture of overlapping beams of 2 cranes
Picture of a Boat Engine

For my final photos, i wanted to recreate Patzsch’s industrial photos of machines and other metal objects. To achieve this, i decided to go down to the Victoria Pier area to take photos of the cranes and machinery. i wanted to successfully show a similar viewpoint to Patzsch and i feel as though i have achieved this with work similar to his machine photos.