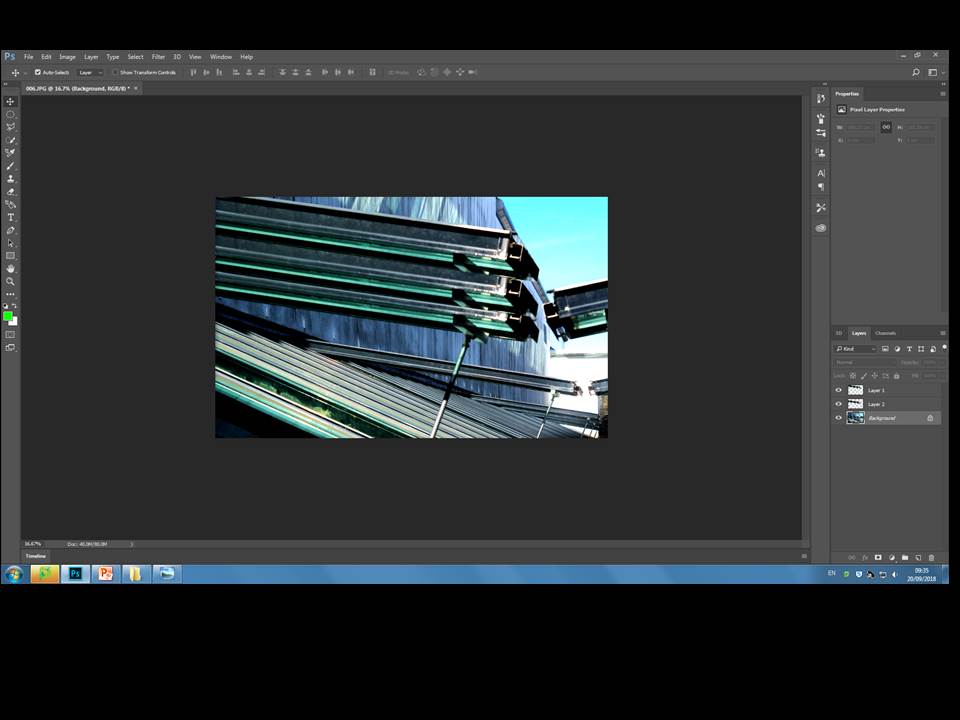
Original Image
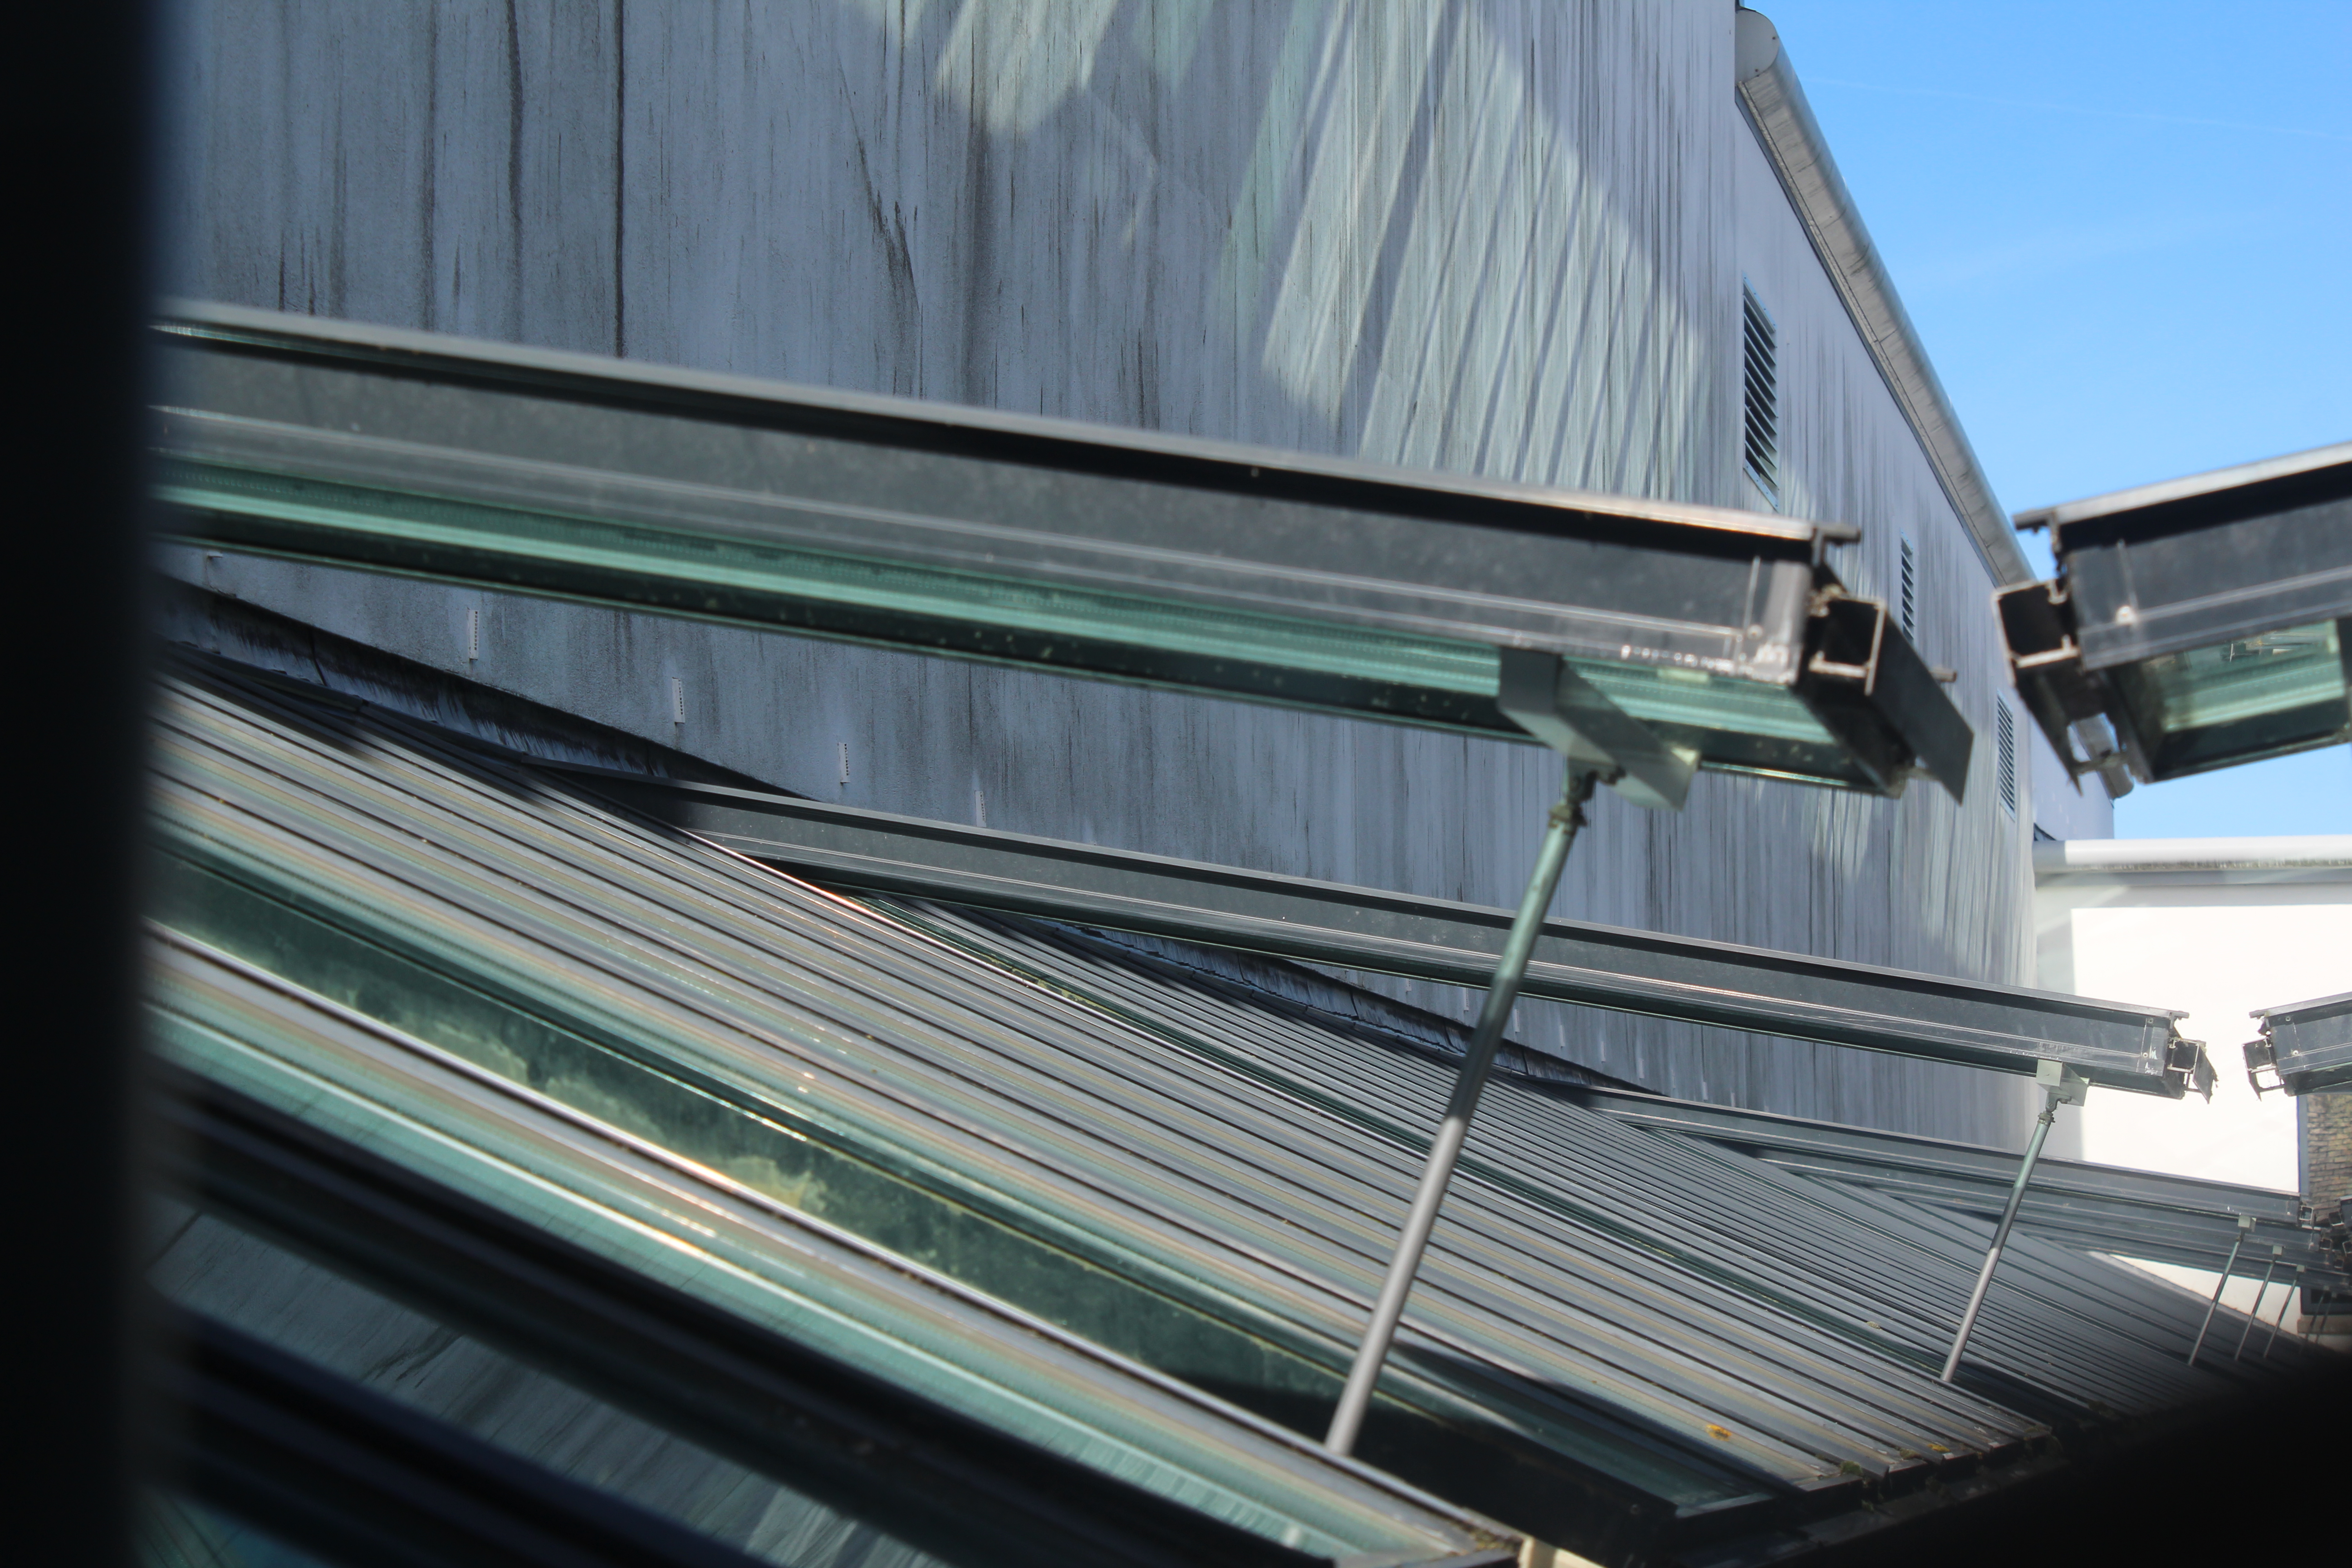
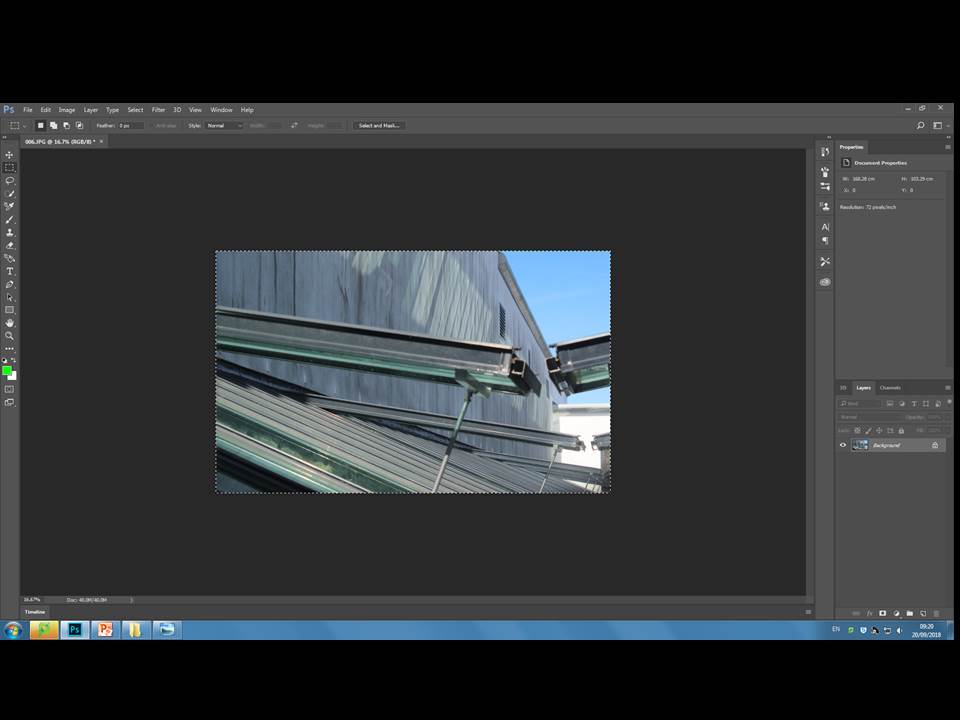
- To begin with I cropped the image down to get rid of the blurred edges that where caused by the window frame. This left me with a clear image of the structure.
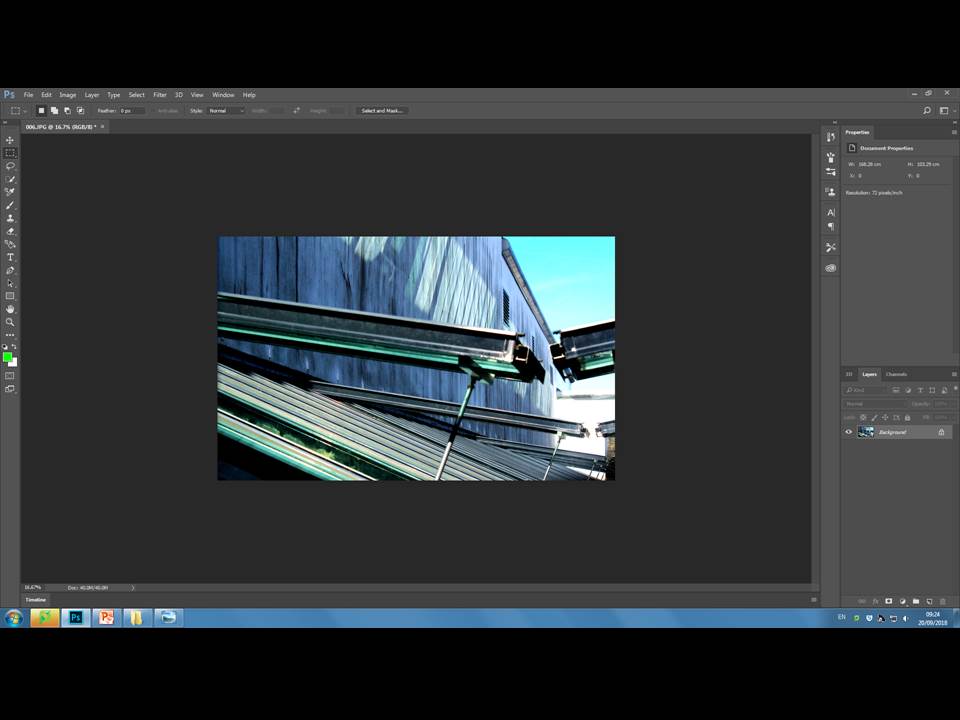
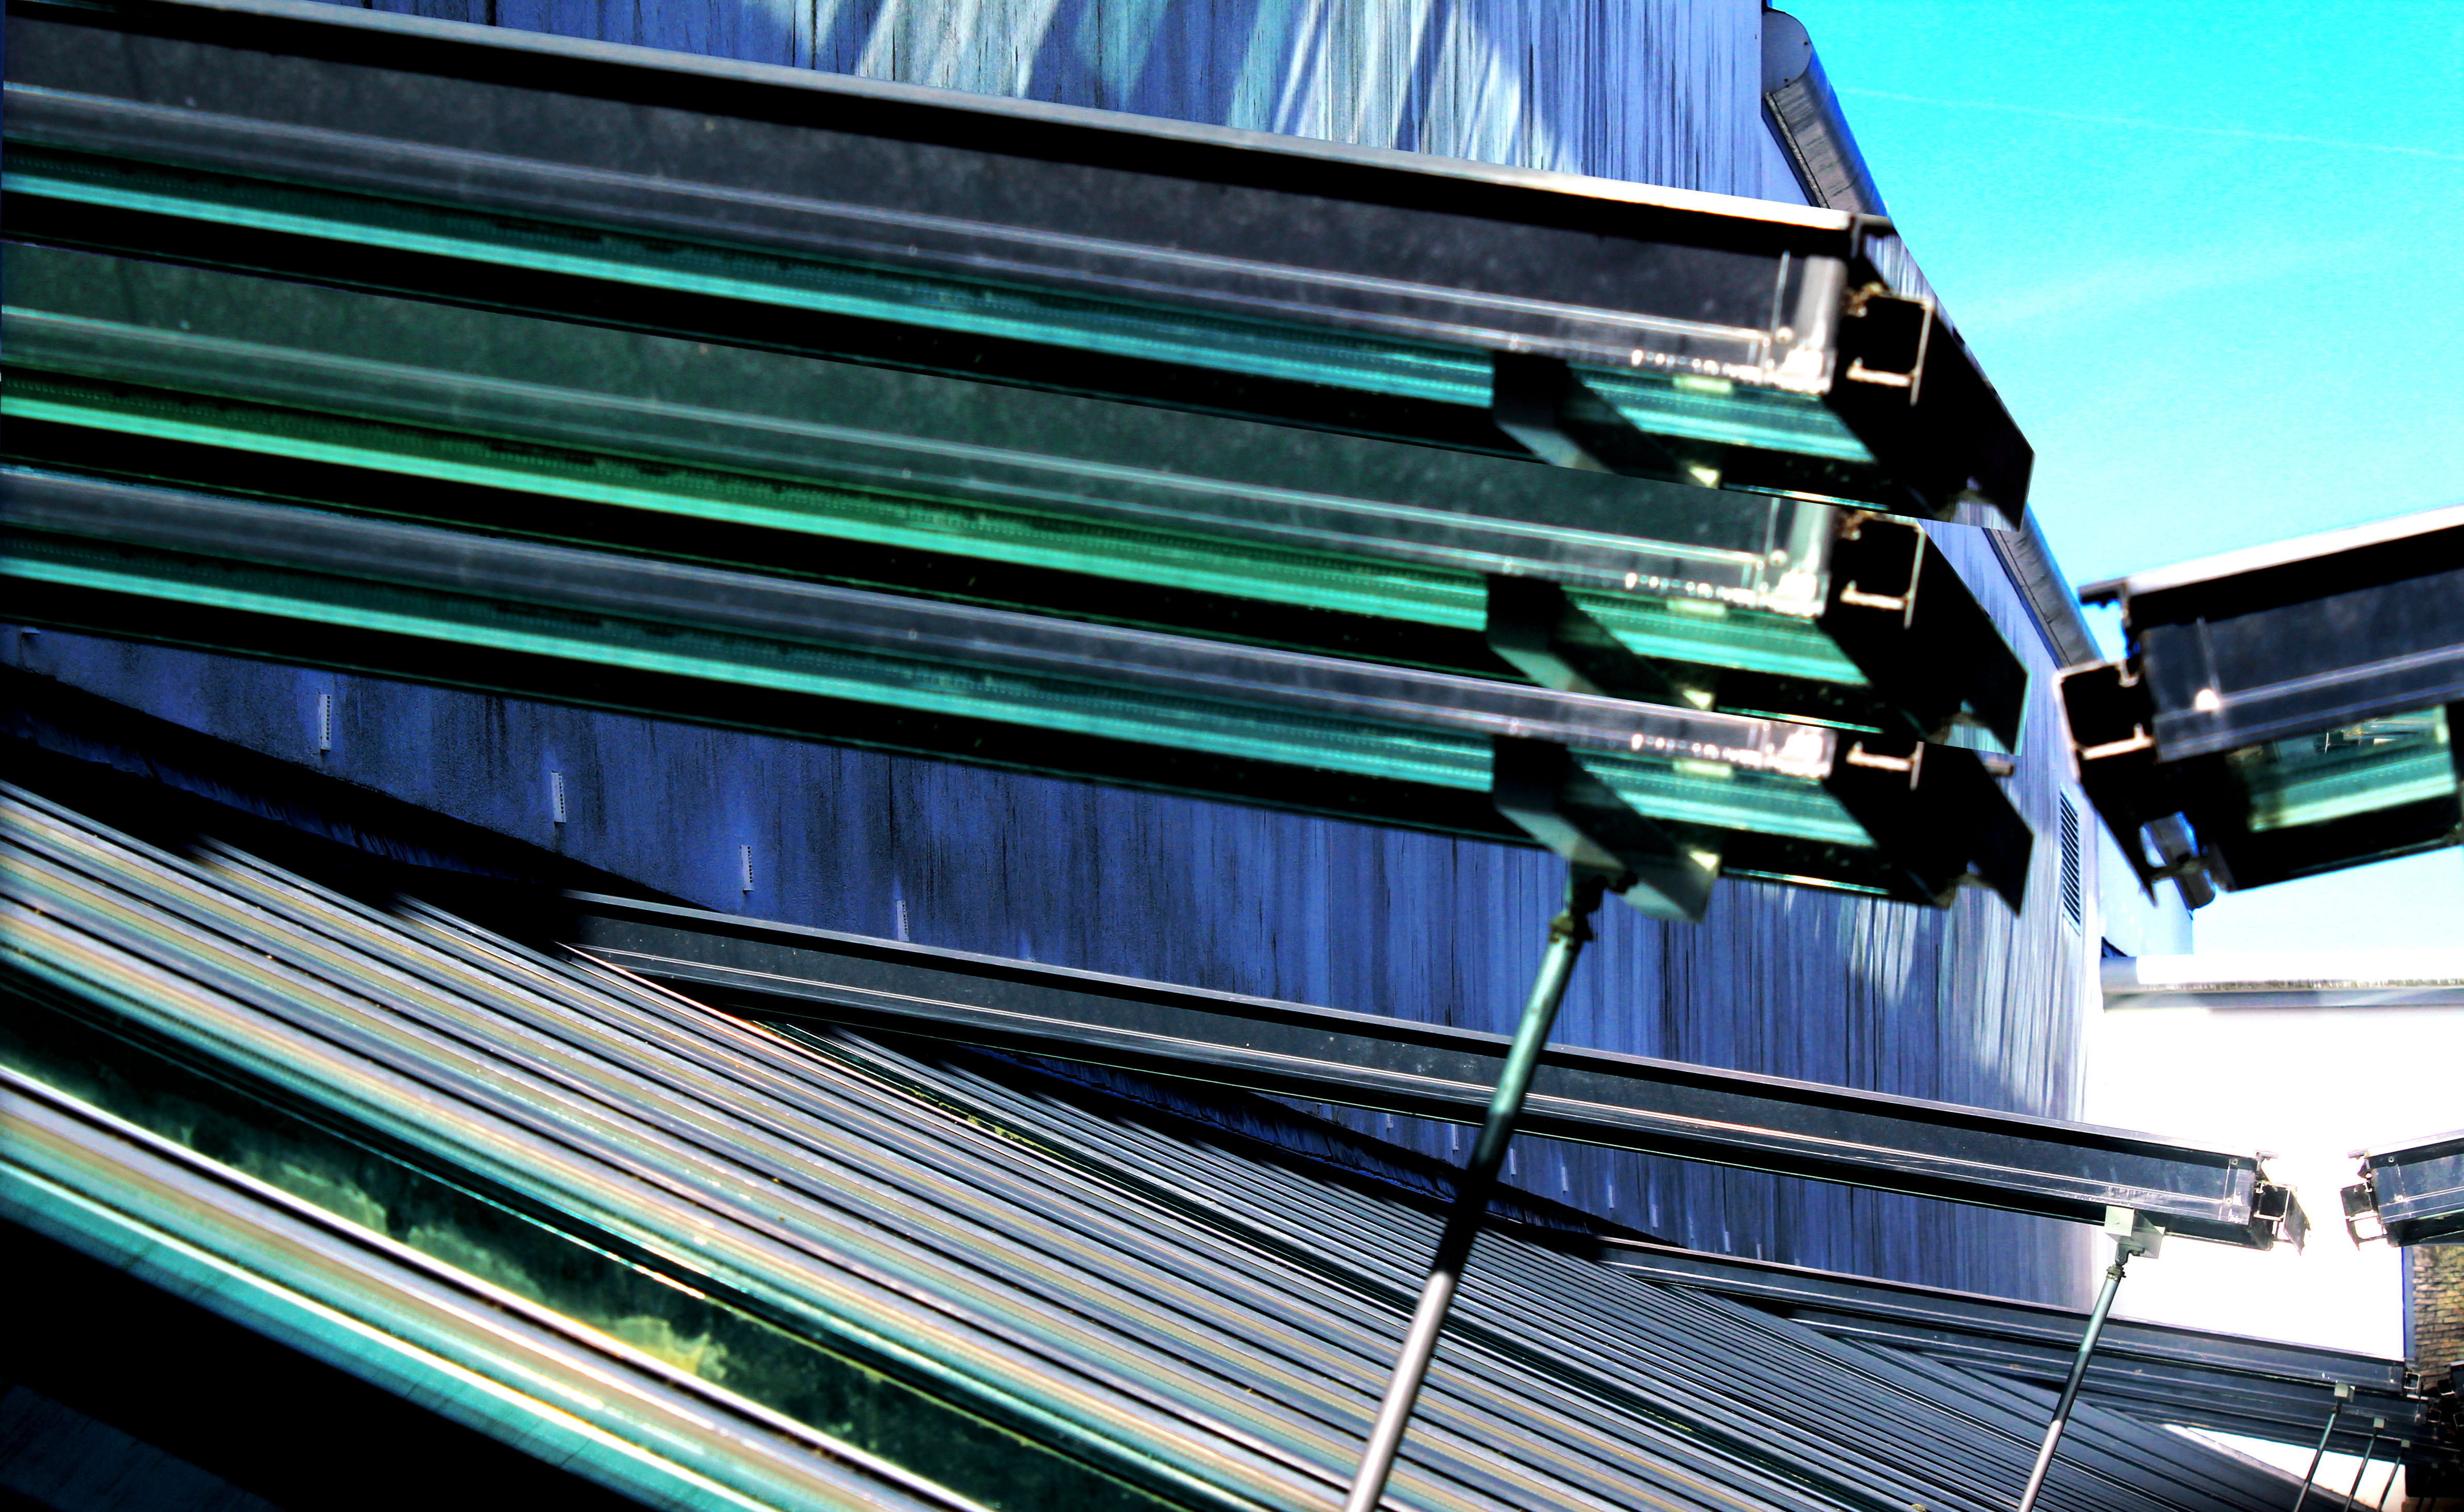
- My next step was to adjust the image while it was in colour, I adjusted the contrast to make the colours more vibrant and I also adjusted the exposure to capture the light in the right corner of the image more vividly.
- Next I cropped out one of the structural lines and duplicated this into another layer and then proceeded to do this again. I did this to create a more geometric abstract image.
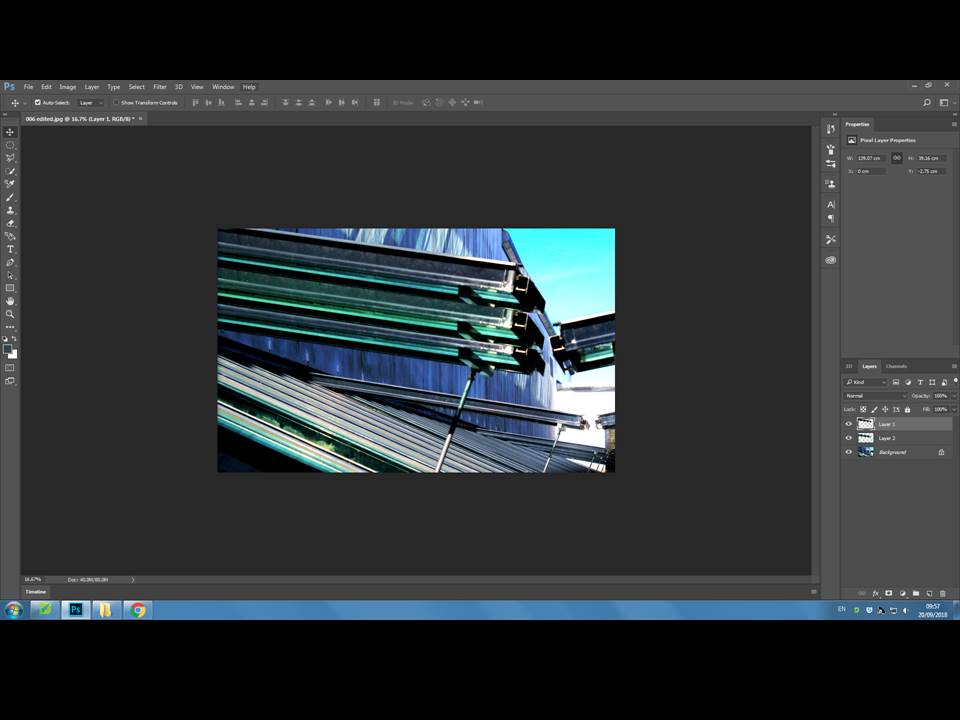
- For my final step I edited the separate colour vibrancy in the blues and cyan’s I did this to make my photograph more vibrant and to pop.
Final Image