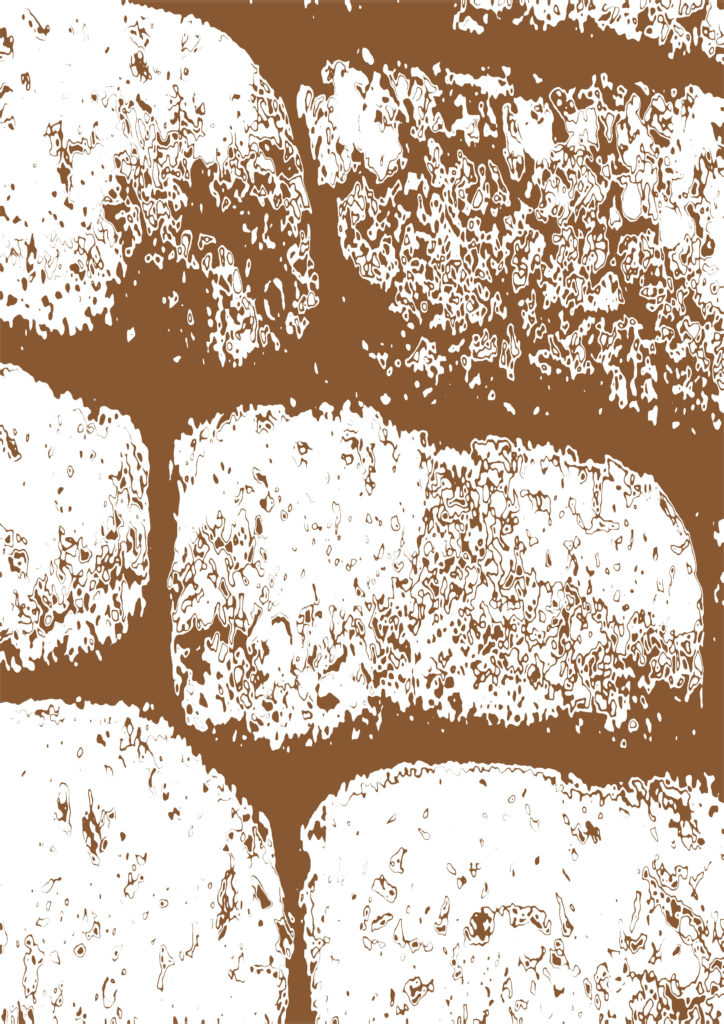
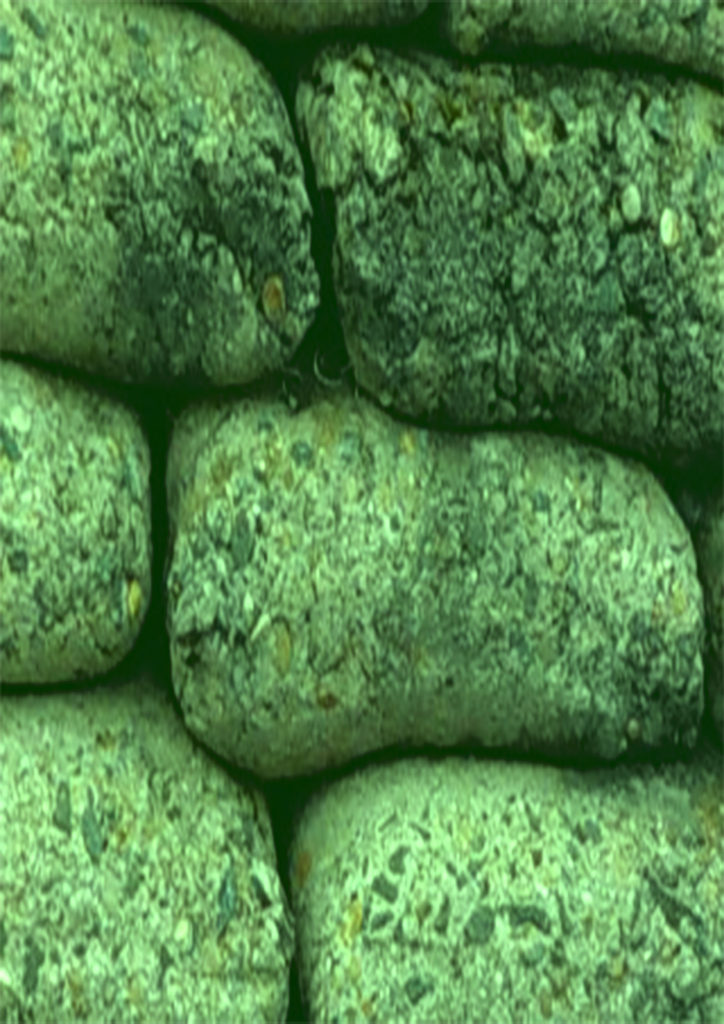
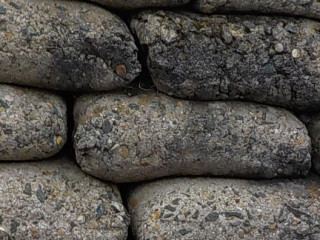
The original Photo Compared To The Edited Versions
- Here i have experimented with the Brightness and the contrast, you can see that have made the lighting lighter and it shows the shadows that have been created from this.
- I have also changed the tone with using the levels allowed me to make the tone to get lighter or darker. the curves allowed me to make the colour more vibrant.
- I have also used the exposure to adjust how the colour and focus and how the picture is presented.
- I have used the vibrance tool so that I can experiment of fixing the saturation of the colour so that the colour is not so bright or the there is the wrong balance.
- I used the saturation tool so I can make the colour more vibrant.
- i have turned this picture in black and white to show the different affect that you just have it in black and white it also also shows how the meaning of a picture can change.
- i used the invert tool see how the picture changed and also I did it to compare the original and the inverted picture.


Good progress so far, well done…now you must ensure that your next photo-shoot is complete and ready to edit during Week 4 and that all blog posts are up to date.
Remember to check your tracking sheet to see what is required and when!