First Steps…
You should all have a valid login now…which provides you with a Hautlieu Creative account so that you can start creating and curating your own blog.
This will be your normal, everyday login details. We expect you to check your emails everyday too…and get used to using Office 365, and follow us on Twitter too (HautlieuC).
The blog provides you with a neat platform to showcase your learning, including knowledge and understanding and of course your images too.
You should have access to the Media Drive (M : Drive)…this is where you must store all of your files. Please check this!
You will learn how to adapt and organise / store your image files…and you must manage file sizes carefully.
We will teach you step by step how to use the blog…then it is down to you to look after it and present your work as thoughtfully and carefully as possible. Each time you publish a blog post…it is then available for marking and assessment. Unpublished work will not normally be marked…thus affecting your progress and success.
We will also comment on your blog posts regularly…which will appear as a new email for you. You are expected to respond to the advice and suggestions accordingly. We constantly track your approach to lesson, independent study and overall progress.
You are expected to take responsibility for your own learning, progress and success during A Level Photography…
- minimum 2-5 hours per week
- weekly photo-shoots (200+images) must clearly demonstrate a range of approaches, reinforcing the techniques you have learnt
- complete any / all incomplete class tasks by the end of the week
- contribute your own photo-assignments + research
- seek out opportunities to extend your learning / skill level
- if you are absent you must check the blog daily / check emails for instructions, guidance and advice and complete in accordance with deadlines for your teaching group (these may change depending on timetable).
Enjoy…and good luck!
Task 1
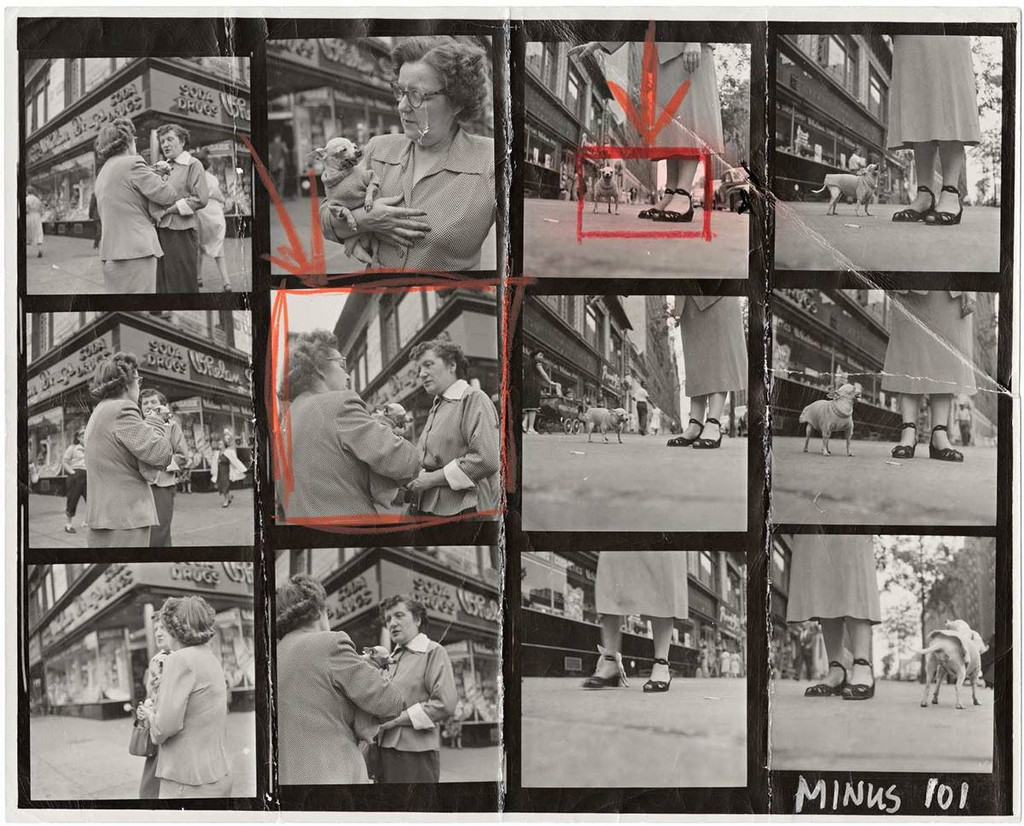
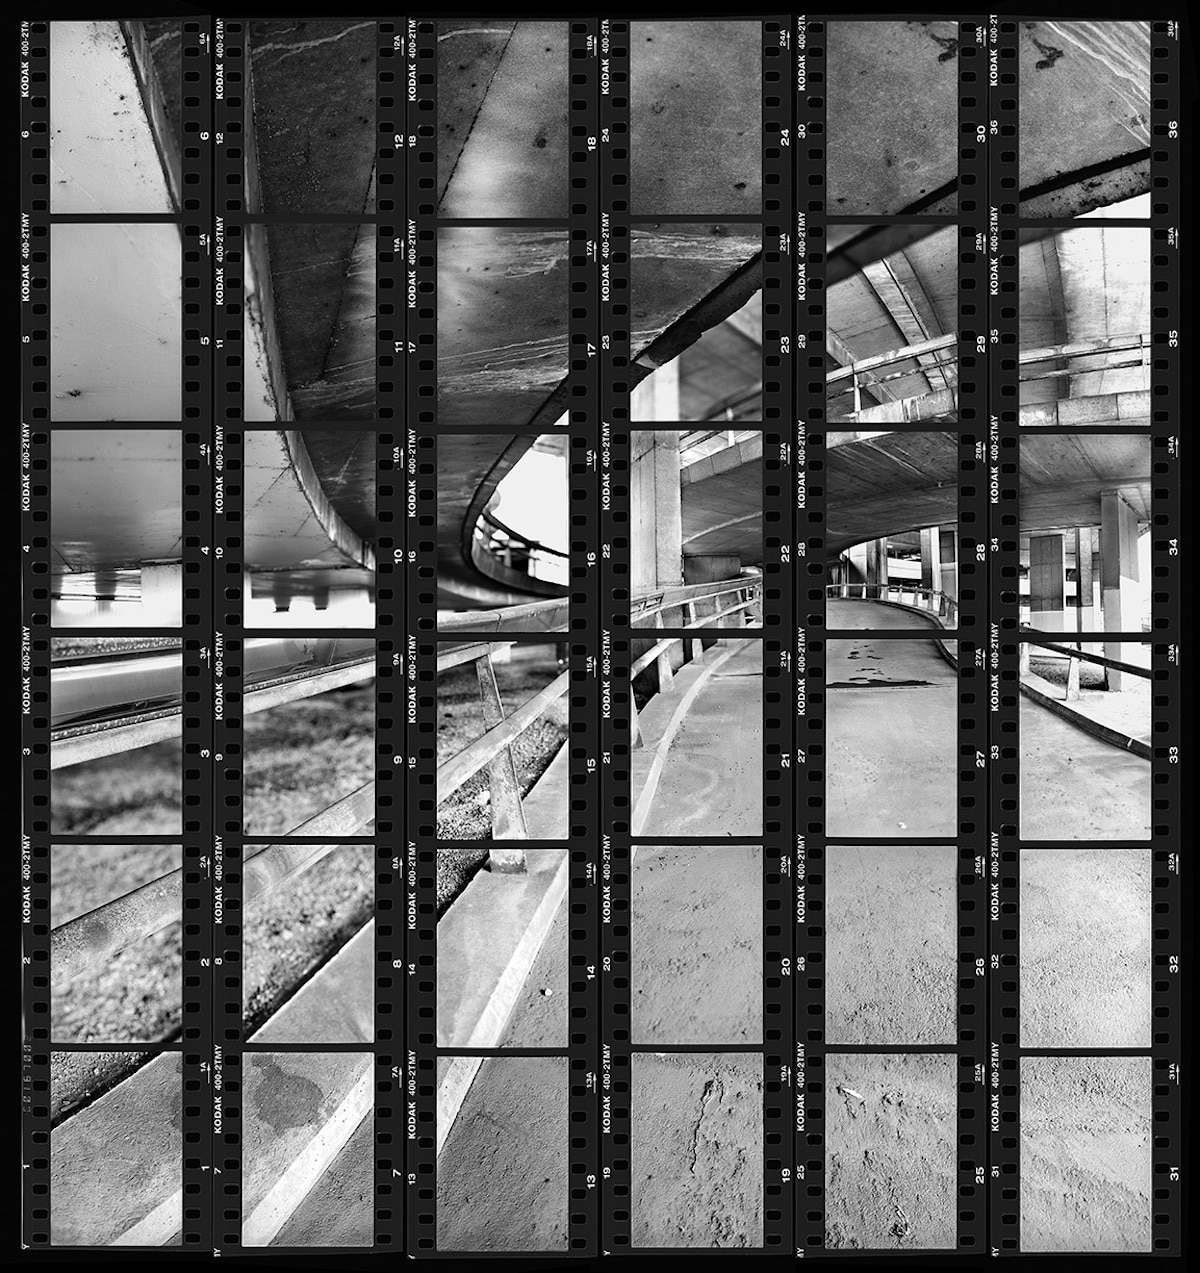
Create and publish a contact sheet (evidence of a photo-shoot)
- Describe and explain what a CONTACT SHEET is…
- Create a gallery / grid of images from a recent photo-shoot and upload to a blog post
- Why are contact sheets useful / essential
- Try annotating / colour coding / cropping / arranging your contact sheet to show the start of a selection process
- Look at the examples below which include work by William Klein and Elliott Erwitt. Both photographers were known to include contact sheets as part of their final images as well as experiments.
- Remember…you can Add your images to a powerpoint, then convert to a JPEG and upload to the blog using JPEG File Interchange Format or try creating them as screen shots.


(Homework)Task 2 Photographing Paper
- Take an A4 piece of plain white paper
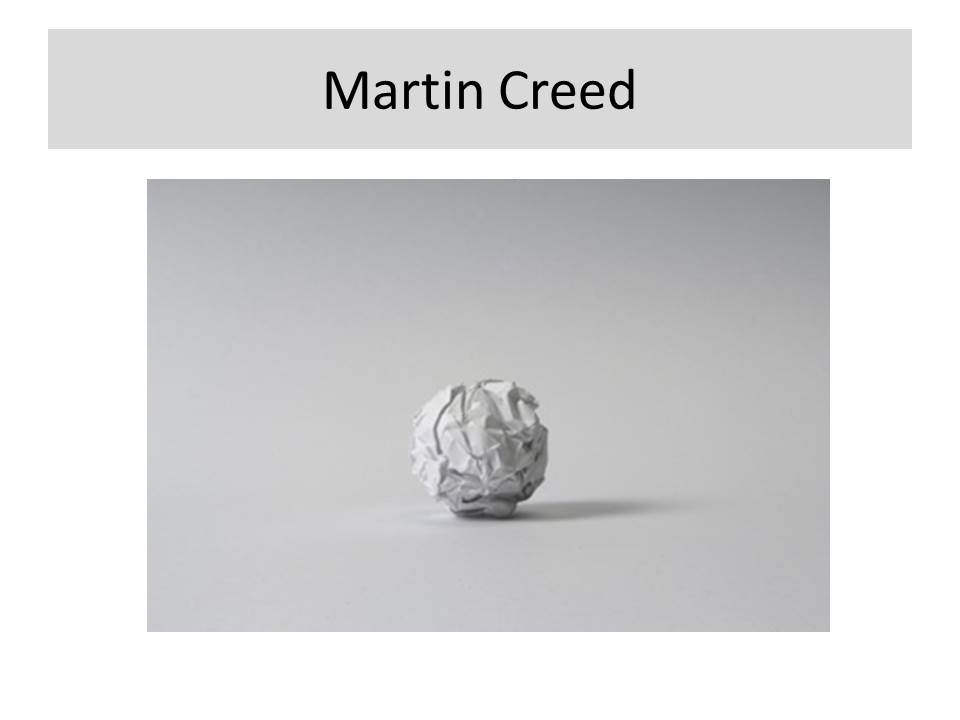
- Scrunch the paper into a ball
- Using your iphone / camera photograph the ball
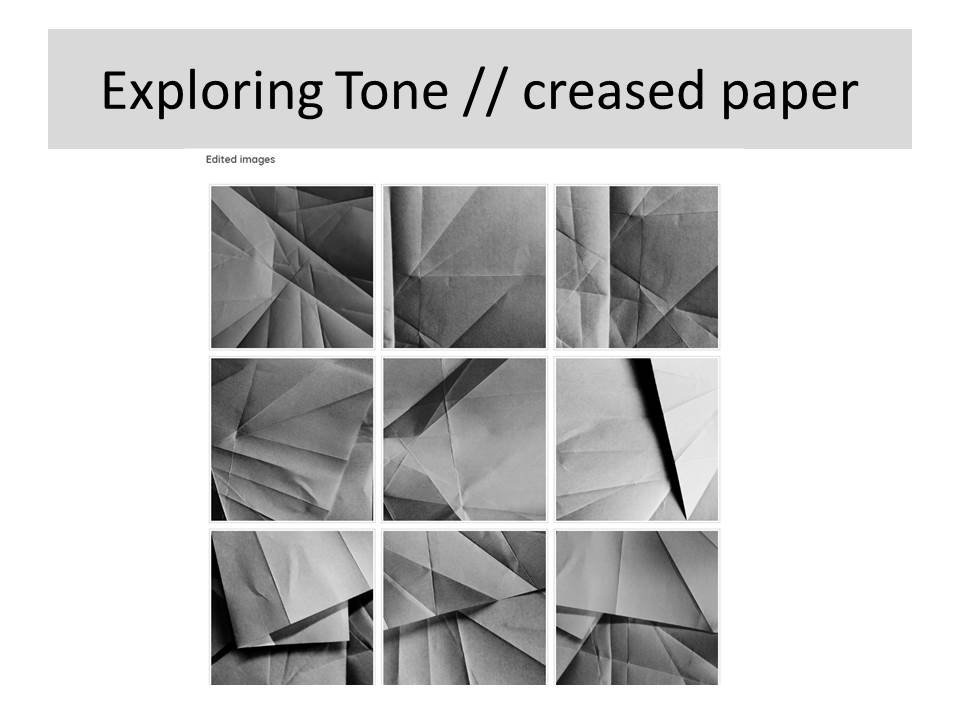
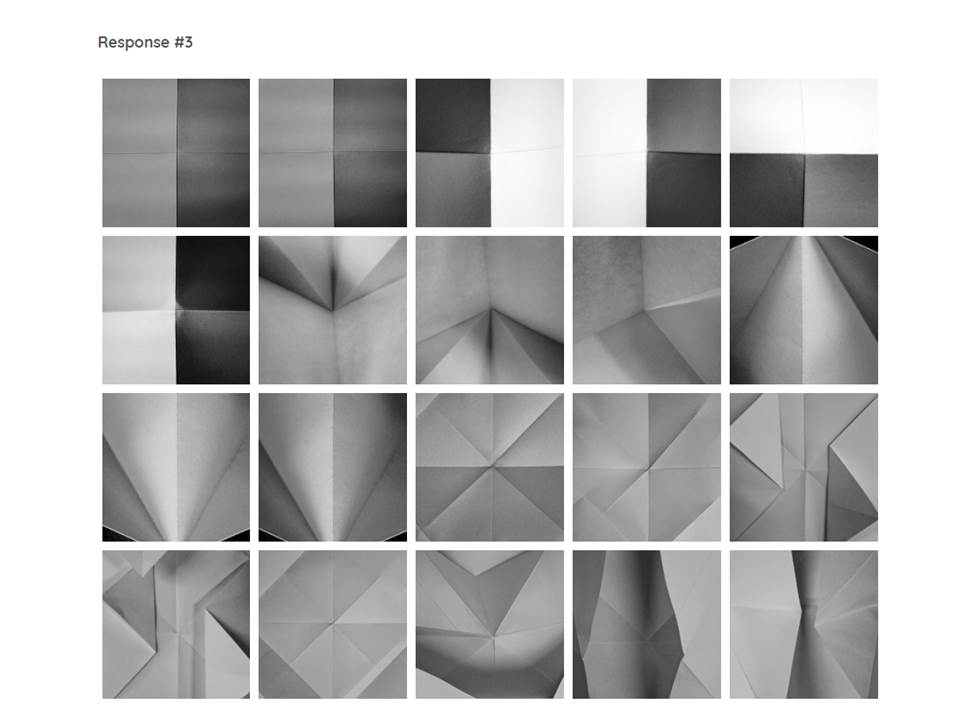
- Think carefully and creatively about how you can transform the paper ball…
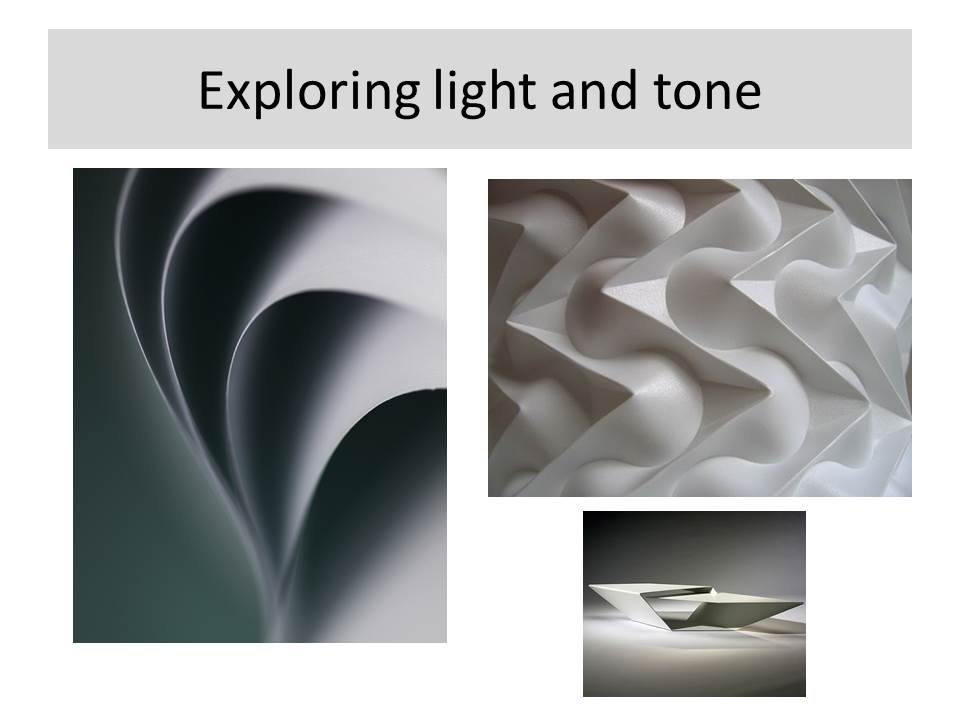
- Try to show various approaches to composition and framing, exposure, lighting, movement, focus, shadow-making
- Take as many different, interesting, quirky, sequential, right, wrong and intelligent photographs of the paper ball.
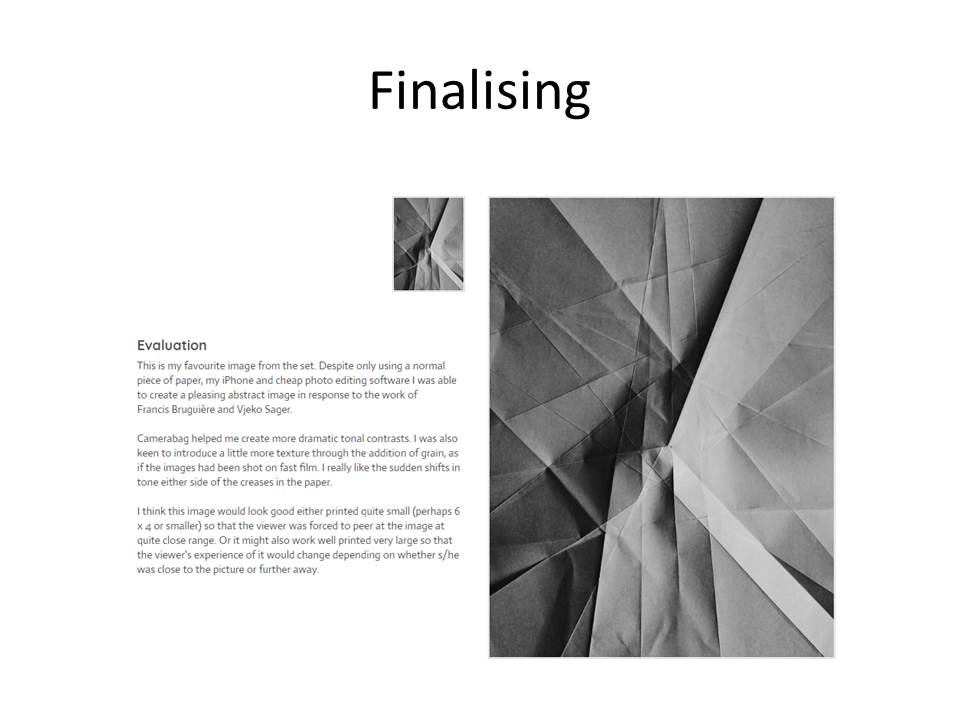
- Create a visual blog post that relays your experiments and outcomes clearly
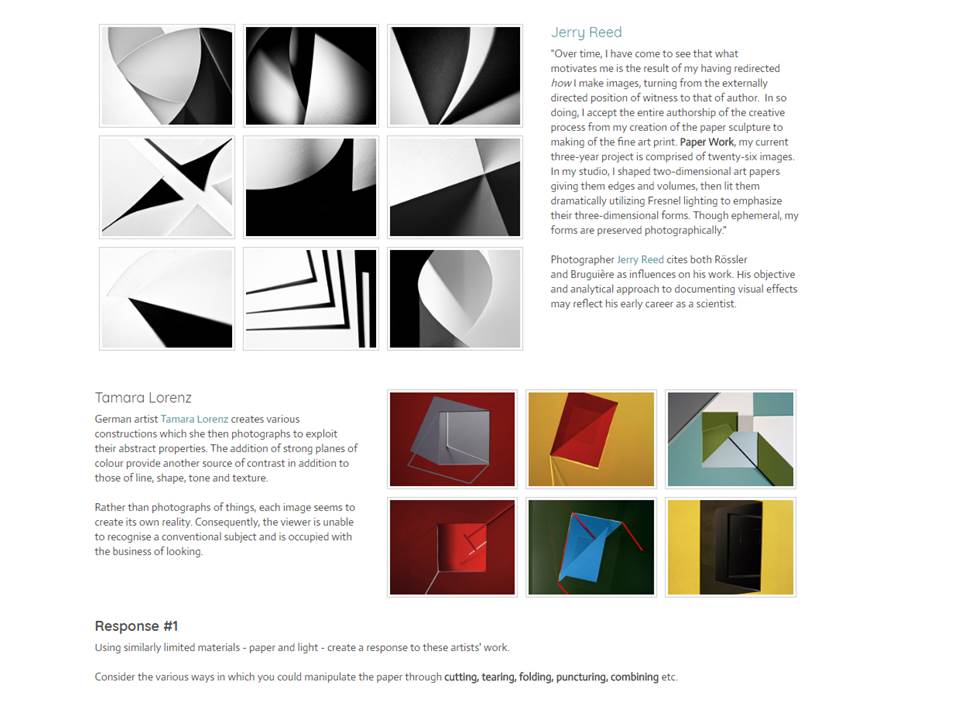
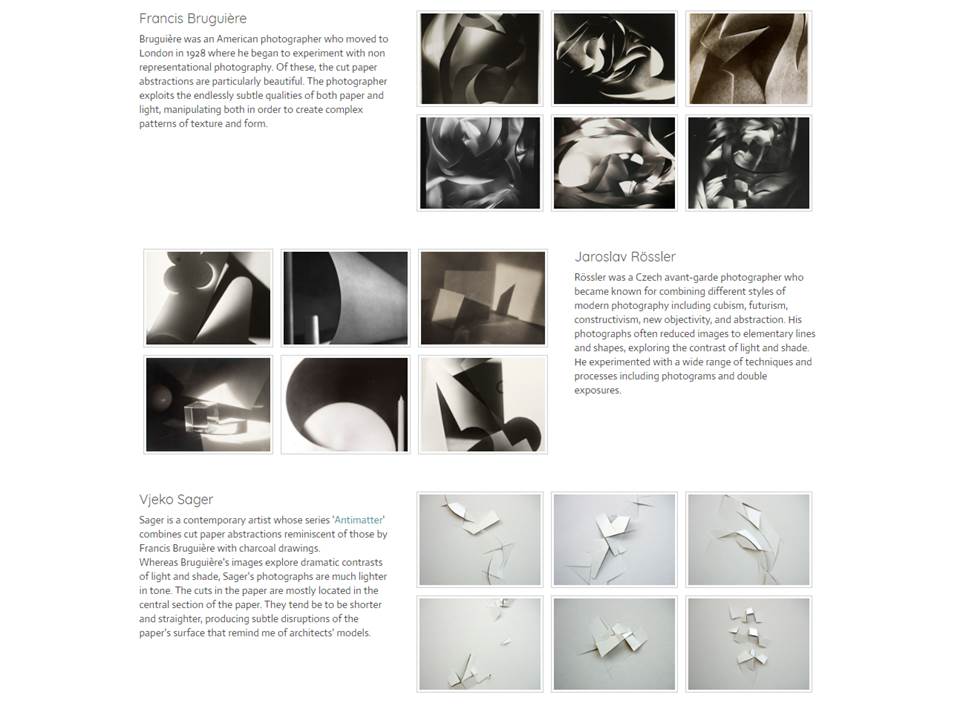
- Include references to any artists / ideas that have influenced your outcomes
- Evaluate your process and present a final image / set of final images
- Homework due in FIRST LESSON OF WEEK 2
