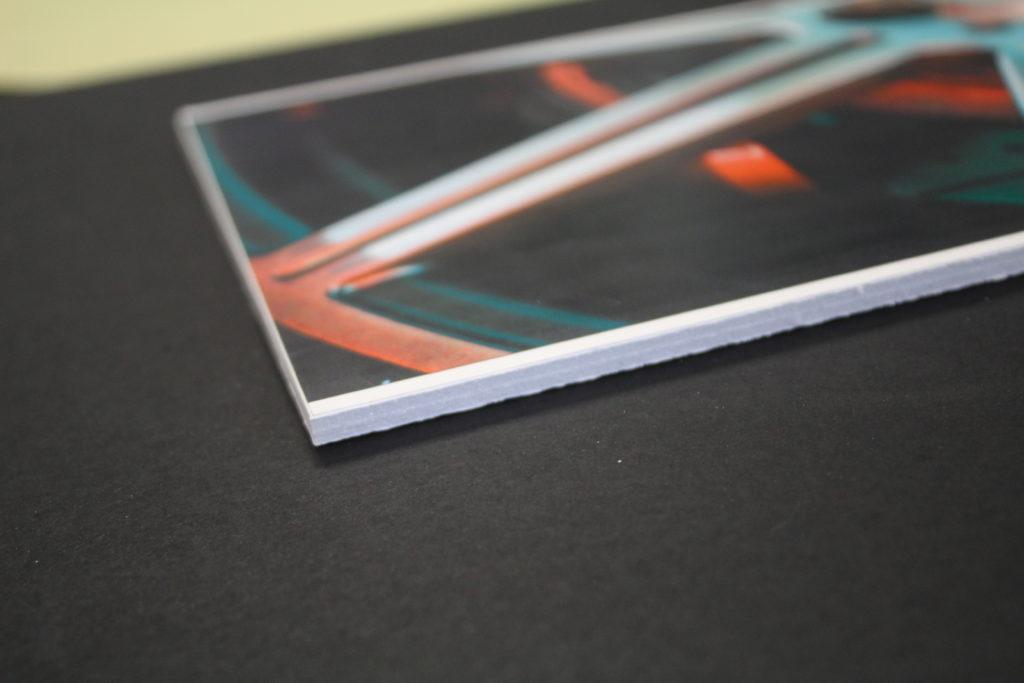
The following are photos of my prints after I have framed them.
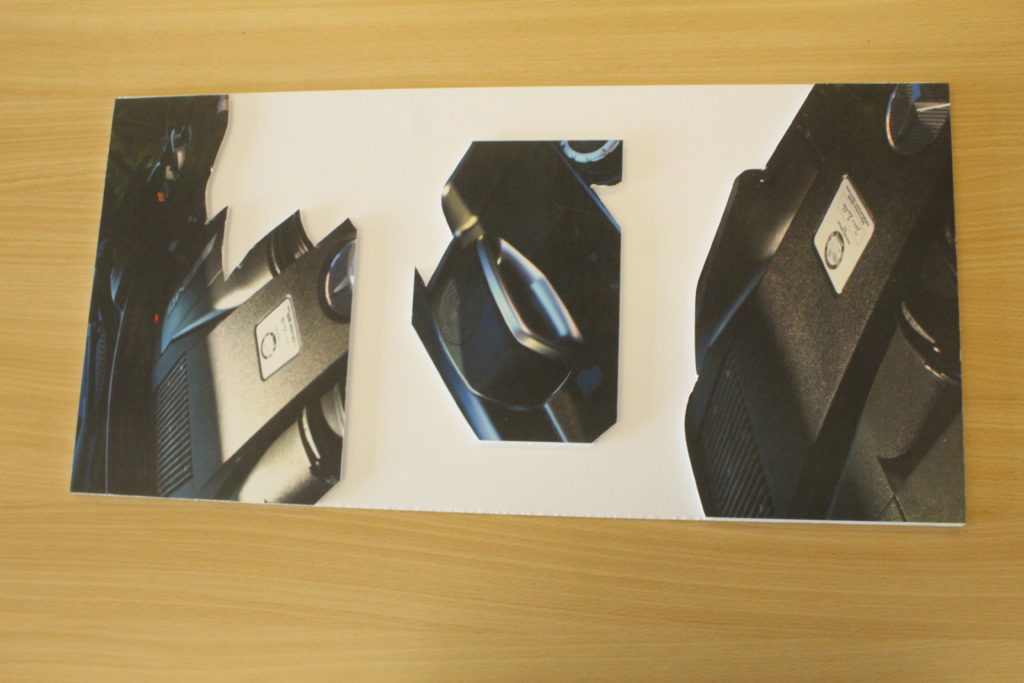
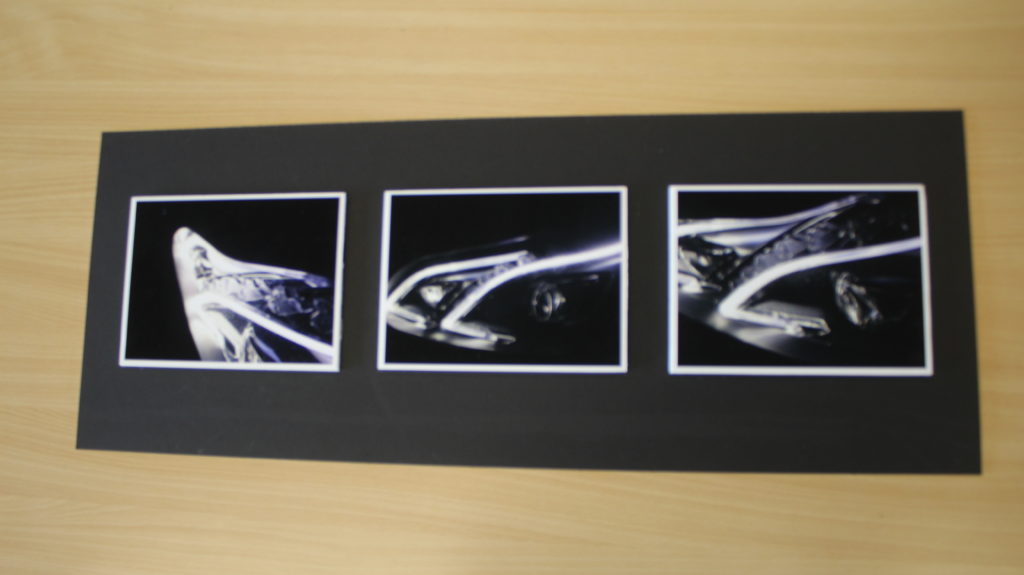
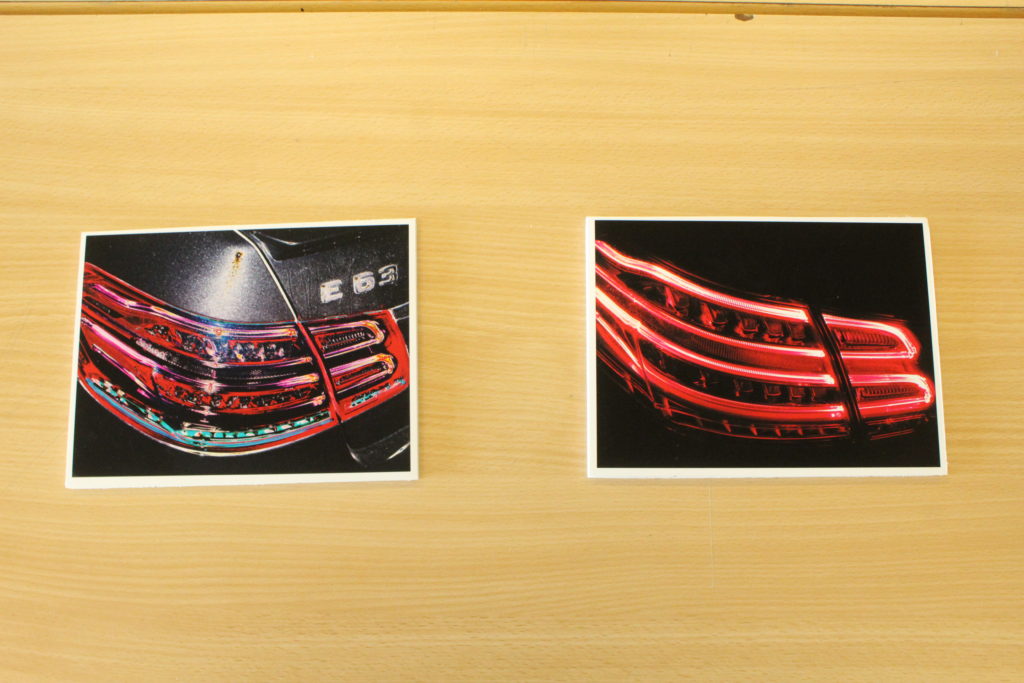
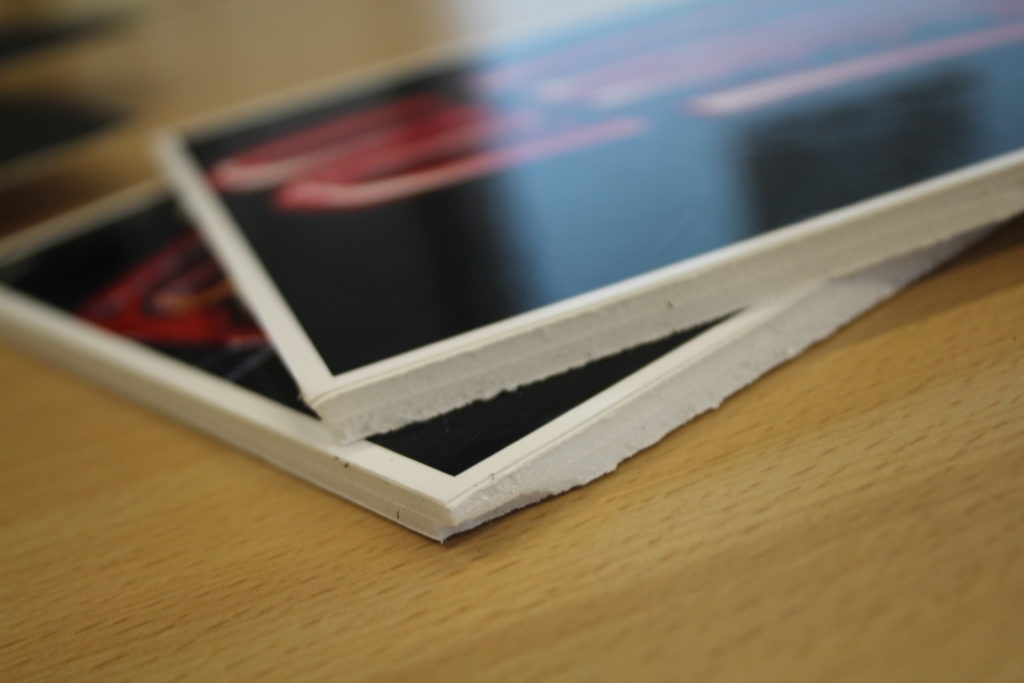
The following 2 images are of two more images which I have just stuck onto foam board due to running short of time, they are also printed with a gloss finish.

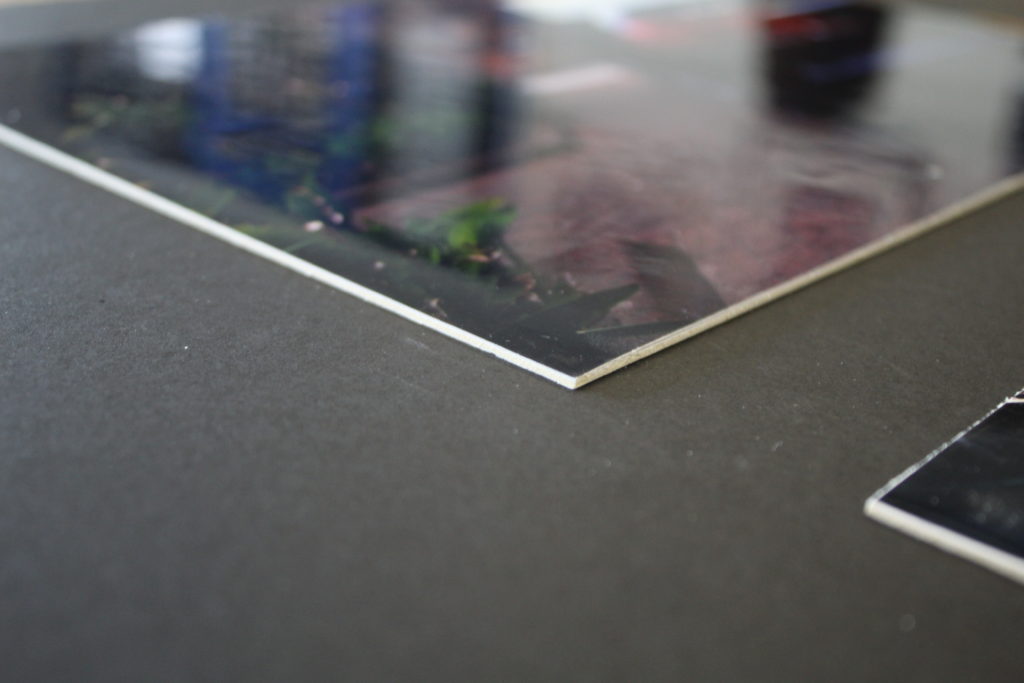
The following are photos of my prints after I have framed them.
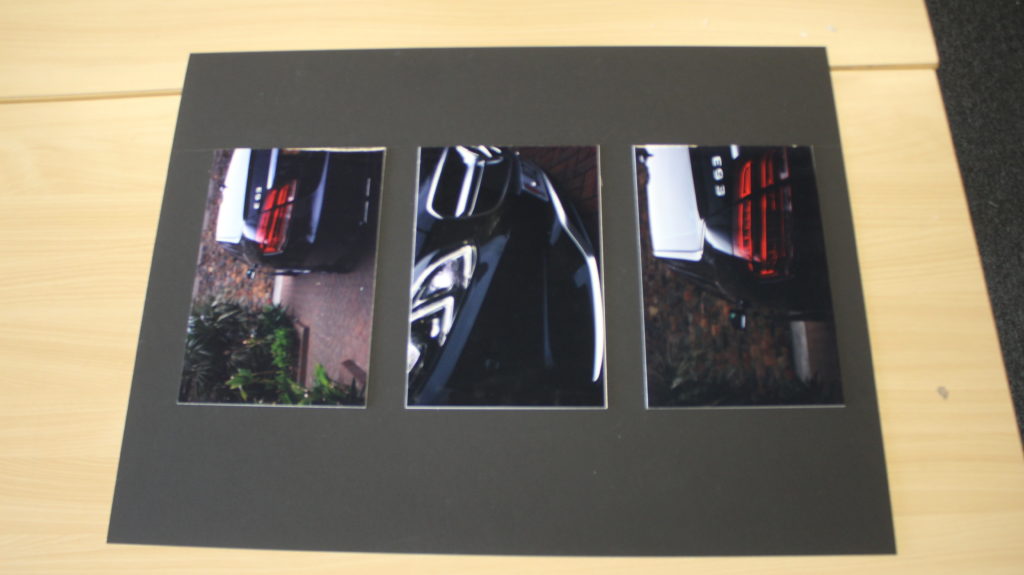
The following 2 images are of two more images which I have just stuck onto foam board due to running short of time, they are also printed with a gloss finish.
These are images which I have printed after finalising the rest. I have still printed the others, but printed the following images outside of school:

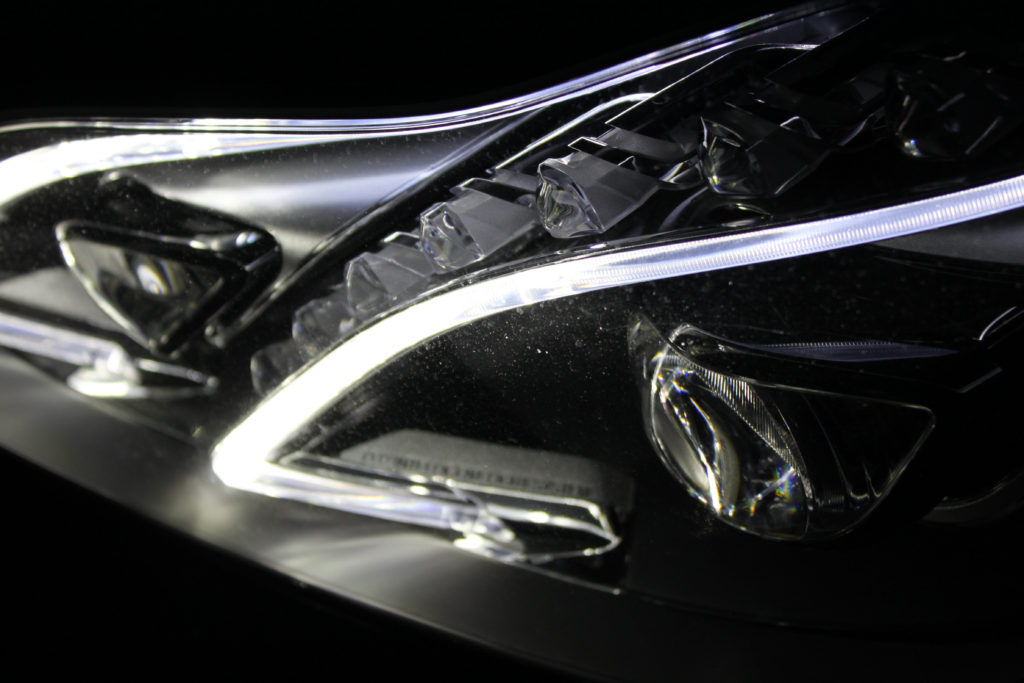
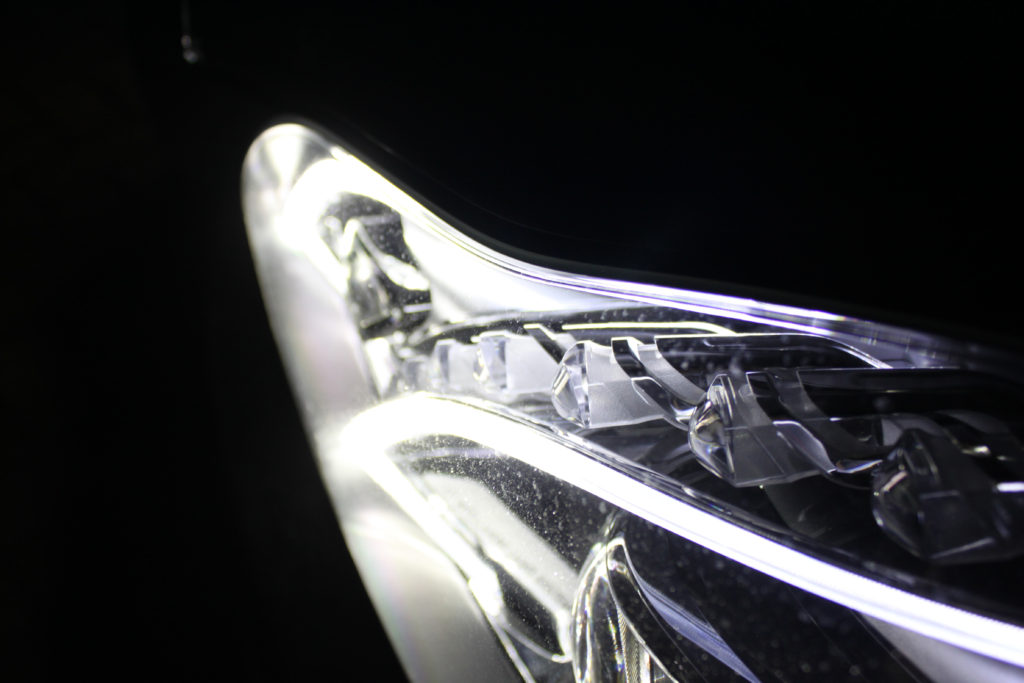
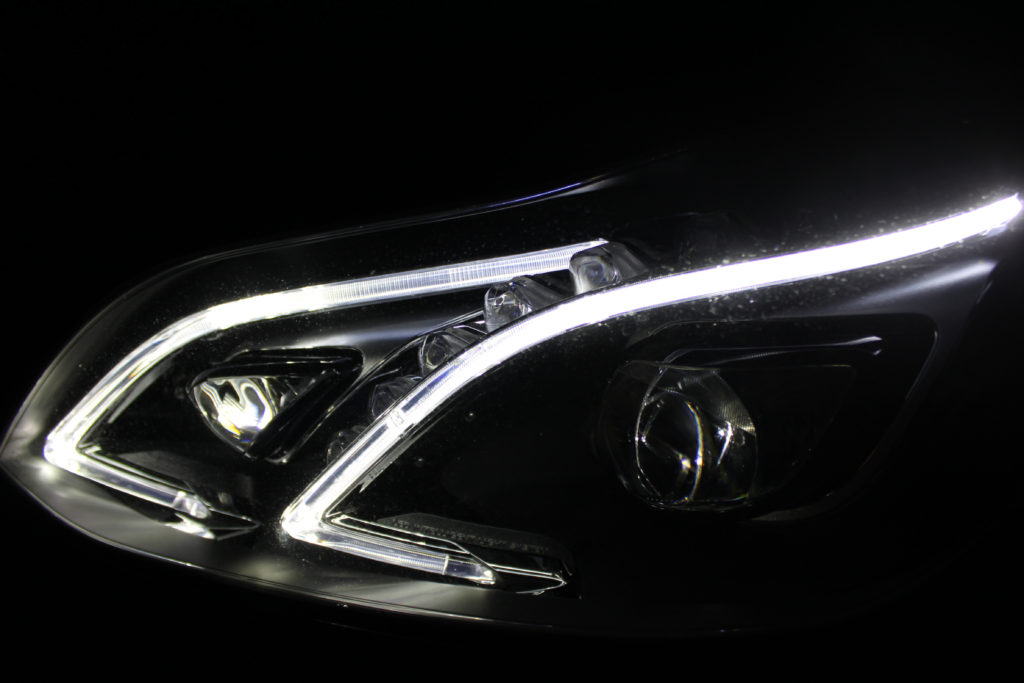
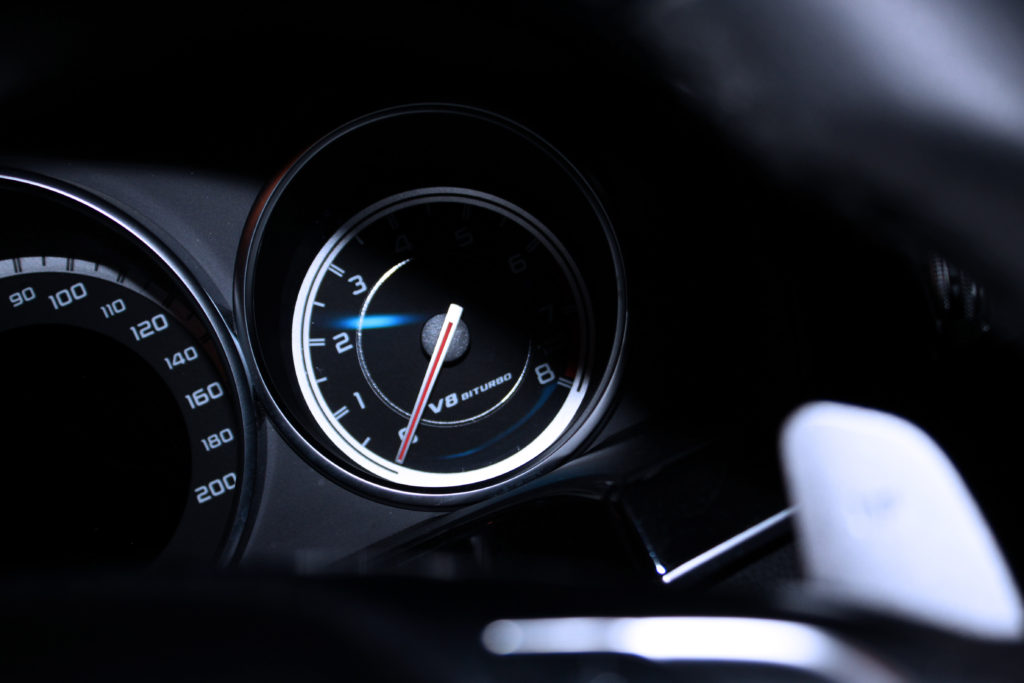
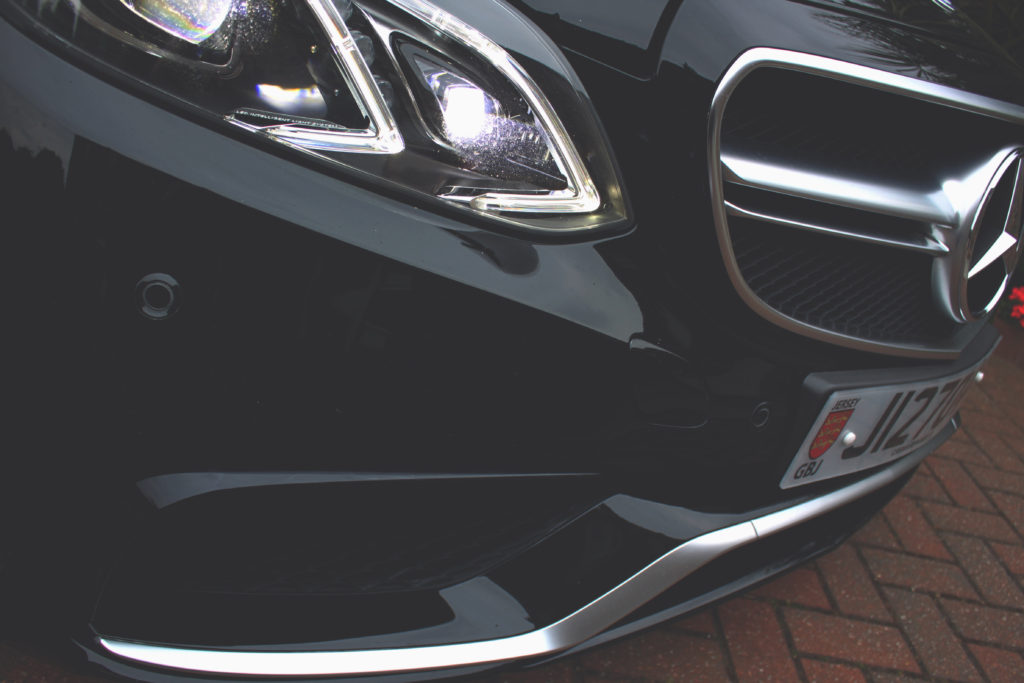
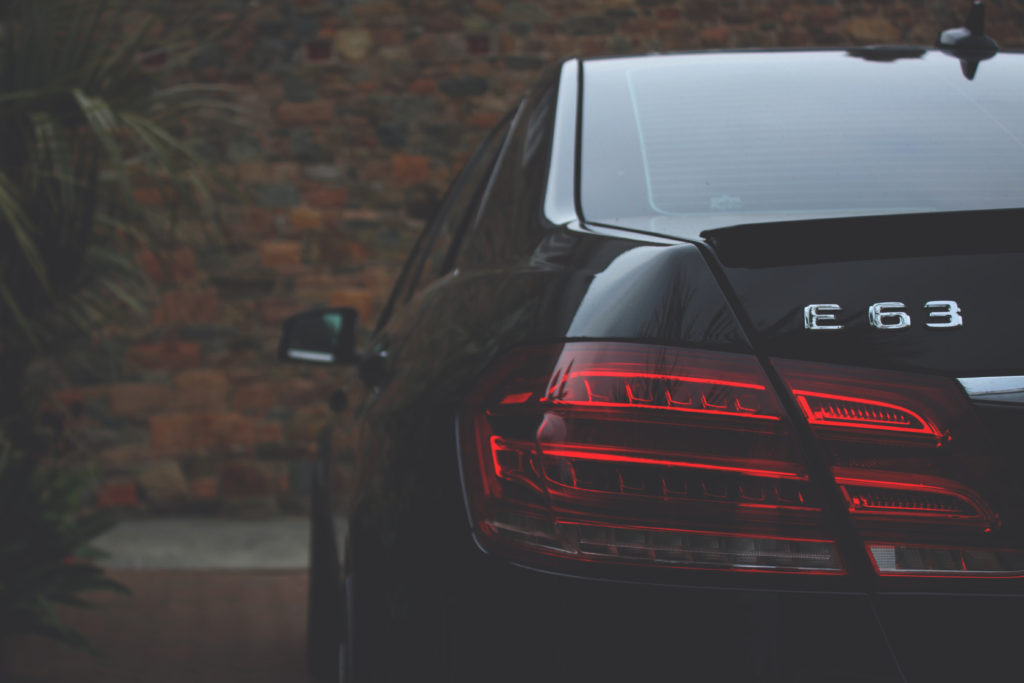
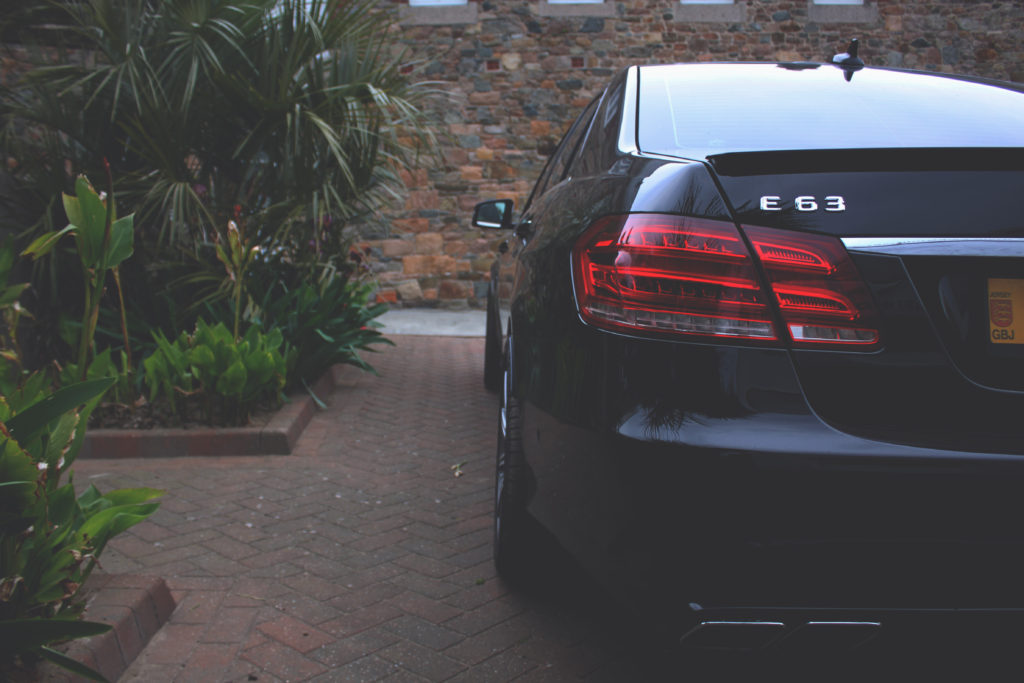
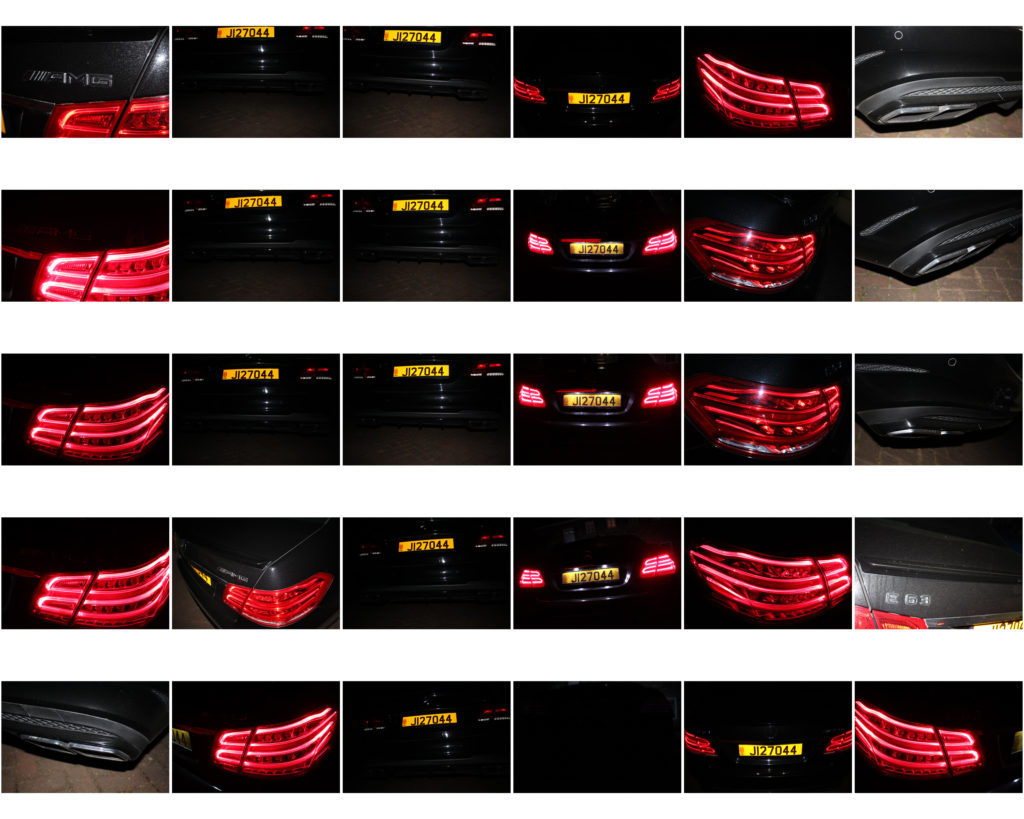
These are the final images from my fourth photo shoot. These have all been edited at least slightly to emphasise their strong areas. There is quite a lot of them as it was a large photo shoot.


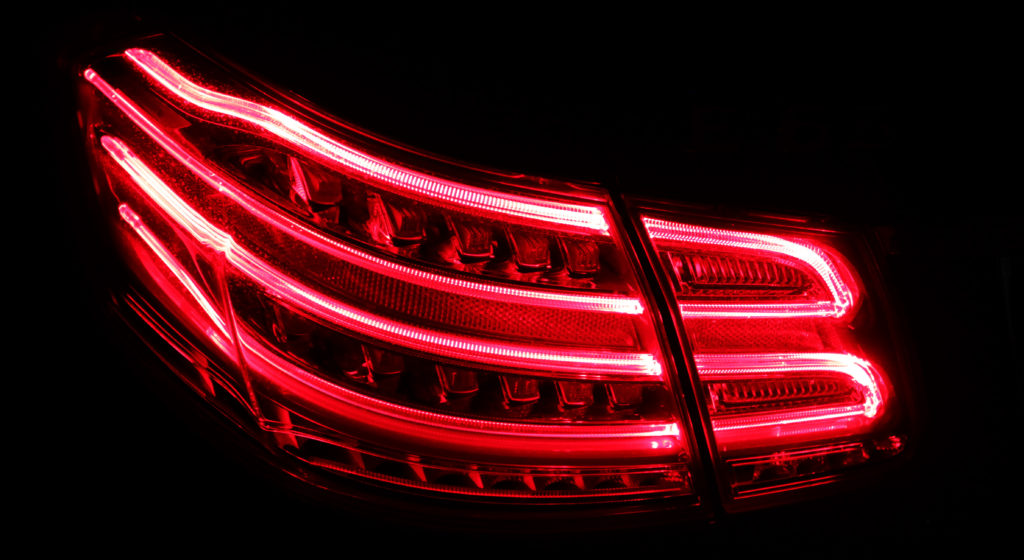


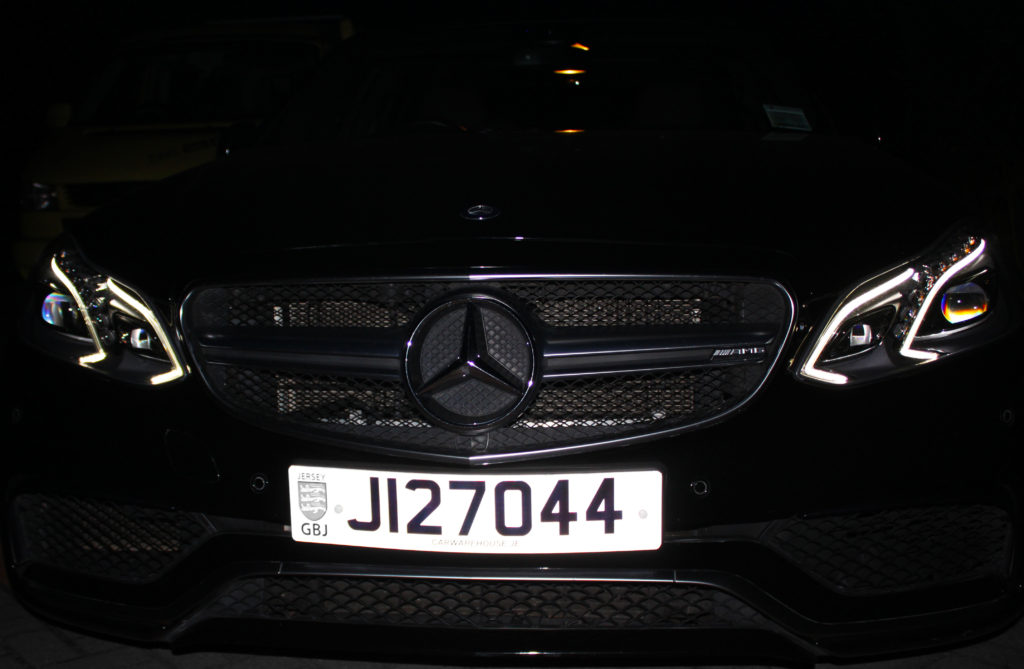


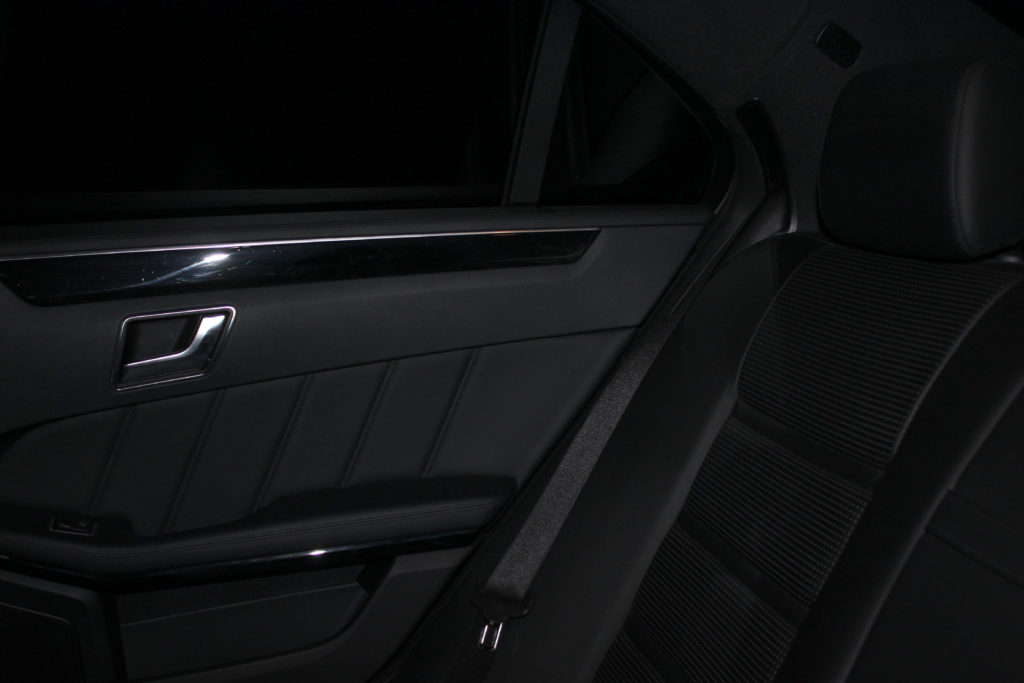


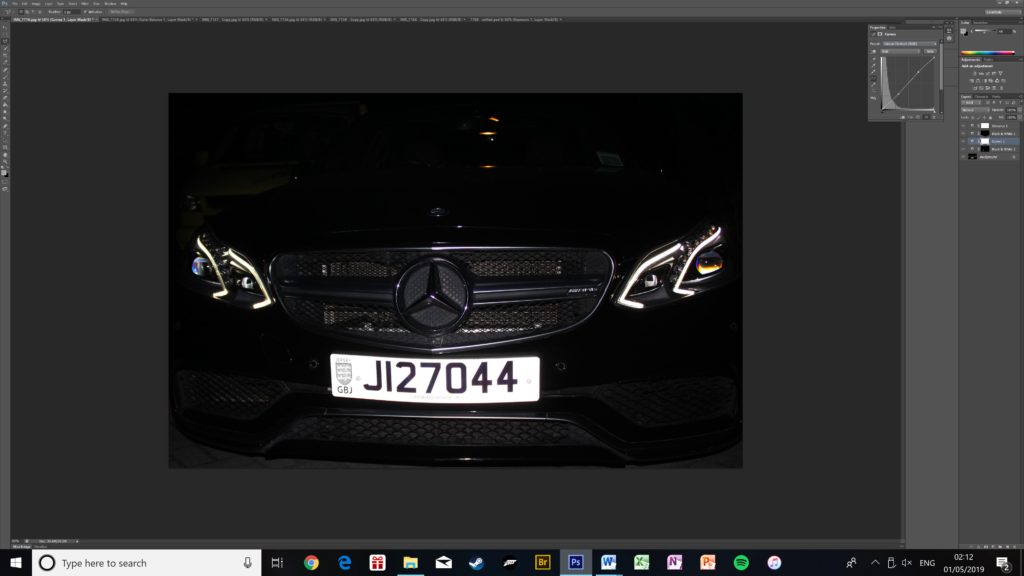

This photo shoot took place over 2 days, but the bulk of the photos are from the first day; which were taken after sunset to add effect to the lights of the car. There is one image that isn’t from this shoot as it was just a test image to make sure everything is in working order.
These are all the images from that photo shoot:


These are the final images I have chosen for this project. The majority are from one photo shoot as my other photo shoots didn’t go as well as planned; therefore resulted in mediocre outcomes.


This is a virtual photo gallery I have created for this project from some of my final images.
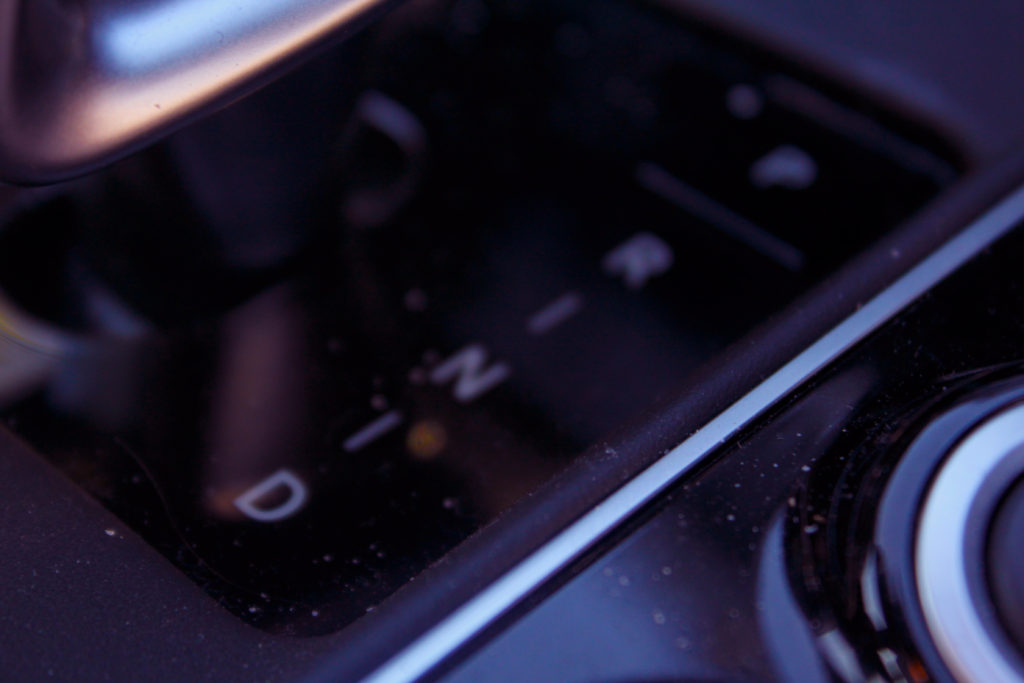
It is split up into three sections of photos grouped together based on their similarity. The first group on the left are in pairs of photos with similar colour grading and of similar objects, these being an engine and a gear selector.
I have chosen to put the middle photo on its own as its colour grading and effects don’t match those of my other final images.
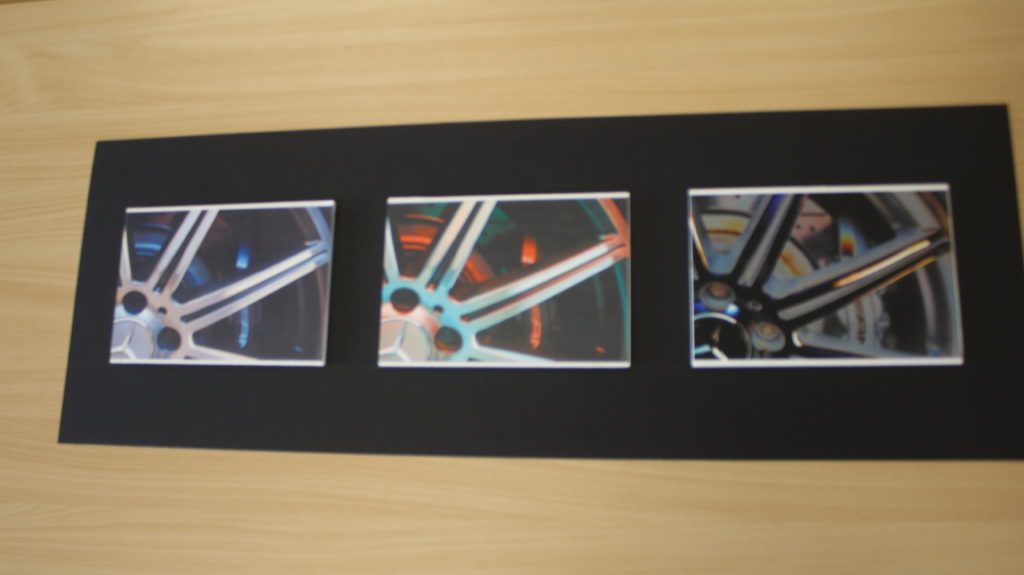
The group on the right consists of the same original photo which has been edited in three different ways. One being filters and colour grading, another being colour mapping and masking, and the final being posterizing.

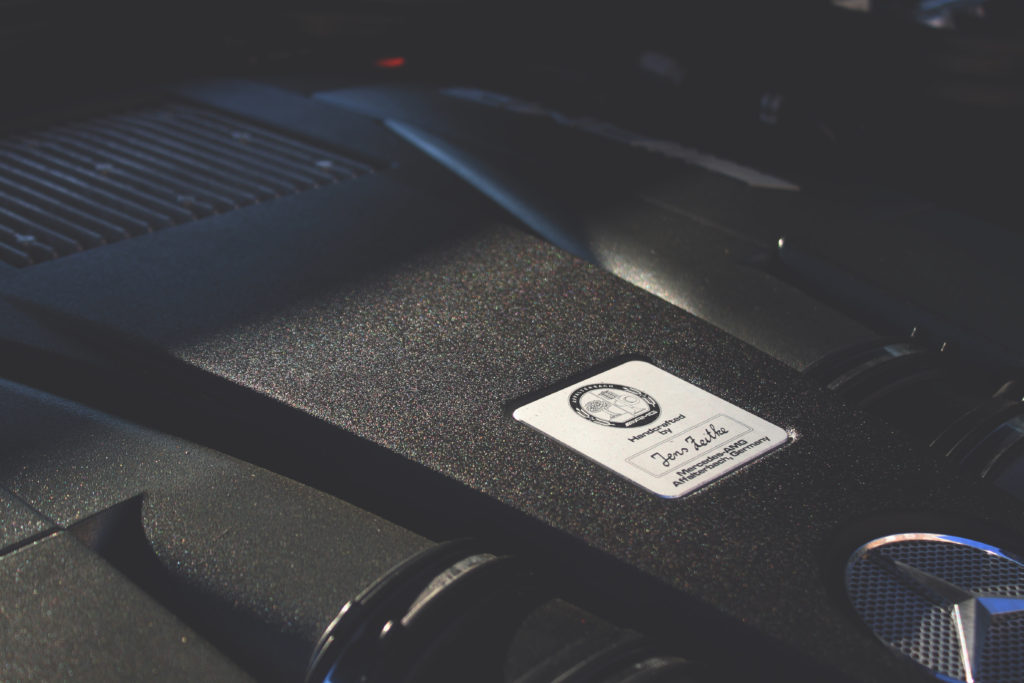
These are the best photos from my third photo shoot. I will use some of these to print as my final images as they turned out really well.