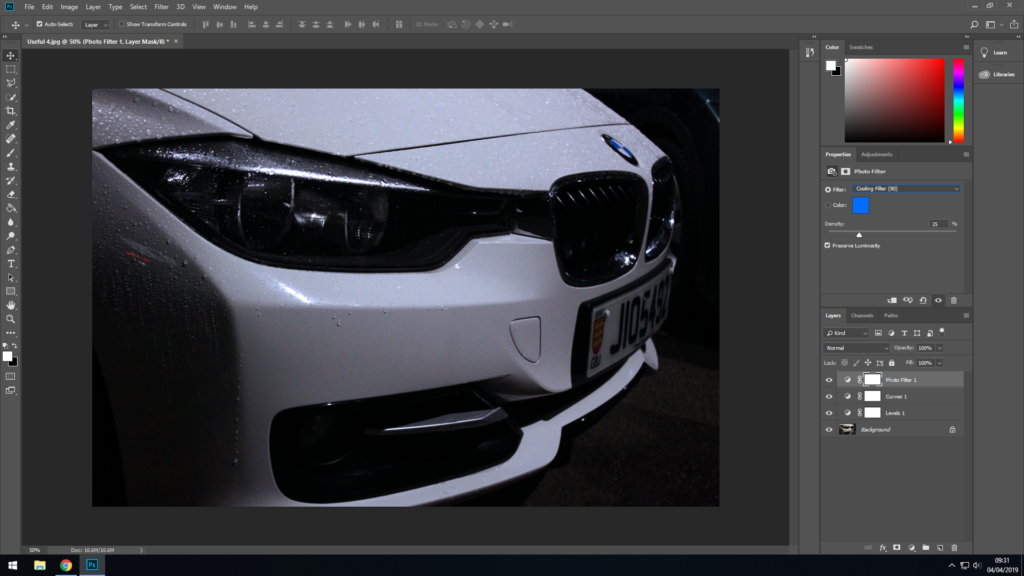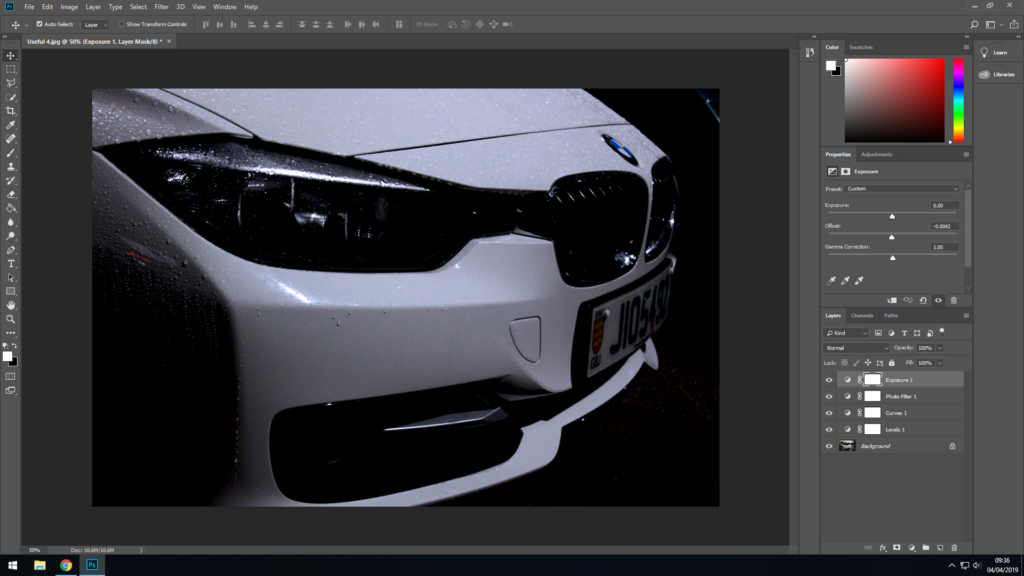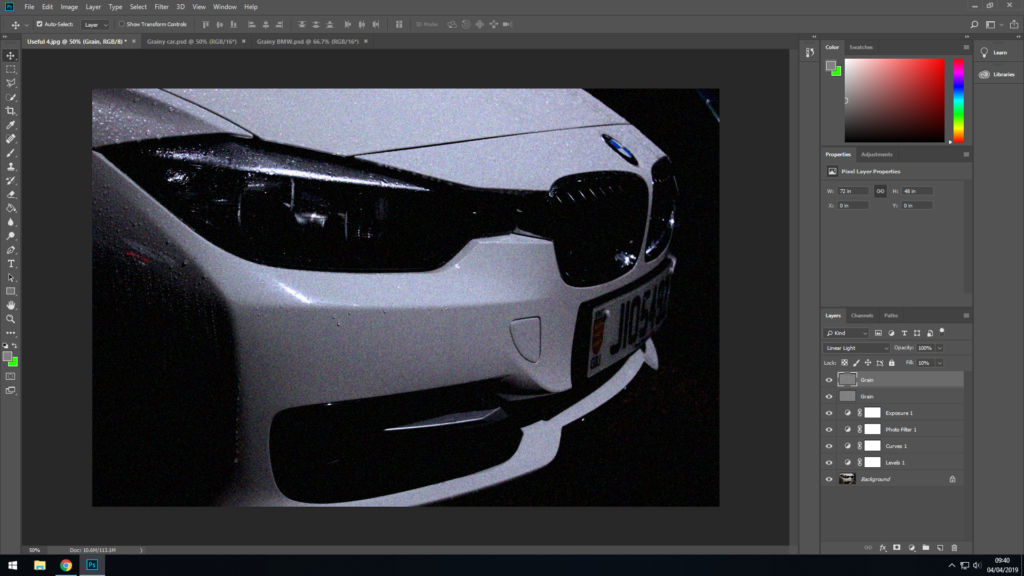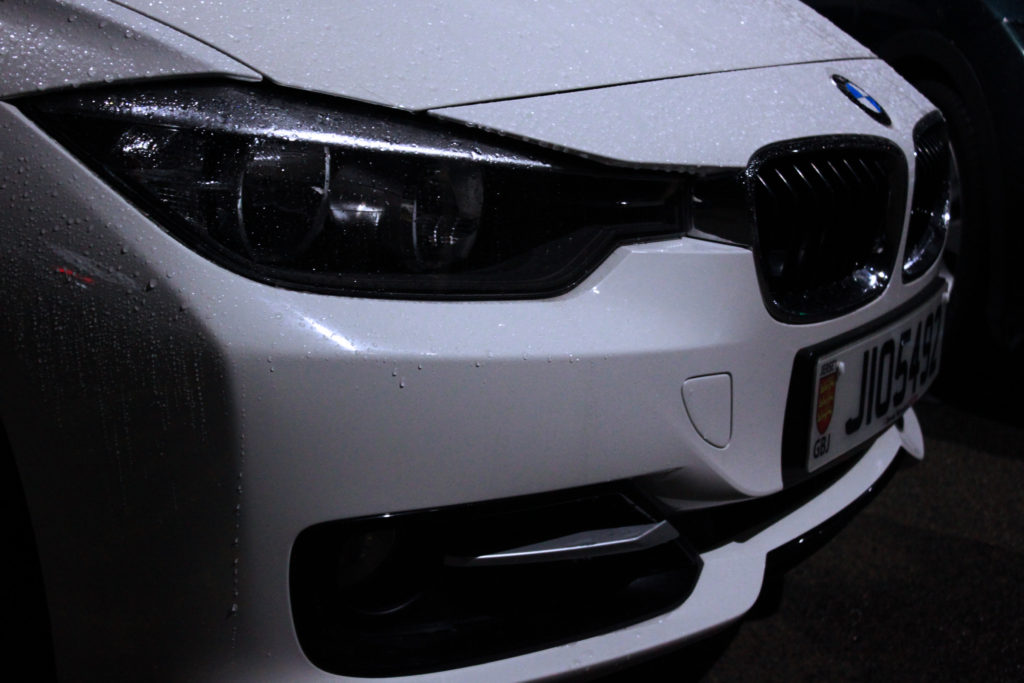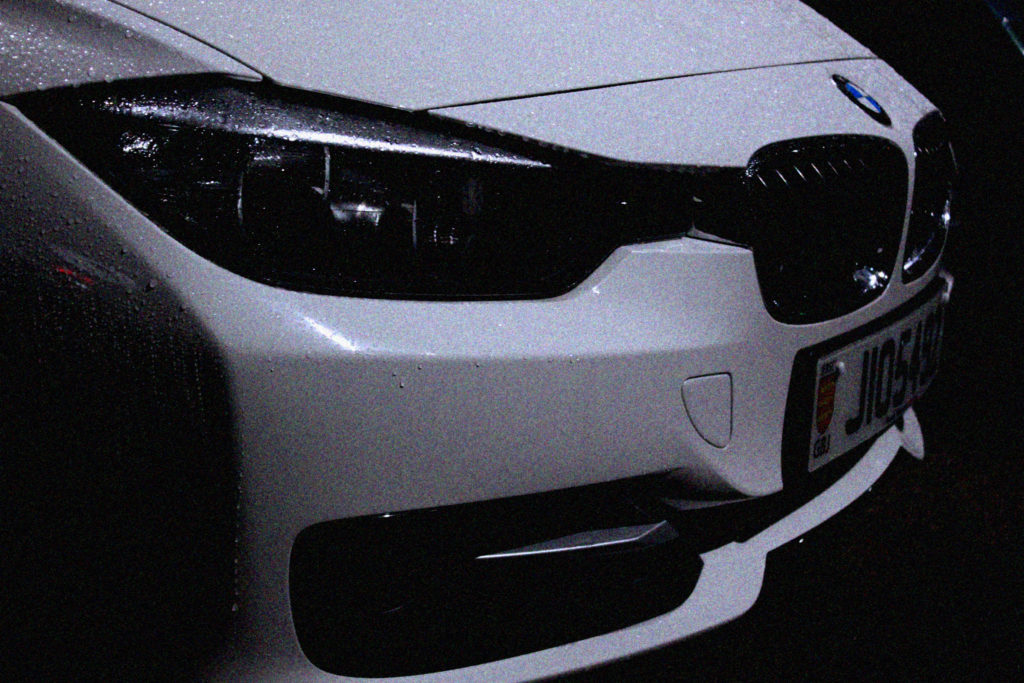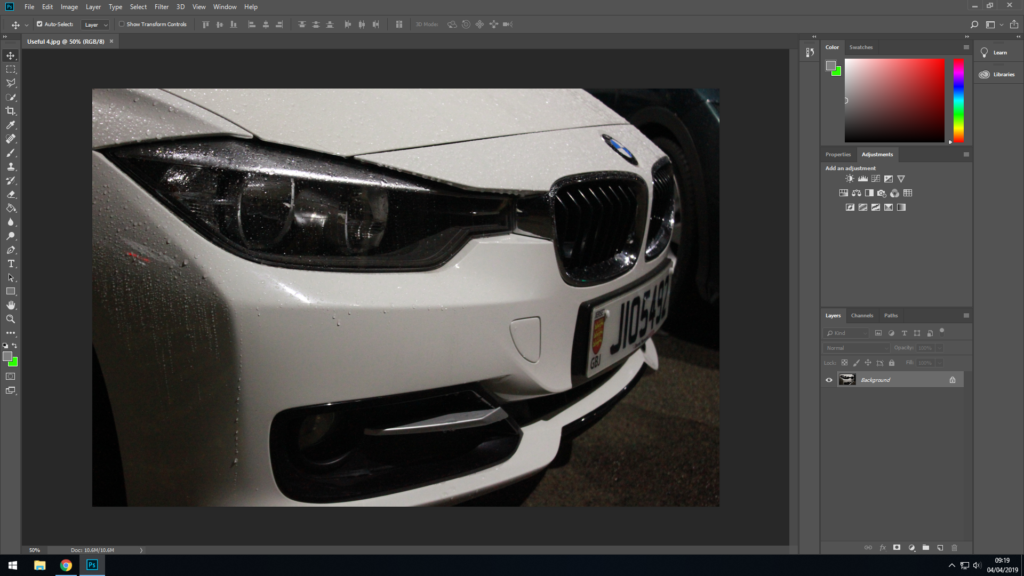
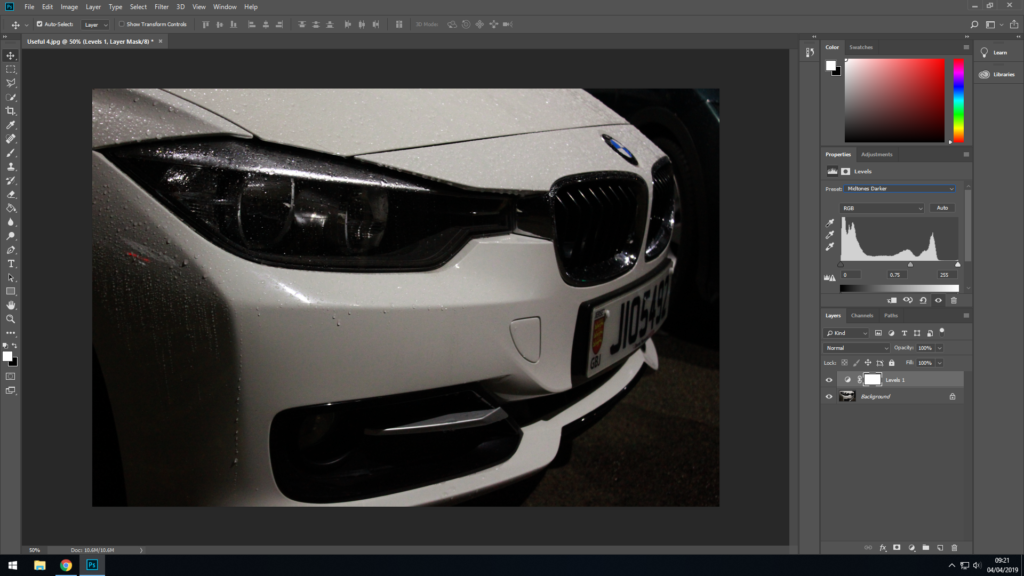
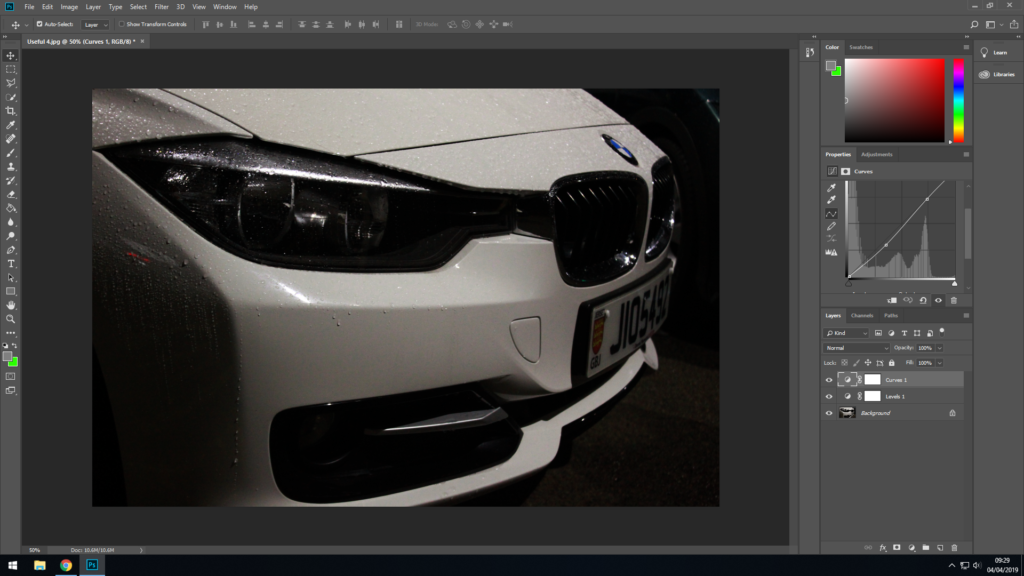
Uncategorized Second photo shoot – editing the images March 20, 2019 Krystian S Leave a comment This is the image I am using before it is edited at all. First I have edited the light levels to make the midtones of the photo darker, this make the photo more dramatic and ‘pop’ more. To do this I have just used a preset as it works really well with this image. Next I have adjusted the curves in order to increase the contrast of the photo. This makes the shapes in the photo appear bolder without reducing the amount of detail visible in the photo. None of the available presets worked the way I wanted them to, so I had to adjust the curves manually. I have adjusted it so that the dark areas in the photo are darker, whilst maintaining the brightness of the bright areas. Finally I have added a cooling photo filter to the image; which helps make it look more dramatic and aggressive. I’ve set the density to 25% as it has a noticeable impact at this density without overpowering the image with blue. I have chosen to use a cooling filter instead of a warming filter as it matches the shade of white more, as well as working better with the whole photo as it was taken at night. This is an alternative look for the image I stumbled accross whilst playing around with different effects to use. I have lowered the offset of the image which makes the dark areas really dark and grainy. As the previous changes made the photo look like an old film photo I have decided to carry on with that look and add grain to the photo; which helps fill in the empty spaces and emphasize the style I am going for. These are the two final photos I have come up with after editing the original.