EDITS FROM MY RESPONSE

My editing procedure;

For my second images I went in the same direction as my previous image as i almost wanted to create a collection of similar images which would further be evident when framing up and displaying my photographs.
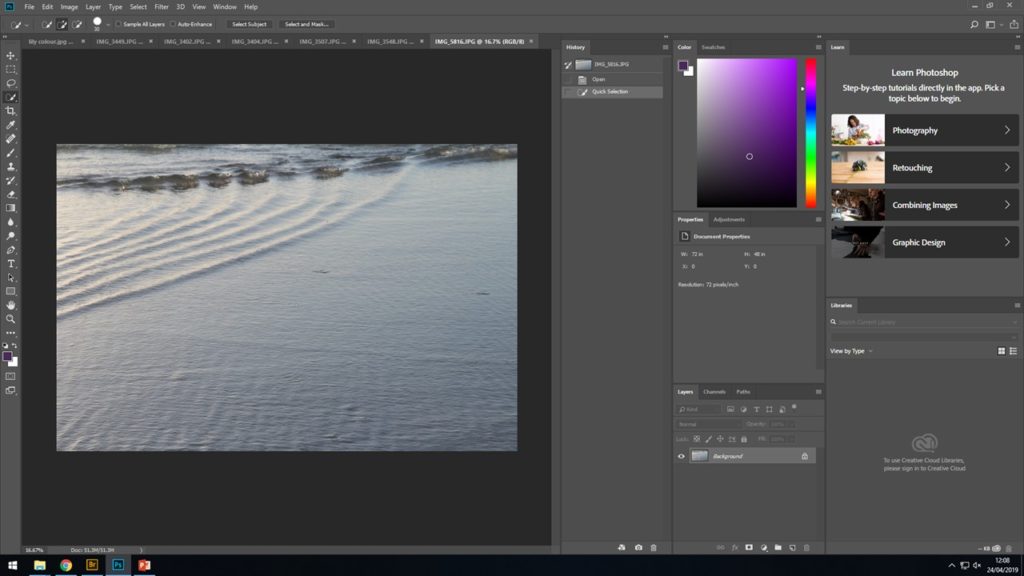

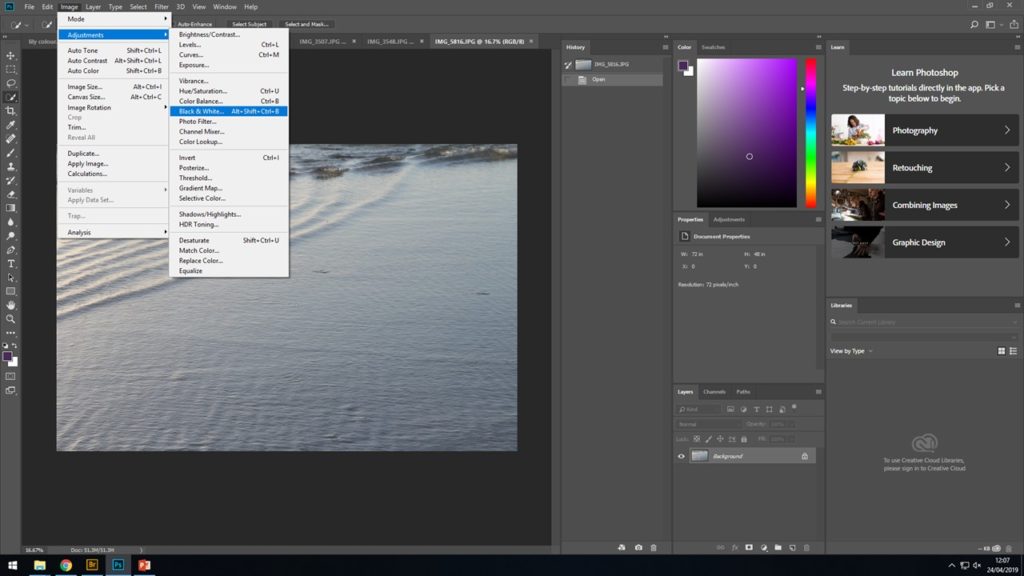
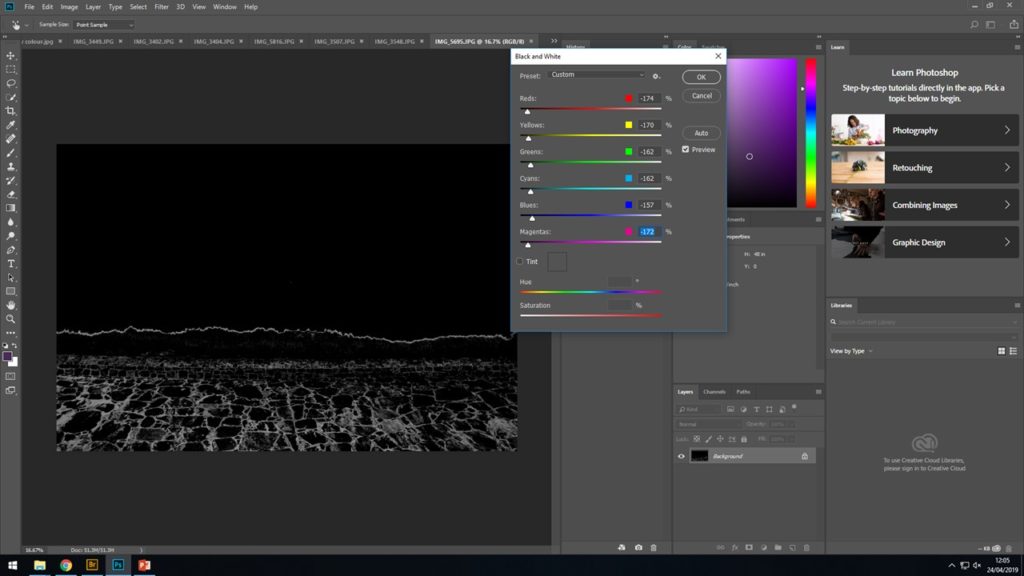
After finally selecting the best image related to water ripples from among the rest, I opened it up on to Photoshop and proceeded to IMAGE > ADJUST > BLACK AND WHITE and from there I began to play around until I was able to finish the image with enhanced wave and ripple in the ocean to give off the best effect. The detailed ripples was something i wanted to be the main focus of the image.
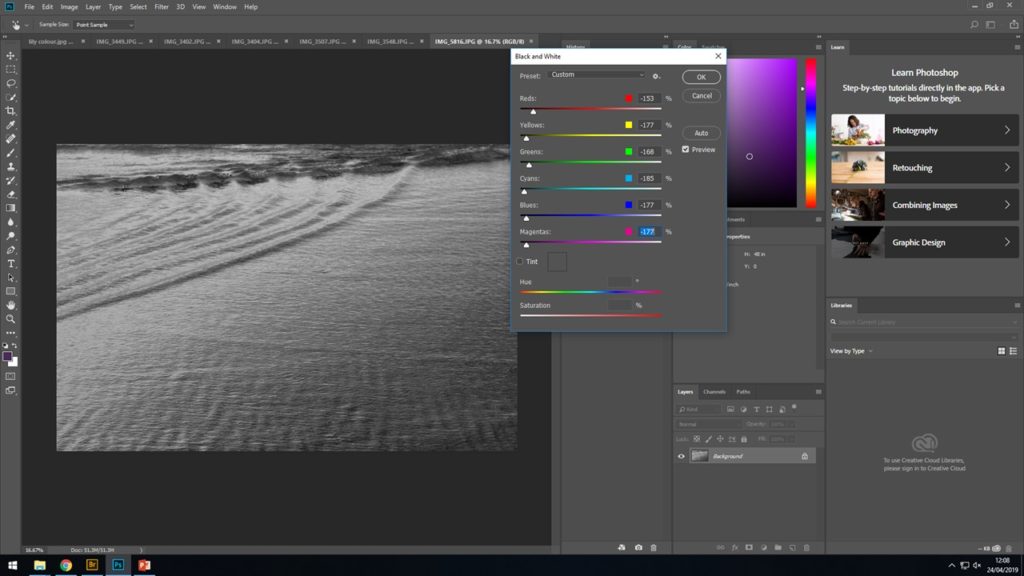
THE FINAL IMAGE
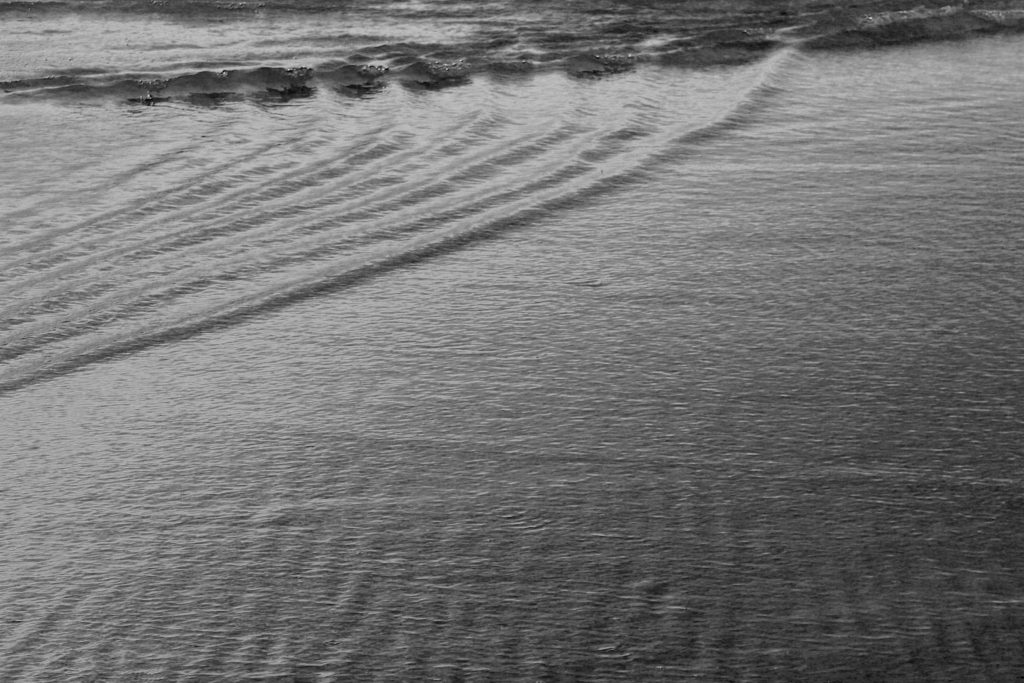

ANOTHER EDIT THAT USED A SIMILAR METHOD
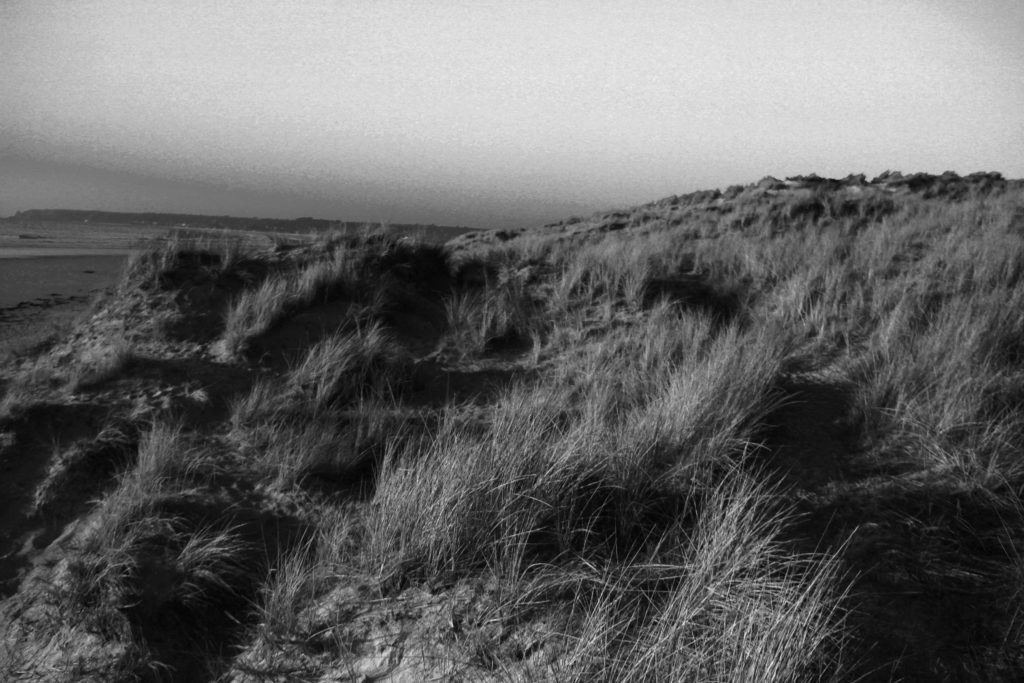
After i had tried similar techniques with the previous images i wanted to try something else that would further the editing skills of my image and add something more to the photograph to encourage a more detail photo to be produced. As well as still having Stephen Gill in mind i went on to the idea of adding more layers to the original images. For this image i used the previous steps to create a detailed and focused black and white images, then followed by adding what looks like white dots to help improve the texture and overall felling of the image.

This was the final image that came out;
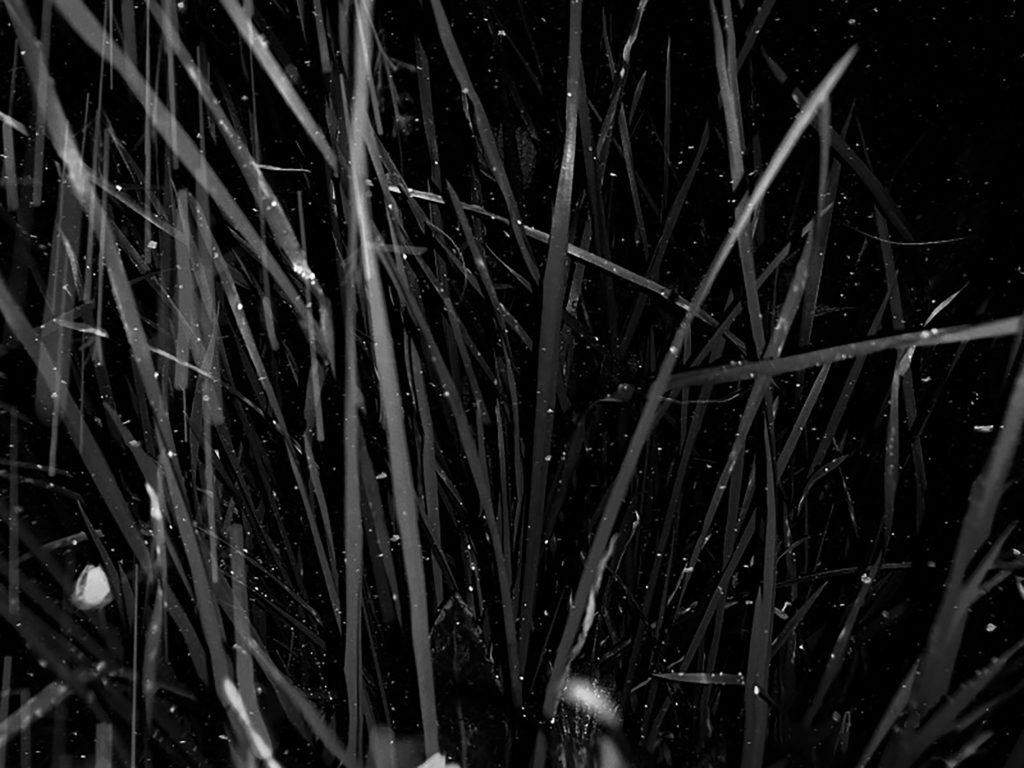
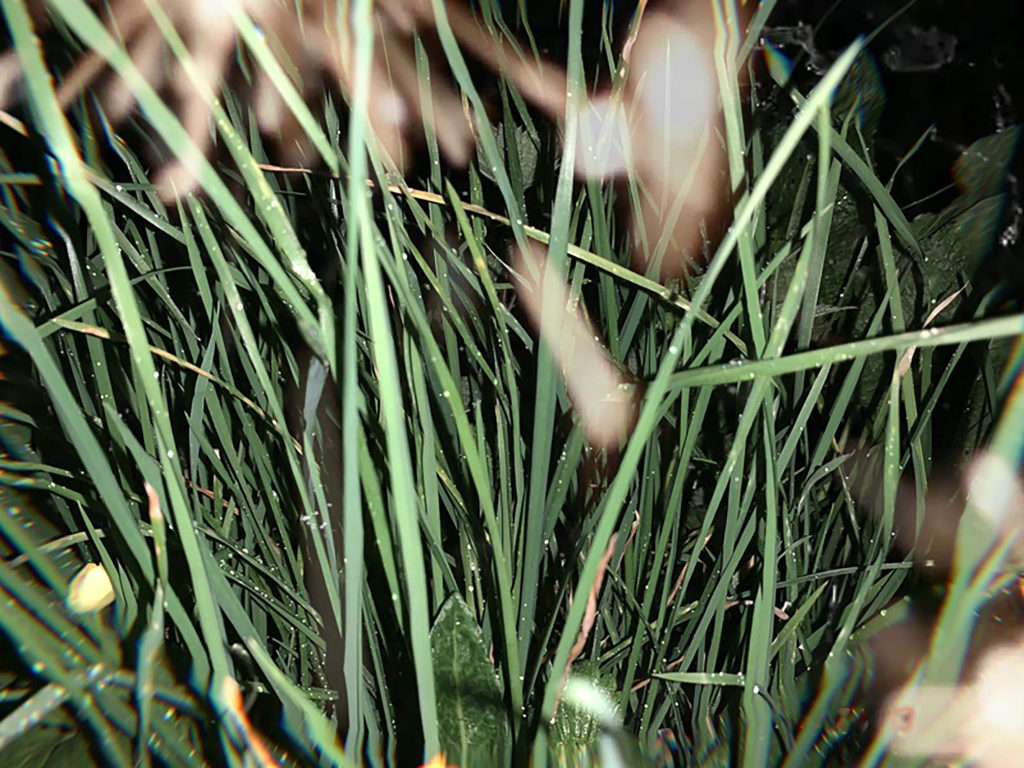
Now that i had fully completed four black and white images with a mixture of landscapes, greenery and the ocean, it was time i took a different path with of course still considering Stephen Gills work and what made his photograph work so well. Firstly to branch out i added color, i used the same image of the grass as from the above black and white image and kept in the original color, although saturated the image to add more texture and create a deeper feeling of a 3D effect. Then as previously mentioned over laid that now in color looks like extra lights or just part of the plants that had become blurry. I now plan to display these tow images together in a contrasting way to help emphasis contrast and the distortion of the shapes placed on top of the photograph and how this has very much added to the overall feeling of the image.
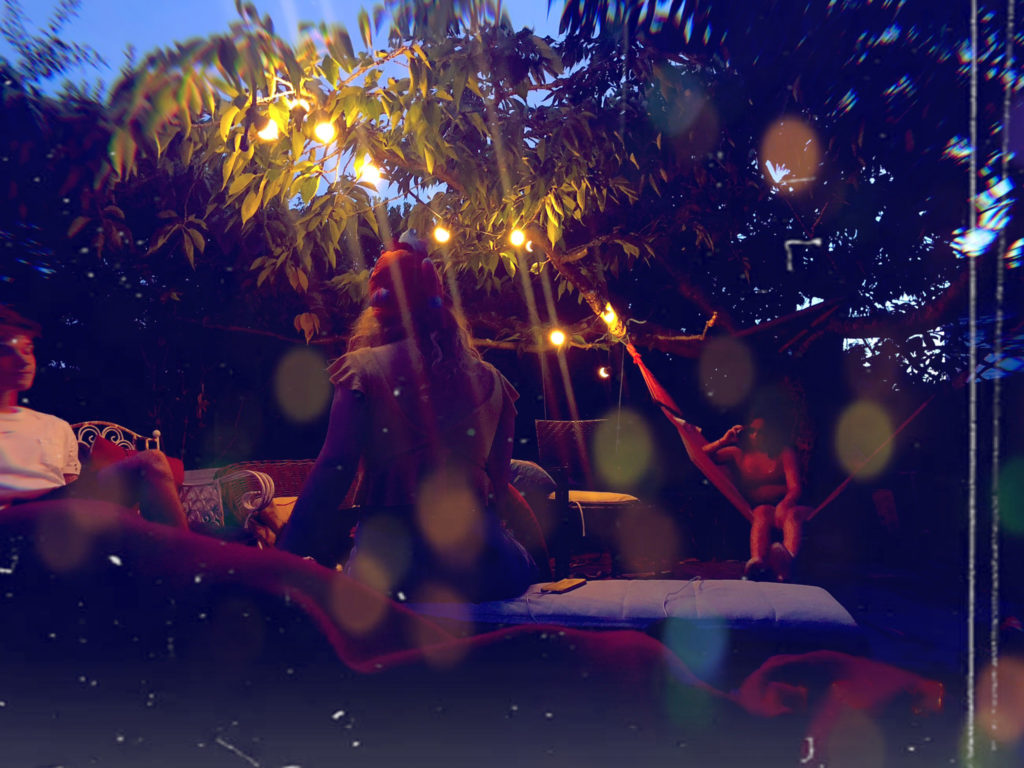
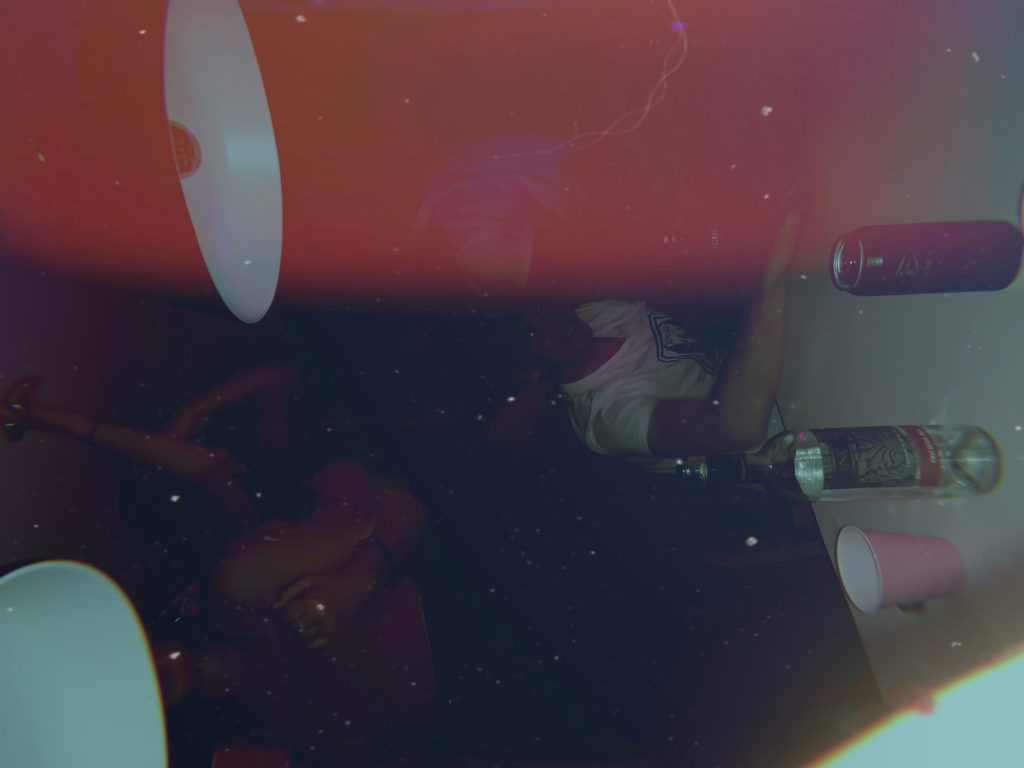
As carrying on with inspiration still from Stephen Gill and experimenting further with what i had done in the images above i produced the following two images, however unlike Stephen Gill in these last images i used people as the background subject rather than the plants, landscapes or the ocean. However to me this made the over lays look a lot better and improved the overall feeling of the images. For these photograph and filtered and edited to a much higher level with adding white lines and circular colored shapes to give the idea and effect of them being reflected off other light from the image. Overall adding a much warmer and theatrical aspect to the final images.
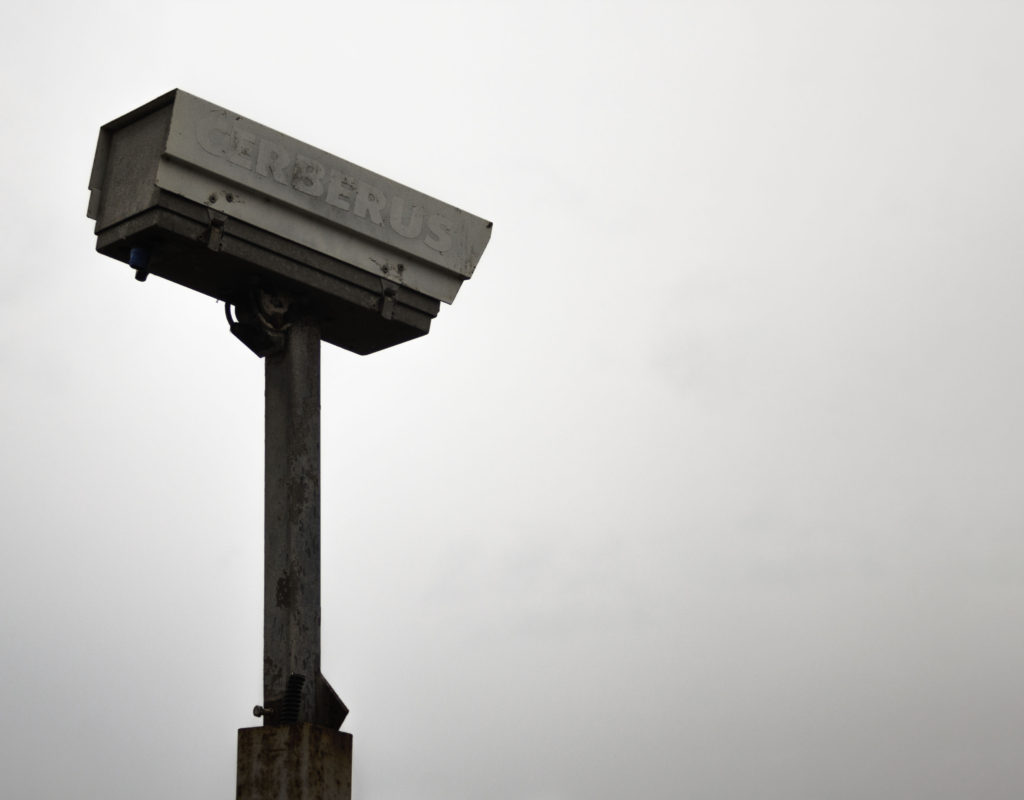
Editing (Example)

Editing of the images was primarily done in Light room. Since the images were shot in raw, light room allows for a lot of control over the images in the shoot.

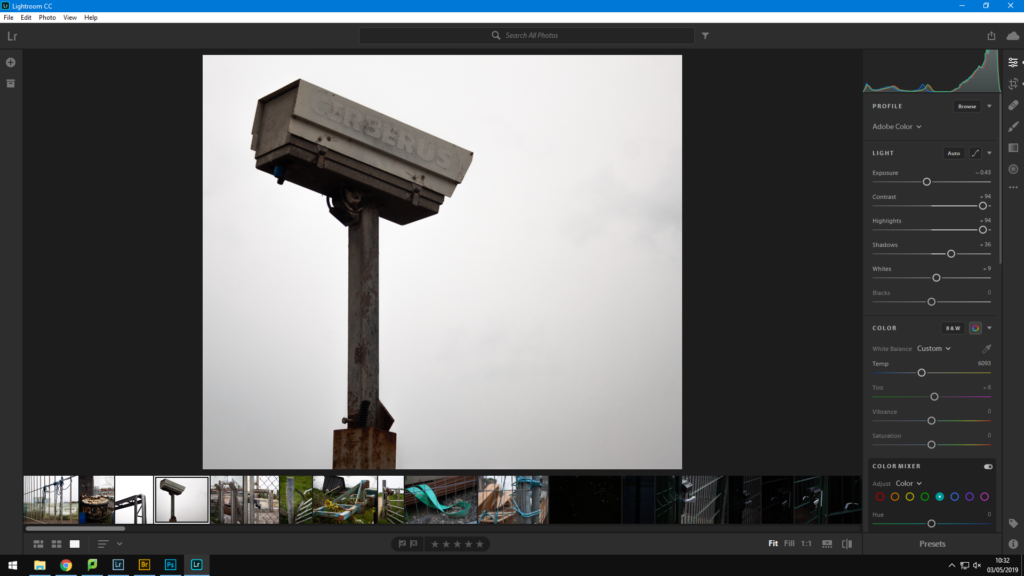
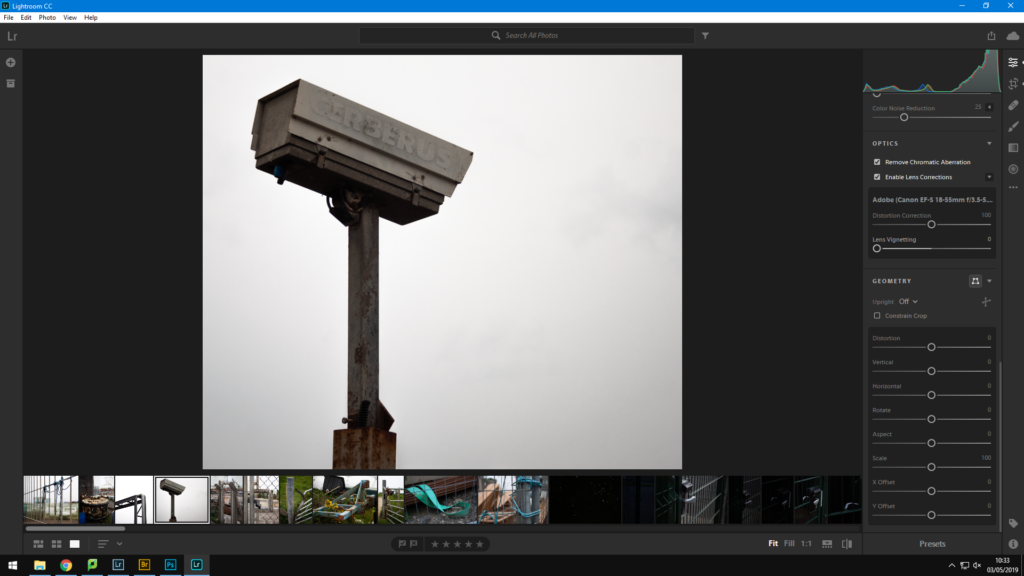
Above I have attached the setting used in light room to retouch this image. I decided to Marginally lower the exposure on the image to better capture some of the details on the brighter parts of the photo. The contrast and highlights were also brought up in order to help show detail without introducing grain through the use of sharpening. The shadows were also brought up as I had felt as though I had lost some of the detail in the dark portions of the photo. Whites were then also brought up in order to further increase contrast. I used lens correction in order to preserve the shape of the camera. I also decided to remove chromatic aberration in order to preserve the color palette of the image.

Fourth photo shoot – editing the images

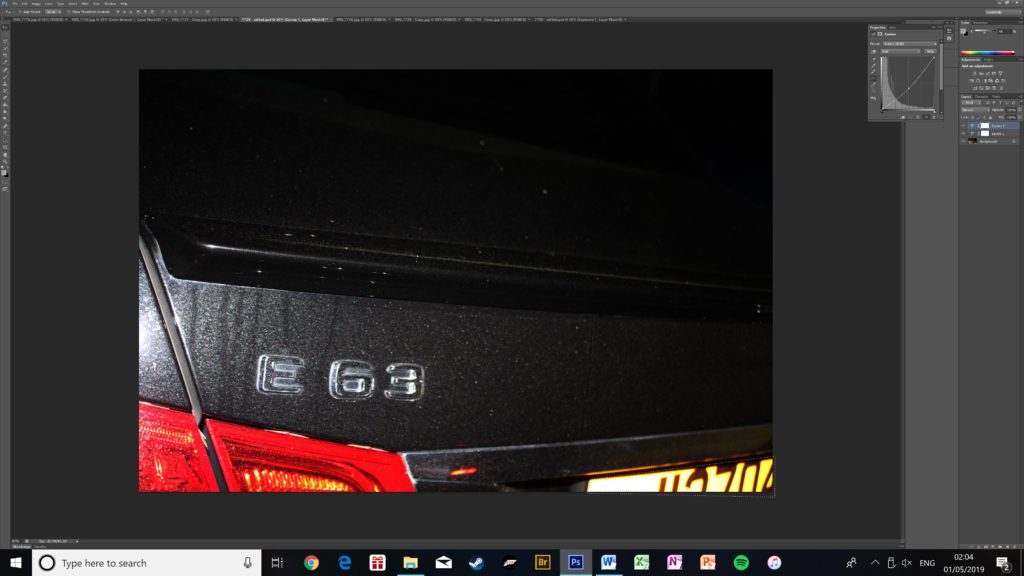
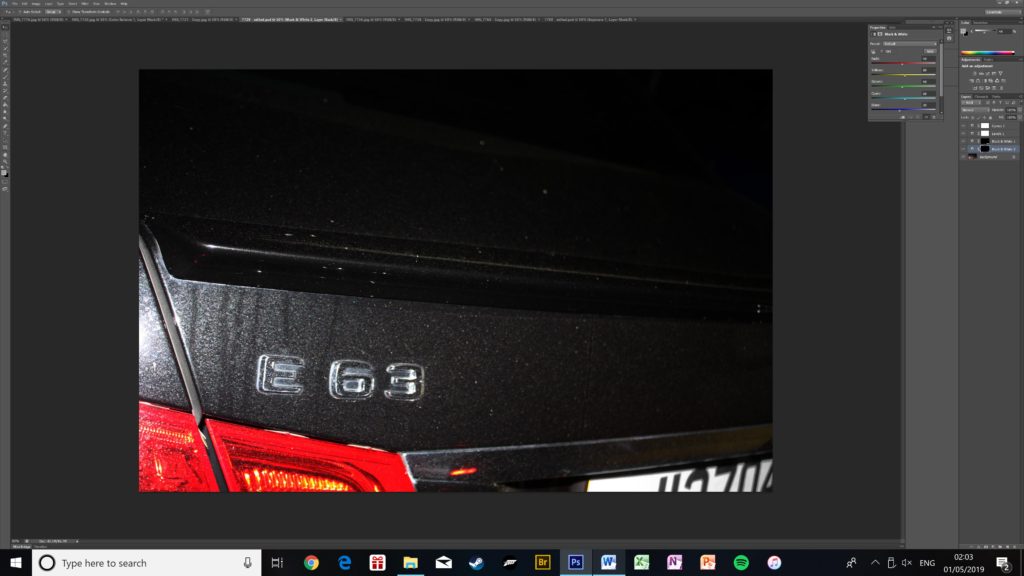
First I wanted to remove the colour in the bottom of the picture, so I selected the area I wanted to remove it from.
Next I applied the black&white filter to remove the colour from that area.
Next I cropped the photo to remove unnecessary blank space from the photo.
Then I rotated the photo to make it more symetrical.
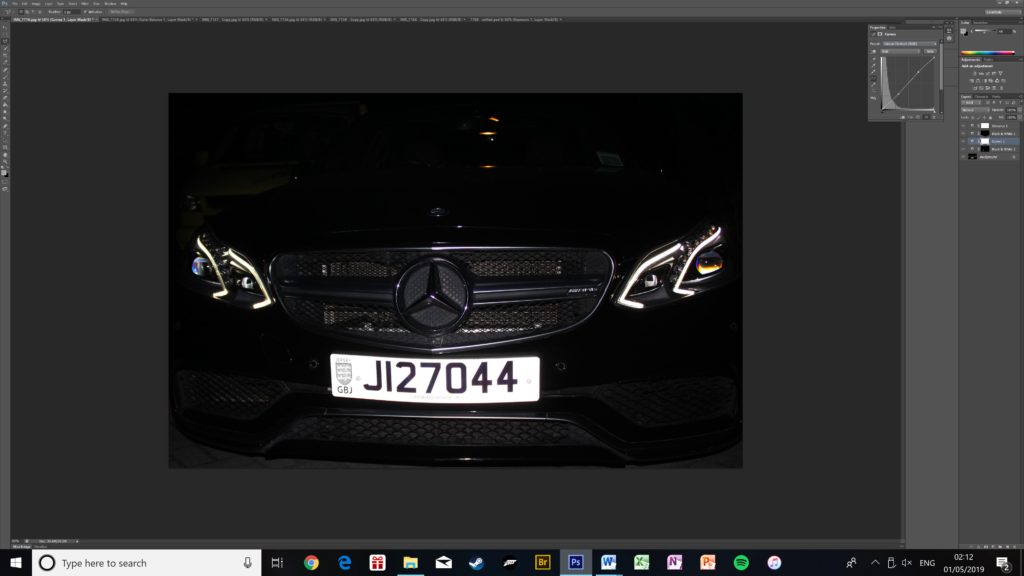
The next step was to apply filters, here I have used the ‘levels’ tool in order to make the midtones of the photo darker.
Finally I used the ‘curves’ tool to add a small amount of contrast to the photo.
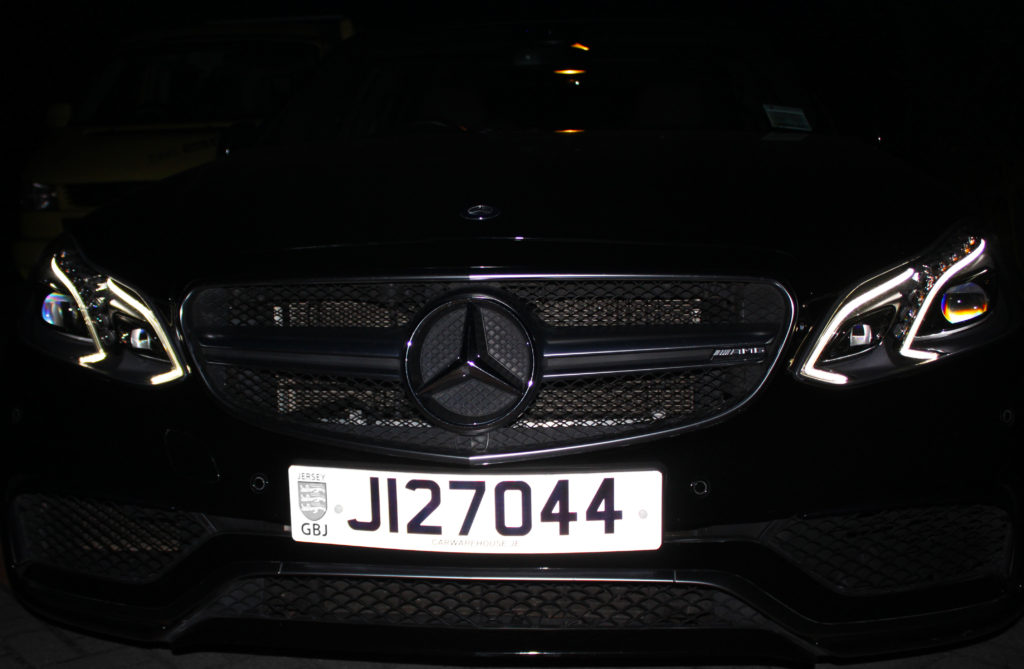
This is the edited image. Removing the colour from the bottom of the photo redirects the viewers attention as there is no longer any colour attracting it. Cropping and rotating the photo helps make it appear fuller as there is no empty space around the edges. The filters make the whole photo pop more, an example would be the headlights, they are more colourful and clear colour is visble in the main bulbs.

Image Selection

Of the images taken in these photo shoots I have decided that I will be editing the 14 images attached above. The photos were all taken under natural lighting using an ISO of 100 and varying the shutter speed. The aperture varied between F4.5 and 5.6. Focal length varied between 24 and 55mm.

IMG_4782: I like the composition of the image and believe that the blue string will create a good contrast from the rest of the image.

IMG_4786: Similarly I like the turquoise color of the cord in this photo. I also like the out of focus fence in the foreground allowing the color of the cord to cut through.

IMG_4788: This image also features strong blue tones with similar composition to the previous images.
IMG_ 4810: I like this image because of how the lighting allows texture to be displayed in a relatively flat surface.

IMG_4811: I like the image composition and depth of field in the image, i believe it is somewhat similar in composition to some of Paul Grahams works.

IMG_4815: I like the image composition and depth of field in the image, i believe it is somewhat similar in composition to some of Paul Grahams works.

IMG_4824: I like the depth of color in this image as well as the strong shapes created by the trailer resulting in an interesting composure with the flowers interwoven in the structure.

IMG_4829: I like the strong shapes in the image as well as the wide range of colors and texture shown in the fence post.

IMG_4834: I chose this image as I like the strong shapes of the rebar and barbed wire. I also like the strong contrast it creates with the almost white background.

IMG_4839: Similarly to the previous image I like the strong contrast with the sky as well as the strong shapes formed by the chain link fence.

IMG_4842: I like the amount of detail in this image as well as the color palette.

IMG_4843: I like the strong angular shapes formed in this image as well as the strong contrast. I believe that this image somewhat resembles the work of Luigi Ghirri.

IMG_4853: I like the strong tonal contrast in this image as well as the depth of the texture on the surfaces.

IMG_4861: I like the composition of this image partly due to the similarity of the composition of the opening images to the first shoot as I believe that it helps to tie the whole collection together.

Photo-shoot Plan

Technical: I will try to stick to an ISO of 100 in order to minimize grain and so I will vary the shutter speed in order to achieve the desired exposure, thus I will use a tripod for any images with a shutter speed slower than 1/50. I will use an F stop between 5.0 and 5.6. I will try to keep the lens length around 50 mm to get a noticeable depth of field. The photos will all be primarily taken using natural lighting however some unnatural lighting elements may be included in the photography.

Where: I will photograph various locations with elements fitting my studied photographers. This will include a construction site and a waste management center.

What: I will be photographing various physical boundaries as well as boundaries put in place by the law (such as signs prohibiting various behaviors).

When: I will be conducting this photo-shoot around 4pm in order to avoid hash lighting. I will also take these photos with a grey sky in order to keep my options for color correction open, i also believe this will closer resemble the works of Paul Graham.

Fourth photo shoot

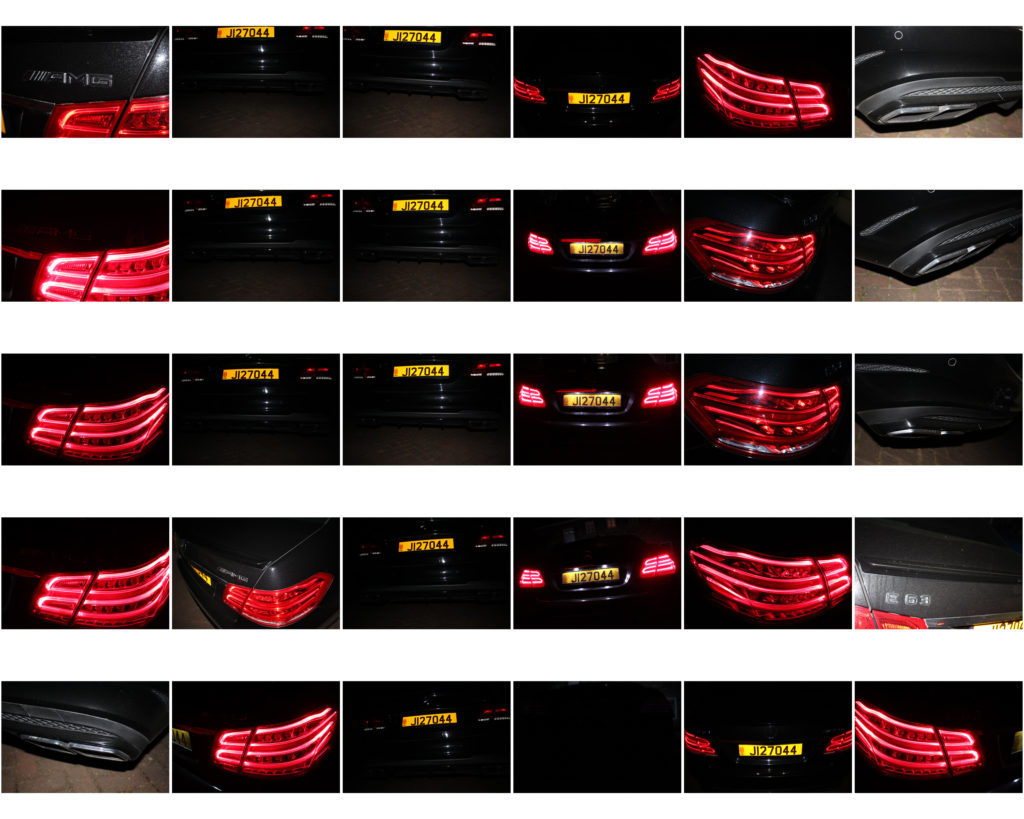
This photo shoot took place over 2 days, but the bulk of the photos are from the first day; which were taken after sunset to add effect to the lights of the car. There is one image that isn’t from this shoot as it was just a test image to make sure everything is in working order.

These are all the images from that photo shoot:

EDITS AND FINAL FROM THE SHOOT

FIRST FINAL IMAGE EDITS;

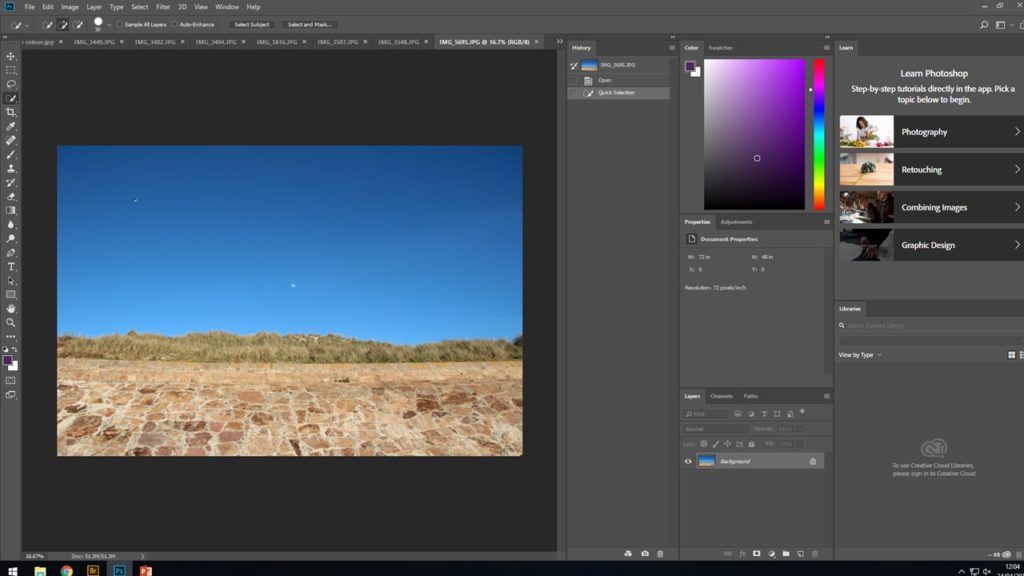
Firstly, after careful selection decided on my final images that I wanted to look into further for more editing. Then i opened the image up in adobe Photoshop and worked on from there.

Next, was deciding how I wanted to approach the photograph and what i wanted to change if anything. I needed to think ahead and picture what I wanted the final product to look like. This is where I made the decision that black and white filters would be most effective as I would be able to enhance each of the natural colors in the original photo to different shade of black and white in order to create the most successful photograph.

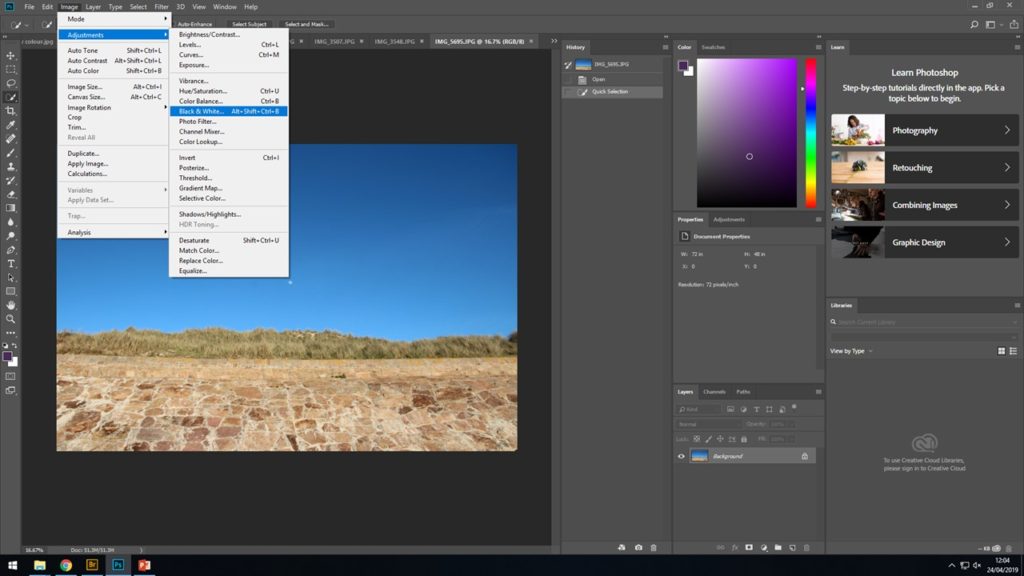
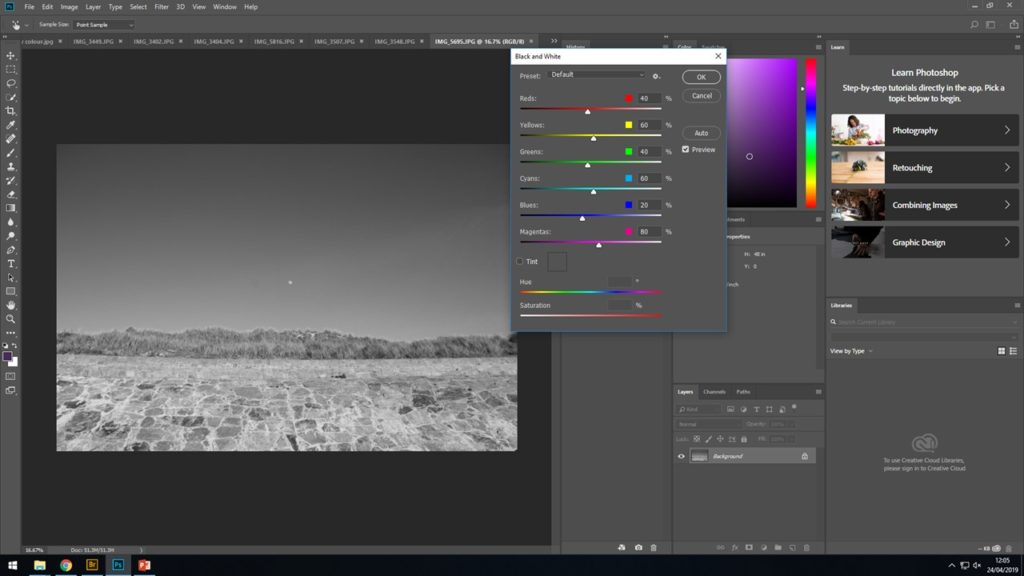
To achieve this look select IMAGE > ADJUST > BLACK AND WHITE…

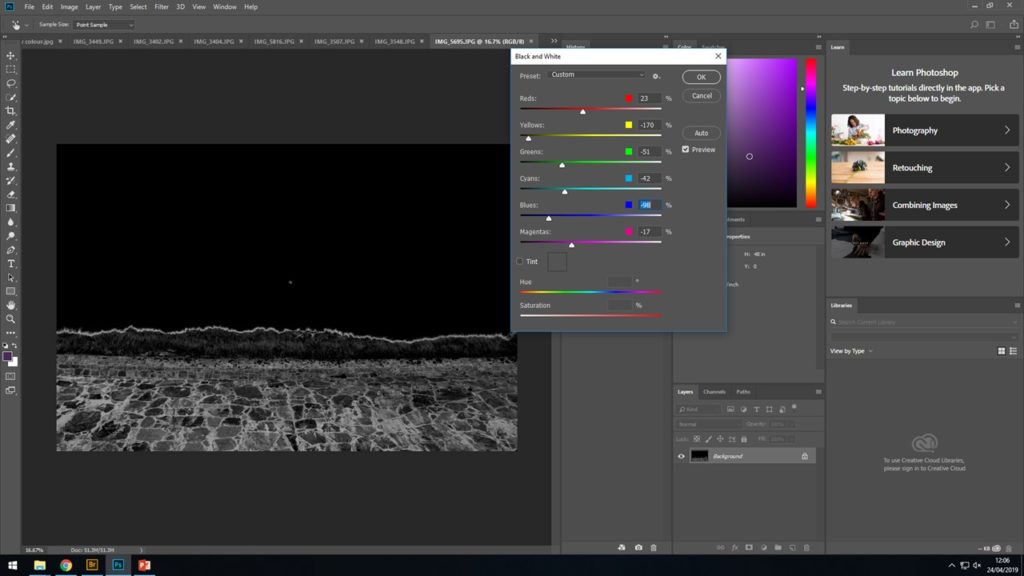
After selecting the previous instructions a box will appear with the different color representing different shade of black and white. By scrolling up and down on this it will change the darkness and brightness of each shade on each different color on the photograph

When considering how dark to have the background (the sky) i wanted to make sure the the bright moon could still clearly be seen and contrast the white moon as much as i could with a black sky in order to give a strong effect and leading to a more abstract image to be produced. I spent a while messing around with the different intensity of the image to see what i could create and what controller changed which color from the original color

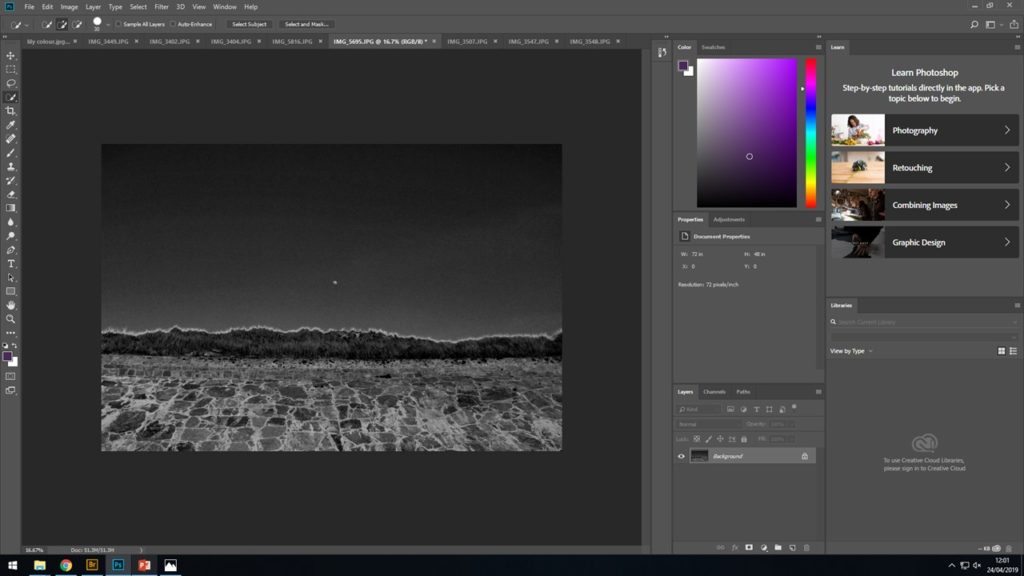
After a long time of selecting different shades of black and white to represent the different colors, i finally produced my final image that i was happy with.

^FINAL RESULT AFTER EDITING ^

Displaying My Final Pieces Ideas

Collage

Polaroid

Image result for ways to display polaroids
Image result for polaroid display

Polaroid

I’m going to display my Polaroids in a simple black background or in a frame. I think for these images I am better to keep it simple but polished in order to not take away from the editing I’ve done to the images.
Collage

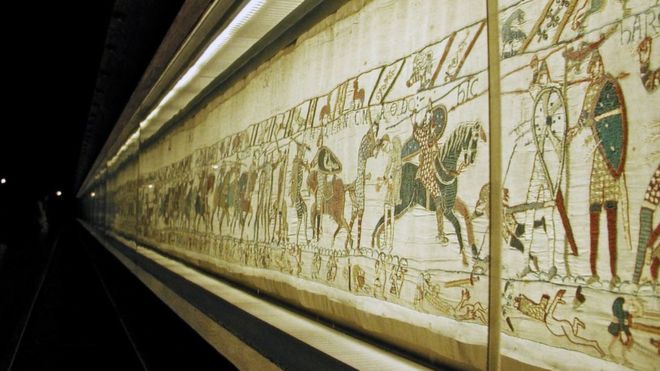
I want to display my generational journey images images in a Bayeux tapestry style showing events in chronological order but looking almost like this bellow.I will use images of my parents and grandparents and also the images I took whilst exploring family and generational journey.

Image result for collage photography

1 Wall LIFE Magazine Cover Photo 64 Piece Creative Collage Wall 
Image result for bayeux tapestry
The Bayeux Tapestries