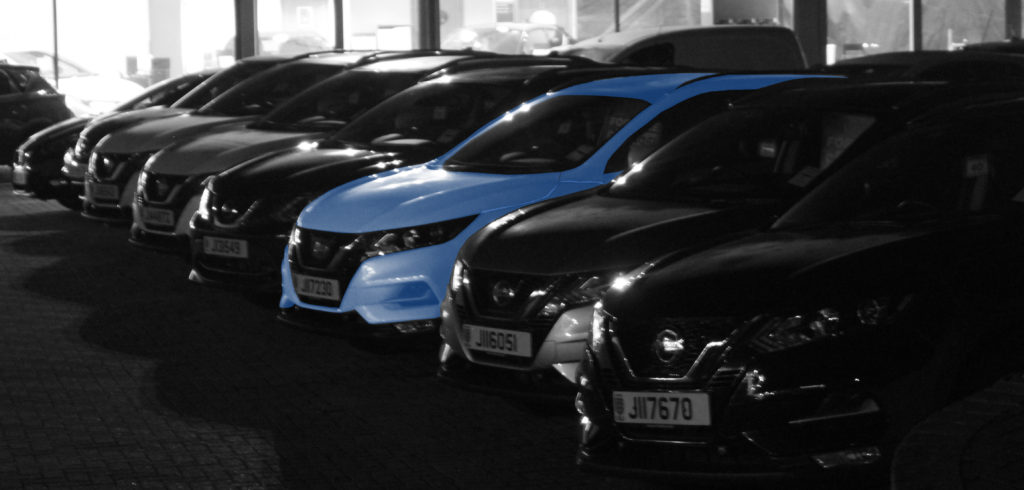
Second photo shoot – Colour masking photos

This is the editing process of one of the photos from my second photo shoot. It mostly focuses on colour grading
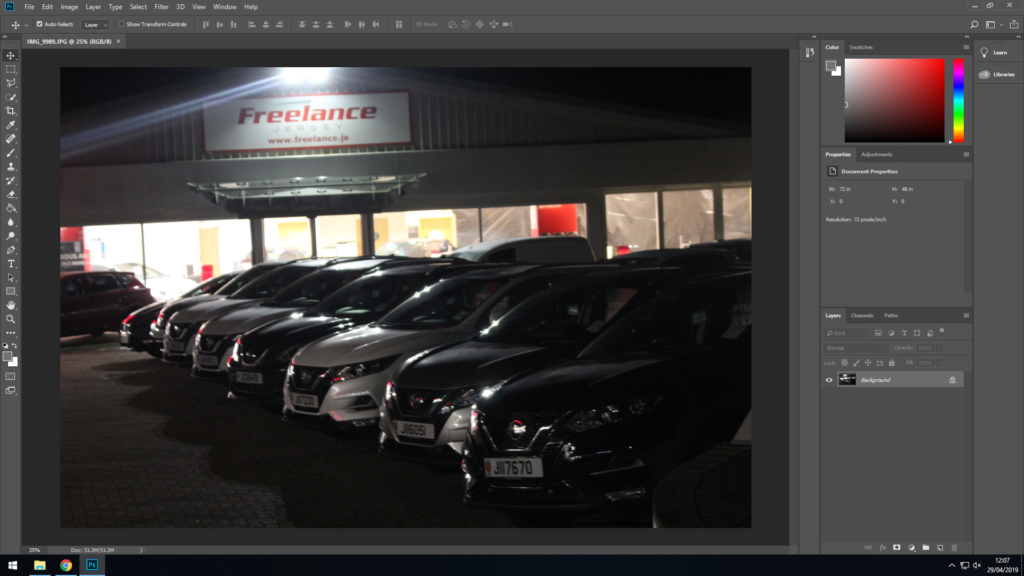
This is the original photo which I used to edit.
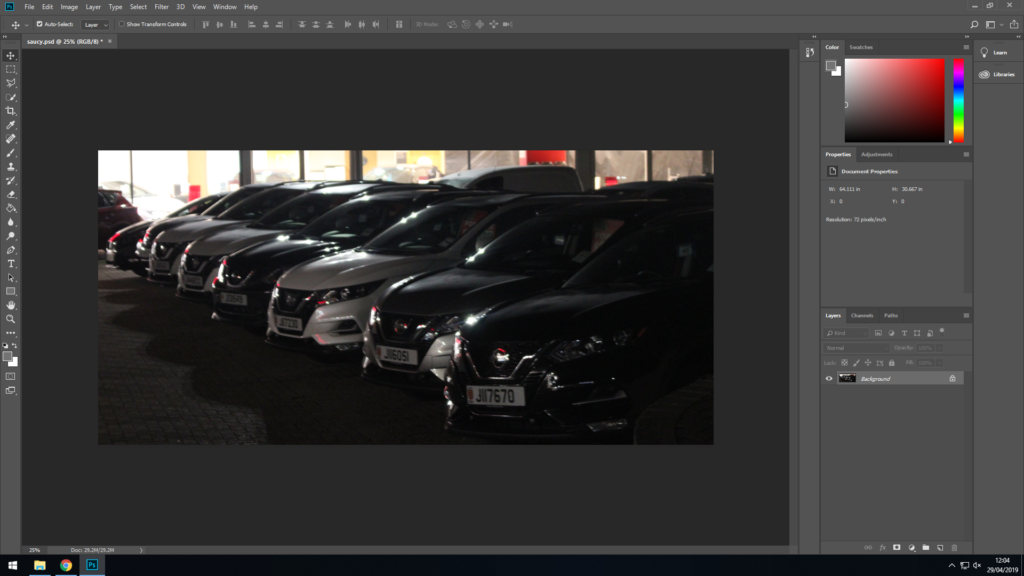
First I cropped and slightly rotated the photo. This removes the unwanted empty areas of the photo. Rotating the photo is also important as it helps get the lines in the photo at desired angles. for example, it allows you to adjust a line to be exactly horizontal/vertical or diagonal.

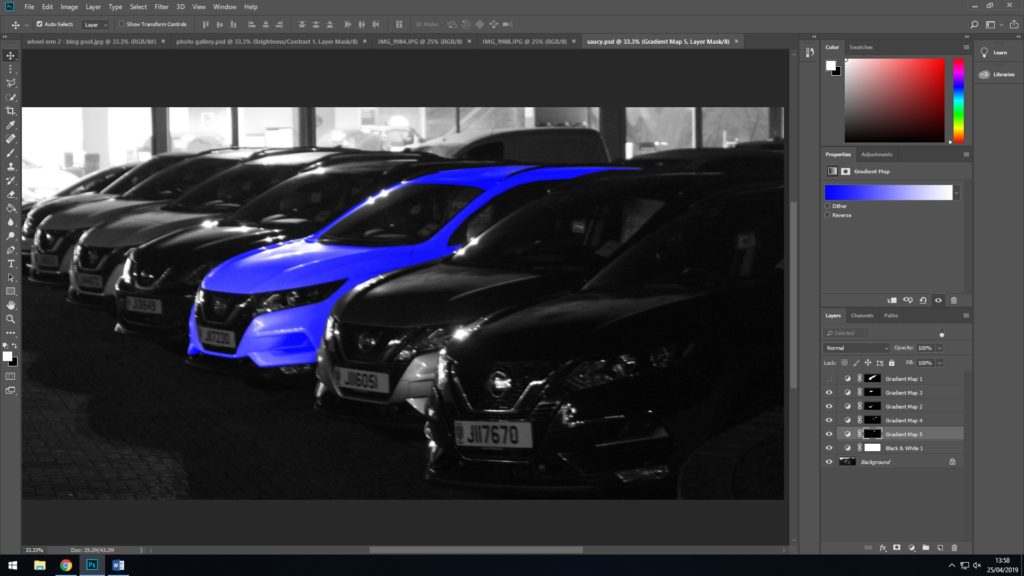
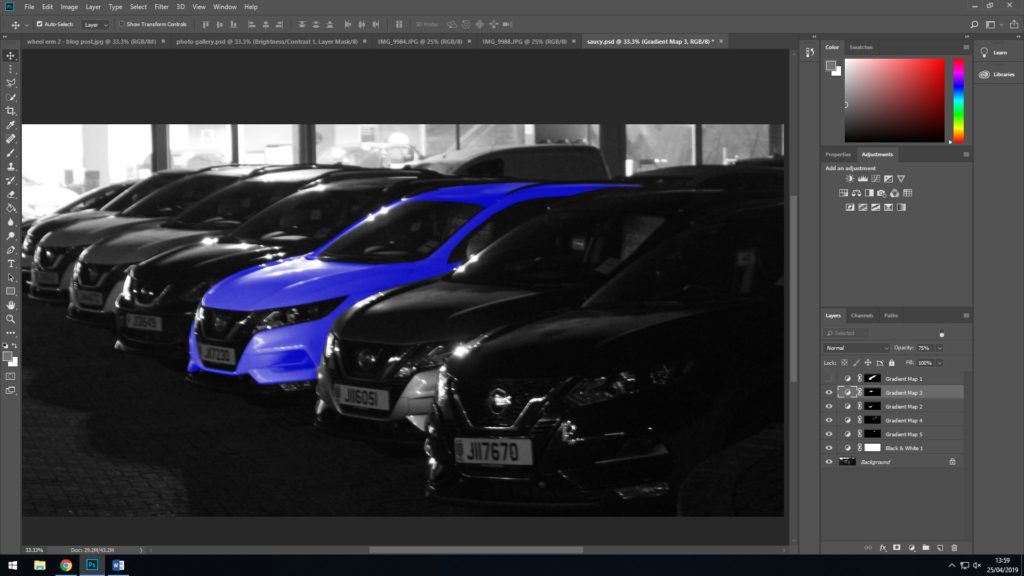
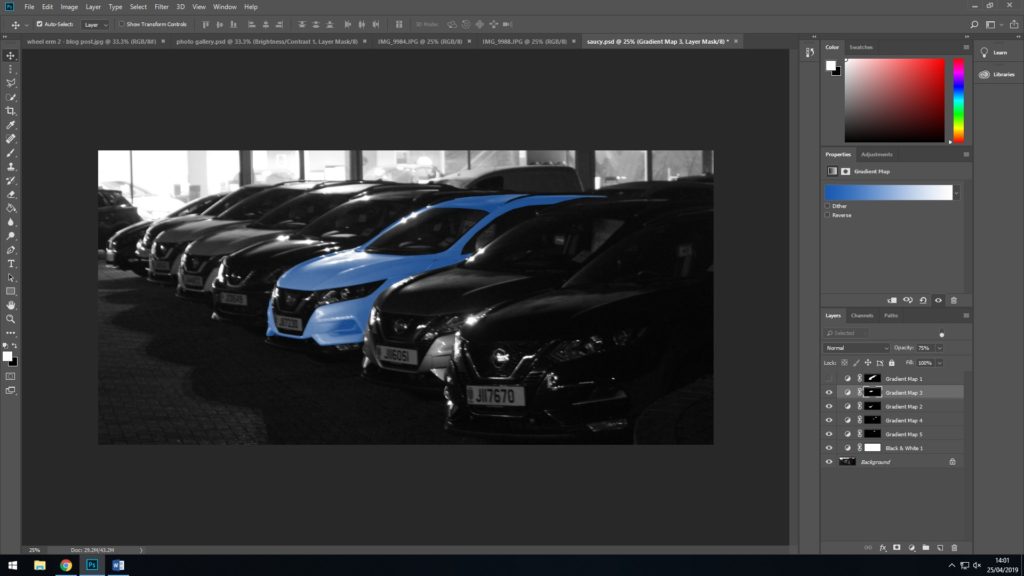
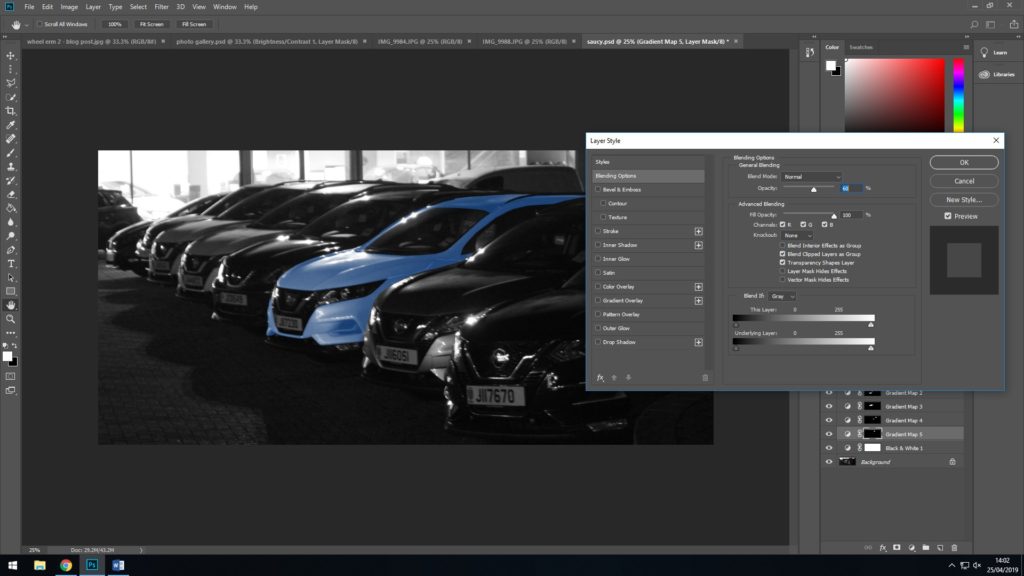
The following three images are screenshots of the steps in which I applied the colour mask to the photo. I did it in steps so that if I made an error I wouldn’t need to start over.
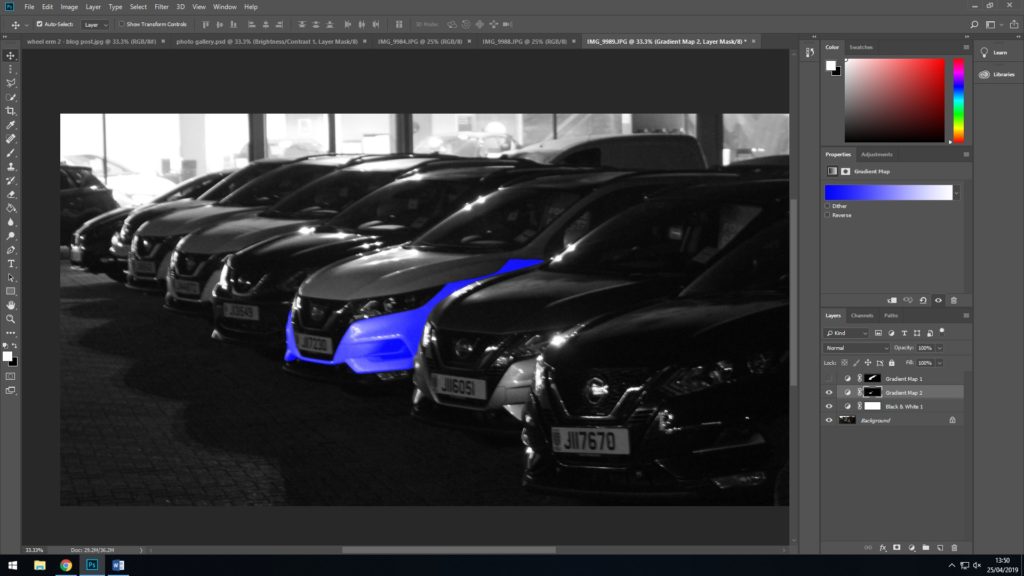
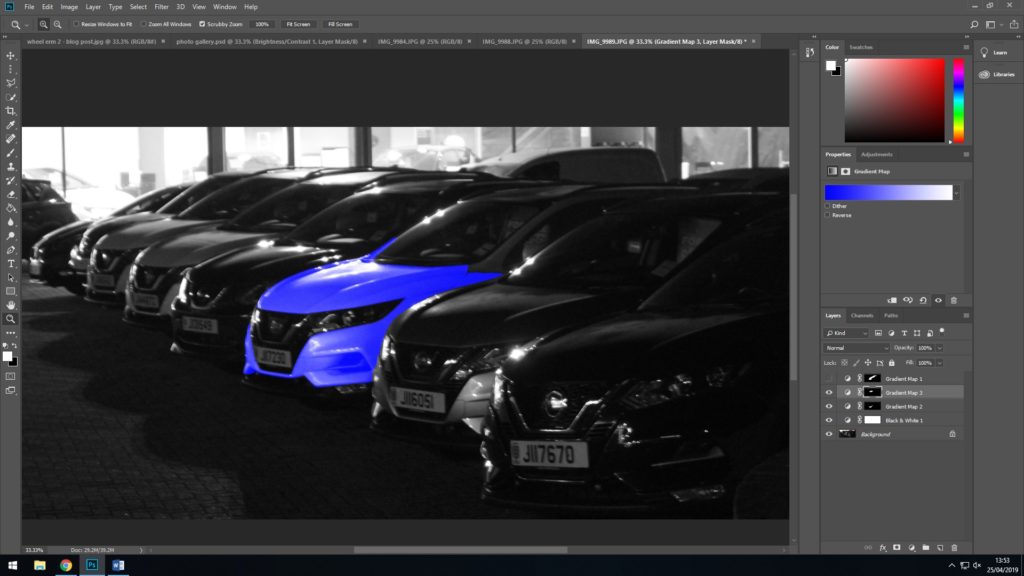
This step isn’t as visible, but I have lowered the opacity of the colour mask by about 20%.
Here I have changed the shade of the colour mount to be lighter and seem more natural.
Here I have lowered the opacity of the colour mask again. Th different shade of blue requires a different opacity to fit well.
This is the edited image.

Leave a Reply