Robert Frank (born November 9, 1924) is a Swiss-American photographer and documentary film maker. His most notable work, the 1958 book titled The Americans. His style of work is classed as photo journalism and documentary/street photography.
Technical
The first thing which caught my eye when observing this picture was the clear use of the rule of thirds. The bus itself create natural lines almost along the horizontal lines when following the rule of thirds. I believe this helps the viewer the see how the picture is made up of several portrait pictures. There is a large tonal range within this picture, with lighter tones towards the top and darker tones towards the bottom. The tonal range can also be seen within the skin tone of the people on the bus, from the left hand side a white man is presented and on the right hand side we are presented with a black person. We can clearly identify that Robert Frank would have used a fast shutter speed in order to take this photograph. This is because the picture is of a moving subject and would require a fast shutter speed to prevent a blur in the image. With a fast shutter speed he was able to capture a sharp photo.There is also multiple textures inside of this image, for example there is the texture of the trolley at the bottom of the image. The blots on the trolley also add another texture to the image. Moreover, there is the texture of the windows at the top of the image, these look smooth.
Visual
This image is split into 3 main sections, the top middle and bottom. The middle part is the main focus which contains the main subjects of the people. Where as the top and bottom contain some interesting textures and reflections but this is not what stands out and catches the viewers eye immediately. There is a definite contrast within this image, with the black and whites exaggerated. There is a clear contrast between the white poles/bars separating the people and the rest of the bus, perhaps influencing us that they are a main factor of the image. This photo has been captured in natural light which is expressed in the reflections at the top of the image. I think that the use of the picture being in black and white emphasizes the different races.
Contextual
This image taken by Robert Franks was captured in the 1950’s. This image was also taken in America, New Orleans. At this time period, America experienced marked economic growth – with an increase in manufacturing and home construction among a post–World War II economic expansion. At this time period it was uncommon for photographers to tackle the issue of racism which is a key theme portrayed within this photo. The time period when this photo was taken was a time of racism and prejudice. Although the photo may have been an ‘accident’ as Robert Frank himself said, it may have been a powerful and strongly influential picture to help the problem with racism.
Conceptual
It looks as if the different races are separated from each other. The white man is at the front of the trolley while the rest are sat behind him. This can connote the fact that at this time people like that where protected by society and had more ‘privilege’. The different facial expressions of the different people can say quite a lot about the image. They all have the same serious look about them. This can represent the lives of these people. The layout of the characters in the image also represents the different classes, for example the man at the front could be a higher class than the one at the back however we do not know this it is just interpretation. The white bars can again also show the separation between the different classes.

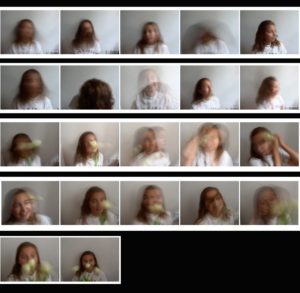


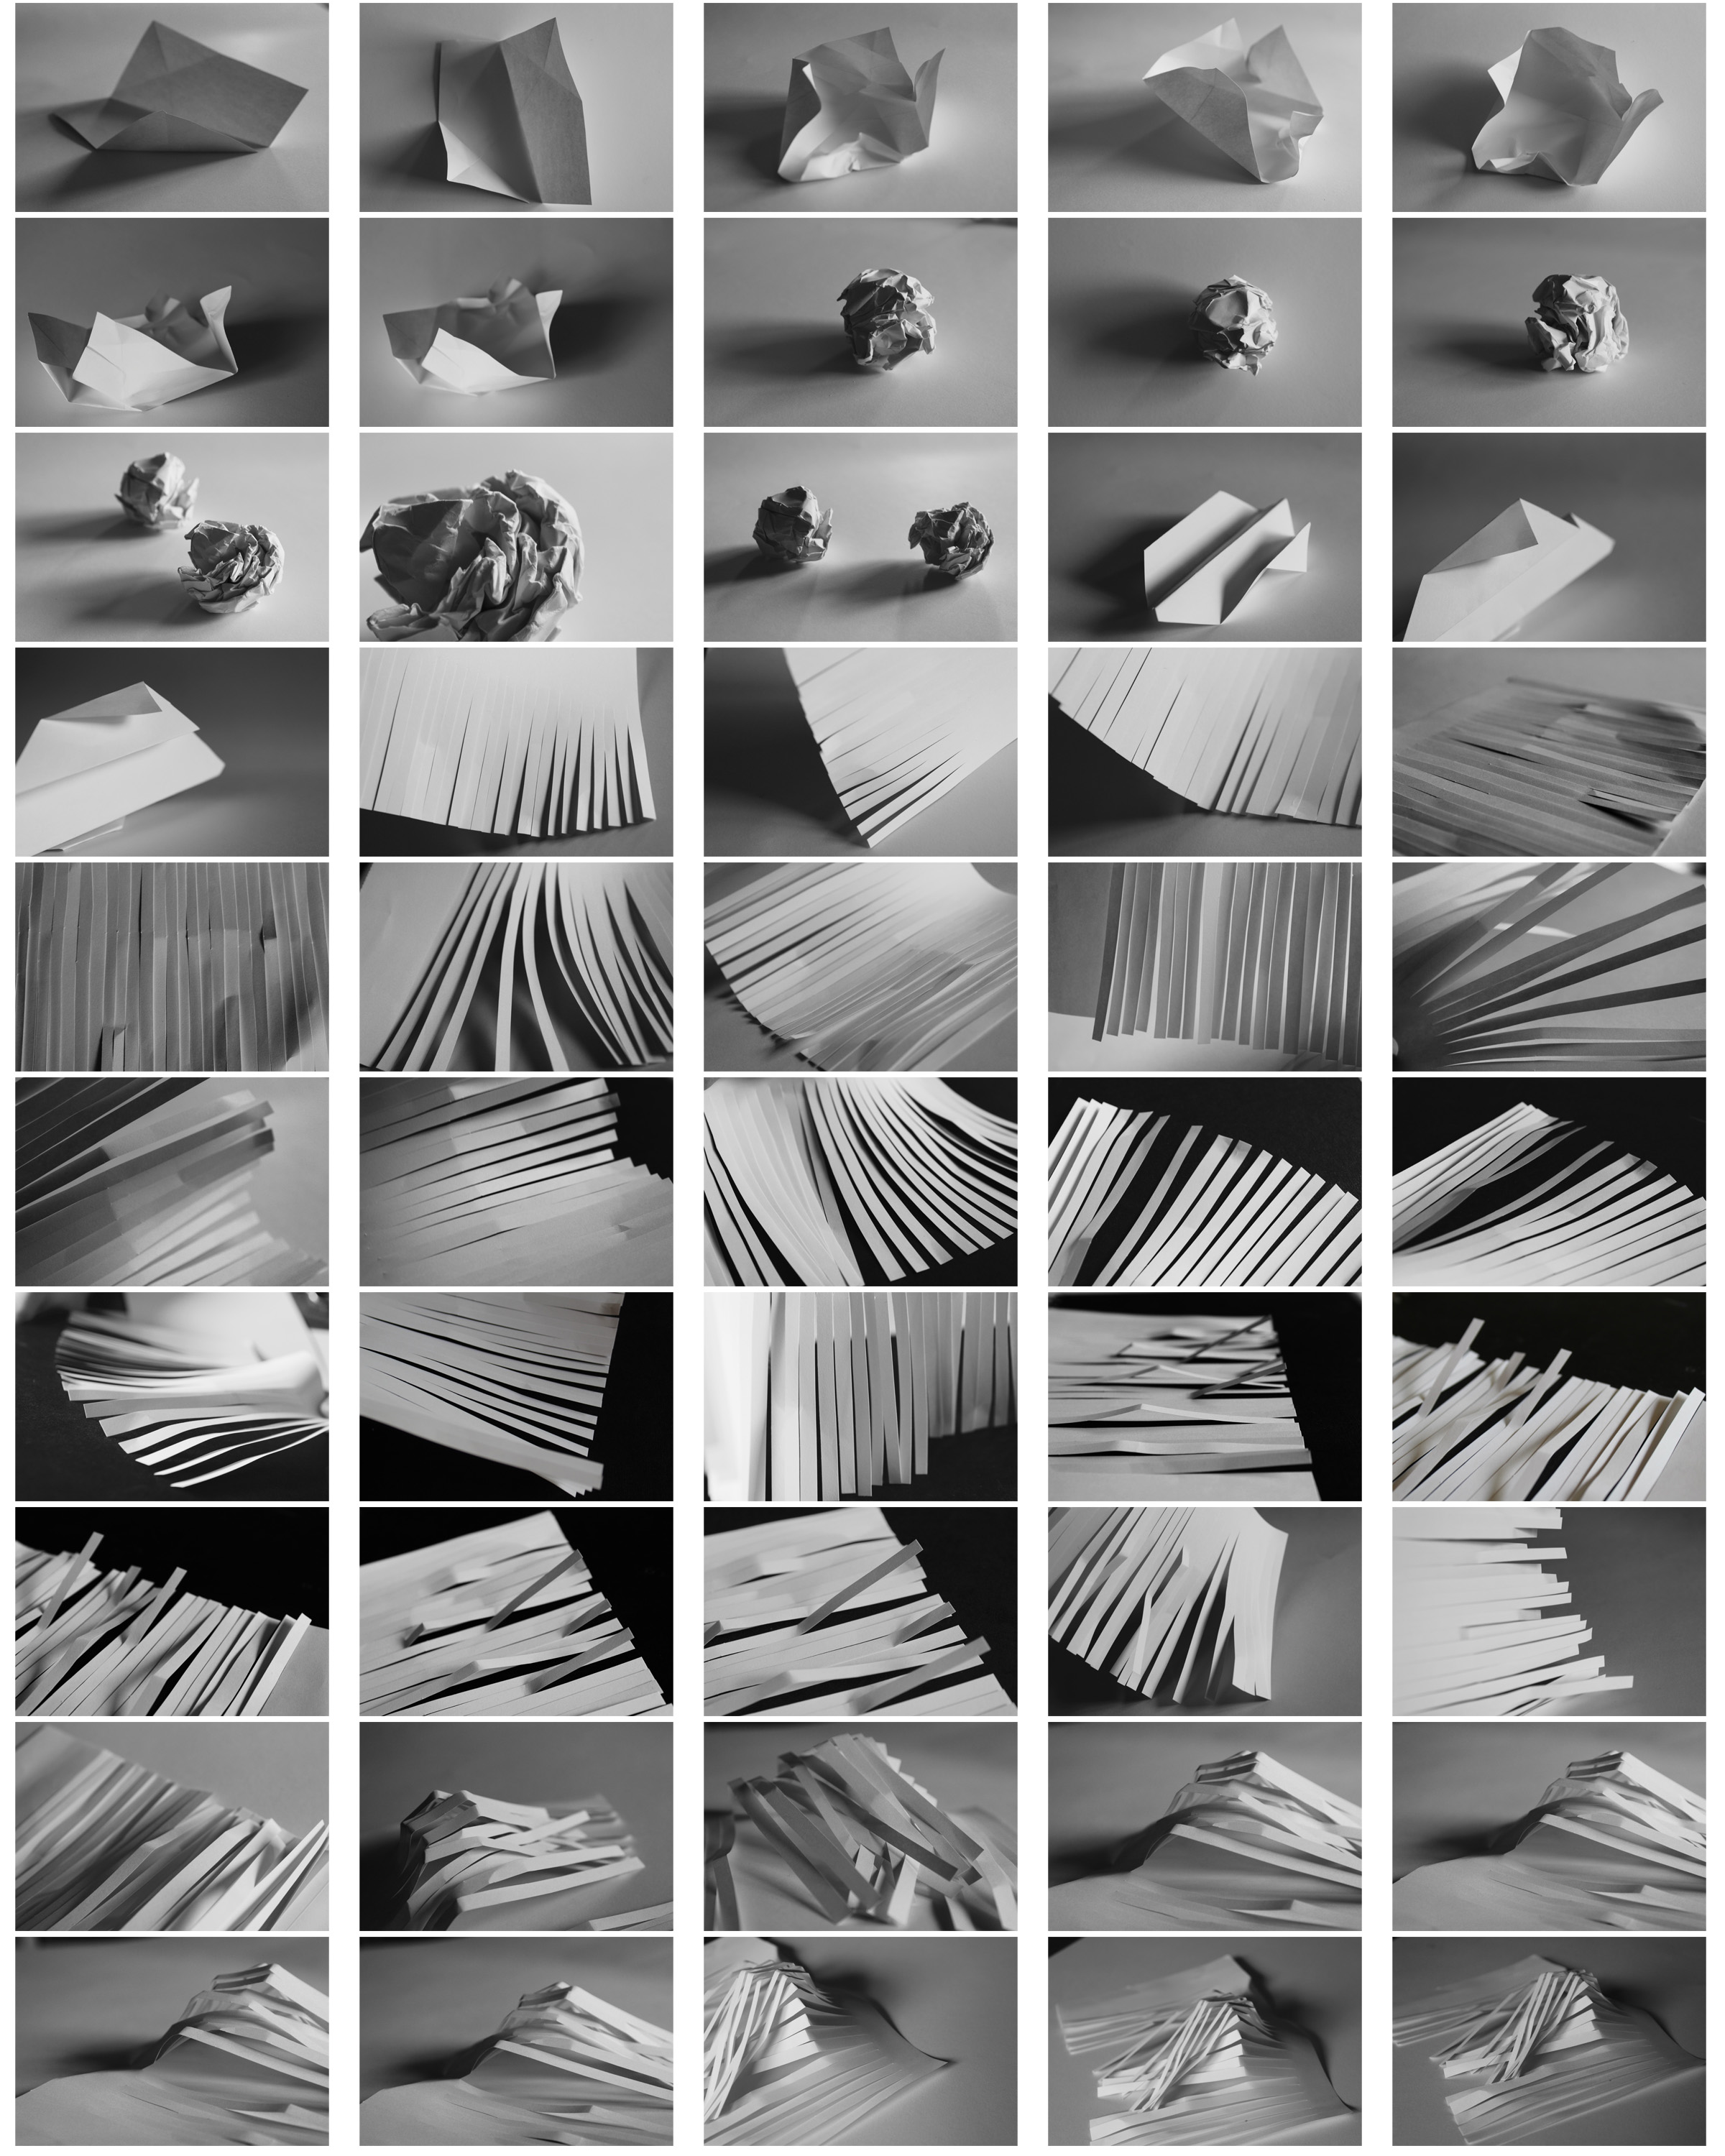
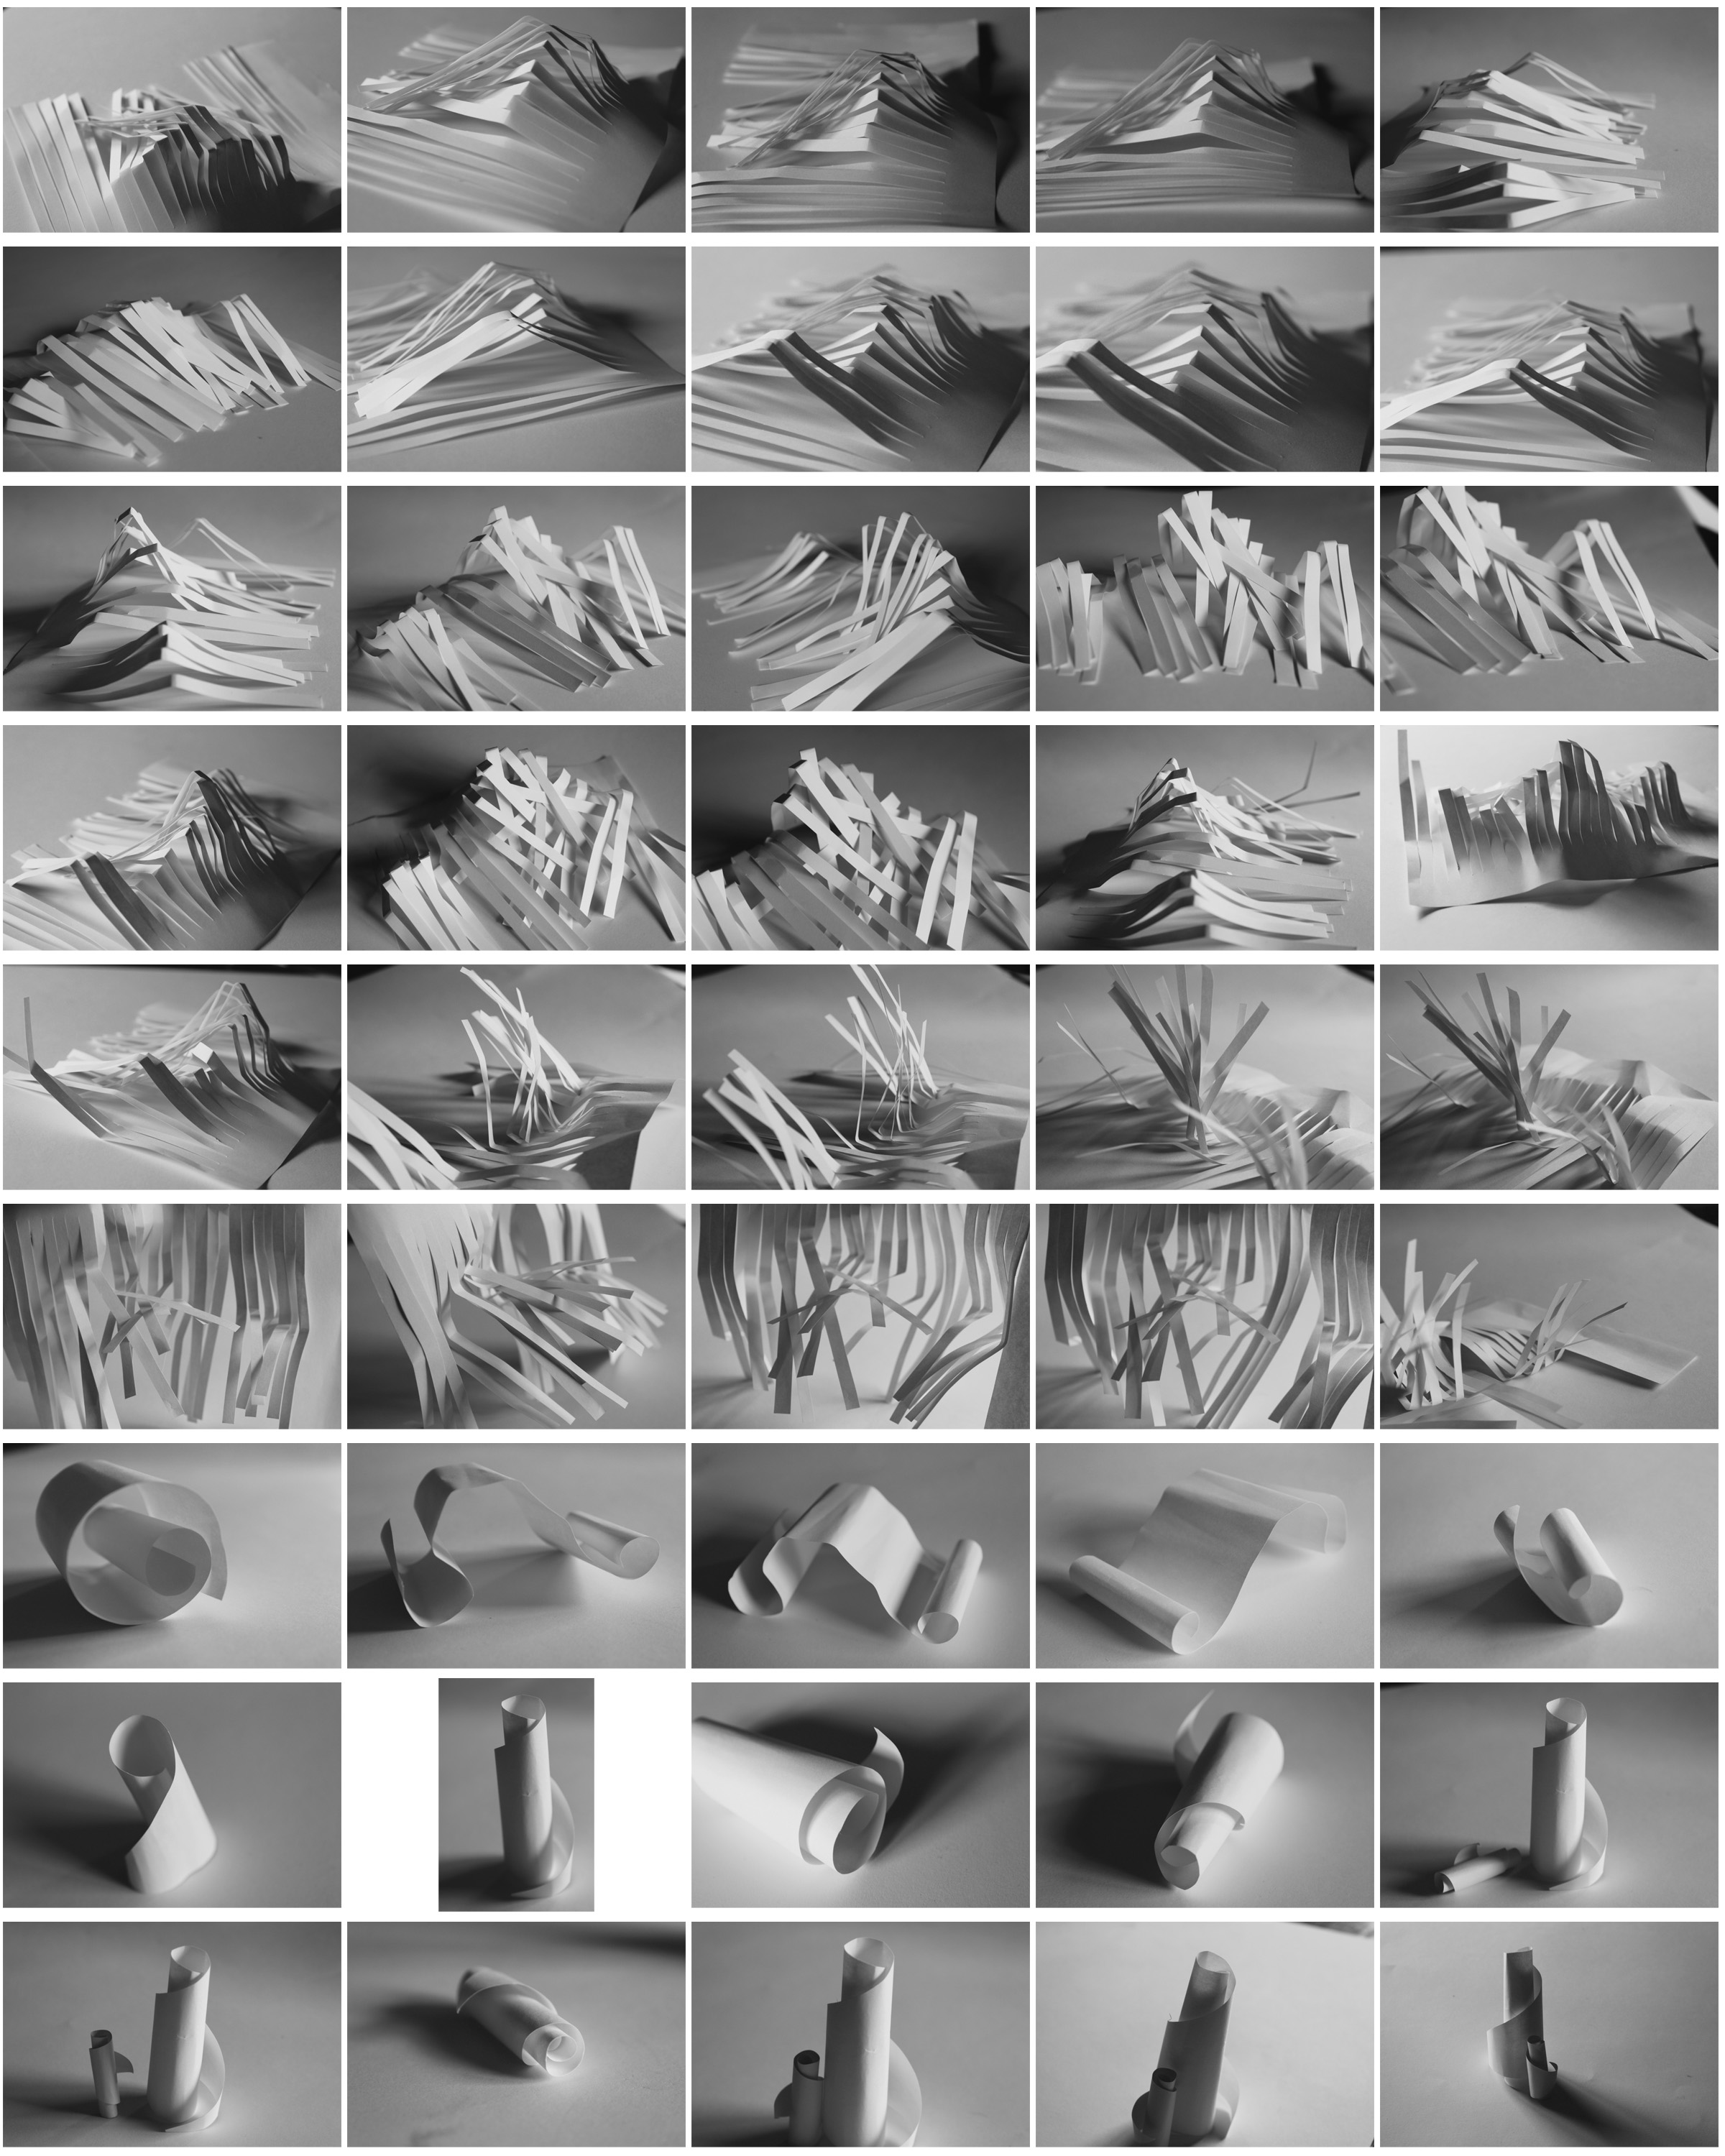


![Image result for shutter speed]](https://encrypted-tbn0.gstatic.com/images?q=tbn:ANd9GcRbSIjBuPcM24V618eLVymbKbgC5UXKuXW9RK1I9OW8R8CfcYdX:https://ecommercephotographyindia.com/blog/wp-content/uploads/2017/06/shutter-speed.jpg)
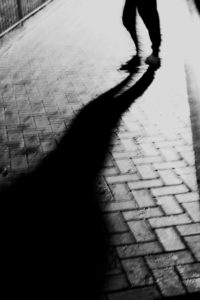
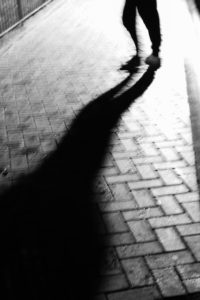 Before and after the picture has been edited (Edited top and unedited bottom).
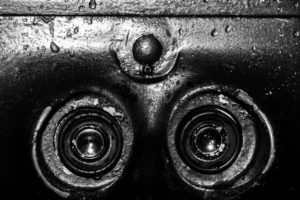
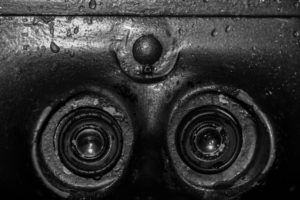 Before and after edited on Photoshop (Top image edited bottom unedited).
How did I edit them?
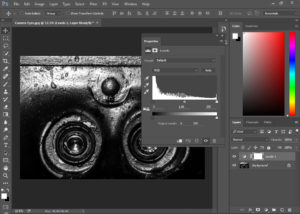
To edit my photos I went into the image and adjustments tab, located at the top of the screen, and selected what I wanted to edit
BRIGHTNESS/CONTRAST
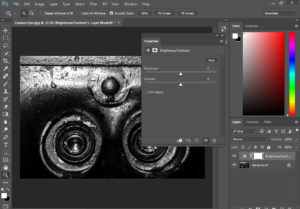 EXPOSURE
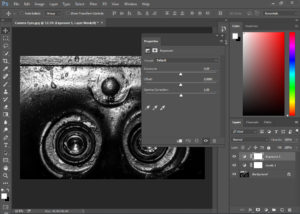 LEVELS
 Zone System
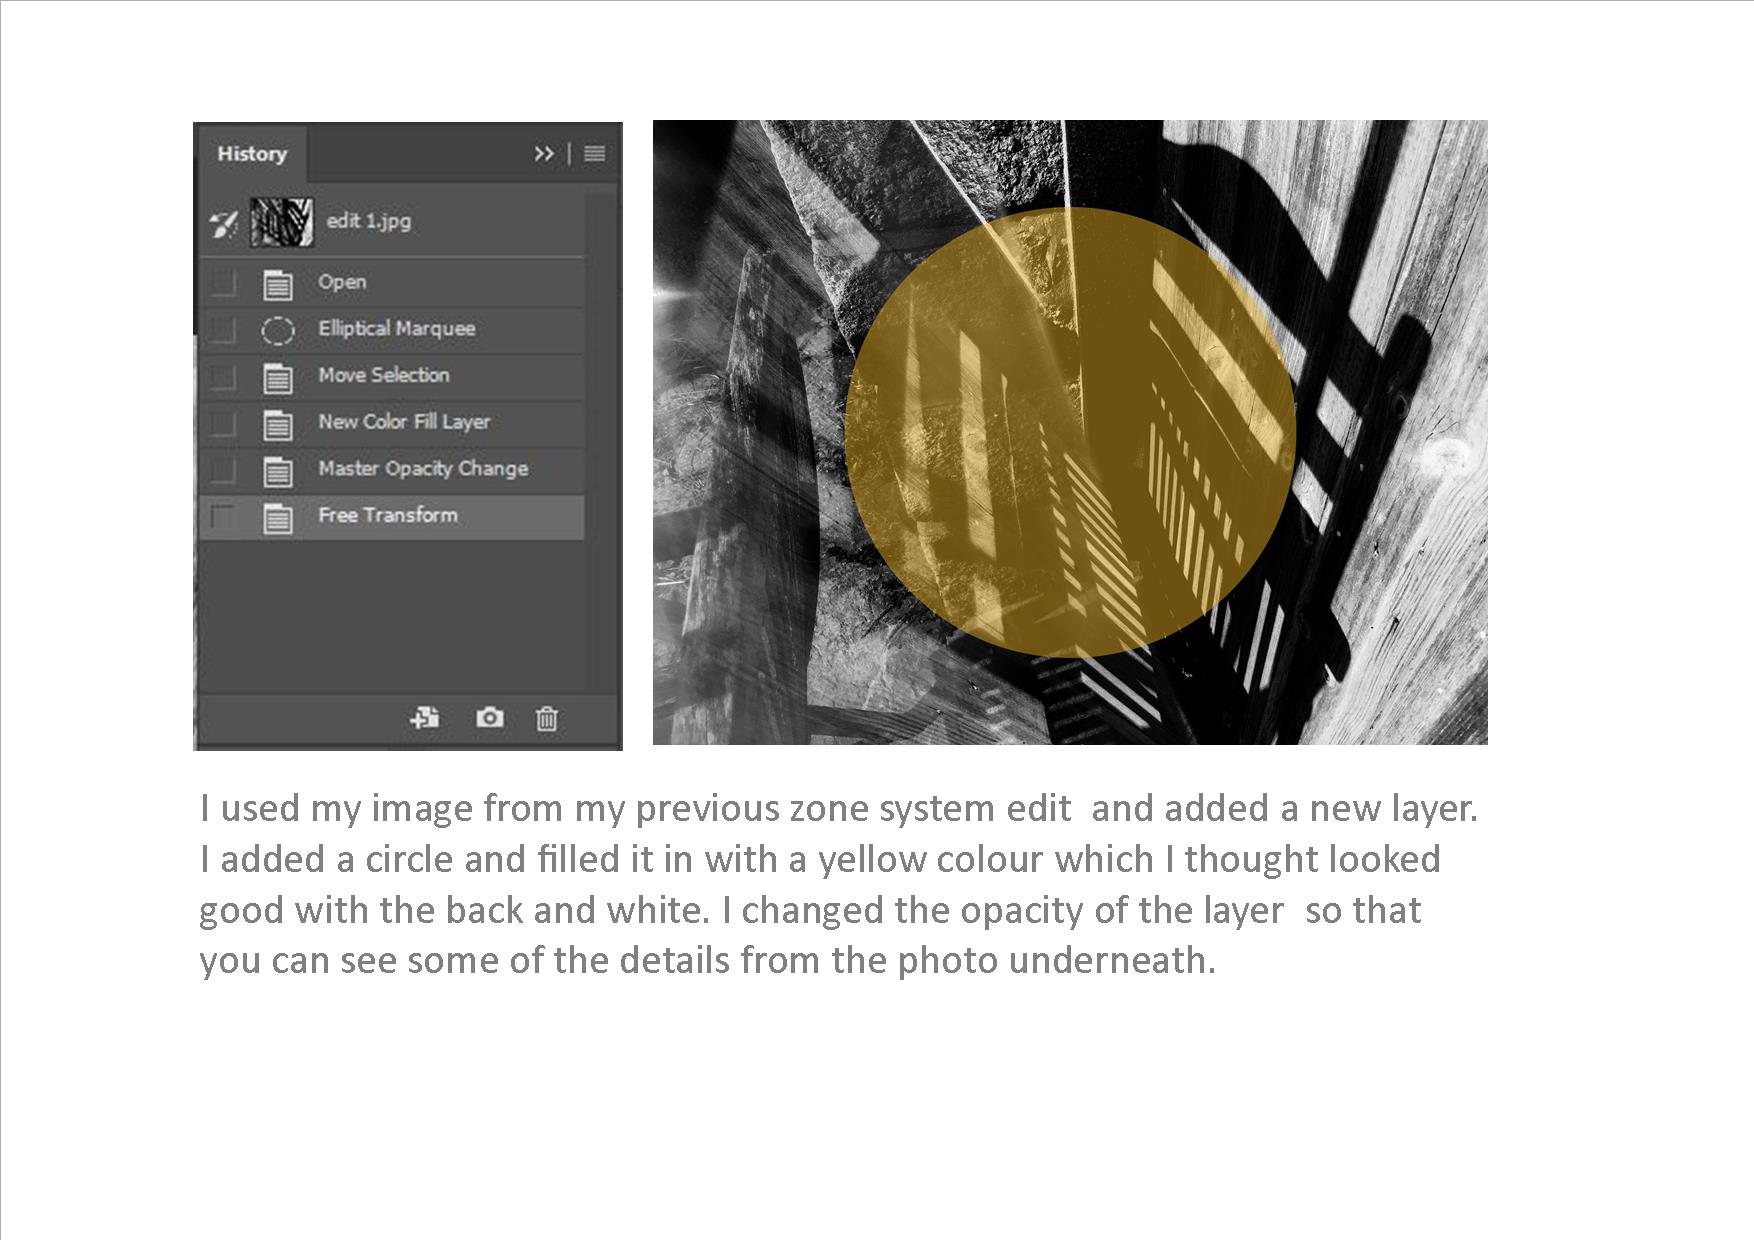
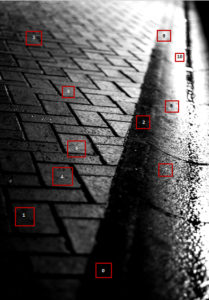 Above I used the Ansel Adams zone system (seen beneath), to identify the different areas of types of exposure, meant allow the photo to have the best contrast between light and dark as possible within the picture.
.png) What is the Ansel Adams 'Zone System'?
The Zone System is a technique that was formulated by Ansel Adams and Fred Archer back in the 1930's. It is an approach to a standardized way of working that guarantees a correct exposure in every situation, even in the trickiest lighting conditions, such as black lighting, extreme difference between light and shadow areas of a scene, and many similar conditions that are most likely going to throw off your camera's metering, giving you a completely incorrect exposure.
What is the Ansel Adams 'Zone System'?
The Zone System is a technique that was formulated by Ansel Adams and Fred Archer back in the 1930's. It is an approach to a standardized way of working that guarantees a correct exposure in every situation, even in the trickiest lighting conditions, such as black lighting, extreme difference between light and shadow areas of a scene, and many similar conditions that are most likely going to throw off your camera's metering, giving you a completely incorrect exposure.
 Low ISO Speed
 High ISO speed