Depth of field

what is depth of field?

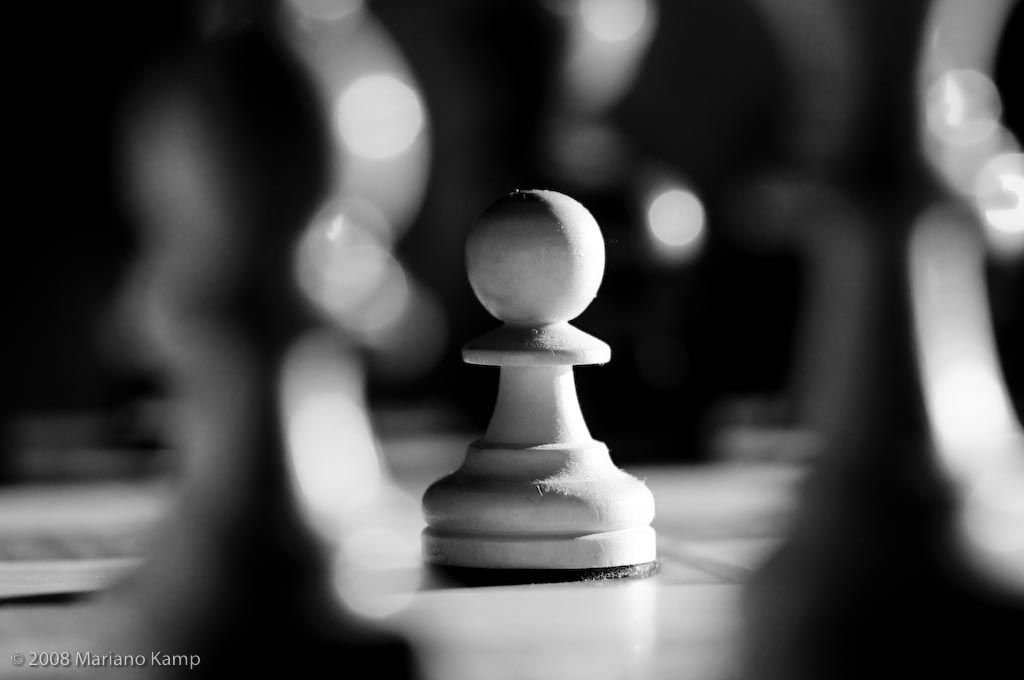
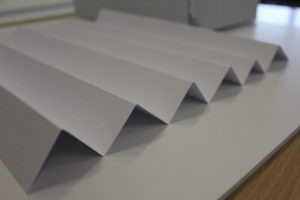
Is the focus or range effectiveness within the range,it is also the distance between the nearest and farthest objects in a scene that appear acceptably sharp in an image.This portrays the graudal changing as to how much os a specific image you want to be in focus and to what extent you want for a certain area, Traditional debth of field was created in order to suggest that disatnt objects often need to be larger on the film and do not need to be so sharp,the loss of detail in distance is particullarly noticebale with extreme engalrgments so for example this allowed a blur but in order to enchnace a speific direct area of vibrancy within tht eimage that you want to be easuily seen and accessible. Debth of field is important for images within marcro and is a look that can be highly sucessful within the right settings.
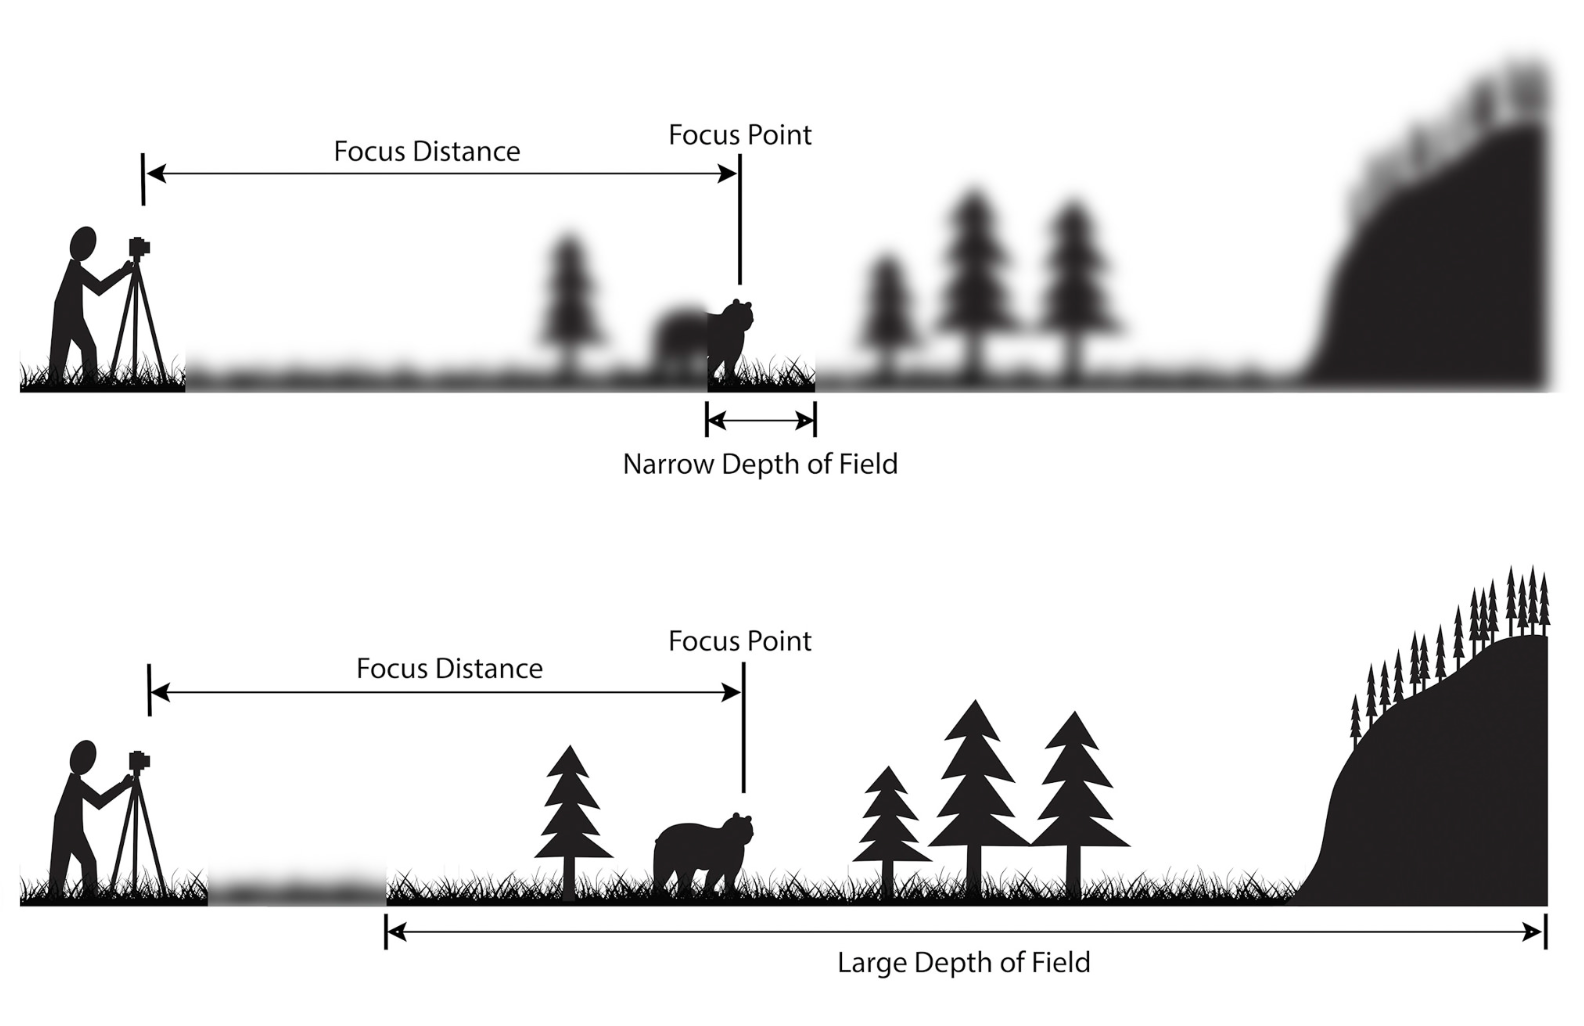
within this image you can see the gradual focus point change in order to allow more depth of field and more detail. Whereas the first narrow depth off field shows the widening  of the lens  to create a smaller(narrow) so more detailed image and so less focus  on the suorounding subjects such as in this image:
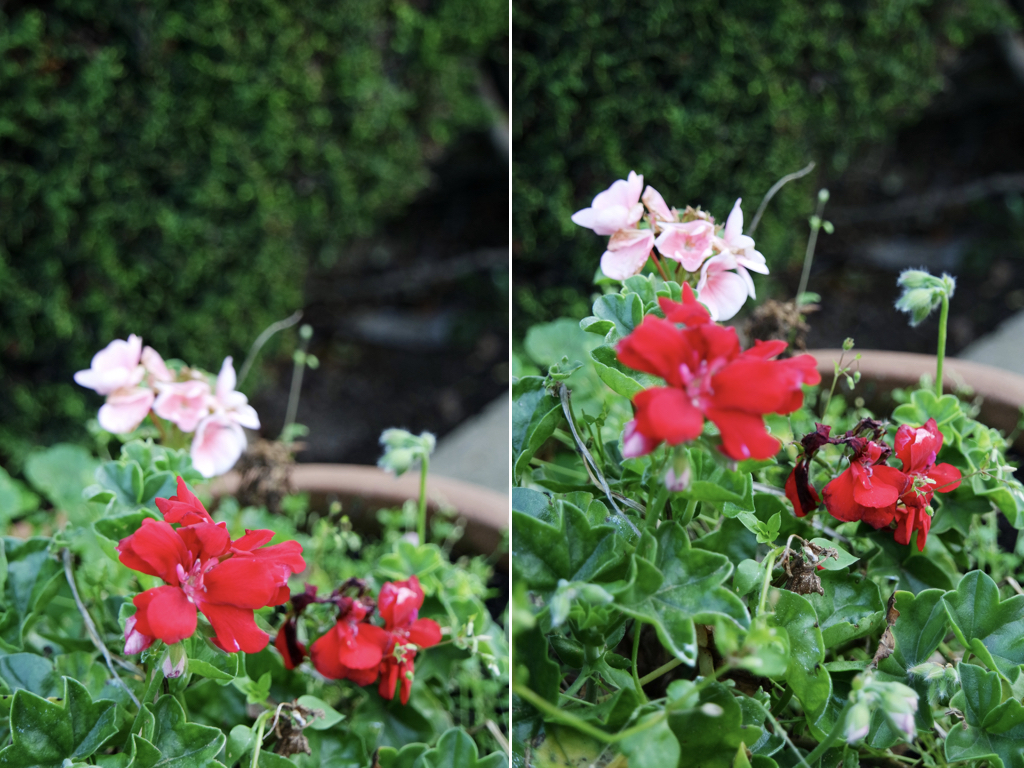
within he first image you can see it is clearly focused pm the floor in front and the second it is also forcing on the flower behind as well and the red flower itself.

you are also able to focus on different areas still blurring whatever section you want ,or in a shot you are also able to focus on everything in the frame with a large depth of field.
most artists would recommend focusing very close to infinity, and stopping down to make the bollard sharp enough. With this approach, foreground objects cannot always be made perfectly sharp, but the loss of sharpness in near objects may be acceptable if recognizably of distant objects is paramount.

vocal length

Focal Length

The focal length of the lens is the distance between the lens and the image sensor when the subject is in focus.This also works in hand with field of debth and is under the same category and both adapt and edit each others overall finish. Focal length is used in order to zoom and create a photo within a certain crop and edit with contiaing only the selected subjects. This can be changed  within the manual zoom within the lens itself.The focal length and distnace within the image sensor and the subject in focus  . This is usually in millimeters (e.g., 28 mm, 50 mm, or 100 mm). In the case of zoom lenses, both the minimum and maximum focal lengths are stated, for example 18–55 mm.This is the basic description of a photography lens,it is also a clauculation of an opticial diatnce from the point where the light rays convey. The focal length of a lens is determined when the lens is focused at infinity.

The zooming also portrays a difference in direction and central attention to the piece itself. Not only in this piece does it zoom but it also redirects a focus to a specific point their in the background or the foreground.

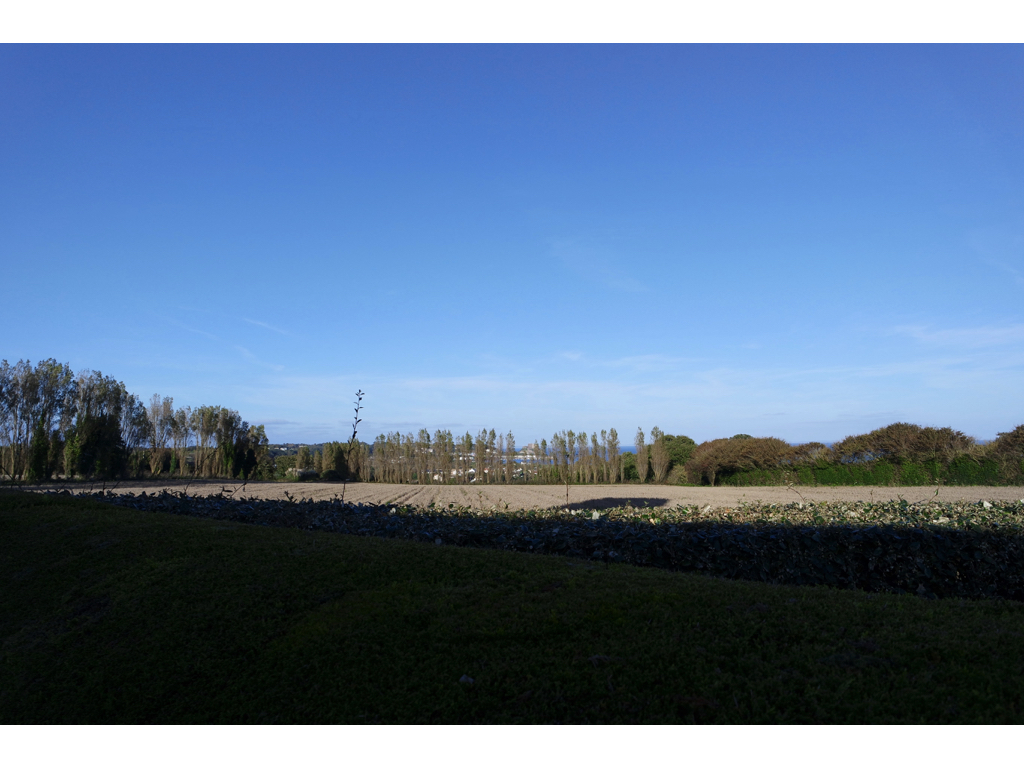
within he next image you can see a clear focus on the city in the distance and not the field in the foreground.

The focal length tells us the angle of view—how much of the scene will be captured—and the magnification—how large individual elements will be. The longer the focal length, the narrower the angle of view and the higher the magnification. The shorter the focal length, the wider the angle of view and the lower the magnification.

This shows how you can have an overall very wide image and then the gradual demising of the piece into the field of view into a more detail specific  area.

Why do we use focal length?
Focal length is used  in order to exaggerate and to focus your detail on one particular section to a photograph. We use it by zooming in automatically on a specific photo, or perhaps manually by the camera but if two use this it will not be enough if it is zooming in to a large depth of field. It focuses by zooming in On a specific sense of direct detail wanting to concentrate the detail within the image.
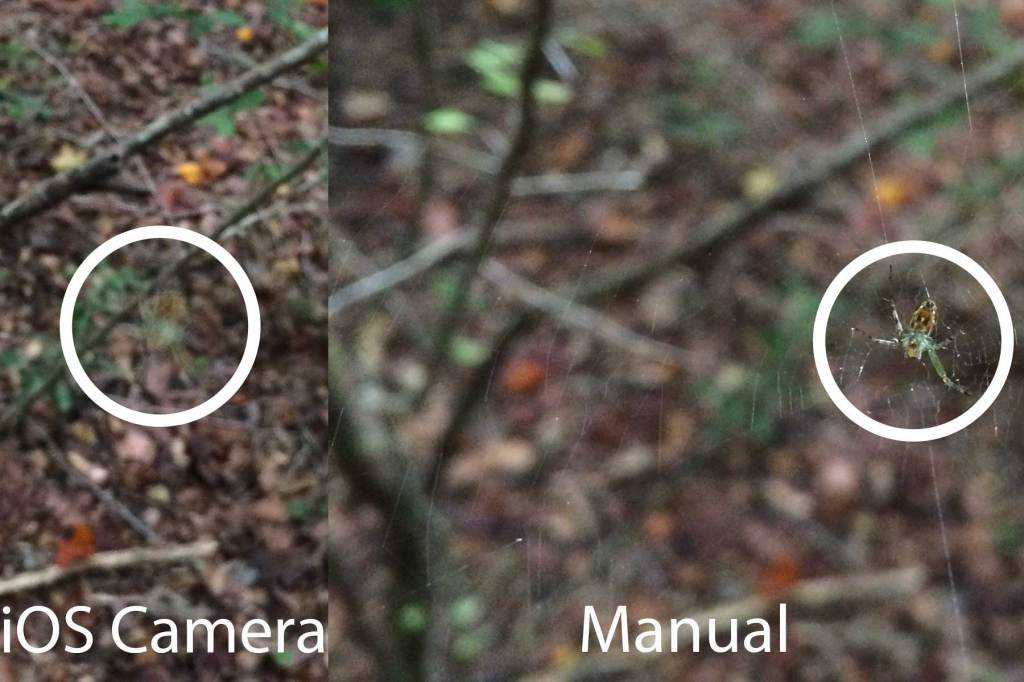
auto focus differs due to less of a clear view on exactly what effect and subject you are wanting to focus within. But differing manual is able to capture and zoom to a specific area and contain only the stage and part that you are wanting to focus on itself.

Focal Length and Focusing

The focal length on a camera is dependent on the size off lens it has been fitted with. A small lens knows as a wide angle lens could be around 12mm however larger lenses knows as telephoto would be around 150mm.

There are two main ways to focus your camera, manual and automatic. manual focus allows you to use the focus ring on your lens to chose when and what you want to focus on. This is useful because it gives us more control over the image and allows us to focus on specific things. Auto focus is where the camera automatically focuses on a subject generally in the center of the frame however this can be changed. This function is helpful when we have time constraint for example if the subject is in motion.

Typologies Homework Task Week 4

Typologies

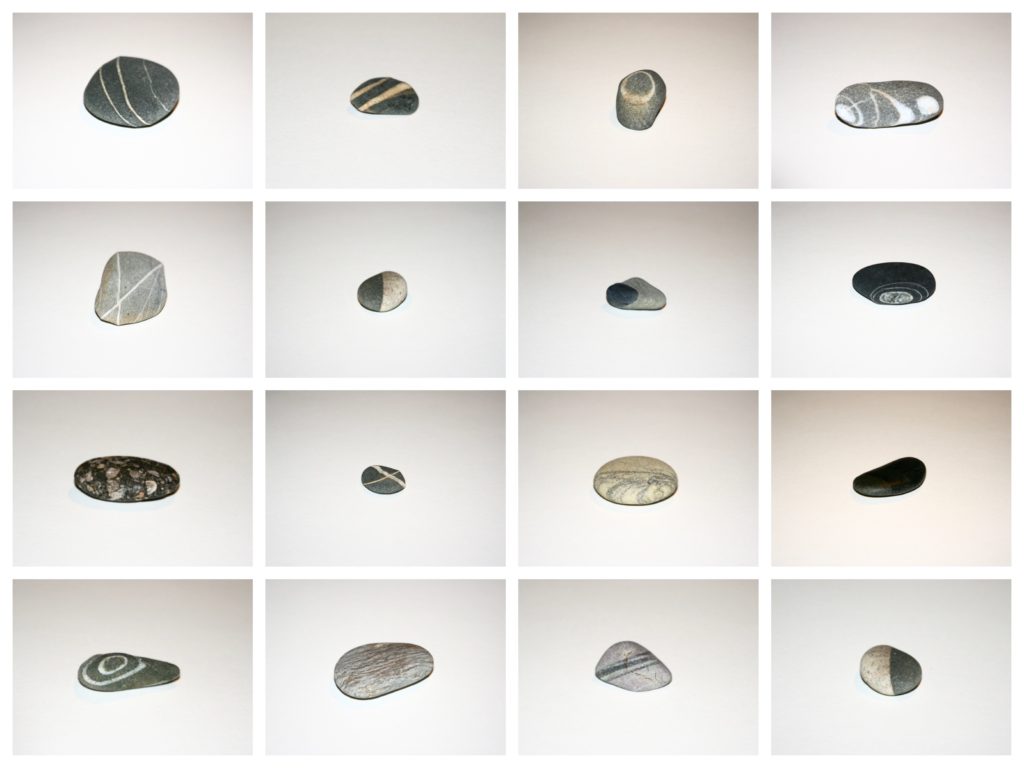
Typologies by definition are a classification according to general type. So in photography they are collections of similar ‘things’ compiled together to produce a visually similar set of photographs.

Photo shoot contact Sheet

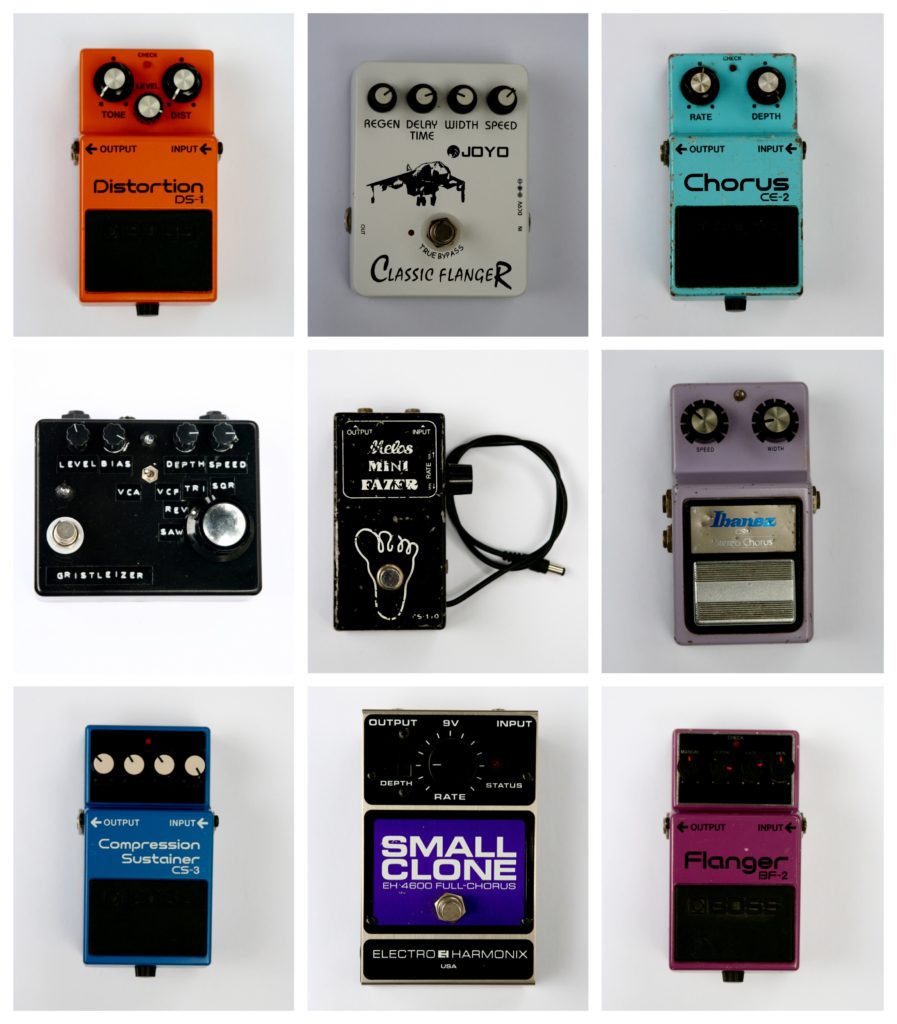
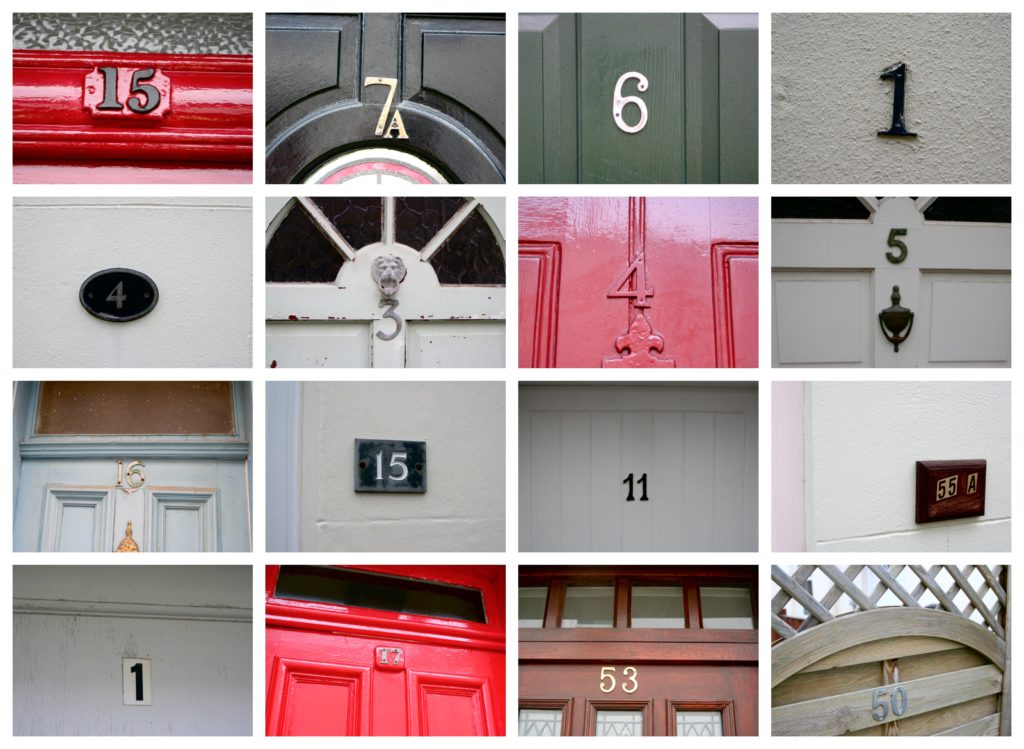
Photographic typologies produced from my photo-shoot

Guitar Pedals
Door Numbers
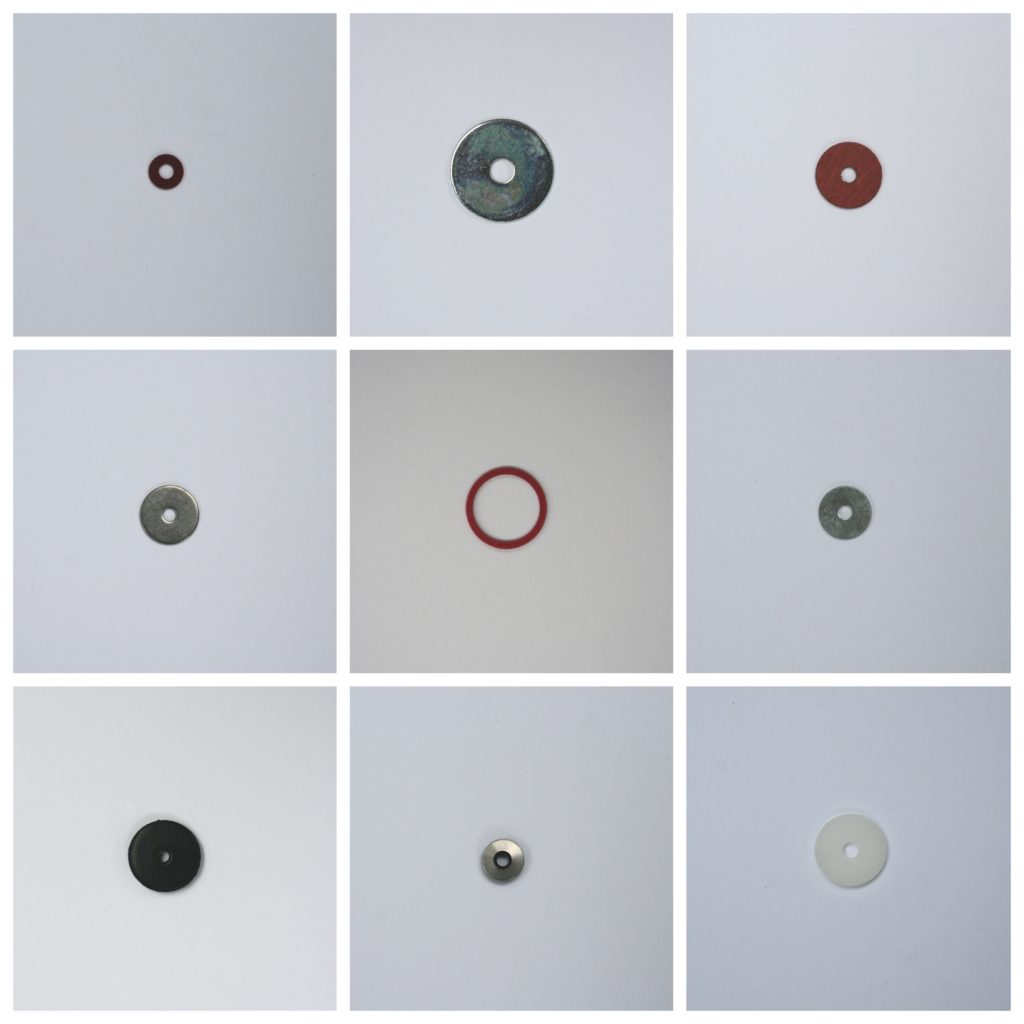
Washers
Plectrums
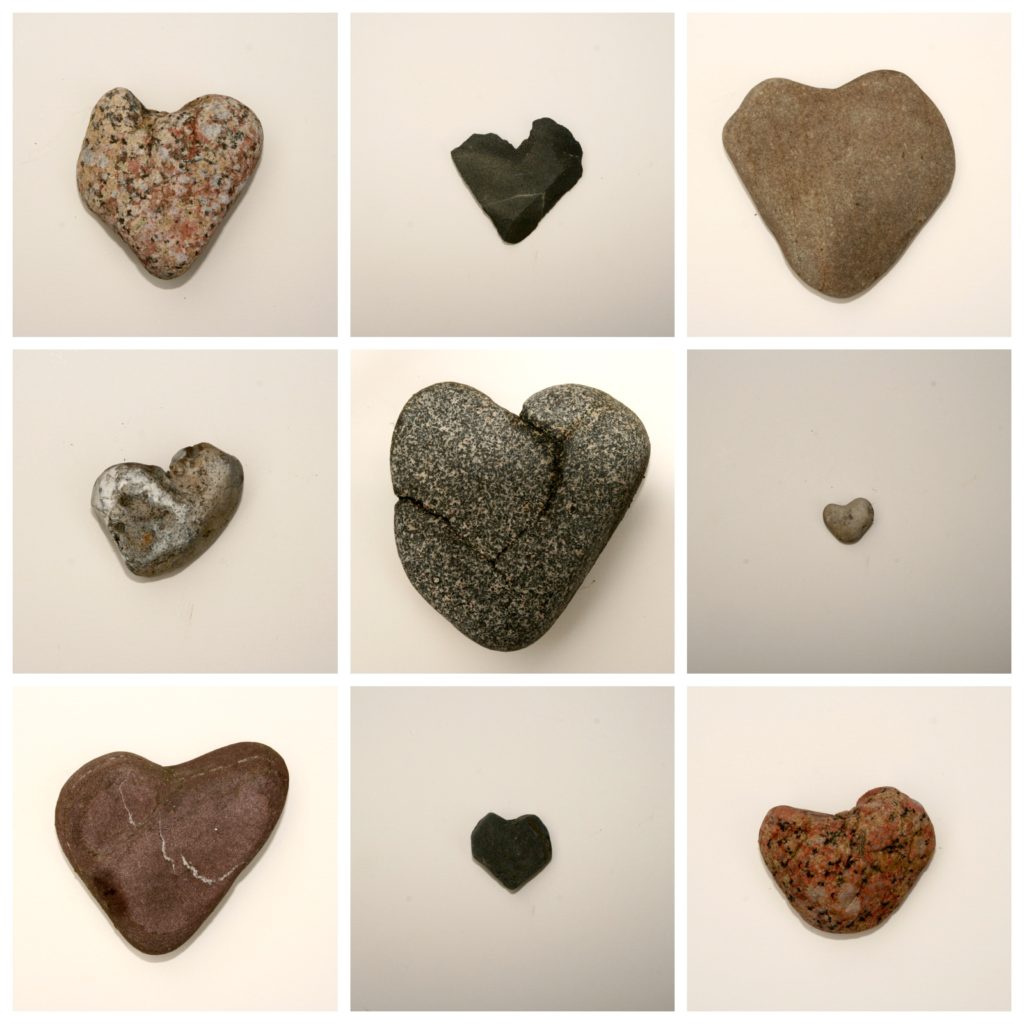
Heart Shaped Stones
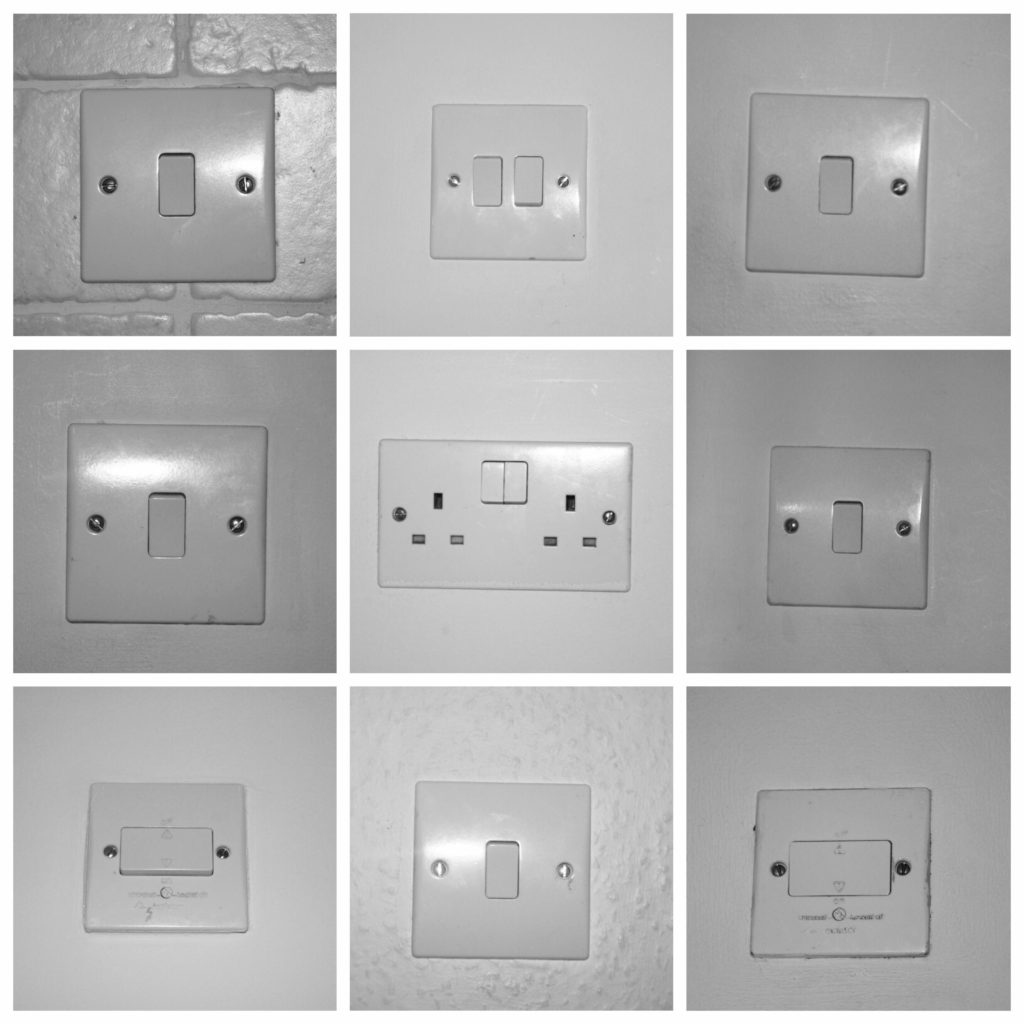
Switches

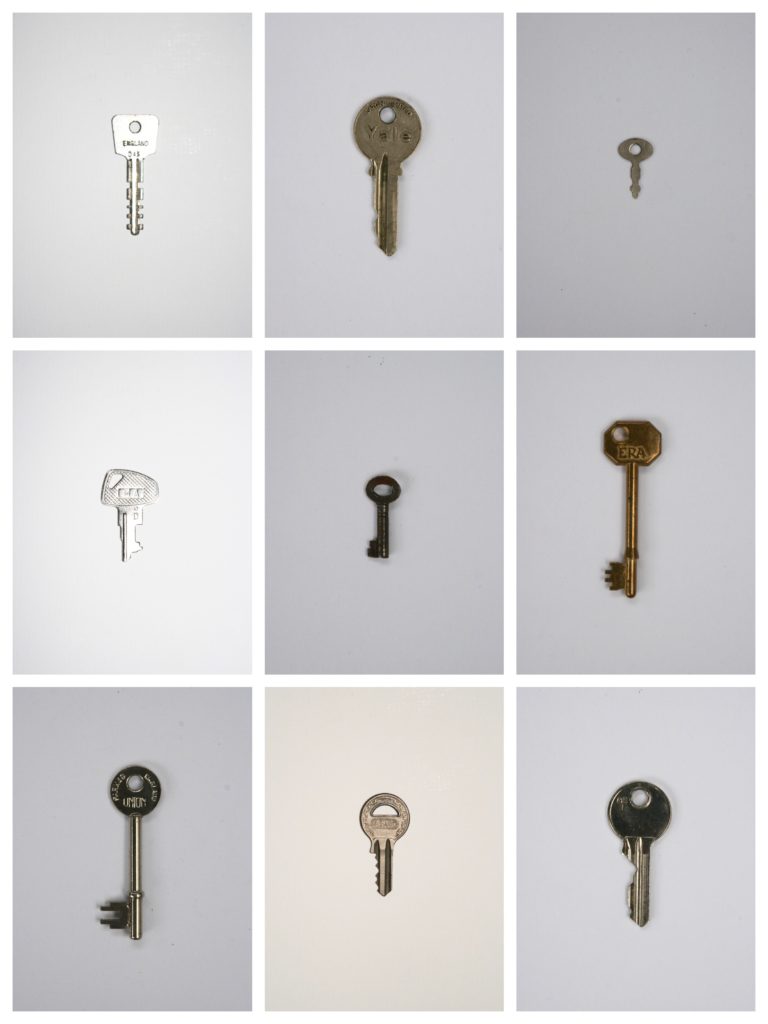
Keys
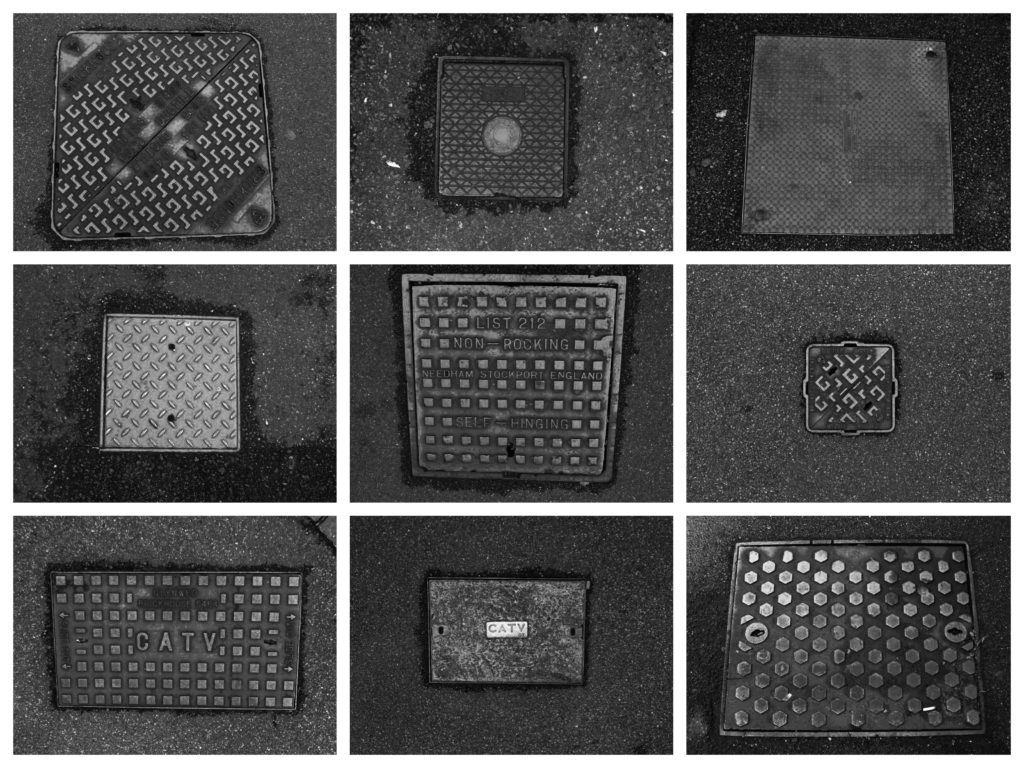
Manholes
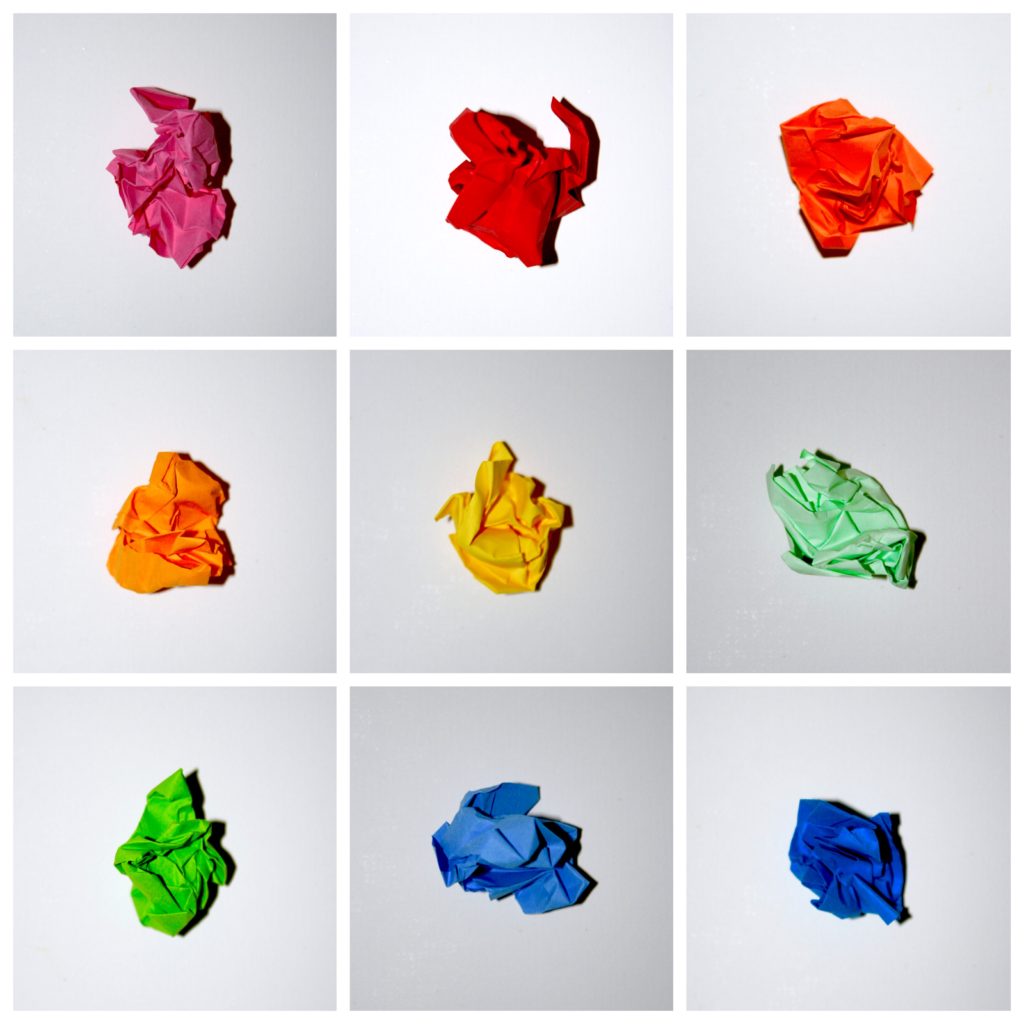
Coloured card
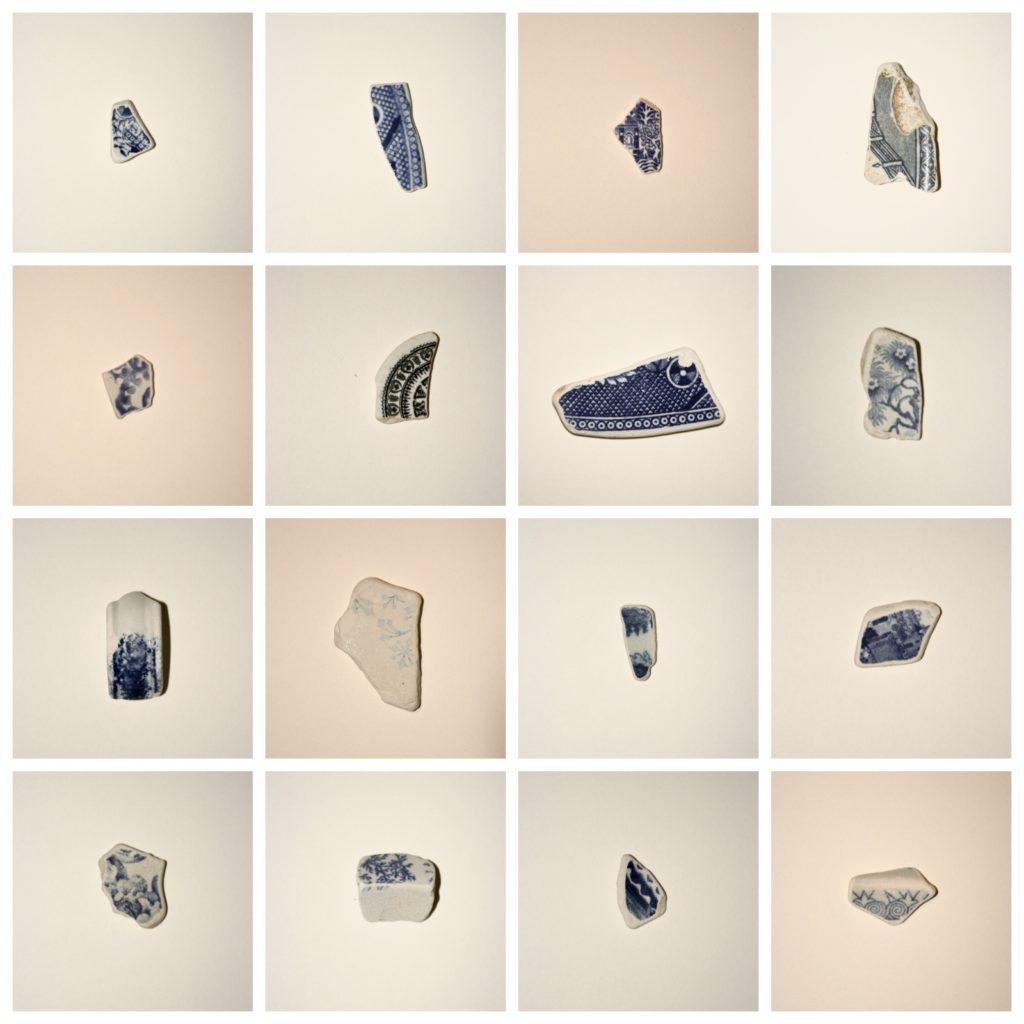
Pottery
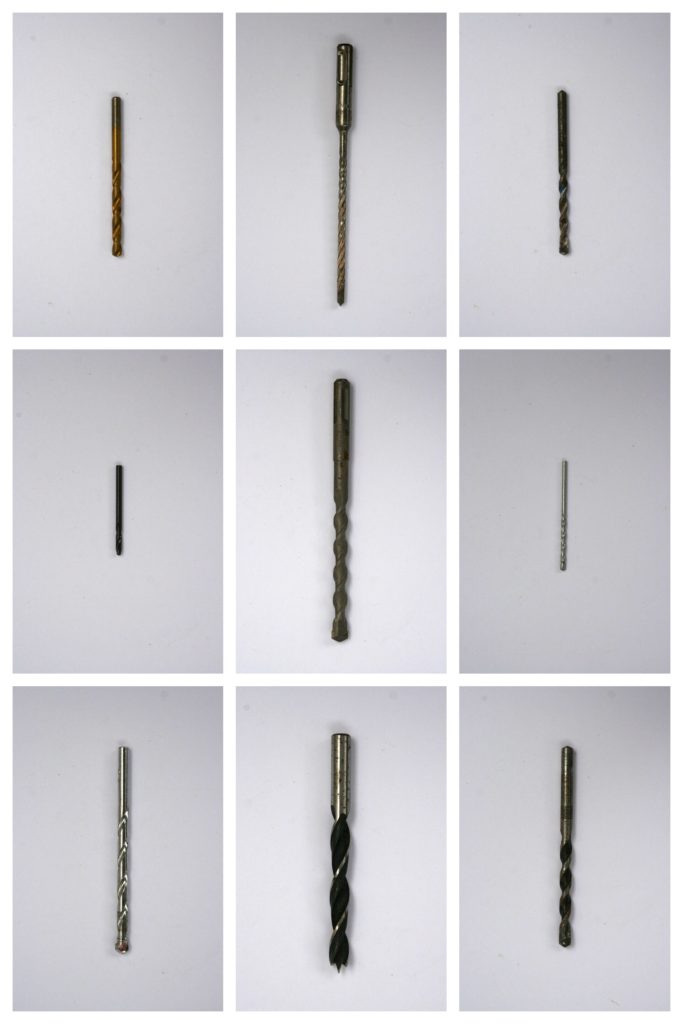
Drill Parts
Pebbles

Photographer Research One (Jeff Brouws)

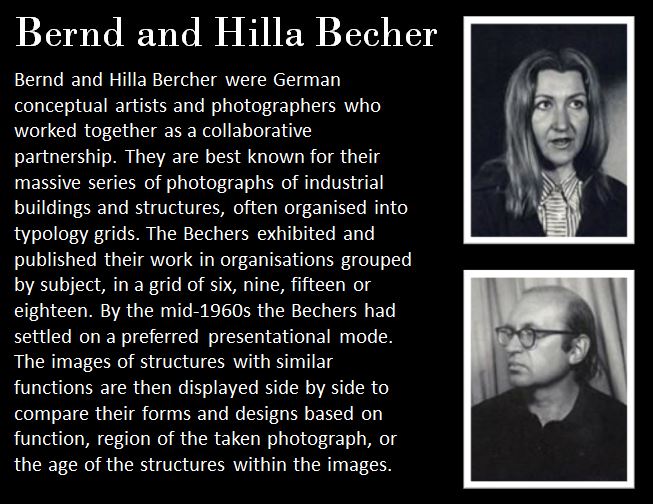
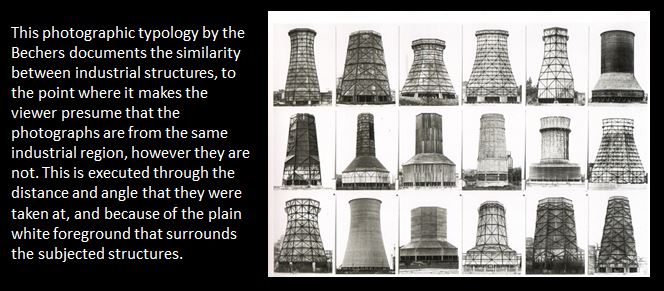
Photographer Research Two (Bernd & Hilla Becher)


Depth of Feild

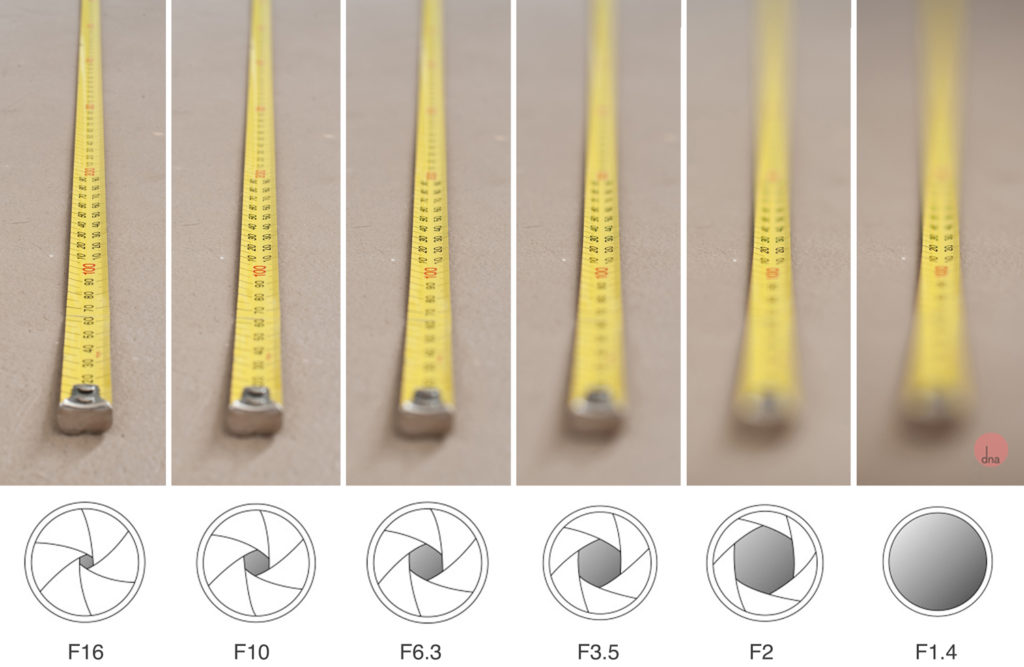
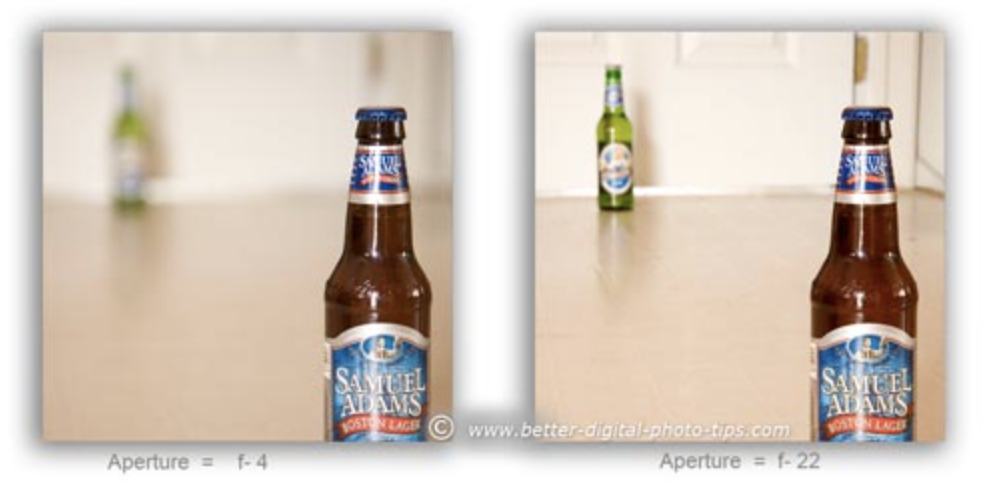
Depth of field in photography is where a photographer will change the aperture on their camera to change what is in focus. the lower the aperture the less thing the camera will focus on for example with a f/2 the camera would focus on one thing and everything else in the frame would become blurred. With a higher aperture such as f/22  the majority of the frame would be in focus no matter how fare away from the lens

.


Bokeh

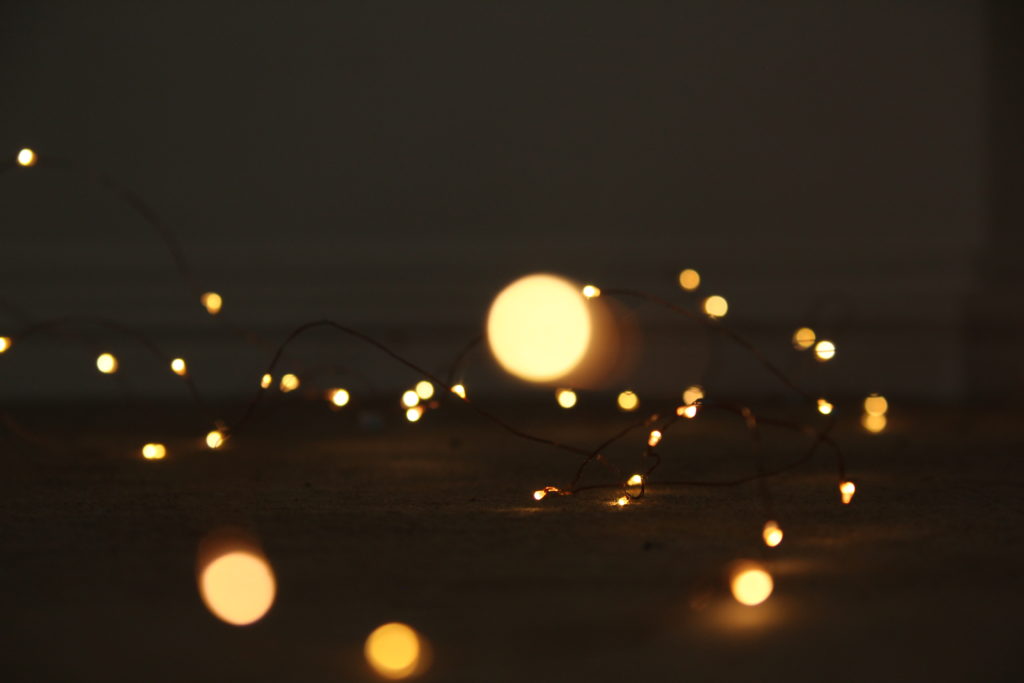
Bokeh is the effect made when lights are out of focus, this can be accidental or on purpose to make aesthetic background. By setting the camera to the largest aperture the camera will blur anything which is not being focused on.  We can also use manual focus to change which parts of the light are blurred, the more out of focus the larger the Bokeh light circles will be. The circle shapes which we see in Bokeh photos is simply the shape of the hole in the lens. This shape can be changed to a hexagon depending on the aperture, we can also make caps to go on our lenses which creat other shapes such as hearts. I used my 55-250mm lens to create a bokeh effect using fairy lights, I made a trail from the camera and up the wall to show what they look like at different focal lengths.

With the whole frame out of focus the light circles become larger and the whole image looks blurred.  When the image is slightly more in focus only the lights which are close to the lens make a bigger circle. Some of the wires in the mid ground are more in focus this is because the focus point was in the center of the frame.
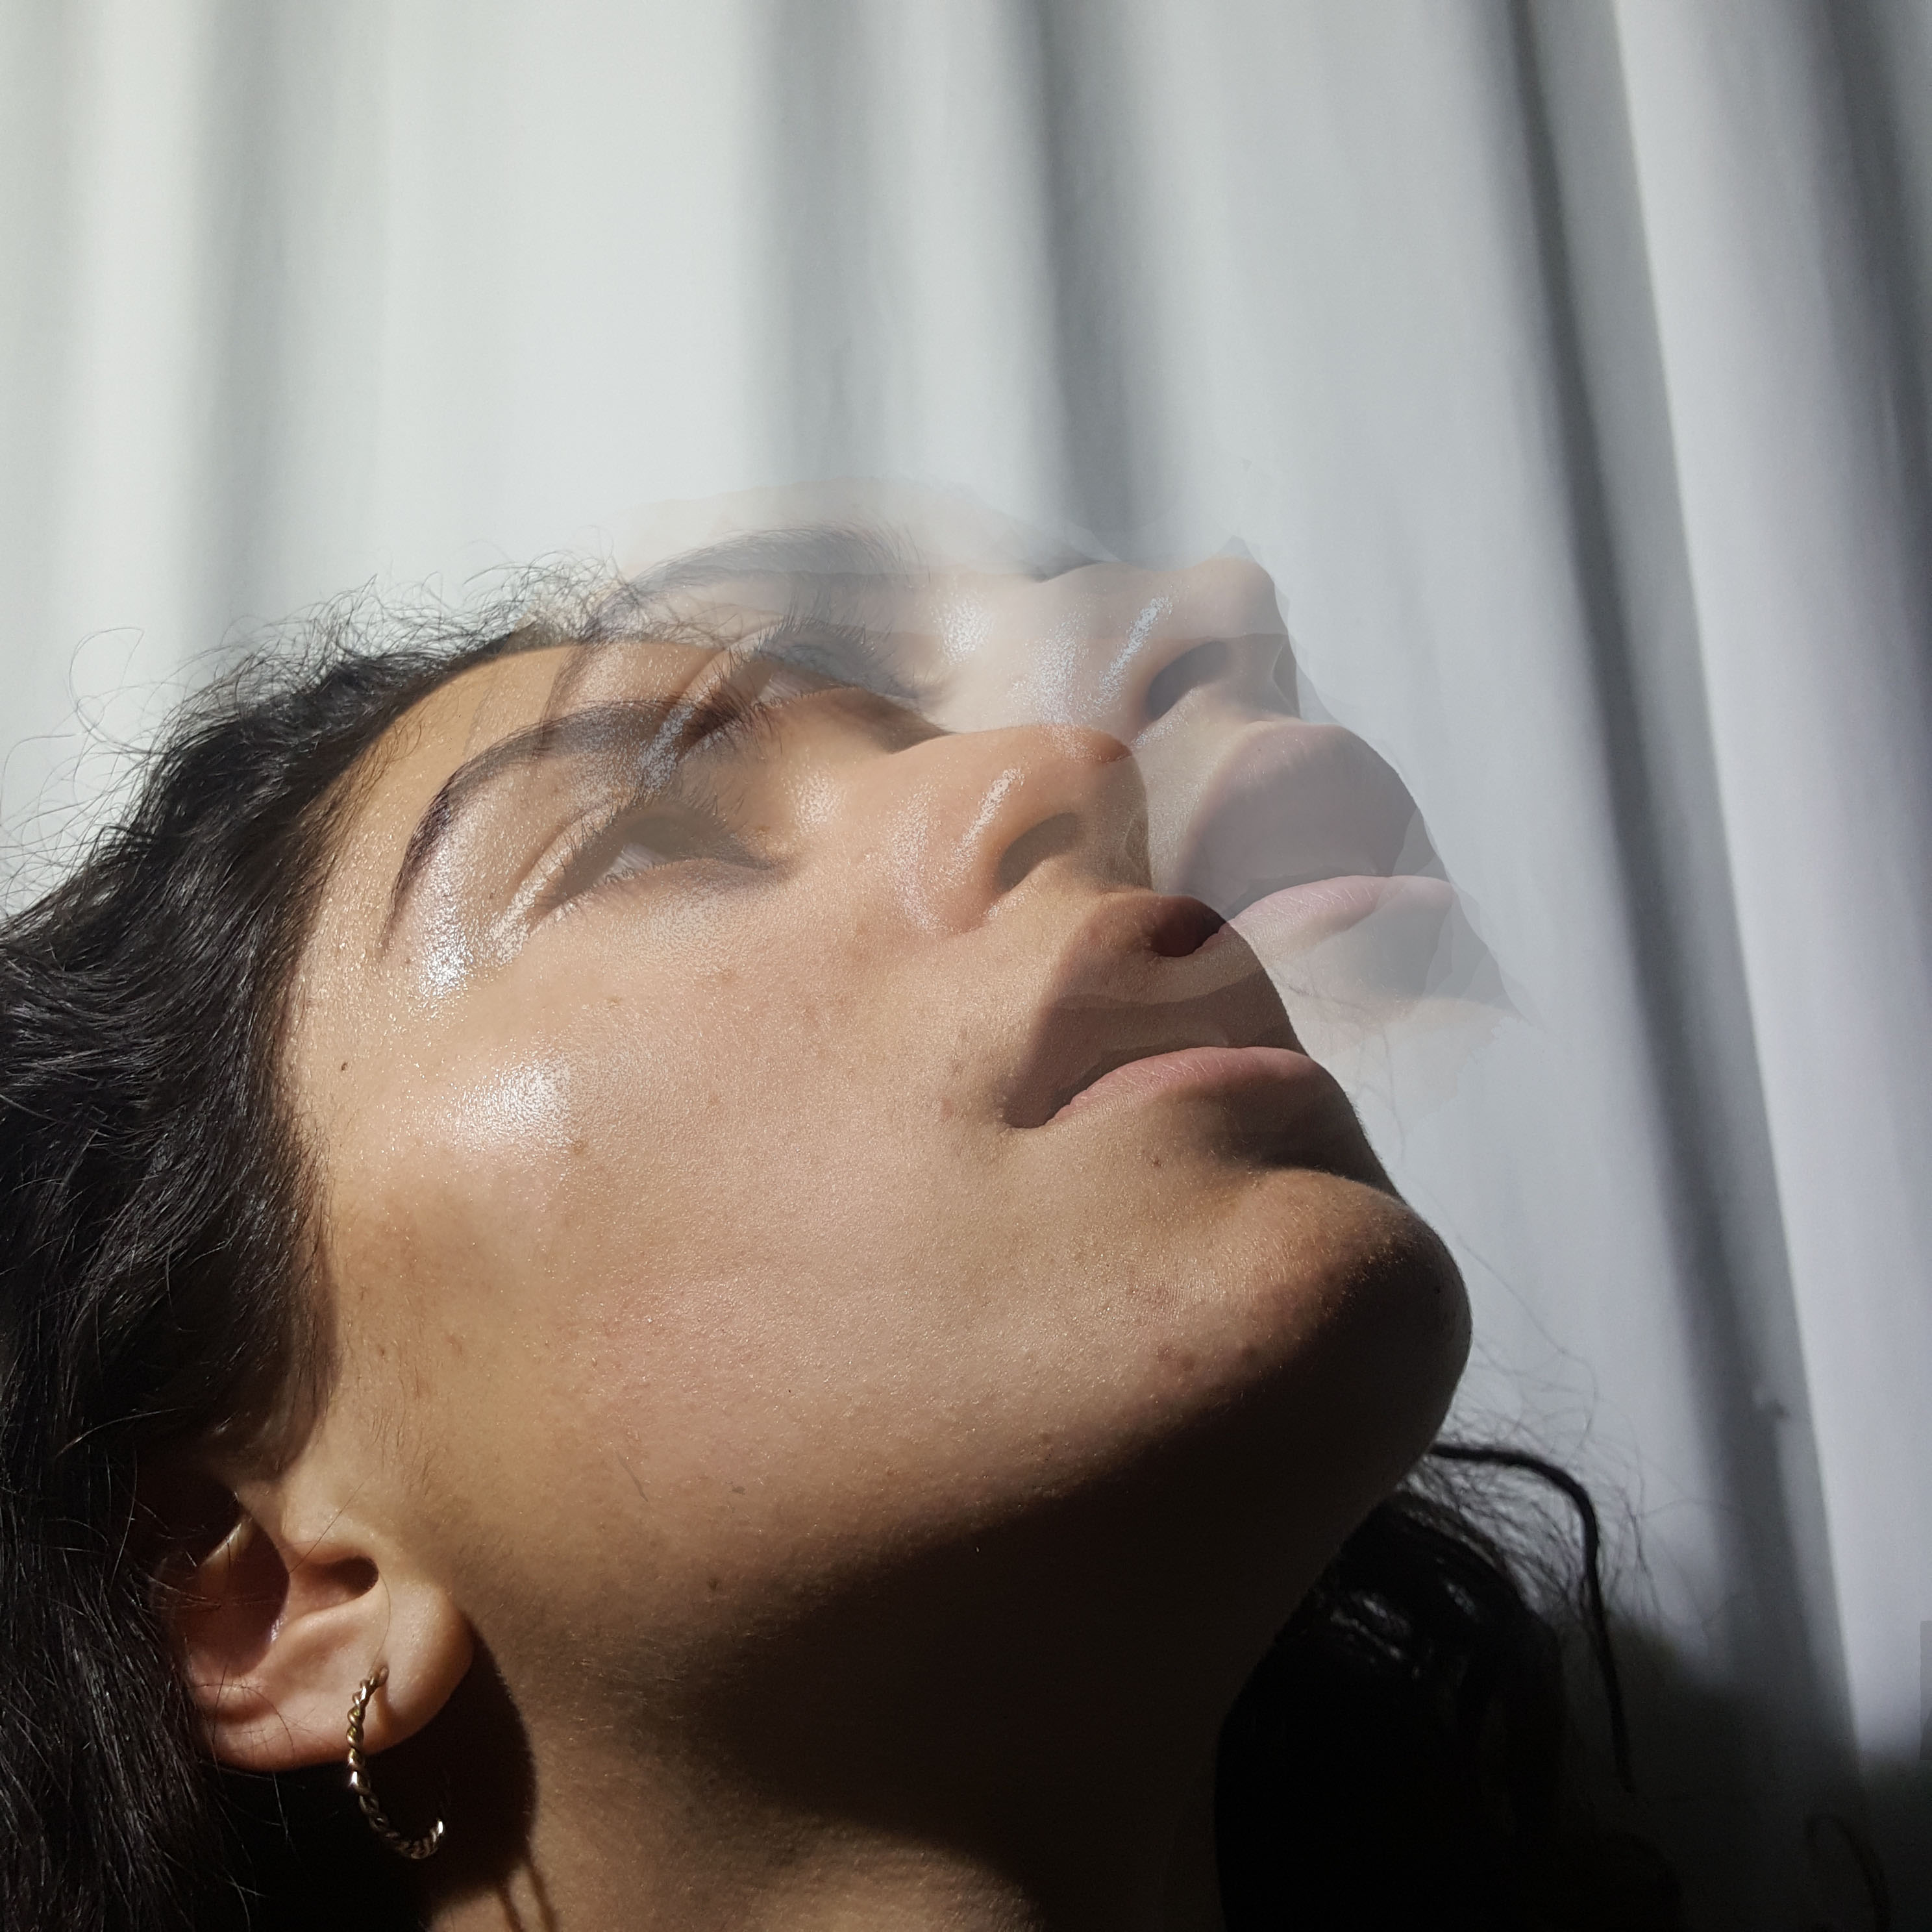
Colour overlays, Blending and using Free Transform Experimentation

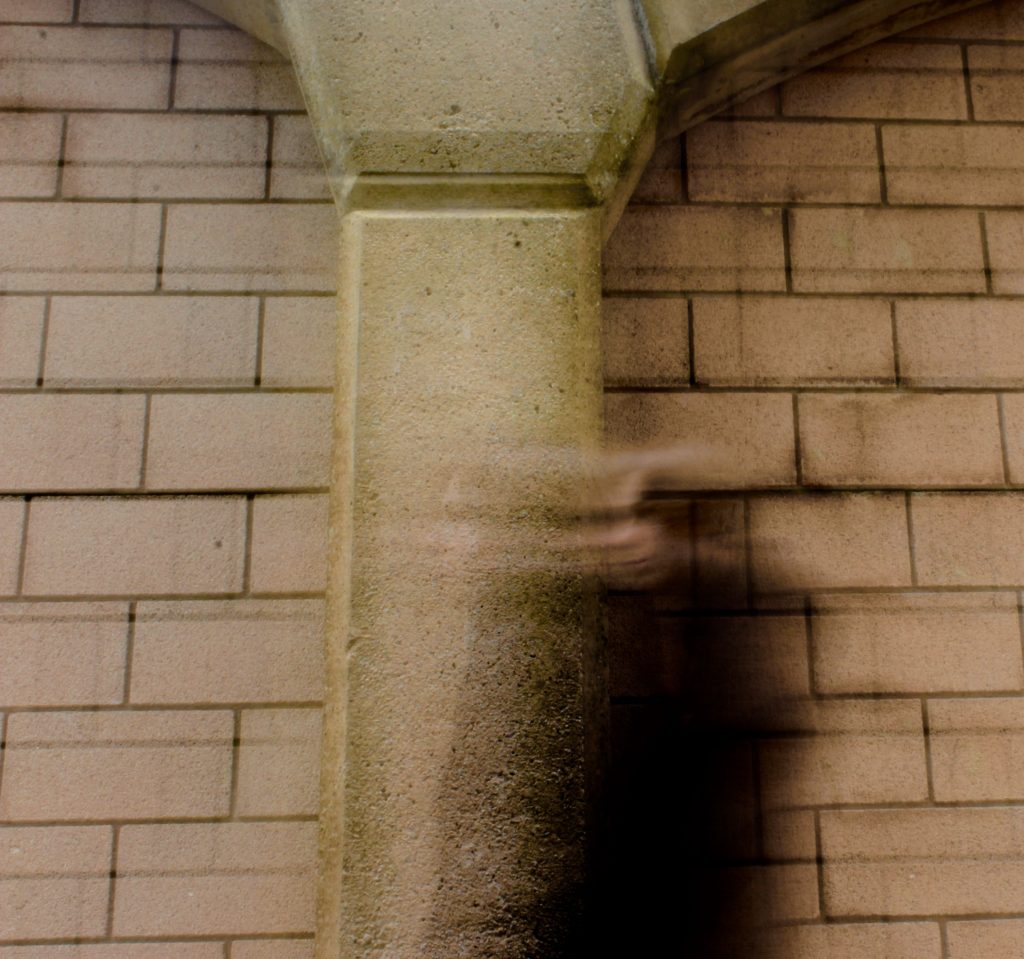
This effect is achieved by :

CTRL J > move tool > add a vector mask > paintbrush > size > opacity > blend

You can blend through your image giving it a ghostly appearance due to its opacity like the image above.

This effect is called colour overlaying, achieved by:

  1. Selecting an area of your image that you want to adapt
  2. Add a colour overlay from your layers panel
  3. Reducing the opacity to the appropriate amount or using the blending options
  4. Finally, using Free Transform (CTRL T) to rotate, move or change the shape of your new overlay

Colour Popping is the effect of decreasing an image’s saturation except the areas that you want colour to stand out in. It is achieved by:

1.Opening a colour image

2.Reduce the saturation in your layers panel

3.Click the Vector  / layer Mask (white box)

4.Use the paint brush to remove the areas you want (change opacity for more control)


Homework Assignment 3

Planning:

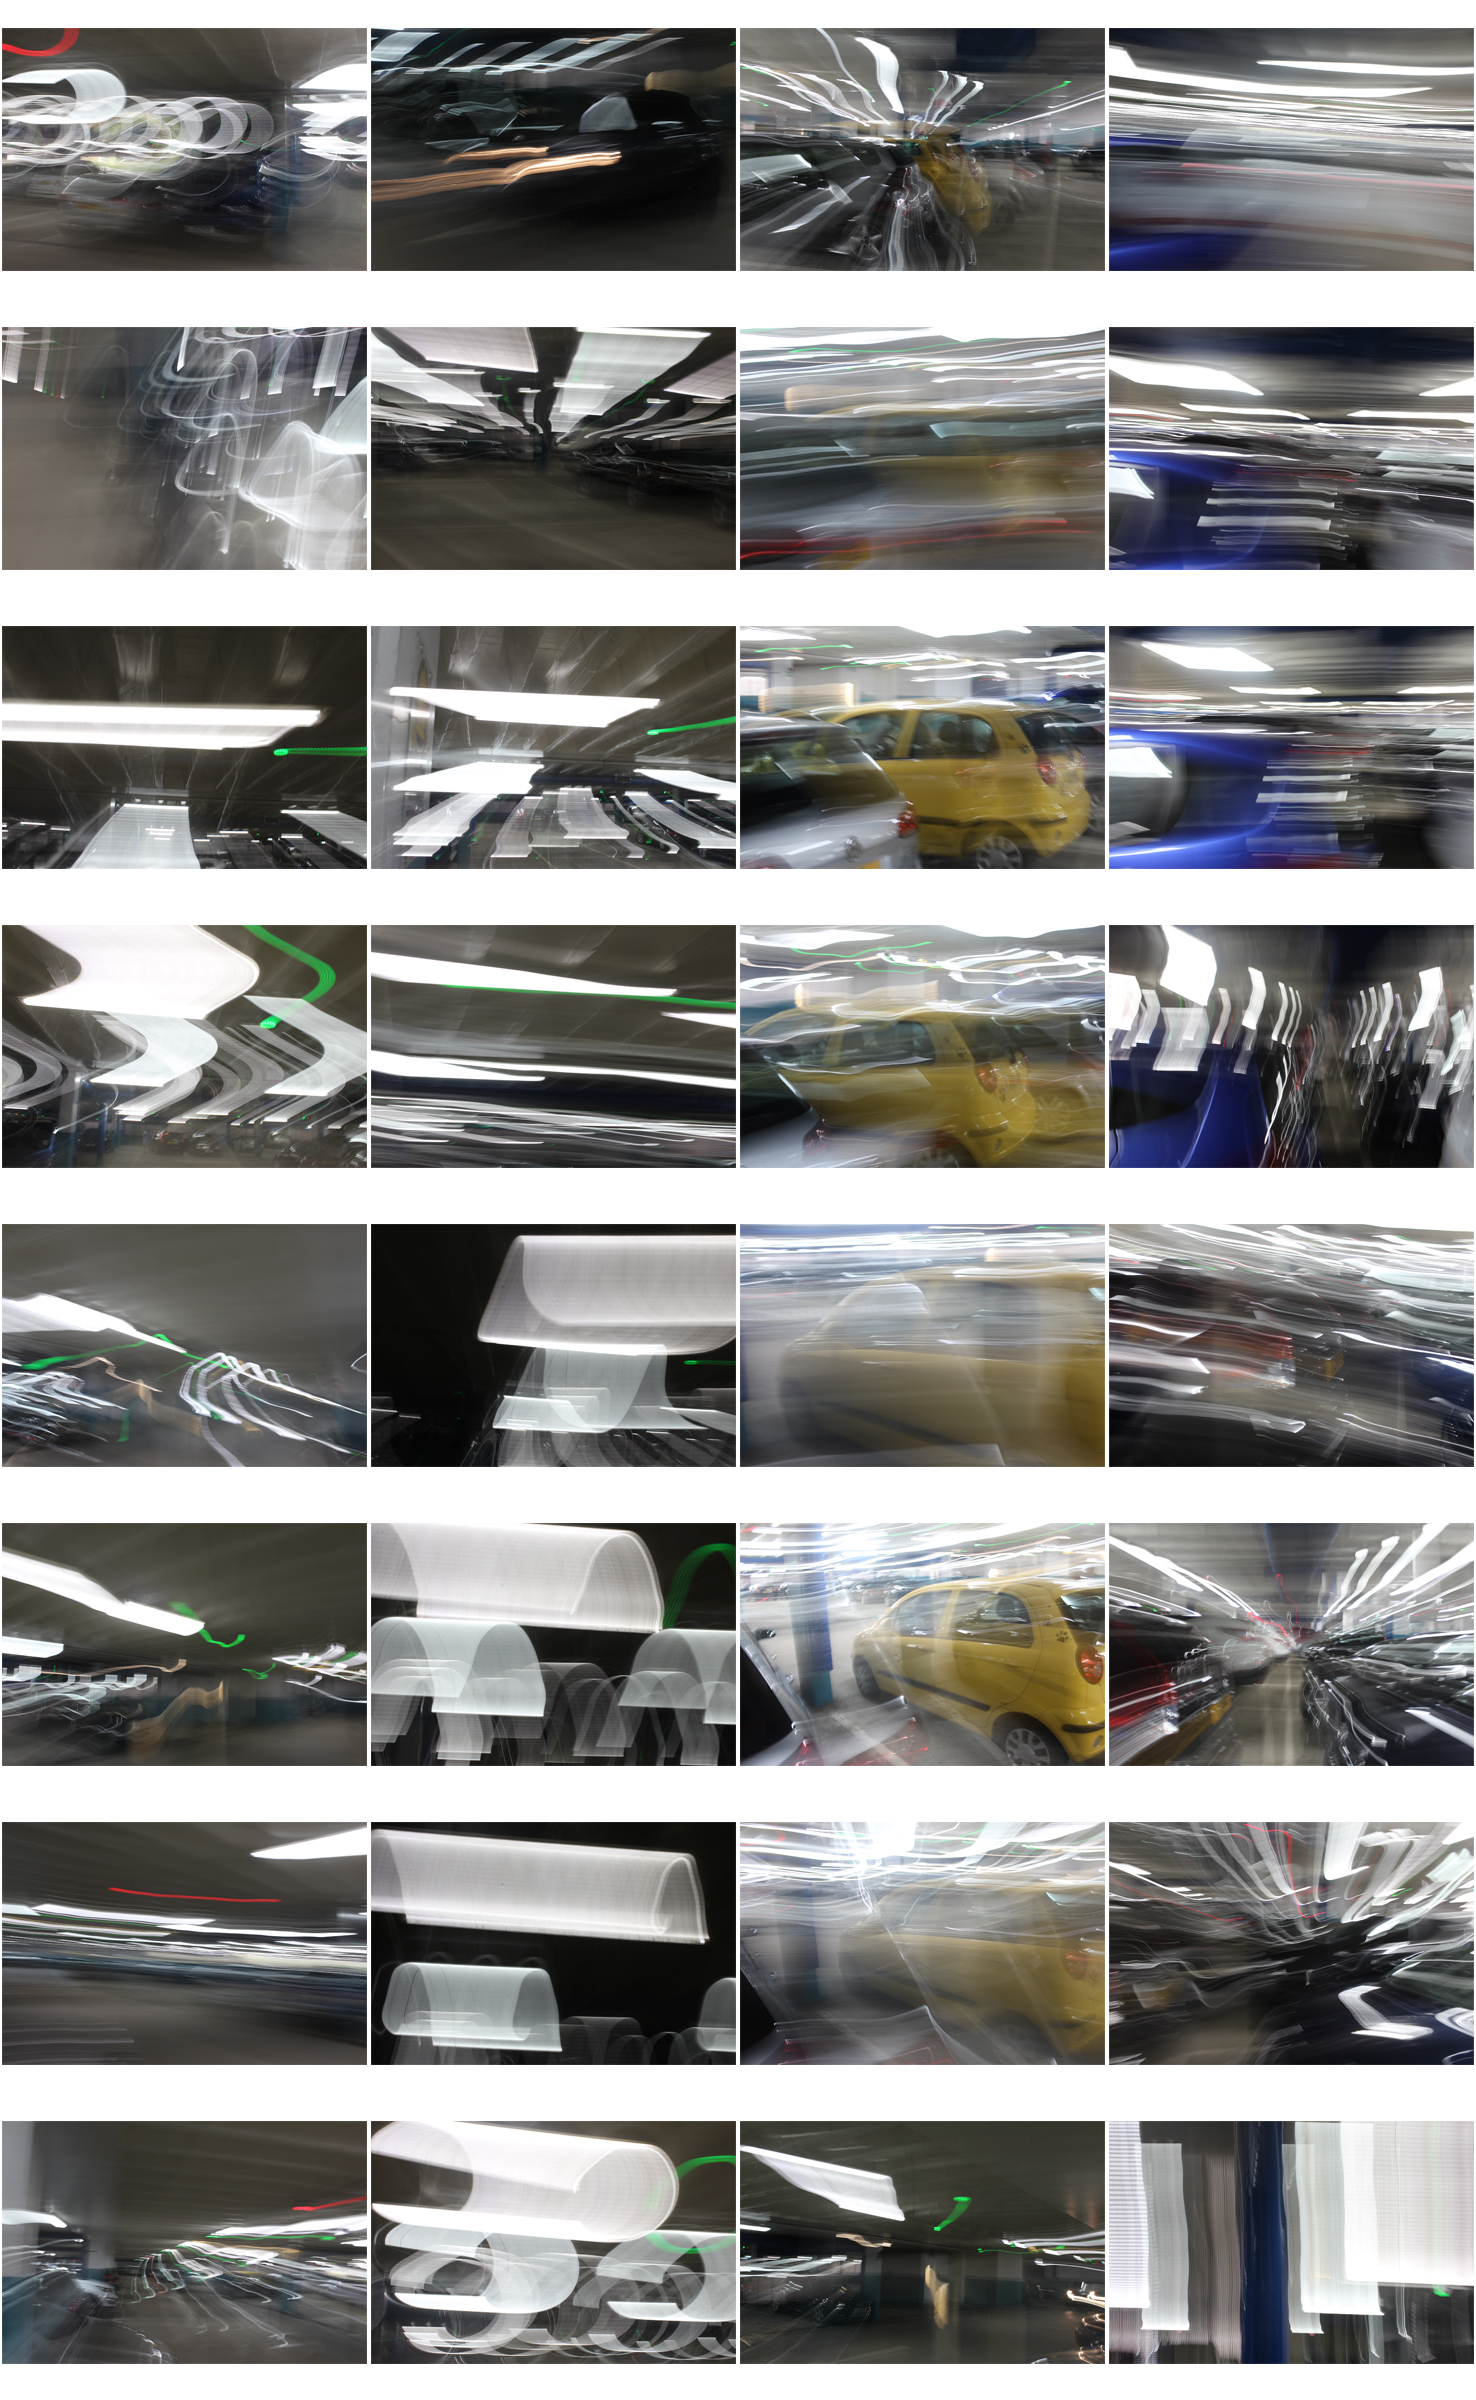
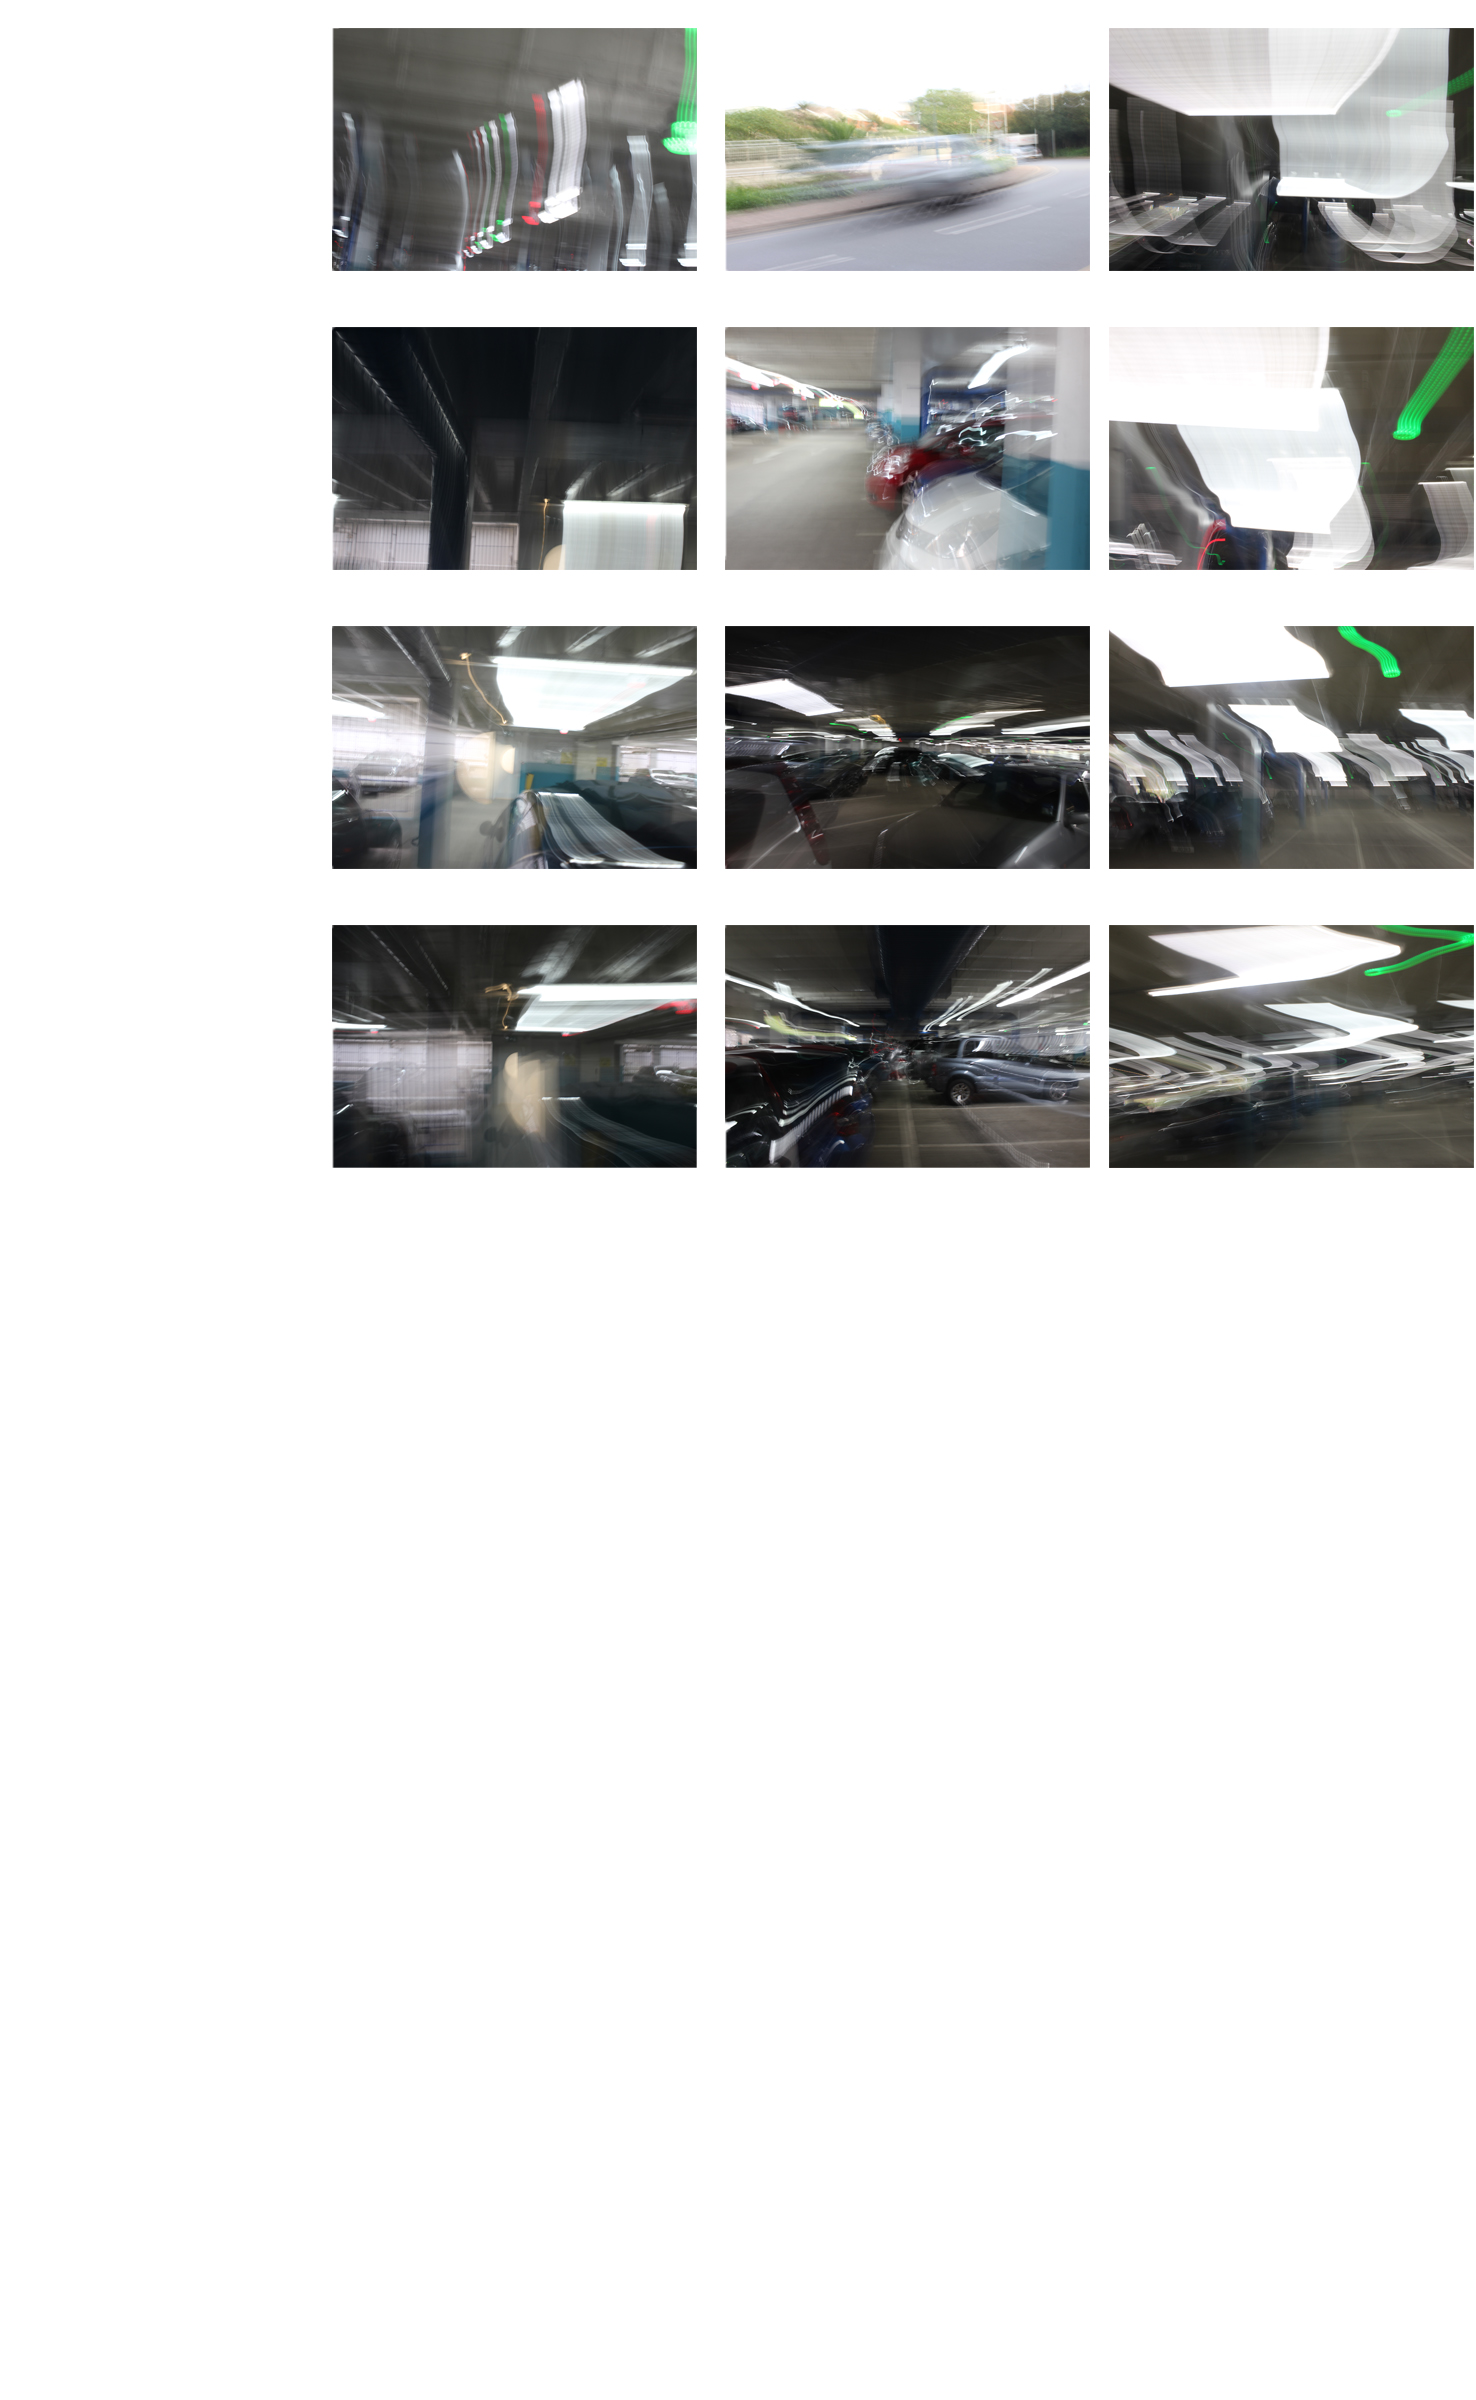
Task – Produce 100-200 images that show a response to abstract art and photography

Locations – Car park,  street

Subjects – Josh, cars, lights

Lighting – flash in the car park, natural lighting outside.

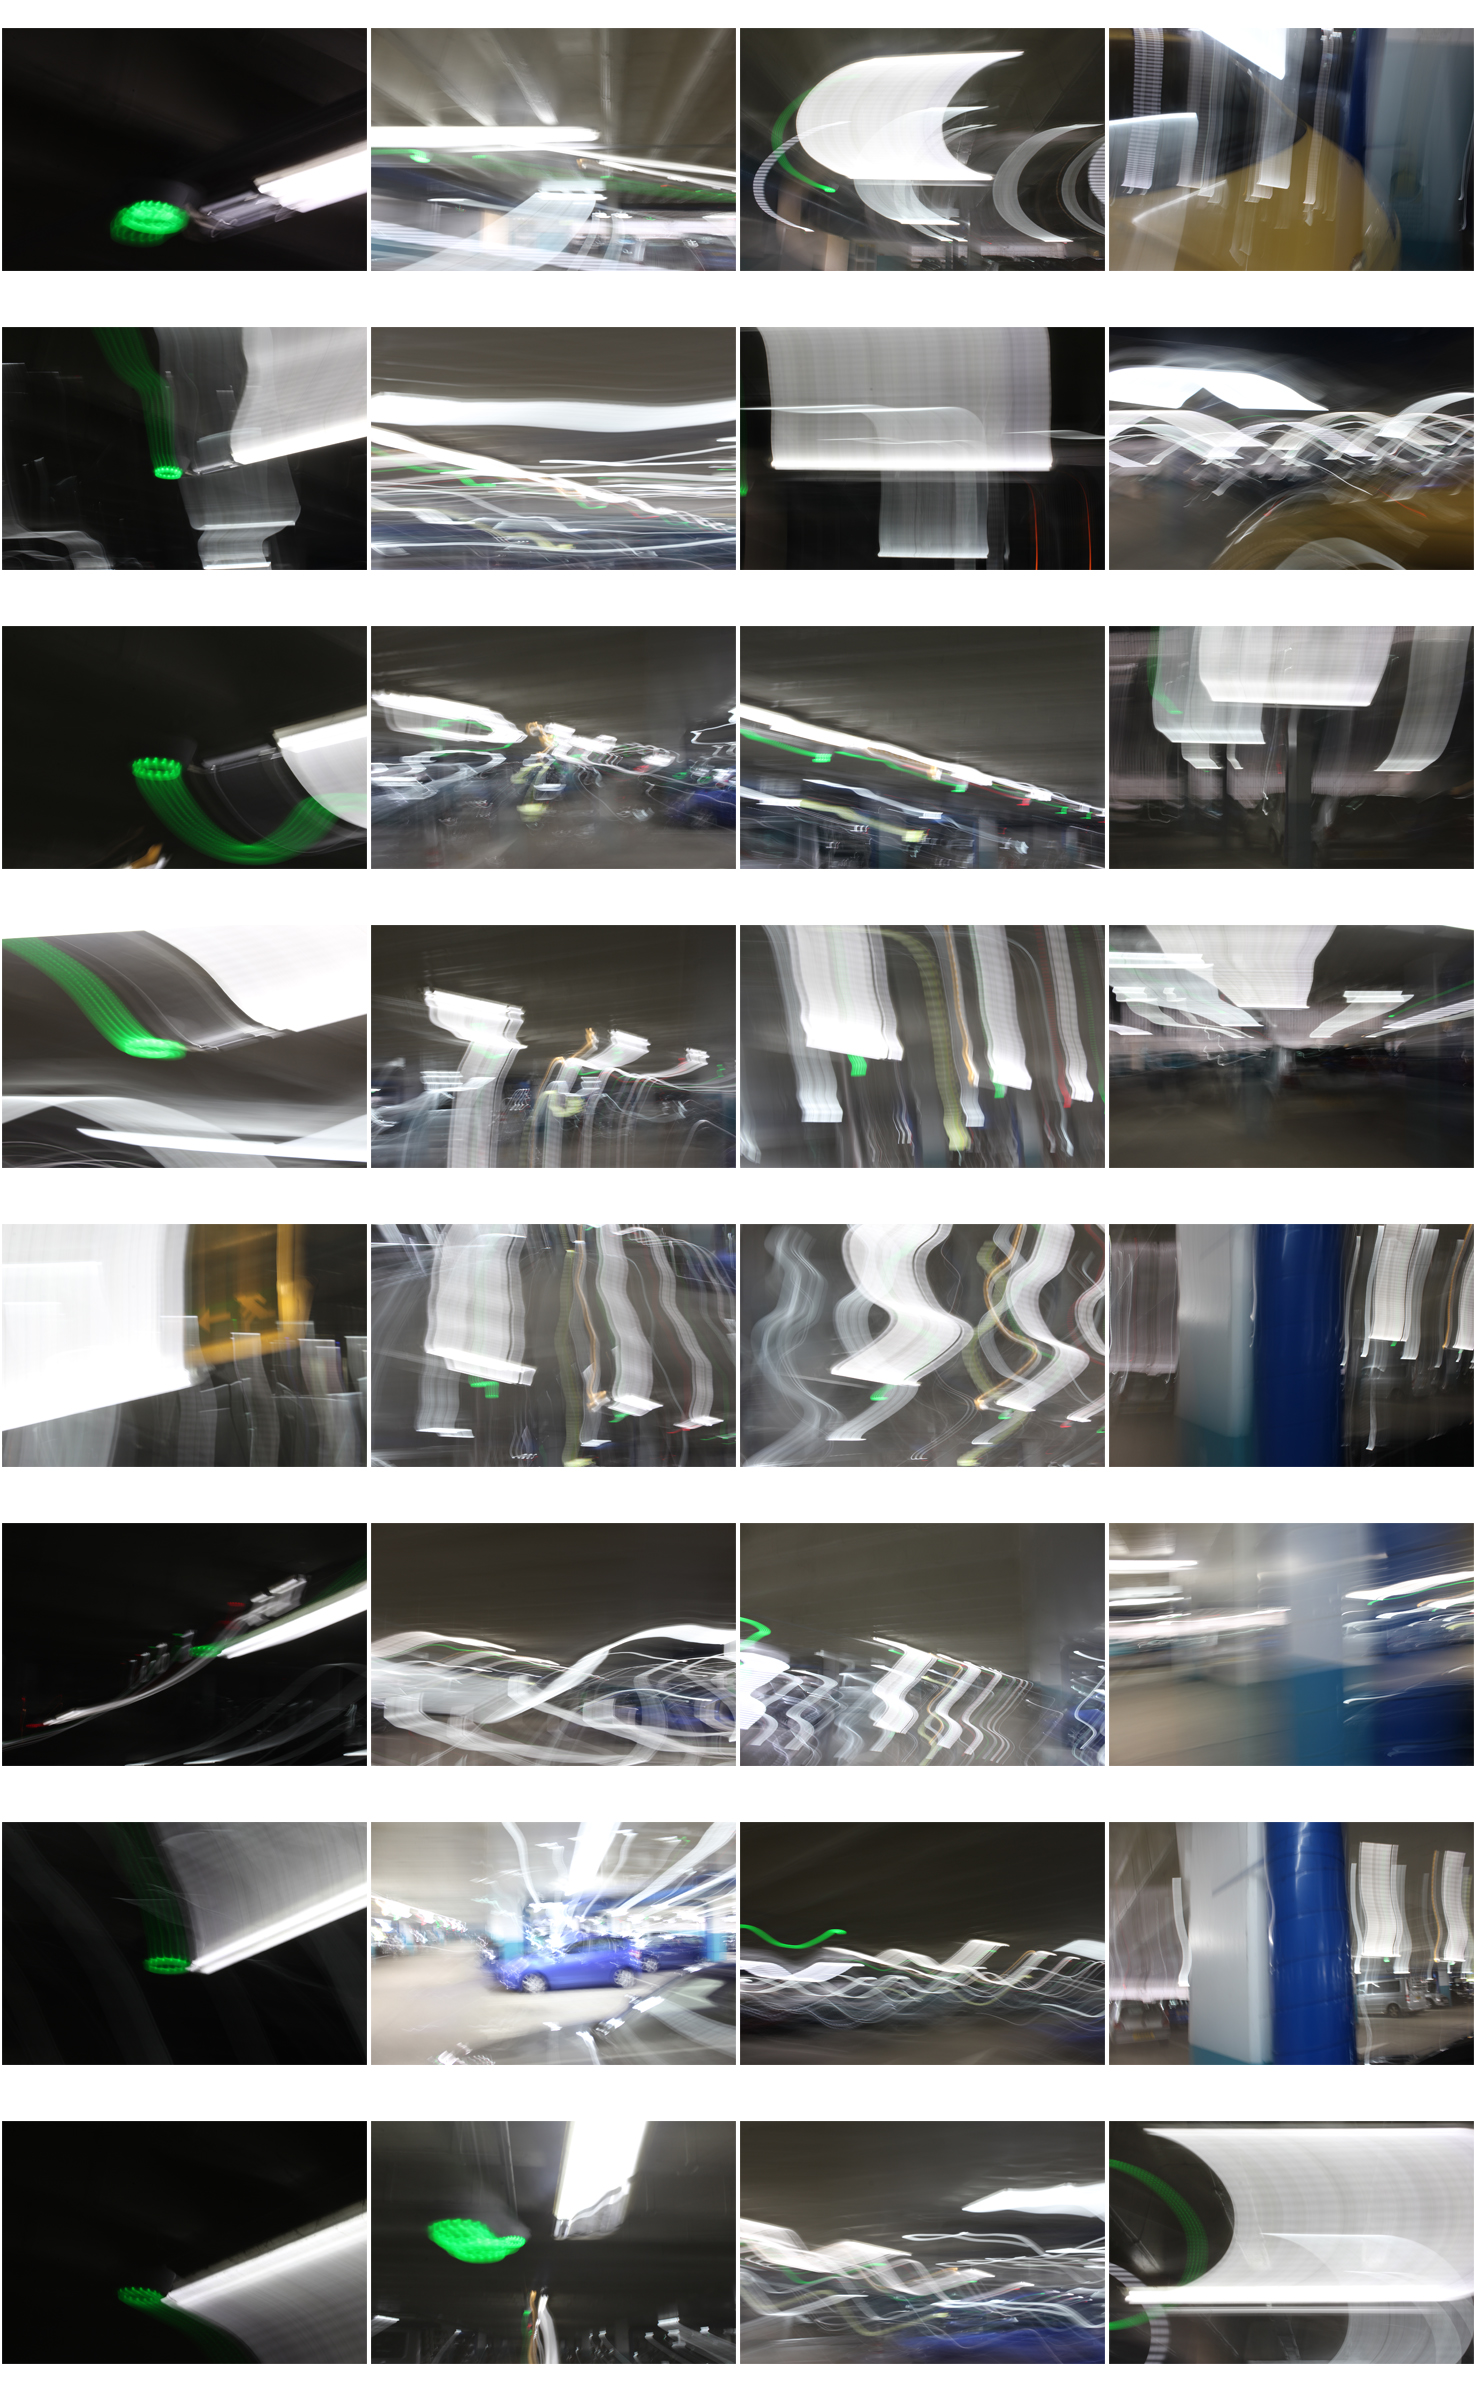
Camera settings – Low shutter speed (0.8 seconds) for blurred effect, ISO 800 due to dark settings, deep depth of field so high aperture.

Concept – capture and manipulate movement of light

Ernst Haas

Image result for Ernst Haas photographer

Image result for Ernst Haas photographerErnst Haas (1921-1986) was born in Vienna and took up photography after the war.
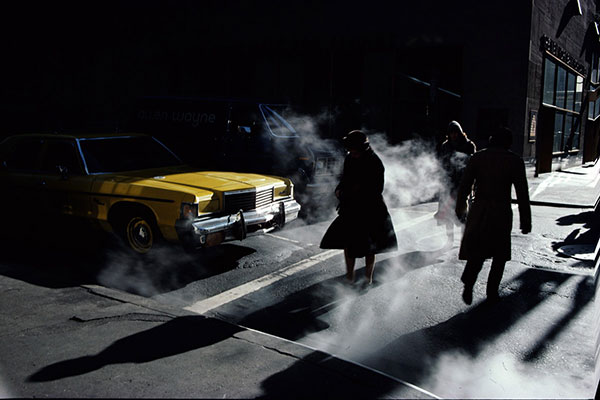
In 1953, LIFE magazine published his 24 page colour photo essay on New York city.

He received the Hasselblad award on the year of his death.He was a photojournalist and a pioneering colour photographer.

His book ‘The Creation’ was one of the most successful photography books ever.

My favourite Ernst Haas photo:

This is my favourite photo by Ernst Haas because of the contrast and mystery behind it.

The yellow of the car contrasts very well with the dark, almost colourless, image. The shadows and silhouettes create a sinister and mysterious setting along with the smoke.

This could just be a photo he took in the middle of New York city but the shadows and smoke make it a very interesting and dramatic image.

Image result for Ernst Haas photographer

Lazlo Moholy-Nagy


Image result for moholy nagy photographyImage result for moholy nagy photographyMoholy-Nagy (1895-1946) was a Hungarian painter and photographer.
He was highly influenced by constructivism and helped to integrate technology and industry into the arts.

He believed that humanity could only defeat the experience of modernity if it harnessed the full potential of new technologies. He thought that artists should turn into designers.

My favourite Moholy-Nagy photo:

I like this photo because of the way he has used angles to create an image which the viewer has to figure out. At first the viewer is unsure what they are looking at when they see the contrasting white circles but after seeing the cleverly placed other worker, they realise what the image is showing.

This image shows well what Moholy-Nagy does – he integrates shapes and industrial work into his photographs. There are lots of different shapes in this photo which almost make it seem abstract.

Image result for moholy nagy photography

My Photos:


My Favourite Photos

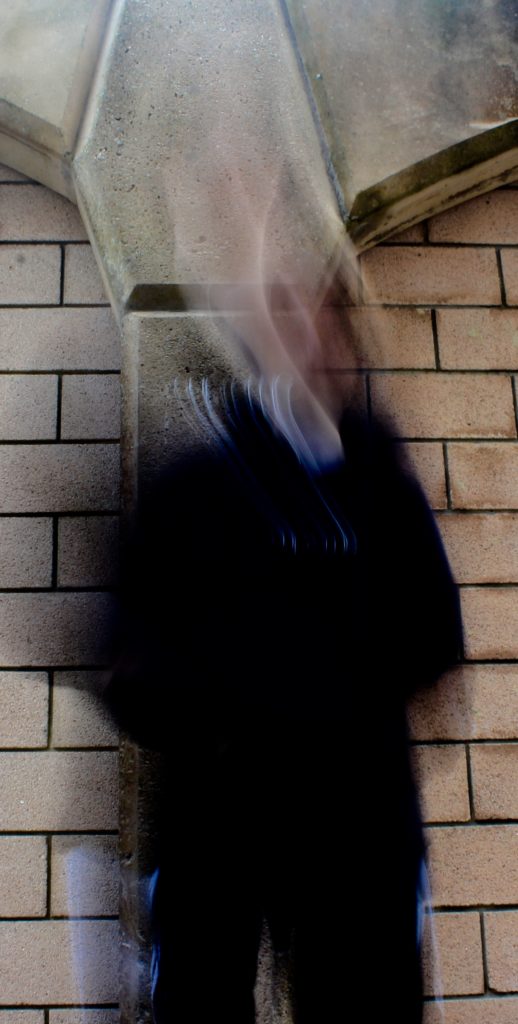
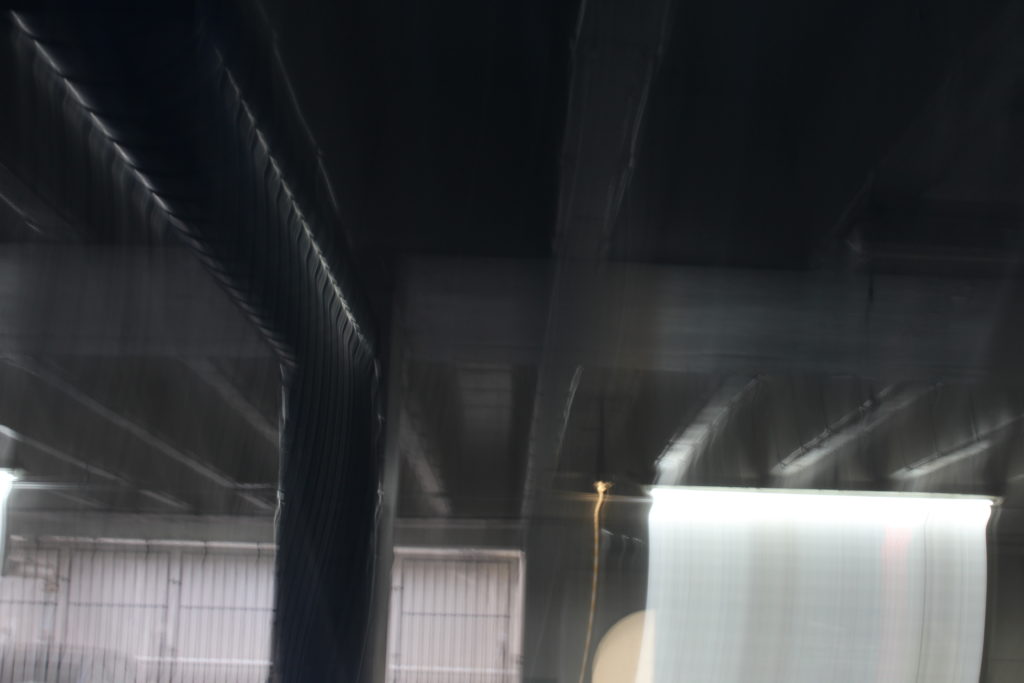
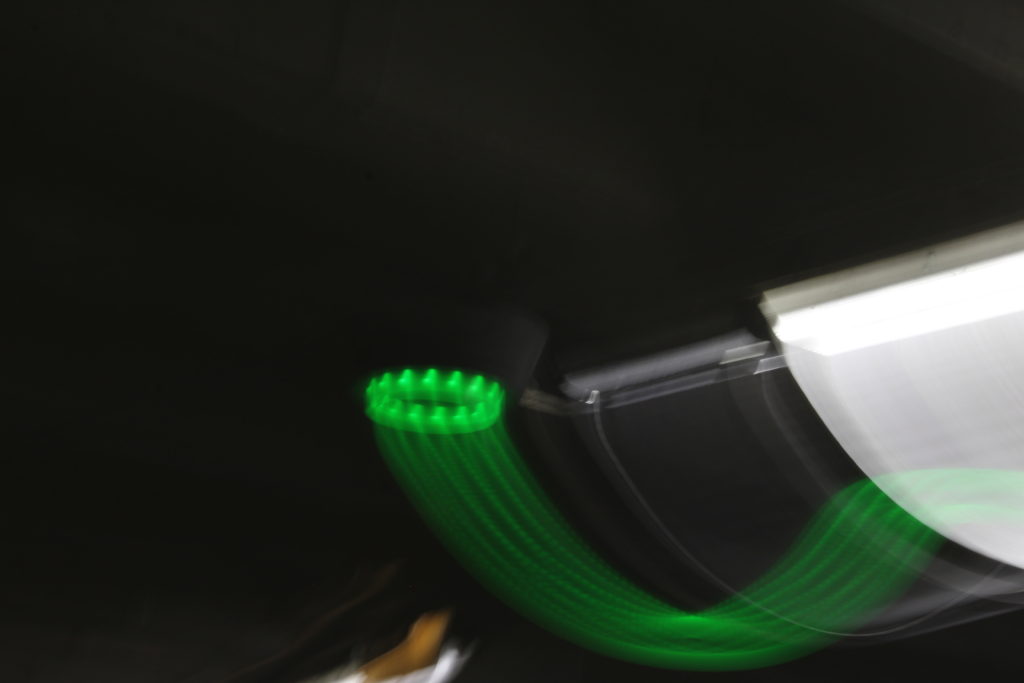
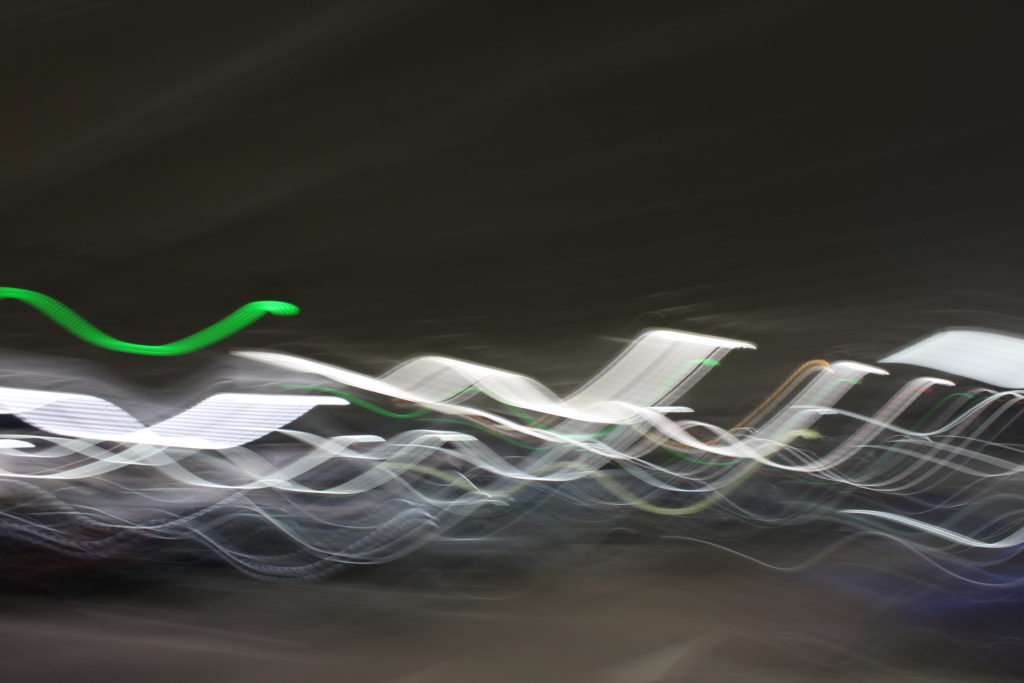
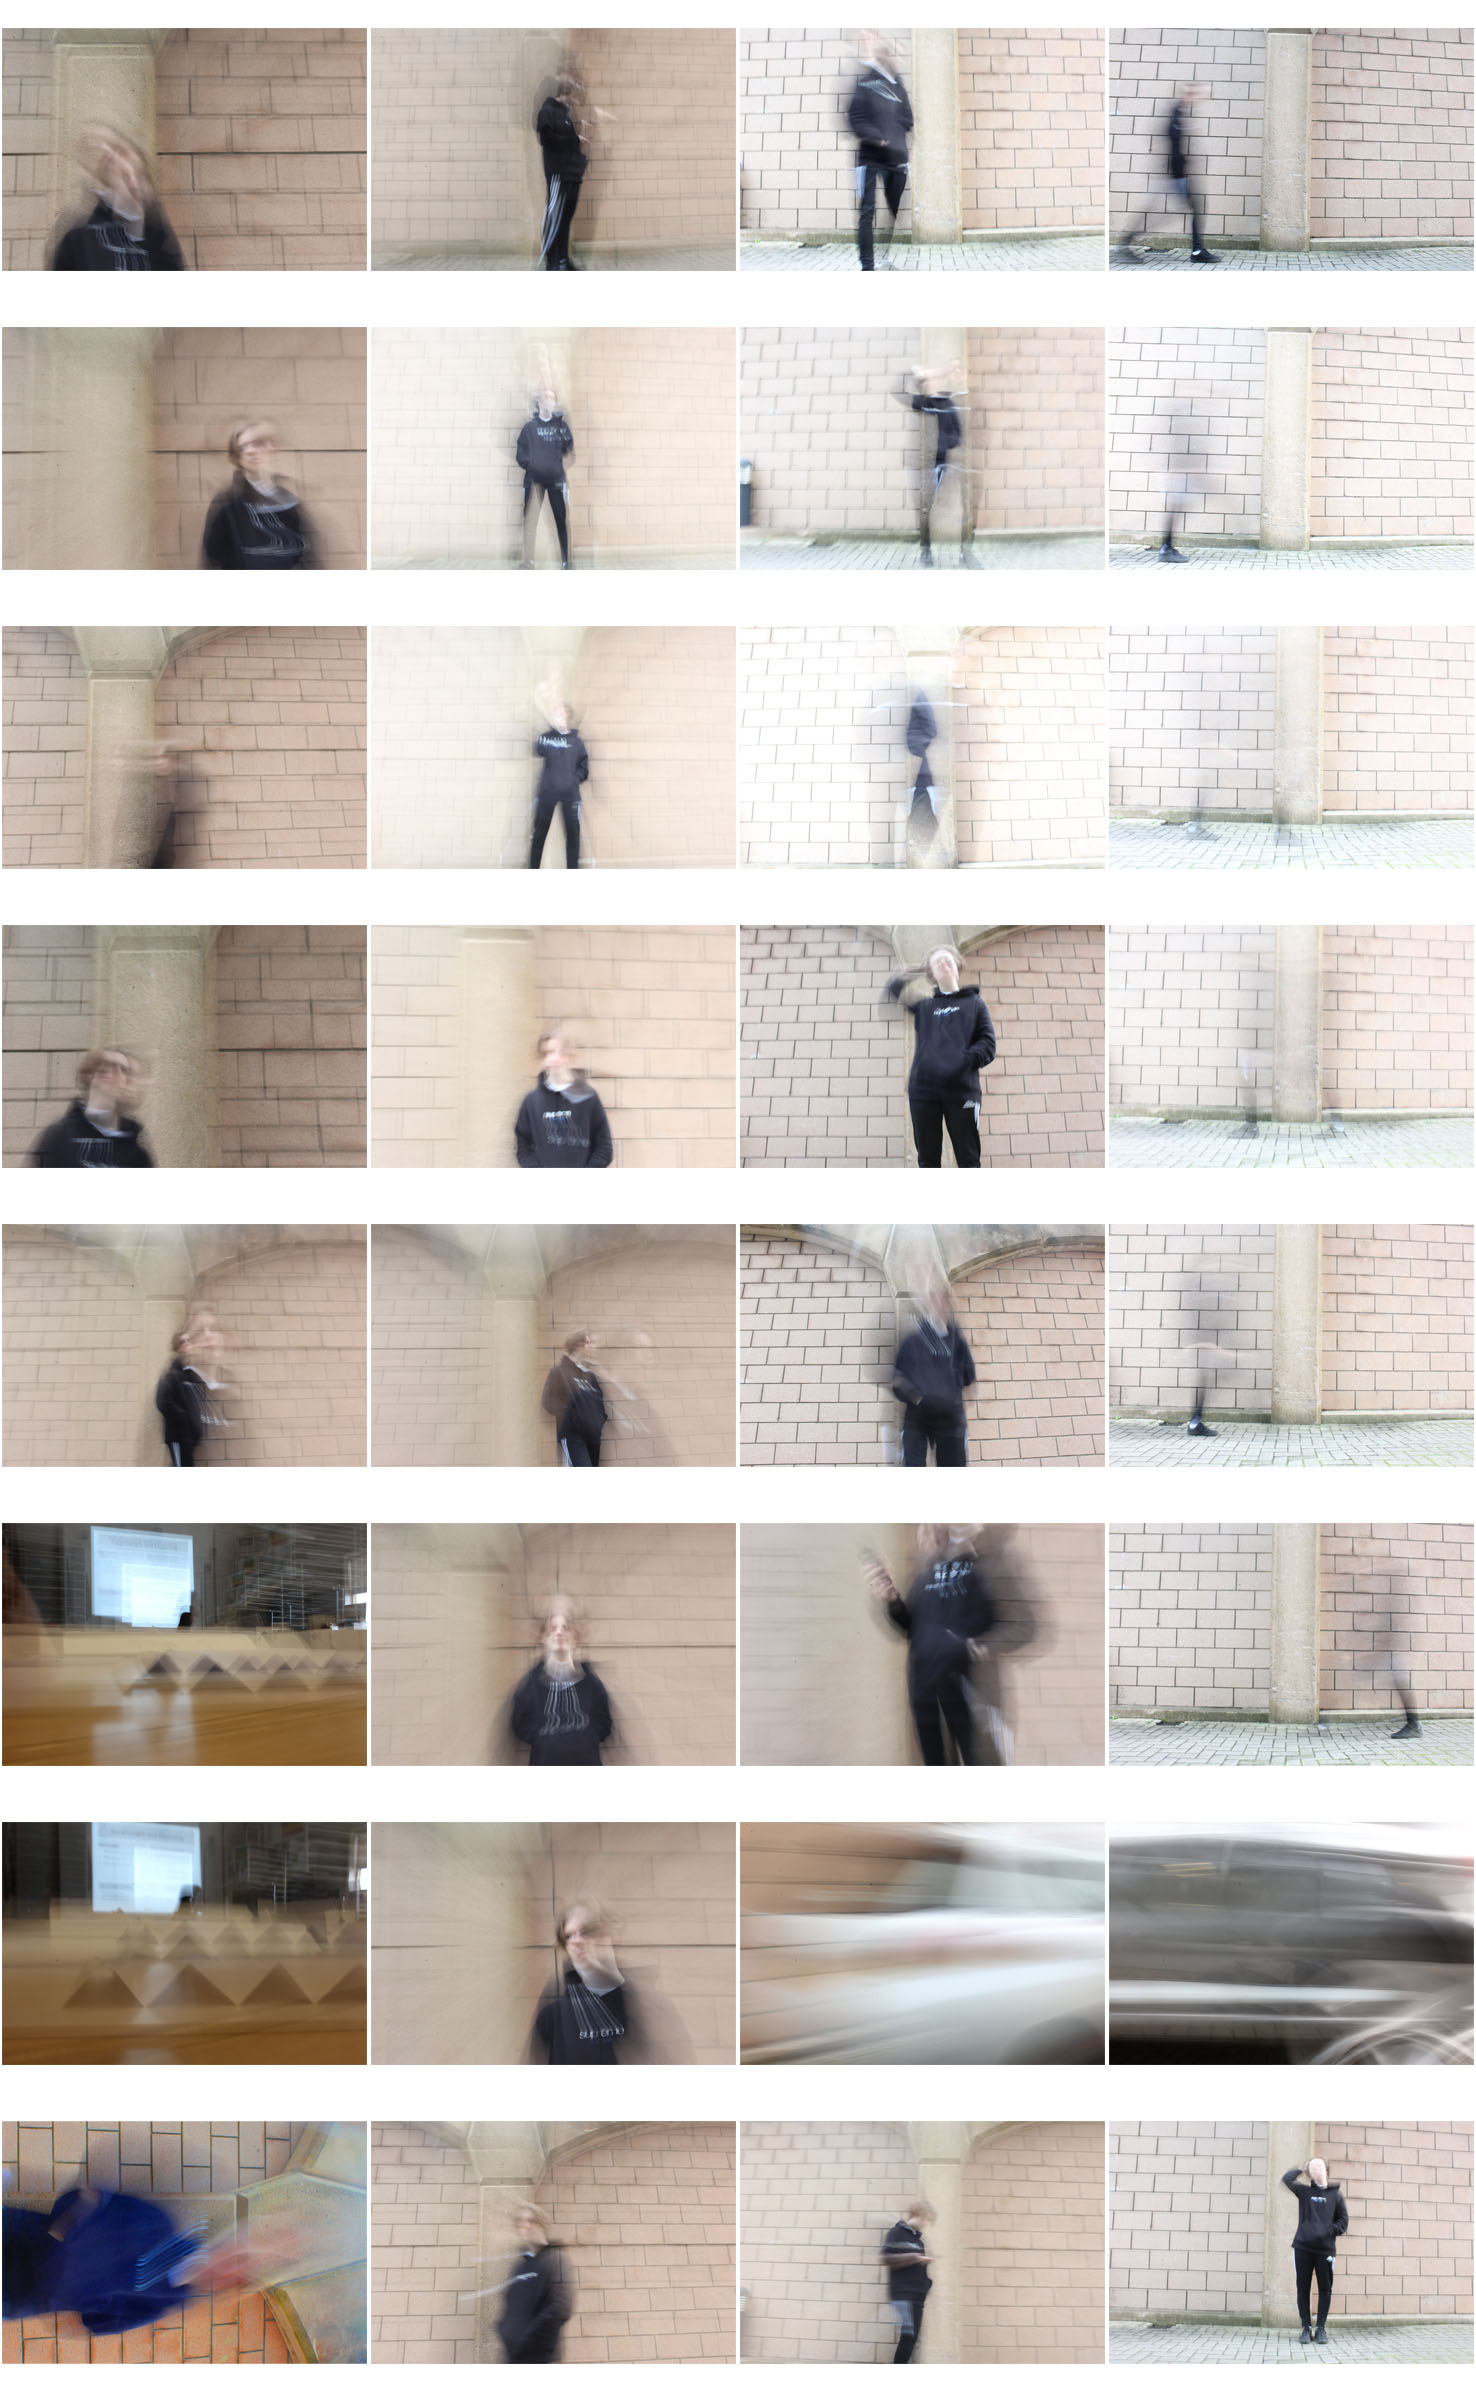
All of the below photographs were taken with a shutter speed of 1 second. In the first two photos I told the model to simply walk around to create movement but in the bottom three photos I moved the camera around in order to capture an abstract photograph.

In these photos I like how the black clothing of the blurred model almost blends into the background in places to create a more interesting image.

The below images create a gloomy and mysterious setting due to the contrast between the bright lights and the dark car park. To create an appealing image in the first photograph I have cropped it so that it fits the rule of thirds.

The abstractness of these images make them stand out to me because they look so out of the ordinary.

Focus and Focus Points

Using the settings on a camera, we can focus on different points of an image. These different focus points can change what the main subject of an image is.

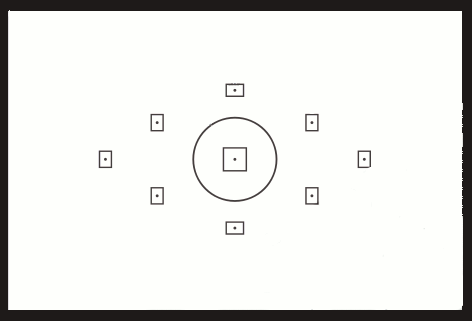
You can use the nine focus points settings to choose where you want the camera to focus on when you take the photo.

Image result for focus points on a camera

By choosing the focus of an image, the photographer can choose where they want the viewer to look first.

Image result for sharp focus

On a camera, you can either use manual focus or auto focus. When using manual focus, you have to change the focus dial manually to focus the image but with auto focus, the camera does it for you.

Depth of Field

Depth of field refers to the range of distance that appears acceptably sharp.  Depth of field varies depending on aperture and focusing difference.

Depth of field allows us to choose what is going to be in focus and what isn’t in our photographs.

Image result for depth of field photo

Below are two photos I took with two different apertures. The top photo, taken with AF 3.5 shows the image around the sides becoming blurred. In the bottom image, taken with AF 22, everything is sharp.

Just another Hautlieu Creative site