Depth Of Field

Definiton

In photography the distance between the nearest and the furthest objects giving a focused image.

What is Depth of Field

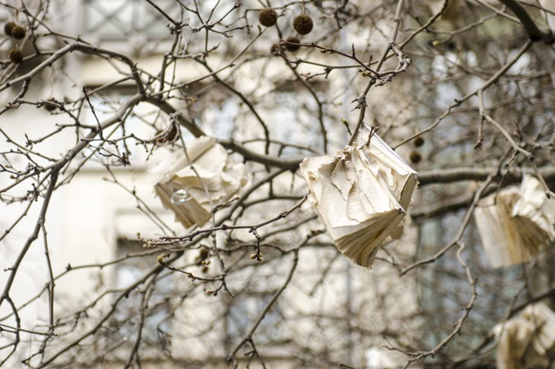
Depth of field is the zone of acceptable sharpness within a photo that will appear in focus. This zone will vary from photo to photo. Some images may have very small zones of focus which is called shallow depth of field. Others may have a very large zone of focus which is called deep depth of field. Three main factors that will affect how you control the depth of field of your images are aperture, distance from the subject to the camera, and focal length of the lens on your camera

Depth of field (DOF), also called focus range or effective focus range, is the distance between the nearest and farthest objects in a scene that appear acceptably sharp in an image.  A camera can only focus its lens at a single point, but there will be an area that stretches in front of and behind this focus point that still appears sharp. This zone is known as the depth of field. It’s not a fixed distance, it changes in size and can be described as either shallow or deep.

Because depth of field has an impact on both the aesthetic and technical quality of a picture. Sometimes you’ll want to use an extensive depth of field in order to keep everything sharp.

A classic example is when you’re photographing a landscape, where generally the most desirable outcome is to capture detail from the foreground to the horizon.

Other times, a shallow depth of field will be preferable. It enables you to blur background and foreground details, causing distractions to melt away and allowing you to direct viewers to the focal point in a picture.

Aperture

Aperture refers to the access given to light from the lens to the camera sensors. The size of your aperture controls the amount of light entering the lens of the camera. Using aperture is the simplest way to control your depth of field as you set up your shot. The lower the f-number, the smaller your depth of field, meaning less of the image will be in focus. On the other hand, the higher the f-number the larger the depth of field should be and most of the picture will be in focus.

Image result for depth of field examples

Distance from your subject

The closer your subject is to the camera, the shallower your depth of field becomes. Therefore, moving further away from your subject will deepen your depth of field.



Focal Length And Focusing

What is focal length?

Focal Length means how much the image is apparently magnified (or not) when you take a picture.

Choosing the Correct Focal Length for Different Situations:
  • Landscape photography (10mm to 18mm)
  • Full body portrait of a person (24 to 45mm)
  • Headshot (55 to 140mm)
  • Night photography (10 to 18mm)
  • Close-up photography or macro photography (70 to 150mm)
  • Wildlife photography (200mm to 850mm)
  • General lens for shooting family and kids (35 to 90mm)
  • Outdoor sports photography (200 to 400mm)

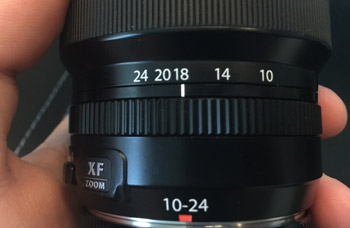
The focal length of your lens essentially determines how zoomed in your photos are. The higher the number, the more zoomed your lens will be. The focal length measurement also tells the photographer what the angle of view will be. The angle of view means how wide of an area is visible in the picture.

The focal length scale shows that this lens can go as wide as 10mm and as long as 24mm (zoomed in). In the picture, it is set at 18mm.  almost all lenses have a scale like this on them.
Why is Depth of Field important?

When you are shooting, Depth of Field can play a large factor in how your image will be rendered and can change the meaning and intention of the image. You can choose to selectively isolate a subject from its background by having a narrow Depth of Field or alternatively you can make sure that everything from the foreground to infinity will be in focus, ensuring you have a sharp image throughout your image.

One of the most obvious factors to controlling Depth of Field is the aperture. When you have a smaller aperture (larger number) you will have a wide Depth of Field. In this instant, you will have a greater distance between the closest and furthest points in an image.
When you have a larger aperture (smaller number) you will have a narrower Depth of Field. The blurry parts that are not in focus are called Bokeh, and many people are quite a fan of the way it will render light.

Robert Franks Photo Analysis


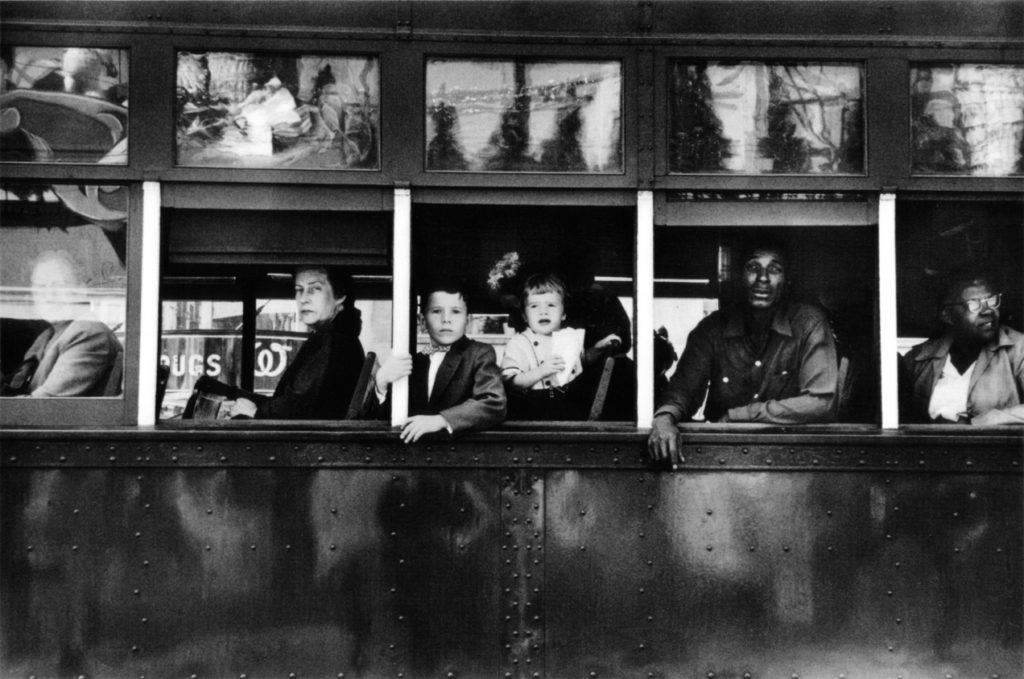
Photo by Robert Franks from his book ‘The Americans’ published in 1958.

Technical: this image is very sharp and still, this suggests as fast shutter speed was used. As this photograph is a style of environmental portraiture, natural lighting would have been used so the photographer could easily move around depending on the scene.  Documentary photography generally means the photo has not been edited because it is meant to show the truth. we can see a high contrast in the photograph, there are extremely white areas for example the four lines on the edge of each window which draw our eyes to the passengers. there are also very dark shaded areas which help to dramatize the image and add depth. The depth of field is interesting because we get the idea that the people in tram are looking directly at the photographer, this suggests he was close to the subject.

Visual: This is a black and white photo because at the time colour photography was not commonly used, however I think this adds depth and some interesting details to the photo. The dream America was thought of as bright and colourful, the idea that all of the colour had been stripped from this image could suggest that black and white reveals the truth. The tone of this photo is very dark which helps the few light areas stand out even more. Although most of the detail in this image is in the central horizontal third there is a lot of texture coming from the bottom of the image. the dents in the metal show imperfections and give the image a more urban and industrial look. This image has a clear line of symmetry down the middle, the regularity of the tram windows helps us to seen the difference between the people in them. The windows also line up with the rule of third which give the photo a very regular and organised look, this links to


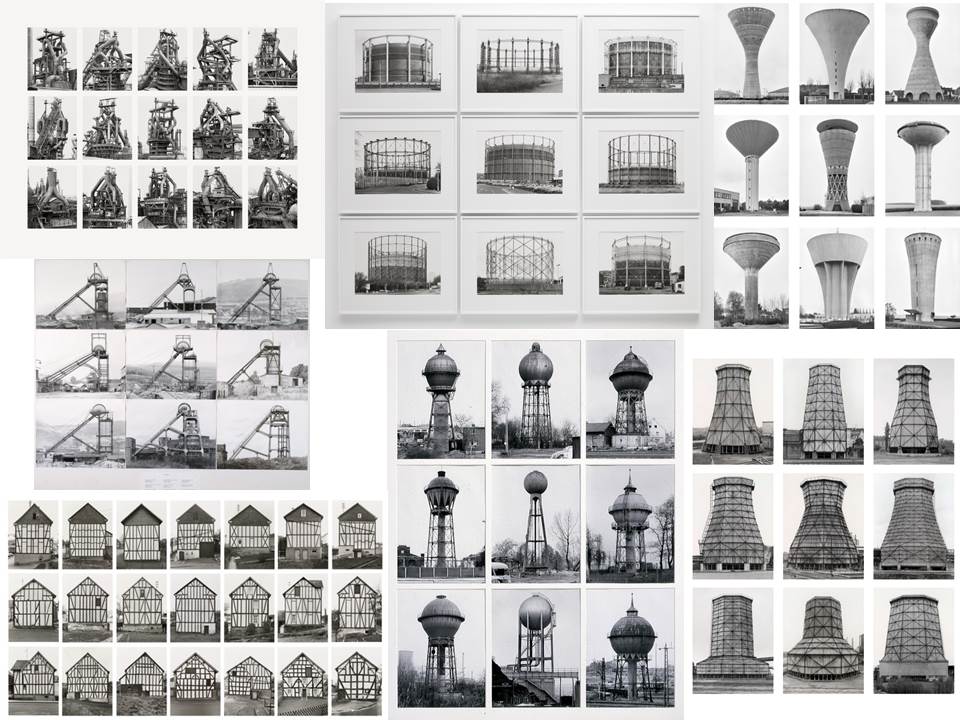
Typology – Bechers & Sanders

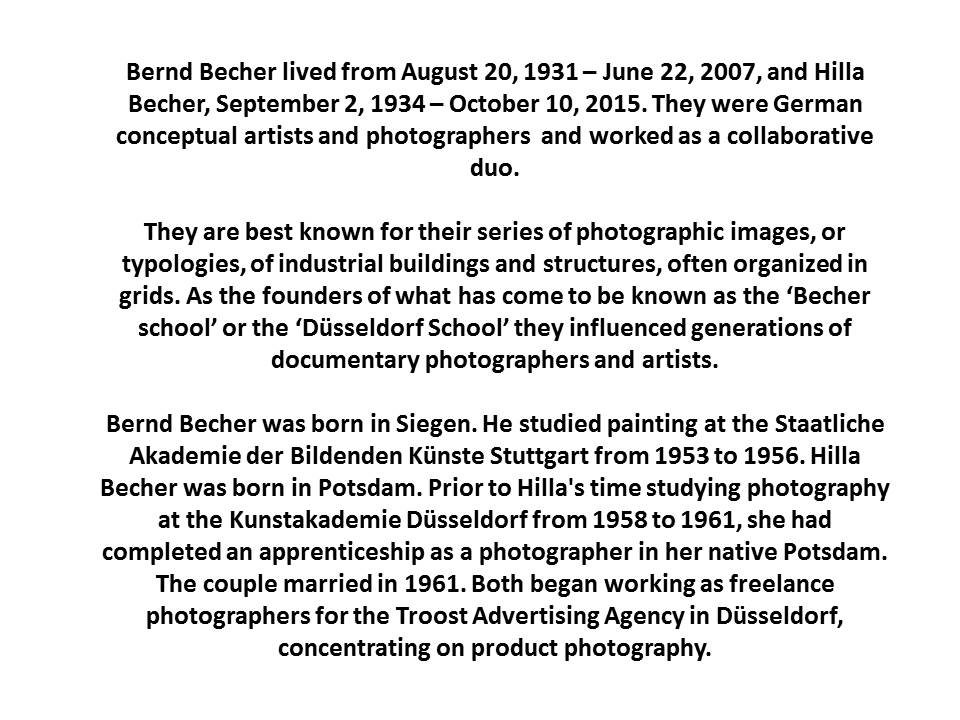
Bernd and Hilla Becher

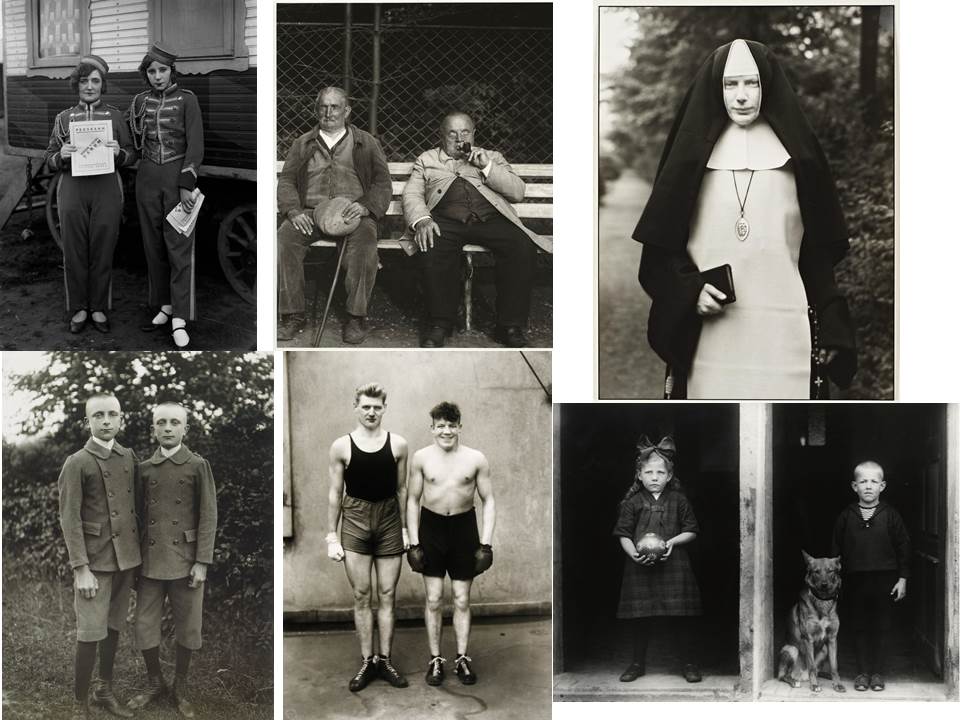
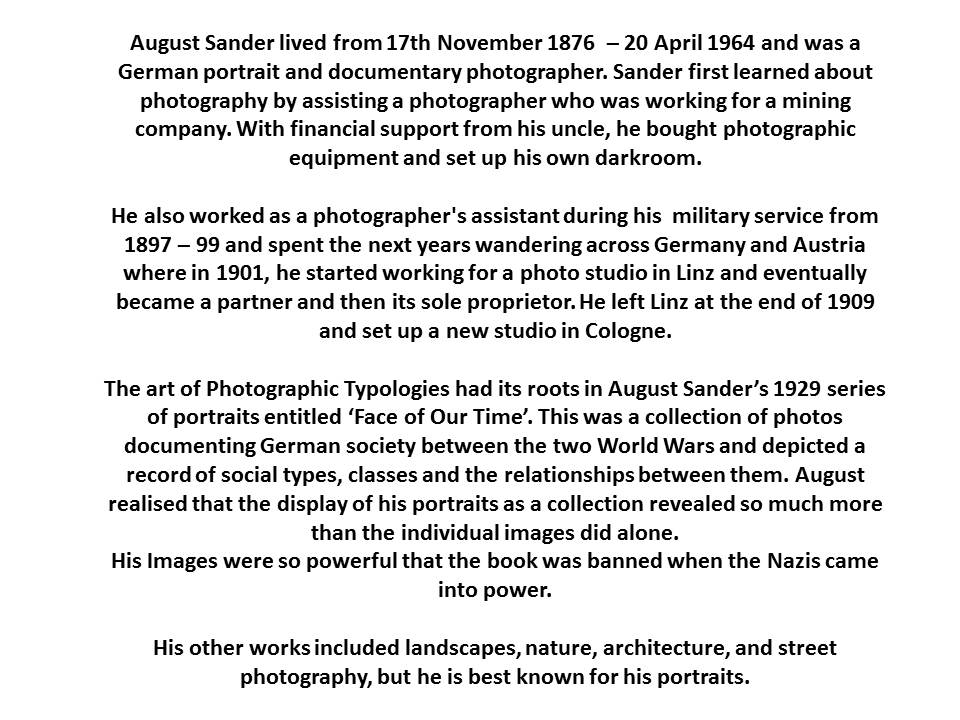
August Sander

My Work

Edited Versions

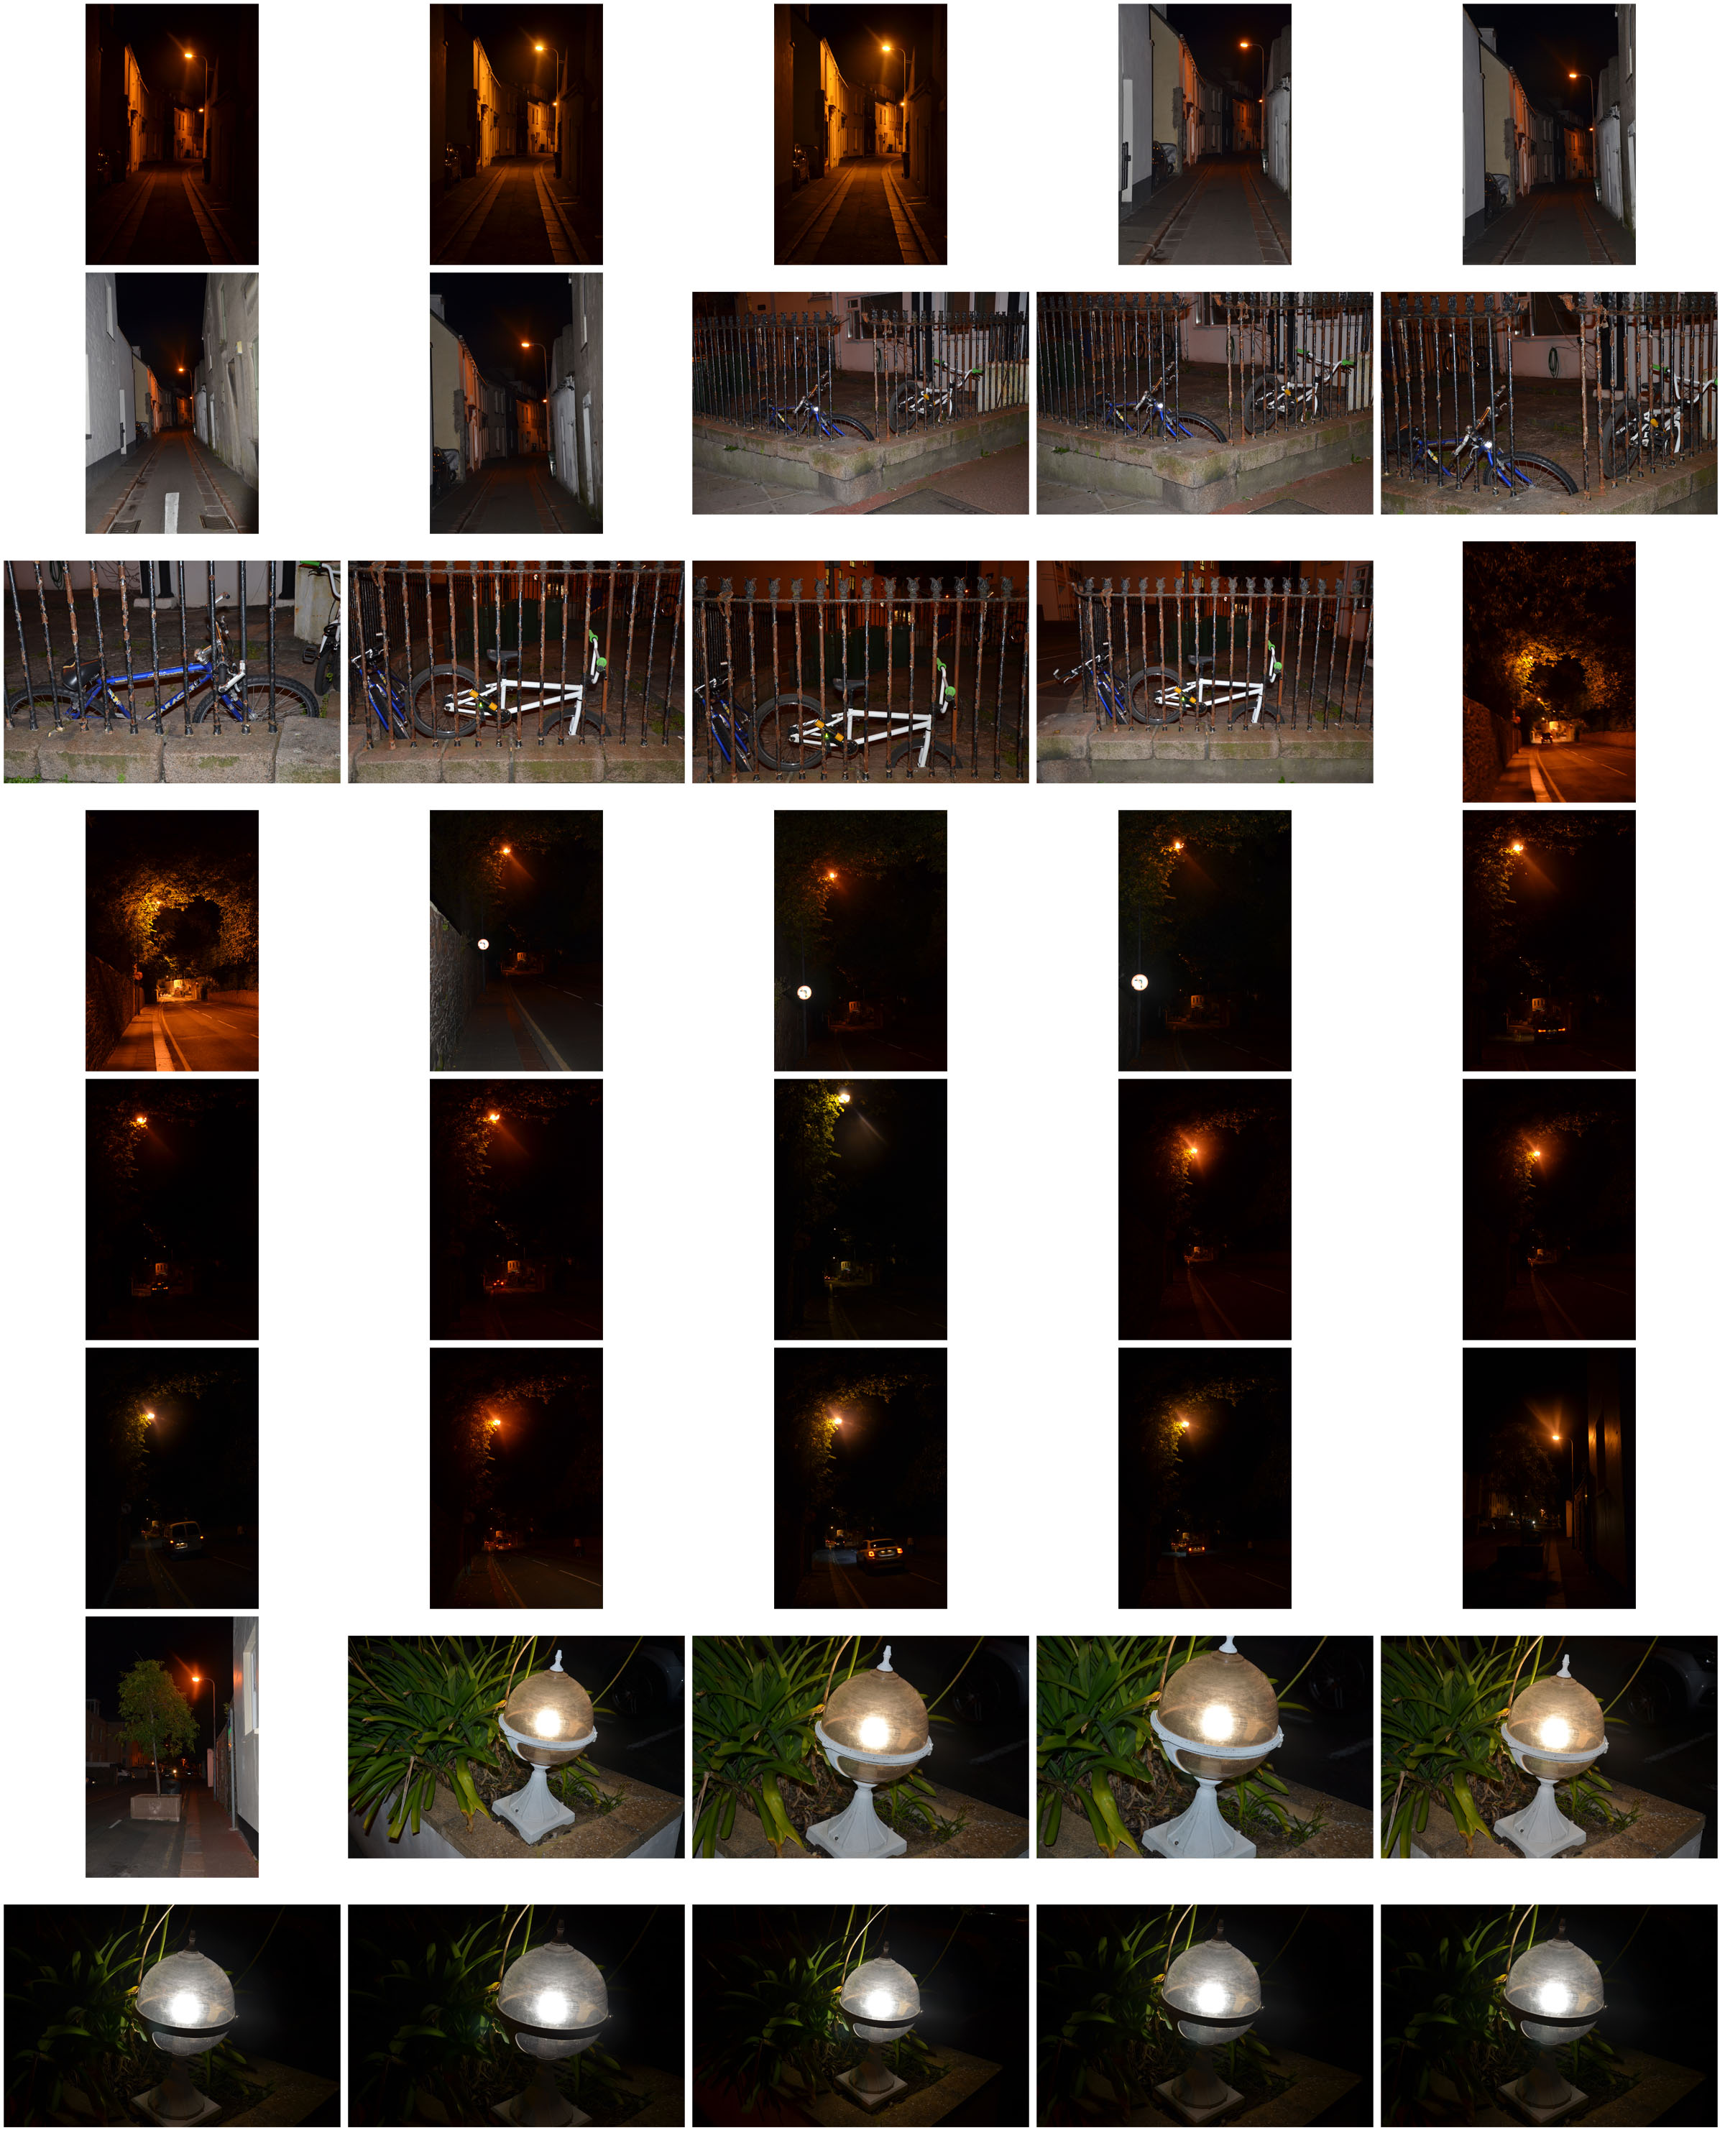
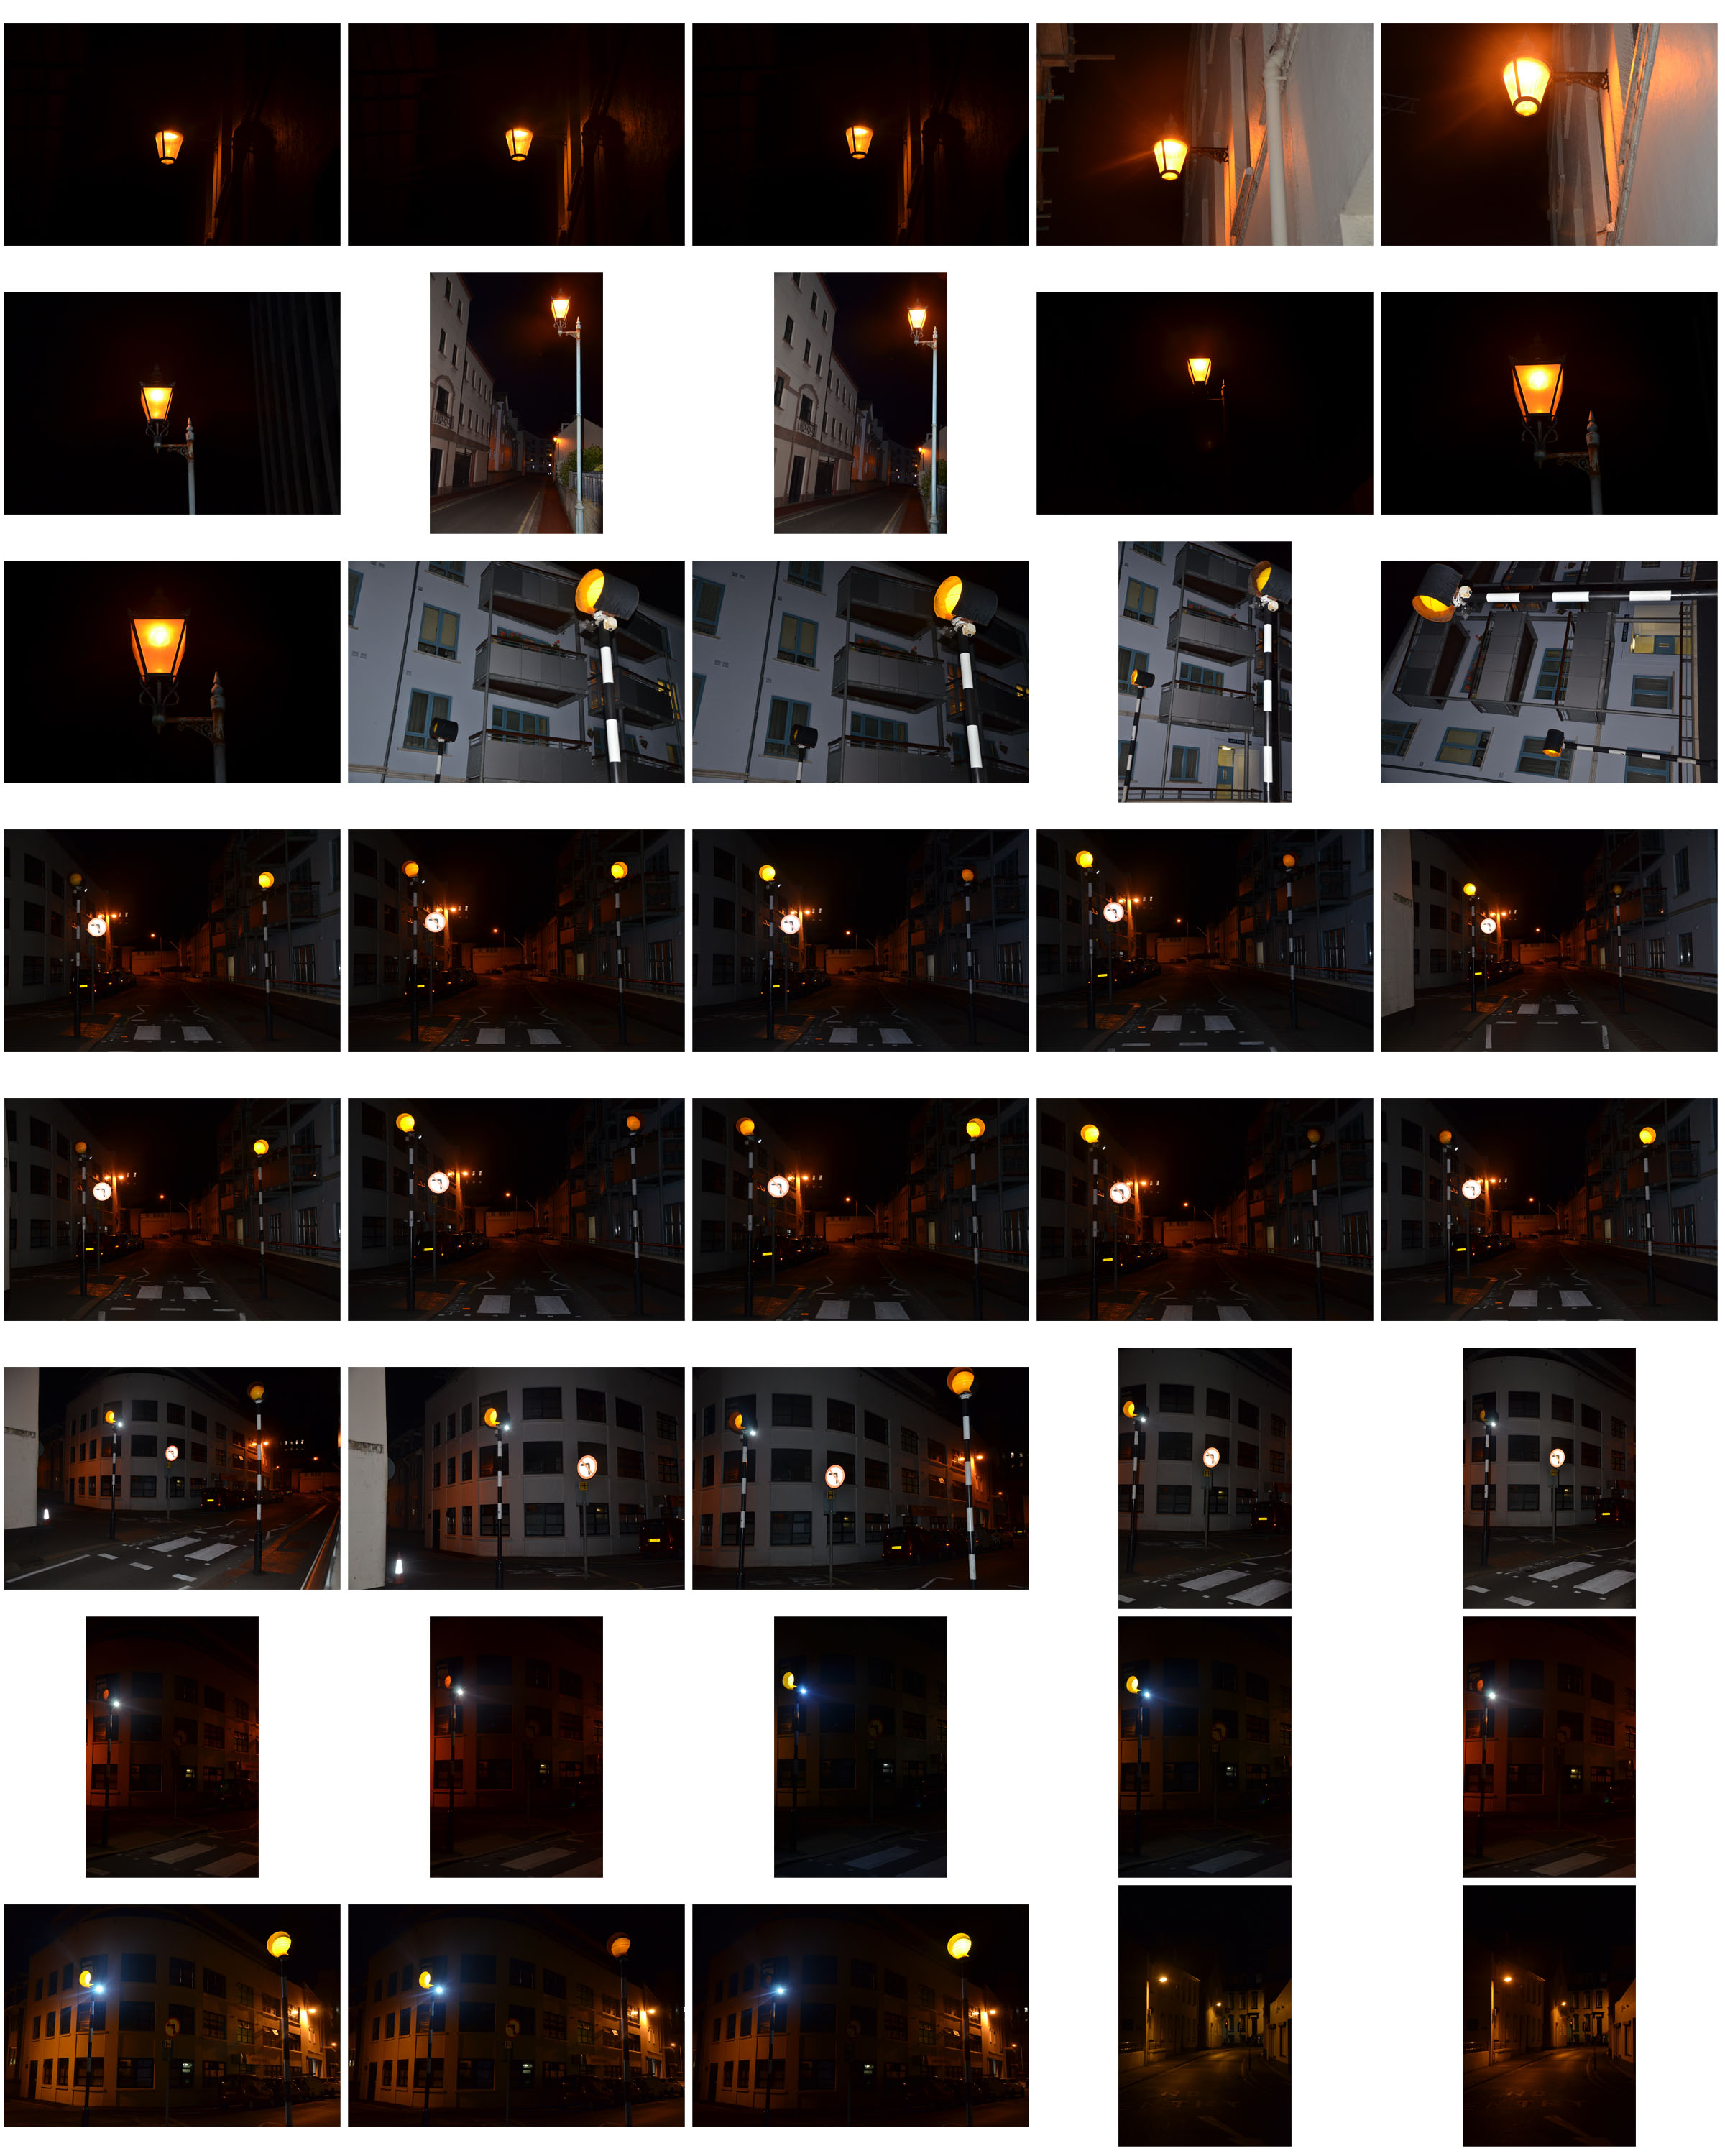
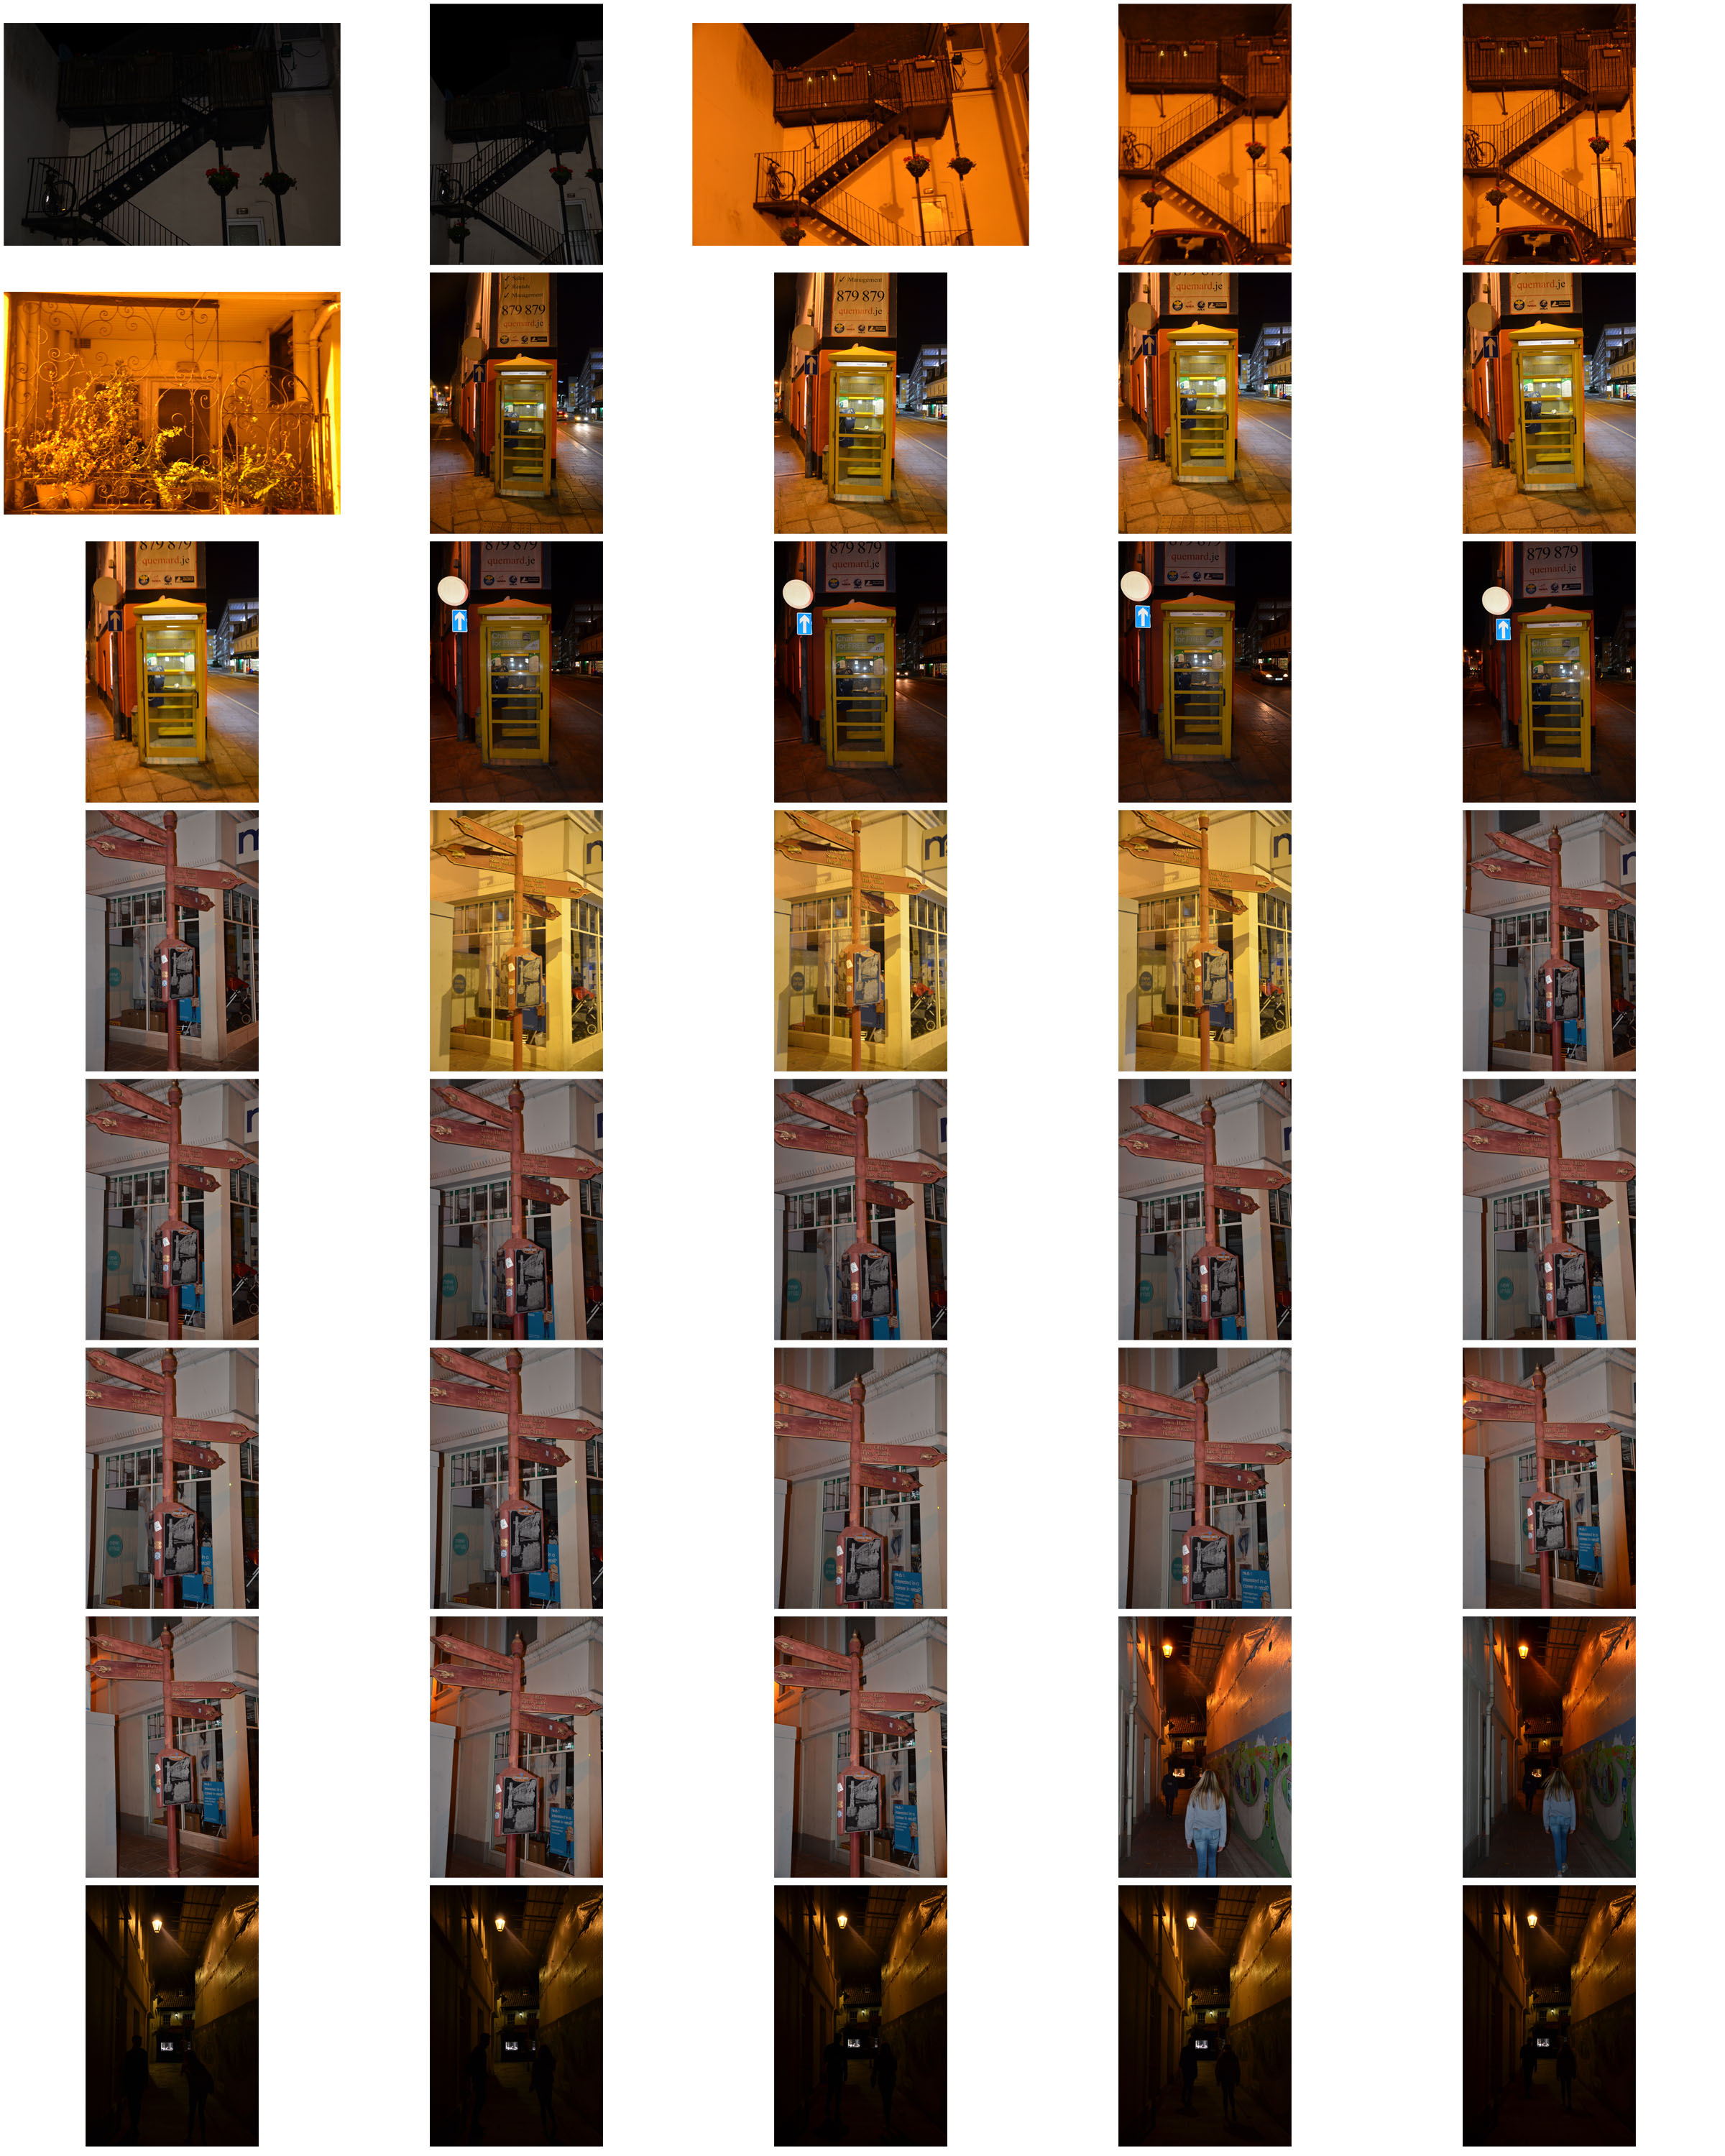
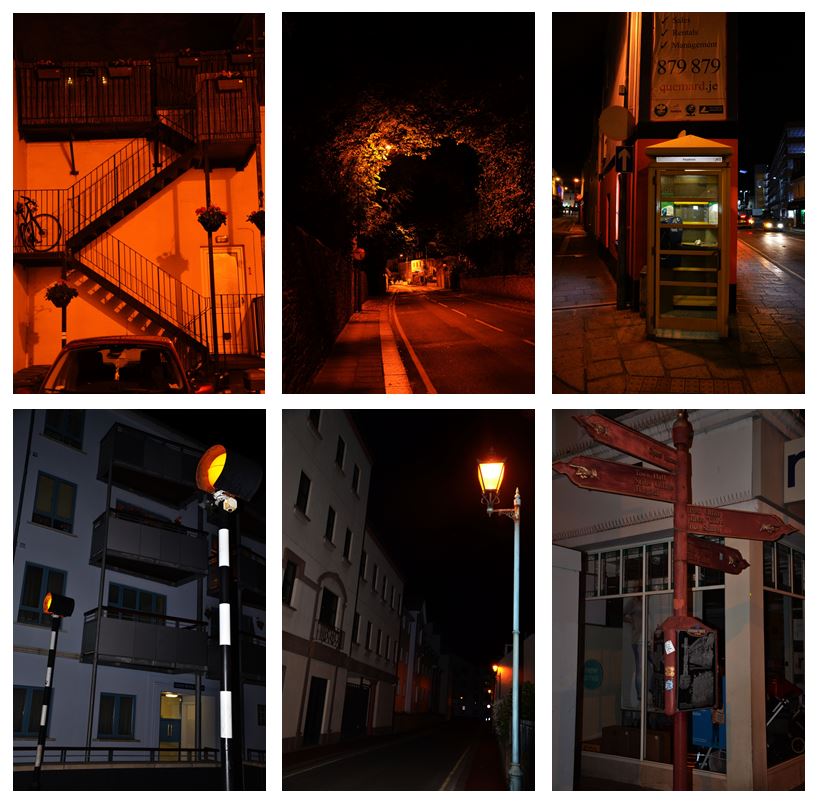
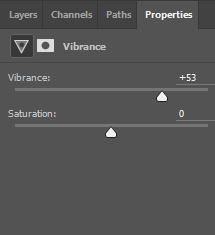
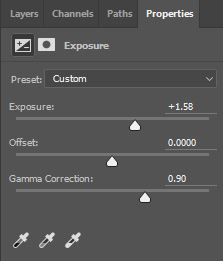
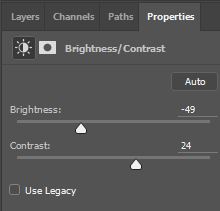
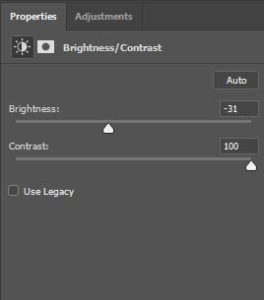
For the street photos, I increased the contrast and vibrancy to show off the orange light of the streets at night. This showed them off for their artificial appearance.

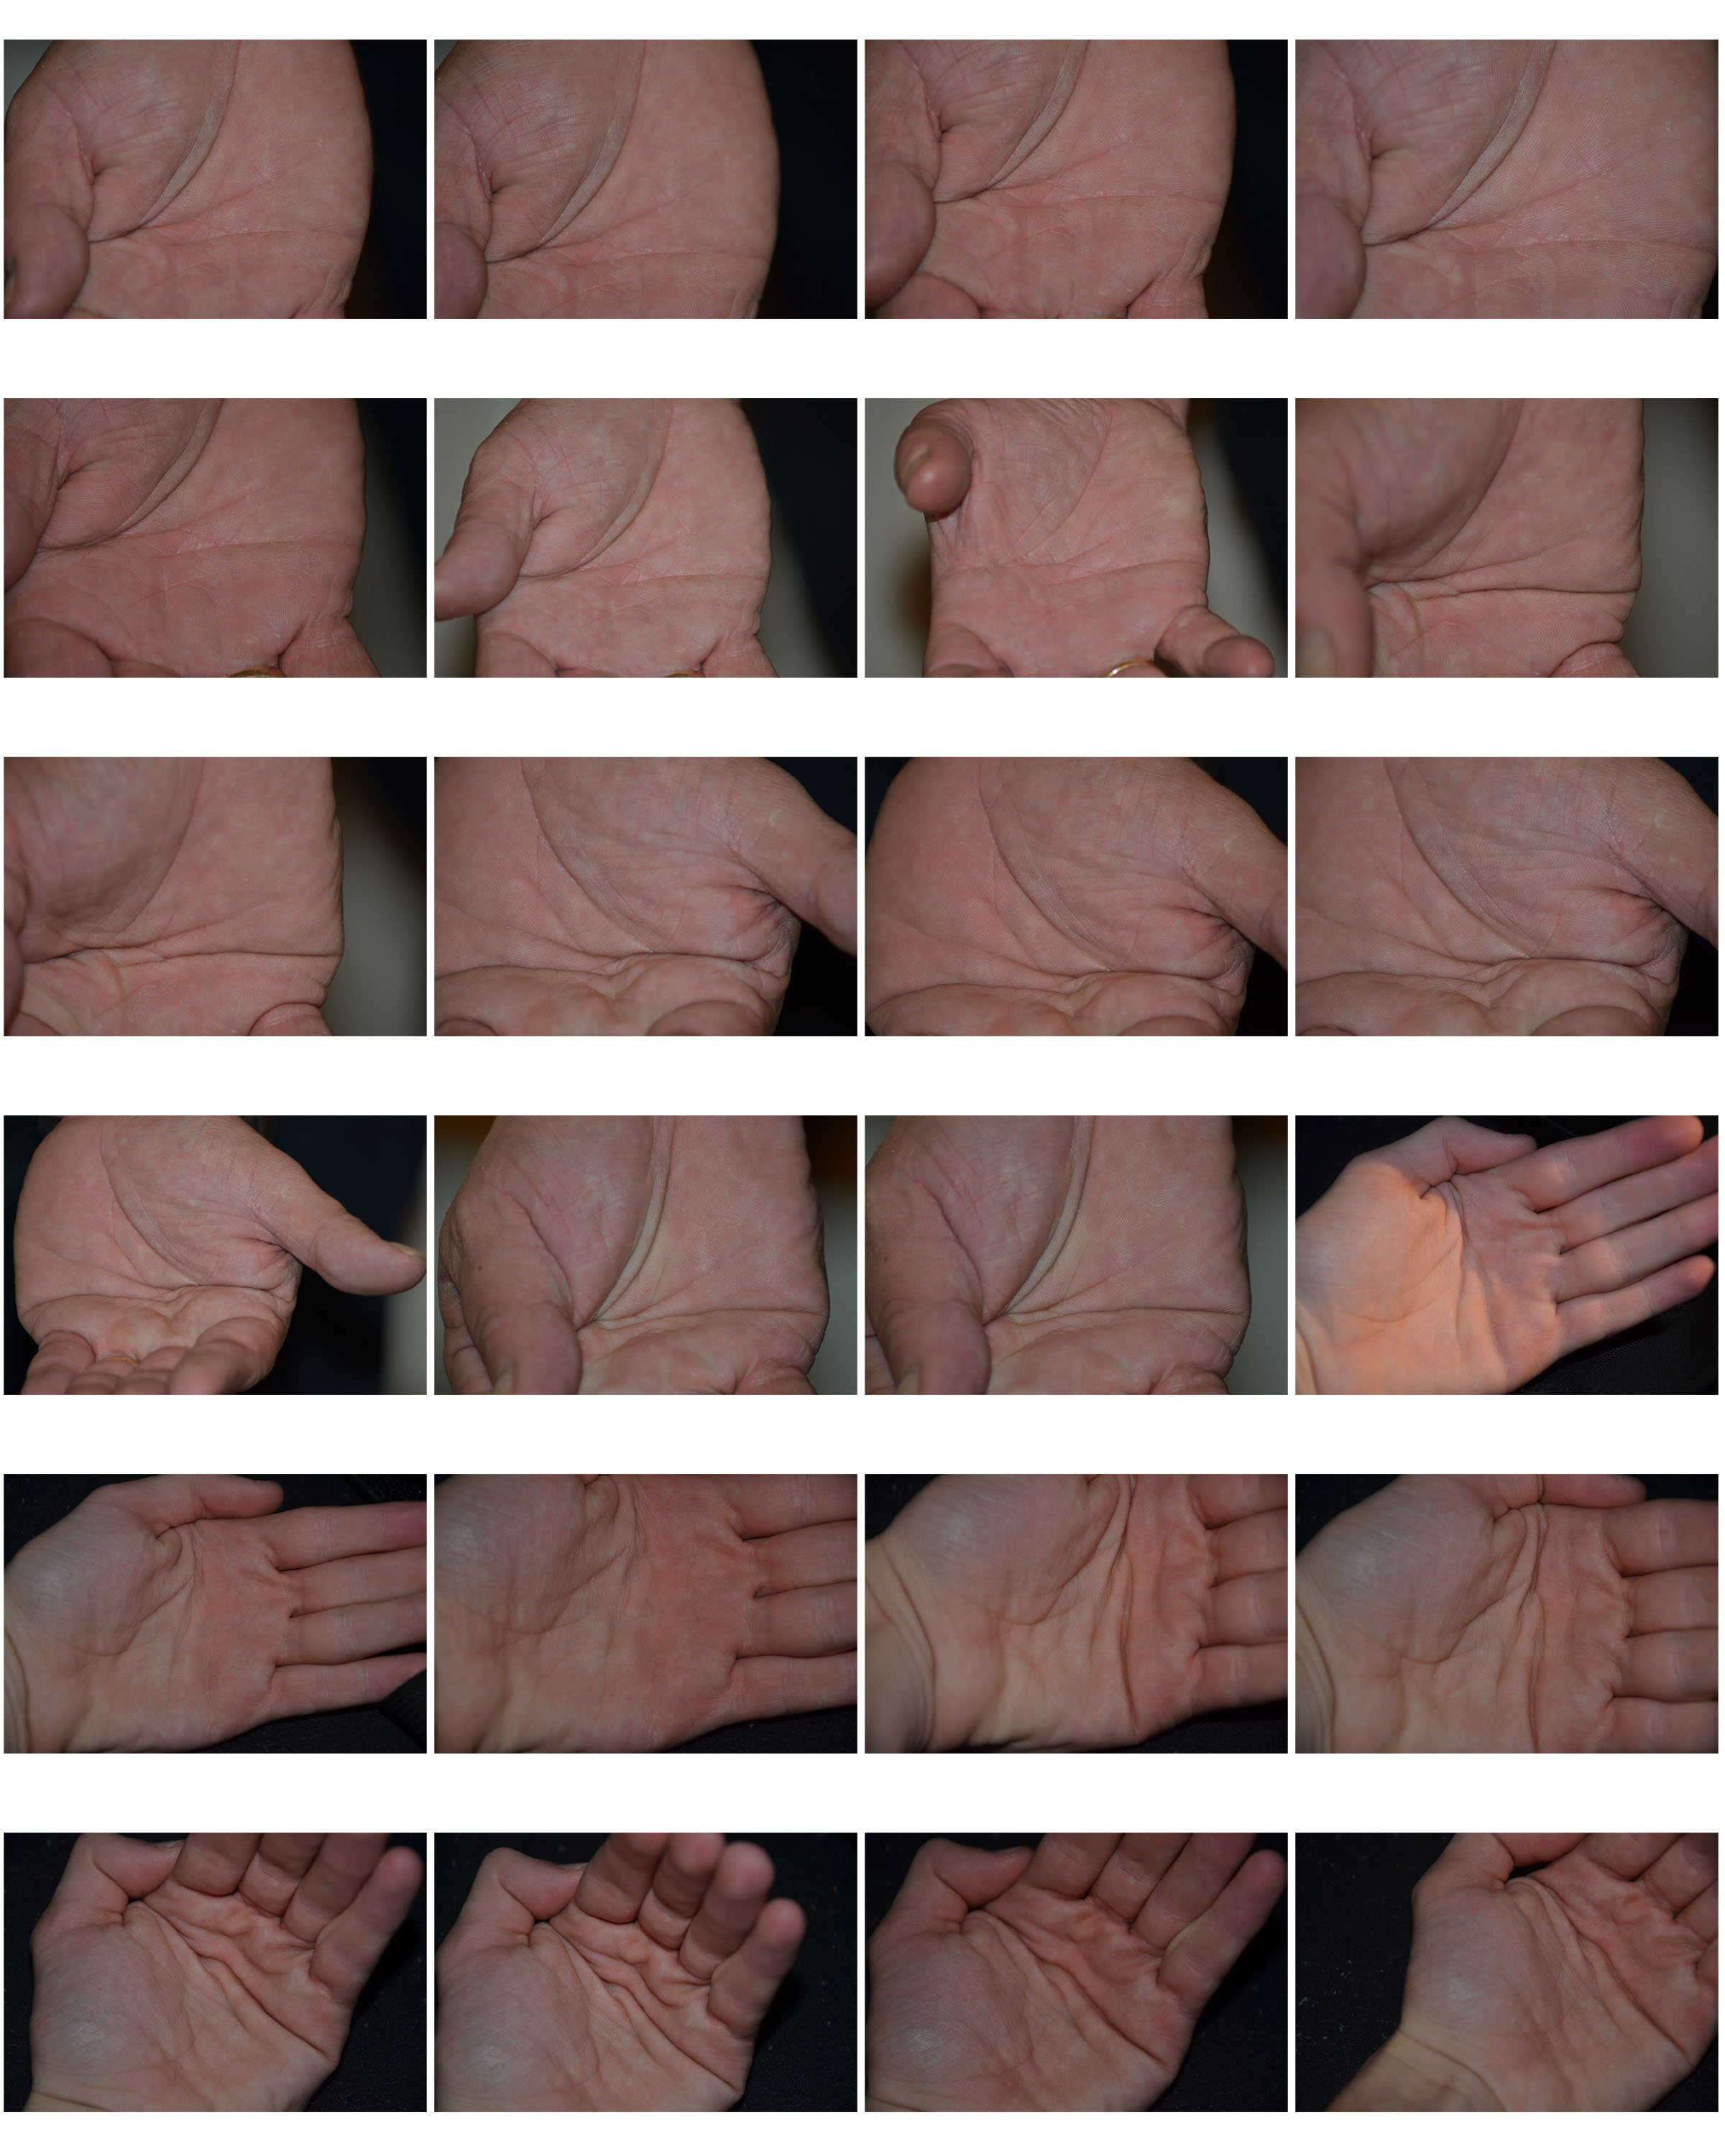
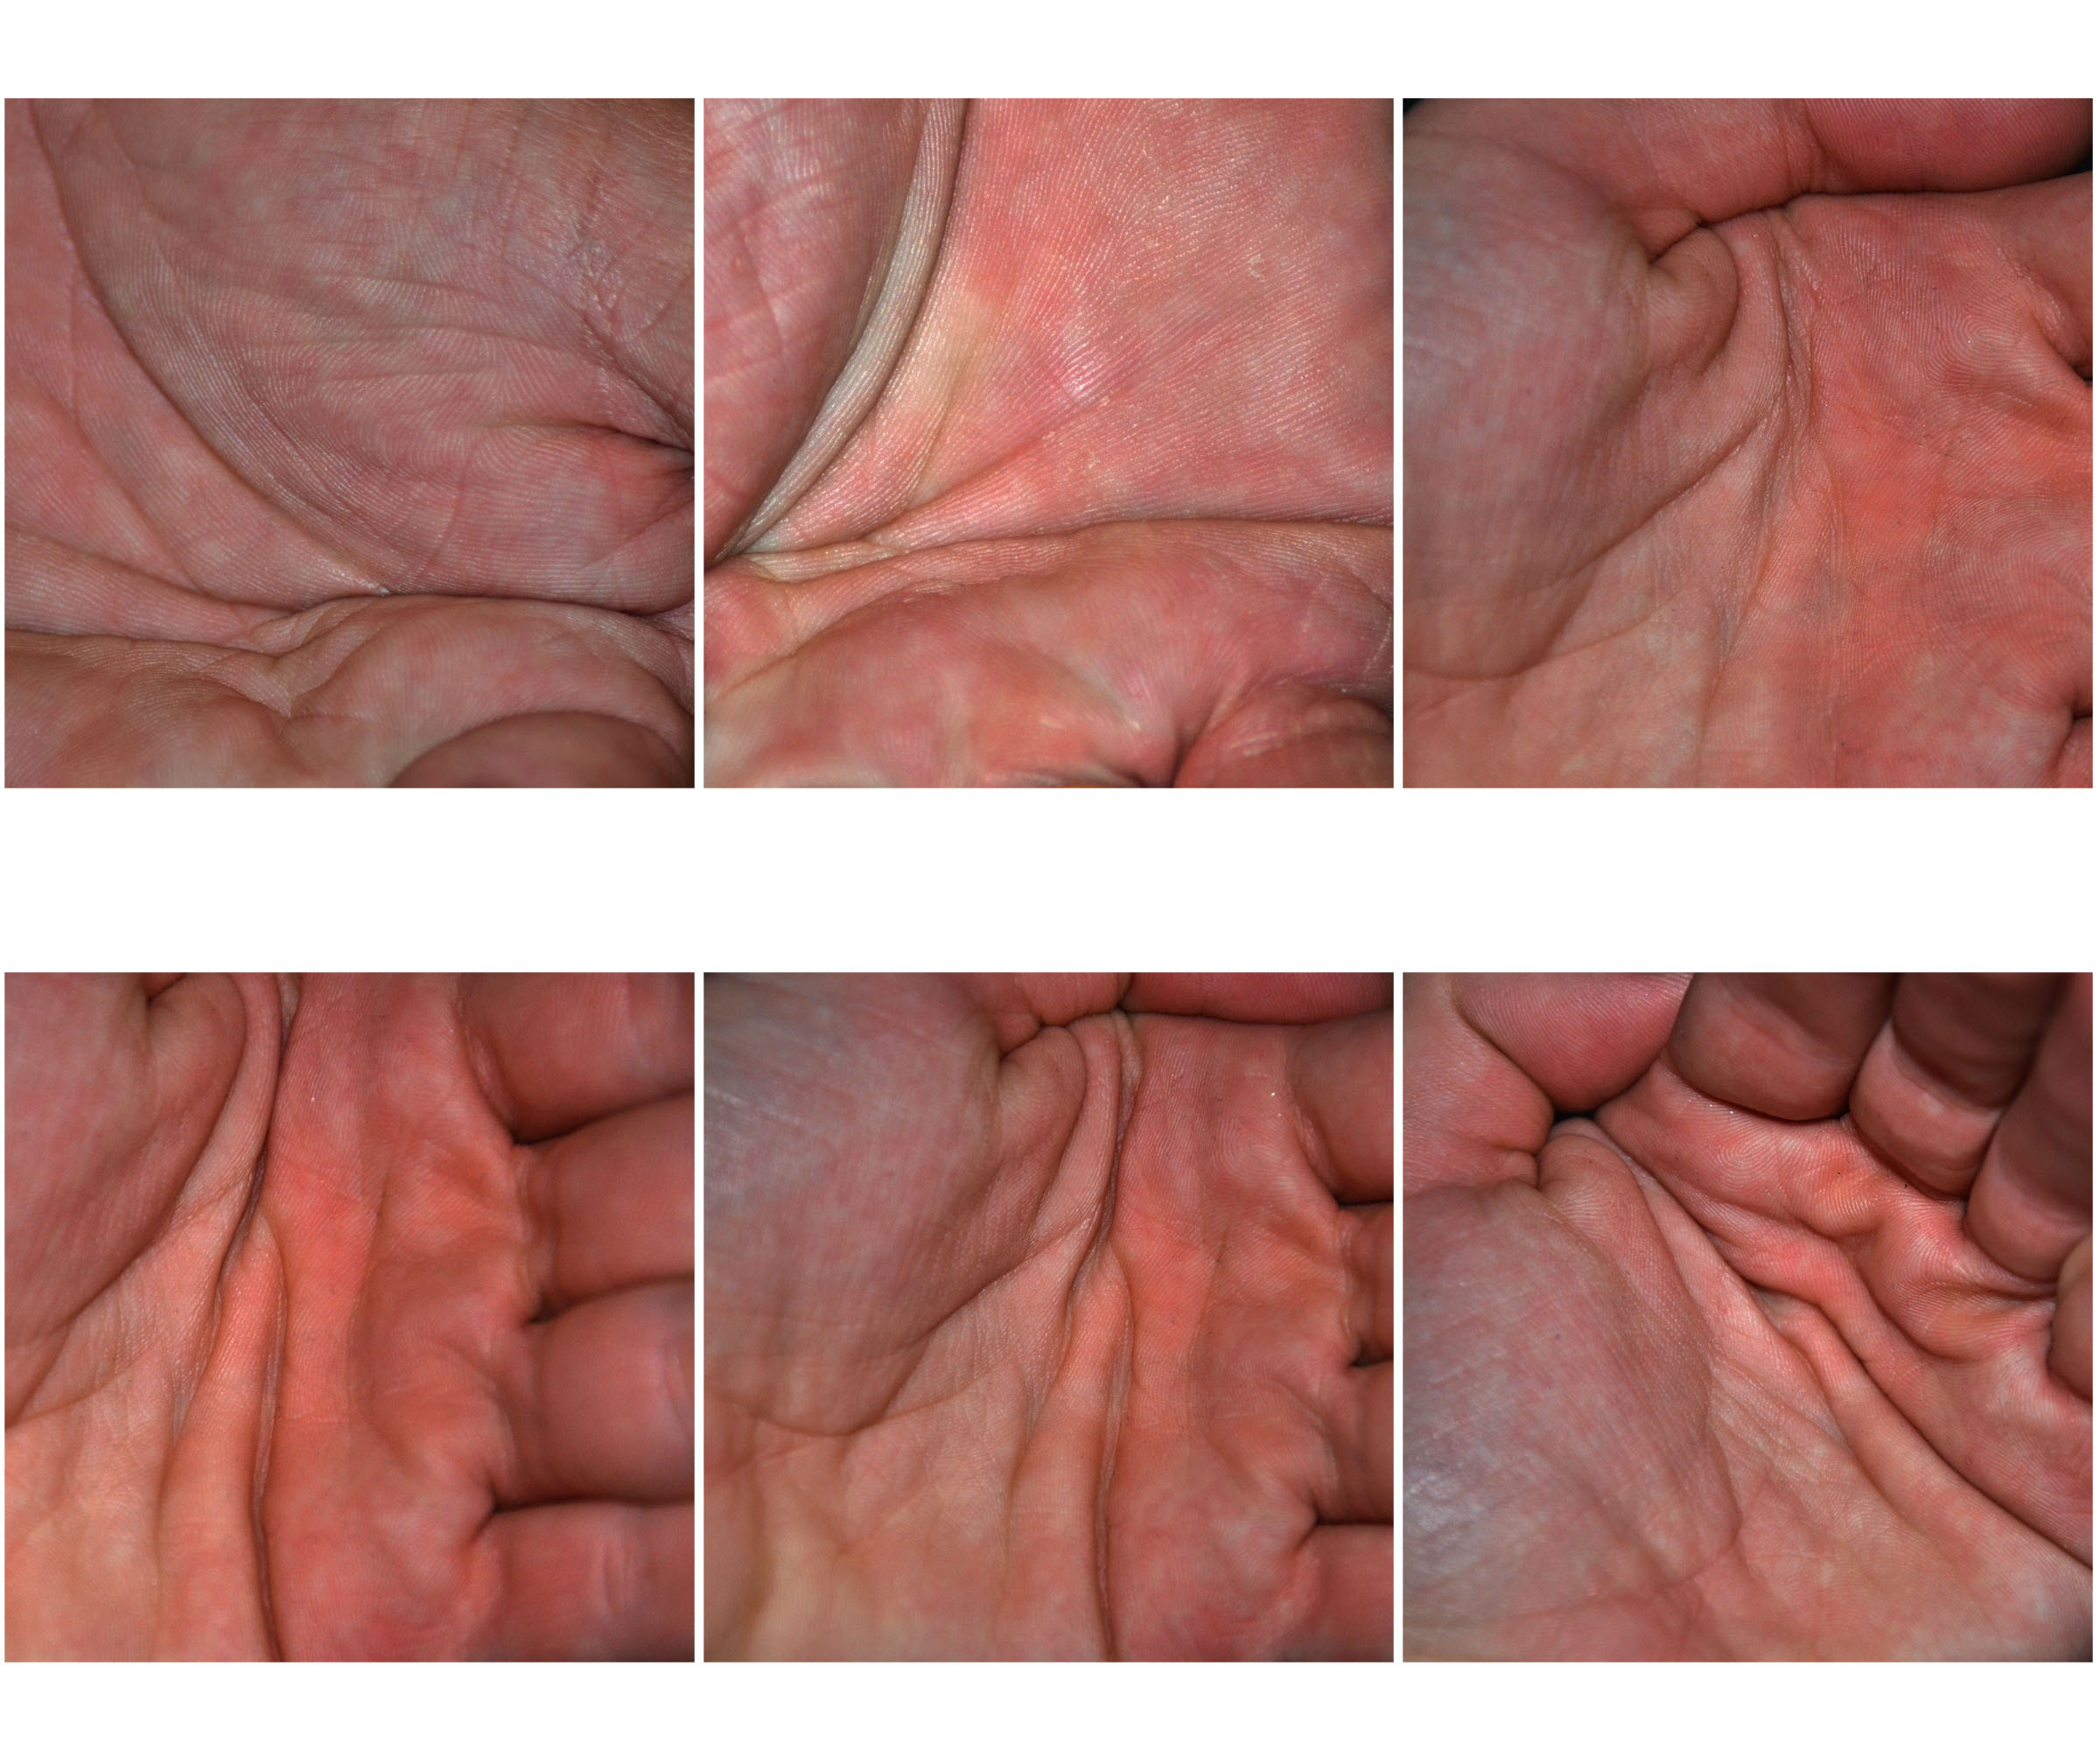
For the hand photos, I increased the contrast to emphasise the different folds and creases in the hands. I reduced the brightness to show off the different undertones of the hand.


Focus and Focus points

How do we focus?

In order to demonstrator a sharpness to an image,and allow and intention to focus and not. The works also together in order to change the distance of lenses,from the sensor and or the filming order to control the way in which light is captured.This is also done by how the light coverage’s precisely a point within the plane of the film or a  DSLR sensor,this means the image will become more in focus .

when looking through a viewfinder of any DSLR camera and you will see several dots, or squares, that represent individual points at which the camera is capable of focusing. This is in order to clearly view the focusing points ,even if this might seem obvious.  but not all of them are created equal. When you press the shutter button  halfway, some of these points will light up, indicating that everything at that specific spot is crystal clear and your photo will be nice and sharp.

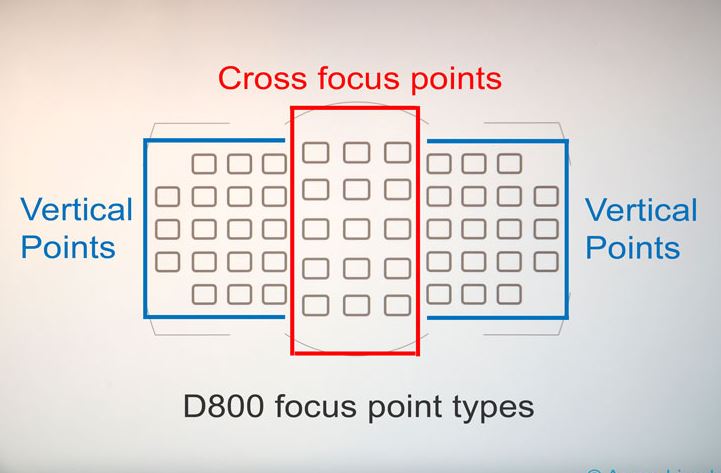
this is an example of cross focus points to hep with ensuring the positioning of the camera.

However, the speed at which your camera can focus on one of the points, as well as how accurate the focus will be, depends greatly on whether the individual focusing point is a single or cross-type. Understanding the differences in how they operate can help you decide which ones to use to take better photos.This is a further example :

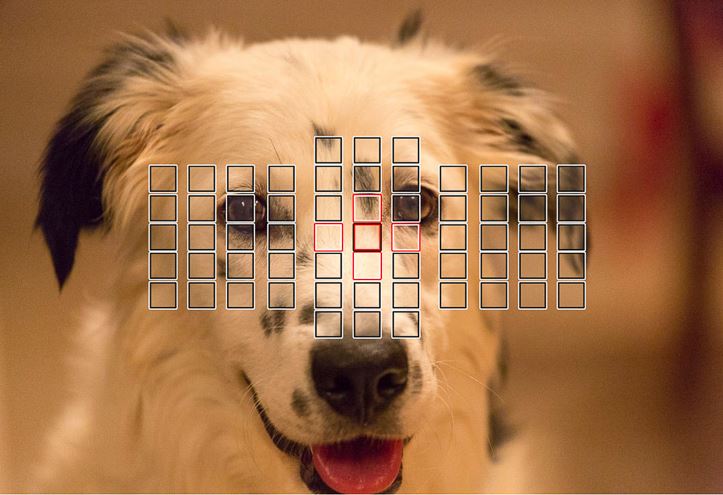
there are also many ranges within focus points,this can develop  of change the point within your camera with a button,and will be brought up upon the screen,showing the range of points.

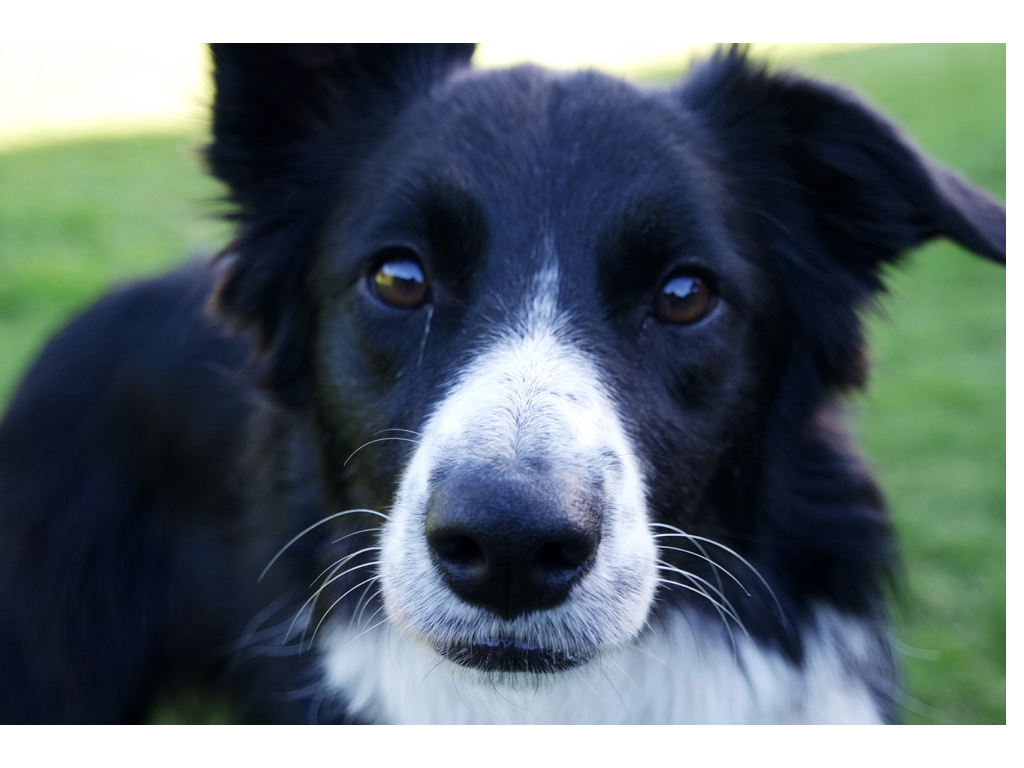
below you can see my development of capturing the same focus point within a dogs face too.

colour overlay and blur Photoshop

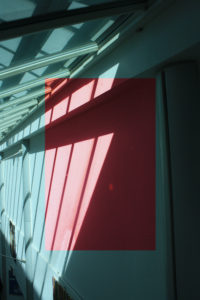
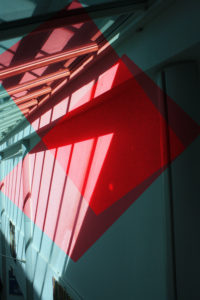
Within this piece I wanted to cut out two identical pieces and use this in order to develop an overlay and deepening of color over the highlights and cut out on the wall itself. I used red to contrast to the lighter blue tones of the underlay of the original image. I duplicated these layers and images so again the red is more significant and you can see this development throughout these images.

Blur Photoshop
I edited  this image within layering and adding a blur layers then went back into this piece. Within the first layer I used a rubber and the brackets to differentiate how big and small I want the rubber to be,again creates a depth of field of how I want the front to be. I focused on detail and have successful aspects of realism and only the back to so blurred which creates contrast. Then further edited this image in order to show better color such as darker tones to again exaggerate the image itself and not be distracted by off coloring’s creating a Batter finished effect.

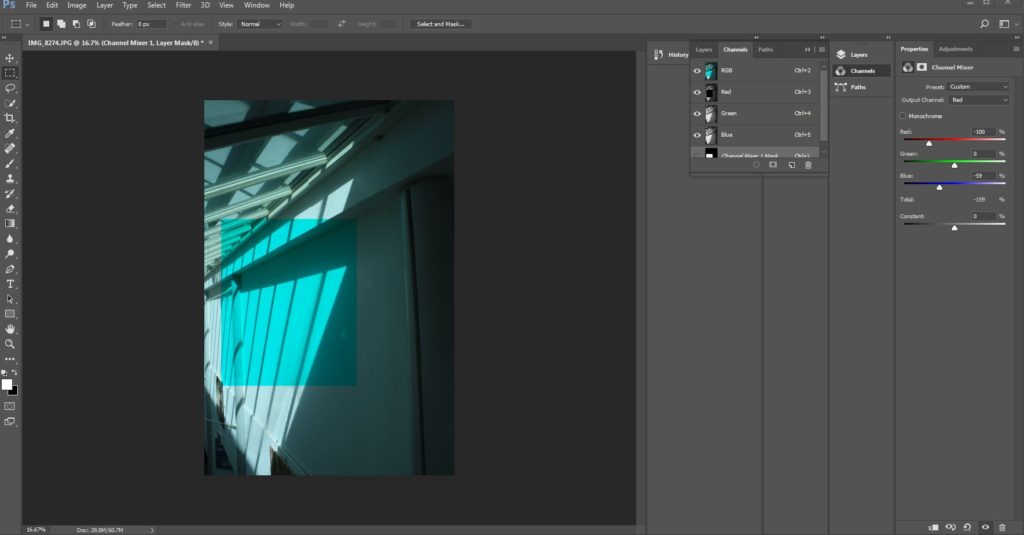
Here you can see my method of developing the color overlay,finally you duplicate the layer and attach the specific shape and placing that you feel would be the most effective,The throughout the half circle you can develop the colors and development of the square and further the potion and add additional shapes to deb then the color.

And to achieve the blur photo I Opened Photoshop then Duplicated the Layer added Mask Layer –,after this I added an additional Filter going to Blur then  Motion Blur –and finally Then selected how blurred I wanted the image to be ,then to take away and add more reinvent I  Selected the Eraser tool and followed to  Erase the section that I don’t to be in focus ,producing the final image.

Typologies- Homework 2

Photoshoot 1

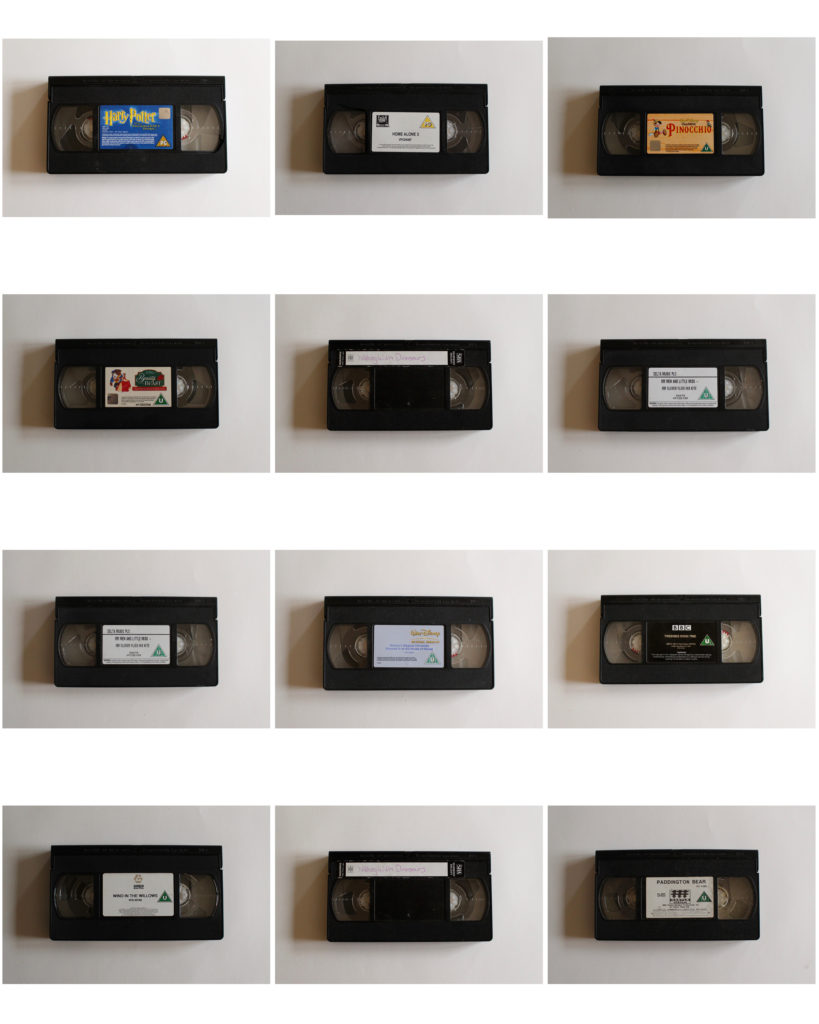
I used old video tapes to photograph as a typology because they all look similar but are slightly different. They all have different labels with different colours, and some have a greater antiquity then others. I placed a white piece of paper behind when taking my photographs as I wanted to emphasise the video tapes without any other distractions. I also like how the white paper showed the shadow from the light coming in on the right, giving the photo some depth and 3D qualities.

Photoshoot 2

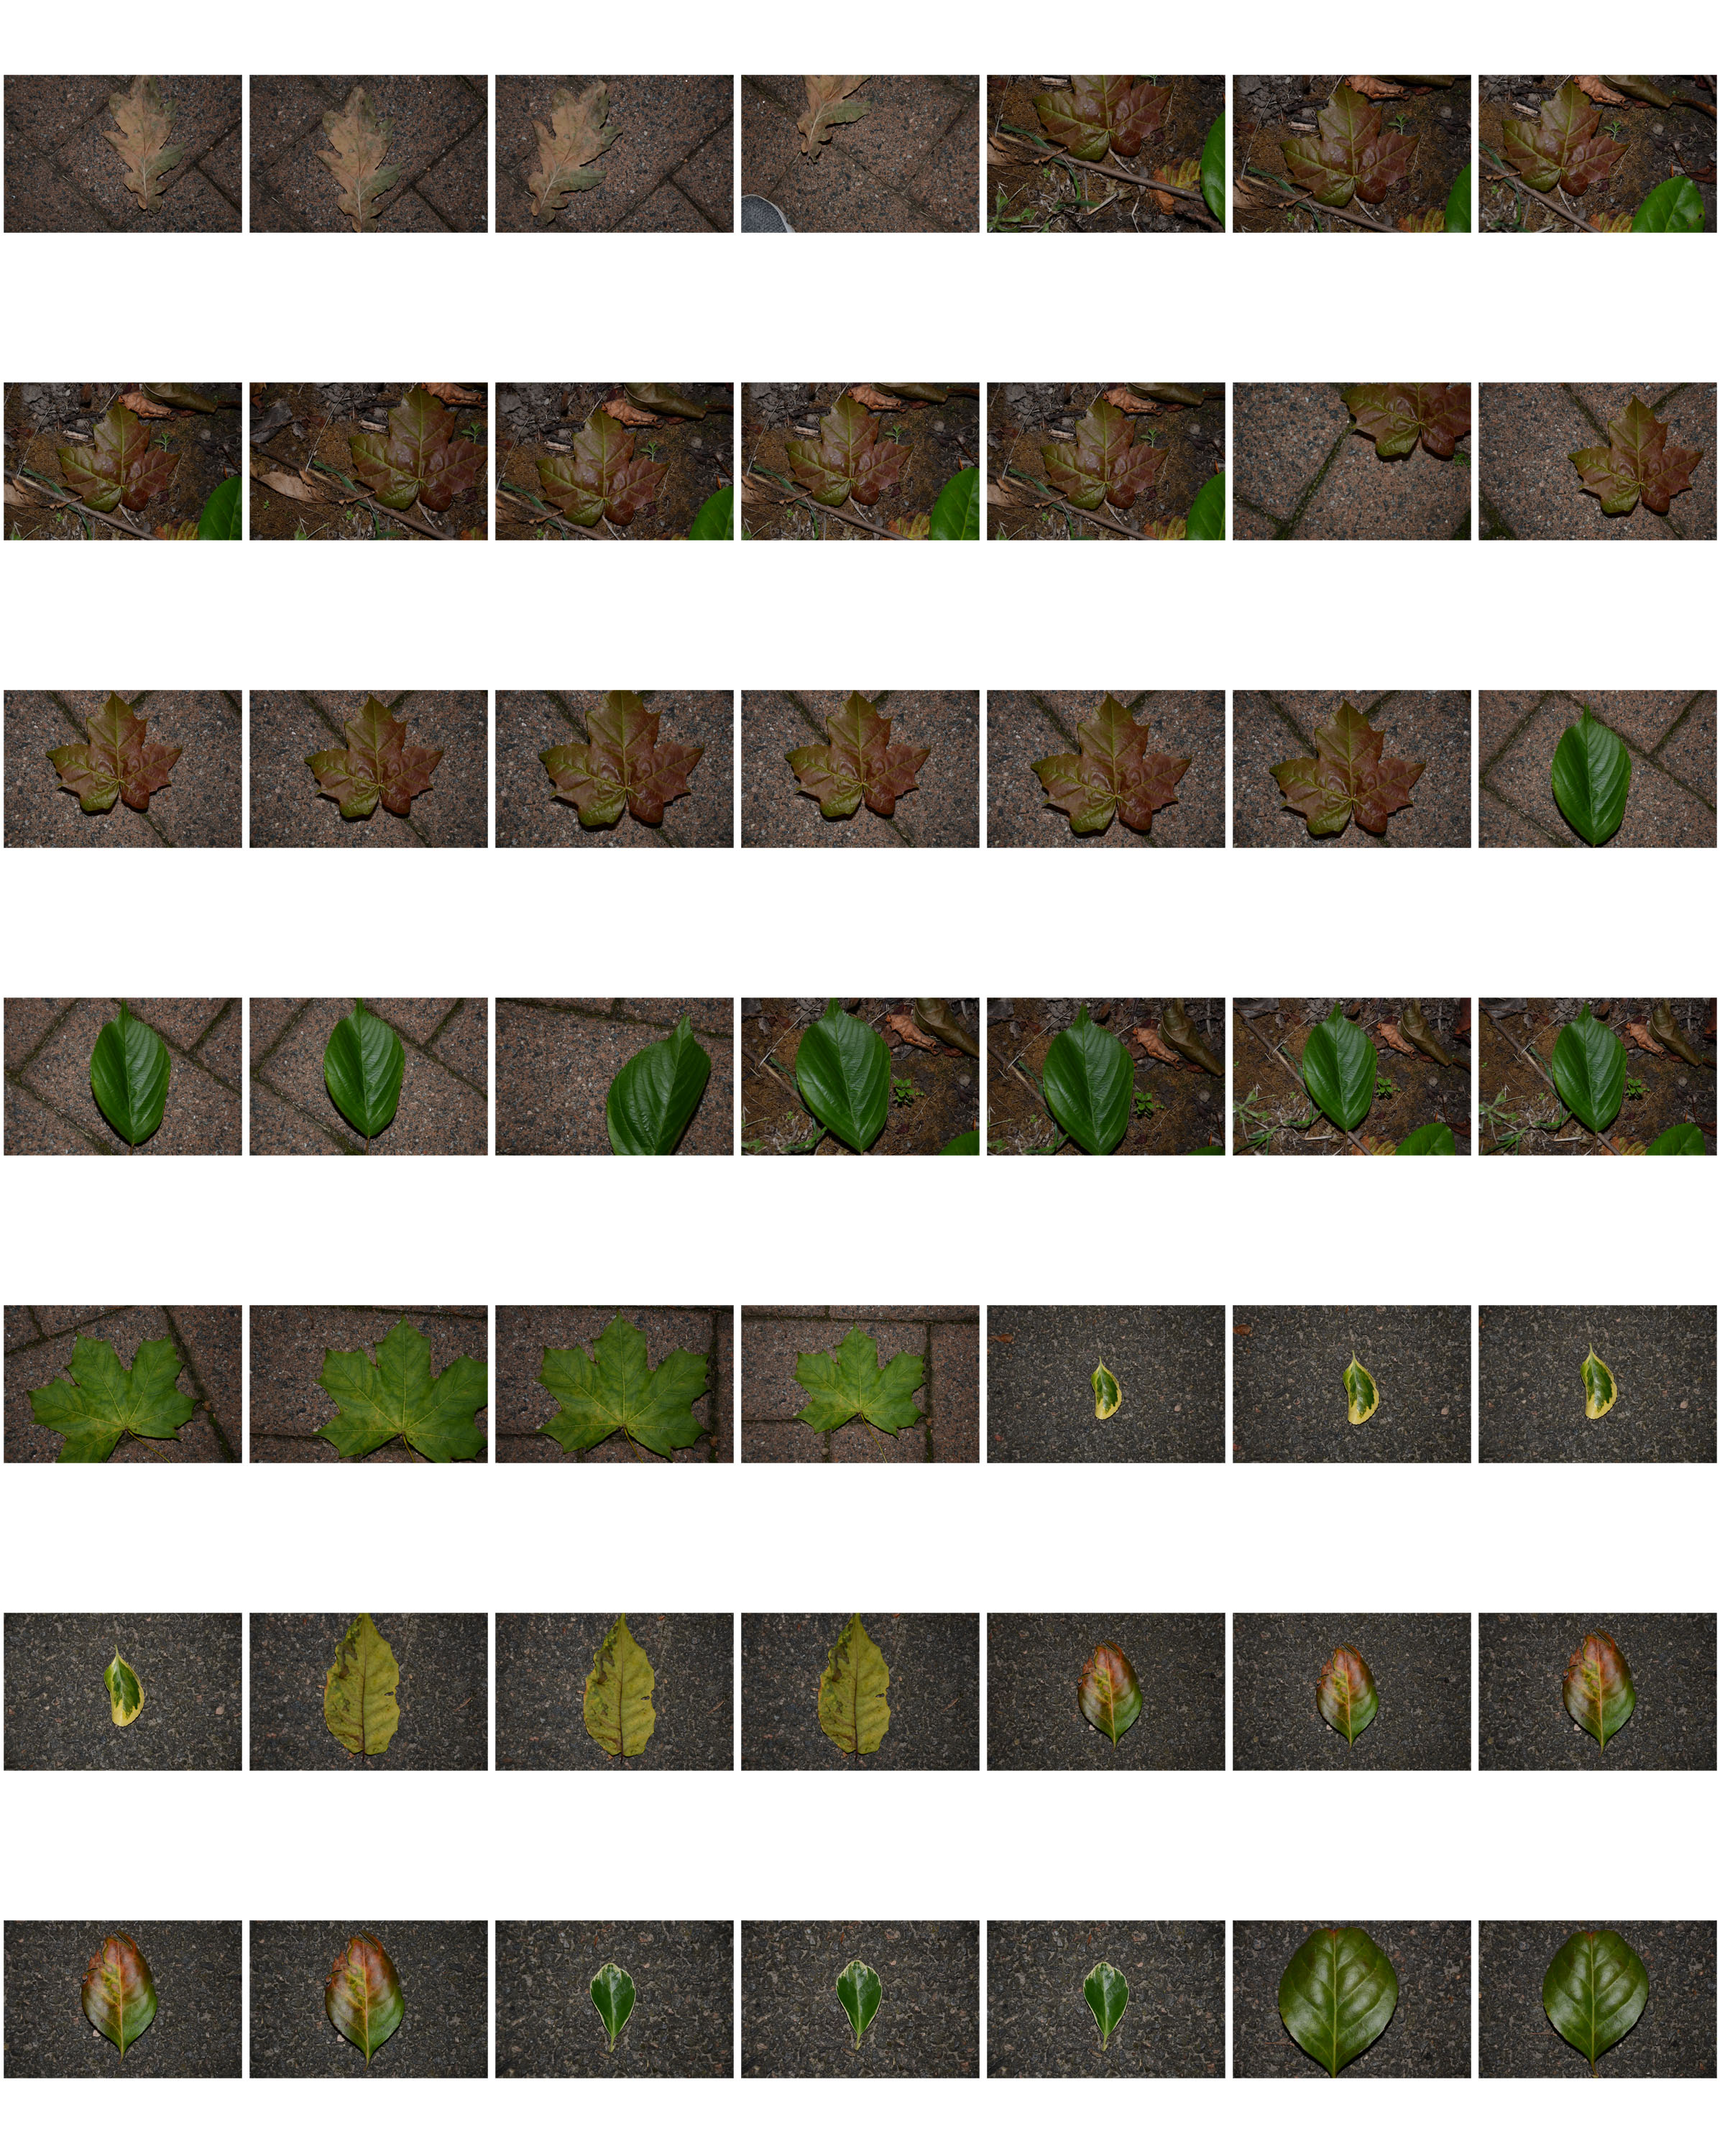
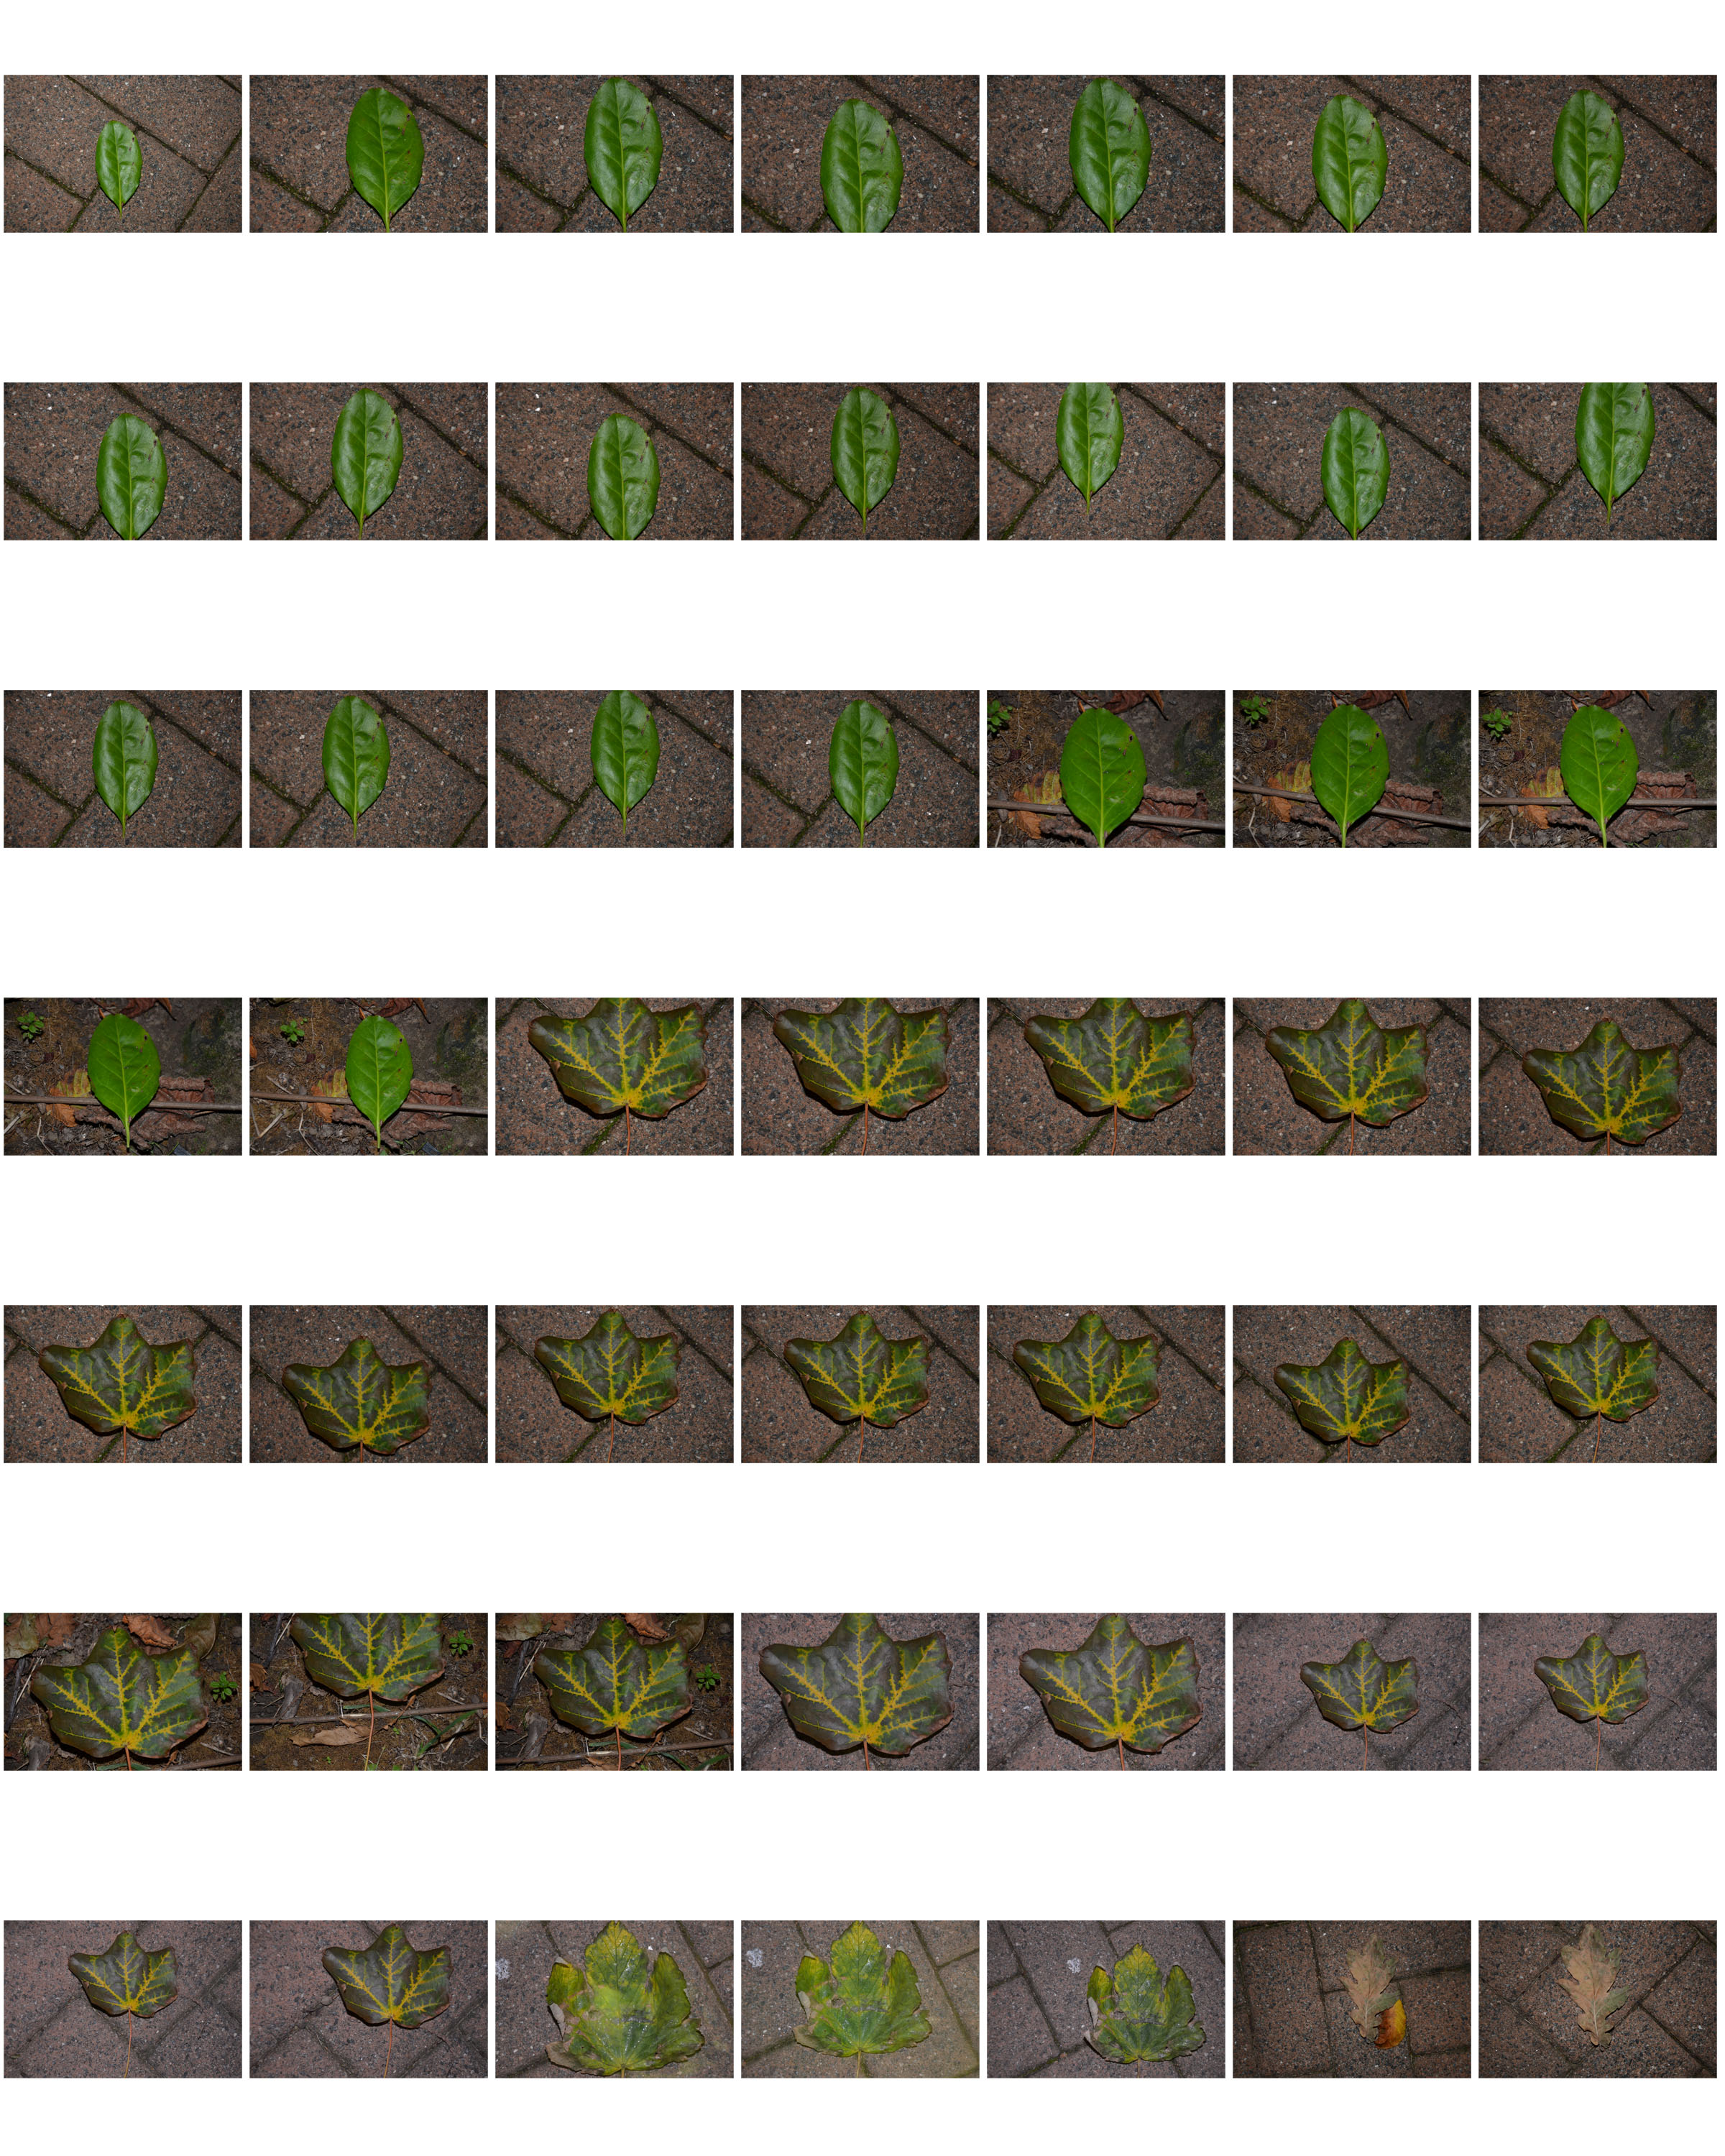
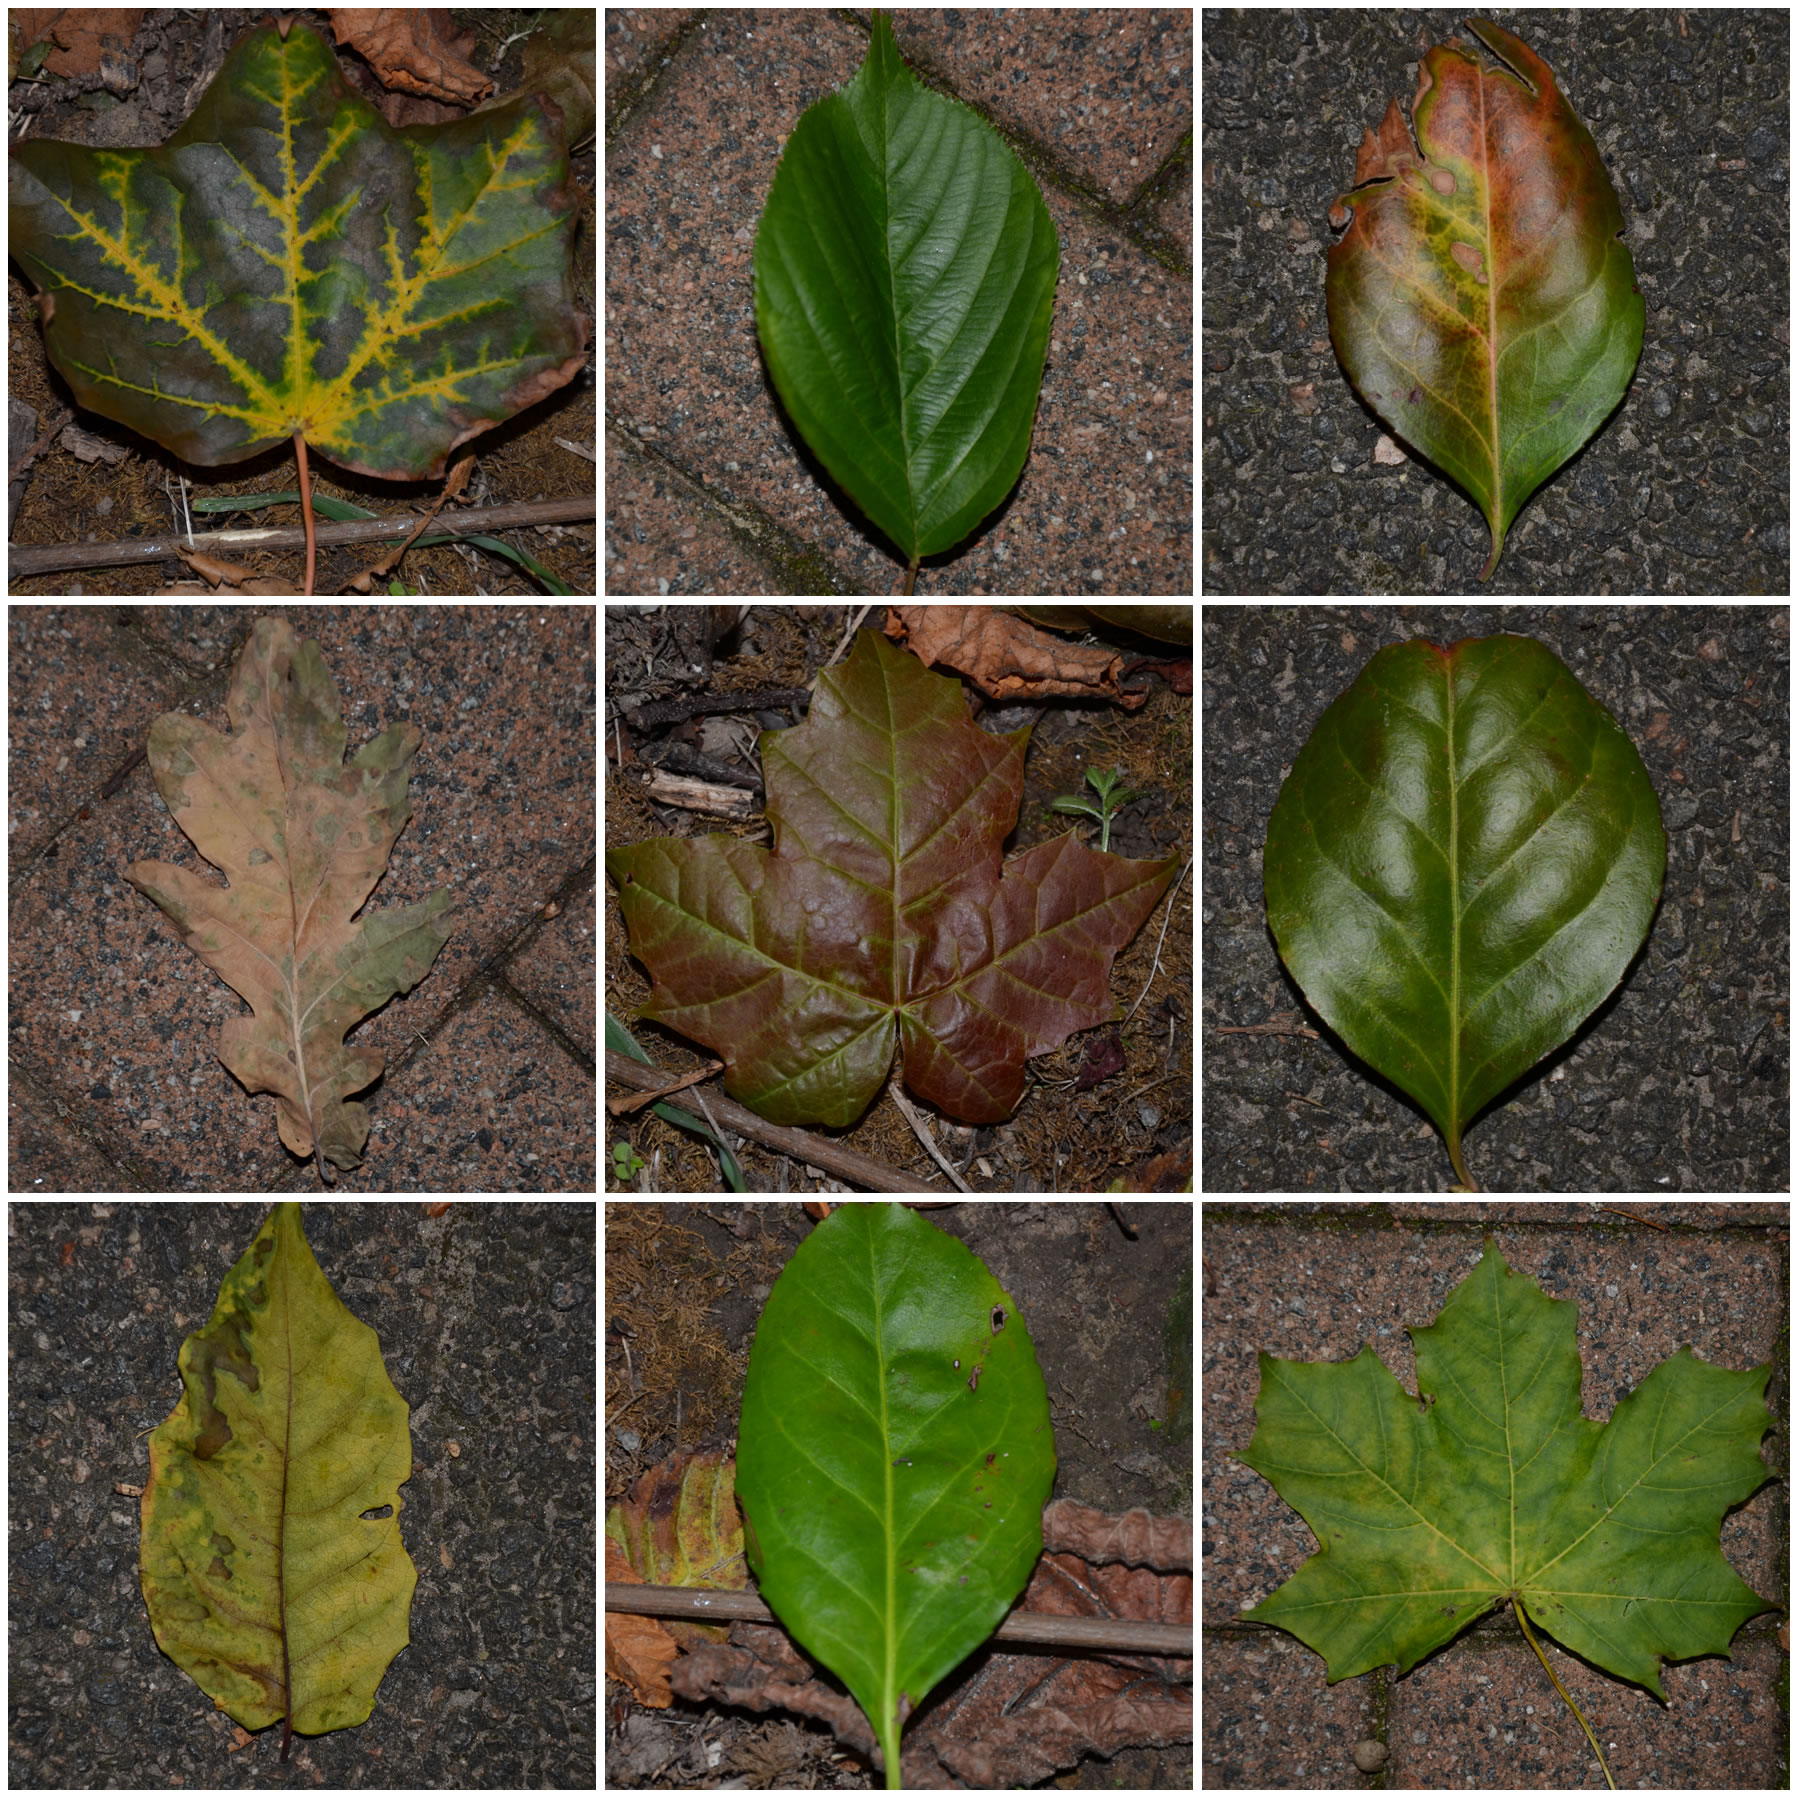
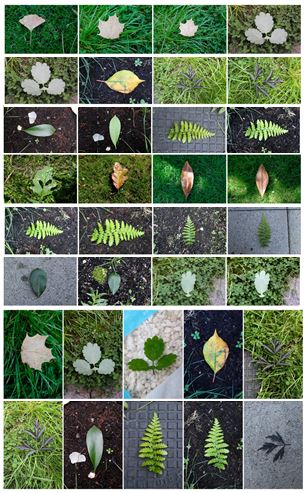
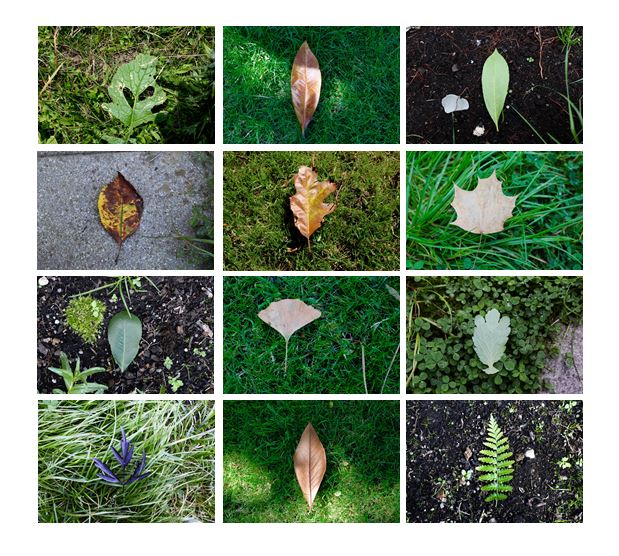
When photographing the different types of leaves I tried to make the backgrounds different for each individual photograph, making whole contact sheet more interesting and varied. I also tried to find a leaves with a range of different colours and different patterns and textures. I used natural light and had shadows in some photos creating a more natural effect.

I selected the photos I thought worked better together and created a contact sheet displaying them. I made sure the order in which they are displayed, and the colours in which they have, complemented the other photos, making the overall contact sheet aesthetically pleasing.
Photoshoot 3

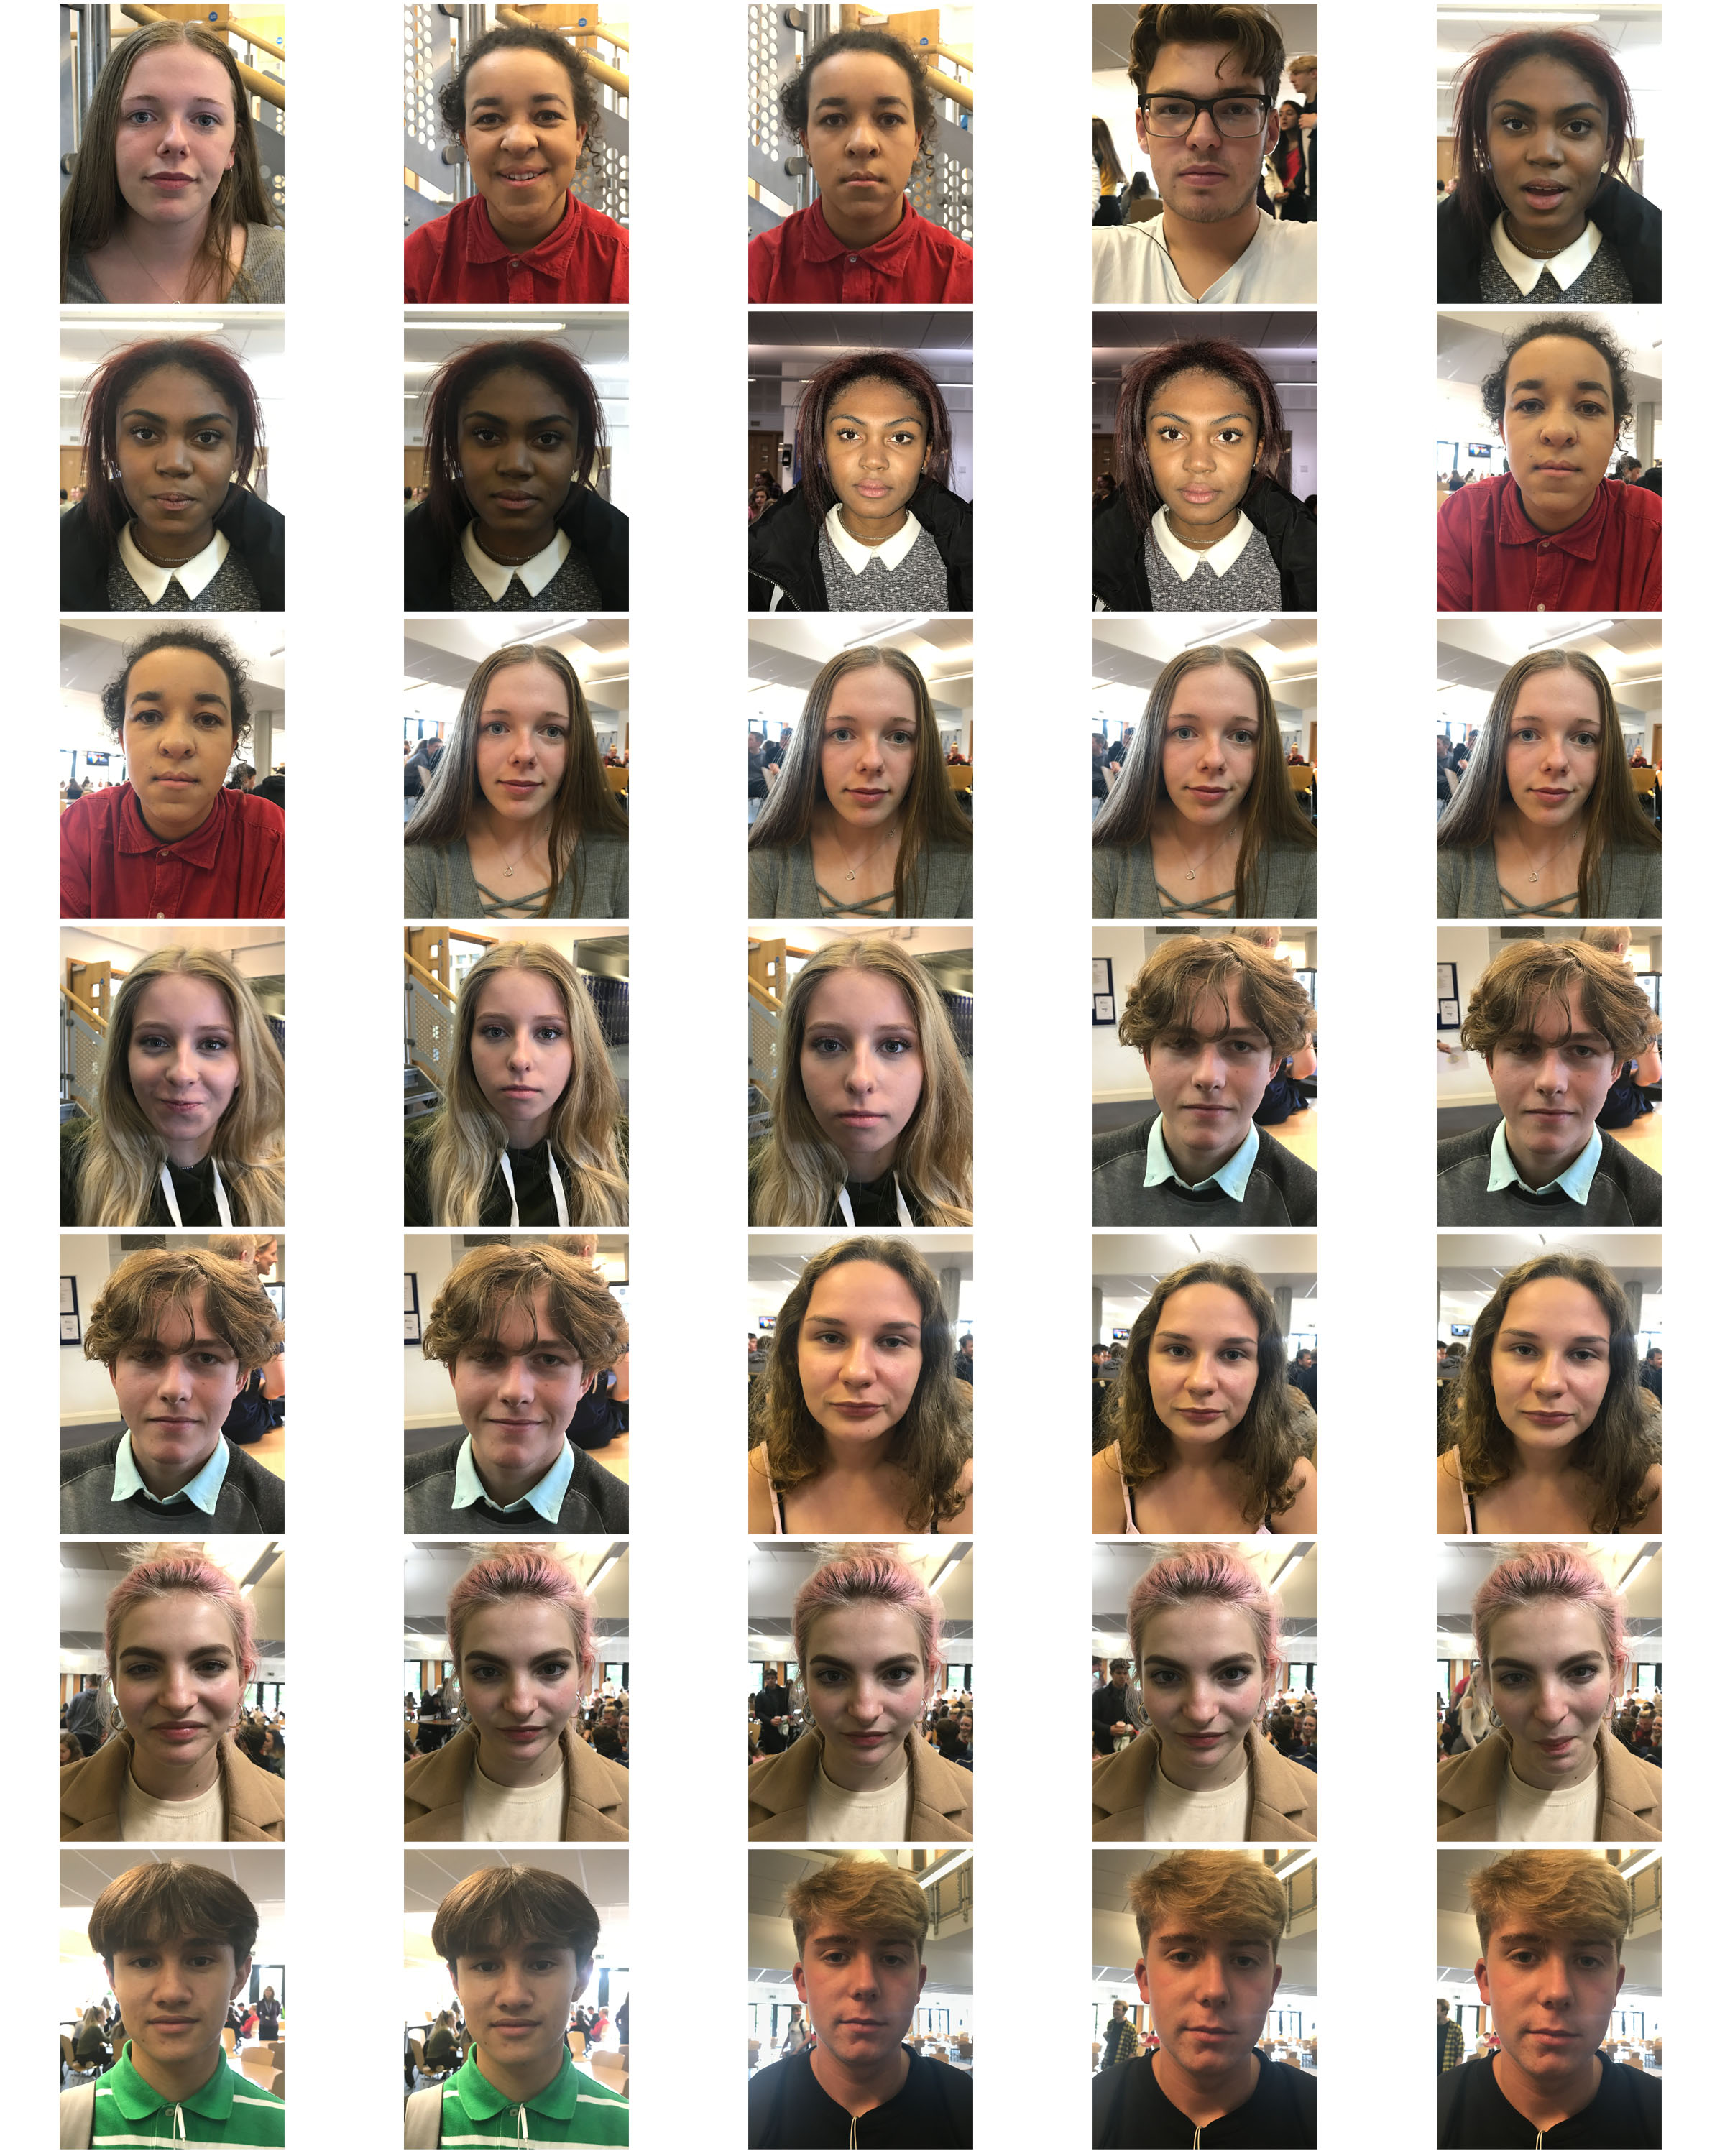
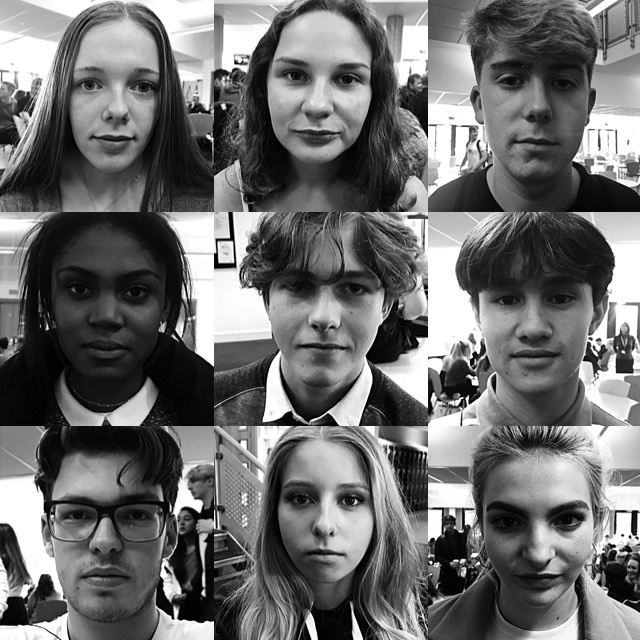
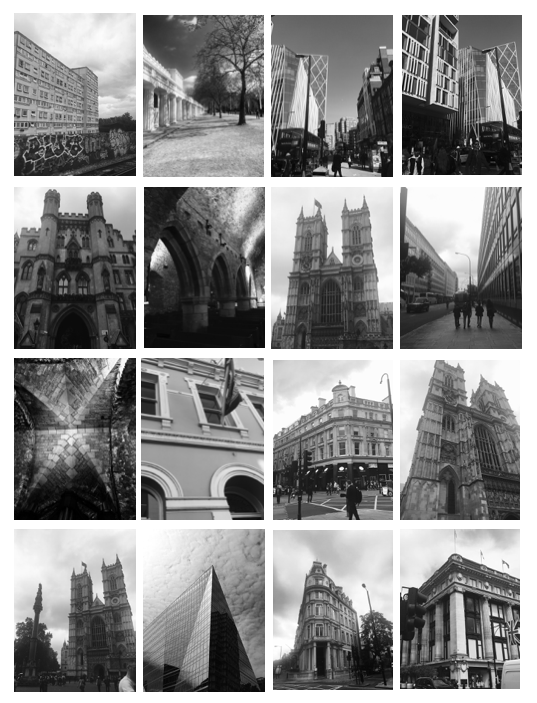
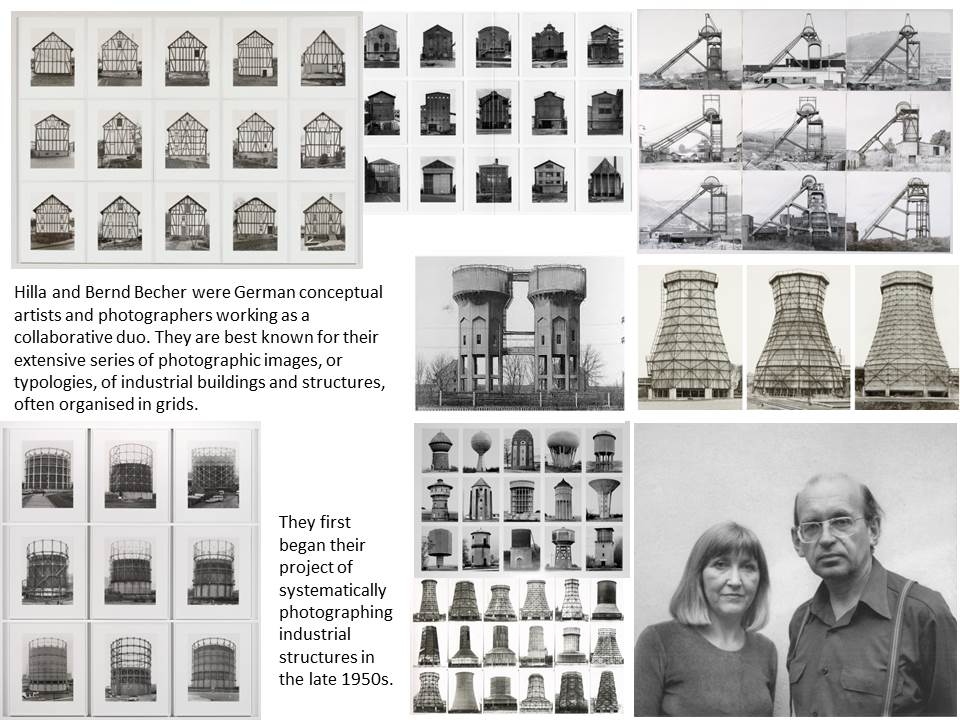
For this shoot tried to gather photos that are similar to Hilla and Bernd Becher and their structural photography. These photos are took in London and all show similar and different structural qualities. I chose to edit my photos to black and white, trying to recreate Hilla and Bernd Becher’s style. One improvement for this shoot would be for the buildings to be all the same size as some are closer up and some are at a further distance, so the overall effect of the contact sheet is not as strong and my other ones.

Overall i think i produced photos taking inspiration from Hilla and Bernd Becher well and tried to explore different sides to typology photography and took into consideration how they sized the object the same in every picture.

Bokeh

Bokeh
That is bokeh?
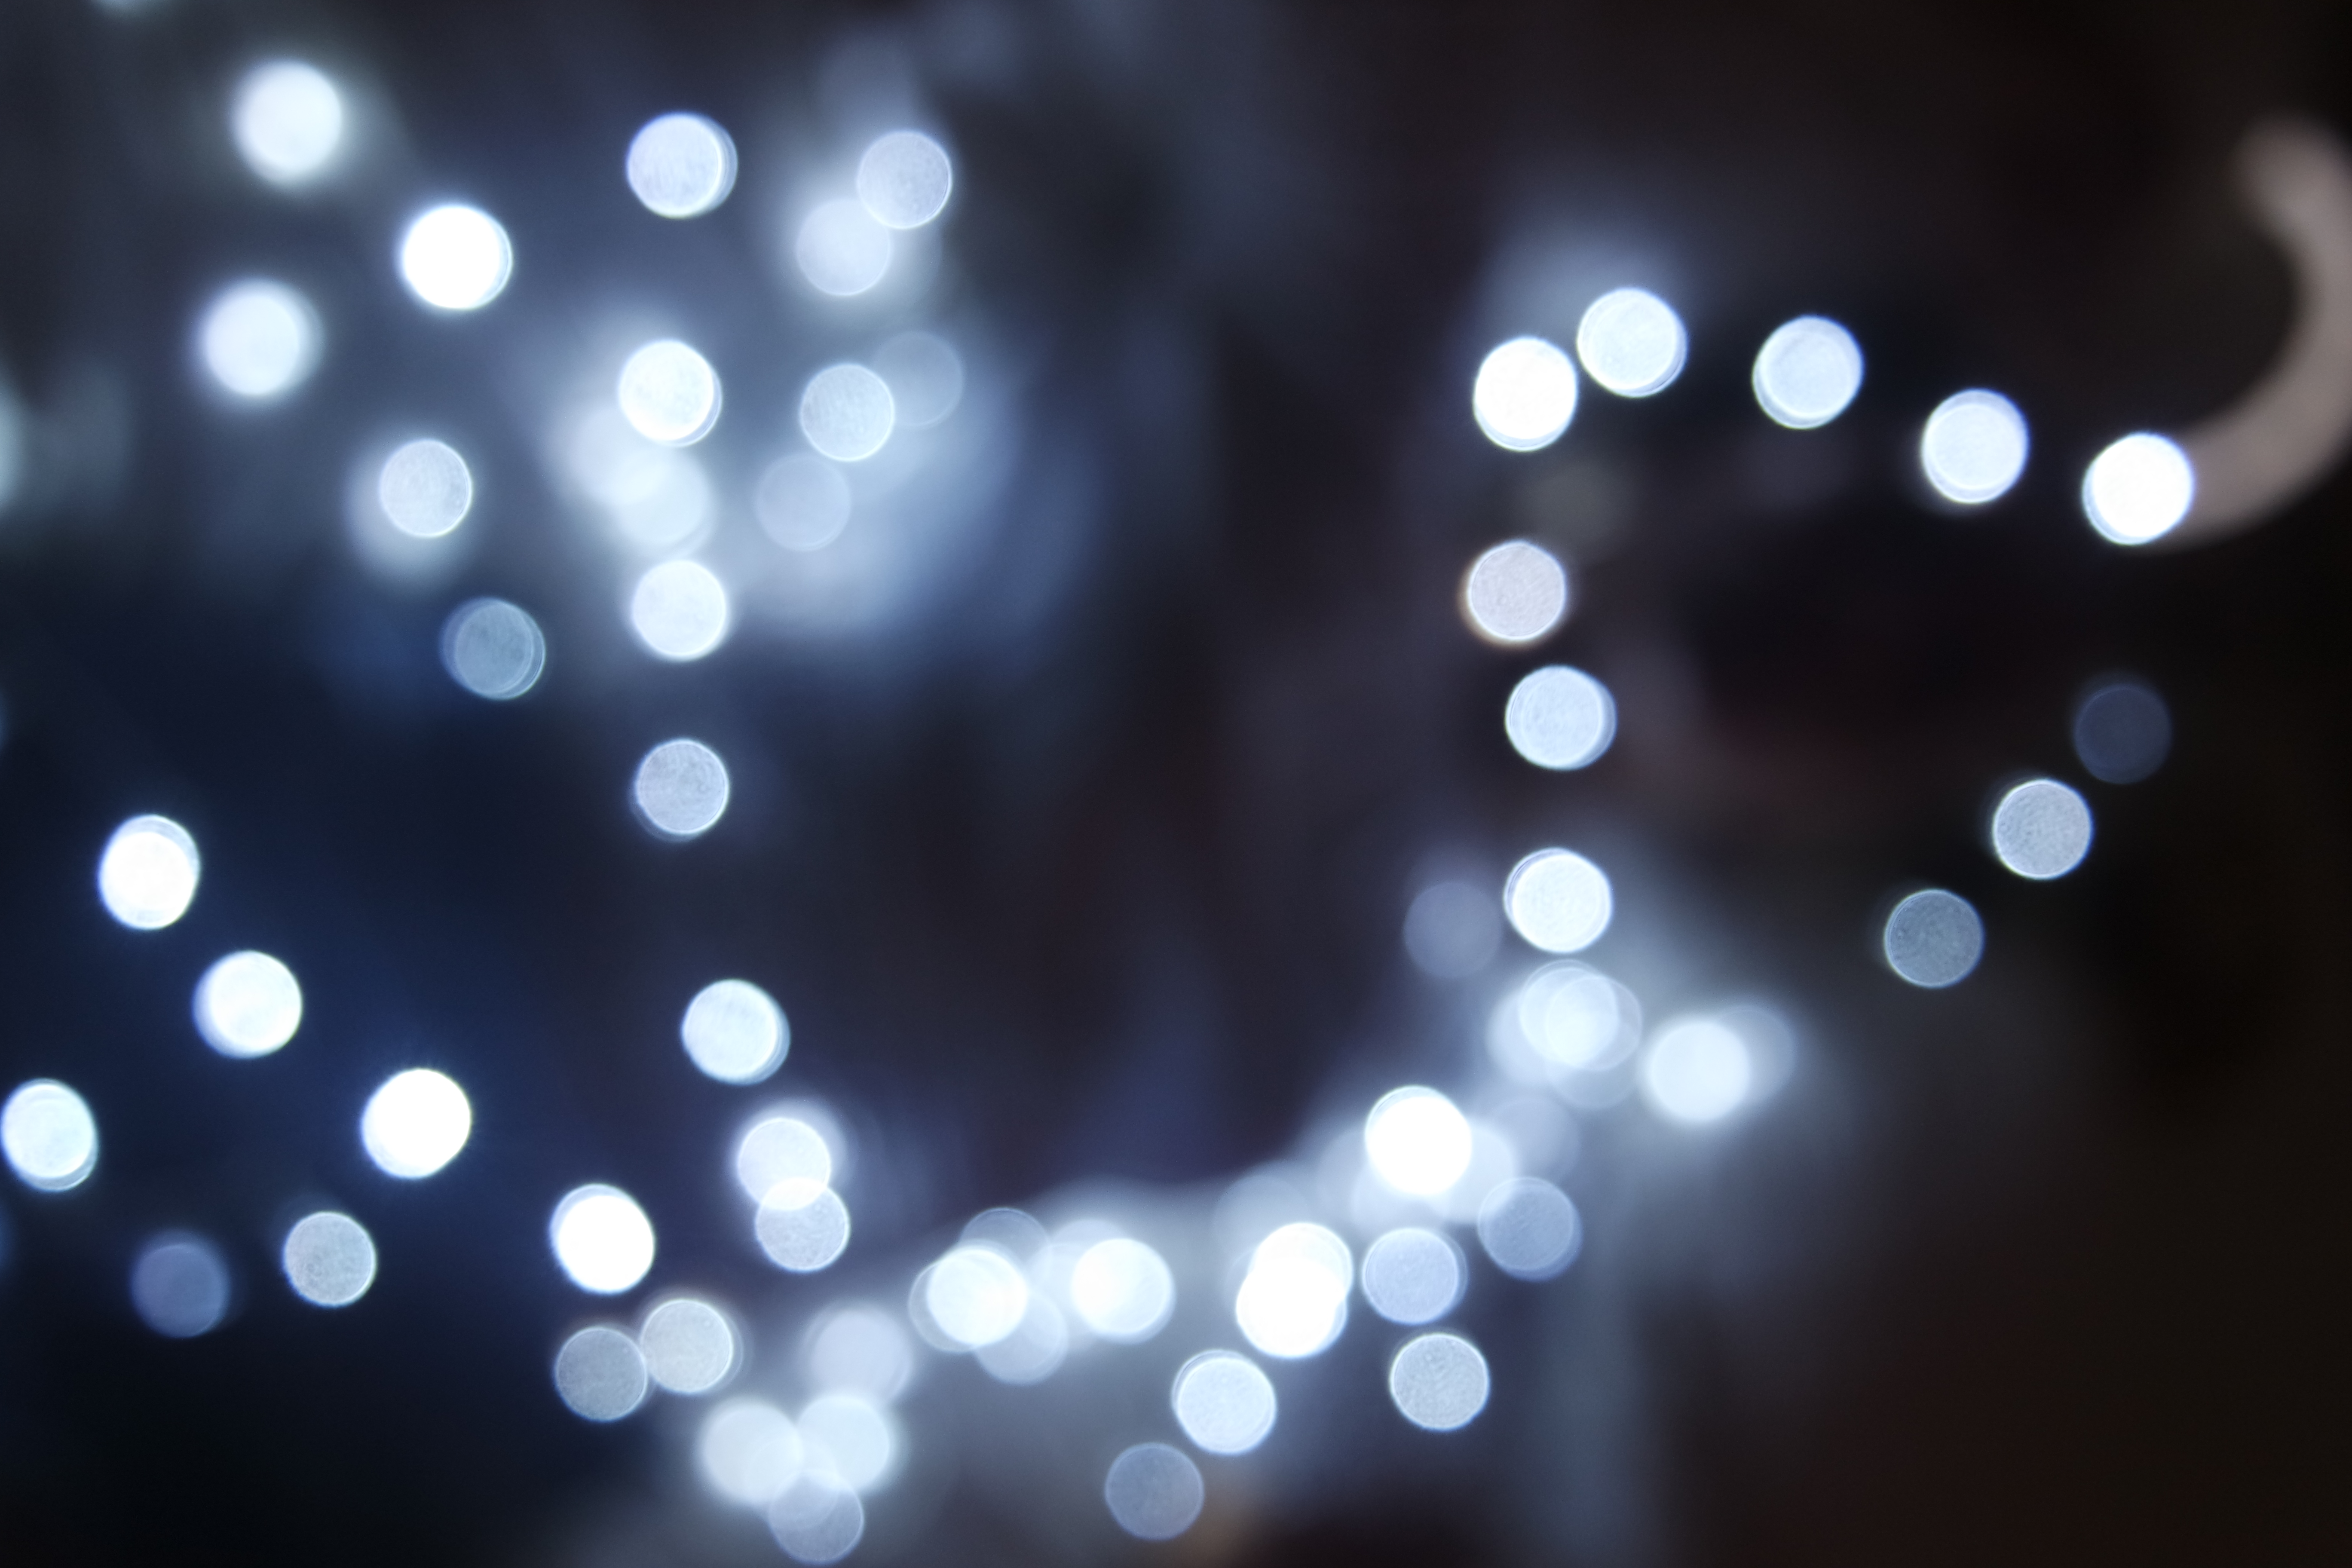
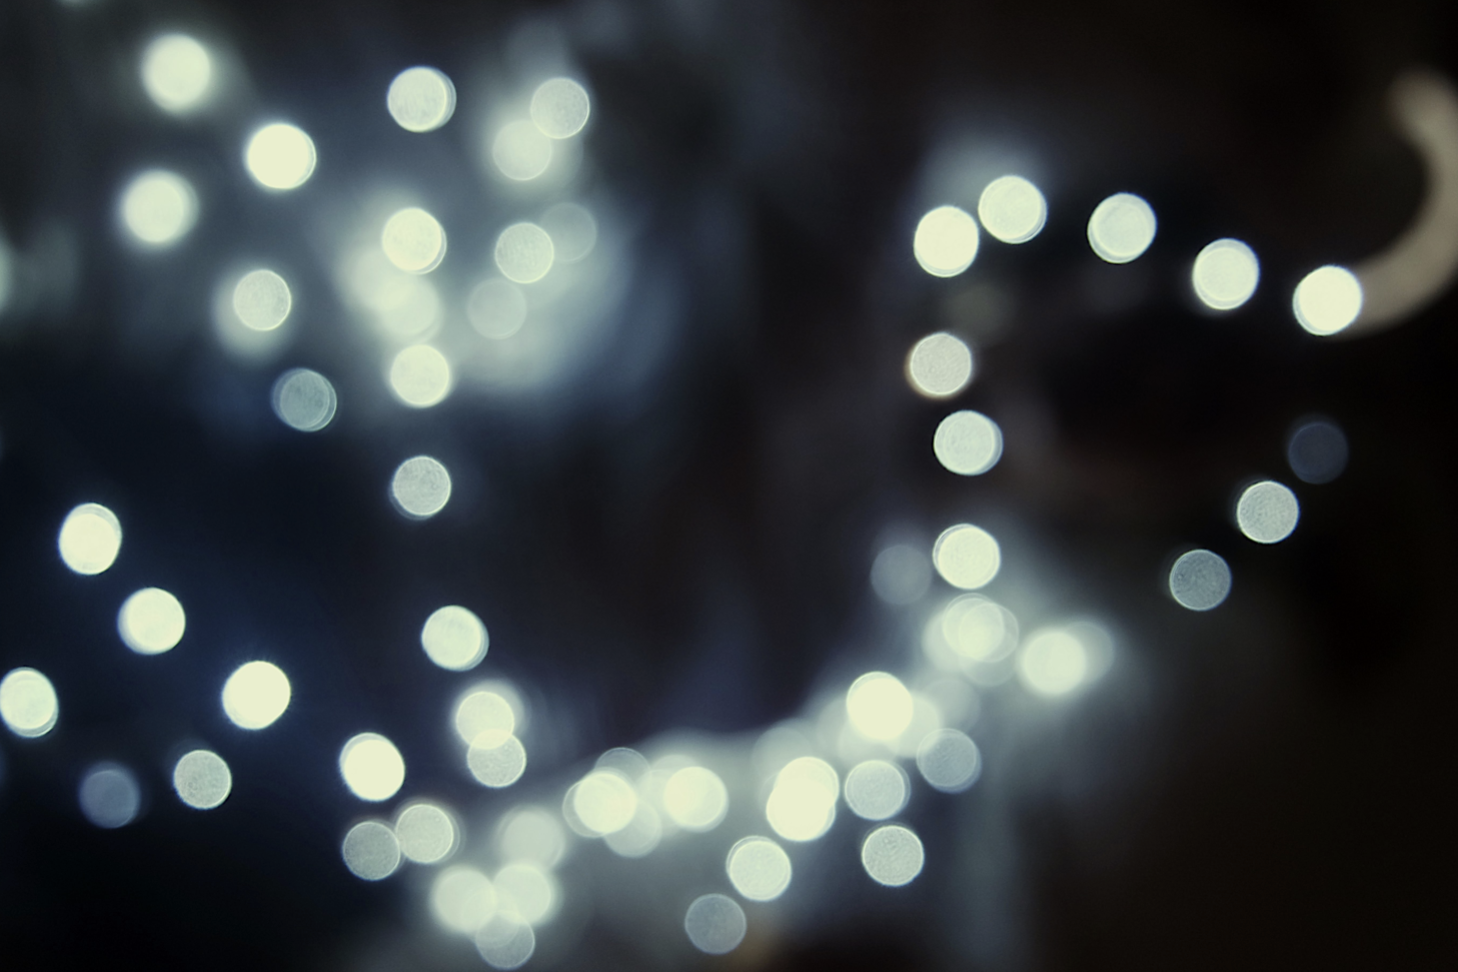
bokeh is the effect of blurring when lights are alined and portrayed in a close distance manner but are not in focus, it is created by not focusing on the specific image but the light points surrounding the image itself. The official term for it is the visual quality of the out-of-fouous areas of a photograph image, especially as rendered by a particular lens. This is a vey effective quality within photography, this is because it makes an image more visually appealing, forcing to focus  our attention on a particular area of interest within an image. The word comes from the meaning ‘bur’ It is almost the quality of being out of quality.
Bokeh is rendered by the lens, not the camera.But different lens will render the outcome differently, due to unique designs apertures also change the effect by making a more pleasant looking bokeh affect.When it is done well it successfully captures our perception on an image an therefore the background blur should appear soft and ‘creamy’


The larger the blades the more rounded and appealing the light itself will looks upping this will achieve a better overall look itself in the image and light.
They do not only have to be nighttime images but daytime with a certain close up focus point and then a bokeh background but different form that of depth of field due to a different softer feel to create a more finished background feel. I took these images again with a higher mm in order to achieve a more crisp circles have two edits to portray how the lighting can change within the image and how this changes the crispness of the image itself.

My experiment with Bokeh

Shutter Speed

what is shutter speed?

It is the nominal time for which a shutter is open at a given setting.

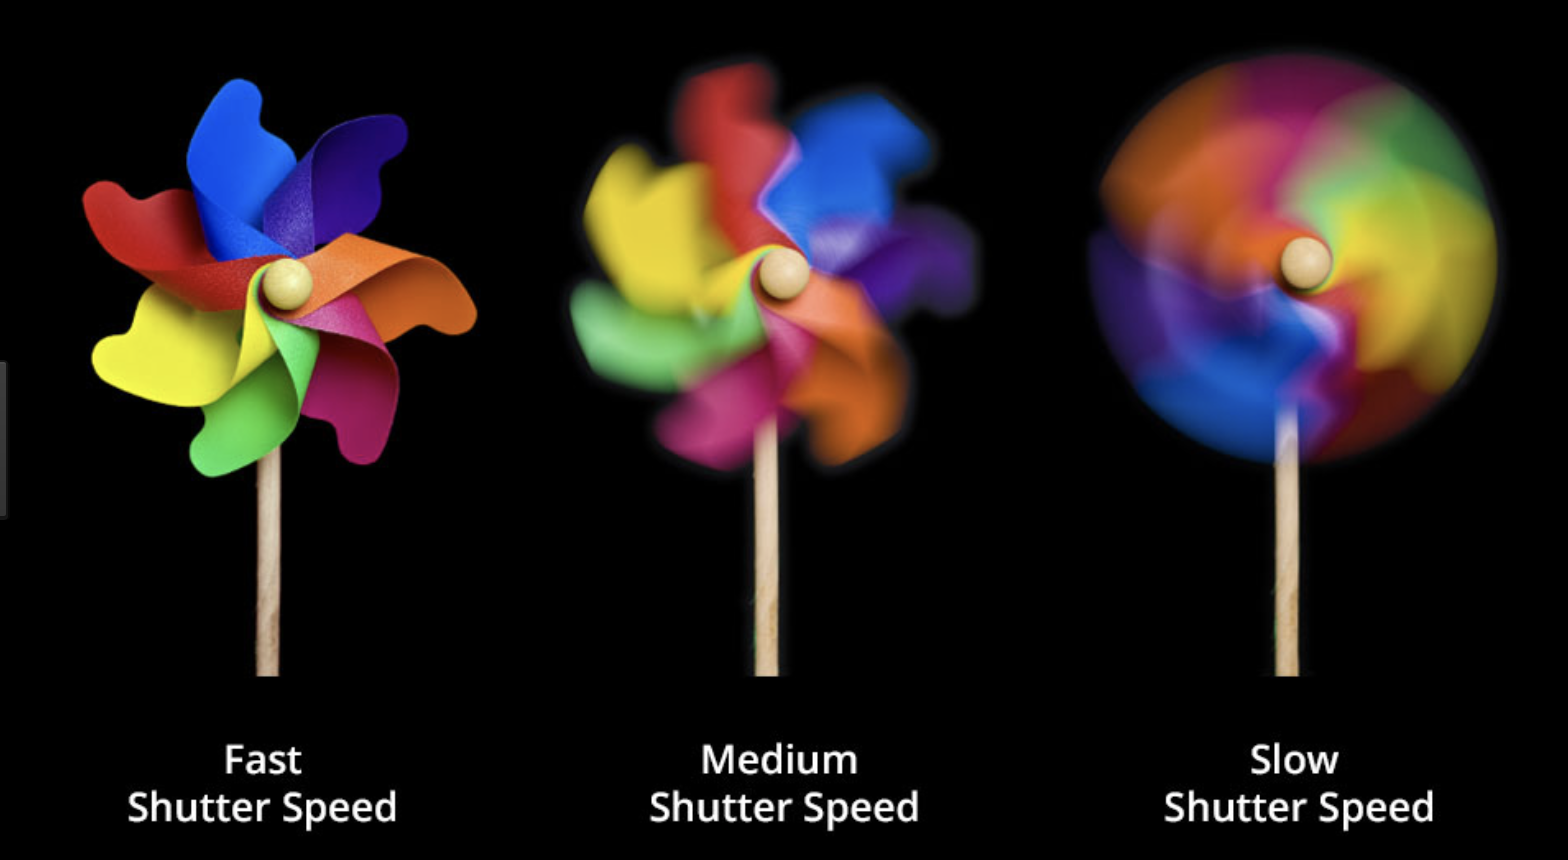
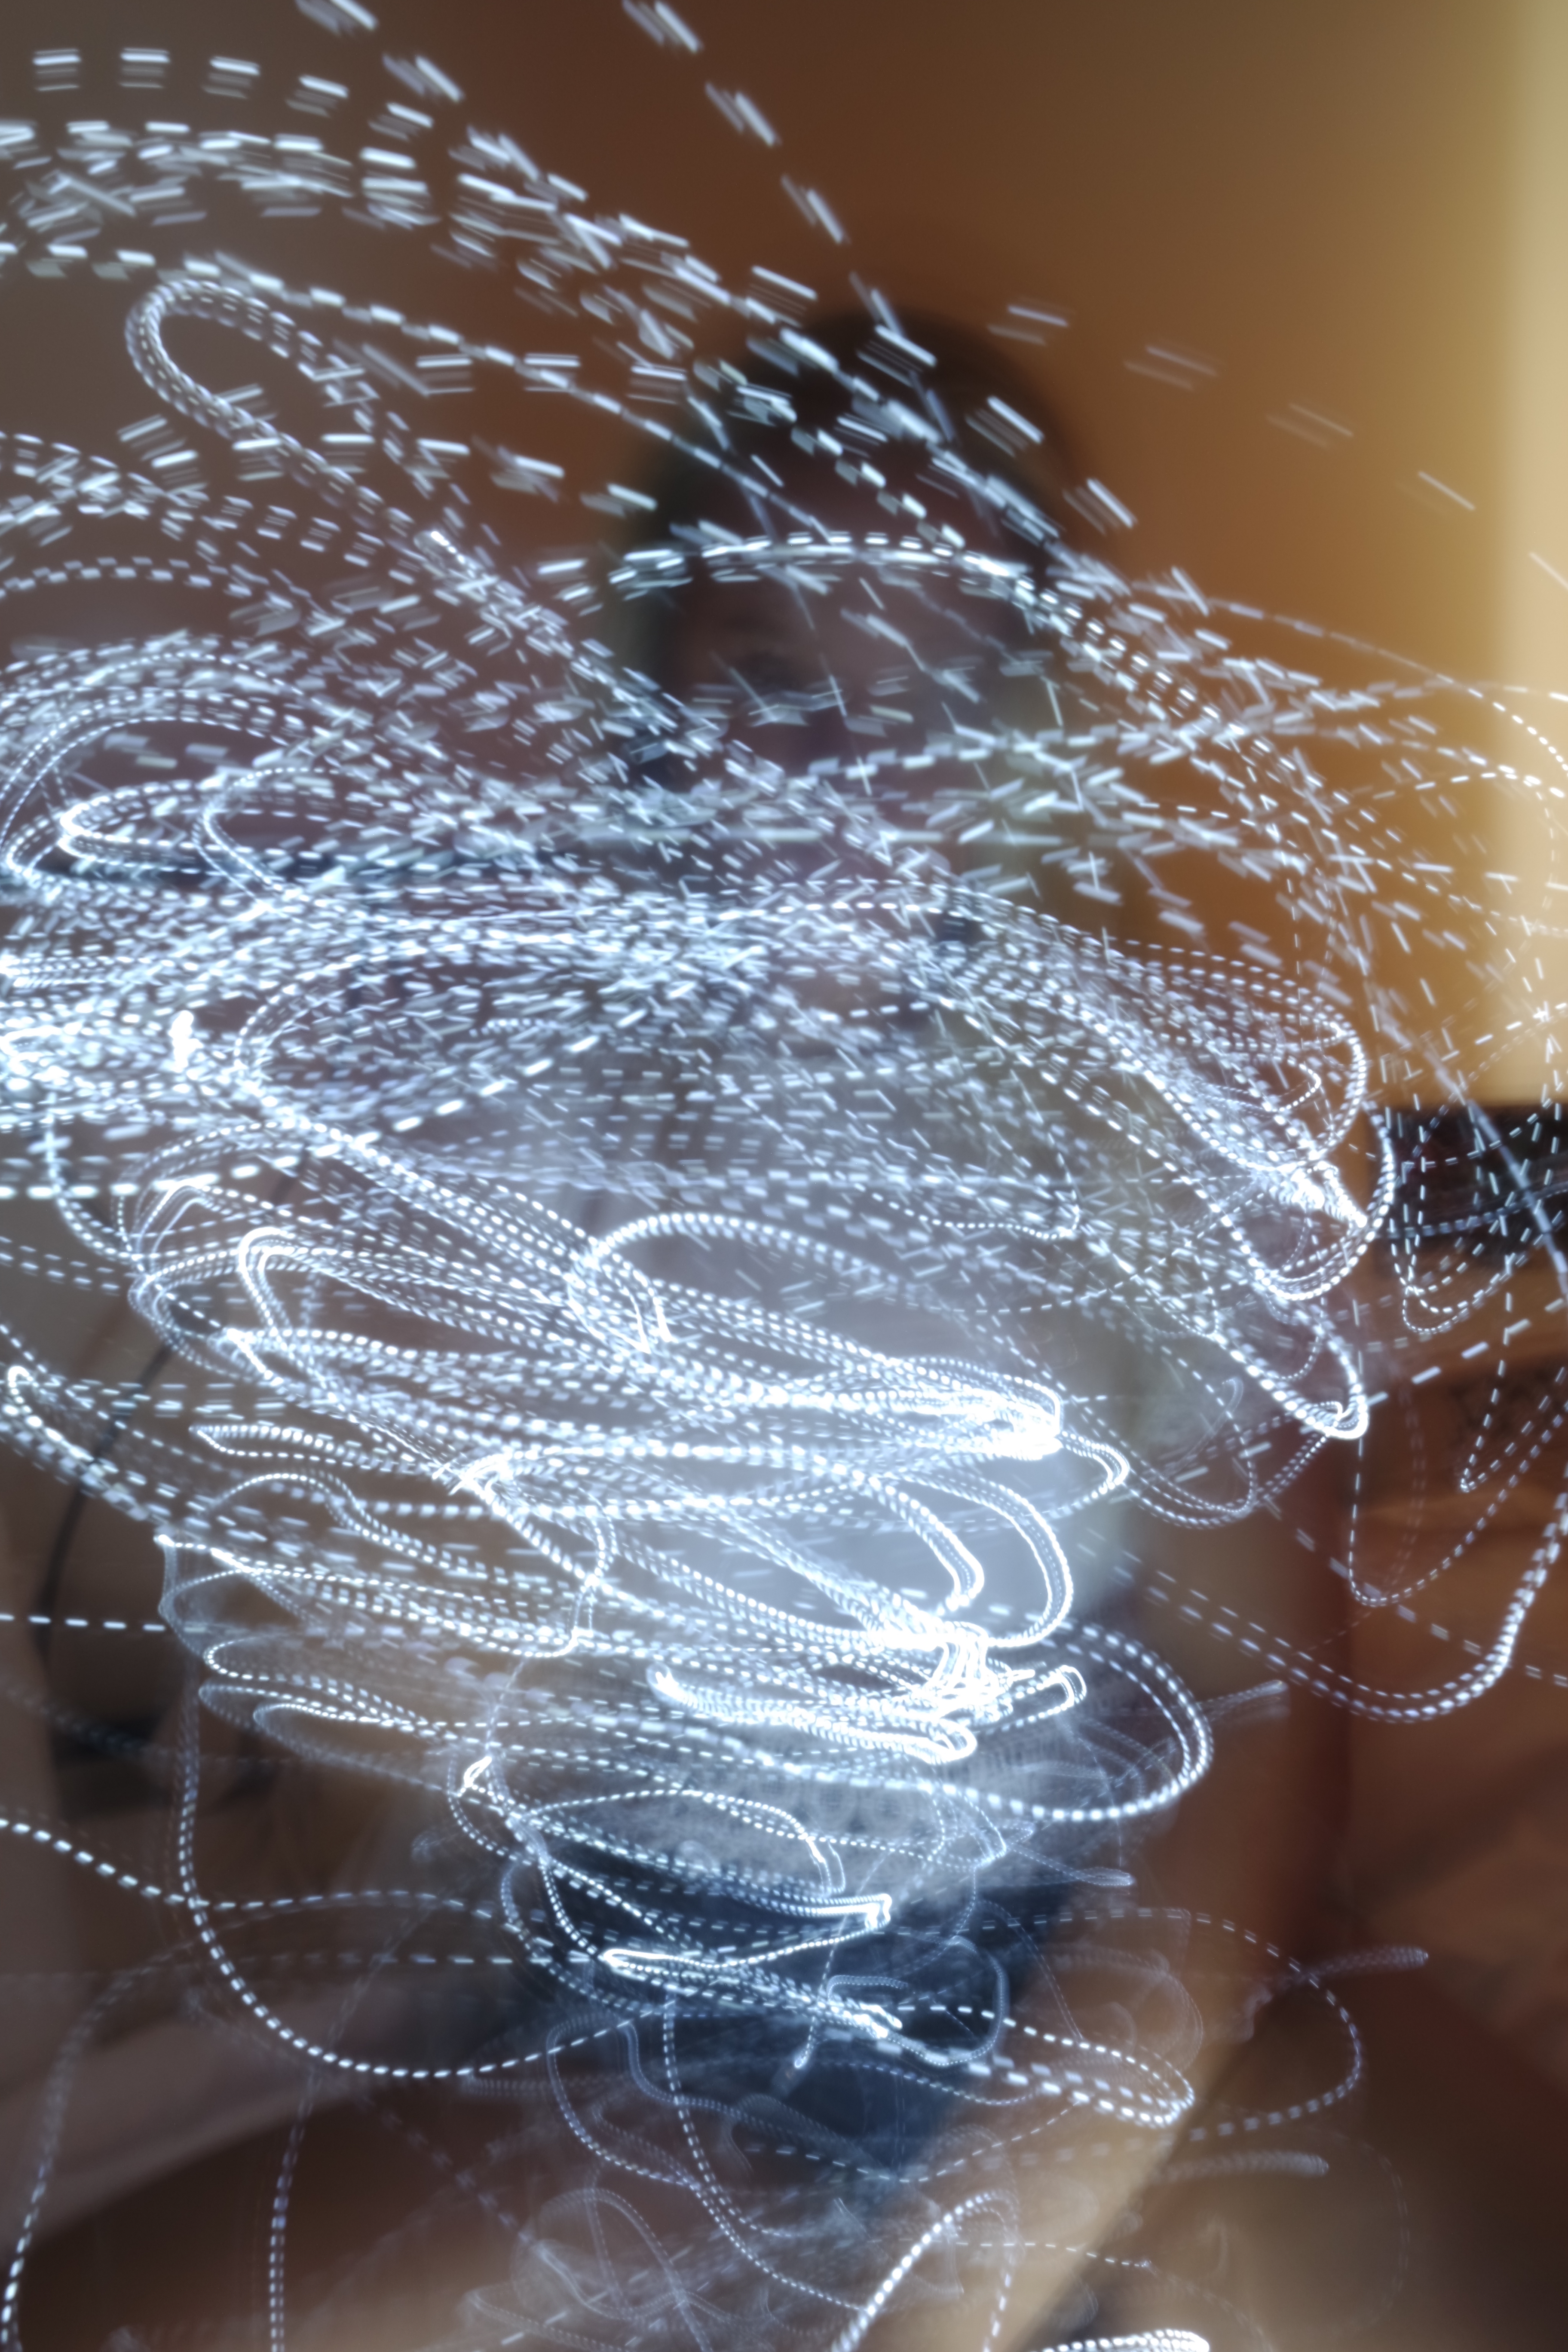
Shutter speed is measured in seconds – or in most cases fractions of seconds. The bigger the denominator the faster the speed (ie 1/1000 is much faster than 1/30). Shutter speed is also the time for which the shutter is open in order to portray a certain vision or effect,such as the length of time that a camera could be exposed or open to certain amounts of light.You can also use light to develop shape with a long held shutter speed to create images and twist such as:

This meaning that a fast shutter speed such as the usual 1/60th or some seconds faster will be crisp,and capturing a sufficient movement .

whereas a slower shutter speed is used in order to cause a motion or a blurring effect to the piece itself,this can sometimes be difficult to capture due to the shale of a camera when the shutter is open results in a blur and perhaps not where it is desirable

shutter speed usually doubles in number value within each setting such as going from  1/500, 1/250, 1/125, 1/60, 1/30, 1/15, 1/8 etc. this is handy and accessible due to it being bale to differentiate aperture settings and allow good exposure speeds by increasing or decreasing the settings. for example a slower shutter speed  will allow a more flowing tones such as a waterfall of capturing the movement of a train

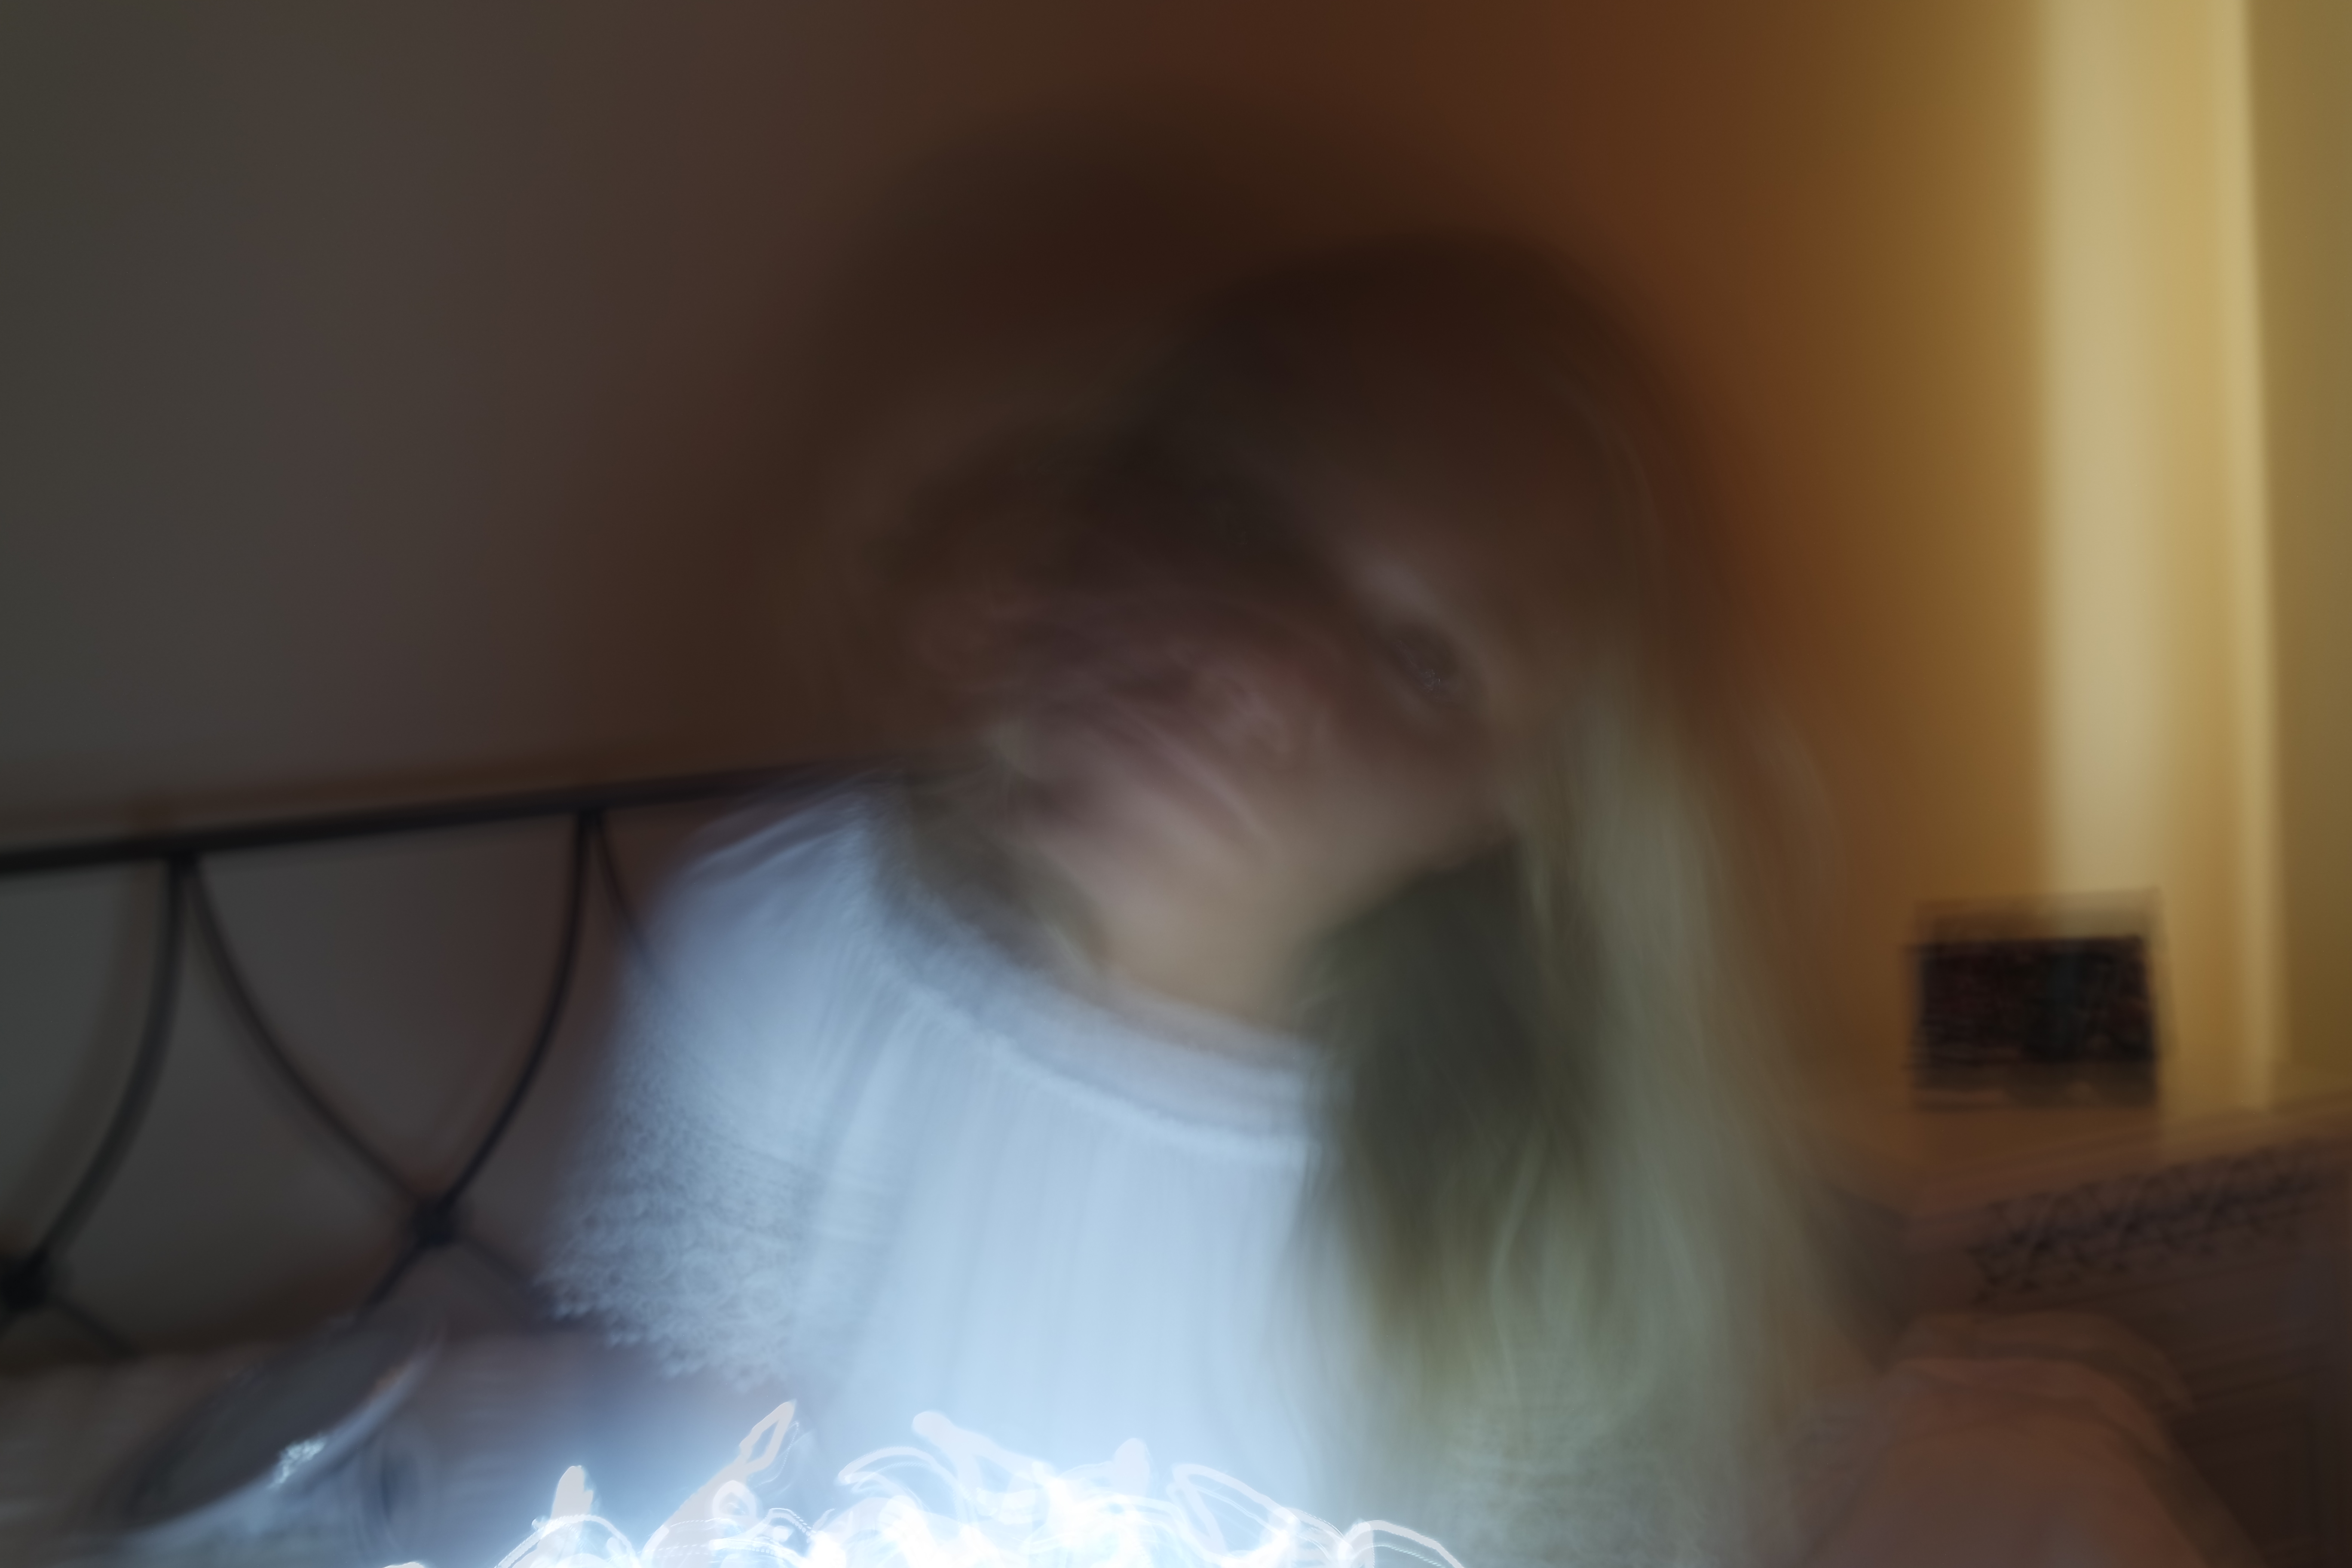
I took this image but applying a long shutter speed and getting the person herself to move and sway, this pursues an almost replication of her face and also shows movement, it also works due to the light underneath also highlighting the bottom of the face again exaggerating the movement and blur of the piece.

With this image I wanted to move the light around so that that small bulb would be dragged and cause a blur but there is also a clear movement form side to side with is highly effective.It also has a very interesting composition  to the piece itself.

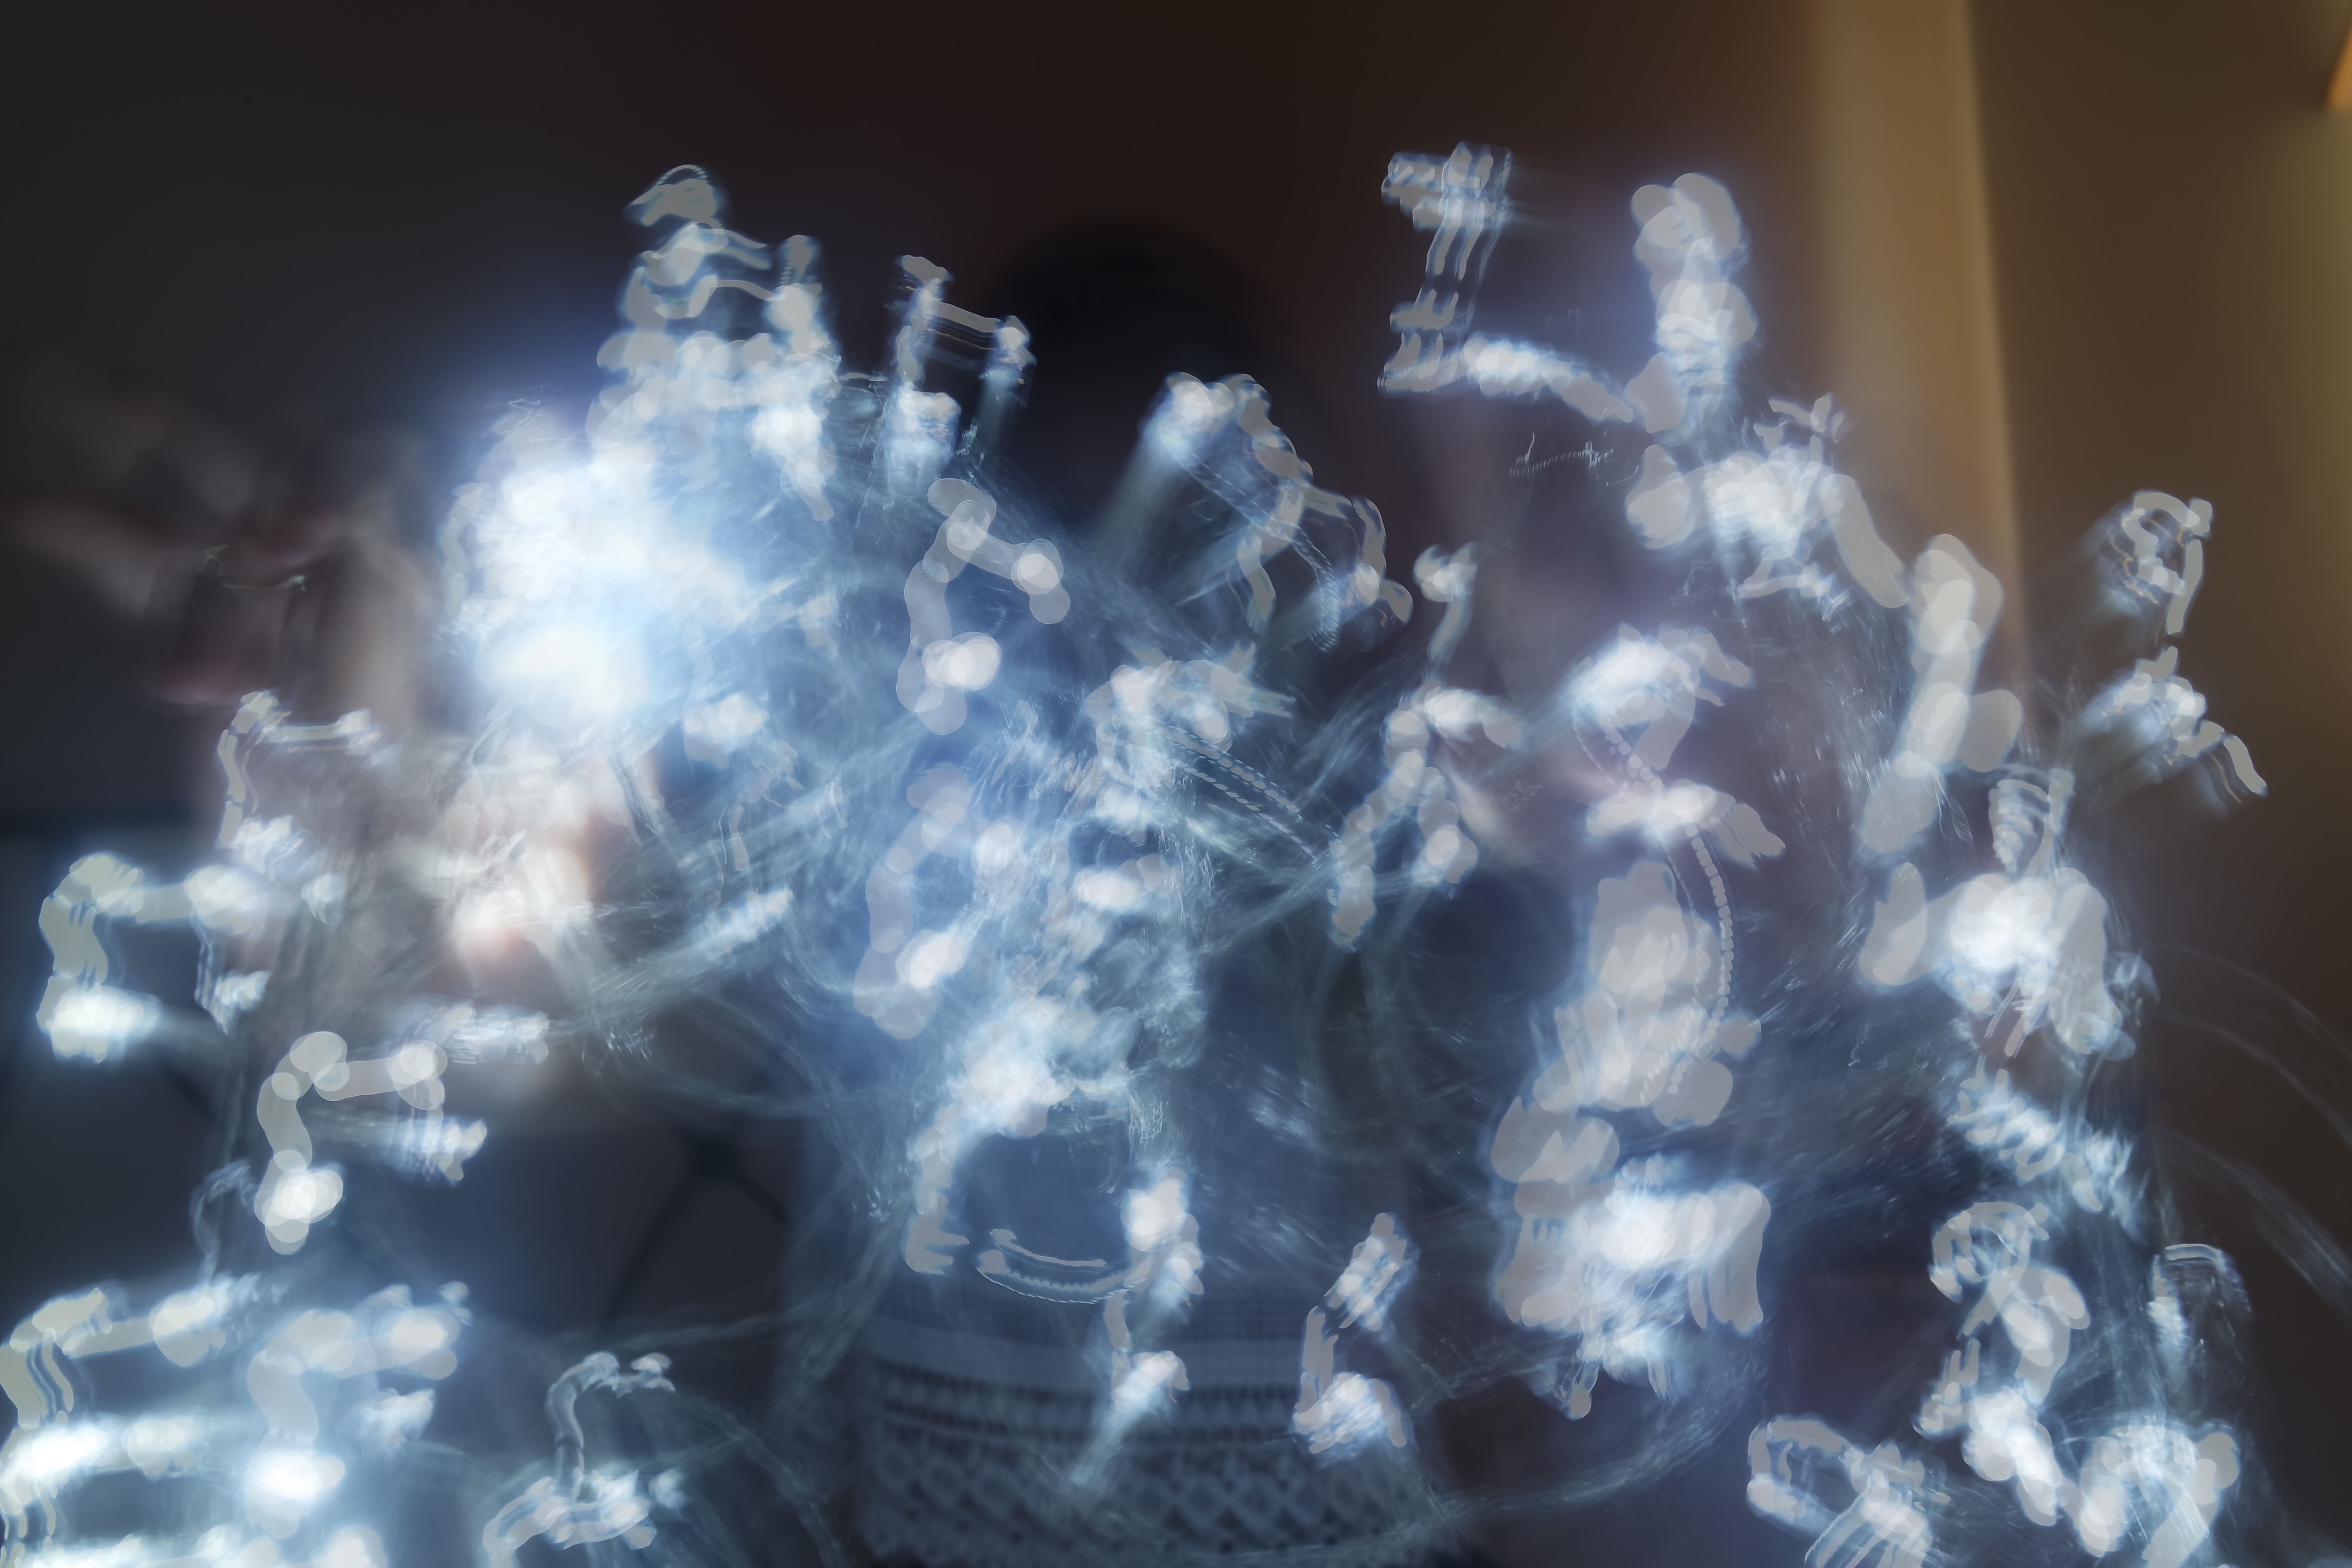
Finally with the third piece I wanted one specific light and a movement in a repetitive pattern such as above with a very long shutter speed to be able to create thew lines and movement within the time before it is captured. It is very interesting as to how the Ines break apart and how some are thicker and more developed due to the overlapping light hole the photo was being captures, it is very experimental but also works with interesting compositions and lines within the shape.I do prefer how the lighter lines at the bottom create a more free effect to the piece itself, and that would also be effective in the next piece.
Just another Hautlieu Creative site