Ernst Haas HW

Ernst Haas

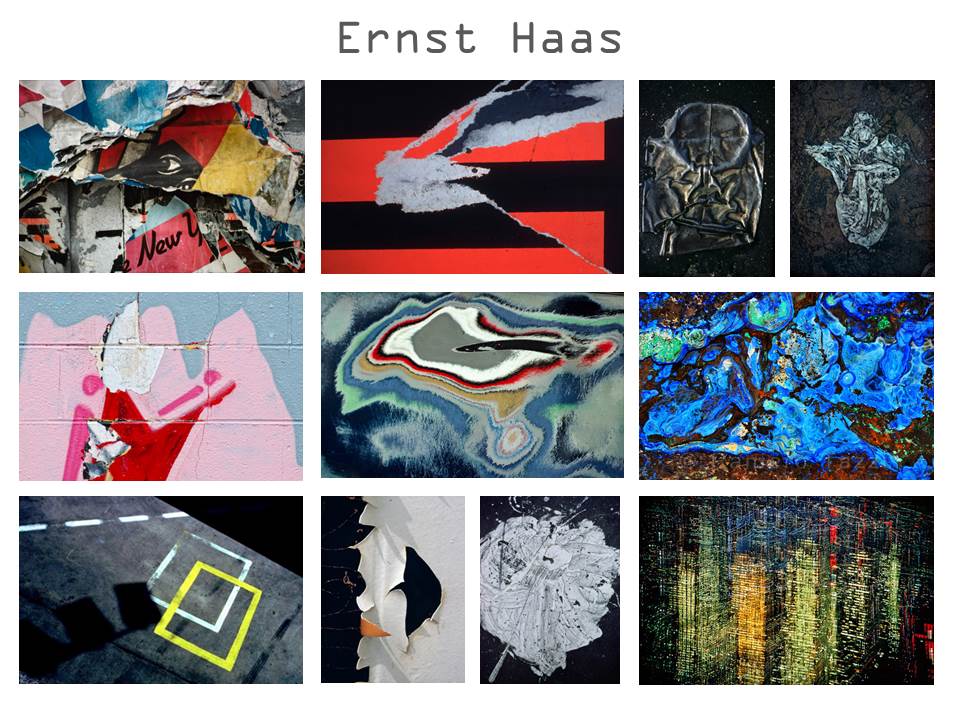
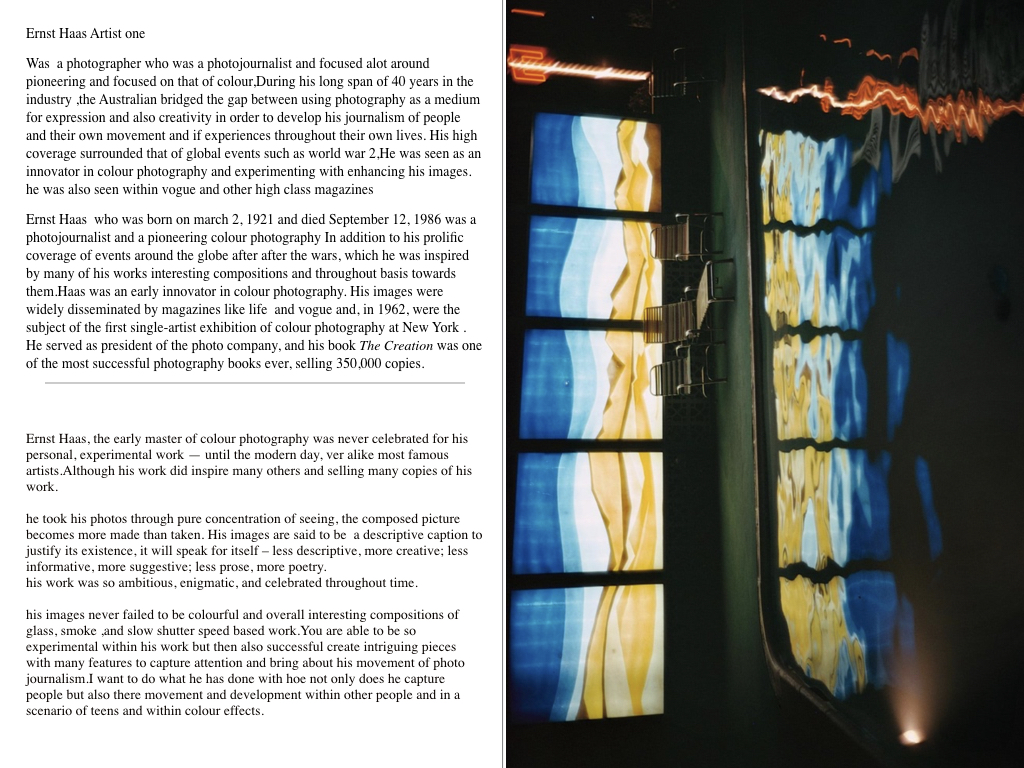
Ernst Haas was a photojournalist and a pioneering colour photographer. During his career, the artist bridged the gap between photojournalism and the use of photography as a medium for expression and creativity. In addition to his prolific coverage of events around the globe after World War II, Haas was an early innovator in colour photography. His images were widely disseminated by magazines like Life and Vogue and, in 1962, were the subject of the first single-artist exhibition of colour photography at New York’s Museum of Modern Art. He served as president of the cooperative Magnum Photos, and his book The Creation was one of the most successful photography books ever, selling 350,000 copies.
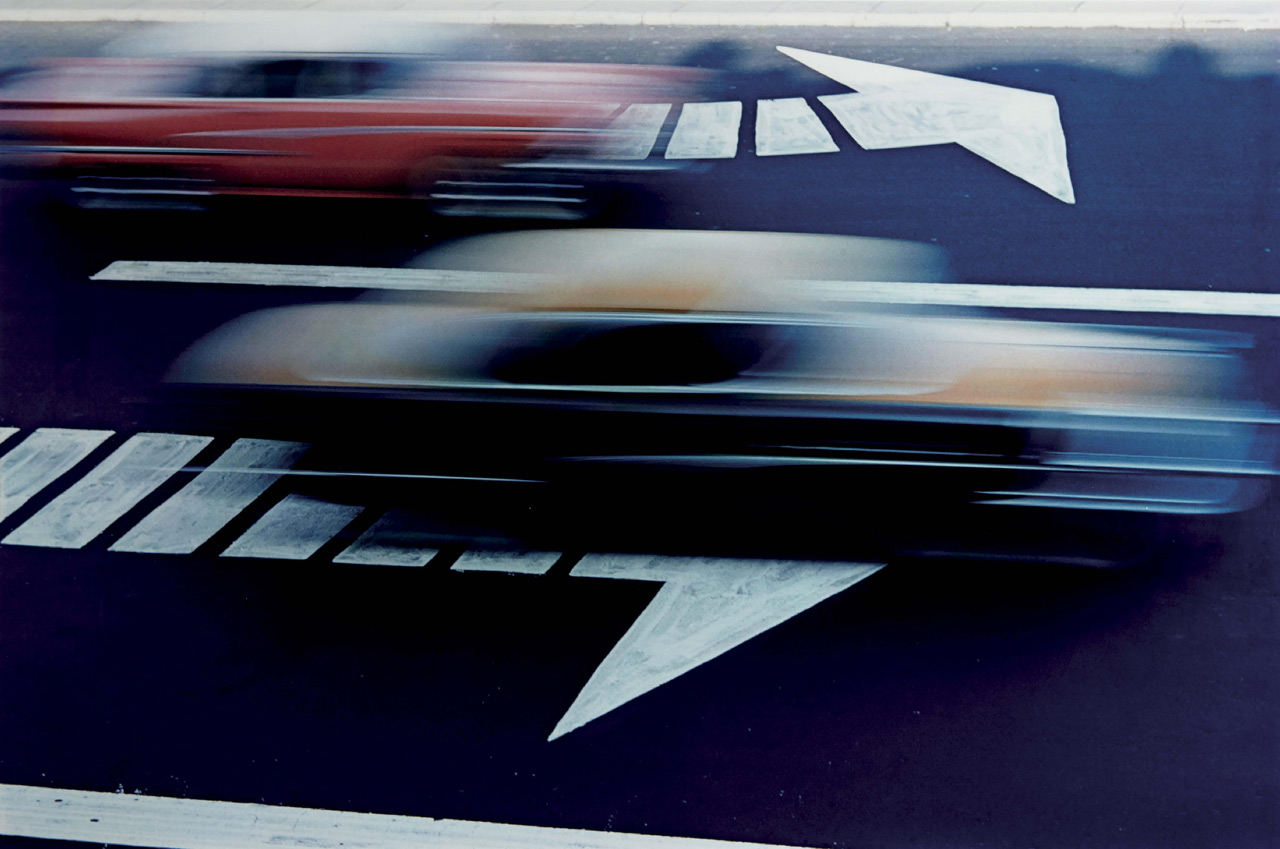
Image result for ernst haasImage result for ernst haas

Photo analysis

Image result for ernst haas

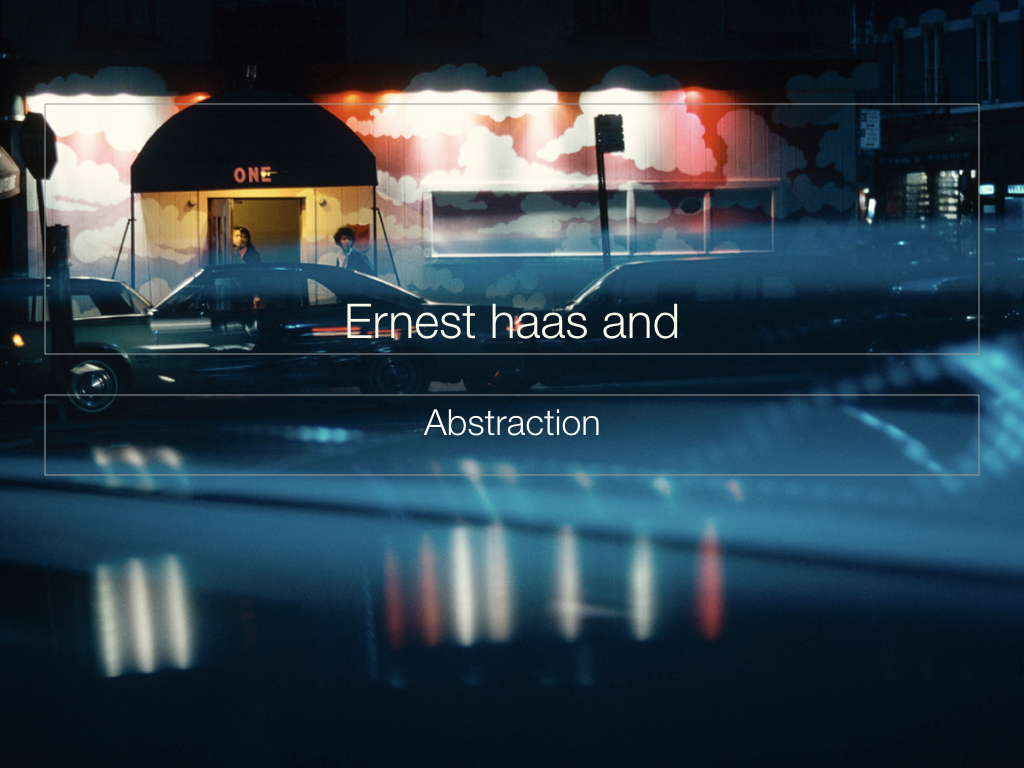
This is a coloured blurred picture with a car in the center which is in focus. This image is very visually pleasing as it almost conveys the every day life being quick and blurred as the people in the foreground and background are blurred which makes everything look rushed which easily links to everyday life. The brightness in this image makes it looks like it was taken in the evening as the lighting isn’t crisp and you can clearly see lights being reflected of the front of the car. The main focus of this photograph is the car which follows the rule of thirds as the car is in the middle guide lines.  There is also a sense of depth in this image as there are 3 layers to this image. Firstly,  there are the blurred people in the foreground, the car which is in focus is in the middle of the image which then follows by the blurred lights and people in the background.

Contact sheets

My interpretations

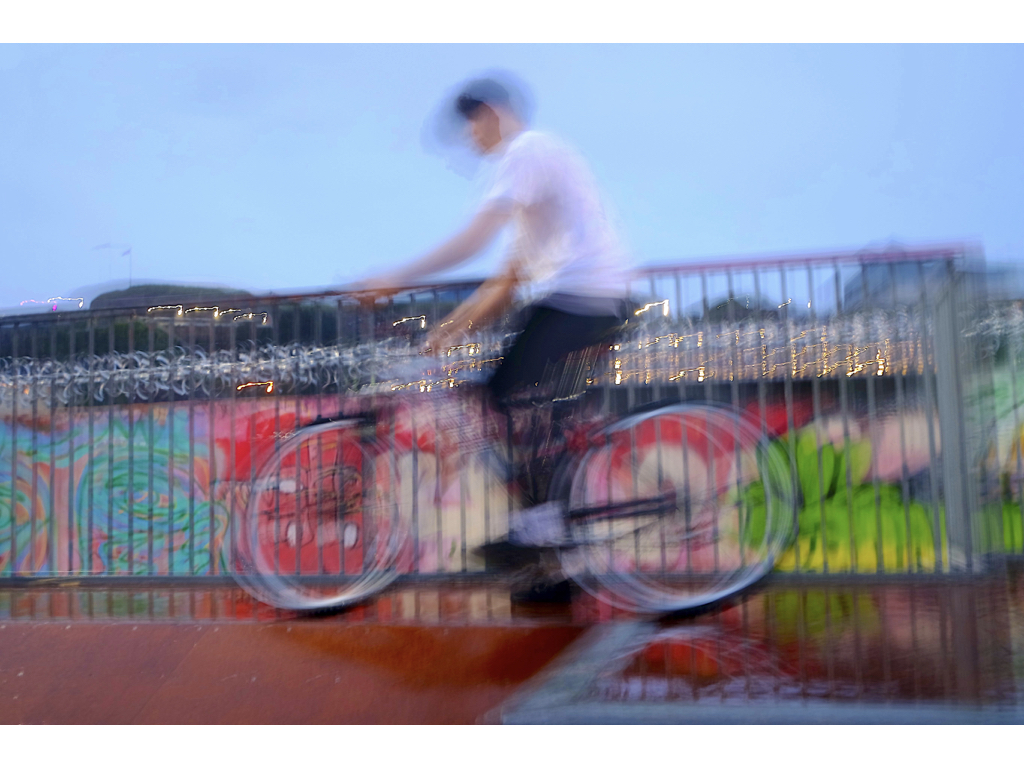
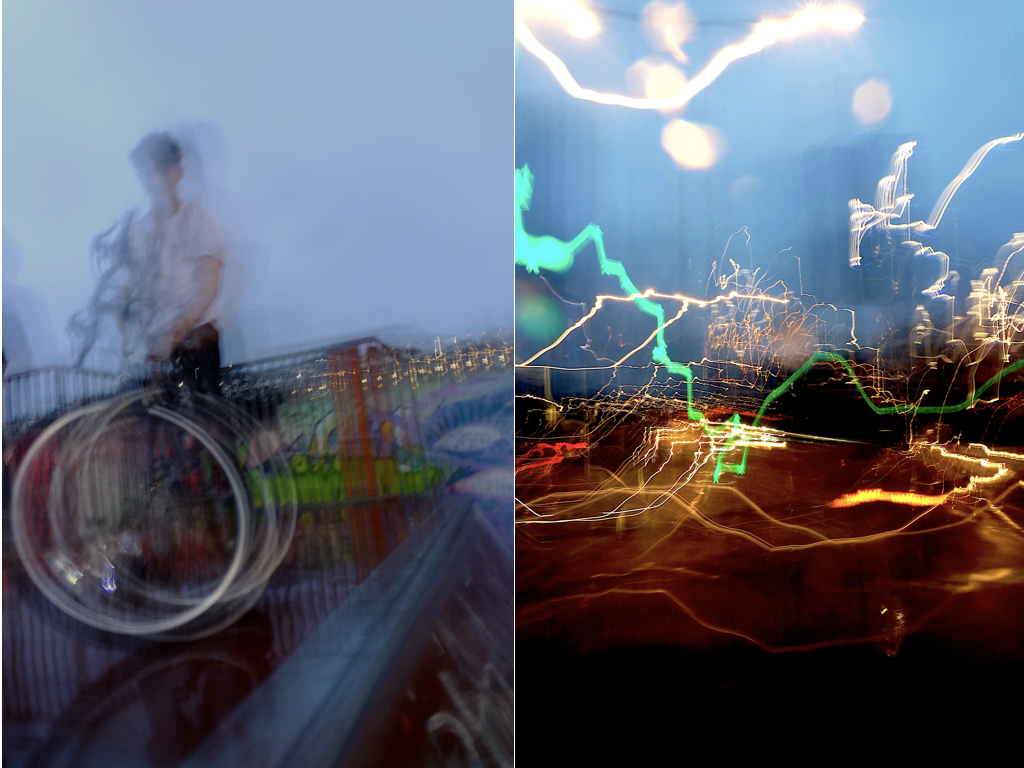
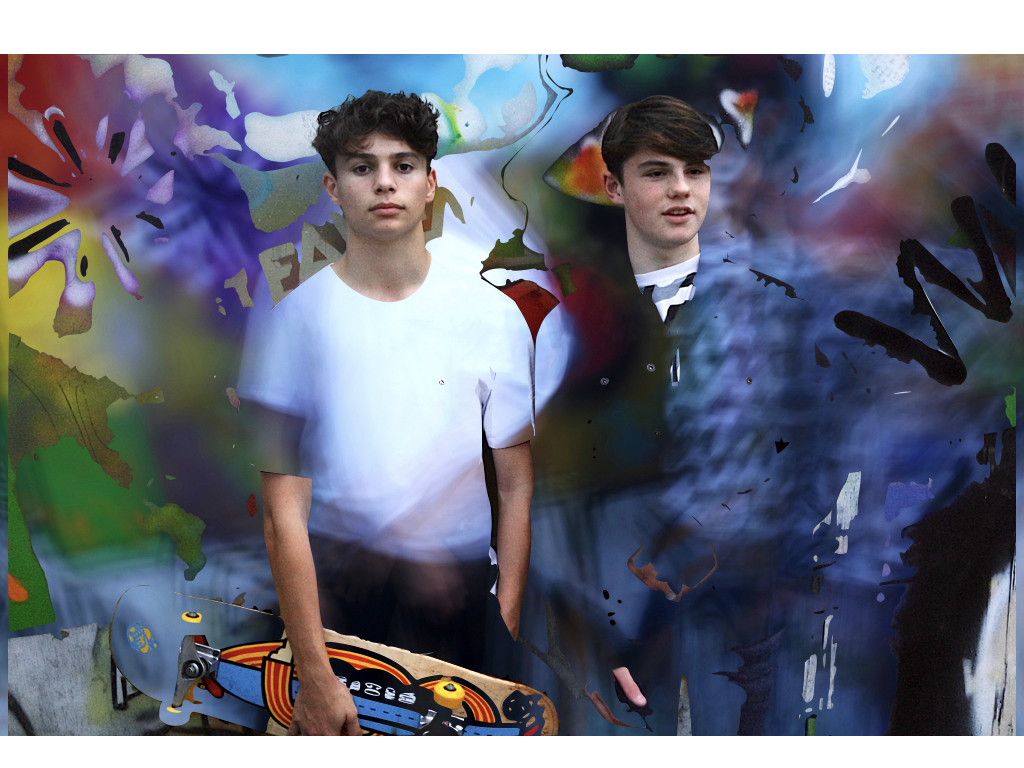
How I edited my images in the style of Ernst Haas

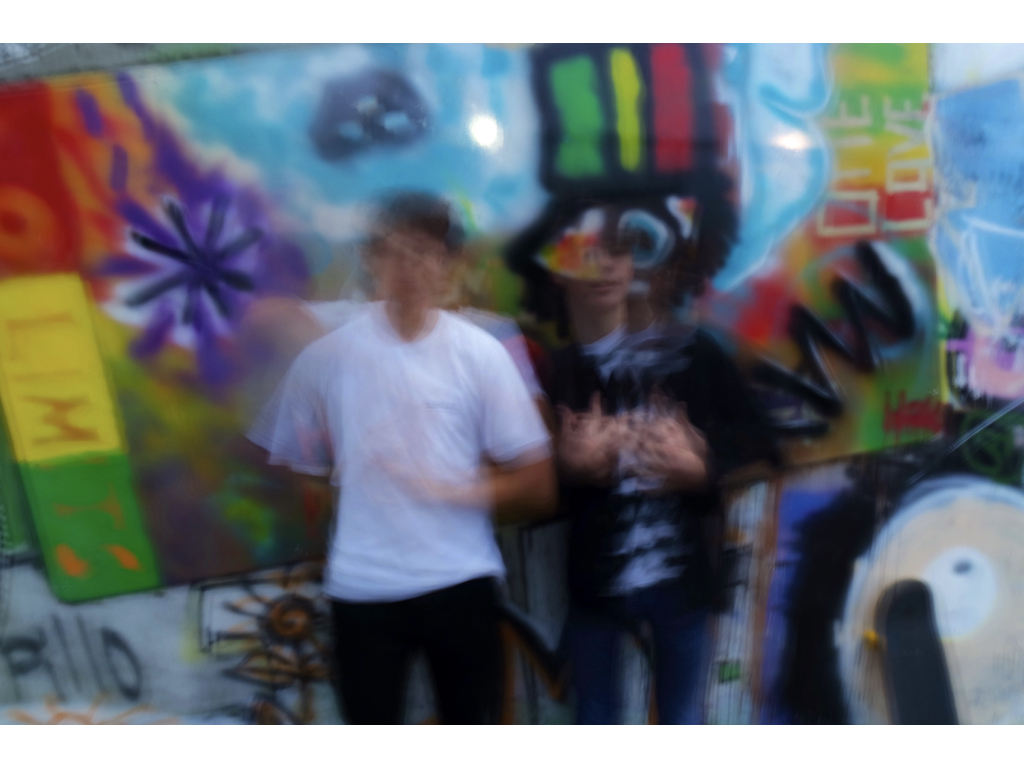
This was the original image

Firstly, I uploaded the original image into Photoshop where I then went onto duplicating the layer.

Once I had duplicated the image I went to the filter option on the top tool bar where a drop down list came down where I clicked on the blur drop down where I then clicked on the motion blur option which blurred the top image.

Once I had decided on how much blur I wanted on the image I then used the eraser tool where I rubbed out the area I wanted the image not to have blur on it (the phone box’s).

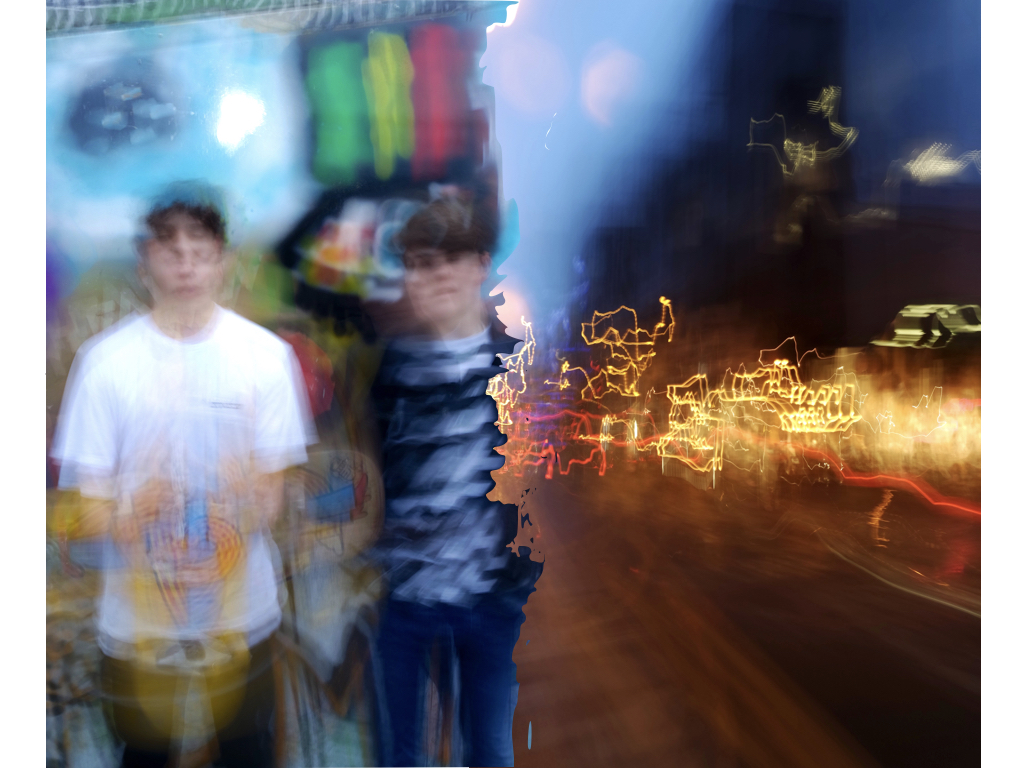
This was my final image.


Homework 3 ( Ernst Haas )

Ernst Haas

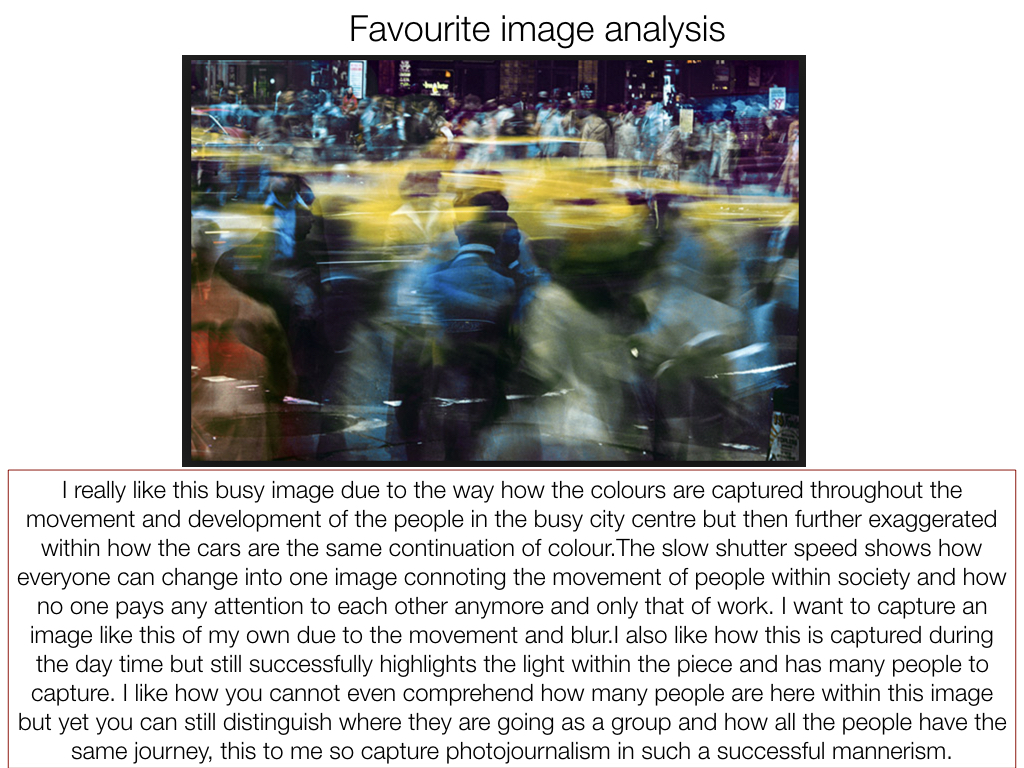
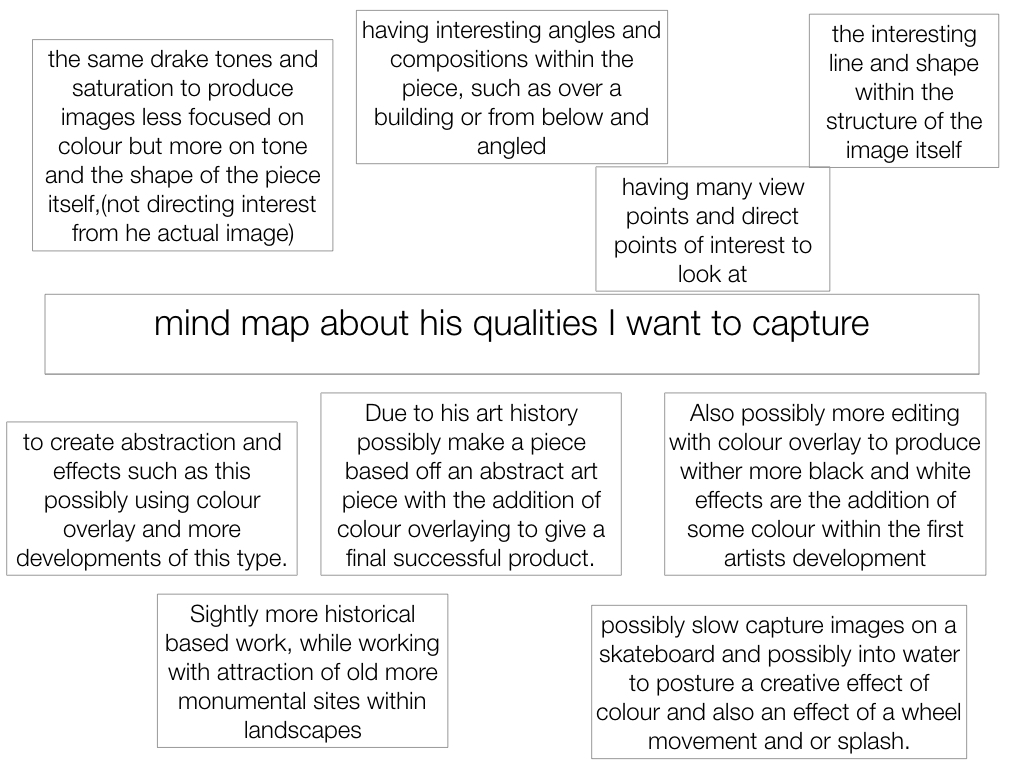
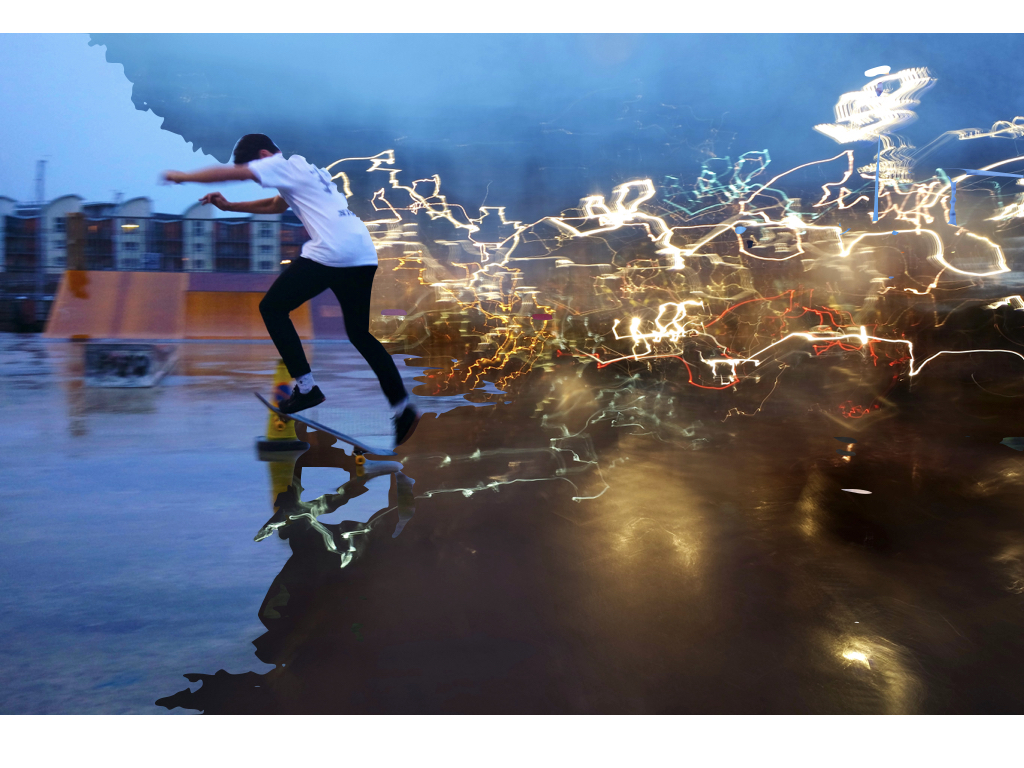
Ernst Haas was a photojournalist and a pioneering color photographer. During his 40-year career, the Austrian-born artist bridged the gap between photojournalism and the use of photography as a medium for expression and creativity. Ernst has a great vision in exploring photography in a more creative and unrealistic way than we actually see things in real life. Using various camera setting like shutter speed Ernst captures great visuals of urban environments, capturing the explosive and rushed vibes within these areas. He does this by producing many images containing motion blurs.

Haas was an early innovator in color photography. His images were widely spread by magazines like Life and Vogue and, in 1962, were the subject of the first single-artist exhibition of color photography at New York’s Modern museum of art. His book The Creation (1971) was one of the most successful photography books ever, selling 350,000 copies.

My Photo shoot Plan

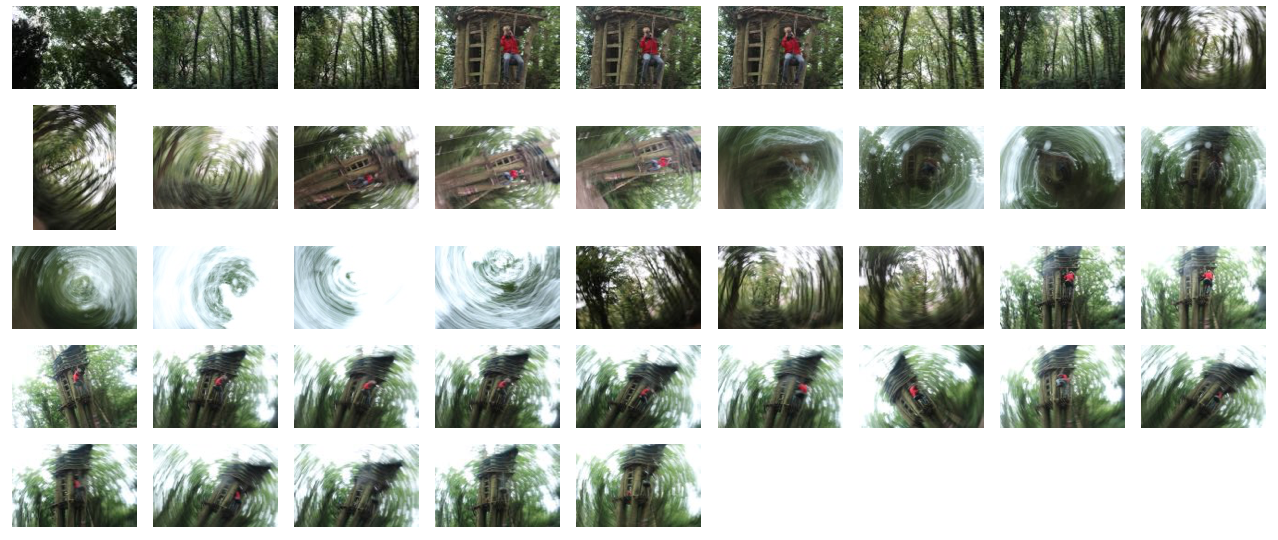
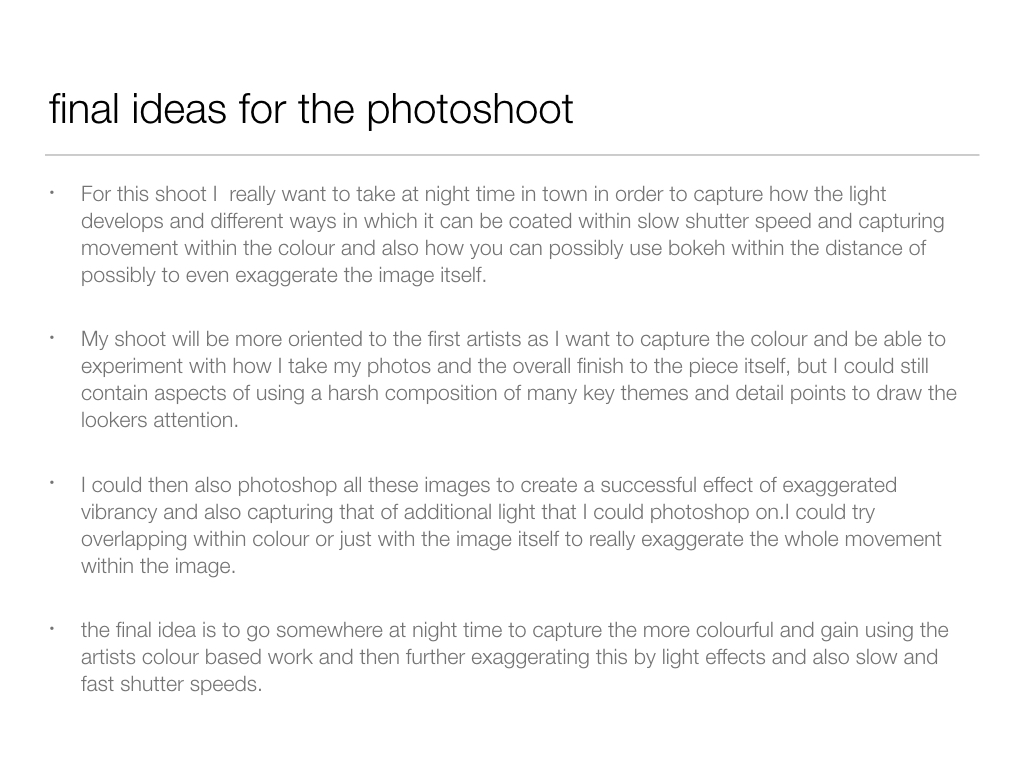
In my photo shoot I intend to use a slow shutter speed in order to capture abstract images which are serial, like Ernst’s are. It appears that he uses mainly natural lighting for his photographs therefore as will I and the location of my shoot will be in a woodland area, where I can capture the feeling within and among the trees. This is similar to Ernst’s photography where he captures the atmosphere in the city, amongst buildings however I am going to take a different approach by expressing the feelings found within a woodland area.

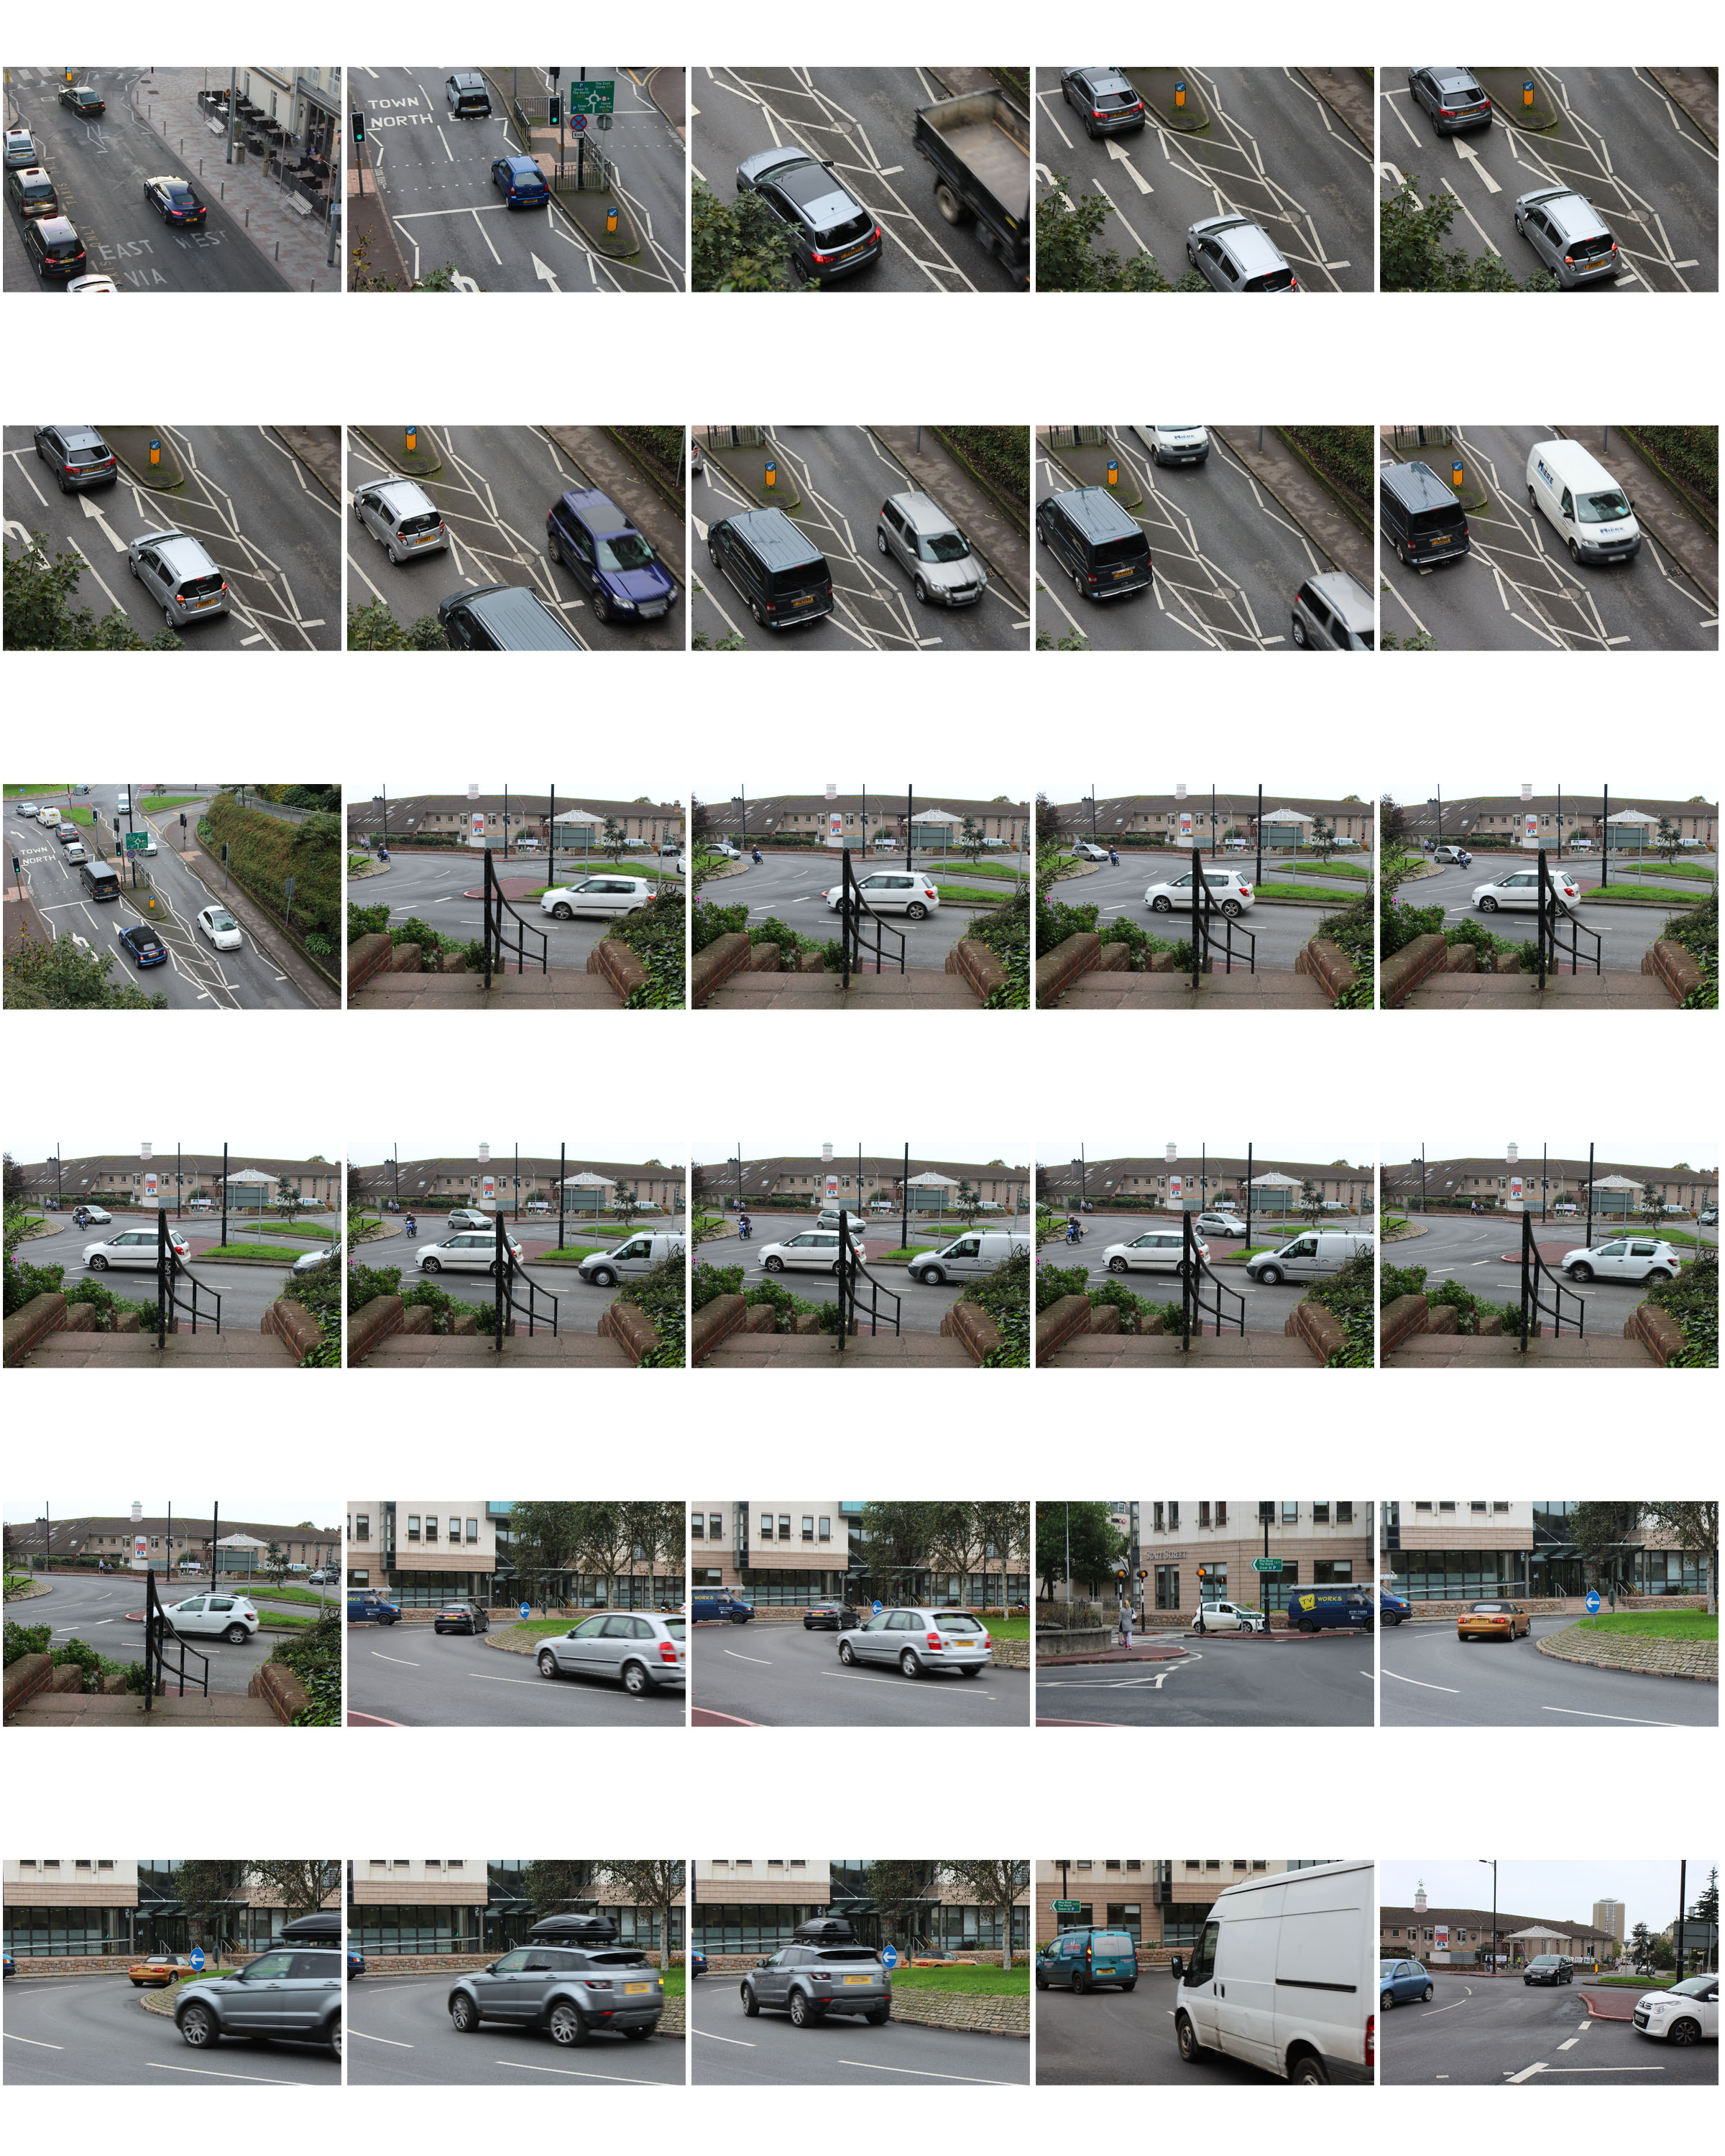
Contact Sheet of Photo shoot

Edits


Overlays – Photoshop

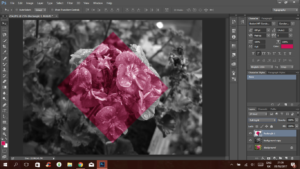
Overlays such as these, help bring out certain colours or aspects of a photograph. When combined with a black and white filter they enhance a particular colour that wouldn’t be visible otherwise.

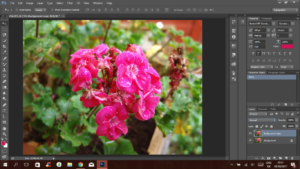
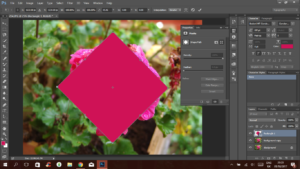
Start by inserting your photo and duplicating the layer.
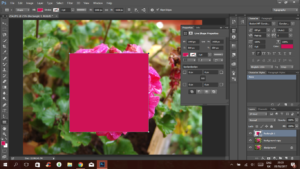
Select a desired colour and, using the rectangle tool, create a square.
Using free transform in Edit>Free Transform Path or using Ctrl+T rotate the square and apply.
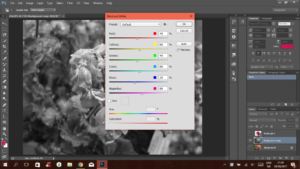
OPTIONAL: hide the shape layer and go to image>adjustments>black&white and then adjust the brightness and contrast in the same settings
Using the opacity and blending options adjust the visibility and type to your liking.

Side By Side Before vs After Image 


I like the outcome of this photo, the addition of colour creates an aesthetically pleasing effect. It also gives the image more life; the black and white background feels much more lively and unique.

Becher Inspired Photoshoot

What is a typology? 

Typology is the study of types, however in photography a typology is a series of images, in which the photographer has taken many of the same genre of object (buildings, pencils etc), using roughly the same composition for each one creating that scenes of repetition about them.

Bernd And Hilla Becher

Both these Photographers were German based, and were commissioned by the government to produces typologies of specific types of buildings, as seen below.

Image result for Bernd becher photography

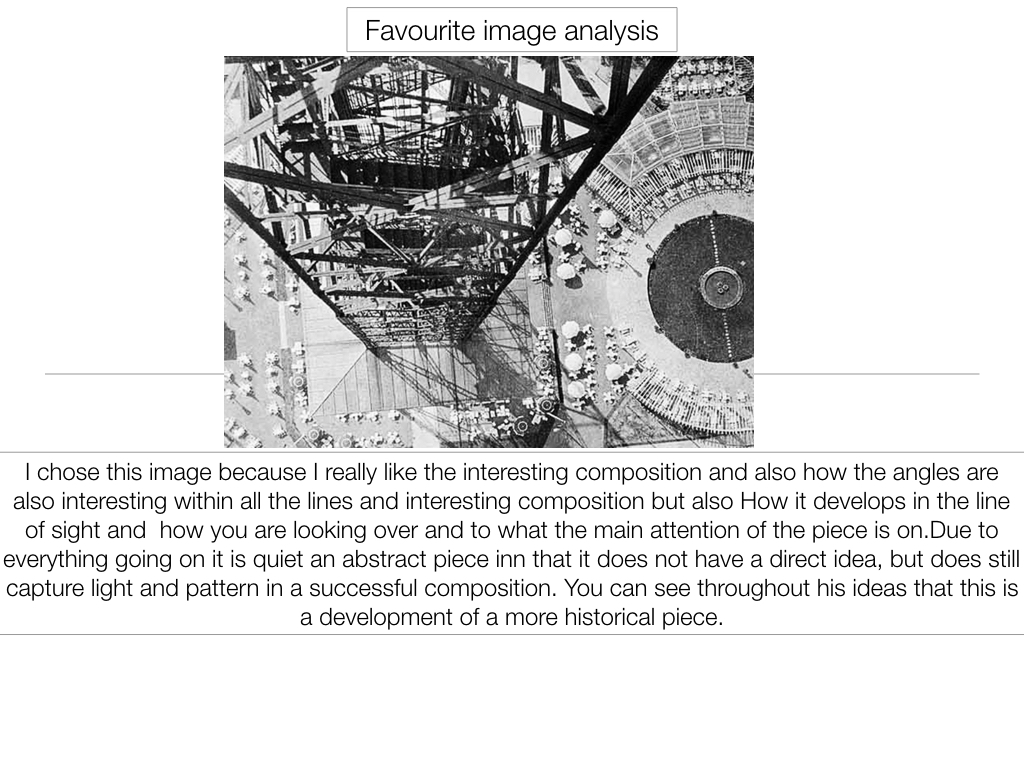
These Photographers would go around the country taking the same composition of certain objects, which when one was taken would not look that impressive, but rather when hundreds were taken precisely from the same distance, and combined together, it creates an almost artistic creation

In response to this I decided I would walk around my home area and try to incorporate this style into my images, I chose the themes around car lights, windows with chimneys, and doors. These were some of my results:
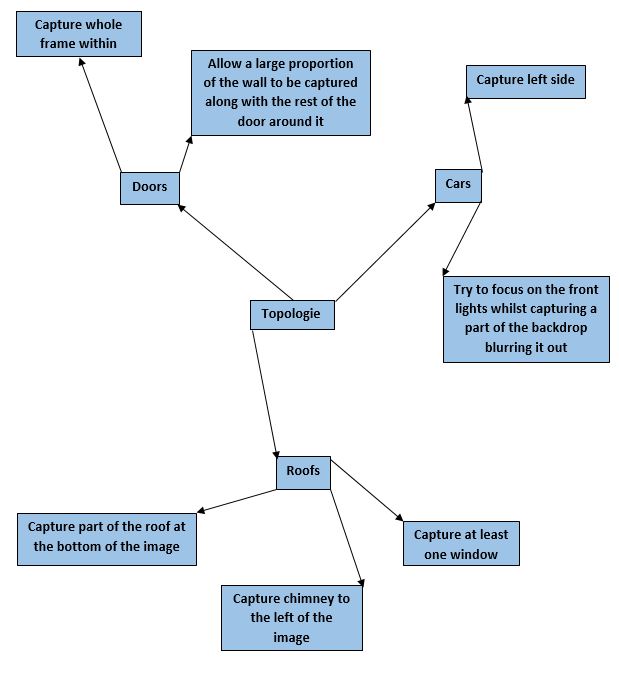


 I decided that the car topology sheets worked the best, due to the contrast between the lights and the bonnets of the car which came in different shapes.

Focal Length

What is focal length?

The focal length of the lens is the distance between the lens and the image sensor, when the subject is in focus, usually stated in millimeters (e.g., 28 mm, 50 mm, or 100 mm). In the case of zoom lenses, both the minimum and maximum focal lengths are stated, for example 18–55 mm. Changing the focal length changes the angle of view. The shorter the focal length (e.g. 18 mm), the wider the angle of view and the greater the area captured. The longer the focal length (e.g. 55 mm), the smaller the angle and the larger the subject appears to be.


I tried having a go with this concept, by focusing firstly on the backdrop rather than the central figure, and then on the figure rather than the backdrop.

In this image I chose to focus purely on the backdrop of the trees rather than the character within, as an experiment with my cameras focal length.


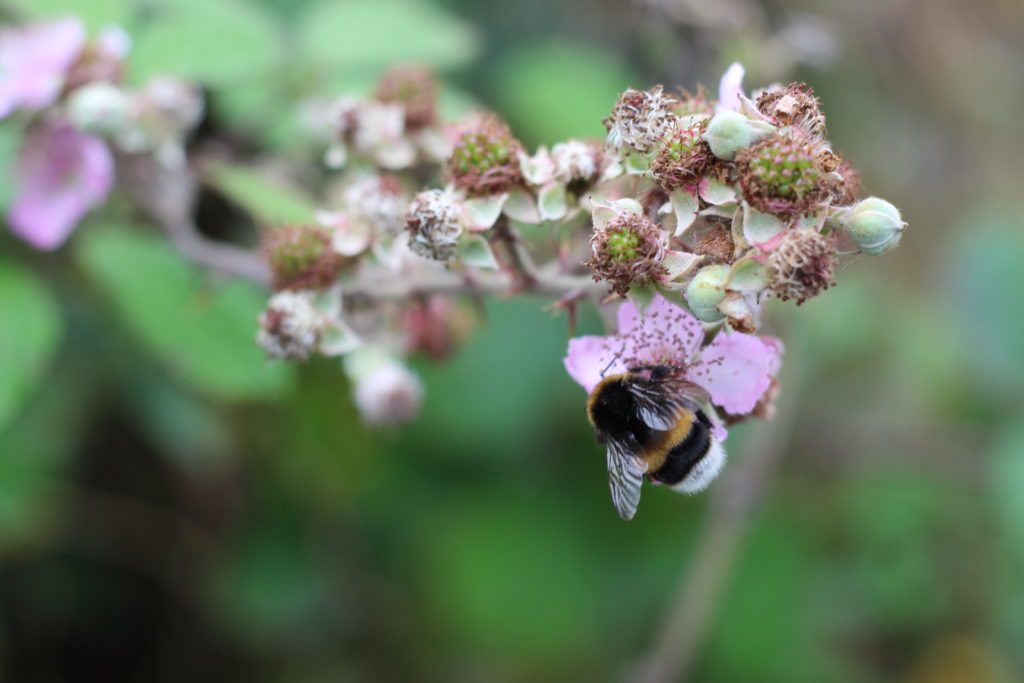
This image however I chose to focus on the closer object to the lens, which happened to be a bee on a flower, therefore blurring out the backdrop rather than keeping it clear.
Bokeh

Bokeh comes from the Japanese word ‘boke’ (ボケ), which means “blur” or “haze”. Bokeh is also defined as “the effect of a soft out-of-focus background that you get when shooting a subject, using a fast lens, at the widest aperture, such as f/2.8 or wider.”
Simply put, bokeh is the pleasing or aesthetic aspect of the blur in a photograph.

Bokeh can add softness to an otherwise brightly lit photograph. Using this technique to separate your subject from the background can also allow you to utilize a not-so-photogenic background in your image (but because of its diffused blur, it helps to “highlight” the subject, not detract from it).

Experimenting with Bokeh:

How To Analyse Photogrpahs

To analyze photographs we use the methods of technical, visual, contextual and conceptual. These factors help to create an in-depth analysis focusing on not only the ways in which the photo was taken but why it was taken and the hidden meanings behind it, or pehaps the story it tells us. These stories and feelings given off can be interpreted in different ways by different people.

Technical

The technical elements within a photograph and what it means when we analyse them is the manual settings and how they have been adjusted. This involves things such as;

Lighting, Aperture, ISO, White Balance, Shutter Speed, focal length. 

Visual

The visual aspect of analysing photos is simply using photographic terms to describe how the picture has been edited or taken. This consists of ;

Colour, Tone, Texture, Shape, Contrast, Pattern, Composition, Leading Lines. 

Contextual

Contextual relates to the period of time the photo was taken and how the time and place affects what the photo portrays. This can link to many factors in society. Contextual is simply;

Ones understanding, Deeper meaning, Additional knowledge Historical context, Personal context, Cultural/Social/Political context.

Conceptual

The conceptual part of analysing photos refers to a persons ideas relating to or based on mental thoughts. Essentially it is the meaning behind a photograph and it is the part in which you give reasons why a photographer may have chosen to take the photo/taken it in a certain way. The key words associated with conceptual are;

Ideas, Meaning, Reasoning.

Just another Hautlieu Creative site