

Category Archives: Uncategorized

Filters

Author:
Category:

Camera Skills : Looking at the exposure triangle

The Exposure Triangle

  • The exposure triangle is a common way of linking th
  • Image result for what is the exposure trianglee three variables that determine the exposure of a photograph.
    • The three variables are aperture, shutter speed and 
      ISO.
    • Aperture is a measure of how open or closed the lens’ iris is.
    • Shutter speed is how long the shutter remains open and so how long the lens is exposed to light for.
  • The three variables in the triangle work together to give you the photograph that you want.

Exploring Light And Tone

What is ISO?

ISO (International Standards Organization) is the level of light at which your camera is sensitive to, the lower the number the less sensitive your camera is to light. Compared to a higher one, where it becomes more sensitive. A lower one can be used for taking pictures on a sunny day, whereas a higher one can be used to take night shots. ISO speed examples range from ISO 100 to ISO 3200, the higher the ISO the higher the noise present within the picture, so when taking a picture you must take into account the light present where you are.

Image result for iso photography
What does ISO effect?       

Noise: The amount of noise directly affects the quality of the image, a higher noise will make the image more grainy and decrease the quality, compared to a lower one retaining all its quality. The is directly affects by how high the ISO is, for example, a ISO of 3200 will have a grainier image compared to a lower one with a crisp image.

Exposure: The ISO determines hows well exposed the photo will be by changing the sensitivity. The ISO scale is like the shutter speed, as when doubled the exposure is also doubled, as they are proportional to each other

Aperture: It is affected by the amount of light that travels through the hole in a lens, the larger the hole, the more light is passed to the camera sensor. This controls the depth of field which is the proportion of the screen that seems sharp. Aperture is usually expressed in f numbers, known as the focal ratio.

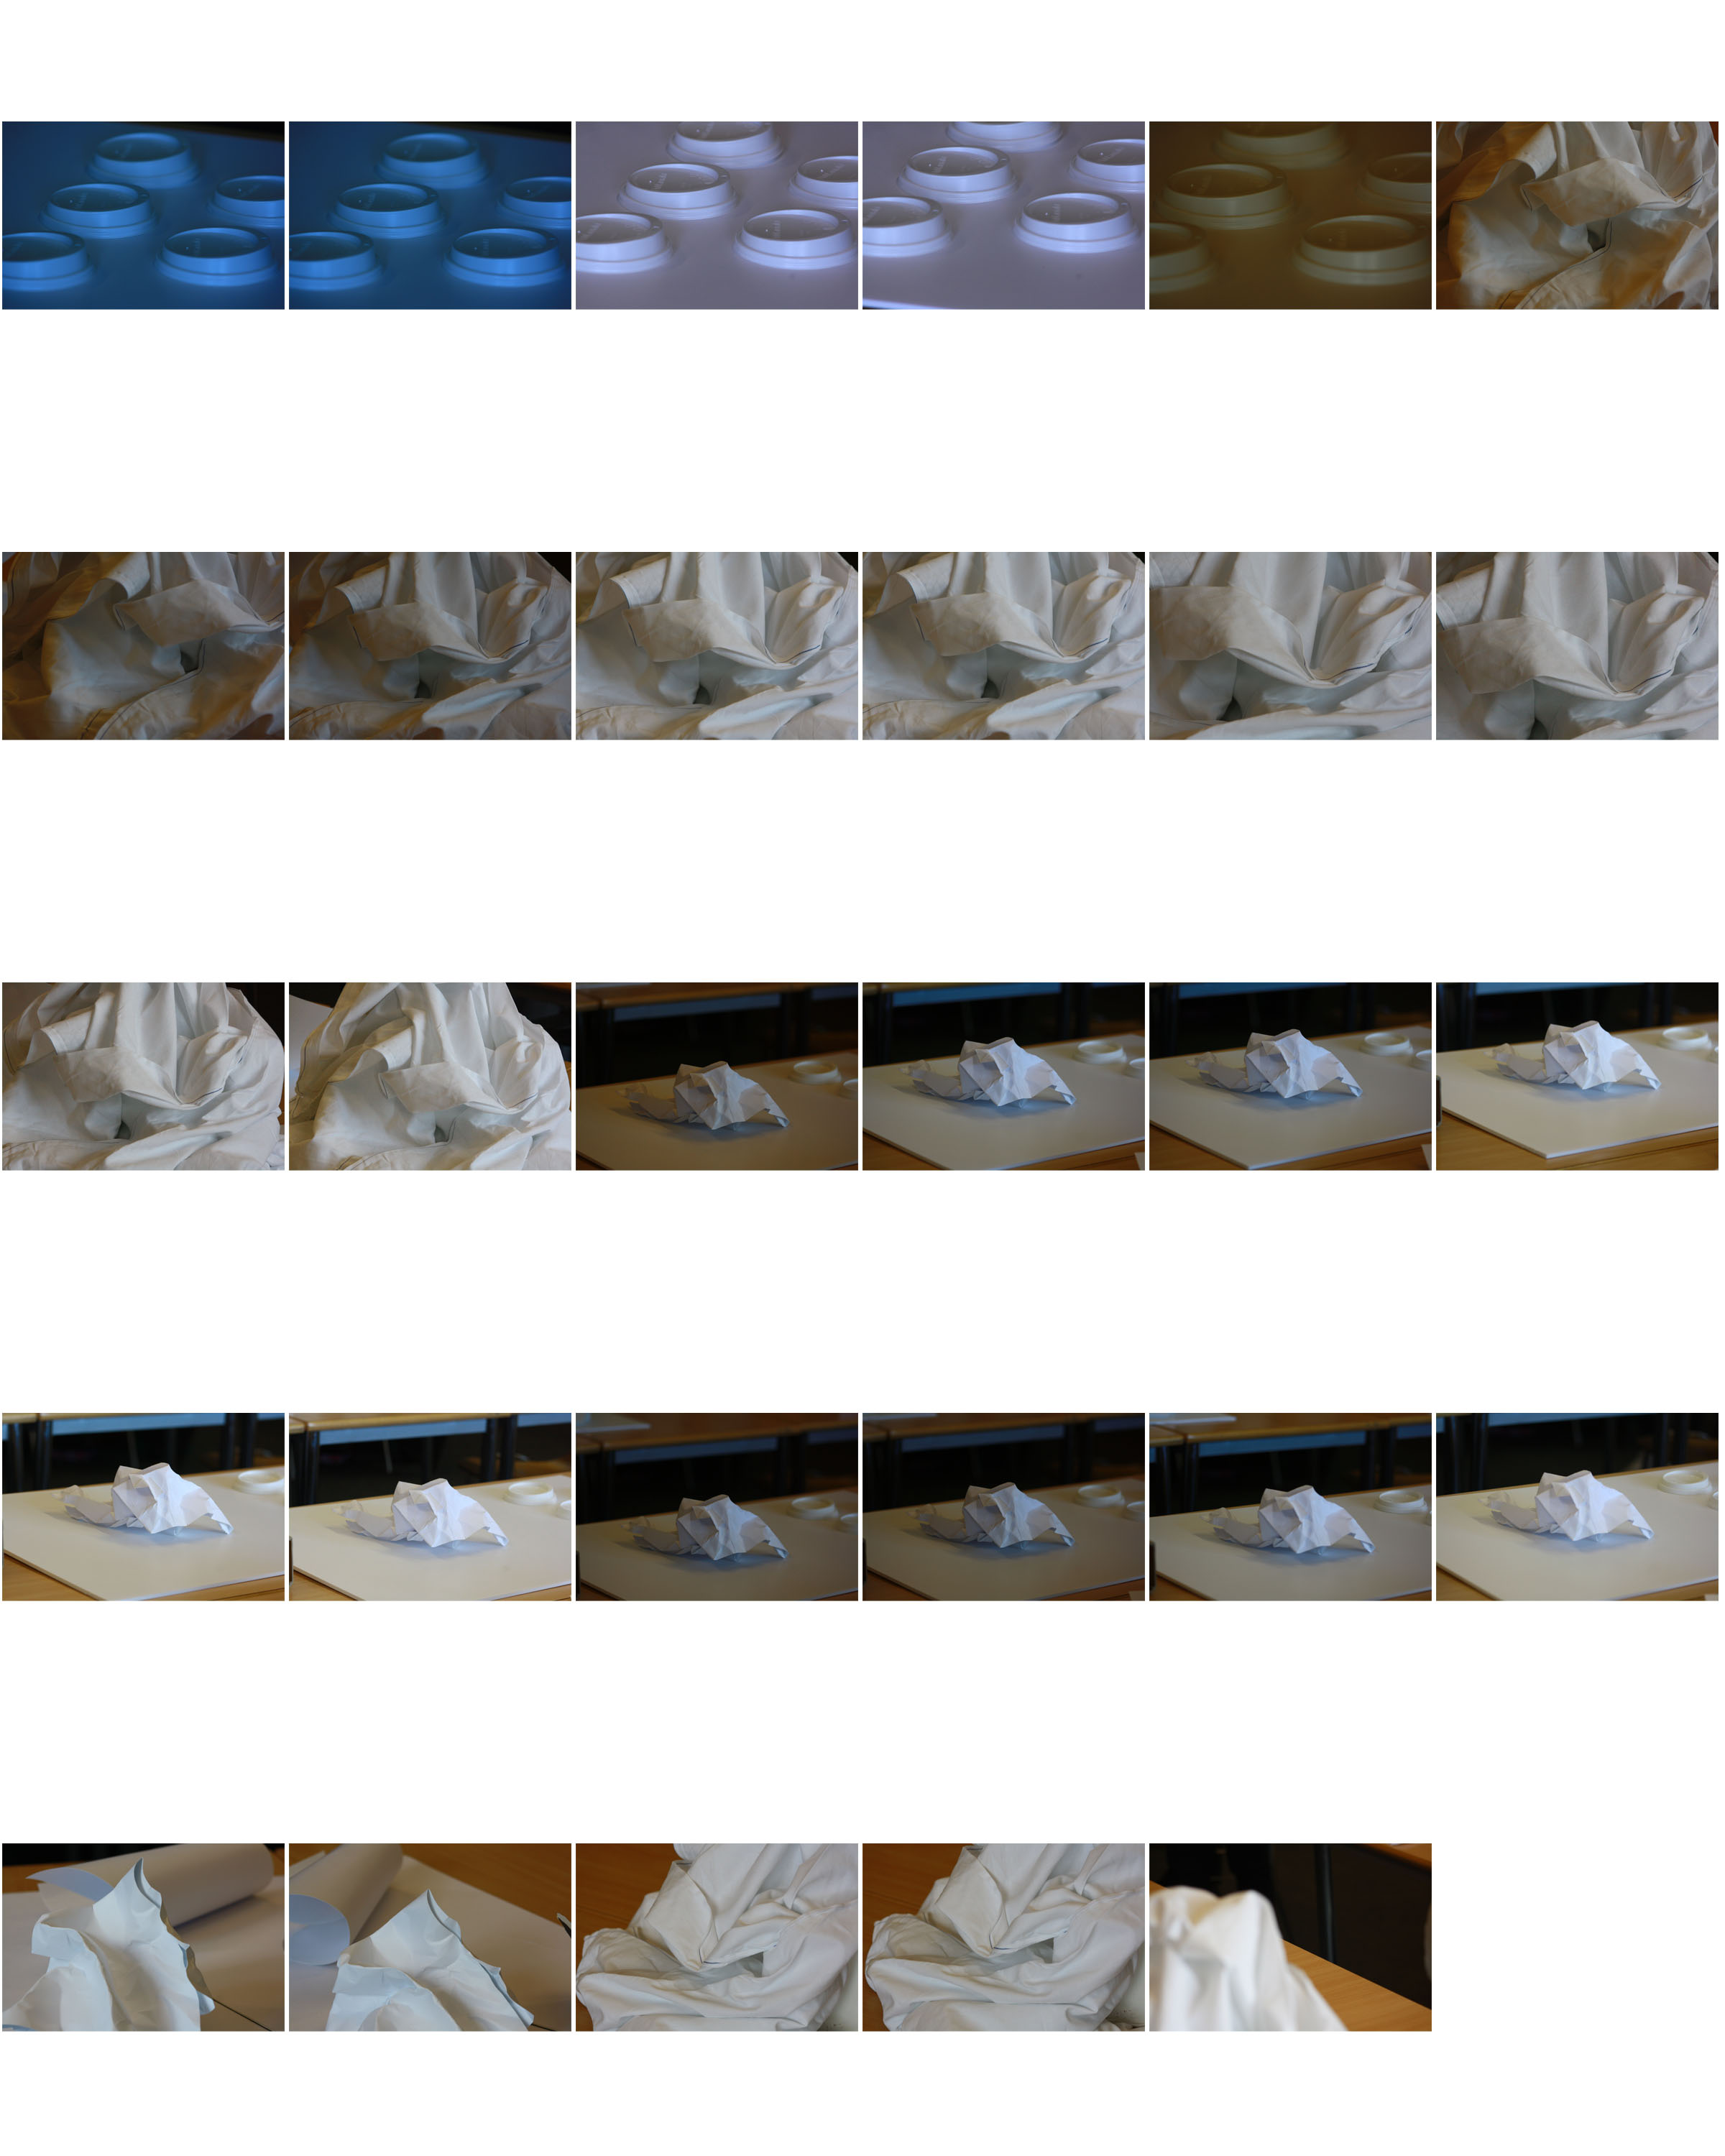
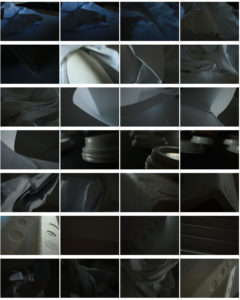
I decided to experiment with this idea, and so focused on taking pictures of the same object with different ISO settings, these were my results:

ISO contact sheet

ISO measures the sensitivity that your camera has to light. It is useful to manually change the exposure on your camera when natural light levels are low or high. If there is not enough accessible light the ISO can be changed to let more light in however this can result in grainy pictures. We can use ISO to our advantage for example if we want our photos to be darker we can change it to suit the style. in this photo bellow we can see the effect that the ISO is having on the colors in the photo.  the number of pixels does not change however they are just more viable, we call this noise.

Image result for iso photography

Exploring Light And Tone

  • The term ‘ISO’ stands for ‘International Organisation for Standardization.
  • ISO can be adjusted to change how sensitive the camera is to light.
    • If the ISO number is low, for example 100, it is less sensitive to the light.
      • A low ISO number would be used in an area with lots of light.
    • If the ISO number is high, for example 1600 then it is more sensitive to the light.
      • This would be used in an area with not much light.
      • A higher ISO number causes more noise in the photograph and so reduces the quality of it.


Image result for iso settings

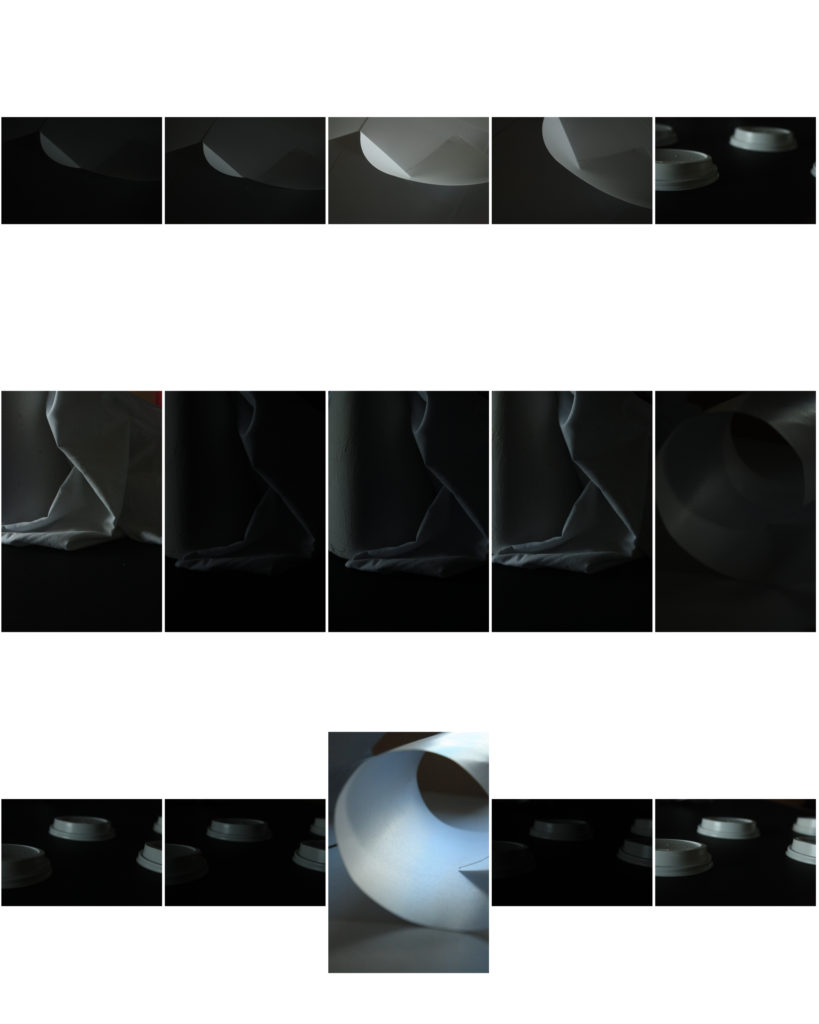
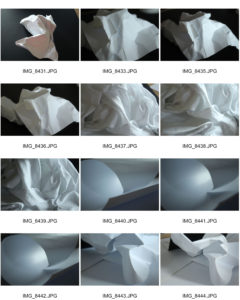
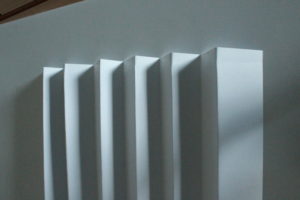
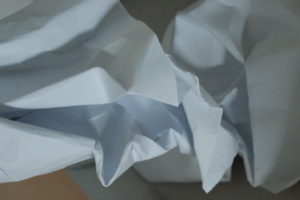
  • Below is my contact sheet of pictures taken of paper and other objects that can be easily shaped and manipulated.
    • A ISO number of 800 was used on the darker images to create a more dramatic photograph and an ISO number of 1600 was used on the brighter images to balance out the shoo
      t and show the difference that the ISO number makes.

ISO

ISO measures the sensitivity of the image sensor; this is measured in numbers [100,200,300]
Higher ISO settings are generally used in darker situations to get faster shutter speeds - however the higher the ISO the noisier the shots The lower the number the less sensitive the camera is to light and the finer the grain e.g a low IOS setting will be used when there is plenty of light and the subject is stationary Image result for iso camera settings

Exploring Light Tone and ISO

   Image result for What is ISO

ISO in regards to the way that it affects the camera is the amount of light that is available to your camera.ISO stands for the International Organization for Standardization, which is the governing body that sets the ratings for the sensitivity of a camera. The term was originally was brought over from film as it was known as; Film Speed’

The lower that the ISO number is the less sensitive it id to the light in the surrounding environment, the high higher the number is the greater the sense it is. It the most important part of the camera and if used correctly it can drastically affect the way that your image turns out. Higher ISO is normally should be used in low light situations where flash cannot be used to allow more light into the image, so when you have a higher ISO the camera is being more sensitive to light and it tries to get more into it.

However, the higher the ISO the greater the noise (Graininess) is increased in the image, which lowers the overall look of the image.

Having a lower ISO on your camera won’t only decrease the amount of noise in the image it will also help to produce a greater colour range show the greater shadows and highlights within the image.

ISO is also affected by shutter speed, for example, if you were shooting a fast-moving subject and  need to capture an image quickly you would use a higher ISO                                                                           ISO Speed Example: ISO

ISO 100 – 1 second                                                                                                        ISO 200 – 1/2 of a second                                                                                        ISO 400 – 1/4 of a second
ISO 800 – 1/8 of a second                                                                                           ISO 1600 – 1/15 of a second                                                                                        ISO 3200 – 1/30 of a second

As the ISO increases the sensitivity actually doubles so, ISO 200 is twice more sensitive than ISO 100, while ISO 400 is twice more

Related imagesensitive than ISO 200, which means that it takes less time to capture the image as less light is coming into the camera.

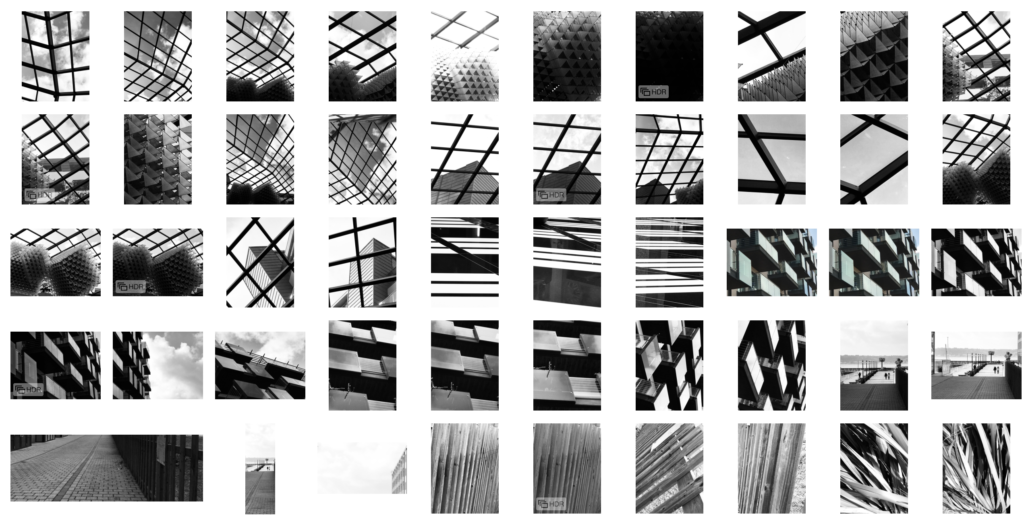
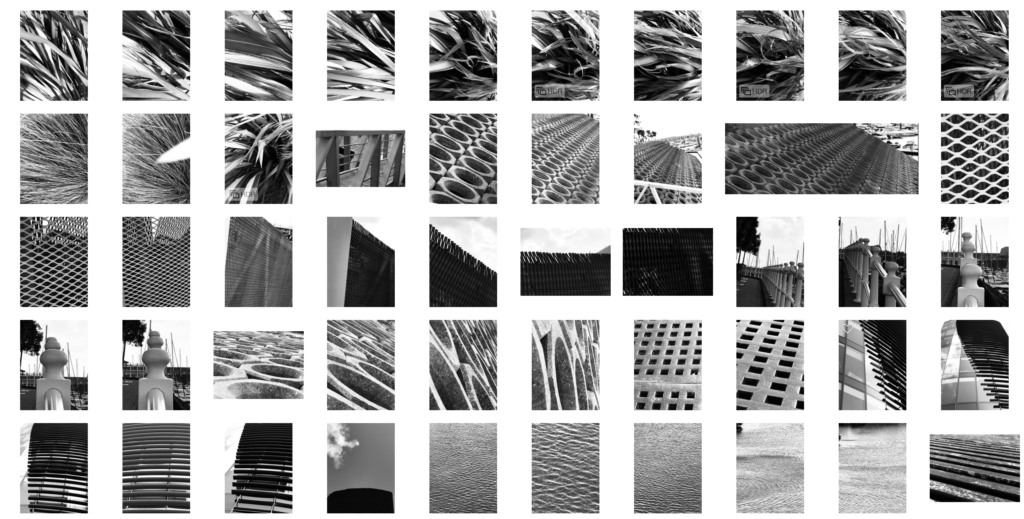
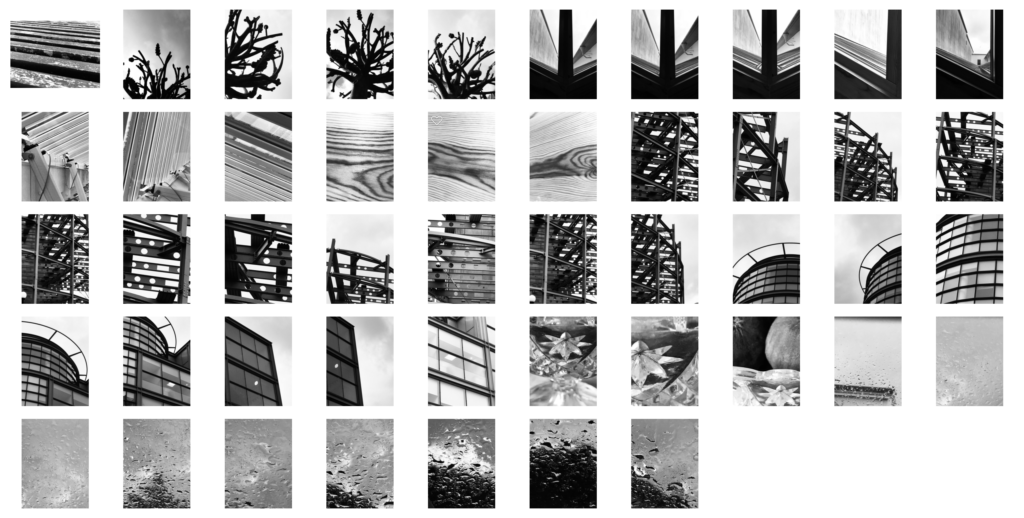
Homework Assignment 1

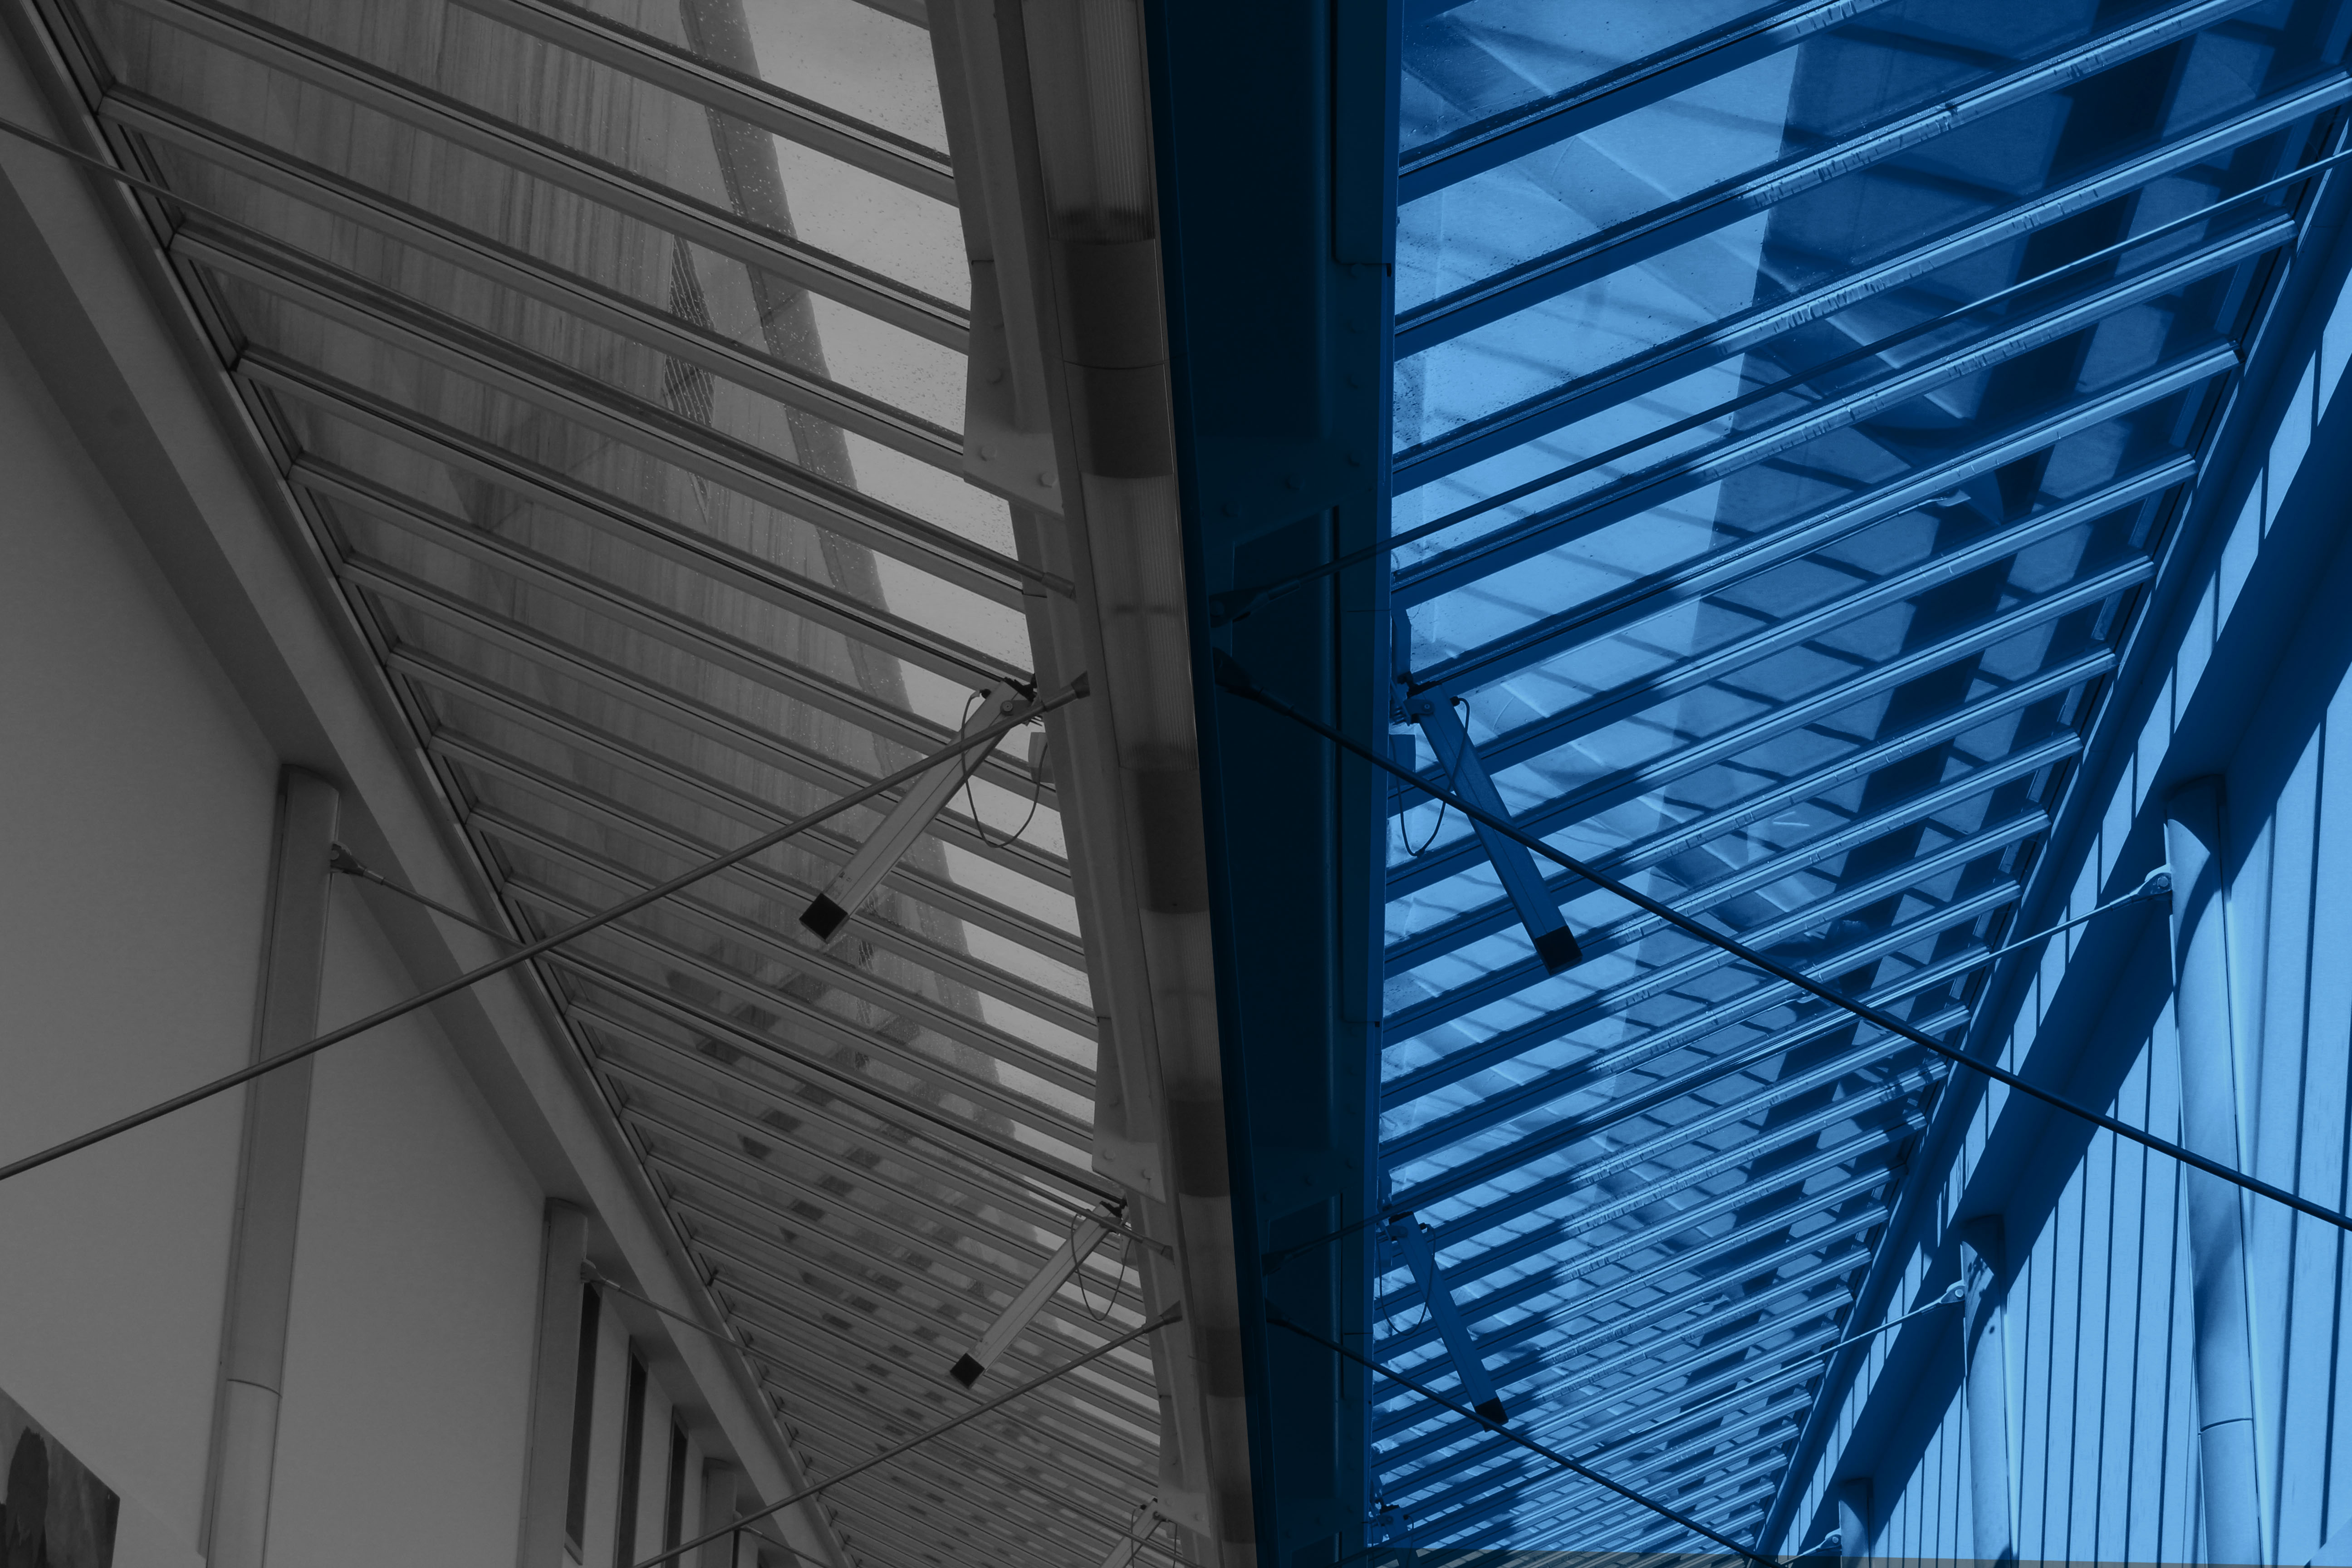
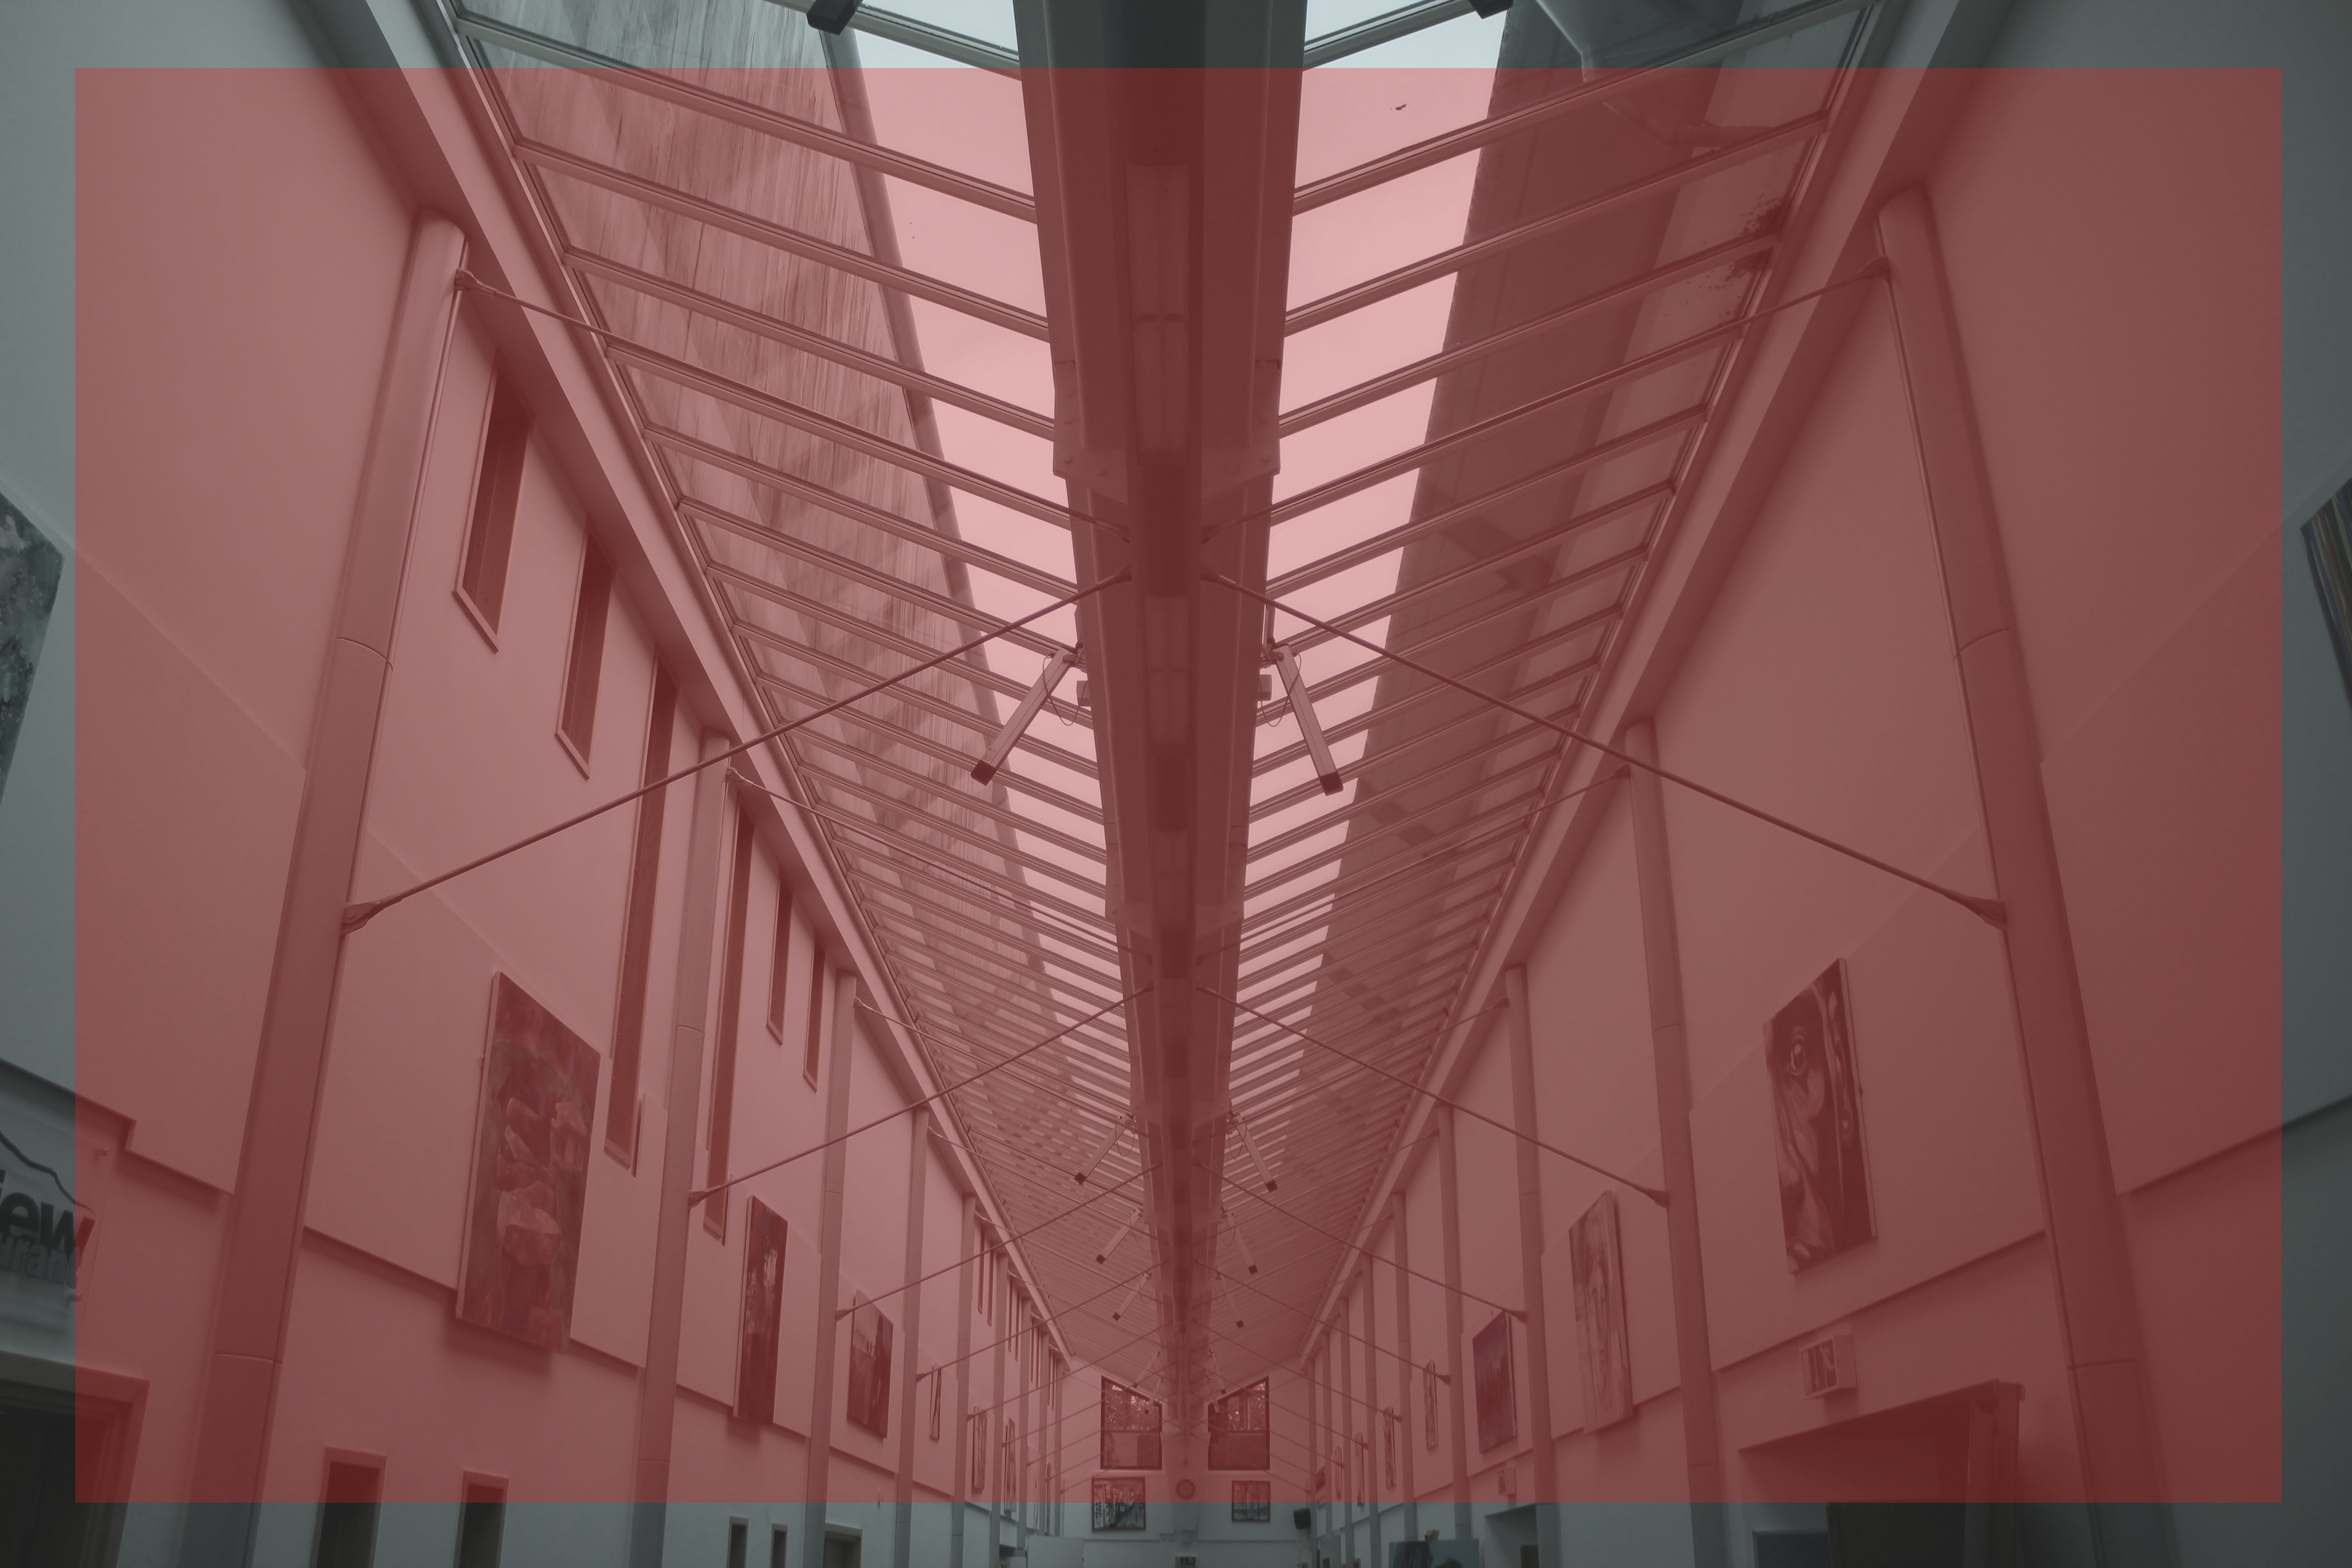
Task – Take 150-250 photos that explore shape, pattern, line, repetition, symmetry, shadow, tone, curves, angles, edges

Locations – Castle quay, around the harbour

Subjects – roof in castle quay, pattern of balconies of castle quay, any patterns/repetition around the harbour.

Lighting – natural light

Camera settings – Handheld, ISO 200-400, Shutter speed 1/60, Varying aperture depending on how close the subject is.

Concept – to capture patterns in everyday items and turn them into something interesting.

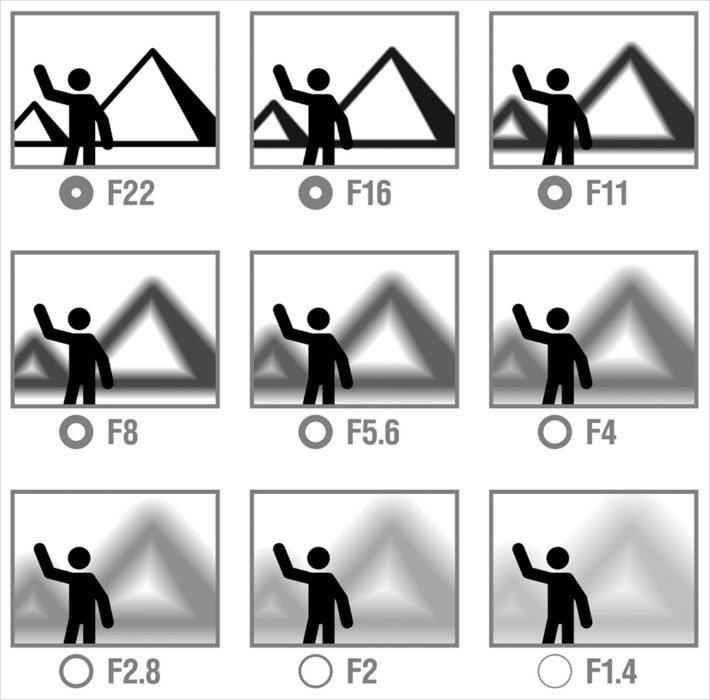
Aperture

Aperture refers to the size of the hole in which light travels through to get to the camera sensor. The larger the hole the more light is allowed in. The Aperture is a function of the lens rather than the camera body. The size of the hole in specific lenses is referred to as the F number, and it is measures in stops which is the halfing or doubling of light absorbed by the cameras sensor.  The lower the F number the larger the hole in the lens.

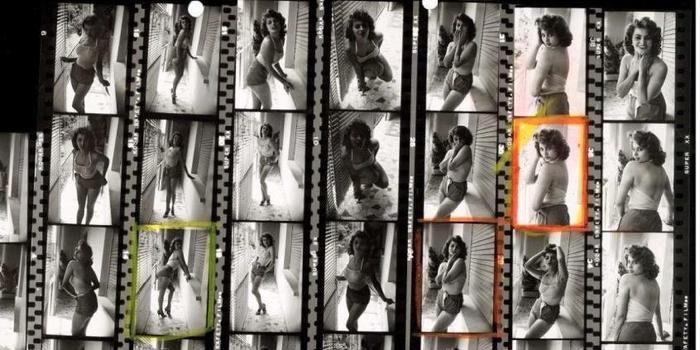
Contact Sheets

What are contact sheets?

A contact sheet is similar to a negative but in positive colors. Contact sheets contain thumbnail images of all the photos from a previous shoot. This makes it very easy to look at your favorite   photos that you have chosen and want to use and would possibly chose to develop or print out.

How do we use contact sheets?

You can make a contact sheet by opening Adobe Bridge and selecting the photos from your previous shoot. Once you have selected your photographs, you go to ‘Tools’ and then click ‘Photoshop’ where a drop down box will appear where you will need to click the ‘Contact Sheet 2’ option  which will then open Photoshop where all your selected photos  will be presented on the page in the options you have chosen.

Magnum photographer Contact Sheets

Image result for magnum contact sheets

Image result for magnum contact sheets