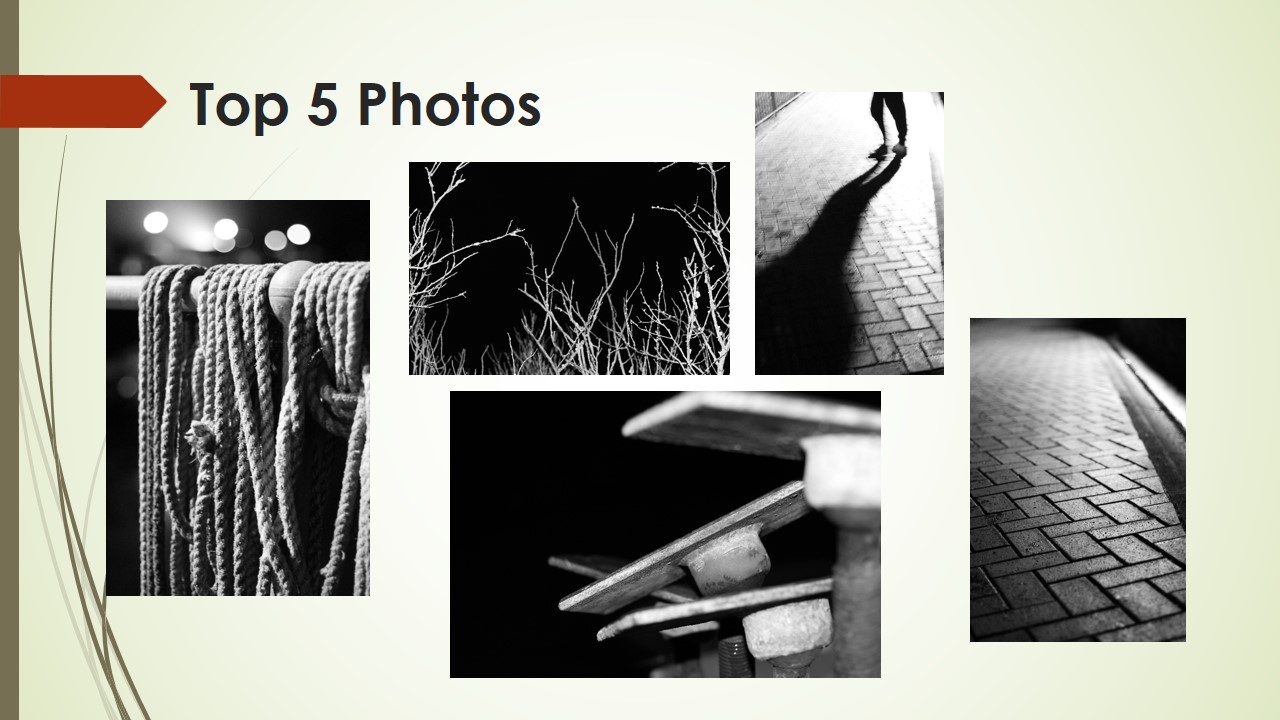
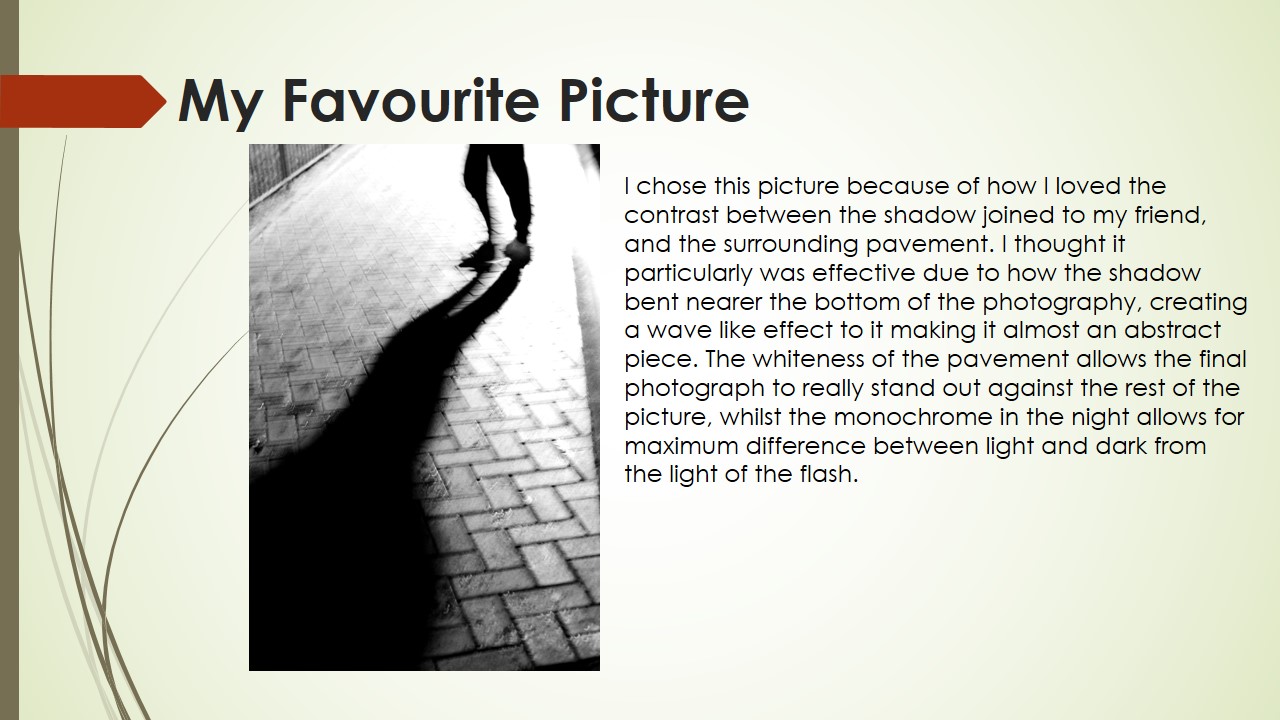
Editing Photos In Photoshop I had a go at editing some photos with the software called Photoshop, to see if I could enhance the looks of certain pictures with a few tweaks to their settings. These were my results: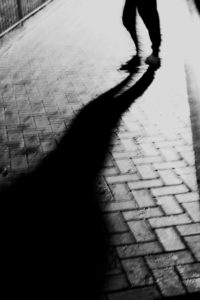
Before and after the picture has been edited (Edited top and unedited bottom).
Before and after edited on Photoshop (Top image edited bottom unedited). How did I edit them? To edit my photos I went into the image and adjustments tab, located at the top of the screen, and selected what I wanted to edit BRIGHTNESS/CONTRAST
EXPOSURE
LEVELS
Zone System
Above I used the Ansel Adams zone system (seen beneath), to identify the different areas of types of exposure, meant allow the photo to have the best contrast between light and dark as possible within the picture.
What is the Ansel Adams 'Zone System'? The Zone System is a technique that was formulated by Ansel Adams and Fred Archer back in the 1930's. It is an approach to a standardized way of working that guarantees a correct exposure in every situation, even in the trickiest lighting conditions, such as black lighting, extreme difference between light and shadow areas of a scene, and many similar conditions that are most likely going to throw off your camera's metering, giving you a completely incorrect exposure.
Category Archives: Uncategorized
Filters
ISO
What is ISO
ISO is the level of sensitivity of your camera to available light. The lower the ISO number, the less sensitive it is to the light, while a higher ISO number increases the sensitivity of your camera. The component within your camera that can change sensitivity is called “image sensor.” With increased sensitivity, your camera sensor can capture images in low-light environments without having to use a flash. But higher sensitivity poses a problem as it it adds grain or “noise” to the pictures.

The difference in this image is clear – the image on the right hand side at ISO 3200 has a lot more noise in it, than the one on the left at ISO 200.
 Low ISO Speed
 High ISO speed
Exploring Exposure
Within this photo shoot, I messed around with the exposure settings on my camera to see which number displayed the piece of paper most effectively.Within Photographs, exposure determines how light or dark an image will appear when it had been captured by the camera and viewed. This can be determined through aperture, ISO and shutter speed, which can be located on your camera and seen in the exposure triangle below. However you need a combination of all three to make the perfect exposure. If too little light is let into the picture, it will become too dark and underexposed, and the same with letting too much light into it as the image will become too bright and overexposed.
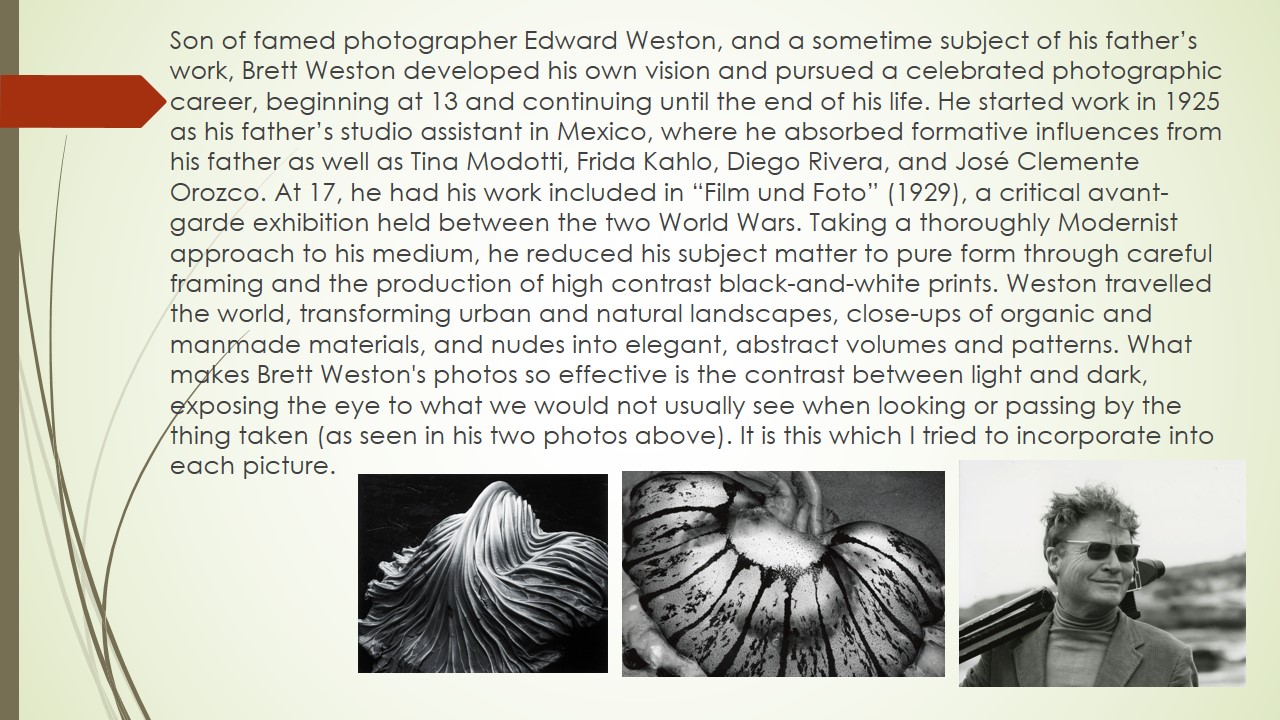
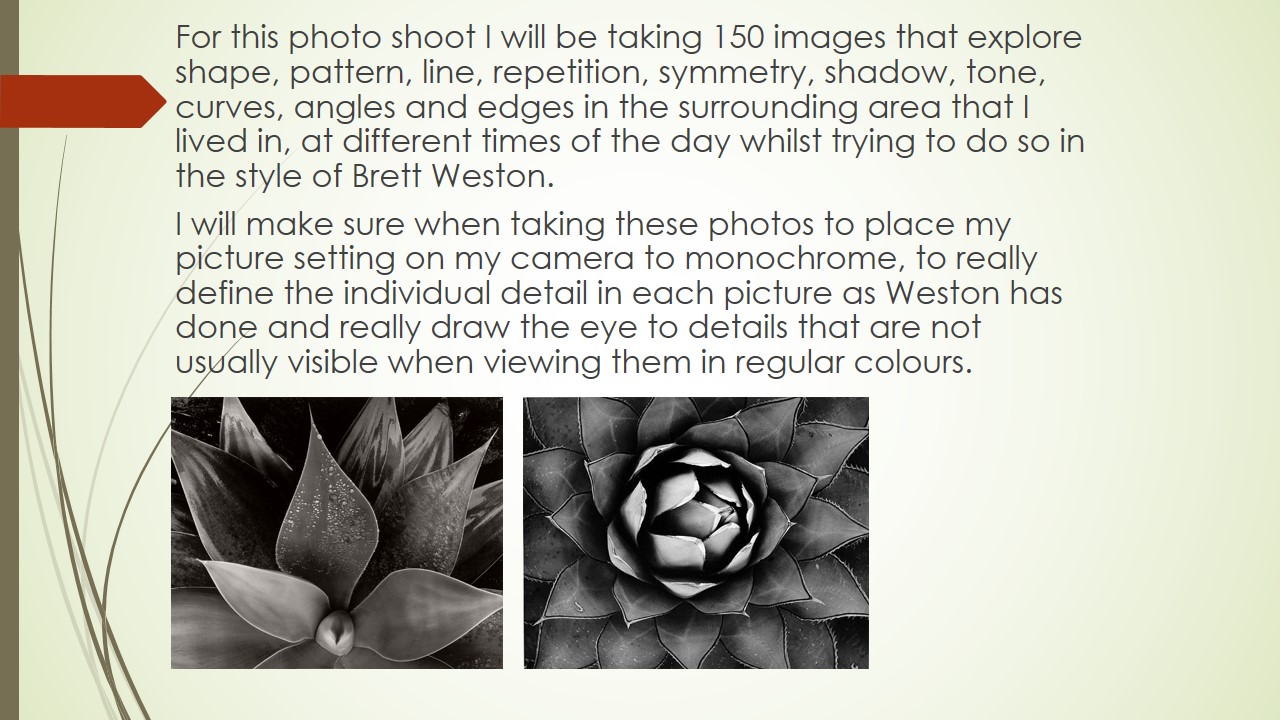
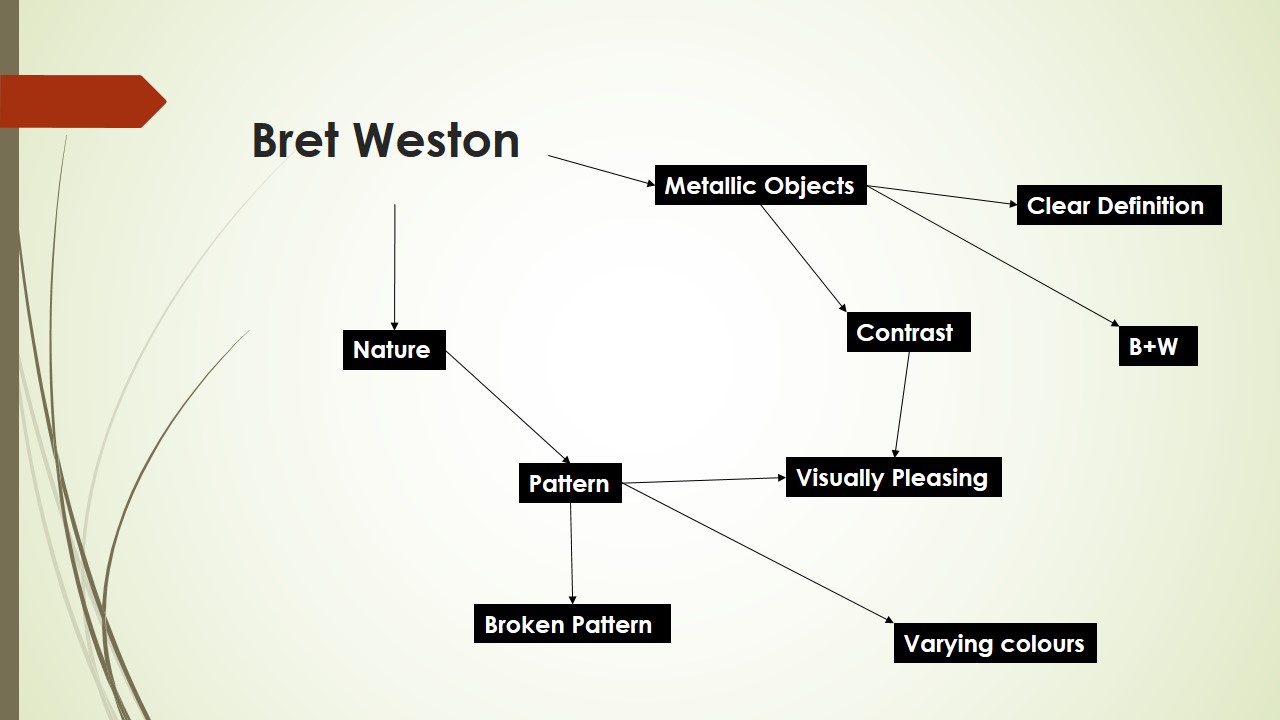
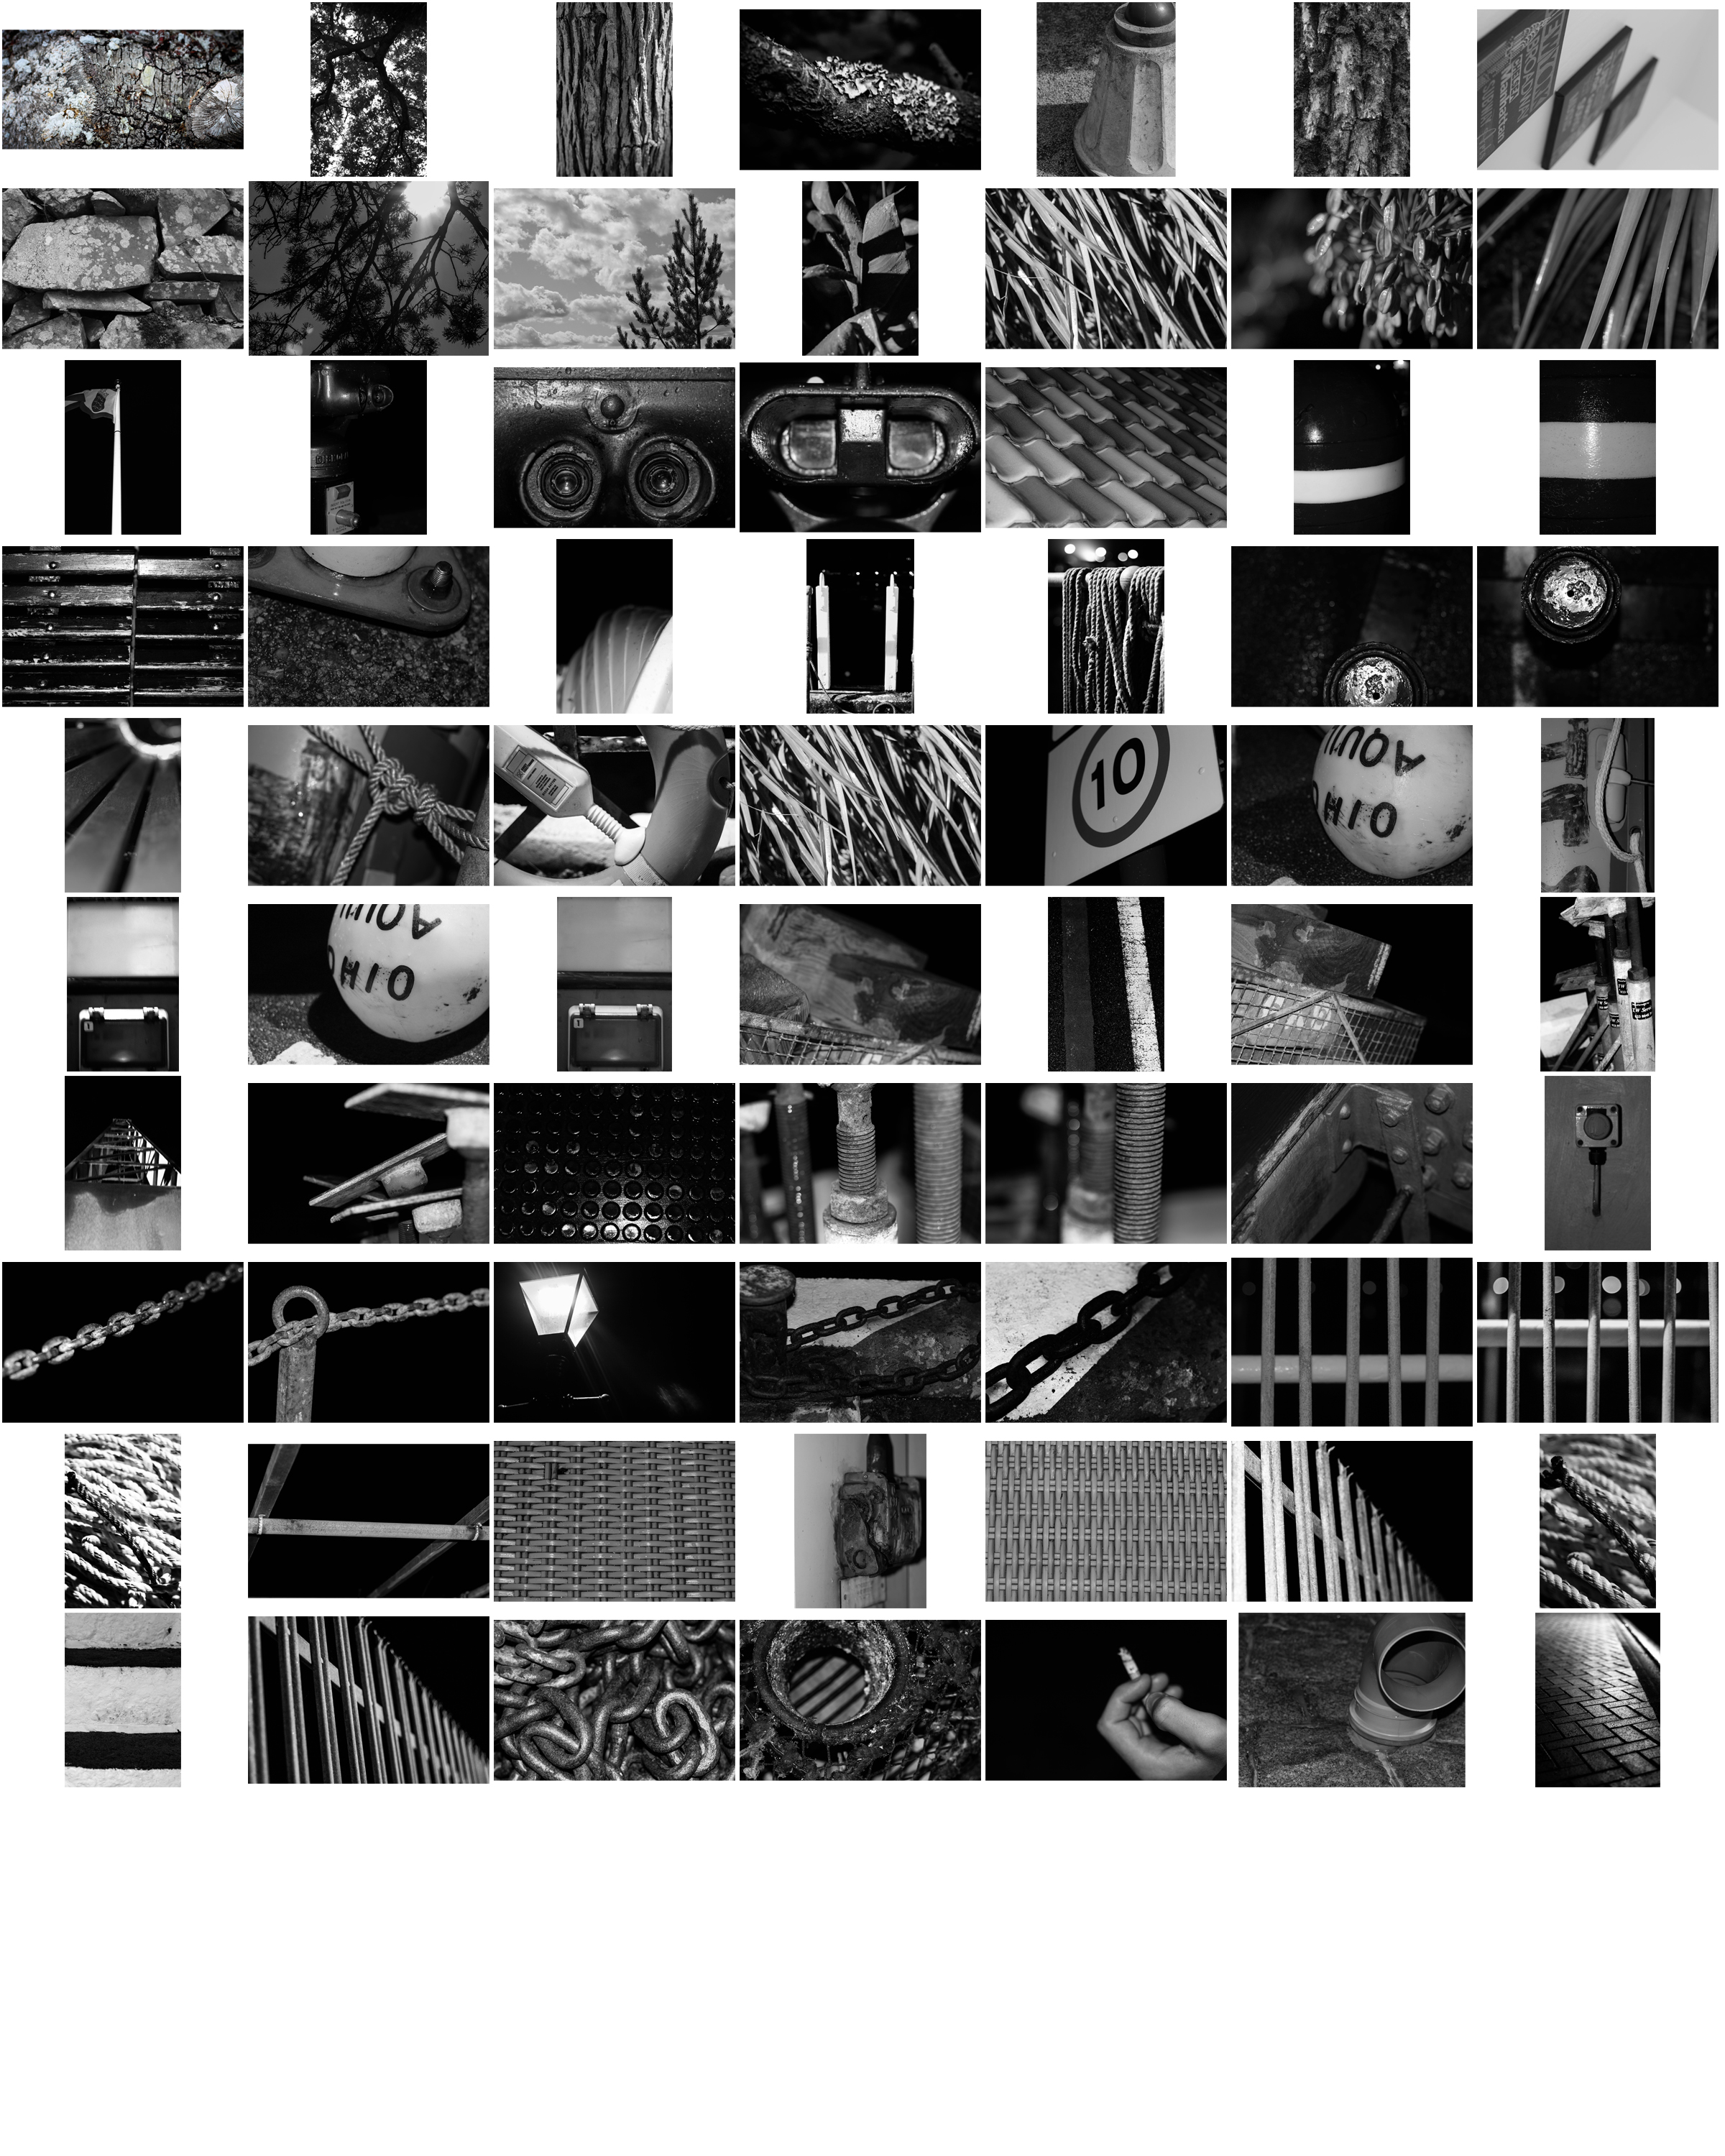
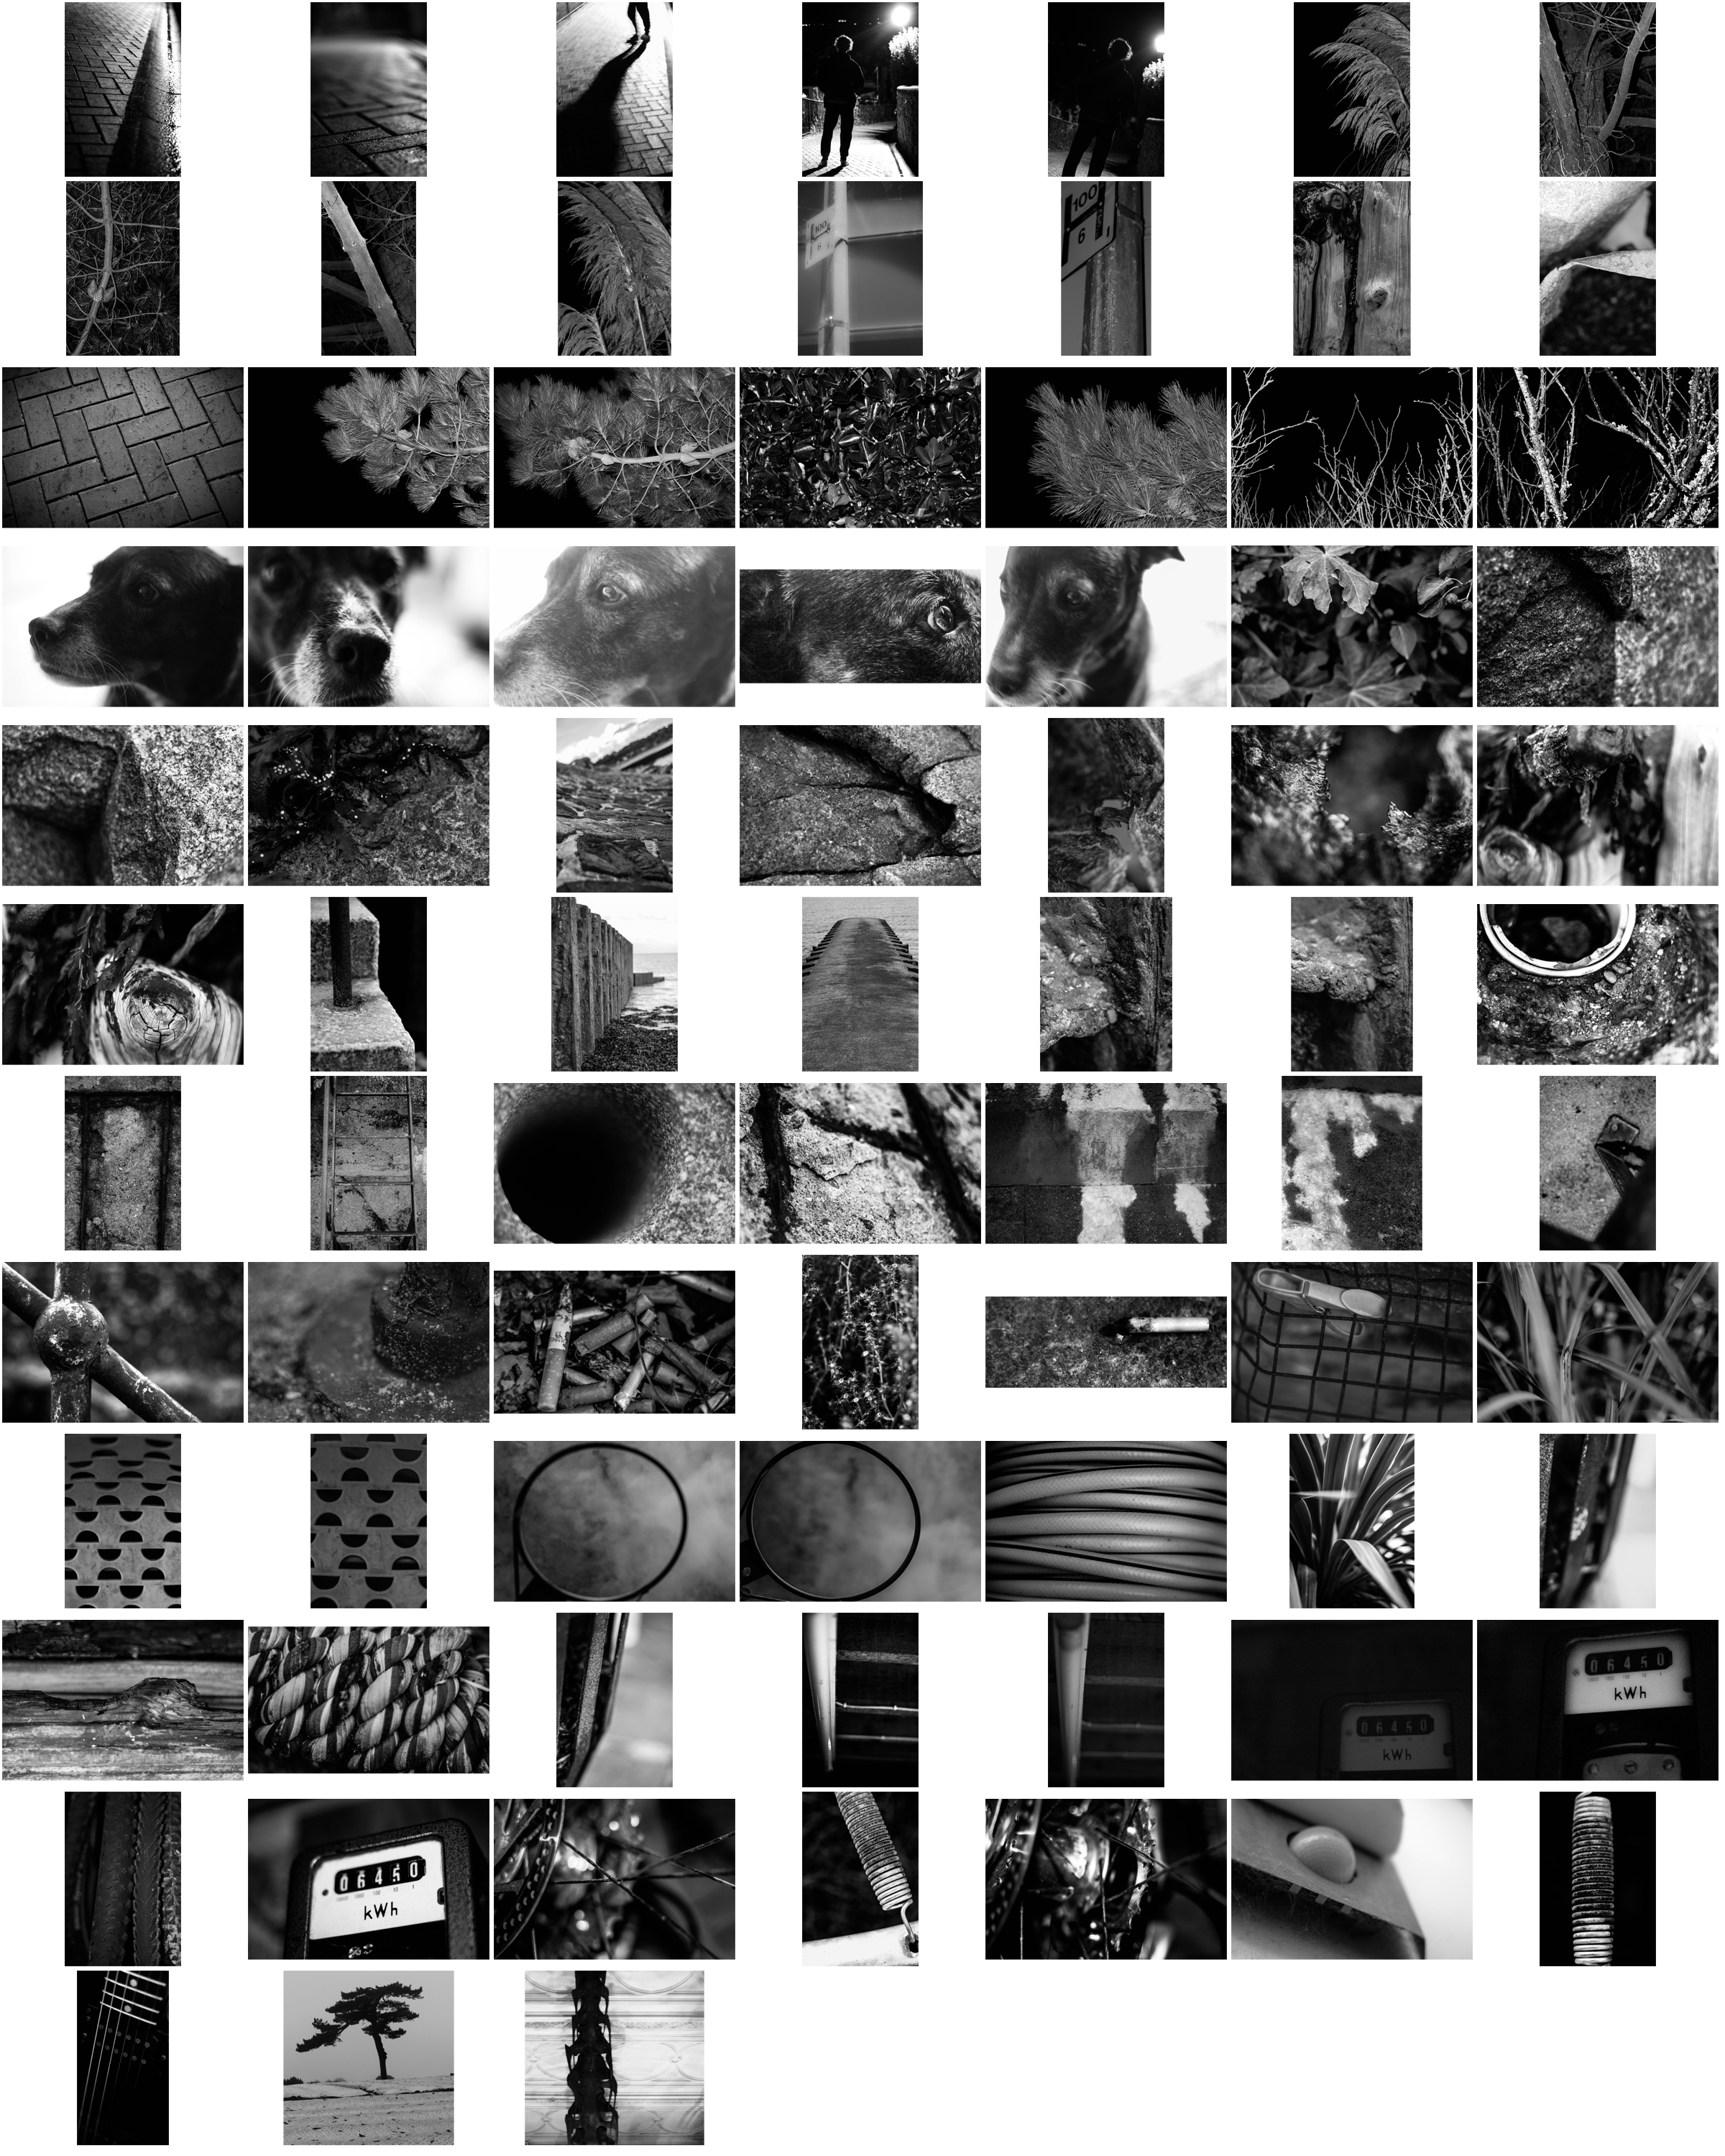
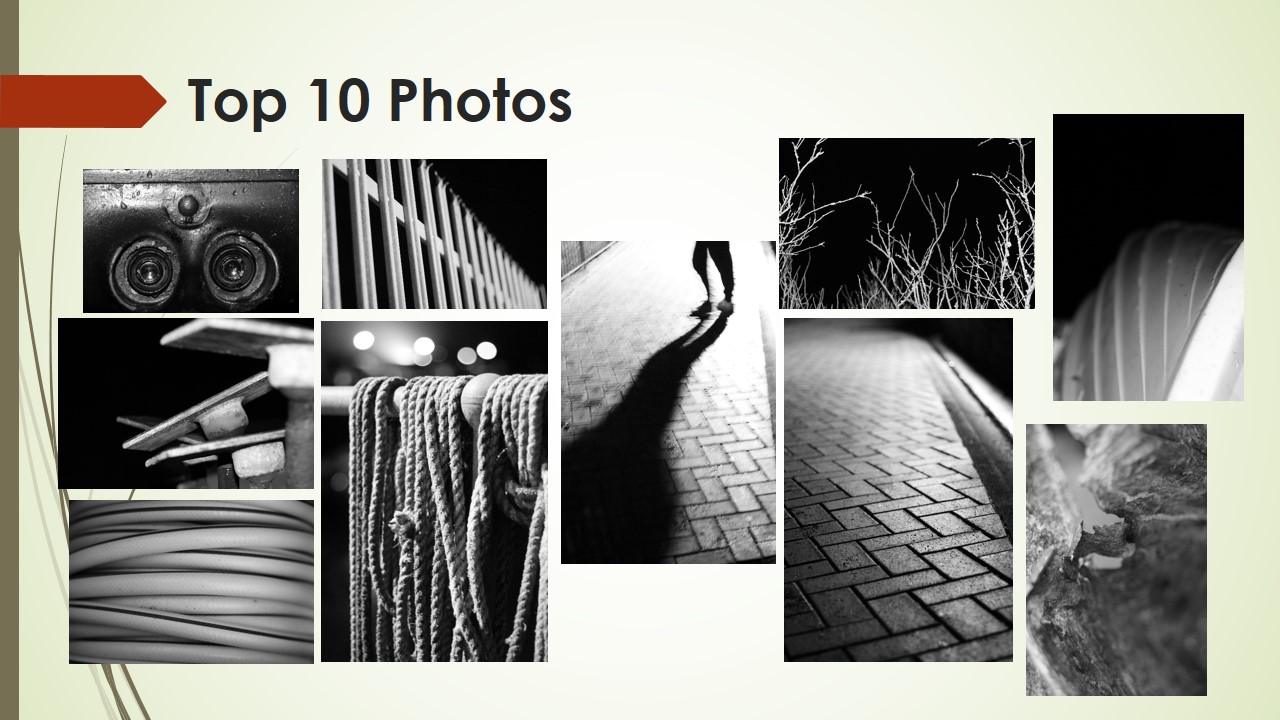
Brett Weston Inspired Photoshoot
Contrast and Tone
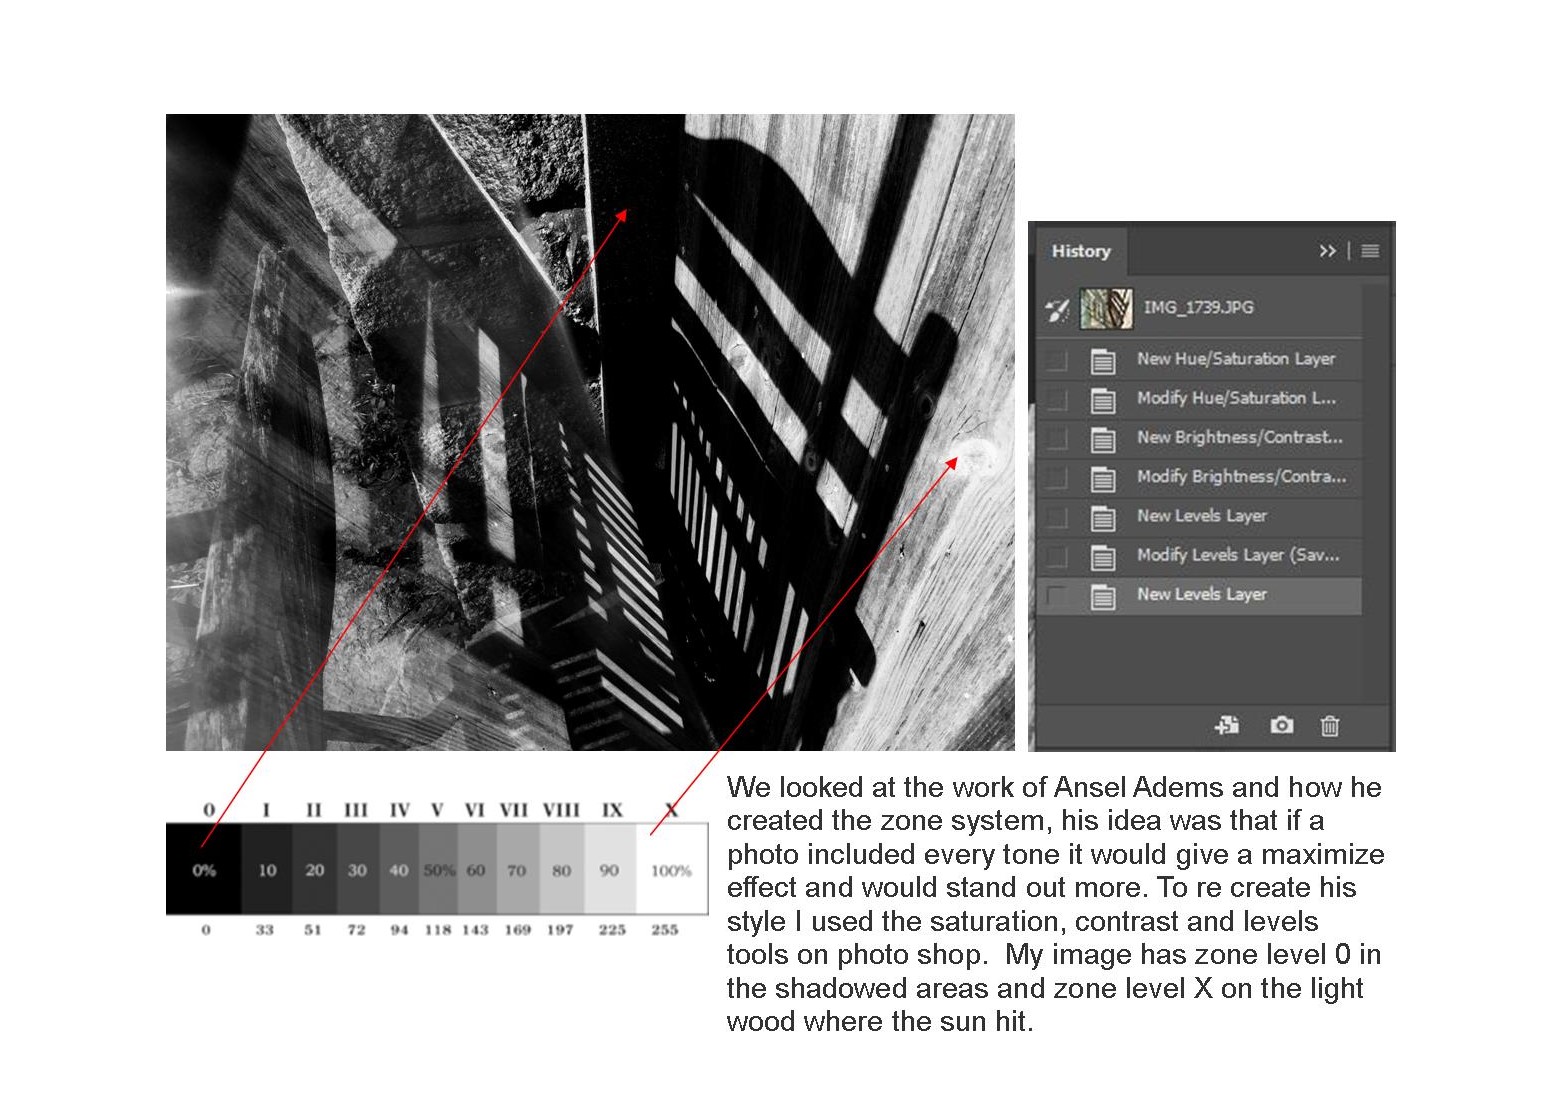
The Zone System is a technique that was formulated by Ansel Adams and Fred Archer. It is an approach to a standardized way of working that guarantees a correct exposure in every situation, even in the trickiest lighting conditions such as back lighting, extreme difference between light and shadow areas of a scene.I've used the Zone system to edit my own photos so I can get the perfect balance in tones. I used Photoshop to change contrast, hue and saturation to get a wider range of shades to finish with a perfect image with many tones.
Exploring Tone and Contrast
- In this edit, I took the top image and added a black and white filter. I then added contrast and lowered brightness. Then, to make the image more dramatic, I increased the amount of black in the image using the zone system.
- The zone system was created by Ansel Adam and is shown in the bottom picture.
- The zone system shows the amount of white/black in a photo and allows us to adjust it to our liking. It lets us pick a correct amount of exposure every time.
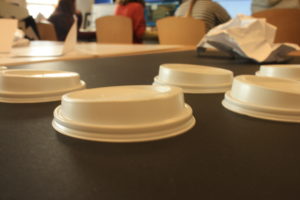

Zone System
The zone system is a system developed by Ansel Adams and Fred Archer in 1939. The system guarantees the correct exposure in every shot.
What is it ?
The Zone system separates the highlights and shadows in a image into 20 different sections so that the fill scale is guaranteed in each shot, buy having the whole range within an image it becomes sharper and more thought-provoking. The scale is measured in Roman numbers and increases from the lightest panel to the darkest

Exploring The Exposure Triangle

The Exposure triangle is a vital part of photography a can have a massive impact on the style of photography that you can access and the quality and levels of the photos that you can take if the triangle is understood and used probably.
Aperture -Aperture controls the iris diaphragm within the lenses which let is sensitive to light and is what lest in the difference amount of light into the camera.
ISO -This controls how sensitive to light the camera is, for daytime you would use a low ISO and for night time photography a high ISO would be needed.
Shutter speed – Controls the amount of time that the sensor is exposed to light for, which can be turned up or down.
Editing Using the Zone system on Photoshop
ISO and Aperture Experimentation
The aperture of the camera is how focused separate elements of the image are from front to back (this links in with depth of field)
The ISO is the light sensitivity of the camera meaning a higher ISO lets more light into the camera and vice versa with a lower ISO


