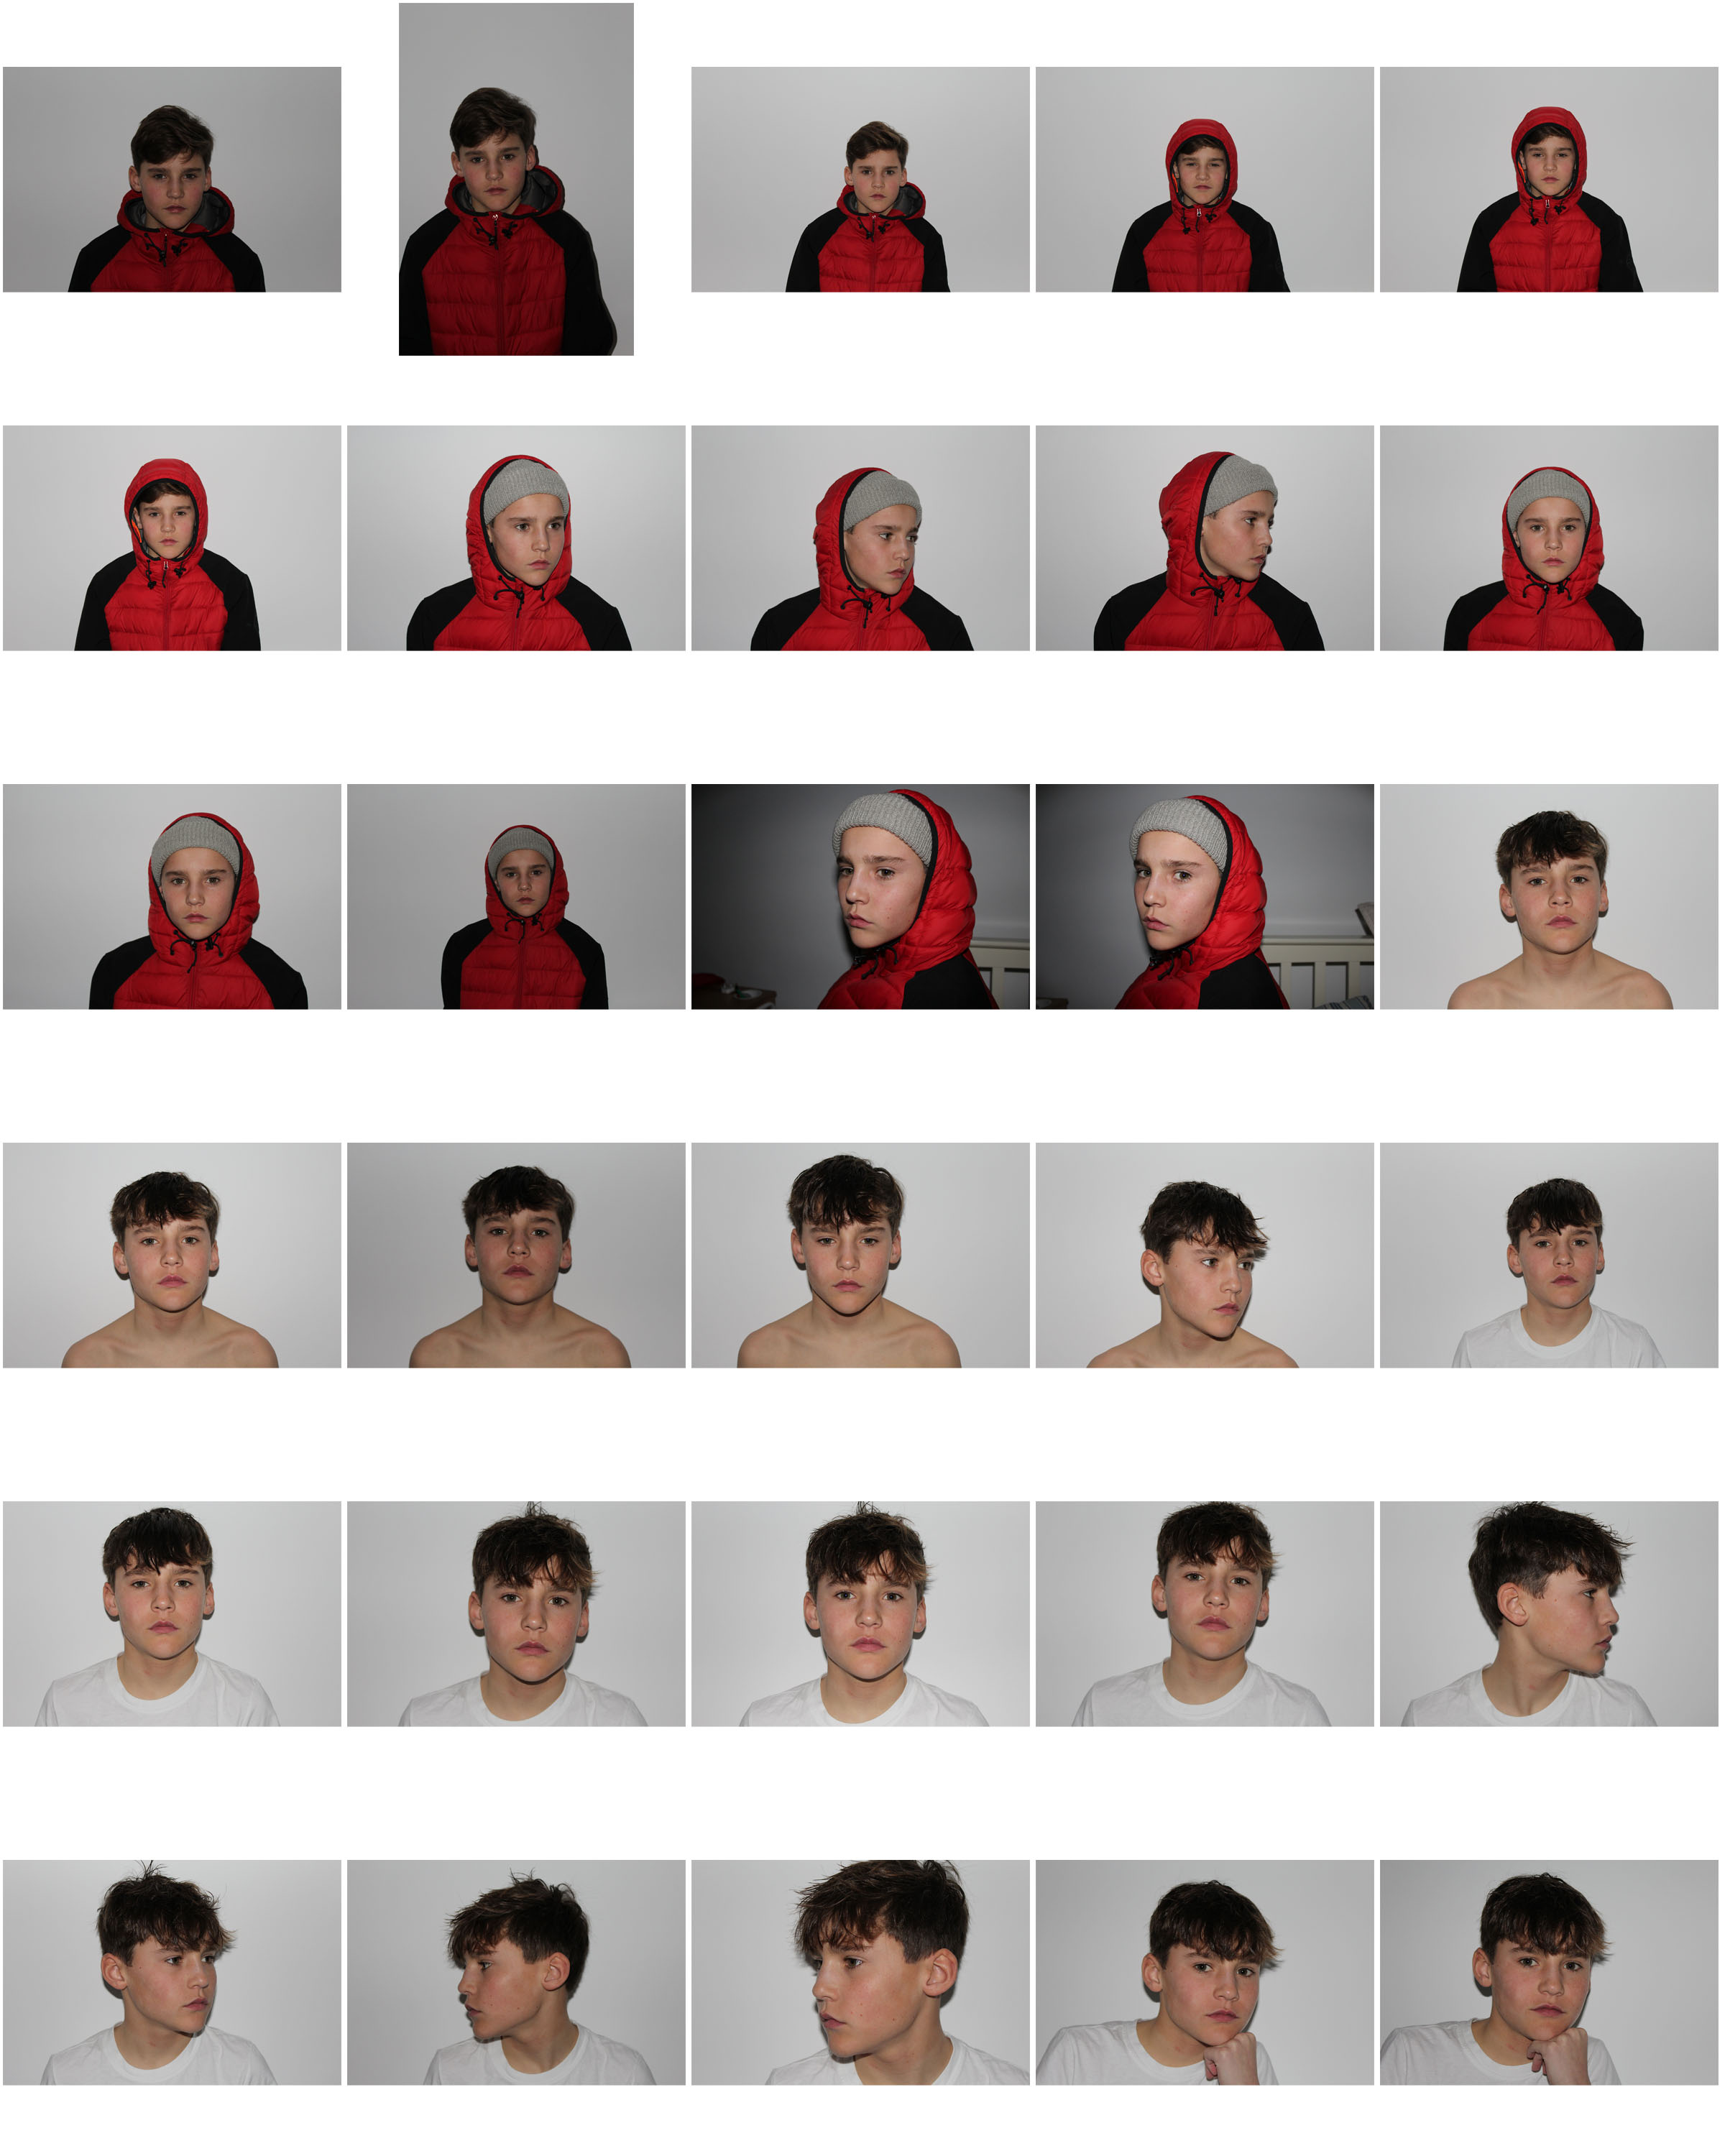
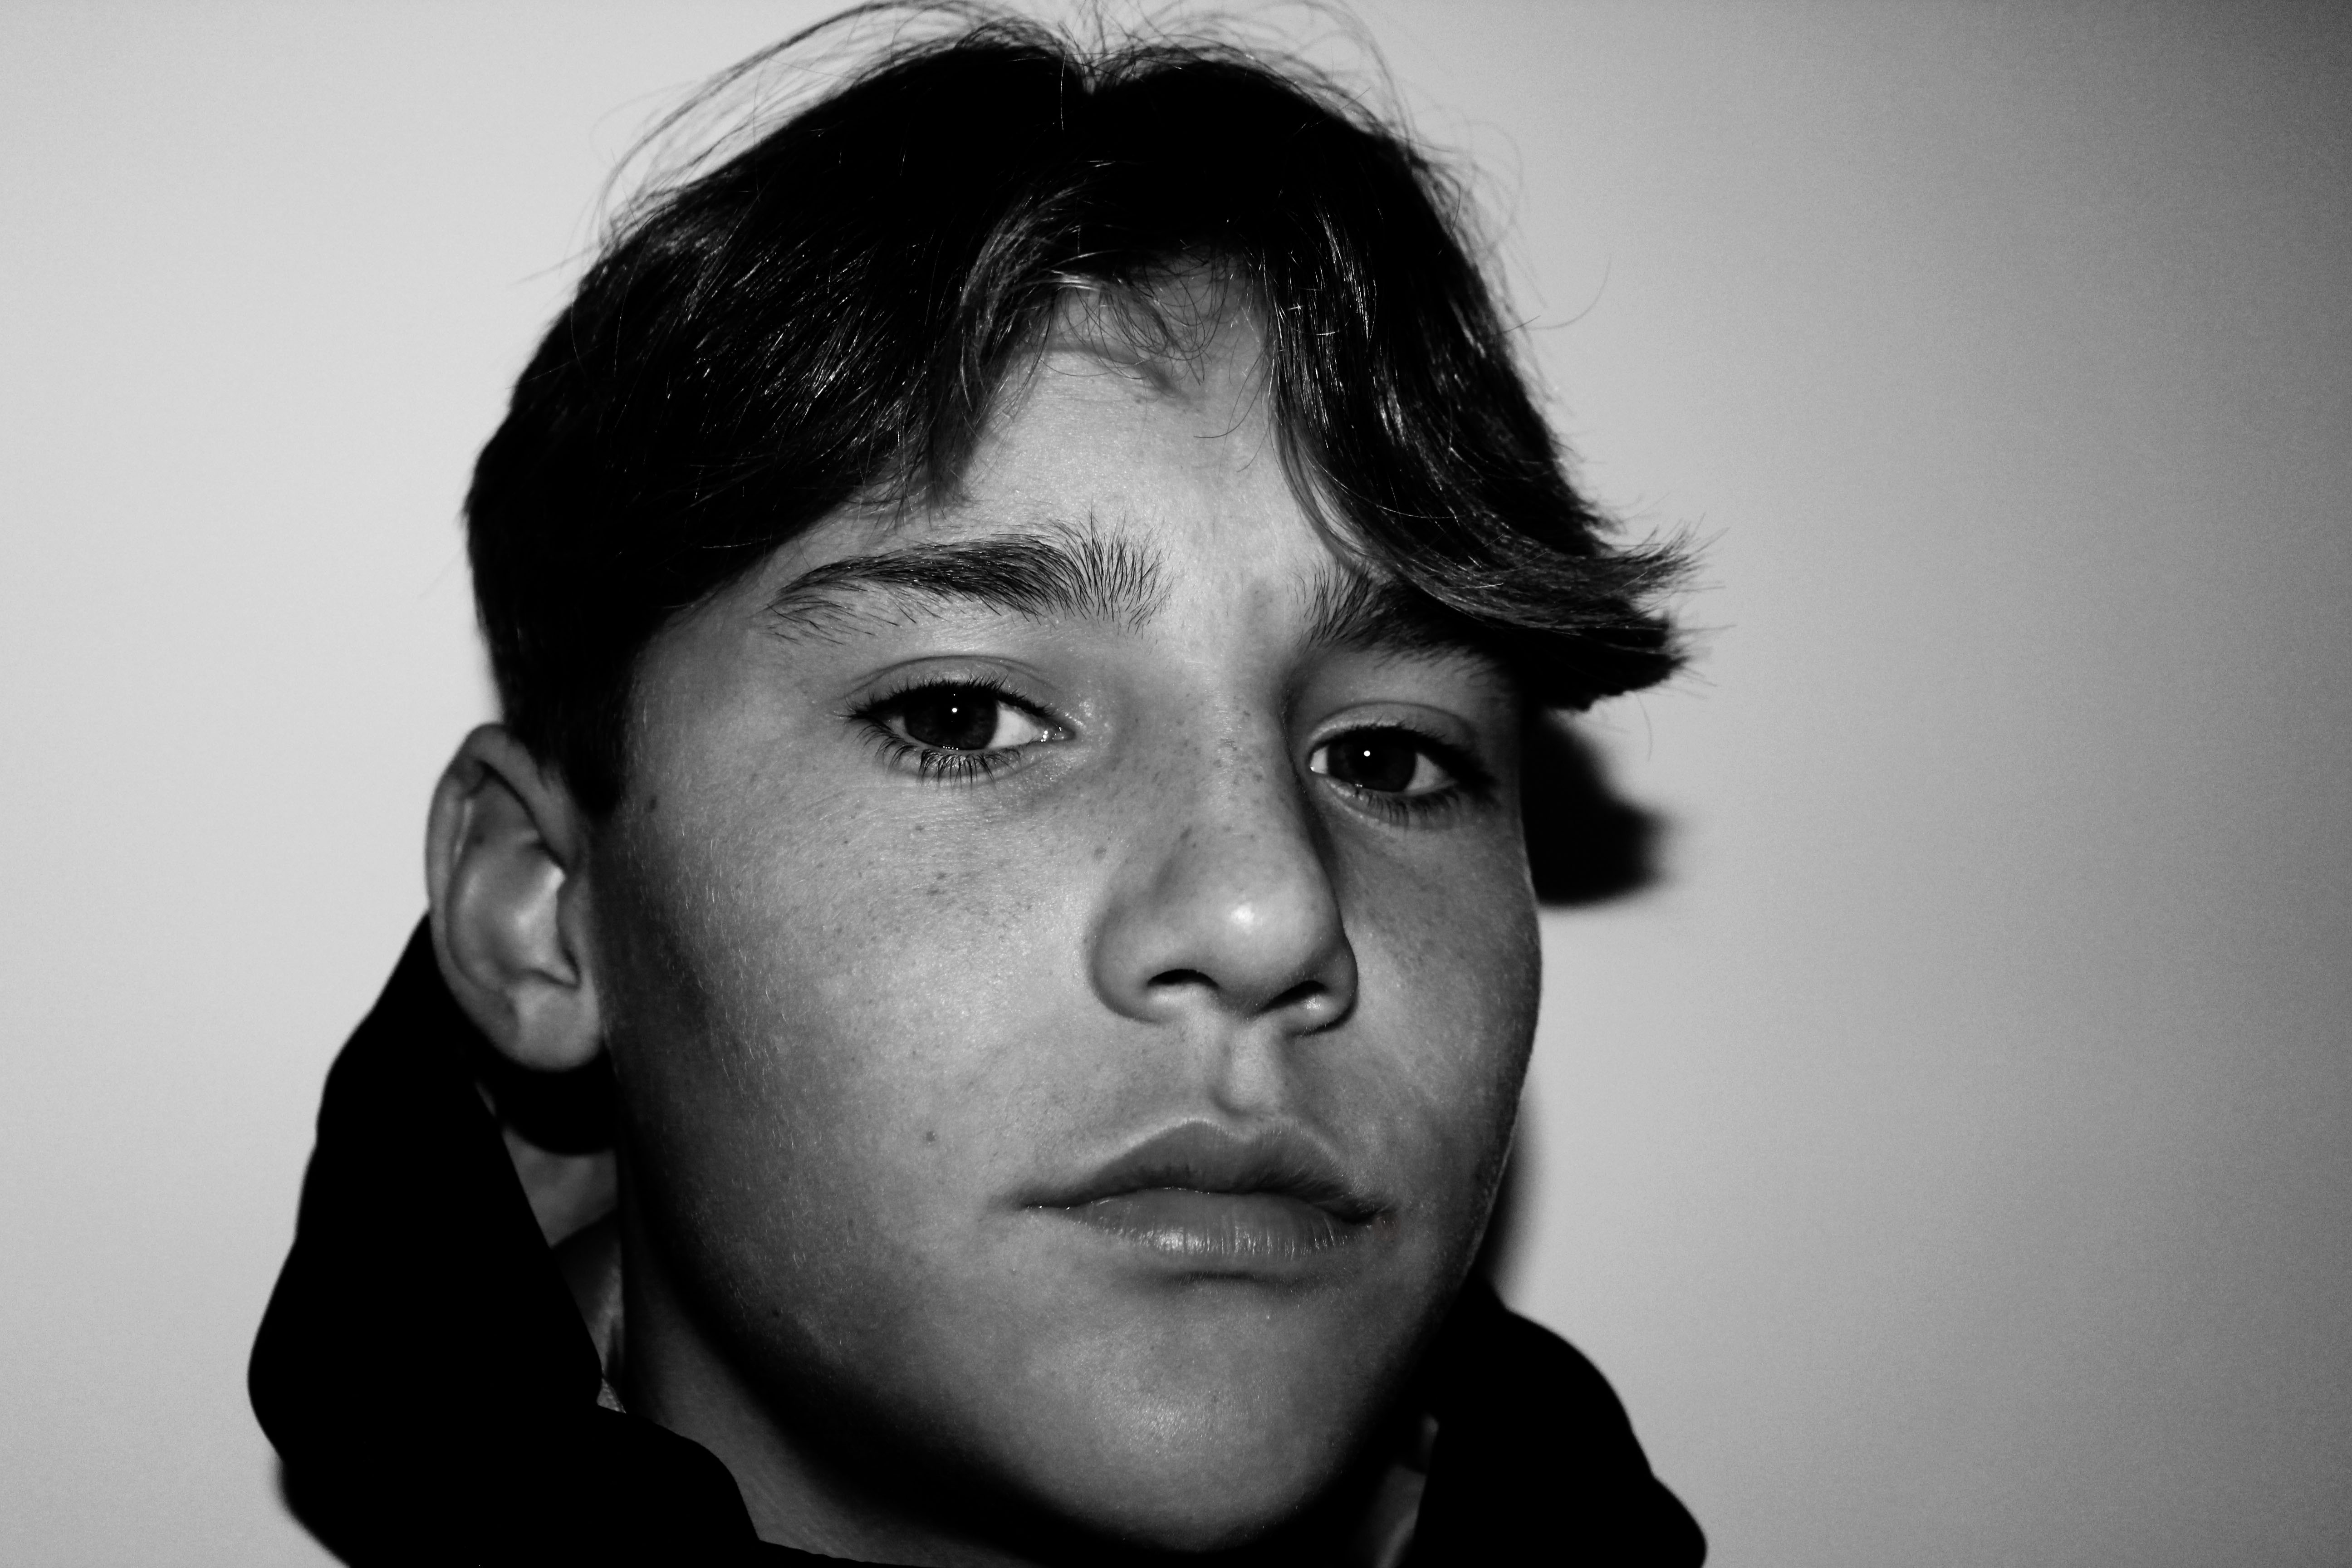
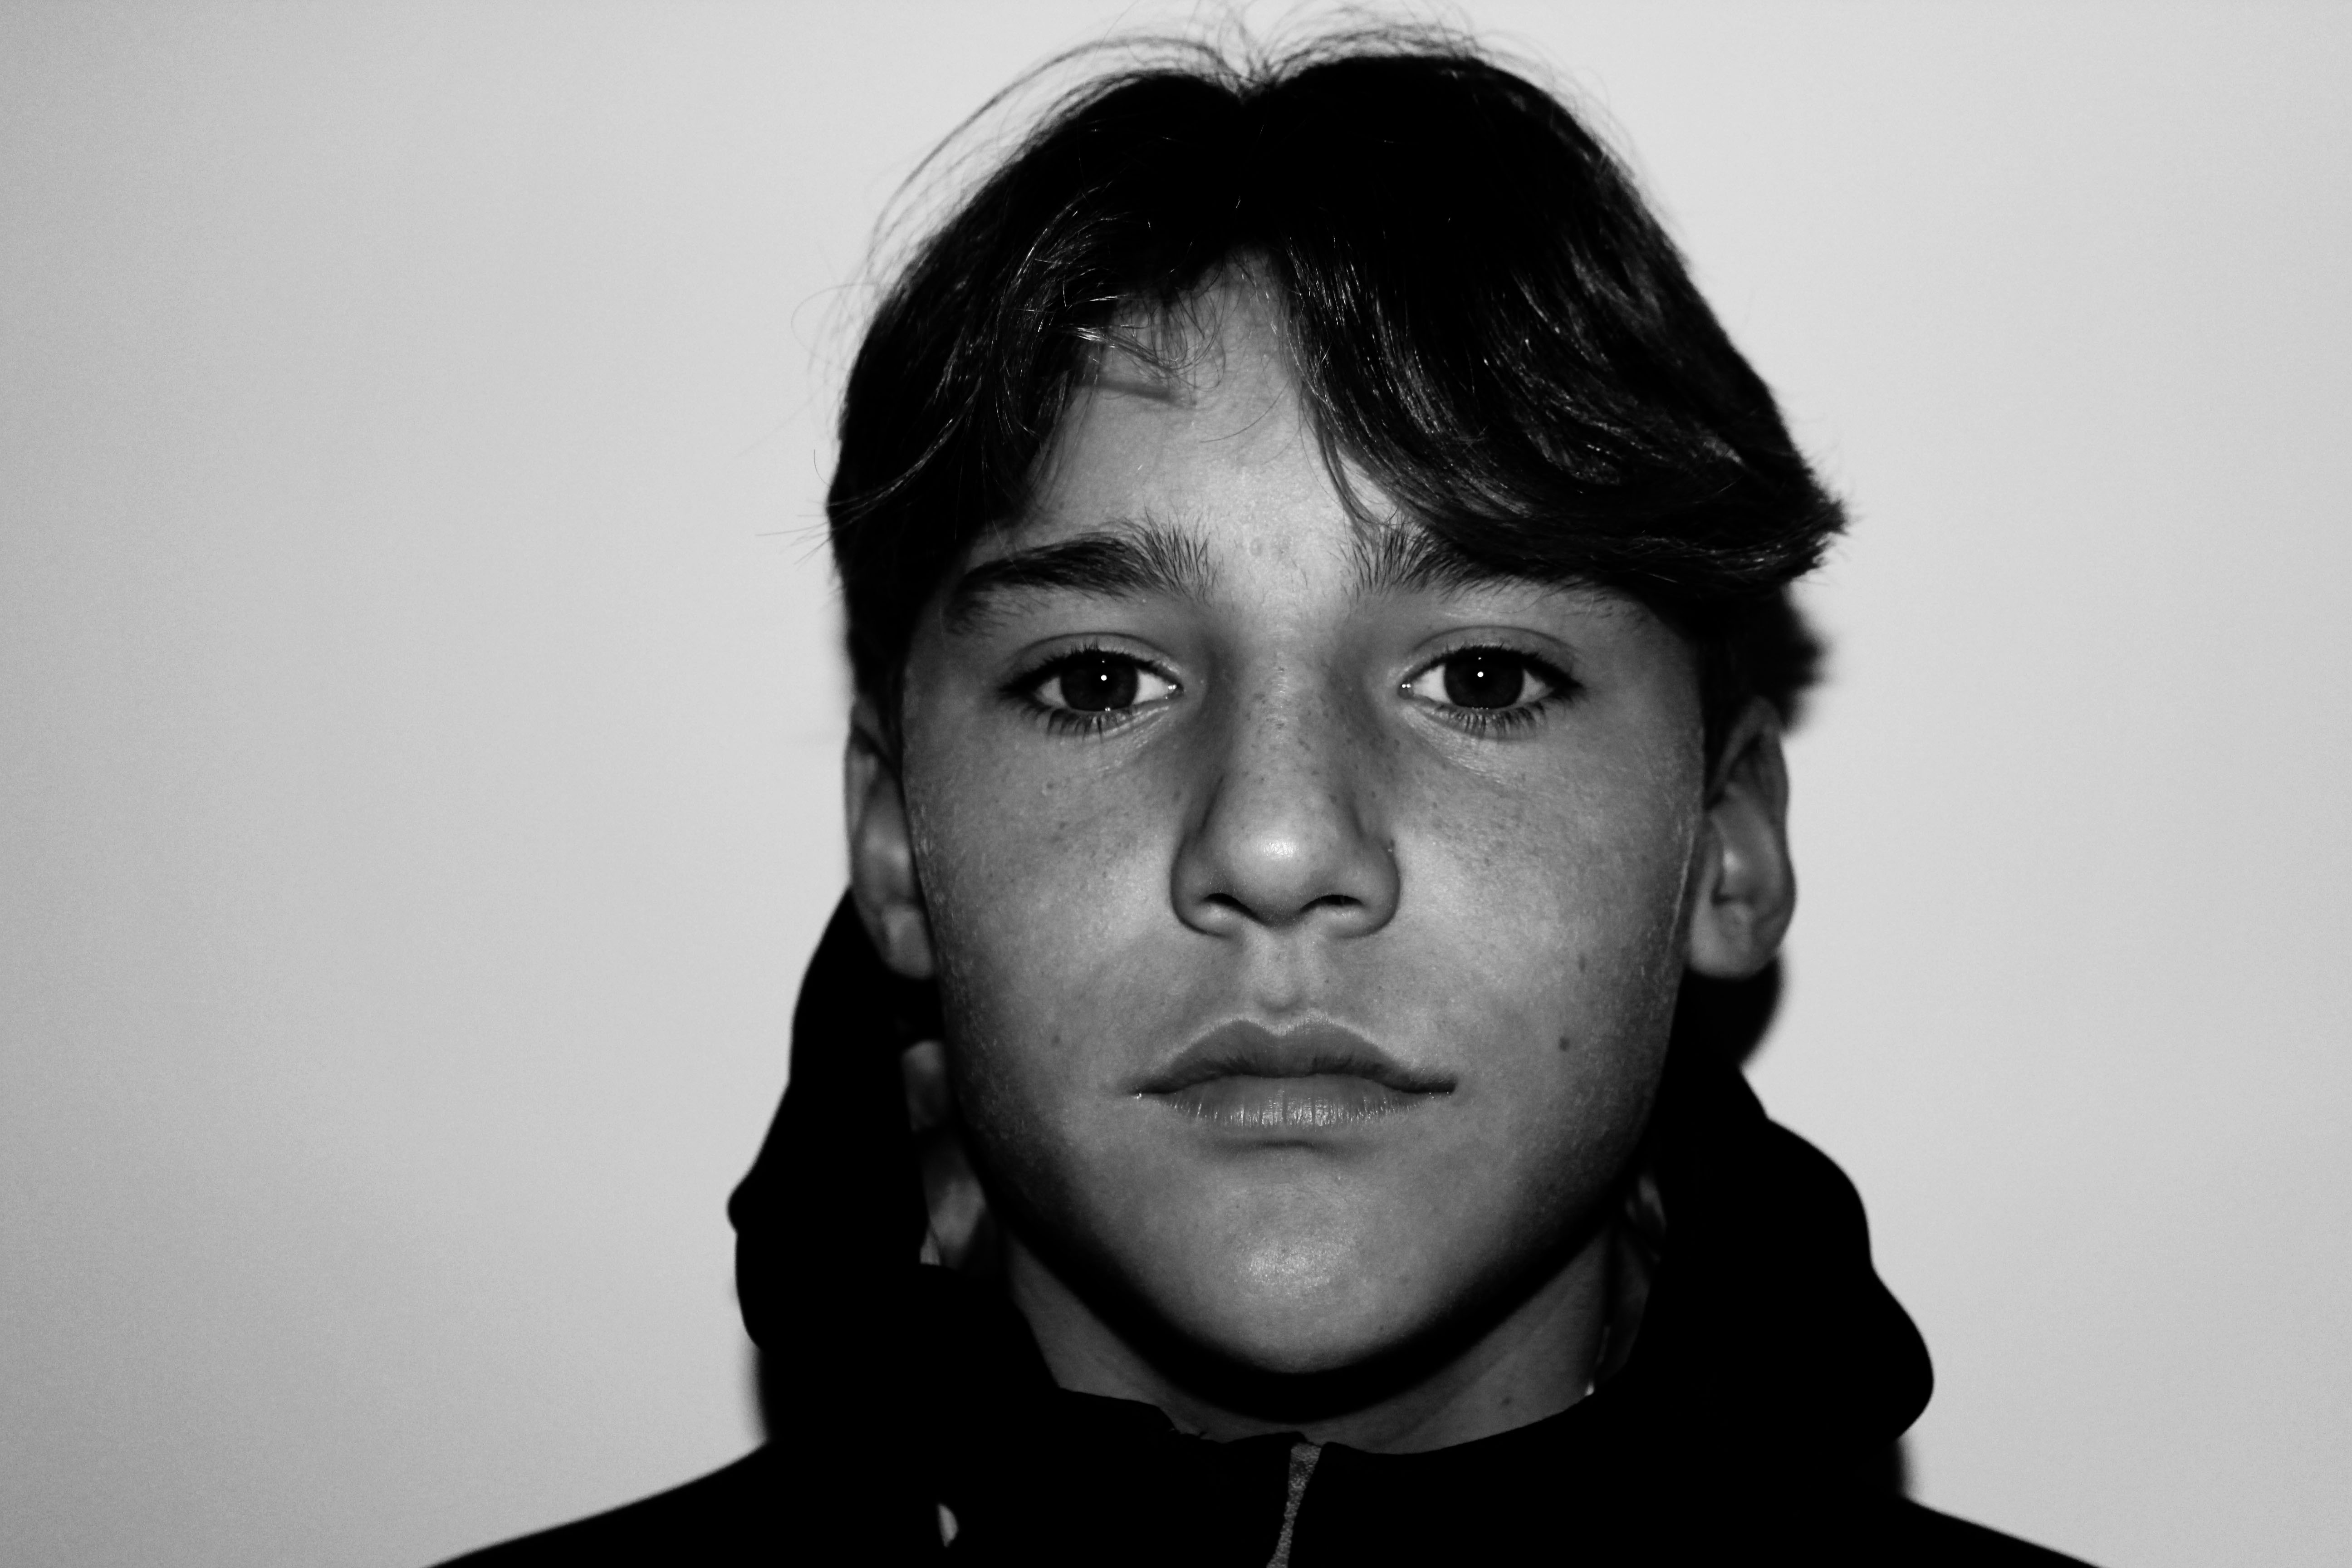
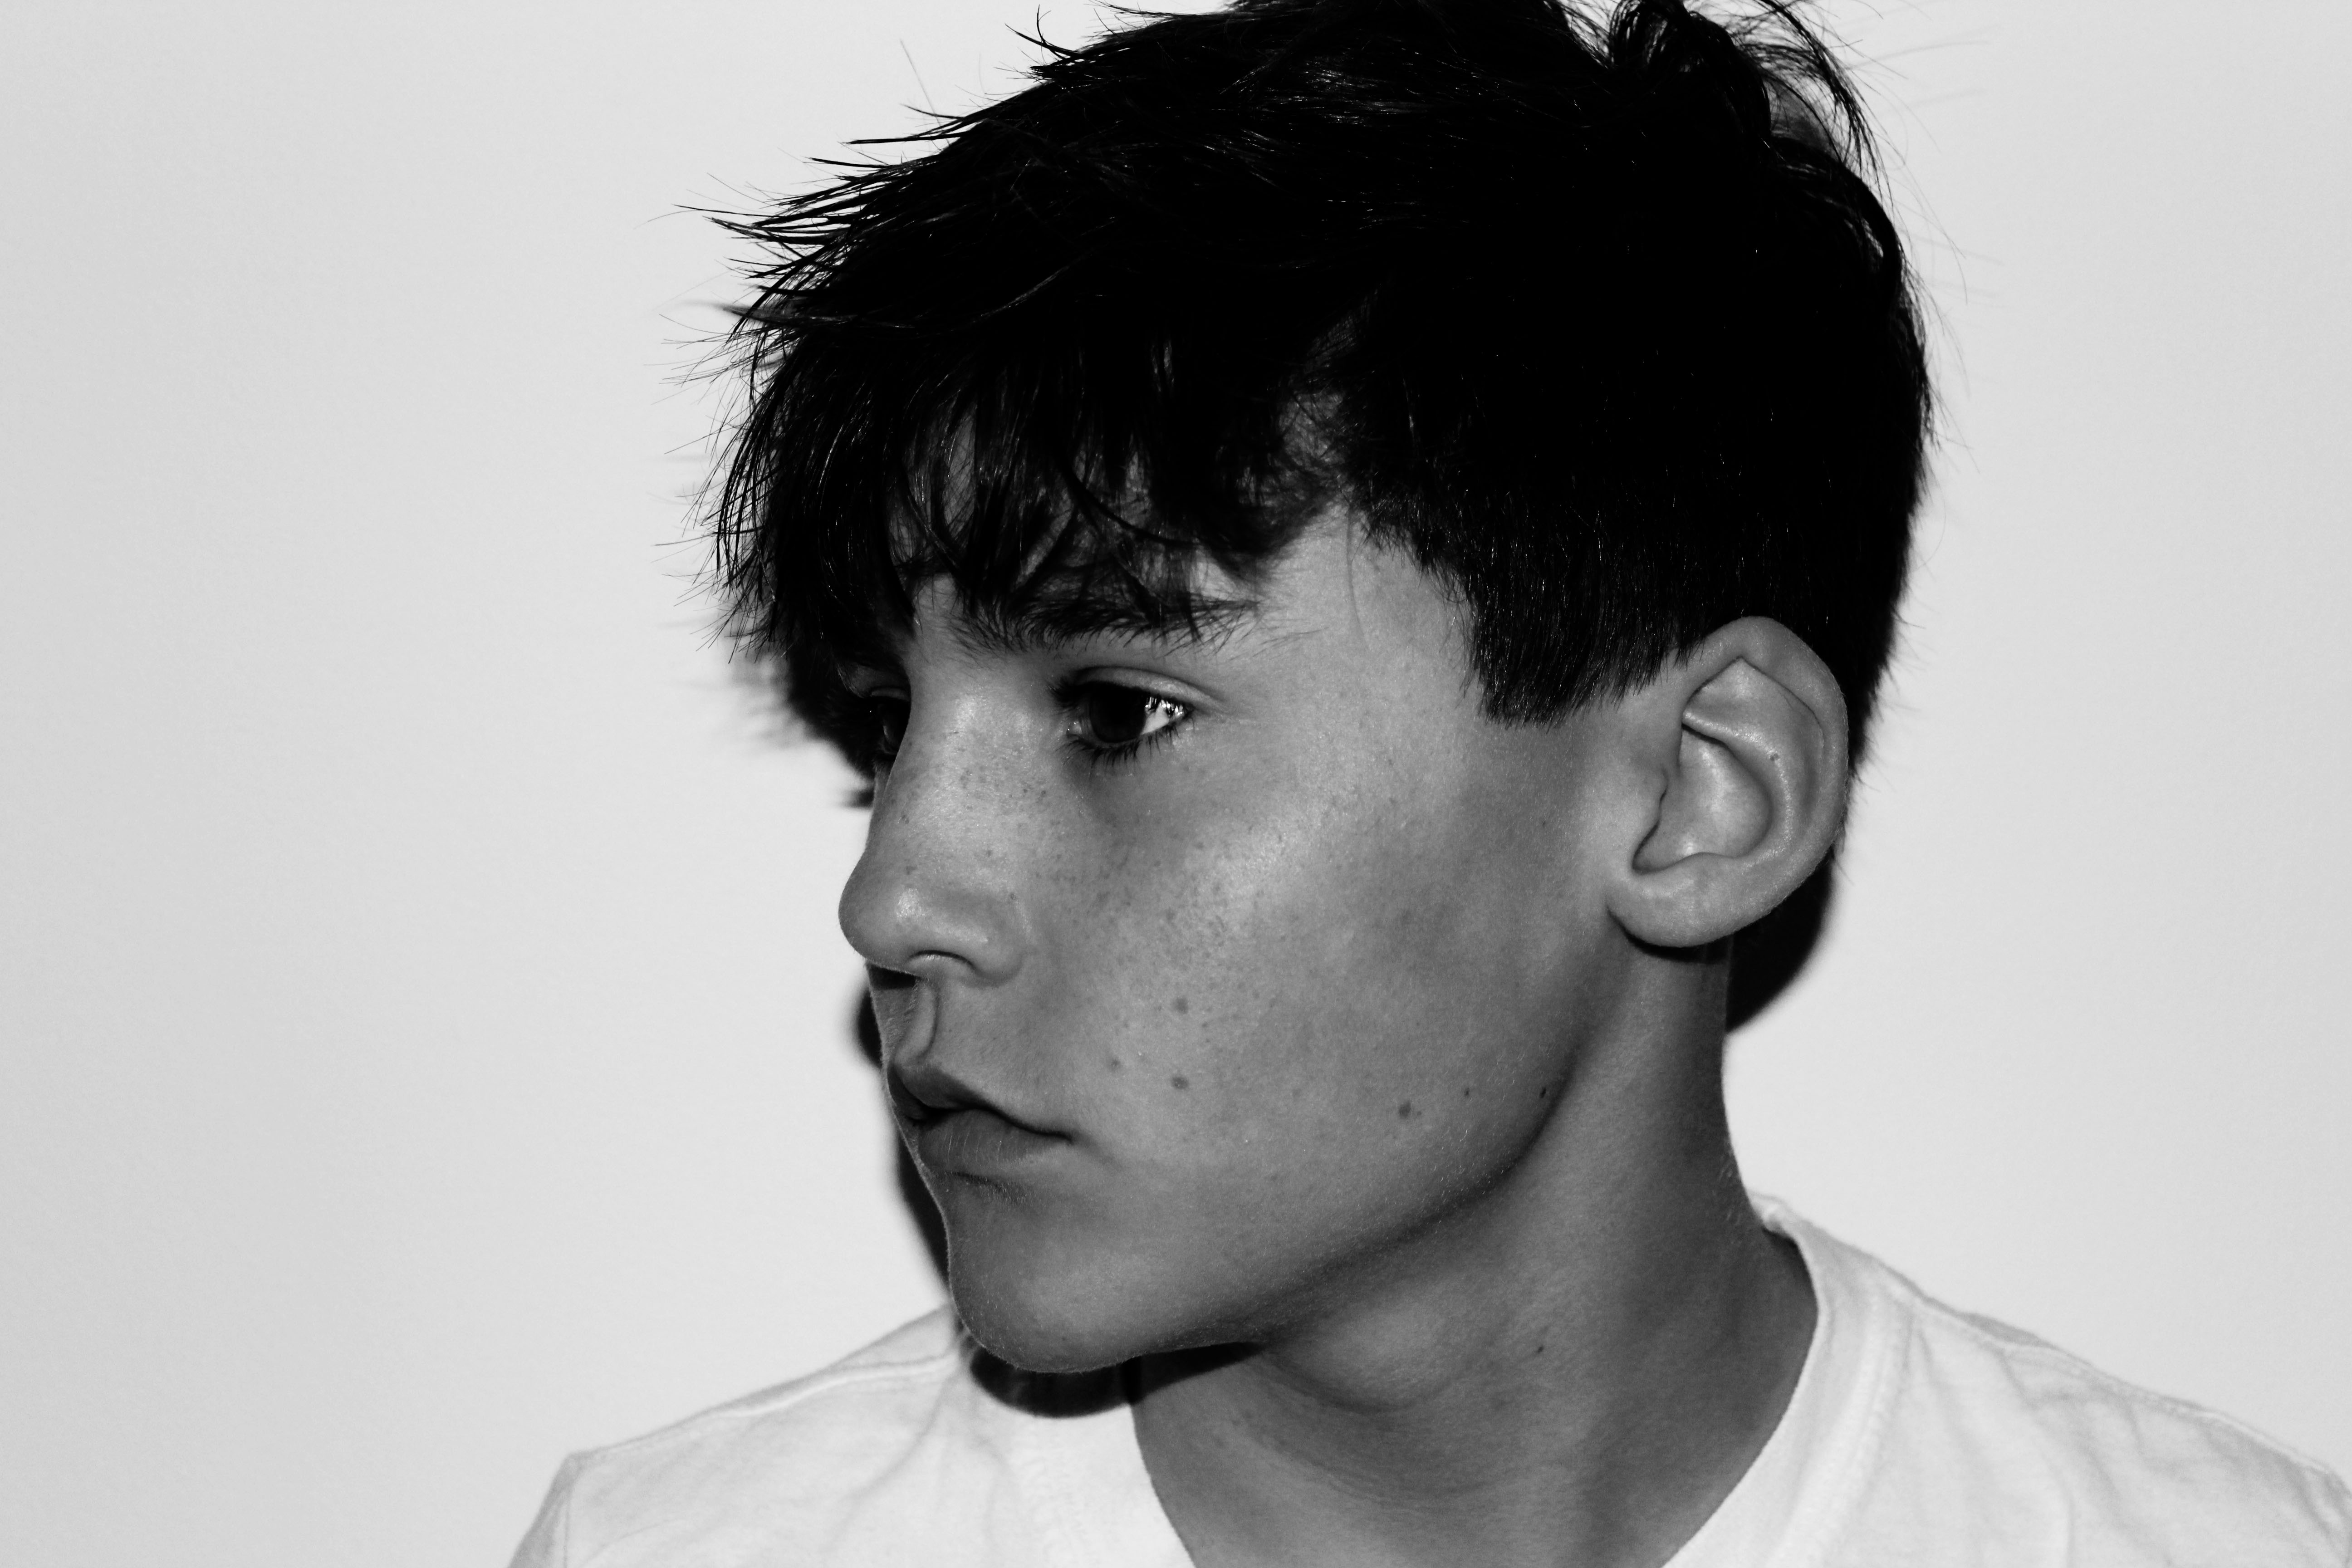
Chiaroscuro is the use of contrasted light and shadow. It was developed during the Renaissance in portraiture - artists used light to illuminate objects and faces, particularly one side of the face which gave a dramatic effect and added another dimension to the painting.

Photographers use this technique to highlight what they want to be seen. Strong tonal contrasts can be use to create dramatic effects in photographs and in films. It can also be used to hide a part of someone or someones identity; having the direction of light from behind so only a silhouette can be seen.


I used 1 point lighting to achieve an extreme version of chiaroscuro so only some of the face is illuminated. The contrast of shadow that takes over the rest of the photograph helps to exaggerate this.
Category Archives: Uncategorized
Filters
Final concept for photography:Loss of Identity
I chose loss of identity because it is such a complex and large subject in which many areas can be applied and touched upon.I want to represent a loss of personality and belonging seen throughout how people are positioned and in how the images are further edited.
My first idea for the shoot would be using a mirror:
This is due to the effect that it is able to remove a body and emphasis the conceptual concept of a feeling of no belonging and having no self worth.It also allows an interesting sense of surrealism within the work.It presents an illusion of possibly other people seen within the mirror,or even a different angle or vision of herself,Furthermore it could be a simple reflection of the background which furthers the thought that she is nothing to how she is given to her scenario and ways in which she is not seen by others. Additionally the mirror could be used in order to show a repetition of the face through out a crack,this crack would also symbolize a sense of hate for her image and or how she is conditioned to look a certain idelaitic way and in her image she is not succeeding in this unrelatic standardized beauty ordeal.
I also will use the following editing ideas and techniques to further the ideas of loss of self worth.I might make a print and then remove the face as she is lacking an identity,I could then use this to be seen within the mirror and a reflection of her looking at herself not existing,and perhaps a reflection and to how others view her also working well within the mirror aspect These d editing idea would be a body image and her almost pulling apart her body,and showing a reflection of nothing.this was inspired by herself in order to try and discover who and as to what her identity really is.
My second shoot idea would be a close up face shoot focusing on editing and tones:
For this I was really inspired by a sense of natural tonal beauty within black and white,and how this can highlight marks and tones within the face.The relationship enhancement of this shoot will be the following; stick paper over the eyes or gum, any substance that represents a sense of insecurity and attraction from seeing a reflection of who they are and what their identity really is. The next way in which I could edit my images is with a blur or an almost dissolving aspect to the images, this is done by how they themselves are seen melting away due to not knowing how they themselves are or what they mean.This could also further possible slow shutter speed photos done in order to show a face moving.the next idea is inspired by a more manual aspect,I would want to print my chosen photo and poke holes within the image and allow the light to come trough, this allows a sense of persona and how the light presents who she is ,and is either dissolving or perhaps lost within all the gaps within finding herself.
My third and final shoot will be a projection of colours and lights all over the body and face.
I think this idea is highly creative and also quite subjective, it proposes the idea of an expression of themselves and colour and personality but Also venerability within the exposure of themselves.Not only this but the light and colours allow a sense of reflection of space.Otherwise I could use the projection in such means to blend their bodies and cover them,this proposes the idea that they are unseen and do not exist to people and blend in with everyone else. Finally these photos could be further enhanced throughout a transparent sheet and paint over the stop, this would compliment the colours within the projection and also reflect a further sense of hidden identity,it also allows a sense of abstraction to the piece and a sense of movement ands struggle within the people. the pose would be very flexible and expressive, this is due to me wanting to create a story throughout the work itself.
Environmental Portraiture Homework Task
ENVIRONMENTAL PORTRAIT
Photo shoot Plan

Environmental Portrait Photographer (Arnold Newman)

Here is a link to an archive of Arnold Newman’s works…http://www.arnoldnewmanarchive.com/
Environmental Portraiture Shoots
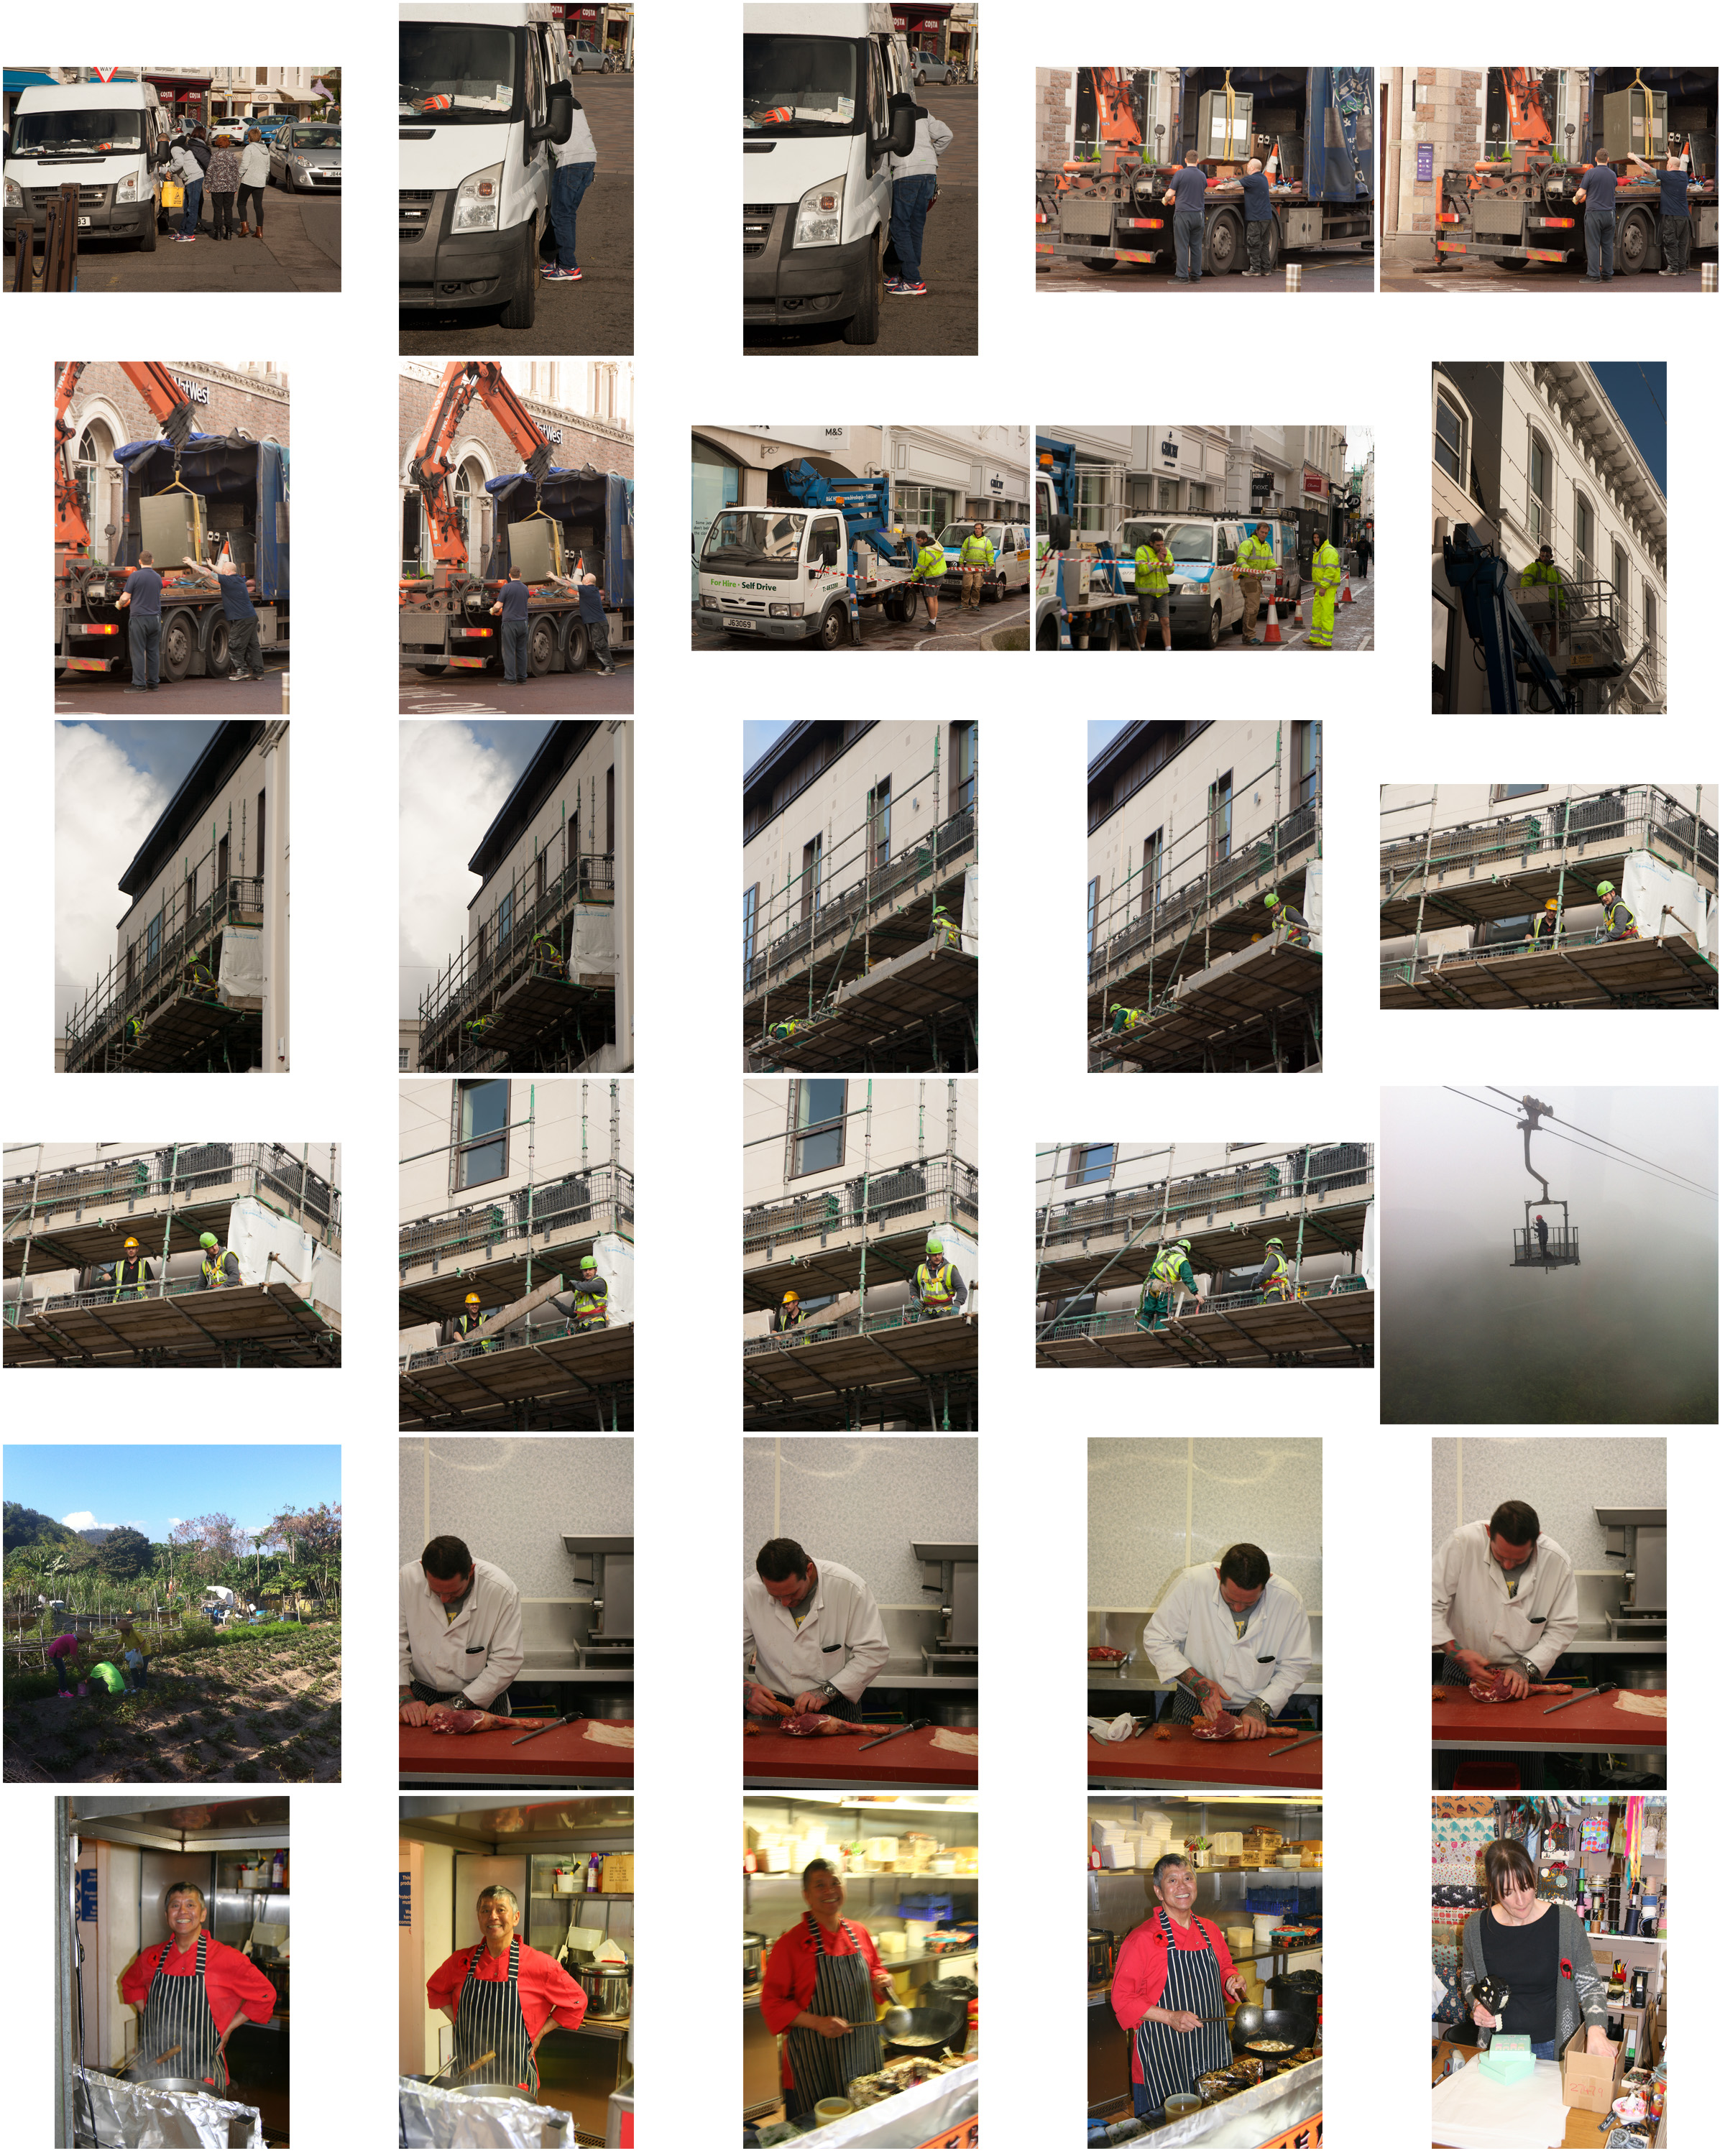


Favourite Edits

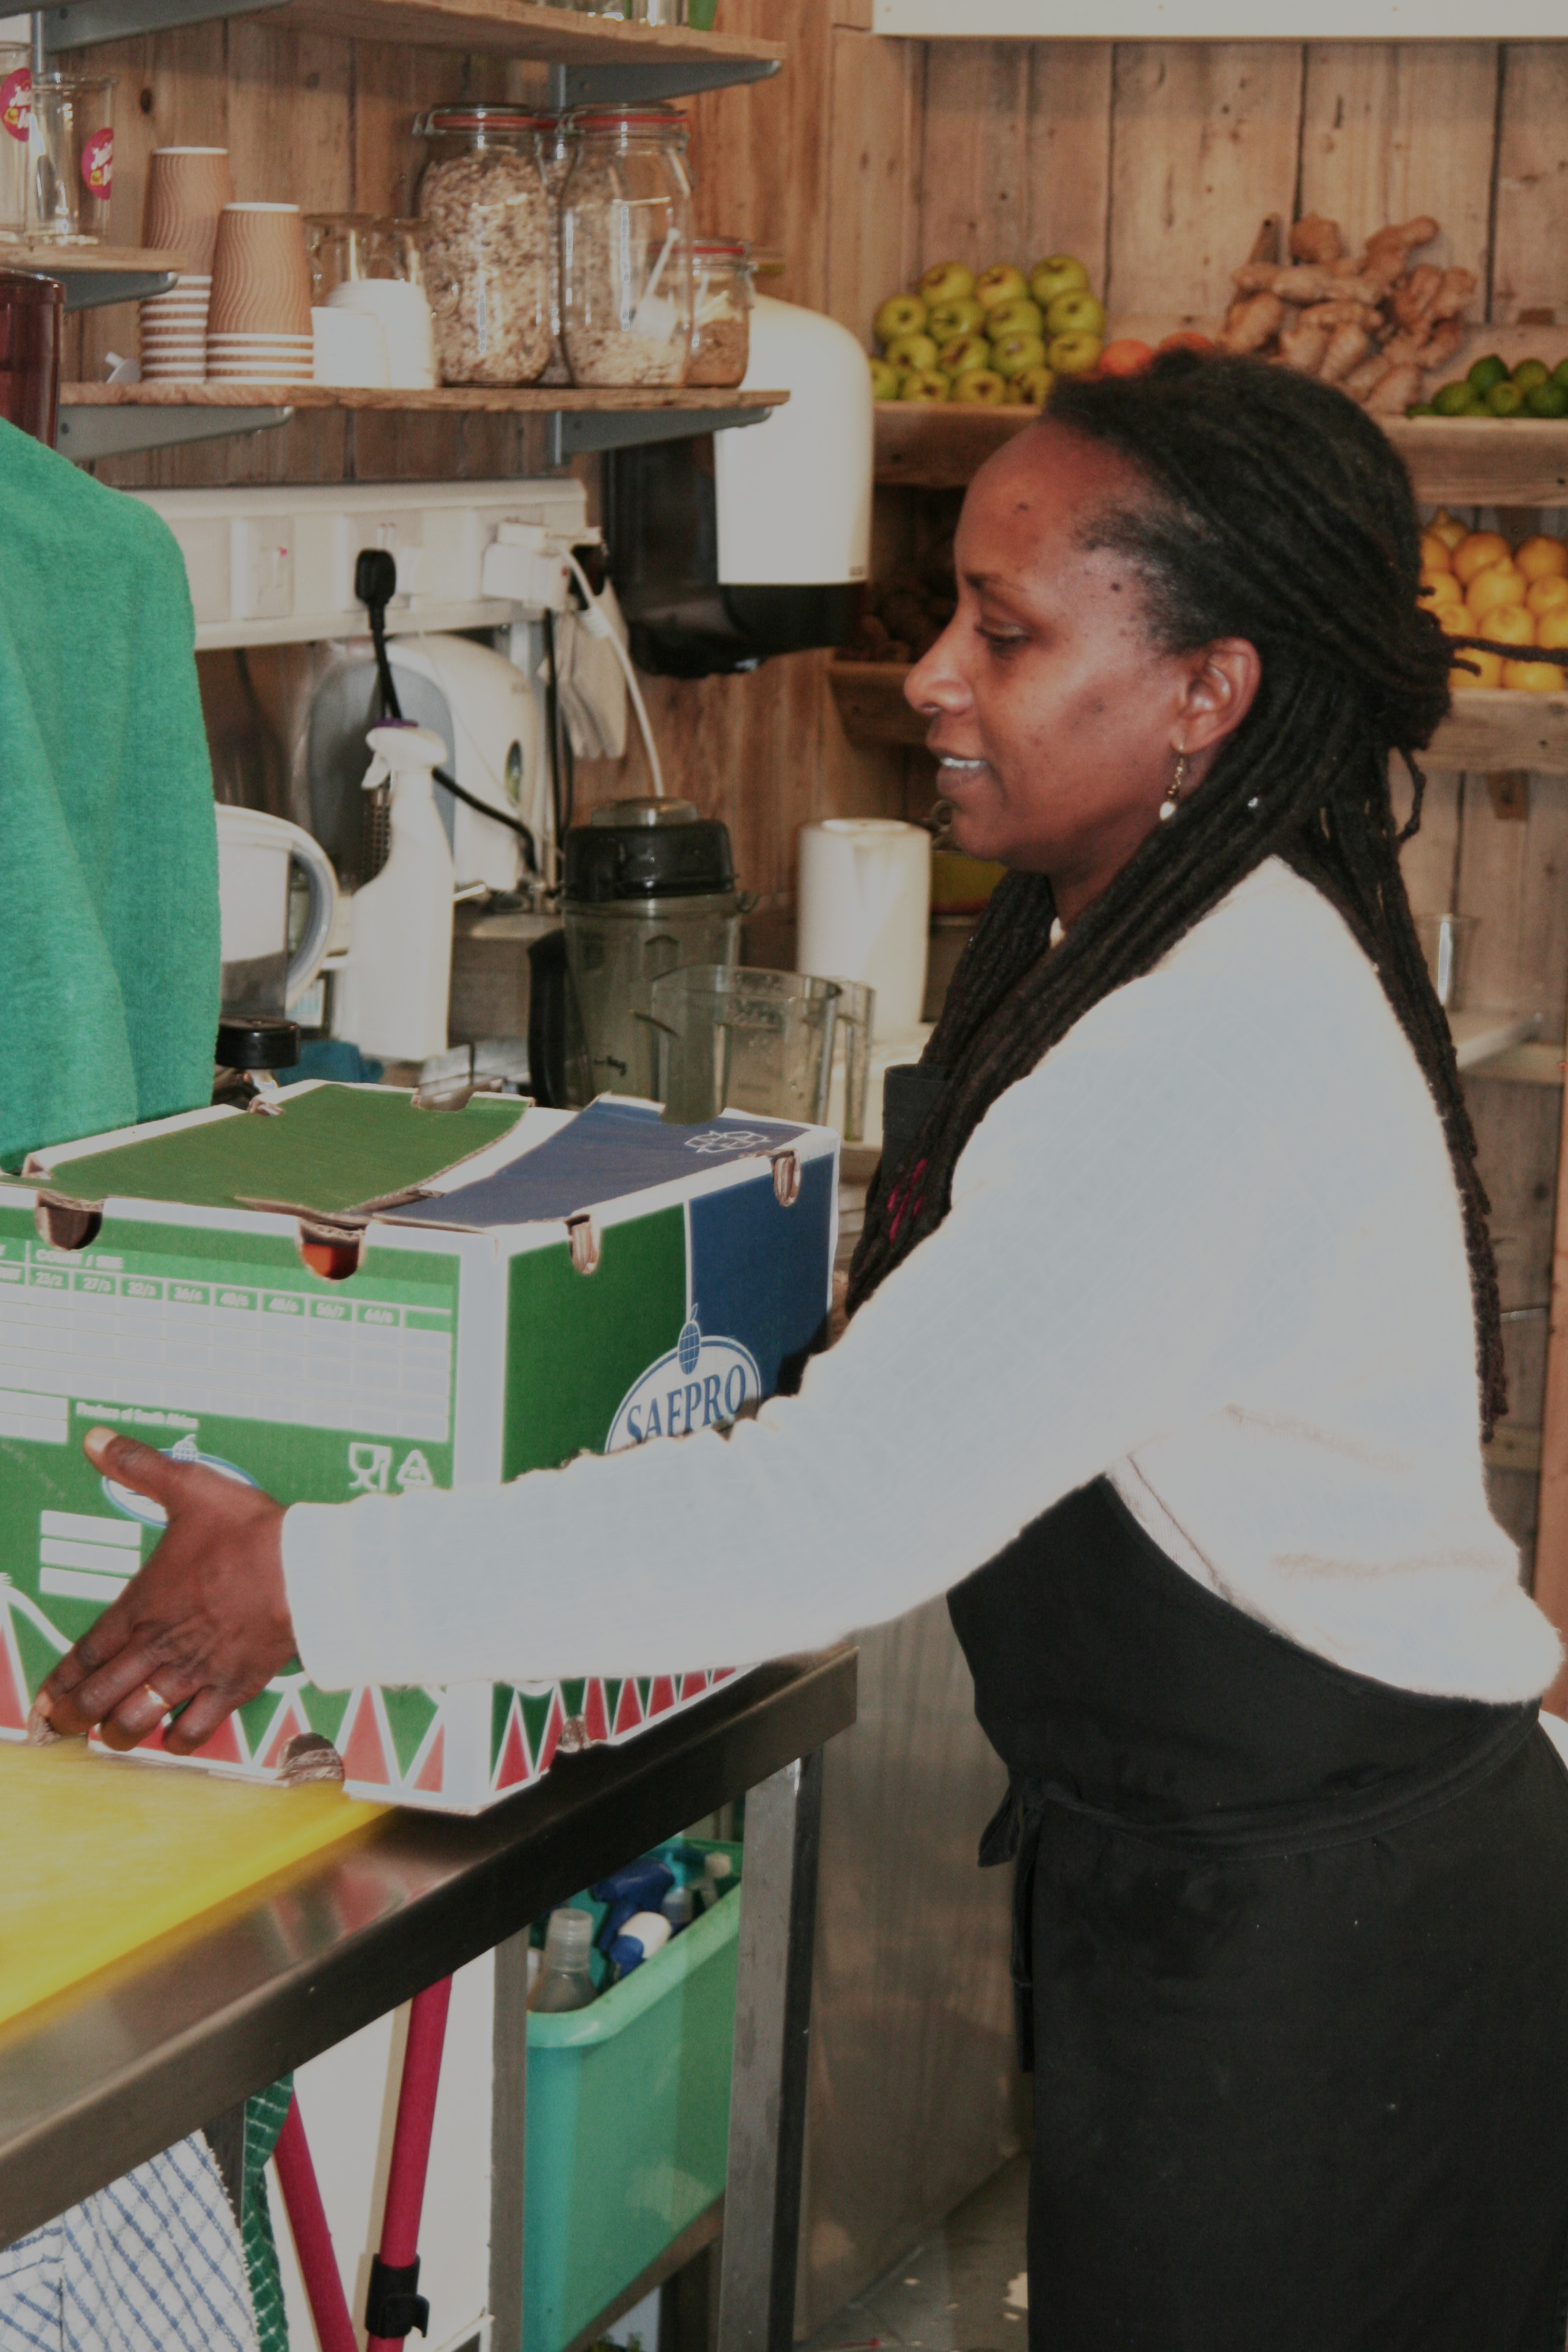
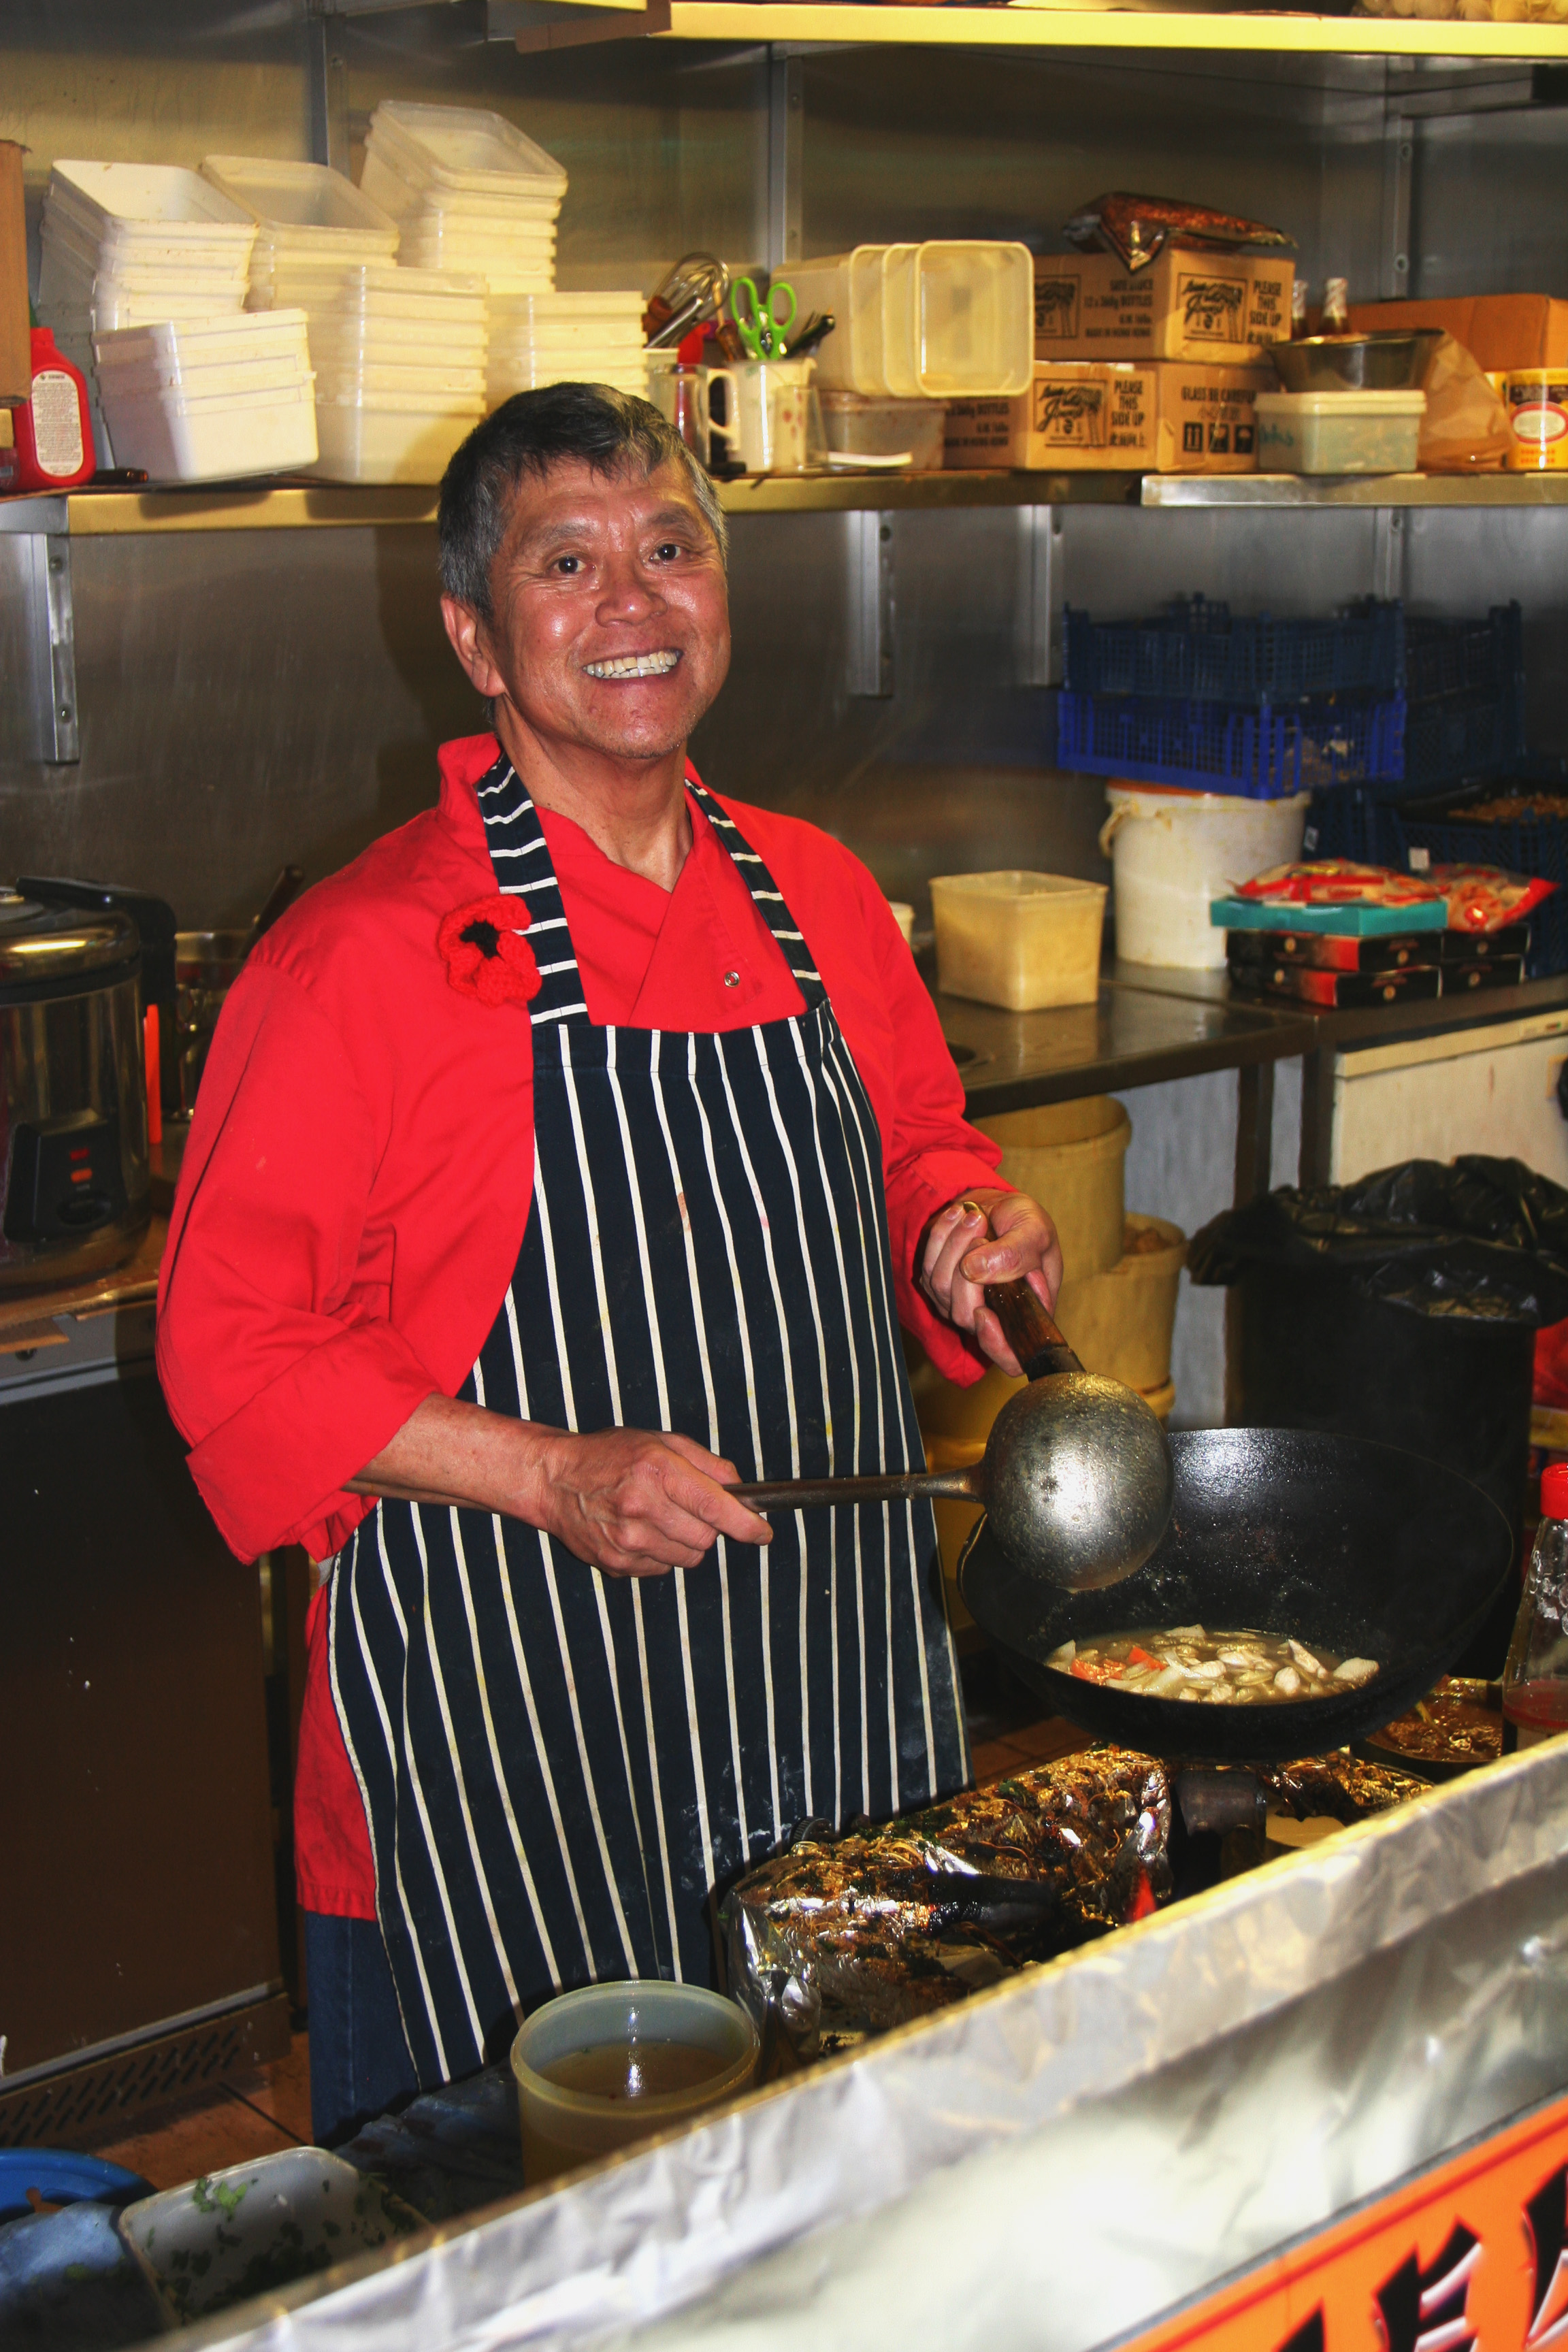

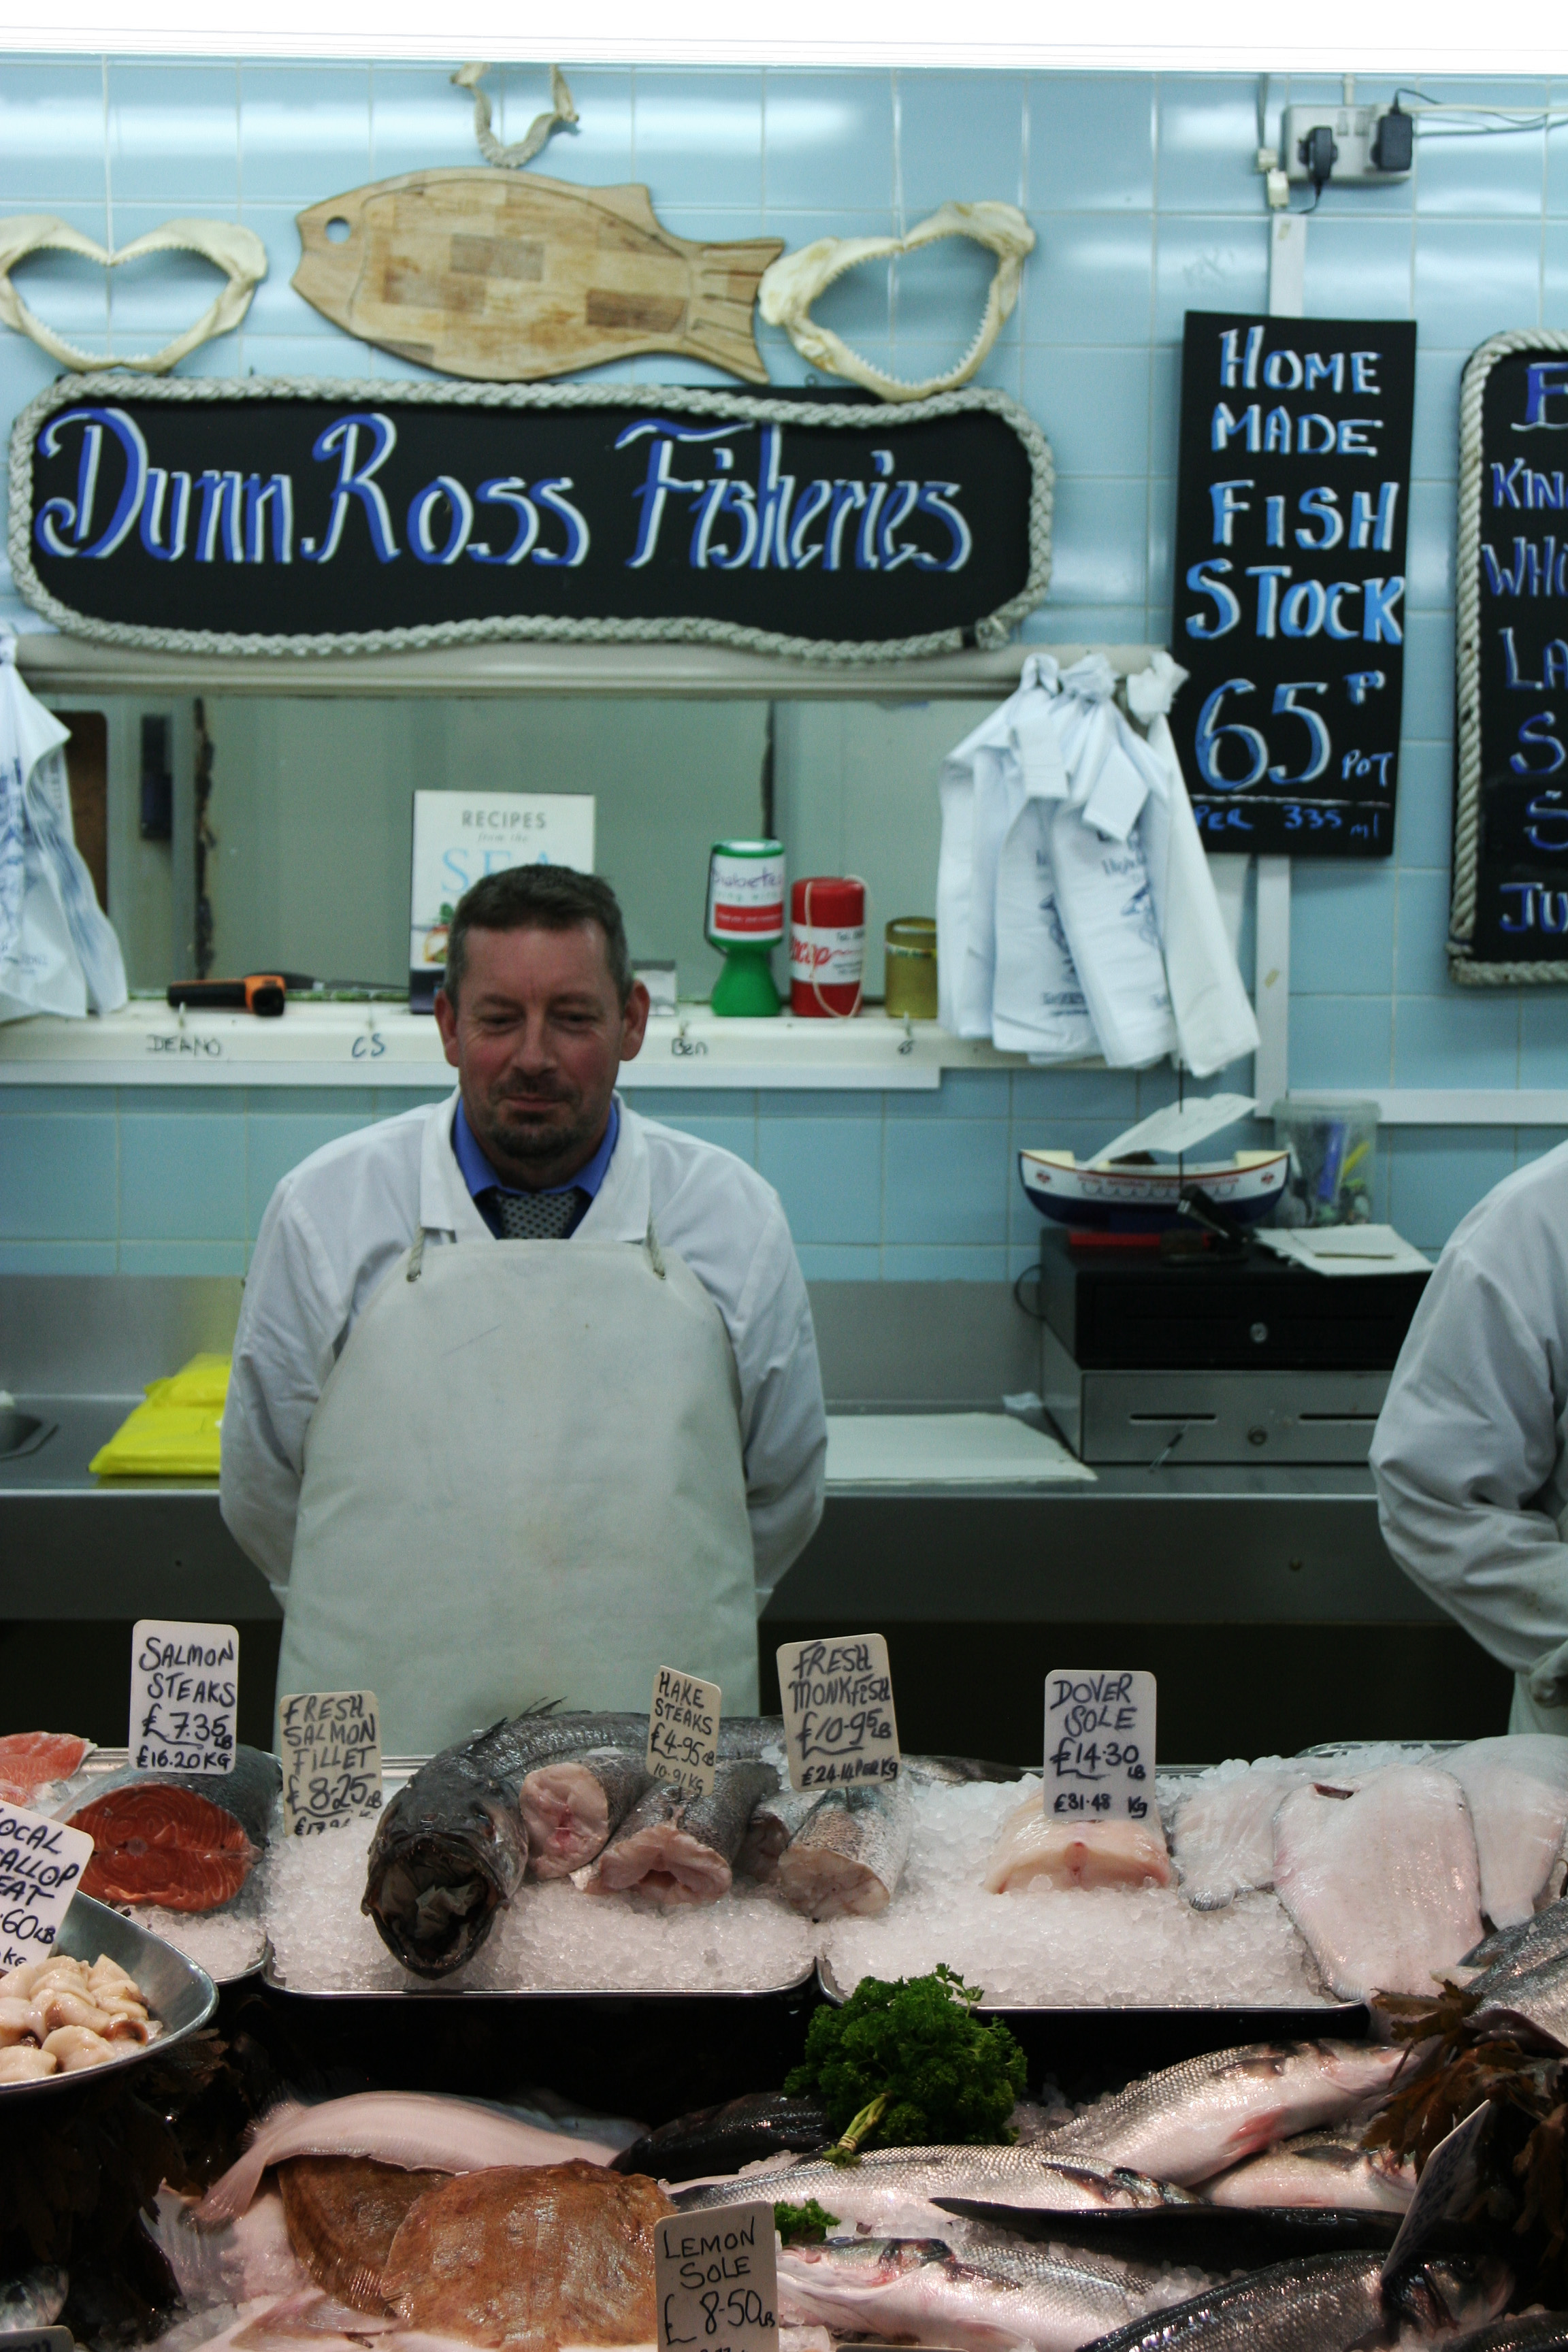


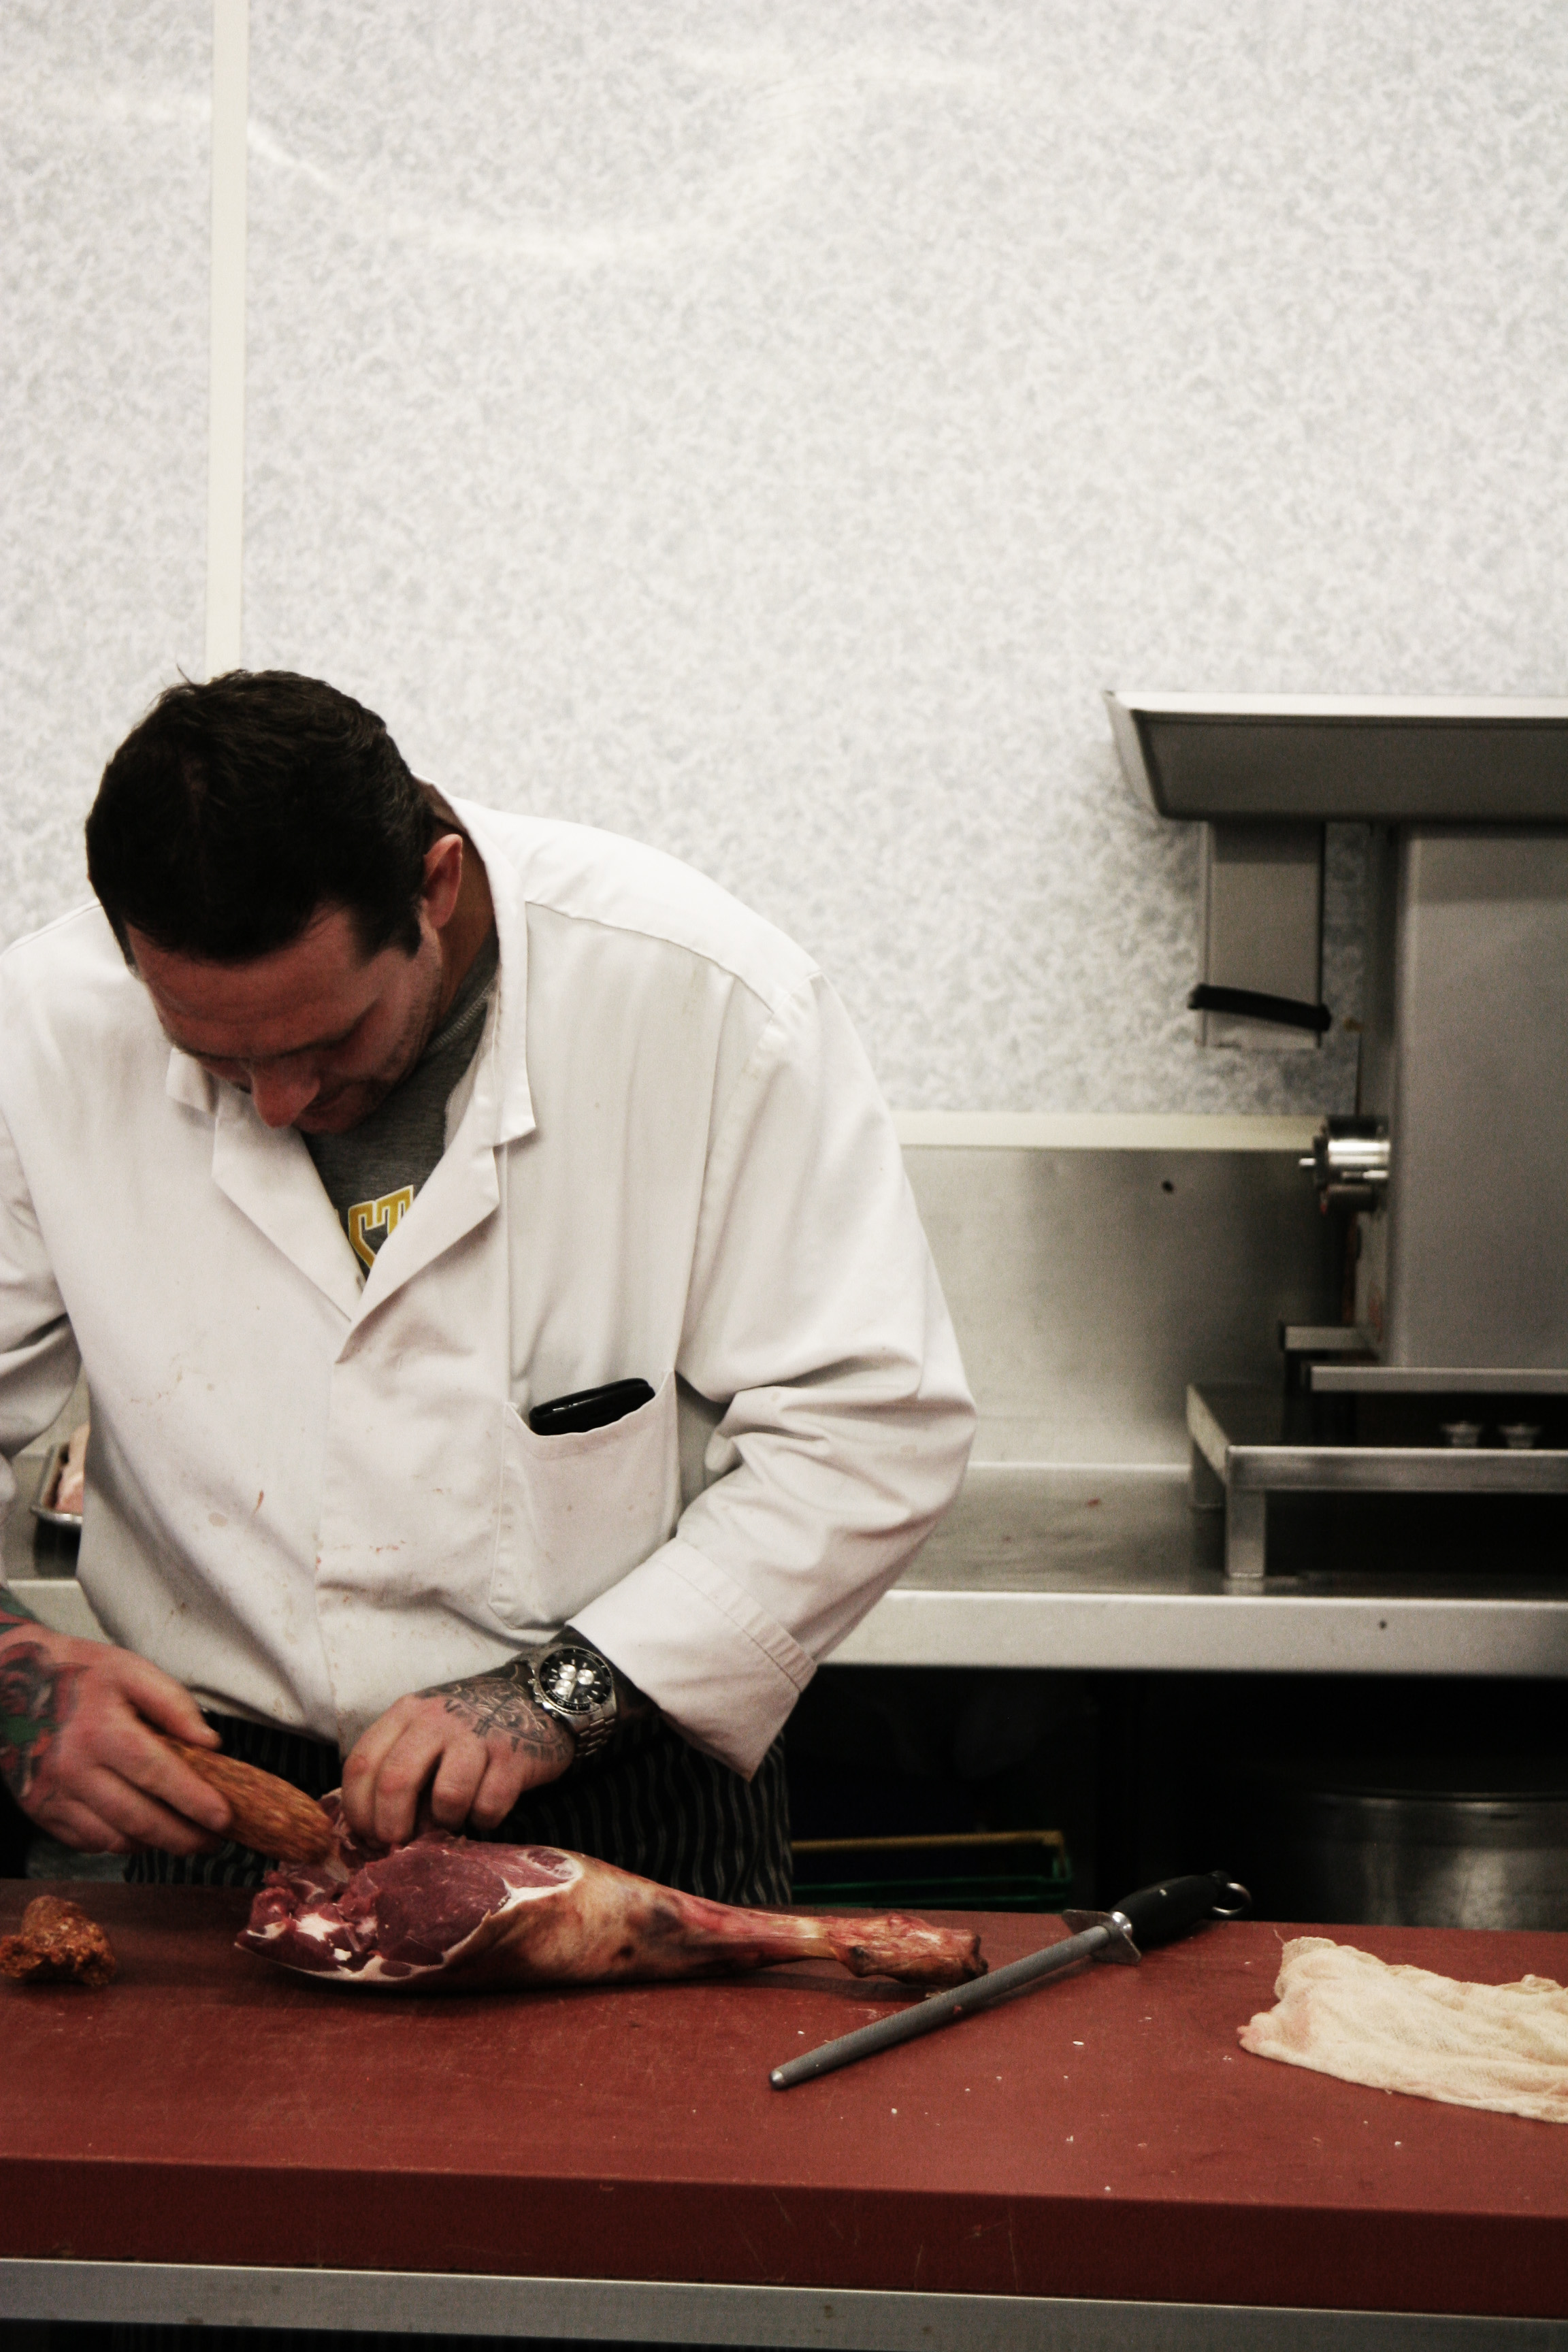

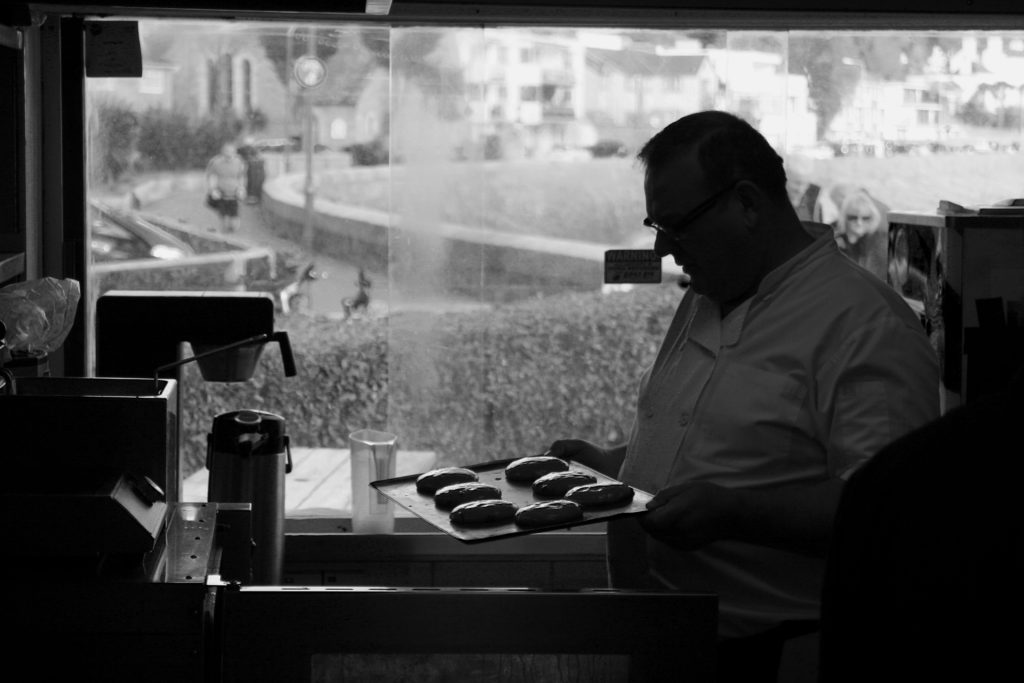
Black & White Edits
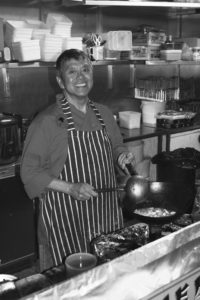

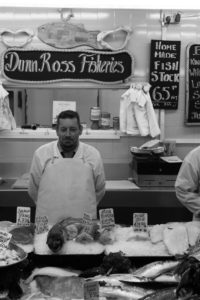

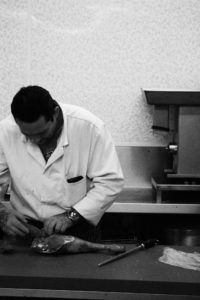
Rankin
Rankin is a fashion and portrait photographer, mainly using celebrities in his portraits. Each of his celebrity portraits reflect the person with the make-up facial expression and any props used. Rankin is mostly known for his fashion portraits. In this one he has used black and white make-up and clothes. The well-lit lighting used helps to exaggerate the contrast between the shades.During the studio photo shoot we played with lighting and created portraits with the same concept of light and dark using light - creating the effect of Chiaroscuro.

Studio Lighting Photo Shoot
Why do we use studio lighting? We use studio lighting because it gives us more freedom to control the conditions that the subject is in. For example we can adjust the angle, brightness and color of the lights so that we can have the settings we desire to have the picture taken in. What is 3 point lighting? Three point lighting is split into three different points: Key lights, fill lights and back lights. Key lights: Usually the main and strongest light, with the most influence in the shoot, and is placed on one side of the camera so that the other has some shadow. Fill lights: The secondary light that is placed on the other side of the camera from the key light, to fill in some of the shadows using softer lighting. Back lights: This is placed behind the subject to provide some lighting from the back, with its purpose to provide definition and some highlights in the picture, which helps separate the subject from the backdrop.In this shoot I used the artificial lighting provided by the spotlights, to create a dramatic, almost black background, whilst using a red film to cast a reddish shadow onto the subjects face. I tried to position the subject's face using the rule of thirds, so that the eye was drawn to the face almost immediately, whilst blending in some of the subject's clothes into the darkness to create a smooth visually pleasing image. This was my response:
Final pictures:
I chose this image because I loved how the subject emerged from the darkness through the slow faint gradient of the red. This I found created a more dramatic effect to the overall image taken.
What I liked about this image was how not all of the subjects profile was shown, as there is a clear contrast between the light and dark side of the face. This created a more abstract effect where the body seemingly is materializing from the darkness.
I found that the clear definition between certain points of the subjects face, such as the neck and forehead allowed from a most striking and dramatic look from the individual.
What I really liked about this image was the use of the main light only being used. By doing so it created a circular spotlight illuminating only the top half of the subject's body, whilst making an imposing and strong contrasted image.
The use of the shadow in this image allows for a strong contrast created by the singular spotlight, to which the slight gradient around the edges makes the overall image more sinister.
Street Photography
Contact Sheet Best Images from the shoot
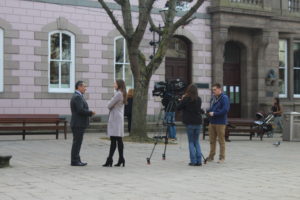
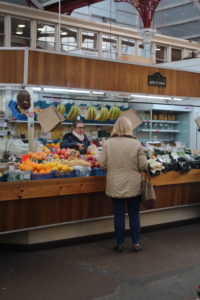

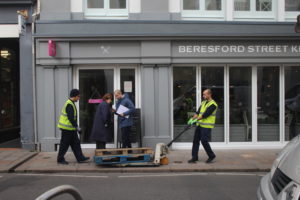
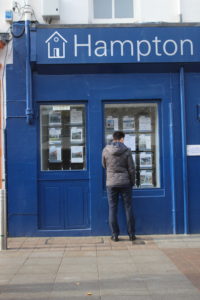
Edited Images
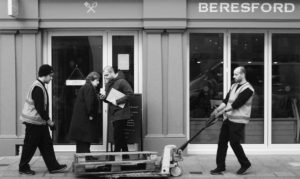
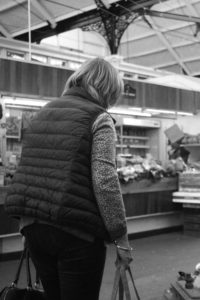
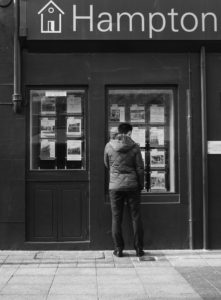
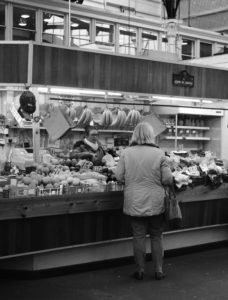
Best Image from the shoot
Photoshop Burn And Dodge Tools
What is the burn and dodge tool? The burn and dodge tool allow you to either darken or lighten an image of your choice. This can be used to create dramatic effect within an image, and so can use it to lighten dark areas or darken parts you want to stand out the most. This is used in portraiture due to how it can be used to make certain features stand out above the rest, such as making one side of the face darker. The image below shows the effects of dodge and burn to a grey surface:I wanted to apply this to an image of mine to see the effects that could be made. These were my steps: 1) Navigate to the selection bar on the left, and pick the burn tool.
2) Select a suitable size for the brush to match the face, and go over the parts of the face I want to darken once.
3) Go back to the bar on the left and select the dodge tool instead, from there I lightened the parts of the image I wanted to have a clear contrast from the darkness.
Studio
What is studio lighting?
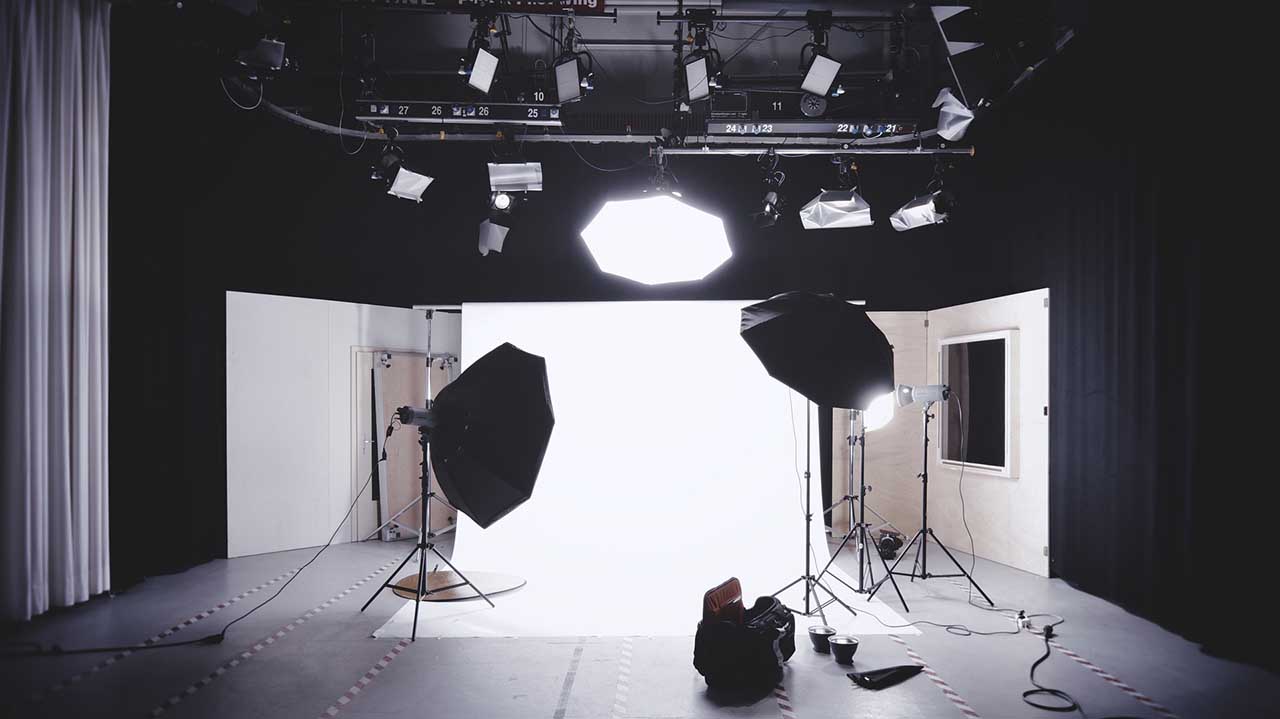
Studio lighting is broken down into two categories, continuous and flash lighting. Continuous lighting means that the light source is kept on and you can power them up and down based on how much light you need for your shoot. Flash lighting is an artificial light produced from a flash to help illuminate a dark scene.
What is fill lighting?
Fill light is any source of light that lightens areas of shadow created by other lights. Usually fill light is used to lighten the shadows created by the main light.


Key lighting – The key light is the first and usually most important light that a photographer will use in a lighting setup. The purpose of the key light is to highlight the form of the subject.
Fill lighting – In photographic lighting a fill light may be used to reduce the contrast of an image to capture the same amount of detail typically seen by eye in average lighting and considered normal.
Using the studio
Favorite images from my studio shoot
Developing my studio images
What Is Street Photography?
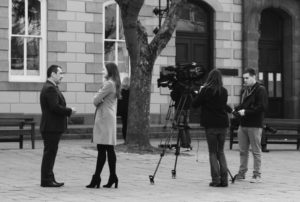
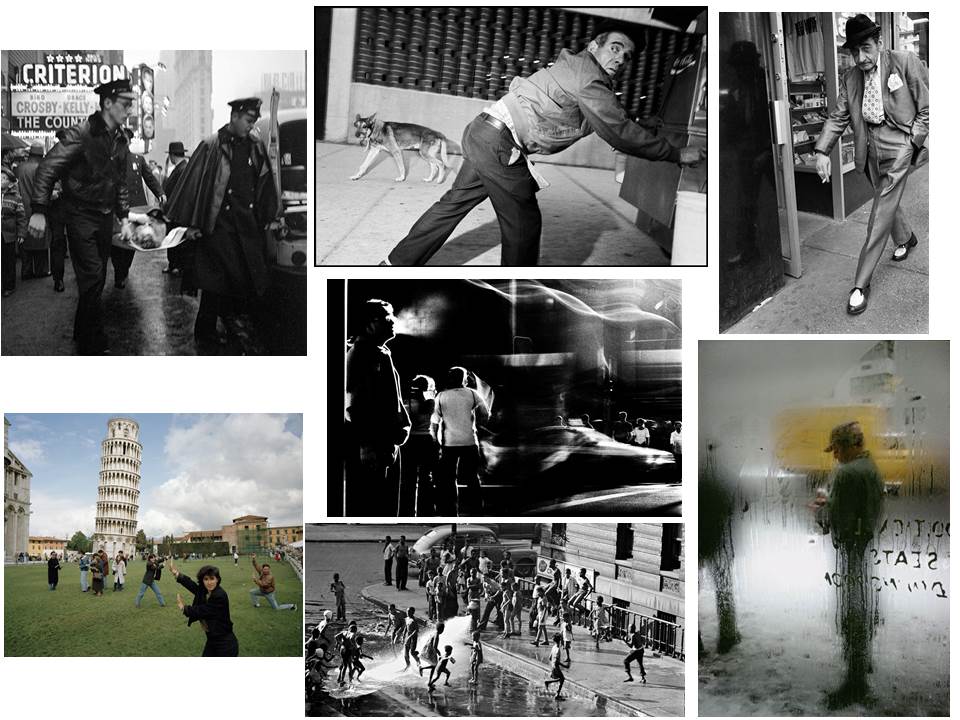
Street photography is a type of photography that features subjects in candid situations within public places. Street photographs are used to display how people behave in society.
A Candid Photograph is one in which the subject has not posed for the camera, they have been naturally caught in the image in whatever situation they are in.
Studio Lighting
Why do we use studio lighting?
Studio lighting is used by photographers to capture images in ways that would very difficult in natural lighting and so that they can have total control over the environment. Studio lighting gives a photographer the freedom to control everything in the environment form the intensity of the light, the angle that they are at and the way that it highlights the subject and number of light sources. It the photographer to change the environment in any way that they wish and to also add in a different thing that could become part of the shoot such as backdrops and props.
What is the difference between 1-2-3 point light and what does each one do?
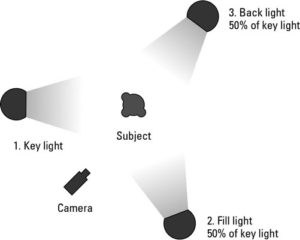
Three-point lighting is a method used in studio photography that uses three separate light sources being positioned in any way so that the photographer can illuminate the environment in any way that they chose.
The fill light a so shines on the subject, but from a side angle relative to the key and is often placed in a lower position than the key. It balances the key by illuminating shaded surfaces and lessening or eliminating chiaroscuro effects, such as the shadow cast by a person’s nose upon the rest of the face.
The backlight shines on the subject from behind, often to one side or the other. It gives the subject a rim of light, serving to separate the subject from the background and highlighting contours.
The keylight is a specialized lamp or a camera’s flash. In outdoor daytime shots, the Sun is used as the key light.
What is fill lighting?
Fill light is any source of light that lightens ‘fills in’ areas of shadows created by other lights. Fill light is used to lighten the shadows created by the main light. Some images, especially those requiring a dramatic mood, are best with little or no fill lighting. Most images will require some form of fill lighting to keep the image shadows and highlights in the image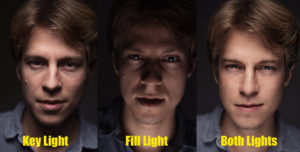
What is spill lighting?
Light spilling is where light falls where it was not intended to fall