Category Archives: Knowledge and Understanding

Filters

Author:
Category:

Depth Of Field

What is depth of field?

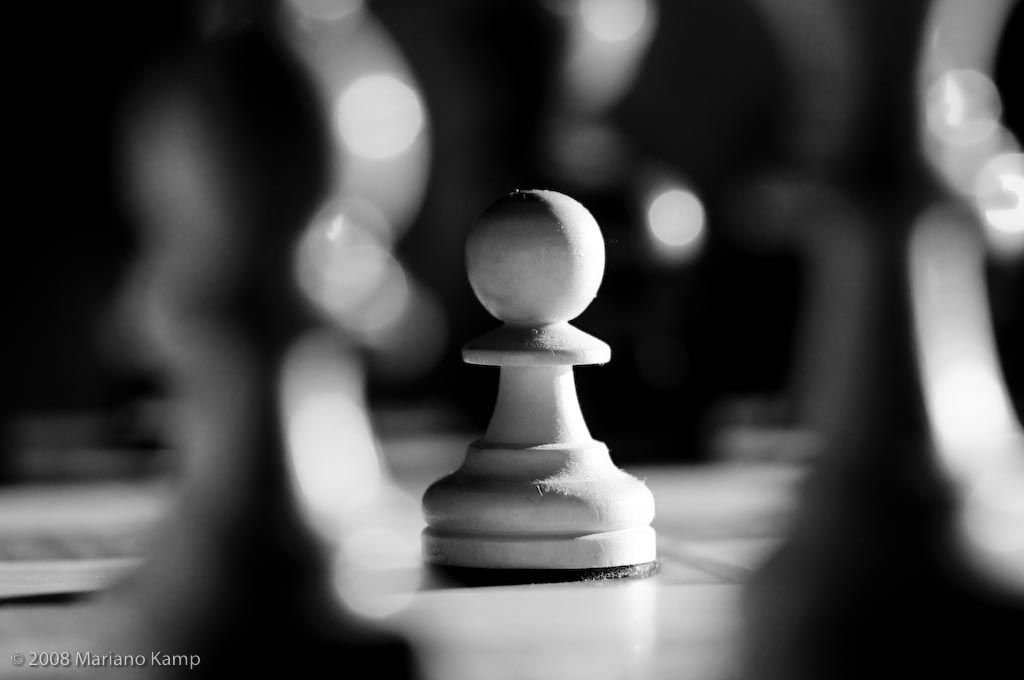
DOF is the zone of acceptable sharpness within a photo that will appear in focus. In every picture there is a certain area of your image in front of, and behind the subject that will appear in focus.

This zone will vary from photo to photo. Some images may have very small zones of focus, which is called shallow depth of field. Others may have a very large zone of focus, which is called 'deep depth' of field. Three main factors that will affect how you control the depth of field of your images are: aperture (f-stop), distance from the subject to the camera, and focal length of the lens on your camera.

Image result for what is depth of field
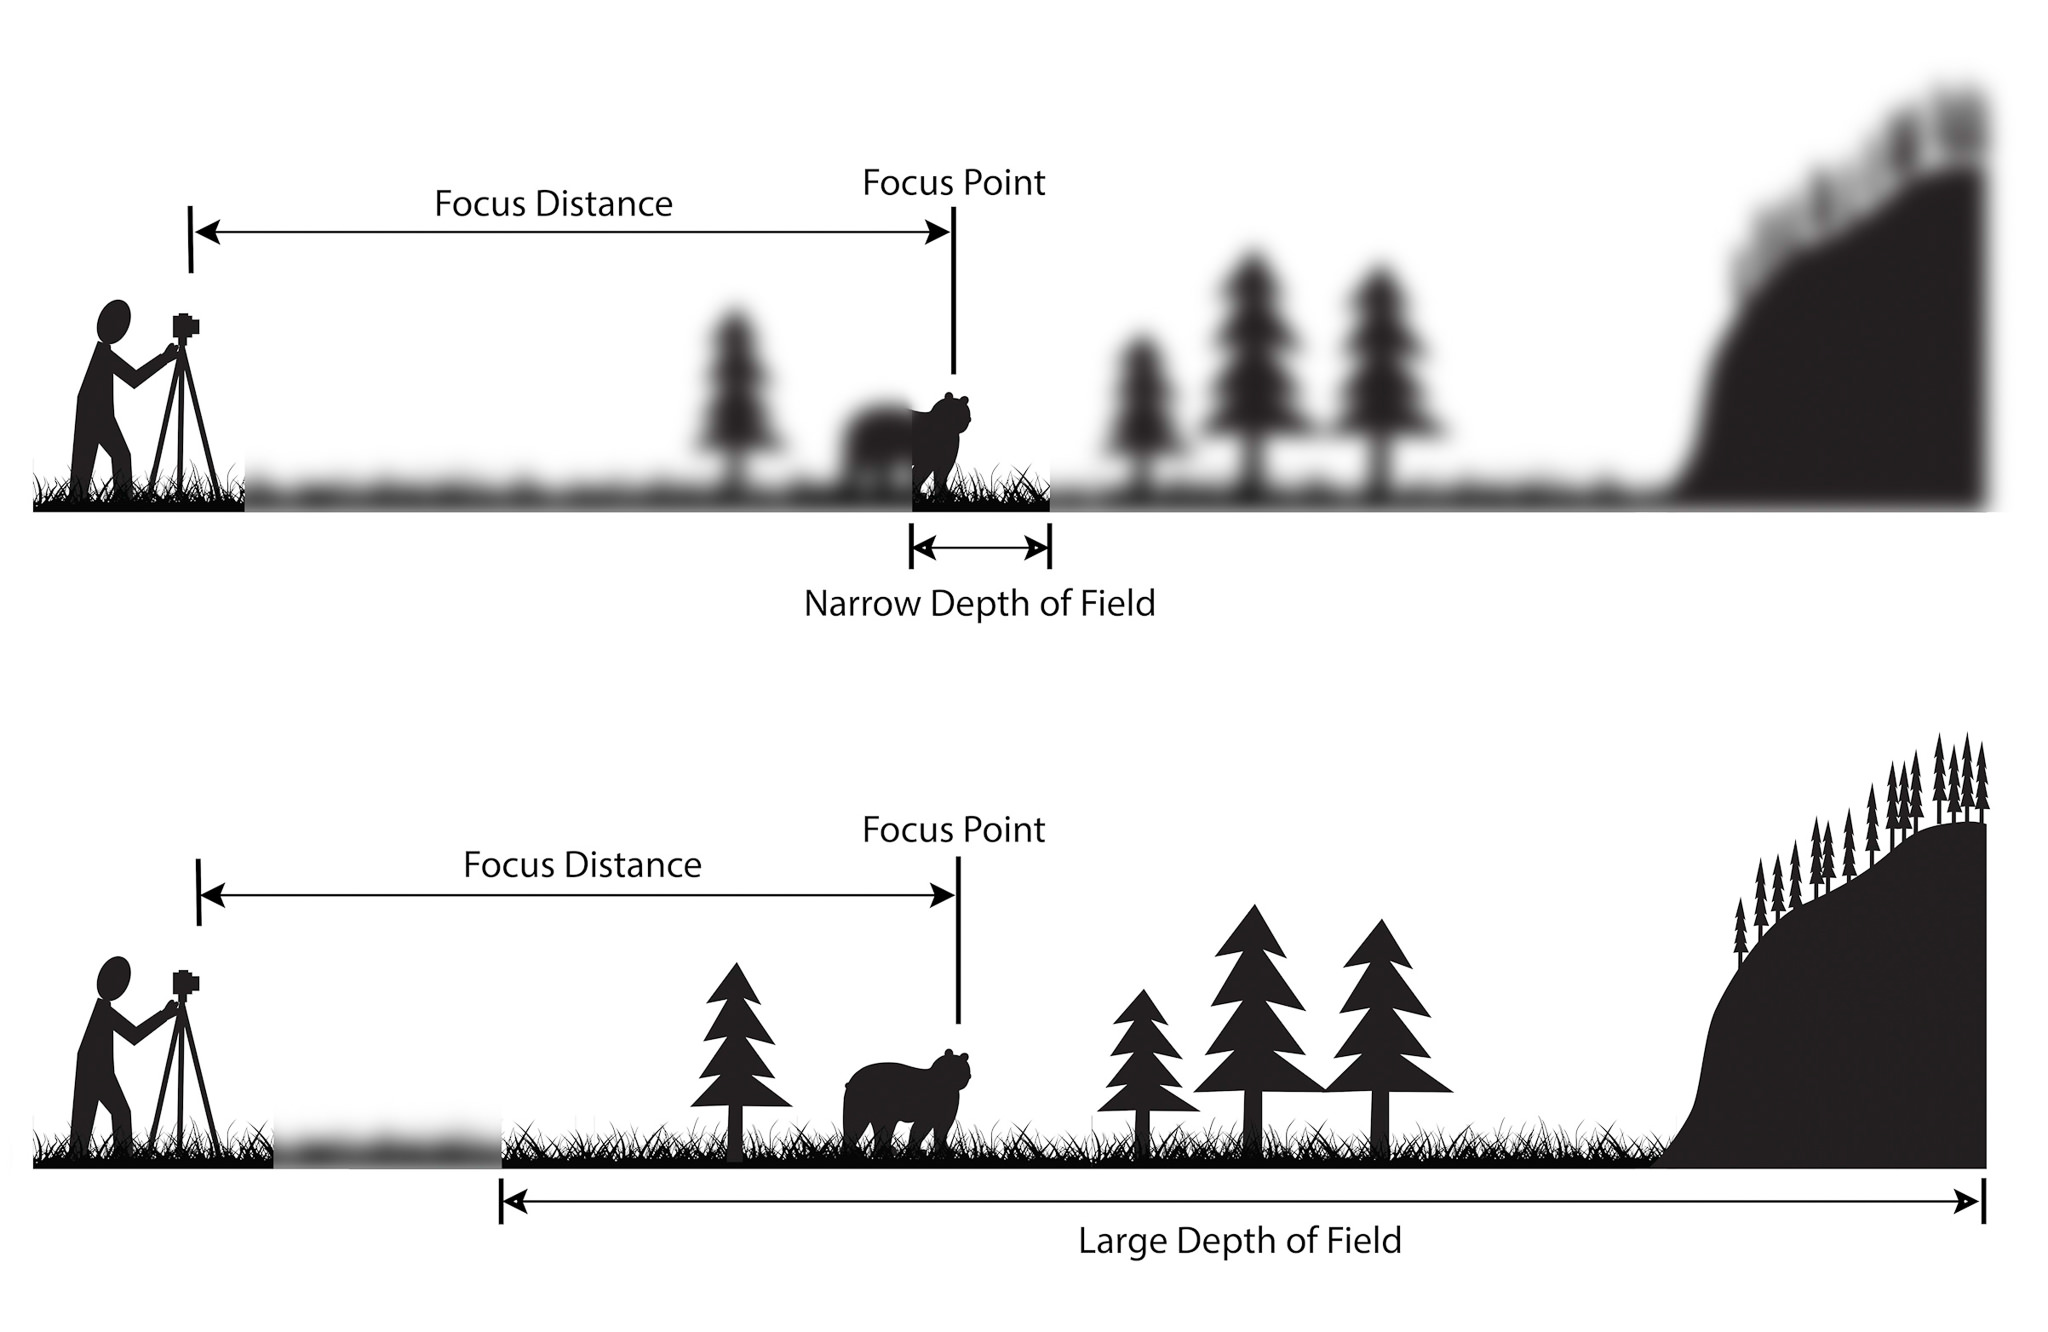
Depth of field diagram

In this picture below to the right there is a gradual focus change within the picture with a very narrow depth of field, allowing the photo to be in focus of one particular object. However to the left there is a much bigger depth of field stretching to infinity, allowing the backdrop to stay focused in detail at the same time.

Image result for what is depth of field
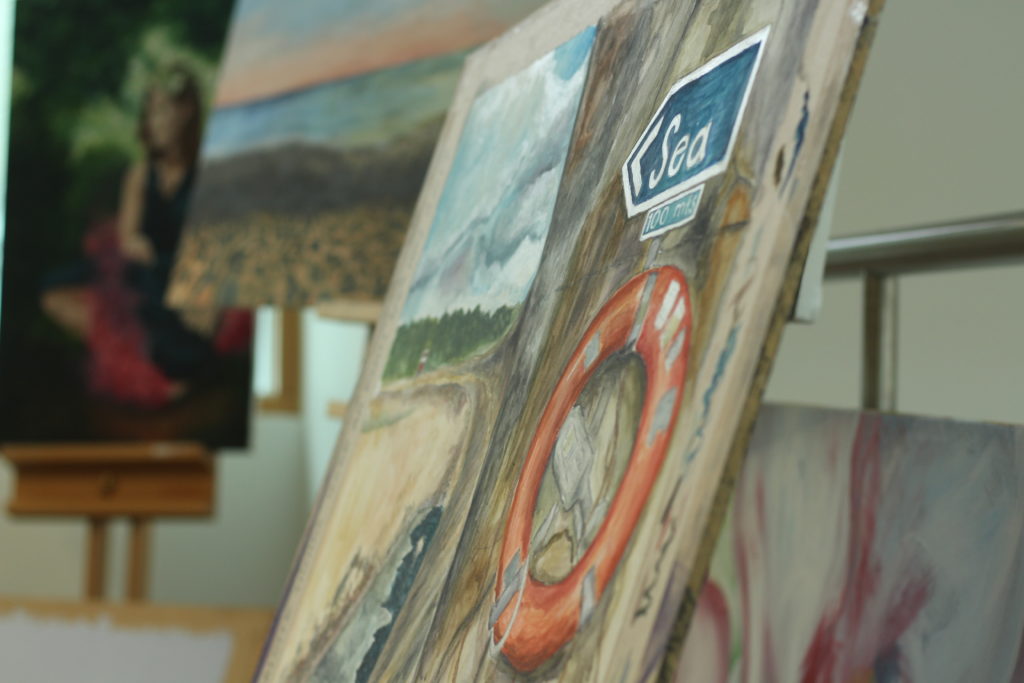
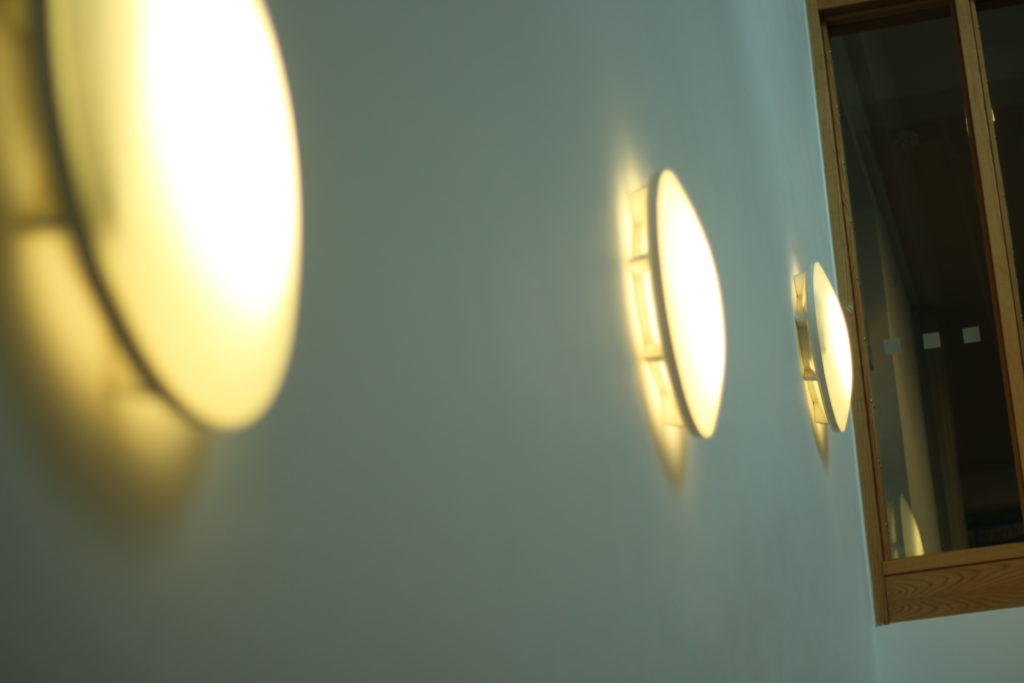
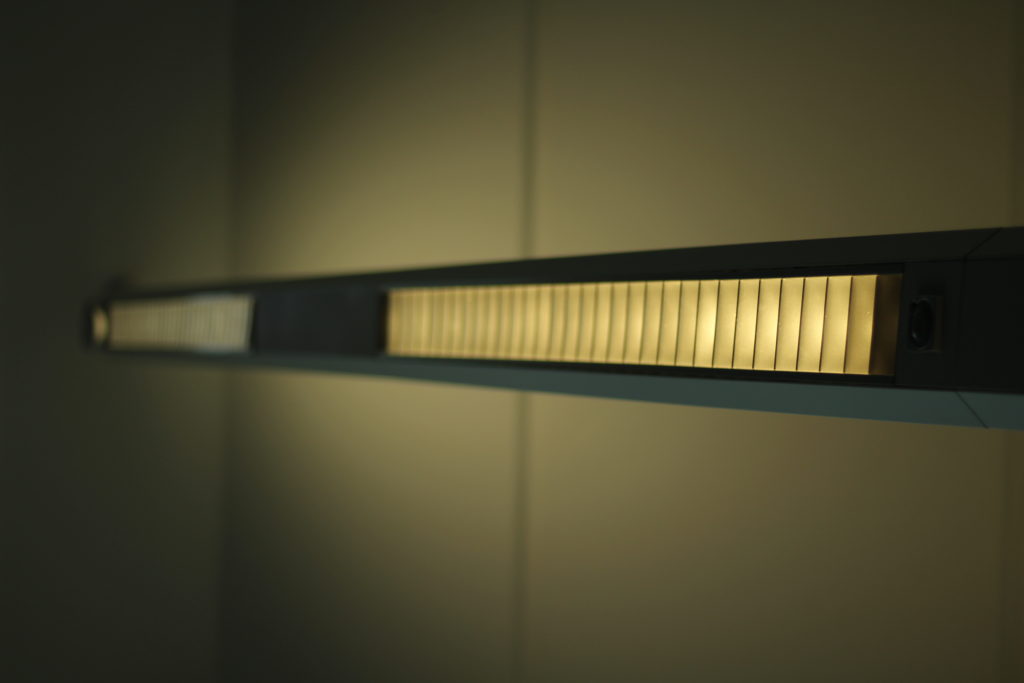
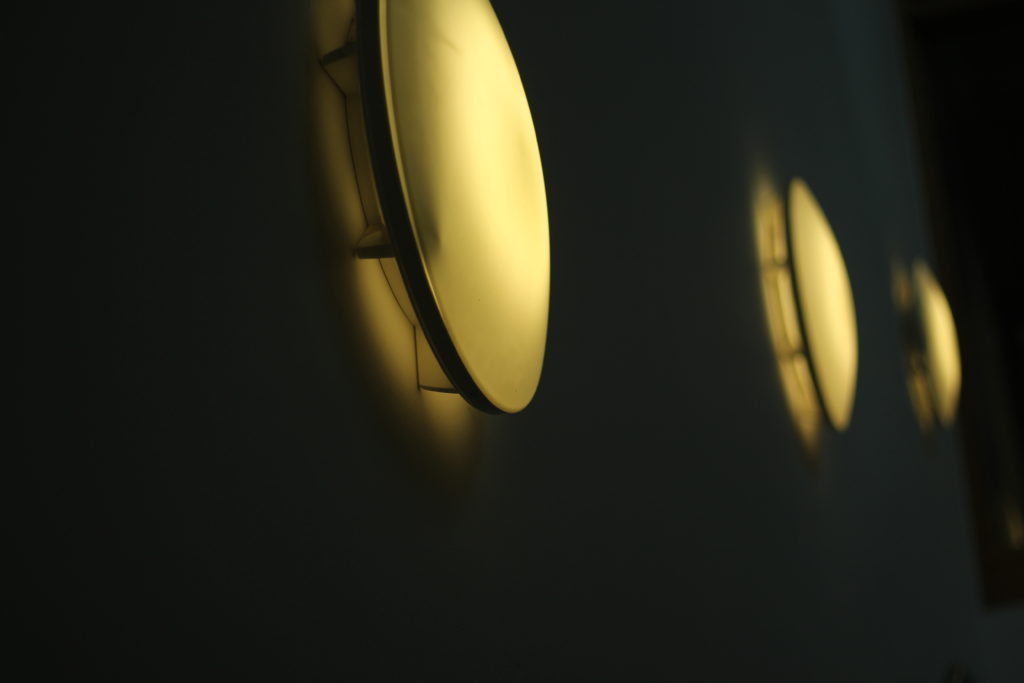
I decided to have a go with the method in a few of my photos, and so walked around school experimenting with it, these were my results:
I thought that messing around with the lighting would allow significantly for the viewer to notice what the focal point would be, and to my opinion I think that it worked.

Becher Inspired Photoshoot

What is a typology? 

Typology is the study of types, however in photography a typology is a series of images, in which the photographer has taken many of the same genre of object (buildings, pencils etc), using roughly the same composition for each one creating that scenes of repetition about them.

Bernd And Hilla Becher

Both these Photographers were German based, and were commissioned by the government to produces typologies of specific types of buildings, as seen below.

Image result for Bernd becher photography

These Photographers would go around the country taking the same composition of certain objects, which when one was taken would not look that impressive, but rather when hundreds were taken precisely from the same distance, and combined together, it creates an almost artistic creation

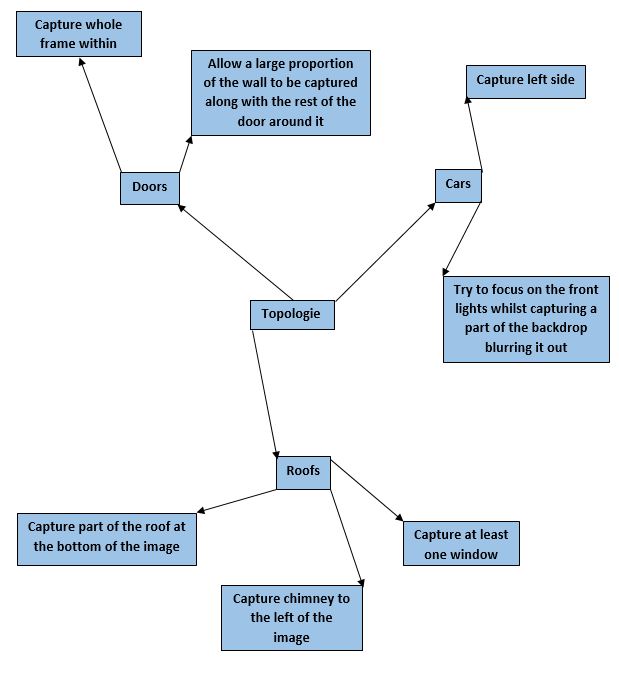
In response to this I decided I would walk around my home area and try to incorporate this style into my images, I chose the themes around car lights, windows with chimneys, and doors. These were some of my results:


 I decided that the car topology sheets worked the best, due to the contrast between the lights and the bonnets of the car which came in different shapes.

Focal Length

What is focal length?

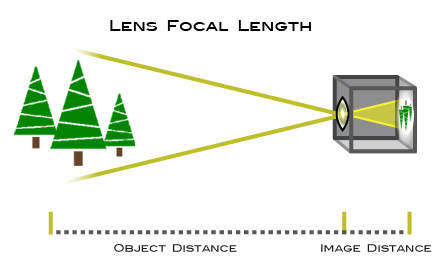
The focal length of the lens is the distance between the lens and the image sensor, when the subject is in focus, usually stated in millimeters (e.g., 28 mm, 50 mm, or 100 mm). In the case of zoom lenses, both the minimum and maximum focal lengths are stated, for example 18–55 mm. Changing the focal length changes the angle of view. The shorter the focal length (e.g. 18 mm), the wider the angle of view and the greater the area captured. The longer the focal length (e.g. 55 mm), the smaller the angle and the larger the subject appears to be.


I tried having a go with this concept, by focusing firstly on the backdrop rather than the central figure, and then on the figure rather than the backdrop.

In this image I chose to focus purely on the backdrop of the trees rather than the character within, as an experiment with my cameras focal length.


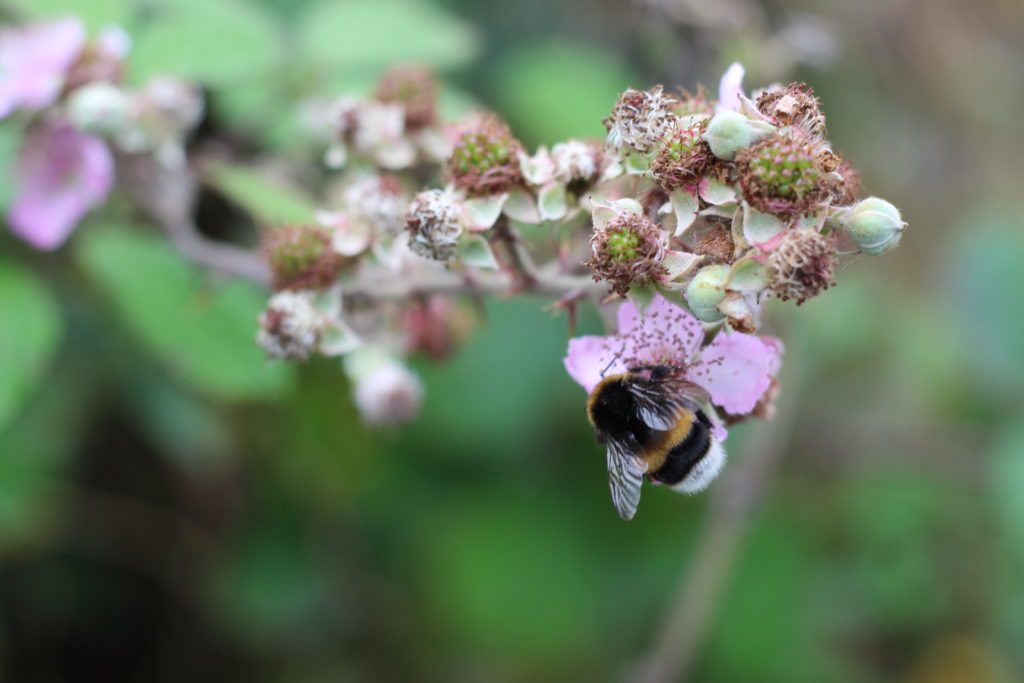
This image however I chose to focus on the closer object to the lens, which happened to be a bee on a flower, therefore blurring out the backdrop rather than keeping it clear.

Aperture

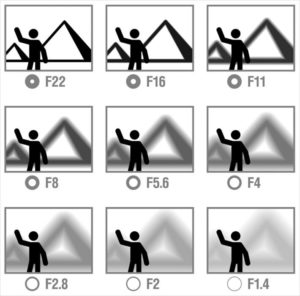
Aperture is a hole within a lens, through which light travels into and is expressed in f-numbers. These f-numbers that are known as “f-stops” are a way of describing the size of the aperture, or how open or closed the aperture is. A smaller f-stop means a larger aperture, while a larger f-stop means a smaller aperture.

It has a direct impact on the depth of field which is the area of the image that appears sharp (depth of field is defined as “the zone of acceptable sharpness in front of and behind the subject on which the lens is focused.”)

For portraits we separate our subject from the surroundings by using “selective focus.” Choosing a large aperture (lower f number) which creates a shallow depth of field with only the subject in focus. This helps direct the viewer’s attention to the subject.

In a landscape or scenic photograph you usually want to see as much detail as possible from foreground to background, wanting to achieve maximum depth of field by choosing a small aperture (higher f number).

Focus and Focus points

How do we focus?

In order to demonstrator a sharpness to an image,and allow and intention to focus and not. The works also together in order to change the distance of lenses,from the sensor and or the filming order to control the way in which light is captured.This is also done by how the light coverage’s precisely a point within the plane of the film or a  DSLR sensor,this means the image will become more in focus .

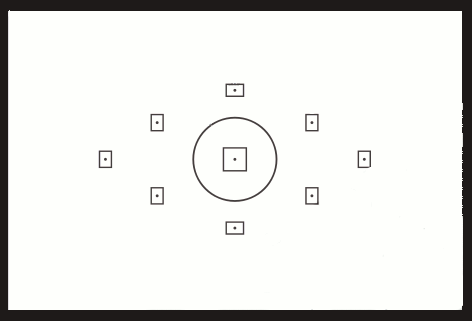
when looking through a viewfinder of any DSLR camera and you will see several dots, or squares, that represent individual points at which the camera is capable of focusing. This is in order to clearly view the focusing points ,even if this might seem obvious.  but not all of them are created equal. When you press the shutter button  halfway, some of these points will light up, indicating that everything at that specific spot is crystal clear and your photo will be nice and sharp.

this is an example of cross focus points to hep with ensuring the positioning of the camera.
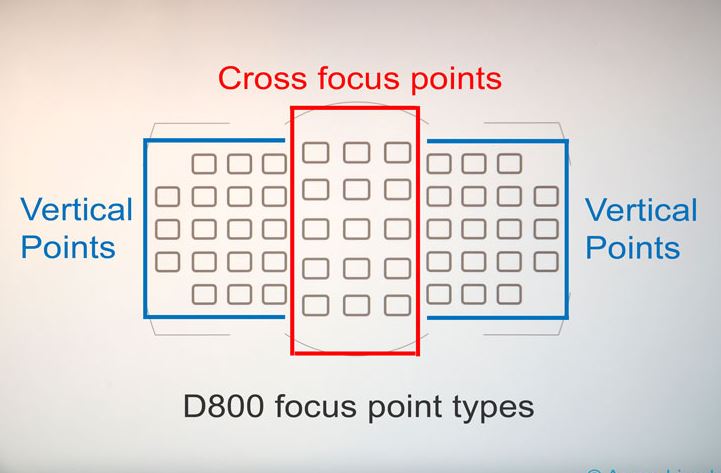
However, the speed at which your camera can focus on one of the points, as well as how accurate the focus will be, depends greatly on whether the individual focusing point is a single or cross-type. Understanding the differences in how they operate can help you decide which ones to use to take better photos.This is a further example :

there are also many ranges within focus points,this can develop  of change the point within your camera with a button,and will be brought up upon the screen,showing the range of points.
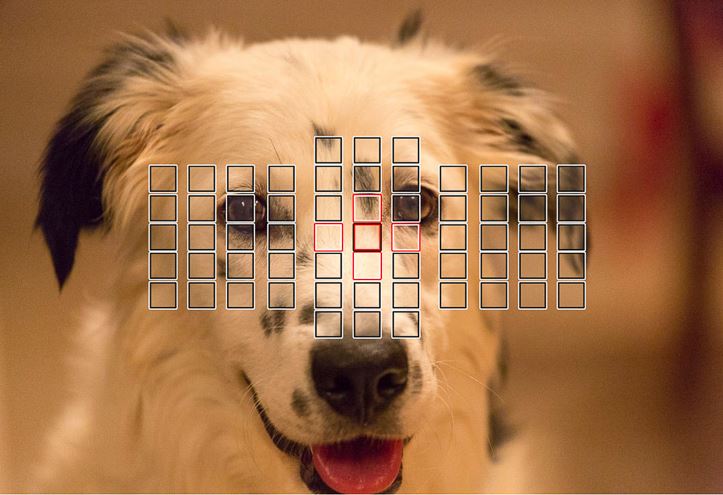
below you can see my development of capturing the same focus point within a dogs face too.
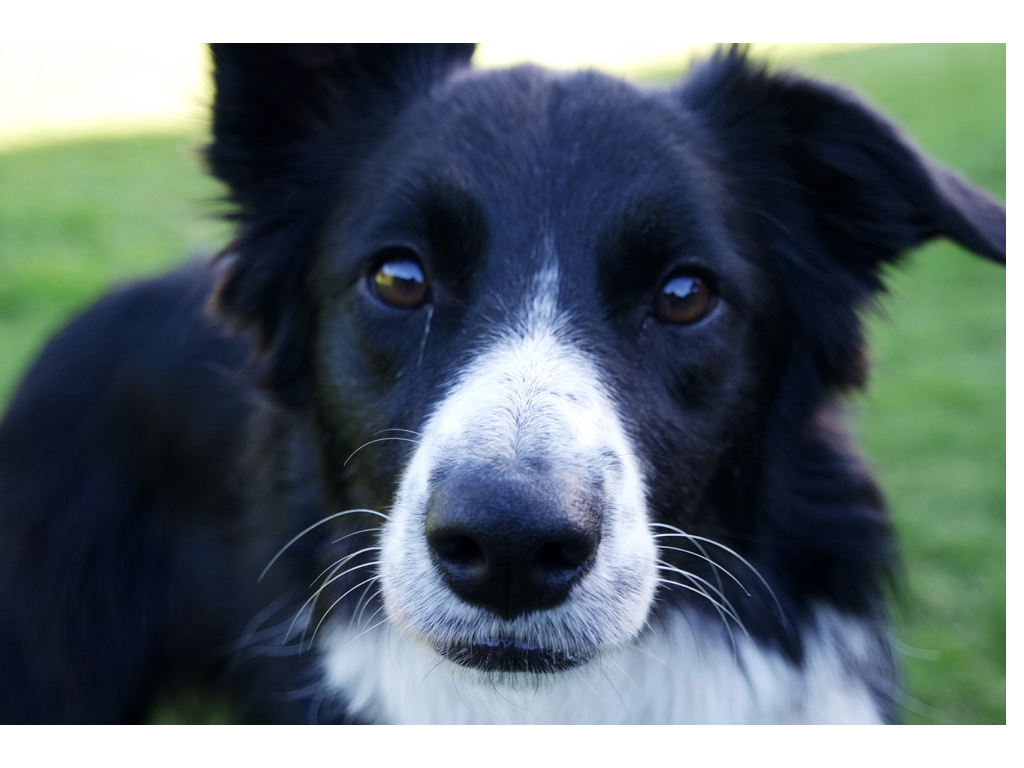
Colour overlays, Blending and using Free Transform Experimentation

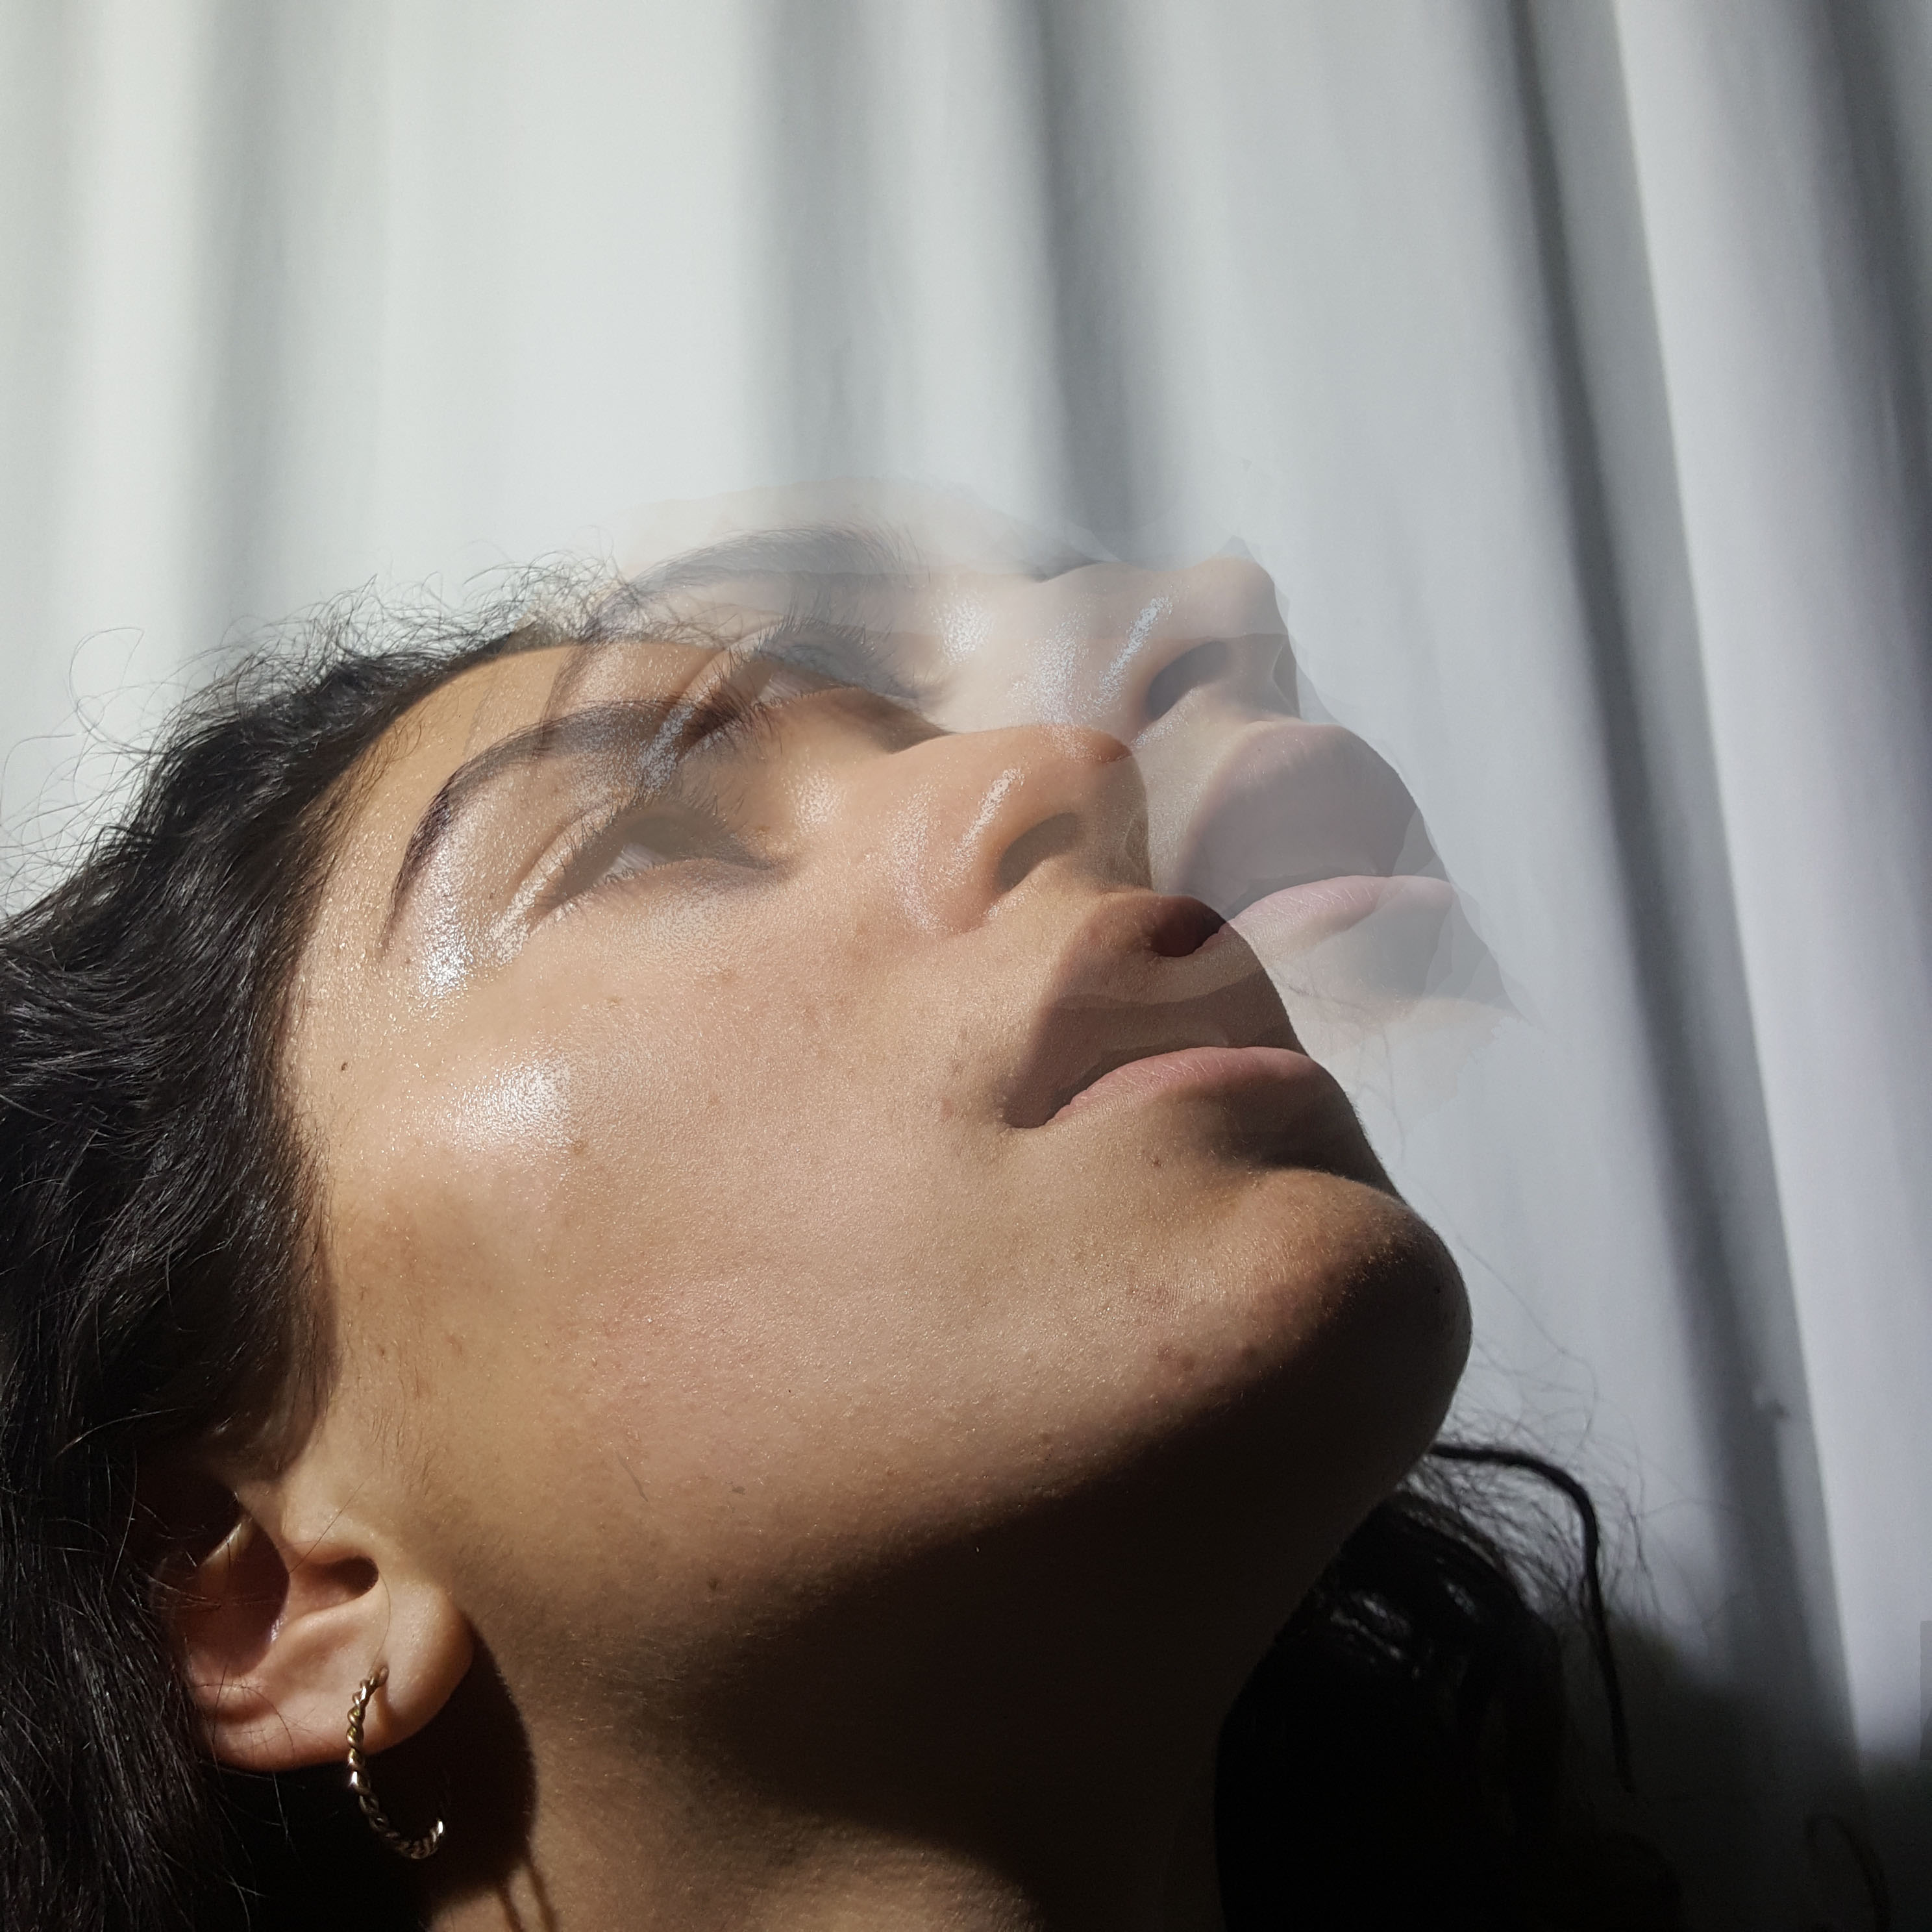
This effect is achieved by :

CTRL J > move tool > add a vector mask > paintbrush > size > opacity > blend

You can blend through your image giving it a ghostly appearance due to its opacity like the image above.

This effect is called colour overlaying, achieved by:

  1. Selecting an area of your image that you want to adapt
  2. Add a colour overlay from your layers panel
  3. Reducing the opacity to the appropriate amount or using the blending options
  4. Finally, using Free Transform (CTRL T) to rotate, move or change the shape of your new overlay

Colour Popping is the effect of decreasing an image’s saturation except the areas that you want colour to stand out in. It is achieved by:

1.Opening a colour image

2.Reduce the saturation in your layers panel

3.Click the Vector  / layer Mask (white box)

4.Use the paint brush to remove the areas you want (change opacity for more control)


Focus and Focus Points

Using the settings on a camera, we can focus on different points of an image. These different focus points can change what the main subject of an image is.

You can use the nine focus points settings to choose where you want the camera to focus on when you take the photo.

Image result for focus points on a camera

By choosing the focus of an image, the photographer can choose where they want the viewer to look first.

Image result for sharp focus

On a camera, you can either use manual focus or auto focus. When using manual focus, you have to change the focus dial manually to focus the image but with auto focus, the camera does it for you.

Depth of Field

Depth of field refers to the range of distance that appears acceptably sharp.  Depth of field varies depending on aperture and focusing difference.

Depth of field allows us to choose what is going to be in focus and what isn’t in our photographs.

Image result for depth of field photo

Below are two photos I took with two different apertures. The top photo, taken with AF 3.5 shows the image around the sides becoming blurred. In the bottom image, taken with AF 22, everything is sharp.

Shutter Speed

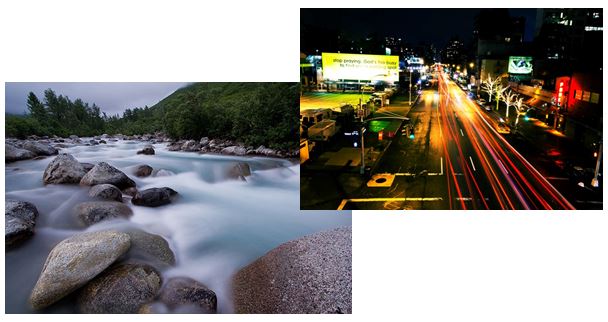
When the shutter opens, it exposes light from the exterior allowing a picture to be taken. The length of time that the shutter remains open is termed the shutter speed.

If you look at modern digital cameras, shutter speed is measured in seconds – or in most cases fractions of seconds. The bigger the denominator the faster the speed (e.g 1/1000 is much faster than 1/30).

How do you select the correct shutter speed when taking photos?

  1. Simply set the camera to automatic mode and take the picture. The cameras in-built auto exposure settings will take care of the shutter speed settings for you.
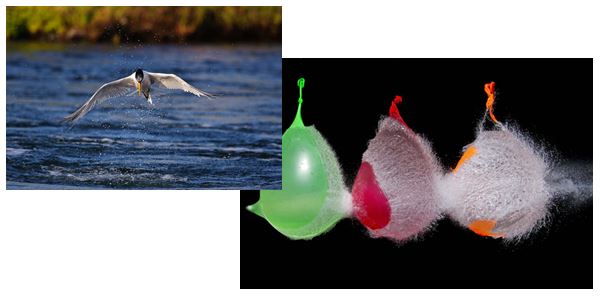
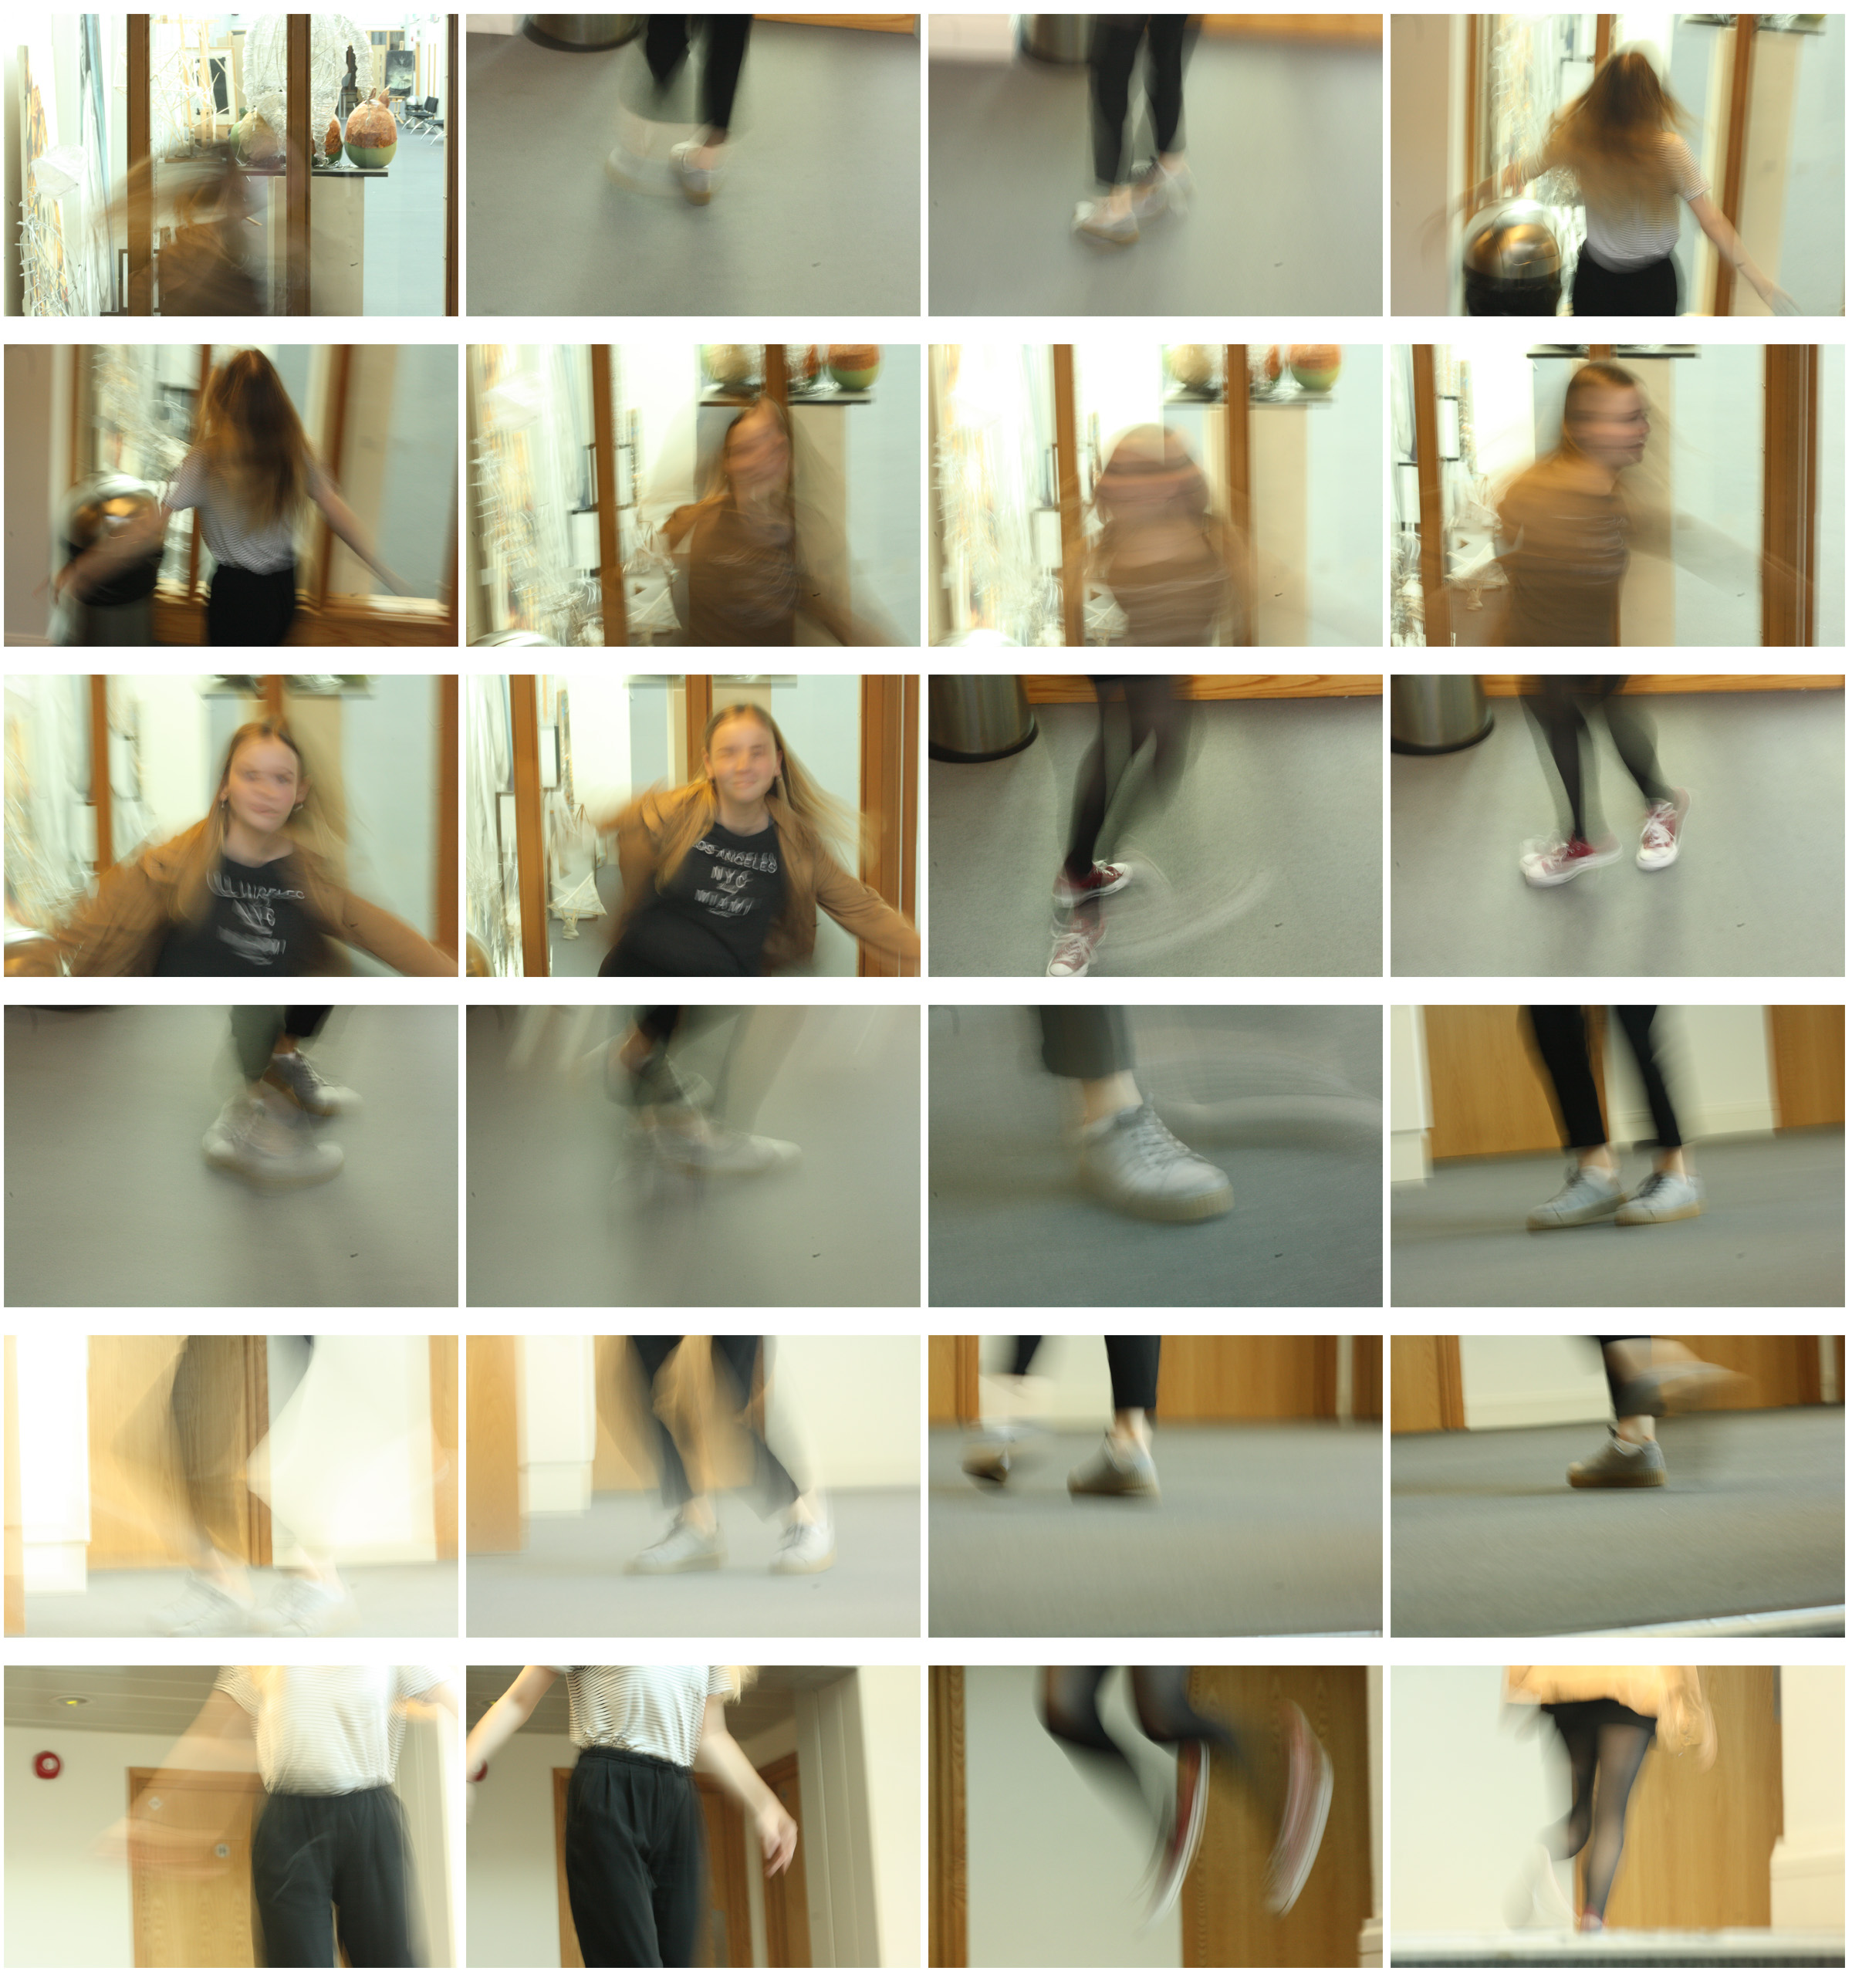
  2. Set the camera to manual settings. Use a slow shutter speed (1/60 or lower) if wanting to show some blur in the picture to display speed in the subject.

3.Use a fast shutter speed (1/125 or higher) if you need to capture a fast moving subject

My own examples:

Focal Length

Focal Length

The focal length of the lens is the distance between the lens and the image sensor when the subject is in focus.

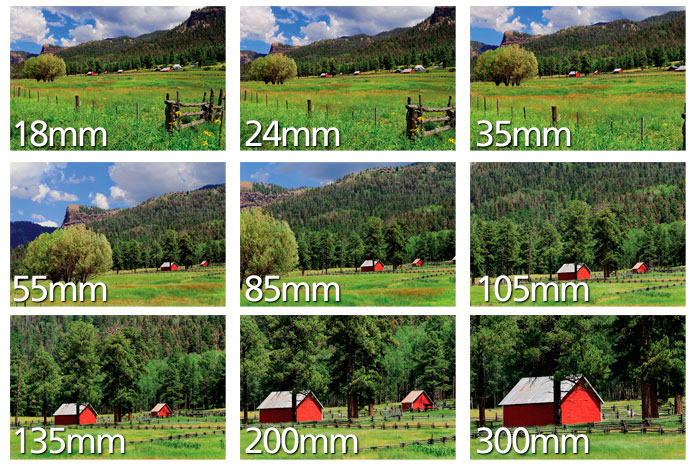
We use focal length to zoom in and out to create a photograph containing selected subjects. We change focal length by using the lens. It can change what is in the image as shown below.

Image result for focal length

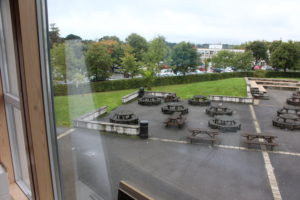
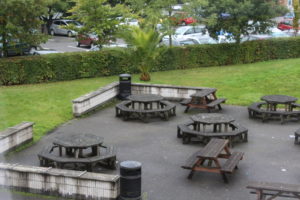
Below are some examples of how changing the focal length of the lens can change an image.