Aperture, shutter speed, and ISO make up the three sides of the exposure triangle. They work together to gather the amount of light needed for a correctly exposed photograph. If one variable changes, at least one of the others must also change to maintain the correct exposure.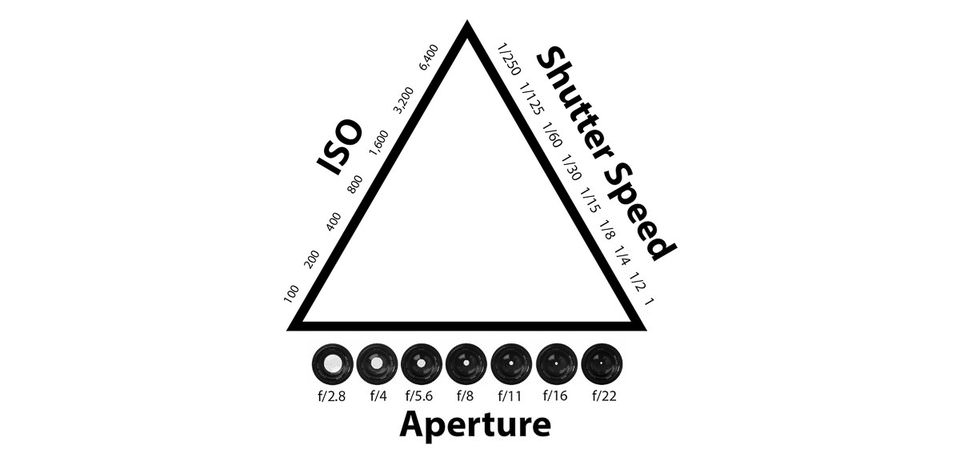
Category Archives: Knowledge and Understanding
Filters
Rule of Thirds
What Is The Rule Of Thirds?
The rule of thirds is applied by making sure the subject in the photo is inline with the guide lines and their intersection points, placing the horizon on the top or bottom line. The rule of thirds is used to create a visually pleasing image which makes it easier to understand. The rule of thirds is the basic method used to help the compositions of photos. It can be used by using a visual of tow lines formatted at each angle on the screen or possibly within dots for slight distance as to where to place the main subject of the image.

This photography clearly follows the rule of thirds as the subject of the photograph or the main focus is on the top right intersecting line which makes this photo more visually pleasing. furthermore, the top horizontal line is in line with the horizon in this picture also making it visually pleasing and easier on the eye for the viewer.
Bokeh Photography
What is Bokeh Photography?
How can you achieve Bokeh Photography?
To take a photograph in the style of bokeh you will have to Set your camera to the Aperture mode. Once you have changed the setting select the smallest aperture number for your lens. Making sure your camera is set to manual focus so you can manually adjust the focus, making sure the whole image is completely out of focus. Zooming in and out to wherever you think best suits the photograph.
Examples Of Bokeh Photography


Focal Points
What is a focal point?
Using the settings on a camera, we can focus on different points of an image. These different focus points can change what the main subject of an image is. By choosing the focus of an image, the photographer can choose where they want the viewer to look first.
Furthermore, the higher the ‘F’ number the higher the depth of field. This is shown in the diagram below.

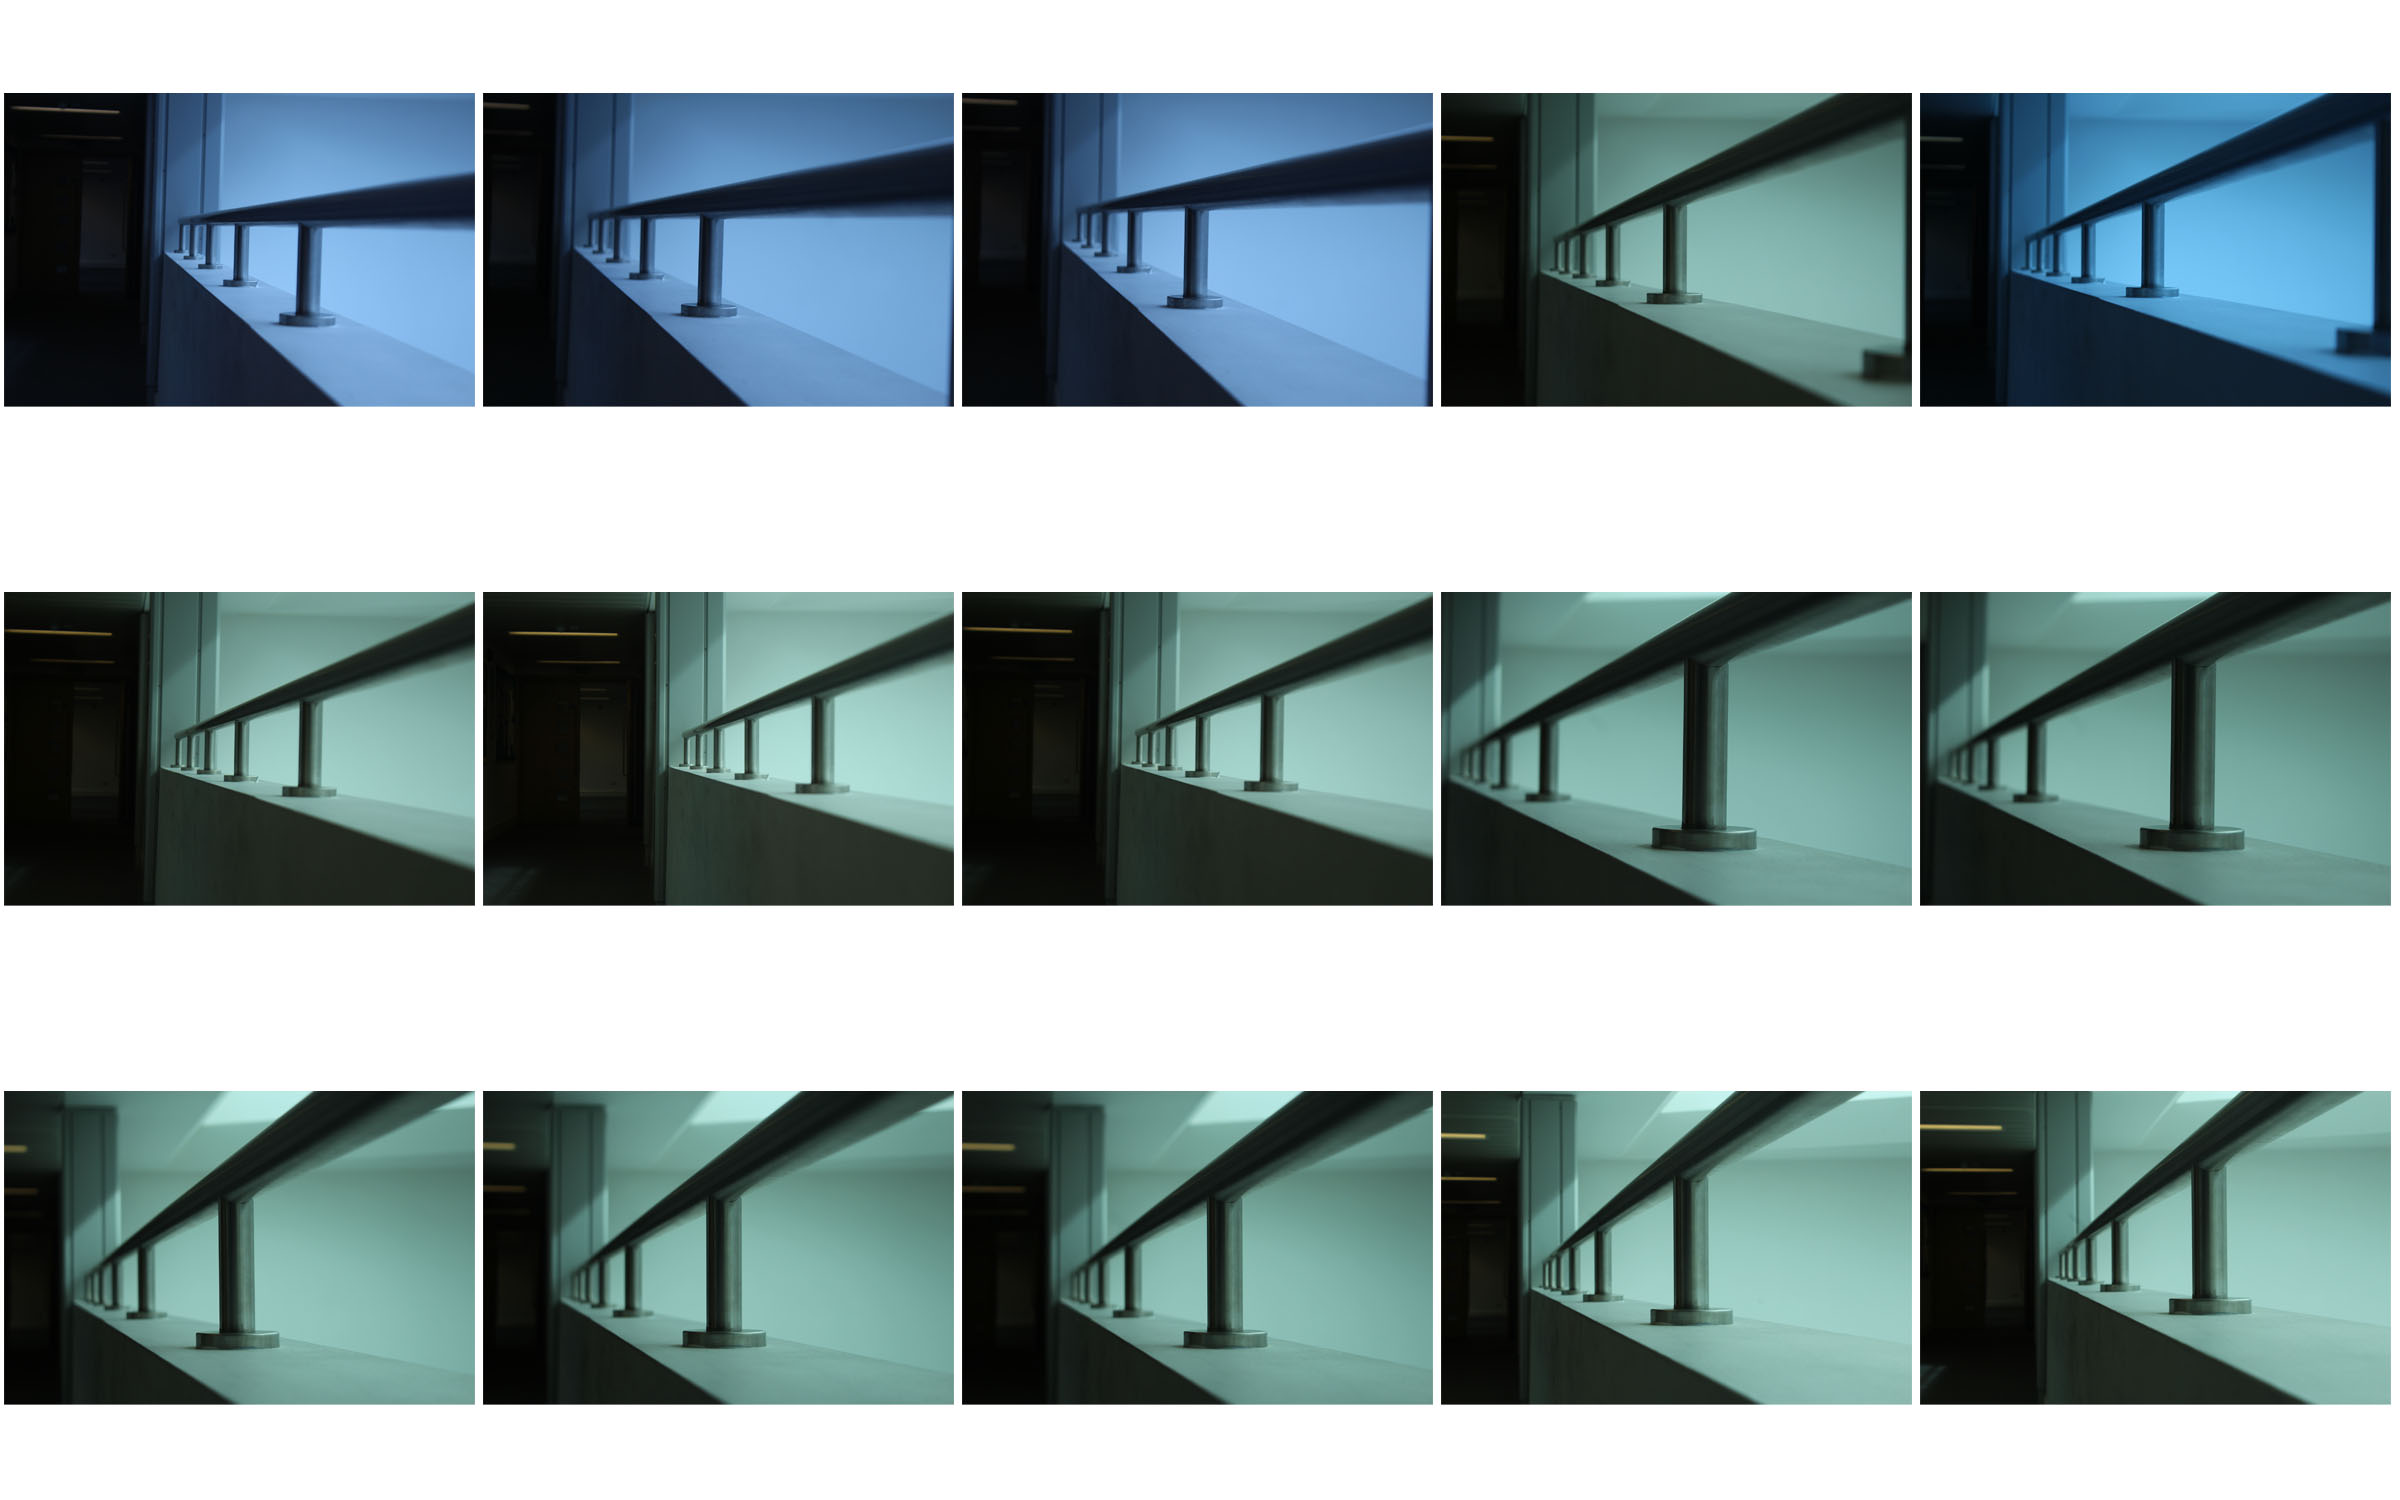
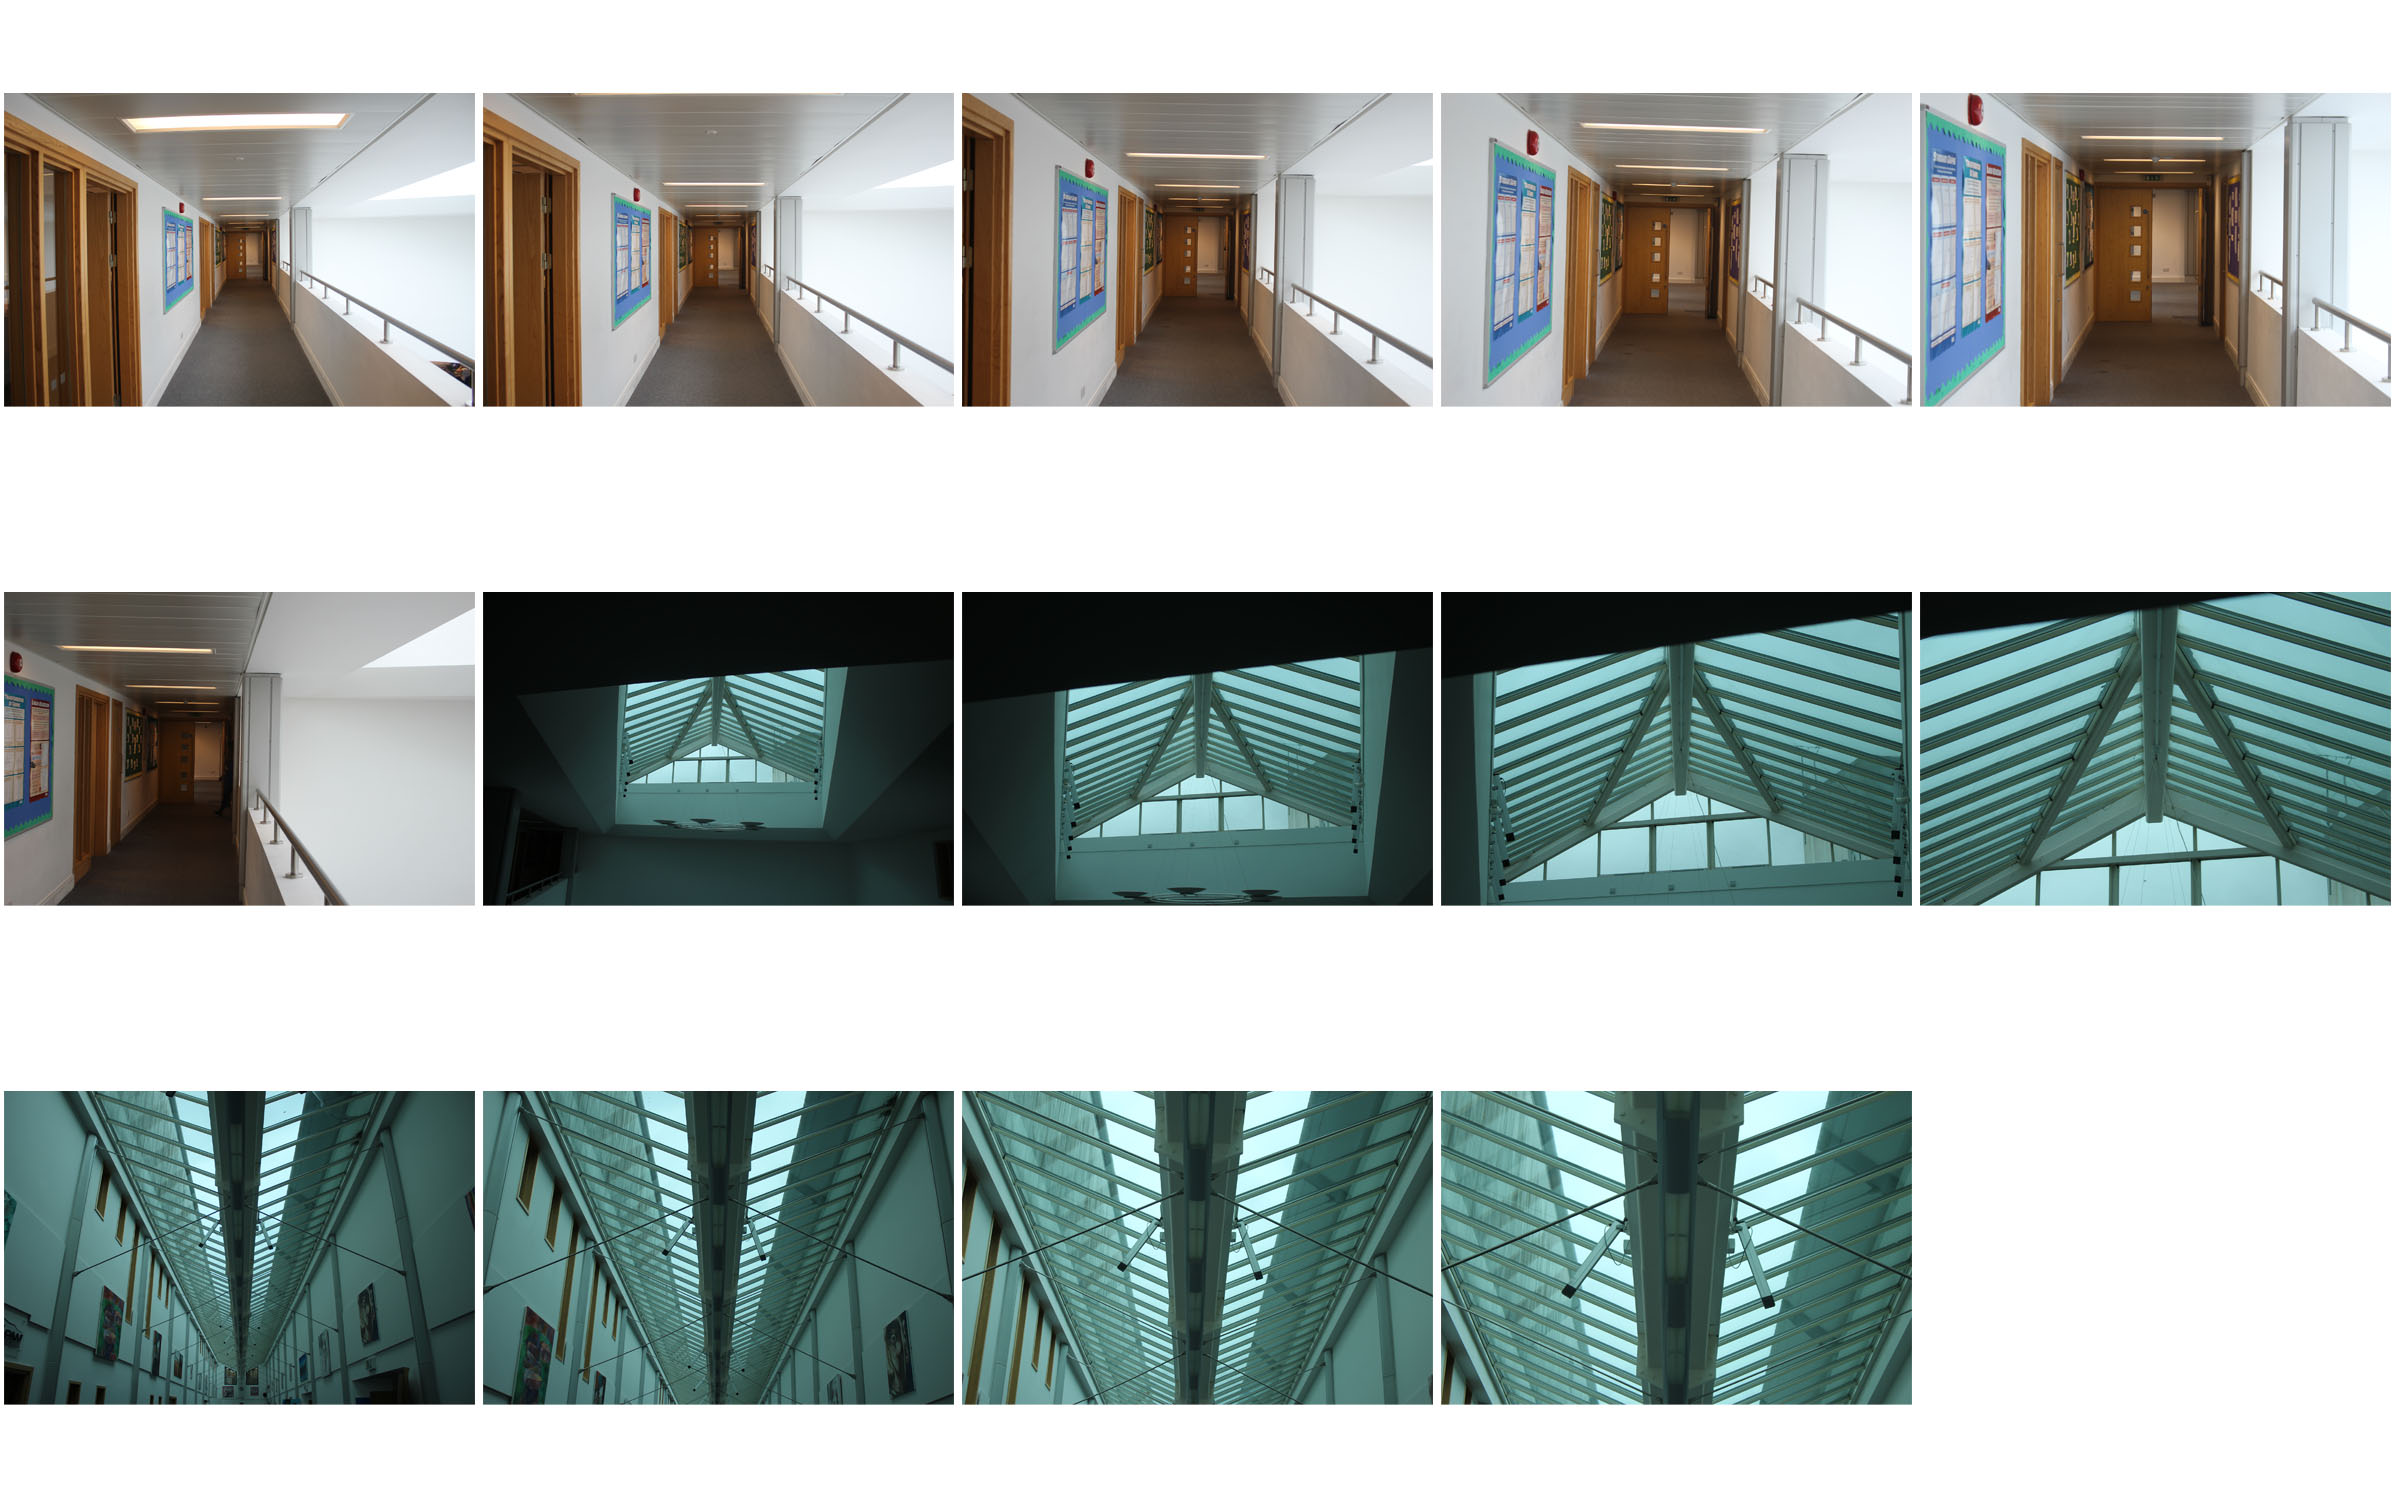
These are my attempts at using different focal points and also including a sense of depth in my photographs.
Contact Sheets
Threshold Editing
Keld Helmer Petersen
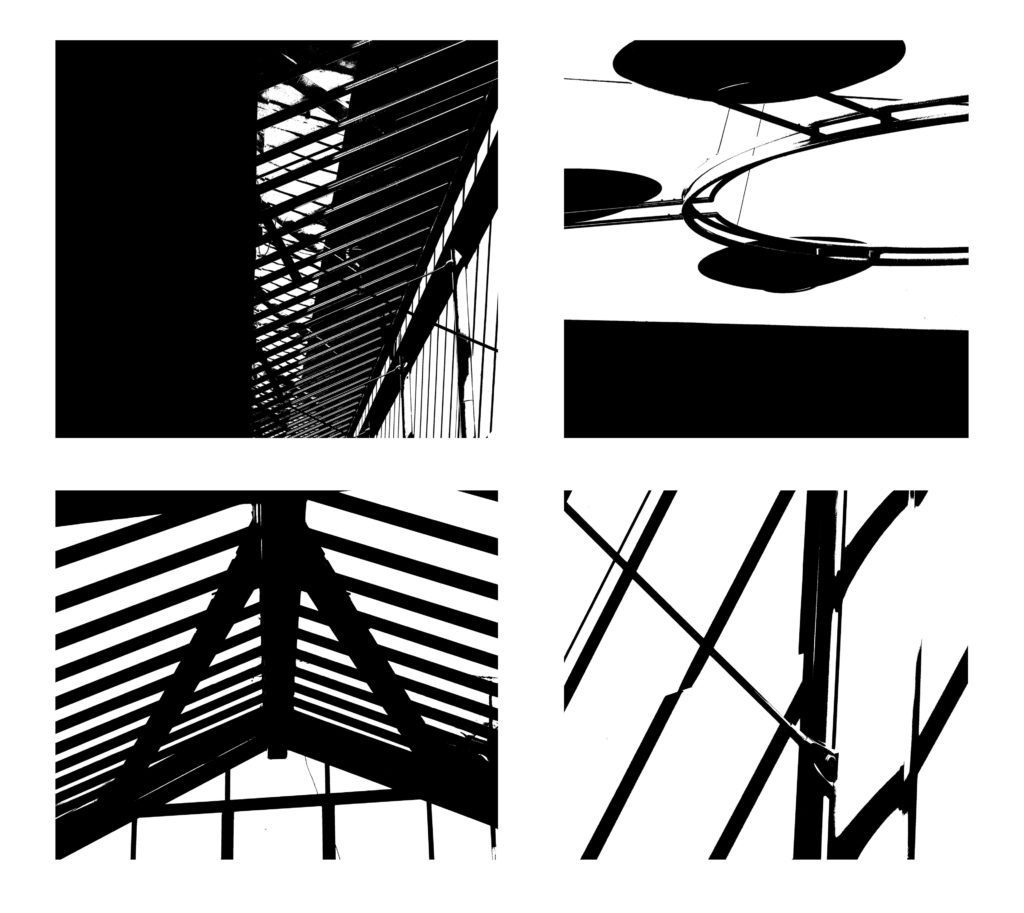
Keld Helmer Petersen was a Danish modernist photographer. Keld was internationally acclaimed for his images of structures, patterns and details found in industrial areas, city scapes and nature.
These are examples of his work


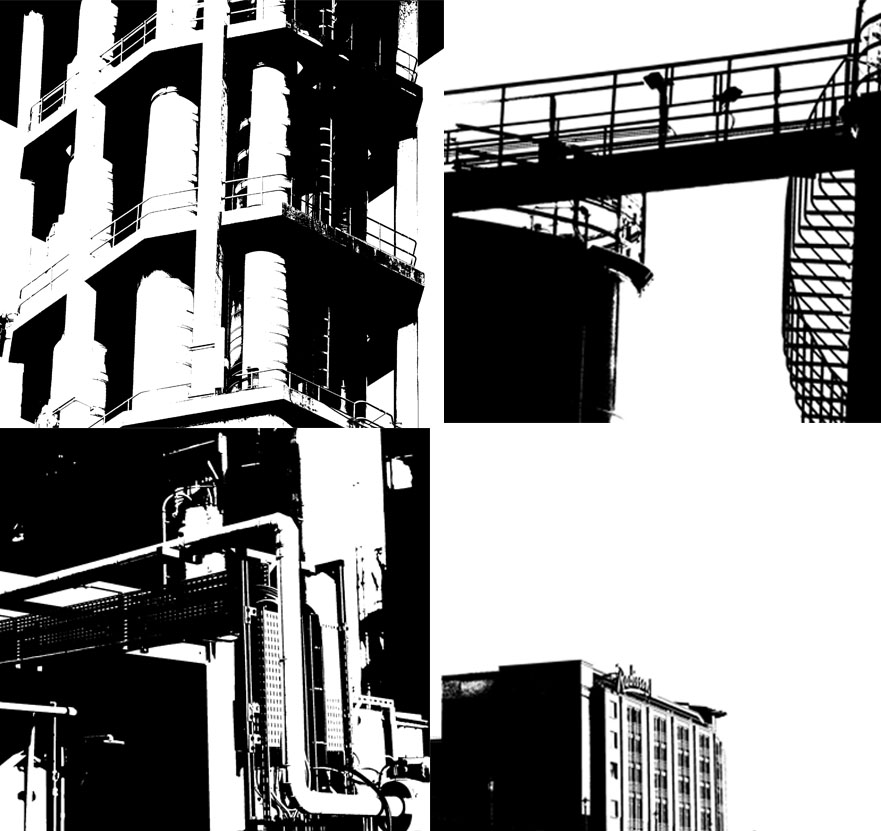
These are my attempt at editing photos in the style of Keld Helmer Petersen.
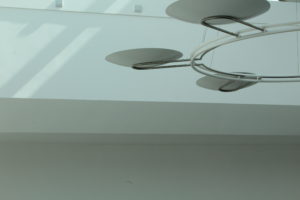
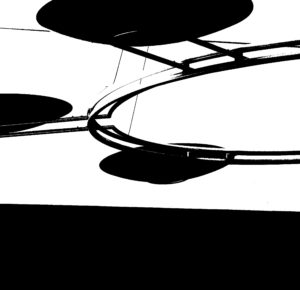
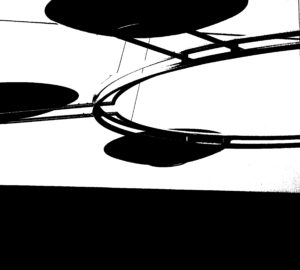
The first image was the original image without any edits or manipulations. The second image was my attempt to create a photo in the style of Keld’s.
How I created a photo in the style of Keld Helmer Petersen
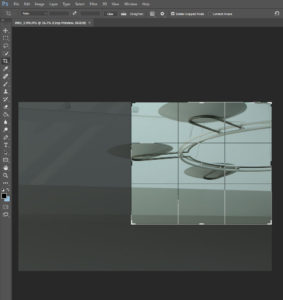
Firstly, I cropped the image to make it square and to make this chosen image follow the rule of thirds.
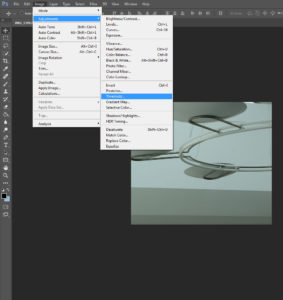
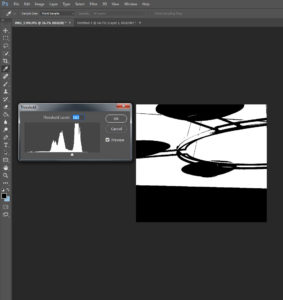
Once I was happy with how I cropped the image I clicked on the image tool at the top of the screen where there were multiple options for me to use where I could edit my image. I then went to the adjustment option where it gave me another drop down option which I then scrolled down and clicked on the threshold option. Once I had clicked the threshold option it changed the contrast of the picture massively as well as changing the image to black and white. I played around with the threshold option until i was really happy with it. This was my Final image.
Bokeh Effect

The bokeh effect refers to blur or a blurry quality, and in photography it is a very recognizable technique. The word bokeh translates from Japanese as ‘blur’.
Bokeh tends to appear in the areas of an image that remain outside the focal region. Because of this the most common technique used to add it is a shallow depth of field created through a wide open aperture. It is generally considered pleasing for your eyes and your perception of a photograph, because it can add softness to an otherwise harshly lit photograph.
This website shows the different types of bokeh effects that can be achieved:
My own examples:
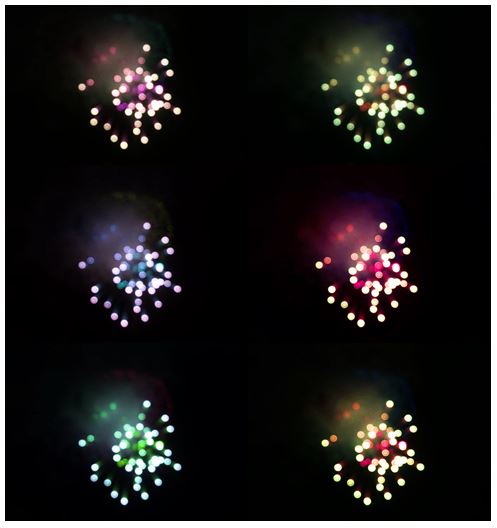
I raised the ISO no higher than 400 and had aperture open wider to allow a shorter shutter time.
Robert Frank Analysis
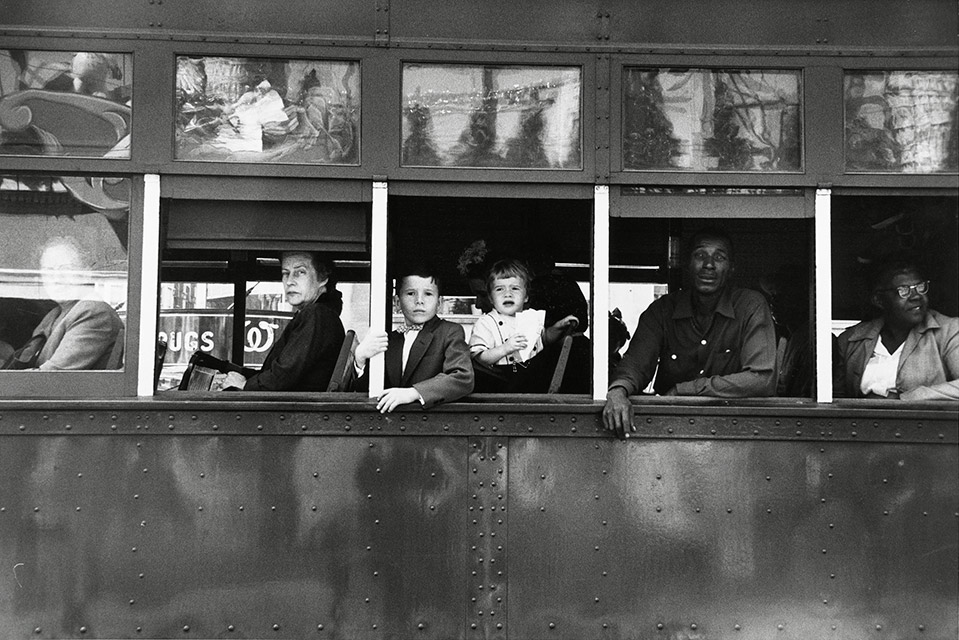
Visual
The black and white emphasises the different races and the repetition of the physical bar standing between the people, and the rest of the bus, shows the segregation and categorises them individually. The photograph demonstrates the rule of third as it has vertical and horizontal lines. It also shows signs of Ansel Adams zone system, the brightest point being the white bars.
Conceptual
The idea that America in the 1920s wasn’t a great life for everyone , and racism was a apart of everyday life, revealing the cruel reality of the ‘American Dream’.
Technical
The photo has natural daylight as Robert Frank was a documentary photographer. The photo was taken on the streets so has no artificial lighting. He used a fast shutter speed as the photo is very sharp and not blurred so if the bus was moving at the time he captured all the detail.
Contextual
The 1920’s was a time of racism and prejudice and it was uncommon for photographers to tackle the issue of racism at the time.
Keld Helmer-Peterson
Keld Helmer-Peterson Research
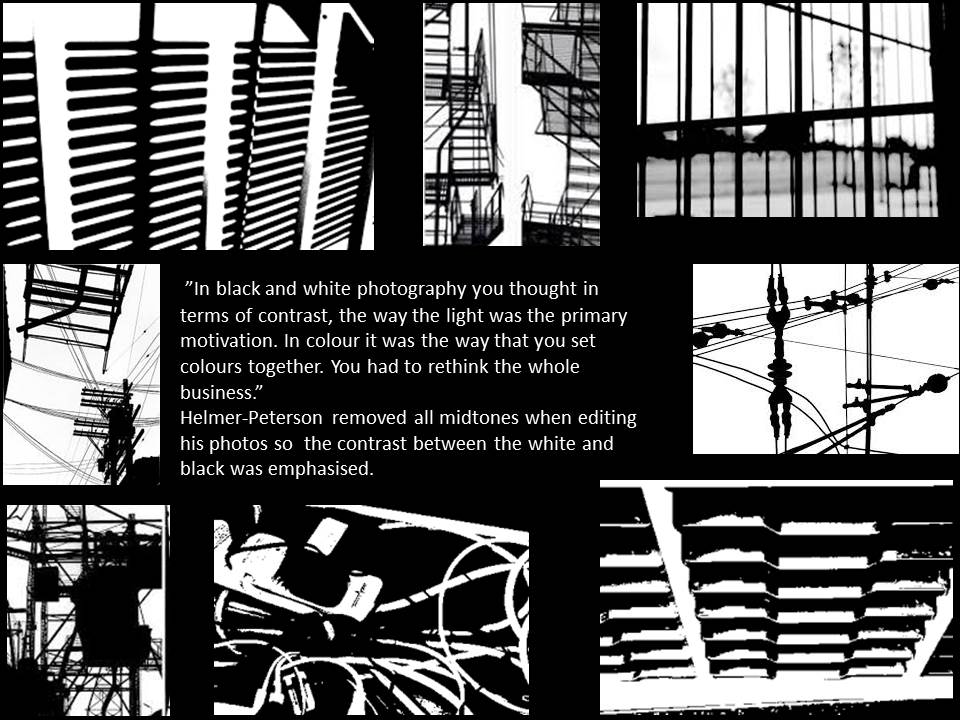
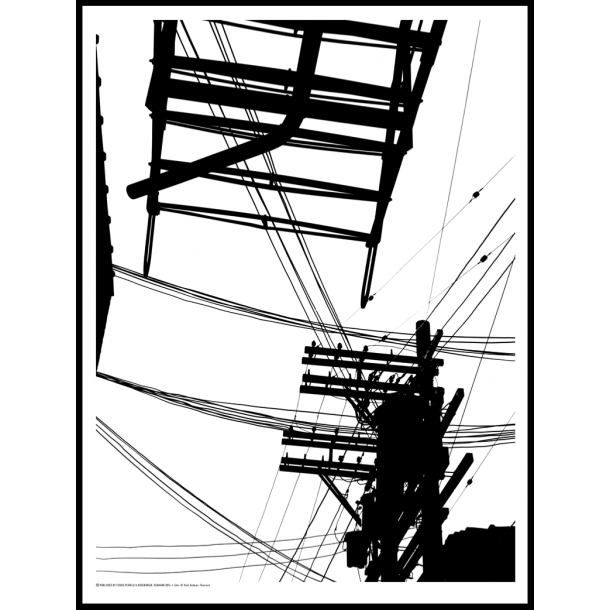
Image Analysis:
This photo is from Keld Helmer-Peterson’s black and white photography where he looks at threshold. The photo at first glance does not look like a photo of telephone wires and could be mistaken as a drawing because of the bold solid colours displayed. He removed all mid tones so the contrast from white to black emphasises the thin lines as well as the bolder ones and also the different shapes in the photo. Because the photo only contains two colours, with no varied tones, it create a bold and striking appearance that couldn’t be achieved with mid tones.
Keld Helmer Petersen
Keld Helmer-Petersen (20 August 1920 – 6 March 2013) was a Danish photographer who achieved his international breakthrough in 1948 when he published 122 Farvefotografier/122 Colour Photographs, a collection of experiments with shapes inspired by Albert Renger Patzsch. Keld Helmer-Petersen’s 122 Farvefotografier was published in 1948, it is a photobook of great singularity. The book gained an idea of just how unusual it was to use color for art photographs at that time. However, as well as Helmer-Petersen’s innotive work in colour photogrpahy he also has explored some creative and abstract black and white photography.


Inspired by his work I used Photoshop to re-create photos similar to his black and white ones. I used the threshold tool to create a similar look and then adjusted the slider to add more or less black and whites.
These are the unedited images I used to create my work influenced by Helmer Petersen.


Focus And Focus Point
What is the focus point?

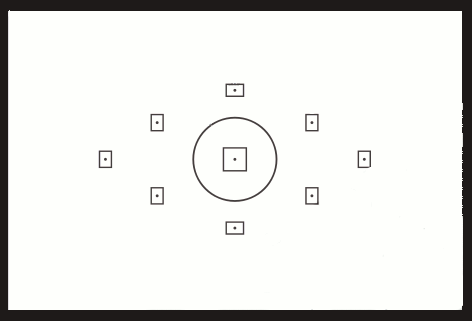
Autofocus points are what the camera uses to focus on a subject. You'll probably first notice them when you press the shutter halfway. Many cameras will emit a "beep," and some of the AF points will light up (often in a red or green color) in the viewfinder or on the display screen as seen below.

When using your camera in auto-focus mode, the auto-focus points will help you direct the focus to a particular location in the frame. This is extremely convenient because the focus of your photo may not always be in the very center where the camera traditionally likes to focus and meter. Autofocus points were introduced in film SLR cameras when the Canon EOS and Nikon F-series models were very popular. Since that time, the technology has moved into digital photography and is included in almost every DSLR as well as many point and shoot cameras. The introduction of AF points gave photographers greater freedom in focusing on certain subjects in the photograph. It mimics the freedom of manual focus while giving you the smooth, quick operation of autofocus. Autofocus points can also be connected to the camera's metering system in many models. This means that the camera will determine the appropriate exposure based on the chosen autofocus point, which is typically the photo's main subject. The number of possible autofocus points depends on the camera. Some cameras have a 9 point system, while other cameras have 11 points or even 51 points. The more AF points a camera has, the more options you have to fine-tune the focus.After reading up about the ways in which I could use my point system on my camera, I went out with a few friends to incorporate this into my photos, these were my results:
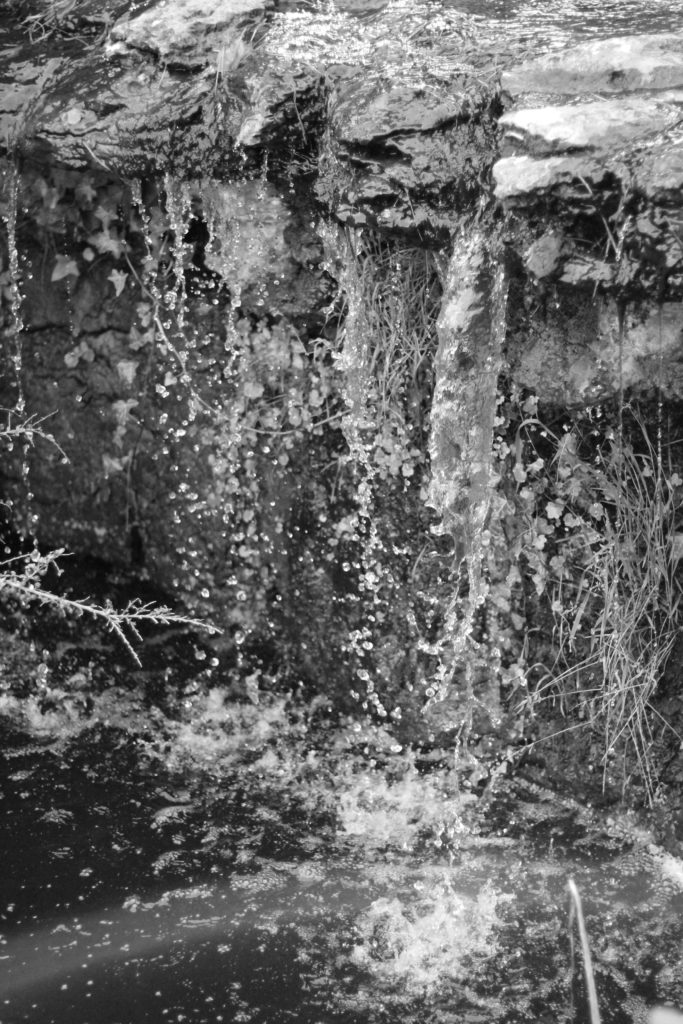
I tried to mainly focus on small details like webs and water to create a much more significant effect to the overall picture.

