Category Archives: AO4 Present Ideas

Filters

Author:
Category:

Abstract- Homework 3

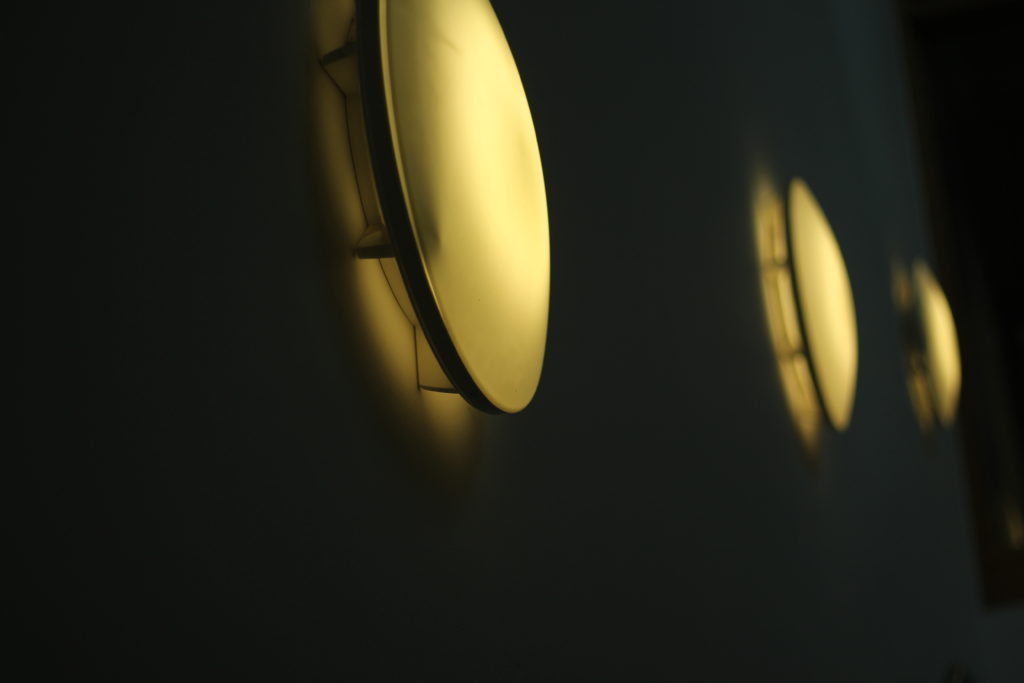
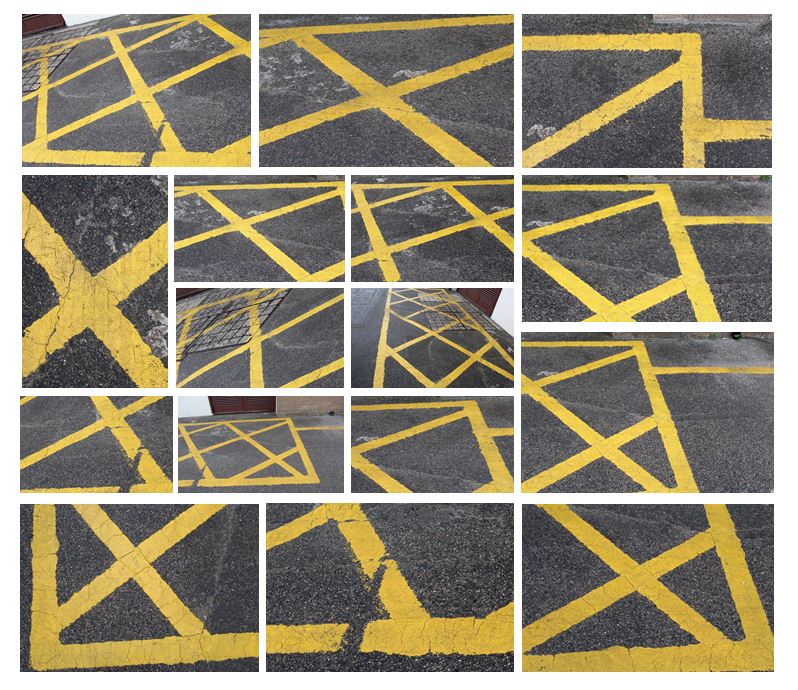
Abstract photography concentrates on shape, form, colour, pattern and texture. The viewer is often unable to see the whole object. The subject of the photo is often only a small part of the idea of the image. Viewers may only know the essence of the image subject or understand it by what is implied. However, it could be argued that all art, including photography, is essentially abstract. I first set out to look for straight bold lines and found that the bright yellow works well.
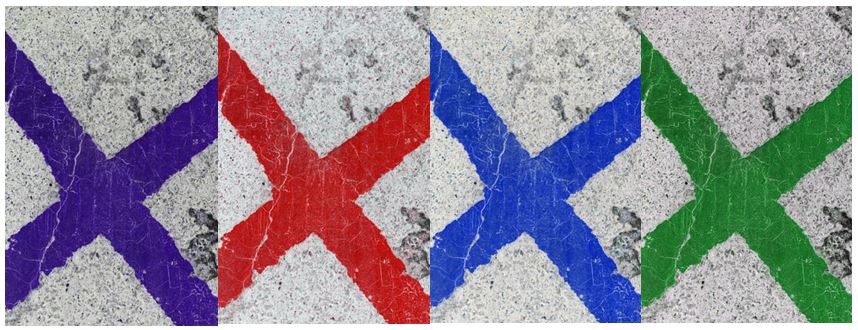
I edited these photos in photoshop by adjusting the hue and increasing the contrast to create different coloured lines to achieve more interesting, abstract photographs. I also experiemented with different layouts, creating patterns and geometrical shapes by flipping the photos vertically and horizontally.
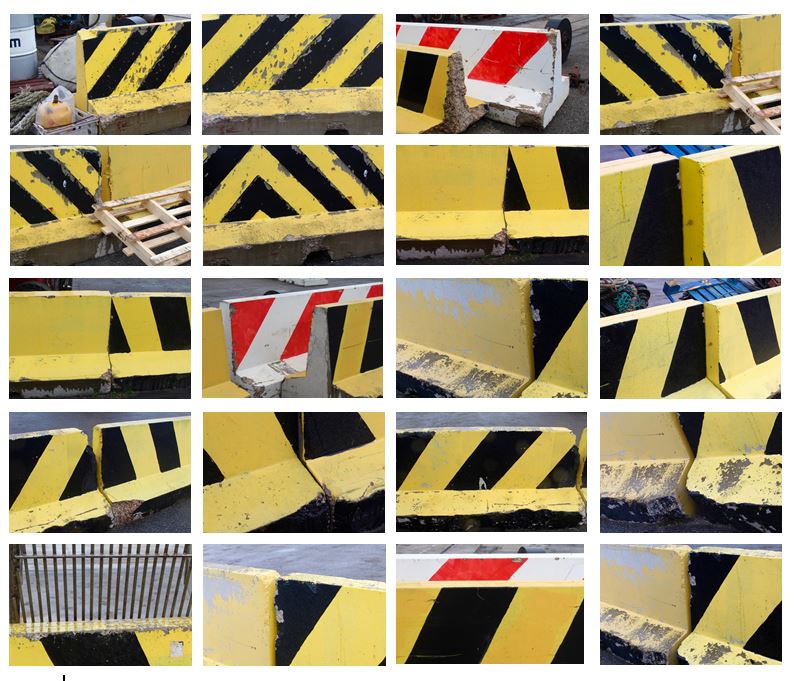
I tried to explore the contrast of colour between the yellow and black and the texture they presented. Using natural light and photographed different angles of the wall to create variety within the collection. To improve this photo shoot I would edit the photos to make them more abstract so the viewer would not be able to see that it was a wall and would emphasise the pattern and texture.
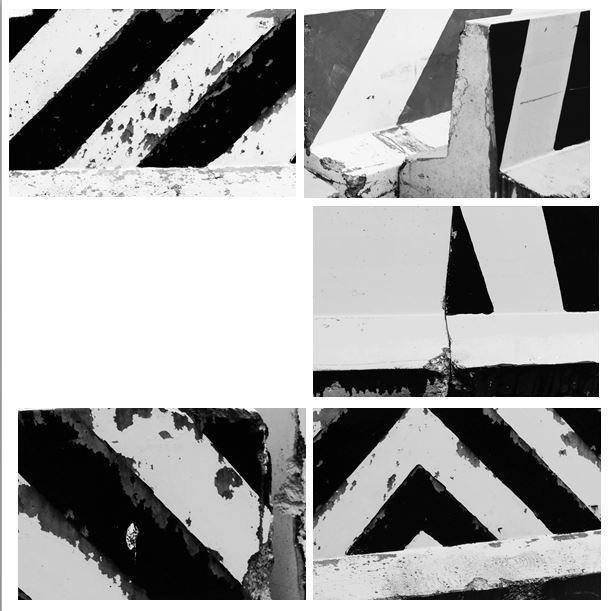
I edited these photos in photoshop to develop them further by turning them black and white and making the lines more bold. I like how the black and white emphasises the texture within the wall and the weathering that has occurred over time. I think it is now less clearer to the viewer that the photograph is of a wall and is now more abstract.
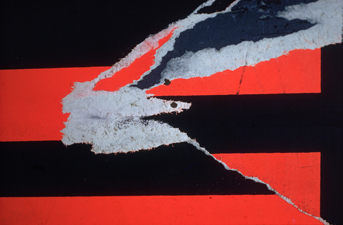
I think the photos I have taken are similar to this photo (Torn Poster II—Redbird) Ernst Haas photographed in 1960.  Both photos contain bold, straight lines and texture within that. The black lines frame the picture and are the points where the eyes are drawn to. Similarly, both contain horizontal, vertical and diagonal lines.

Focus And Focus Point

What is the focus point?

Autofocus points are what the camera uses to focus on a subject. You'll probably first notice them when you press the shutter halfway. Many cameras will emit a "beep," and some of the AF points will light up (often in a red or green color) in the viewfinder or on the display screen as seen below.

Image result for Focus and focus point

When using your camera in auto-focus mode, the auto-focus points will help you direct the focus to a particular location in the frame.

This is extremely convenient because the focus of your photo may not always be in the very center where the camera traditionally likes to focus and meter.

Autofocus points were introduced in film SLR cameras when the Canon EOS and Nikon F-series models were very popular. Since that time, the technology has moved into digital photography and is included in almost every DSLR as well as many point and shoot cameras.

The introduction of AF points gave photographers greater freedom in focusing on certain subjects in the photograph. It mimics the freedom of manual focus while giving you the smooth, quick operation of autofocus.

Autofocus points can also be connected to the camera's metering system in many models. This means that the camera will determine the appropriate exposure based on the chosen autofocus point, which is typically the photo's main subject.

The number of possible autofocus points depends on the camera.

Some cameras have a 9 point system, while other cameras have 11 points or even 51 points. The more AF points a camera has, the more options you have to fine-tune the focus.

Image result for what are focus points
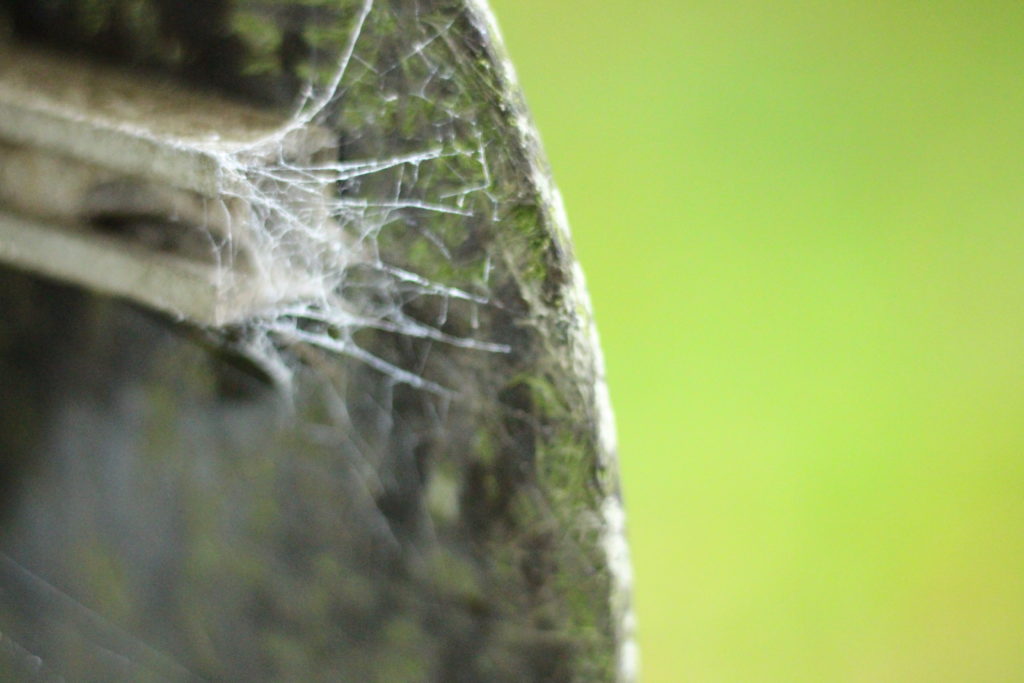
After reading up about the ways in which I could use my point system on my camera, I went out with a few friends to incorporate this into my photos, these were my results:
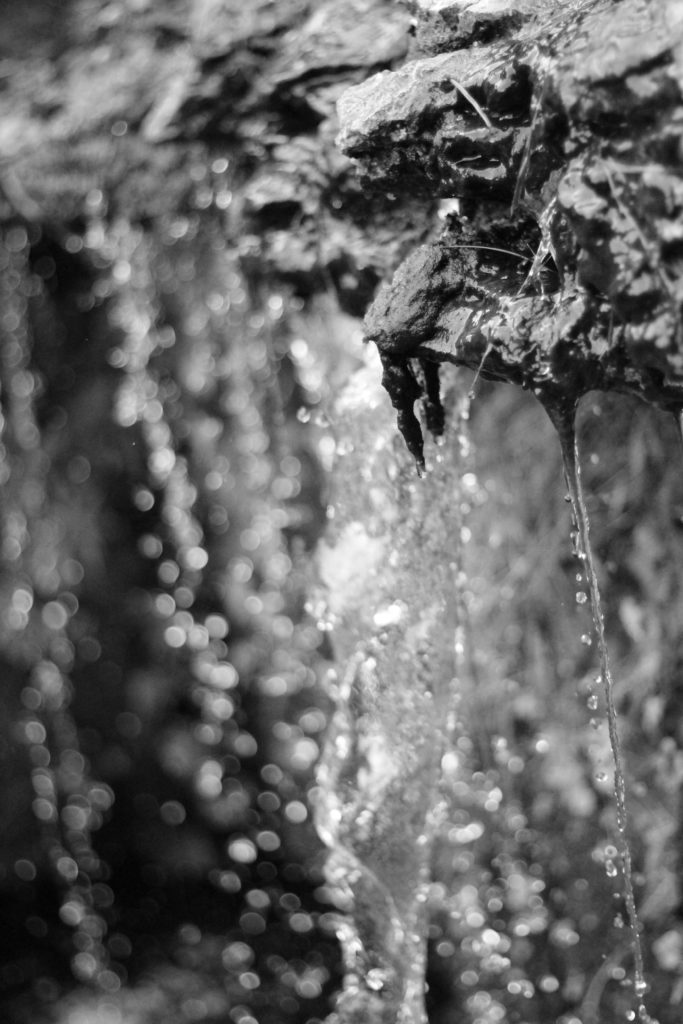
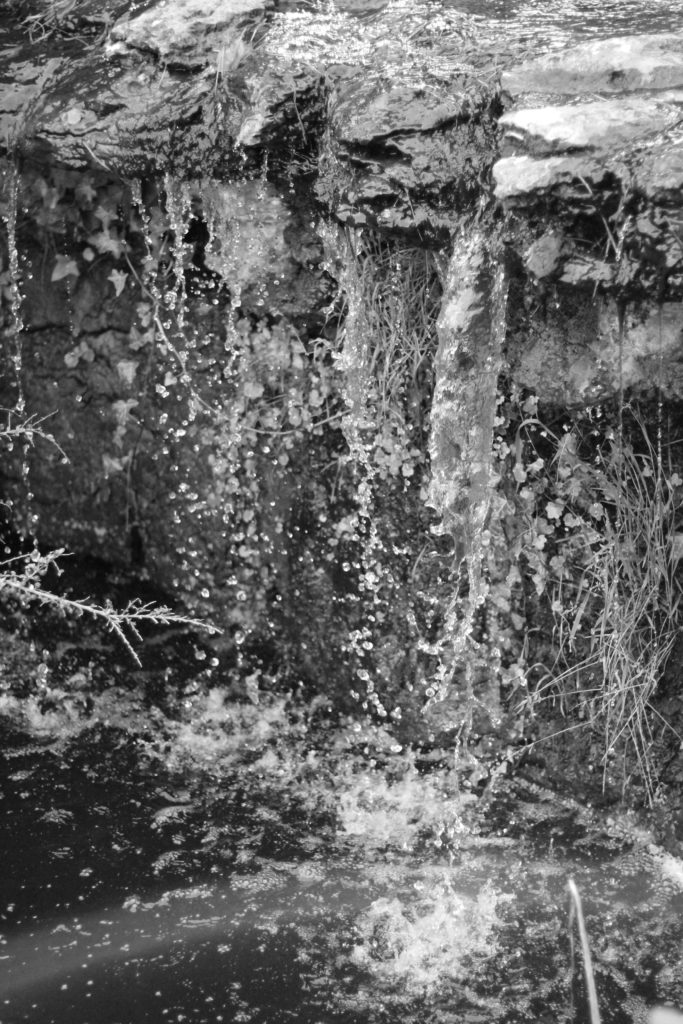
I tried to mainly focus on small details like webs and water to create a much more significant effect to the overall picture.

Depth Of Field

What is depth of field?

DOF is the zone of acceptable sharpness within a photo that will appear in focus. In every picture there is a certain area of your image in front of, and behind the subject that will appear in focus.

This zone will vary from photo to photo. Some images may have very small zones of focus, which is called shallow depth of field. Others may have a very large zone of focus, which is called 'deep depth' of field. Three main factors that will affect how you control the depth of field of your images are: aperture (f-stop), distance from the subject to the camera, and focal length of the lens on your camera.

Image result for what is depth of field
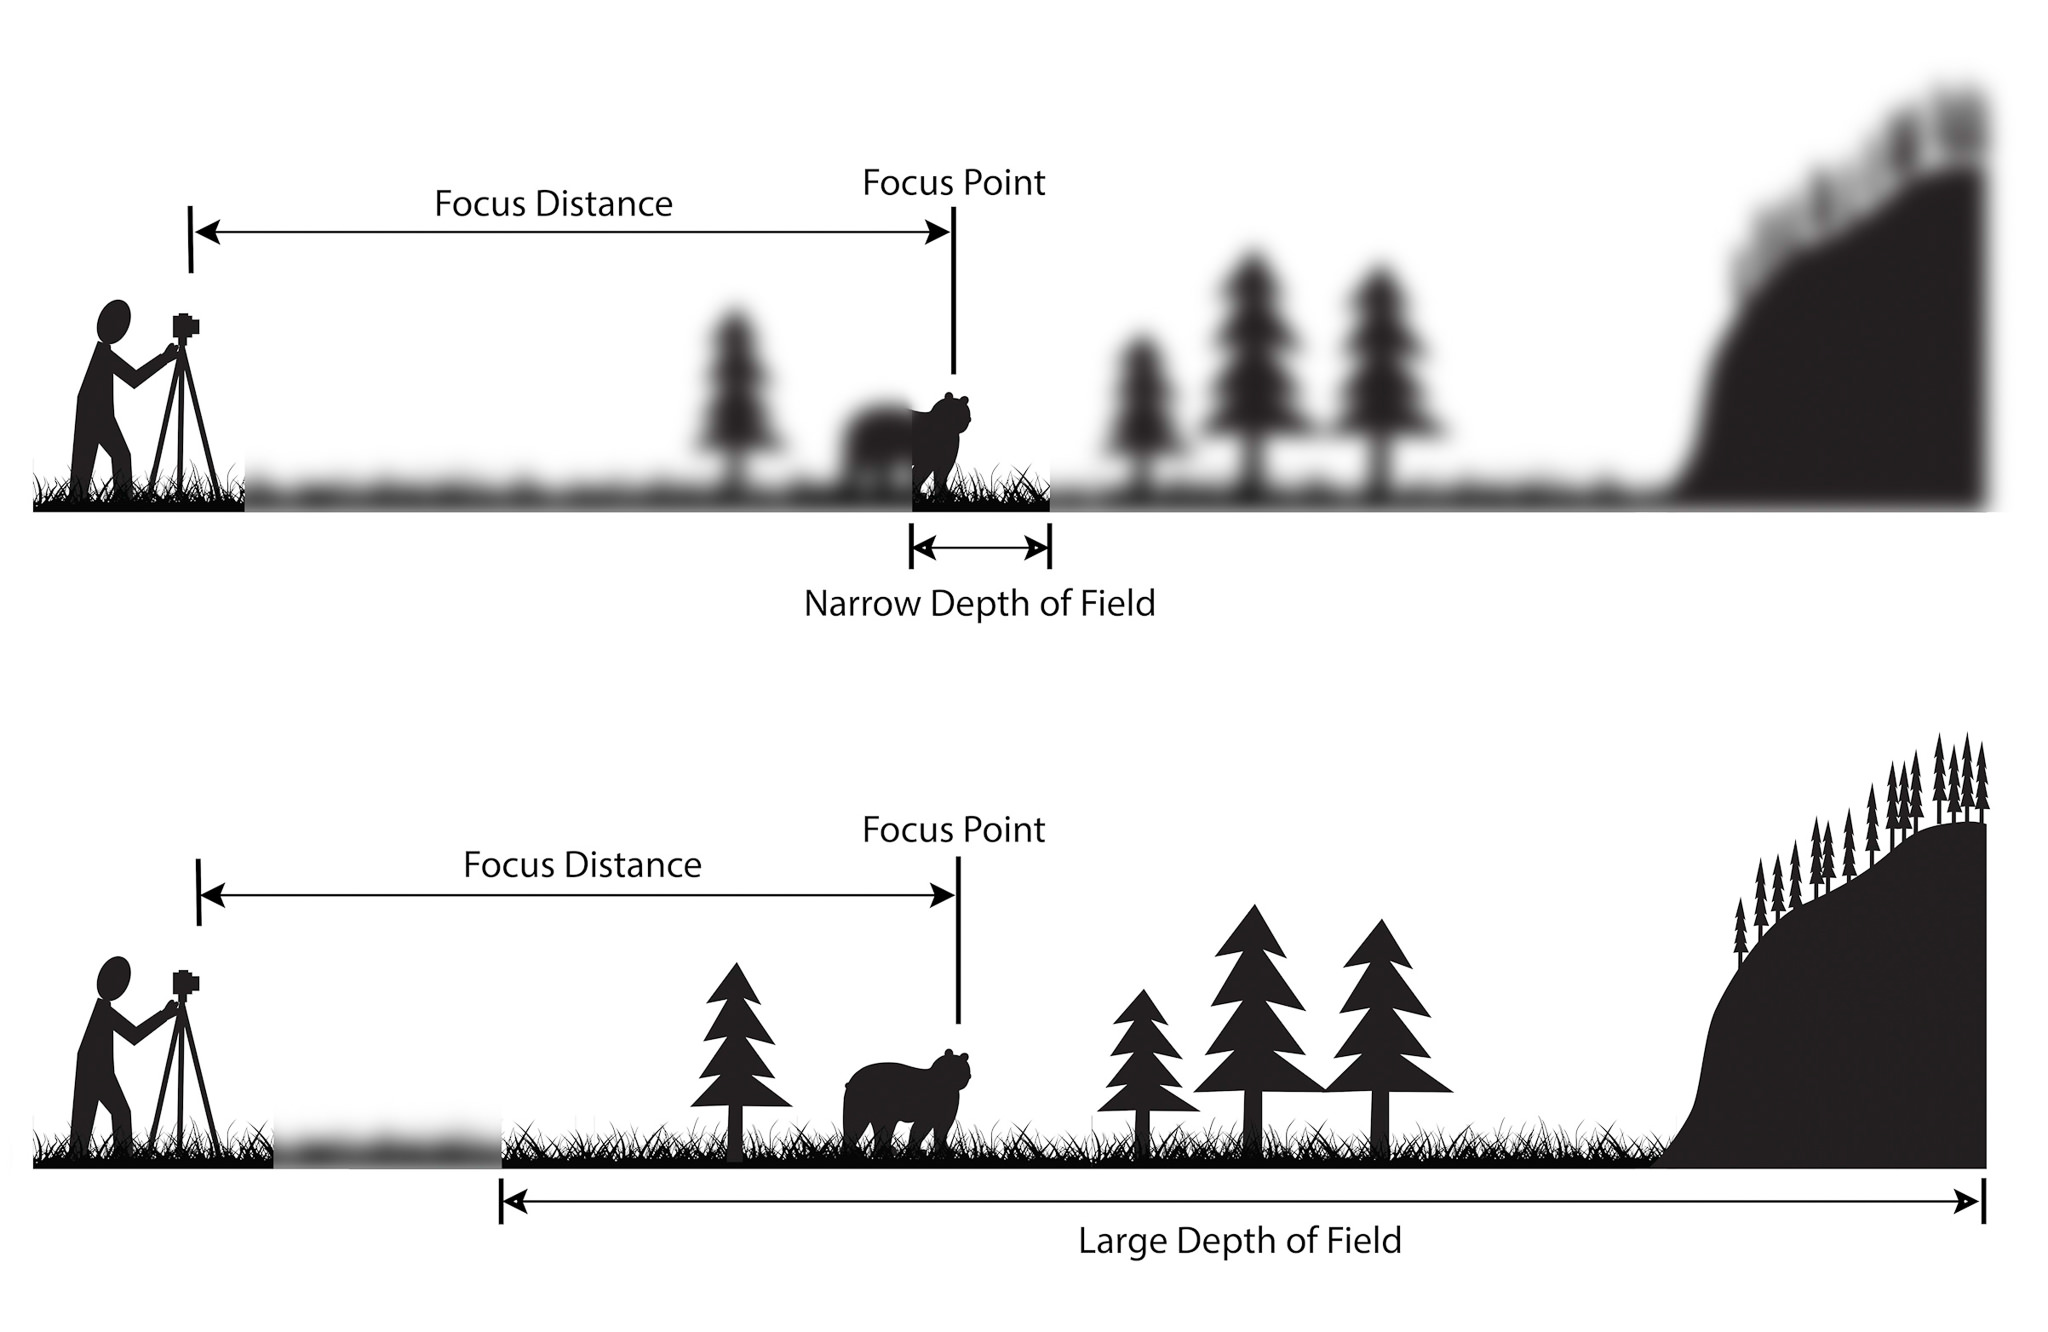
Depth of field diagram

In this picture below to the right there is a gradual focus change within the picture with a very narrow depth of field, allowing the photo to be in focus of one particular object. However to the left there is a much bigger depth of field stretching to infinity, allowing the backdrop to stay focused in detail at the same time.

Image result for what is depth of field
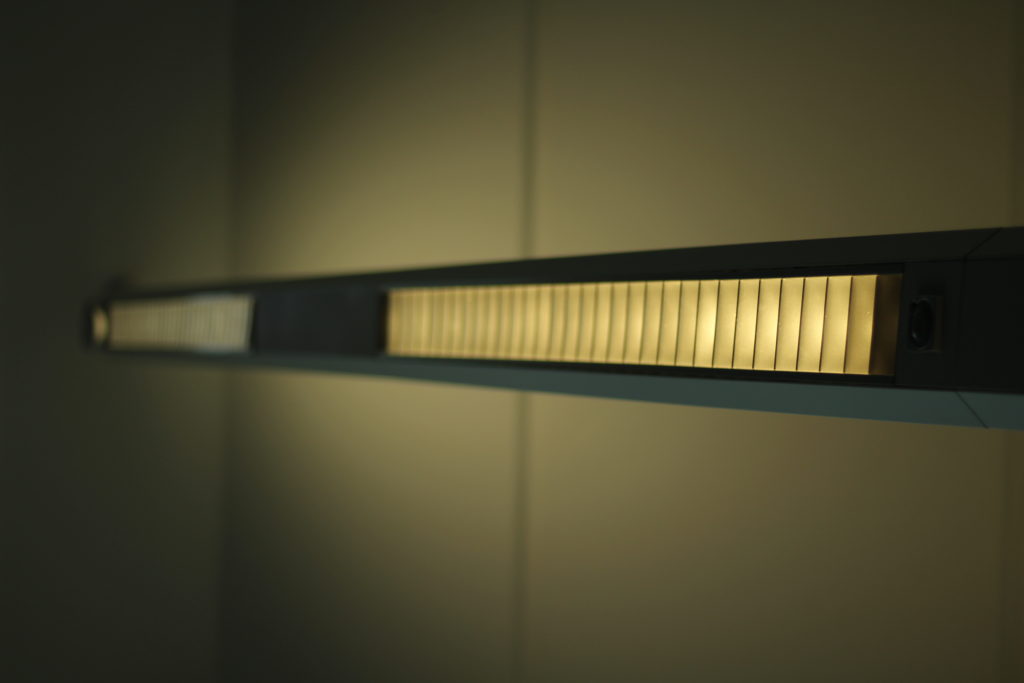
I decided to have a go with the method in a few of my photos, and so walked around school experimenting with it, these were my results:
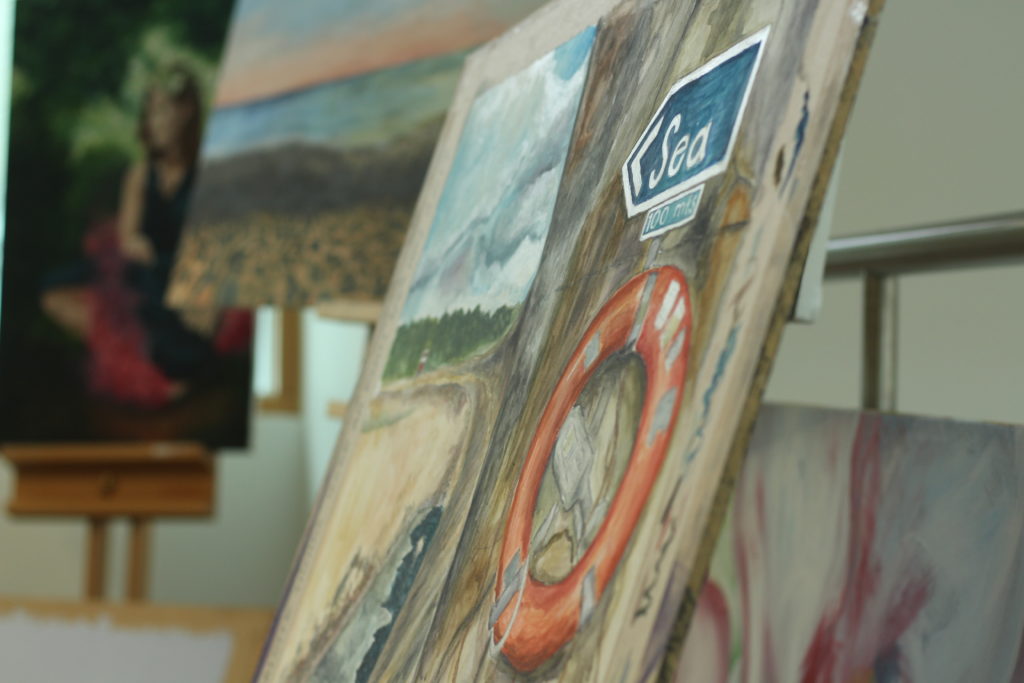
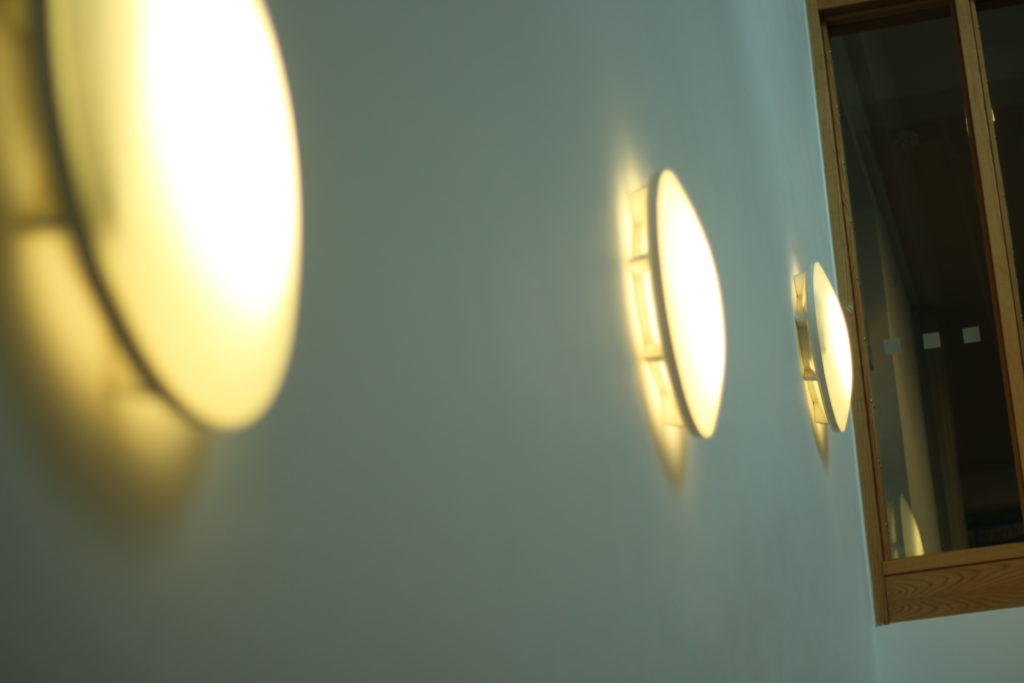
I thought that messing around with the lighting would allow significantly for the viewer to notice what the focal point would be, and to my opinion I think that it worked.

Homework 3 ( Ernst Haas )

Ernst Haas

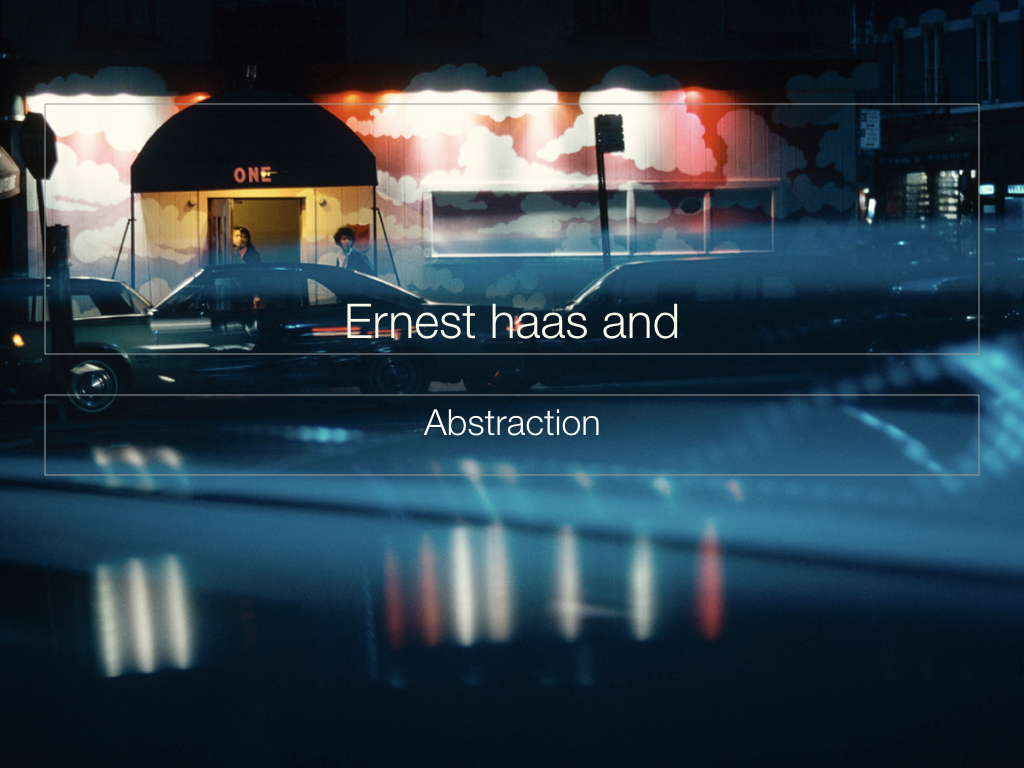
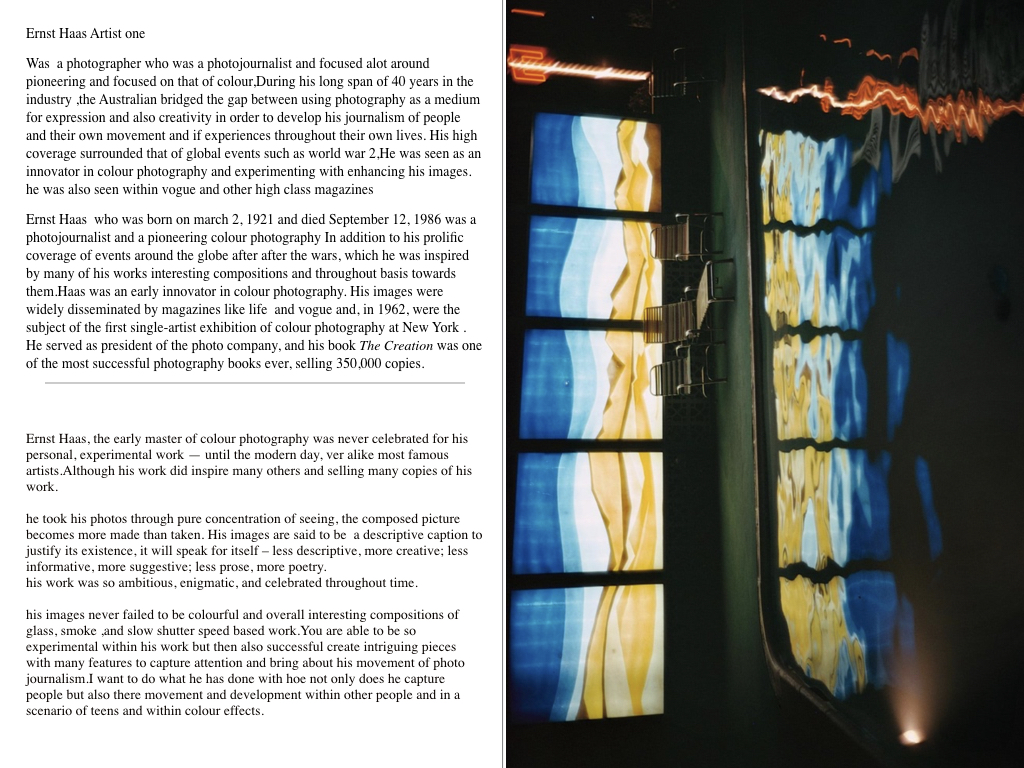
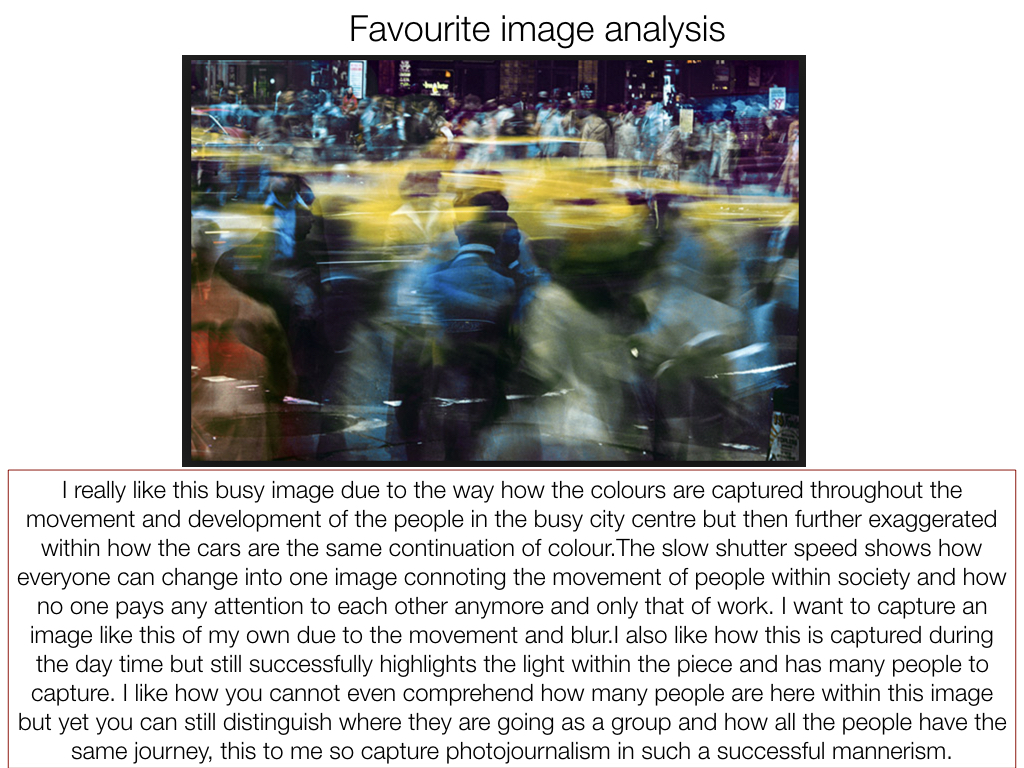
Ernst Haas was a photojournalist and a pioneering color photographer. During his 40-year career, the Austrian-born artist bridged the gap between photojournalism and the use of photography as a medium for expression and creativity. Ernst has a great vision in exploring photography in a more creative and unrealistic way than we actually see things in real life. Using various camera setting like shutter speed Ernst captures great visuals of urban environments, capturing the explosive and rushed vibes within these areas. He does this by producing many images containing motion blurs.

Haas was an early innovator in color photography. His images were widely spread by magazines like Life and Vogue and, in 1962, were the subject of the first single-artist exhibition of color photography at New York’s Modern museum of art. His book The Creation (1971) was one of the most successful photography books ever, selling 350,000 copies.

My Photo shoot Plan

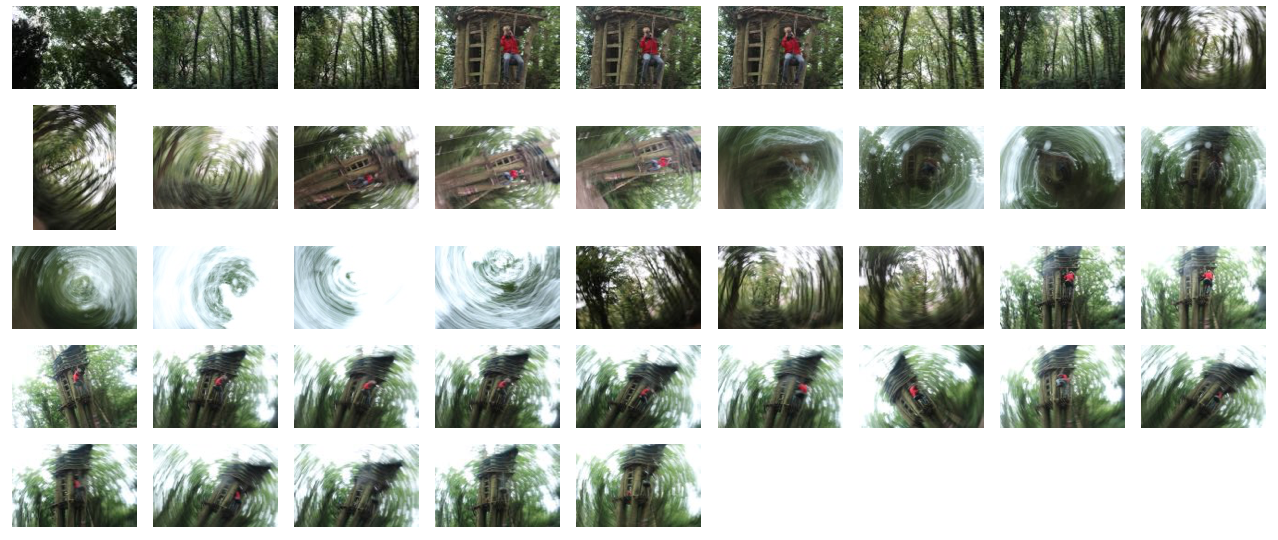
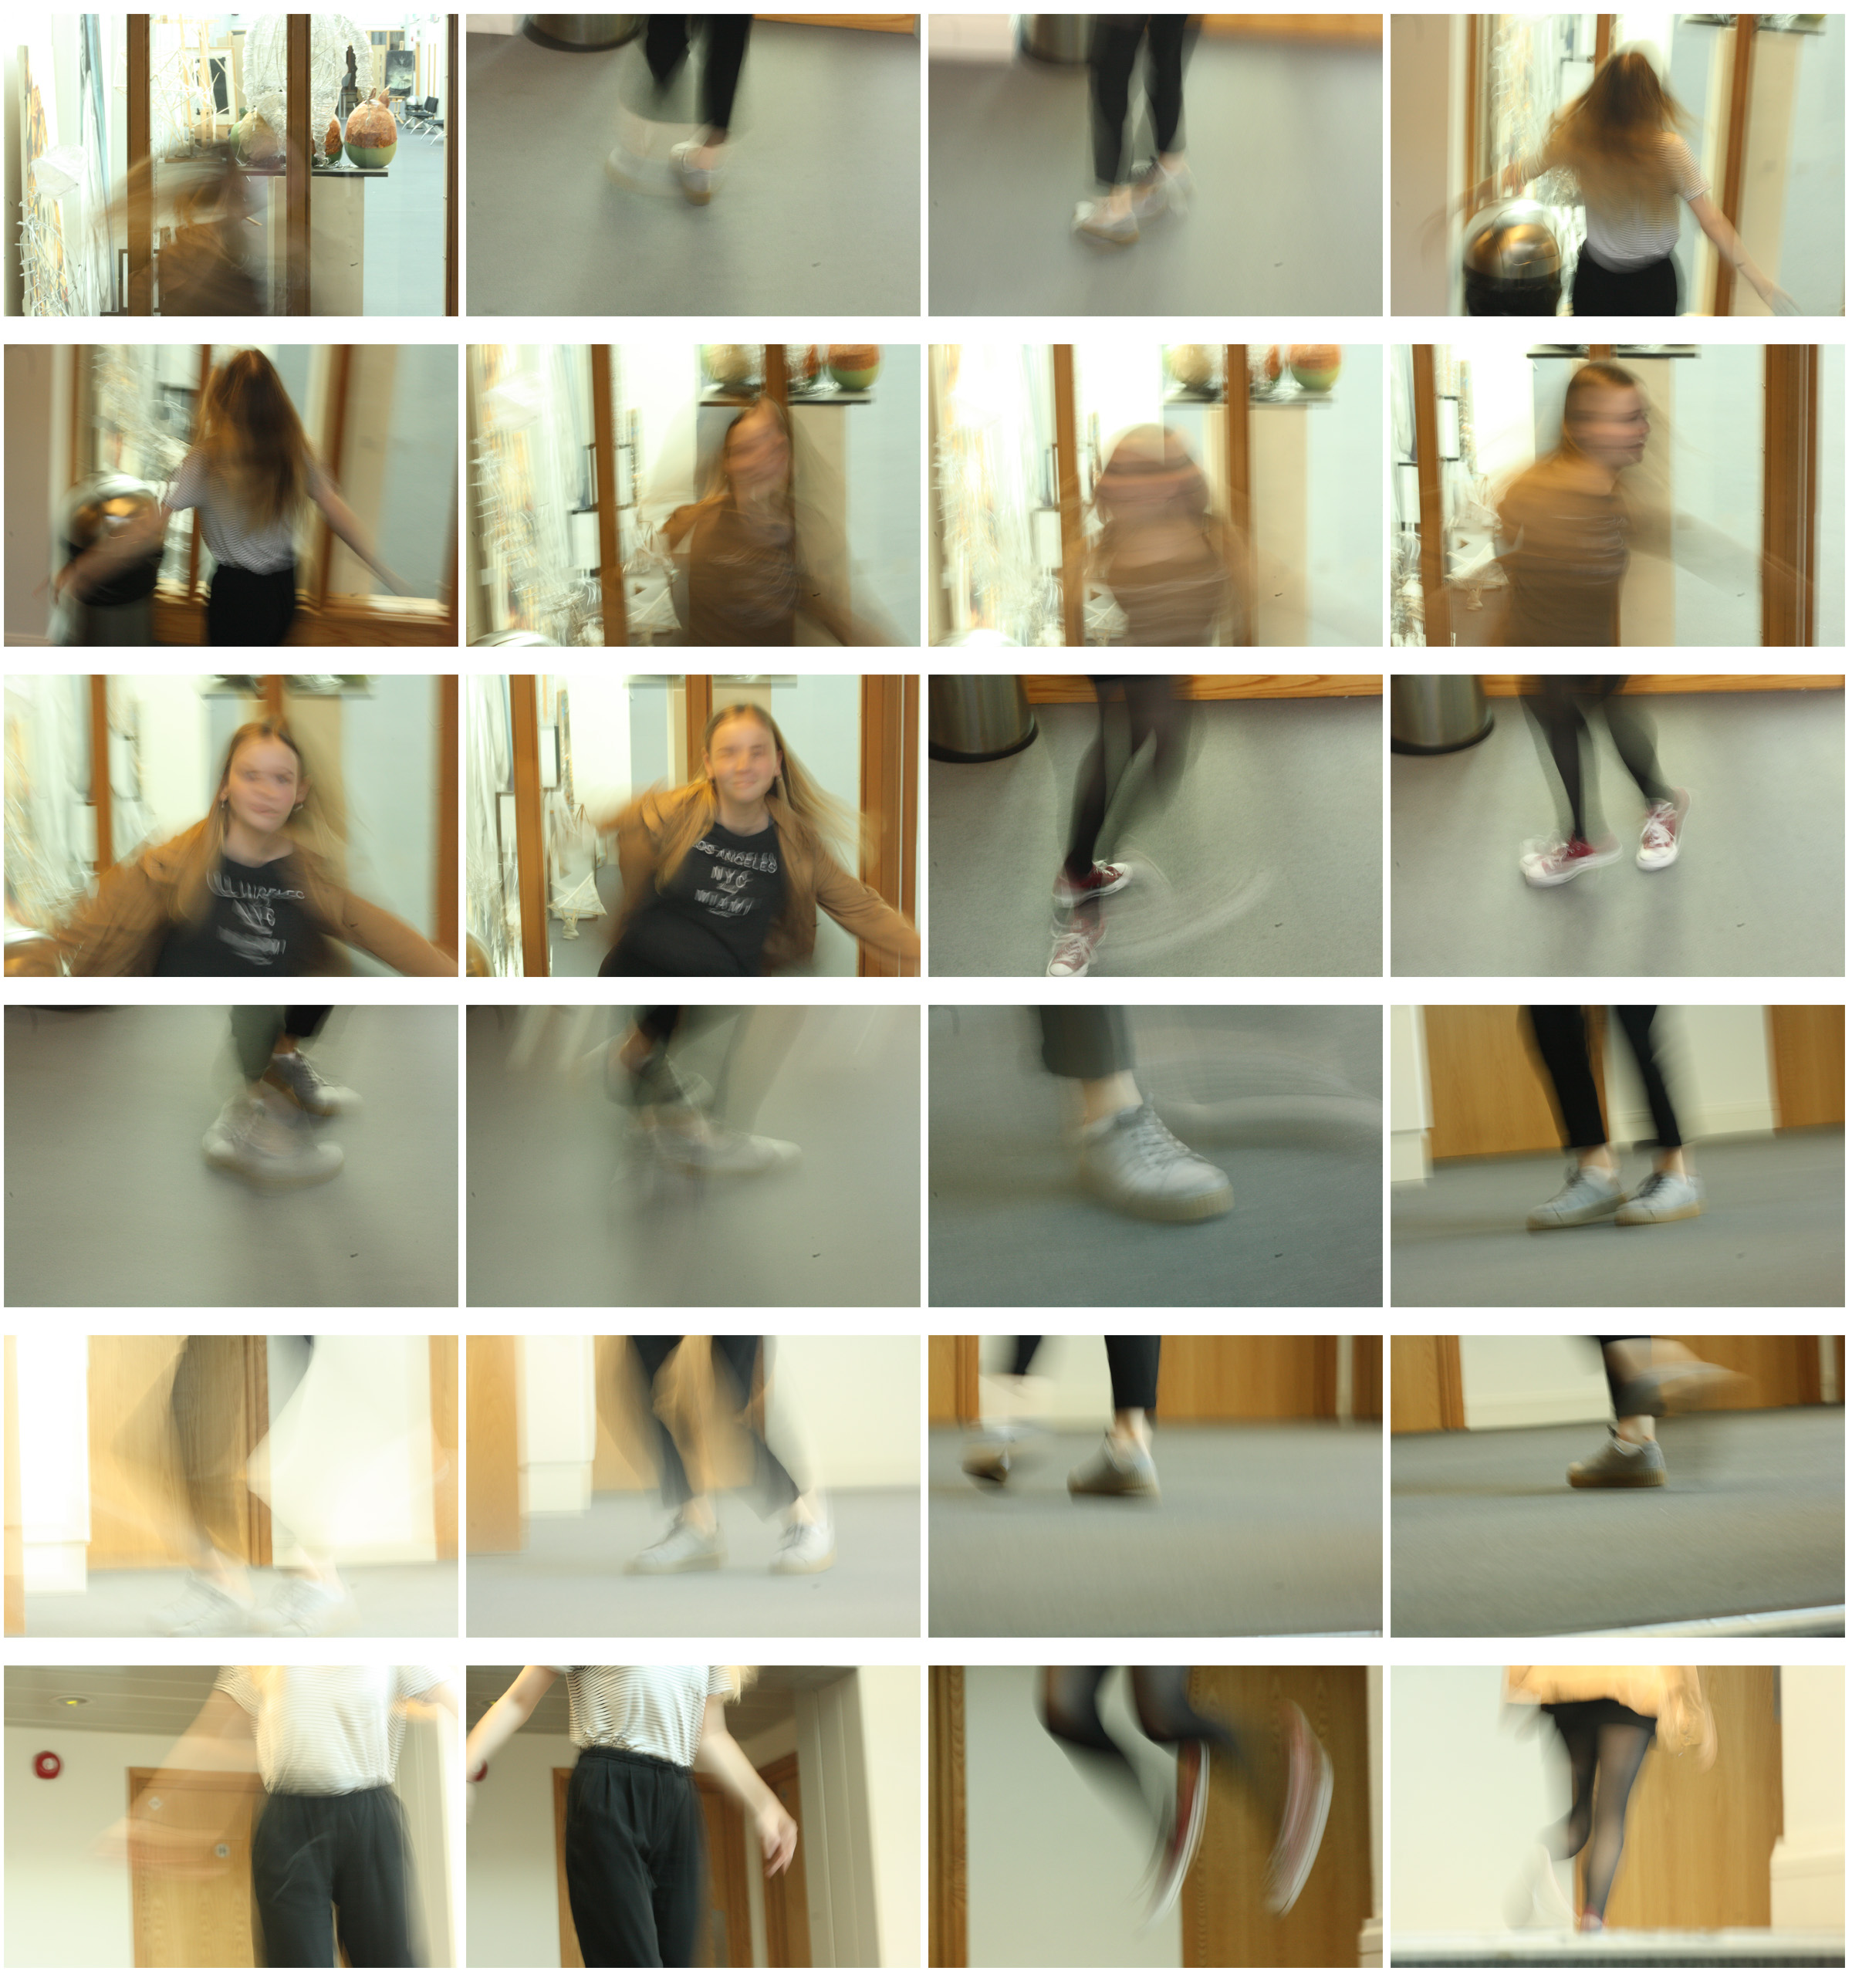
In my photo shoot I intend to use a slow shutter speed in order to capture abstract images which are serial, like Ernst’s are. It appears that he uses mainly natural lighting for his photographs therefore as will I and the location of my shoot will be in a woodland area, where I can capture the feeling within and among the trees. This is similar to Ernst’s photography where he captures the atmosphere in the city, amongst buildings however I am going to take a different approach by expressing the feelings found within a woodland area.

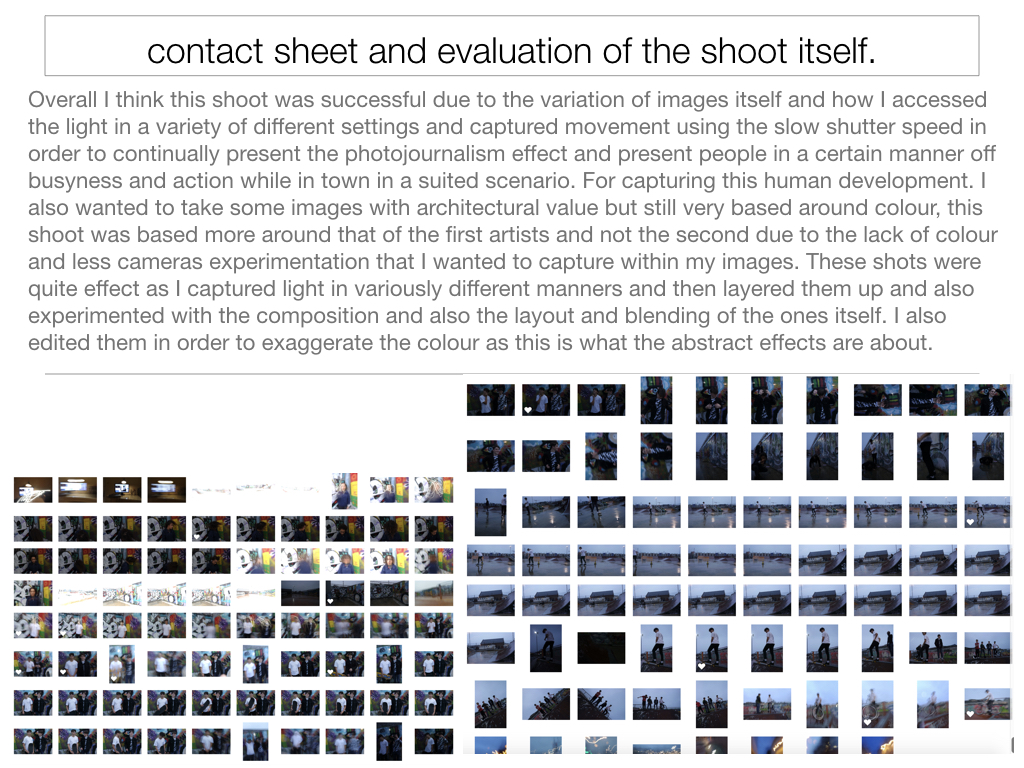
Contact Sheet of Photo shoot

Edits


Becher Inspired Photoshoot

What is a typology? 

Typology is the study of types, however in photography a typology is a series of images, in which the photographer has taken many of the same genre of object (buildings, pencils etc), using roughly the same composition for each one creating that scenes of repetition about them.

Bernd And Hilla Becher

Both these Photographers were German based, and were commissioned by the government to produces typologies of specific types of buildings, as seen below.

Image result for Bernd becher photography

These Photographers would go around the country taking the same composition of certain objects, which when one was taken would not look that impressive, but rather when hundreds were taken precisely from the same distance, and combined together, it creates an almost artistic creation

In response to this I decided I would walk around my home area and try to incorporate this style into my images, I chose the themes around car lights, windows with chimneys, and doors. These were some of my results:
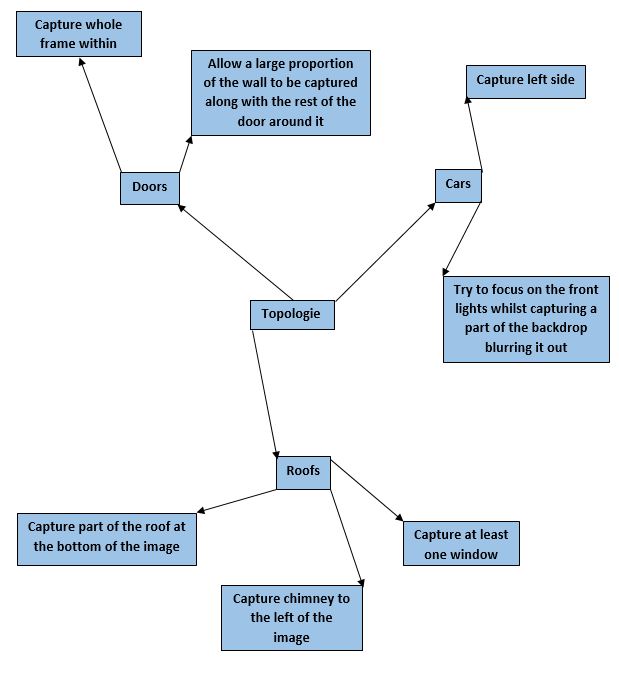


 I decided that the car topology sheets worked the best, due to the contrast between the lights and the bonnets of the car which came in different shapes.

Focal Length

What is focal length?

The focal length of the lens is the distance between the lens and the image sensor, when the subject is in focus, usually stated in millimeters (e.g., 28 mm, 50 mm, or 100 mm). In the case of zoom lenses, both the minimum and maximum focal lengths are stated, for example 18–55 mm. Changing the focal length changes the angle of view. The shorter the focal length (e.g. 18 mm), the wider the angle of view and the greater the area captured. The longer the focal length (e.g. 55 mm), the smaller the angle and the larger the subject appears to be.


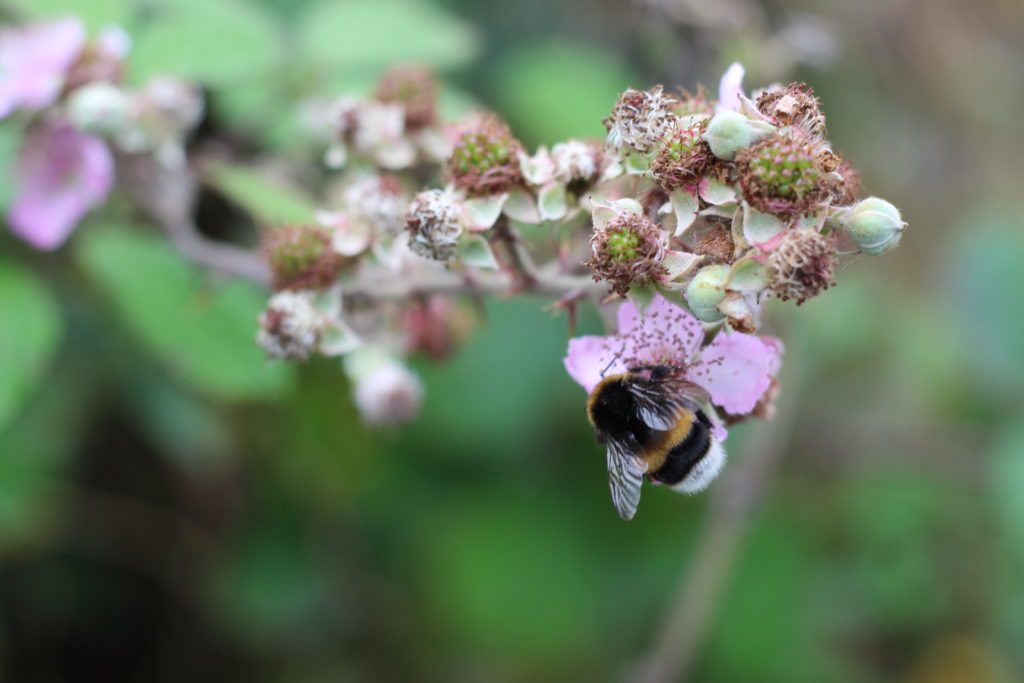
I tried having a go with this concept, by focusing firstly on the backdrop rather than the central figure, and then on the figure rather than the backdrop.

In this image I chose to focus purely on the backdrop of the trees rather than the character within, as an experiment with my cameras focal length.


This image however I chose to focus on the closer object to the lens, which happened to be a bee on a flower, therefore blurring out the backdrop rather than keeping it clear.
Homework Assignment 3

Planning:

Task – Produce 100-200 images that show a response to abstract art and photography

Locations – Car park,  street

Subjects – Josh, cars, lights

Lighting – flash in the car park, natural lighting outside.

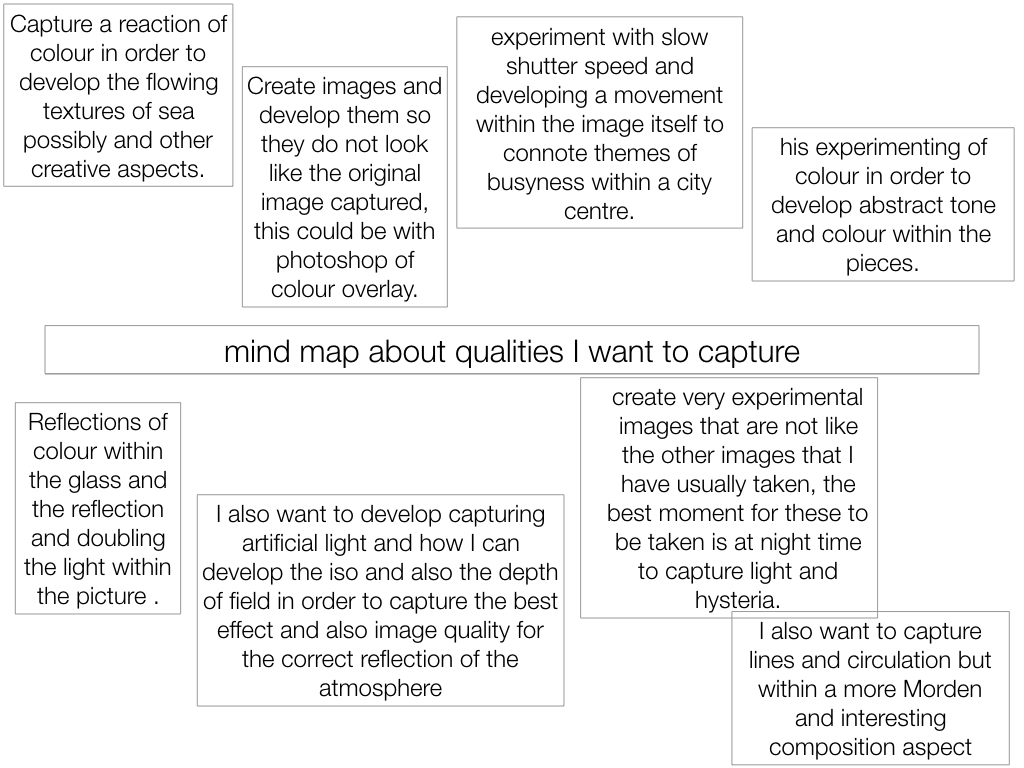
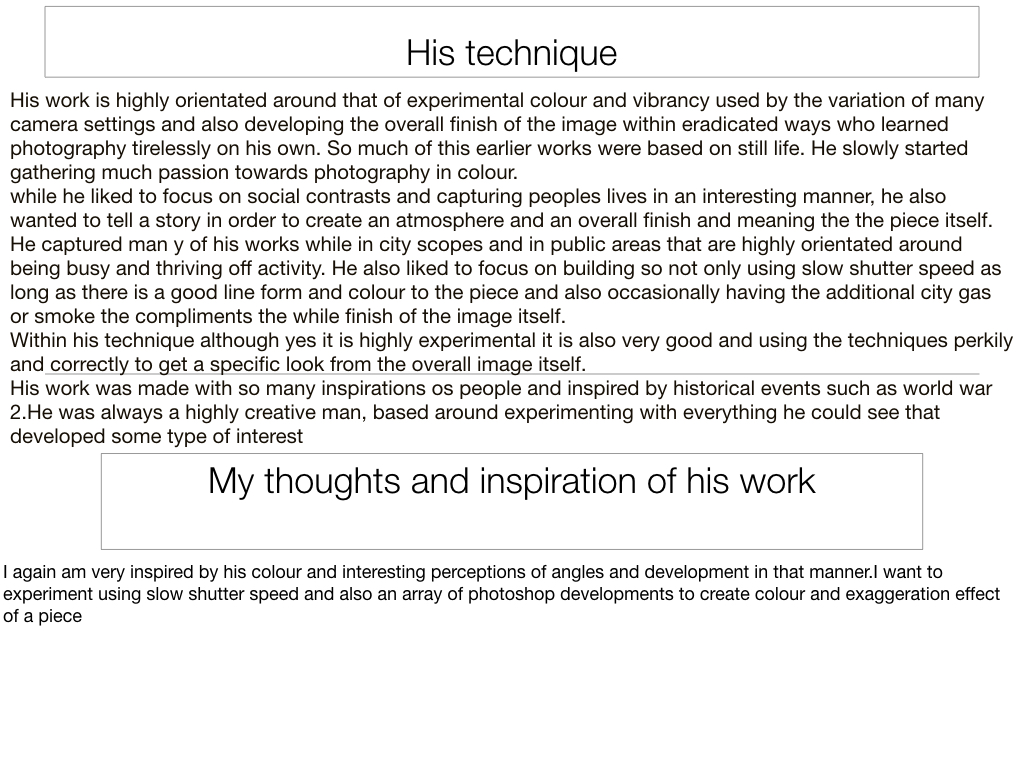
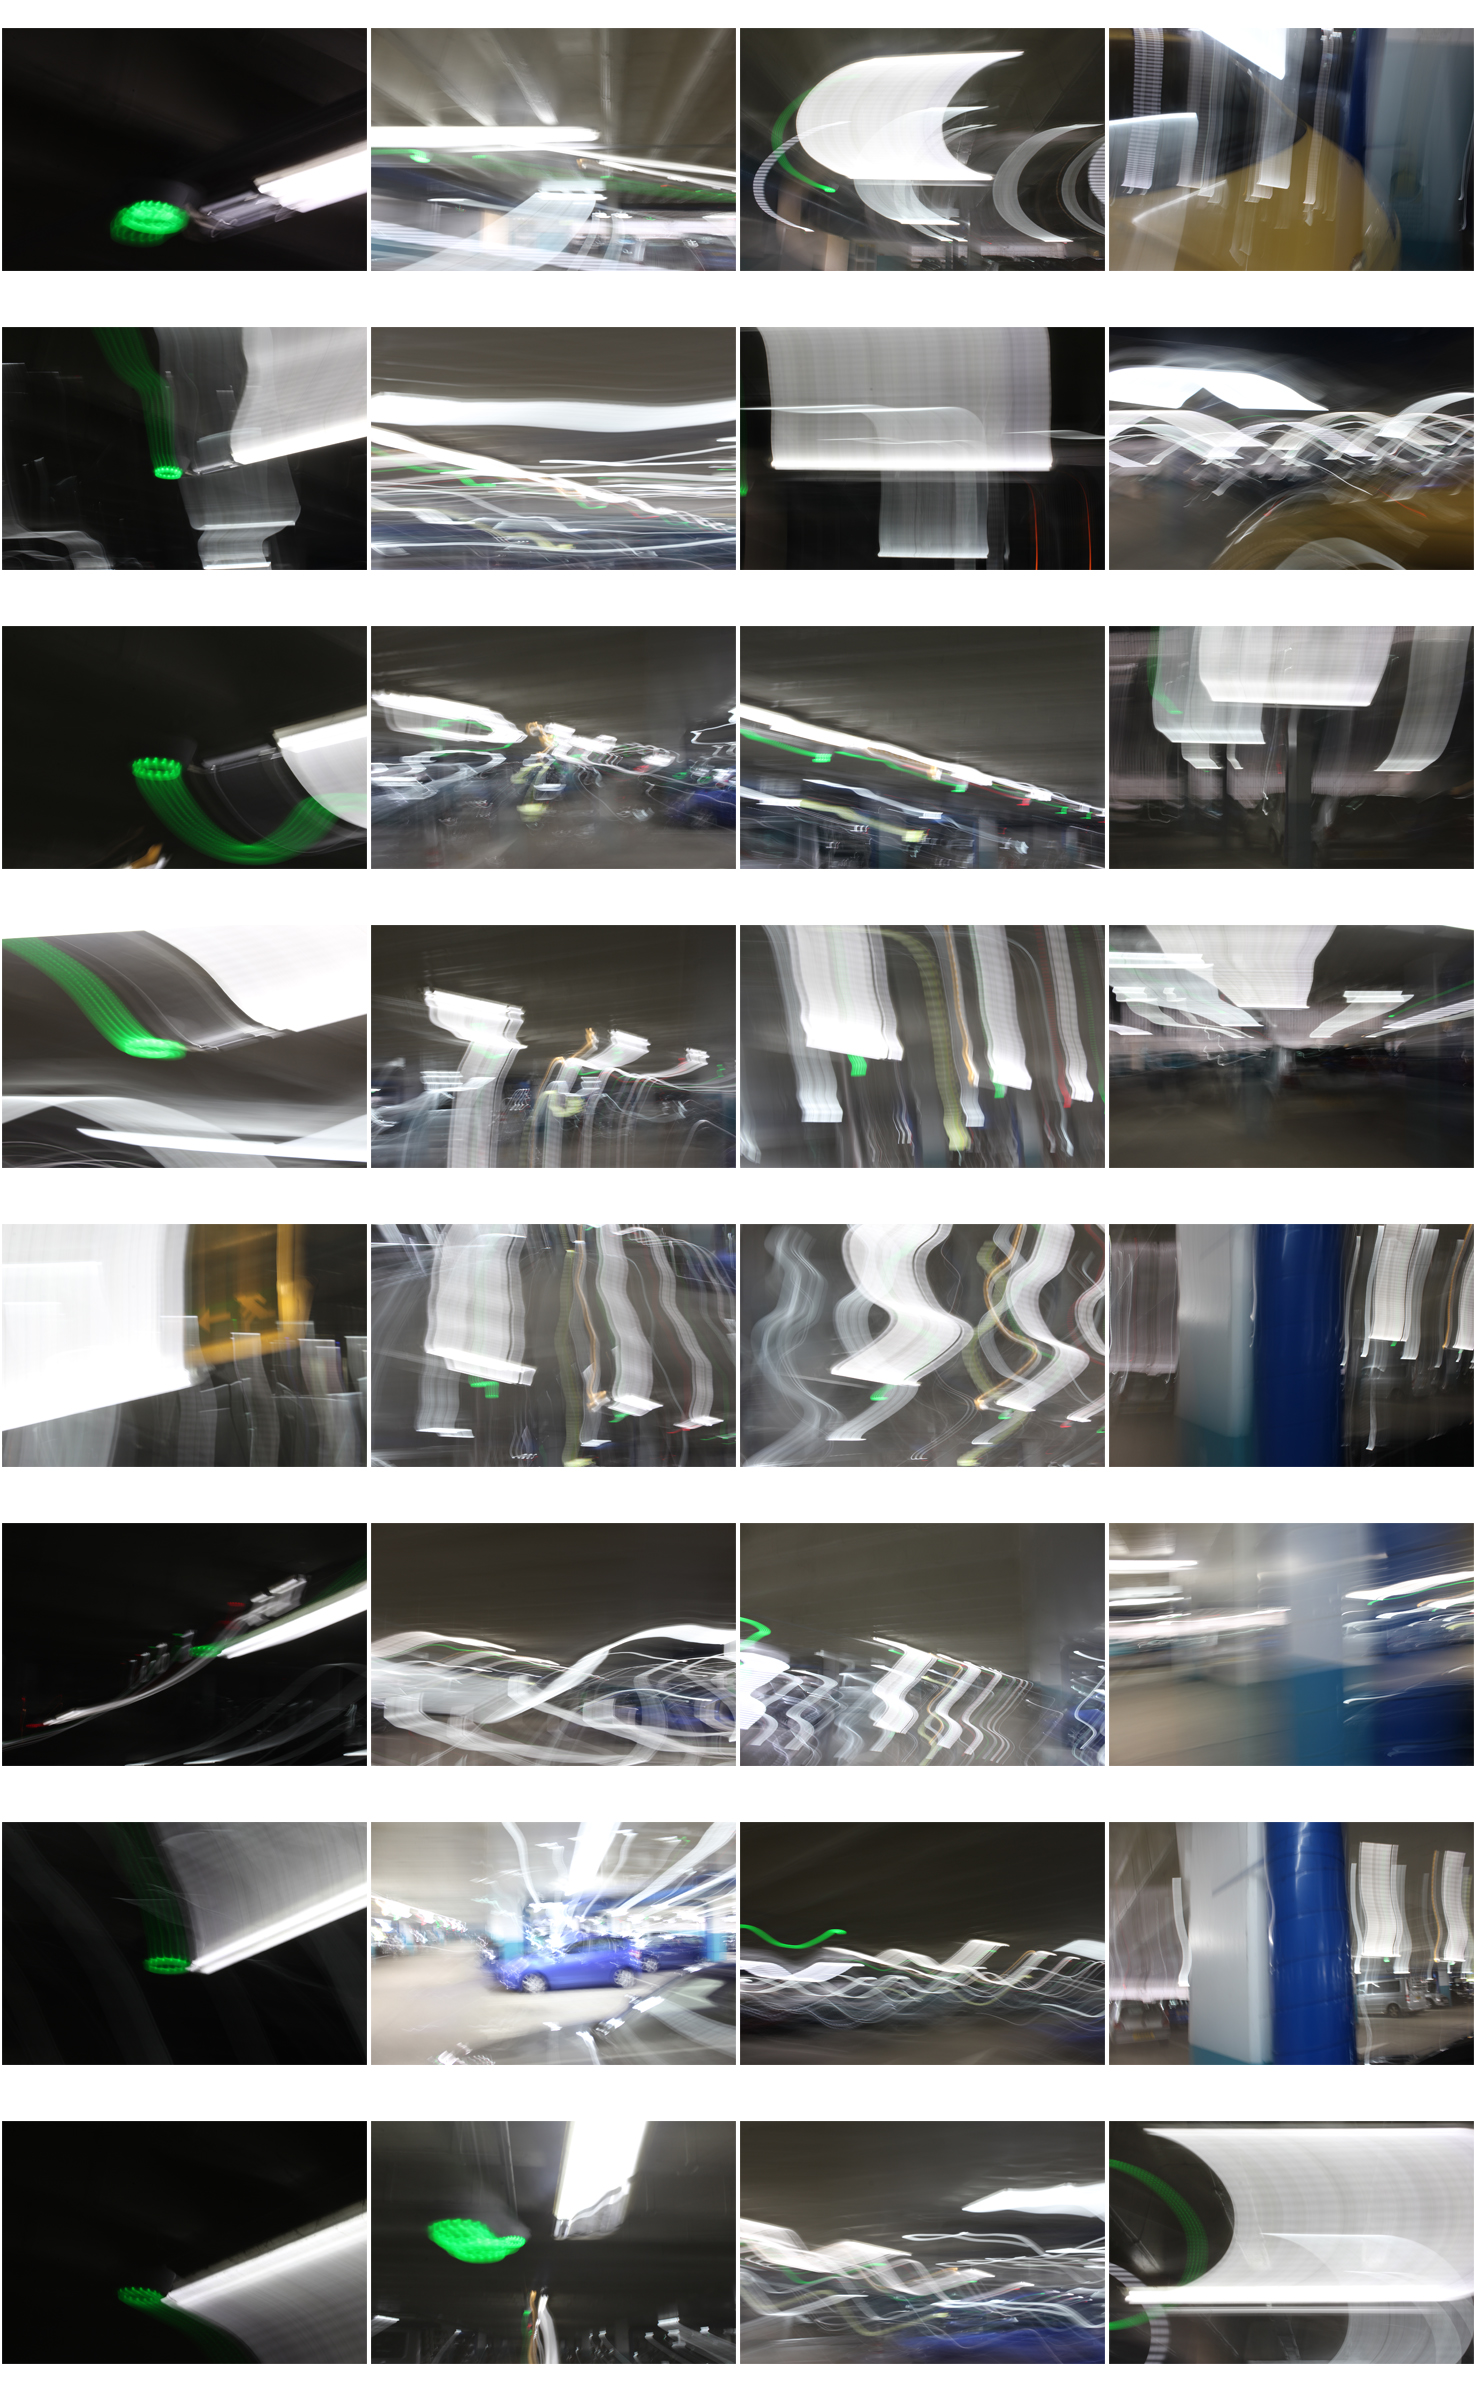
Camera settings – Low shutter speed (0.8 seconds) for blurred effect, ISO 800 due to dark settings, deep depth of field so high aperture.

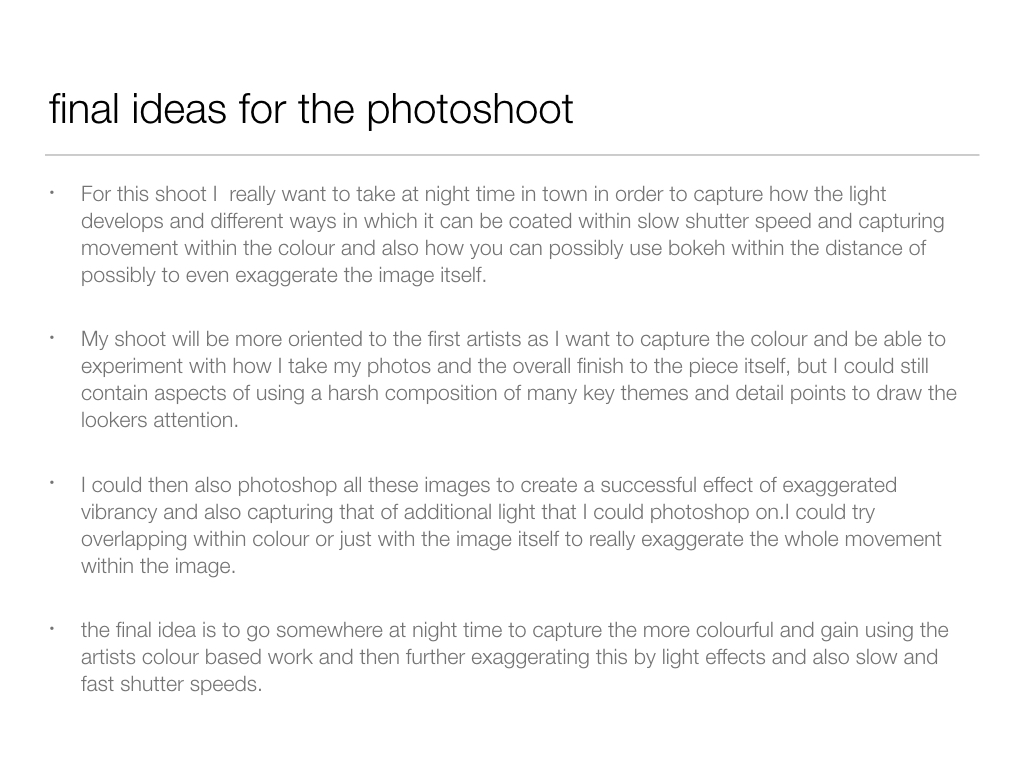
Concept – capture and manipulate movement of light

Ernst Haas

Image result for Ernst Haas photographer

Image result for Ernst Haas photographerErnst Haas (1921-1986) was born in Vienna and took up photography after the war.
In 1953, LIFE magazine published his 24 page colour photo essay on New York city.

He received the Hasselblad award on the year of his death.He was a photojournalist and a pioneering colour photographer.

His book ‘The Creation’ was one of the most successful photography books ever.

My favourite Ernst Haas photo:

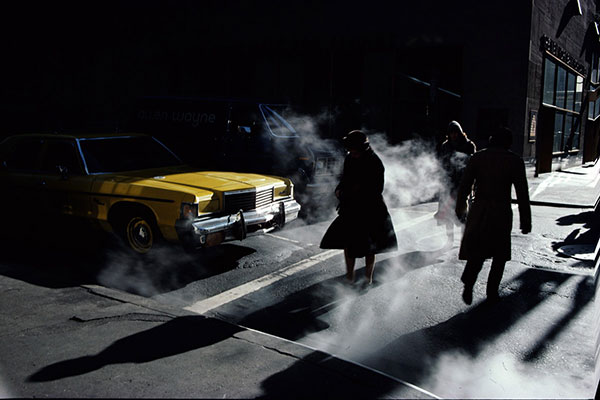
This is my favourite photo by Ernst Haas because of the contrast and mystery behind it.

The yellow of the car contrasts very well with the dark, almost colourless, image. The shadows and silhouettes create a sinister and mysterious setting along with the smoke.

This could just be a photo he took in the middle of New York city but the shadows and smoke make it a very interesting and dramatic image.

Image result for Ernst Haas photographer

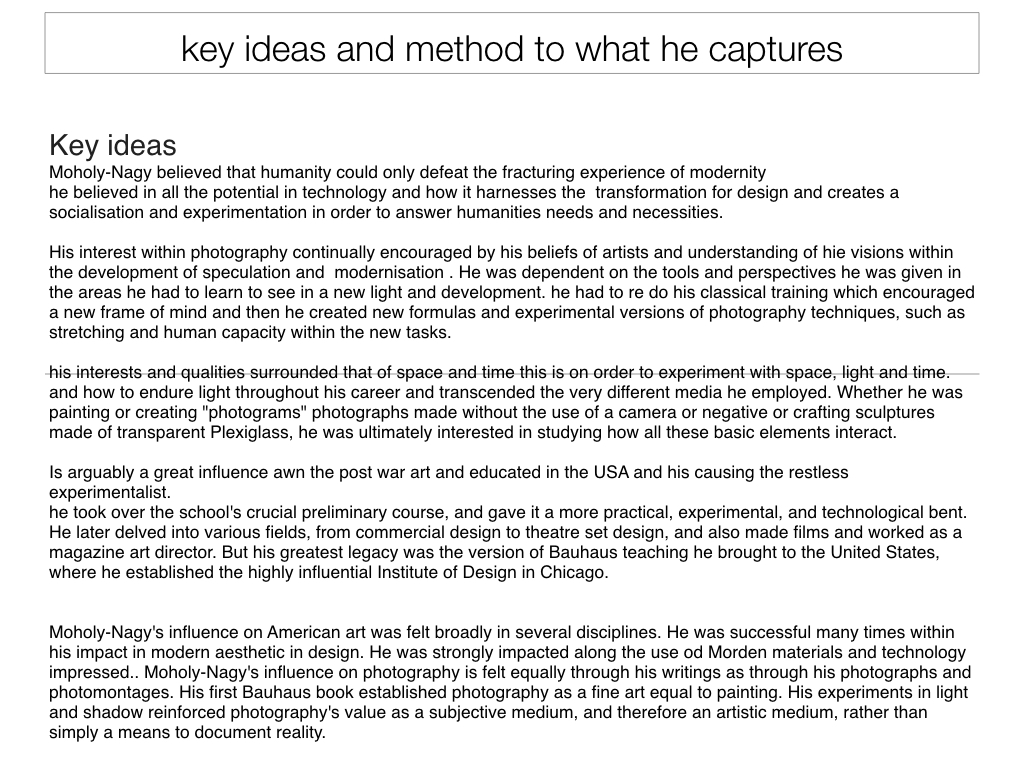
Lazlo Moholy-Nagy


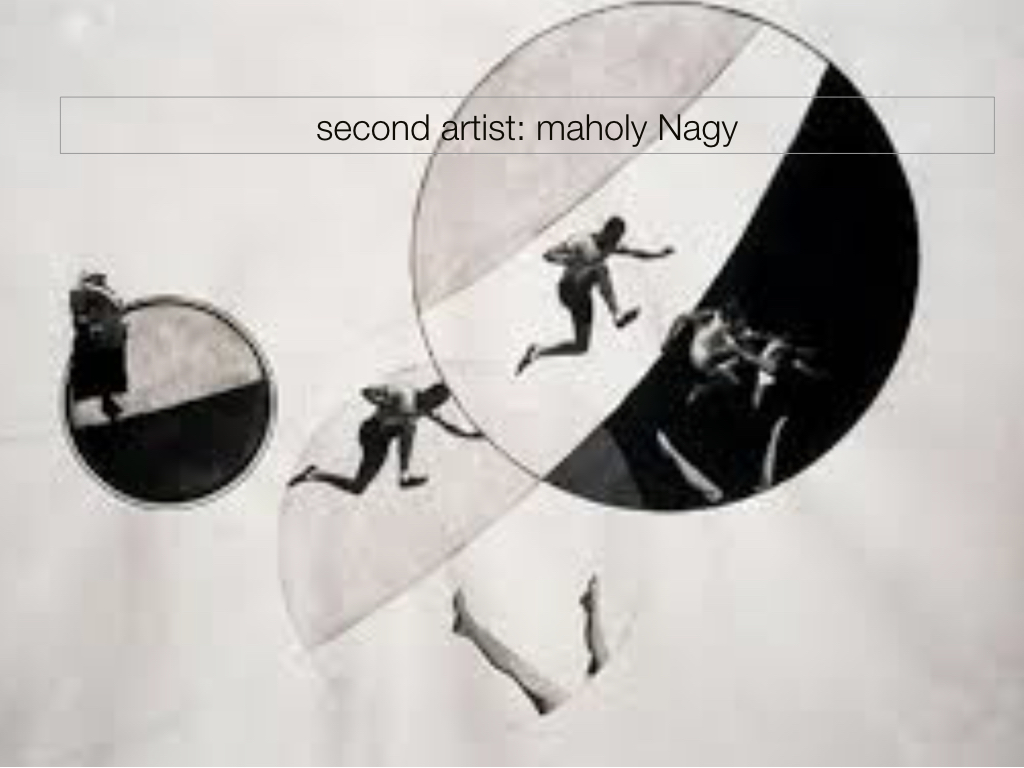
Image result for moholy nagy photographyImage result for moholy nagy photographyMoholy-Nagy (1895-1946) was a Hungarian painter and photographer.
He was highly influenced by constructivism and helped to integrate technology and industry into the arts.

He believed that humanity could only defeat the experience of modernity if it harnessed the full potential of new technologies. He thought that artists should turn into designers.

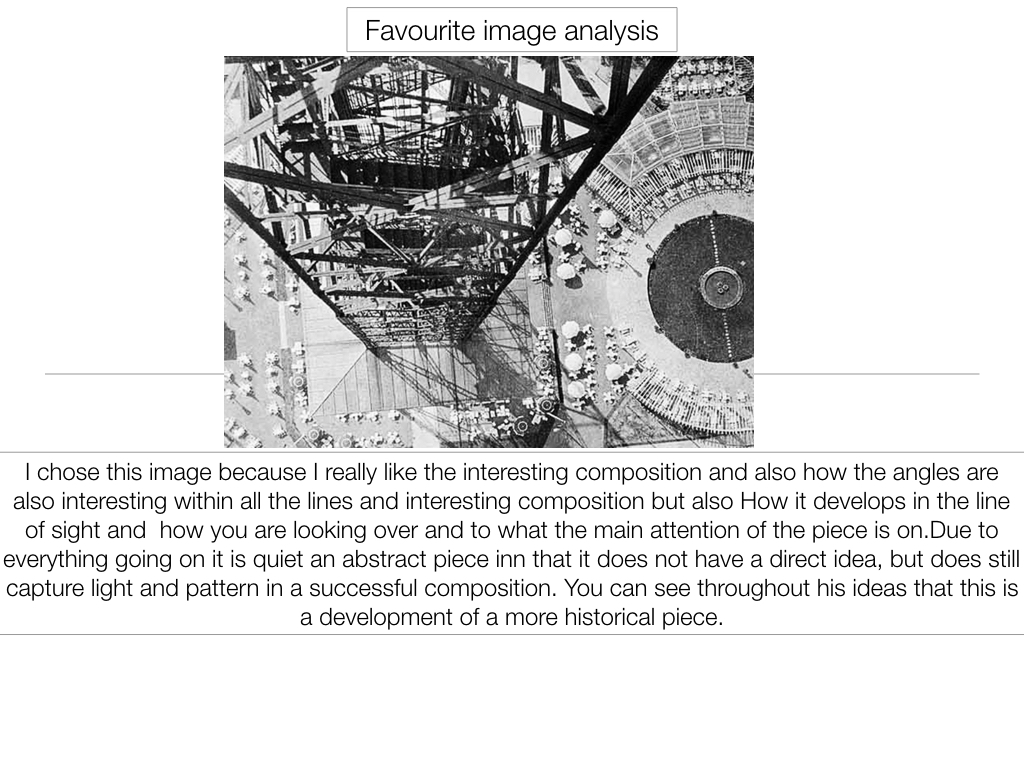
My favourite Moholy-Nagy photo:

I like this photo because of the way he has used angles to create an image which the viewer has to figure out. At first the viewer is unsure what they are looking at when they see the contrasting white circles but after seeing the cleverly placed other worker, they realise what the image is showing.

This image shows well what Moholy-Nagy does – he integrates shapes and industrial work into his photographs. There are lots of different shapes in this photo which almost make it seem abstract.

Image result for moholy nagy photography

My Photos:


My Favourite Photos

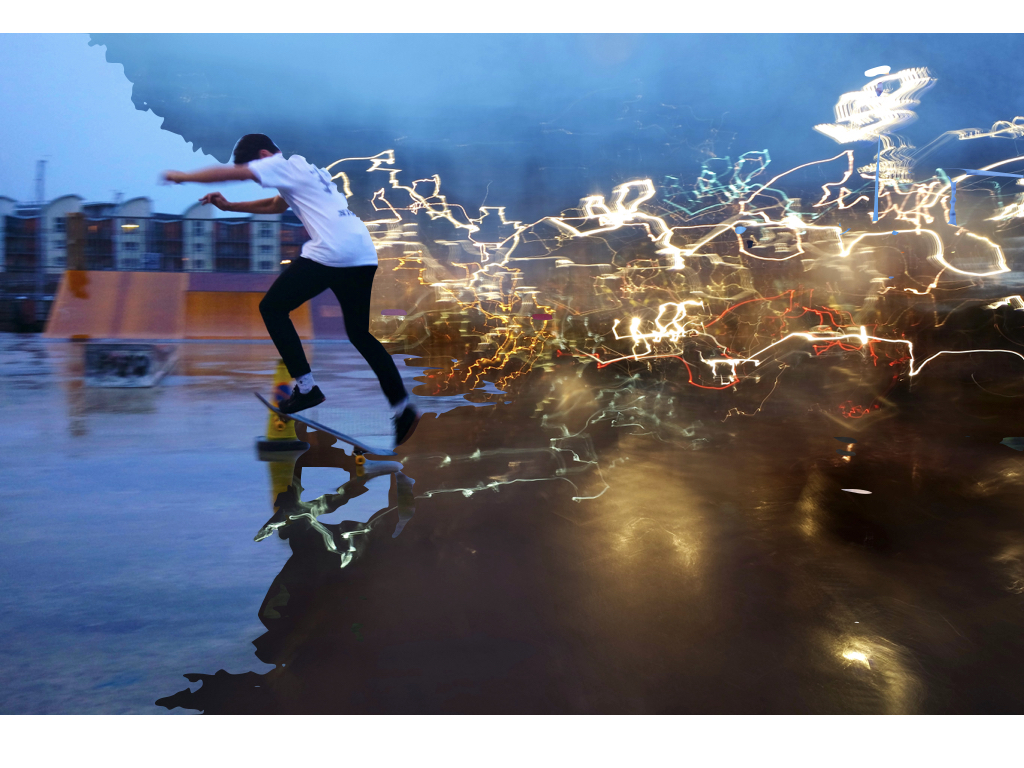
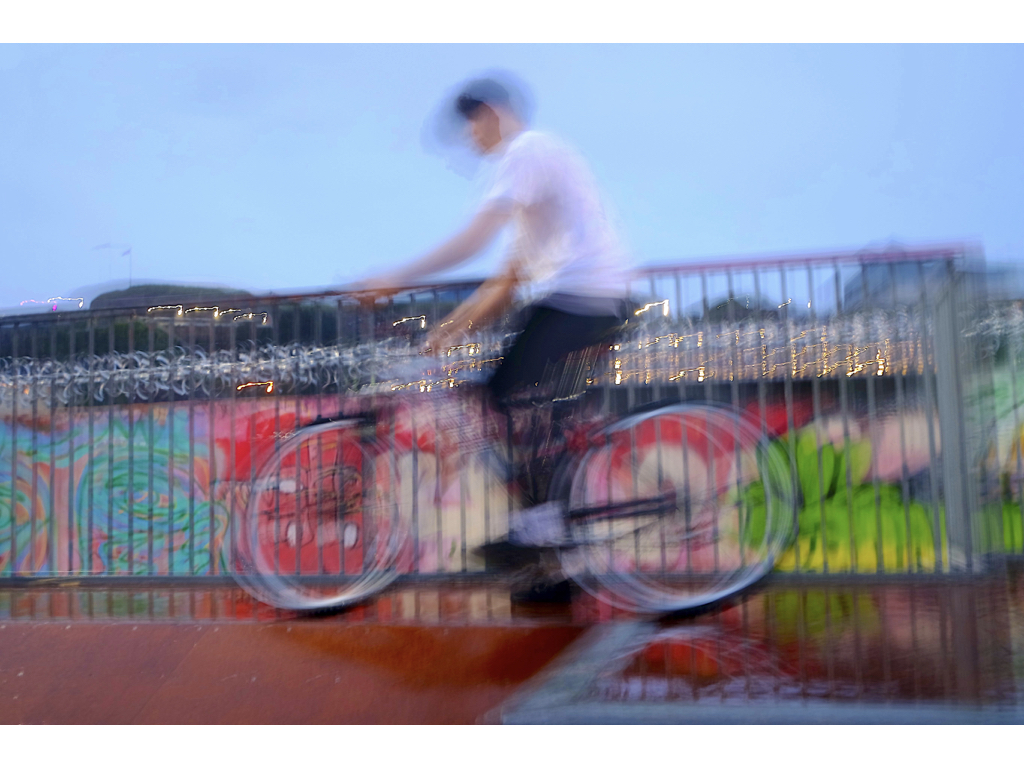
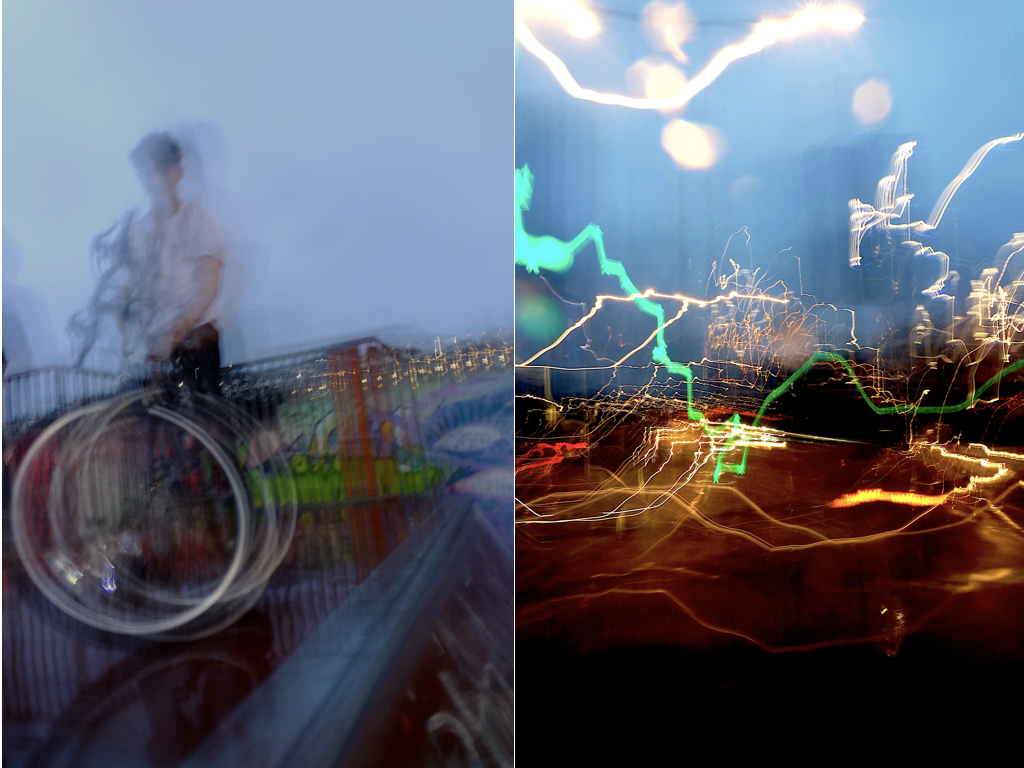
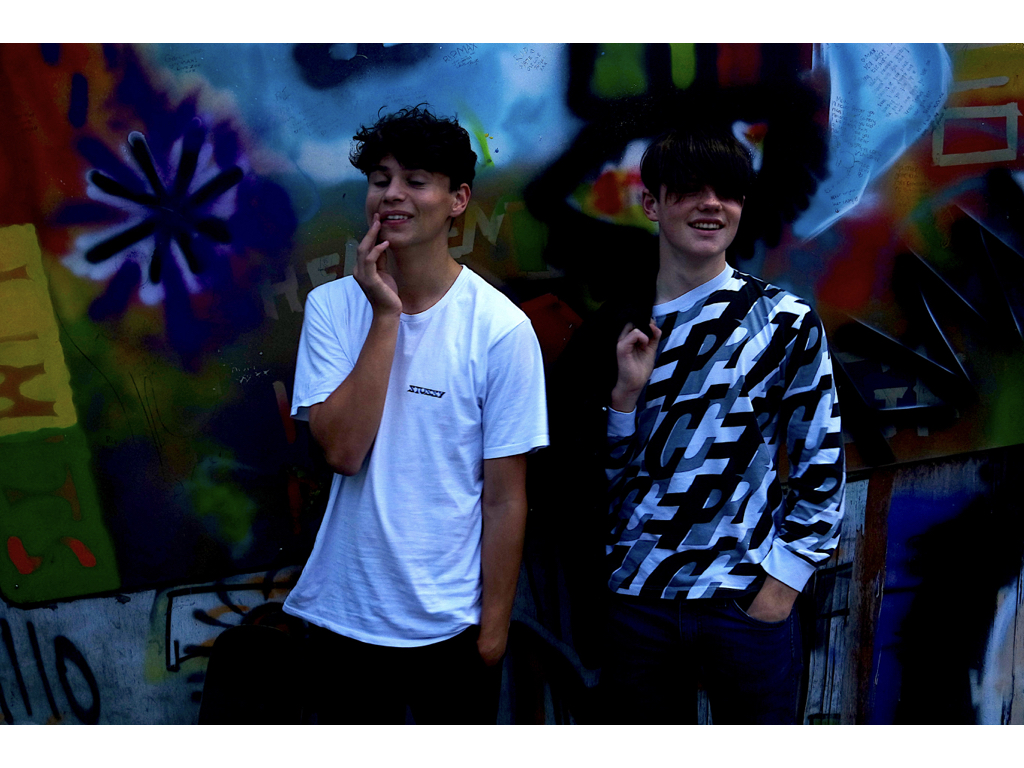
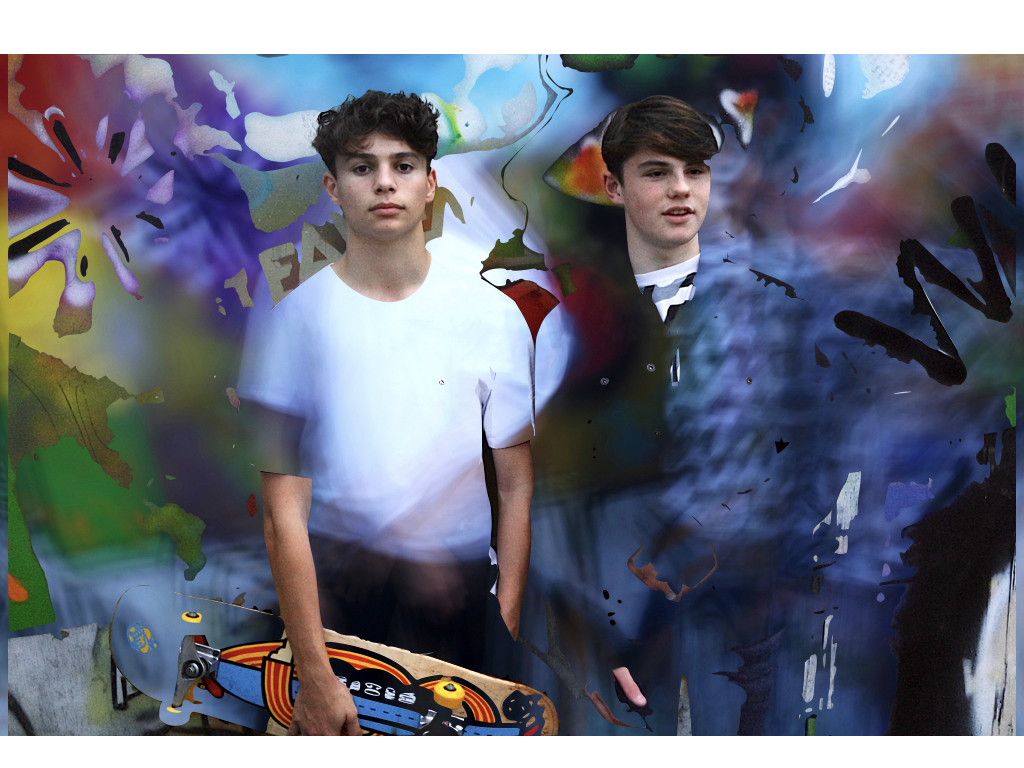
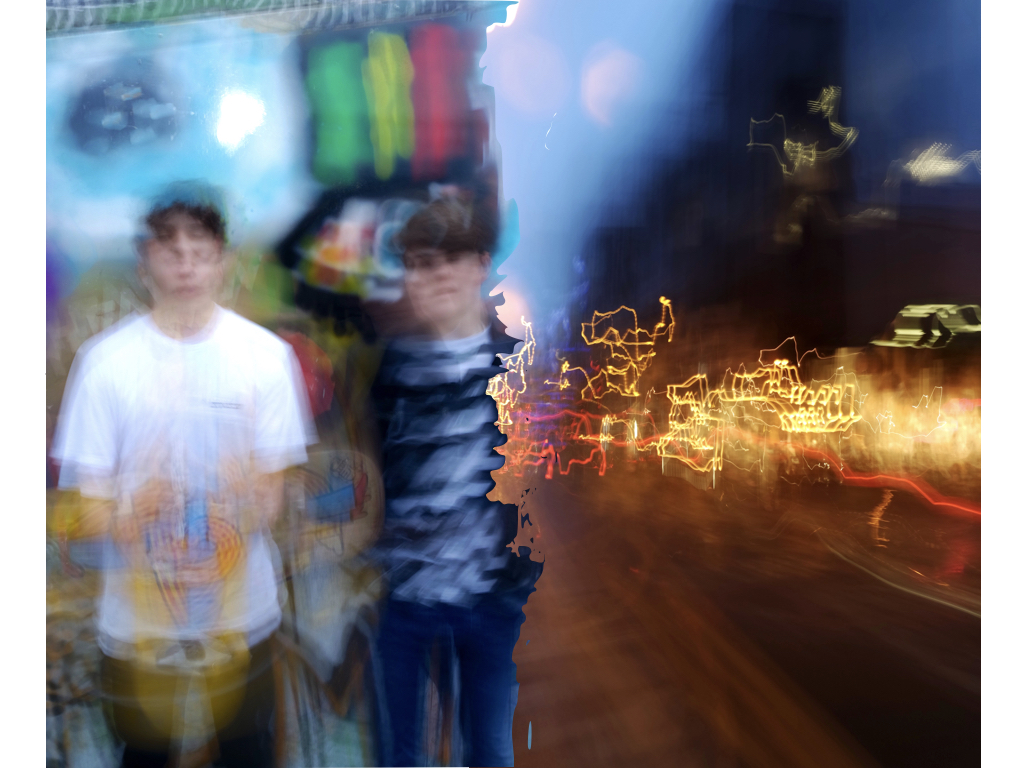
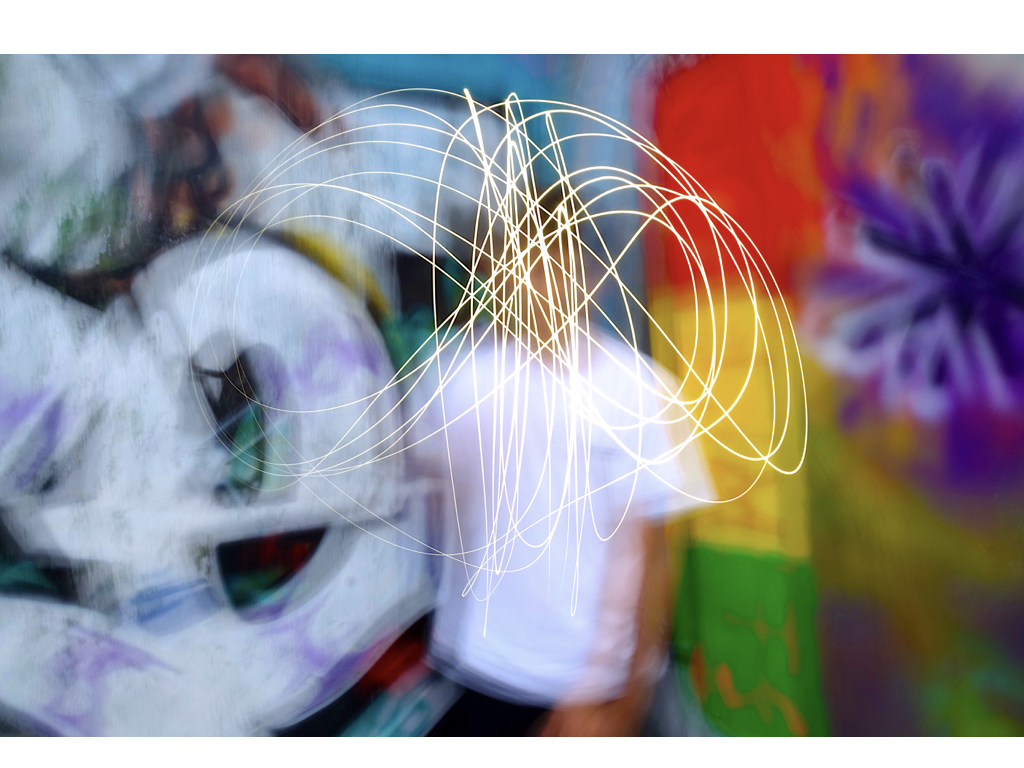
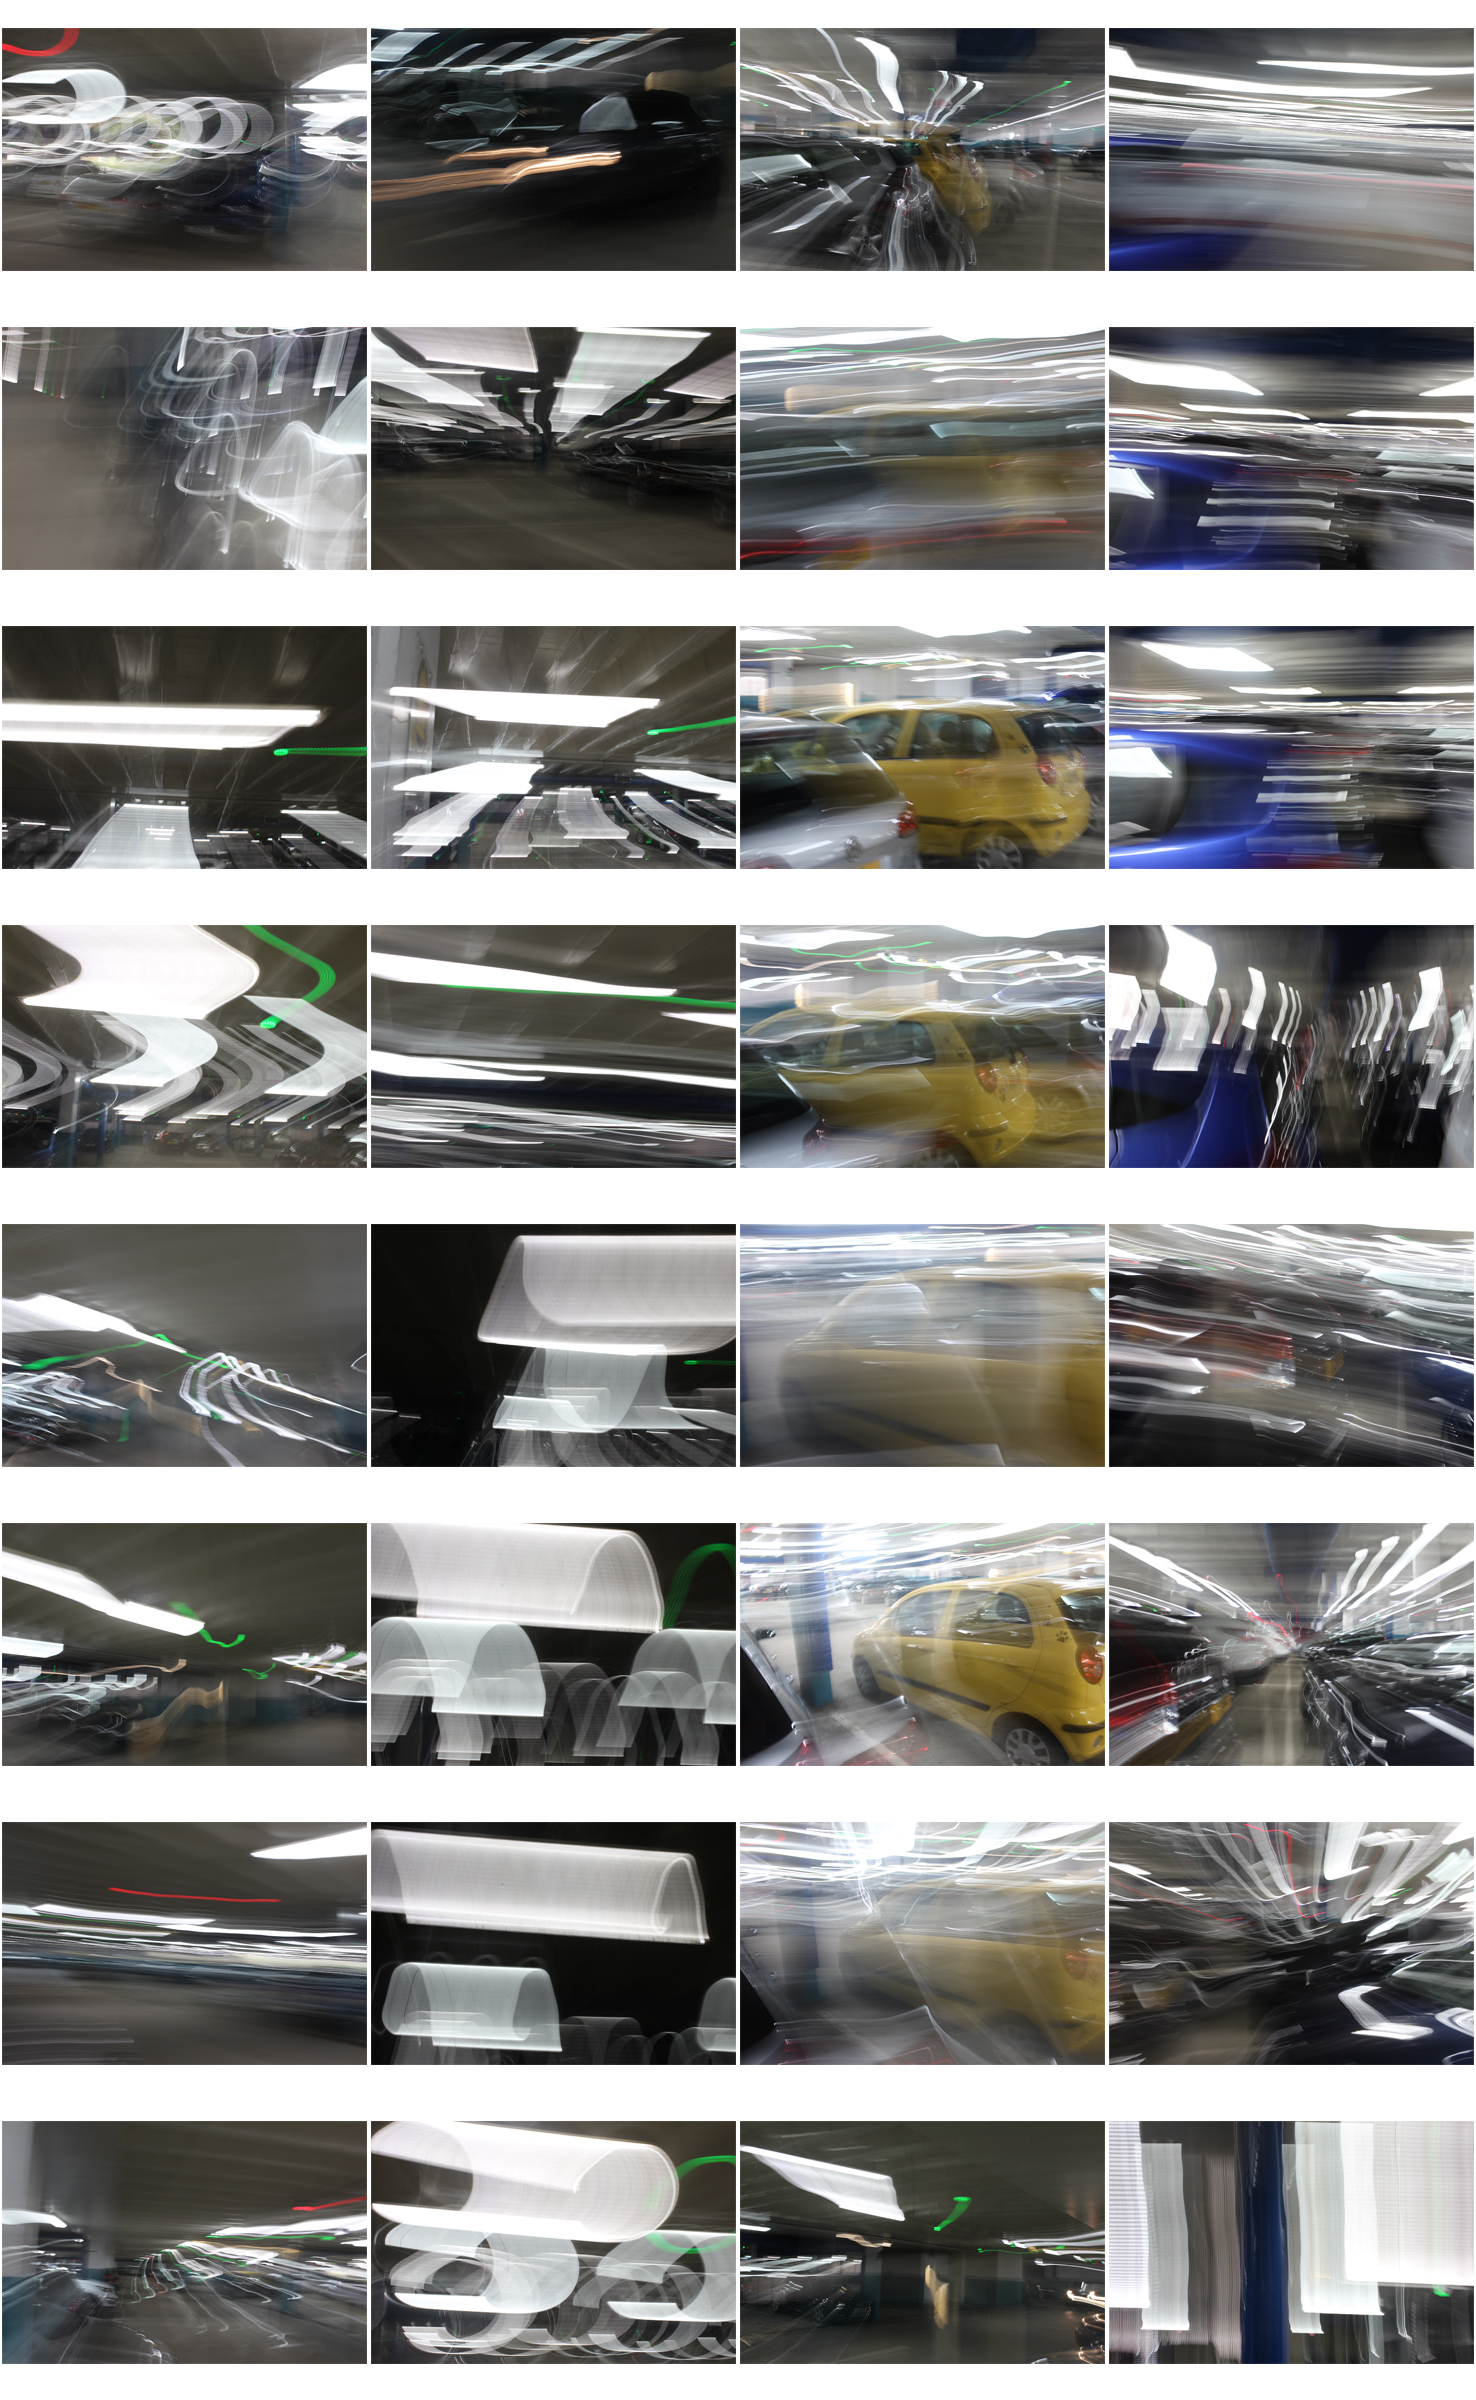
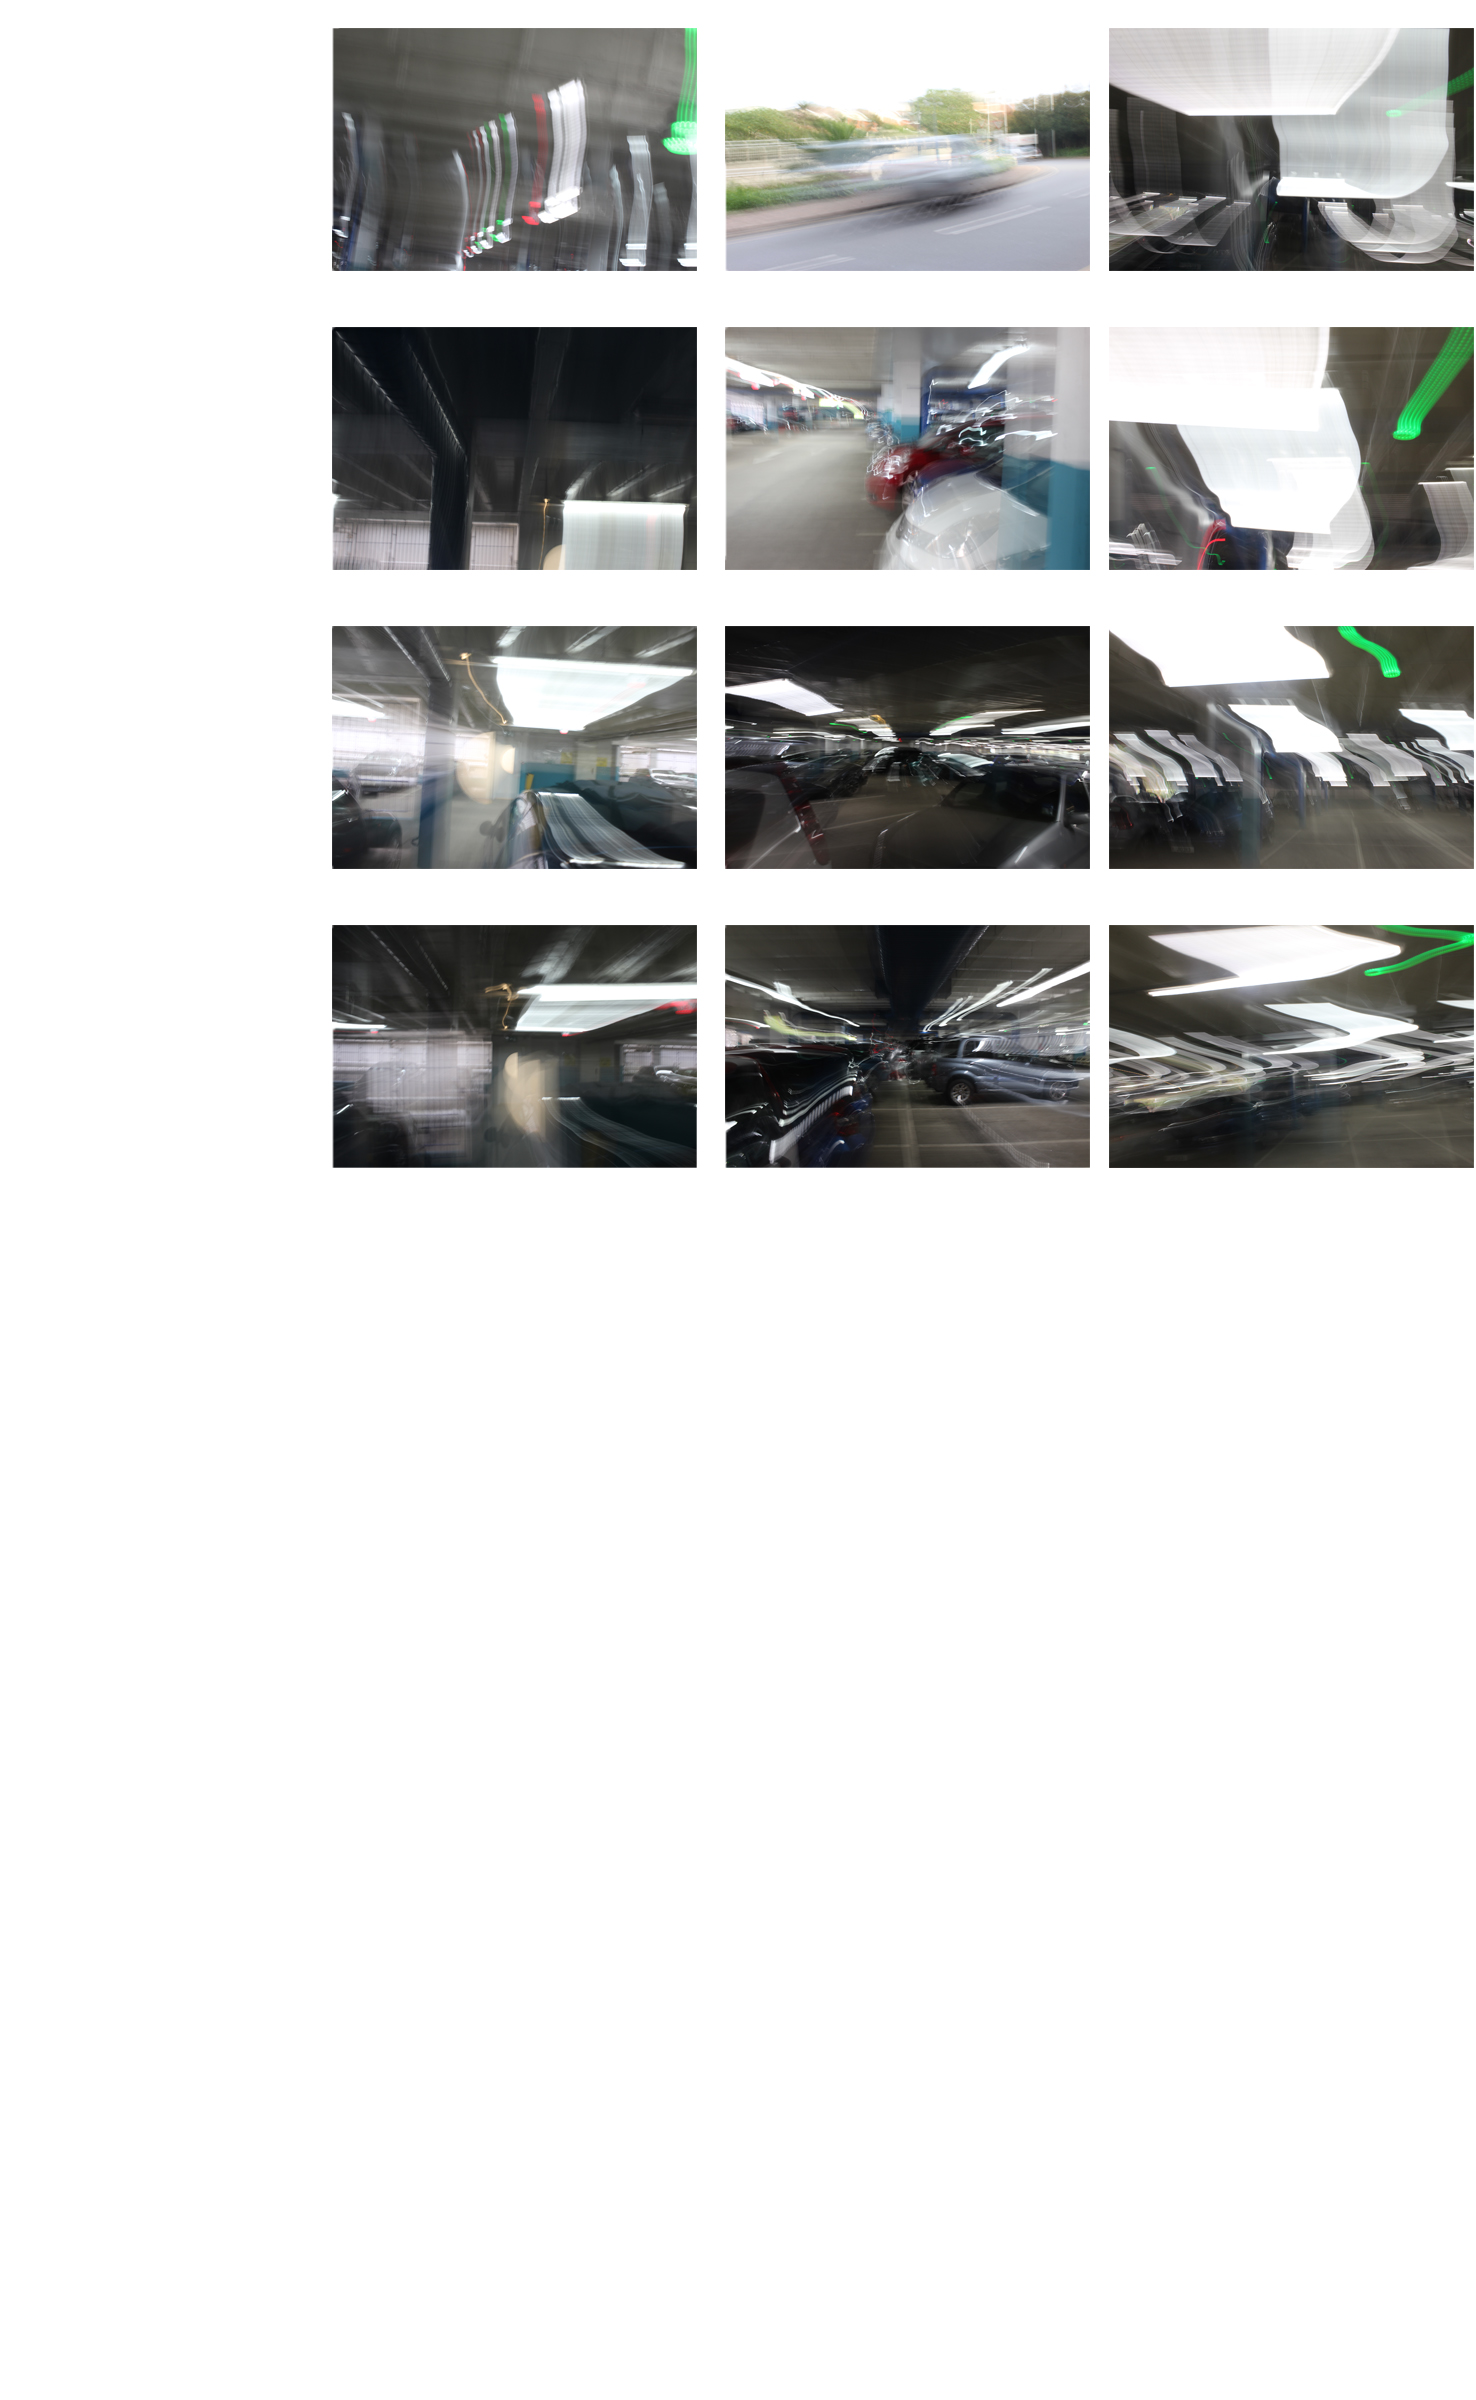
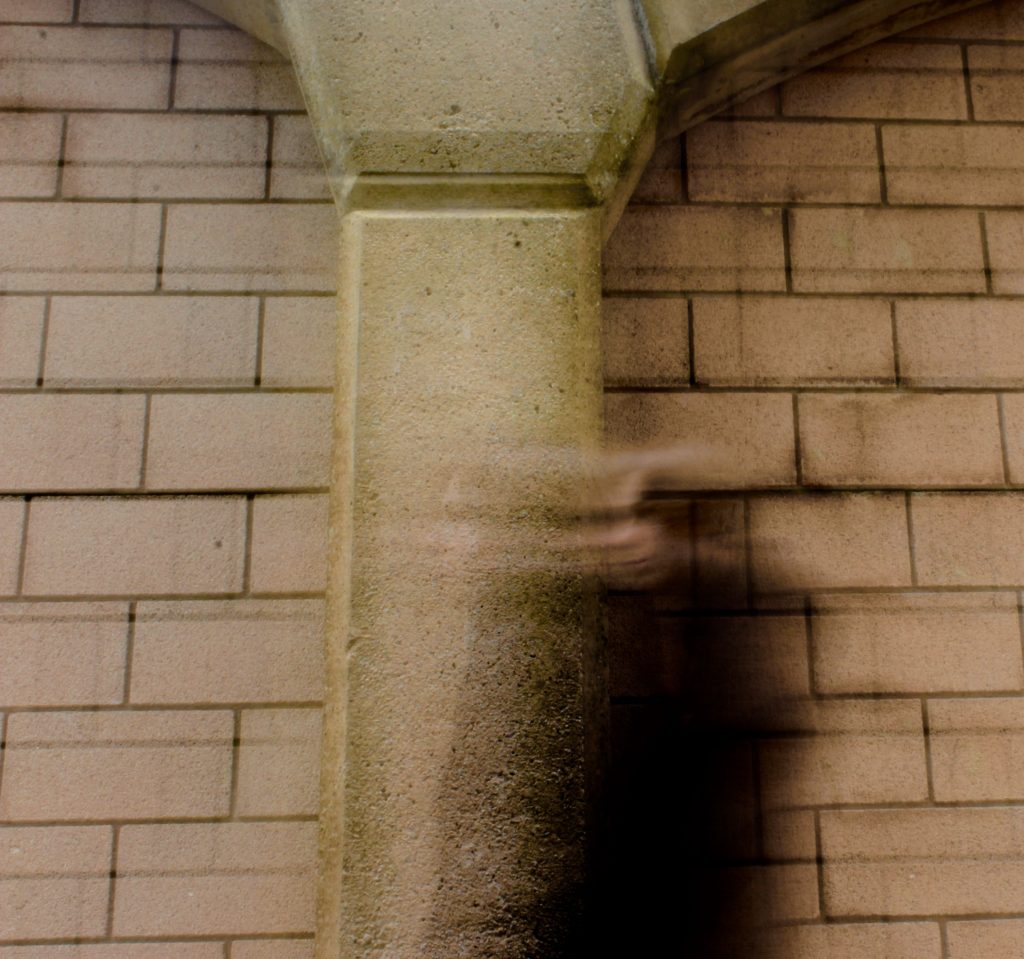
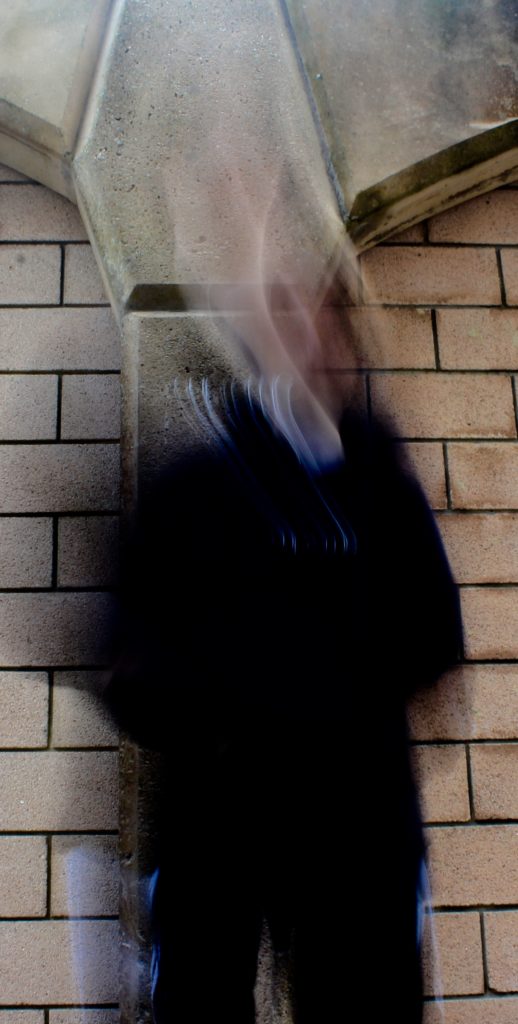
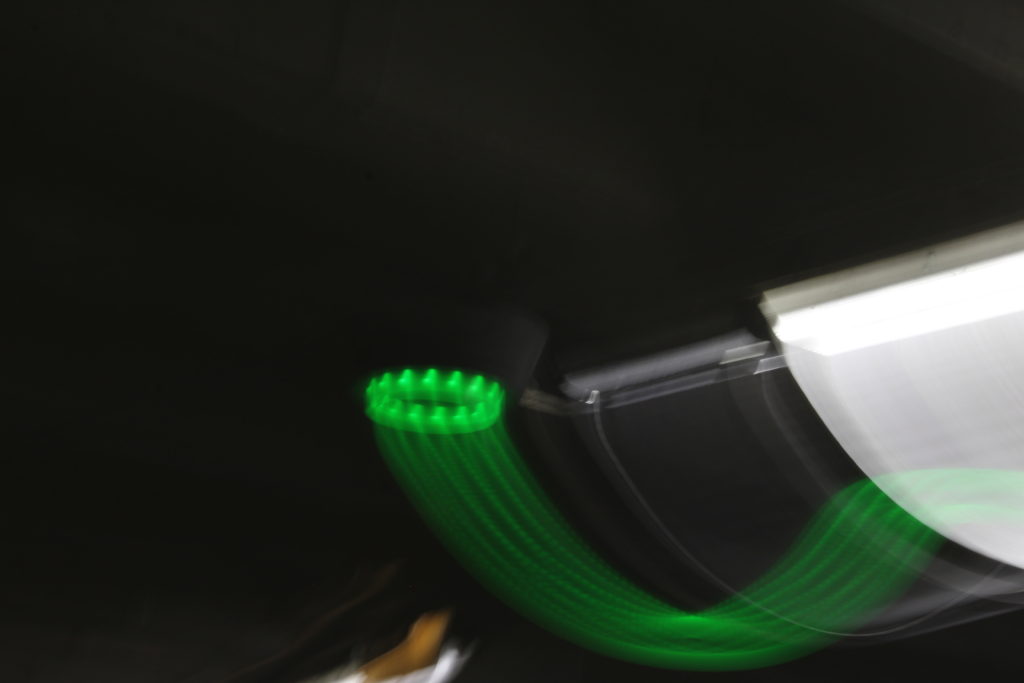
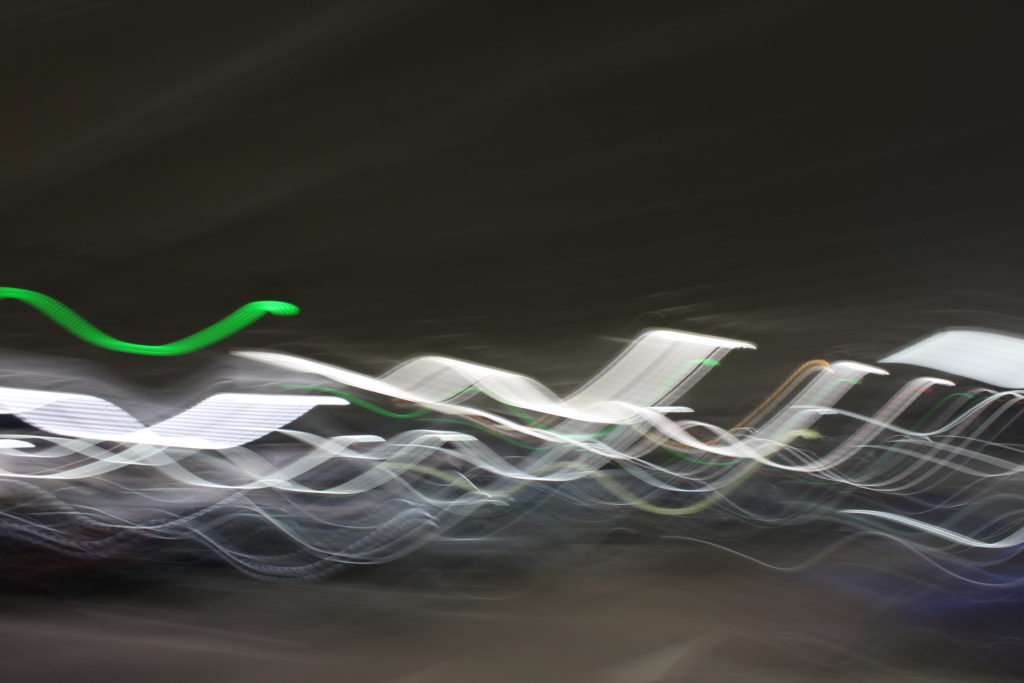
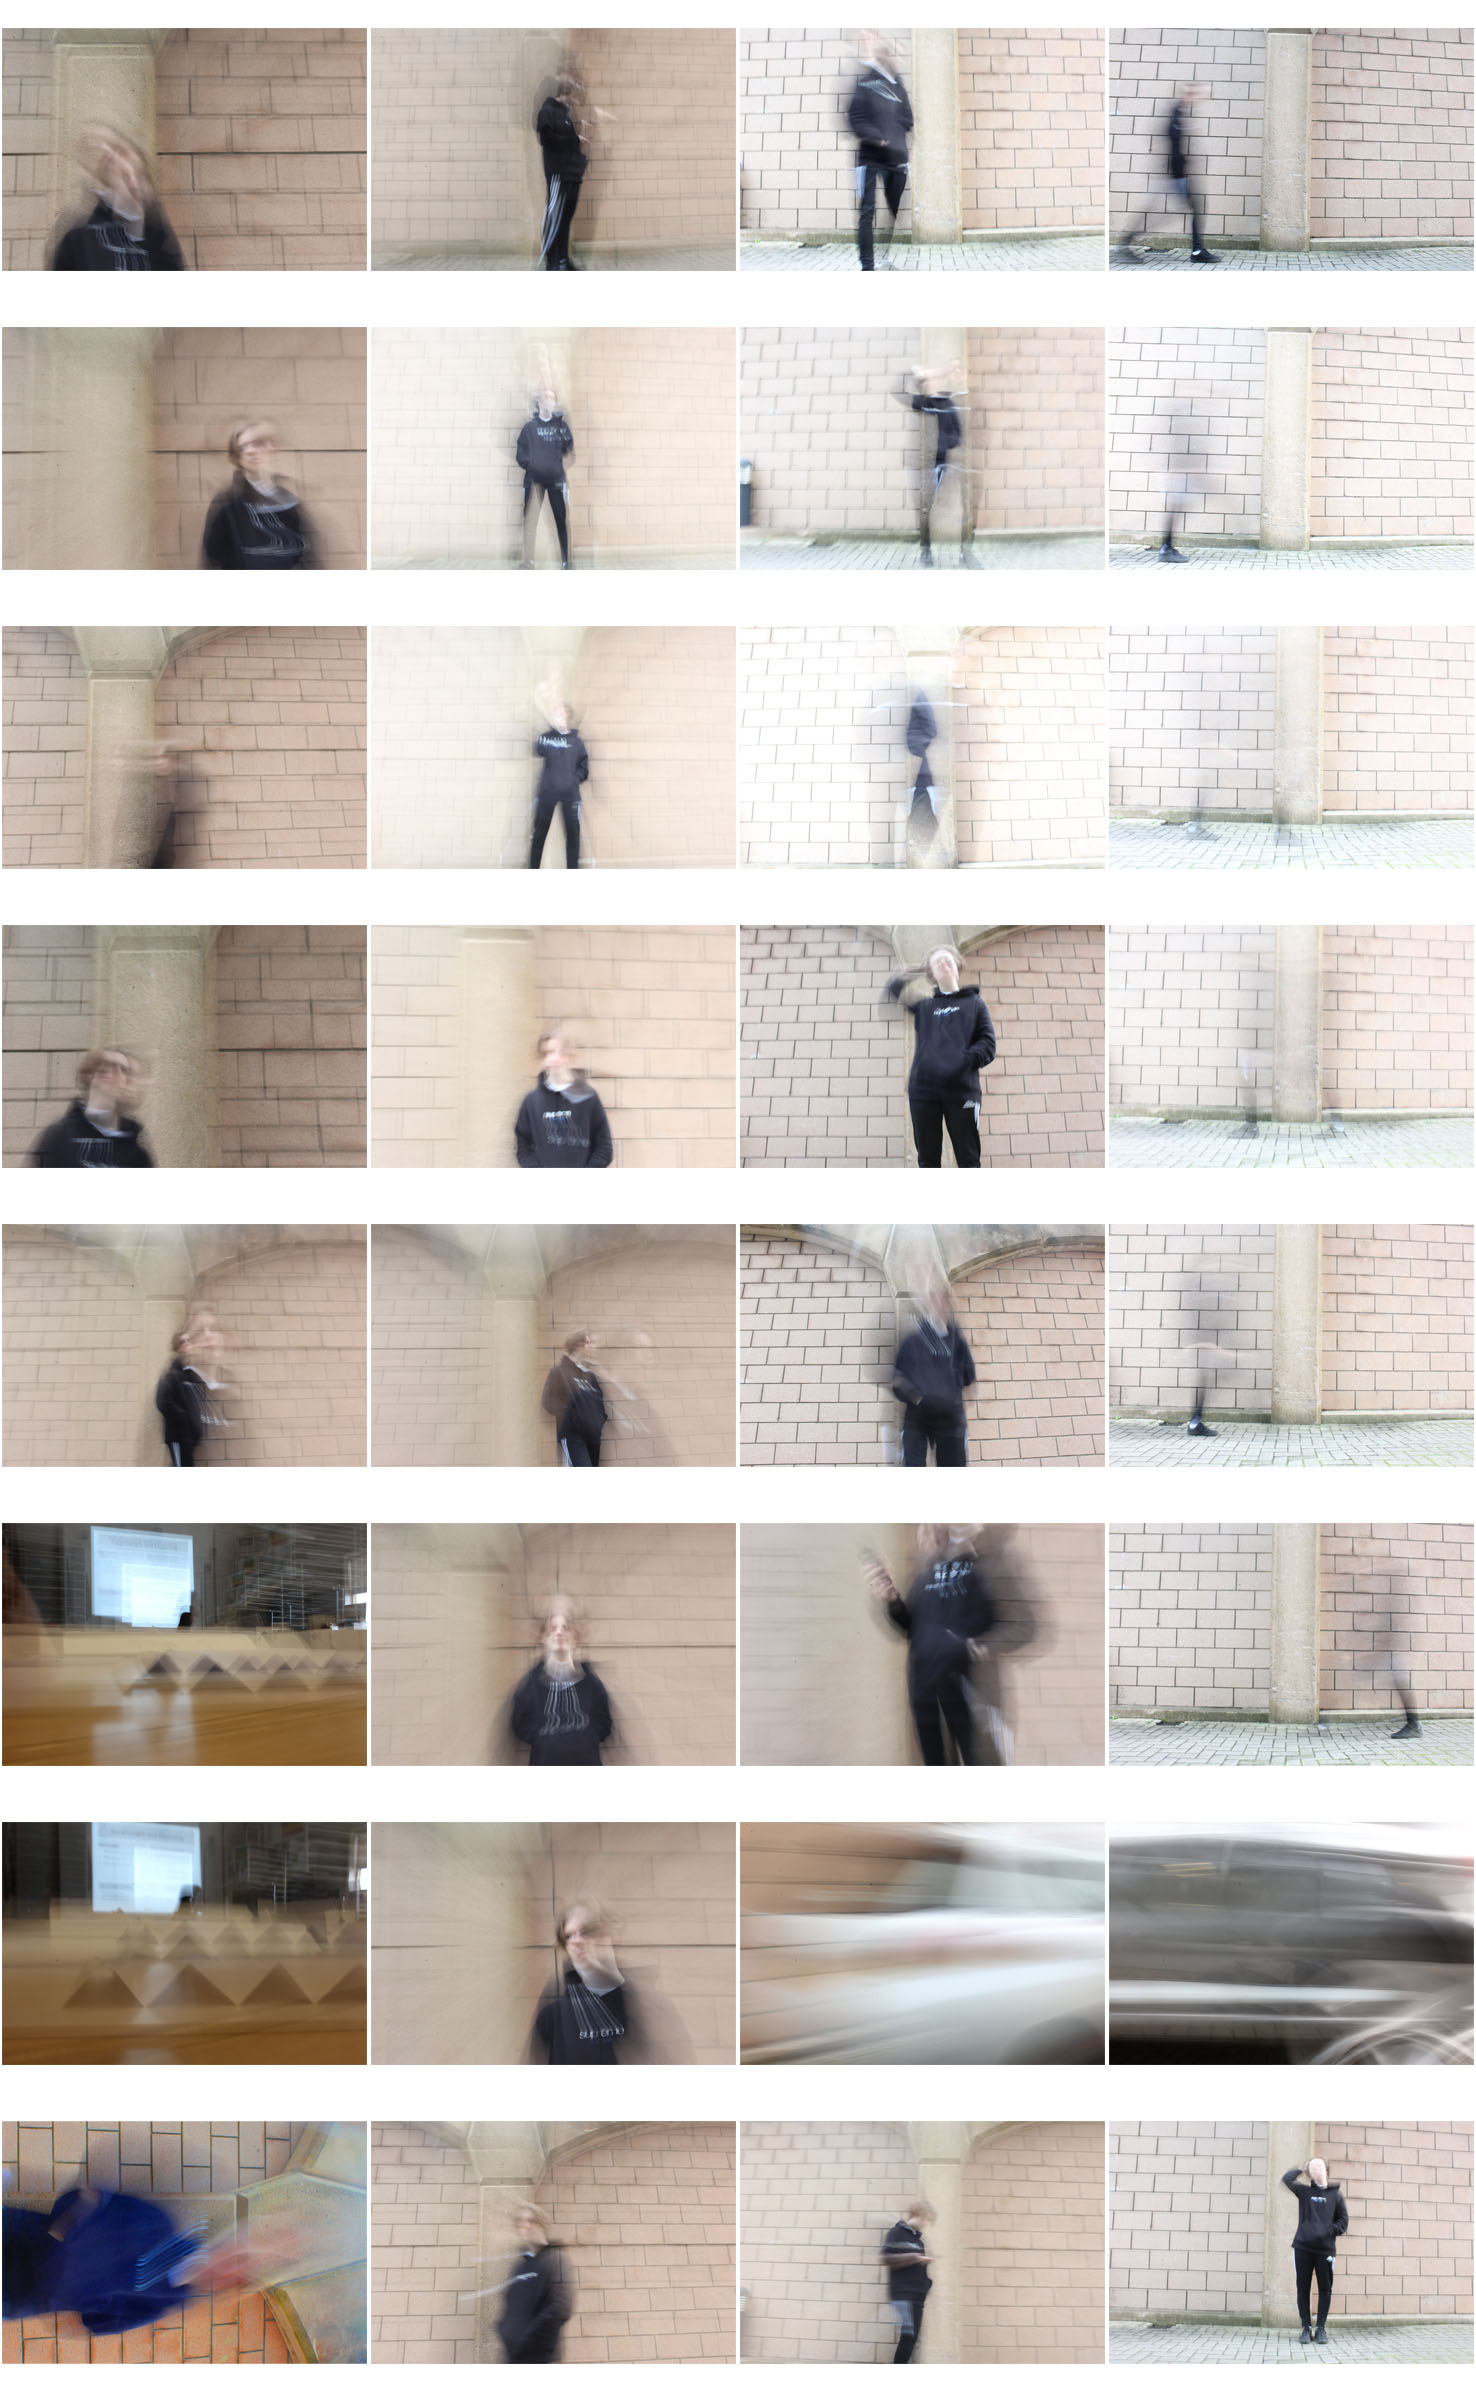
All of the below photographs were taken with a shutter speed of 1 second. In the first two photos I told the model to simply walk around to create movement but in the bottom three photos I moved the camera around in order to capture an abstract photograph.

In these photos I like how the black clothing of the blurred model almost blends into the background in places to create a more interesting image.

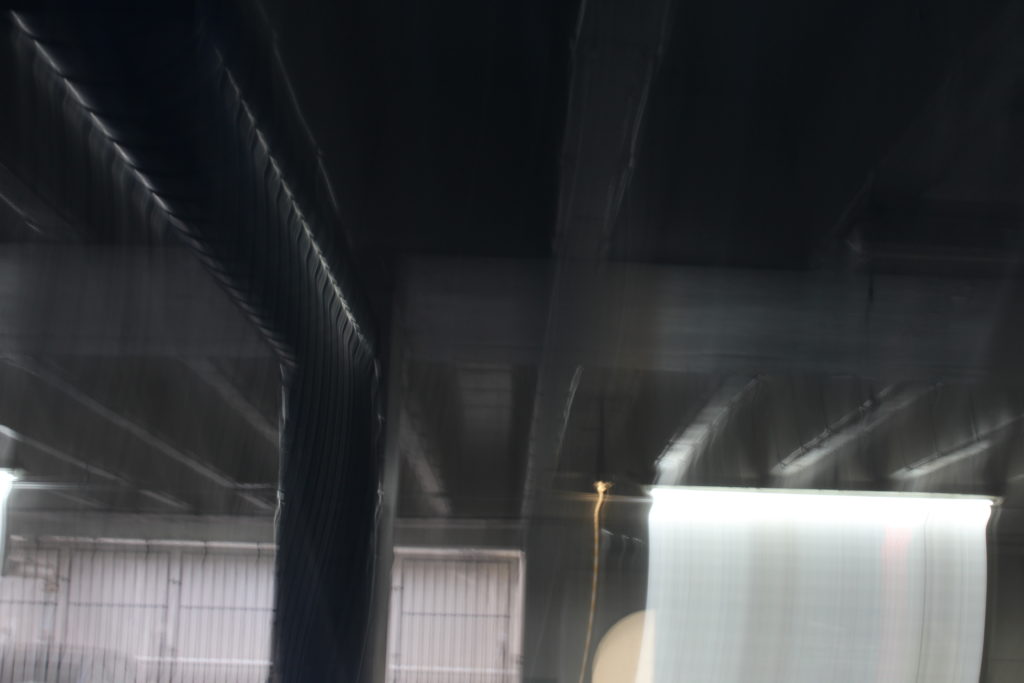
The below images create a gloomy and mysterious setting due to the contrast between the bright lights and the dark car park. To create an appealing image in the first photograph I have cropped it so that it fits the rule of thirds.

The abstractness of these images make them stand out to me because they look so out of the ordinary.

Shutter Speed

When the shutter opens, it exposes light from the exterior allowing a picture to be taken. The length of time that the shutter remains open is termed the shutter speed.

If you look at modern digital cameras, shutter speed is measured in seconds – or in most cases fractions of seconds. The bigger the denominator the faster the speed (e.g 1/1000 is much faster than 1/30).

How do you select the correct shutter speed when taking photos?

  1. Simply set the camera to automatic mode and take the picture. The cameras in-built auto exposure settings will take care of the shutter speed settings for you.
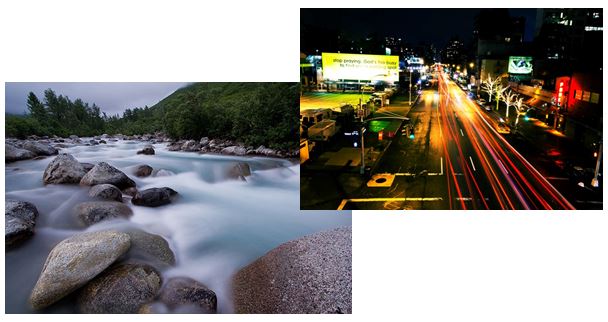
  2. Set the camera to manual settings. Use a slow shutter speed (1/60 or lower) if wanting to show some blur in the picture to display speed in the subject.

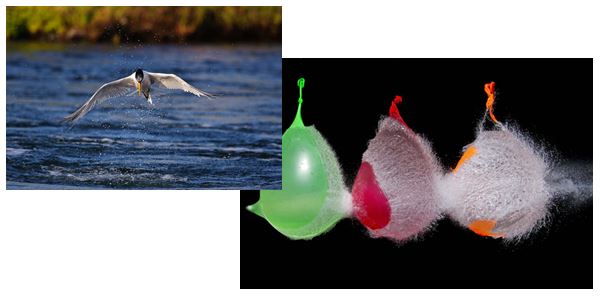
3.Use a fast shutter speed (1/125 or higher) if you need to capture a fast moving subject

My own examples: